Well! Today is the perfect day to share some exciting news with you along with my first project as a Michael’s Maker. This is a huge deal and I am tickled pink that I was offered this amazing opportunity to work with a brand that already owns my pocketbook (hehe). Being a part of this program will give me the chance to share exciting news about Michael’s and the crafts that they sell in the store.
Did I mention there are 29 other stellar bloggers creating each month with me! I know, pinch me.

The news I am sharing today will knock you out of your seat. For real!
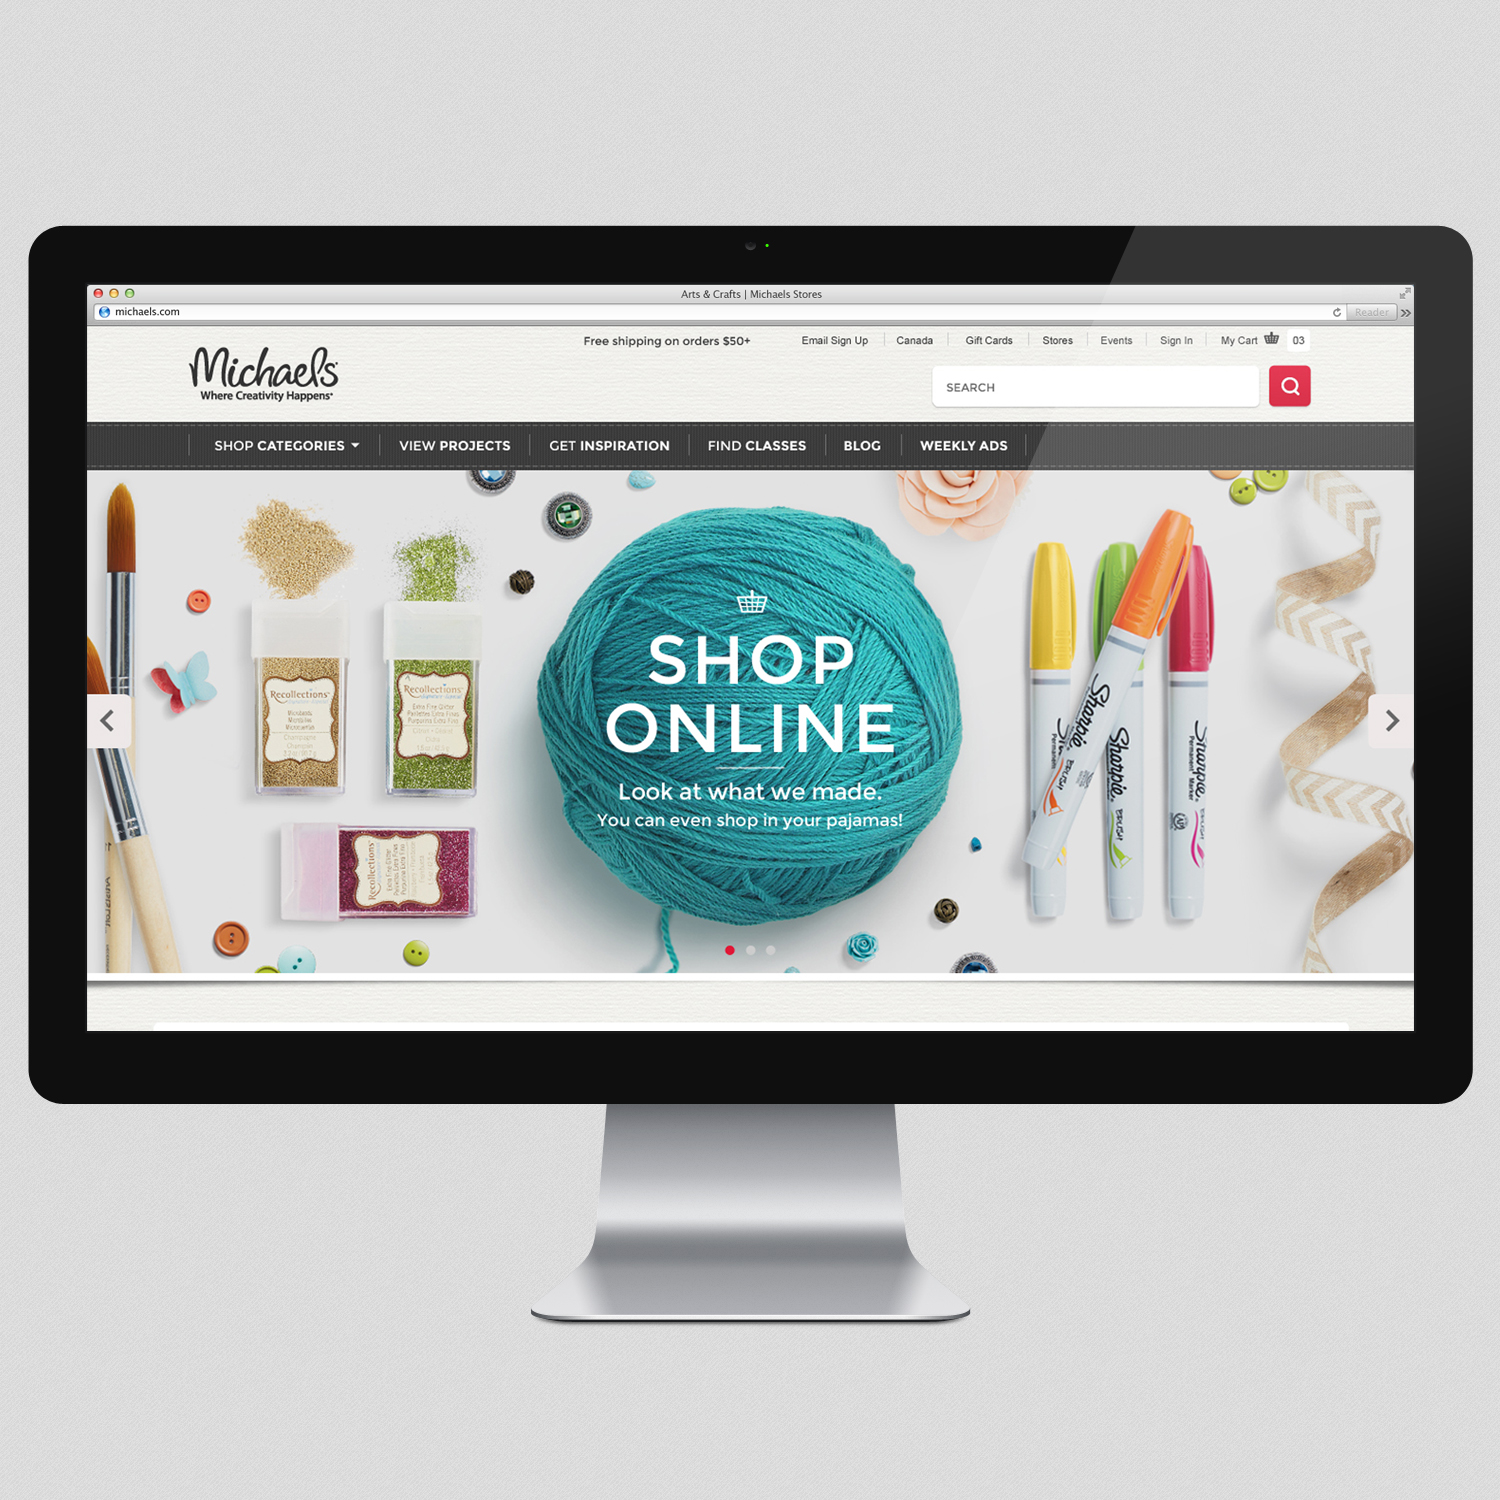
You can now shop ONLINE at Michael’s . Word to your mother, right! Now I will never have to get on the road and politely run anyone over in desperation for the new packet of glass glitter. Ready for a little secret undercover info, Michael’s now has project ideas and one click shopping for all of the products that go with each project. Yep, all in one spot. Just for you! No more seeking various sites to find that certain q-tip that makes the gilding adhere better.
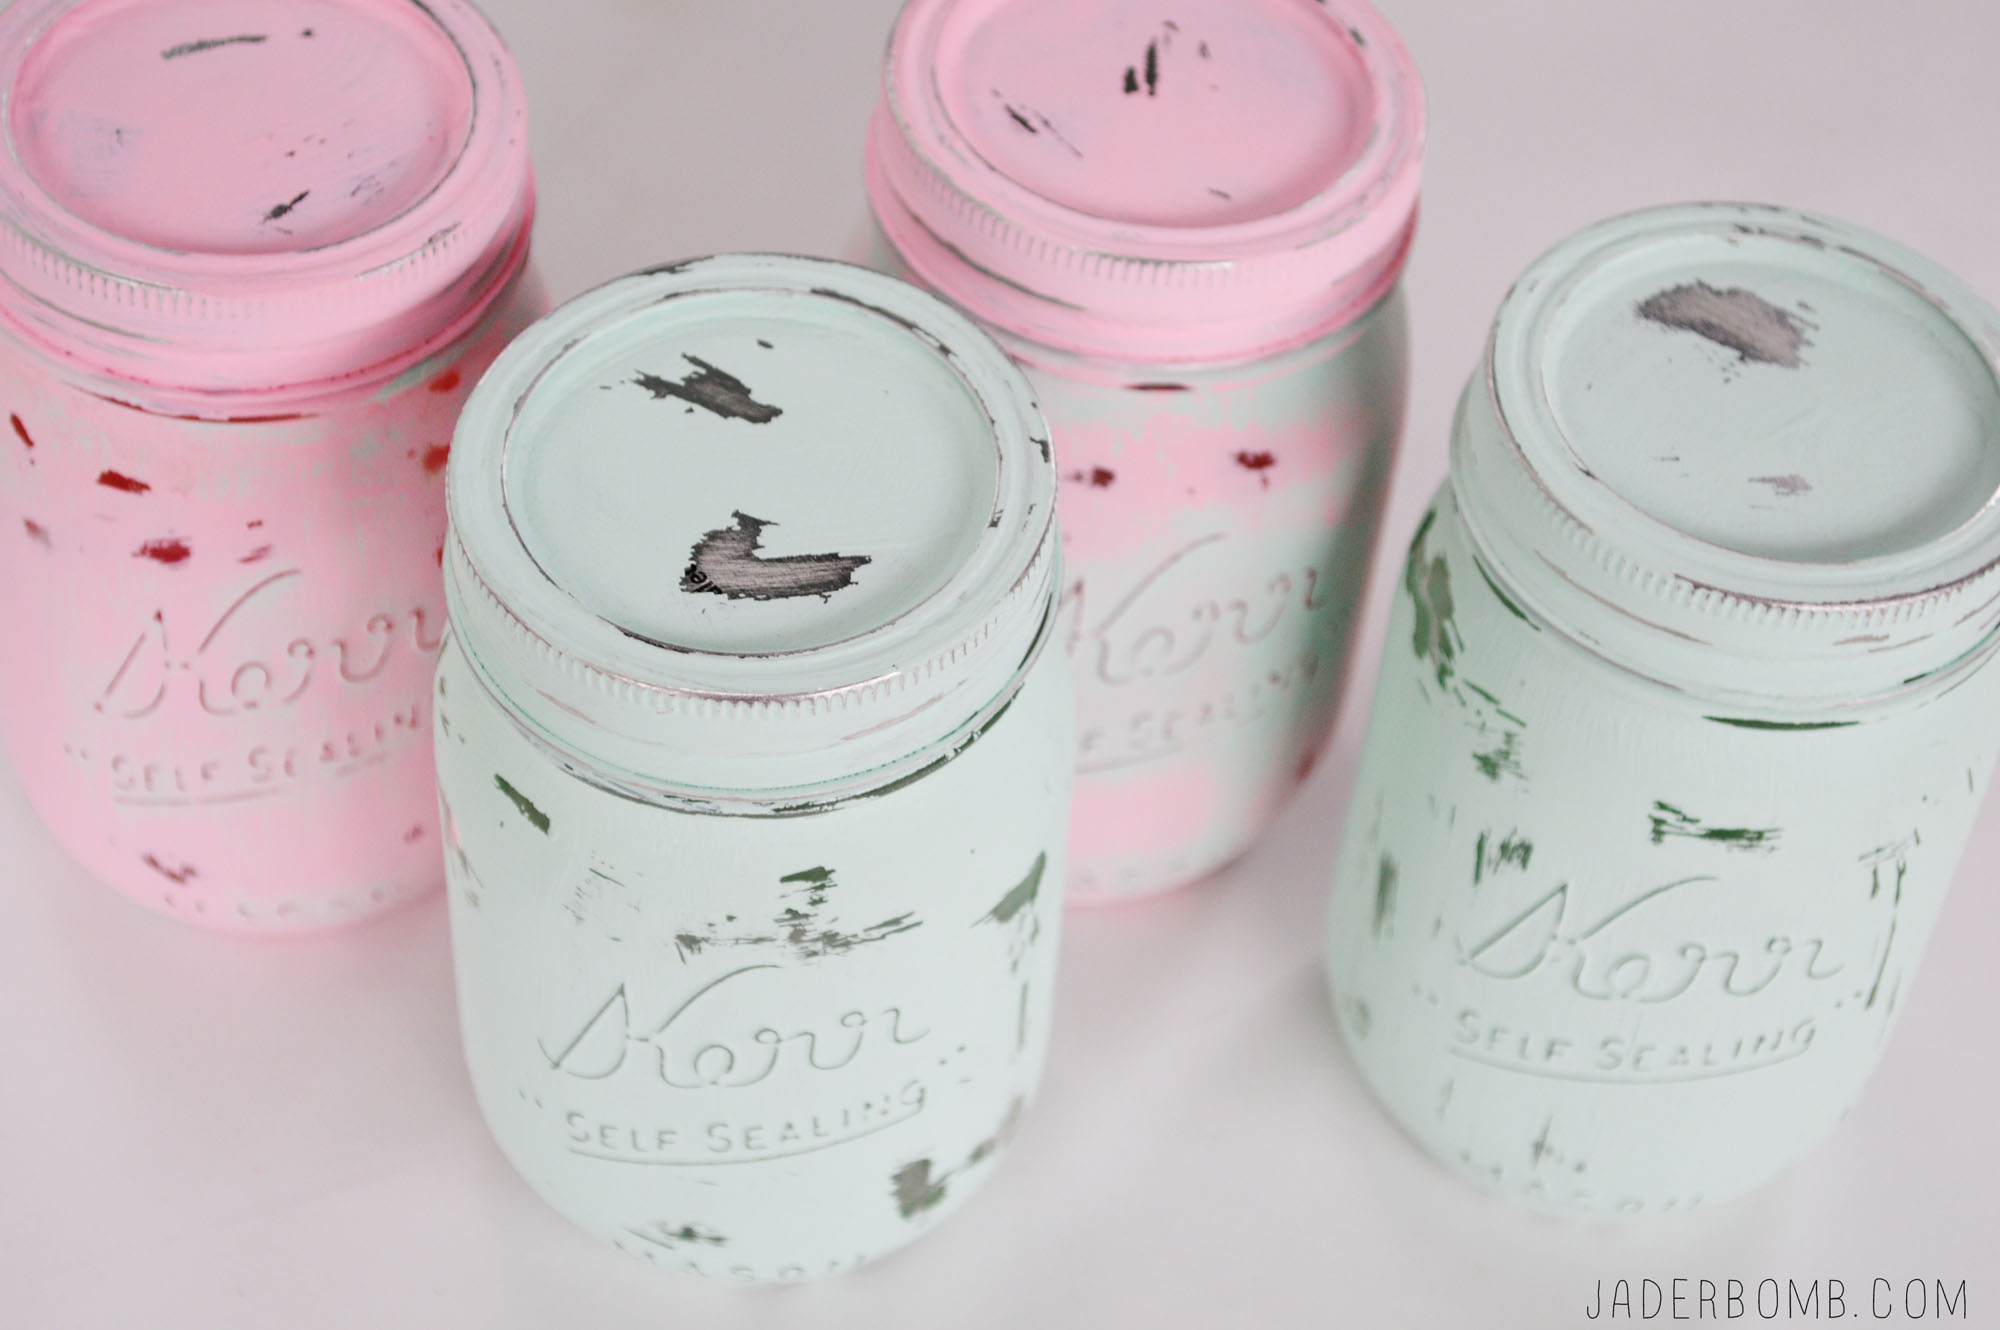
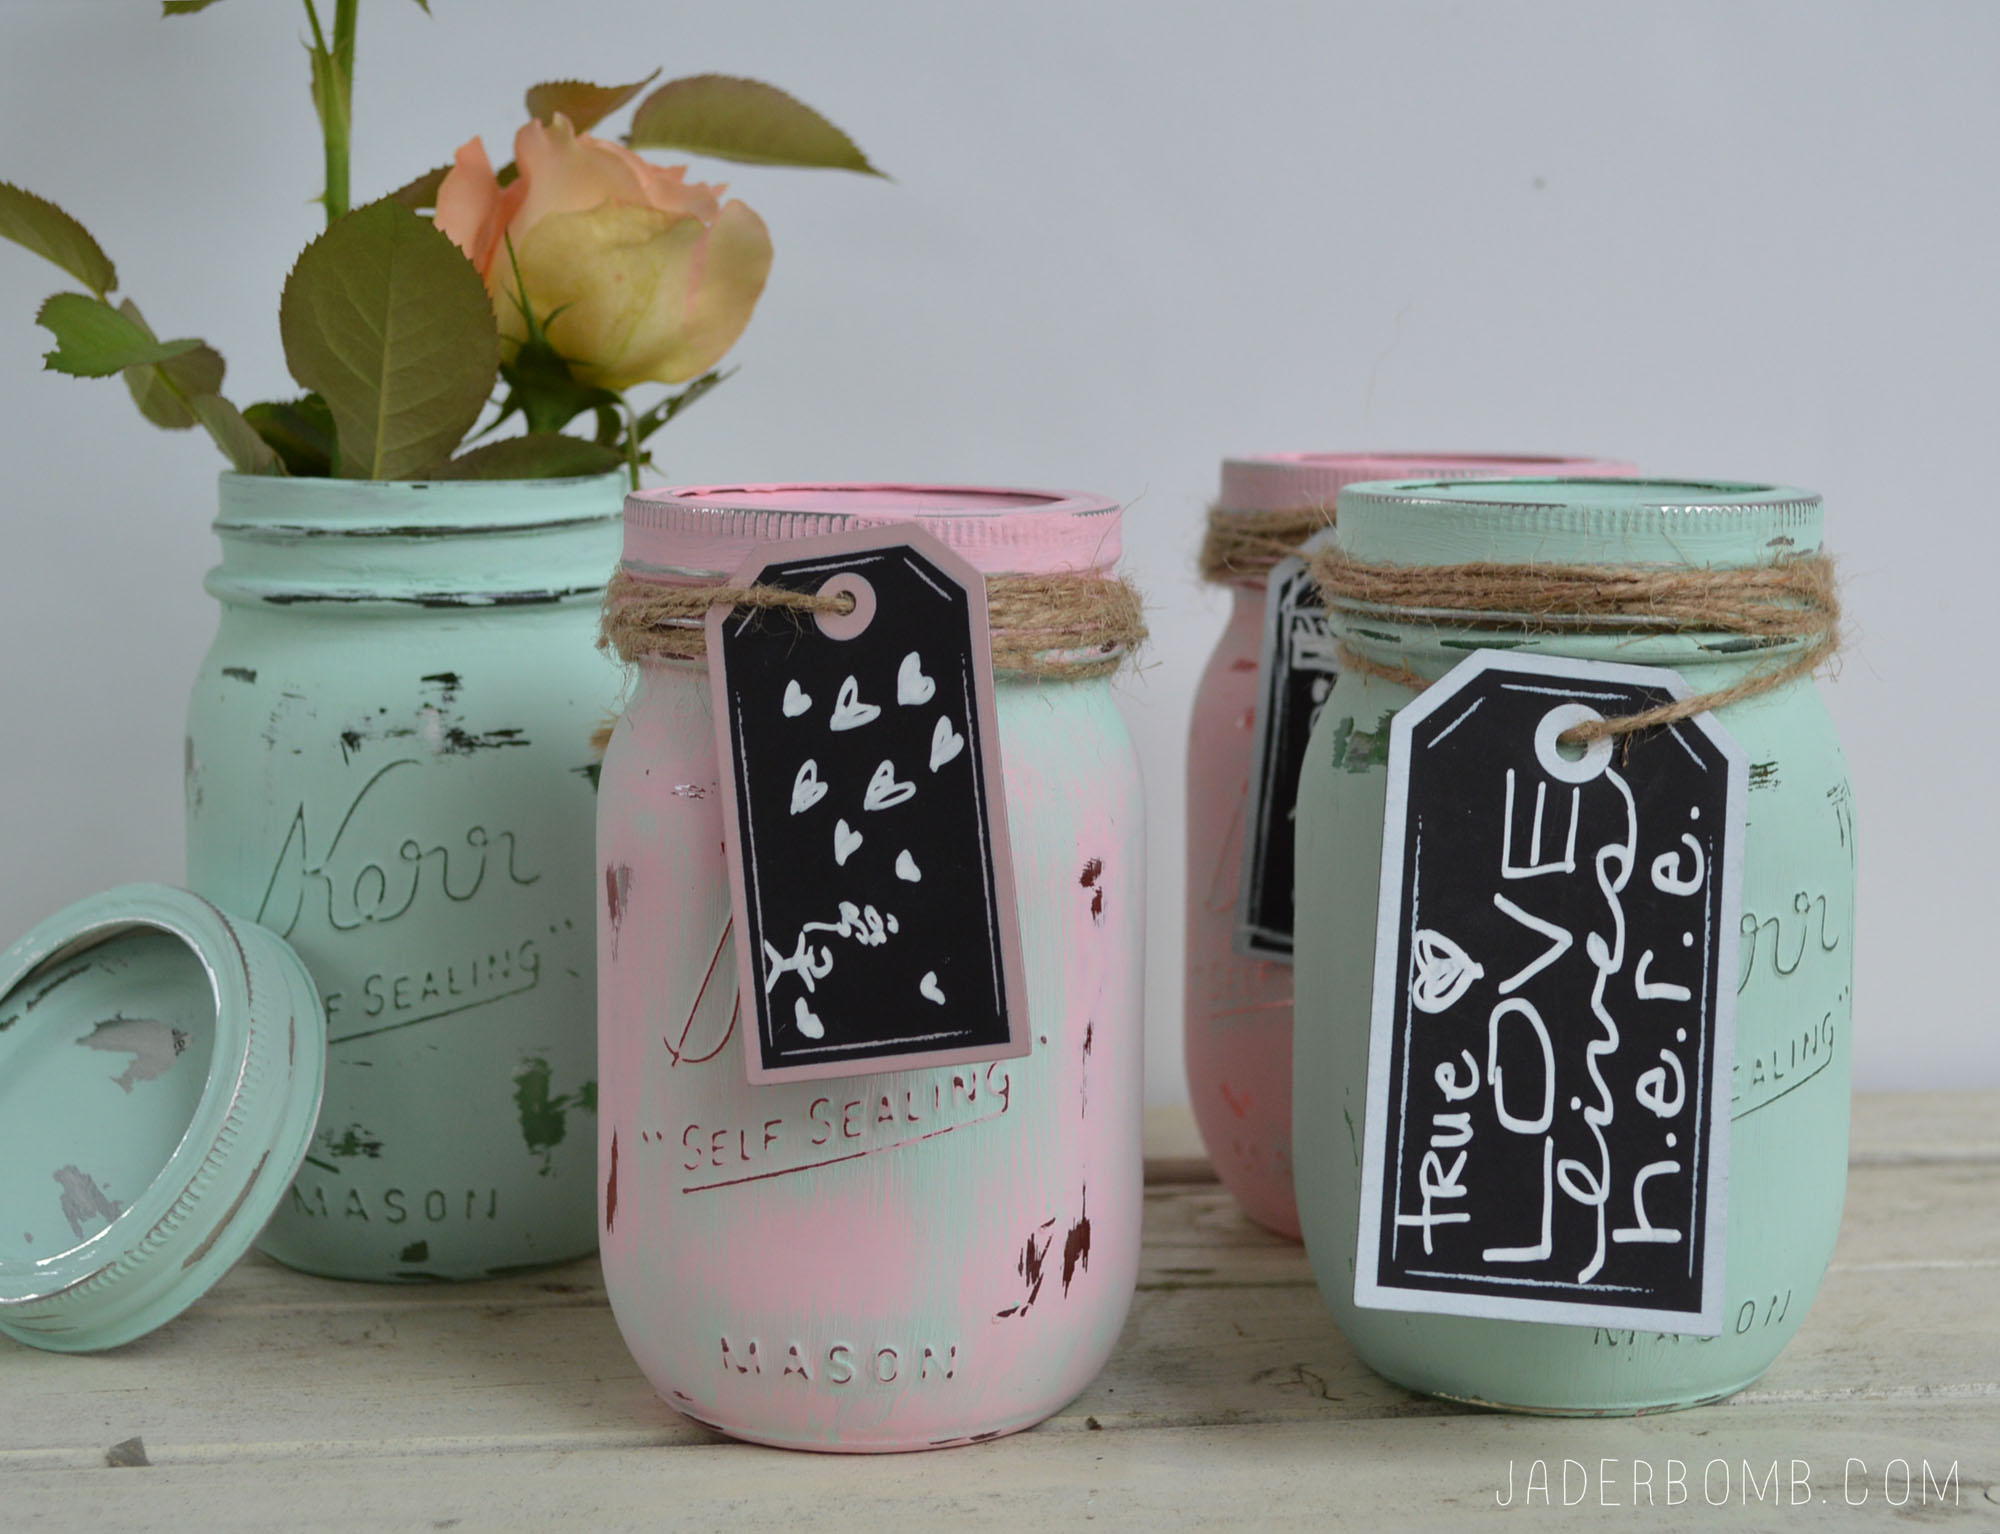
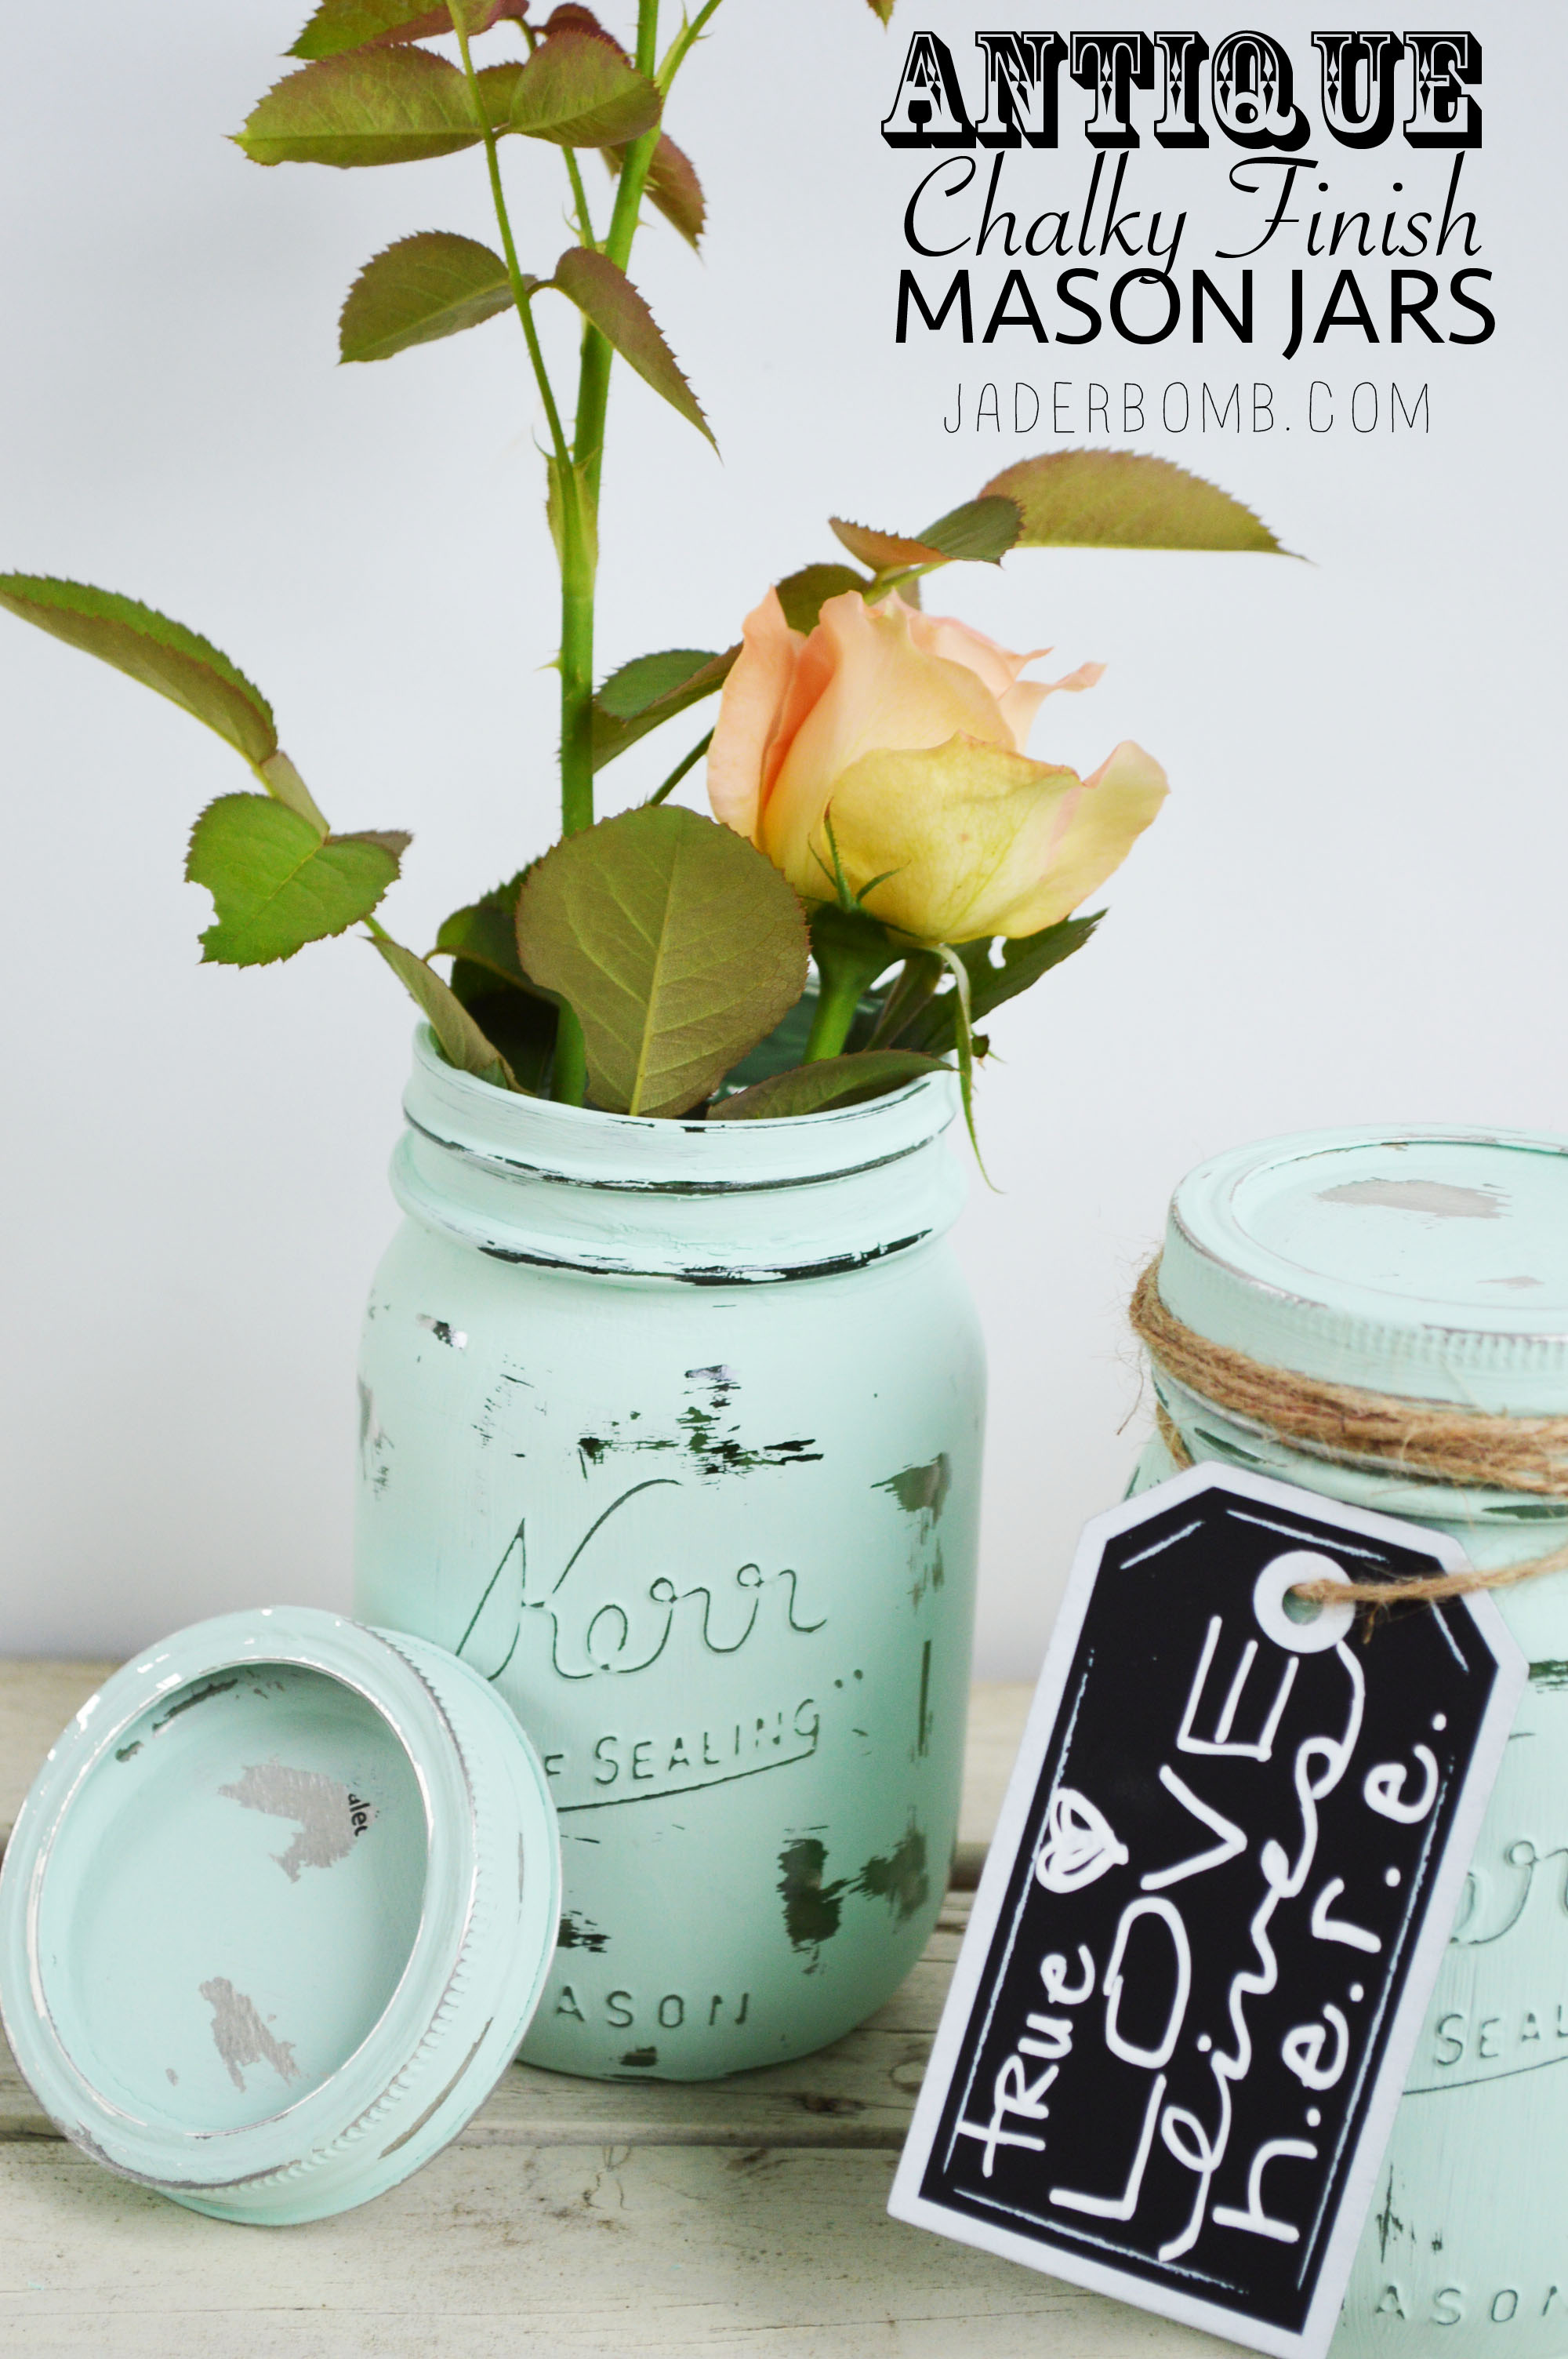
While sifting through the projects on the Michael’s site I ran across these precious “Antique Chalky Finish Mason Jars” and fell in love. I viewed the actual project and became excited all over again when I noticed at the bottom i could add all of the items in my cart with just one click. That easy! This will come in handy for those that might not have a Michael’s store near them or if your store doesn’t carry all of the things you need!
Next on my project list is the Floral Pom Pom Garland, White Party Box Favors, and these Honey Jars.
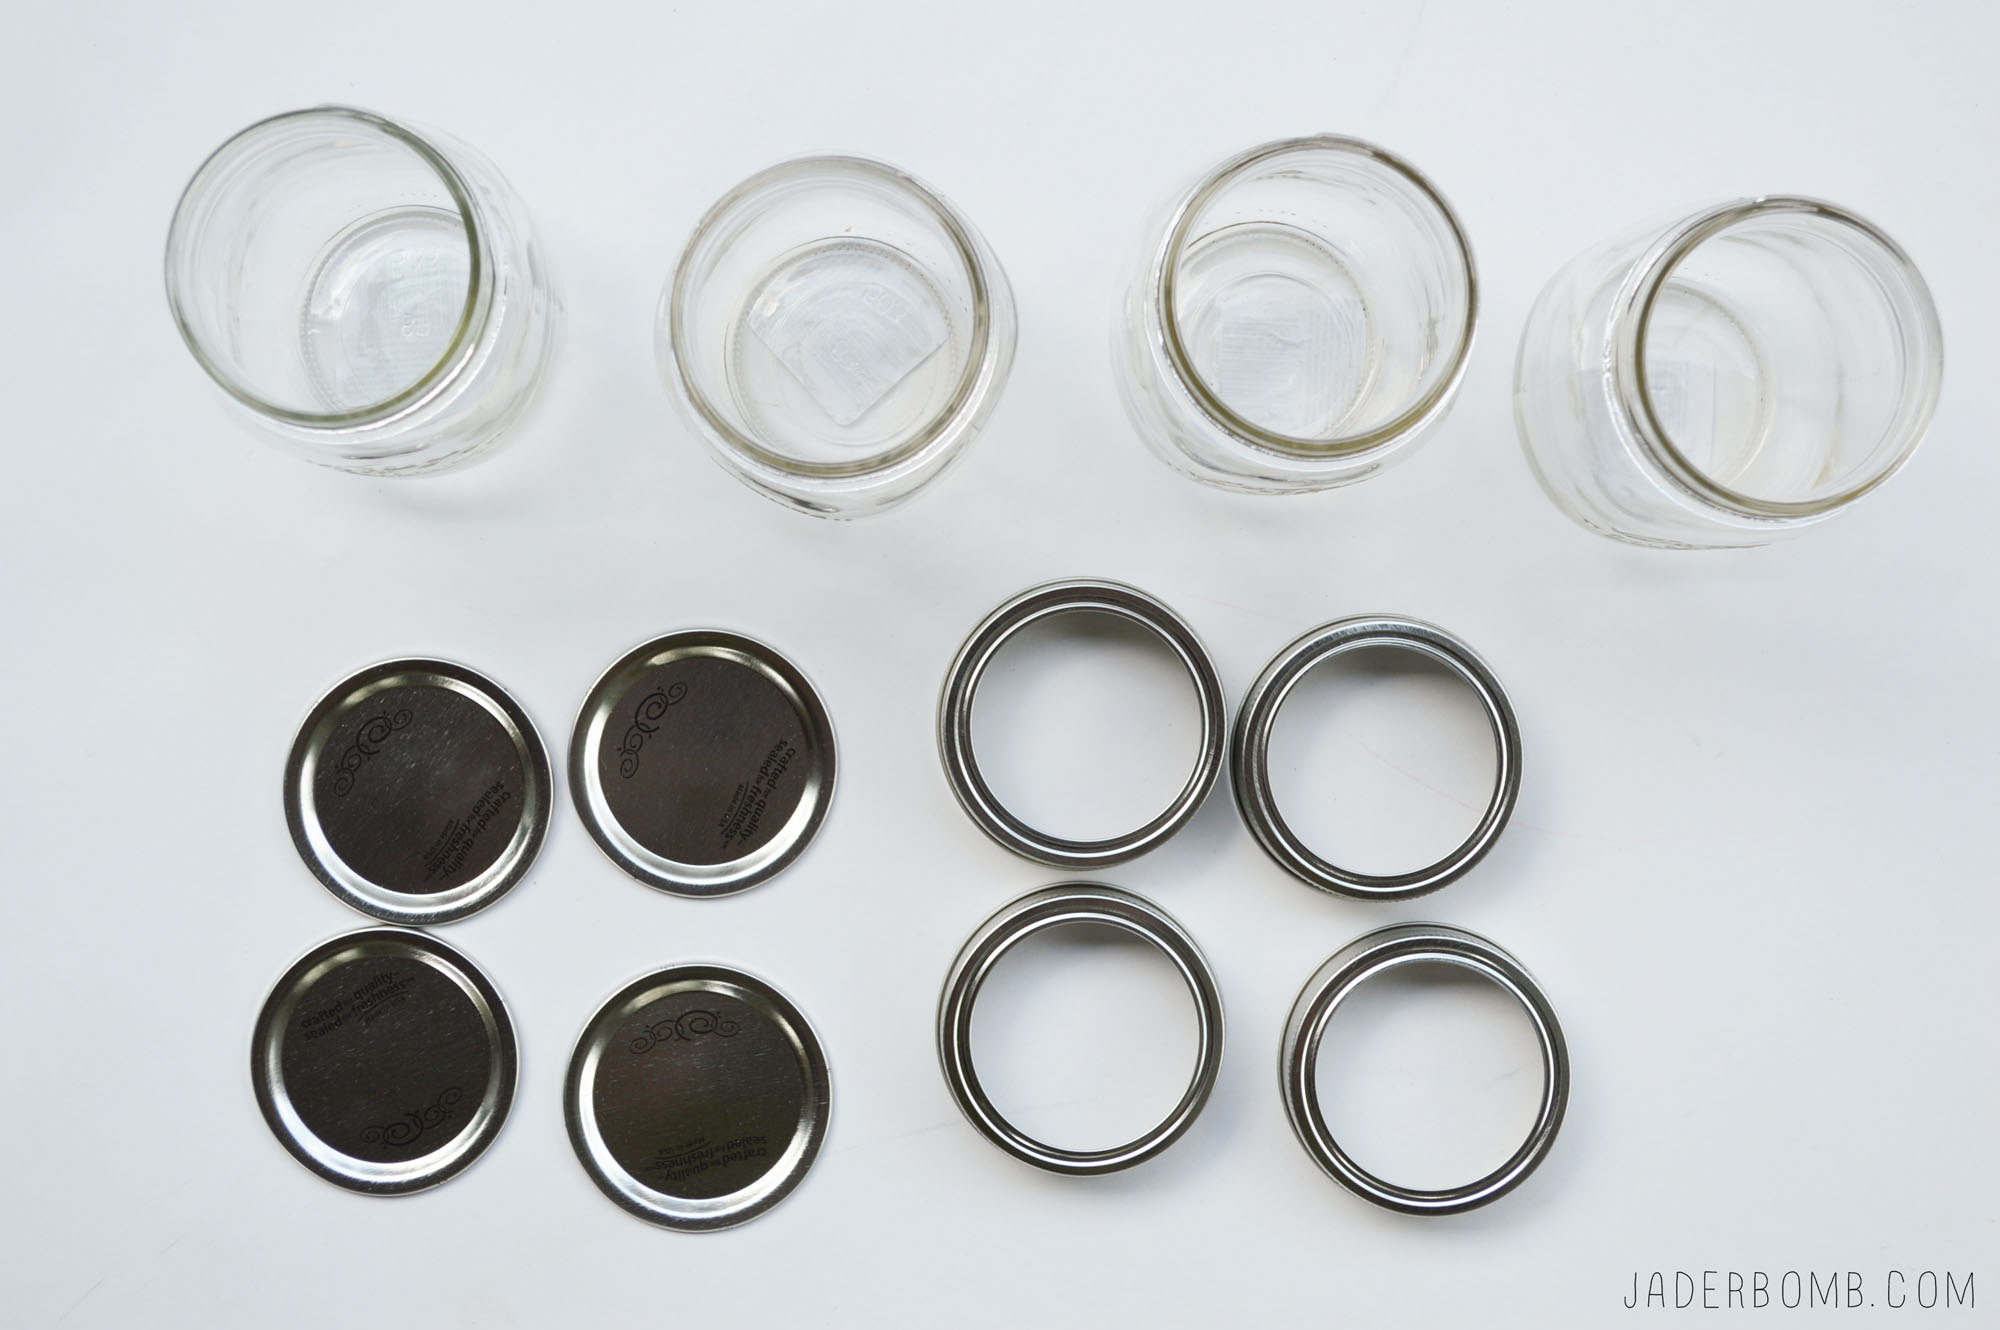
Let’s get started and I will show you how easy these mason jars are to make!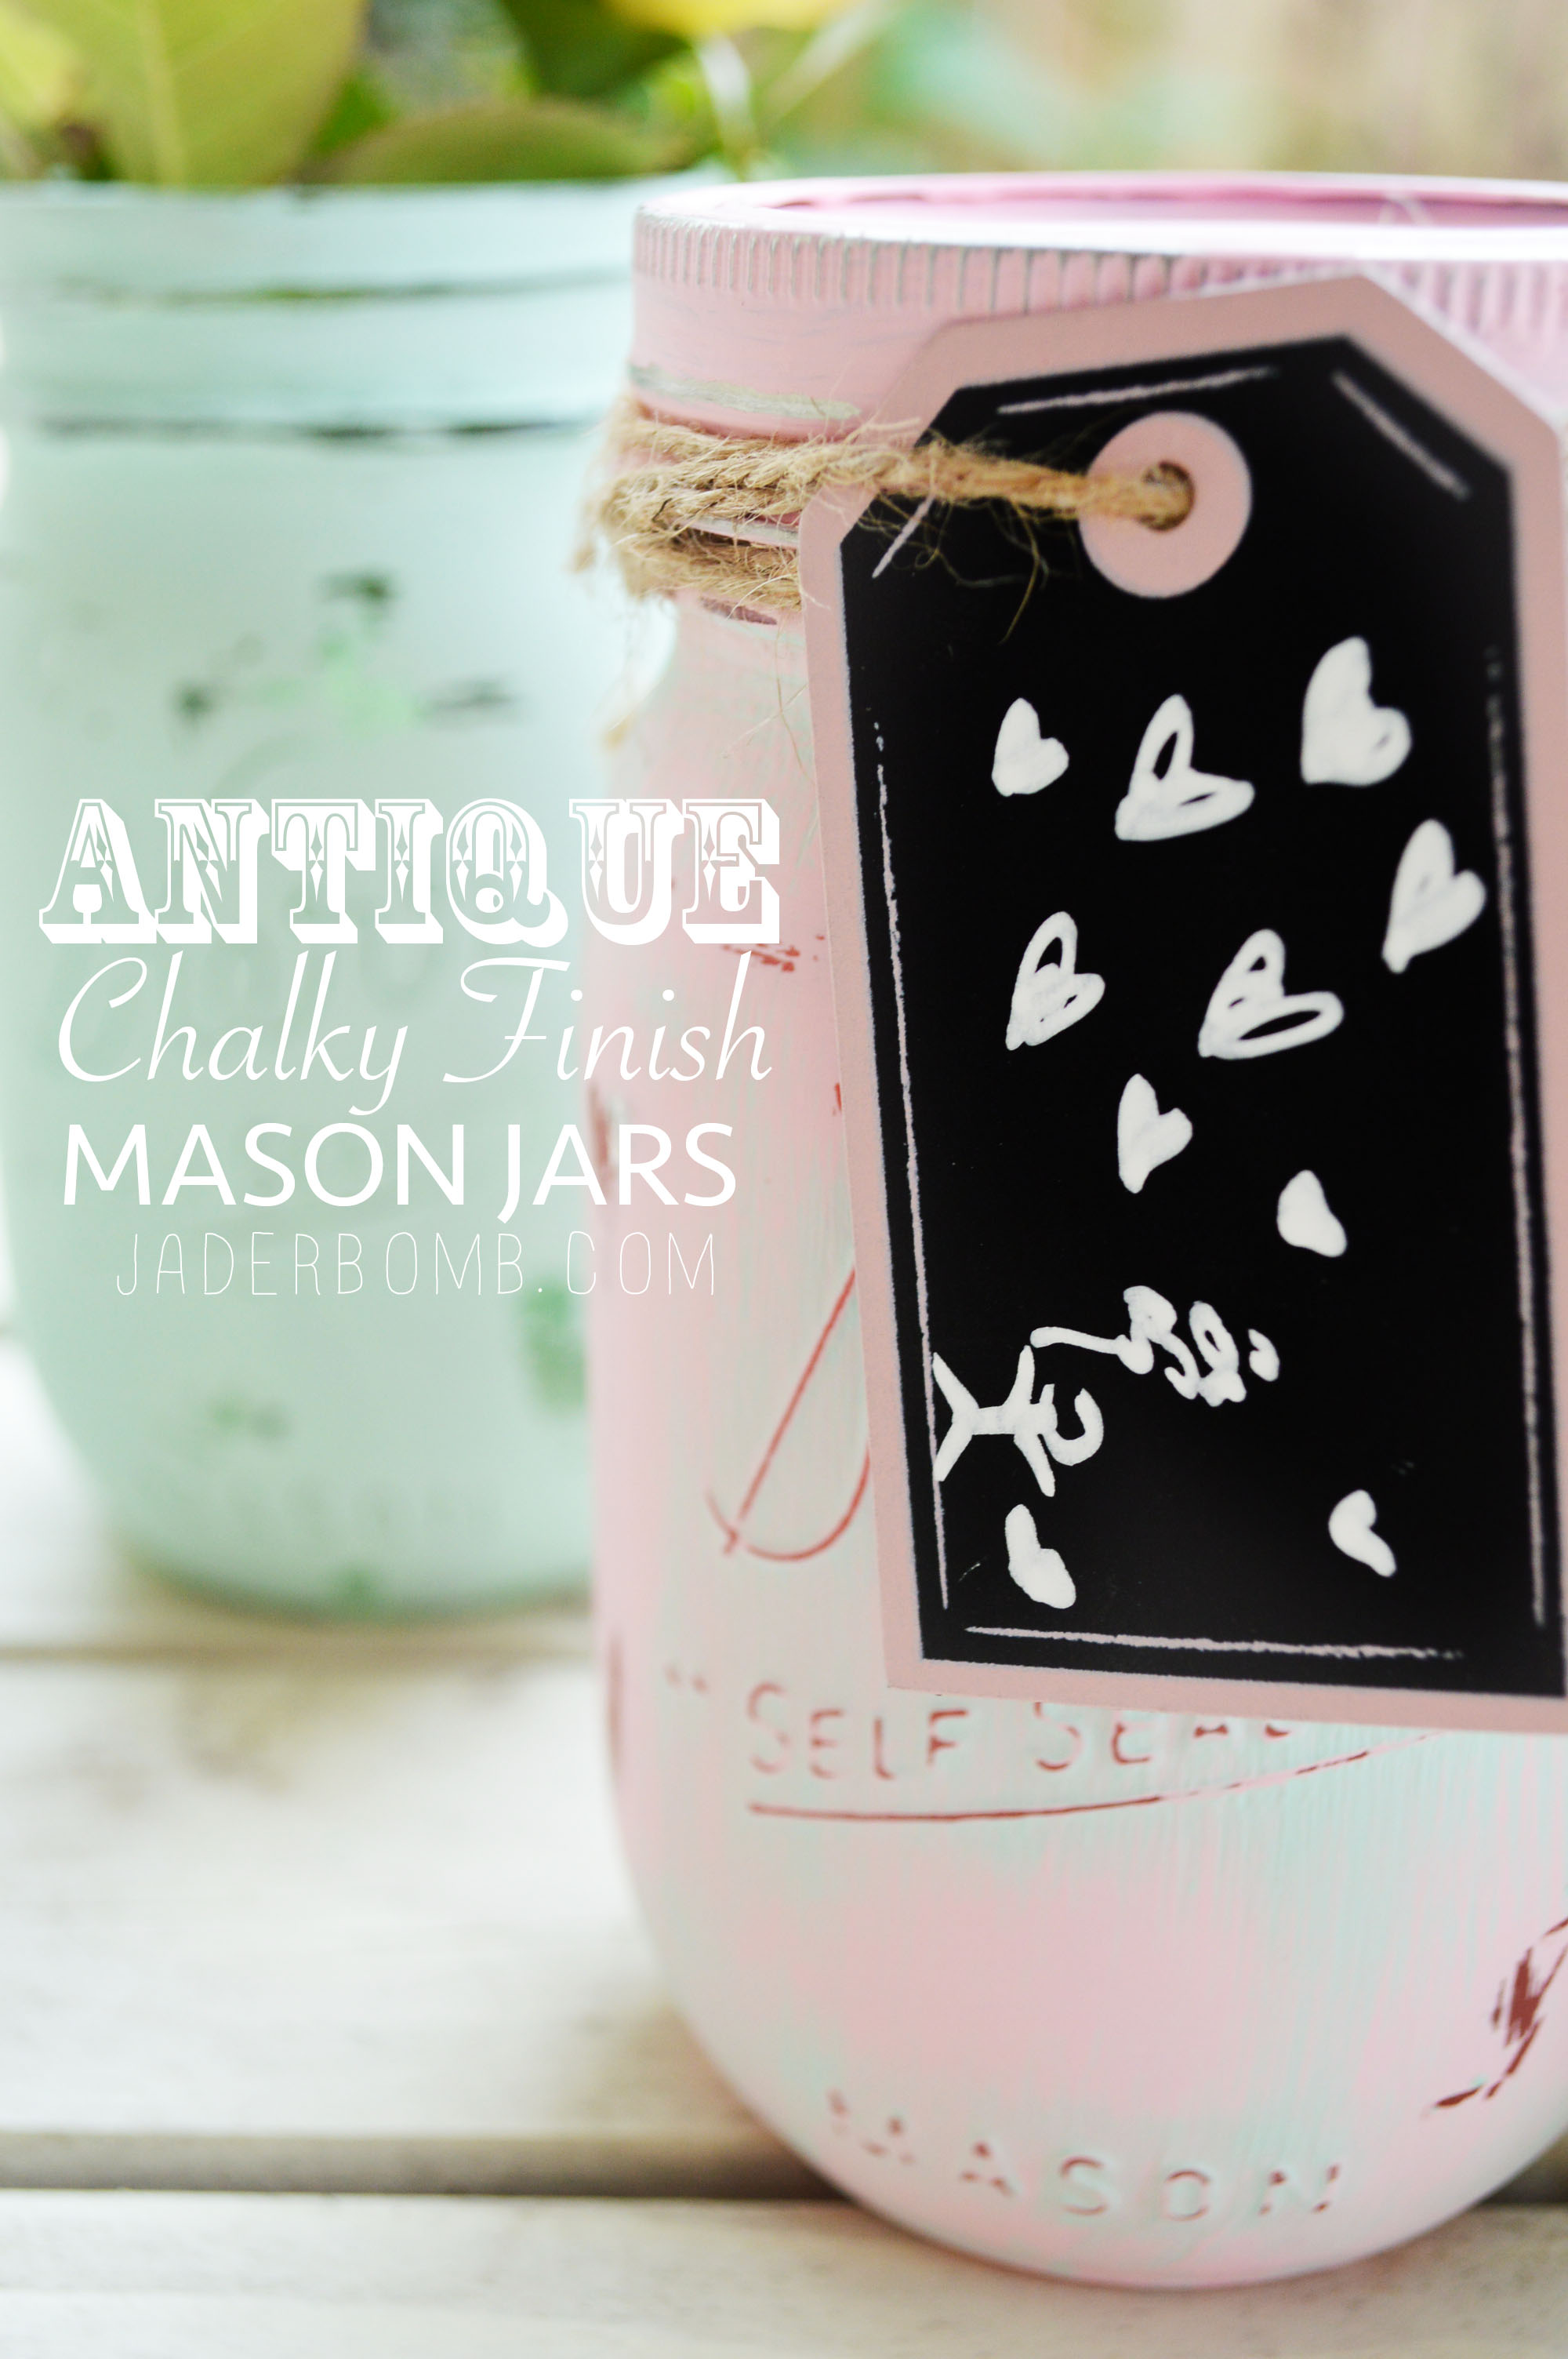 You will need: Mason Jars | Chalky Finish Paint | Chalk Markers | Twine | Chalk Board Tags | Foam Brushes | Sand Paper

I love the milky look to these chalky finishes. I was really pleased with how smooth they went on my mason jars. I think I will need one of each color now! 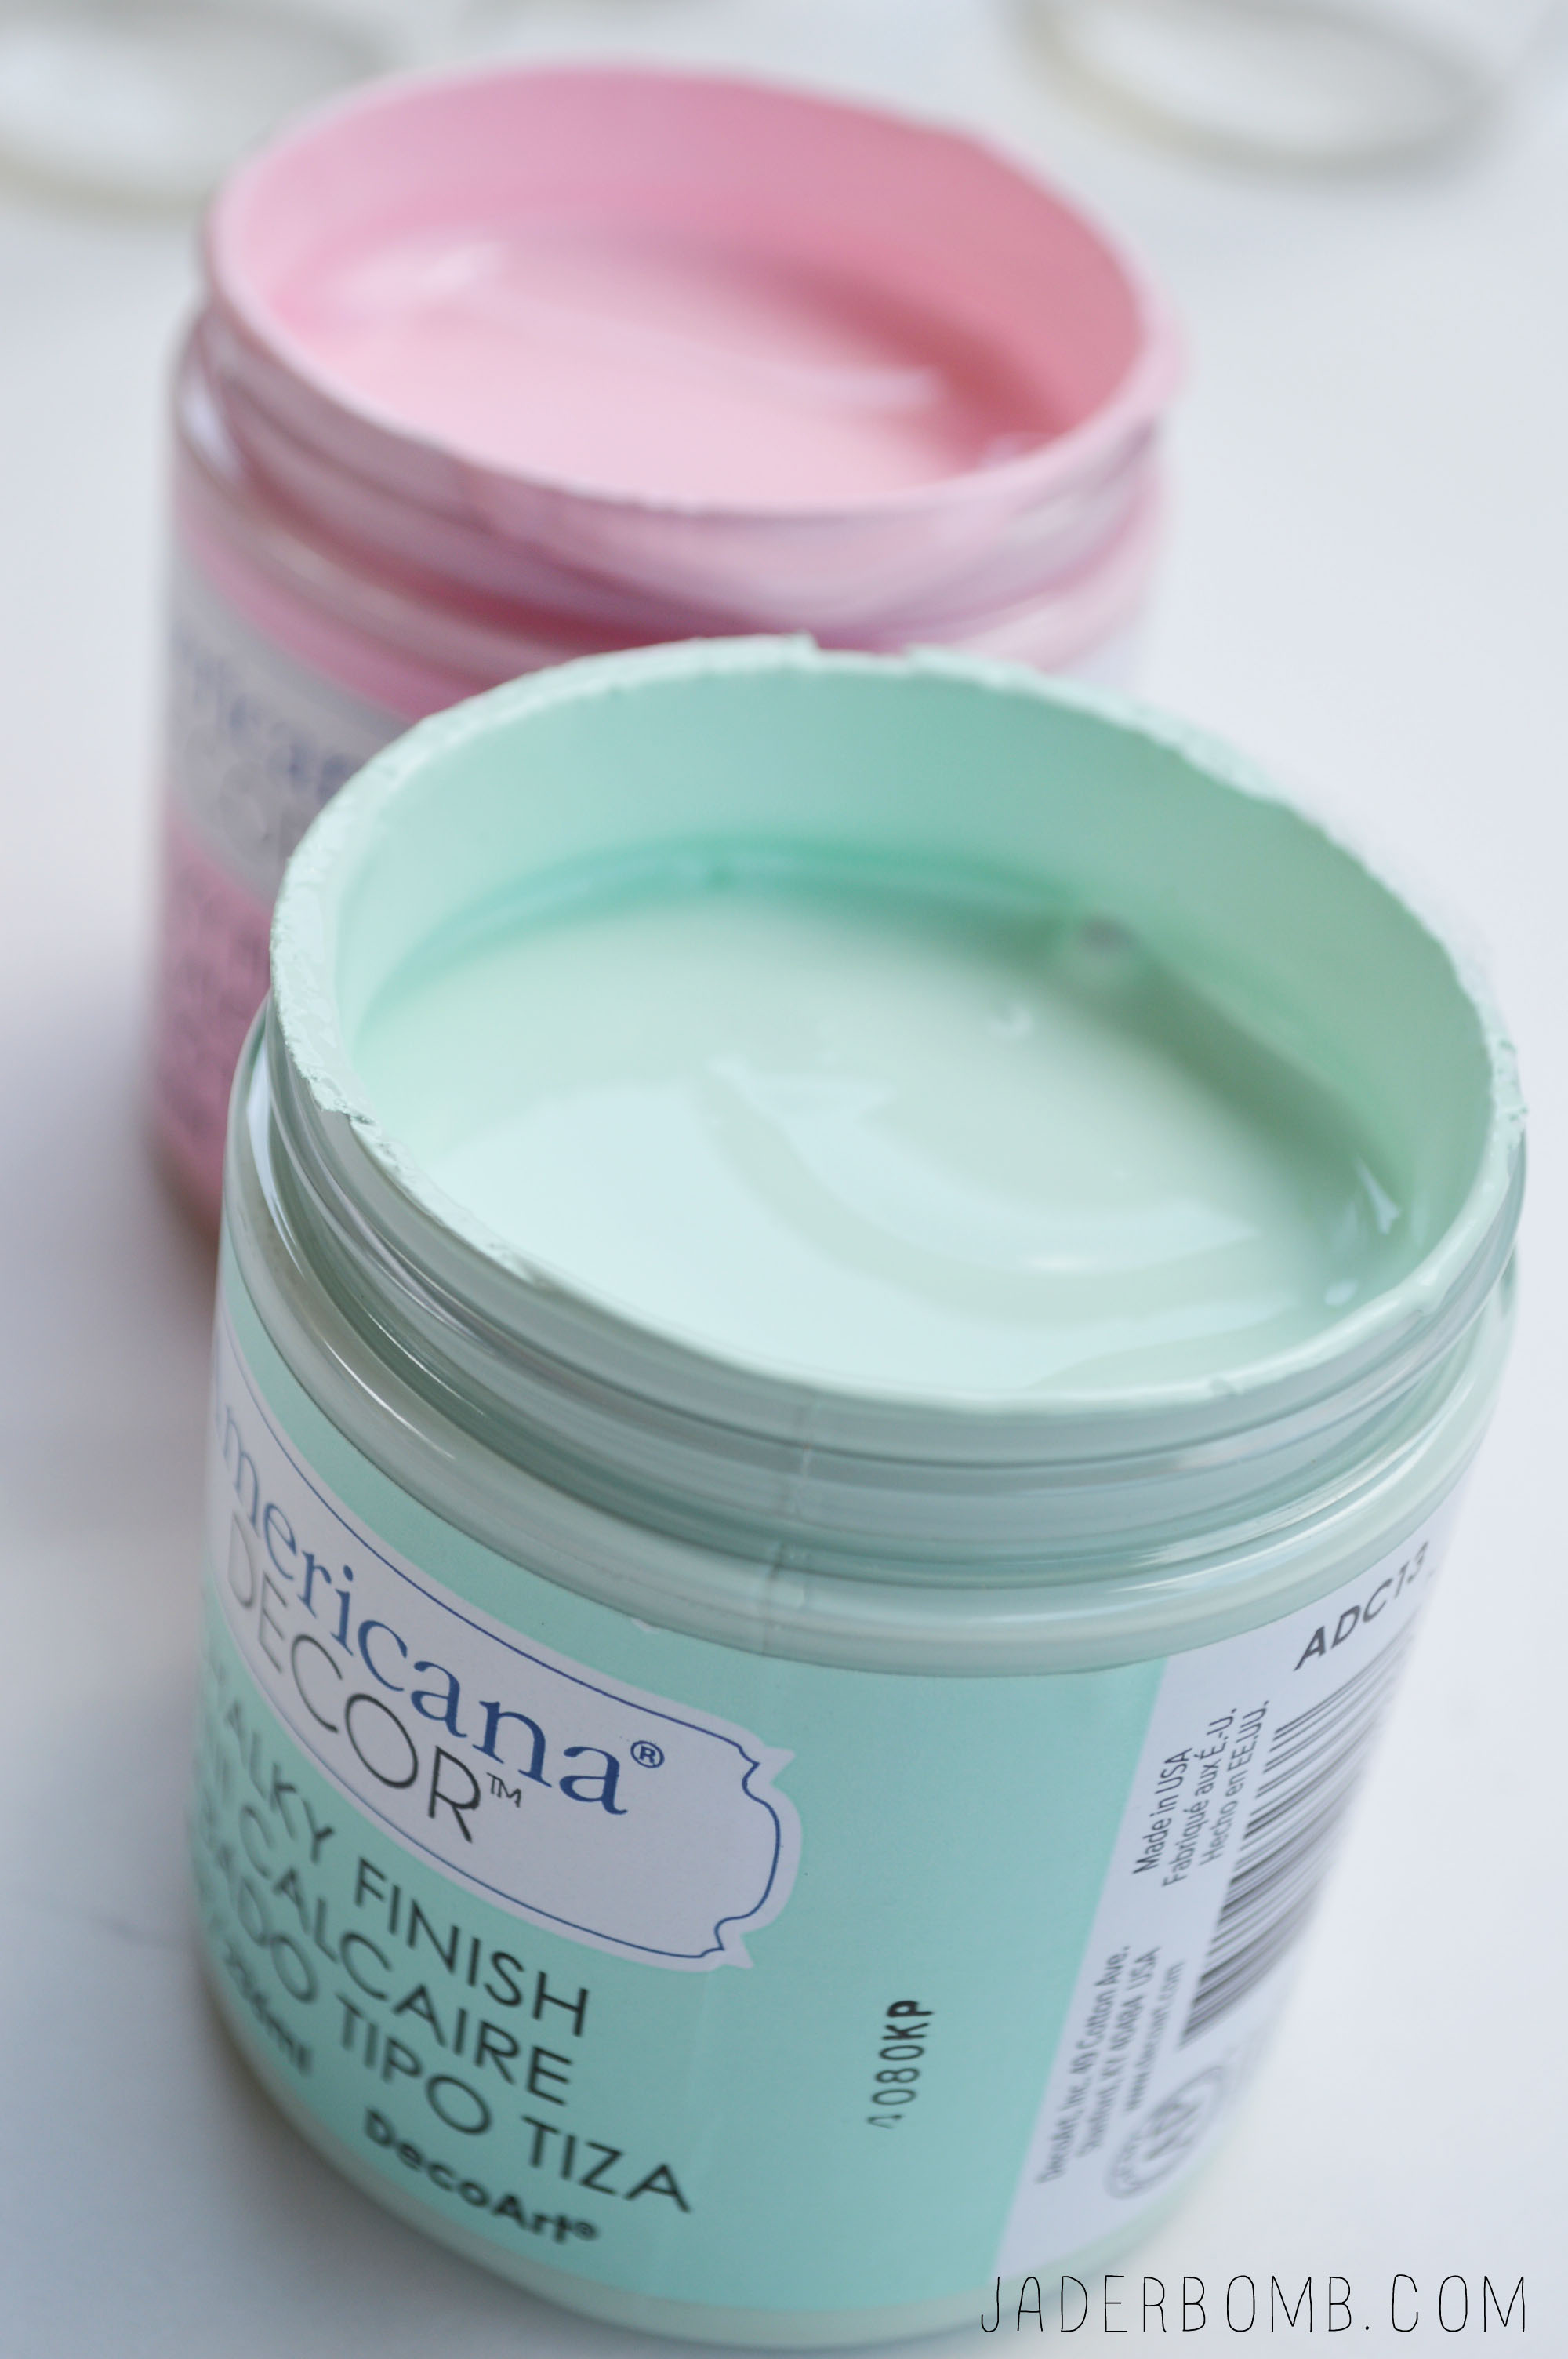
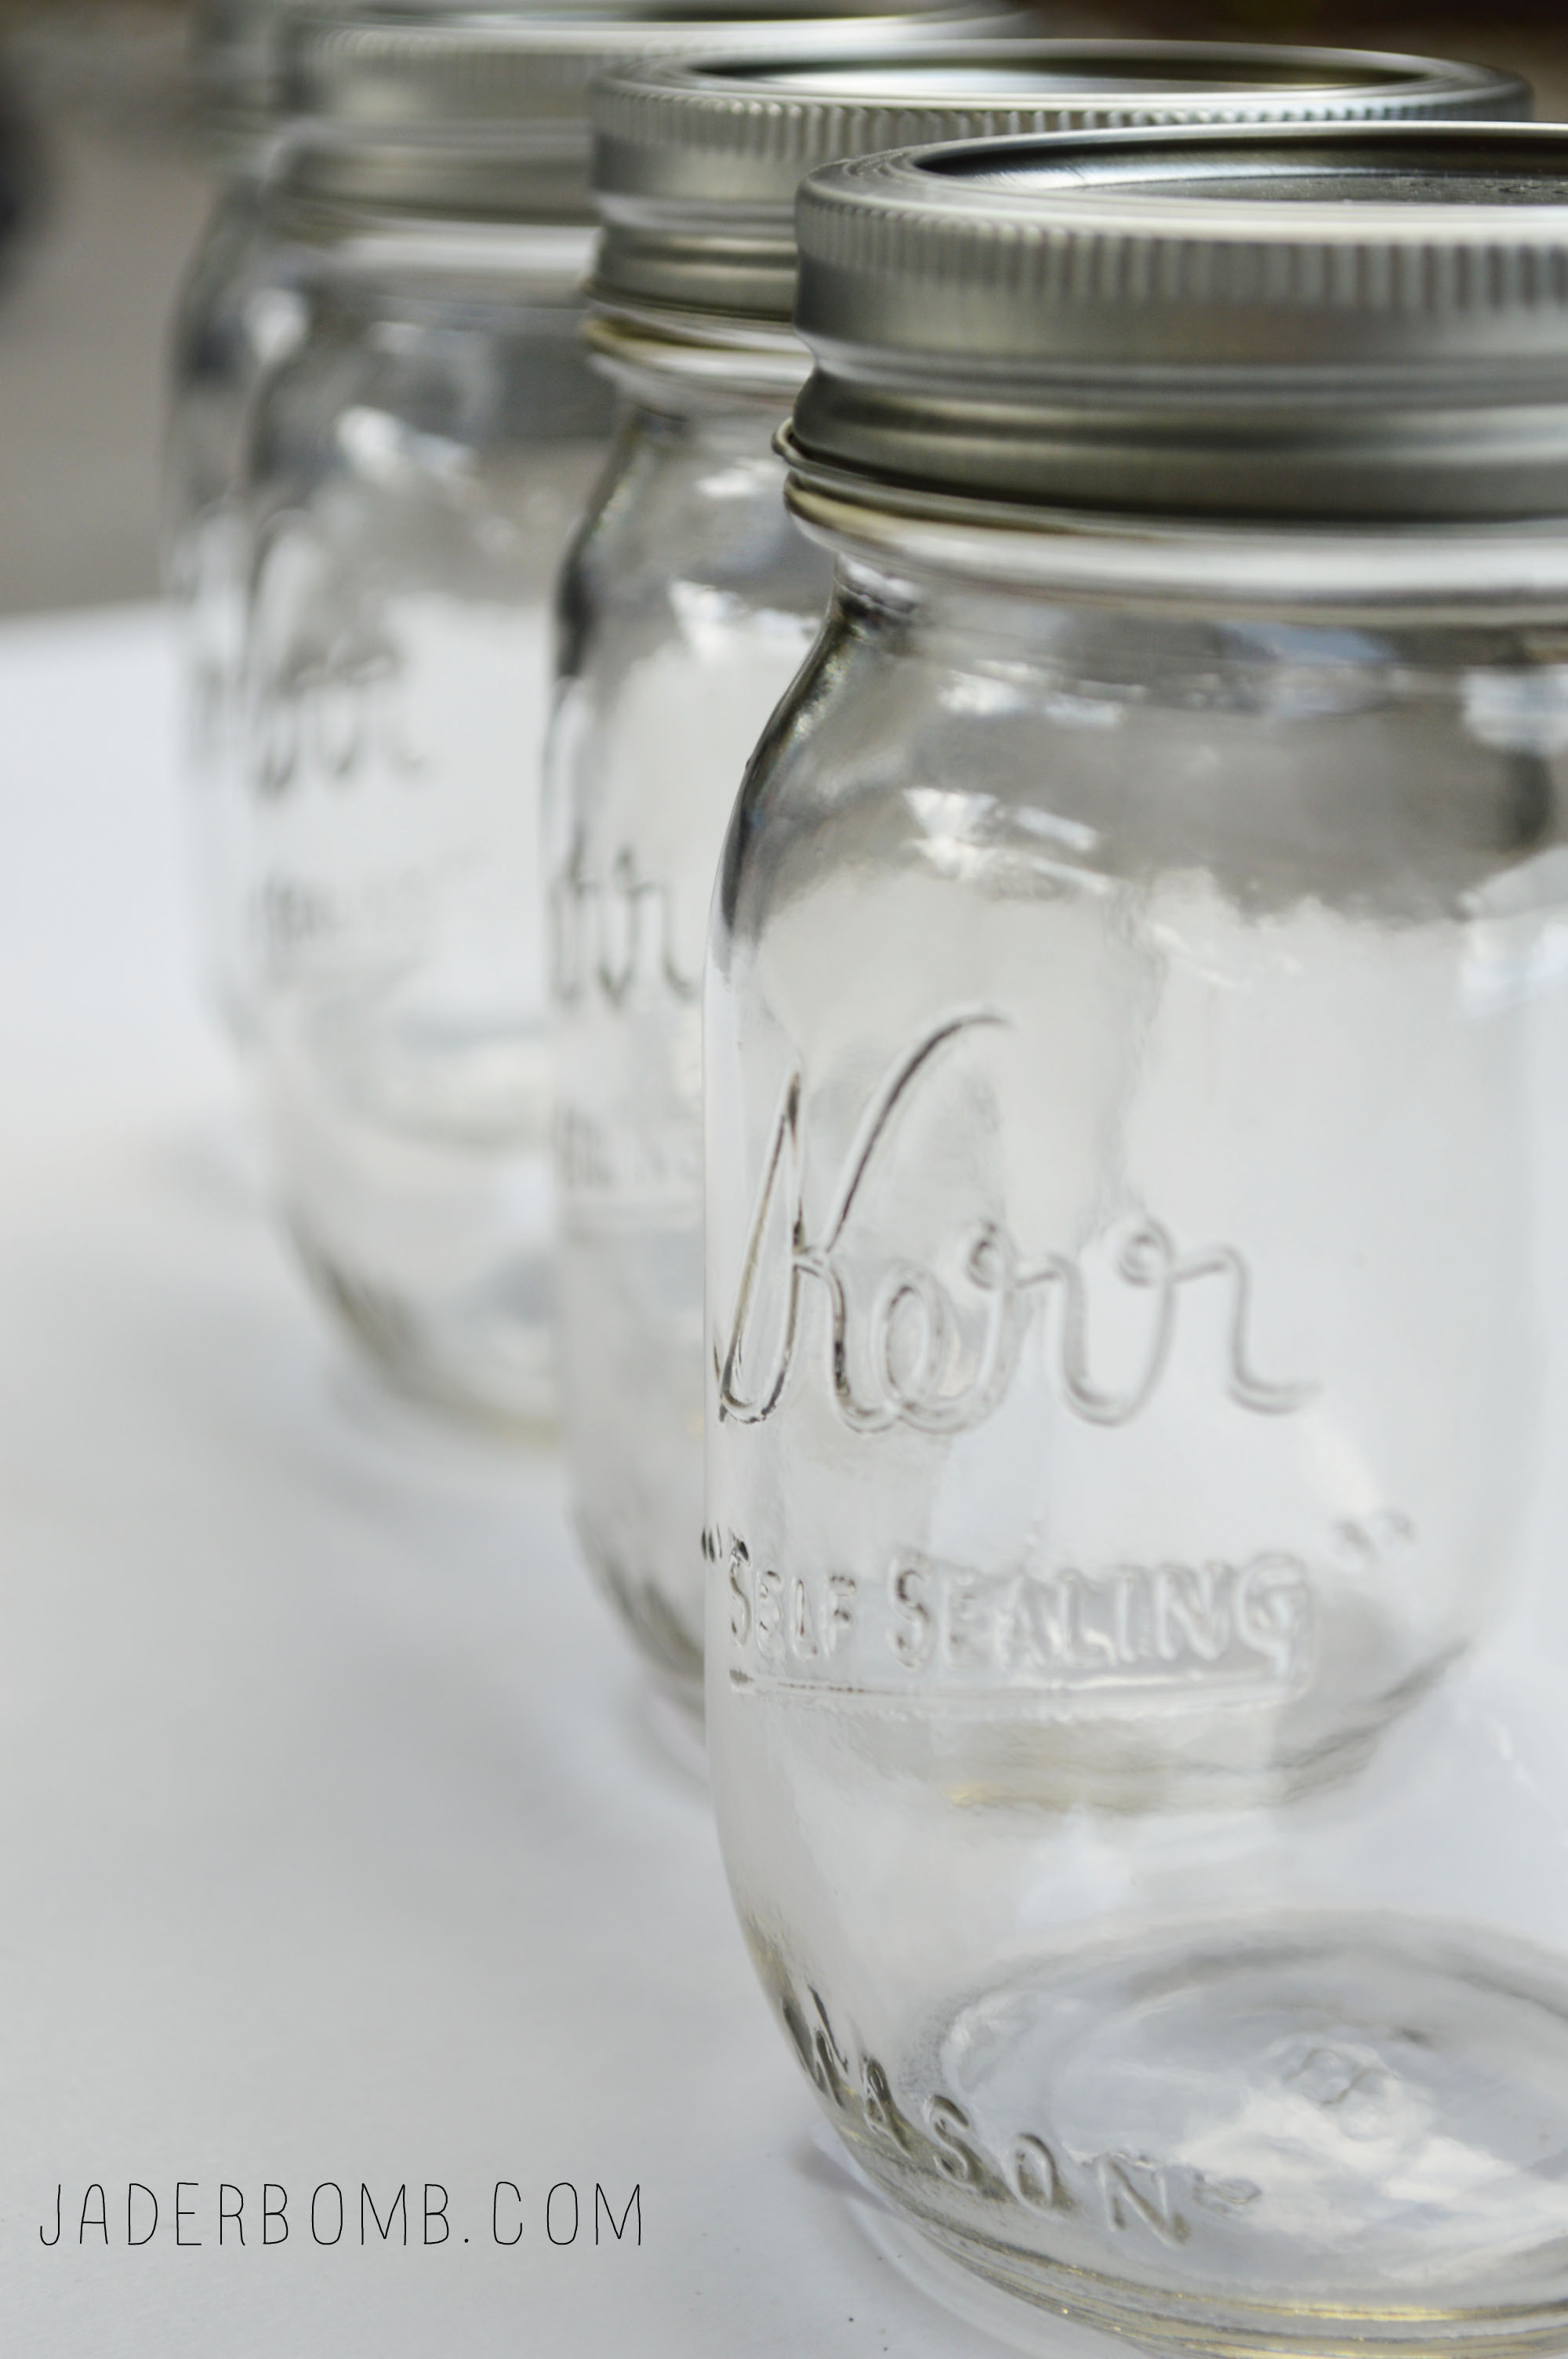 Take off all your lids and place them on a clean surface. We will be painting these as well.
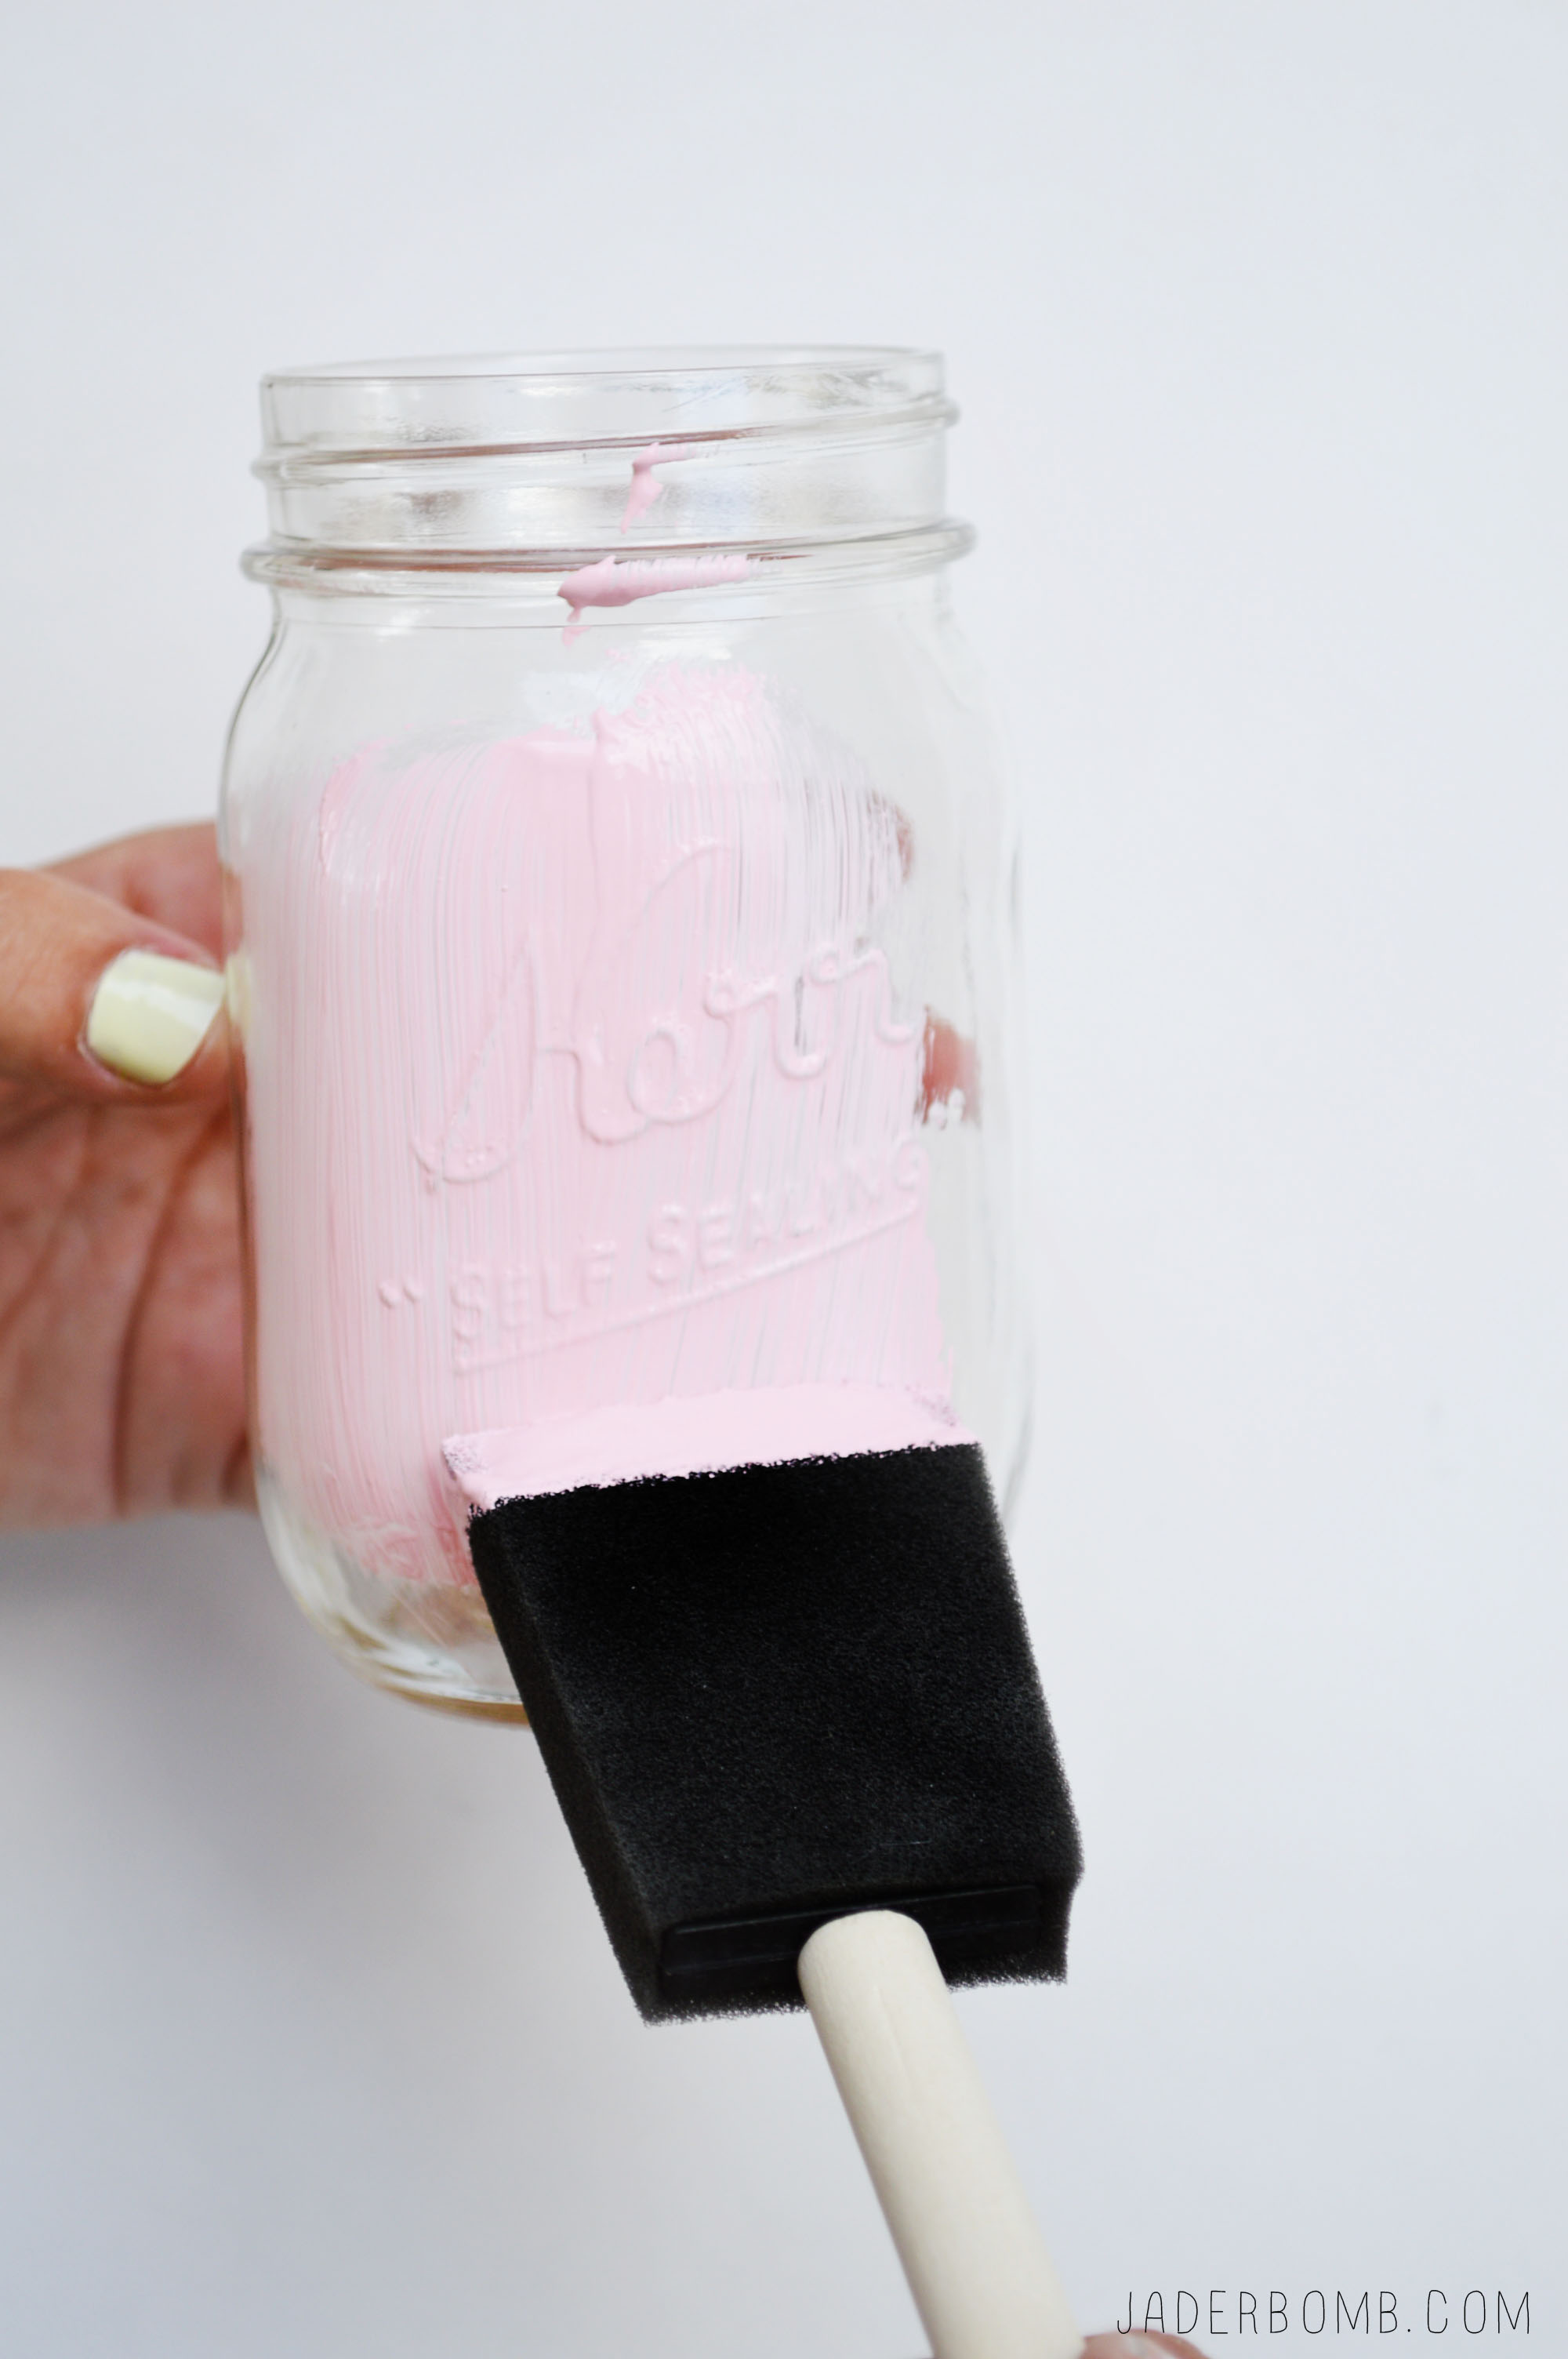
  Start by painting your mason jar. You will add one coat but make sure it’s dry before adding another. Great news, this chalky finish dries super fast so by the time you get to your third jar your first one will be dry!
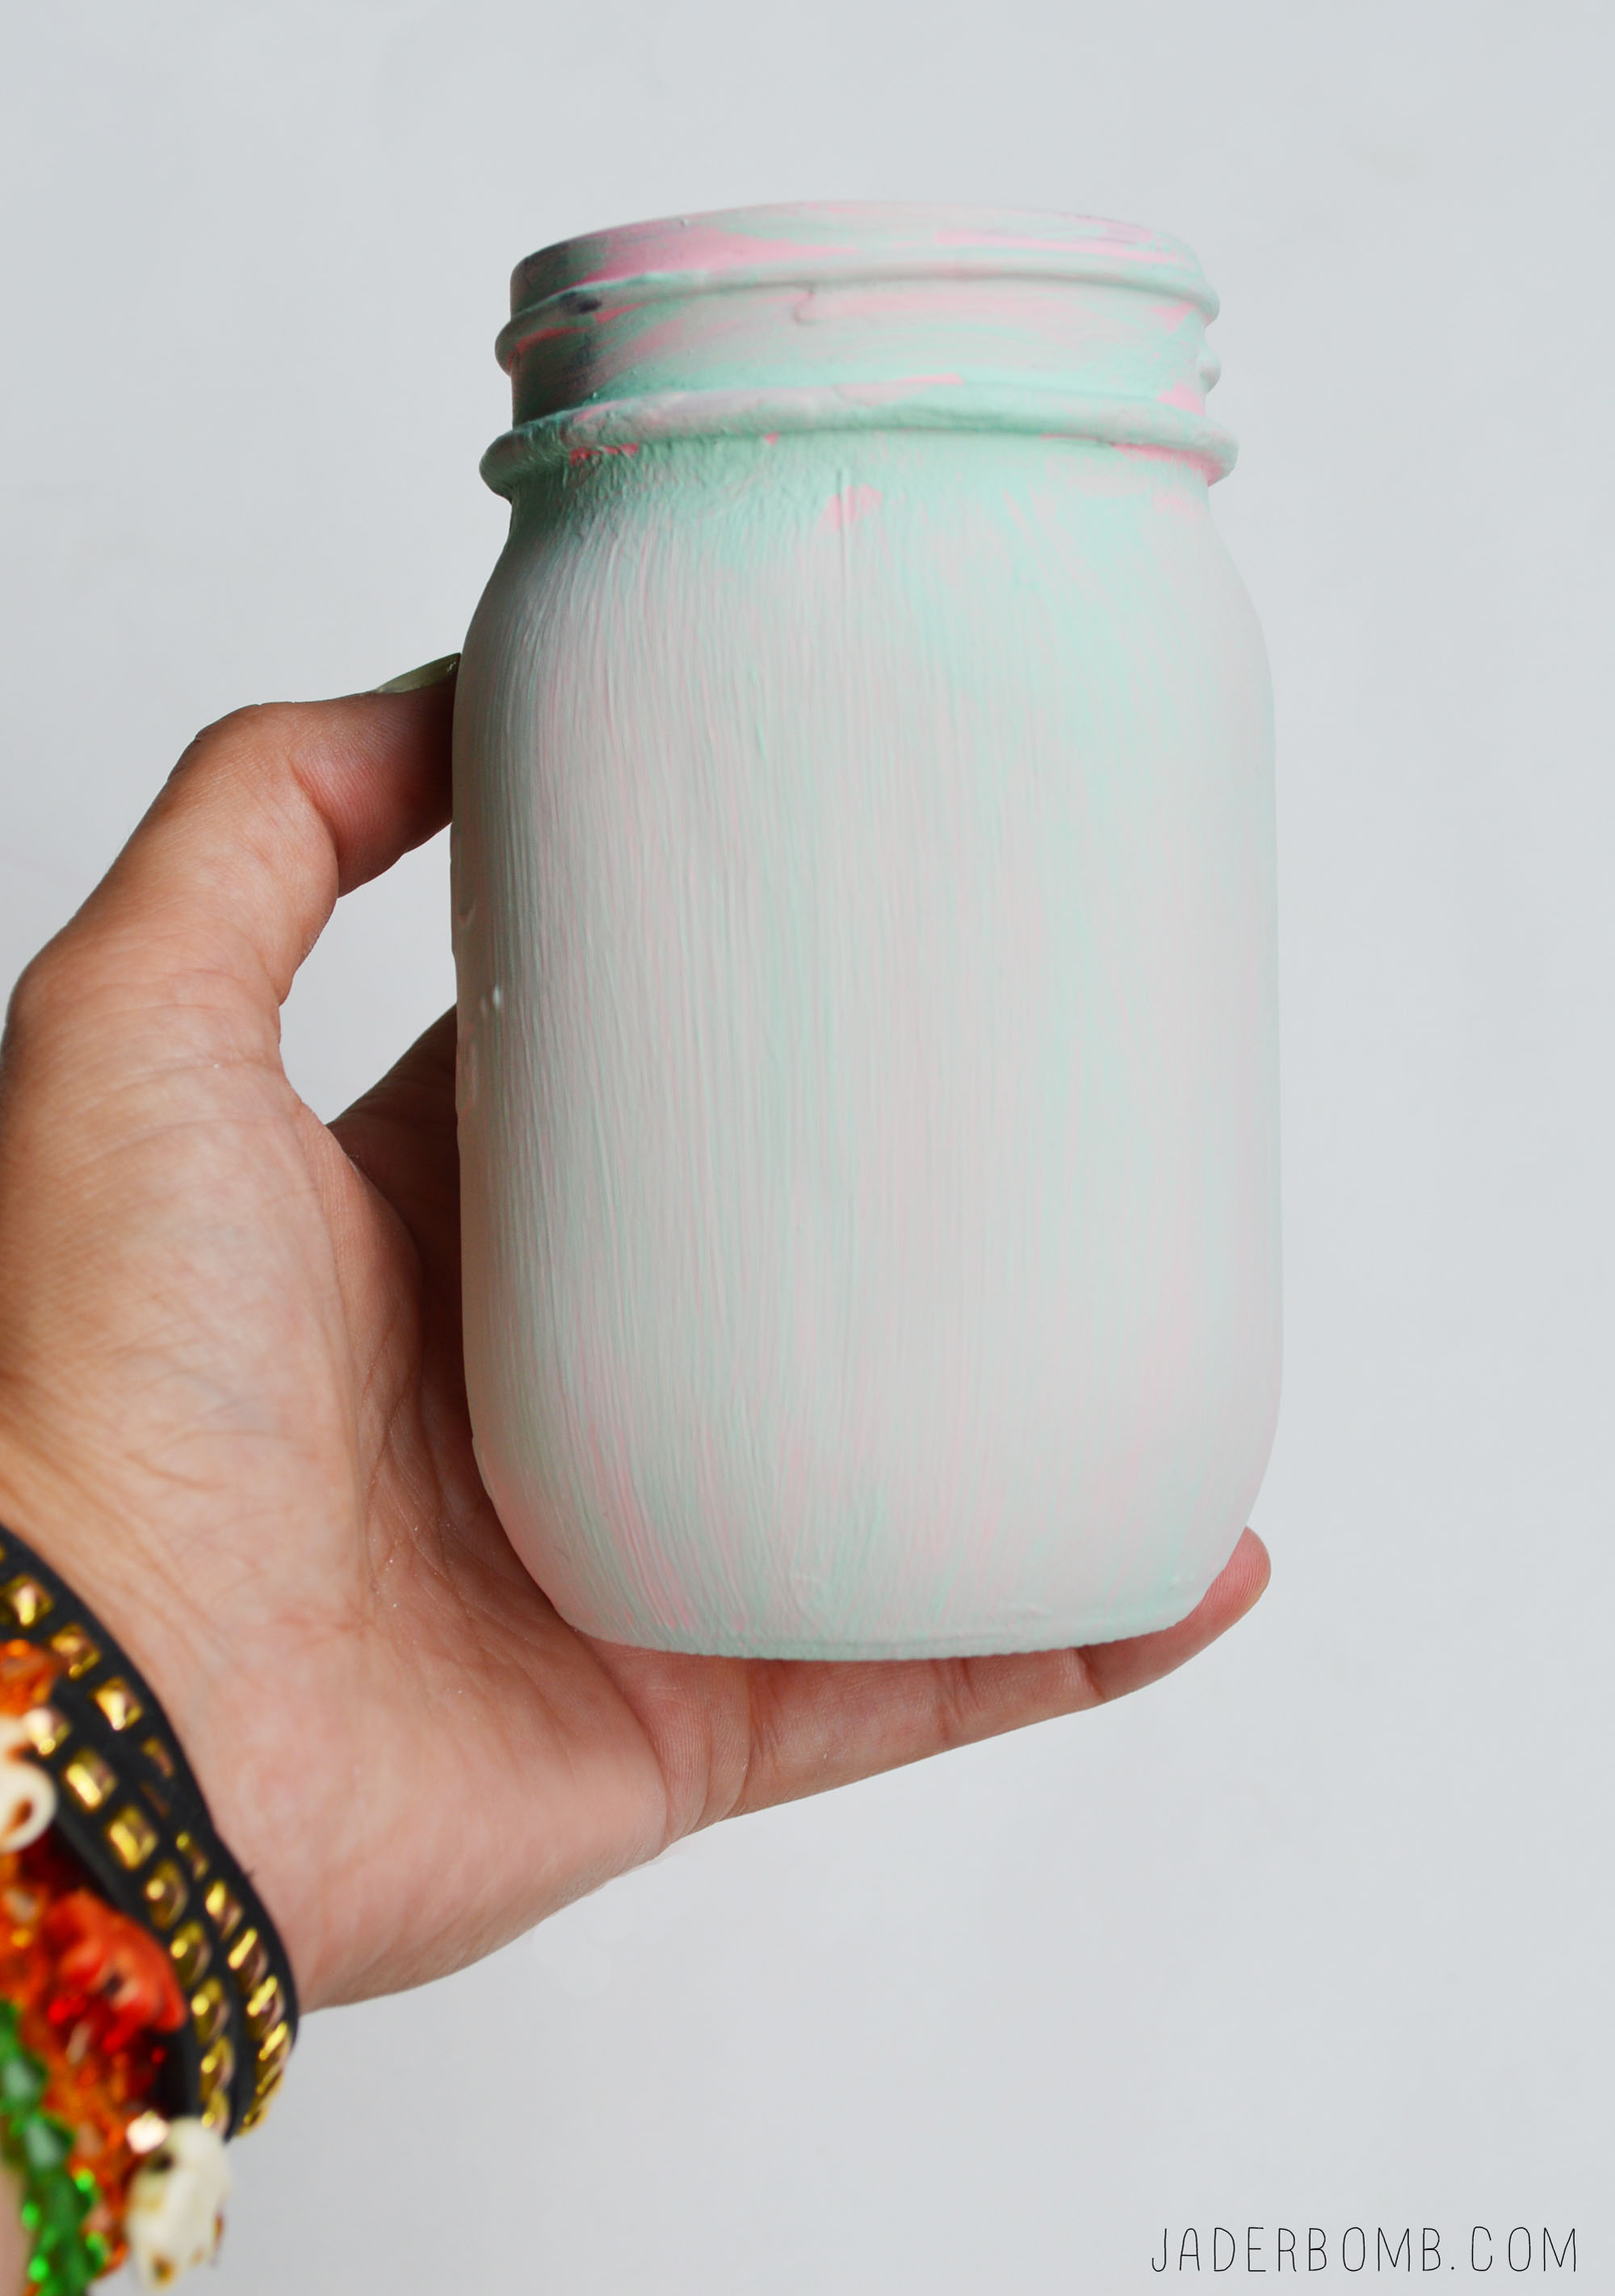
 Have fun with your colors and mix them up if you want. Remember you will be sanding some of the paint away so having other colors show up a little will add to that vintage look you are going for.
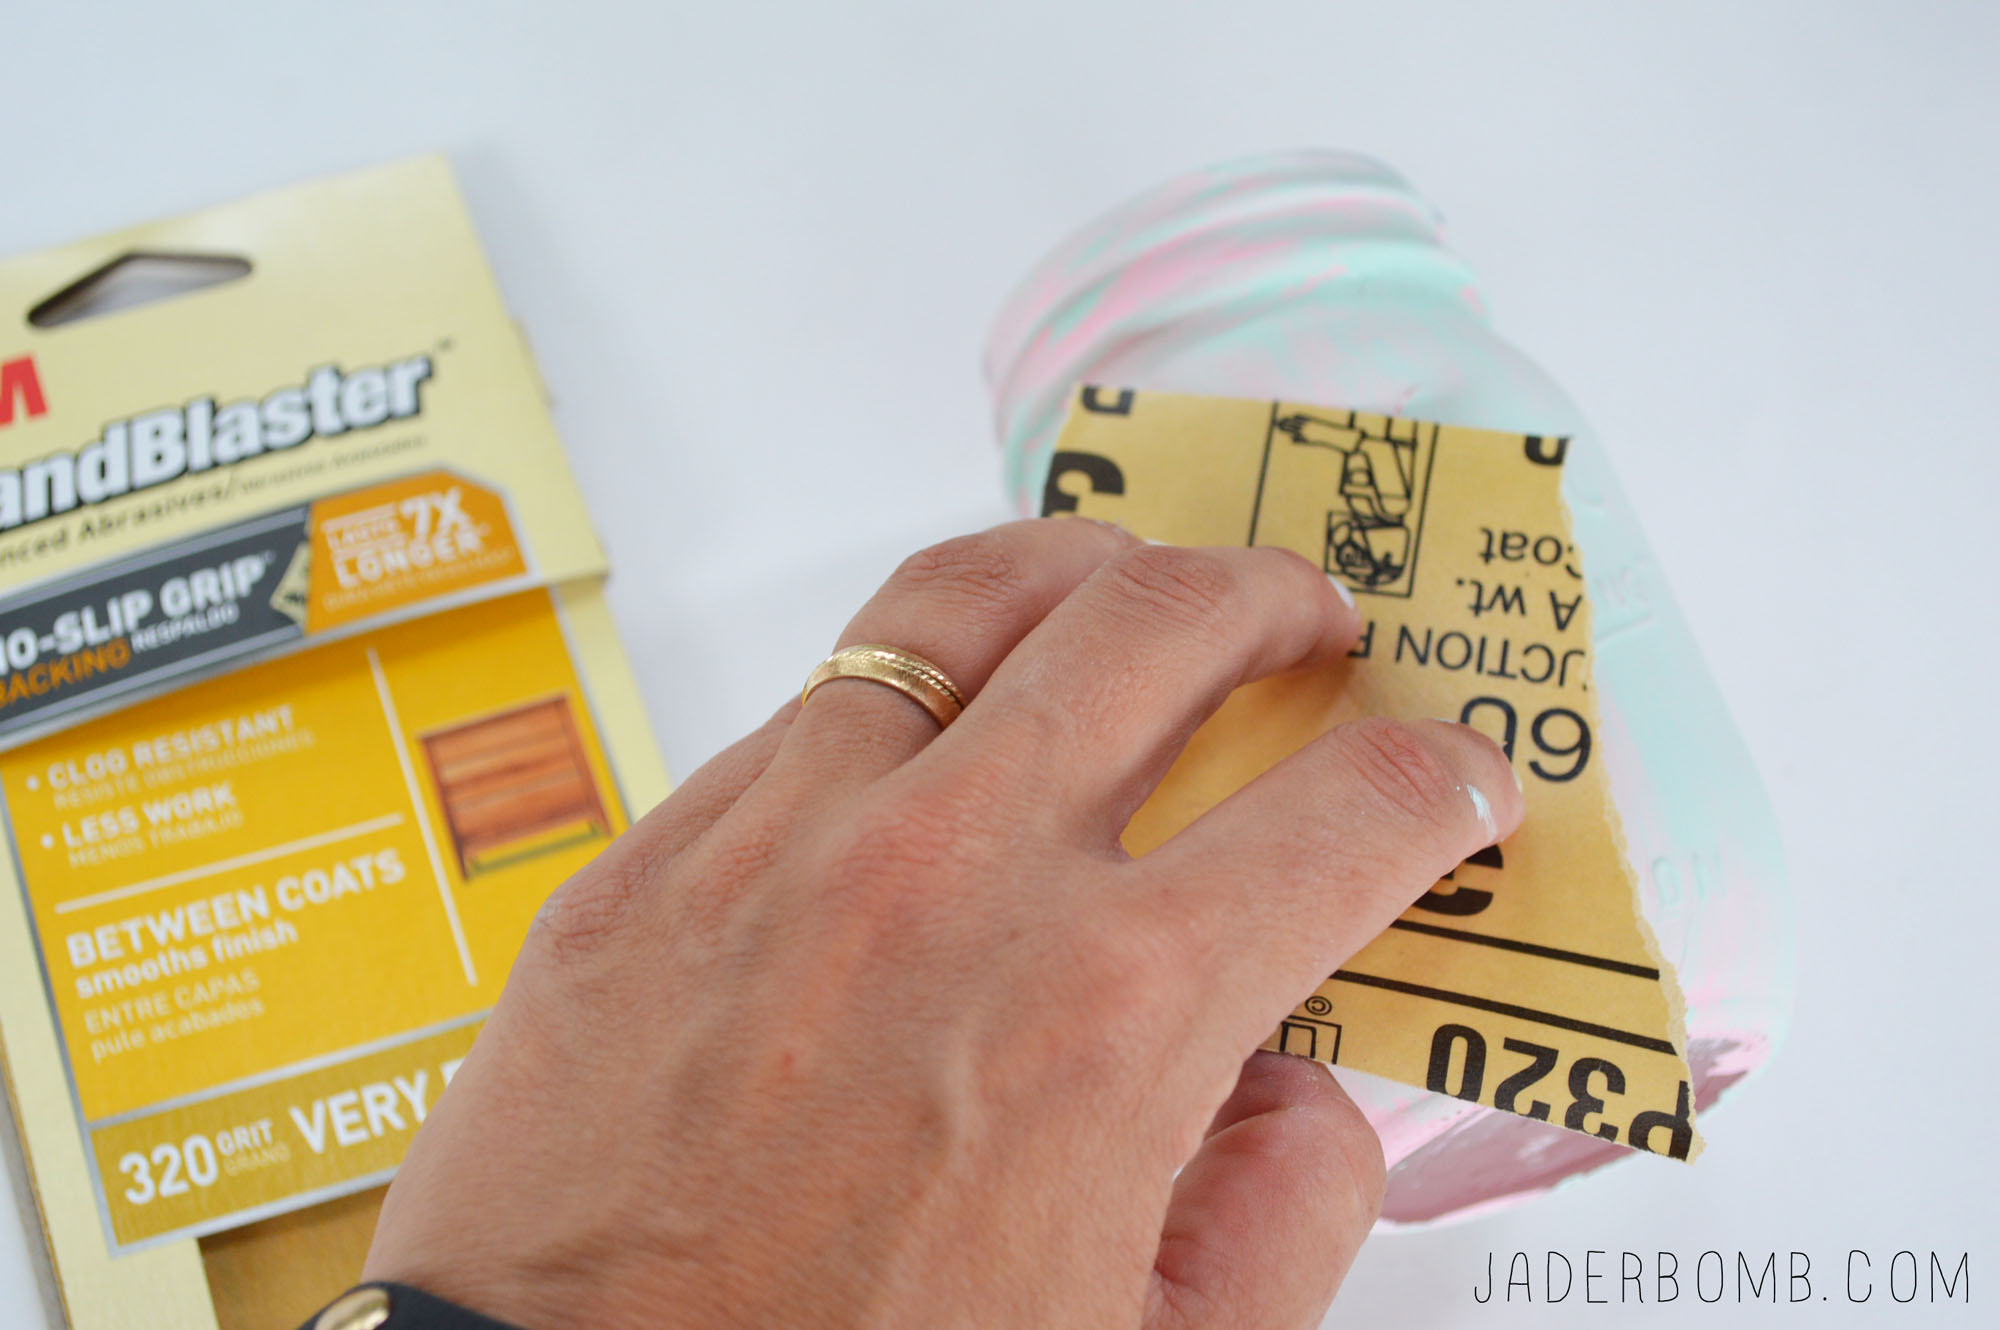
 Get your sand paper and lightly sand your jars and lids. Don’t worry, if you sand off too much you can apply more chalky finish paint.
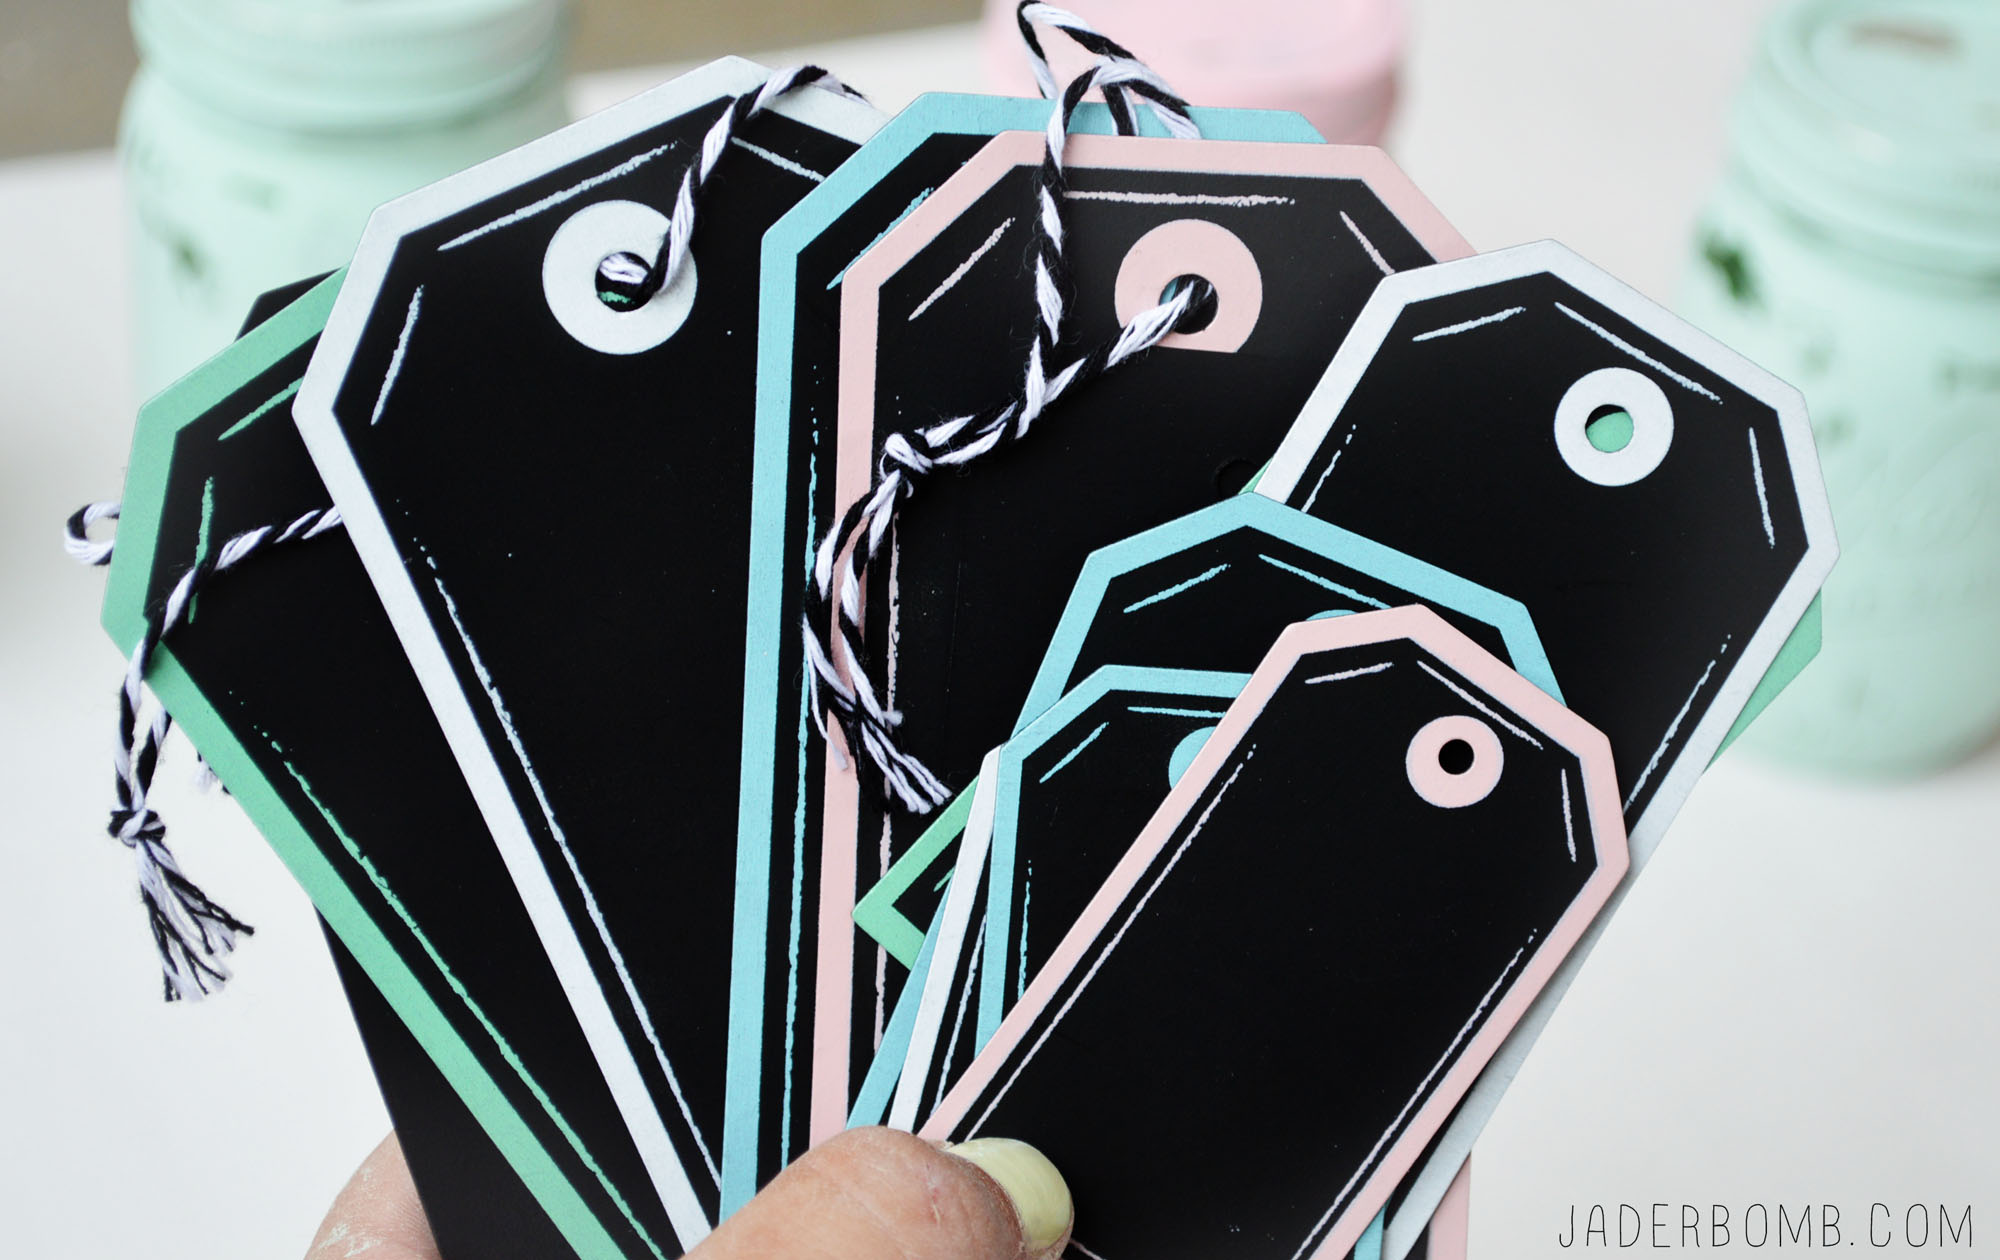
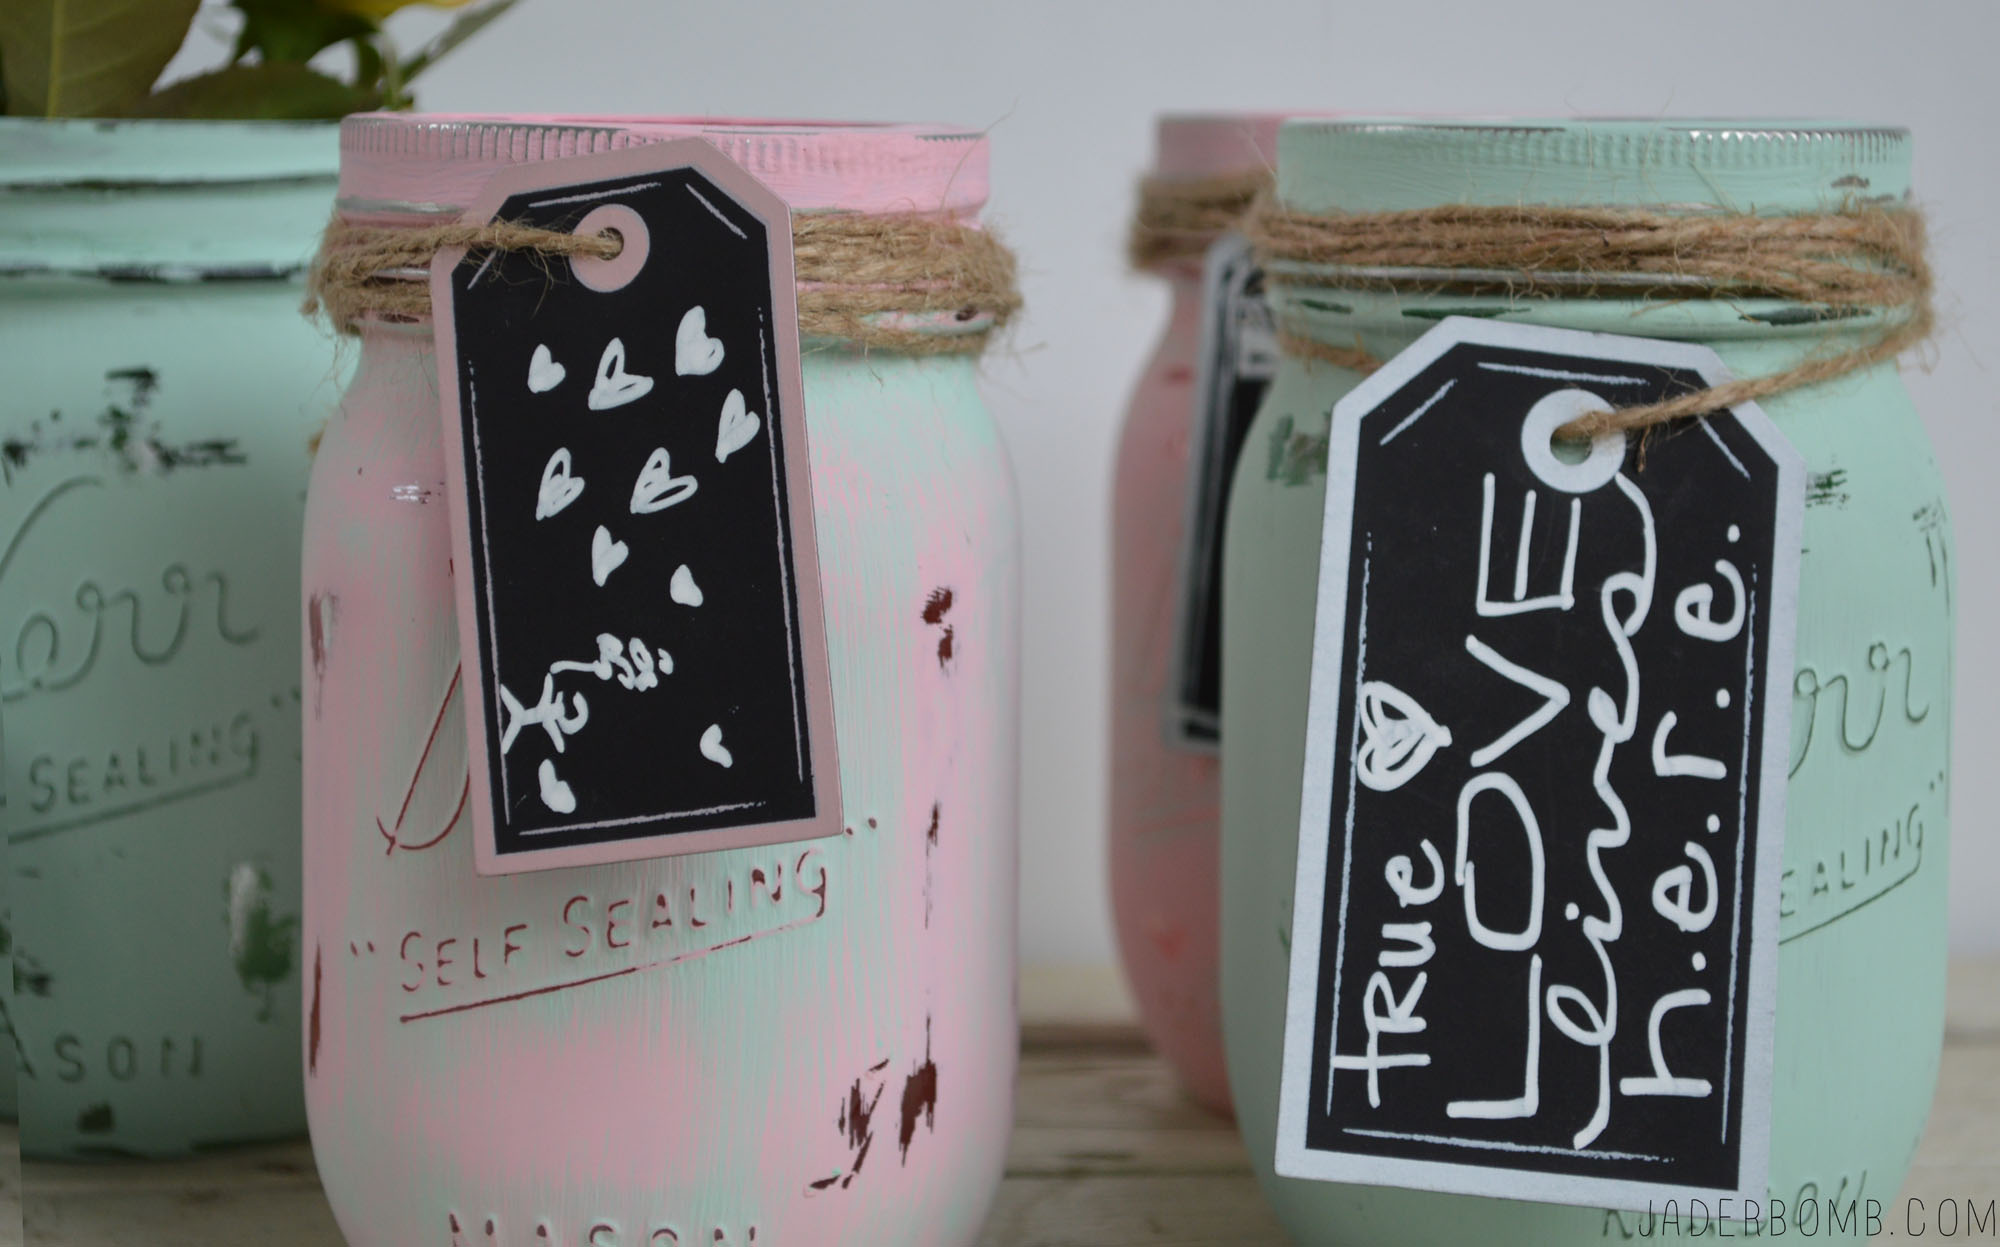
 Time to play with our chalkboard tags! Did I mention how much I am in love with these. I want to put them on everything. Remember they are already coated with a chalk finish so all you have to do is write on them with your chalk markers!
 When you are finished putting the lids back on you can add your labels by wrapping the twine around the lid a few times then passing the twine through the tag then tie in the back. That simple, y’all!
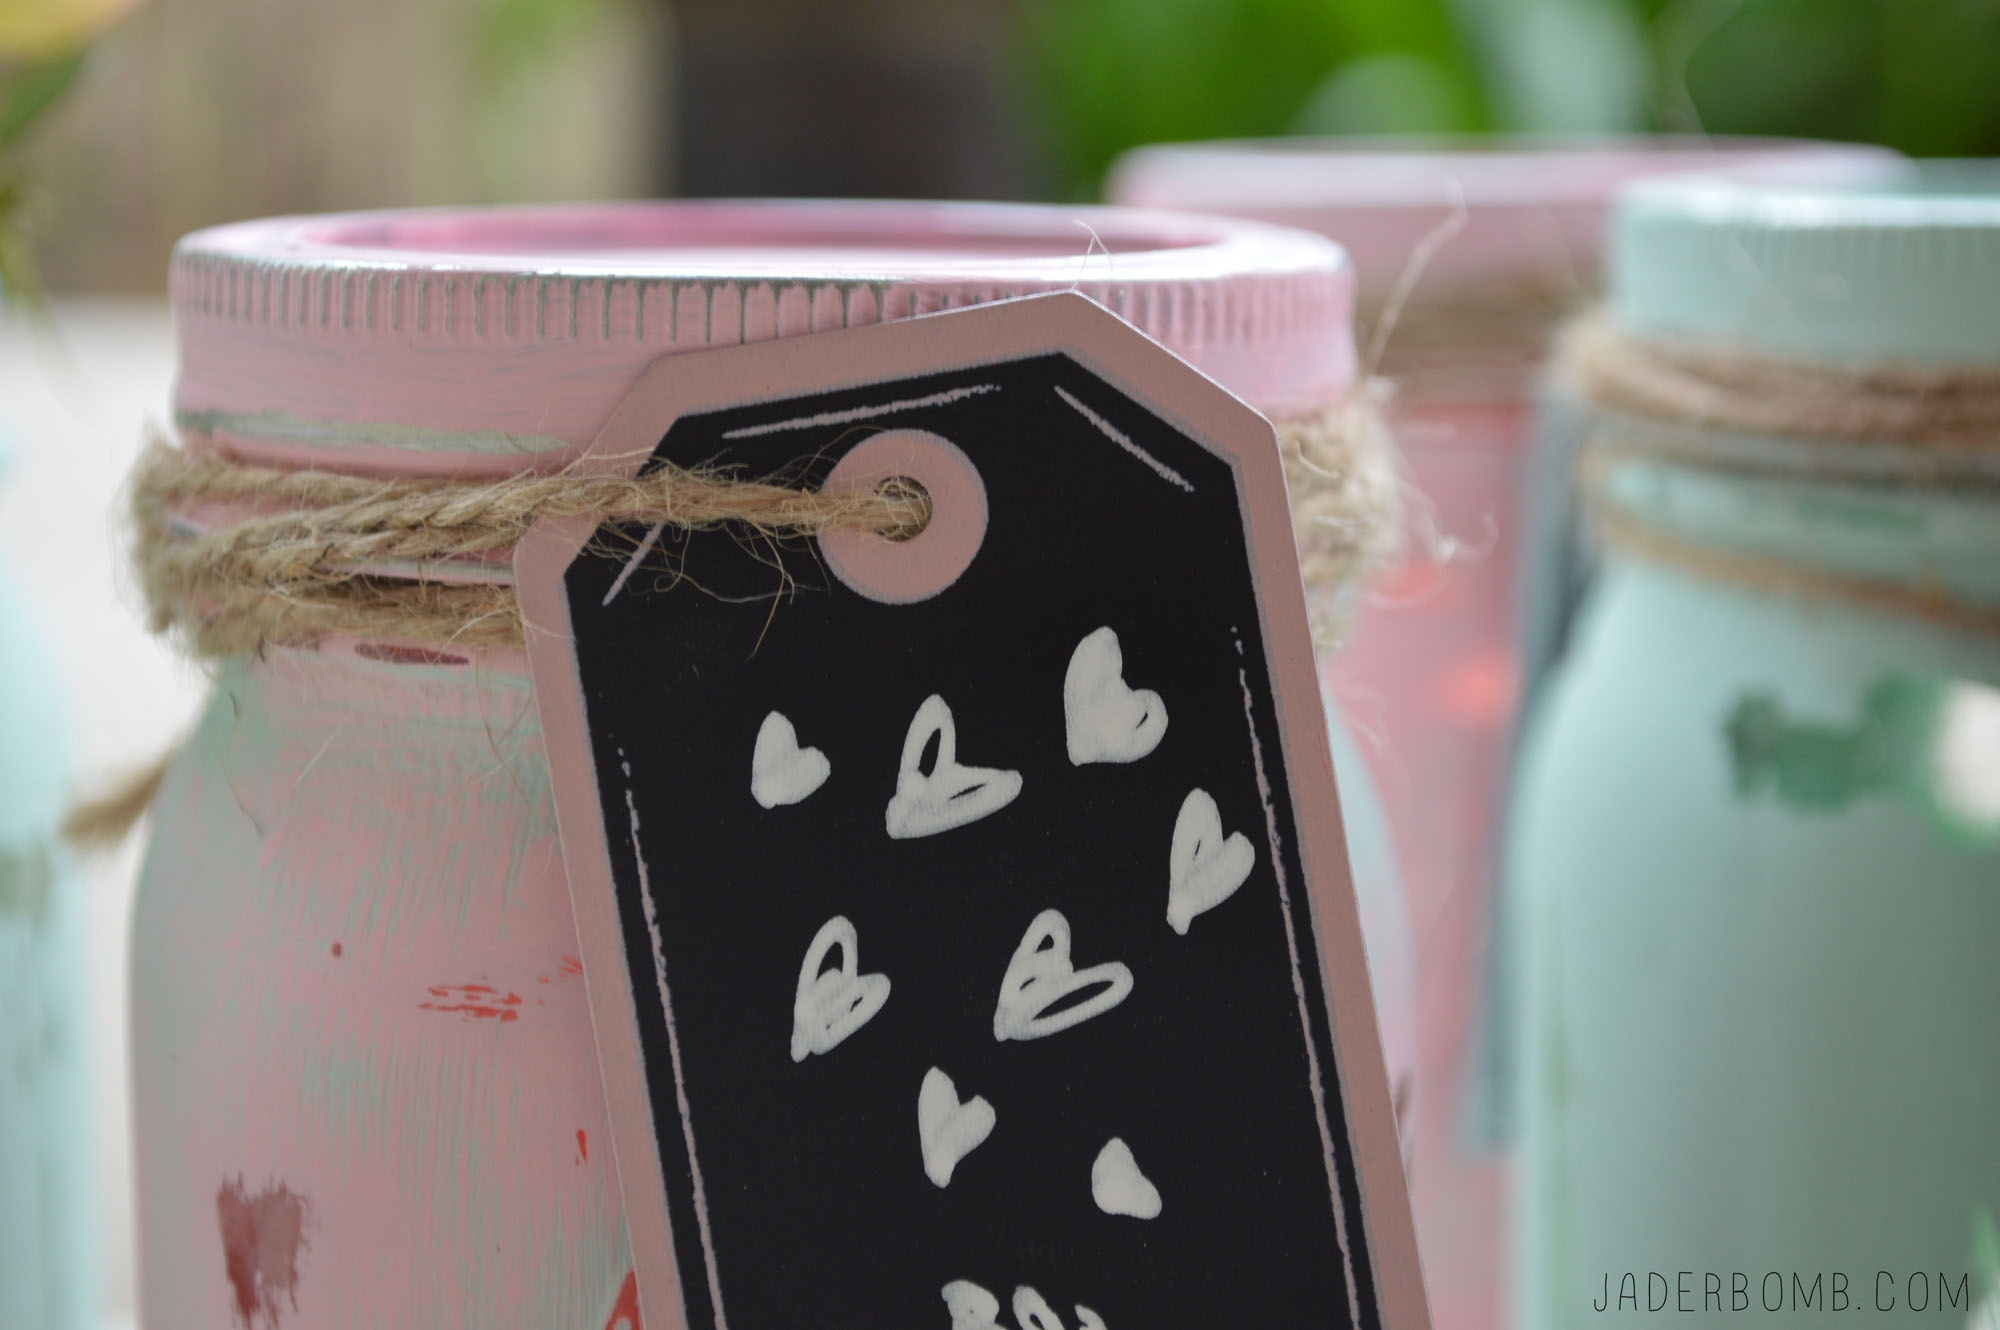

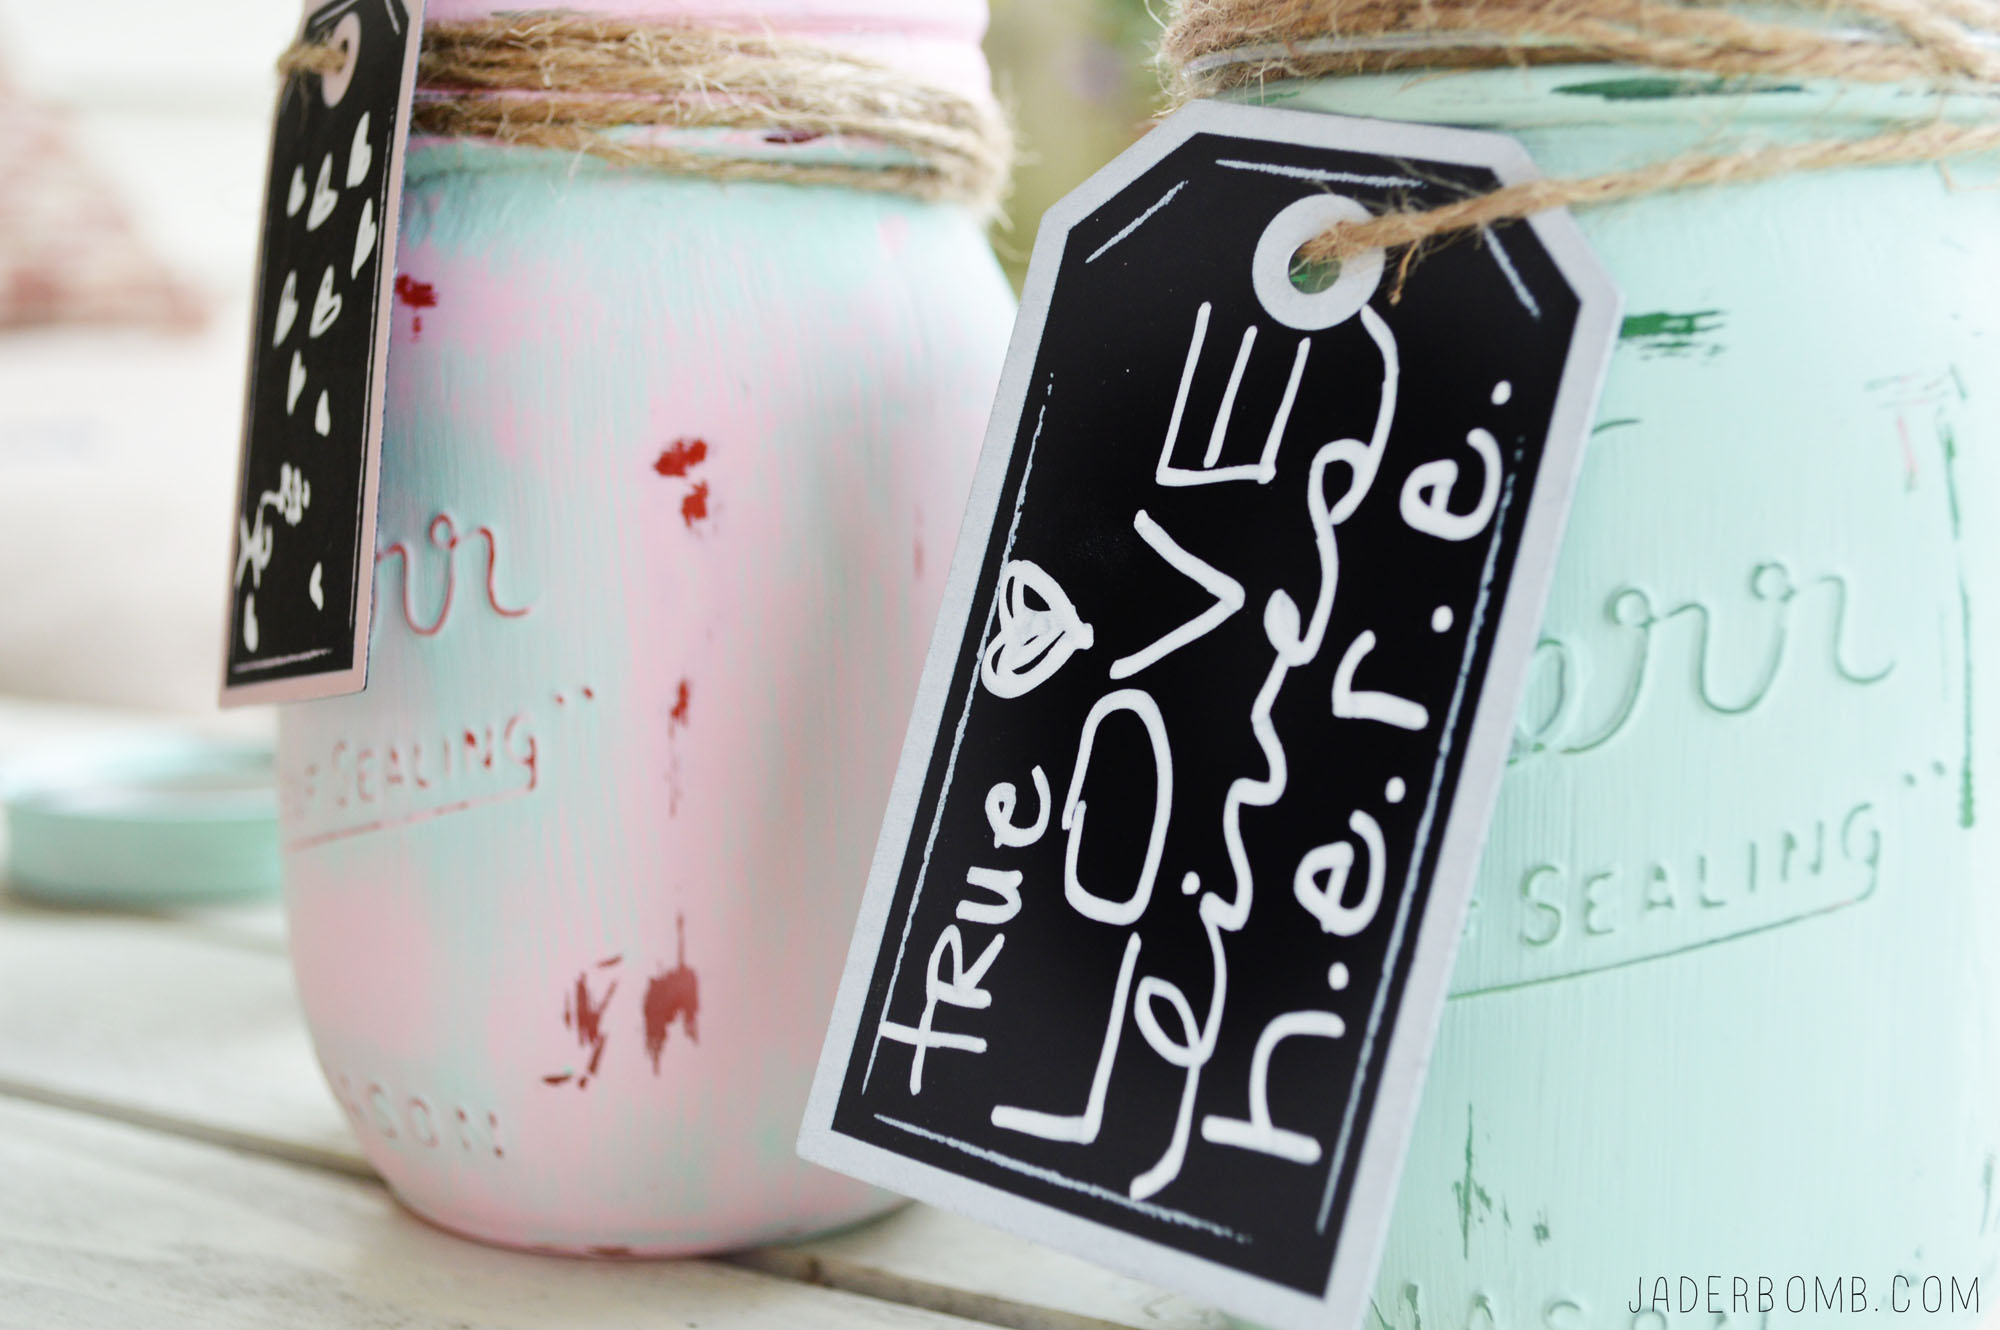
 I hope you enjoyed the craft tutorial I shared and the exciting news from Michael’s! Let me know in the comment section what’s your favorite one step project on the site! We would LOVE to know!

Don’t forget to connect on social media!Make sure to use use the hashtag #JADERBOMB on Instagram or Twitter or Facebook so I can keep track of all your awesome creations! HAVE A GLITTERY DAY! ♥, Jade

just might need to try these paints – love your project!!! and congrats again.
THANKS MARIA! THE PAINTS ARE SO AWESOME!-JADE
Pingback: Nine Fantastic Summer Projects | JADERBOMB
Pingback: DIY Back to School Teacher Gift
Pingback: How to make Chalkboard Labels - JADERBOMB
Pingback: New Years Eve Glittered Tea lights - JADERBOMB
Pingback: 30+ Farmhouse Valentine's Day DIY Decor Projects - A Hundred Affections