
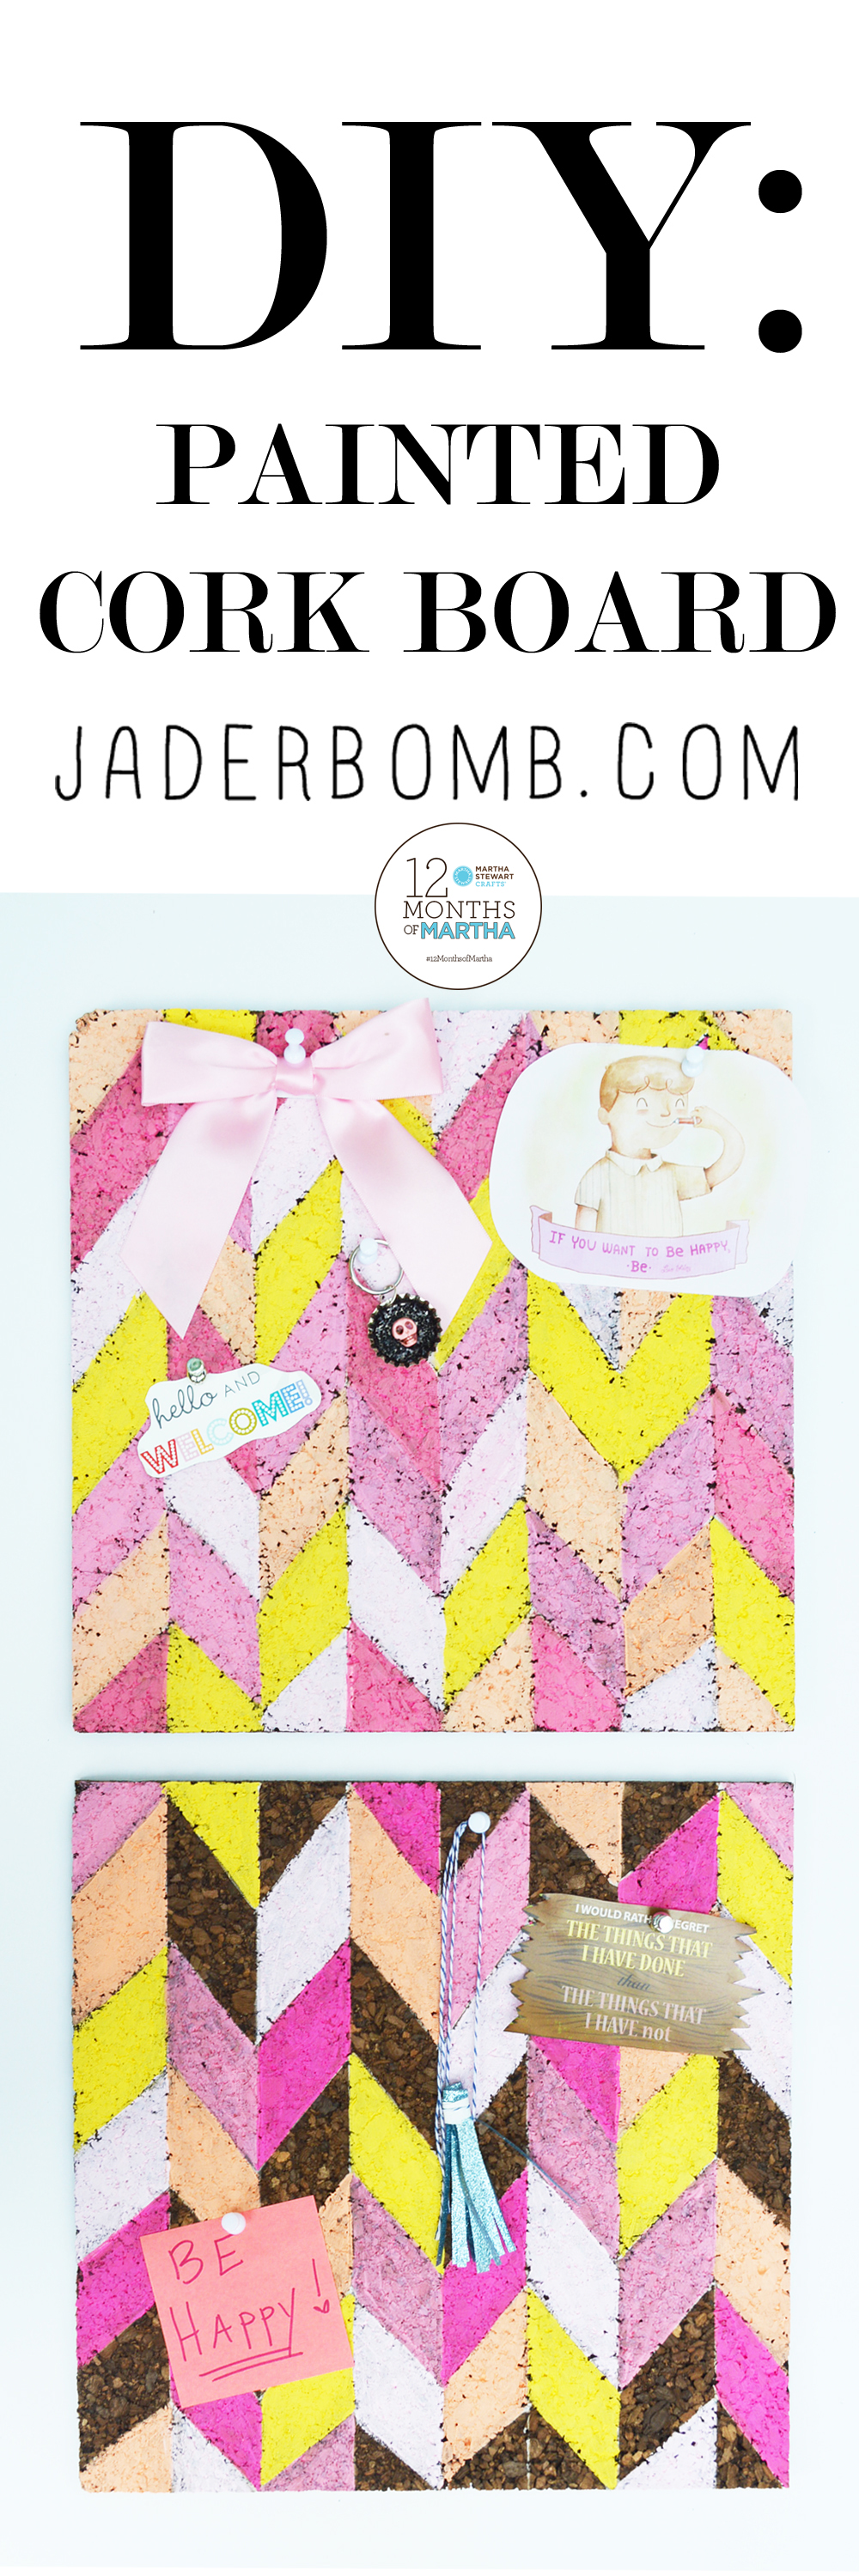
Today’s 12 months of Martha posts is super easy and I know anyone can do it with a little bit of love, joy and patience. I always find joy taking something and adding my own personal touch to it. Whether it’s a design I like or my favorite colors. Yes, it might take a little more effort but in the end it’s worth it. You will be surprised how good you will feel to make your own Hand Painted Cork Board!
Holy cow! It’s almost time for all the lil ones and big ones to go back to school. Are you as excited as me? Insert a crooked smile here.
I think I am excited to get a routine back because let’s face it the summer knocks everything out of whack and things tend to get a little nuts. I went school shopping with my lil one (14, don’t tell him I said lil one) and I realized at the register that most of the “supplies” in the basket were for me. I think I get more excited about “back to school” supplies than him!
Supplies:
*Ruler
*Craft Paint
*Craft Brush
*Cork Boards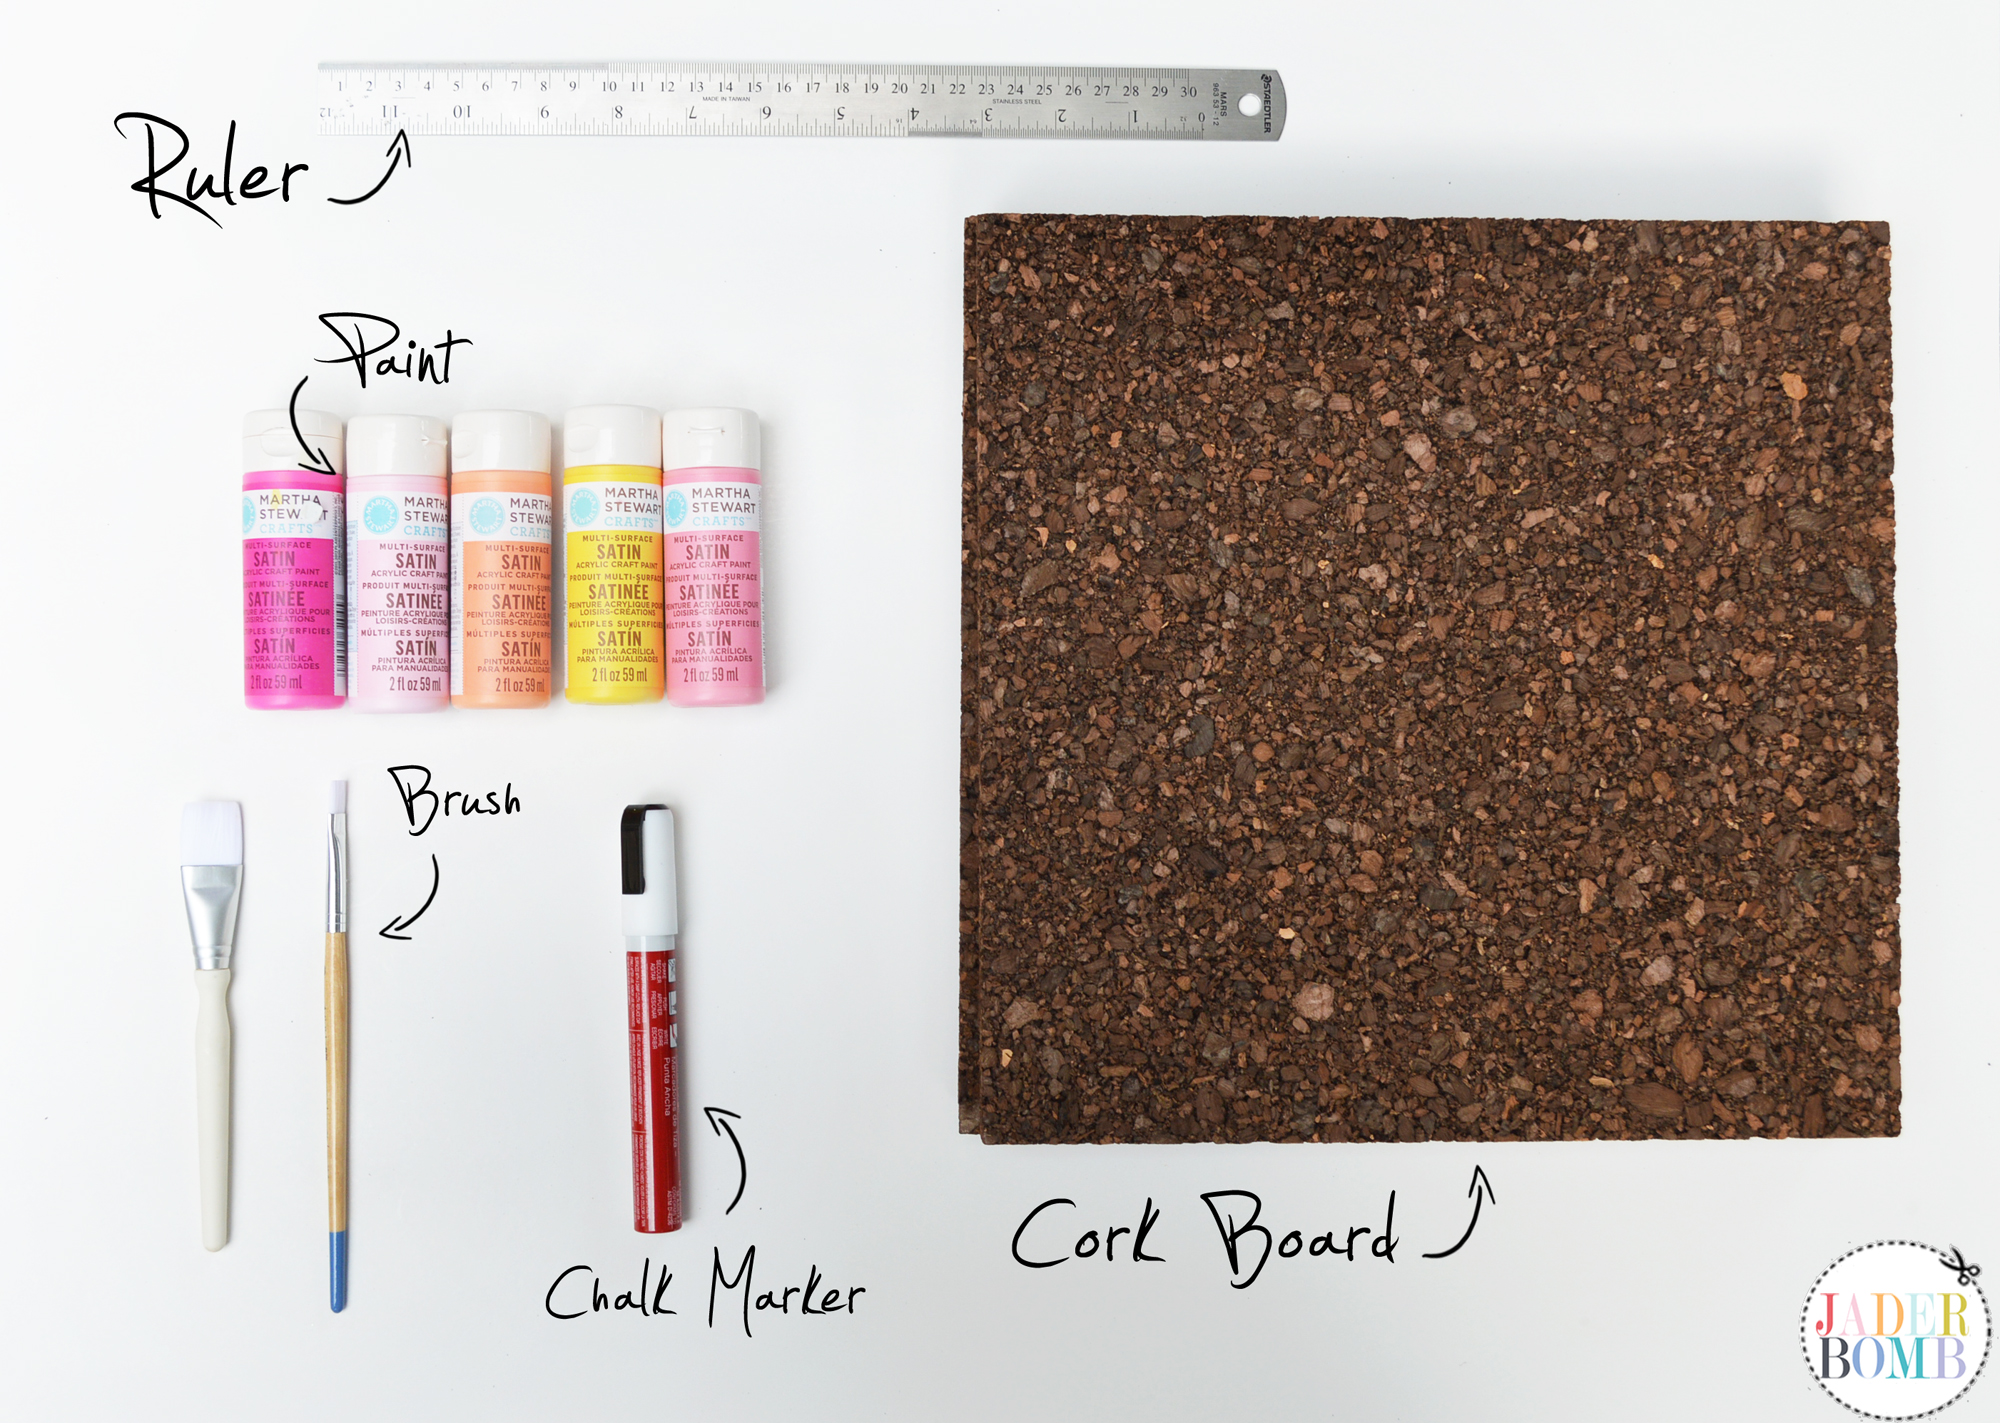
It’s time to kick off going back to school and what better way to do that than with some awesome home / office decor. I know what you are thinking, ” I can totally go buy some from the store, yo”… but why go buy something when you can DIY!
I am in love with the colors I am using in today’s project! They are soft pastel colors that will create a nice feeling in any room.
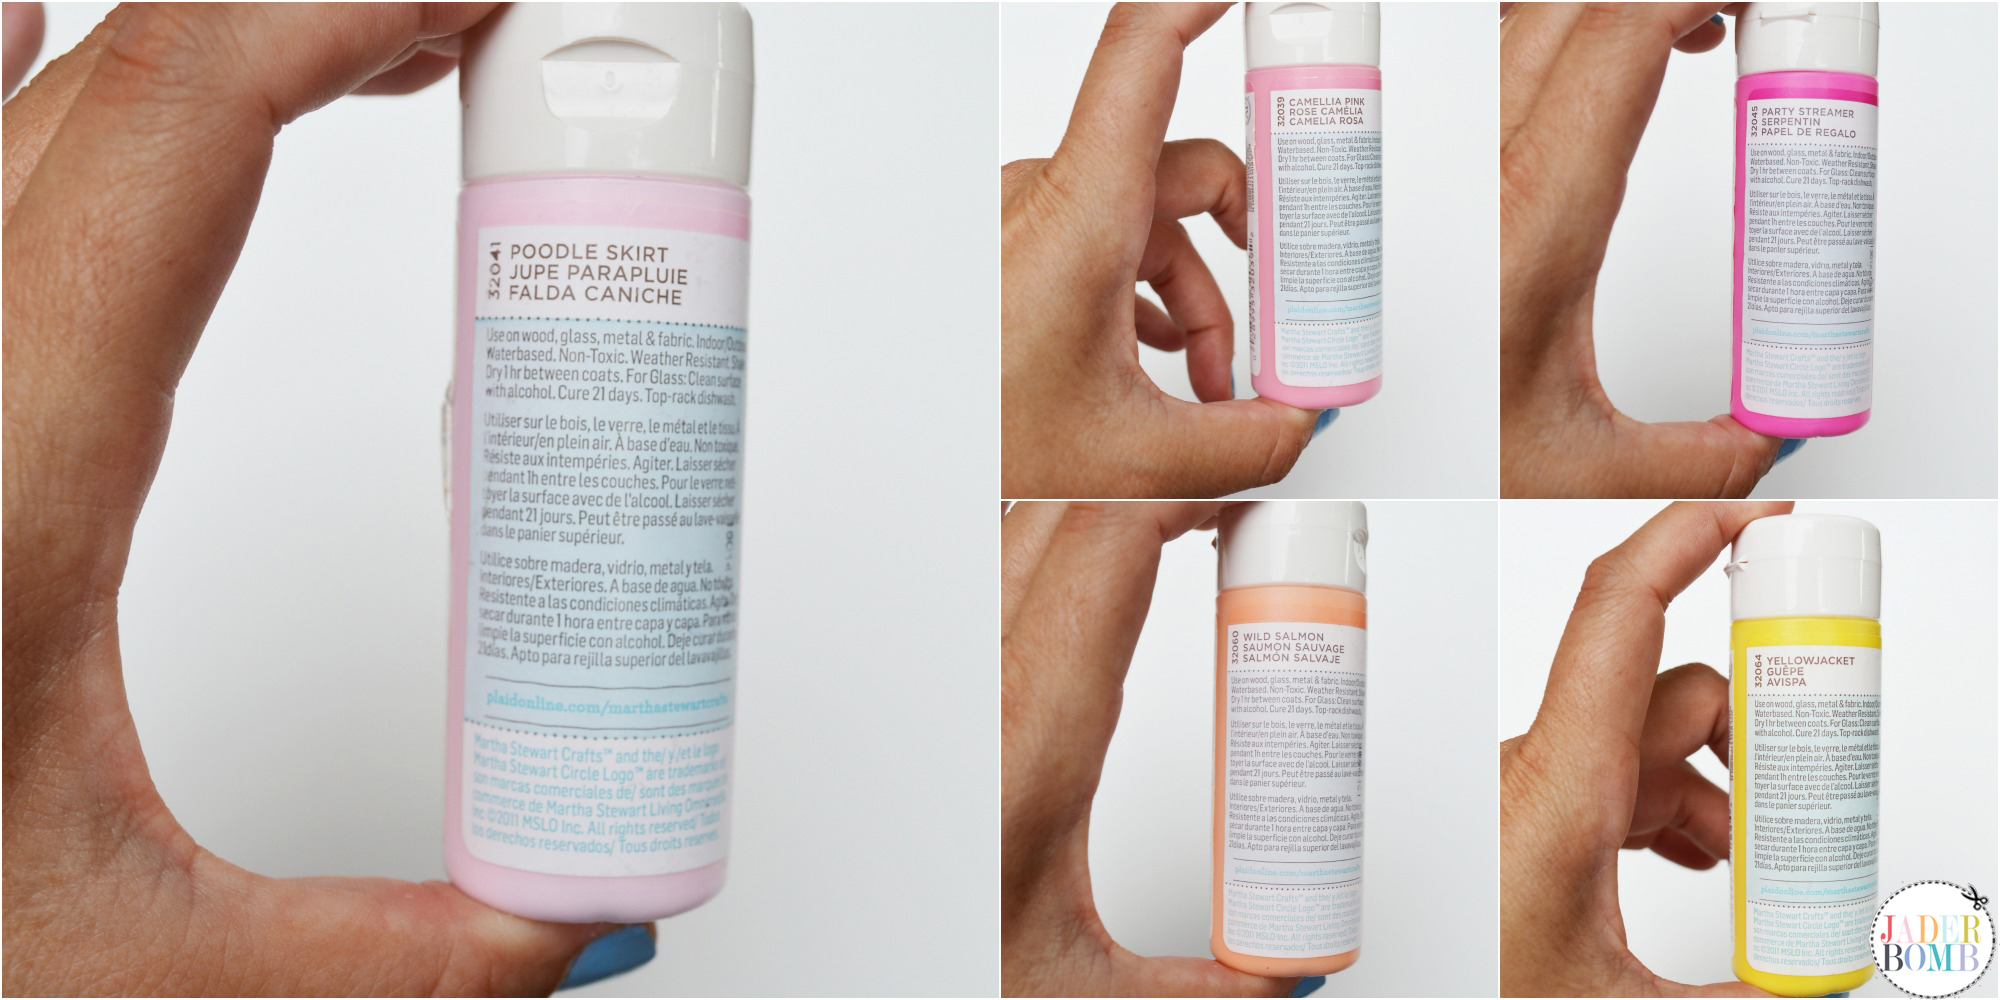
The colors I used: Poodle Skirt | Camellia Pink | Party Streamer | Wild Salmon | Yellow Jacket.  Step ONE: Get out your cork board and lay it on a flat surface.
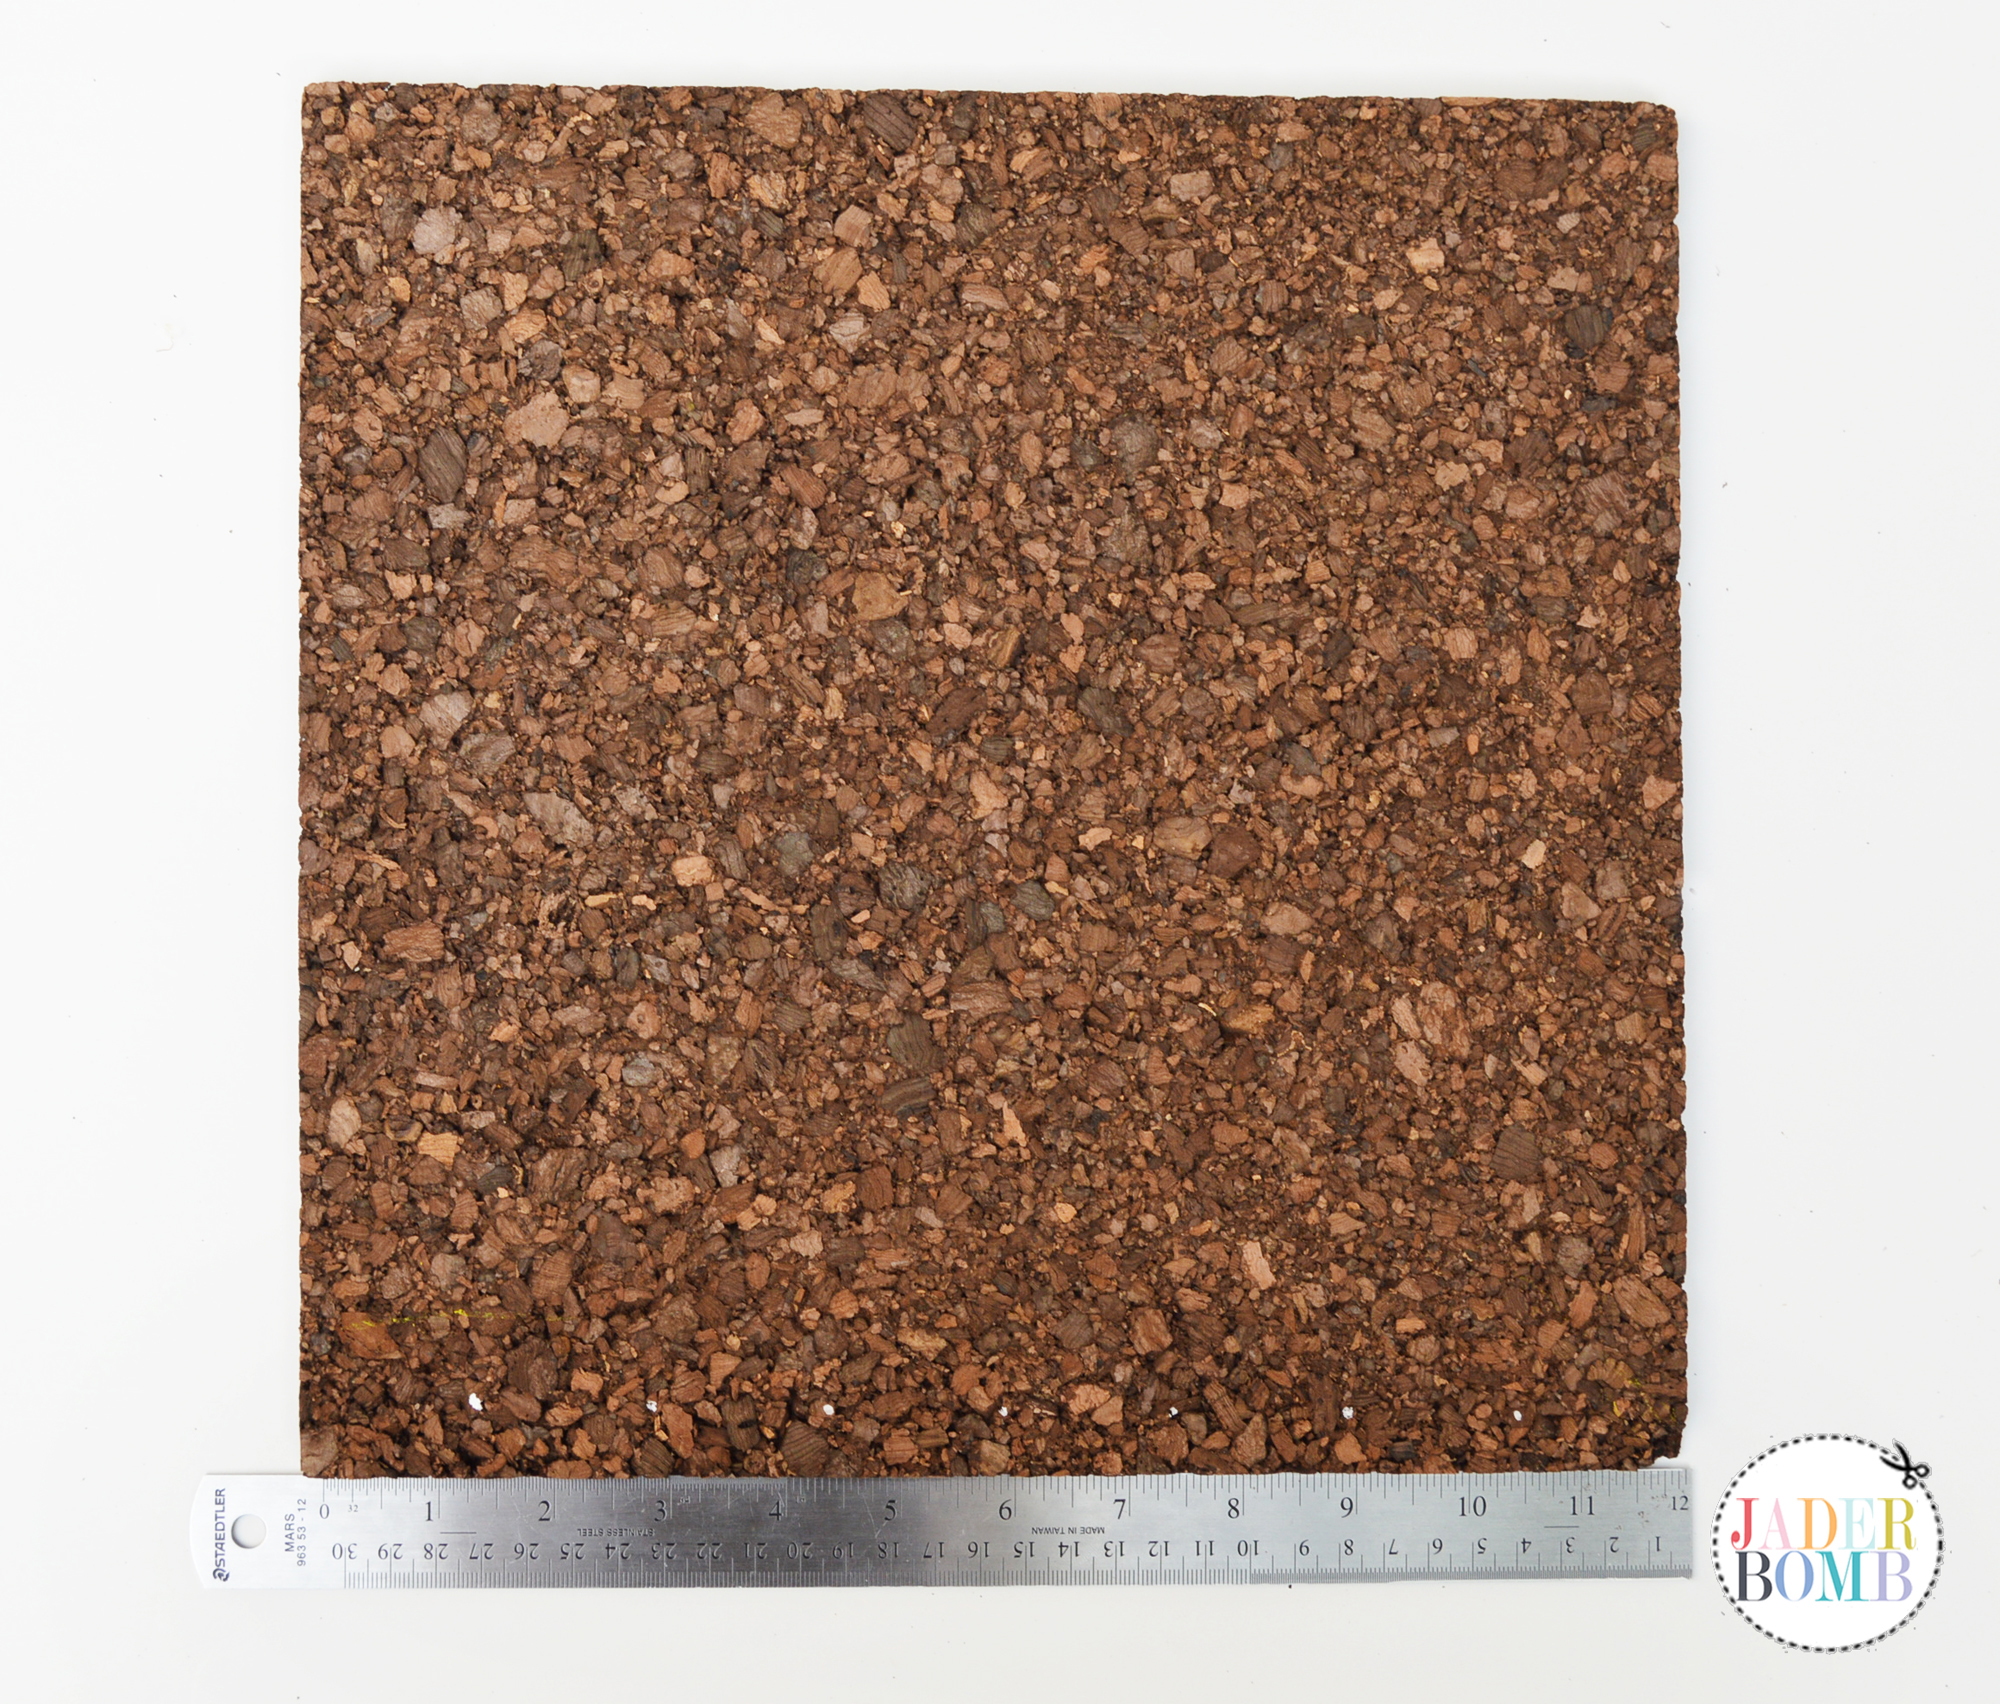
Step TWO: Get your ruler and mark 1.5″ dot’s with your chalk board marker or a light colored pencil. Do this all the way across the bottom of your cork board, on both sides. 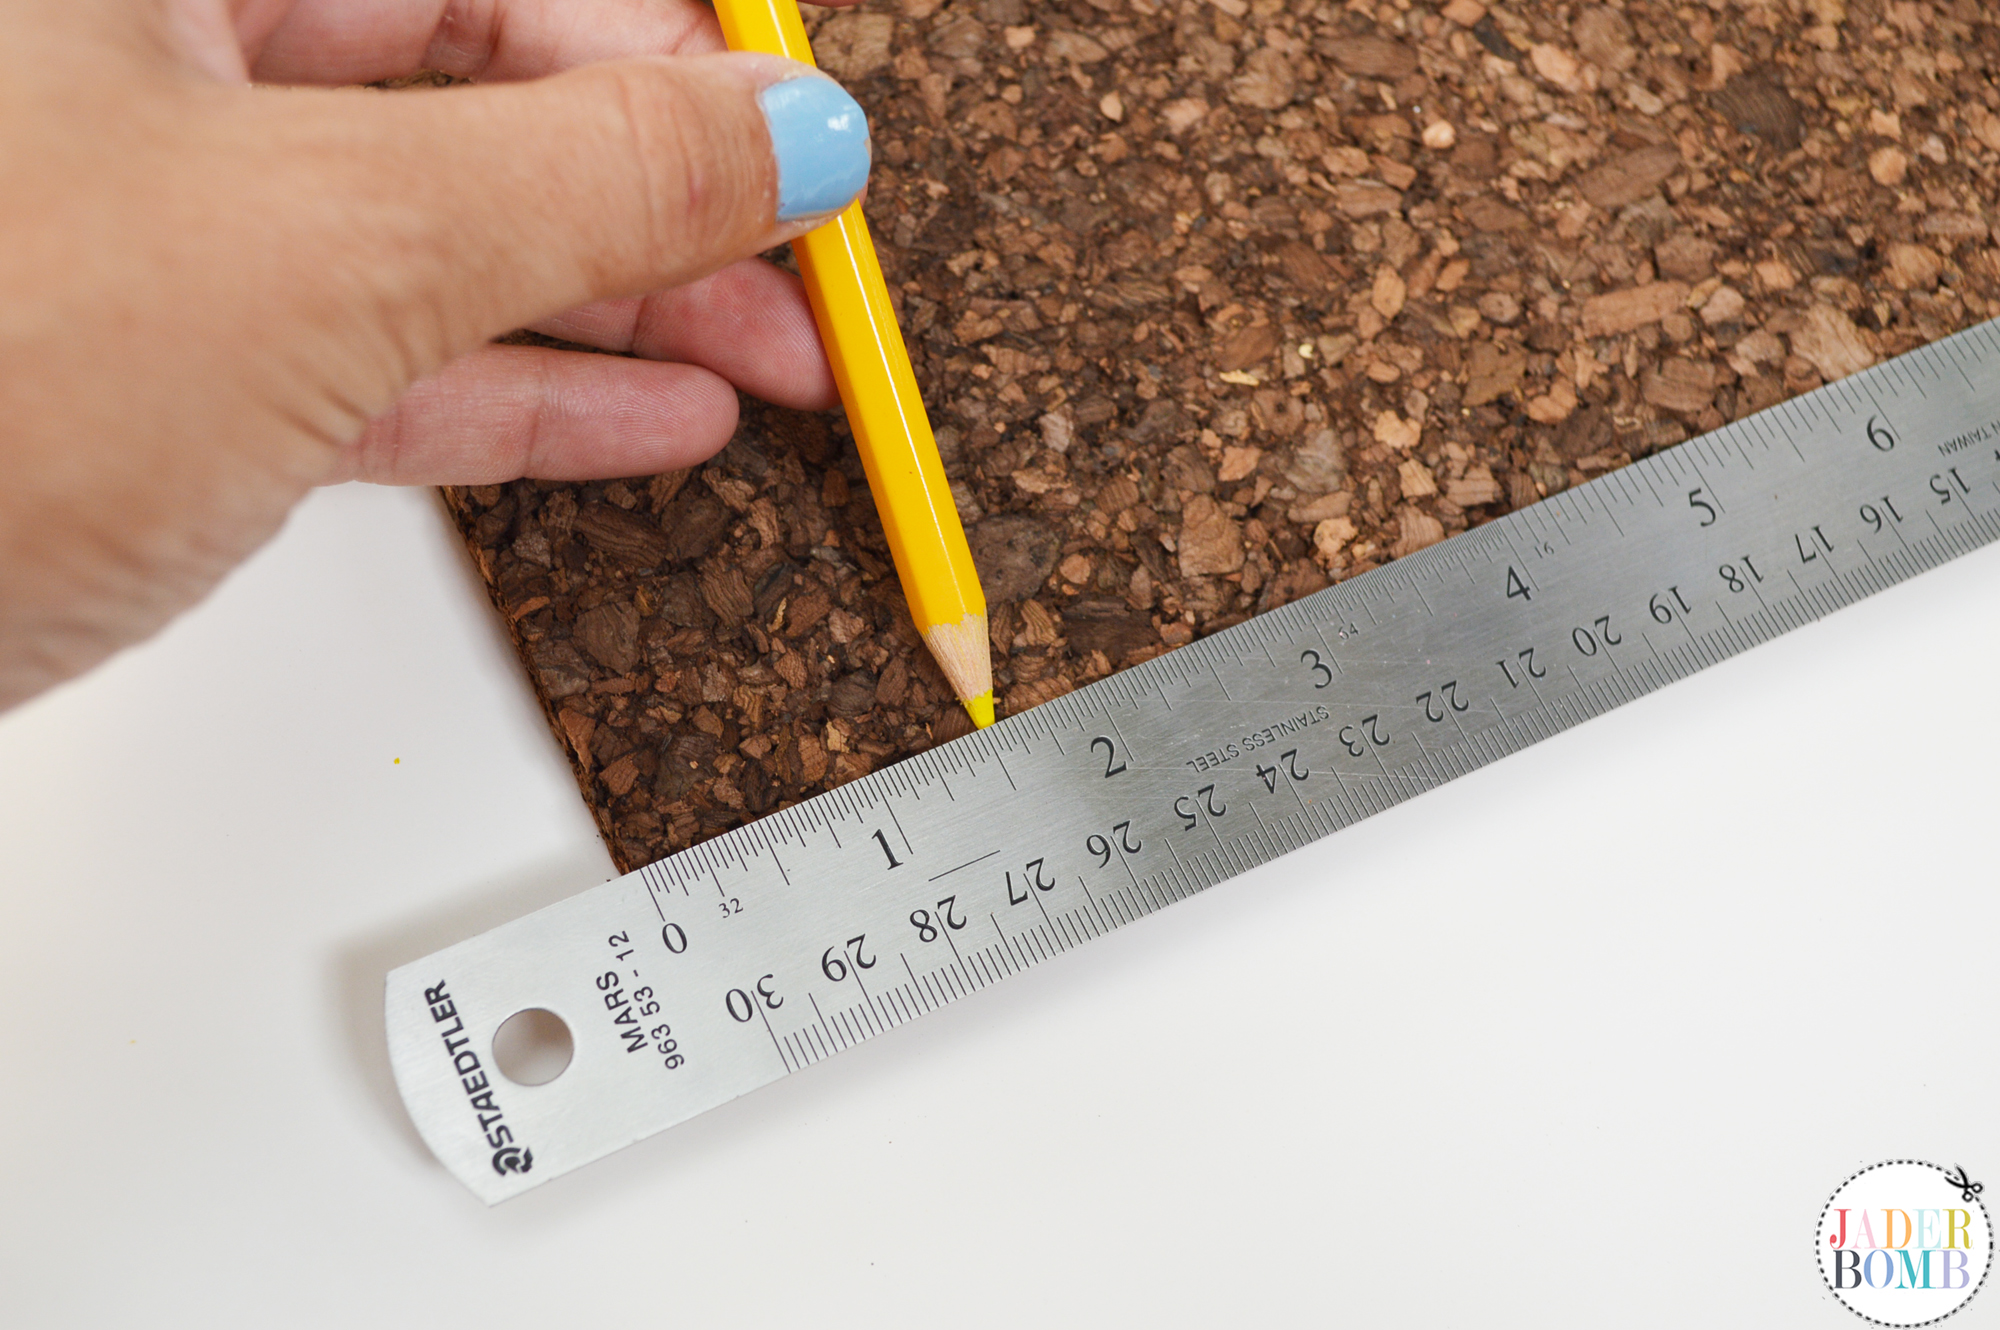
Step THREE: When you are done with your dots connect them from one end to the other. You are creating lines on your cork board.
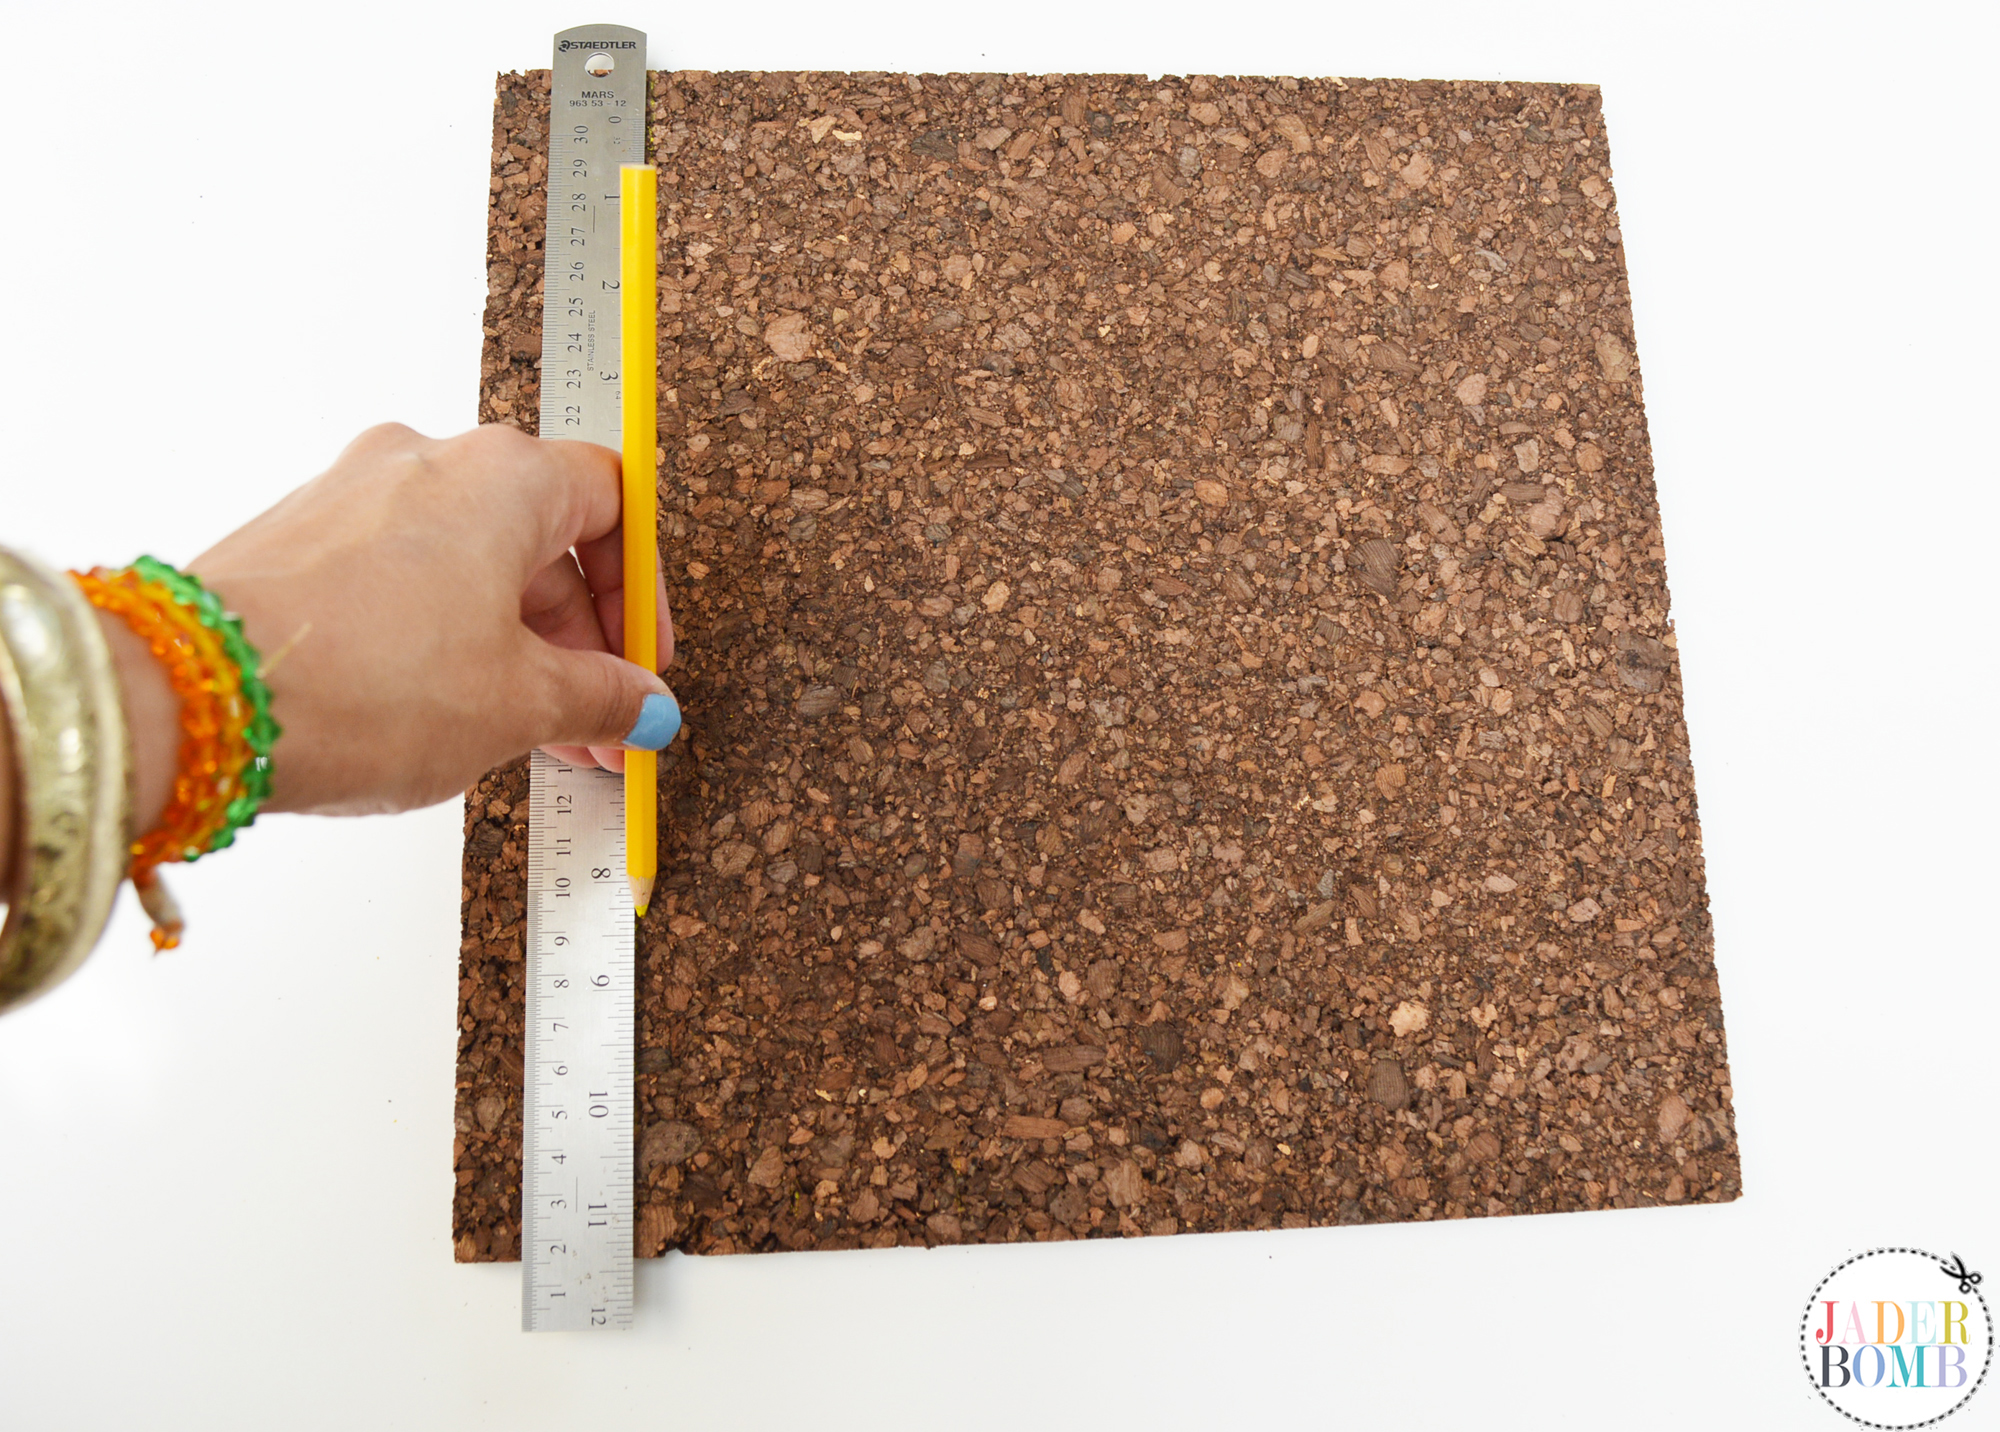 Step FOUR: This is what it should look like when you are done.
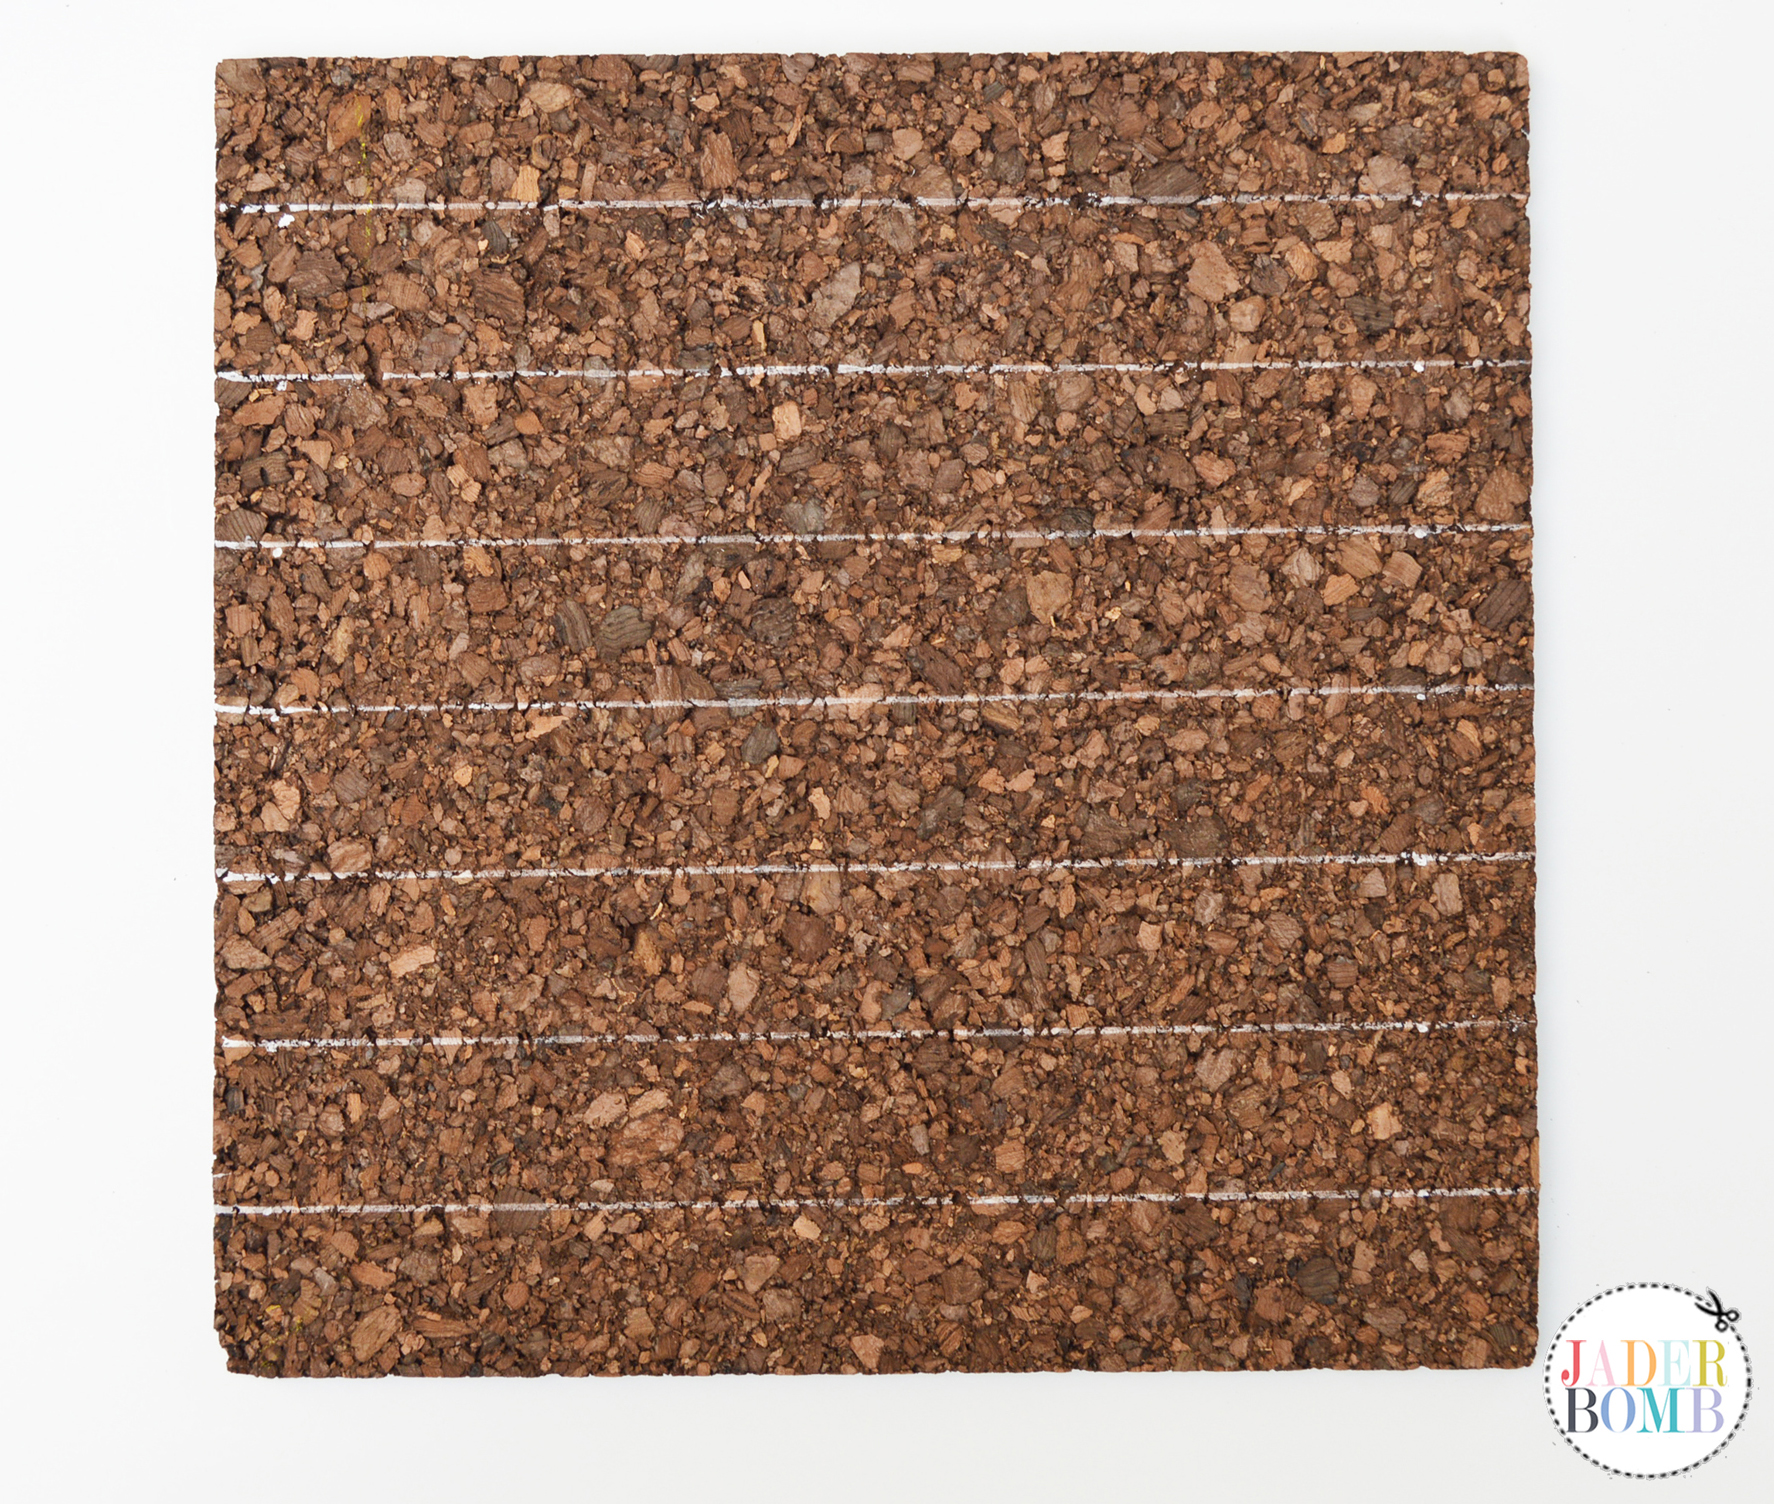 Step FIVE: Take your ruler and create angled lines in each section starting at the top and working your way to the bottom.
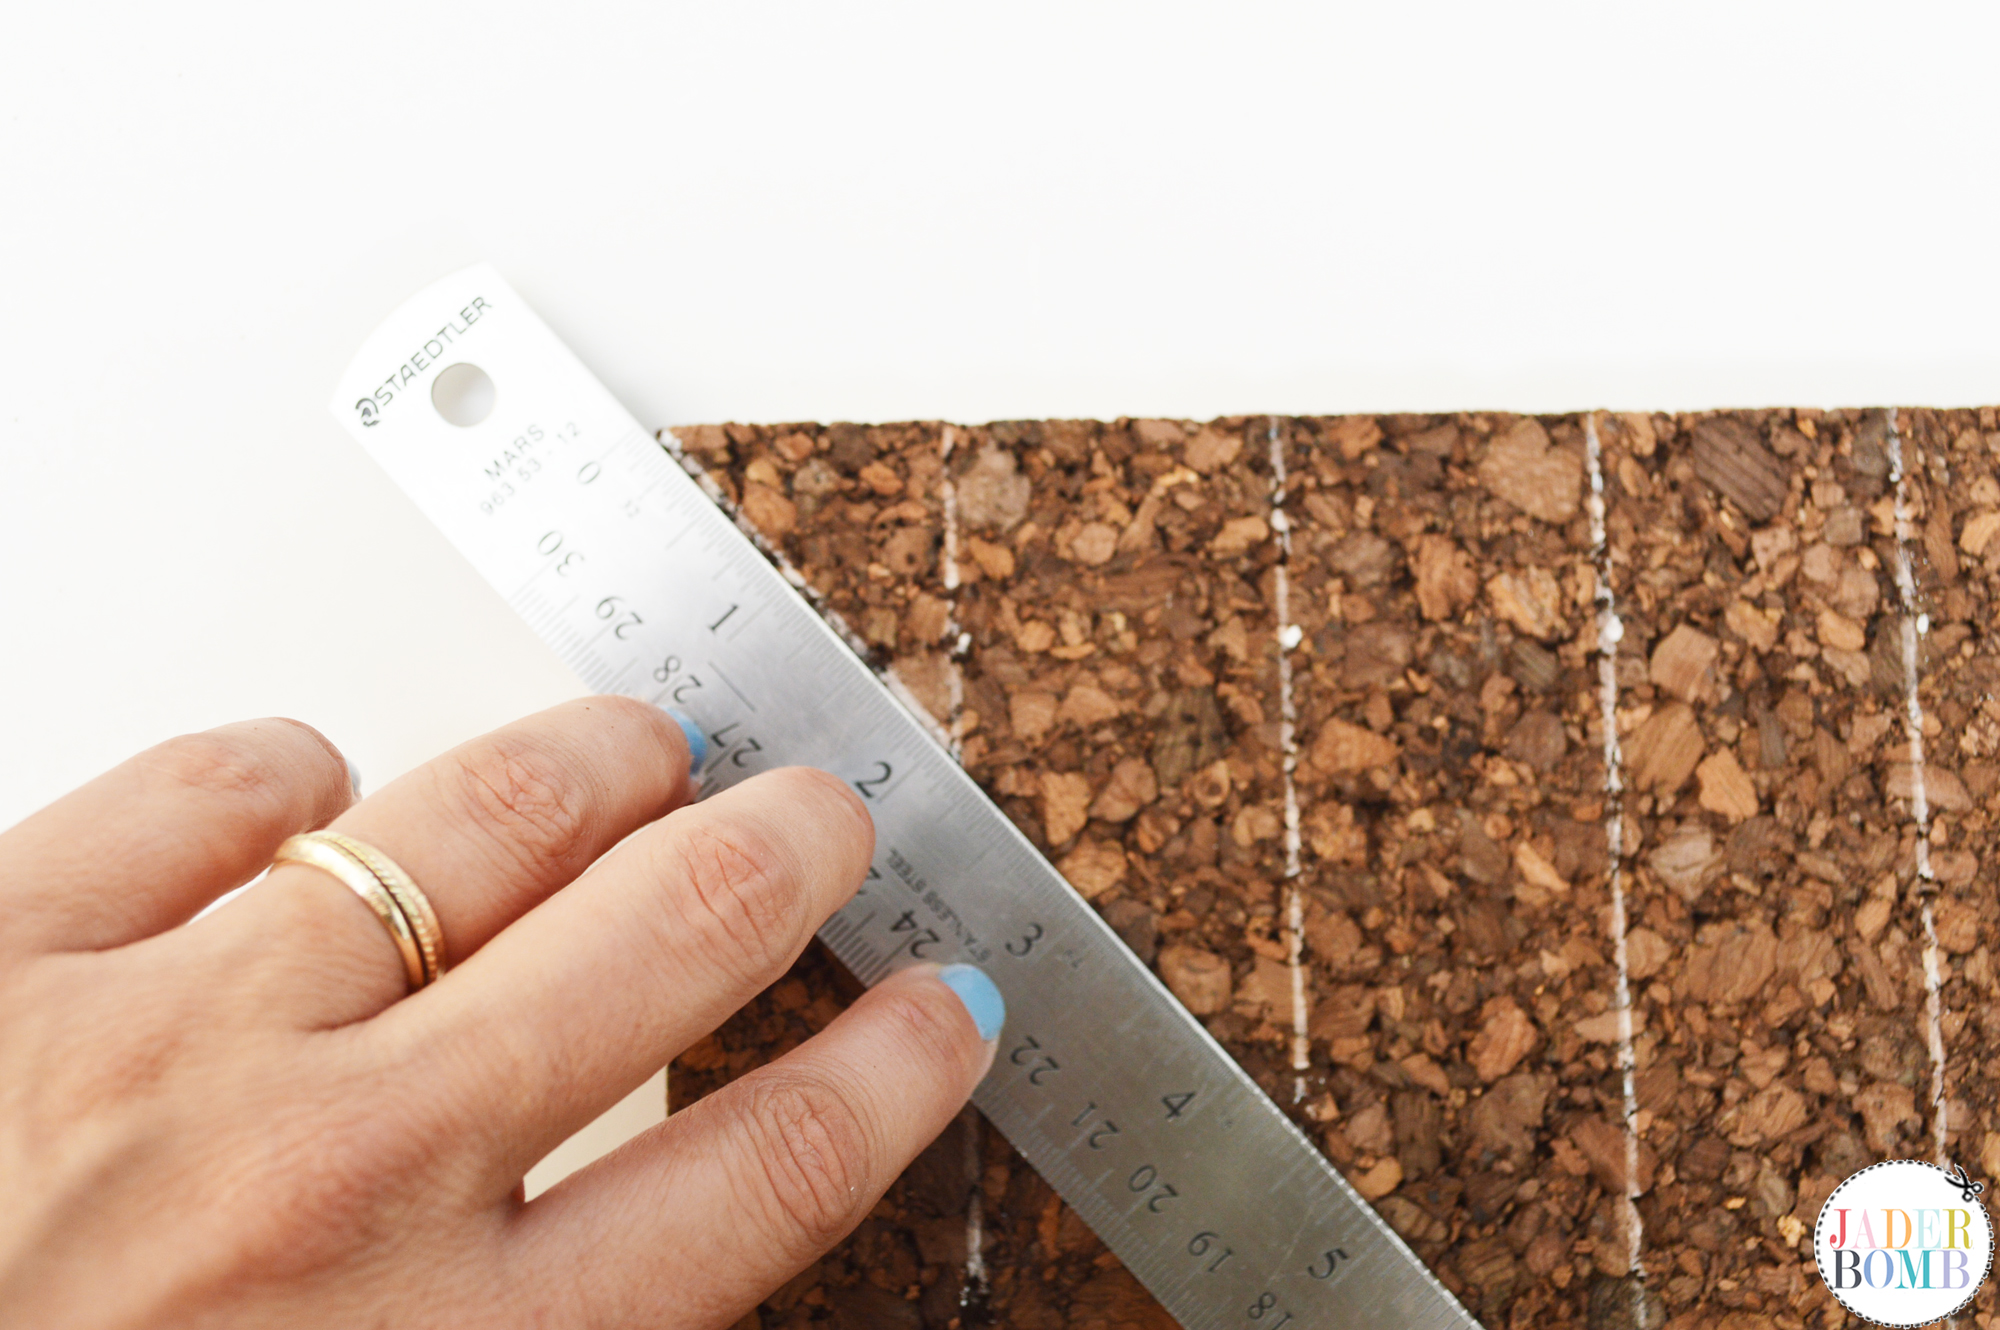
Step SIX: The first section your lines will go downward then the next section you will make your lines go in the opposite direction. You will be creating a “chevron” appearance. 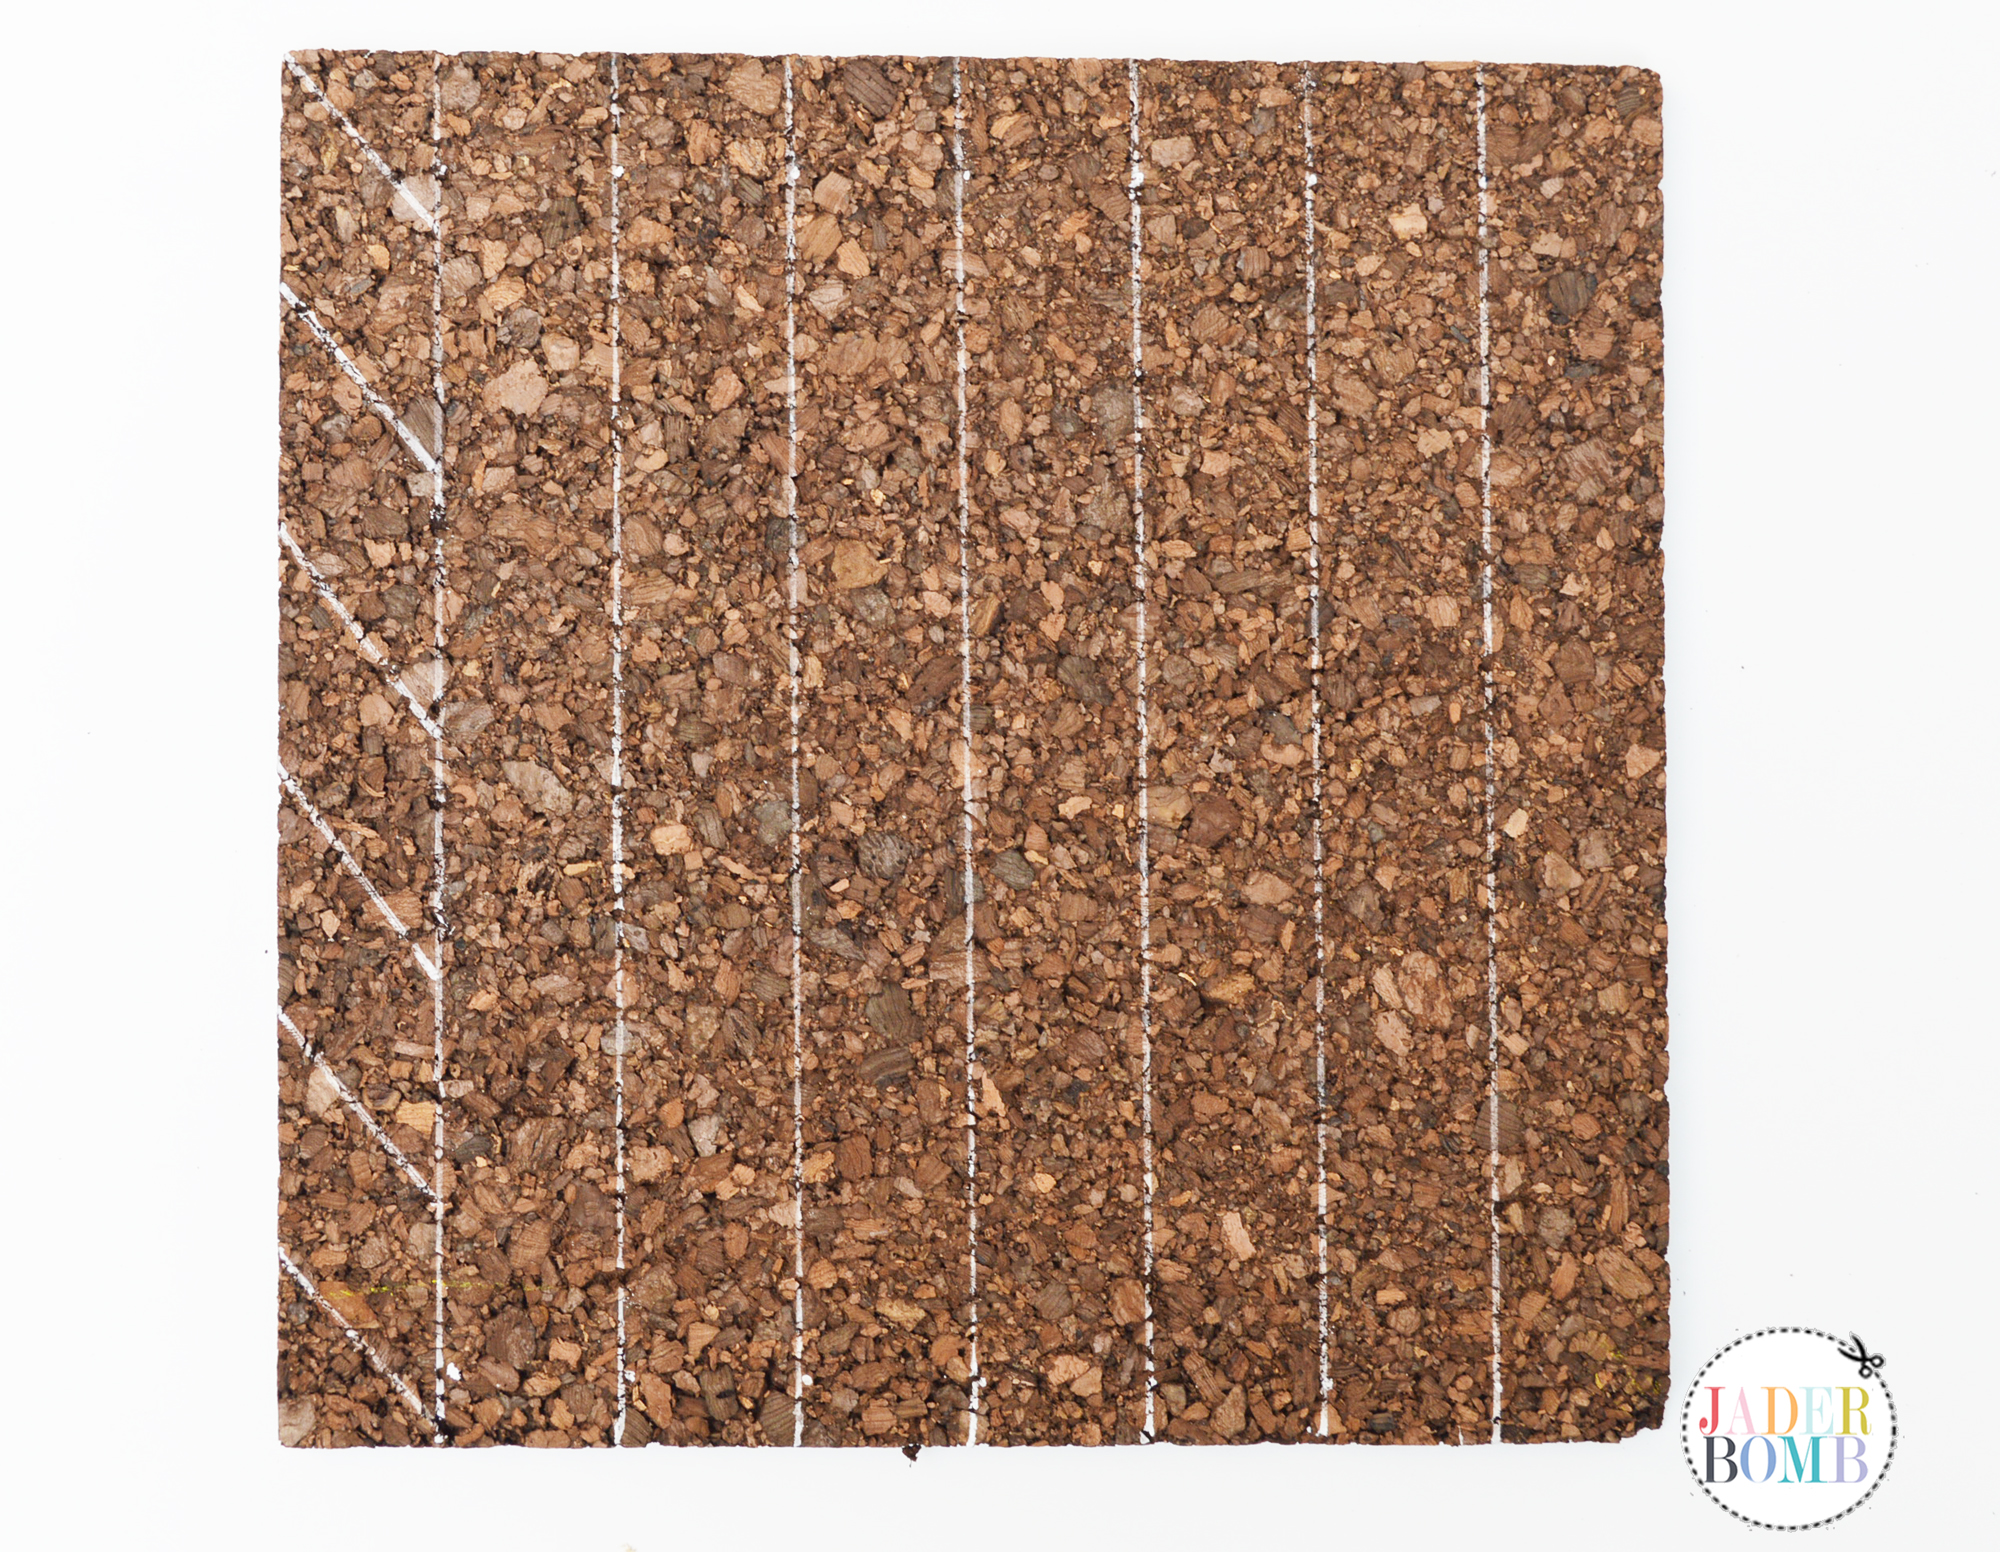
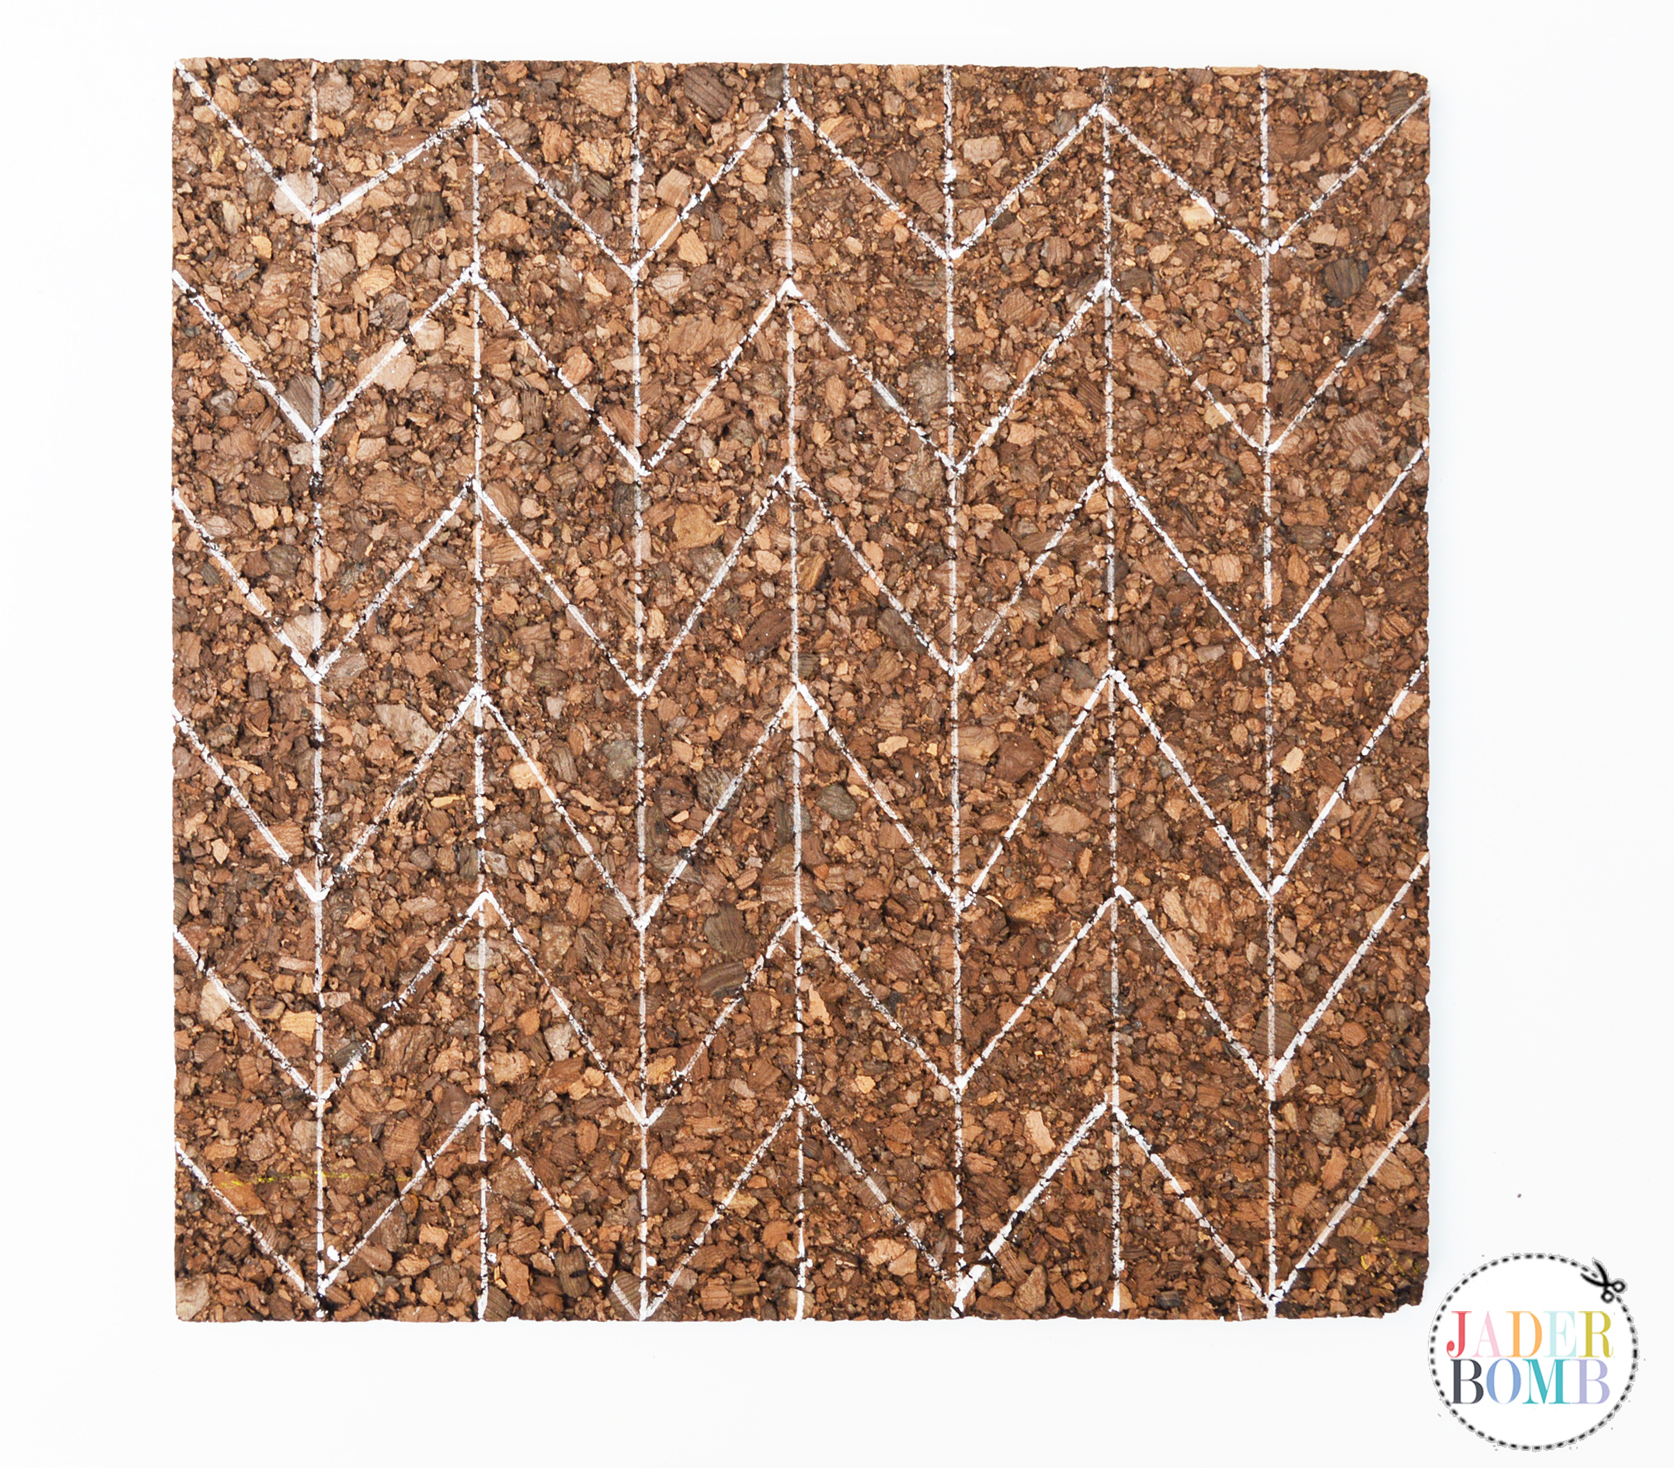
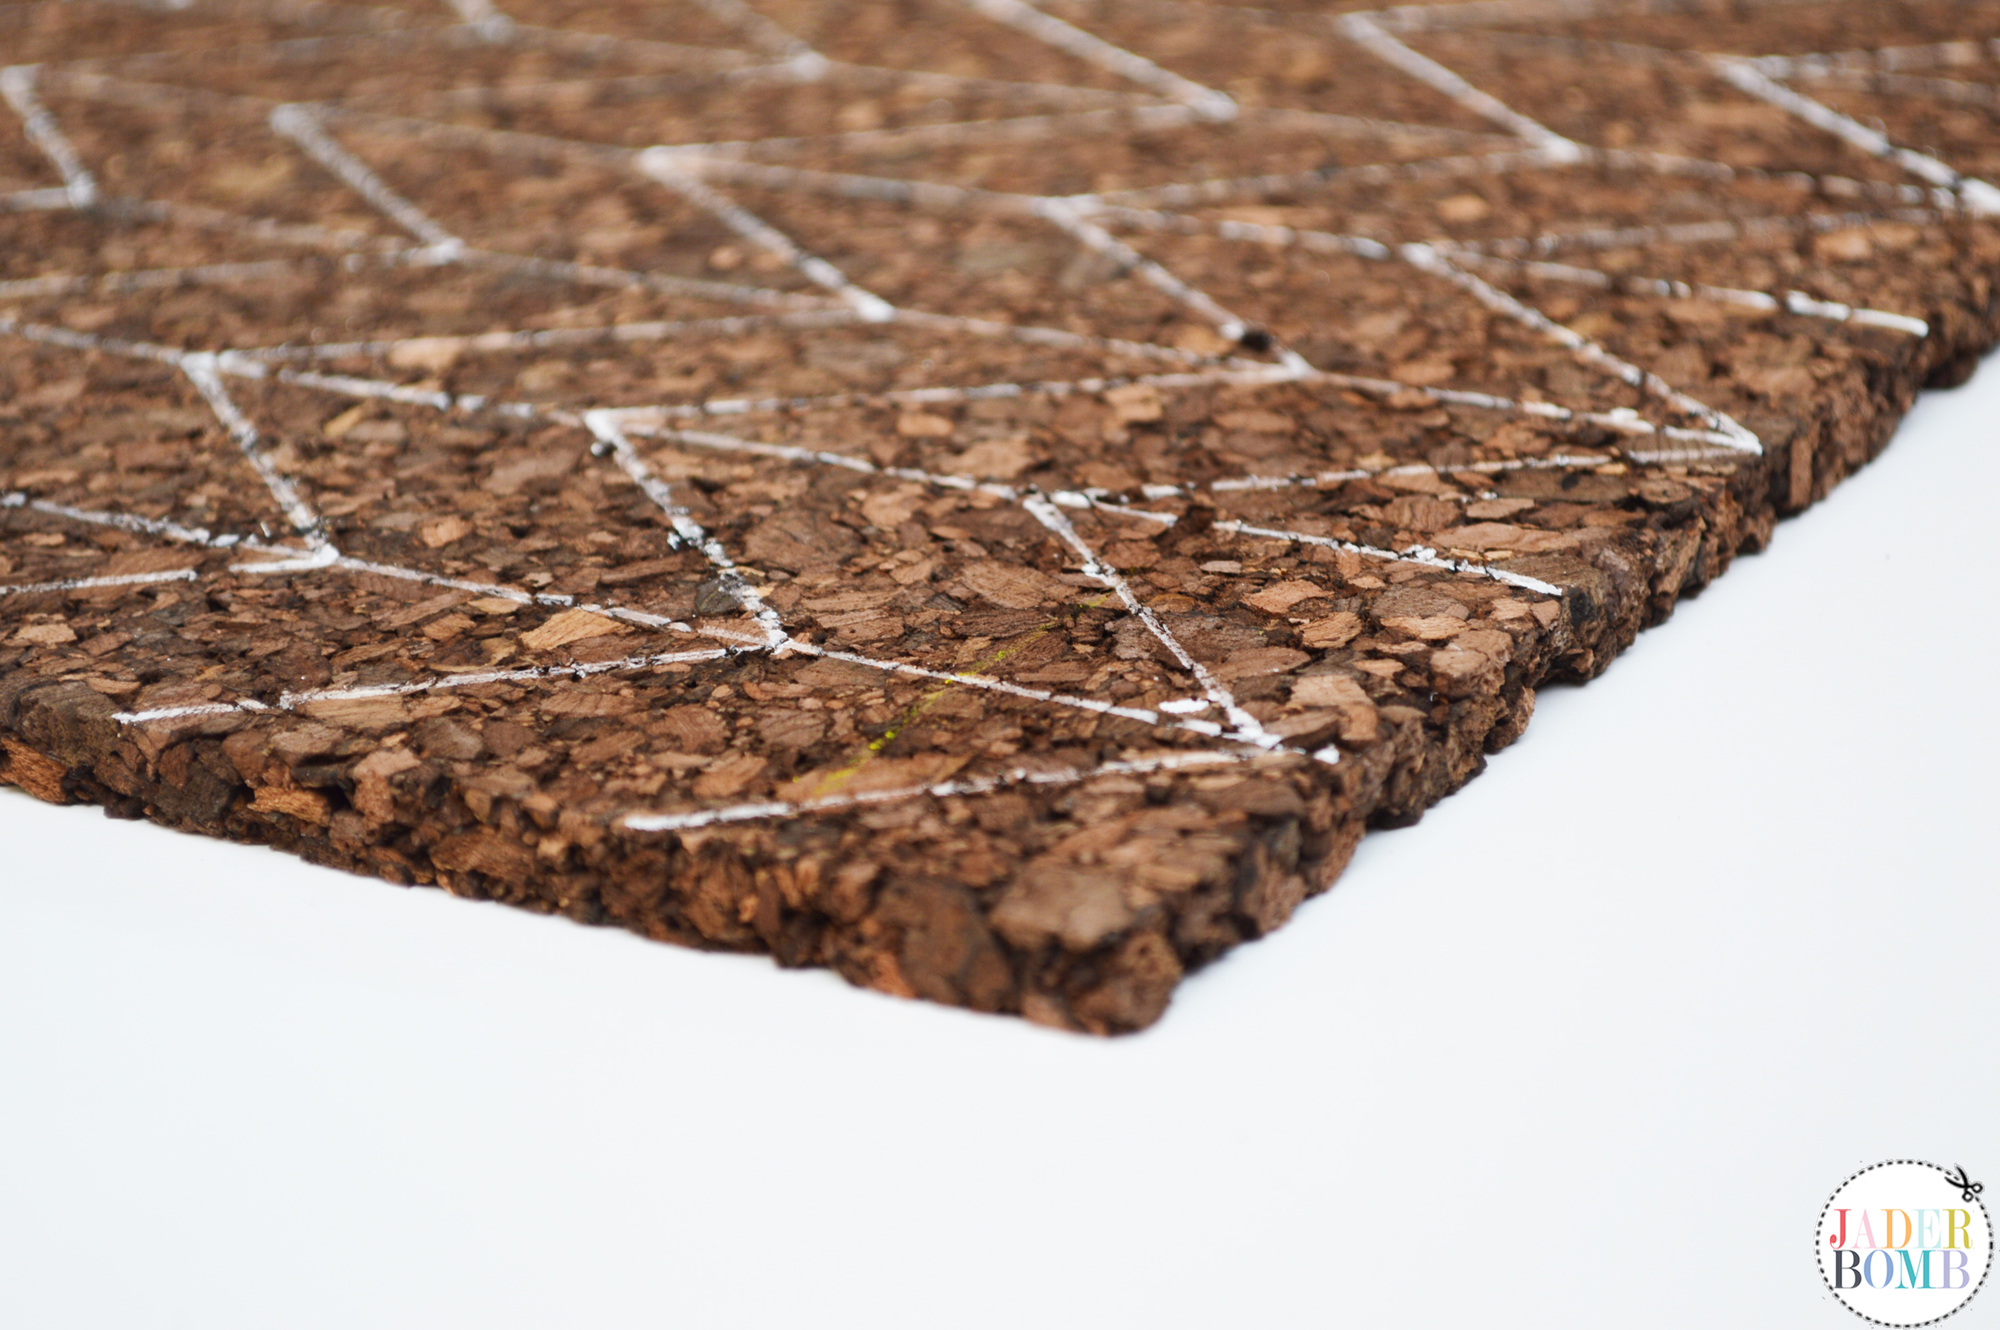 I am loving these colors! This alone is ART!
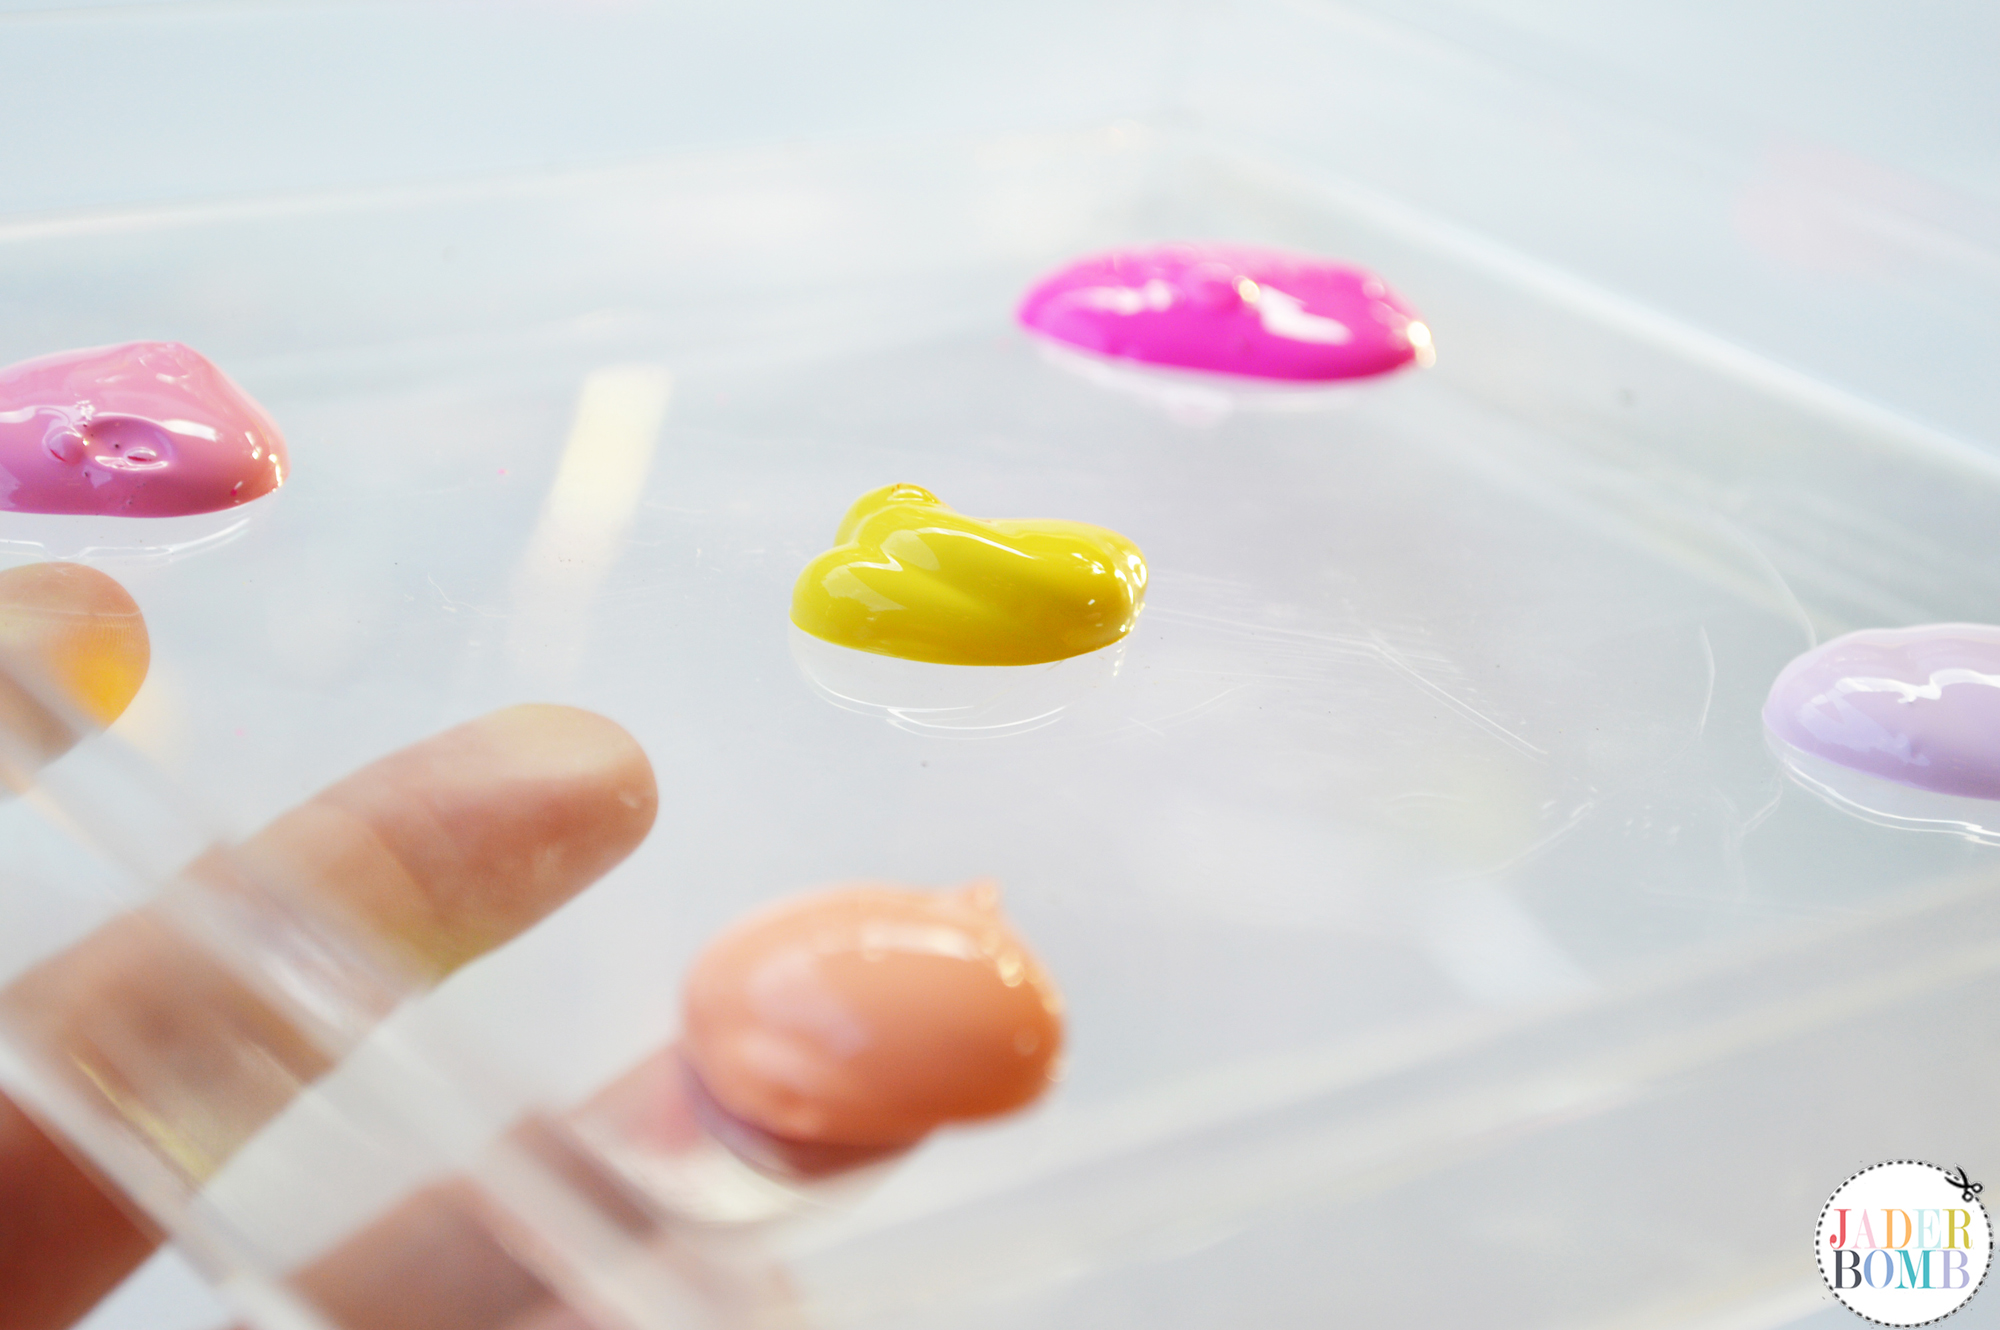 Step SEVEN: Start painting each section with your paint. I will tell you when you use a dark cork board like I am using you might have to put two or three coats of paint, depending on how opaque you want it.
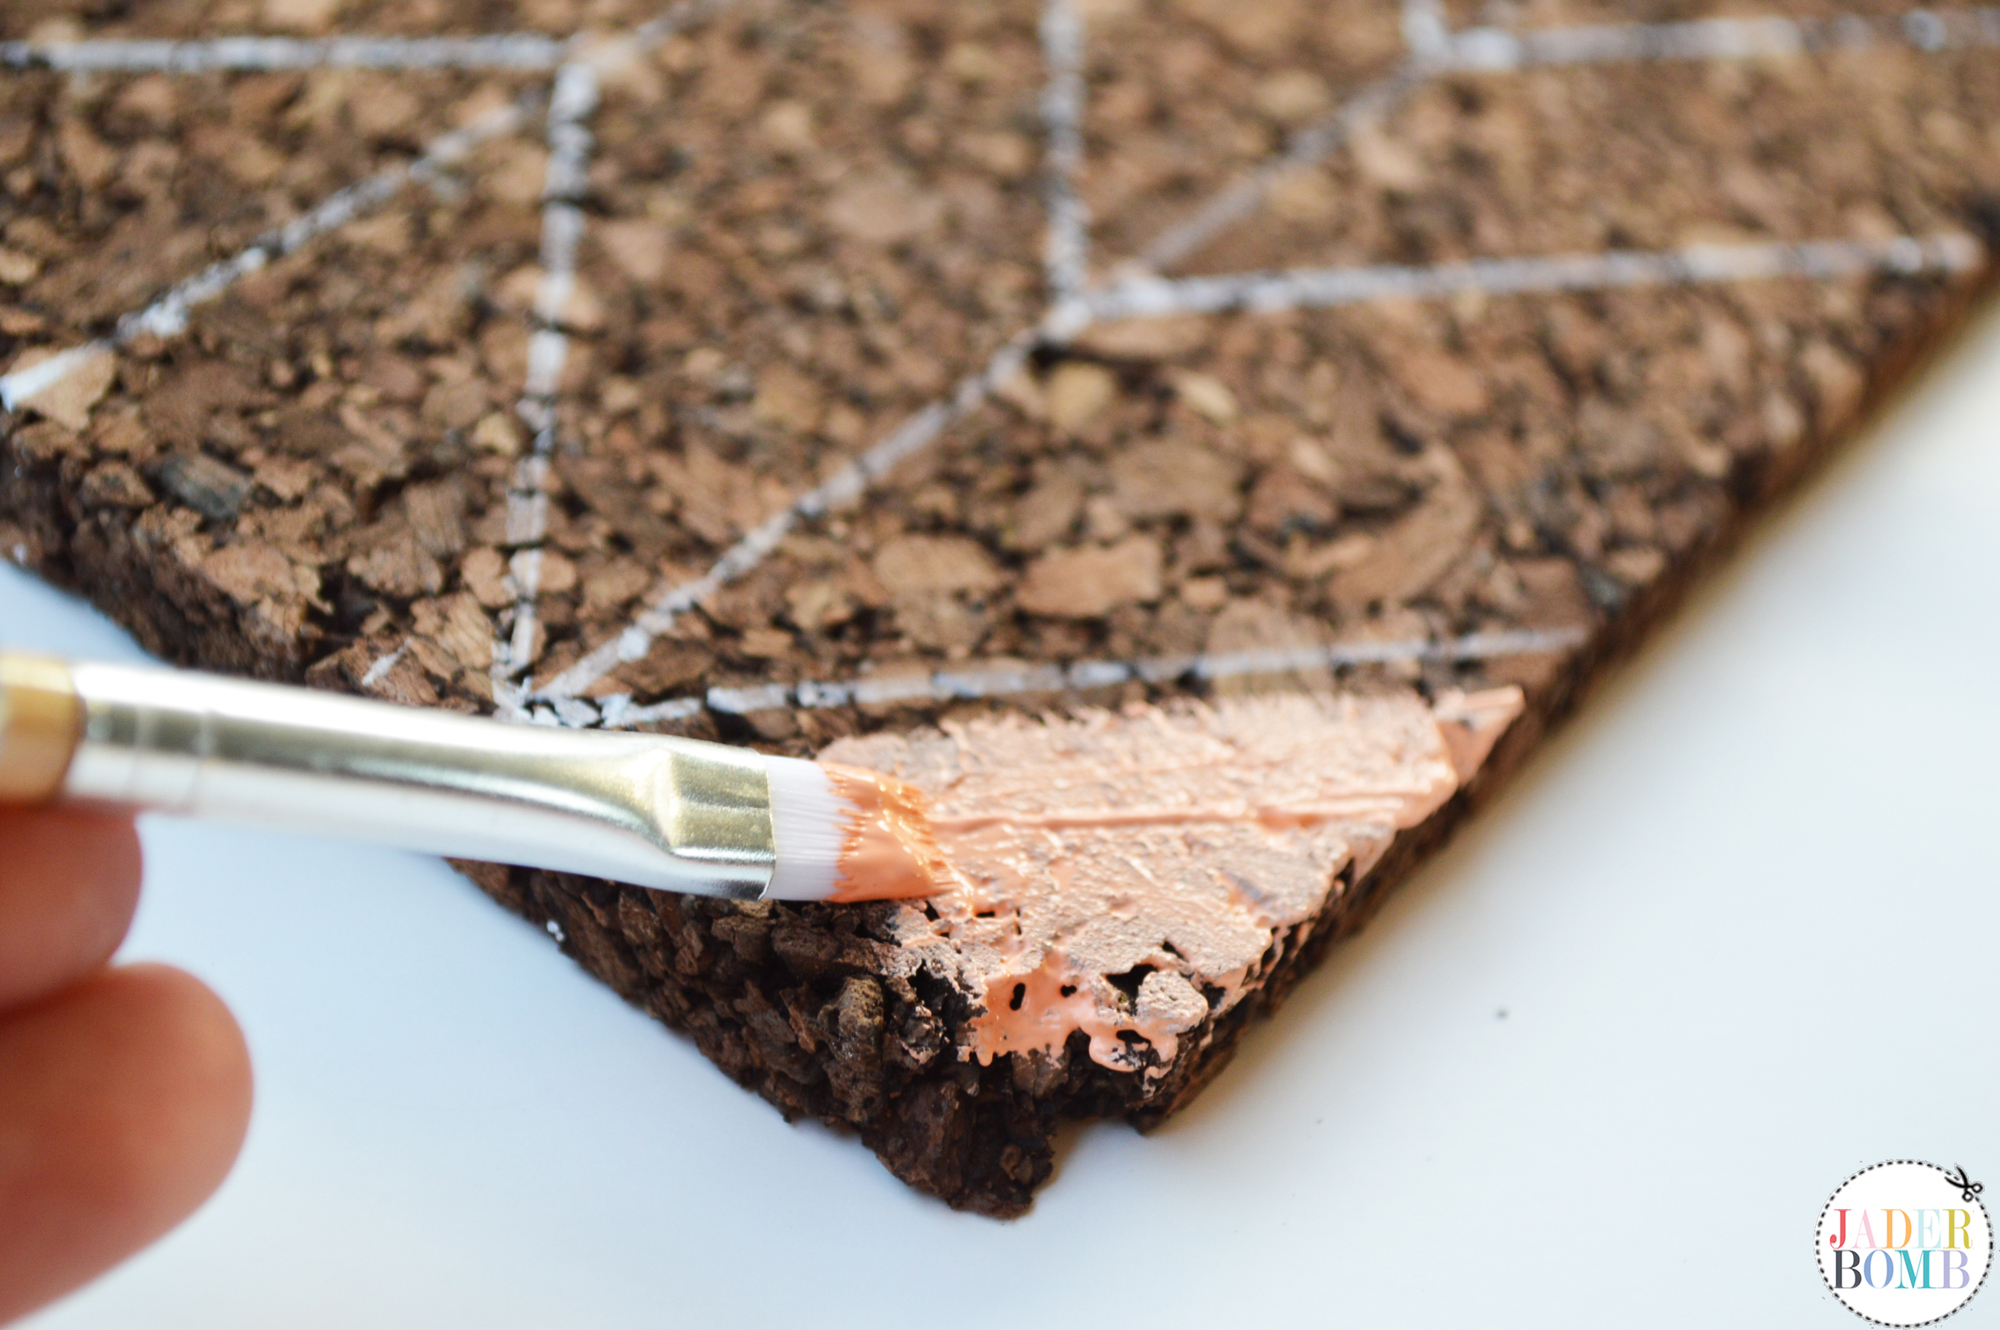

I am very pleased with the way they turned out. I created one board with the entire board painted and the other one I allowed some brown pieces to come through. I thought each look came out completely different and gave off a different vibe. 


Don’t forget to connect on social media! Make sure to use use the hashtag #JADERBOMB on Instagram or Twitter or Facebook so I can keep track of all your awesome creations! HAVE A GLITTERY DAY! ♥, Jade
P.S. If you LOVE printables then check out my site where you can download hundreds of FREE printables!
 Photography: Jaderbomb // DIY tutorial by: Jaderbomb // Cork Board : Michael’s // Paint: Michael’s // Chalkboard Marker : Michael’s // Affiliate Links: Amazon I do get a percentage from the links you can order from, so thank for helping me buy tons and tons of glitter!
© Copyright jaderbombllc, All rights Reserved. Written For: JADERBOMB


Great idea, I always find those boards so ugly yet useful lol. Thanks for share must try 🙂
Thanks Mari! I always find these boards a little hideous which is why I thought it was good to paint them! XO, Jade
That’s so sweet!
Thanks Lauren!