Happy Tuesday Jaderbugs! I am so excited to finally share with you how I make Washi tape. Washi tape is pretty popular these days but what’s not popular is how much they cost. Sometimes you can snag them for a good deal but most of the time they are a little over priced. Now let me warn you that the washi tape I make does not tear like the “paper” washi tape. Sometimes that bugs me BUT most of the time I remember how much money I saved and that I could make tape with any print I like then I feel much better. Don’t ya see, it’s like personalizing something…In a way. I also made a you tube video while I made the tape. I hope it makes you feel all warm and cozy inside. Hehe
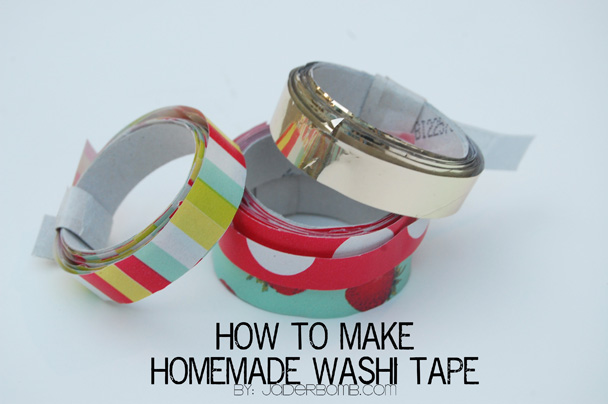
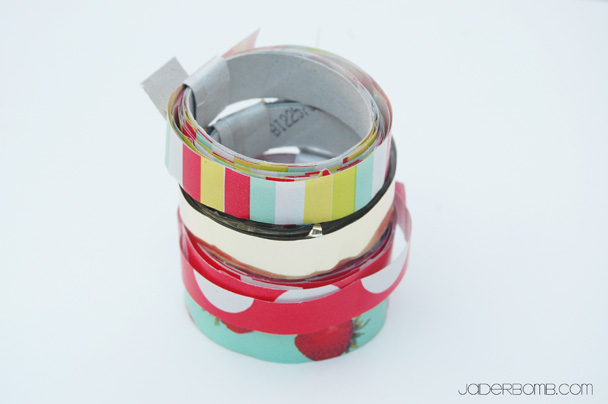
Below is a picture of the ones I just made. If you are wondering what the gold paper is click HERE to find out.
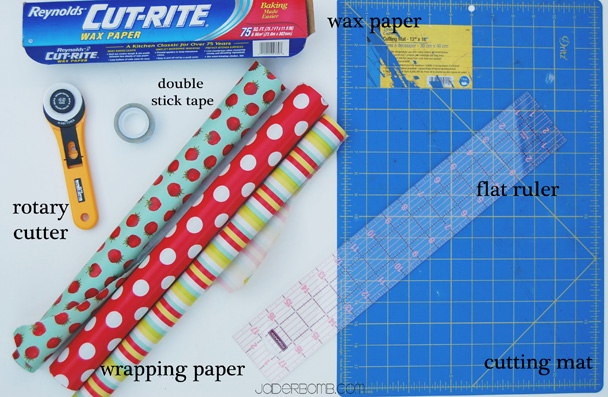
INGREDIENTS:
*Wax Paper
*Rotary Cutter
*Cutting Mat
*Double stick tape
*Wrapping Paper
*Flat Ruler
(for a cutting mat)
or use something with a flat surface to cut
*Scissors
(use this if you don’t have a rotary cutter)
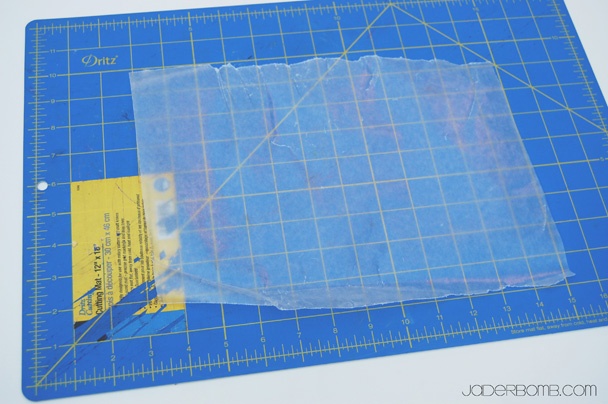
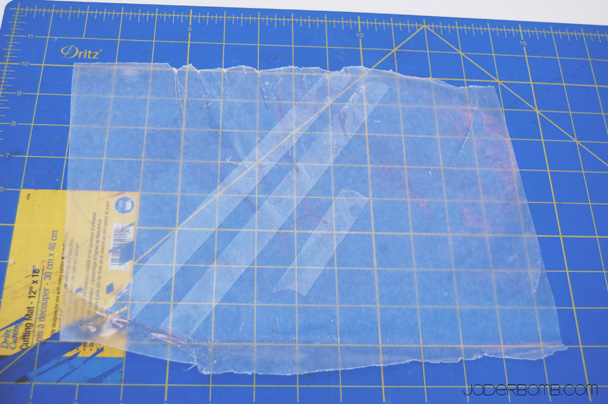
First thing you will do is lay a sheet of wax paper down.
Put a strip of double stick tape on it.
I usually put a alot.
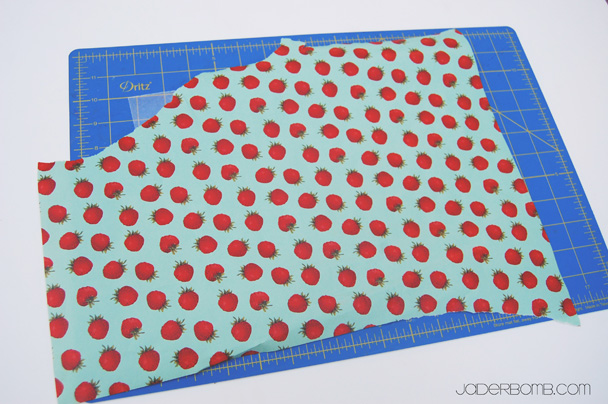
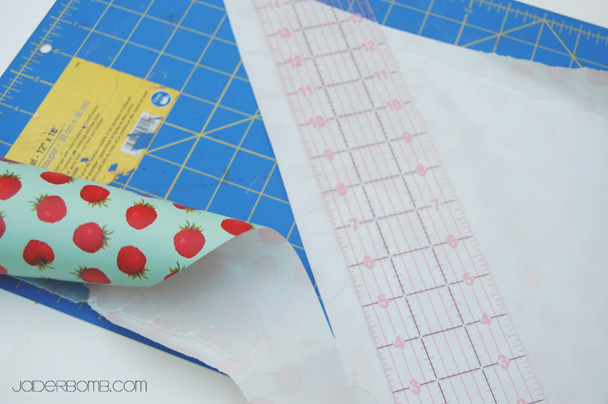
Tear some wrapping paper and lay it right on top of the tape. Now your tape is stuck to the wax paper on one side and the wrapping paper on the other.
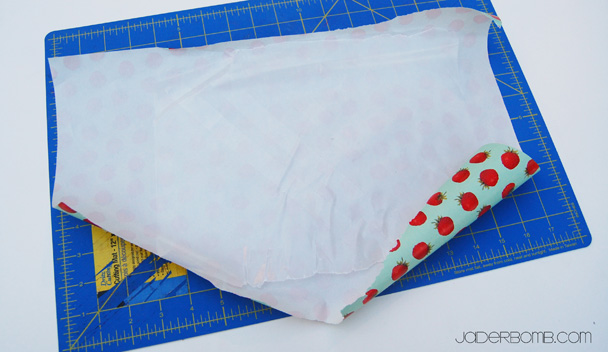
Once you are sure your tape is secure on the paper flip everything over.
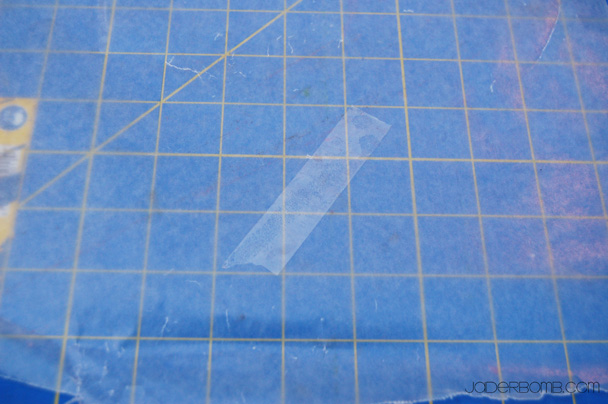
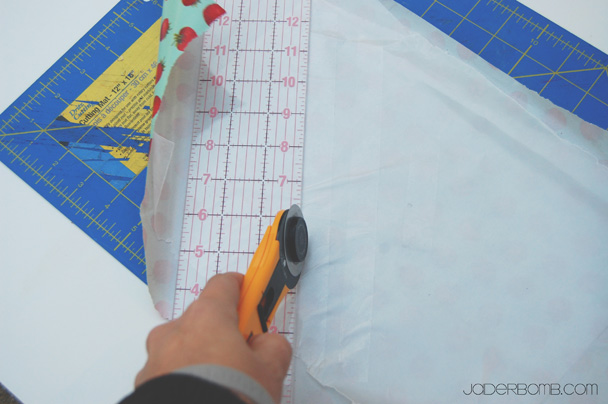
It’s hard to see in the paper but in person you can now see where your strips of tape are. Get your ruler out and line it up on one side of the tape.
Grab your rotary cutter. If you don’t have a rotary cutter or flat ruler you can just hand cut the strips of tape with scissors. I just think it goes faster with the rotary cutter which is why I use it.
Now you are ready to start cut cut cutttinggggg (I was just singing that btw).
Cut one side of the tape on the mat.
Then move to the other side of the tape. When you are finishing cutting you will notice it will be one long strip of paper. Trim the edges where there is NO tape and VOILA!
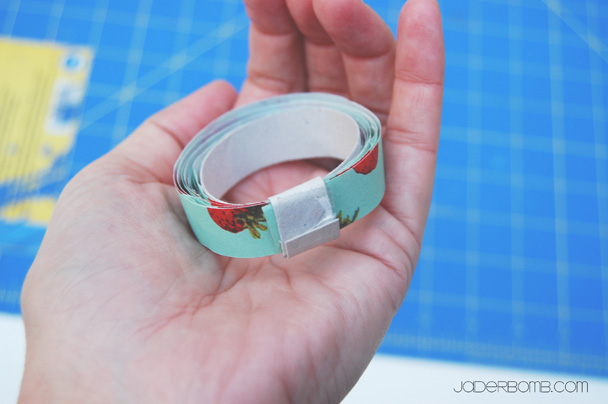
You can now start wrapping all of your tape into a roll like I did below. I cut a little strip of cardboard to wrap around the entire roll. This hold it all in place.
How precious are these babies. I can’t wait to use these on all of my Christmas presents. When you are ready to use them cut a piece, pull the wax paper off and stick it where you want. It’s that easy!!!
I hope you enjoyed this tutorial!
Don’t forget to make it a DIY kinda day
See ya in the next post





What can I say besides….FUN FUN FUN! I have wanted to try washi tape and making my own is a great way to get started! I also experimented with sticky-back shelf paper with a zebra design. Cut them into the size strips I need; coiled them up; can’t wait to use them! Thank you for sharing your creativity. I have scraps of fabric *muses* I wonder if that will work…..maybe with double sticky fabric tape? This is new to me and I am seeing there isn’t much of a limit is there. Thanks again!
Pingback: Washi Tape Candles Tutorial | JADERBOMBJADERBOMB
So funny! I am so glad you shared your cutting “song”! I have the “dab, dab, press” song stuck in my head from a massive gluing project I did. I found you through the Graphic’s Fairy…and…you are Fantabulous! I love that you have such great photos with your understandable tutorials. And Finally, I understand Washi tape! I want to dive into everything you have posted! Who needs clean underwear anyway?!? LOL! Thank you for sharing so generously, free-of-charge. Blessings to You and Yours from Port Huron Michigan USA
Glad you like the song Susie!
LOVE THAT IDEA HAVE SOME PRETTY PAPER I CAN DO THAT WITH
Awesome! Thanks for stopping by!