Tag Archives: diy

Happy Holidays today I have some exciting DIY’S to share with you. Trust me you will be happy you came visit me today! I have three different DIY projects that you can do with your friends and family, or FOR your friends and family! That sounds more like it huh!12735_SO_1201_Dec_Michaels_Makers_l-2
  • We all have stressors during the holidays and this month the Michaels Makers were asked to come up with creative and fun holiday hacks and tips to help relieve some of that stress and make holiday entertaining and prepping fun!
  • We were given 5 common holiday hiccups to choose from and I went with “What to give as a hostess gift”.

I am so pleased with the outcome of this project! I hope you enjoy all of them, let’s get to it!EASY DIY HOSTESS GIFTS

For this project you will need: WOODEN TRAY * CHALKBOARD PAINT * BRUSH

ALL OF THESE PRODUCTS WERE PURCHASED FROM MICHAELS.
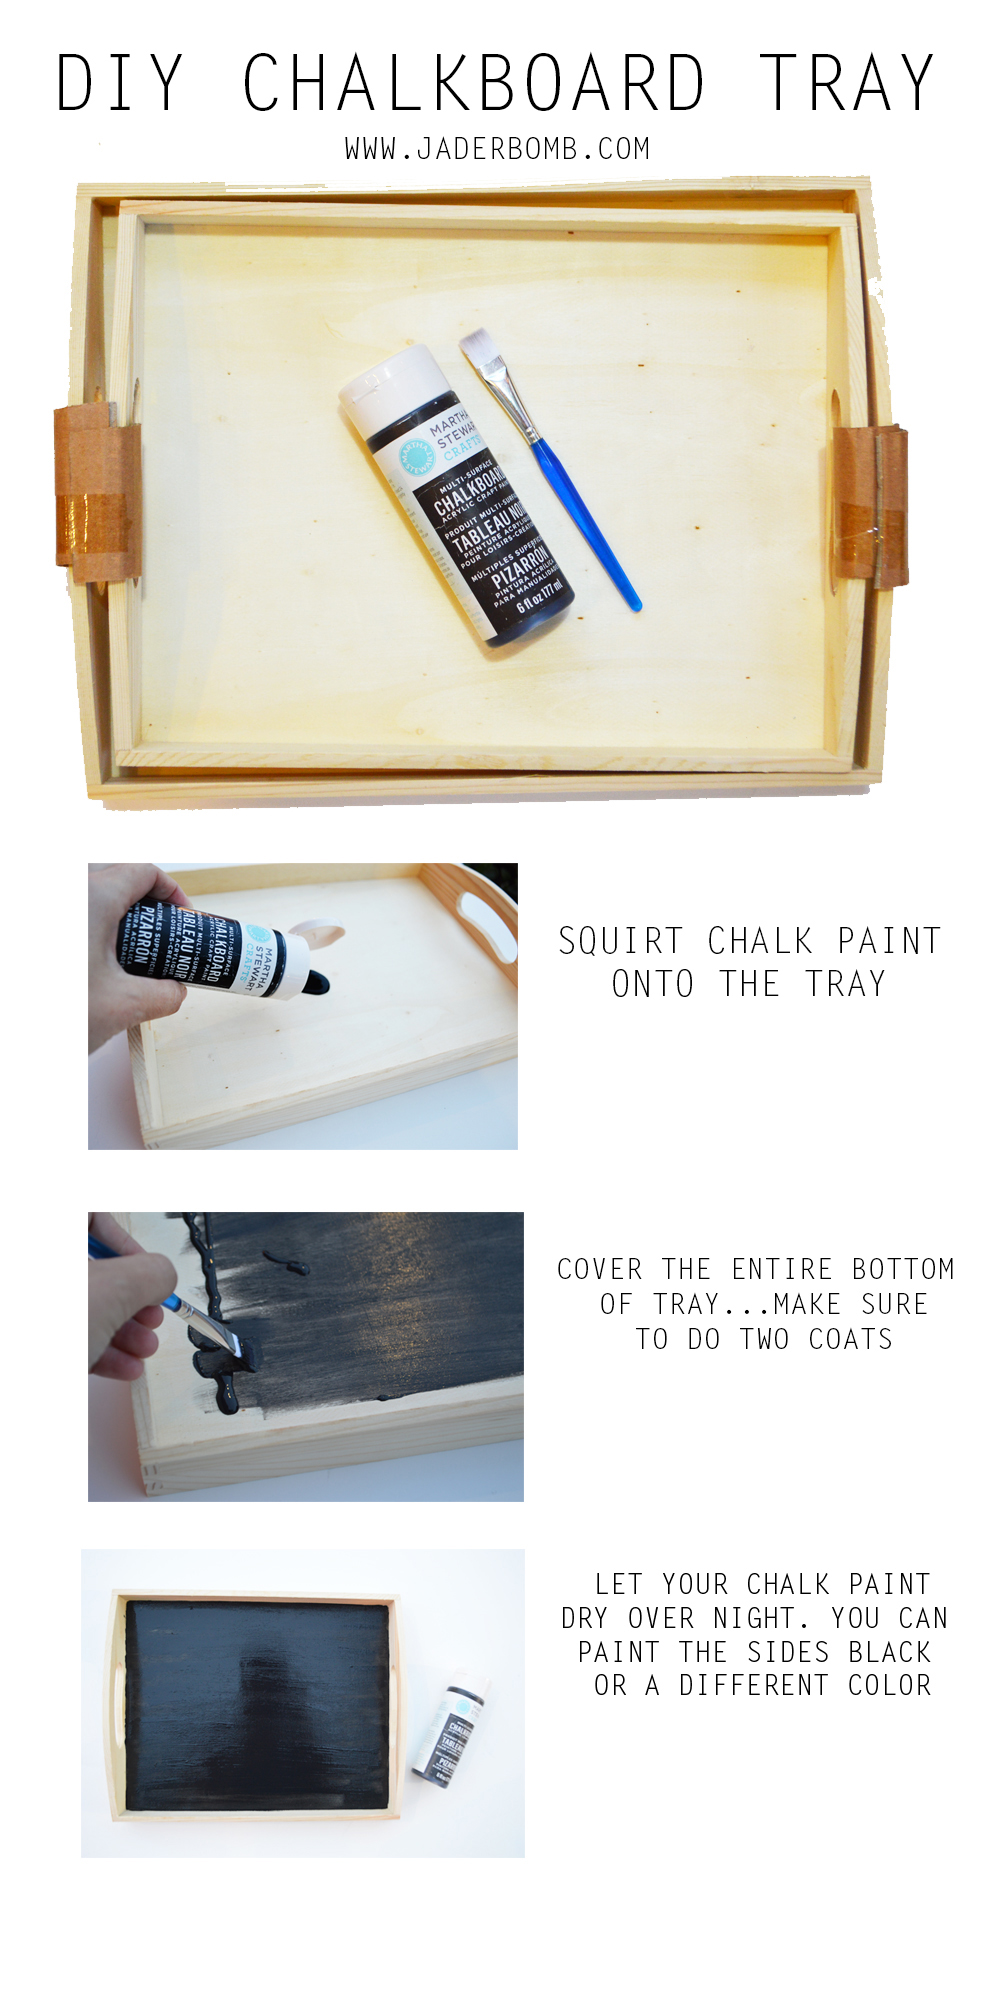
DIY CHALKBOARD TRAY

HOW PRECIOUS IS THIS TRAY! Here is a snippet of everything we will be making today so peek too long!HOSTESS GIFT
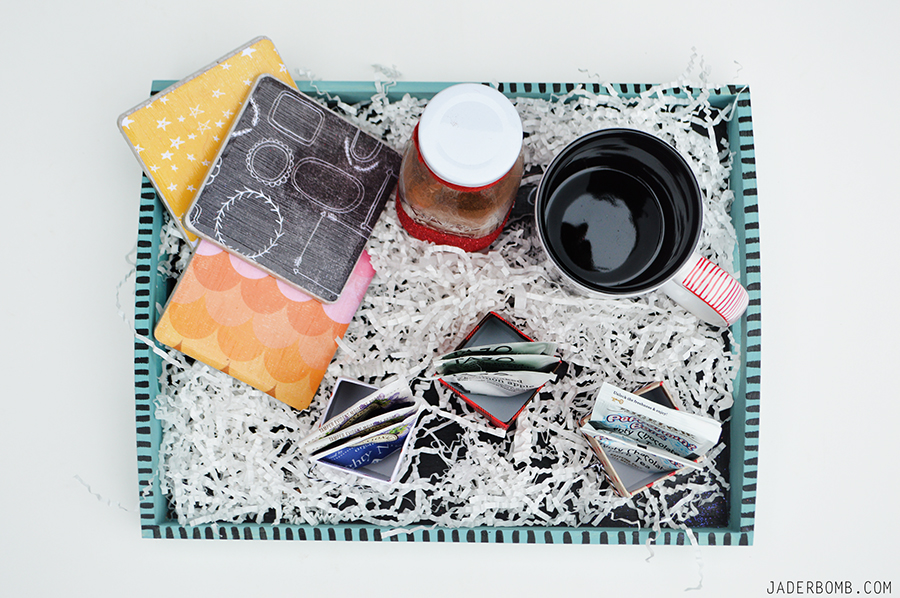
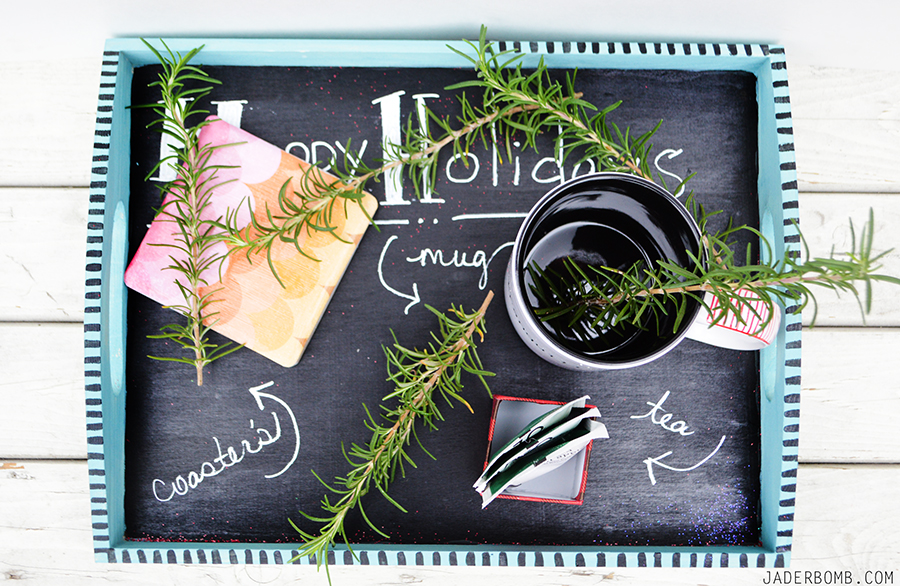
I love the look of a chalkboard tray. You can put anything inside of it and it will pop with excitement! Cheese and crackers would look great inside of this also. EASY HOSTESS GIFTS
For all of my projects today I am using outdoor Mod Podge simply because I want to use these items outside for parties. OUTDOOR MOD PODGE
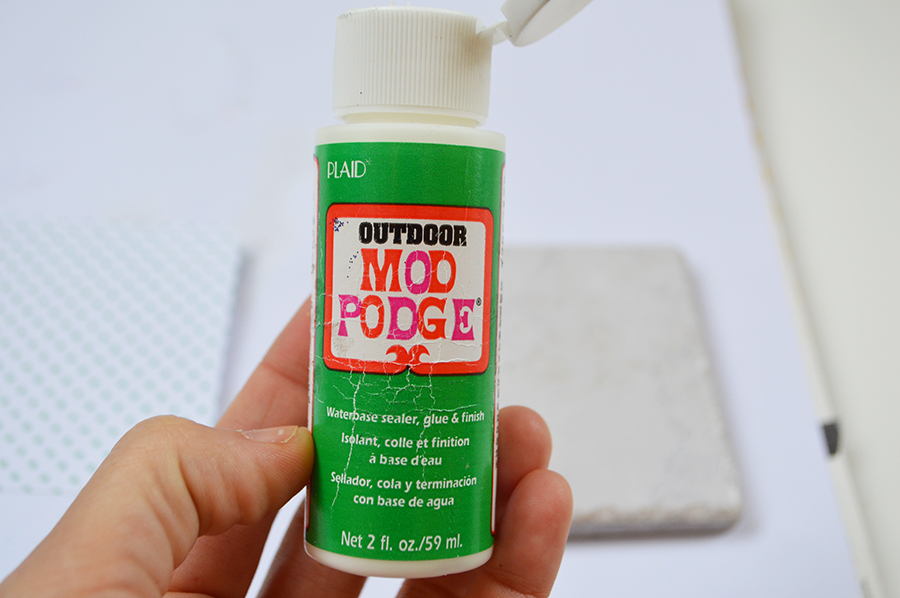
For this project you will need: DECORATIVE PAPER * MOD PODGE * COASTER * PENCIL

ALL OF THESE PRODUCTS WERE PURCHASED FROM MICHAELS EXCEPT THE COASTER. You can get this from your local hardware store for pennies.
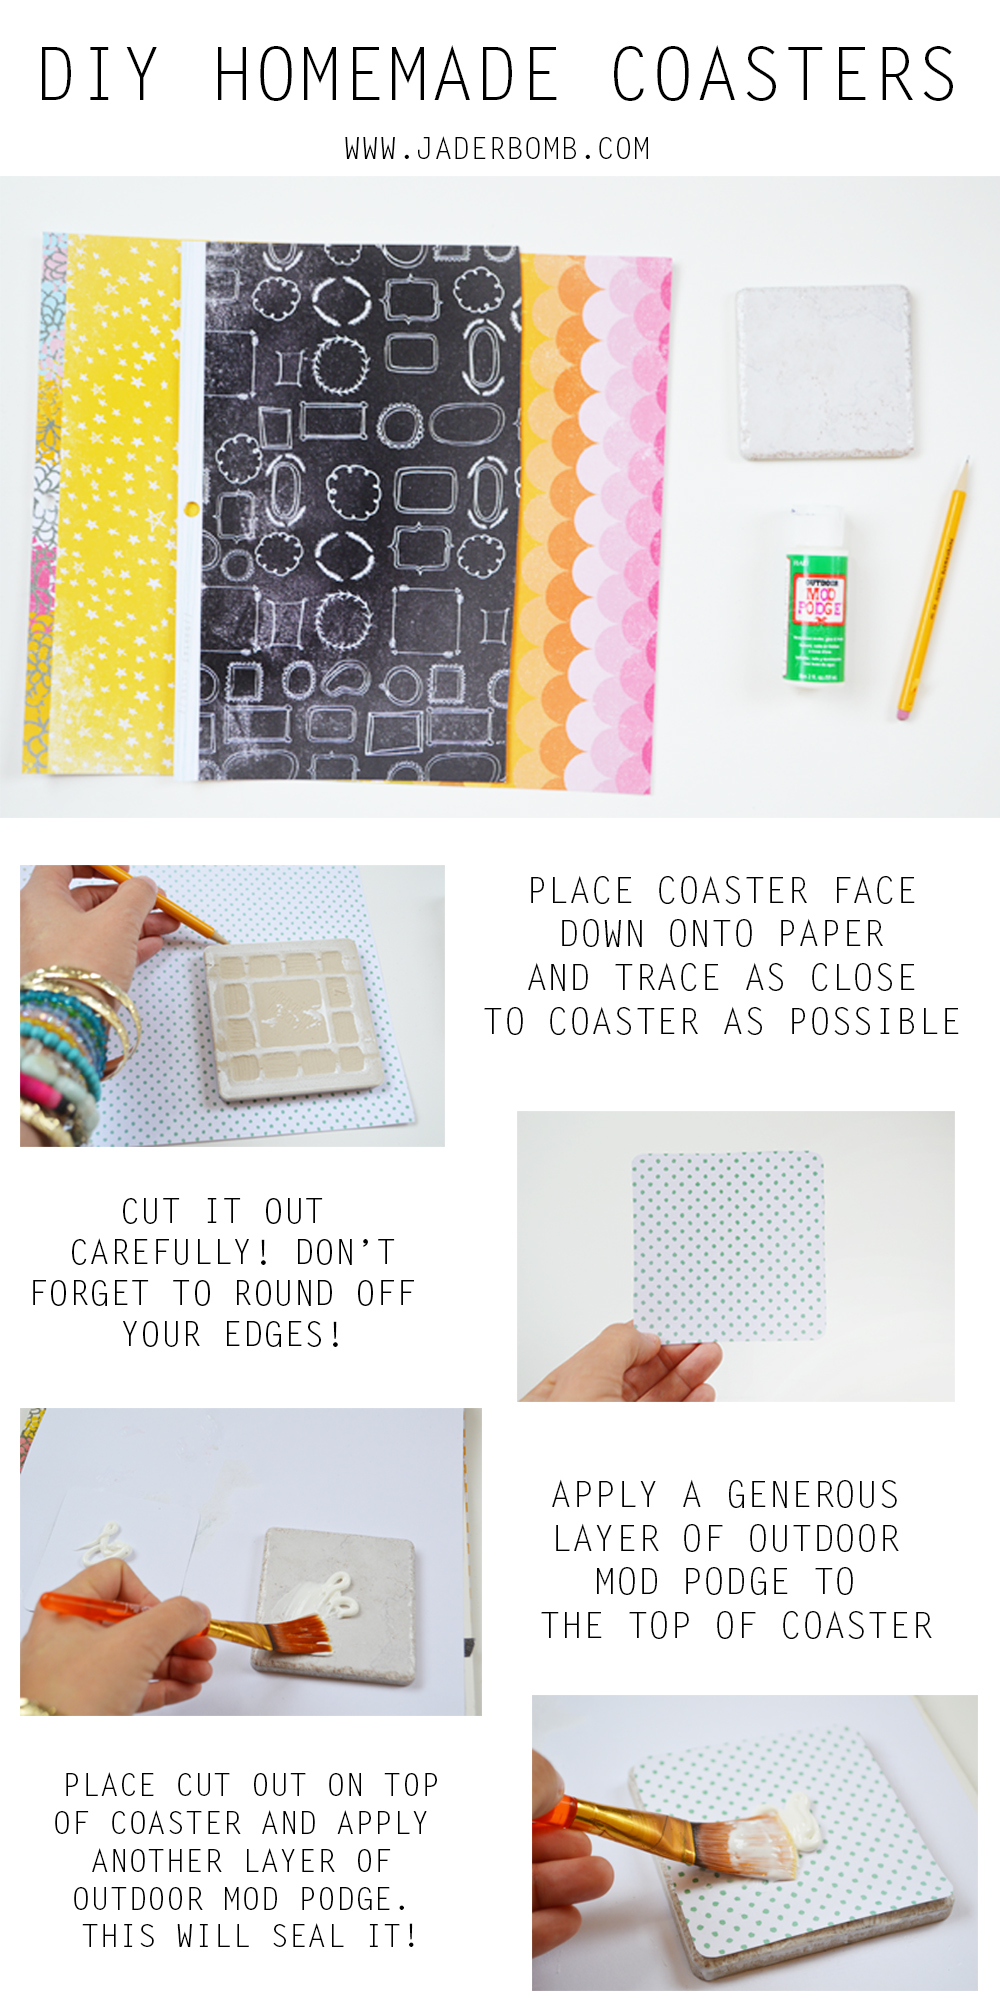
DIY HOMEMADE COASTERS

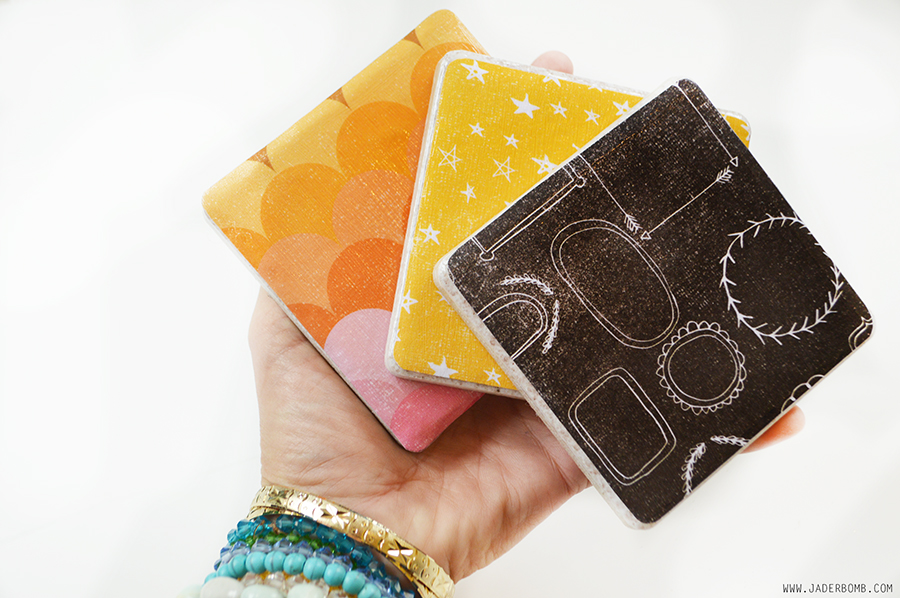
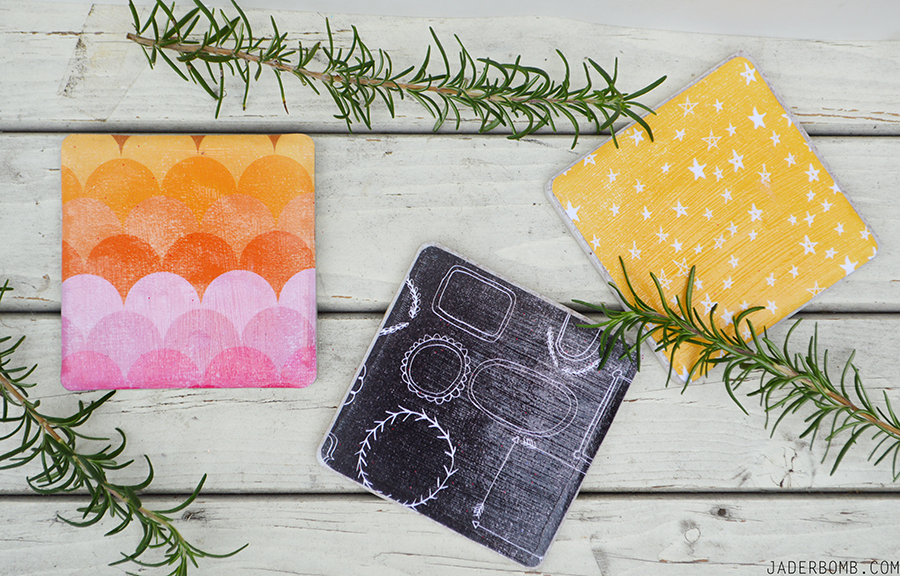
Tadahh! I love this because you can personalize coasters for personalities. How cool is that! BTW kids will LOVE this project!
paper coasters

CHRISTMAS HOSTESS GIFT

For this project you will need: WHITE MUG * STENCIL * SHARPIE MARKER

ALL OF THESE PRODUCTS WERE PURCHASED FROM MICHAELS EXCEPT THE MUG. When done with this project put the cold mug in your oven and set to 350 degrees. Leave the mug in the oven for 40 minutes, make sure to let the mug cool down on it’s own in the oven!

Now your mug is all set to give away and enjoy!
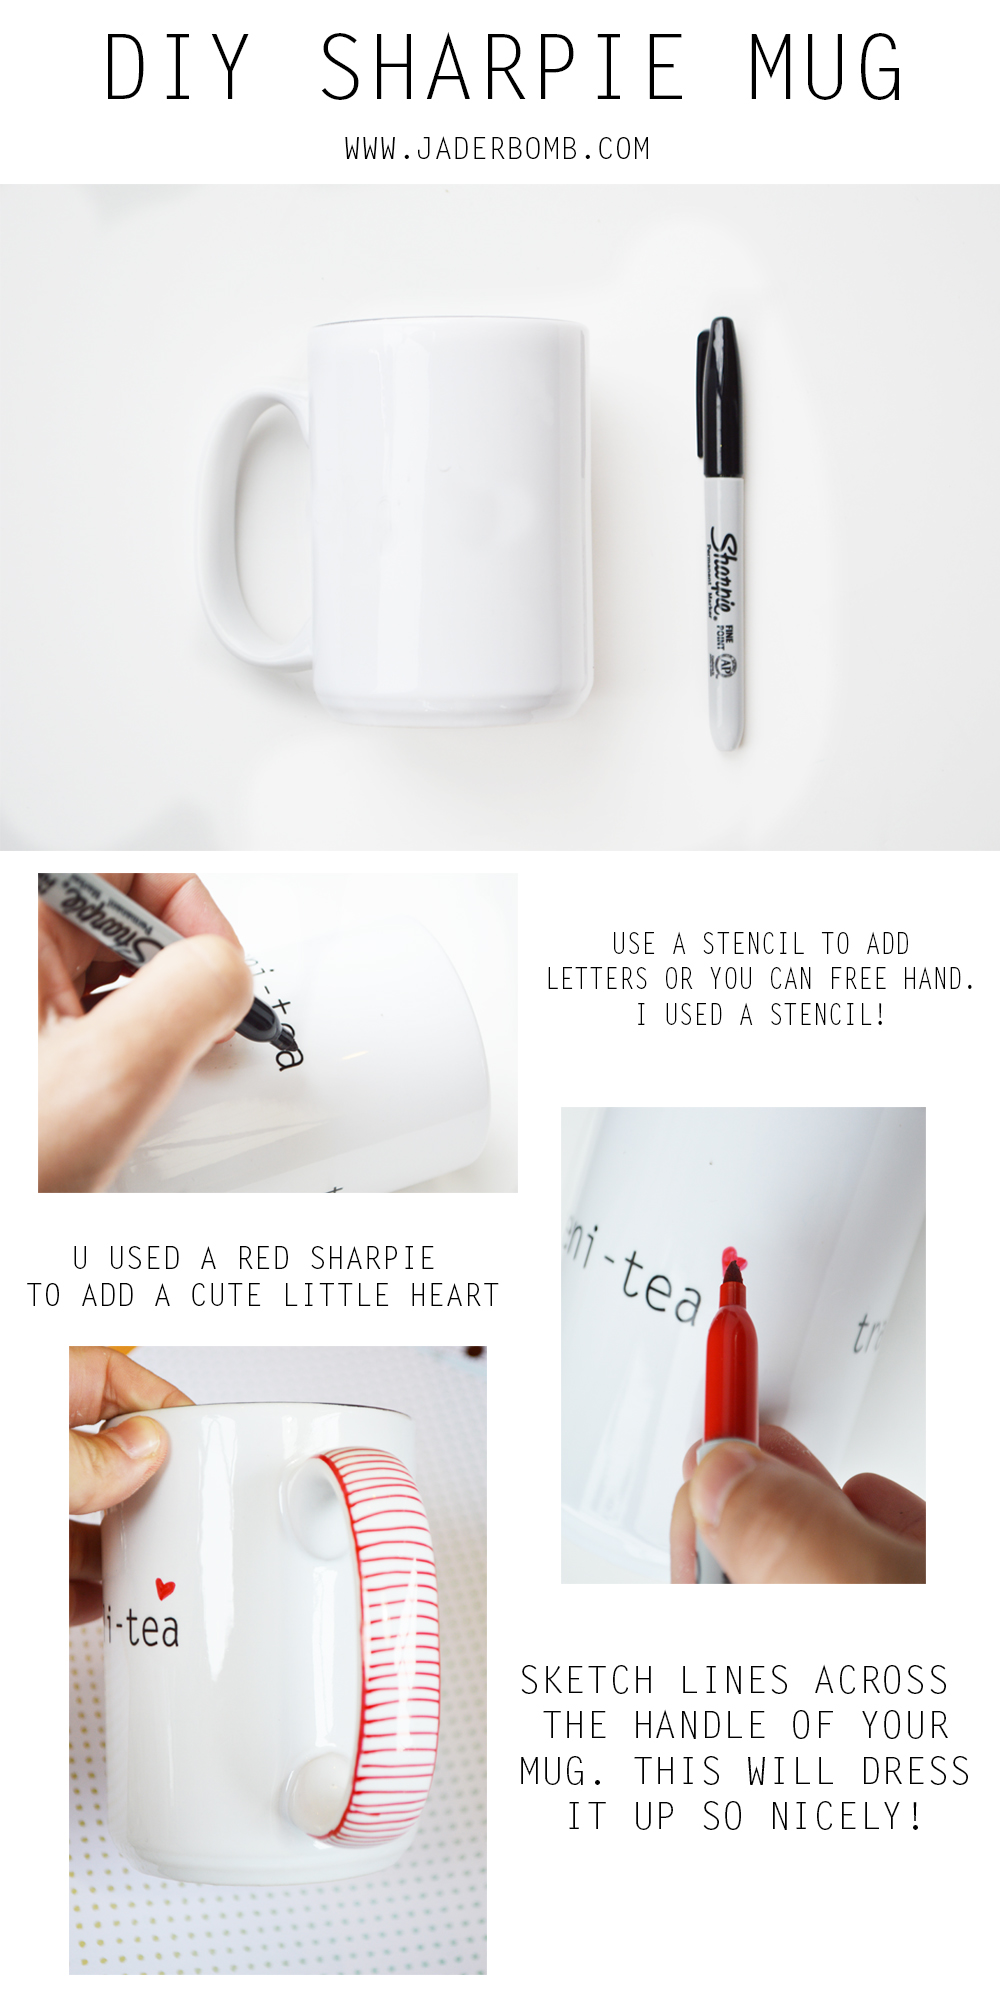
DIY SHARPIE MUG

Now for my stencil I sprayed it will adhesive spray then applied to the mug. Make sure it is firmly placed on the mug so when you trace with marker it comes out perfect. You can clean up edges with makeup brush and alcohol. HOSTESS IDEAS
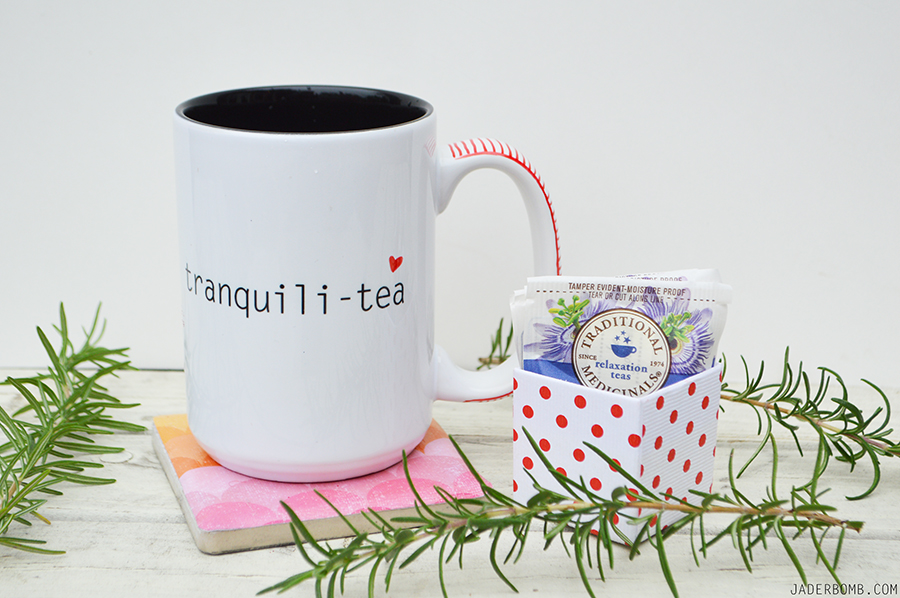
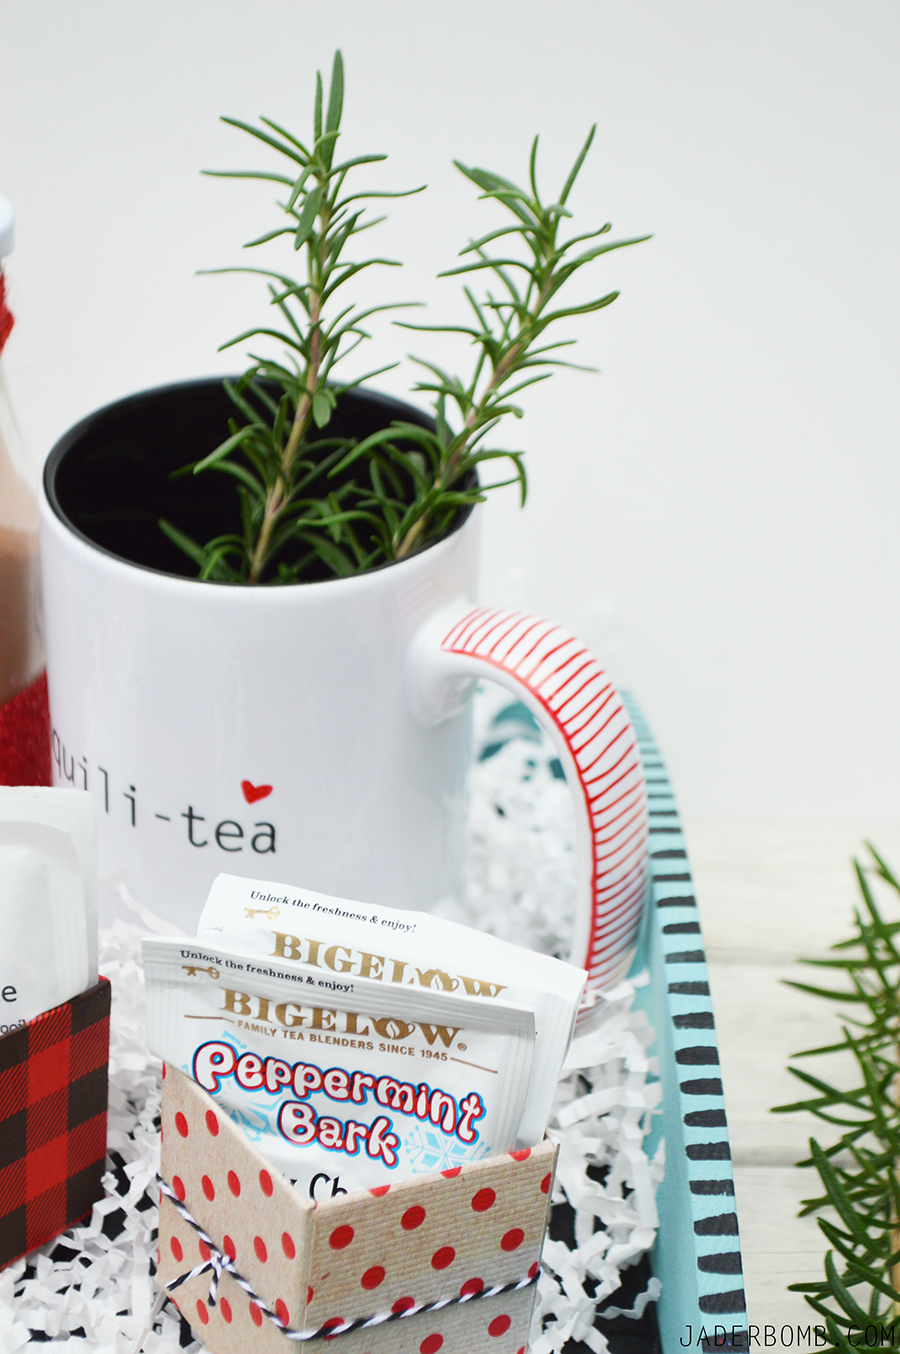
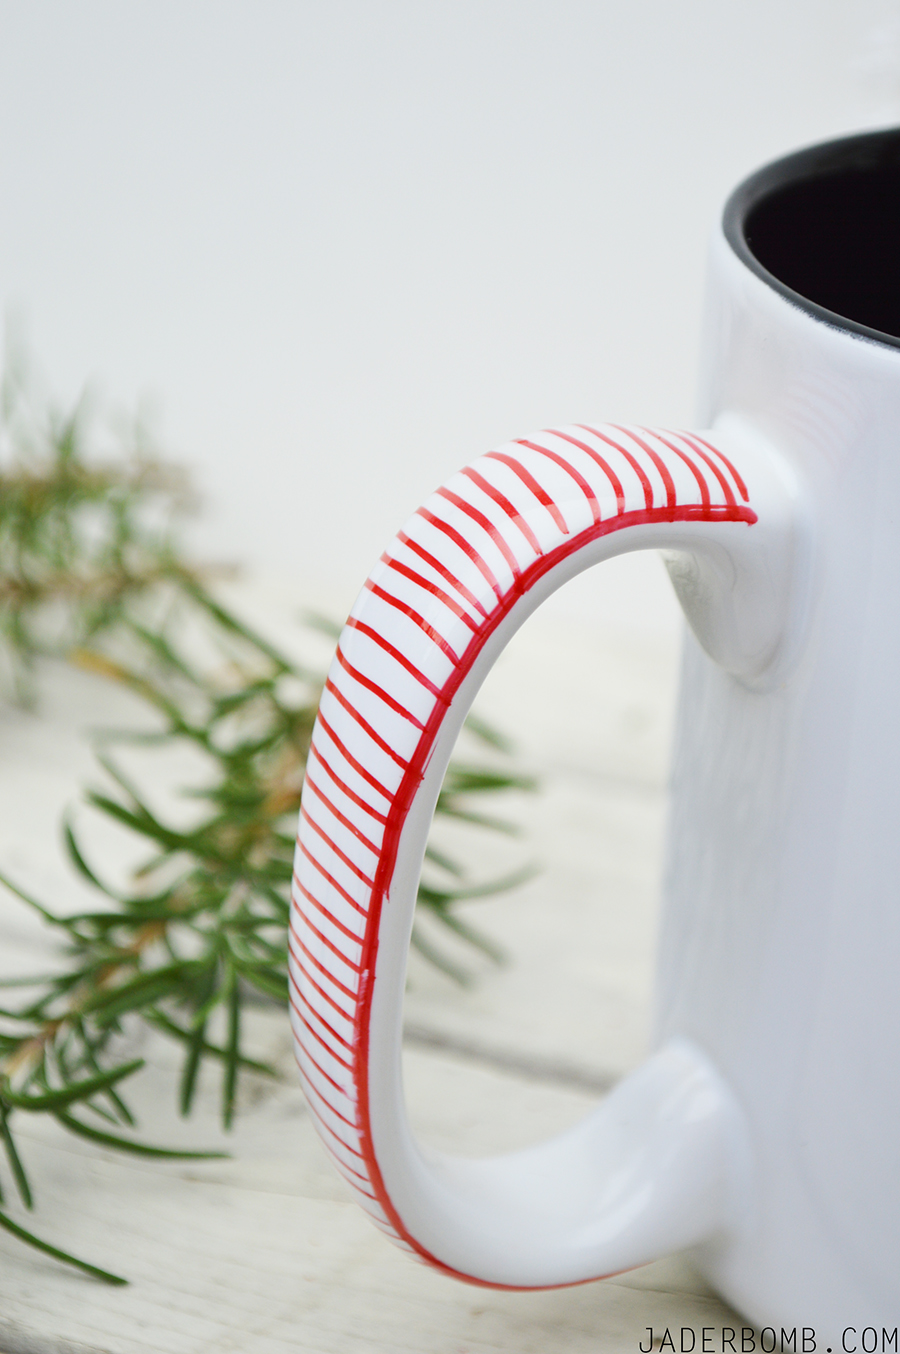
I used a red sharpie to create the peppermint handle.
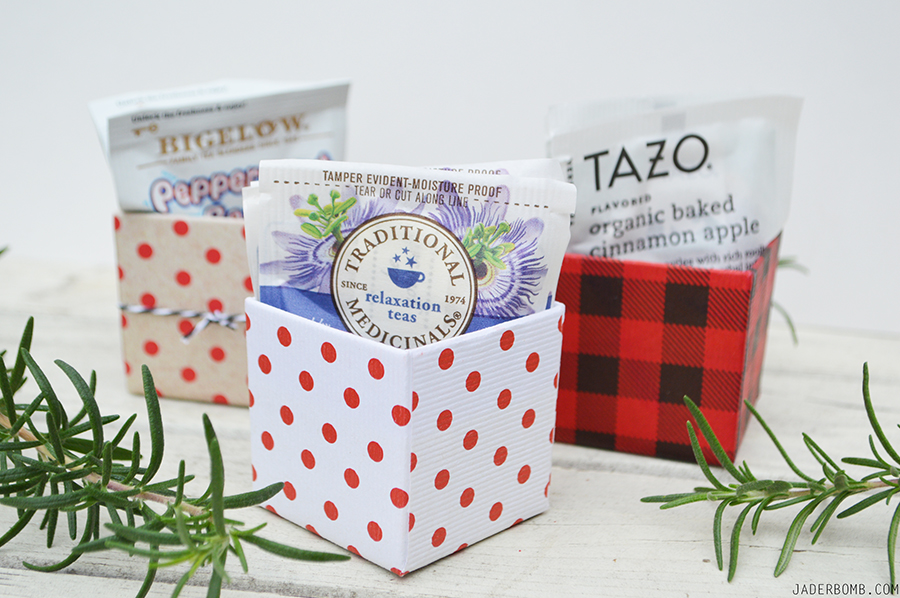
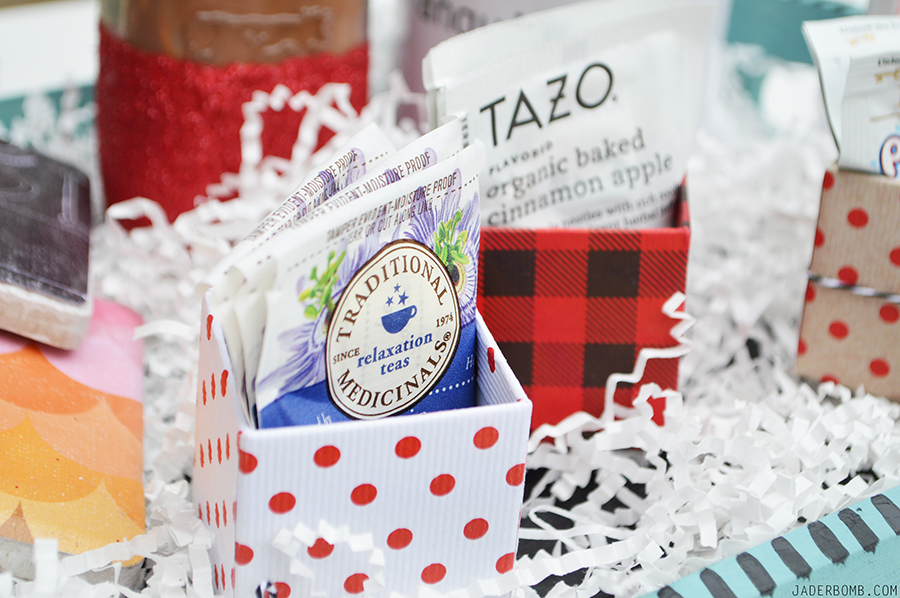
DIY MUG Give to someone on the tray with a cute box of different teas and you will surely make someone very happy!
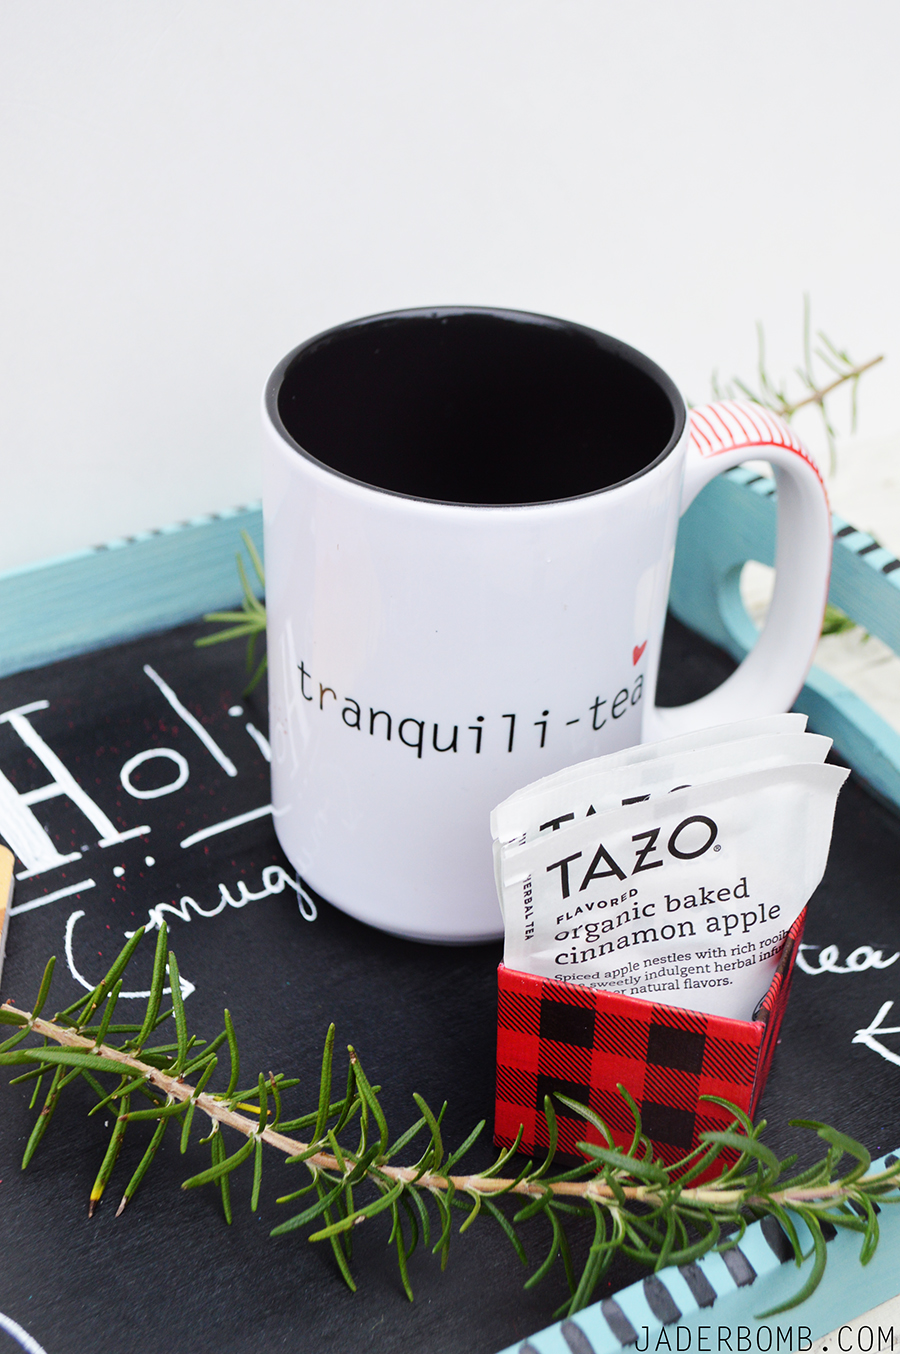
HOSTESS MUG GIFT

CHRISTMAS DIY GIFTS

TEA SET HOLIDAY GIFTS

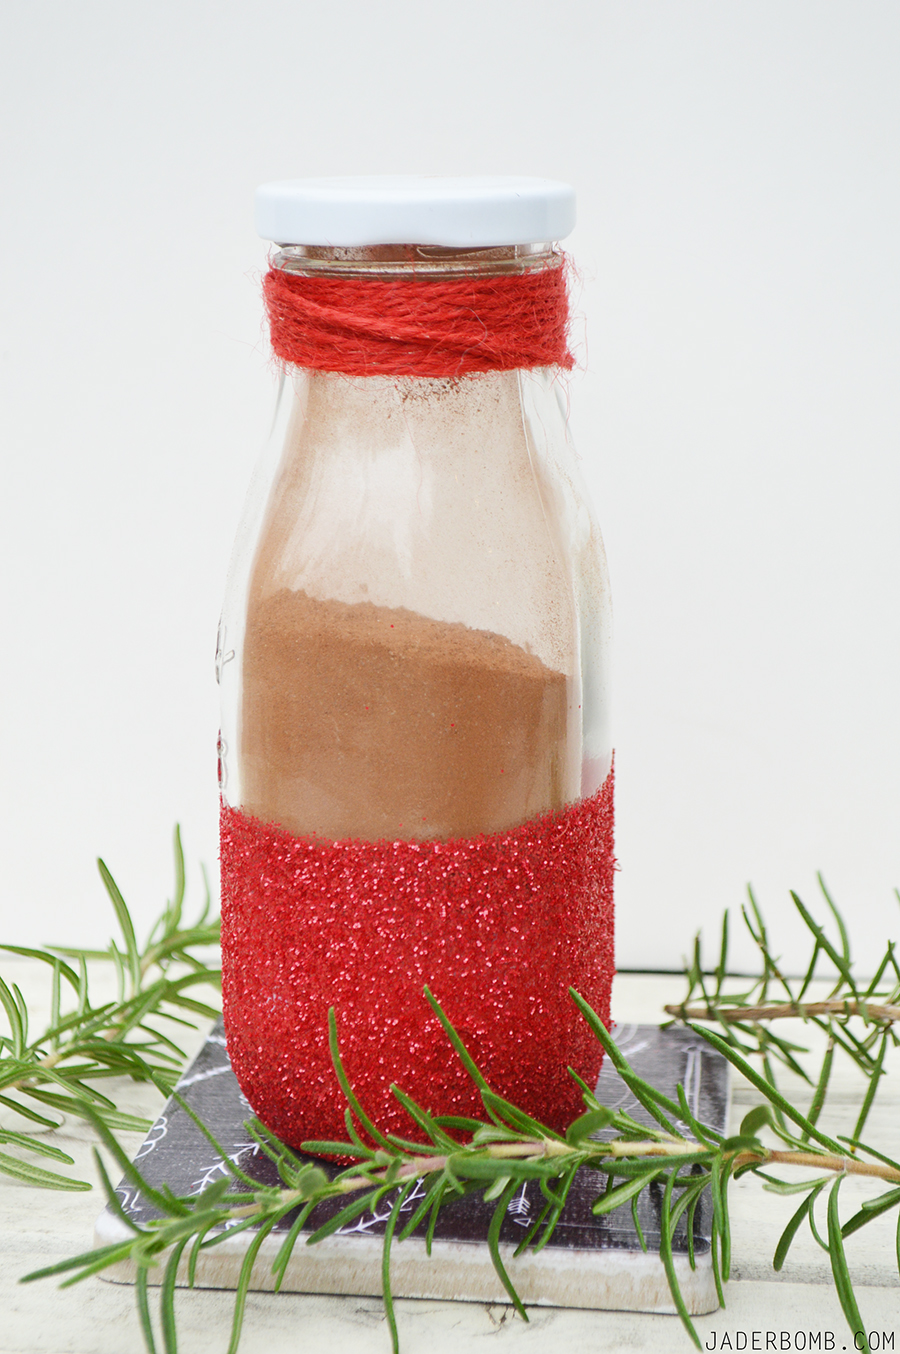
For this project you will need: GLASS JAR * MOD PODGE * BRUSH * GLITTER

ALL OF THESE PRODUCTS WERE PURCHASED FROM MICHAELS.
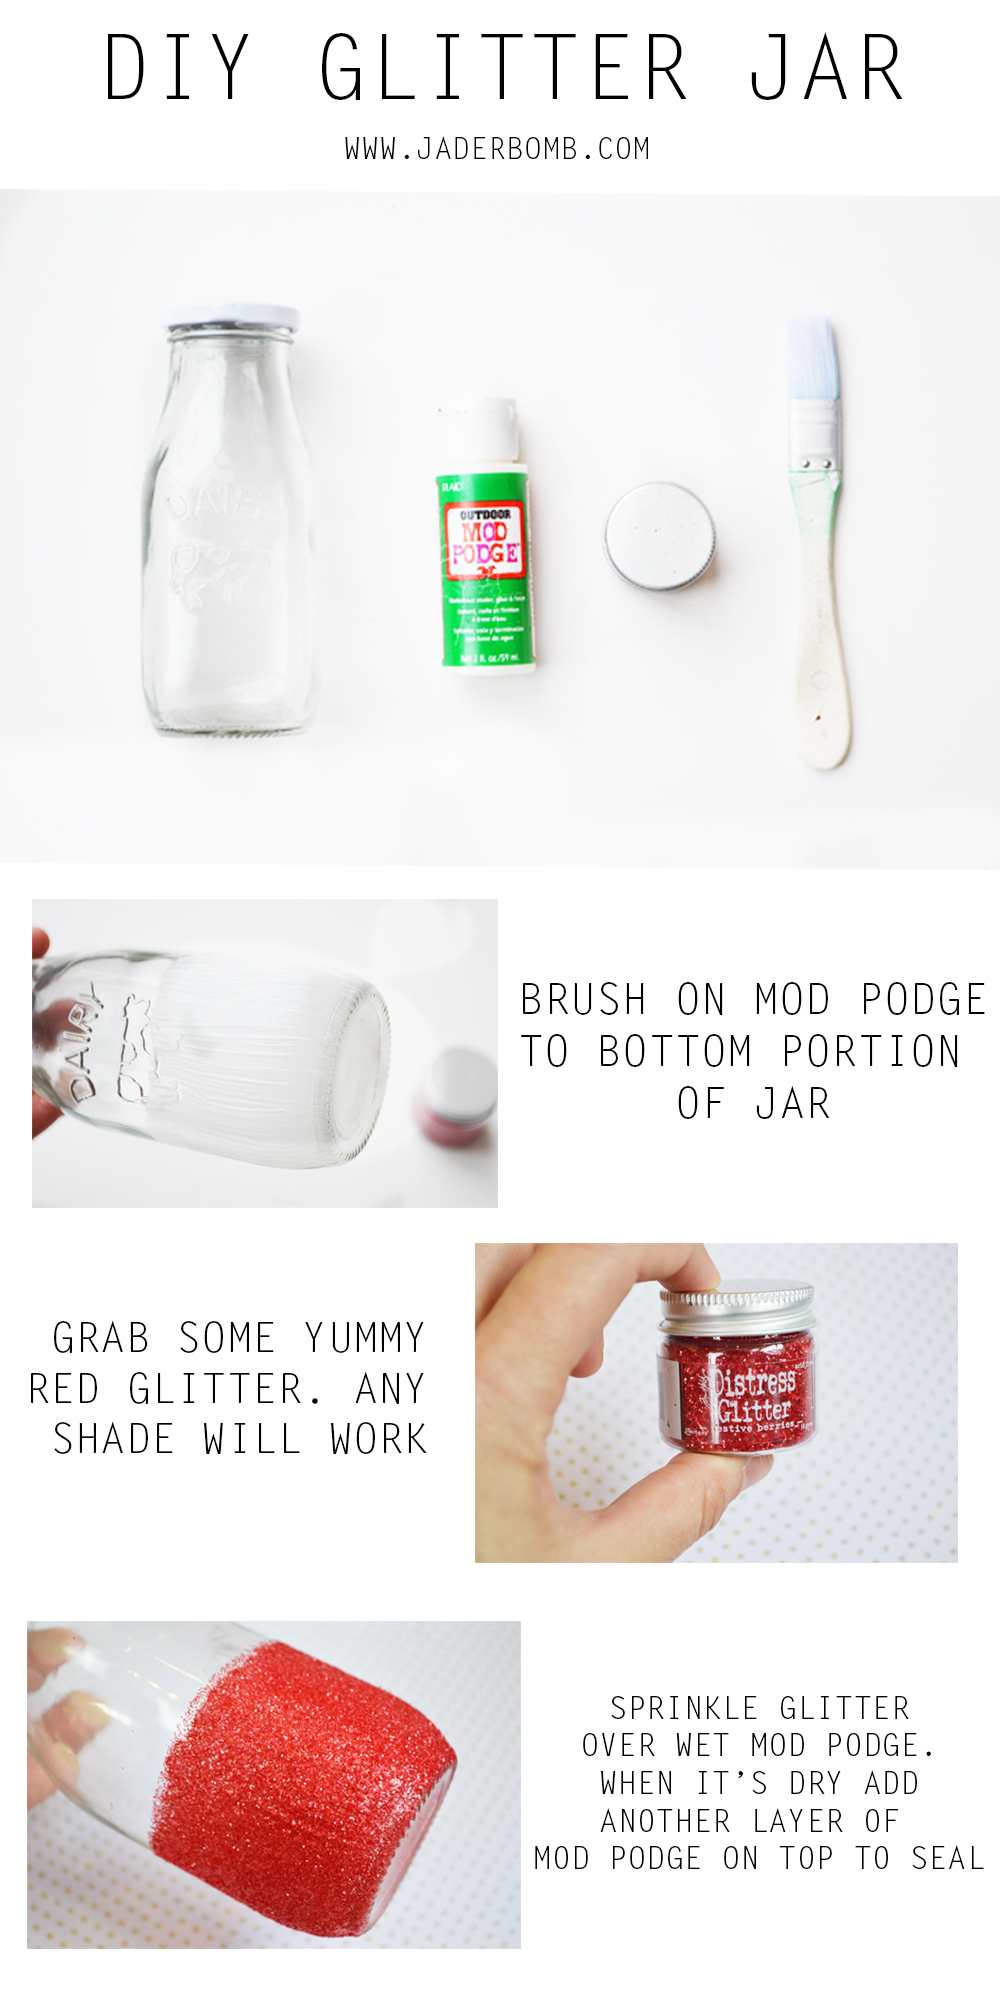
GIY GLITTER JAR

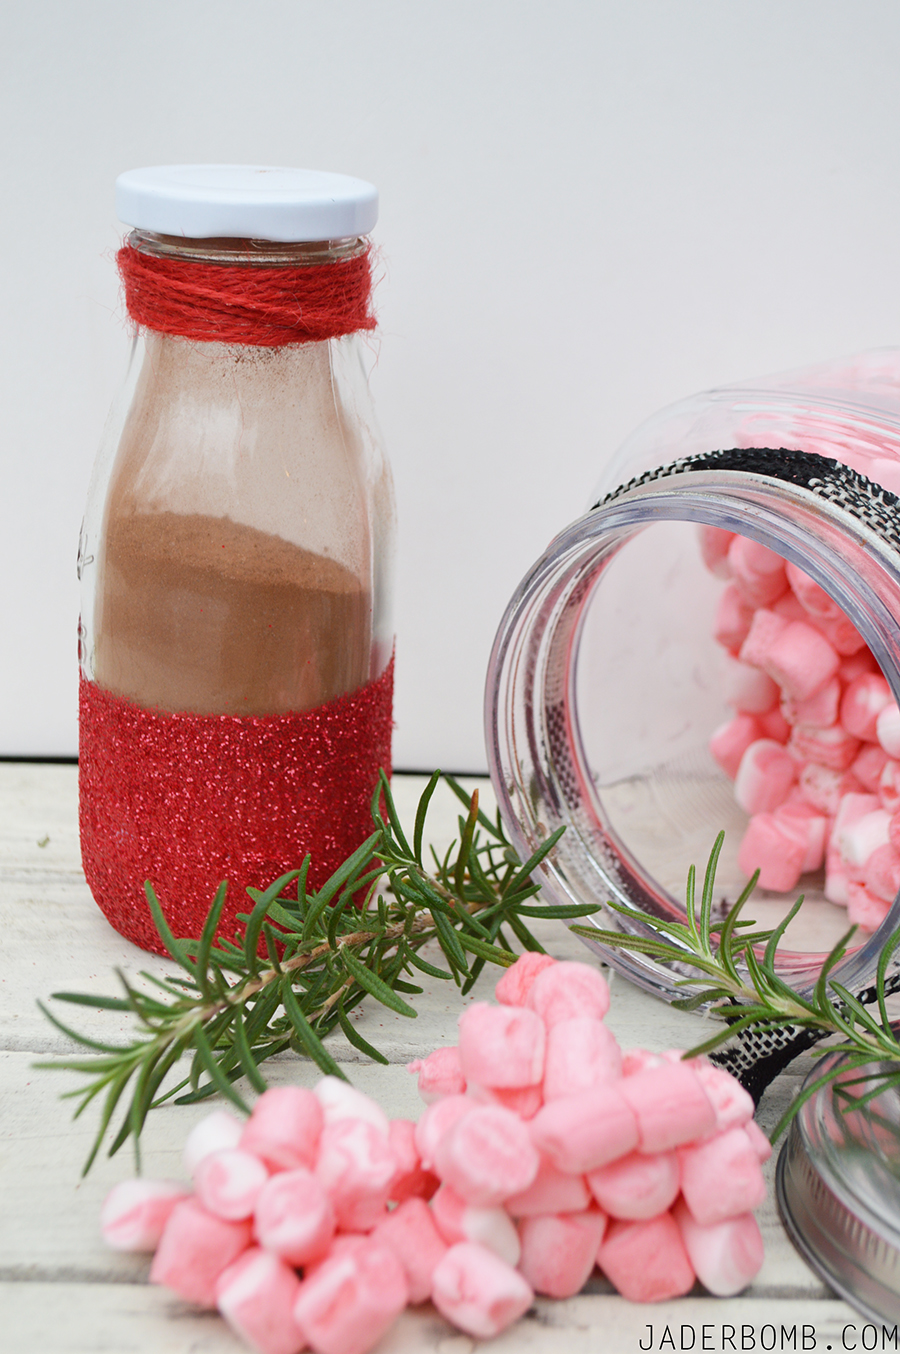
I filled my jar with hot chocolate so when you give it away it’s all neatly tucked away. Just grab some with a spoon when ready to use! Don’t forget to add peppermint marshmallows! HOT CHOCOLATE HOSTESS GIFT HOT CHOCOLATE GIFTS
MICHAELS MAKERS HOSTESS GIFTS

  • Michaels has tons of holiday project ideasand instructions on their Michaels.com, including gift wrapping, home décor, last minute gift ideas, hostess gifts and more.
  • Check out the other four holiday hack topics and the unique ideas all of the makers came up with on Michaels’ blog, The Glue String.

I hope you enjoyed this project because I did! Make sure to check out all of my other Michaels Maker HERE!

Sending HUGE hugs from my computer straight to yours! XOXO Jade

Come visit me on all my social media sites! Just search JADERBOMB on all of them!
FACEBOOK | INSTAGRAM | PINTEREST | TWITTER | GOOGLEYOU TUBE

This post is brought to you by *Plaid Crafts – Mod Podge Pearl & FolkArt Multi-Surface Paint and Blueprint Social. The opinions are my own.

I seriously die for Christmas. I look forward to it all year long and I am not sure if it’s because of the all the DIY’S I create or just because it’s the one time of the year I can relate to my childhood. I had a great childhood especially around Christmas time. My mother was always baking goodies and her decor was to die for, literally. She always went all out and I believe that is why I love decorating so much. So thanks mom if you are reading this!

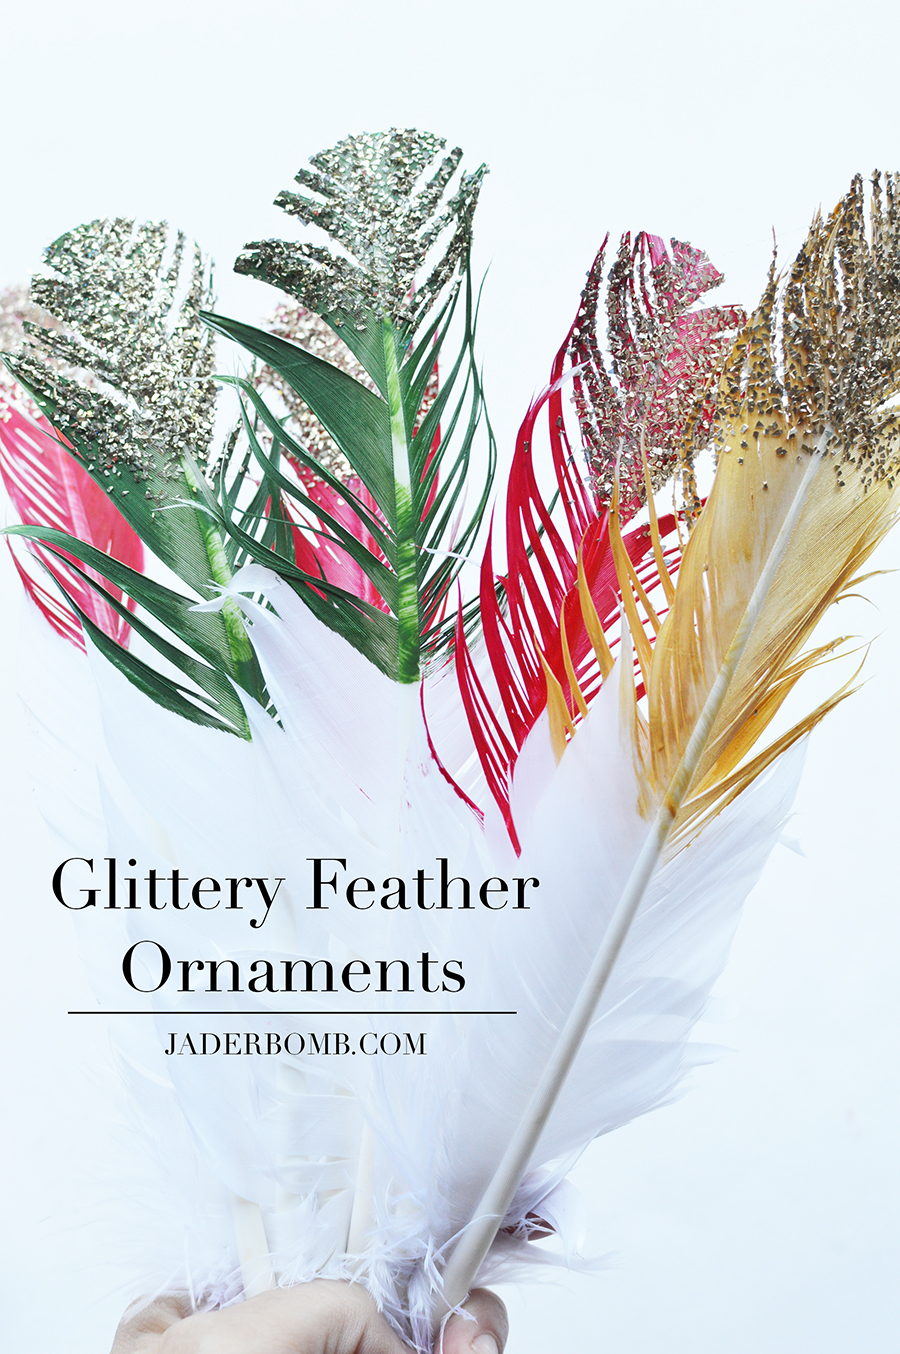
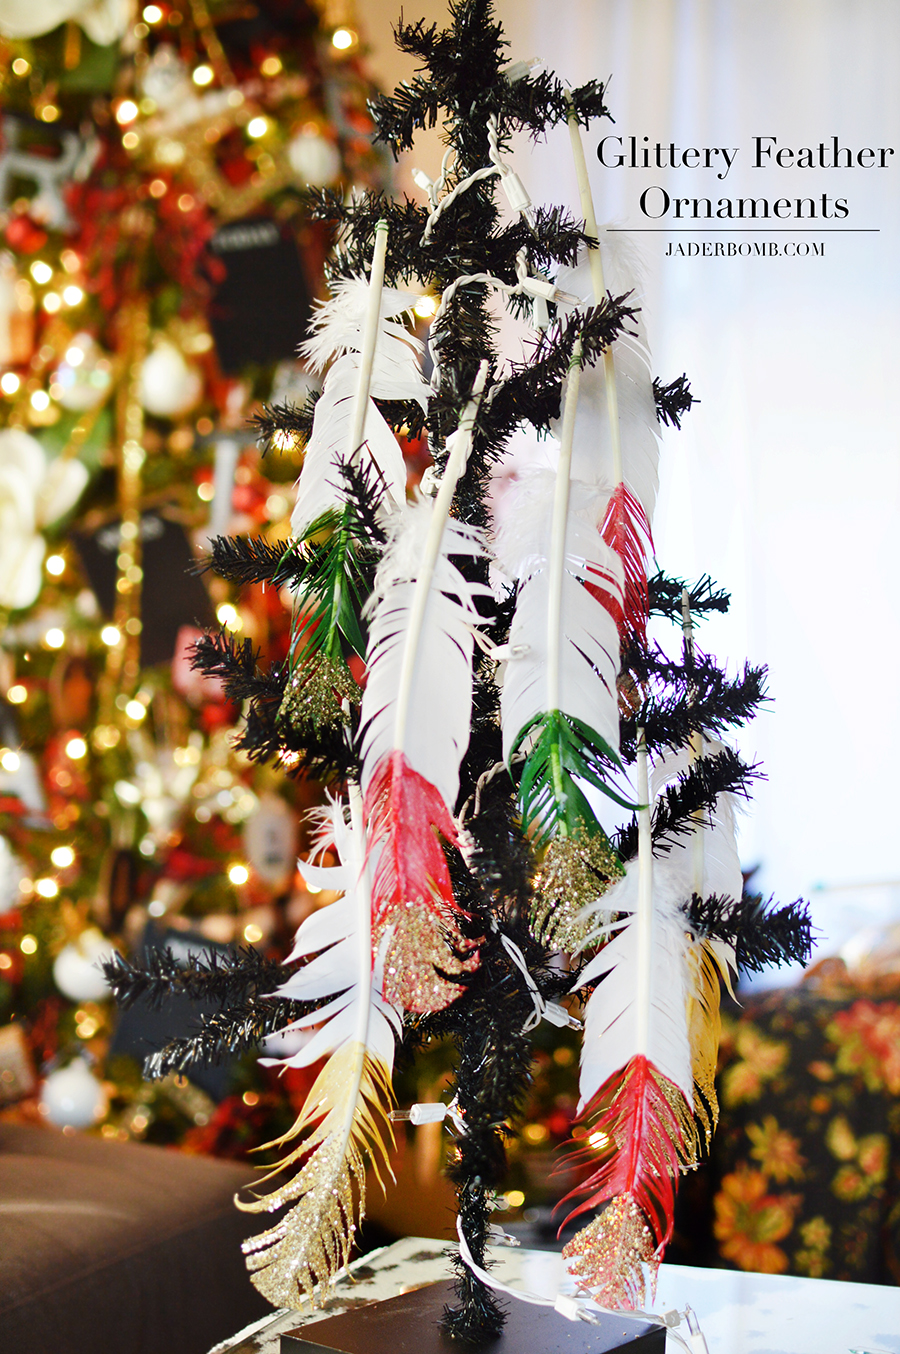
For this project I wanted to show you a little bit of my bohemian side by creating glittery feather ornaments. These are so much fun to do and they look great when they are completed. They add a softness to any tree and you could also turn them into a feather garland. The possibilities are endless yo! Also, think outside of the box… Christmas ornaments don’t always have to be BALLS!

Don’t forget to add this hashtag when sharing my awesome post!!!
#plaidcrafts

glittery feather ornaments

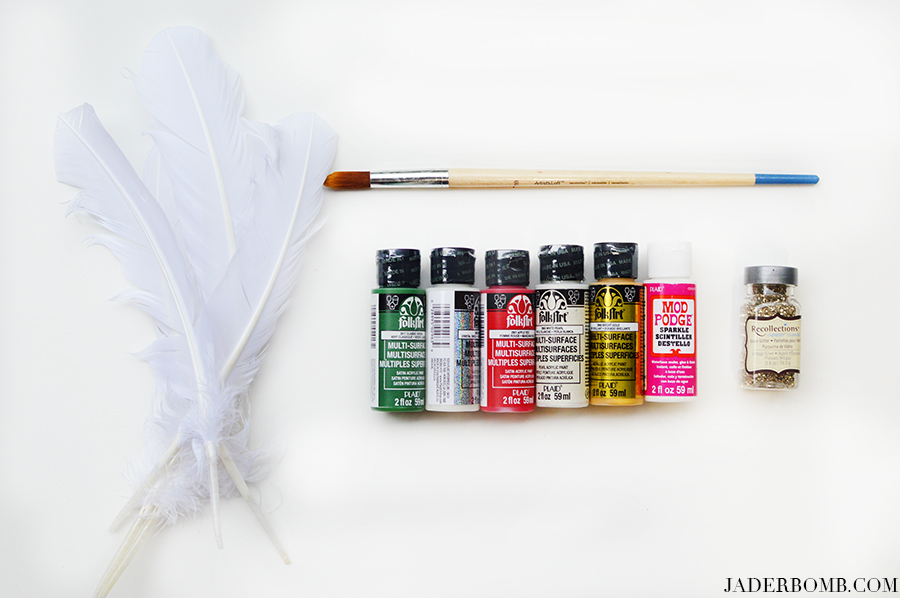
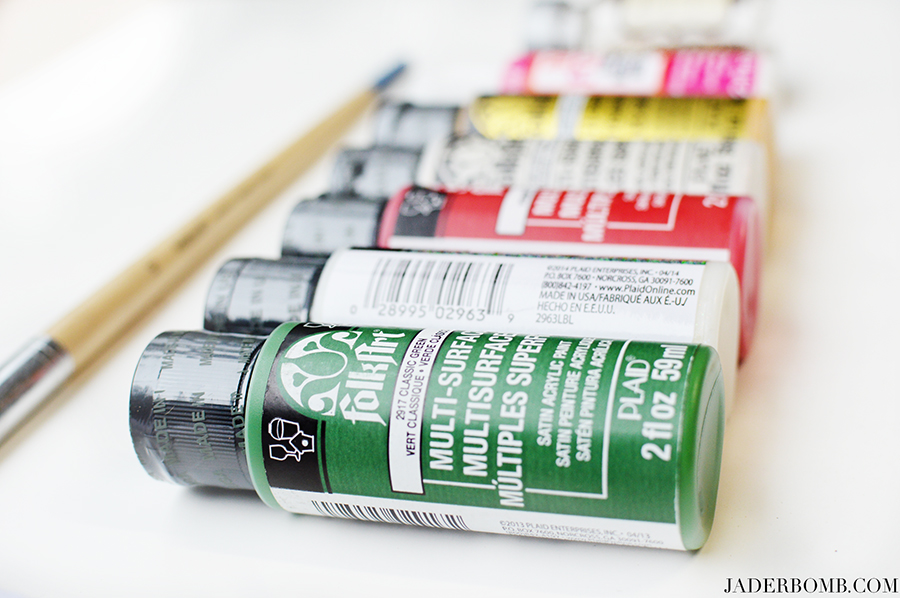
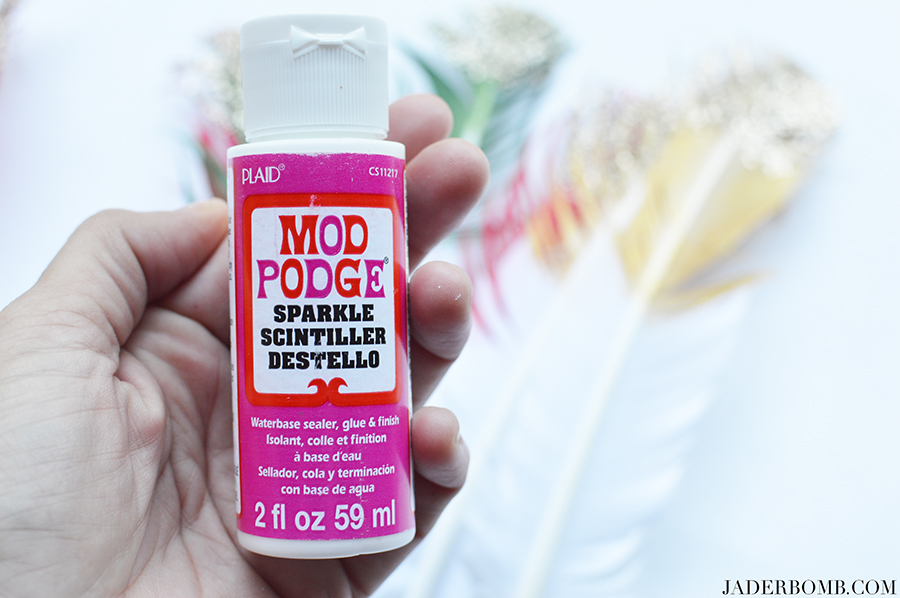
This project will be super easy for you if you use the right products! Today I will be using FolkArt Muli Surface Paint and Mod Podge Sparkle.

Other things you will need for this project are…
*Brush
*Water
*Paper Towels
*Gold Glass Glitter
*Christmas Hooks

plaid paint

Folk Art has a large variety of colors so I am sure you will find the right ones for your Christmas decor!folk art paint

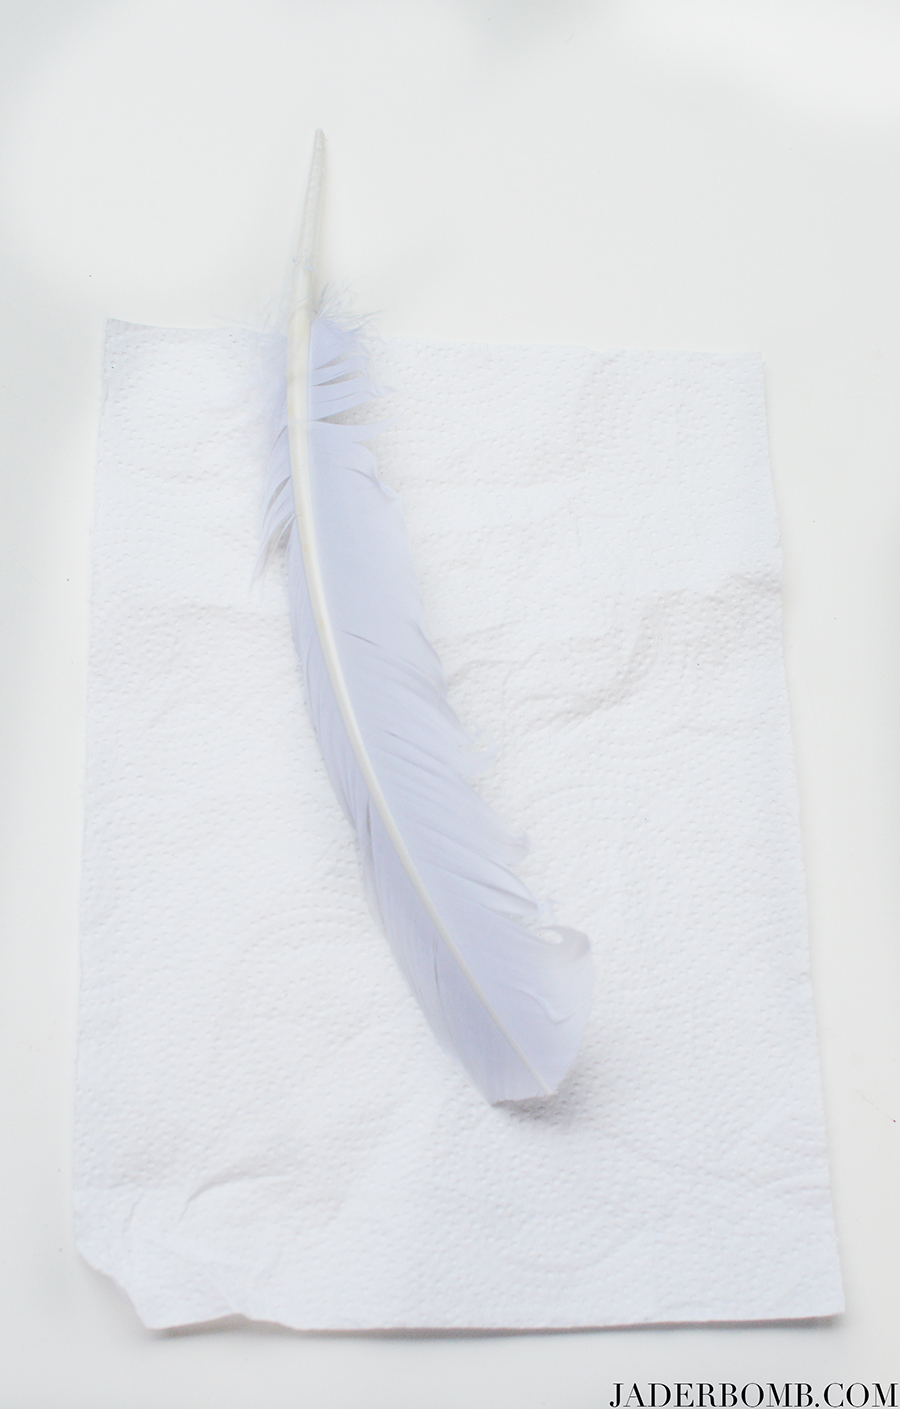
Step 1: Place your white feather on a clean paper towel. crafting with feathers

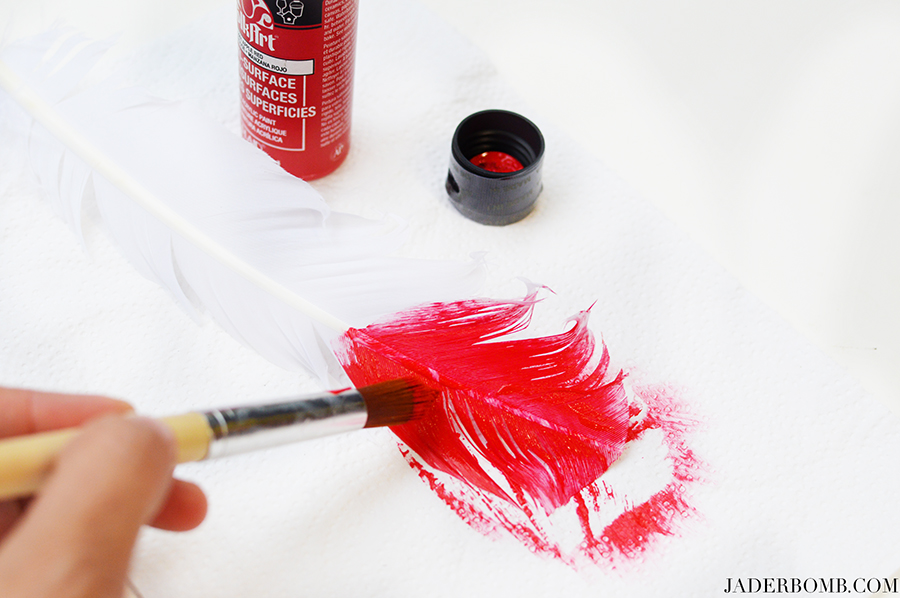
Step 2: Paint the bottom portion of your feather with FolkArt paint. how to paint feathers

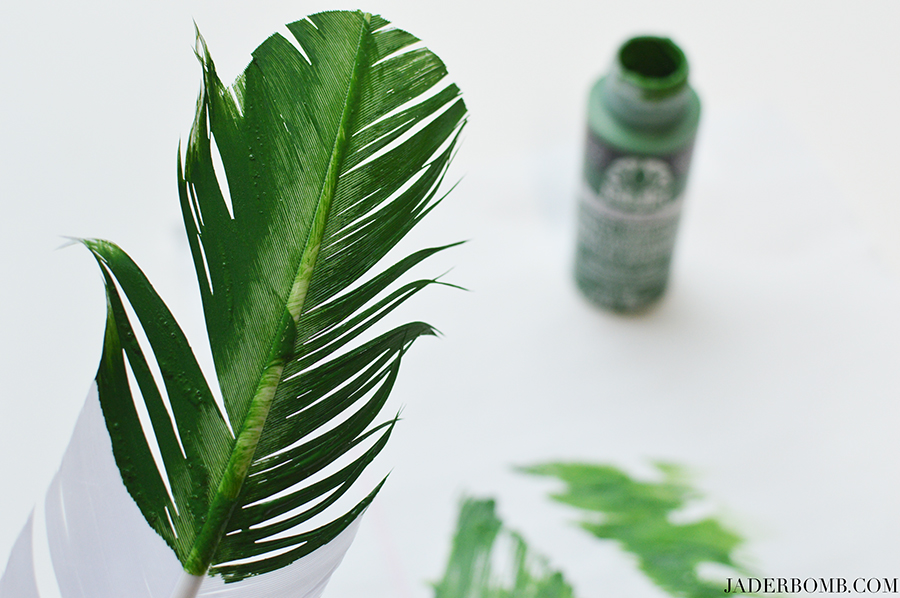
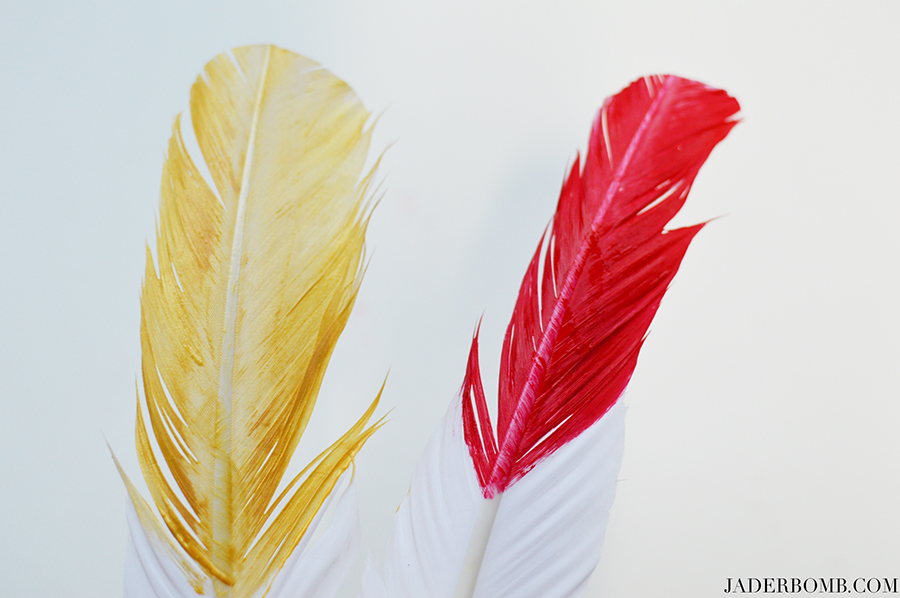
Do multiple feathers with different colors. You always want variety! green feathersgold feathers

Step 3: Grab your Mod Podge Sparkle because we are about to go cray cray on these feathers! glittery mod podge

Step 4: Add a generous amount of Mod Podge on the bottom portion of the painted section.

About Mod Podge

Crafters everywhere entrust their most treasured decoupage creations to Mod Podge®, the number one, all-in-one glue, sealer and finish! The ultimate in convenience, Mod Podge has been loved by crafters of all ages for its flexibility, versatility and supreme ease of use since 1967. Best of all, it’s waterbase, making clean-up a snap. It’s non-toxic, too—perfect for young crafters.

painted feathers

Step 5: Sprinkle your glass glitter immediately after you apply the Mod Podge. I suggest placing the feather at this point under a sheet of paper so you can easily pour the left over glitter back into the bottle.
glass glitter

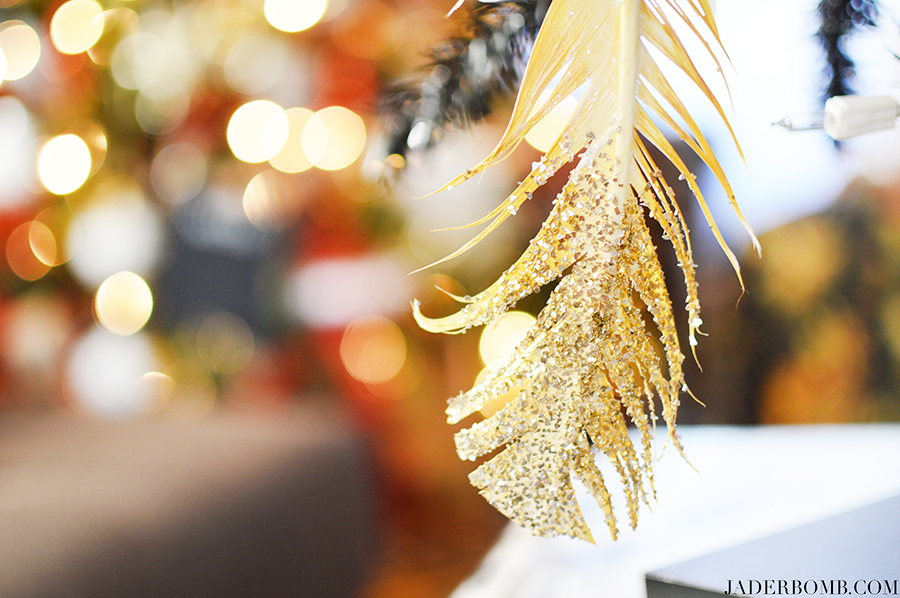
SHAZAM! How beautiful are these! gold glass glitter

Step 6: After your glitter section is dry apply a nice layer of Mod Podge Sparkle over the entire painted section, also over the glitter. We want to seal all this awesomeness onto the feather. sealing with mod podge

feather christmas ornaments

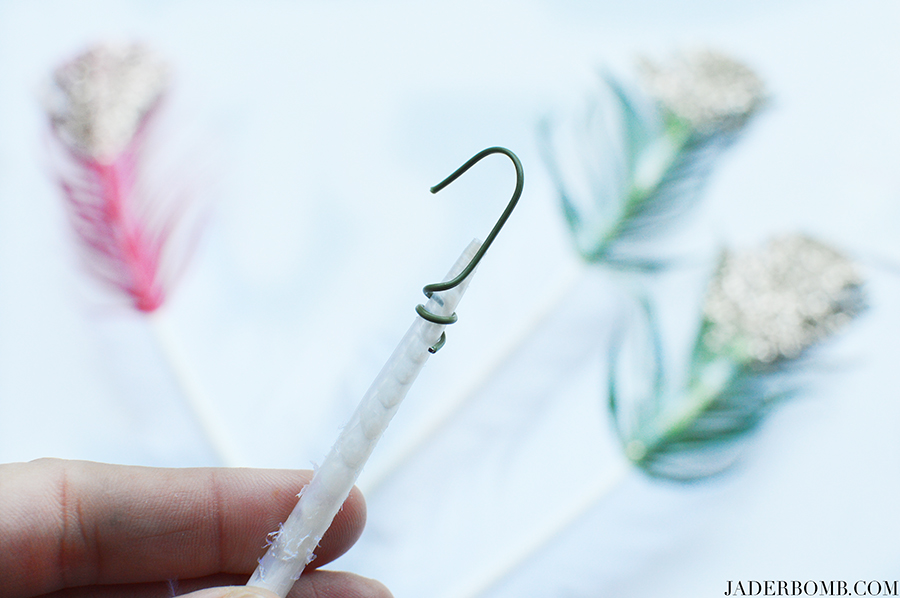
Step 7: Take a normal Christmas hook and straighten up on end, then wrap it around the bottom of the feather. Frankly I think they look so cool like this. You could also use ribbon for this part or cool wire! how to make a christmas hook

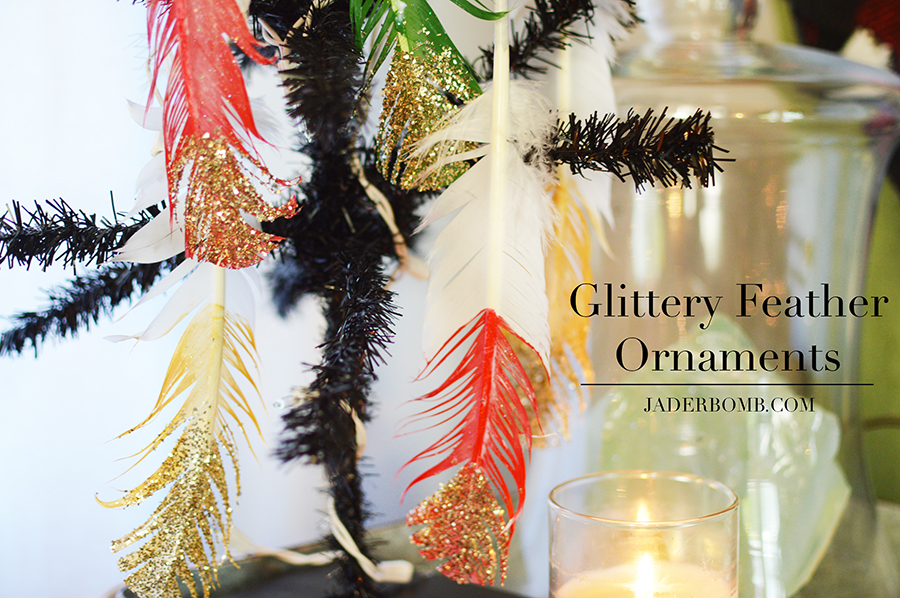
And just like that you have amazing glittery feather ornaments. I think I will make a ton more and make cute garlands for my house. Whatcha think! What colors will YOU USE? easy diy ornament

diy ornaments

feather ornaments

Learn more about Plaid Crafts on social media! Trust me you need to stalk them, hehe!

I hope you enjoyed this project and you share it with the WORLD! Let’s face it we all need ice cream ornaments in our life.

Come visit me on all my social media sites! Just search JADERBOMB on all of them!
FACEBOOK | INSTAGRAM | PINTEREST | TWITTER | GOOGLEYOU TUBE
XOXO Jade

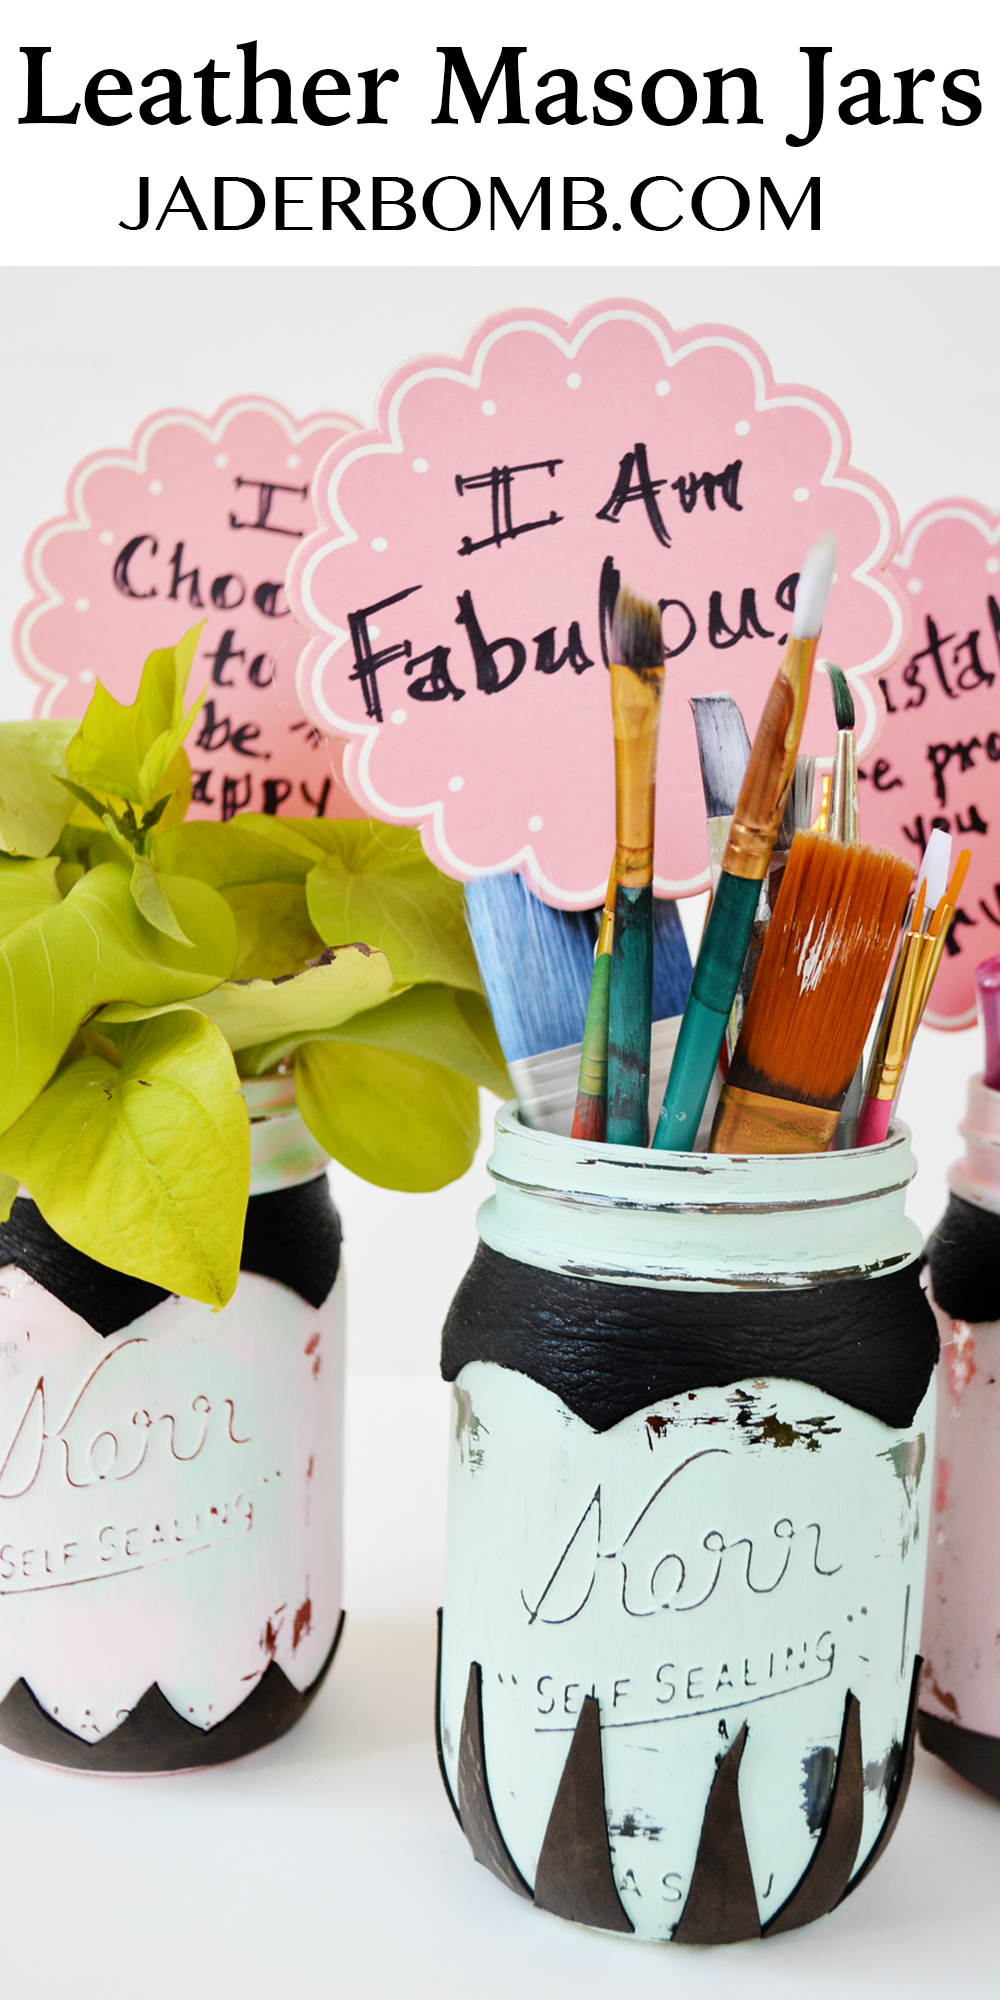
Hi Friends! It’s been a hot minute but that’s ok because I have been whipping up some rad projects in the studio for you! Today I will show you how to make these classic Leather Mason Jars.

I while back I was contacted by Xyron to review their new Creative Station. I have never used any of their products before so you can imagine my excitement! Now I know a lot of crafters out there use this machine for scrapbooking however I wanted to change it up and do a cute DIY for you.

This is a sponsored post. All opinions are 100% mine.

Creative Station

A bold new design and great new features add even more versatility to the all-in-one Xyron Creative Station™. Adding adhesive, magnet or laminate to your projects has never been easier. Now you can use both 5in and 9in Creative Station cartridges letting you replace 2 of your machines with this one sleek gadget. Save space at home and waste less by changing the refill size to fit the project. When you upgrade to the new Creative Station, you will love using the same patented cartridges you have always trusted for your most important projects.

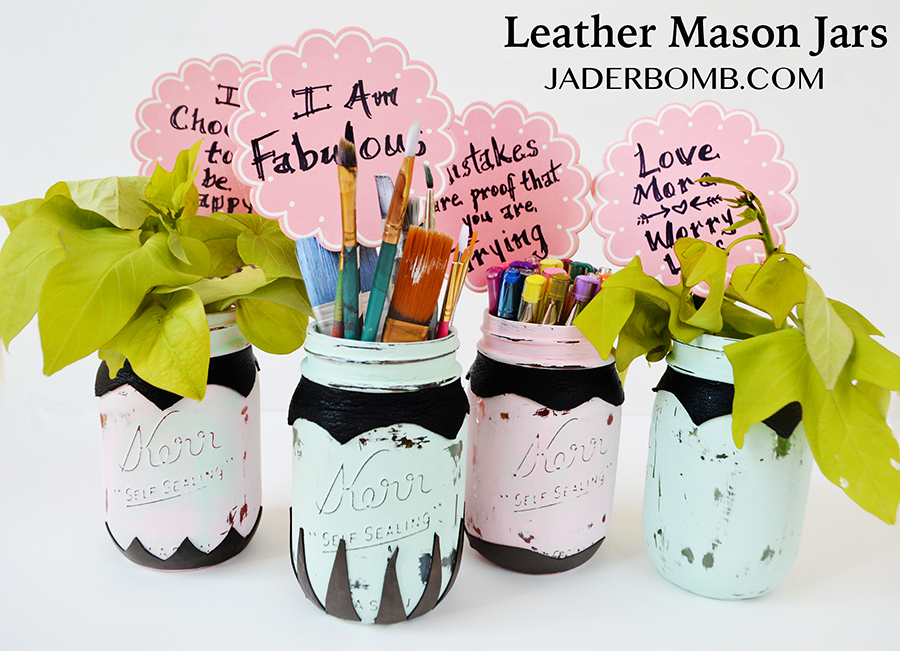
leather mason jars

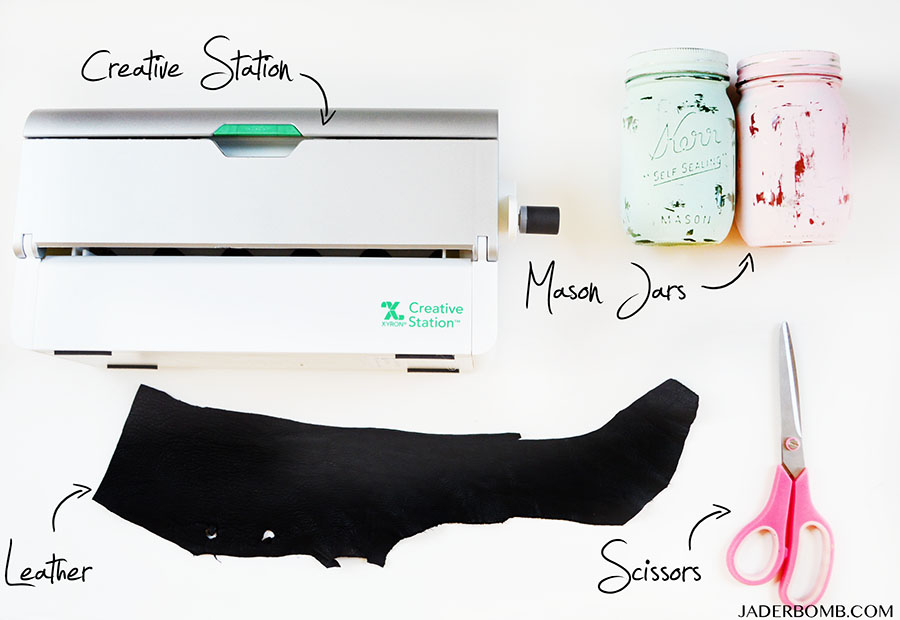
You will need:
*Creative Station
*Mason Jars 
*Leather
*Scissors

The mason jars I used in today’s post I created a while back. You can click HERE to see exactly how I made them. Trust me they are so easy to make and SUPER fun!
Create.

With the all new Creative Station, your projects will look better than ever – no matter how big or small!

creative station

First I want to go over a few things on the new Creative Station. It’s really easy to work with and you will realize it when you get it.

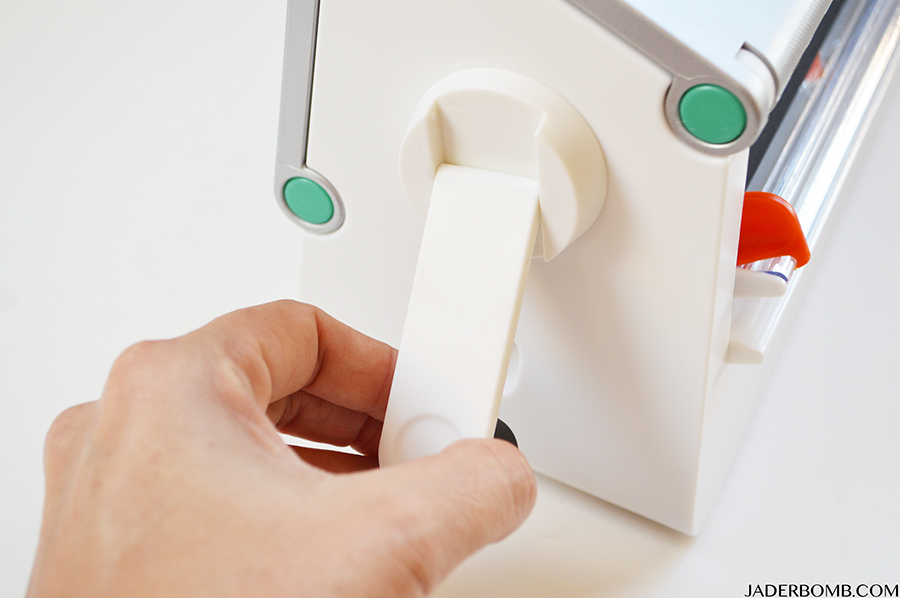
On the side of the machine there is a handle that is tucked into the machine. Simply pull it out and it will be ready to use.

craft tools

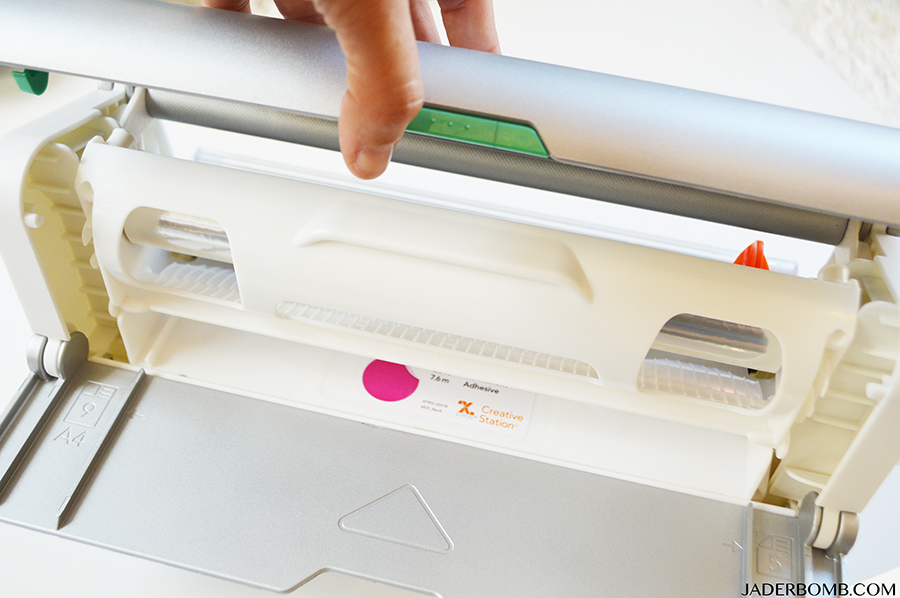
They have a green button on the from of the machine that opens the top portion. You will open this when want to refill or replace your cartridges. When you are done close the top piece securely.

creative station projects

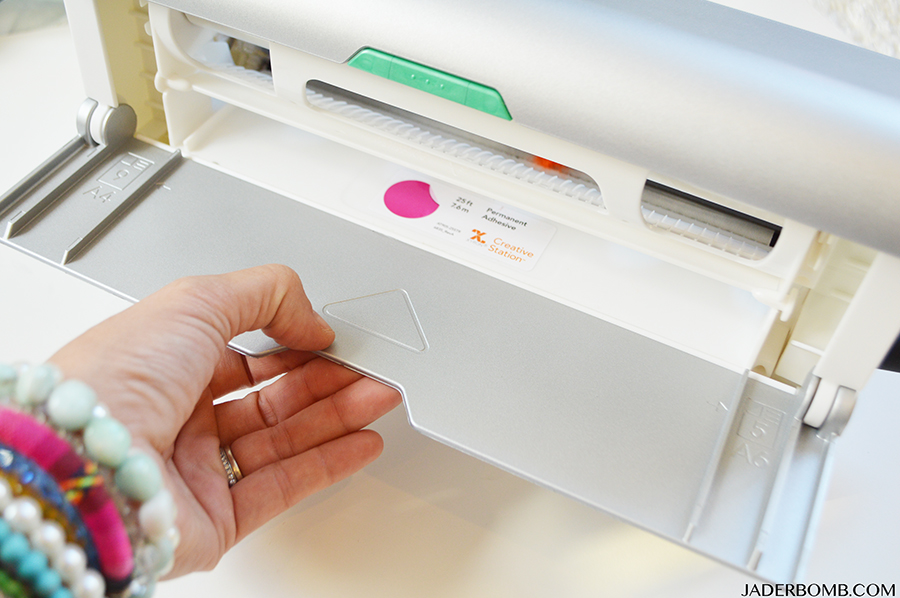
They have a silver flap that opens which allows you to place things on before sending it through the machine. It holds sheets of paper nicely also!xyron diy projects

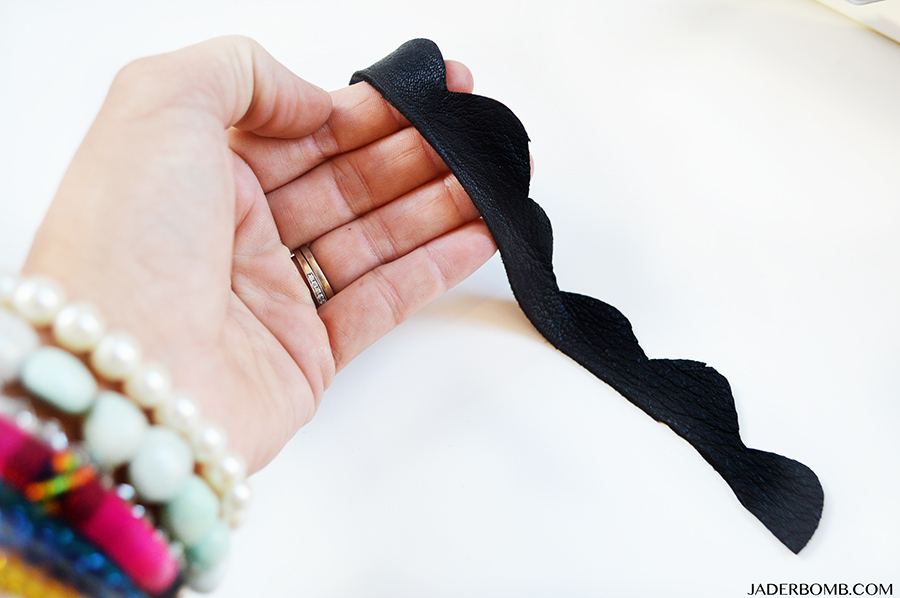
Step One: Cut your leather in the shapes you want. I wanted to have multiple shapes so I cut my freehand.
how to cut leather

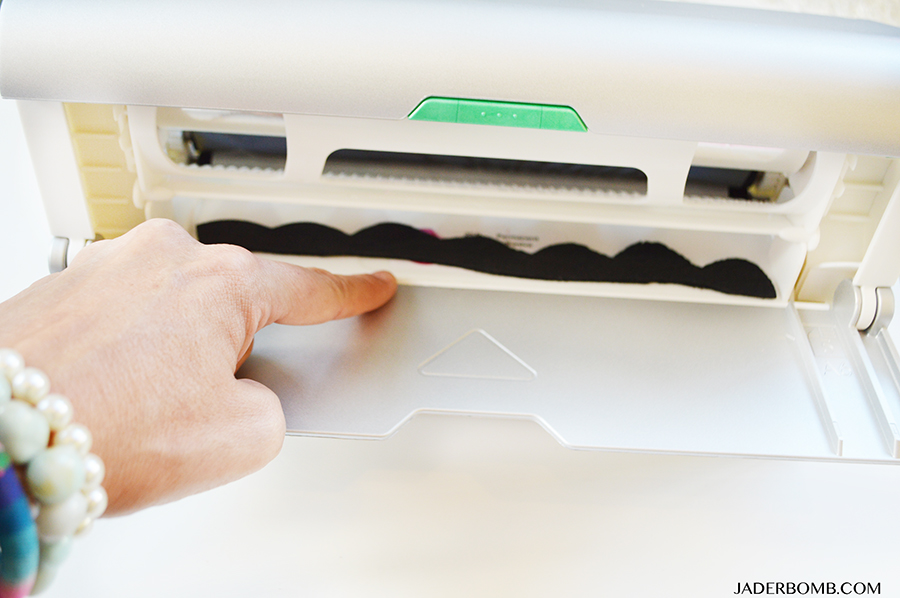
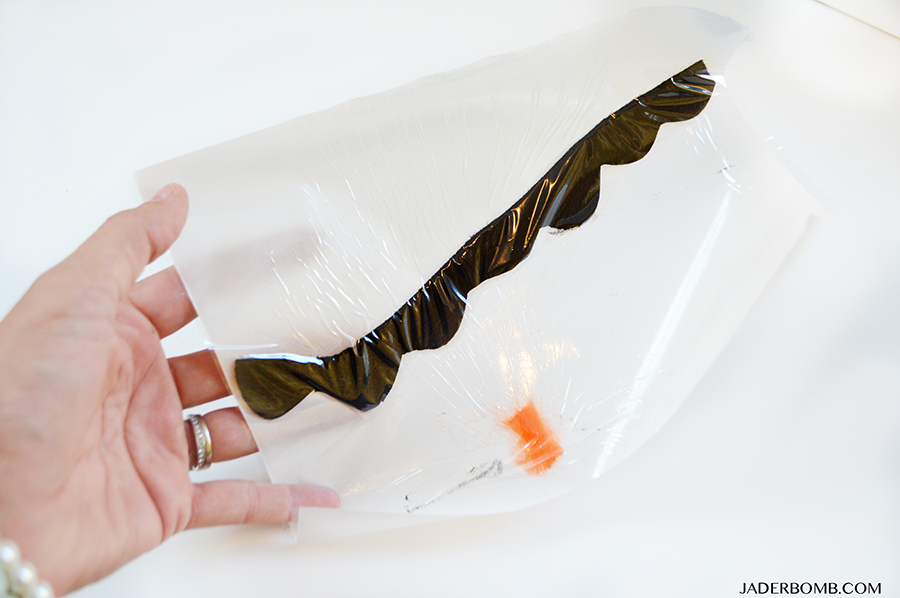
Step Two: Place your strip of leather horizontally on your machine then slowly push it in as much as you can. It will grab on to the tiny piece of adhesive which keeps it in the correct place before you send it through the machine.

When this is done slowly start turning the handle and you will be amazed at how easily it goes through the machine.

leather cut out

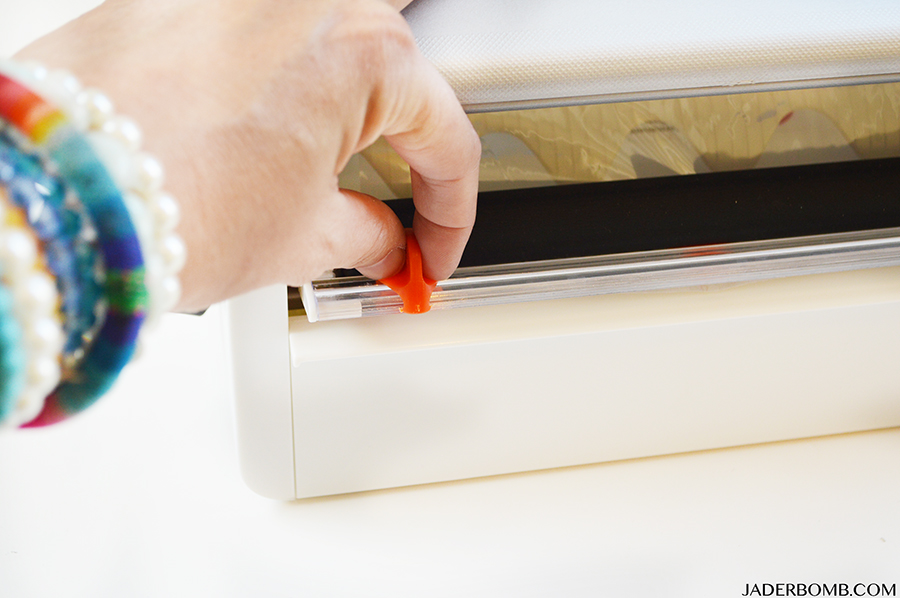
Step Three: When it comes out the other end you can use the orange nob to cut the paper. How easy is this!new xyron creative station

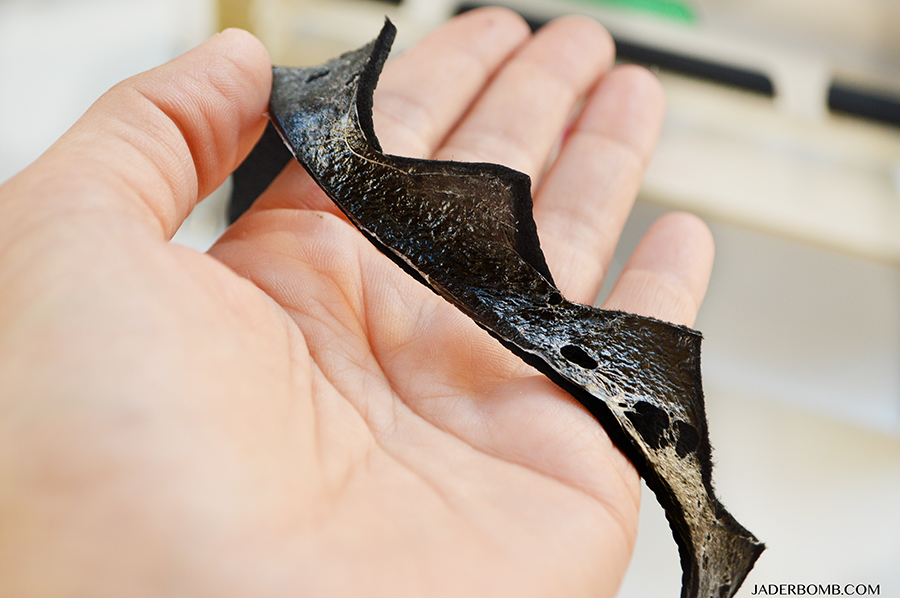
Step Four: Peel off the top layer and your leather will be exposed on top but still stuck to the bottom piece of paper. Gently peel it off and you will see all of the sticky adhesive stuck to the back side of the leather. fall projects

This is what the adhesive will look like once you peel it off the paper.

Bond.

The Creative Station is not JUST for paper, apply adhesive to burlap, fabric, felt, foam acrylic, wood and so much more!

xyron adhesive

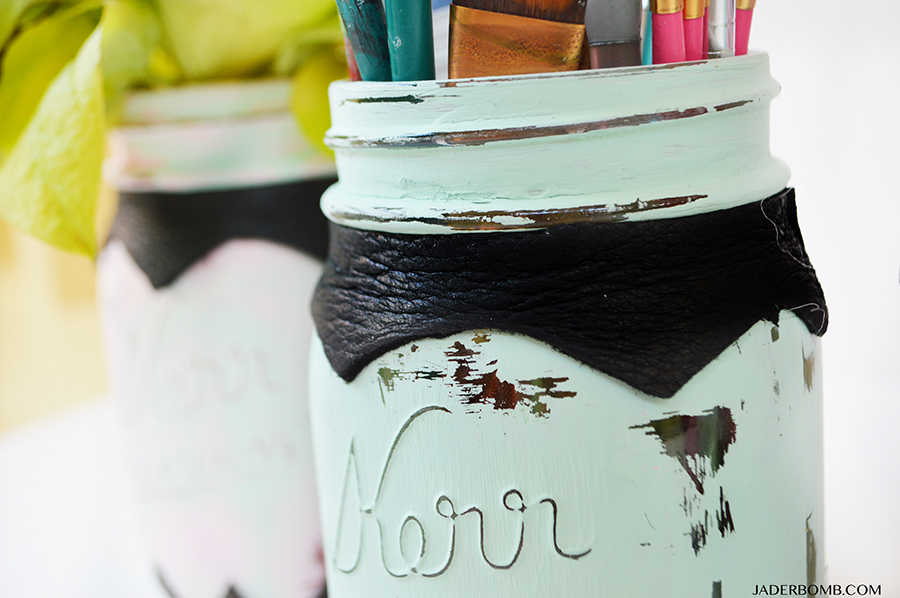
The leather is easy to move around once you peel it off the paper. I simply added the leather strips to the top of the mason jar to get the look I was going for. mason jar diy

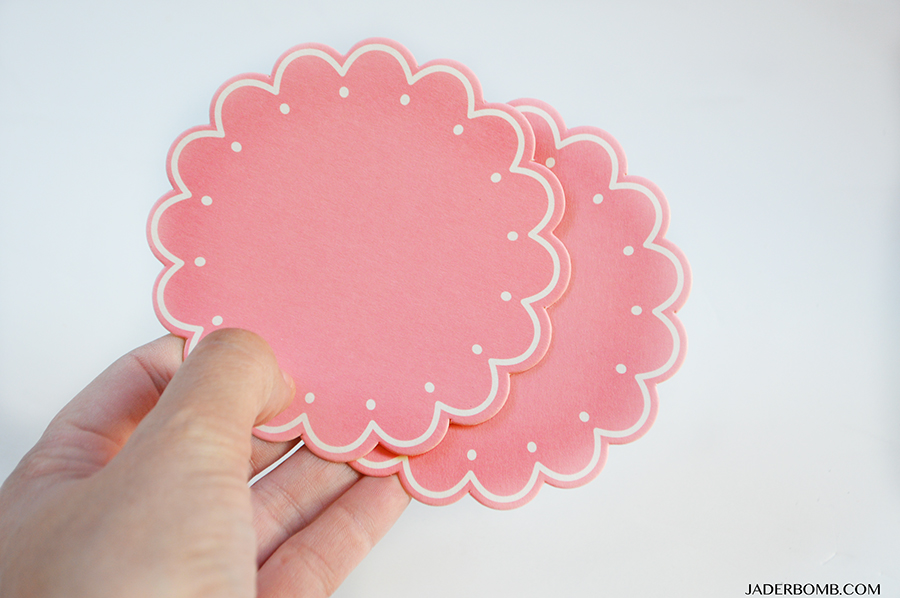
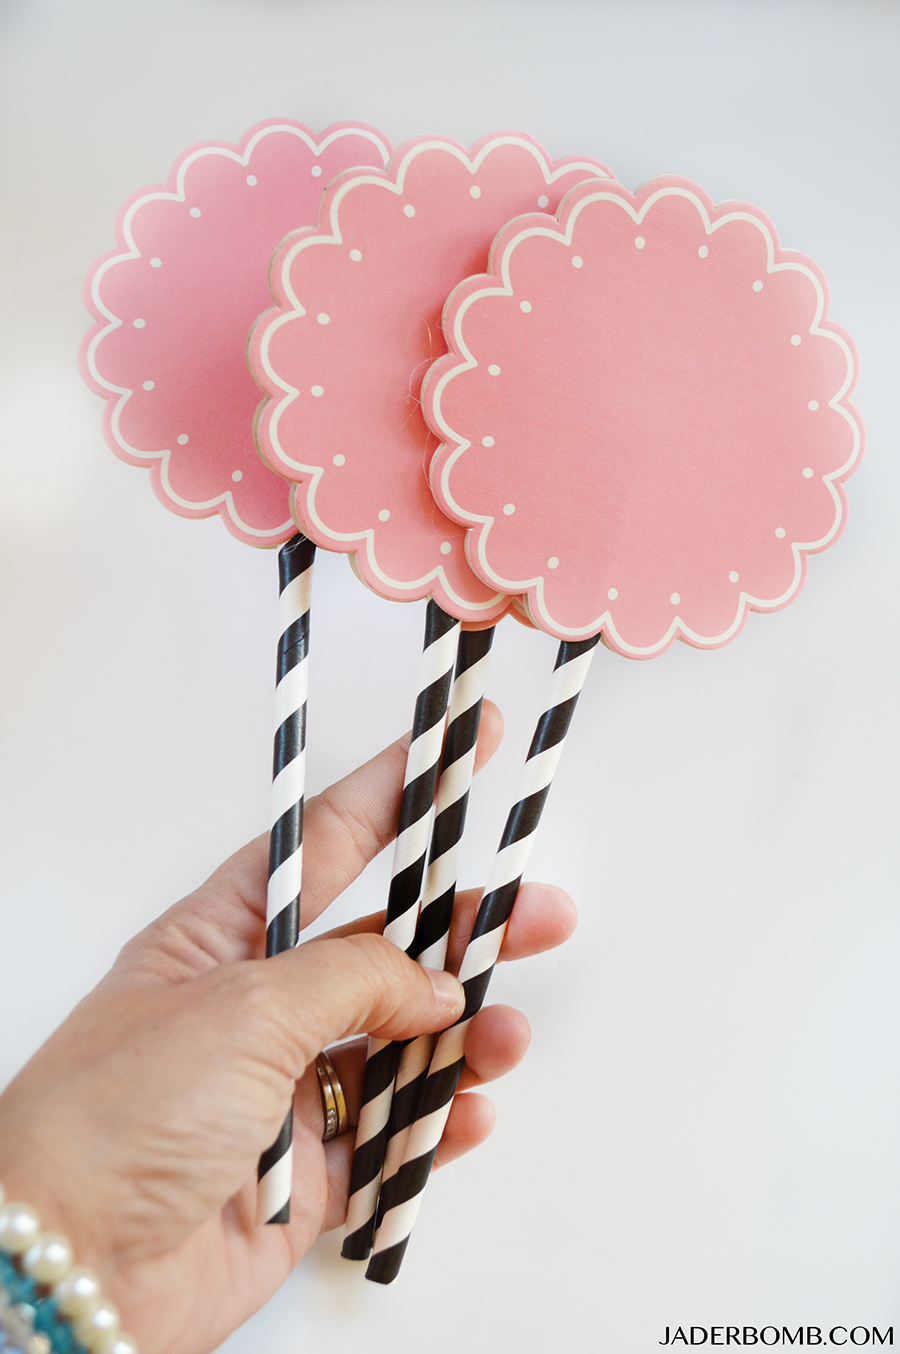
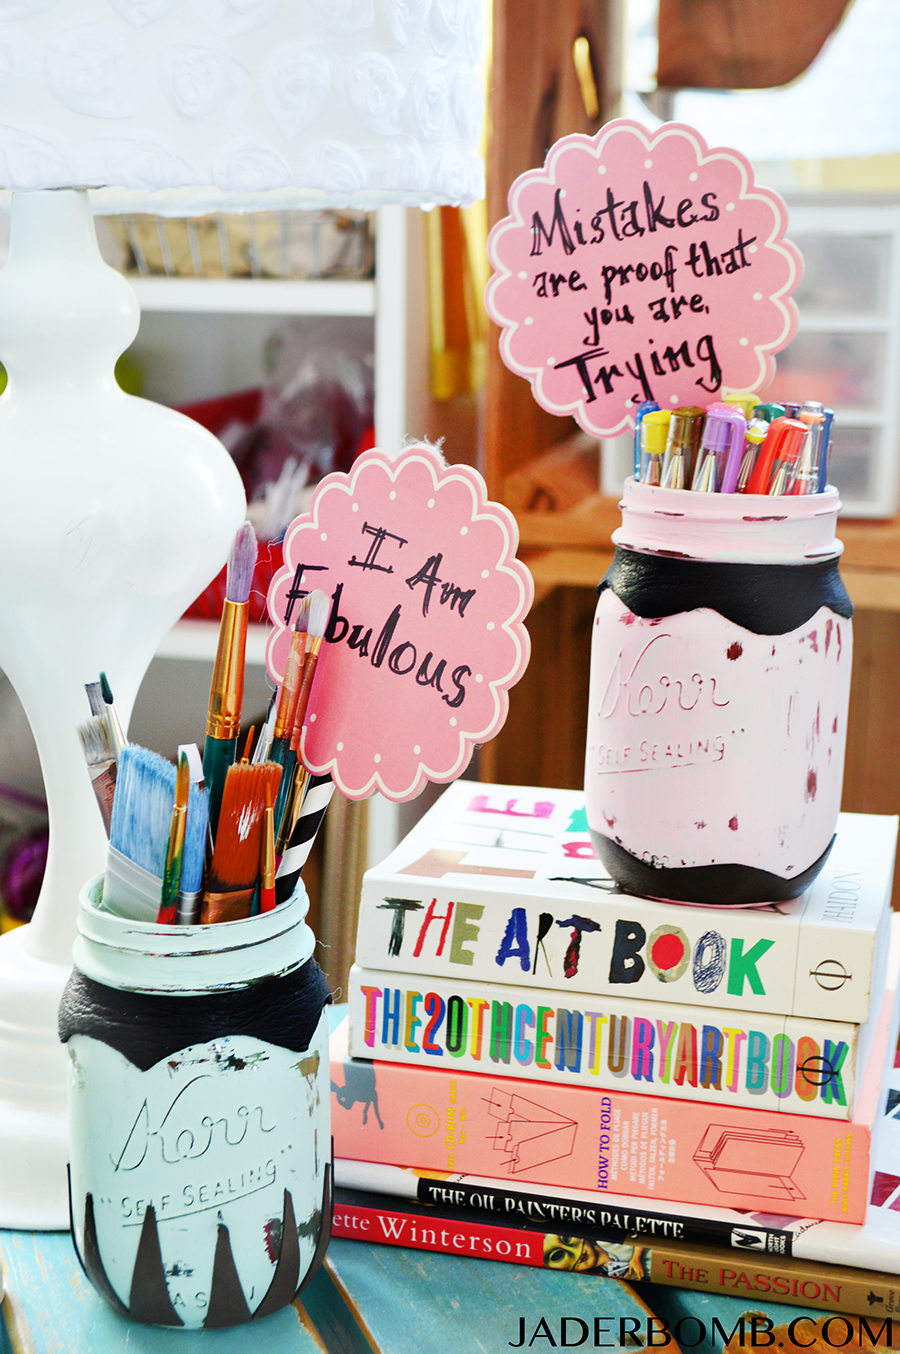
I made inspirational sticks in my mason jars and to make them you will need fun coasters and paper straws.

pink doily

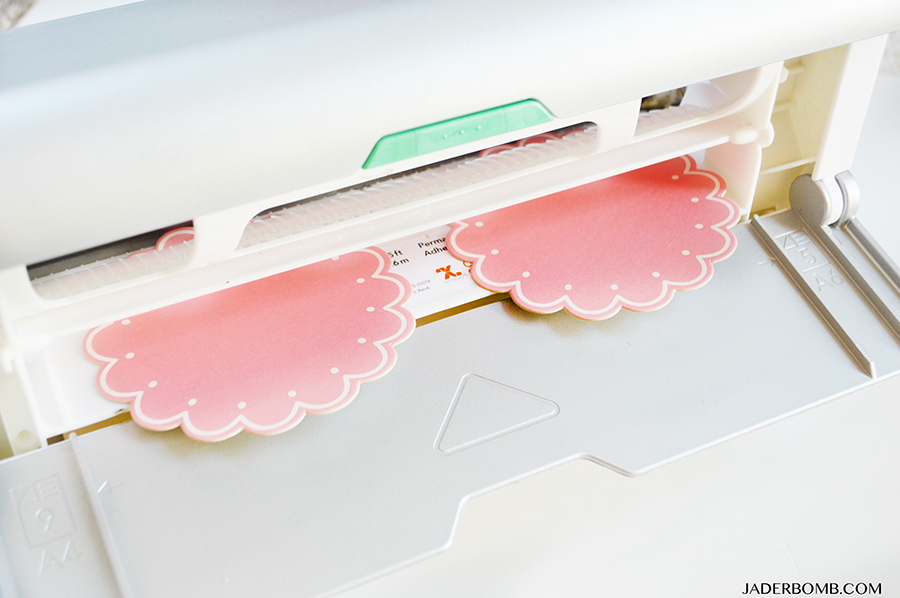
Step One: Place two of them in the back of your machine. Remember, we want to stick these two together.

how to use xyron machine

Step Two: Follow the steps I wrote for the leather. You will be doing the same exact thing no matter what you send through the machine. pink crafts

Step Three: Peel the coaster off the paper and stick a paper straw directly in the middle. Place the second coaster directly on top of the first one and press firmly together. You will want to smash the straw as well or they will peel apart. easy table setting projects

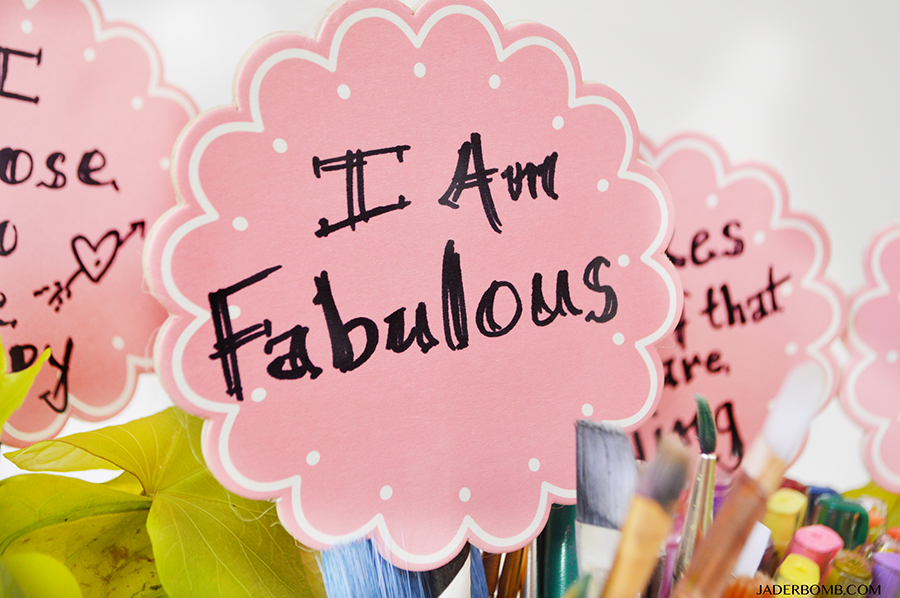
How pretty are these! You can use these for so many different occasions it’s unreal! Now comes the fun part, writing awesome inspirational quotes on them. party projects

The best thing about these mason jars is you can fill them with anything your heart desires. I love the way the leather looks on these shabby chic mason jars. It takes them to a whole new level of modern awesomeness! party diy

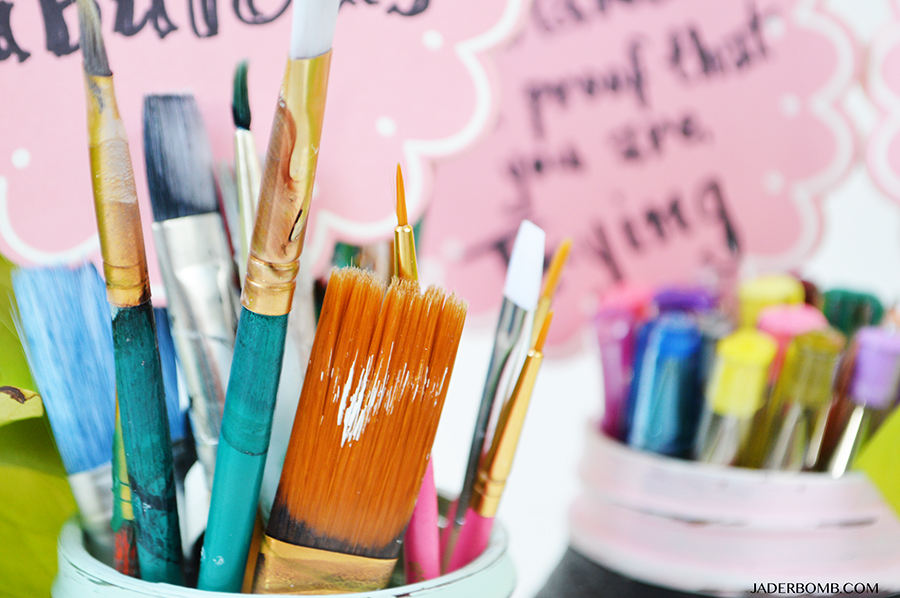
how to store paint brushes

Don’t forget you are FABULOUS!fabulous quotes

girly projects

I hope you enjoyed this machine and I also hope you go out and get one because you will not believe all the things you will end up using it for.

Make sure to follow me for more amazing Fall and Halloween projects! You can fine me here: FacebookTwitterInstagram and Pinterest.
XOXO, Jade

Laminate.

With options like Laminate + Magnet, Laminate + Adhesive, or Two-Sided Lamination your items will never look better while being protected. Create laminated stickers or magnets from everyday items!

BUY ONE HERE! 


Some girls are just born with glitter in their veins – Paris Hilton

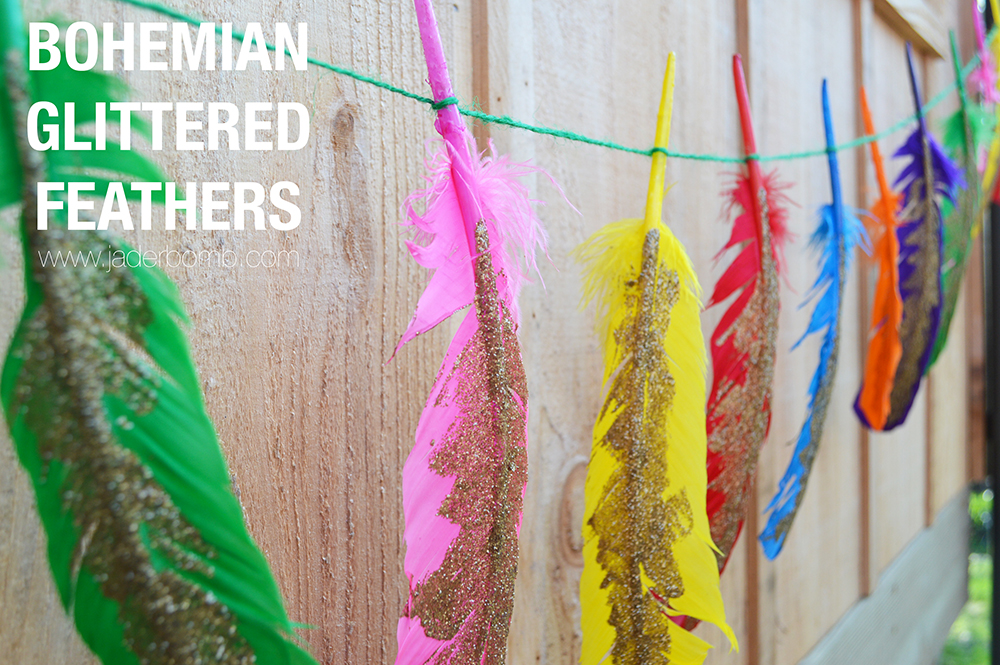
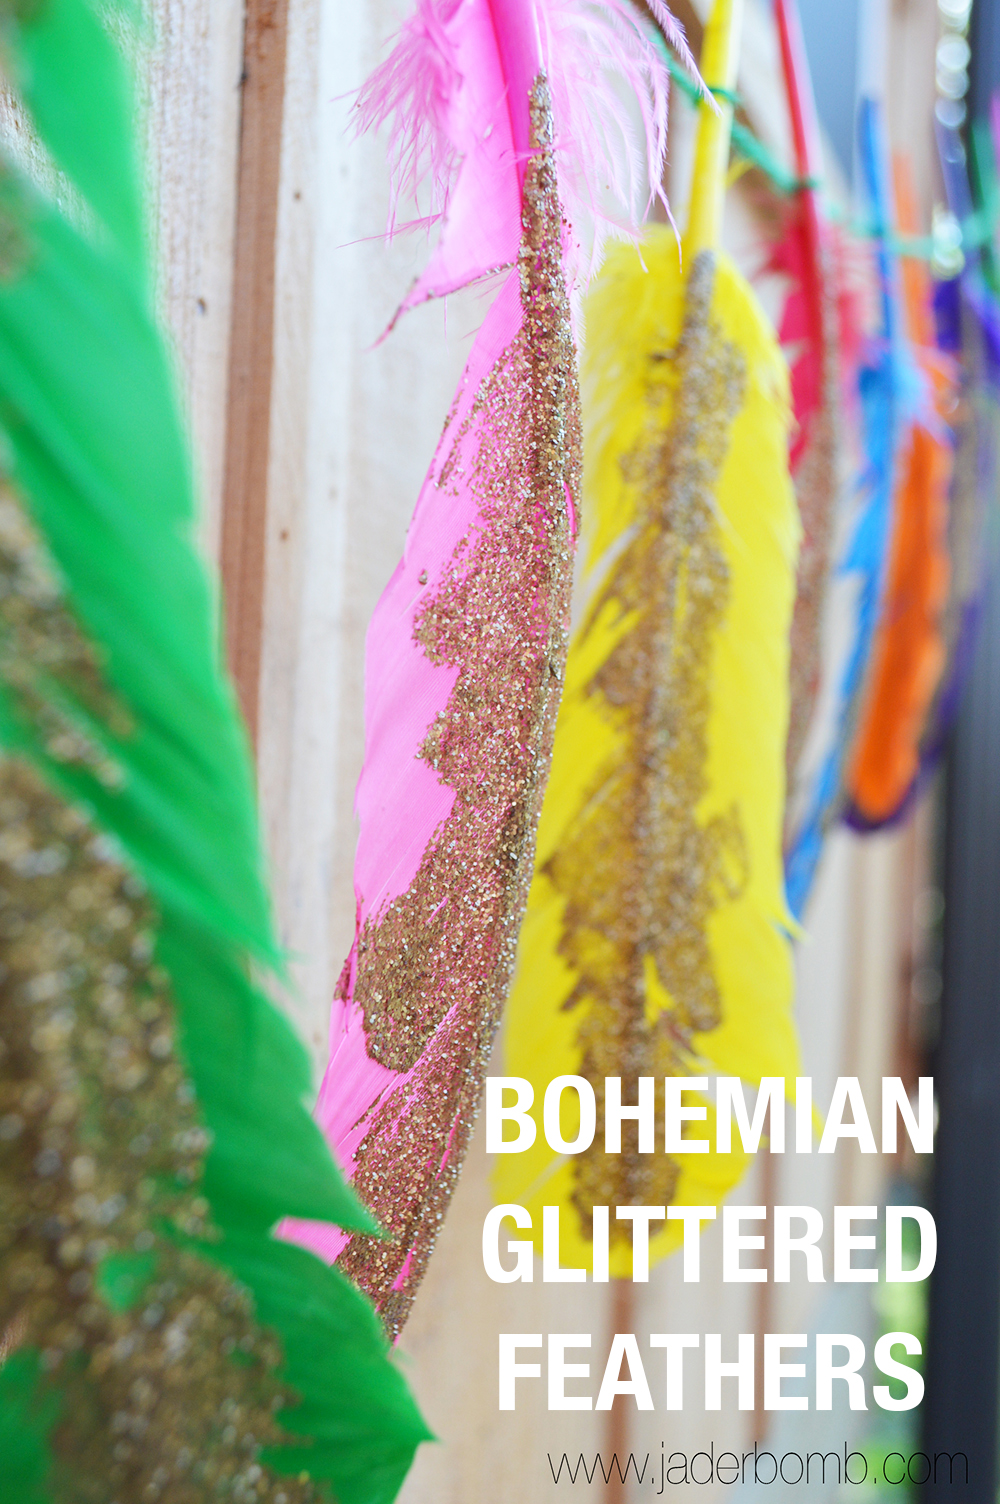
Happy Memorial Day Jaderbugs! Today I will be showing you how easy it is to glitter feathers!!!

So we just recently added on to the house and built this rad room! The inside is full of nice cedar wood and let’s just say it smells like heaven. Every morning we wake up and drink coffee while watching the birds eat their yummy food. This room was supposed to be a “hang” out room however it now has turned into my night time office. I love it really. I go in there and zen out. There was a few things missing in this beautiful room like…. COLORFUL GLITTERED FEATHERS!!! What is a girl to do? You guessed it, I had to break out the colorful feathers and yummy gold glitter. These are really easy to make and in no time you can bring a room from blah to BAM!
Let’s get started. Oh warning these babies are addicting. I am now about to add a strand of white feathers with gold glitter to the new room. It fits our boho lifestyle and just like Mc.Donald’s says “I’m loving it”…BOHEMIAN DECOR

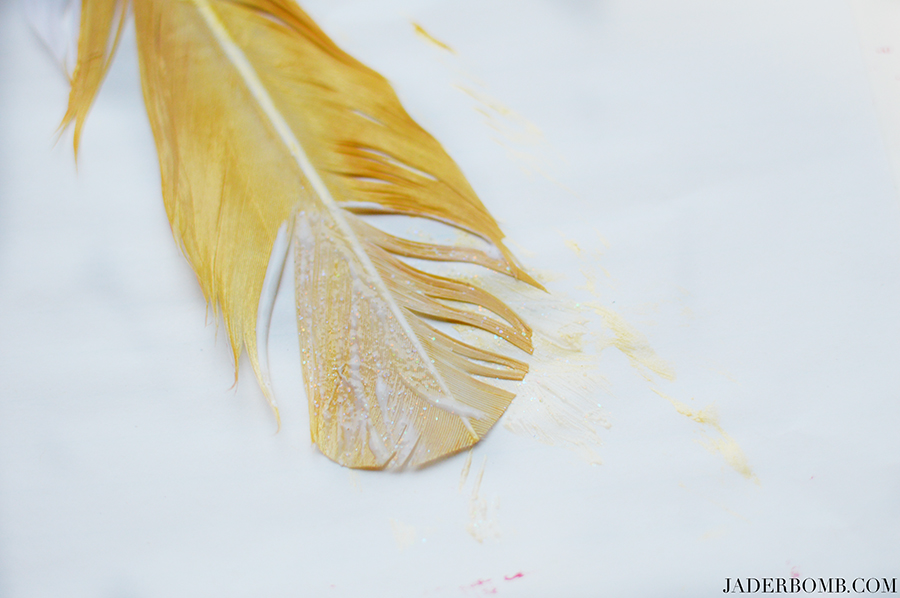
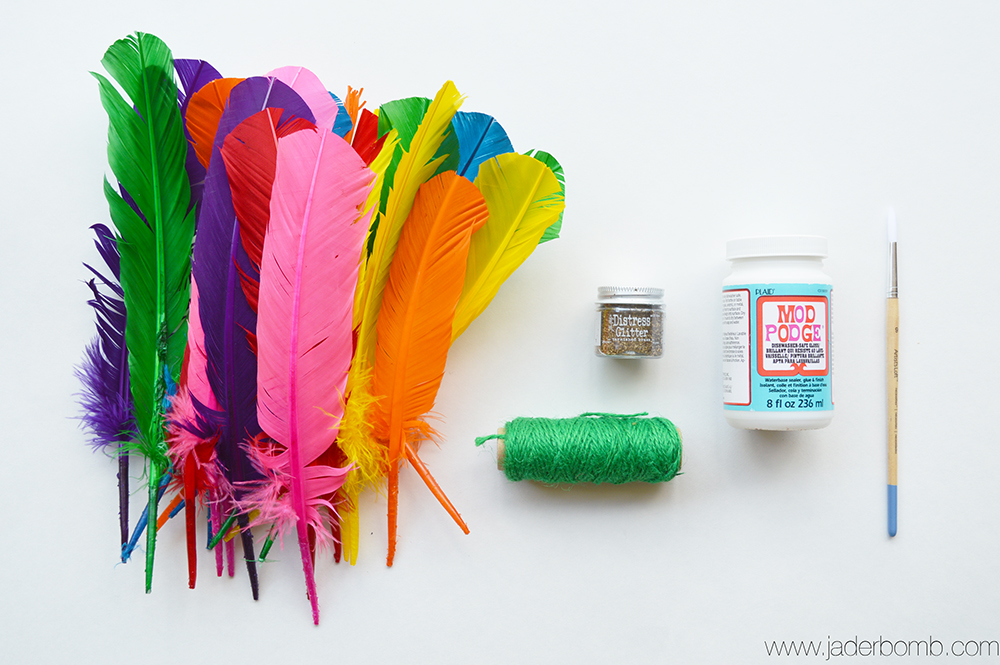
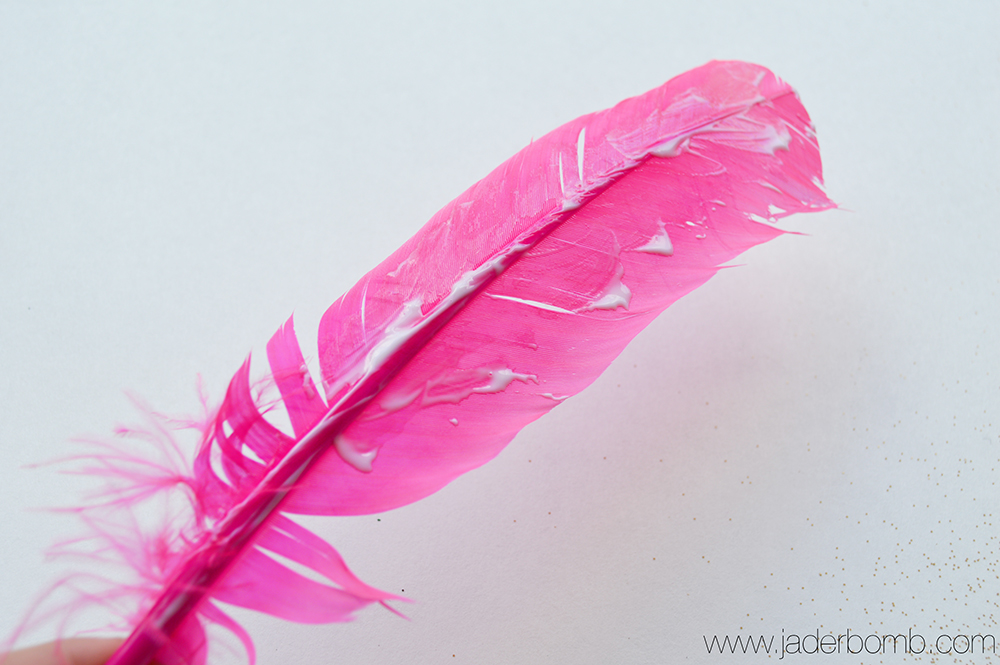
you will needRainbow Feathers | Colored Twine | Mod Podge | Craft Brush | Gold Glitter diy feather bannerThe first thing you will do is slather some Mod Podge onto the top of your feather!
party banner diy

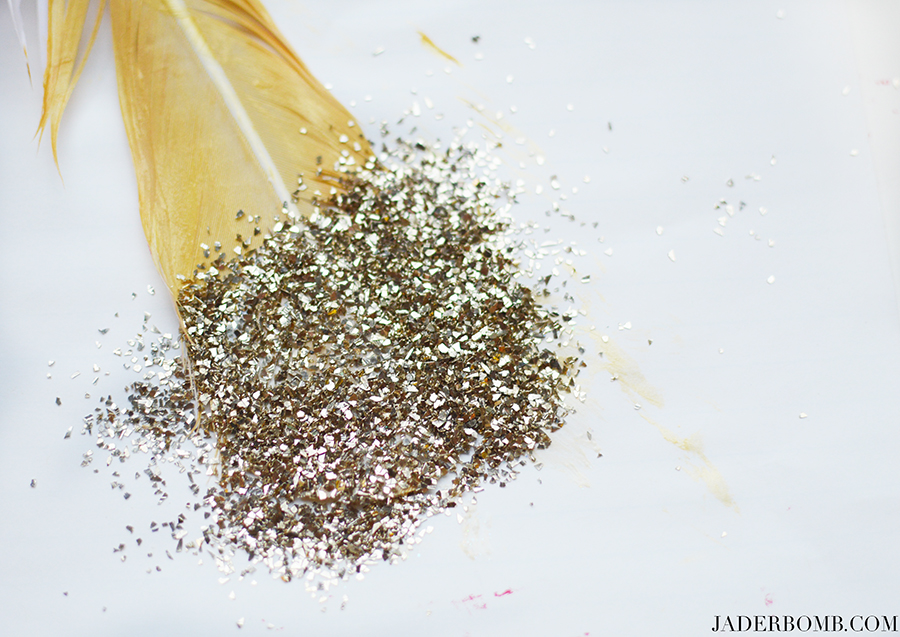
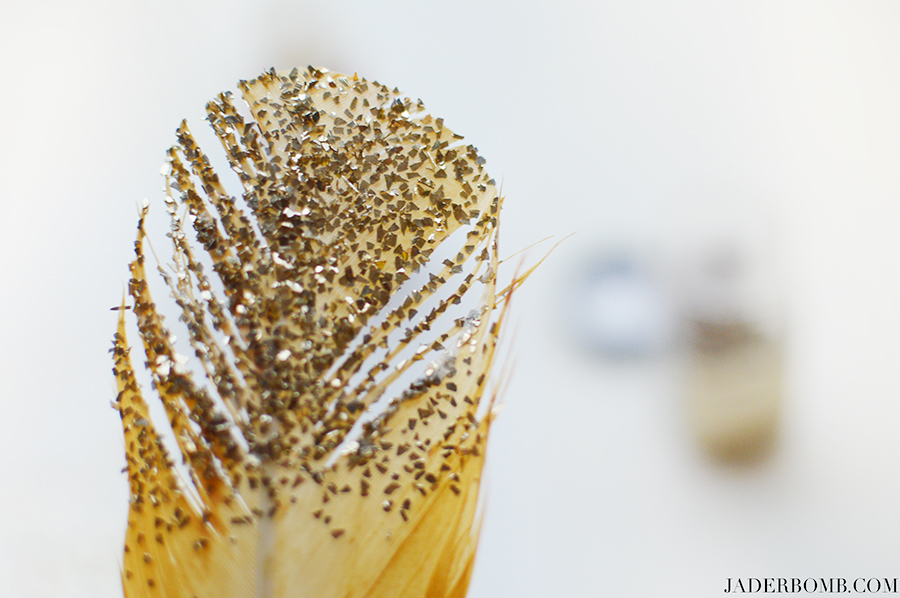
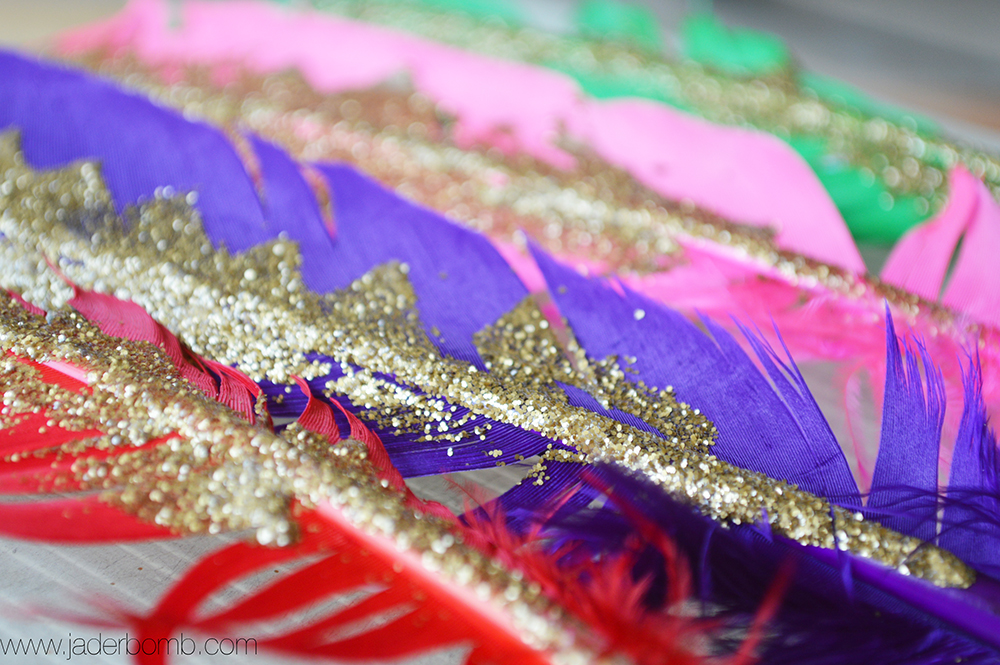
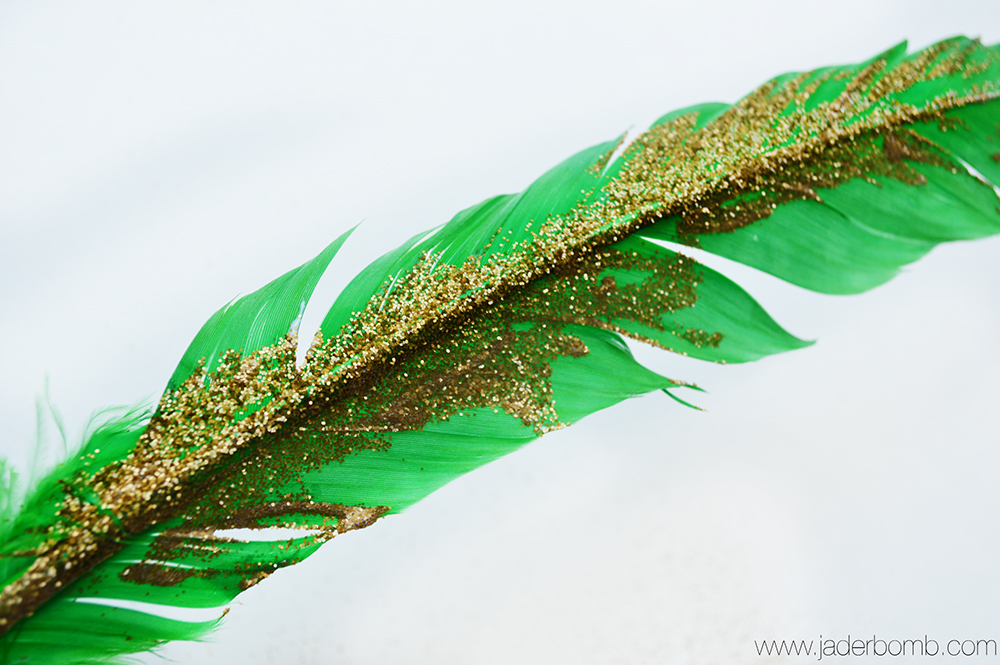
Next sprinkle your choice of glitter on top of the Mod Podge! If you want to save your glitter place a piece of paper under your feather.
glittered feathers

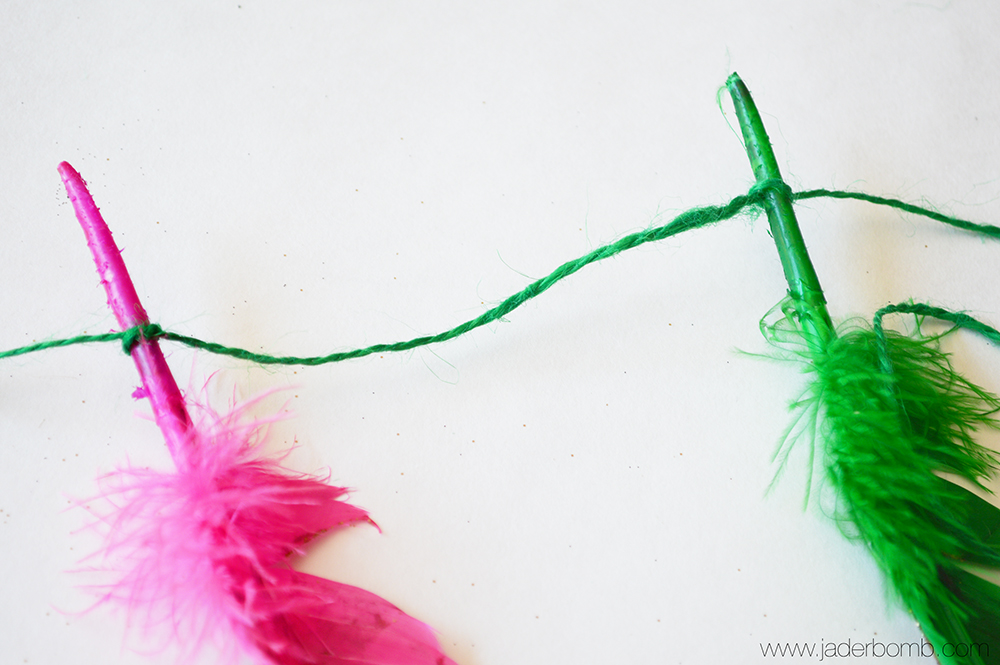
Once all of your feathers are dry you can start tying your twine around the tips. Tip of advice: Make sure your feathers are facing the same direction when tying the twine around them. shabby chic feather banner

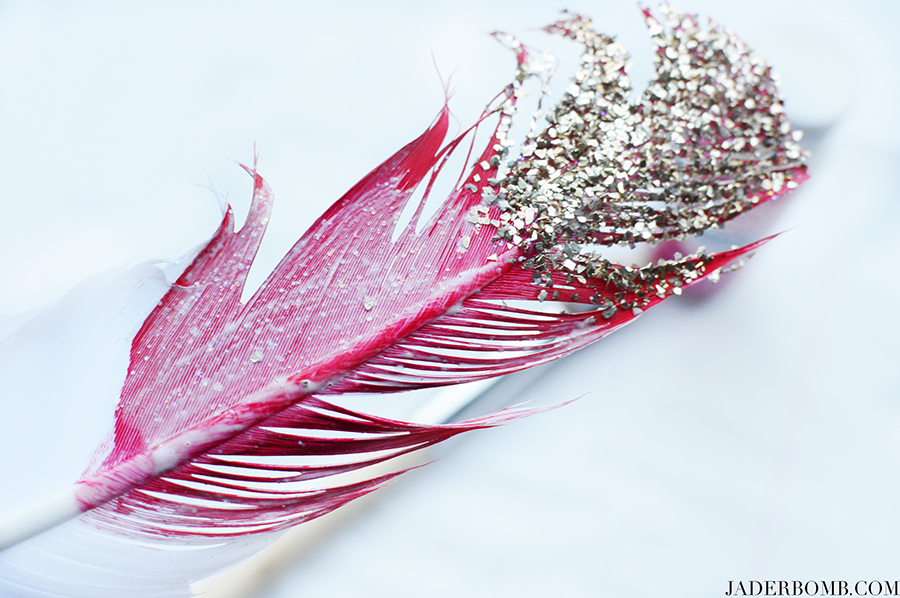
VOILA! We have the gaudiest batch of glittered feathers you have ever seen in your life!  What does that word mean…. Google it!

I know my friend Aunt Peaches would drool over these and she would probably wear them in her hair! Seriously. I am totally pleased with the way they came out and if you are anything like me then you like lot’s of the same things all together to form on cluster of awesomeness. Enjoy y’all!

how to glitter feathers

BOHO FEATHERSHugs from my computer to yours!! XOXO
Make sure to follow me on ALL social media sites!! Just look up JADERBOMB and you will find me!!!  At the TOP of my blog you will see ton’s of little round buttons that you can click on also. They will take you directly to me all over the web world!

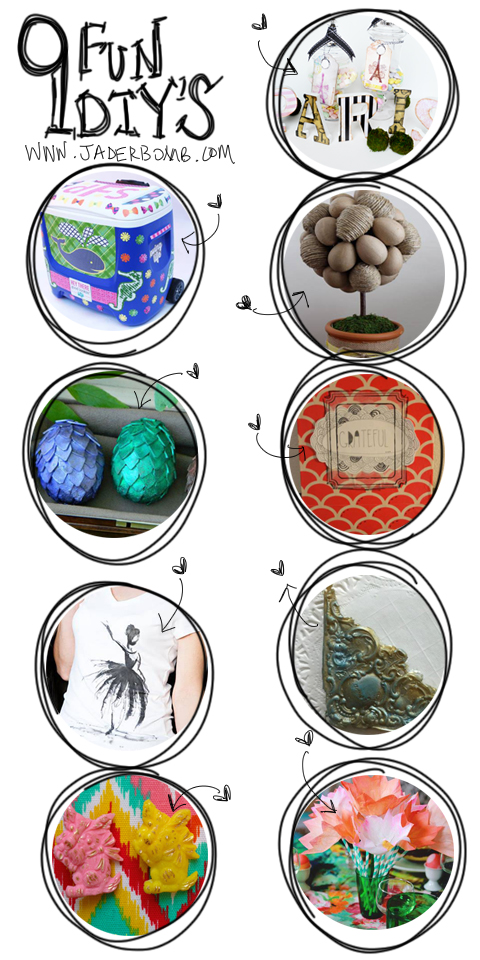
9fundiy

First I want to show you my snazzy Parisian Party Decor.

Stephanie Hamen shows us how to use the awesome Mod Melter

Cathy Attix shows us just how easy it is to use fabric markers to create a beautiful and elegant ballerina t-shirt.

Mark Montano teaches us how to create some Game of Thrones inspired dragon eggs.

Megan teaches us how to make a neutral and beautiful Easter egg topiary.

Margot Potter’s video is very helpful, showing us how to use the Mod Melter.

Cathie and Steve share a super cool project with summer in mind – decorating a cooler with Mod Podge!

Stephanie Hamen shows us how to make this fun DIY Decor Tape Display Board for Hazel & Ruby !!!

Aunt Peaches teaches us how to create coffee filter tulips.

HASHTAG LOGO


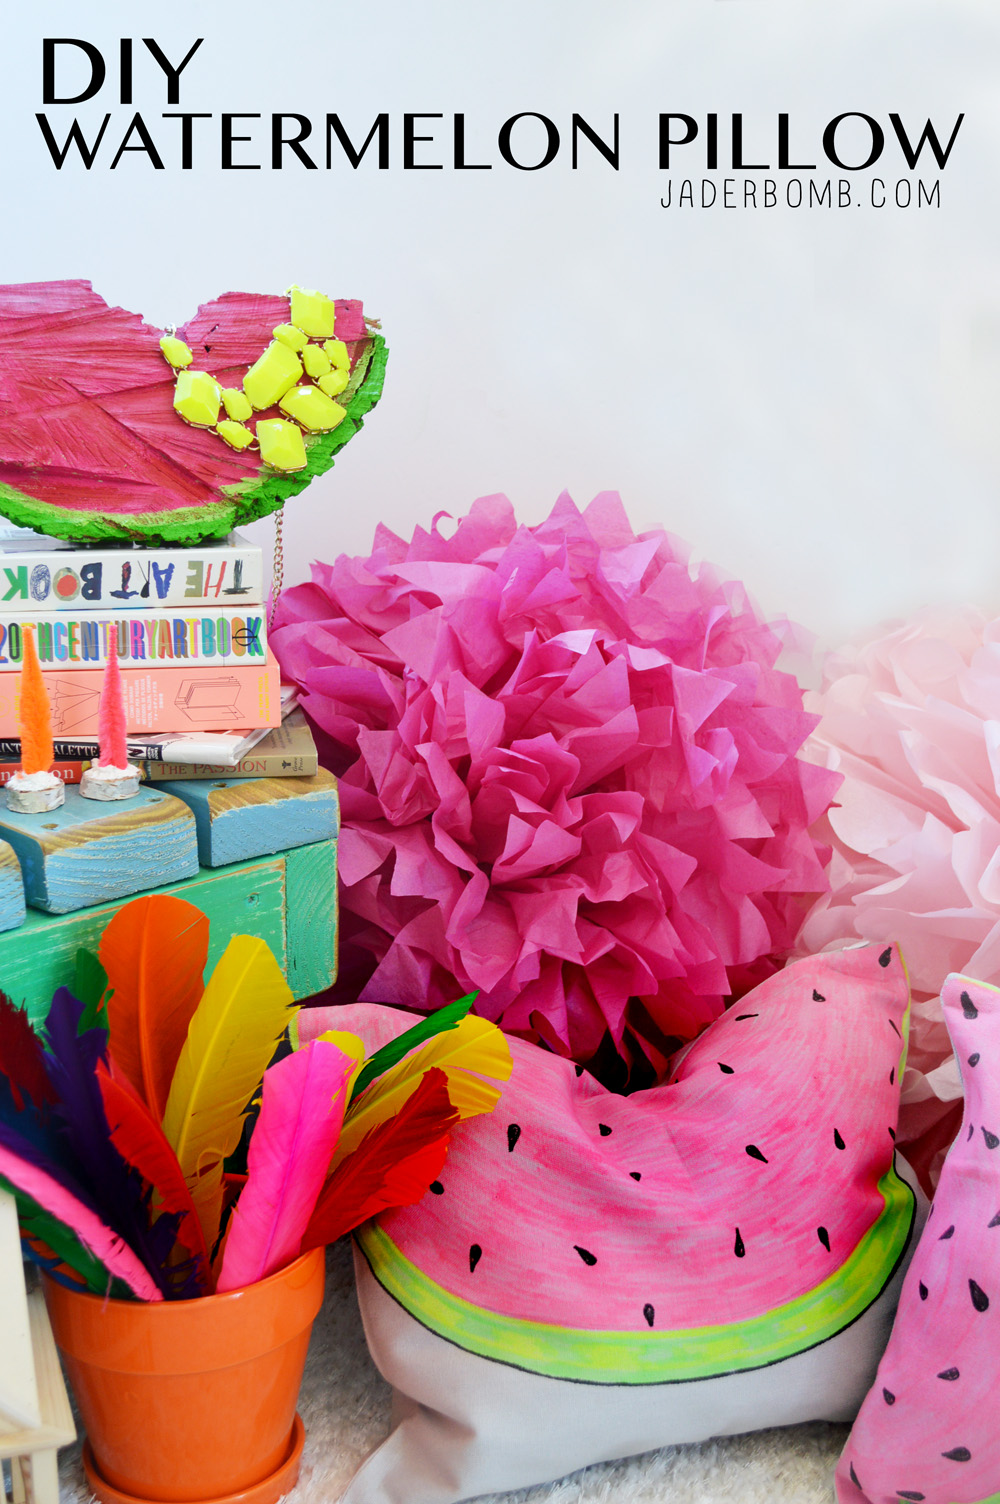
Today it’s all about the infamous Watermelon. Not actually a real one, but one much better! One that will last for a few years if given lot’s of love and attention!

The other day I decided to go for a walk around the neighborhood and I stumbled across random pieces of wood (see below). One resembled a watermelon. It’s like the fruit gods sent it directly to me. My friend had a painted watermelon at her house a few years ago and I fell in love. All this wood needed was a little paint and then it would be complete. I know I have not added the seeds yet but that’s because I am still trying to decide if I want real seeds or painted seeds. What do you think I should do???

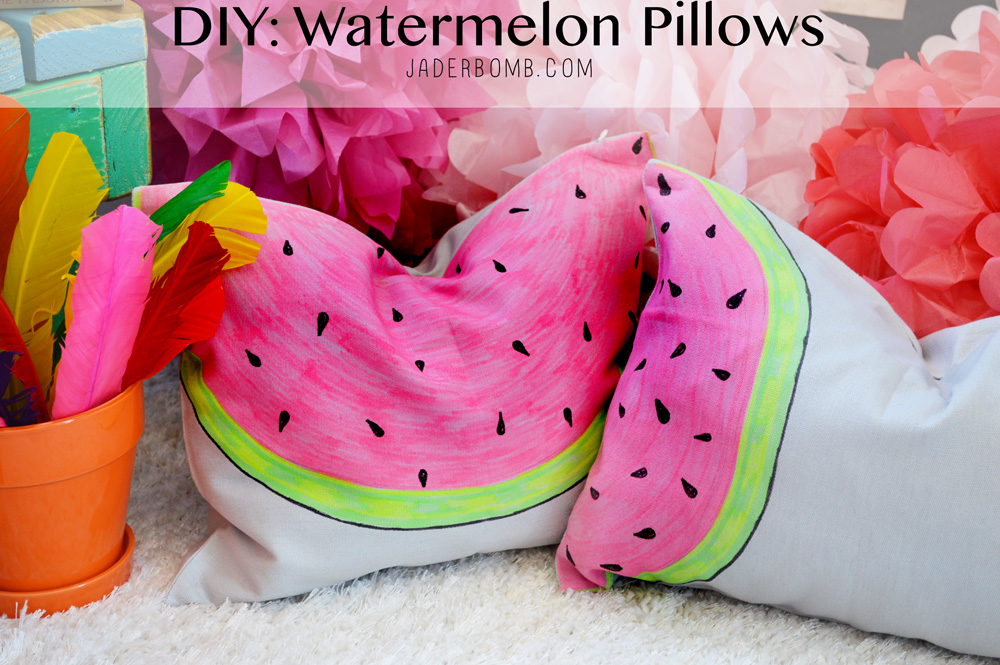
After I painted this lovely piece of wood it gave me an idea. Why not make Watermelon Pillows to dress up my outdoor space. There you have it folks. Needless to say I am now sorta addicted to watermelon’s and I want and need more of them, hehehe.

Scroll to the bottom of this post to get the link to see the FULL tutorial that I did on the I love to Create blog! Click HERE to see all of my projects I created for I love to create!
Watermelon

watermelon pillow

CLICK HERE TO SEE FULL TUTORIAL
Enjoy and have a GREAT weekend!HASHTAG LOGO

Don’t forget to connect on social media! Make sure to use use the hashtag #JADERBOMB on Instagram or Twitter or Facebook so I can keep track of all your awesome creations! HAVE A GLITTERY DAY! ♥, Jade