Tag Archives: jaderbomb

ST_12_months_of_Martha_Logo-1

I was so excited when I got this month’s box of goodies in the mail! I actually had ton’s of ideas once I started going through everything but I went with my gut instinct on this one.

The holiday’s are coming up and let’s face it, nobody likes store bought tags. I wanted to show you a simple and affordable way to achieve a “fannn-cyyy” look for a “fannn-cyyy” price! <—- yes say it like it’s spelled. I even threw in how to stamp your own ribbon.  This year we will make it all about personalized gifts.

Now your gifts will be bursting with DIY’ness.
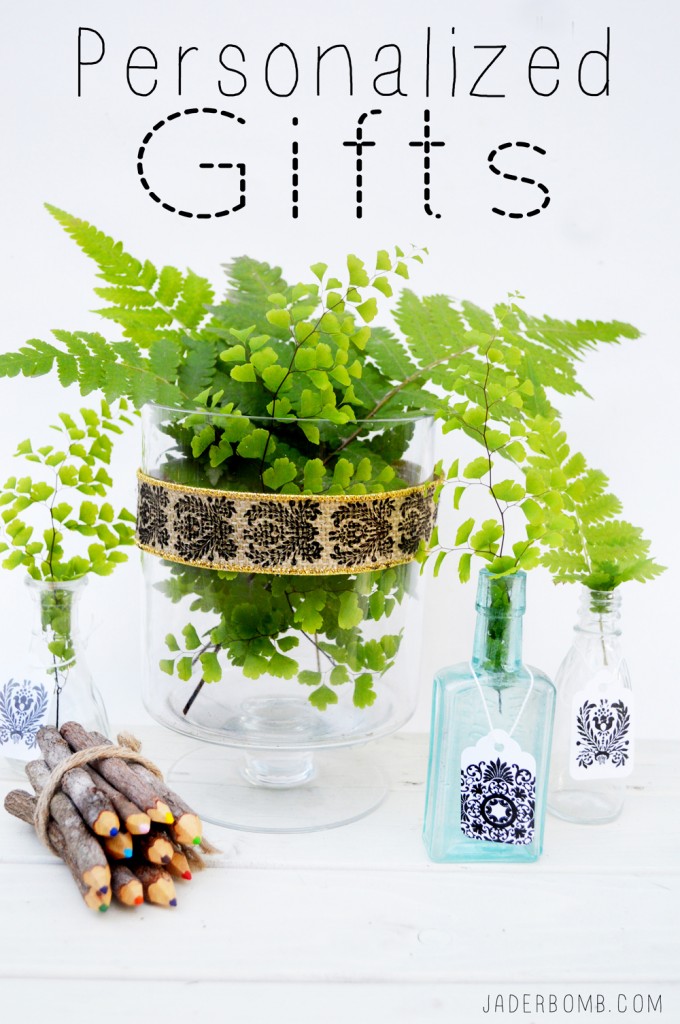
Personalized Gifts

YOUWILLNEED

Tags | Burlap Ribbon | Martha Stewart Flourish Rubber Stamps | Love
***You can purchase all of these fabulous items in one spot by clicking on my affiliate links!
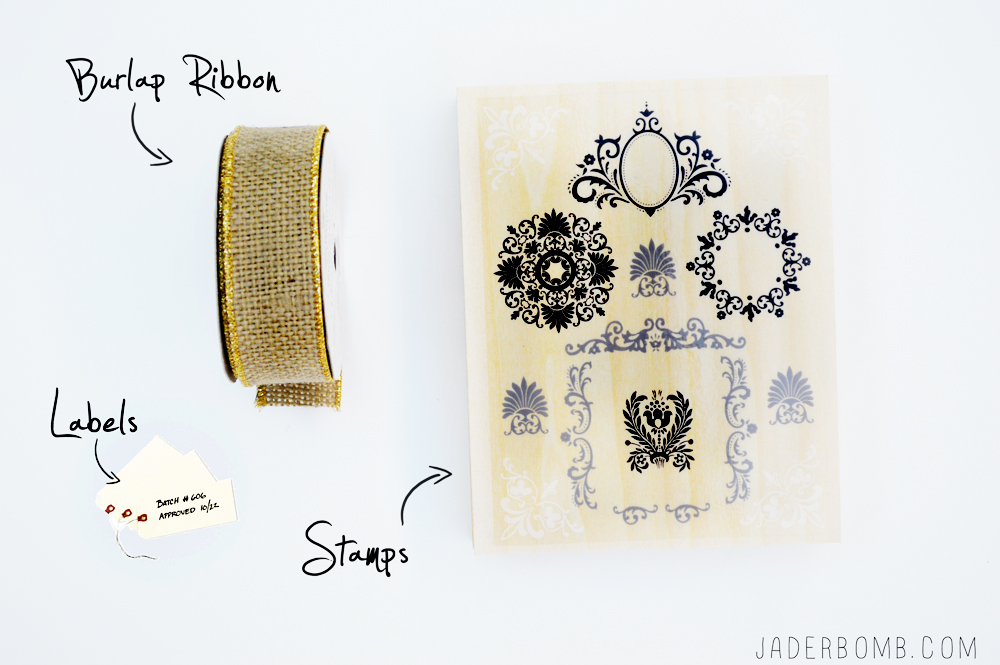
stenciled fabric supplies

Pure love is what I felt when I saw how this flourish rubber stamp set was packaged. Shoots I would buy it just for the box, y’all! It comes with 10 stamps and 3 colors of ink. Black, White & Silver. Perfect for any holiday decor. how to use a stamp
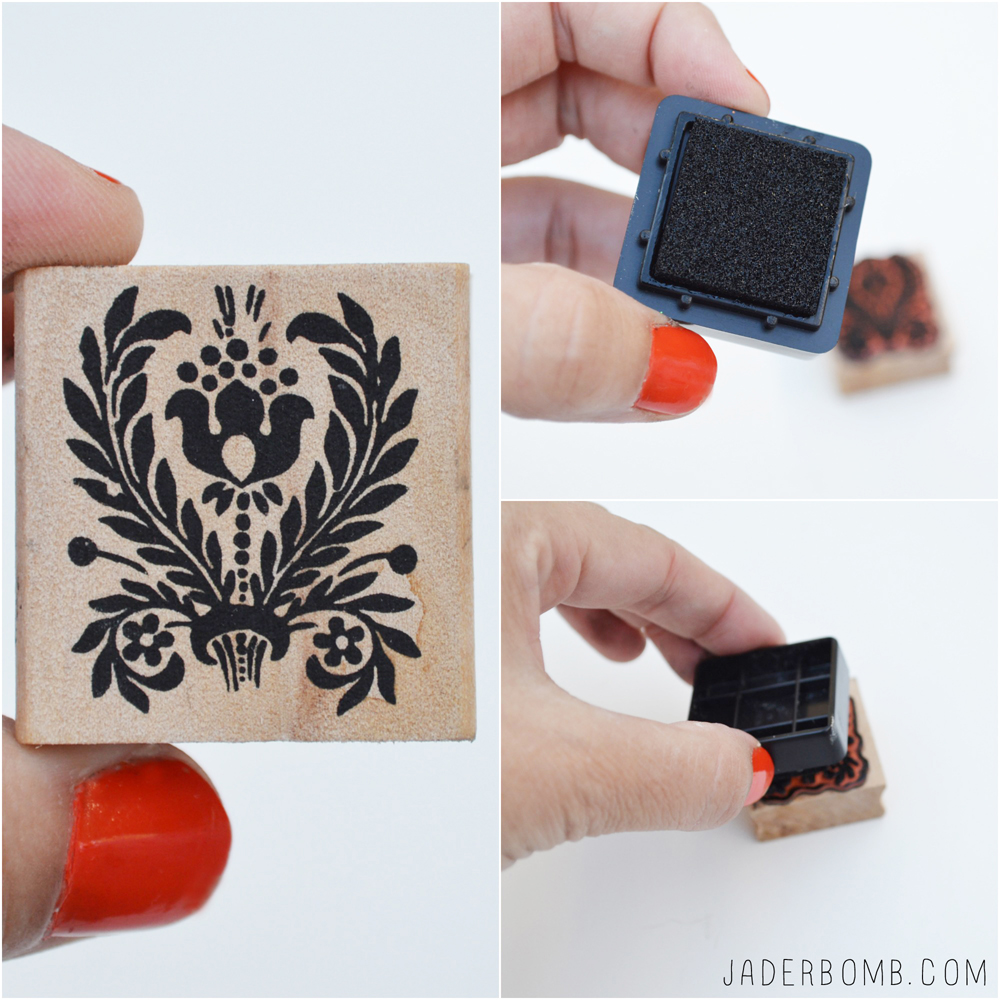
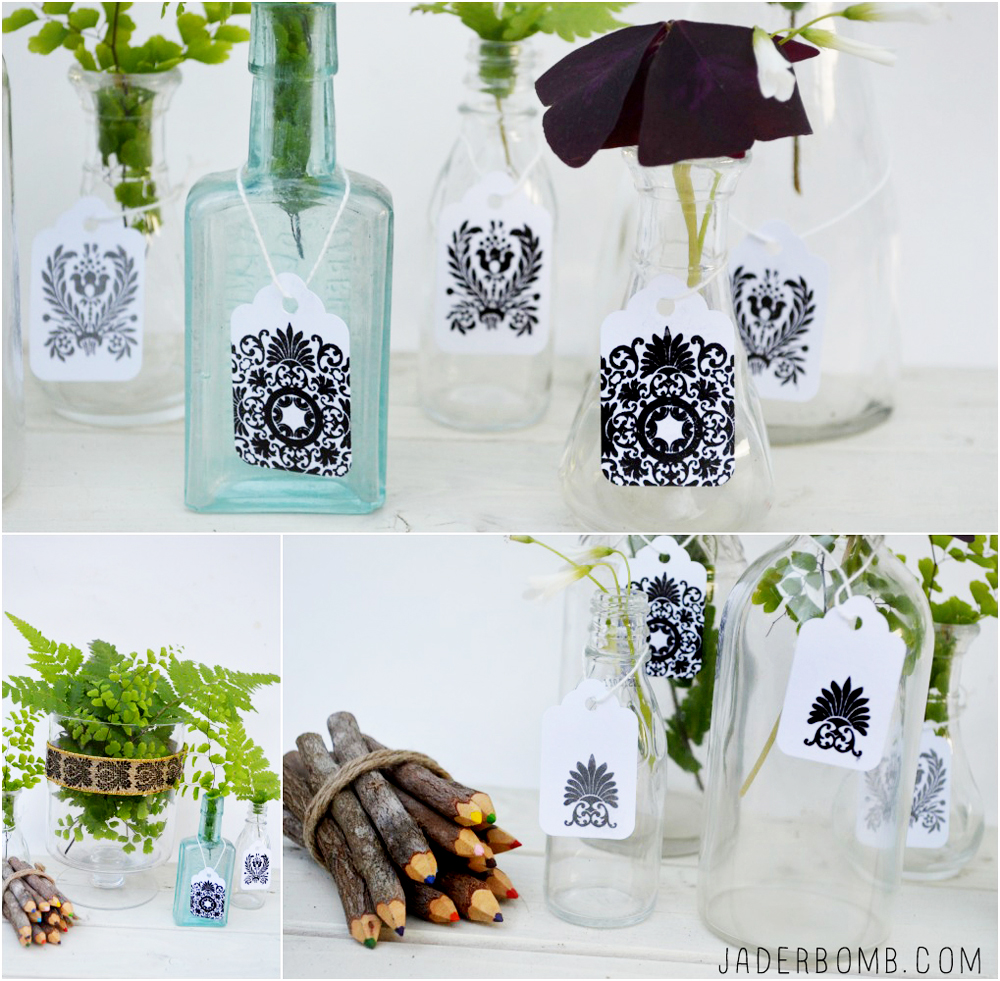
Since my tags were fairly small I decided to use a stamp that would fit perfectly on them. I also used a big stamp that went off the edges of tag and it came out so cute!
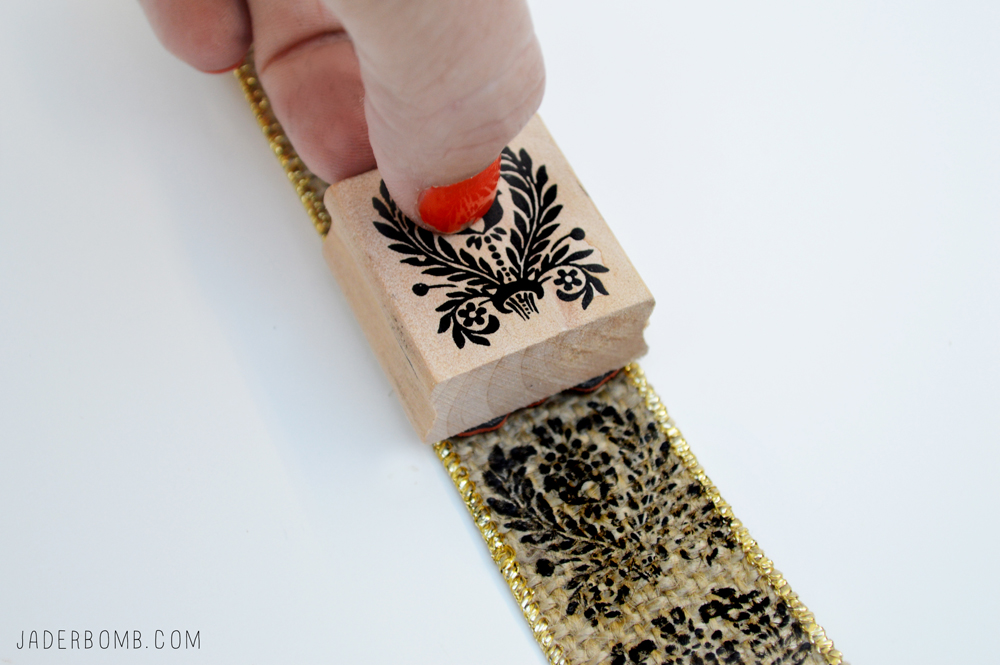
how to stencil fabric jaderbomb

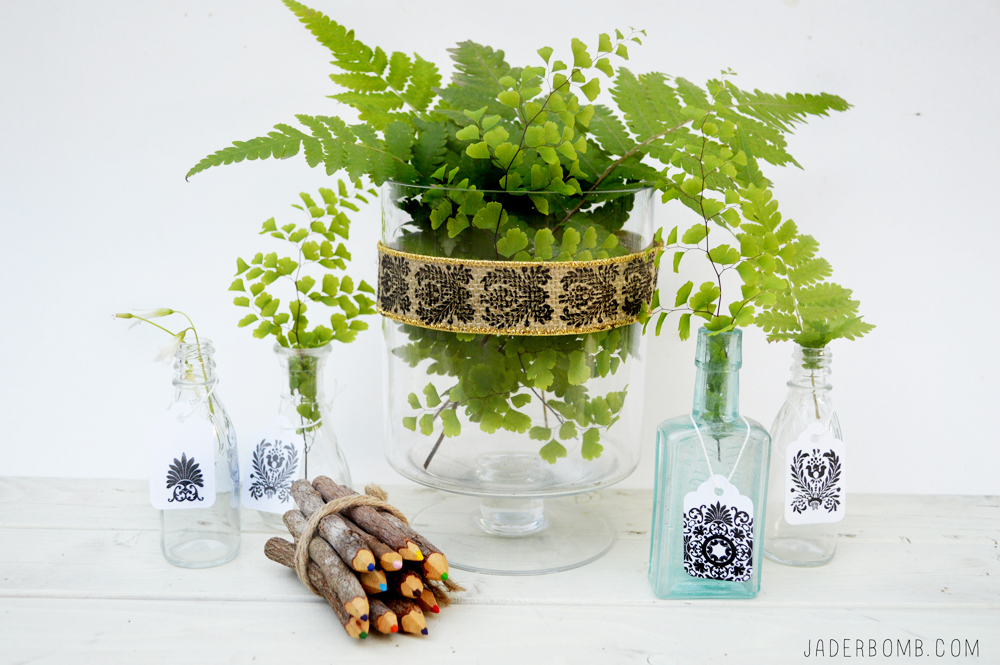
Since your packages or bottles of wine will have a fun tag hanging from them why not add a little embellished ribbon to go with it.

I mean, it would really top things off. You could also wrap this stamped burlap ribbon around a candle or add it to any wreath for a pop of DIY.
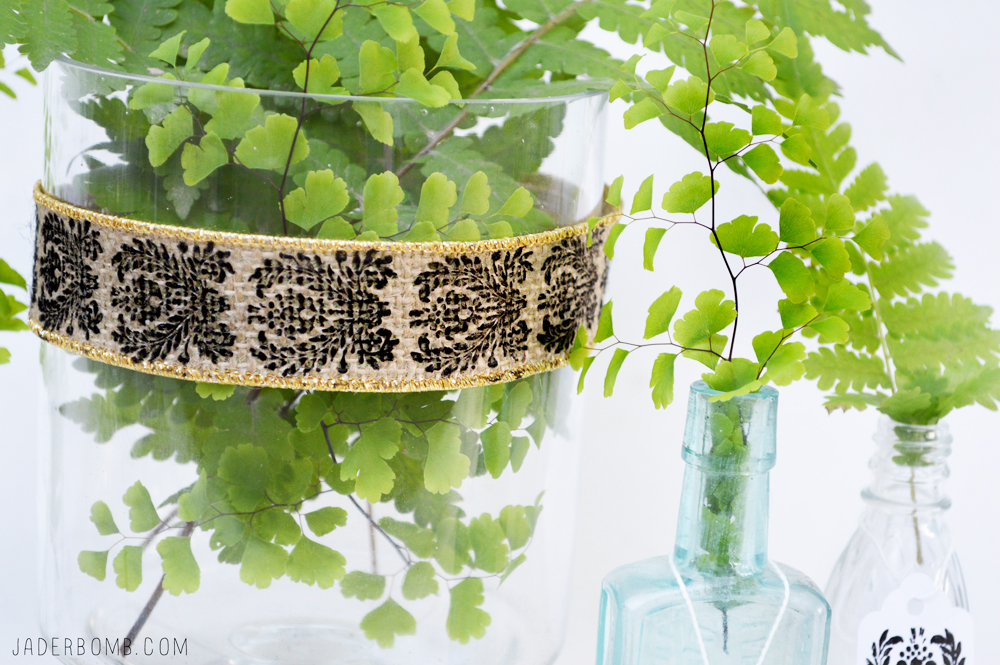
How to print on burlap

Stenciled Labels 12 months of martha jaderbomb

These can be used for practically anything. I will be using them as gift tags for Christmas but I wanted to show you how you can use them as part of your display also.Stenciled Fabric
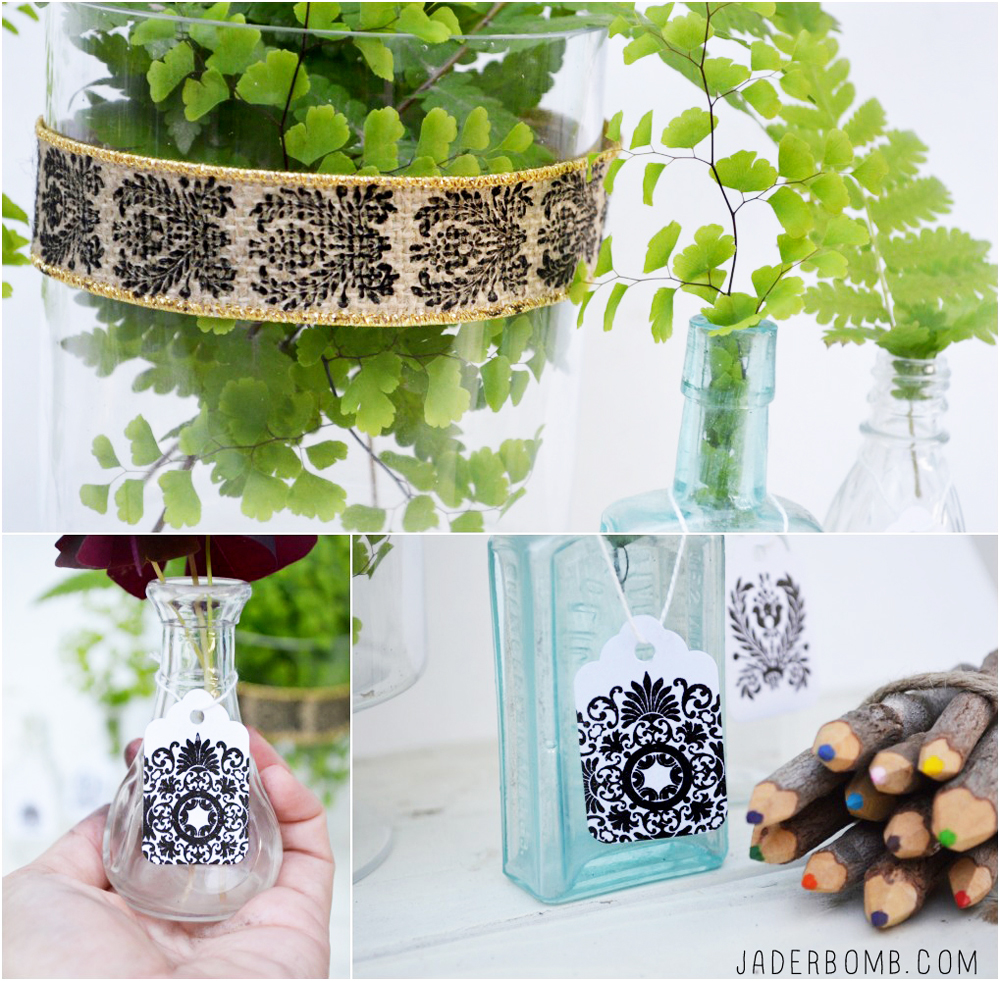
Personalized Gifts DIY 12 months of martha

I hope you enjoyed this 12 months of Martha post. Check out what else I made for Martha. If you are on Instagram, Twitter or Facebook make sure to search or share my pics by using this hashtag #12monthsofmartha and #jaderbomb

Wanna really stalk me? Come visit me on Facebook, Twitter, Google+, Pinterest or Instagram.

ending

Happy Halloween Jaderbugs! I was going to post a fun tutorial today, but instead I am taking you to Madame Tussauds in New York . Me and my dad went and had the best time ever. It was amazing seeing these life size people. I felt today was a fun day to share this with you since everyone will be dressing up and becoming who they really want to be!


If you are ever in New York you must make it to Madame Tussauds. It’s a great experience. The figures are so realistic you will have to touch them to make sure they are not real. Plus, it’s affordable and fun!

I hope everyone has a safe and memorable Halloween! See you in the next post. ending1

Make a Sequined Pumpkin

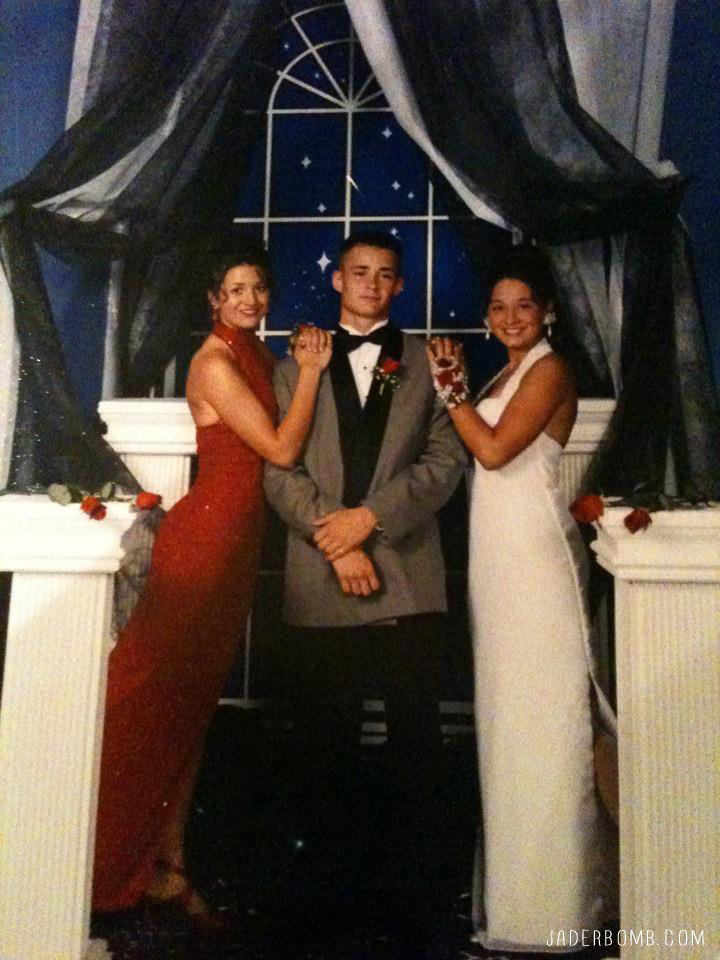
What is the first thing that comes to my mind when I think about sequins? Well of course I think of my freshmen homecoming dress.

Let me tell you that thing was blinged out! I will post a picture at the bottom of this post for you to see, don’t judge… TeeHee

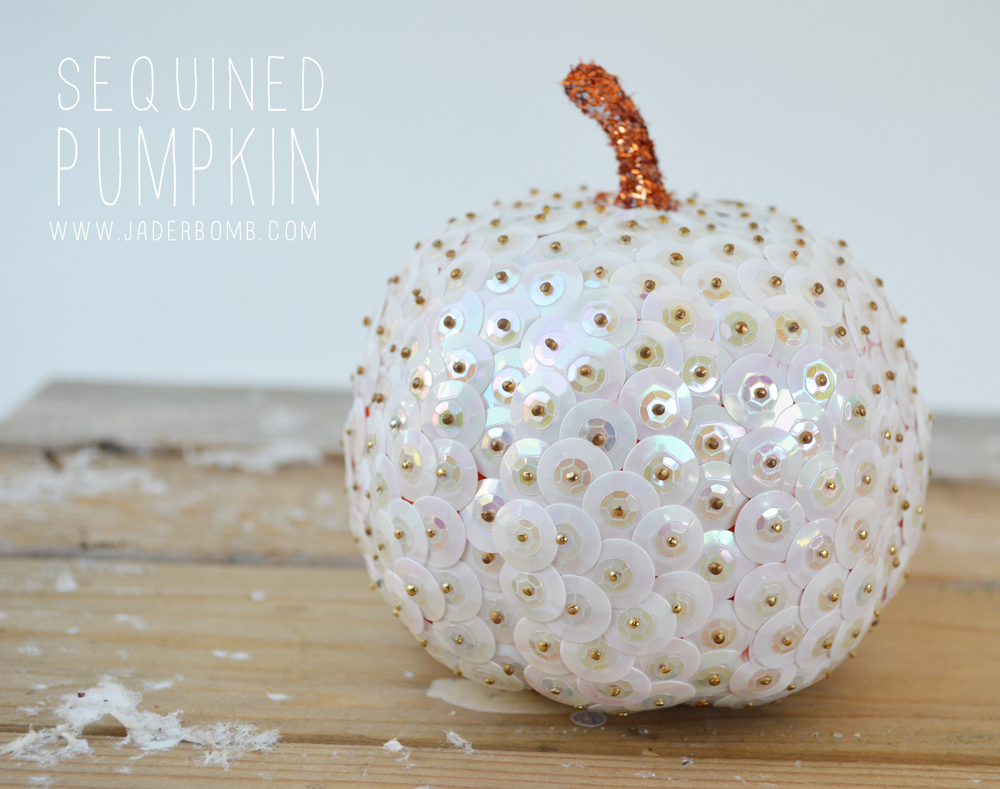
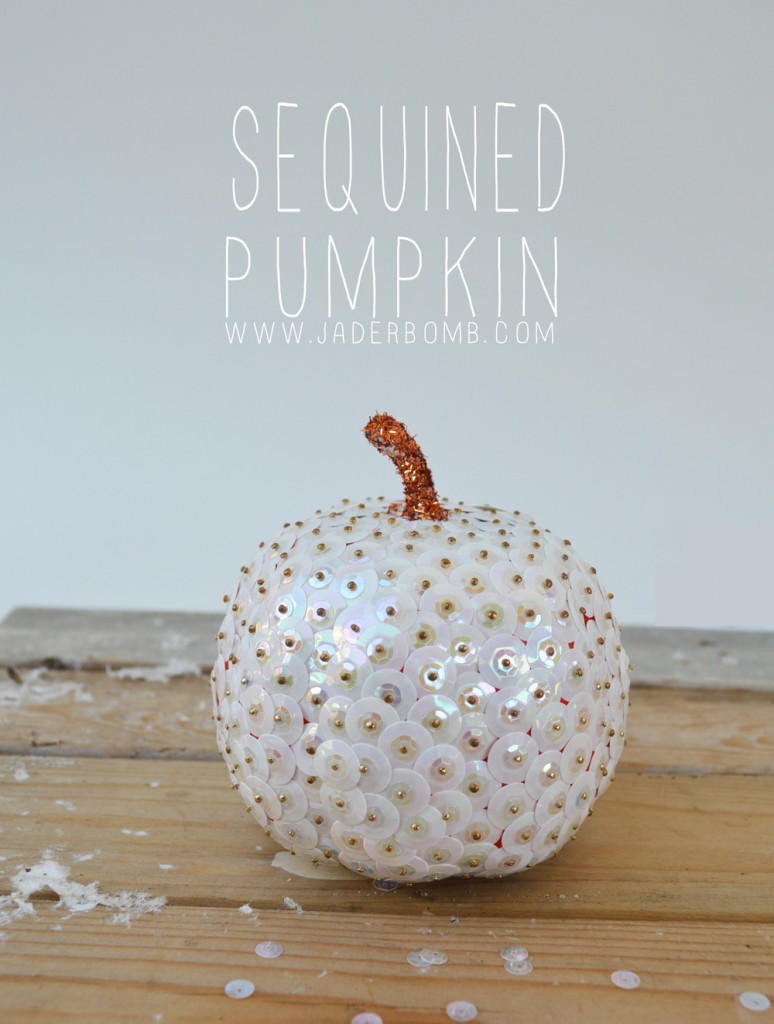
Today I will show you how to make a Sequined Pumpkin.

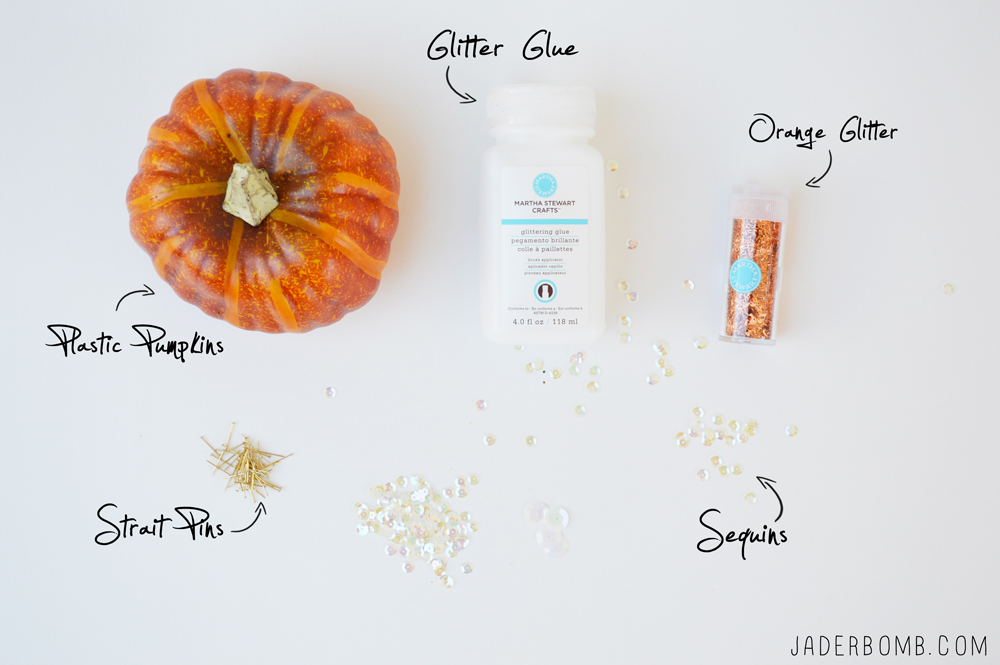
YOUWILLNEED*Plastic Pumpkin
*Glitter Glue 
*Orange Glitter
*Head Pins
*Sequins (small and large)

If you don’t have any of the supplies I used in today’s post you can click on the links to purchase any of them!
Sequined Pumpkin Supplies

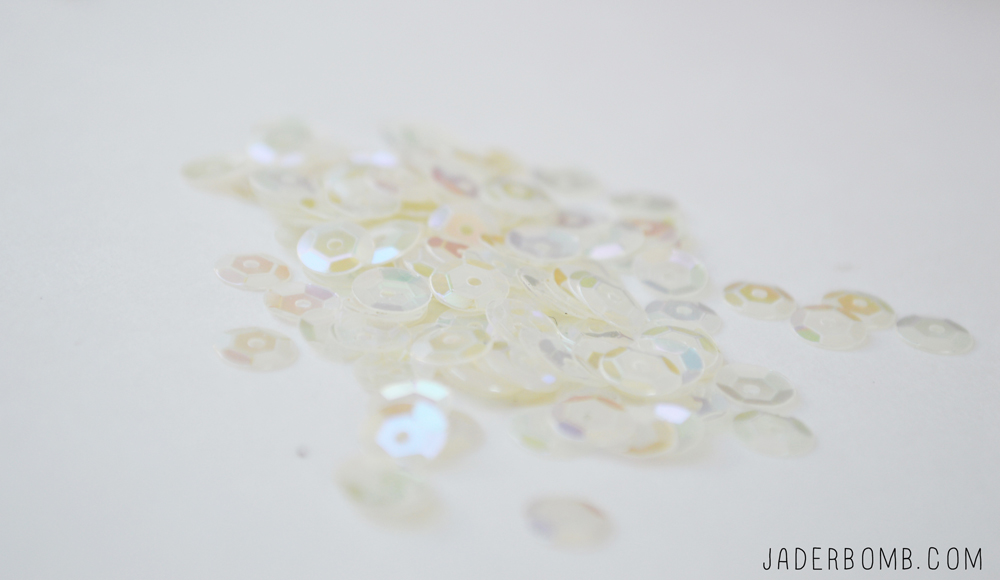
How gorgeous are these sequins! I used the same iridescent color but in two sizes. It looks good when there is a small one in front of the big one.

Sequined PumpkinI am using gold head pins. I like the gold because it adds some color to the sequins and dresses up everything.
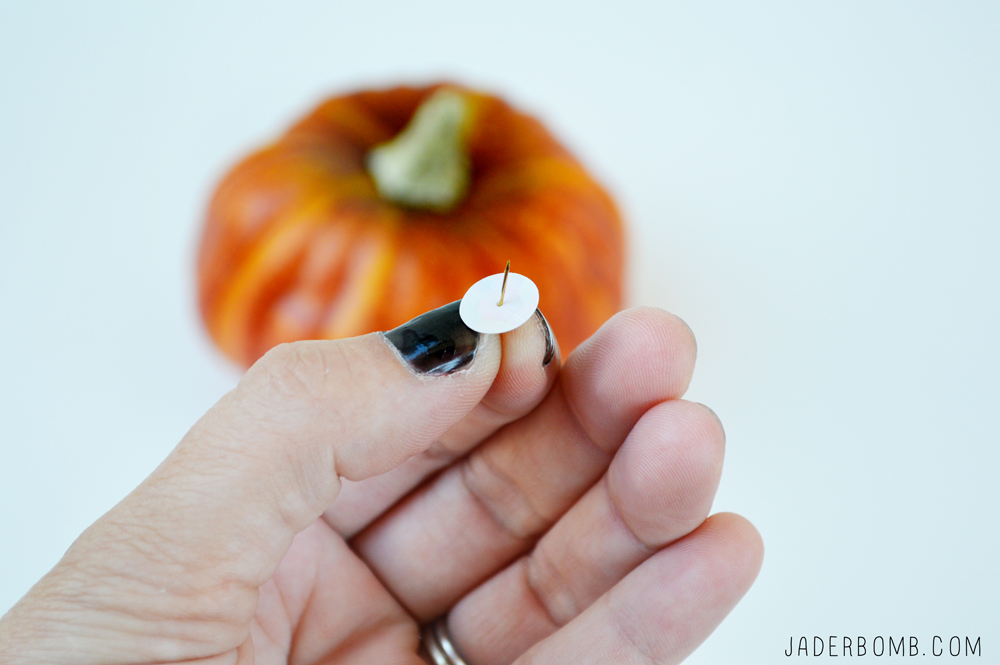
The first thing you will do is place a small sequin on the pin then the large one right on top of that one.

Sequined Pumpkin how to Start placing them in your pumpkin starting the very top.
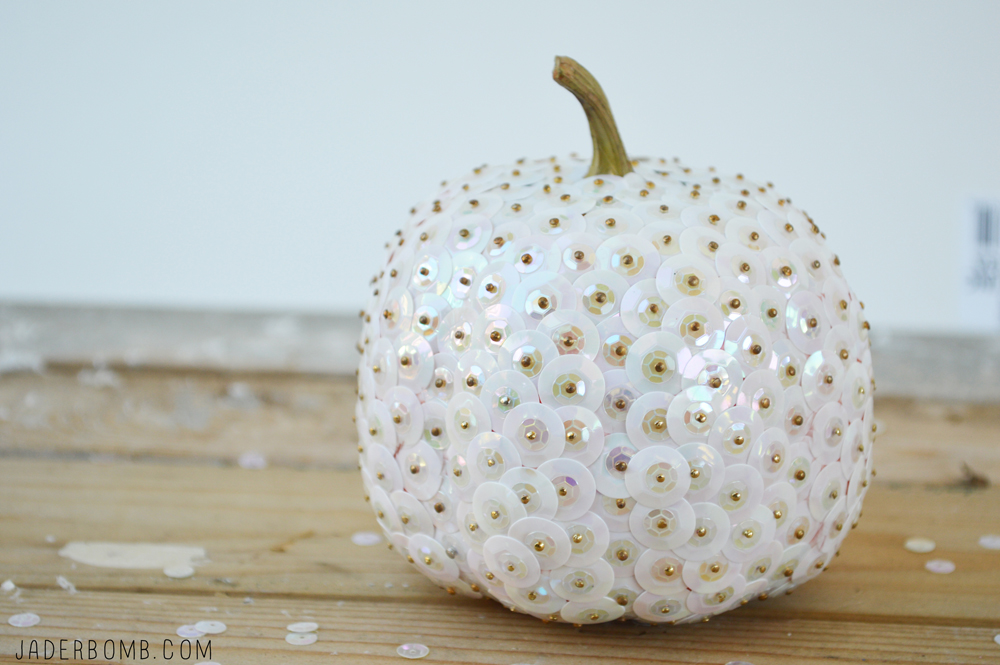
Sequined Pumpkin tutorial

This is what it will look like once you have completely finished it. It’s so pretty I could eat it. Well not really but you get my point! Sequined Pumpkin

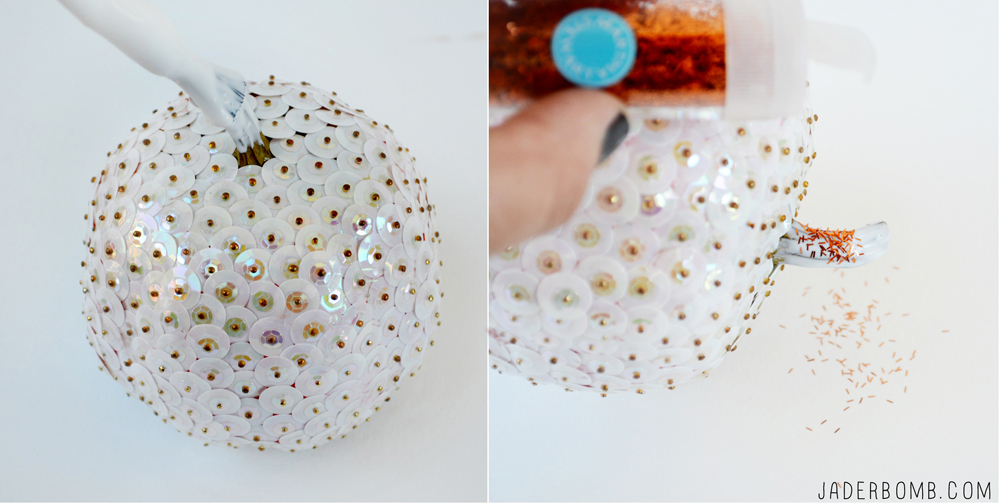
If you want to bedazzle it some more grab some glitter glue. If you don’t have glitter glue you can use any glue you have. Glitter Glue

Coat the stem with glue then sprinkle with glitter. I used orange but you can use any color that you want. DIY Sequined Pumpkin

It’s really that simple. The good news is we still have Thanksgiving to decorate for and you could make some gold and brown ones. I will warn you that they are very time consuming however they are worth it in the end.

When you are saving them up after the holiday’s make sure to place each one in a single ziplok bag so they don’t get dingy.
Sequined Pumpkin

HERE IS THE LOVELY DRESS! Yes that me in the red dress with my bro and seester! 402676_3167671267390_30998326_n

I hope you enjoyed this tutorial! See you in the next post!

in other news

*Check out my latest post on The Graphics Fairy
*Starting NOVEMBER 1st, I will be the featured PINNER for FAVE CRAFTS! I will share the direct link on my FACEBOOK and TWITTER!
*I will be in the upcoming issue of GREEN CRAFTS magazine! It comes out November 1st at craft stores. For sure Hobby Lobby!

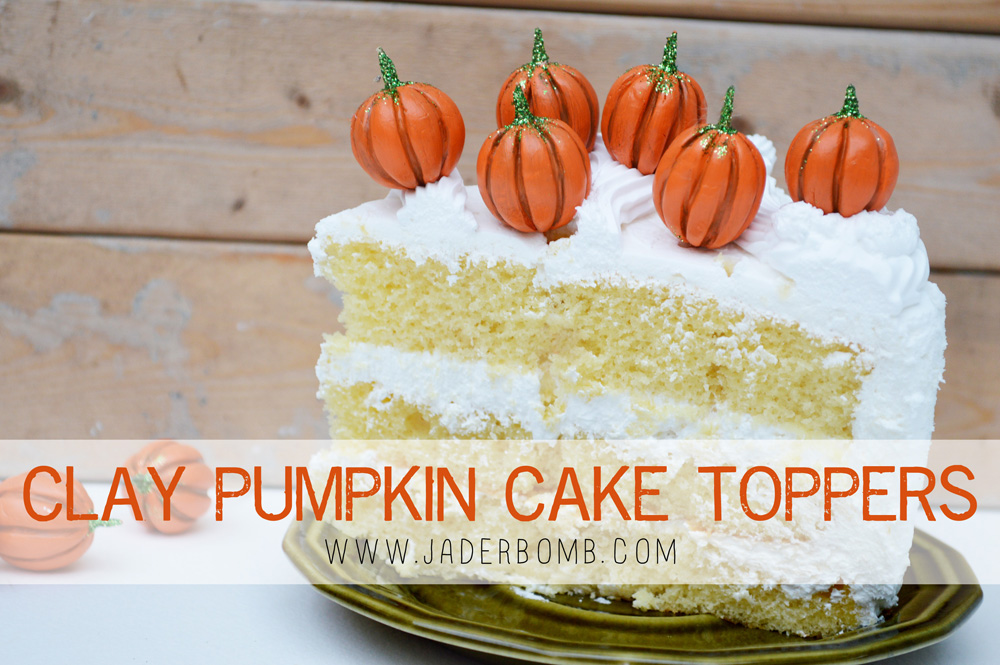
 Pumpkin Cake Toppers

Today I will be sharing an easy project that will dress up any cake or cupcake!

I had so much fun making these pumpkin cake toppers.This is a great craft for kids also!

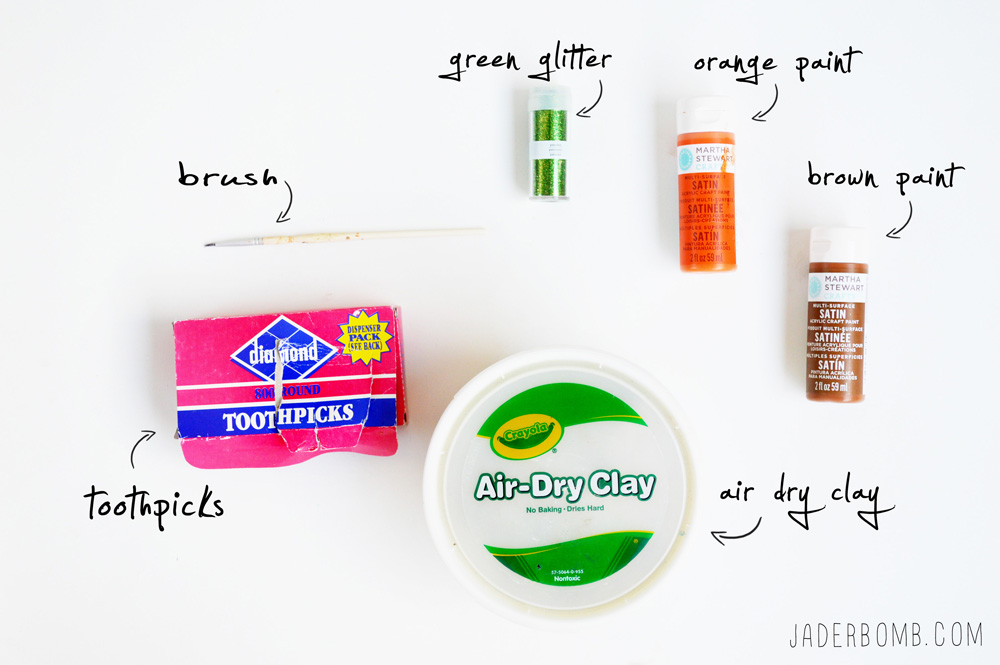
YOUWILLNEED

Craft Brushes | Green Glitter | Orange Craft Paint | Brown Craft Paint | Toothpicks | Air Dry Clay 

You can click on any of the above links to purchase items I used in this tutorial.

Pumpkin Cake Topper Supplies

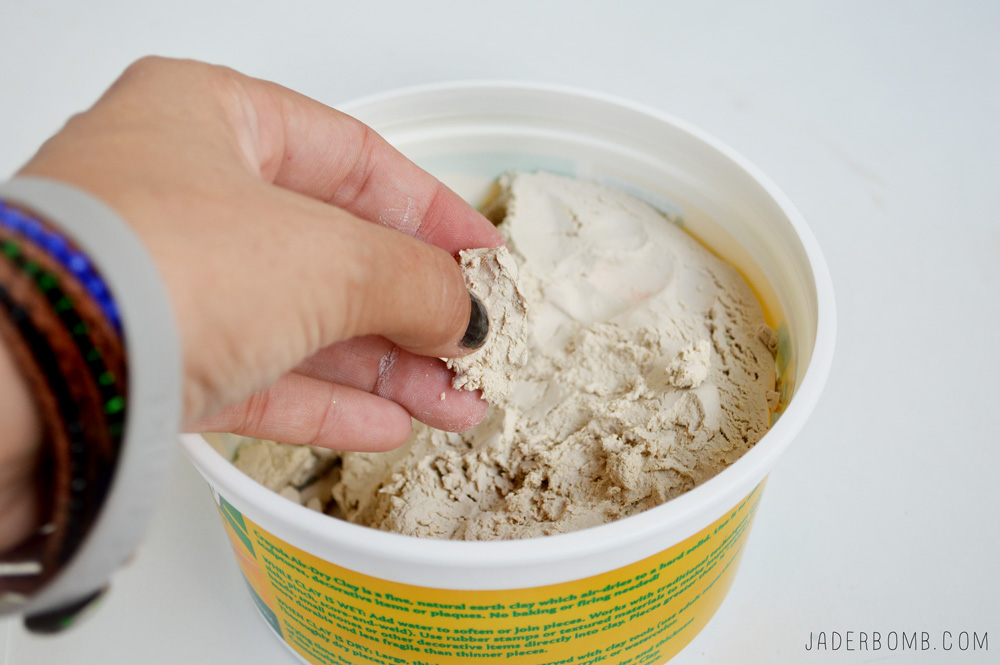
air dry clay cake toppers

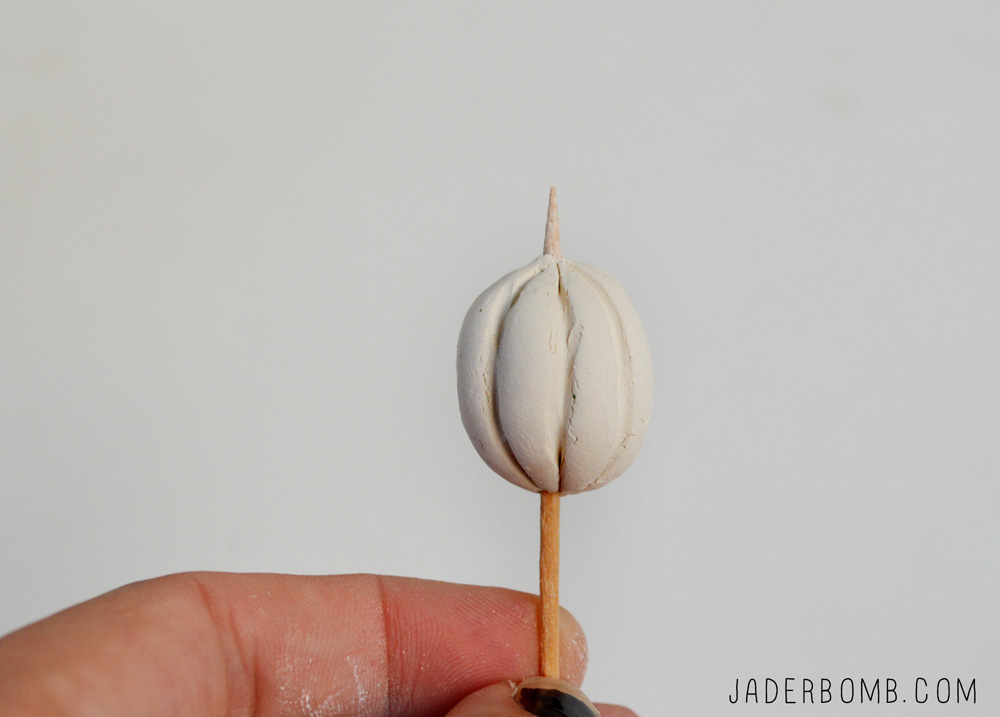
The first thing you will do is grab a little ball of air dry clay. Roll it around in your hands until you make a round ball. how to make clay pumpkinsStick a toothpick through it letting a little piece stick out of the top. Once you do this get another toothpick and draw your lines in the pumpkin.
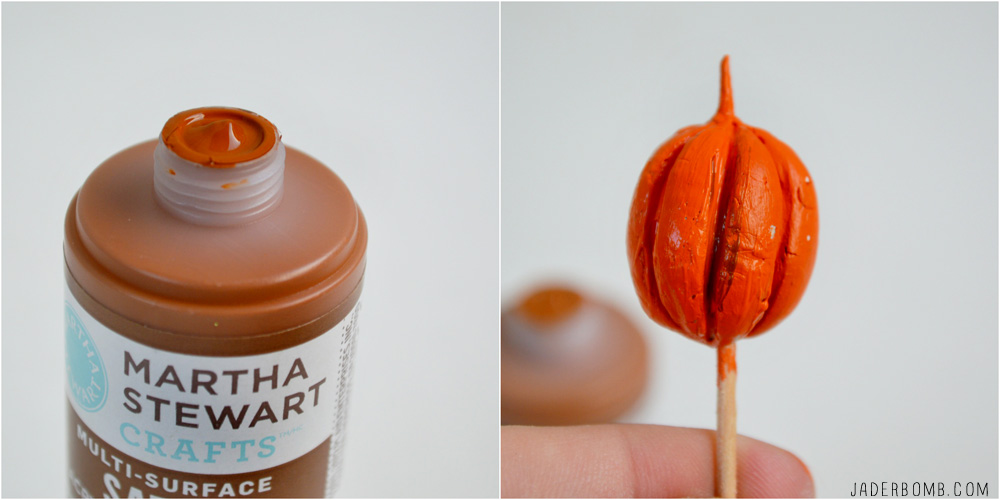
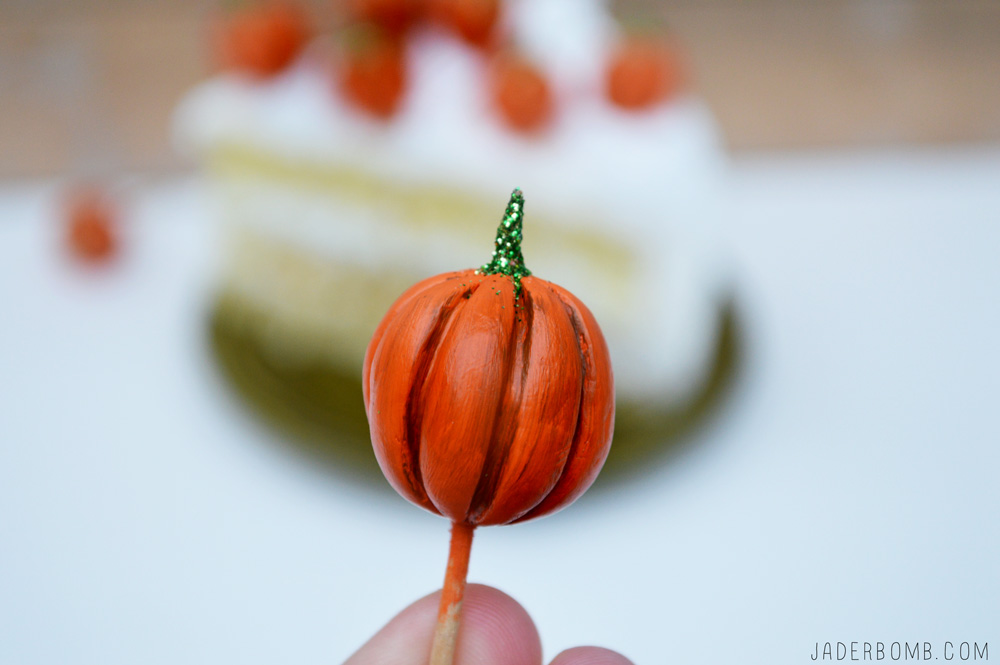
how to paint clay

Let it dry over night then paint a coat of orange paint all over it. While your orange paint is still wet paint a little brown paint in the cracks. This will add an antique look to it.

clay pumpkin cake toppersYou can even coat a little bit of brown paint over some of the orange if you want.
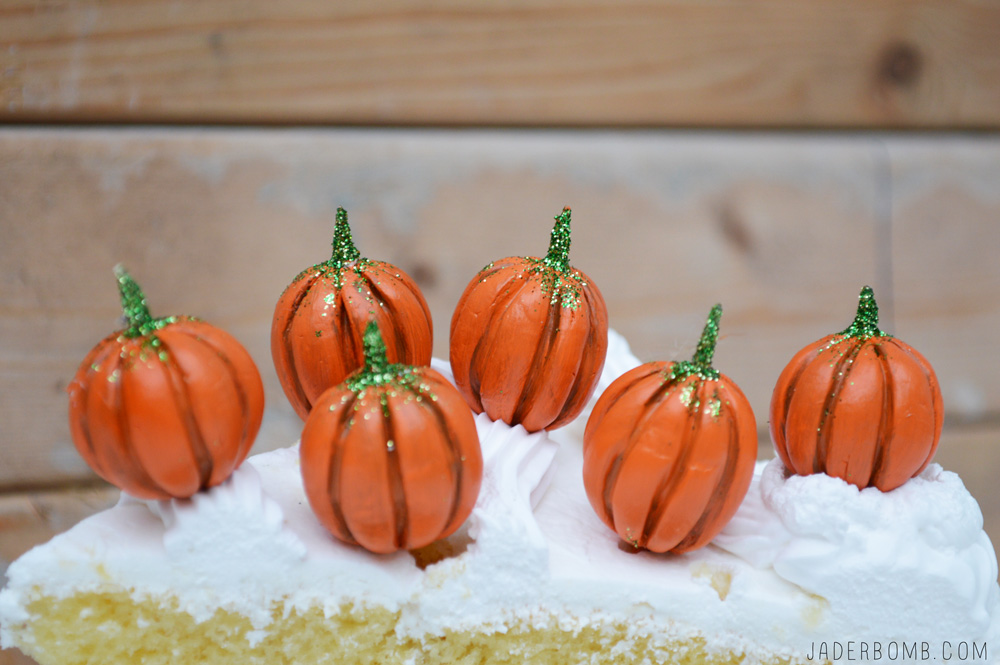
how to make cake toppers for halloween

VOILA!  How stinking cute are these! You could be a feisty fierce diva and put 10 pumpkins on a piece of cake or you could be simple and put one.

See you in the next post! ending1

cake toppers
It’s all about DIY today and boy have I got some fun cake toppers for you.

Look, I like balls. I like them so much that I made my own version of “Cake Ball’s.” I know you are probably shaking your head right about now. If you are not I will for you. 

The other night I was sitting in my studio thinking of cute things to add to the top of a cake. The first things that came to my mind was BALLS.

Let’s get started.

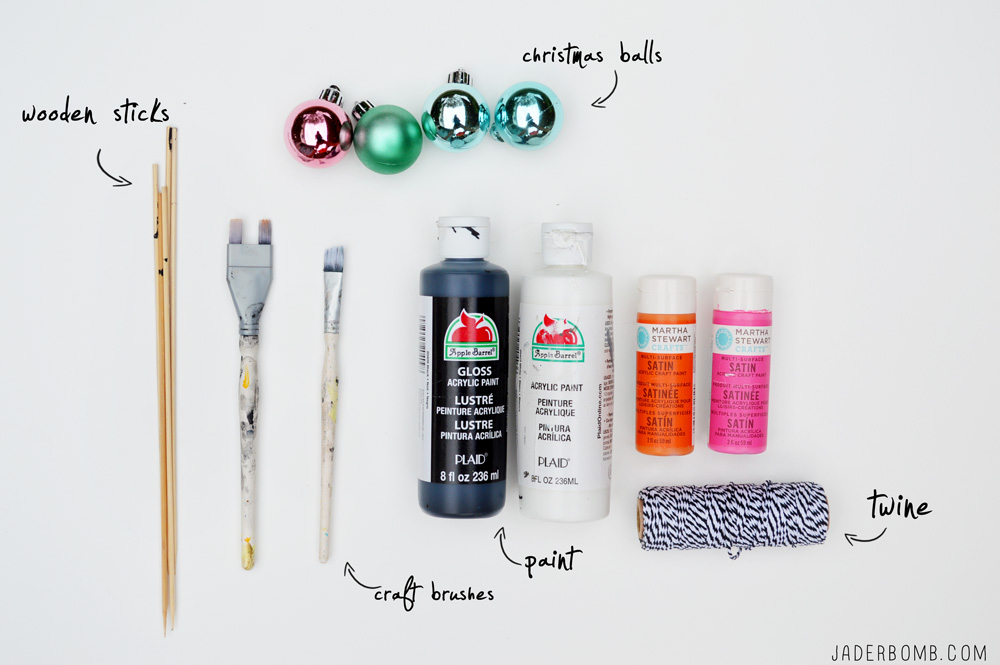
YOUWILLNEEDWooden Sticks | Small Christmas Ornaments | Brushes | Paint | Glue Gun | Bakers Twine 

how to paint ornaments supplies

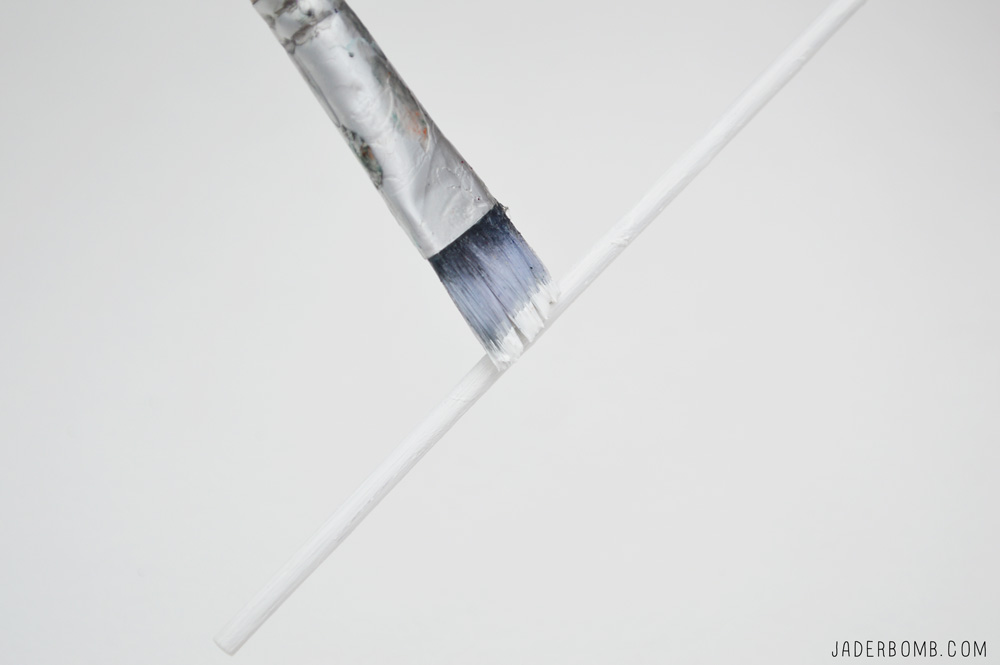
The first thing you will do is paint the paint sticks white. I am using a normal crafting brush for this step.
paint sticks

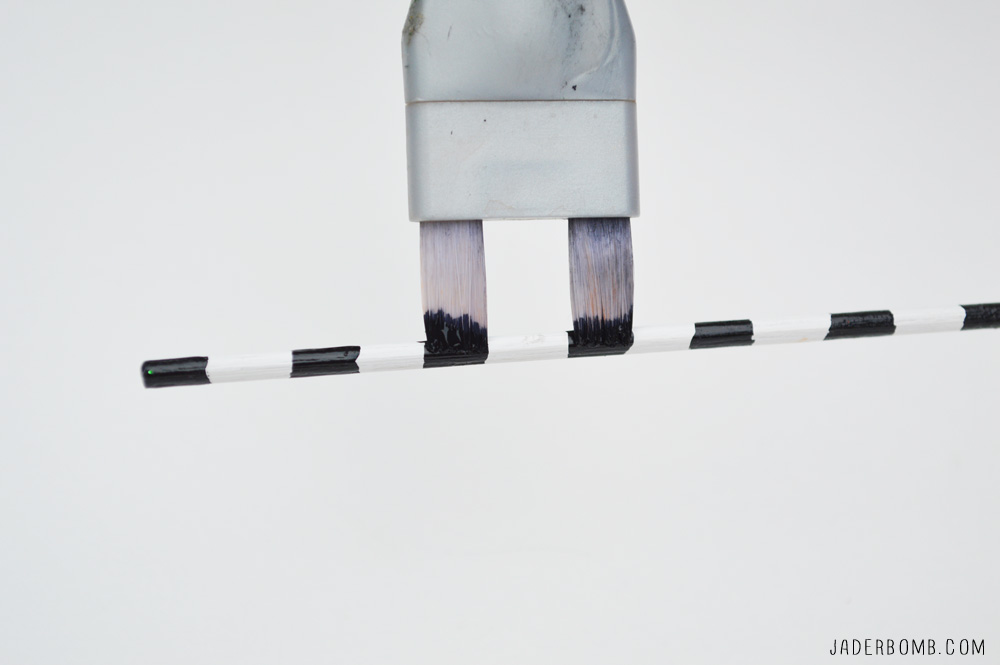
Next you will get this snazzy little Martha Stewart paint brush. It’s like two brushes in one!

black and white sticks

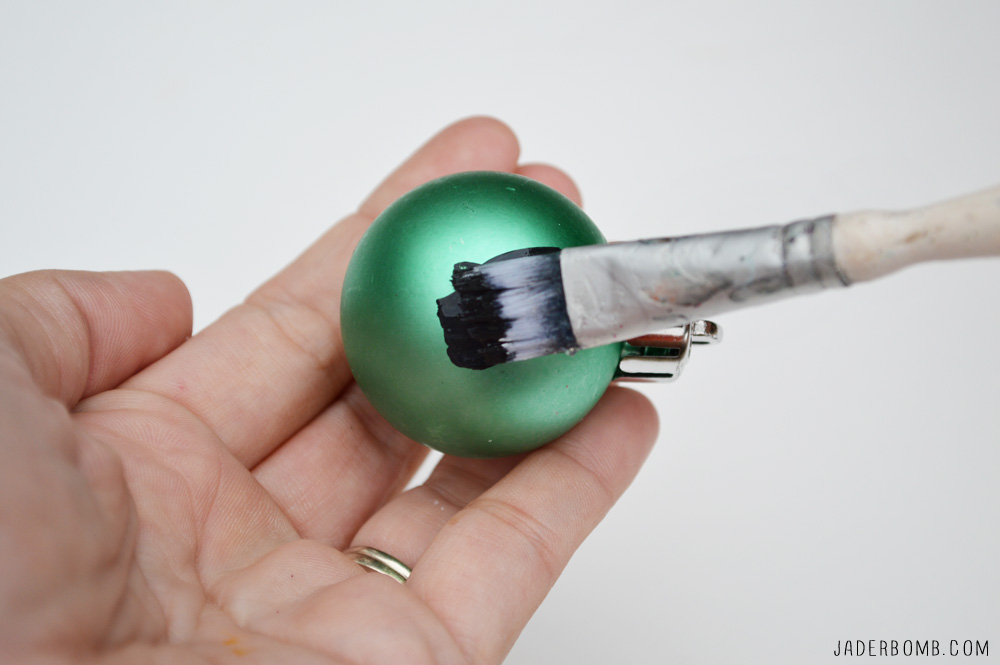
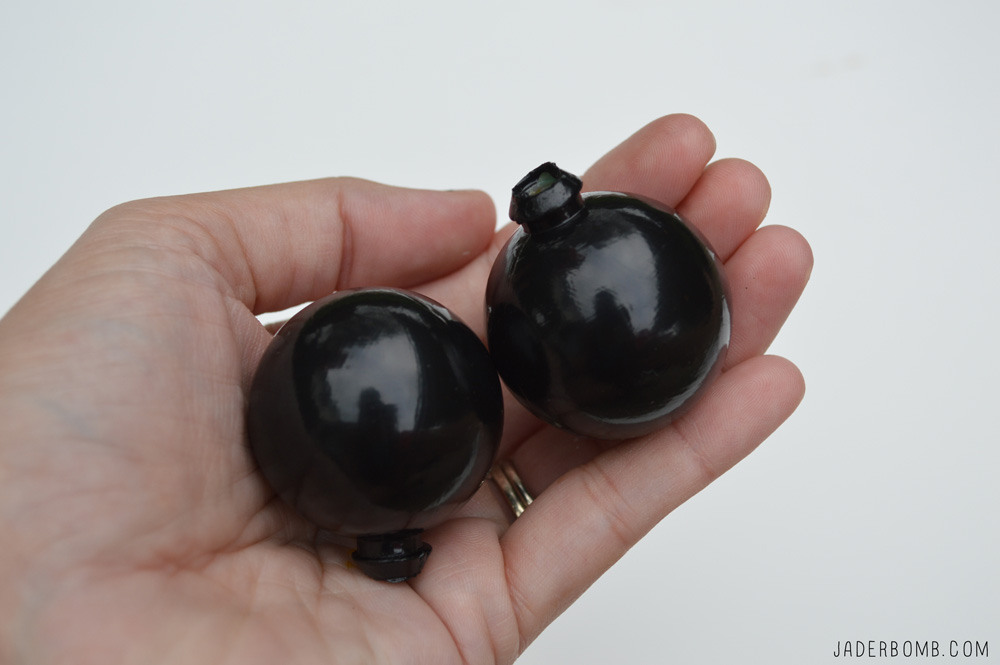
I grabbed these “balls” last year at Tar-Jay and they are perfect. P.S. Make sure you take the tip off of the ornament. Paint that sucker all black. I had to put about 3 coats on them before I was happy.

how to paint ornaments

This is how they will turn out. I am actually really shocked at how shiny they became after they were completely dry.

paint christmas ornaments

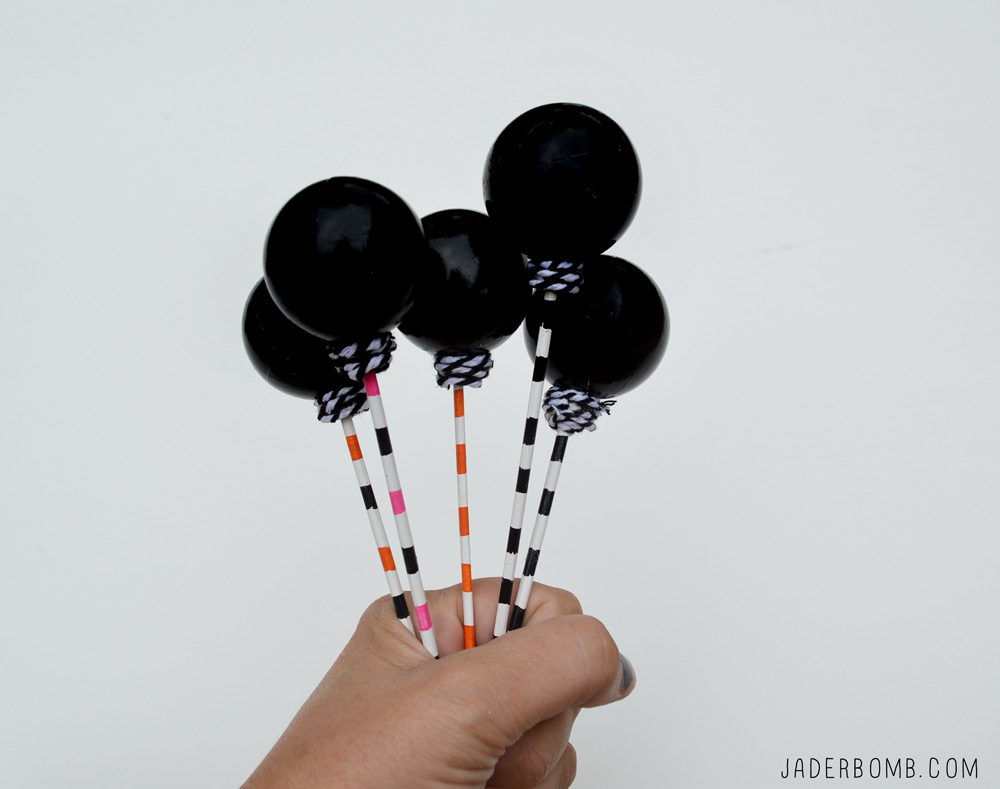
When they are done I put a little dab of hot glue on the tip of wooden stick and stuck it inside the ornament. Just hold it for a second till it’s dry.

Put a little hot glue around the tip of ornament then wrap twine around it.

VOILA!

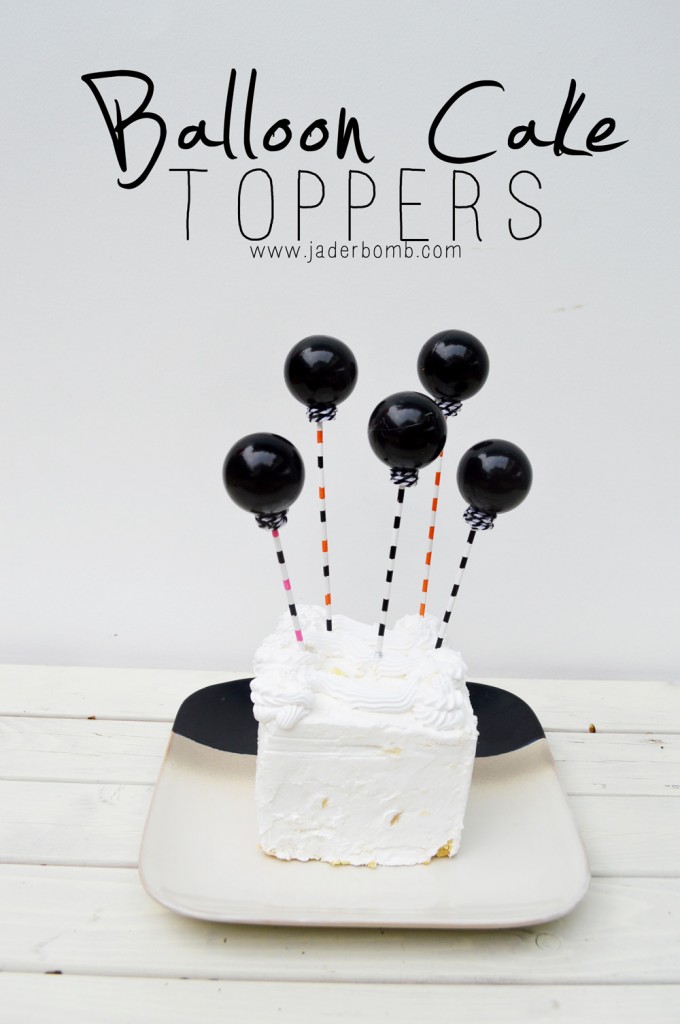
balloon toppersI am so happy with the way they turned out! I know that I did them black but you could do them pink, purple or just leave them the color of the ornament.
Another idea is to do different size ornaments.

diy cake toppers

I hope you enjoyed this post! Make sure to have fun with your balls…ending


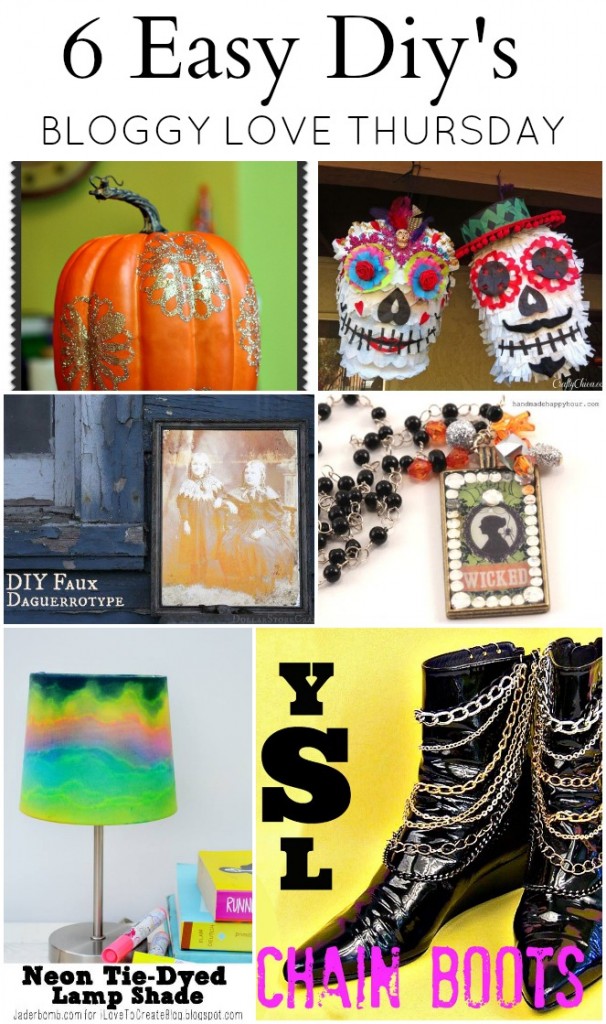
6 EASY DIY TUTORIALS It’s all about 6 EASY DIY TUTORIALS  today for Bloggy Love Thursday! I don’t know about you but anything fun, functional and easy makes me happy. Let’s see what everyone is sharing today!

Margot Potter shows us that gold is glamorous with this Gilded Pumpkin .

Cathie Filian shows us how to make a WICKED Halloween necklace with their products that are at Walmart (wahooo)

Mark Montano brings me to HEAVEN and back with these DIY chain boots!

Heather Mann just made my day with this DIY. Learn how to make a Faux Daguerreotype.

Kathy Cano-Murillo shows us the EASY way to make a PIÑATAS, and a sugar scull at that!

In case you missed my latest post for www.ilovetocreate.com check it out here! I show you how to make a COOL NEON LAMPSHADE!

I hope you enjoyed this roundup today!

ending1