Happy Painted Neon Socks Day! It’s been a hot minute since I made an appearance on the blog and I promise that was temporary! I have been so crazy busy lately and I am now back in the groove of things! It’s kinda funny how life can get so overwhelming, but in a good way! Check out this NEON DUCK TAPE bag I made it would go perfect with these socks!
I have this “SLIGHT” obsession with socks. Anytime I go into a store and I run across socks with prints I go nuts. I am not sure why because you will rarely find me wearing tennis shoes. I am a Birkenstock kinda gal so the sock things is kinda odd. Yes, I have a drawer full of neon, colorful, printed, patterned and anything else you can think of socks. Which brings me to THIS post. I found this pack of socks at……Michaels! Yes, Michaels. I was kinda shocked at first but I can’t lie my insides kinda had a party inside when I saw them. I immediately grabbed one of each color as fast as I could. I am really proud of myself that I didn’t grab 3 of each color, seriously! I knew I wanted to jazz them up but I wasn’t sure how.
These pretty babies stayed in my studio for a hot minute… ok they got lost in my studio but when I finally ran across them my insides had a party all over again. That day I was into my Tulip Dimensional paint so the Universe answered my design question for me. I realized this was something anyone can do, especially kids. Let’s face it – kids love to create! Adults do too! Let’s get started so I can show you how to enhance your socks in 10 minutes!
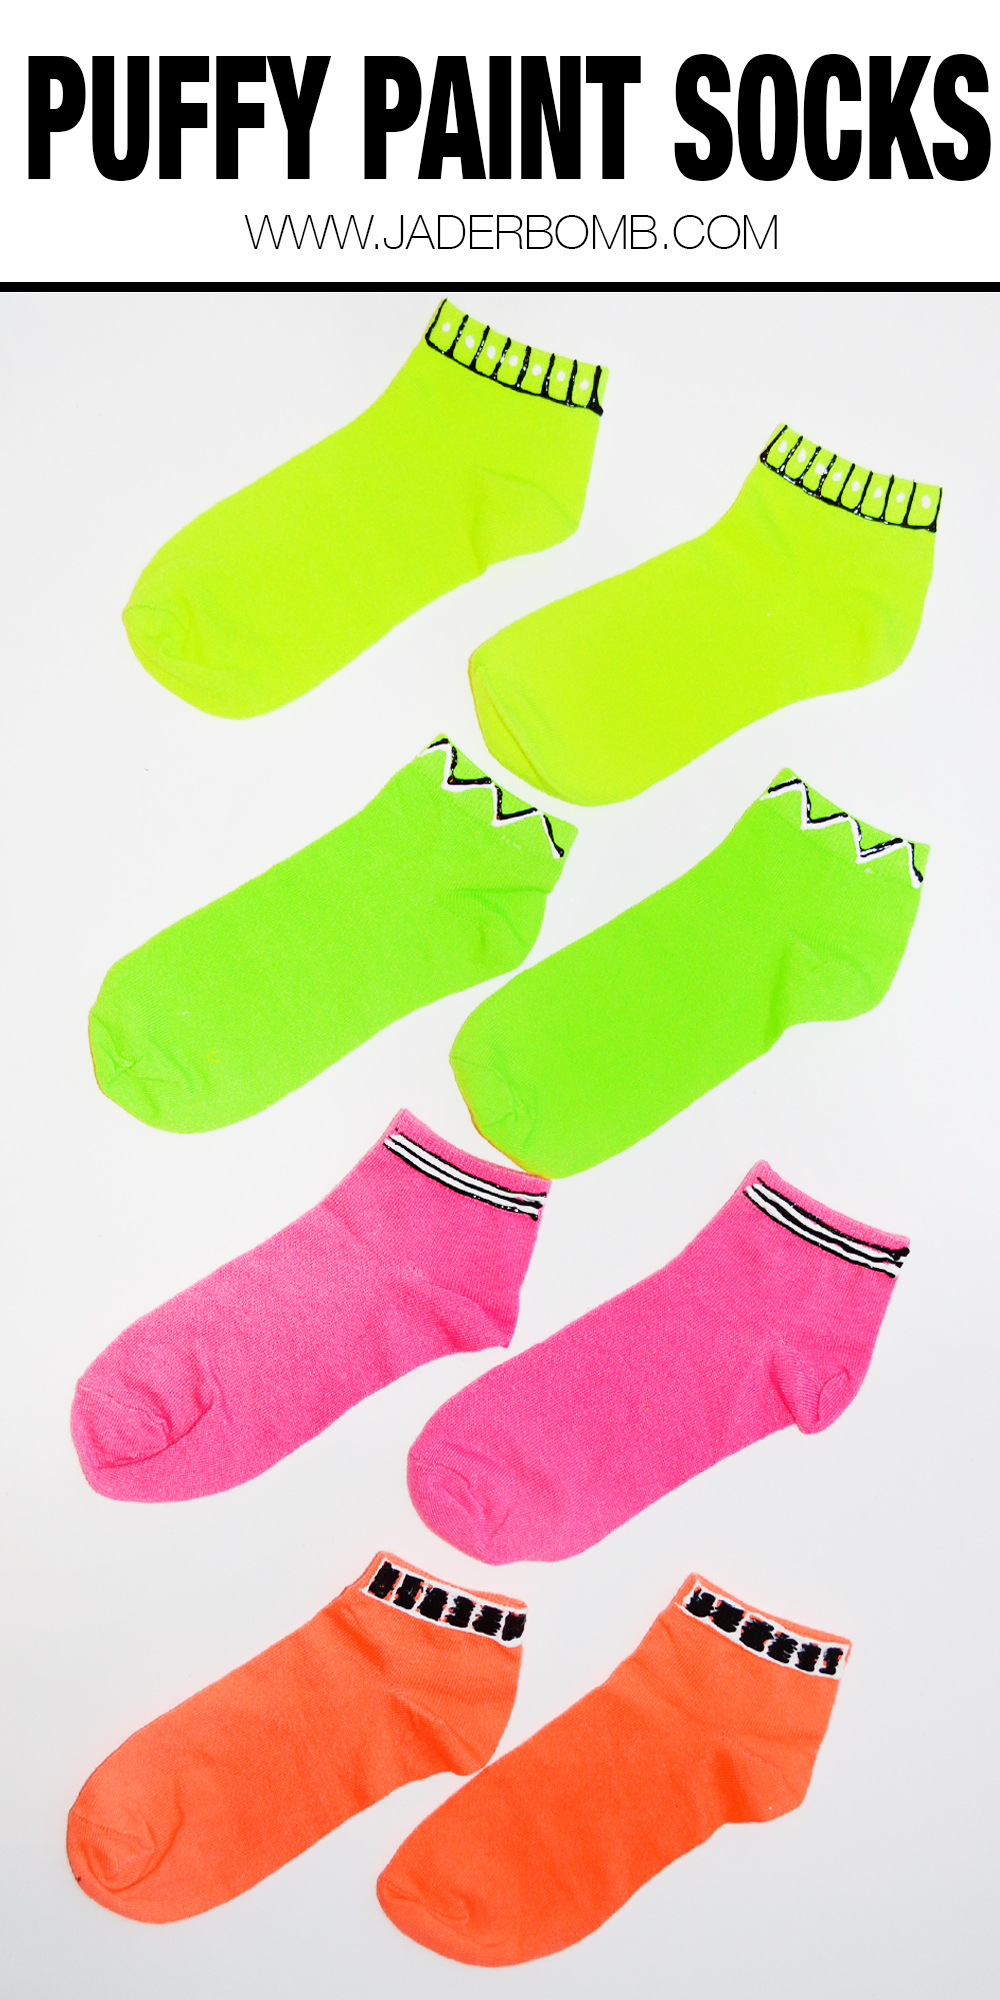
 Plain Socks | White Tulip Slick Paint | Black Tulip Slick Paint
You can click on the links above to order all of the products I used in this tutorial.
P to the S : These are affiliate links which mean when you click on them and order your products from Amazon you help me feed all of my baby chickens. Seriously. So, thank you! Plus I am totally making your life so easy, right!
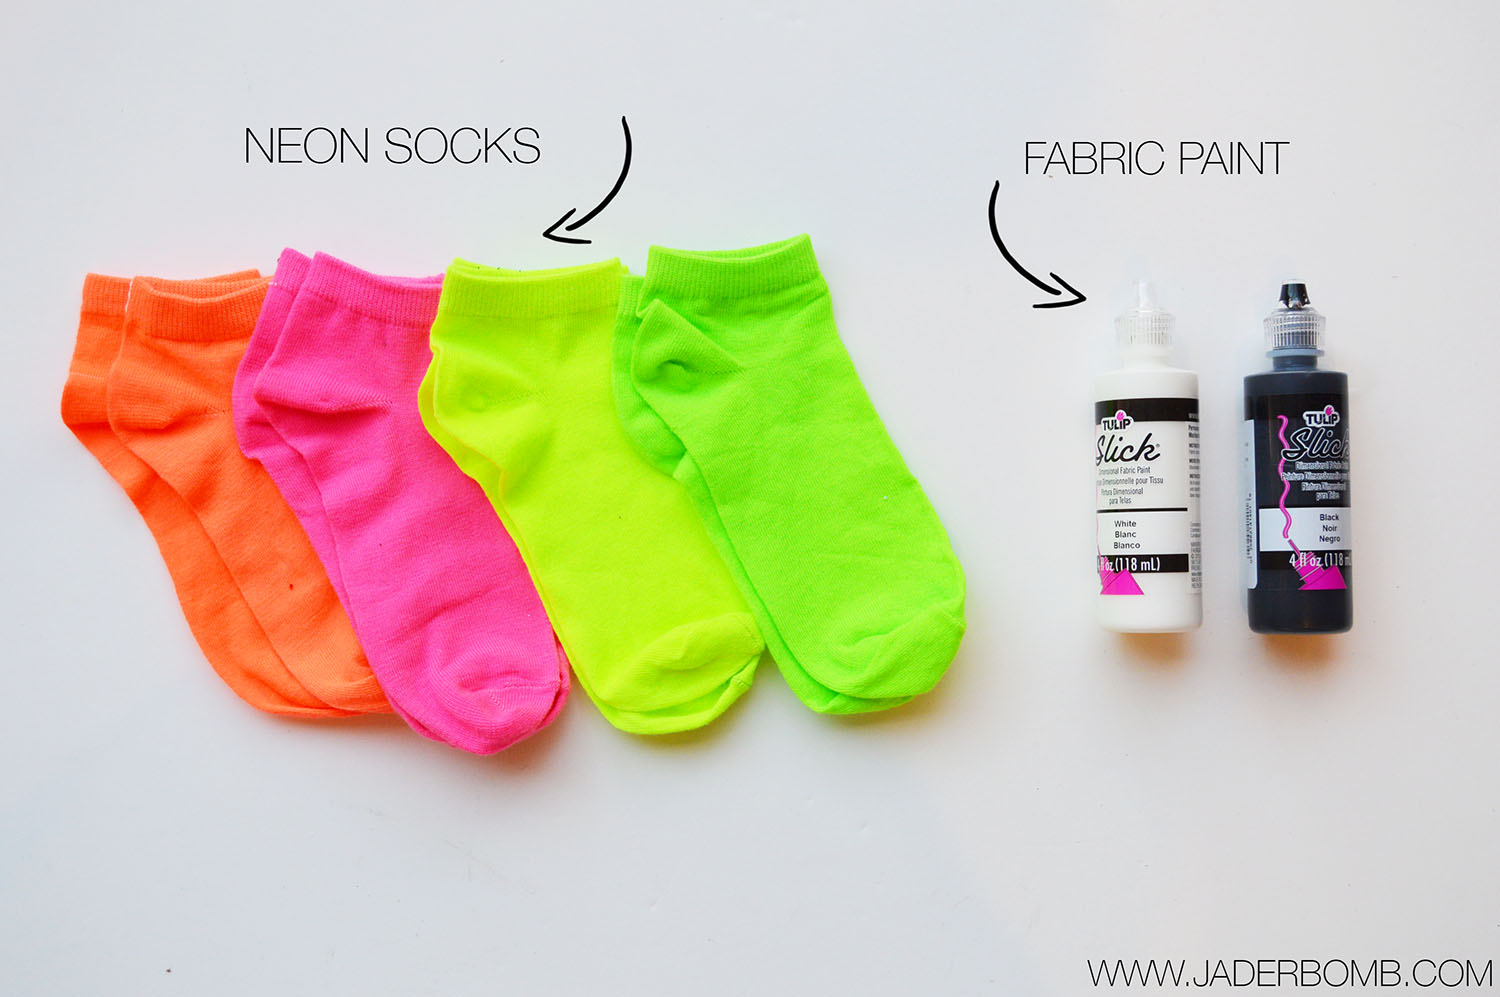
I could tell you this project is super hard but I would be lying. It’s actually super easy! I wanted to create very subtle geometric designs on my socks so I only did the top part of them…. They turned out fabulous and unique. Every time I wear them I get stopped…well not really BUT I have had a few people ask me where I got them. Remember, I am a Birkenstock chica so you won’t really find me wearing socks!
On a whole other note my better half signed me up for a tennis league. Yes. A tennis league. I am not sure why I am telling you this but I guess this will be the perfect opportunity to show off all of my snazzy socks. I am so glad she has more faith in me than my socks do, haha! I am however super stoked about all the tennis clothes I will be wearing. I guess if I don’t play that good the least I could do is look cute on the court right… Stay tuned I will keep you updated, or I will NEVER mention this again. #fml
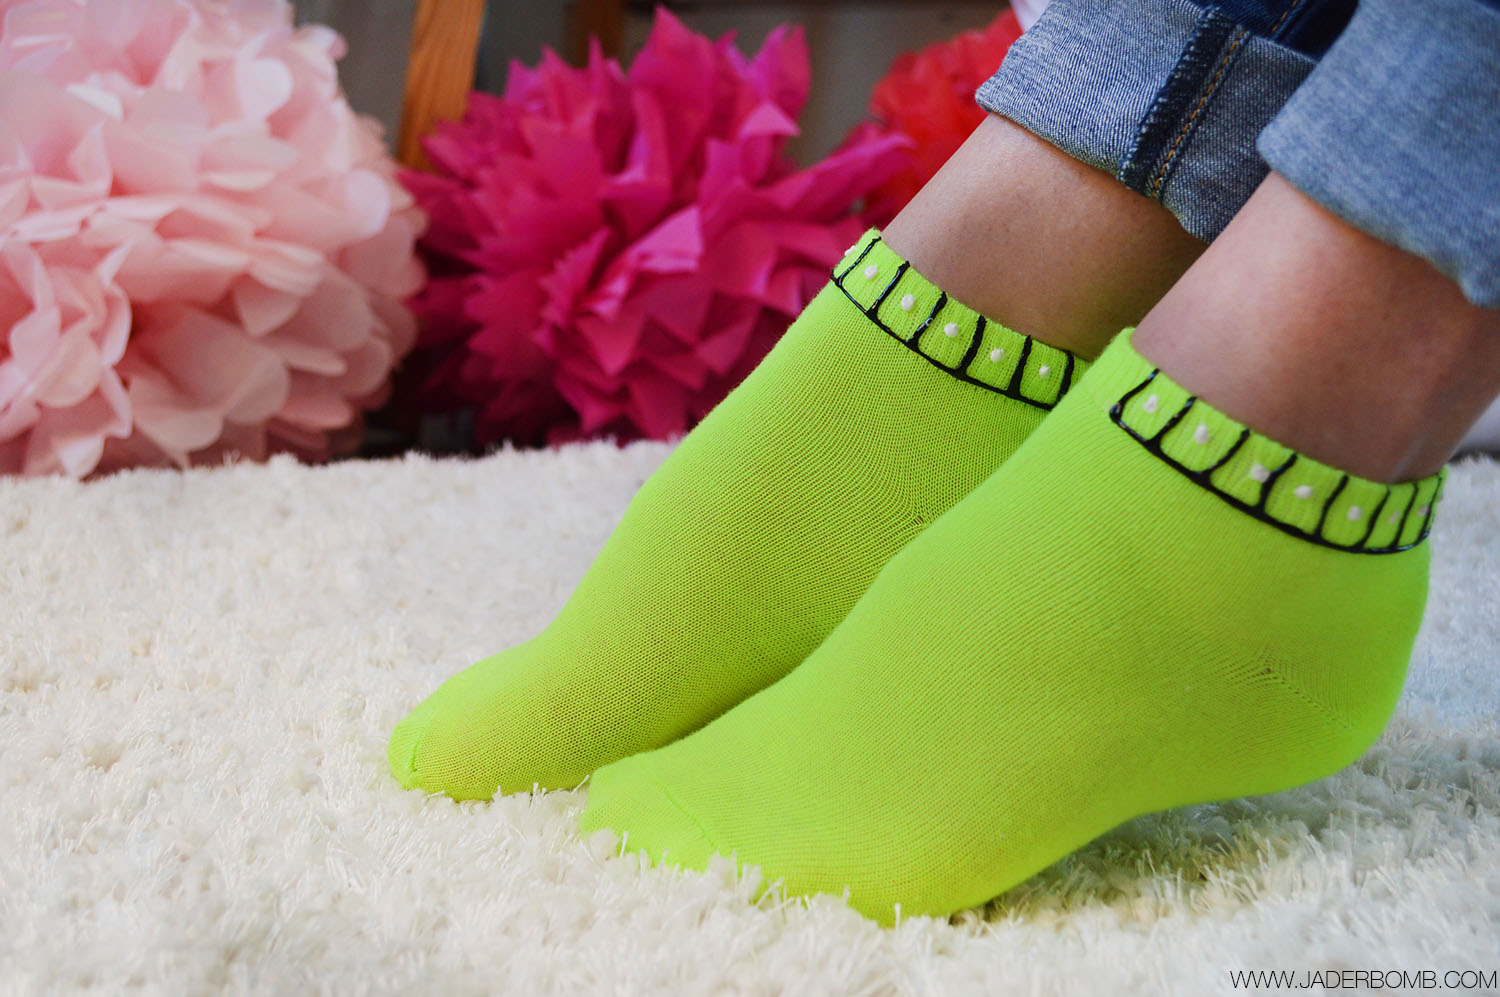 I kinda fell in love with each pair but I absolutely love the pink with black and white stripes. Leave a comment in the comment section telling me which pair is YOUR favorite.
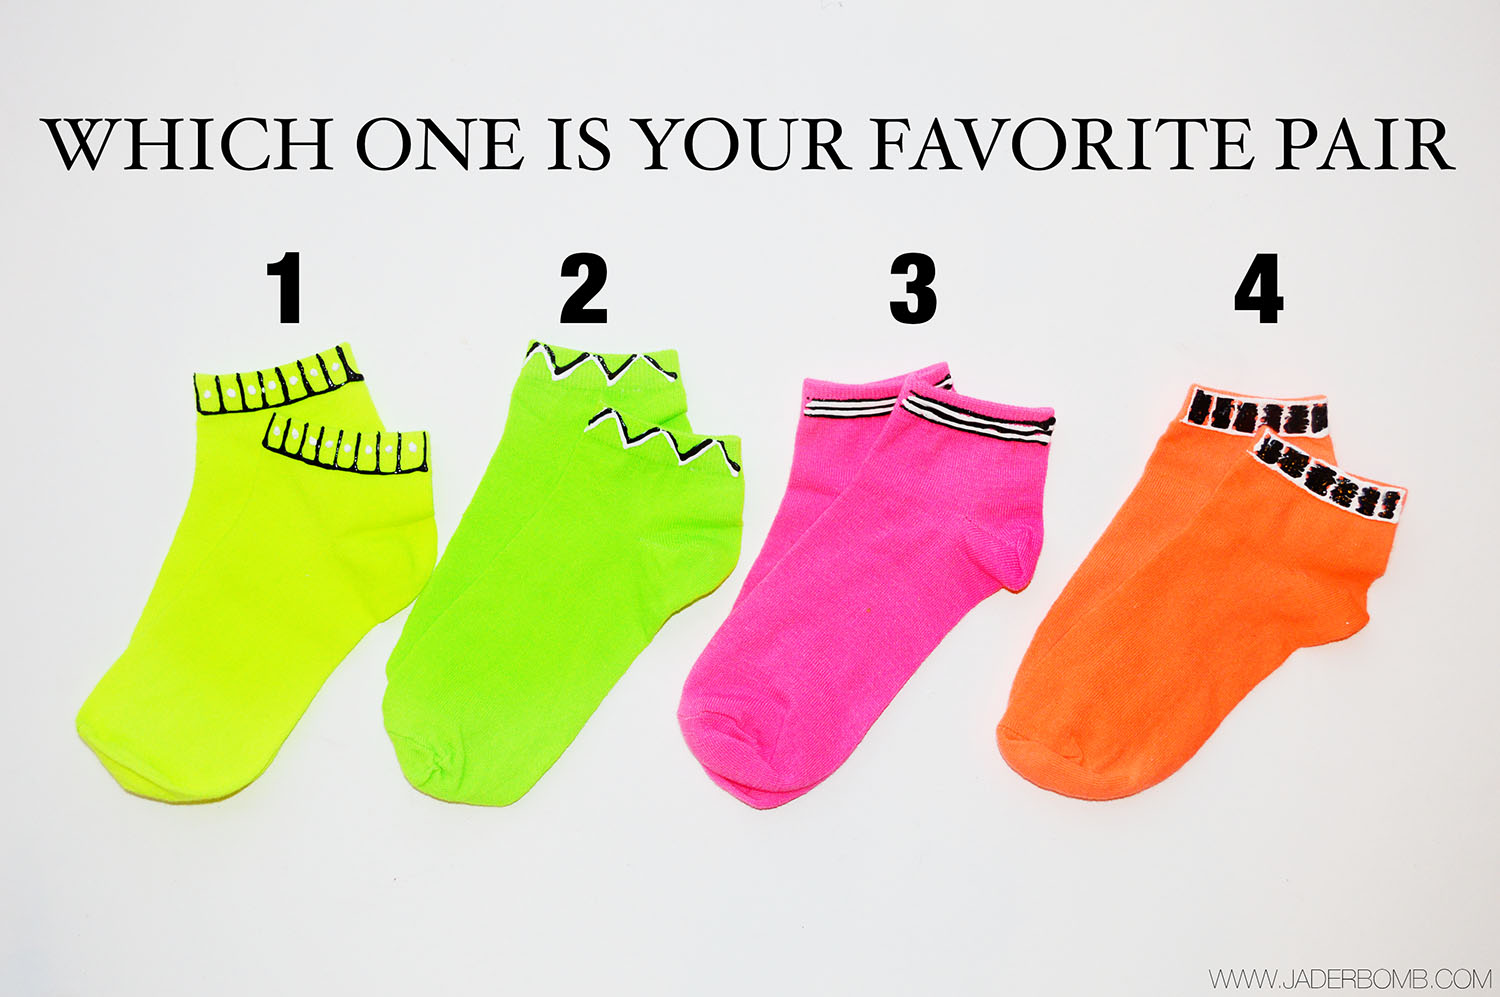
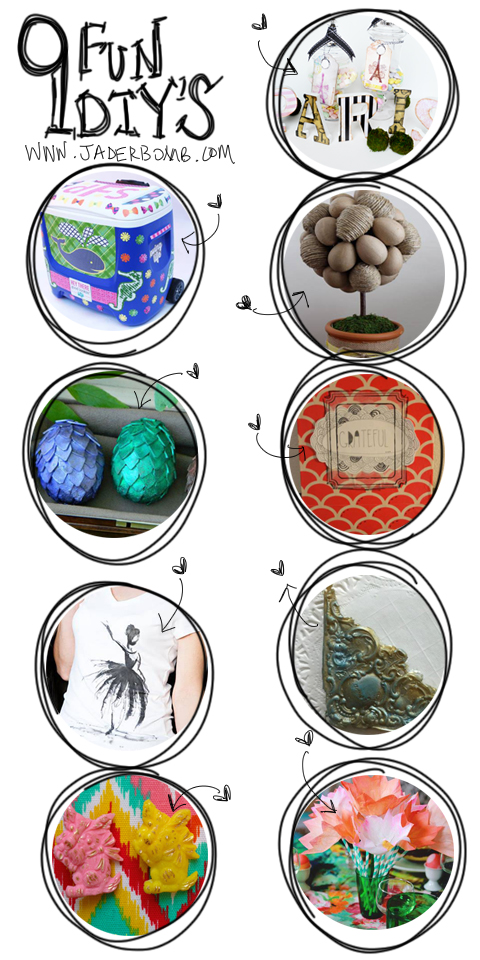
Since I love NEON so much I thought I would share with you this neon fashion roundup I did a while back. Yes I still love every single thing in the picture below even though this post was done a few years ago. 

- Check out I Love to Create’s new website! It’s cracking and you can check out my page on the blog dedicated to just MWAHHHHHHH HAHAHAHAHAH (yes I am saying this in my best austin powers voice)
- I got asked to continue my contract with Michaels to be a Michaels Maker!!! Can I get a Wuhhh Wuhhhhhhh (that would be Jay -Z baby)
I hope you enjoyed this post! See y’all tomorrow where I will be showing you my last post for this years Michaels Makers program! I will give you a hint… You will see lots of black, teal and yellow!
HUGE HUGS FROM MY COMPUTER TO YOURS! JADERBOMB


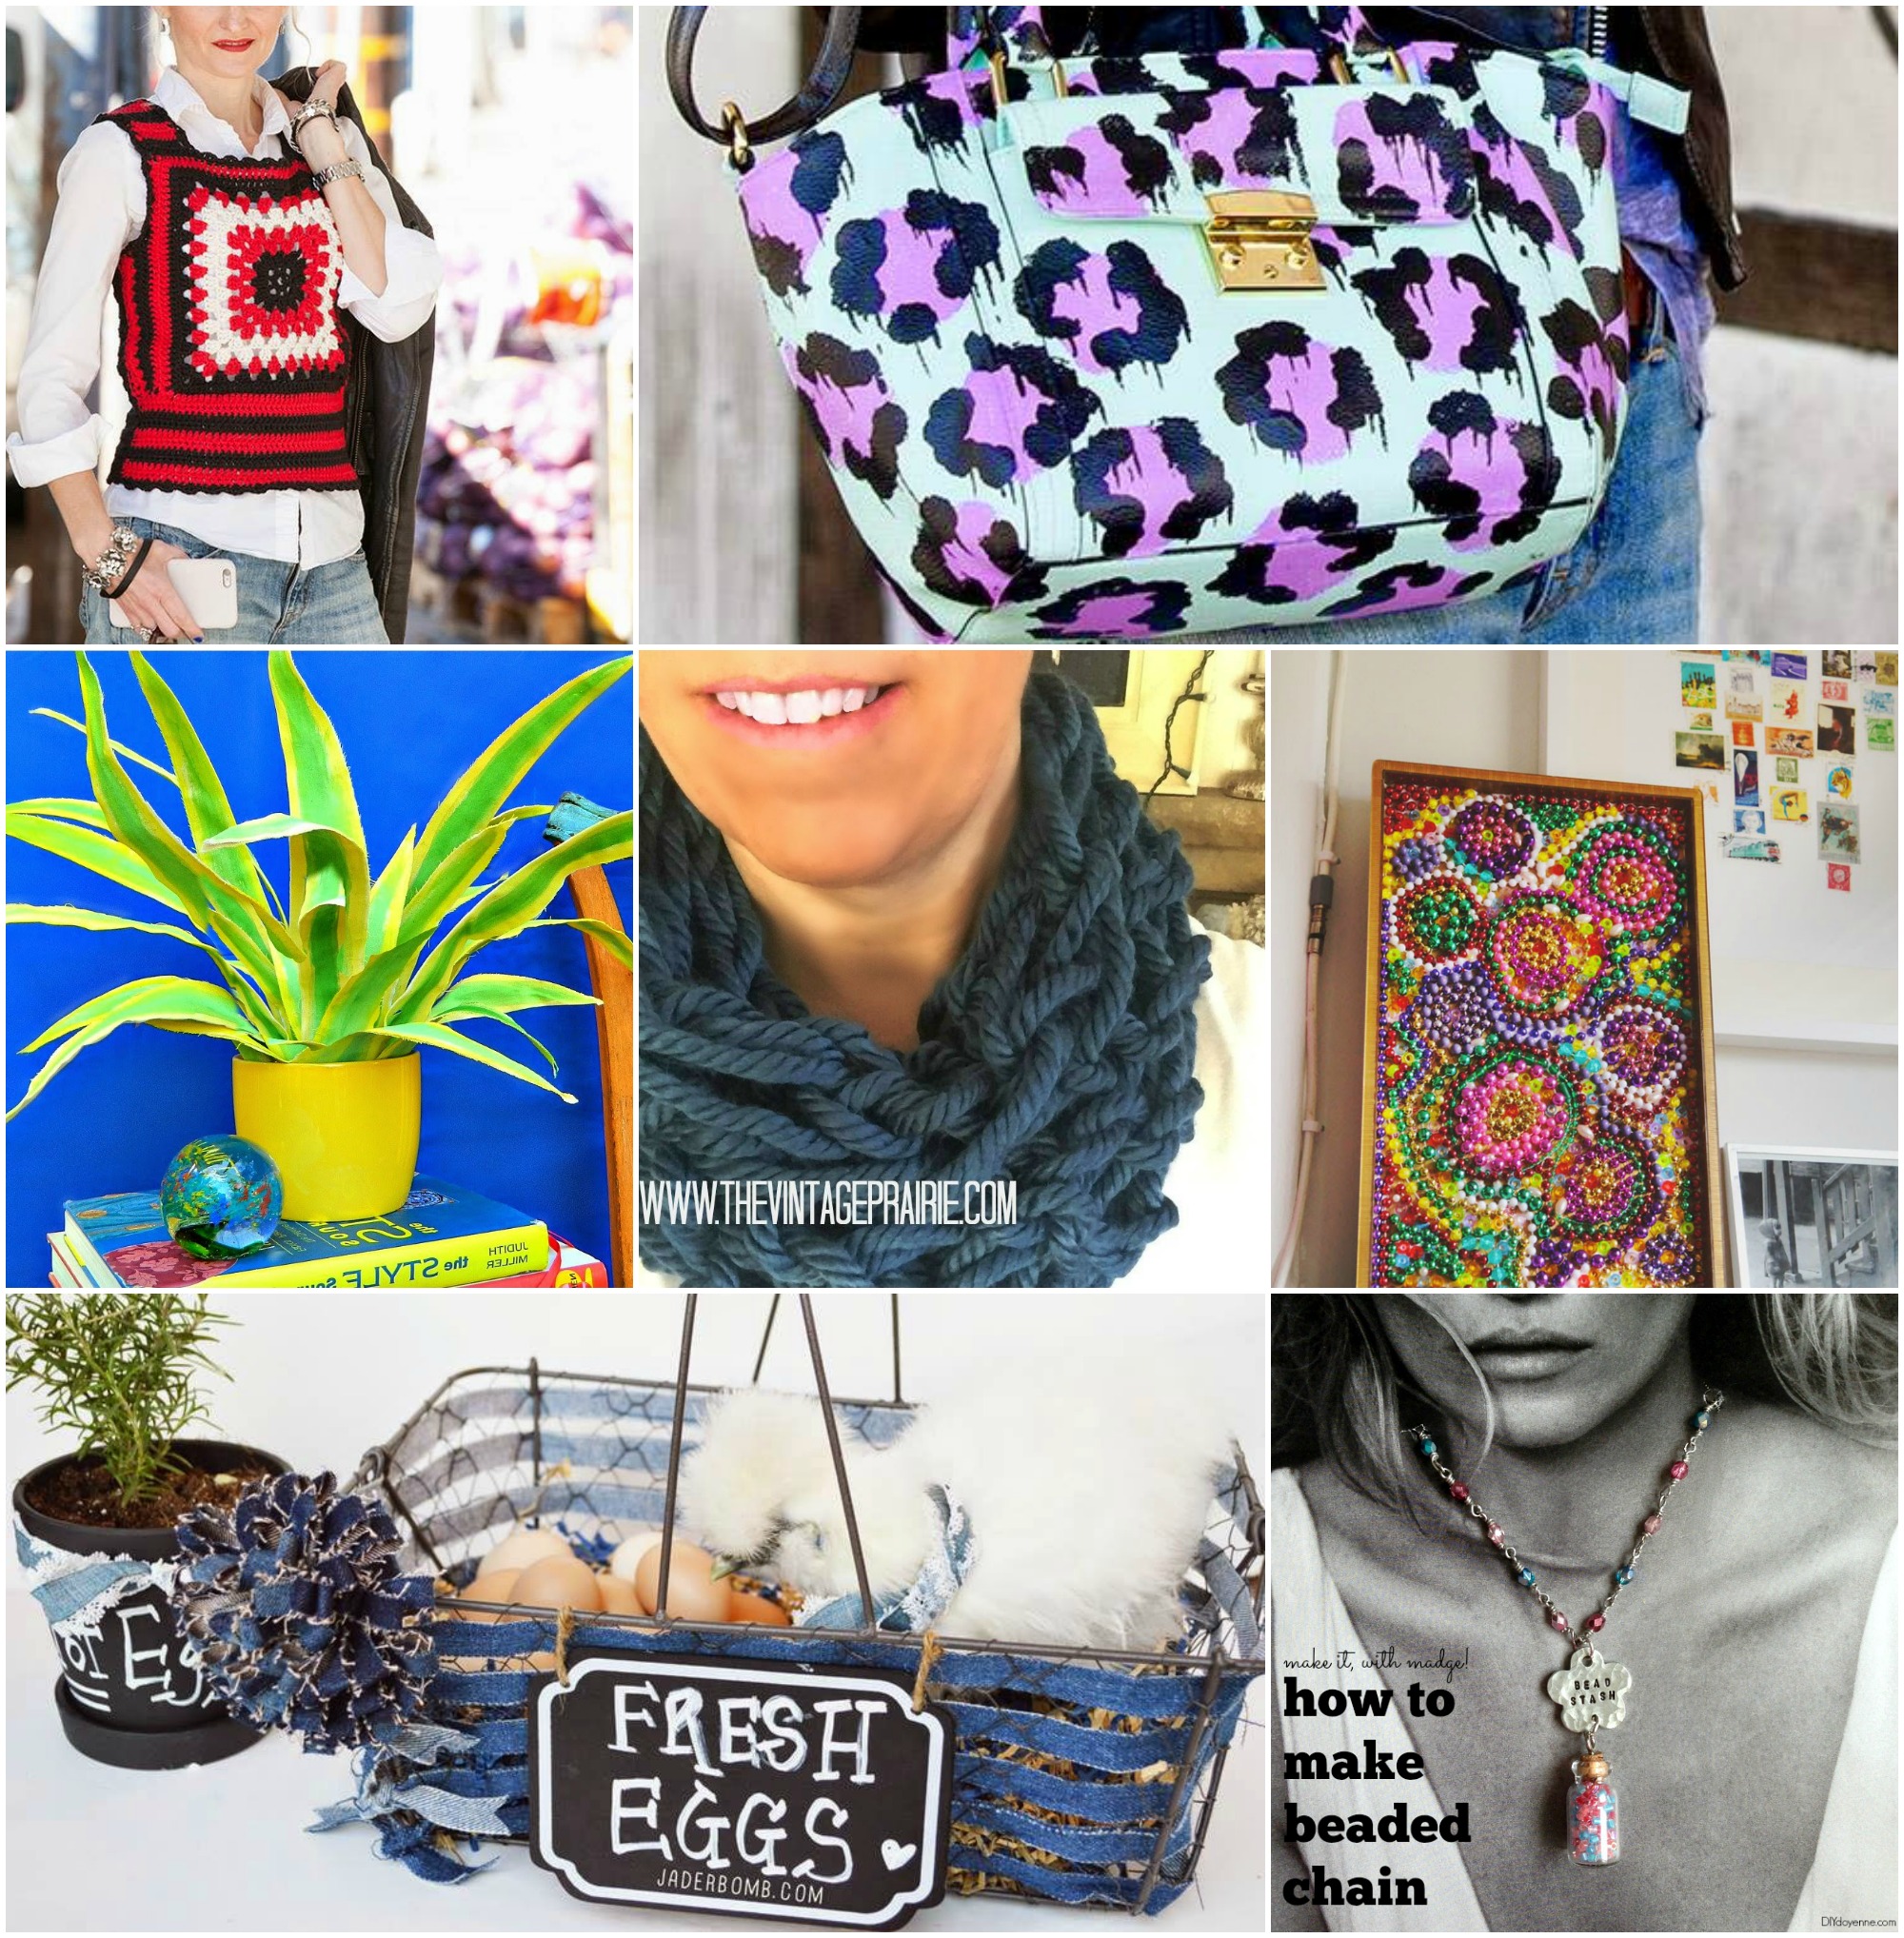
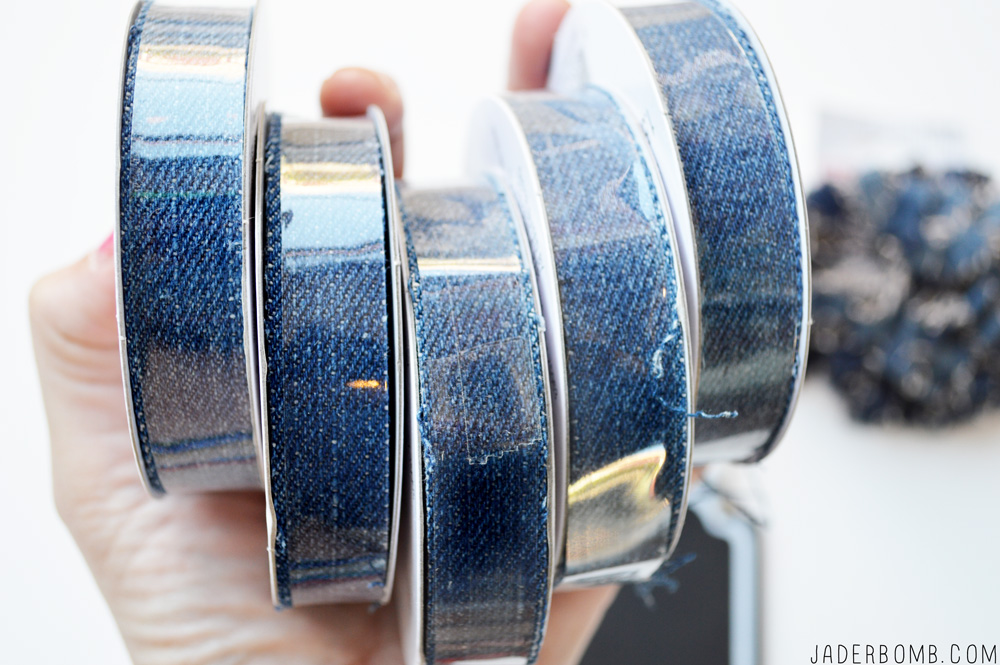
 Happy Monday! I am so excited to share some denim crafts with you today! As a Michael’s Maker I was challenged by my friends at Michael’s to do something magical with their new line of denim products – Make Market. If you have not seen this line yet, now is the time! I can remember the day’s I would beg my friends for their old jeans so I could rip and tear them up. I used to always use denim and let me tell you this makes things NICE!
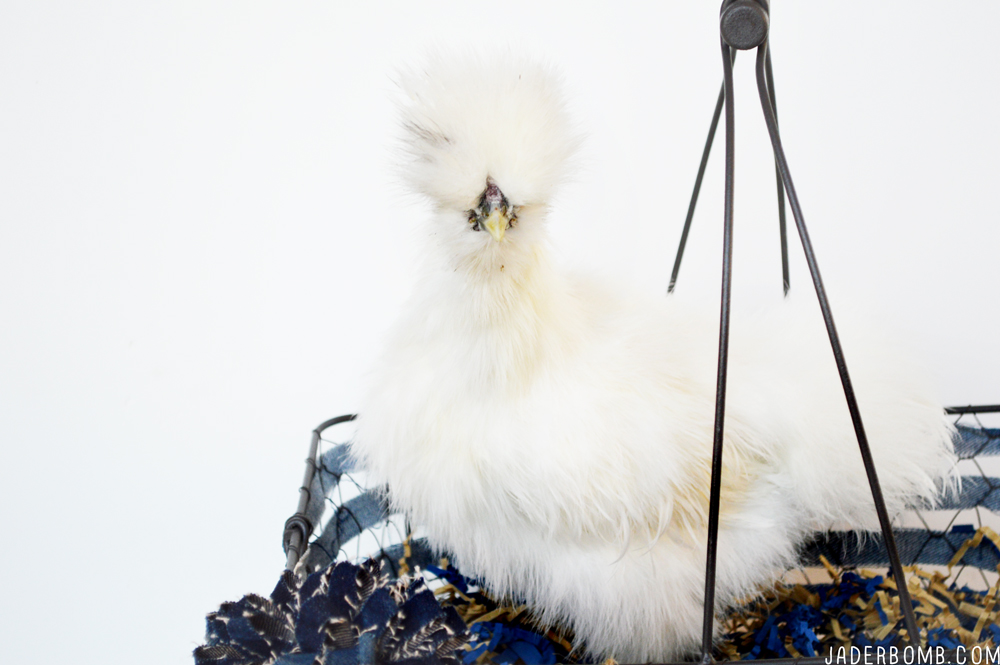
 & and chicken. If you don’t have a chicken or fresh eggs you can still make this basket and use it for decoration or fill it with goodies and give to someone as a gift.
  I simply love this ribbon. I would be a little happier if they made some with adhesive backing! I mean then I could stick them on practically everything!
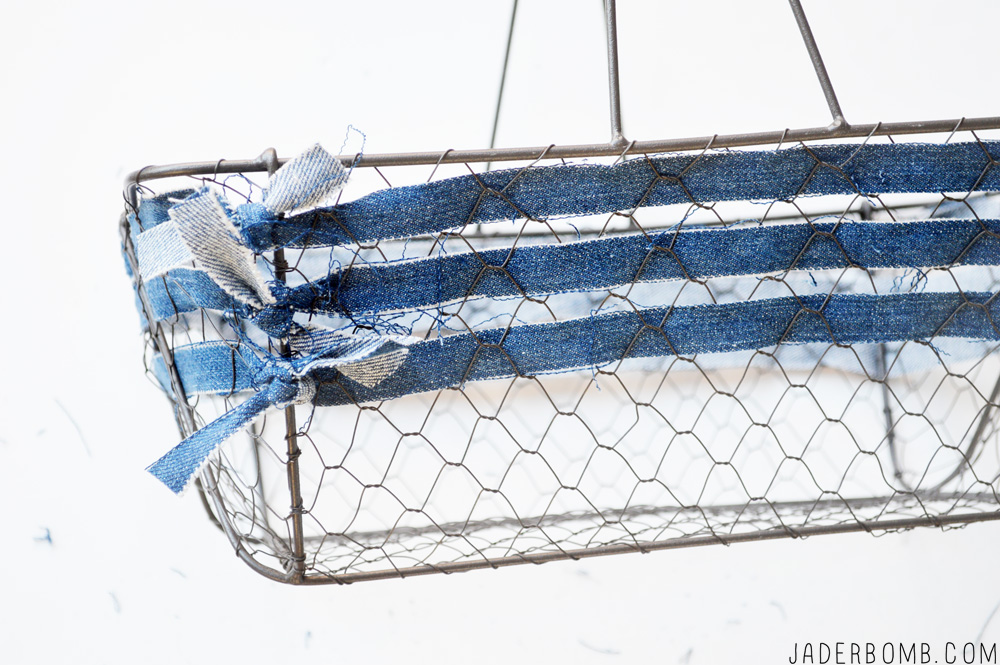
 Step 1: Open a pack of ribbon and start on a corner, weaving the ribbon over and under the openings. It’s truly simple but time consuming.
 Once you get your first stripe start with your next one. You will start seeing the stripes appear and then…you will start to fall in love!
 I bought this fluffy blue jean ribbon to add to the front of the basket. I love that it’s a clip. I can take it on and off and use it for other projects!
 To make the chalkboard -n- denim planter: purchase a chalkboard pot or paint one and grab some denim -n- lace ribbon. Cut a piece and tie around the top of pot! Grab your chalk marker and write your message on the pot!
 Voila! It’s all done. You now have your magical denim basket to gather your eggs or goodies in. You know… This would make a GREAT EASTER BASKET.