Tag Archives: jaderbomb

First thing I am wondering is if everyone survived “Cyber Monday”. I am pretty much done with Christmas shopping,well except for all of the “things” I will find from now until then. Which I hate to say could totally start to pile up. I have this thing where we always buy one nice gift but other little ones also. There is something about watching a person open a present. Do you experience that too?

The other day when I went “BLACK” friday shopping I instagramed this picture. The funniest part is when It went on facebook someone responded to it and said they knew where I was at. So, I was at Joann’s.  They had some major deals going on and they still do so click on the link I just put to shop online. I accidentally ran across these HUGE letters and I though “Wow I could totally decorate with these for Christmas and also keep them up all year after Christmas”. I bought them. The large one is normally $9.99 but was on sale for around $4.00. The small one normally is around $5.00 but for it for $2 something. I am telling you it’s a great deal. It’s always fun to think out side of the box when it comes to Christmas decor. With all of the decorations out all over it get’s overwhelming somethings and you can’t think. That’s why I am here!

Let’s get started.

INGREDIENTS: 

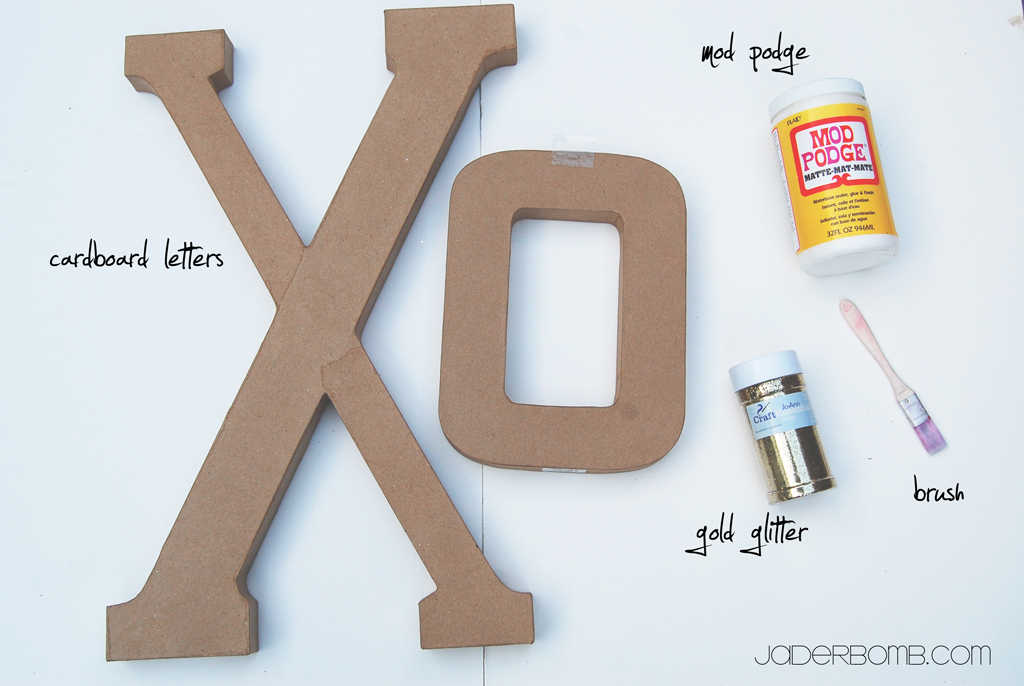
*Cardboard Letters
*Mod Podge
*Craft Brush
*Glitter
*Krylon Sealer 

You can purchase all of the item’s by clicking on the links under ingredients.

These are all of the things you will need to make your home all warm and cozy. Did I mention that you can totally buy letter’s of someone’s name, do this to them and give them as a Christmas present. Everyone loves something that has their name, initials or favorite sayings on them. At least in Louisiana they do!

HaHa

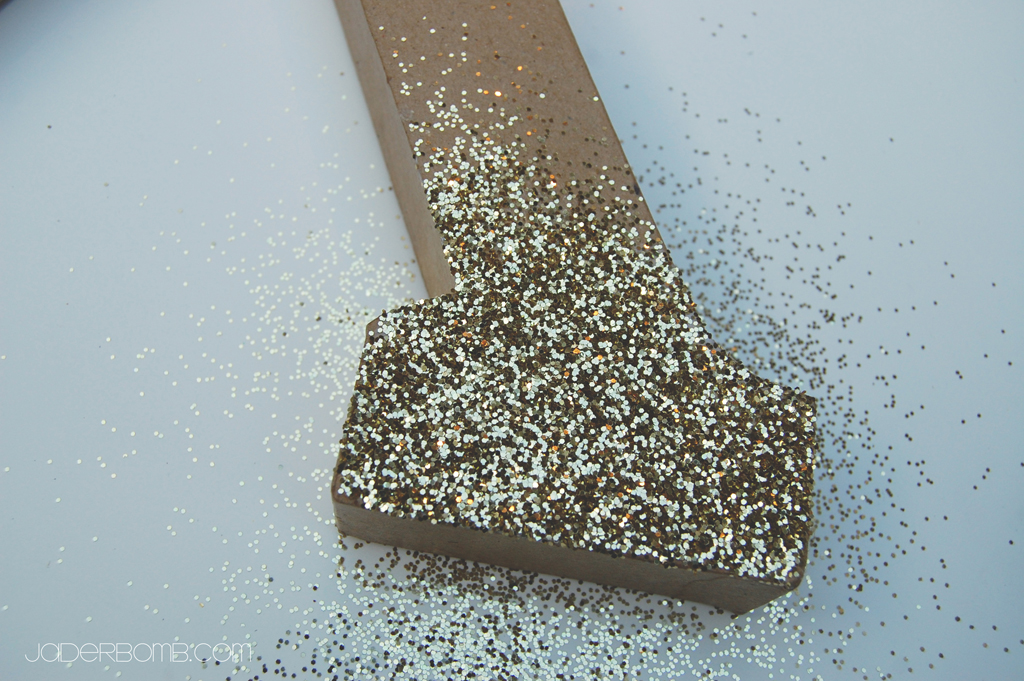
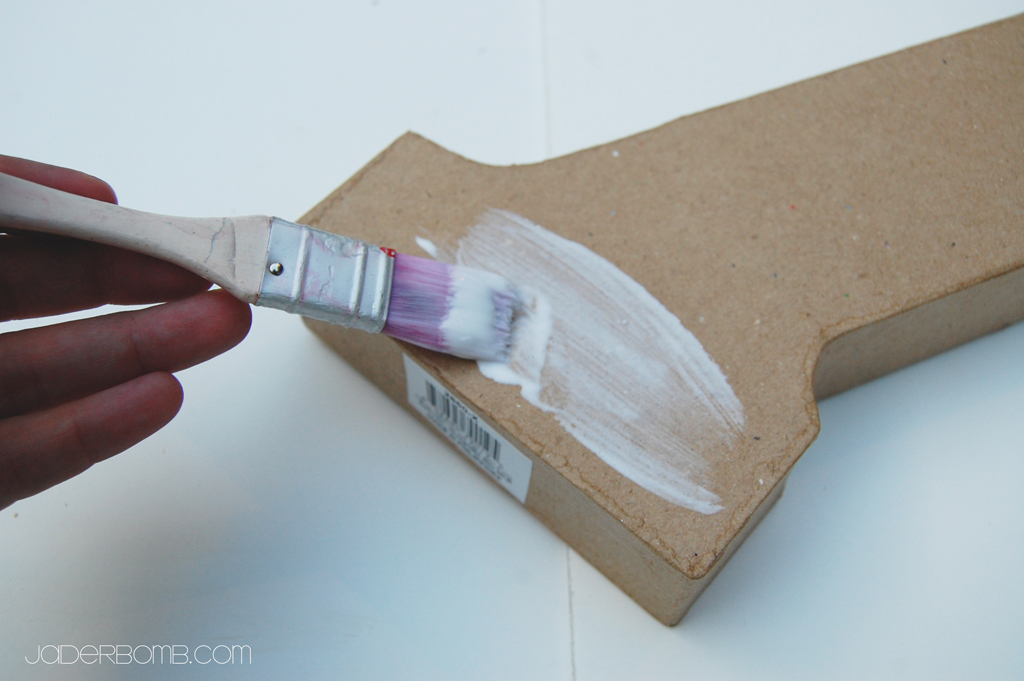
 The first thing you will do is coat the top of your letter with Mod Podge. Keep in mind this dries fairy quick so you don’t want to coat the entire letter then glitter. I do a little piece glitter, shake off glitter then move to a spot away from the one I just did. So it’s a little bit of going all over the letter but eventually it all will be coated with awesome glitter!

This is about the size I do at one time. I used the “original” glitter. I don’t know if there is an original but you know what I mean. Not all that new FINE, THIN glitter but the large gold flakes. These always bring me back to being a kid so I thought hey, let’s go there for Christmas. What I love most about this project is you can get so creative with it. You don’t have to use gold. You can use whatever color your home decor is or if you are giving it as a gift you can make it that person’s favorite color.

 When you are completely done you can coat the entire thing with Mod Podge or spray with this sealer. I used the sealer but they both work the same. You can get this from any craft store. 

 Make sure you spray this OUTSIDE!

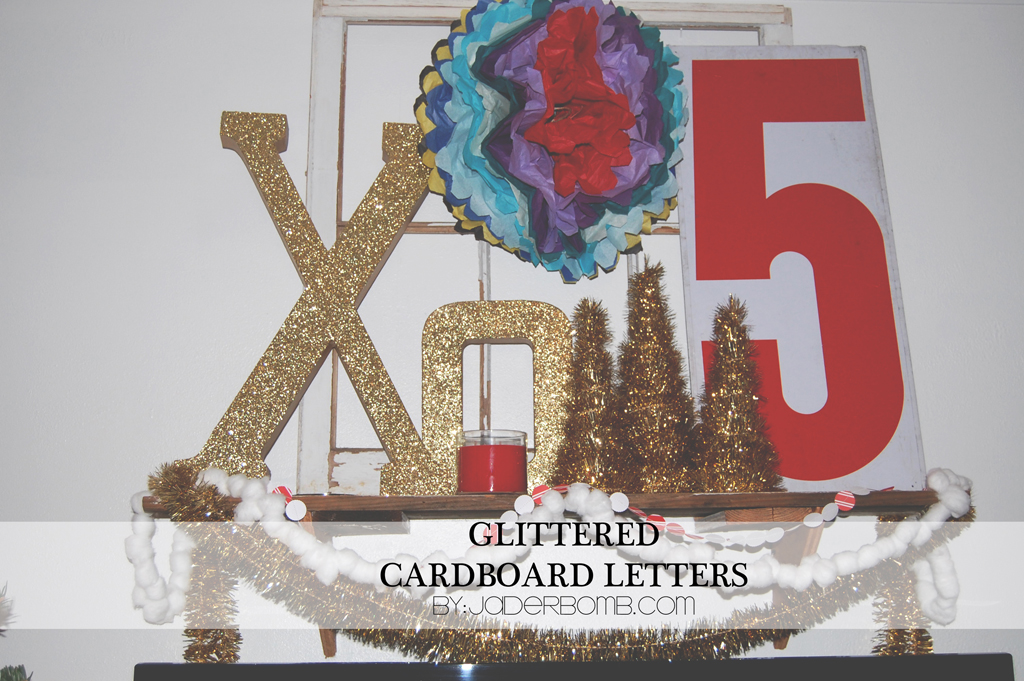
 This my Jaderbugs is what you will get.  A mantle full of awesomeness. If you didn’t see my tutorial on how I made these tinsel trees you can click HERE to see them. Yesterday I posted how to make a garland with Cotton Balls and it exploded on Pinterest. Click HERE to see how I did it!

I hope you enjoyed this tutorial, make sure to come back tomorrow to see some easy DIY Christmas decor.

Don’t forget to make it a DIY kinda day,

Facebook Twitter Gplus Pinterest YouTube E-mail RSS

Happy CYBER MONDAY Jaderbugs! I hope to have all of my tutorials up before the end of the week showing you all of the “cheap” ways I decorated our Christmas tree. I always believe when you make your own things they look so much better than store bought items. Don’t cha agree?

Today’s tutorial is so soft and fluffy. When I was in the store the other day I started looking at garlands and when I saw the prices on them I was like “ER MY GERD”… I couldn’t get over the prices of them. I figured out in that moment I would make my own. I wanted something to look like SNOW… Then it clicked.

COTTON BALLS

Are you excited yet? The great thing is you can have your kids help with this, just be careful of the needle. I think they make kid proof needles I am just not sure where they sell them. I mean. What is kid proof? Can they not stab themselves with it? Will it even go through clothes? See… I just don’t know ~

INGREDIENTS:

*cotton balls
*needle
*thread 

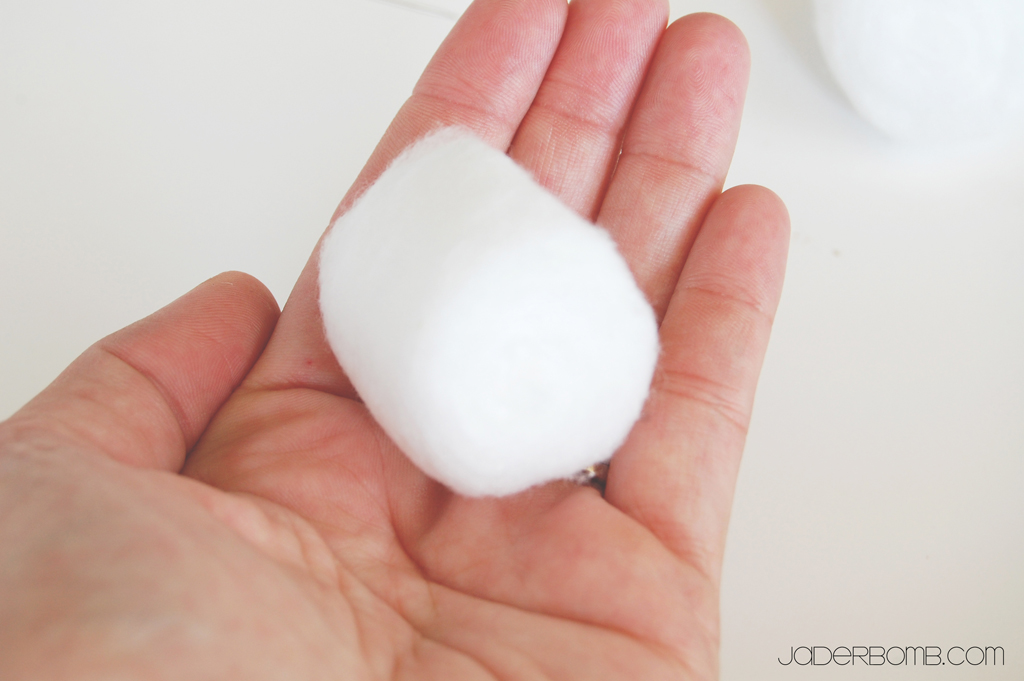
I purchased all of my ingredients at Walgreens. Make sure when you purchase your cotton balls that you get the JUMBO ones. I accidentally got the small ones and you can totally tell the difference. The big ones look so much better.

Start off with ONE large cotton ball.

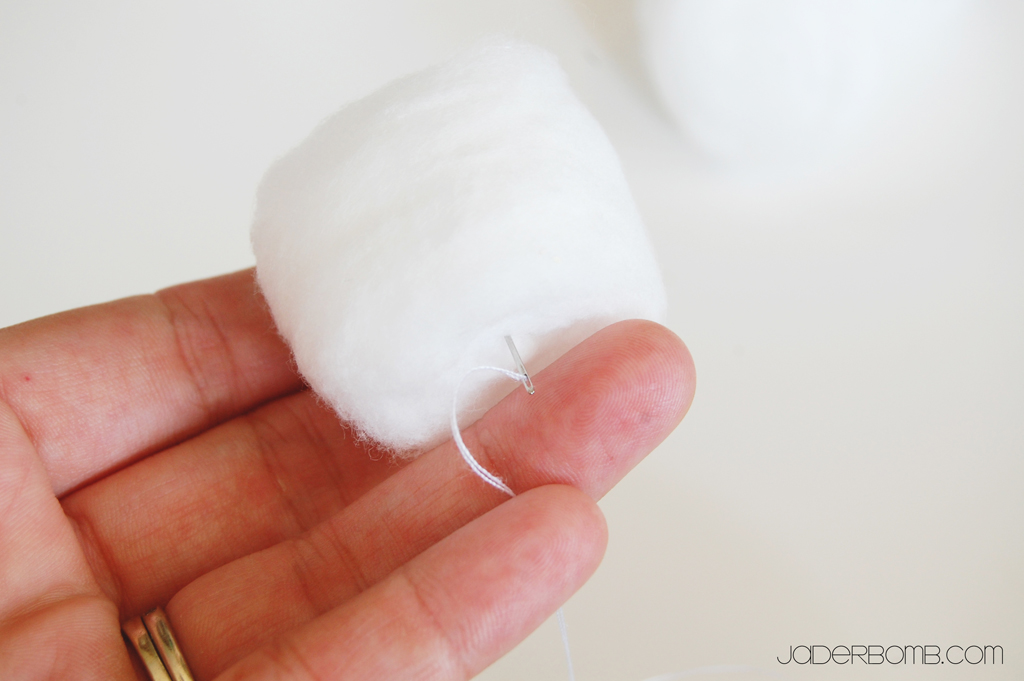
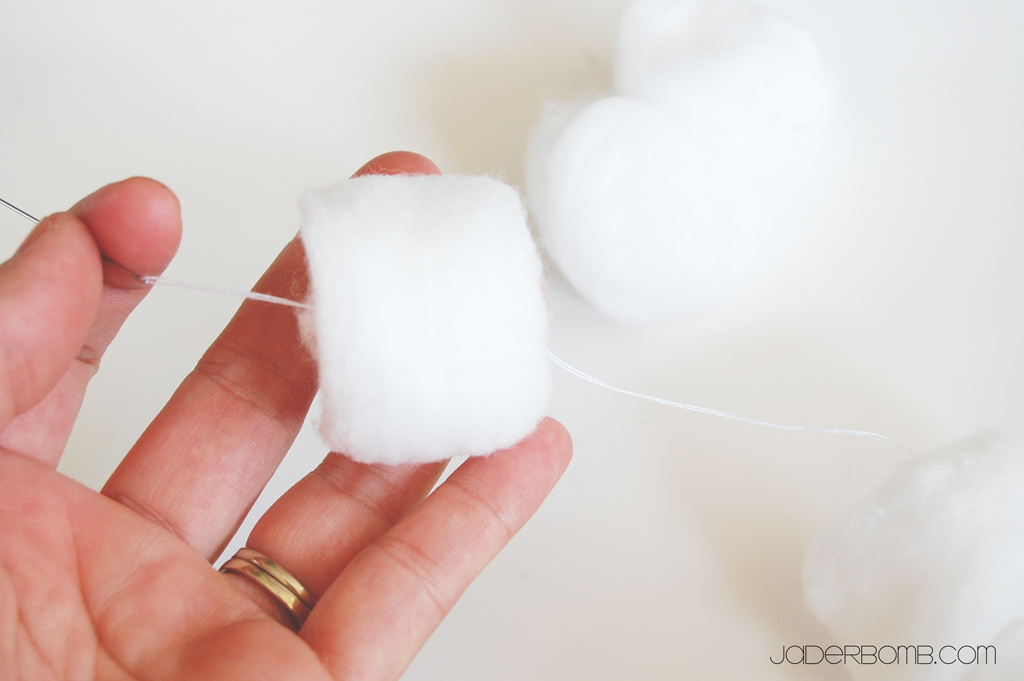
Carefully string your needle right through the center of the cotton ball.

Pull the string through and continue until you have enough for your tree. One piece of advice. I though I could have ONE long garland but because you are using thread it sorta breaks easily if there is too much weight. I know you are prolly thinking…cotton balls, weight. Trust me it breaks.

I like to do about 20-30 cotton balls and then stop. It just works better. I am sure if you used the small cotton balls you could make one big garland but these jumbo babies are huge! 

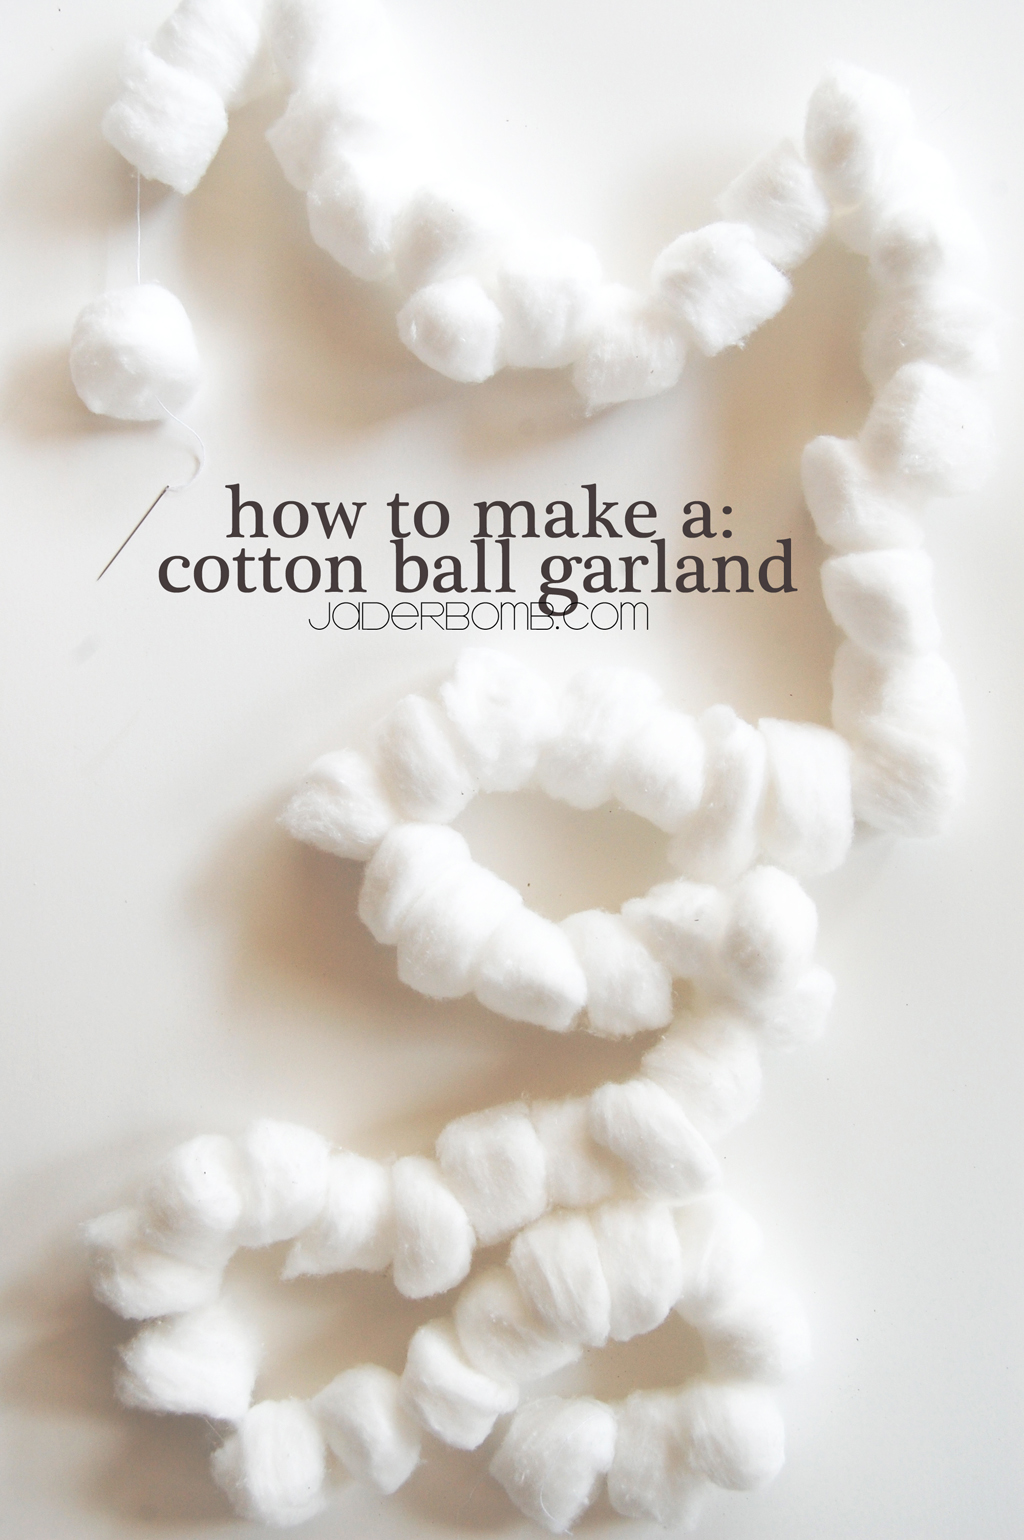
This is what you will get JADERBUGS! It’s so much fun right. I really like it because it’s super affordable and honestly. I think it looks better than a store bought garland.

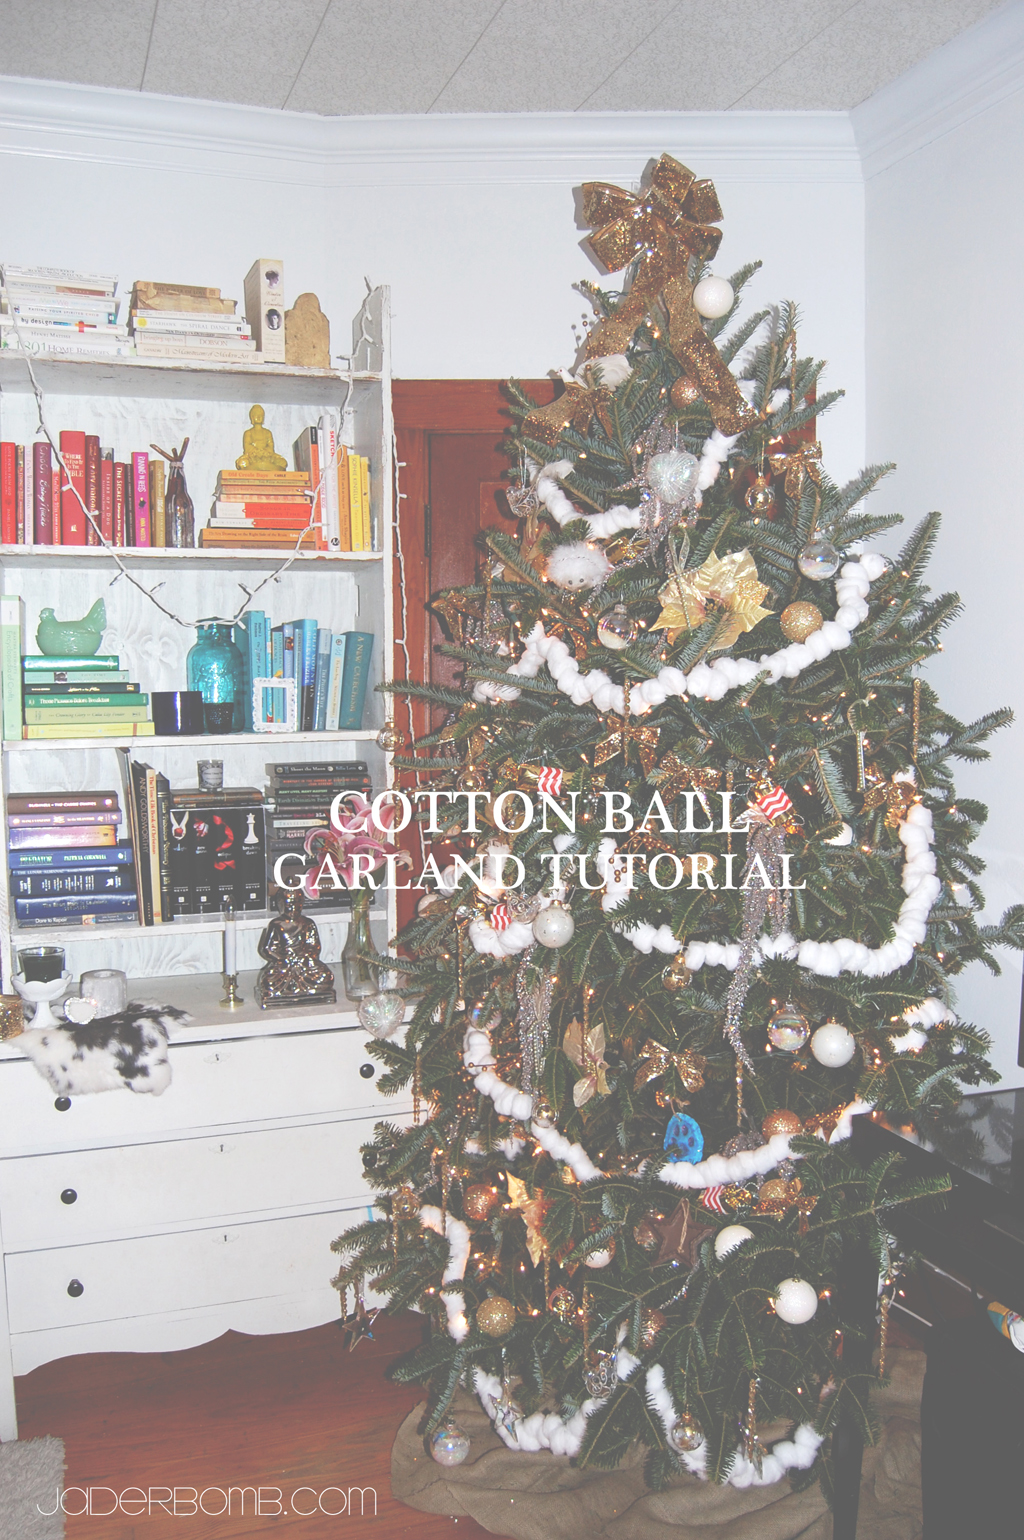
Here is ONE of our trees in the house. Tutorial coming soon on how we make this bookshelf so stay tuned!

If you decide to make one please post it on my Jaderbomb facebook page! I love showing the things you make.

Don’t forget to make it a DIY kinda day,
Facebook Twitter Gplus Pinterest YouTube E-mail RSS

Oh HAPPY day Jaderbugs! I have this post I am working on featuring 5-10 homemade crafts you can make to decorate your Christmas tree with. That will be coming up this week but I wanted to share a few of my favorite ones with you now. I love making things that fill those empty spots in my Christmas tree. You know? Those spots that are screaming for love and affection? This year is the FIRST year we ever got a real tree. It was so much fun going through the entire process. Lil one had fun picking it out. The one thing I didn’t realize is that you can’t BEND the branches like a fake tree.

HAHA.

Do you know what this means? HUGE spots that need love and affection. I tried sticking ornaments in those lonely spots but it was just not working. Our living room tree’s theme is GOLD, WHITE and a pop of red. I thought why not add a little bit’O candy in the tree and that is where this idea came from. I didn’t want to go out and buy candy ornaments because they are super duper expensive and I just don’t like throwing away money like that.  I hope you enjoy this craft because they turned out SO cute. Just think you can do silver ones and put bright fun paper around them. I love this because you can be creative and add paper on them that you personally love.

Stay tuned because I have THREE trees in the house this year so you will be seeing some fun ways to decorate a tree. Did I mention each room has a different theme? Eh…. I know. I have OCD.
Let’s get started:

INGREDIENTS:

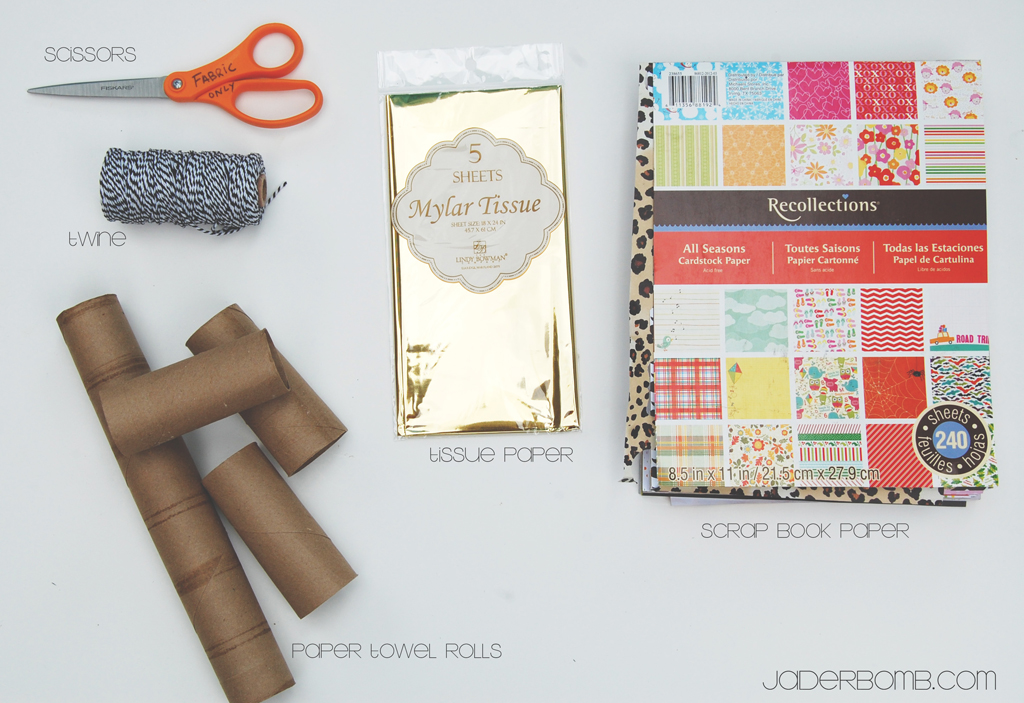
*Scissors
*Twine
*Mylar Tissue (purchased from Walgreens)
*Scrapbook paper
*Paper towel roll

You can click on any of the ingredient links to purchase these items in ONE spot.

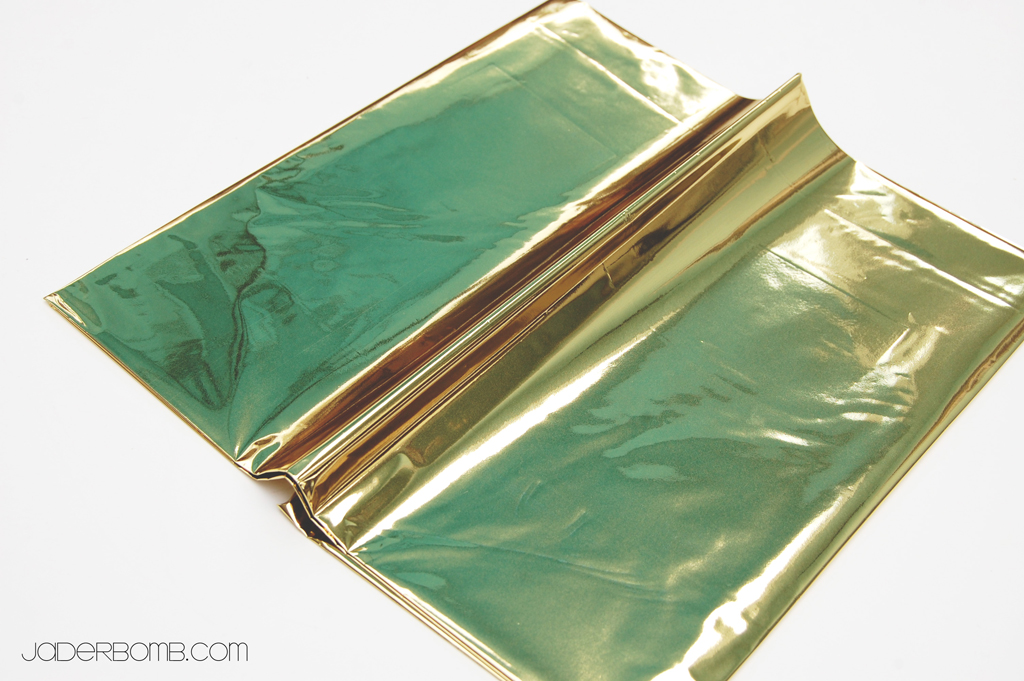
 The first thing I want to tell you is this Mylar Paper is GOLD and SILVER. This is what it looks like right from the package. You can see that there will be a crease from where it was folded.

If you flip the paper over it will be silver. I didn’t know this until I bought it. I think this is great because you can choose this side if you don’t want GOLD.

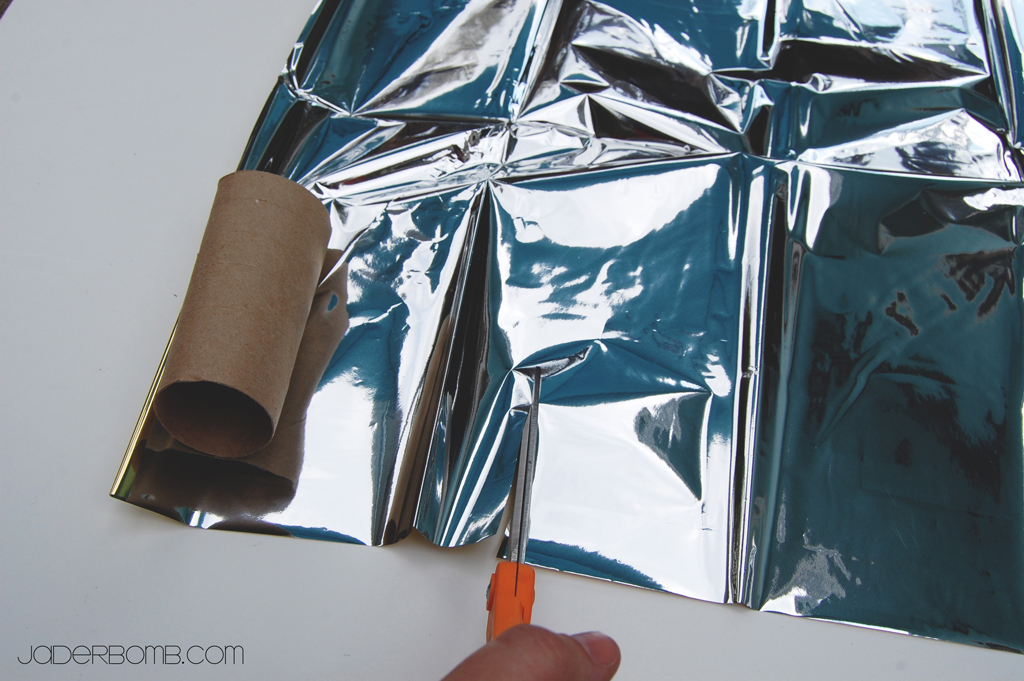
The first thing I did was lay my cardboard roll on the edge of tissue, roll it over so see where I need to cut.  The goal is to have no cardboard showing.

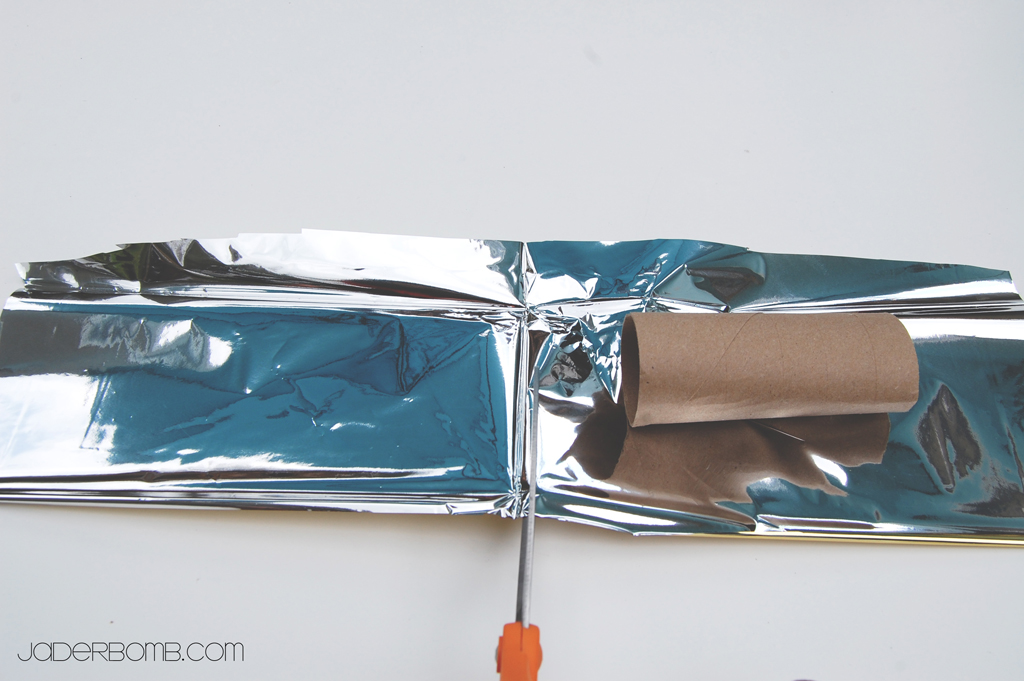
Once you cut it it will look like the picture below. It will be too “long” so you will need to cut the strip in half. I used the crease that was already showing as a guideline.

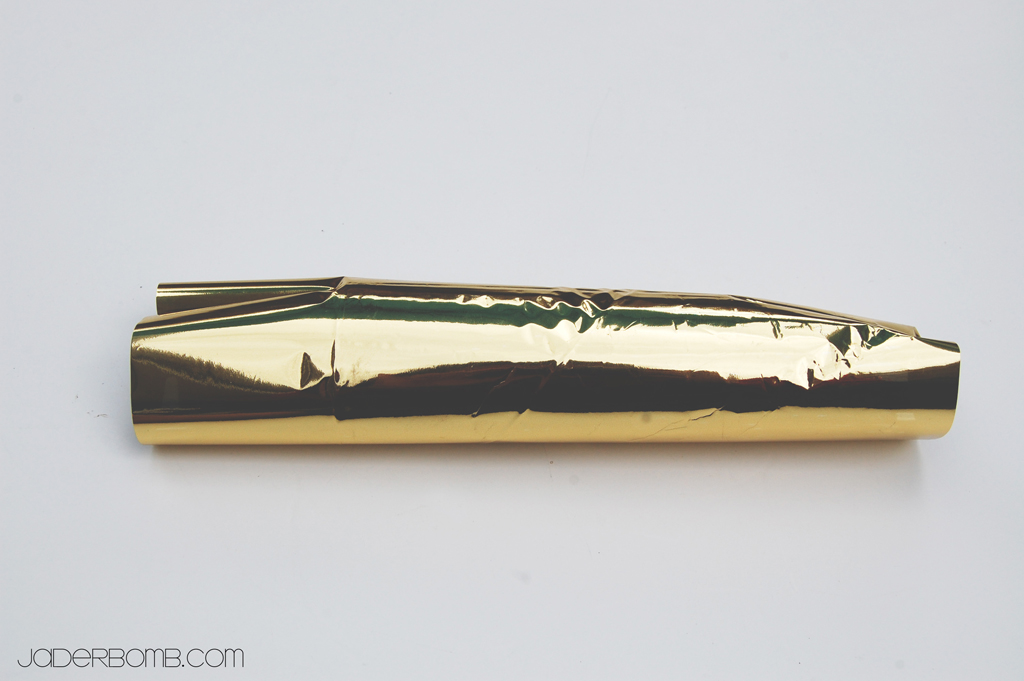
Once you cut it wrap your roll with the tissue paper and secure with tape. I like to use double stick tape so I can “hide” the tape from the human eye. It actually just looks a little better this way.

Get a piece of twine and tie it around the ends of the roll. This will give us that CANDY look. Are they not so cute? I planned on leaving them just like this but I really wanted them to pop.

Soooo. I added red and white chevron paper around them.

This is what they will look like once you are done! I hope you enjoyed this tutorial… Make sure and post yours on my facebook page so I can share with my readers. I love seeing your take on one of my crafts.

Don’t forget to make it a DIY kinda day,
Facebook Twitter Gplus Pinterest YouTube E-mail RSS

Who’s ready to attend the best ONLINE party in the entire world! Well WELCOME because you are in the right spot!
I am so excited to be a part of this fun linky party.

Wanna know why?
Well for once we will not be linking up our creations but we will link up our social media outlets.

Why is this good?
Because it’s a great way to let others know who you are , plus YOU get to meet a ton of new people.

Let me tell you a little more about Social Saturday.

The LAST Saturday of EVERY month we will each host a different Social party.

The hostesses of this party will rotate social sites each month so that means you will get to meat TONS and TONS of great, amazing, creative, nice, unique and NEW people. Are you getting all of this, because it’s gonna be TONS of fun.

The parties will start at 8am EST and close at 11:59 PST

Don’t forget to link up at the bottom of this post! After all it’s the most important thing to do today.

Wanna meet the team that put’s everything together?

I have the honor of working with a great group of ladies on the Saturday Social party.

The 4 hostesses will be:

Domestically Speaking
(Hosting Hometalk)

Jader Bomb
(Hosting the Facebook Party)

Setting For Four
(Hosting Twitter Party)

Its So Very Cheri
(Hosting Pinterest Party)

Once you have entered my party, head over to the other parties and get SOCIAL.

This month I will be hosting the FACEBOOK party!

Facebook  is a real big deal in everyones life.  Everyone loves Facebook because it’s an easy way to keep track of the pages we like, friends & family, and everything else.

The one thing I love about Facebook is how fast things spread on it.

I am always sharing tons of great projects and featuring things other’s make so come on over and check out my Facebook page!


I hope you enjoyed this tutorial, see ya in the next post! Make sure you come visit me in these places too! (look below this line, hehe)

Facebook Twitter Gplus Pinterest YouTube E-mailRSS


When I look back on this last year I become very emotional. I am so grateful for the opportunities that have come my way. I am so grateful for my family that supports me and this career that just happened. I am so grateful for so many things but mostly YOU. You are the reason I get on the computer each and every day.  I get so much joy knowing that I might make ONE person’s day amazing. That is all I ever wanted.

I hope you and your family had a MEMORABLE day.  I am going decorate the TWO trees in our house, (yes, eeek two) so make sure and come back tomorrow to see some some CHRISTMAS CRAFTS!

Sending you a BIG ole belly full of turkey hug,

Tell your family I said hi and love um!

Quote of the day:
“The greatest happiness you can have is knowing that you do not necessarily require happiness.” -William Saroyan

Happy SUNDAY Jaderbugs! I know everyone is already shopping for Christmas and I figured I would post some really good items that are great to give a loved one. I personally feel so much better giving gifts that I know are biodegradable, natural, therapeutic & made with minimal dyes.

It just feels better ya know? I put some items that will appeal to anyone so enjoy! P.S. Below the pictures are links that will take you directly to the website of the item. Make sure you share this link on your facebook, twitter or pinterest because everyone should shop “GREEN”.

Happy Holidays…

GO GREEN for CHRISTMAS