Monthly Archives: August 2012

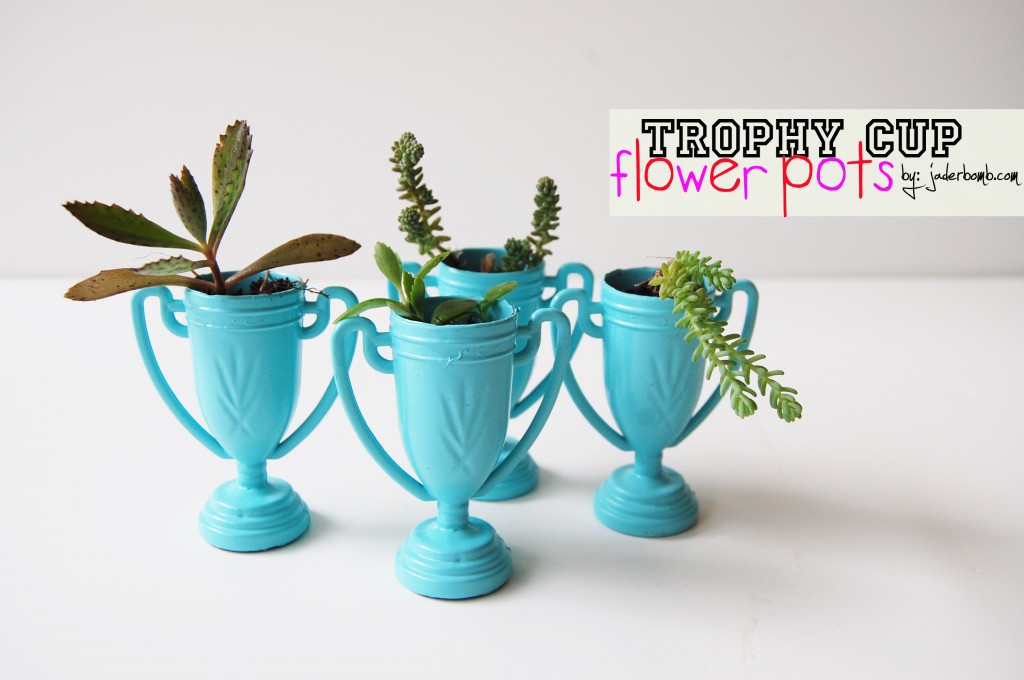
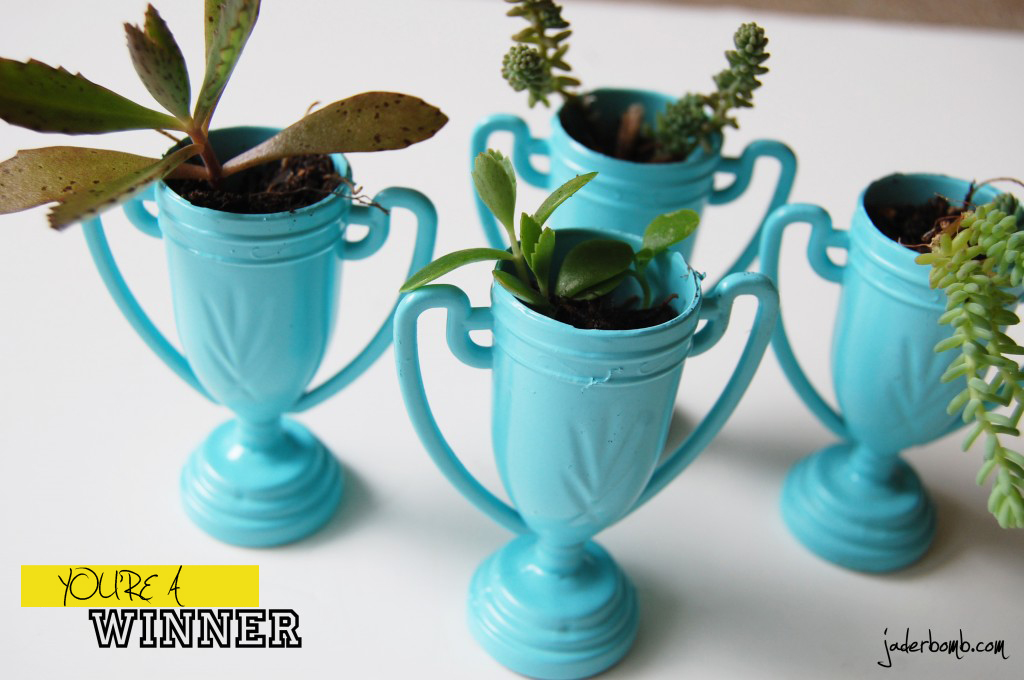
I know exactly what you are thinking right now. You want your own set of trophies. Right? I didn’t realize how much I needed these babies in my life until I saw them all standing next to each other. The other day I went to the Dollar Store and my eyes saw these beauties. Well, they were not this “beautiful” on the shelf (they were actually kinda ugly) but my brain knew exactly what they WERE going to look like.  There are so many days I wish my brain would chill out for about 19 minutes and then there are days when I am saying, “thank you brain, thank you“. I wonder if my brain knows that I am proud of it?

Quote of the day: "If fate means you to lose, give um a good fight anyhow." -William McFee, British writer
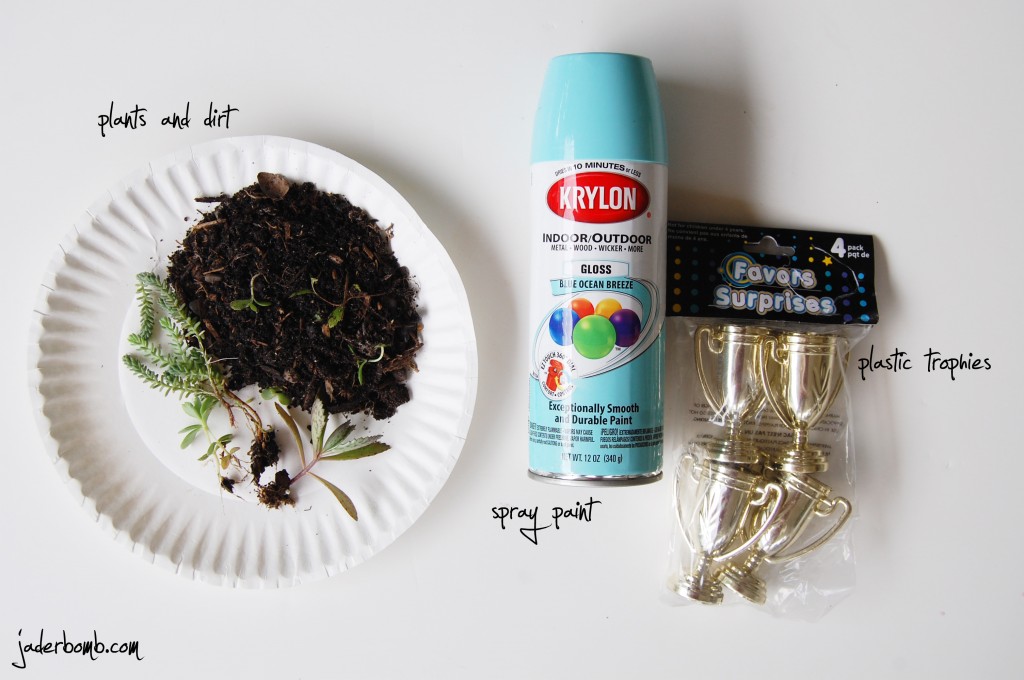
 INGREDIENTS:

I like to use wax plants for a project like this because they are very easy to manage. I get my wax plants from Wal-Mart but I am sure any nursery will have them.  Another option is getting an air plant. Seriously. ANYONE can grow this. I mean, if you kill it then maybe you should inbox me.. hahah

You can also get all of the ingredients I used below, just click on the link and you can order everything from one spot: Air Plants  Potting Mix Krylon Spray Paint (use whatever color you want) I used BLUE OCEAN BREEZE GLOSS  Plastic Trophies (these are a little different but they will work the same way)

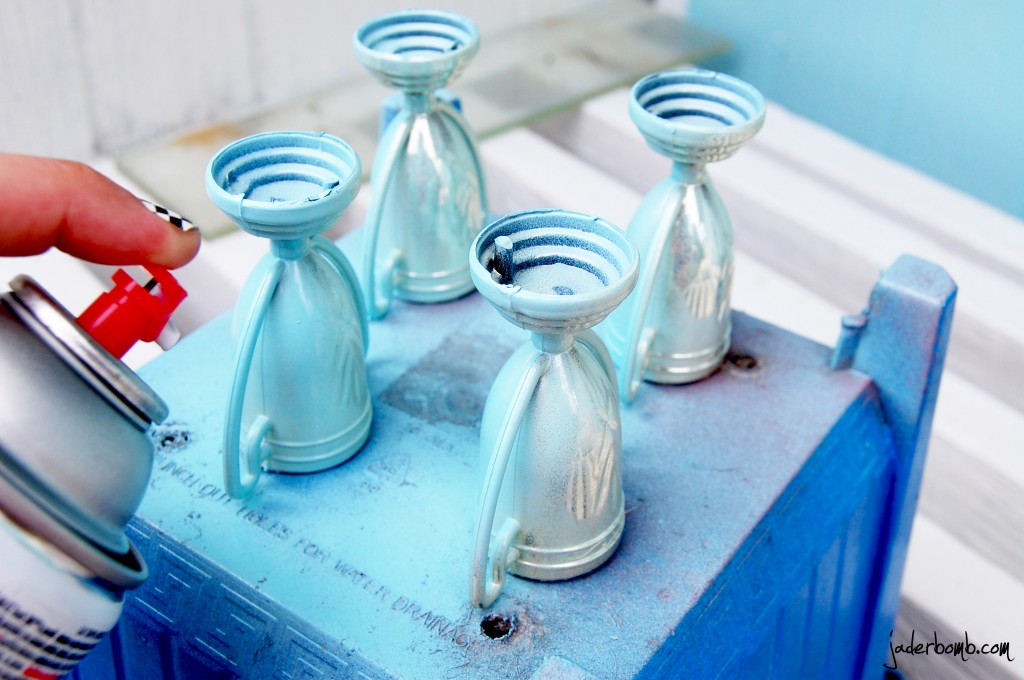
 Go outside where you have room to breathe and spray away. Make sure you don’t spray next to people, vehicles, or your house. The overspray can really mess up some stuff. (yes, I truly experienced this many times)

I flipped over an old plastic pot that I had and sprayed these suckers. It’s easy using something like a pot because I was able to turn it around and spray other parts of the trophies.

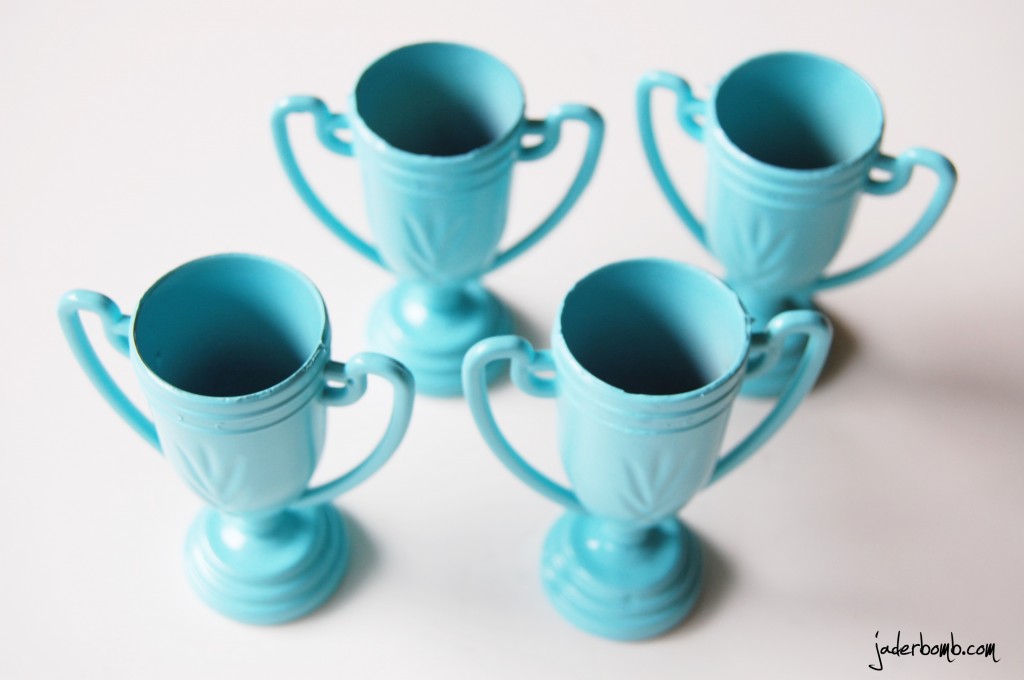
This is what they will look like once you spray them and they are FULLY coated. make sure when you flip them back to the right side that you spray from the top. You want the inside to look coated as much as possible.  Yay, we are almost done!

 Halliluuuyerrrr we made it to the finish line. Boy, I’m pooped (hehe)


At least I won first place in the finger pushing contest! I think these are so precious and you can use them for so many things like: Weddings Birthdays Dinner parties A gift Graduation decor

You get it right? They are just amazing. Did you ever get a trophy? What was it for?

See you in the next post Jaderbugs


Howdy Hoo Jaderbugs! It’s one of those days. I am sitting here not sure “what” to do when I have “all” of the time in the world. Well not really all of the time in the world but let’s face it…when there is a major Hurricane going on and you can’t leave your house for a couple of days it kinda puts you in a cray cray mood. I apologize if at ANY point I don’t make any sense.  I really have not made anything today so I figured it would be a great time to go back and take a look at some of my  FALL crafts that I did last year. I always enjoy doing this because sometimes I forget what I have done. It’s funny because I have changed so much from ONE year ago. From my techniques, pictures, editing, settings and tons of other things. I remember when I did ALL of these crafts. It was in the MIDDLE of my 100 days of Martha countdown. Maybe that is why I didn’t have the “best” pictures like I do now. I was stuck in my studio crafting like a FOOL late at night with NO natural light. But all together you can still get the idea of the craft! I hope you have fun with these and get ton’s of inspiration. Stay tuned later on for a Halloween throwback post! That one will be FUN.
BOTTOM-LINE.
On the bright side. We still have electricity. That my dear is a HUGE +.

Let’s all take a trip down FALL lane.

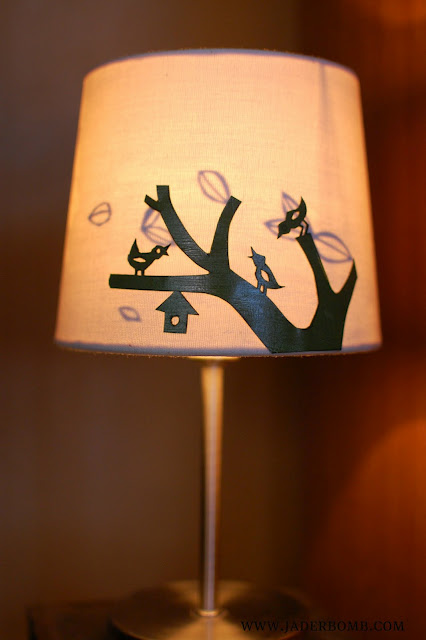
I had so much fun doing this craft. I think it’s perfect for the fall holidays. It has a soft glow to it when the light is on and the pretty green makes it feel “fall-ish”.
Click HERE to see the full tutorial.

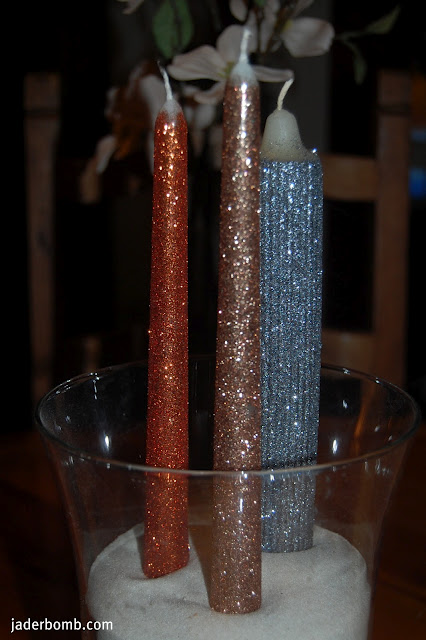
One thing that I like to share on my blog is ways to SAVE moolah! Yeah, you could absolutely go out and buy tons of glittered candles, or you can make your own for half of the price. On the bright side. You can pick out your own glitter colors.

Click HERE to see the full tutorial.

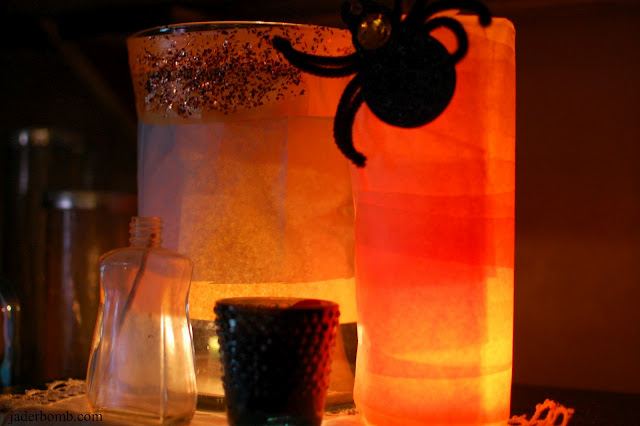
I know this looks a little “Halloween-ish” but if you visually take off the spider we can throw it in the FALL category. You can use any color tissue paper and it’s actually great for any occasion.

Click HERE to see the full tutorial.

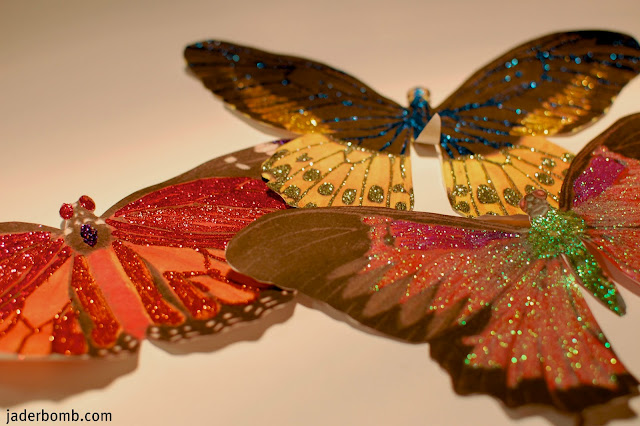
I remember doing these and thinking to myself how amazing they were. When I think of Fall I think of butterflies. I imagine them zooming all around the pretty fall flowers. This craft is a hit for adults and children. You can dress up a wall with these, put them on a gift box, hang them from fishing string or just glue them onto a picture frame.

 Click HERE to see the full tutorial.

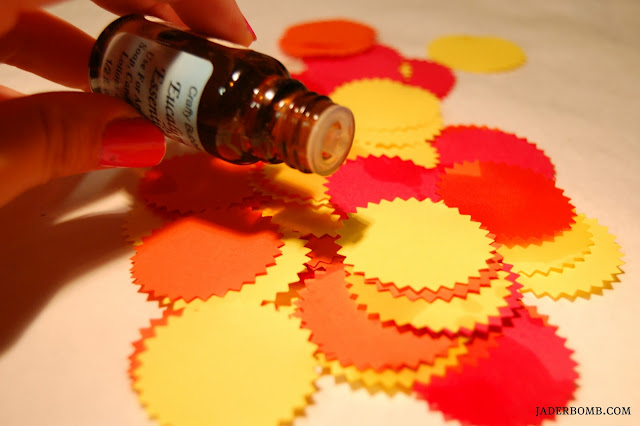
Yes! You too can make homemade confetti using your Martha Stewart punches. I think this year I will make a pile of different punches. You could even put these in little bags for your sock drawer, hang them in your car or give them as a gift! Anyone will love these.

Click HERE for the full tutorial.

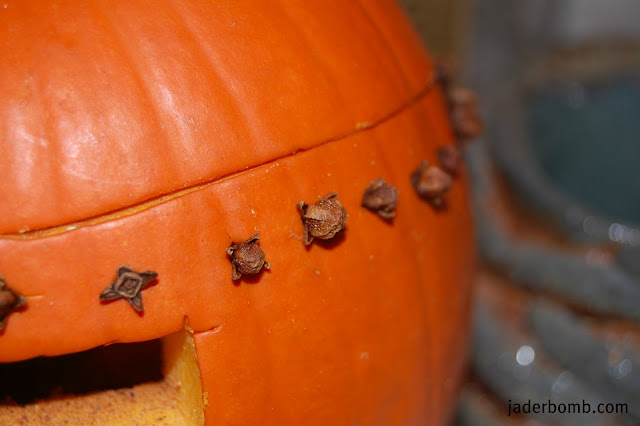
Last but not least. When I think of FALL I think of these smells: pumpkins, cinnamon, harvest, leaves and cloves. What better way to enhance the air you breathe! You can even create a design on the pumpkin with the cloves!

Click HERE for the full tutorial.

Click here to order the materials I used for the crafts:

Martha Stewart Crafts Knife
Martha Stewart Crafts Paper
Martha Stewart Glitter
Martha Stewart craft punch


I hope you had fun looking back on some cool crafts I did last year! Make sure and come back later for your  FREE FLEUR DE LIS PRINTABLE!
Hurricane Isaac is OVER and Jaderbomb is back.

See ya in the next post,


 Hey everyone! Just a quick shot out to my Jaderbugs! I will TRY my best to post some stuff in the next couple of days but as you can see I am in the middle of this sucka  as we speak. Wanted to let you know incase I can’t post!

Hope everyone is having a great day!


So, I am not sure if I should say “good night” or “good morning” to ya. It’s 1 in the morning and I am up wide the scrap awake. Really Jade, scrap?  I think it might have a little to do with the fact that I went to bed around 8:30 last night. Well who can we thank for that?

My good friend Ricky Mic  earache…  Sometimes we don’t agree on the timing of this crap happening but it won last night. So I figured I would finish this amazing post for ya since Ricky Mic Earache didn’t let me yesterday.

Quote of the day: “One isn’t necessarily born with courage, but one is born with potential.” -Maya Angelou

INGREDIENTS

Jumbo Straws
Ribbon
Glass cup (you can use any glass cup you have)
Glass beads (you can get these at Wal-Mart also)
Metallic Spray Paint
Glue Gun 

Make sure to check your home supply before buying any of these materials. You might just have most of them already!

Lay out your straws.

Start spraying them with the Metallic Spray. You might notice once you start spraying the air from the can will push some of the straws around. You can even glue the straws onto the glass and then spray paint. Again, just whatever you feel most comfortable doing!

This is what they will look like once you spray them.

I found it easiest to put a line of hot glue down on the glass first.

Then quickly place your straw on top of the hot glue. Be careful not to touch the glue because this could burn you.

It’s starting to come together!

When you are done with all of the straws get your ribbon and place it on top of the straws.

Put hot glue down on one end of the ribbon.

Quickly wrap the ribbon to the other side sticks to the glue. You want to make sure your ribbon is pretty tight.

Can you believe how simple this is so far?

I had some fun ribbon laying around so I decided to embellished with it. You can use anything you personally like to “decorate” the outside with.Put different color ribbon around it, tulle or anything FUN! I glued the glass beads around my ribbon to dress it up a little. Once you finish decorating, voila!

It’s really that simple. I like crafts like this because it’s an easy way to get creative and decorate any space really quick. Keep in mind if you don’t have Metallic sprays, you can spray the straws ANY color!

Here is a picture of the printable I made last week. I told you it’s cute in a frame. If you want it click HERE.

I hope you had fun in Jaderbomb land today! If you have a minute say a prayer for the Gulf Coast. We are about to get slammed by Hurricane Isaac.

See ya in the next post!


Happy Thankful Thursday!

*stationery
Quote of the day: SINCE THE HOUSE IS ON FIRE LET US WARM OURSELVES
(comes from my little daily desk calendar with daily quotes) Sometimes I have a hard time “relating” to them, haha.

I had fun making these maybe because stripes always make me happy! Don’t they just scream…

WRITE ON ME

I made two fun colors that everyone could use. How fun would this look in a scrapbook?

I sometimes print them out and write an actual letter on them to someone. I know, who writes anymore? I personally LOVE getting something in the mail. It shows that someone took a few minutes out of their day for me! Remember when writing hand letters was cool! Let’s bring it back together!

FREE FOR NON COMMERCIAL USE ONLY. FOR PERSONAL USE ONLY

If you don’t want to download the PDF you can right click on this picture and save it to your desktop. This size is 8.5×11. I have also attached the PDF’s below for you. I made two sizes for you. I am loving these delicate pink stripes!

Striped Stationery 8.5×11

Striped Stationery 8×10

FREE FOR NON COMMERCIAL USE ONLY. FOR PERSONAL USE ONLY

If you don’t want to download the PDF you can right click on this picture and save it to your desktop. This size is 8.5×11. I have also attached the PDF’s below for you. I made two sizes for you.

Striped Stationery 8.5×11

Striped Stationery 8×10

I hope you have a blast with these babies!

You can even print them out and use them as invitations!
Would you like me to make some invitations for you? 
COMMENT below and let me know!

See ya in the next post Jaderbugs


{seriously} These are so flippin cute!

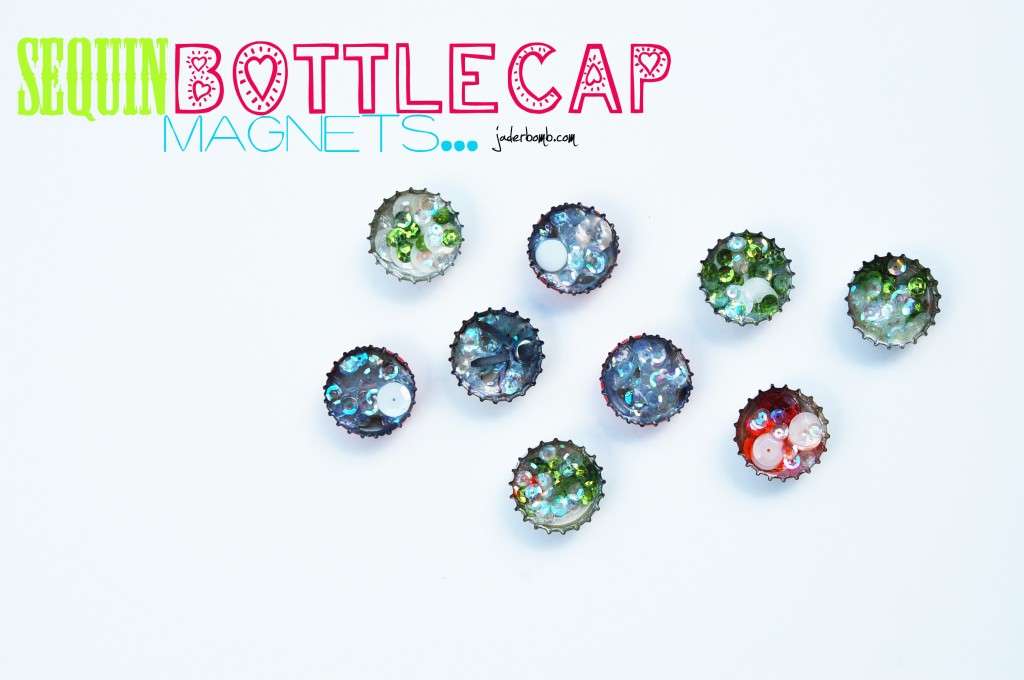
Happy 2’s day Jaderbugs! I hope everyone is having a day full of love and laughter! If I haven’t told you lately, I am so glad you come visit me everyday. It really makes me so very happy, and if this is your first time visiting my “online home” WELCOME! If you know me then you know I have a very large stock in bottle caps and corks. Such an odd combo but yet they are two things that come in SO handy all of the time.
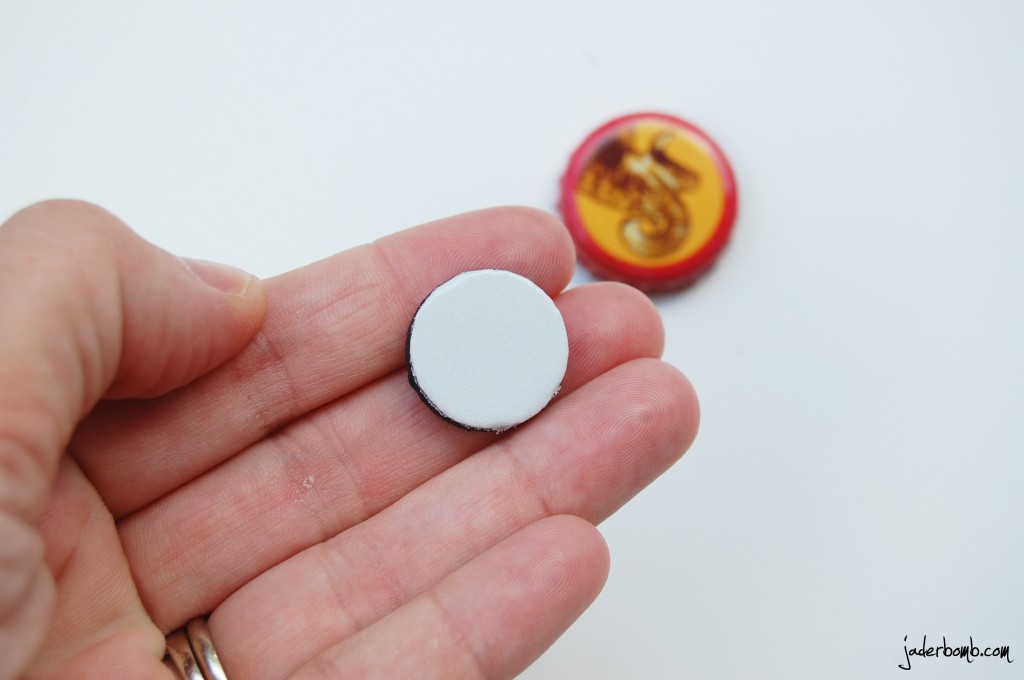
The other day I needed extra magnets on the fridge and there was no way I was going to go buy some! {go figure}
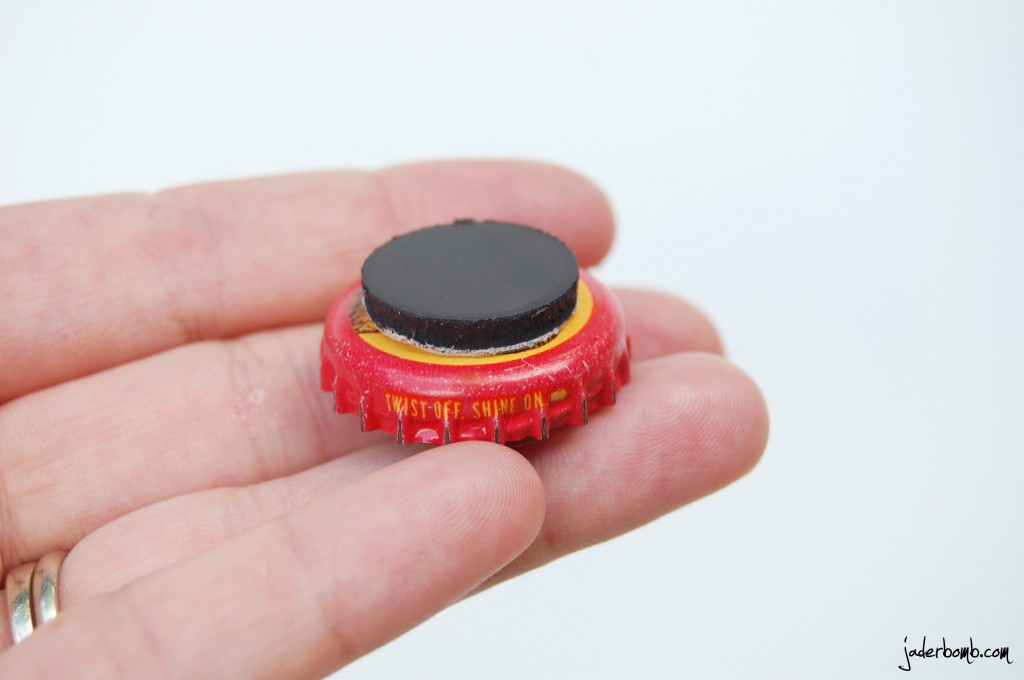
If you walked in my studio you would fuss at me if I ever bought ANYTHING!

INGREDIENTS:
{click the links below to order}

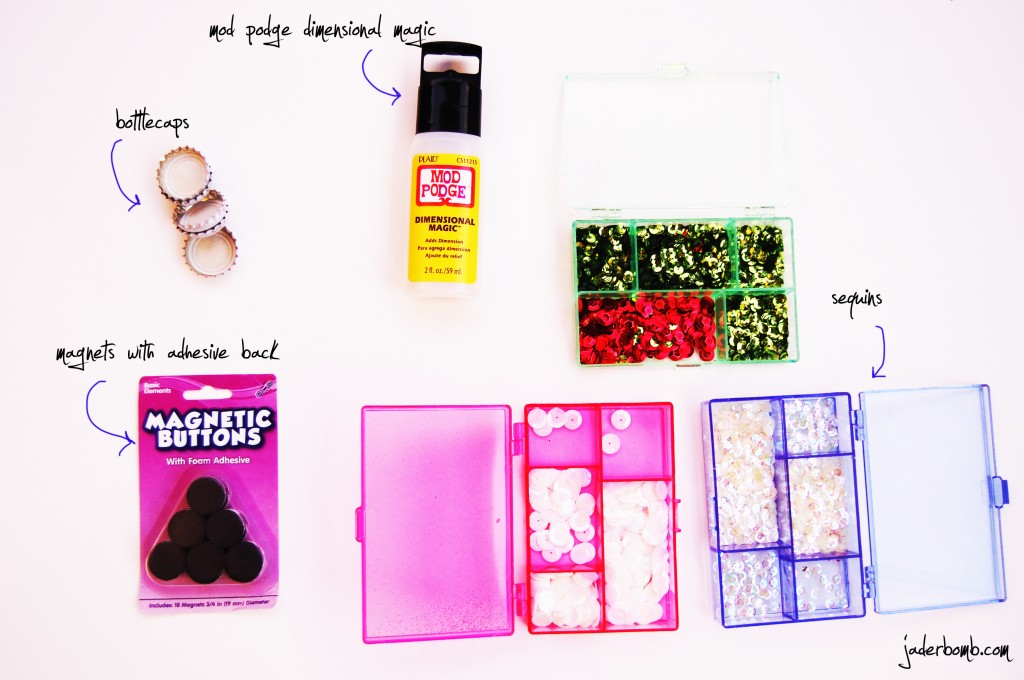
 Bottle Caps
(you can order the here or use ones that you have collected)
Seqins (get these from any craft store)
Mod Podge Dimensional Magic 
Magnetic Buttons

First thing you will do is lay your bottle caps down flat. Fill them with sequins and slowly squeeze in your Mod Podge.

FYI:
Don’t shake the bottle of Mod Podge Dimensional Magic. When you shake it, it causes bubbles and the last thing you want is bubbles. Once you are done check on them for about the first 15 min to pop any bubbles that float to the top. I use a needle to pop my bubbles. 

Once they are completely dry you will take a round magnet, peel of the sticky back and stick it on the bottle cap.  

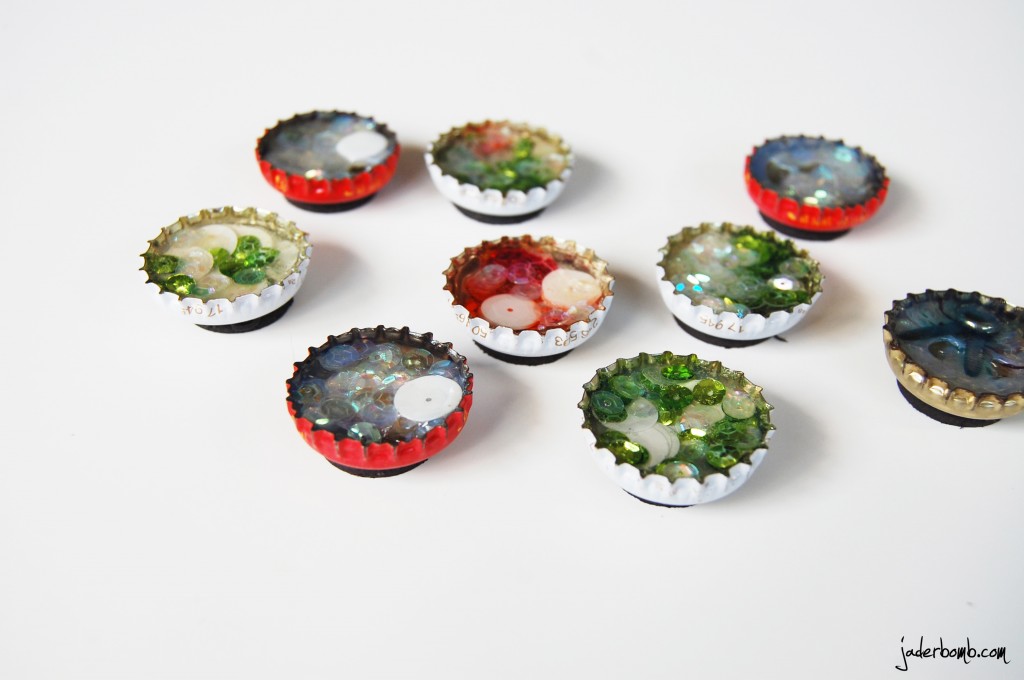
 Tadahhhh! Oh, and you can get these magnets at Wal-Mart also!

 Are they so cute! Just think you can put any color sequins in them or any color glitter. They are the perfect gift also!

 I hope you all enjoyed this fun tutorial… See ya in the next post!