Tag Archives: geometric

Wooden Letters

Wooden Letters make are special because you can create any word or saying with them. I always keep these in stock, especially for the holiday’s!

I think there will be an overload soon of these suckers so beware. You surely have to have fun and design them to reflect your personal space or personality.

Do I create things for a space ever, you ask? NO. I create AWESOME things and then my space has to work around them. (teehee). Let’s get started. you will need
Wooden Letters | Palette Knife | Tape | Glitter | Craft Paint 
You can purchase all of these items from ONE spot by clicking on the links above. (P.S. These are affiliate links, so thanks for helping me buy more glitter)
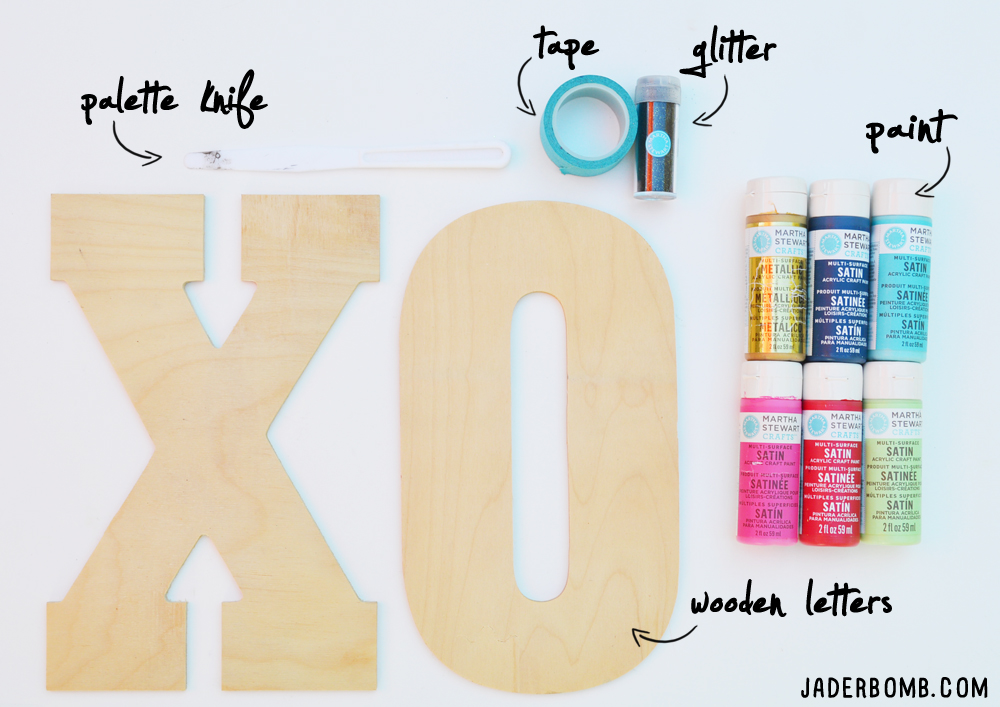
vintage wooden letters supplies

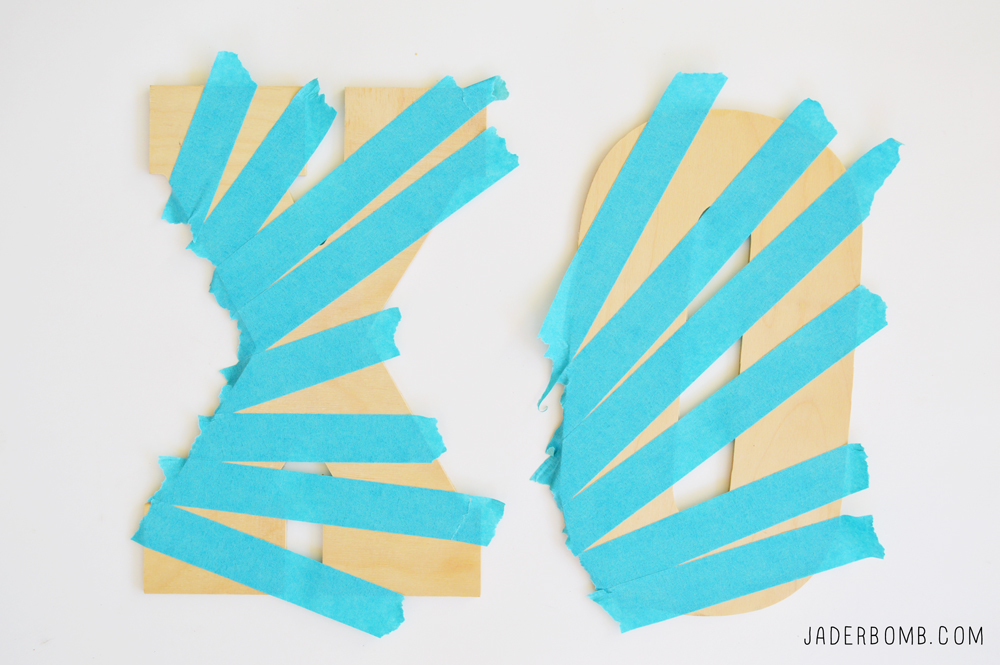
The first thing you will do is tape off sections of your wooden letter like below. You can create small spaces or big spaces. Totally up to you. how to paint strait lines
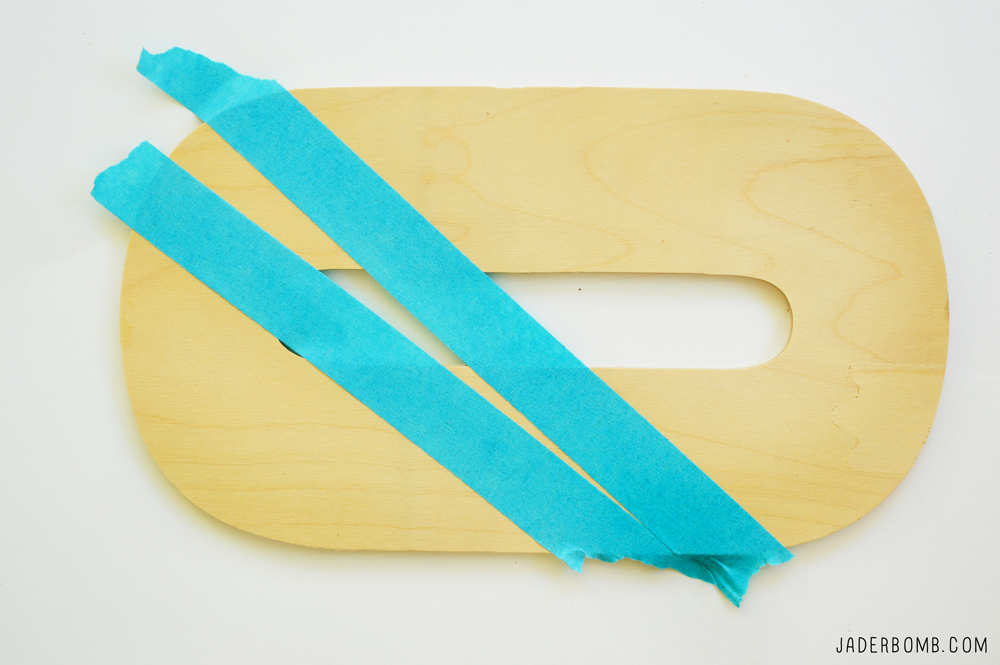
I like to mask off my entire letter before I start. MODERN WOODEN LETTERS
I will be applying paint using a palette knife. PAINTING WITH A PALETTE KNIFE
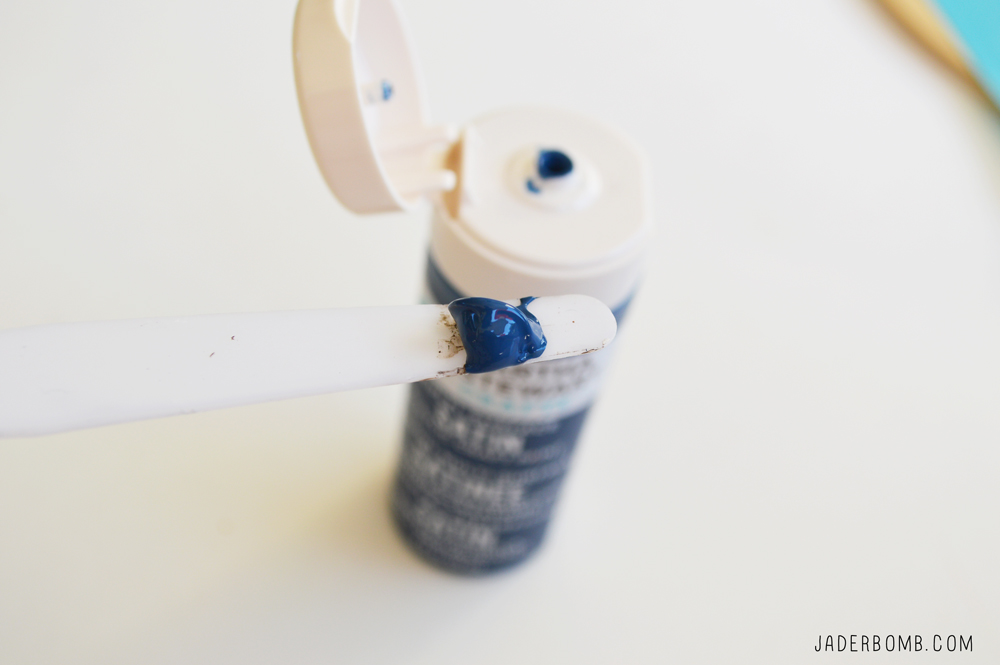
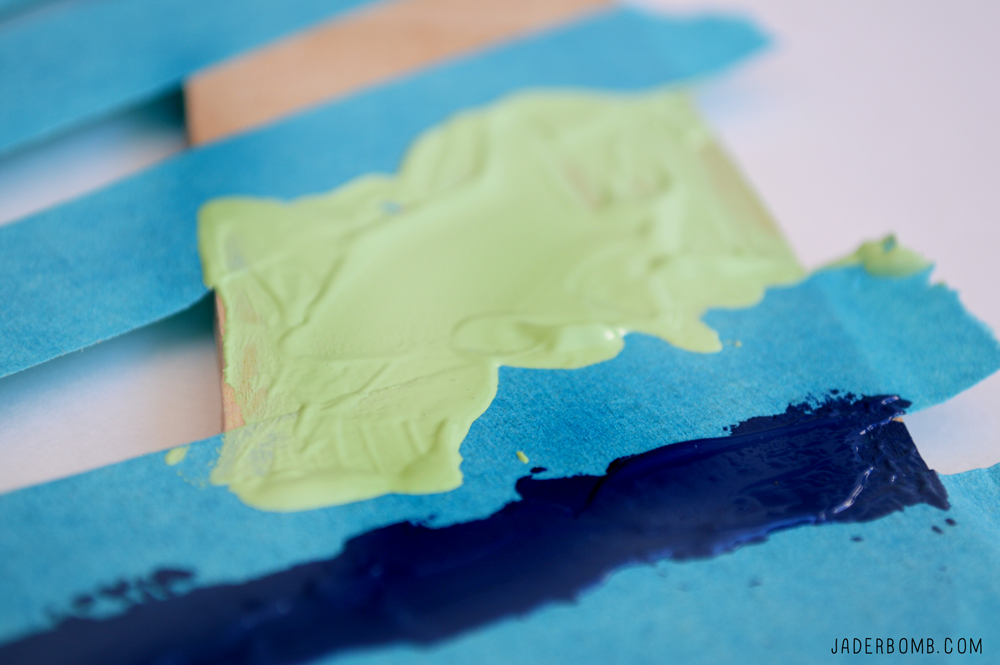
You will apply a thick layer of paint on the wooden letter. This will add great texture to them in the end. geometric painted letters

After you apply your first color move on the the next one. steps on painting on wood
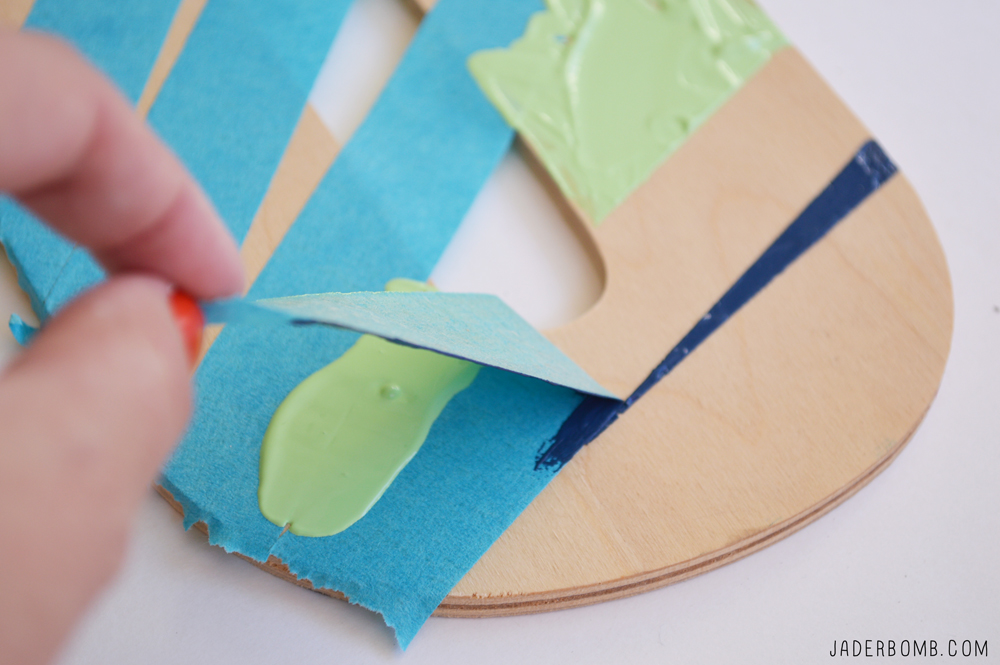
I take off the tape as soon as I move onto the next section. When you take the tape off while the paint is still wet it gives you a fine, crisp line!painting strait lines with tapeHow cute are these babies. You see those black sections…That is black glitter! Once your paint is completely dry tape off a little section, put a little Mod Podge then sprinkle with glitter of choice. VOILA!
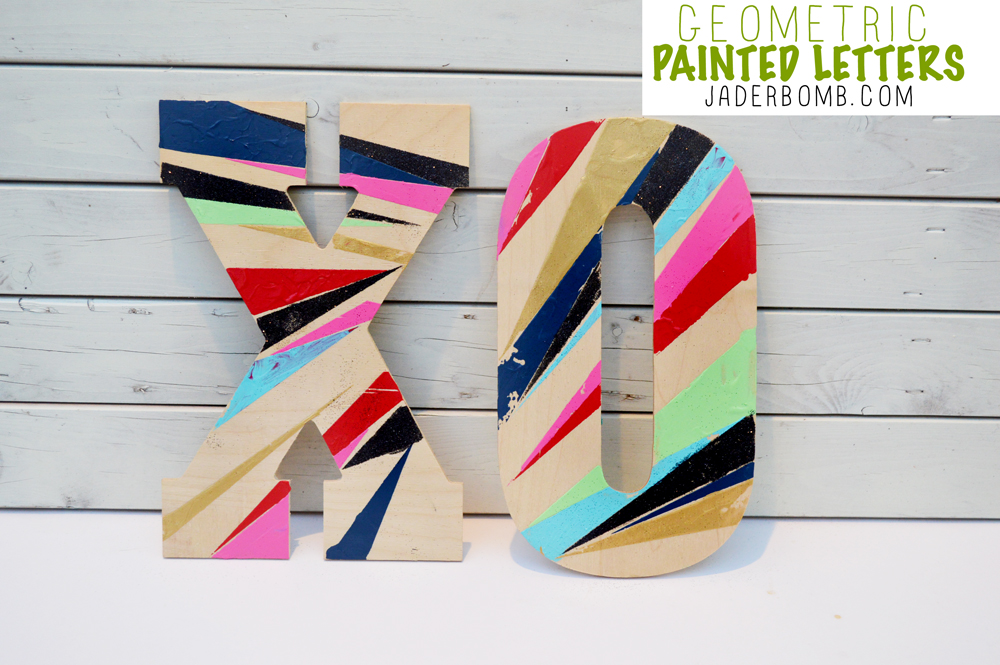
wooden letters

I hope you enjoyed this fun tutorial! What colors will you use for your letters?
ending

Quote of the day:
Dear George: Remember no man is a failure who has friends.
Thanks for the wings!
-Letter to George Bailey from Clarence the angel, in It’s a Wonderful Life.

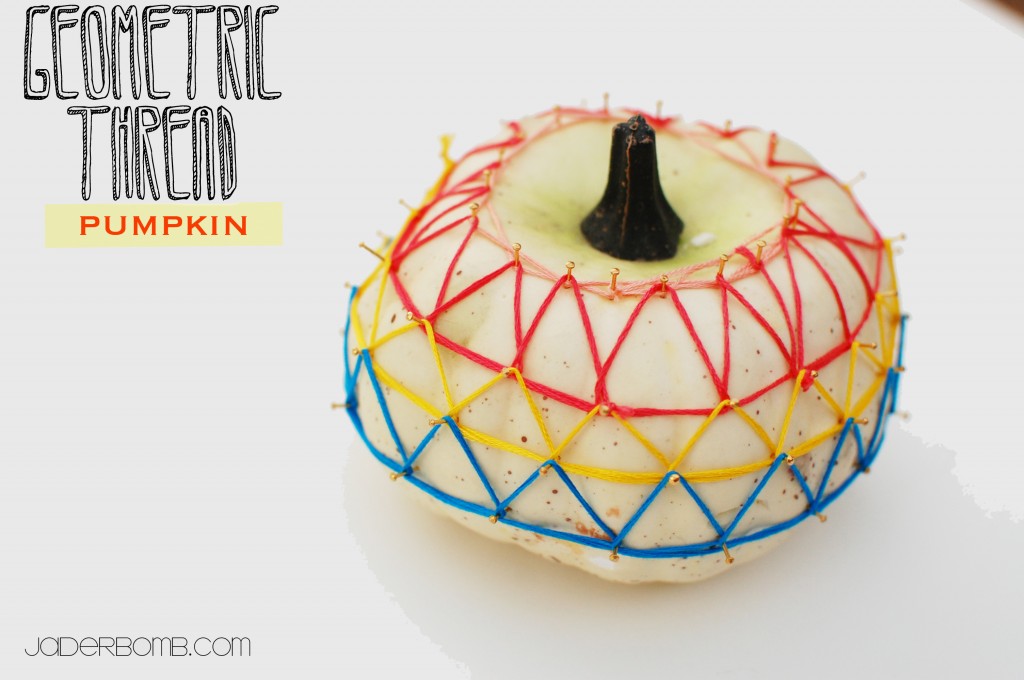
\I hope everyone had a great weekend! They have a huge “FRANKENSTORM” brewing on the East coast so all of my peeps there please be safe. I was really excited the other day when I thought about doing this tutorial. I have seen a lot of pumpkins decorated with yarn but I have not found any with a distinct design on them like this Thread Pumpkin

I mean doesn’t everyone need a thread pumpkin decorated with thread? It’s a must have, fa real.P.S. the good thing about this craft is you can decorate with ANY color thread and it will look good ALL YEAR LONG. Use Fall colors for your table decor, pure happiness there I tell ya!

Let’s get started!

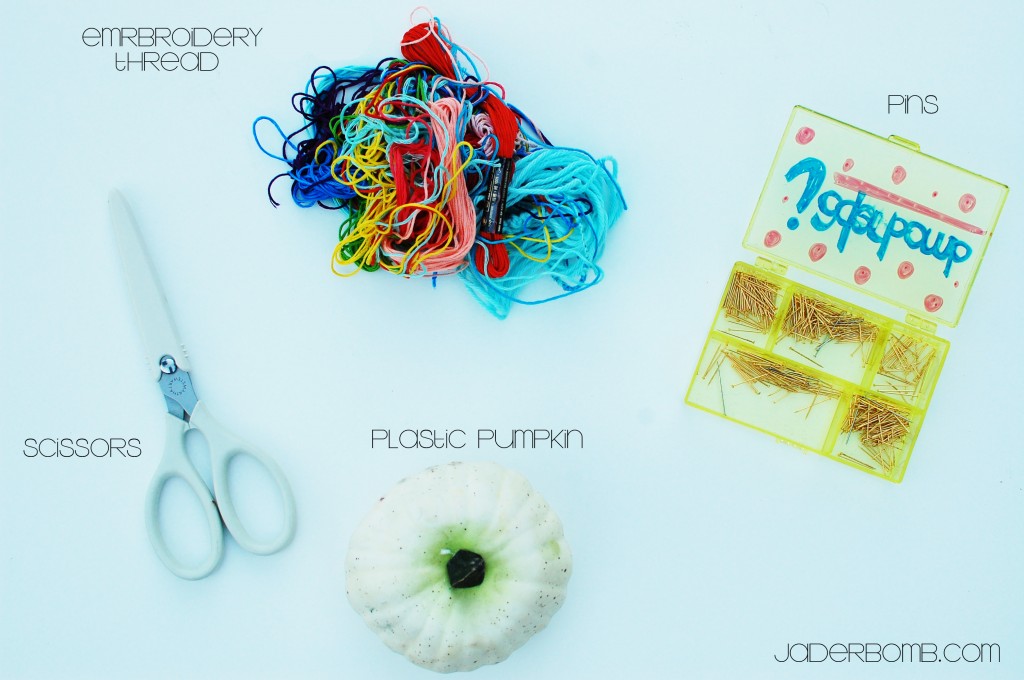
INGREDIENTS:

Thread Pumpkin

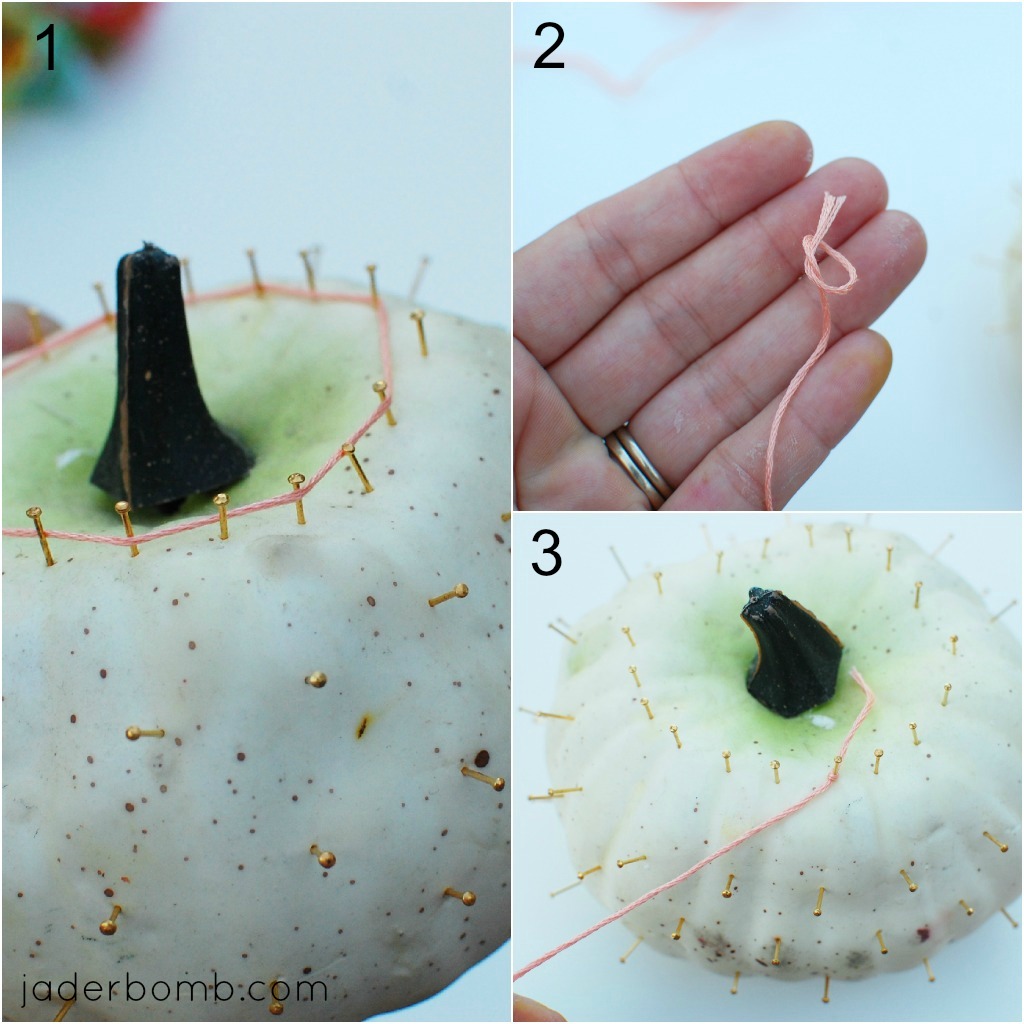
Here is the first thing you will do. Notice the order of numbers, this part is very important. You want to start by making a ring around the top with the  pins. Then go down some and put another ring of push pins. However you will put the pins in the center of the ones above it. You want to start seeing a triangle from layer to layer.

When you are done with the pins, tie a little knot around the top of thread and put on a pin.

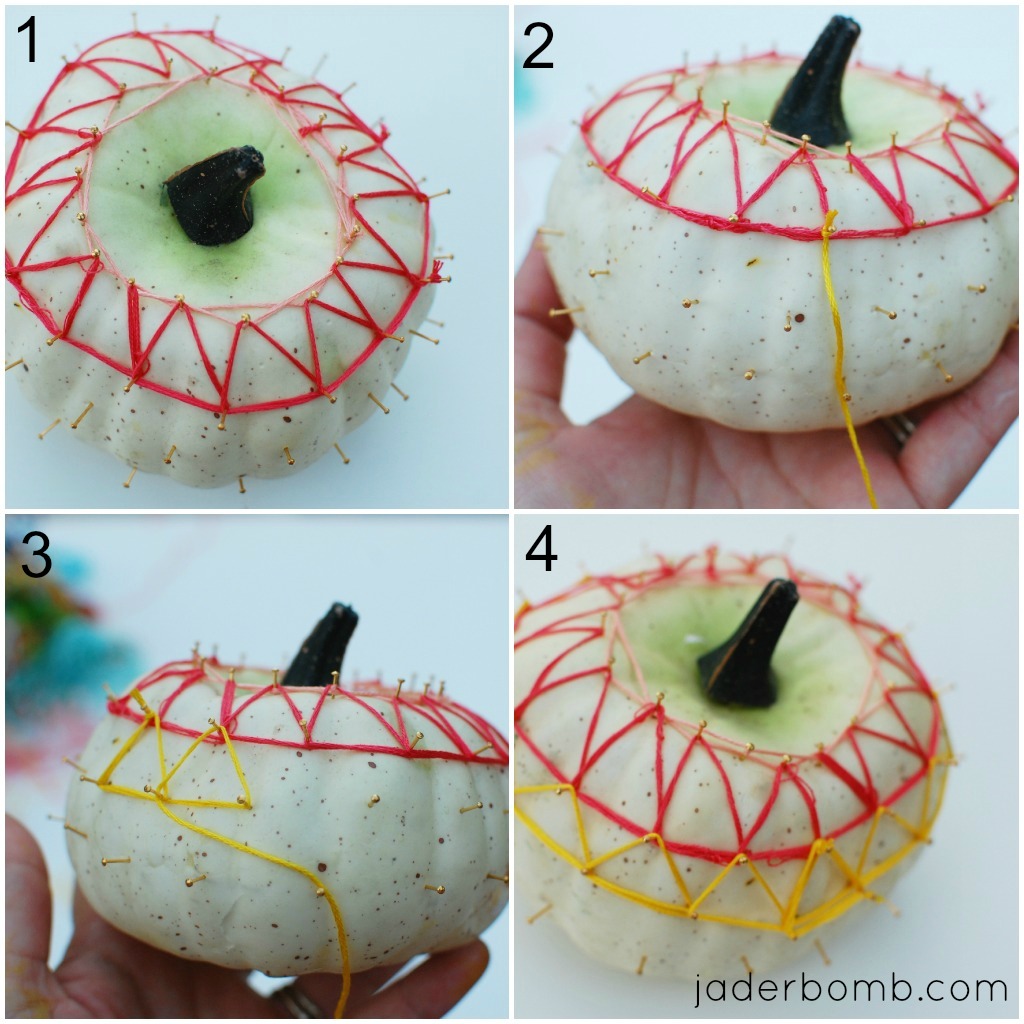
Start wrapping your thread around the pins! Once you get started you will figure our your pattern. You can go over the triangle a few times to make it look layered!

I hope everyone had a good weekend! Oh and btw: this yarn pumpkin is good for ANY time of the year.

I hope you enjoyed this tutorial, see ya in the next post! Make sure you come visit me in these places too! (look below this line, hehe)

Facebook Twitter Gplus Pinterest YouTube E-mail RSS

Get your DAILY dose of DIY delivered in your inbox! Just put your email address below!

Enter your email address:

Delivered by FeedBurner

Jaderbomb!