Tag Archives: halloween

The Simple Secret to Spray Painting Pumpkins! 

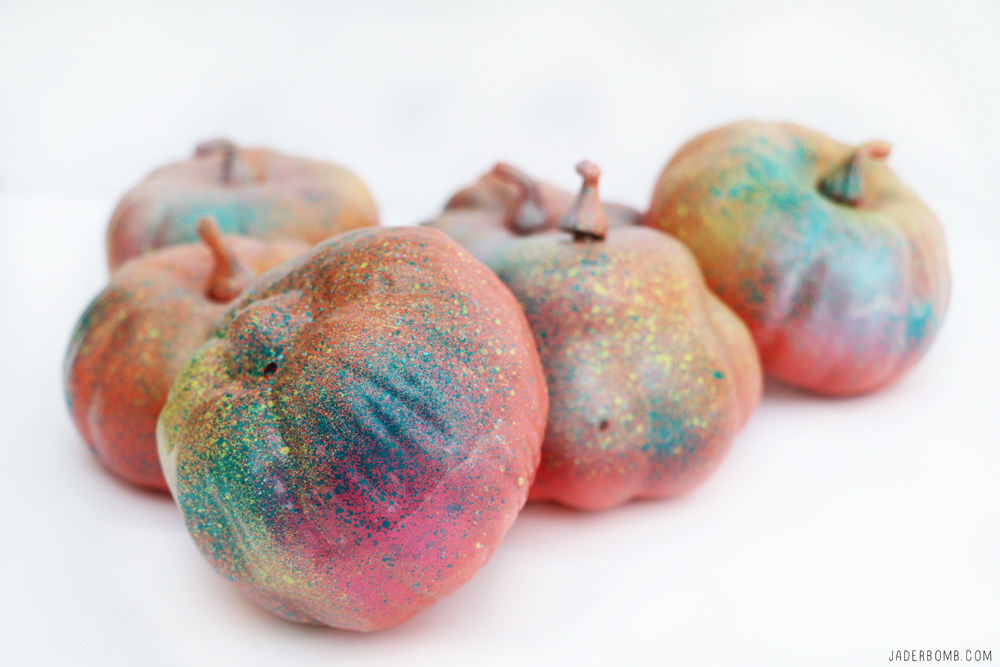
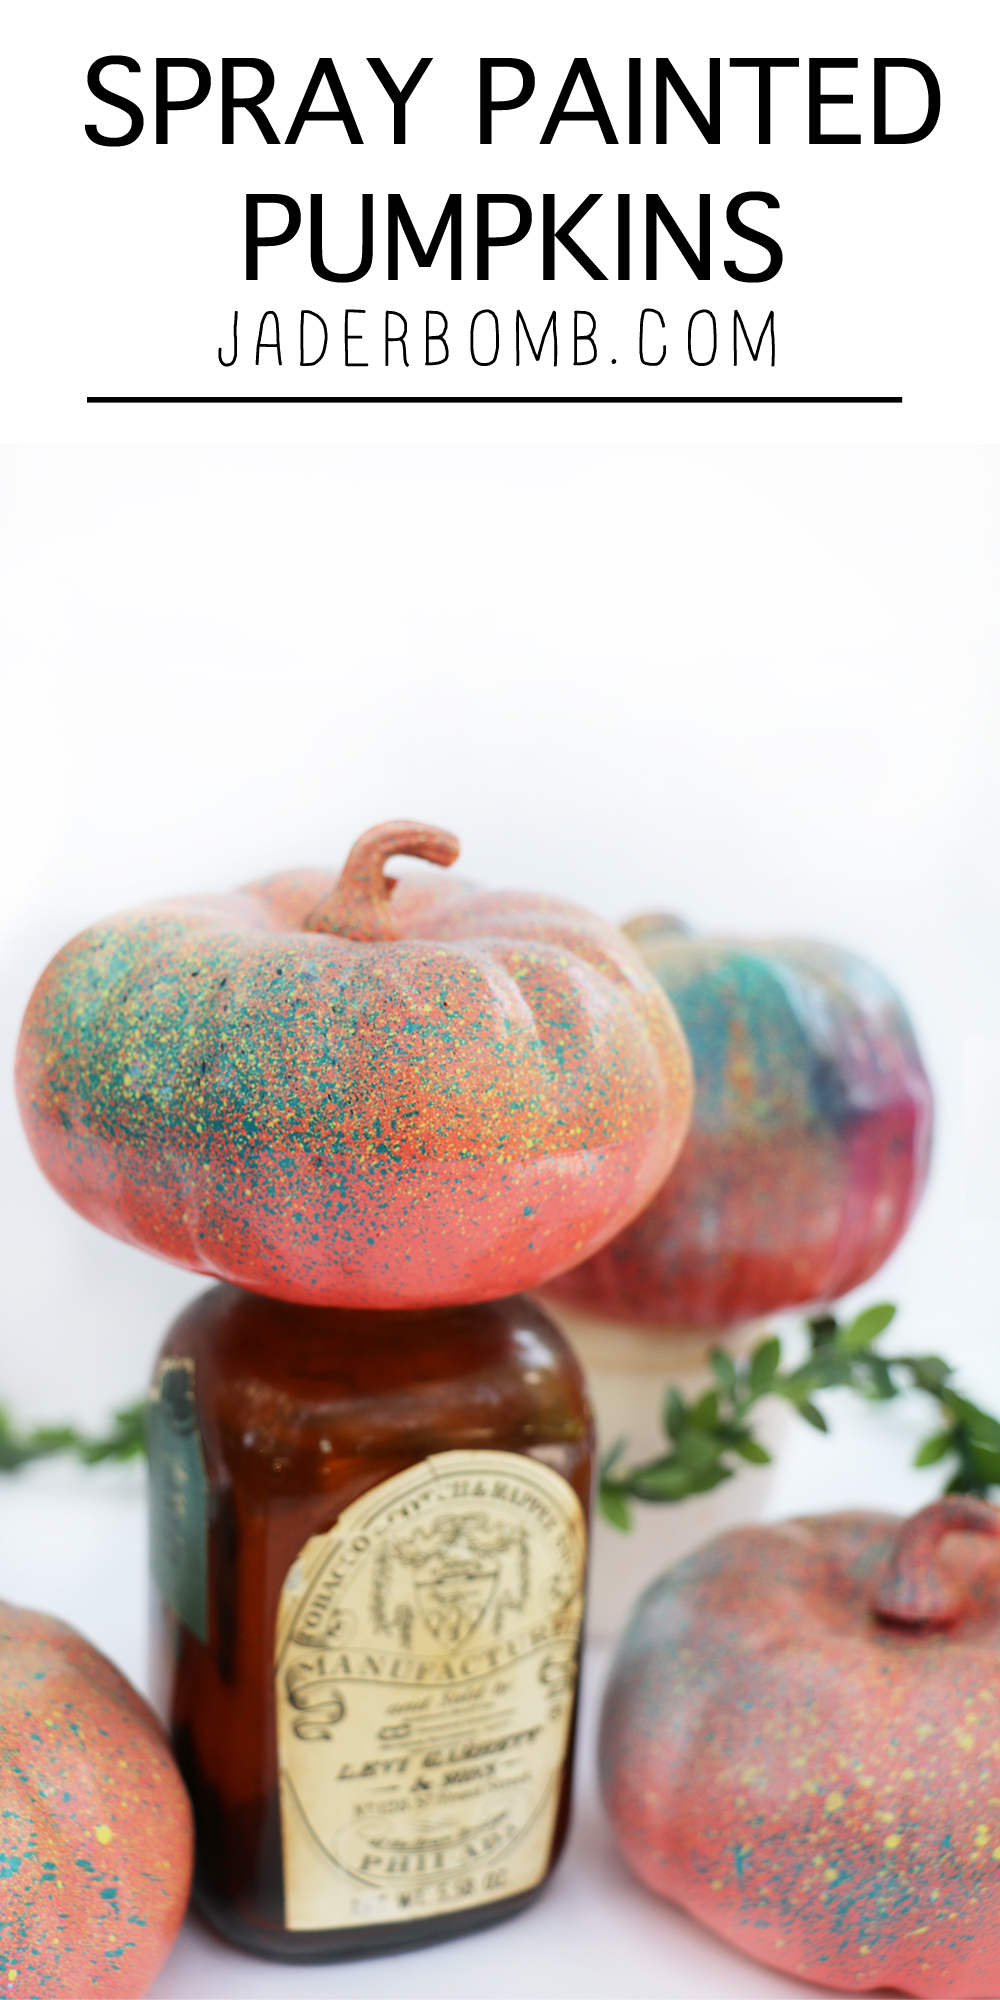
Today I am super stoked to show you how to turn boring pumpkins into graffiti inspired works of art!  There is just something about this time of the year that makes me feel wonderful inside. Let’s get started with our spray painted pumpkins!
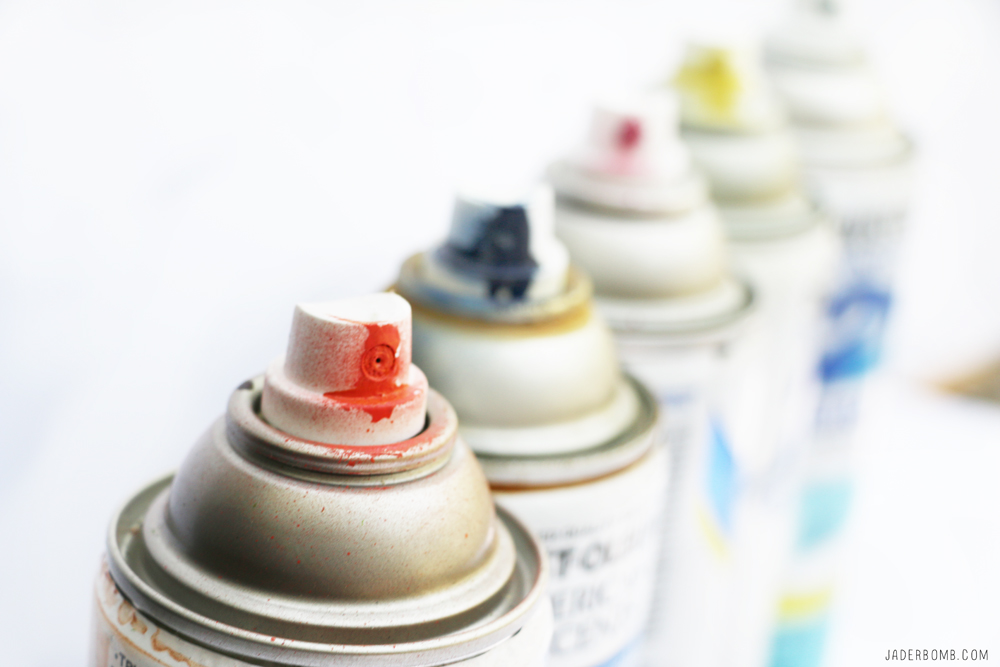
Things you will need for this project: Faux Pumpkins (any size will work) and spray paint

(These are affiliate links: Click on them to purchase all the items I used in one spot! Yo, I am just trying to make life a little easier.)
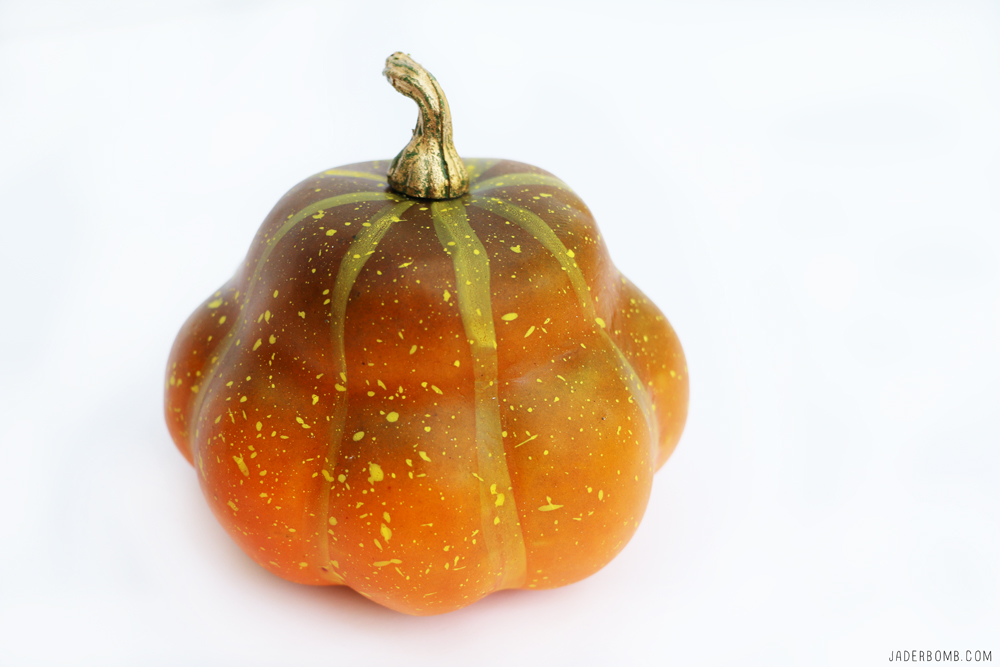
The first thing you will do is create a clean space to spray paint. I suggest in the back yard so over spray doesn’t get on anything. Plus you will walk away with patches of colorful grass if you do it properly! I think we all need a little color in our yard, right!

I used Rust-Oleum spray paint for this project. I prefer them amongst other spray paints mainly because they spray evenly and let’s not forget that the colors are simply amazing. 
Lately life has been hectic and for some reason I have been feeling the urge to spray paint on a building or wall. Since I can’t just go around doing that I figured blasting pumpkins was my safest route. First thing I did was lay each pumpkin on a clear piece of paper and spray the top portion of the pumpkin. Whatever you do don’t spray the top and then flip the pumpkin over to do the underneath. This will result in an epic failure! Know why? Because the top of the pumpkin will stick to the paper! Just let the top of all the pumpkins dry then flip over and do the bottom. 
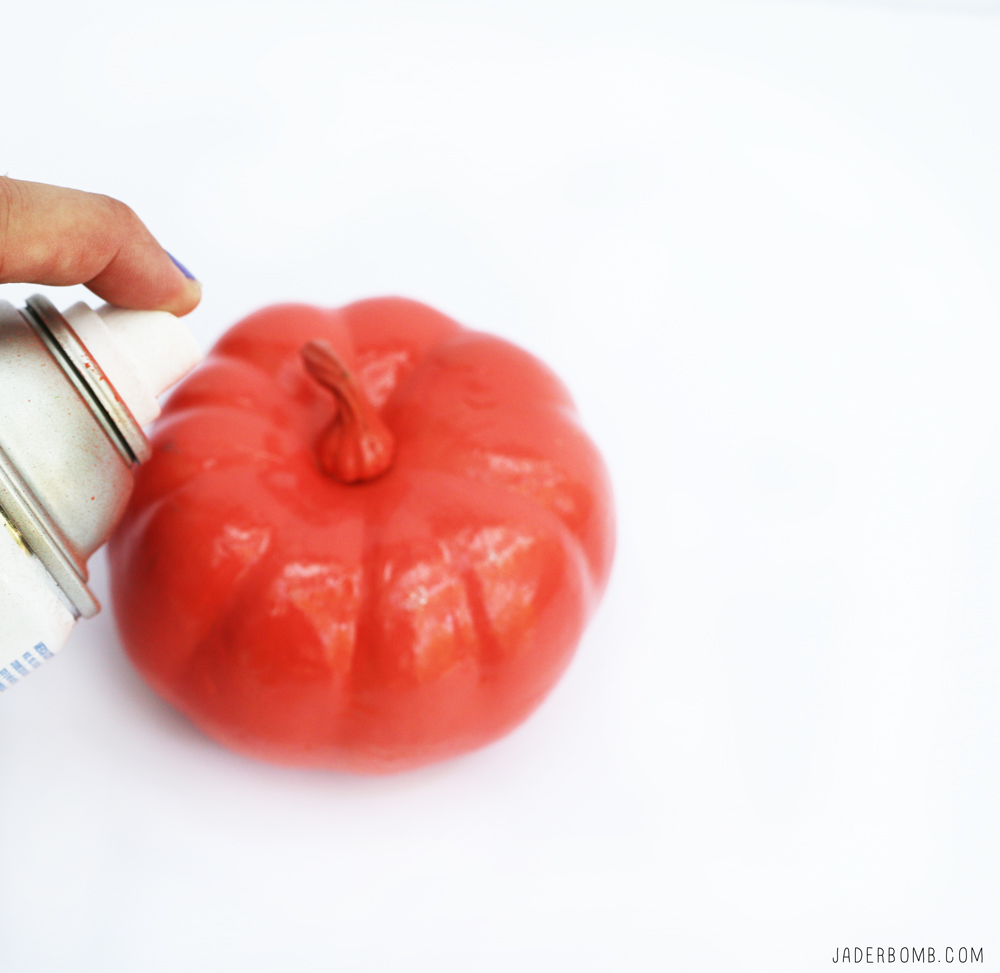
Repeat this process until you pumpkins are coated completely. Once this step is done and all of the pumpkins are completely dry we can move onto the destructive part of the process! 
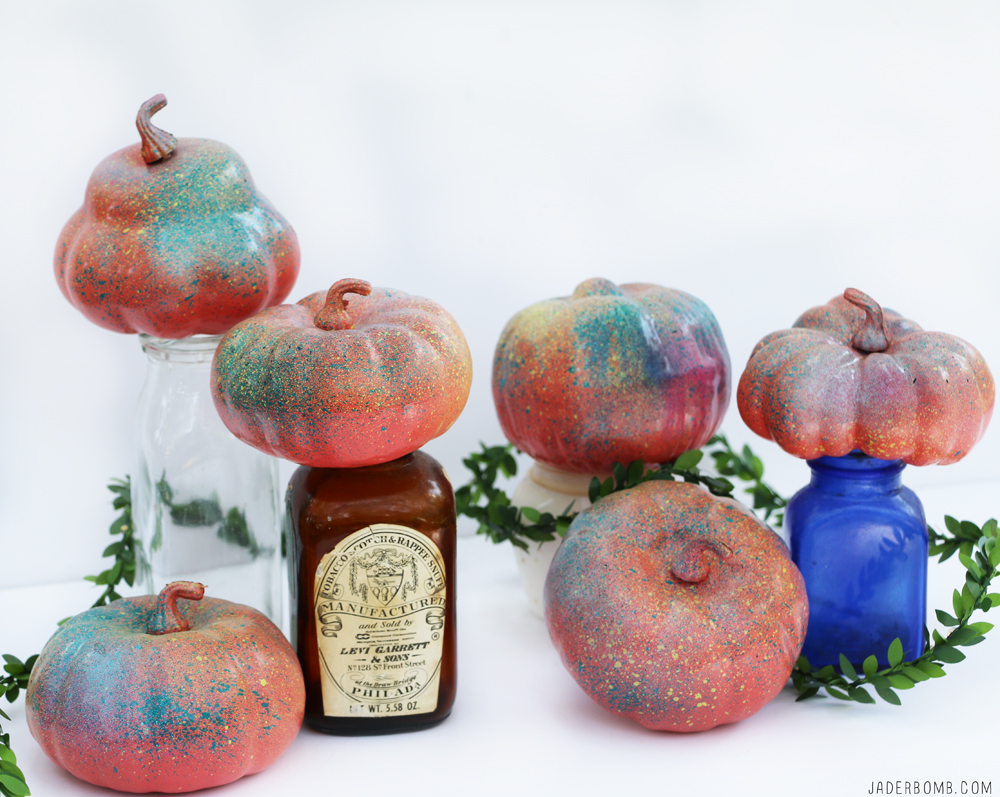
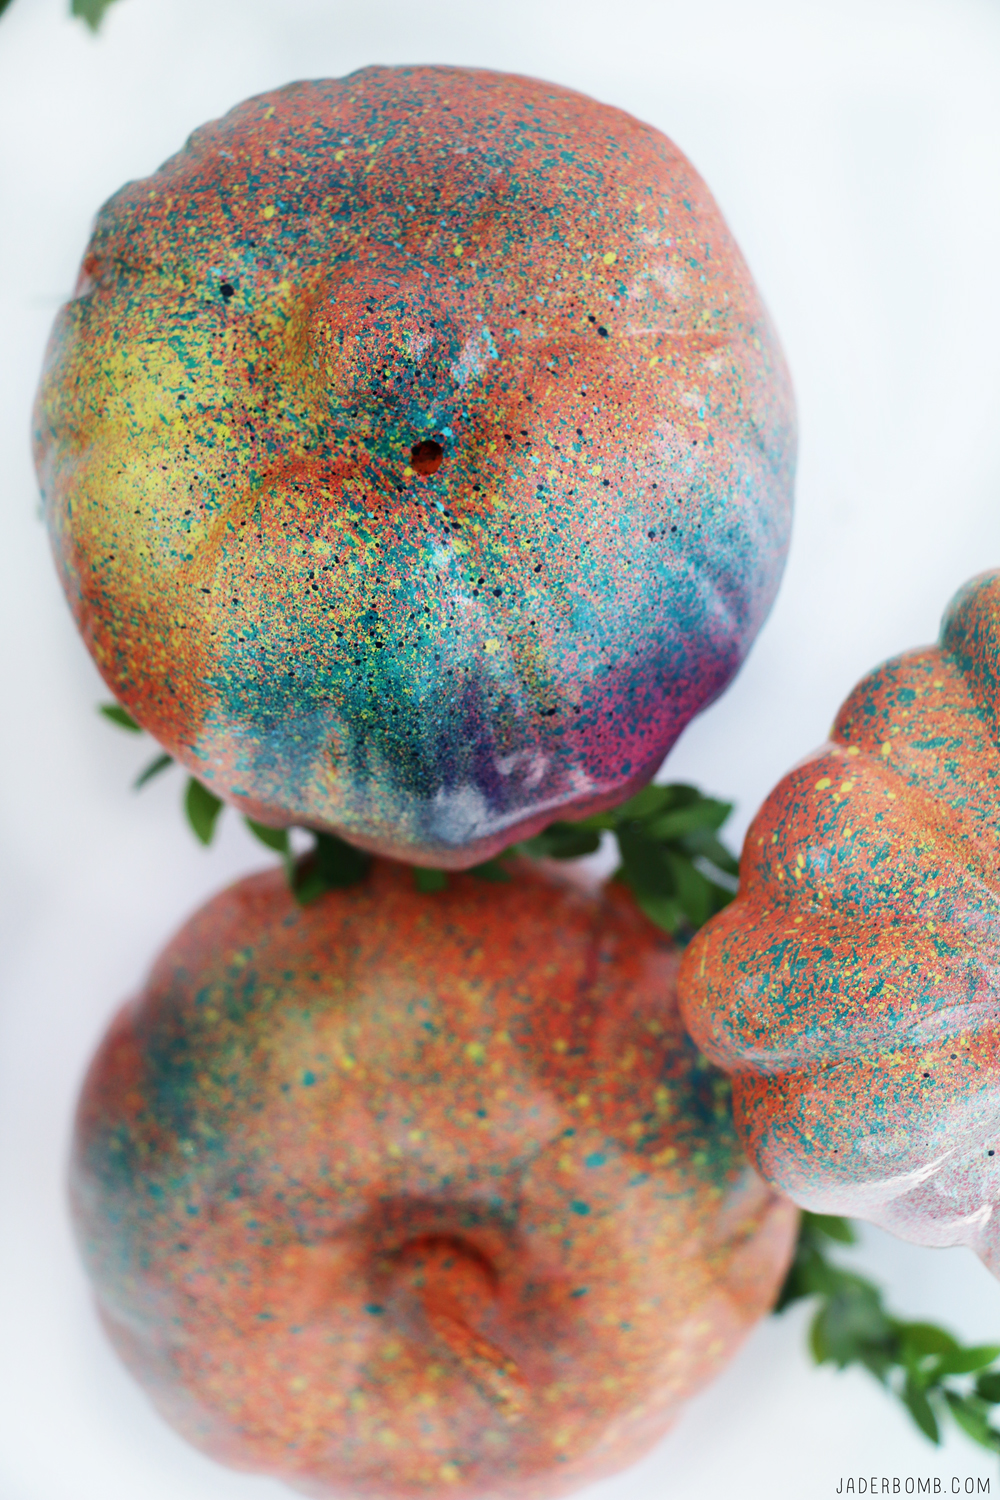
Time to grab all the colors your heart desires and get at it! I started with one color and you want to LIGHTLY tap the nozzle to send out a spritz of paint onto the pumpkin. It’s as if the spray can is spitting onto the pumpkin, haha!

I applied my first “spritz” of color onto all of the pumpkins and then let it dry. Following that you will do the same thing with all of the colors you chose. Now take my advice, you don’t have to use all the colors I used but if you know me, you know I love color.  One tip of advice when doing a project like this. If by any chance you are spraying a certain color and too much comes out don’t sit in the corner and cry like I did. Just grab another color and lightly spray right over it. That is the good thing about this project, you can’t mess up because you can always fix boo-boo’s. 
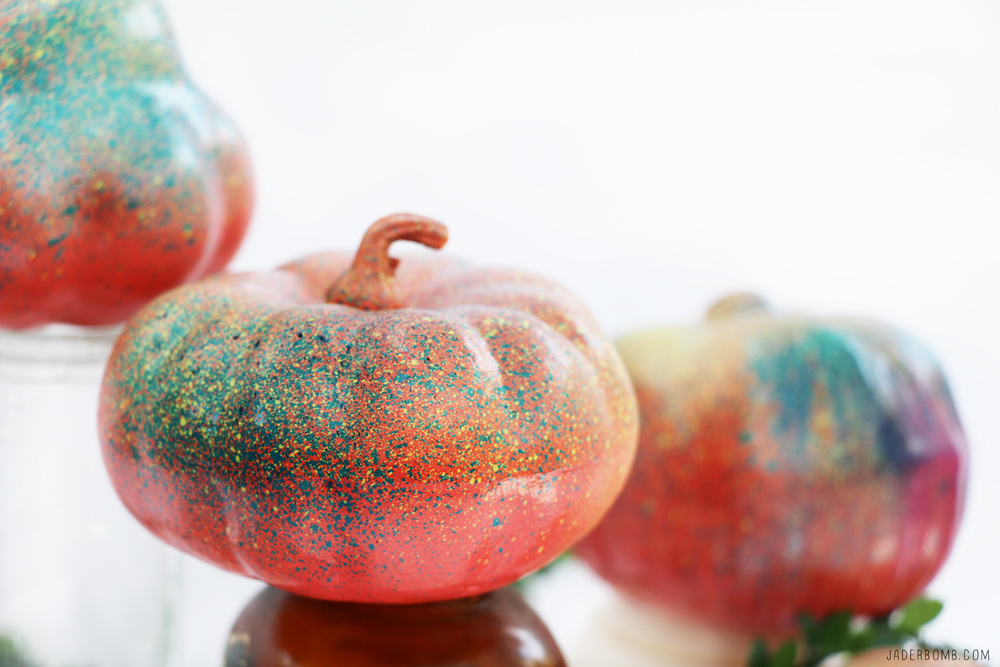
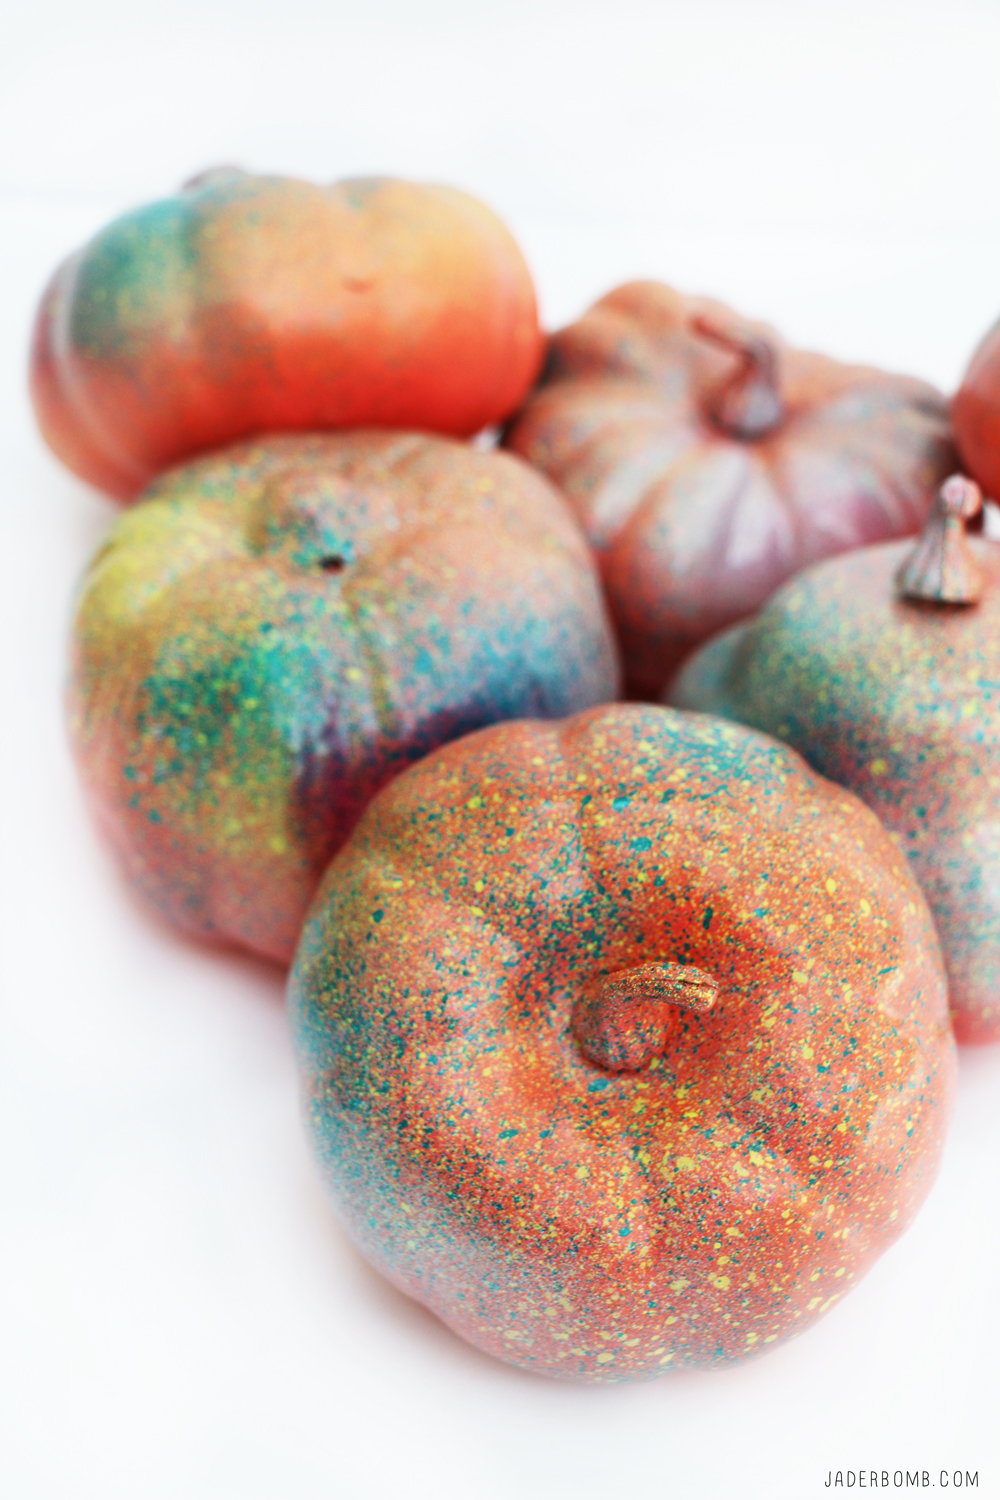
Are you dying over how beautiful and easy these are spray painted pumpkins are? I know I am. I love these because once Halloween is over you can keep them up during Thanksgiving. You can even use more “Fall” colors to change the color palette. 

Now you are asking…what do I do with these when I am finished? That is a really good question. You can throw them into a nice vintage bowl and place on your living room table like I did or you can line them up down the middle of your dining room table for a more modern look. 

Another fun thing you can do is hot glue them onto a wreath with other faux flowers and voila, you have a one of a kind DIY wreath. 
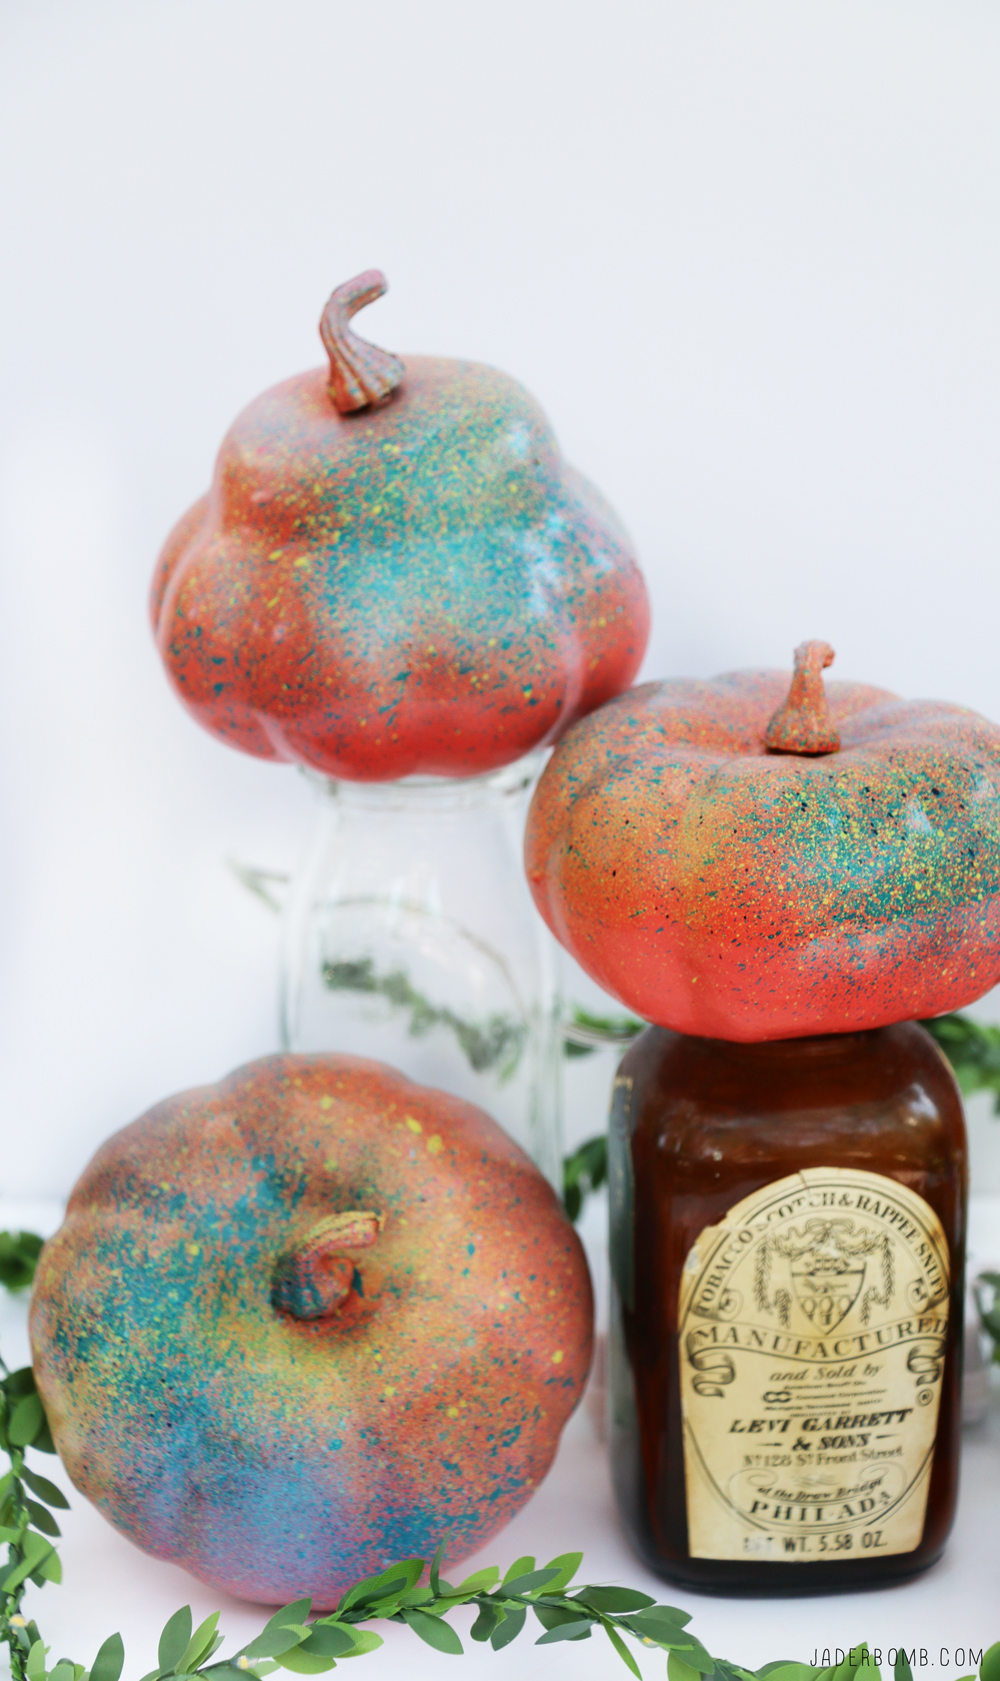
You can even place them on the top of vintage bottles like I did and make that your centerpiece. The options are endless especially if you have a crazy mind like I do! Remember when I did these Halloween houses I will say one thing I wish I had was a mantle to line these spray painted pumpkins on. However I have good news, my dad will soon be helping me make a faux one so stay tuned. 

On another note, if you love all things rainbow like I do then you need to check out these pumpkins I made last year!
Currently it is 5 am in the morning and I am just UP… Jamming to sweater weather and feeling excited that it’s my son’s Homecoming weekend. Did I mention his last one? Am I really the mother of a senior? Where does time go is what I want to know. 

I hope you enjoyed this project as much as I did! See you in the next post, until then hugs from my computer to yours!

Don’t forget to follow me on all of my social media channels because I love all of you to pieces!!!! 

FACEBOOK | INSTAGRAM | TWITTER | PINTEREST 

The Simple Secret to making a Pumpkin Planter! 

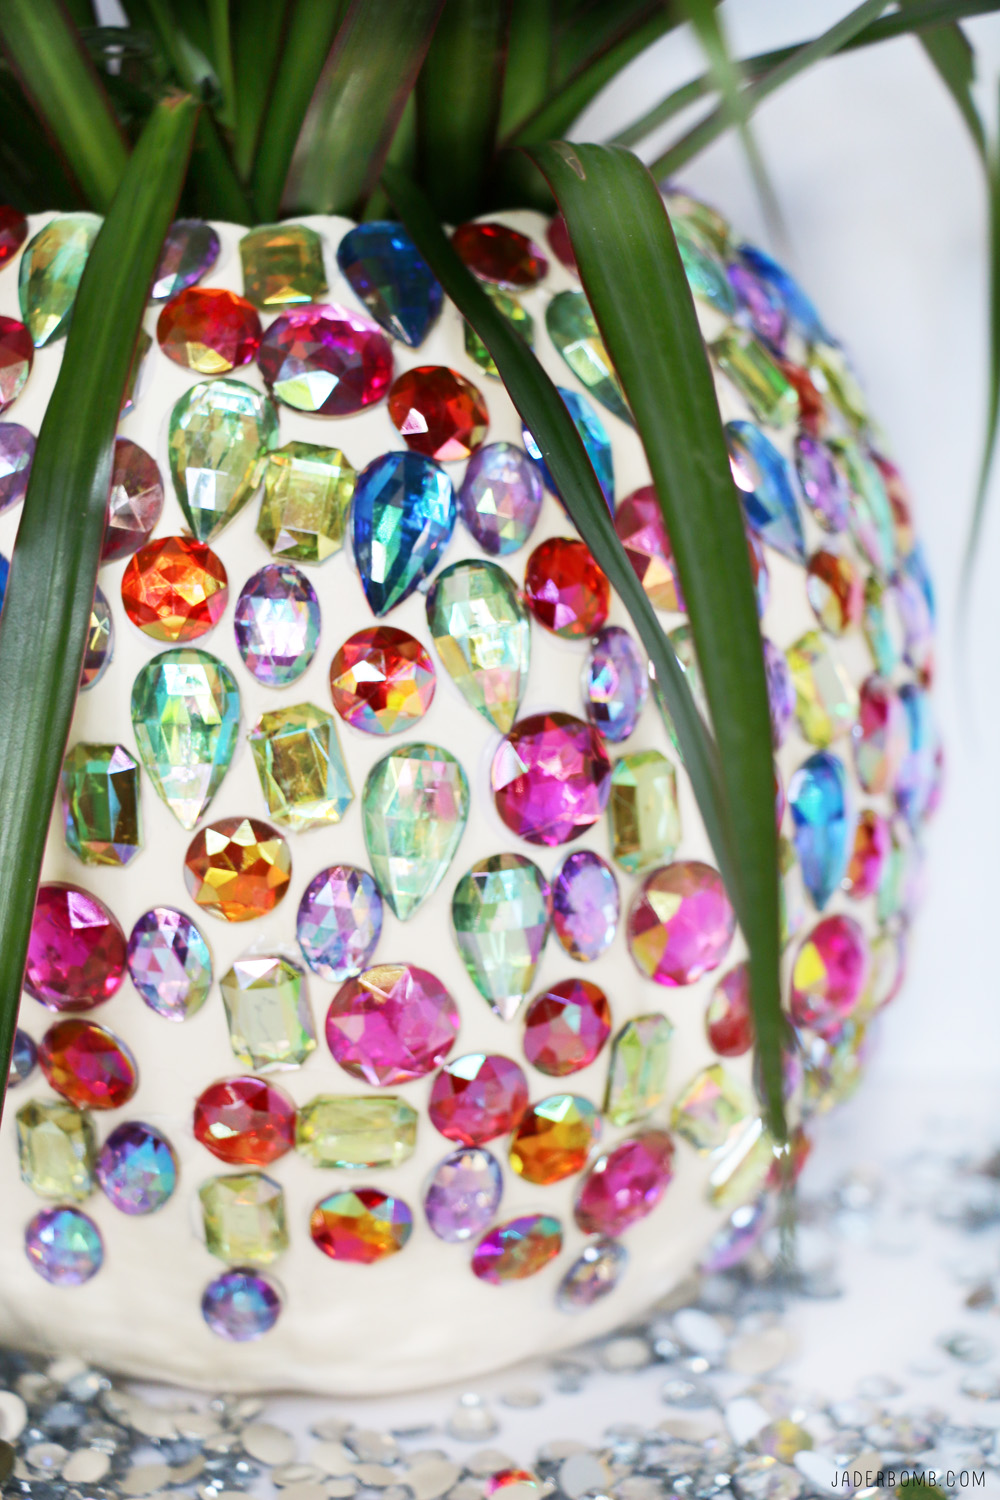
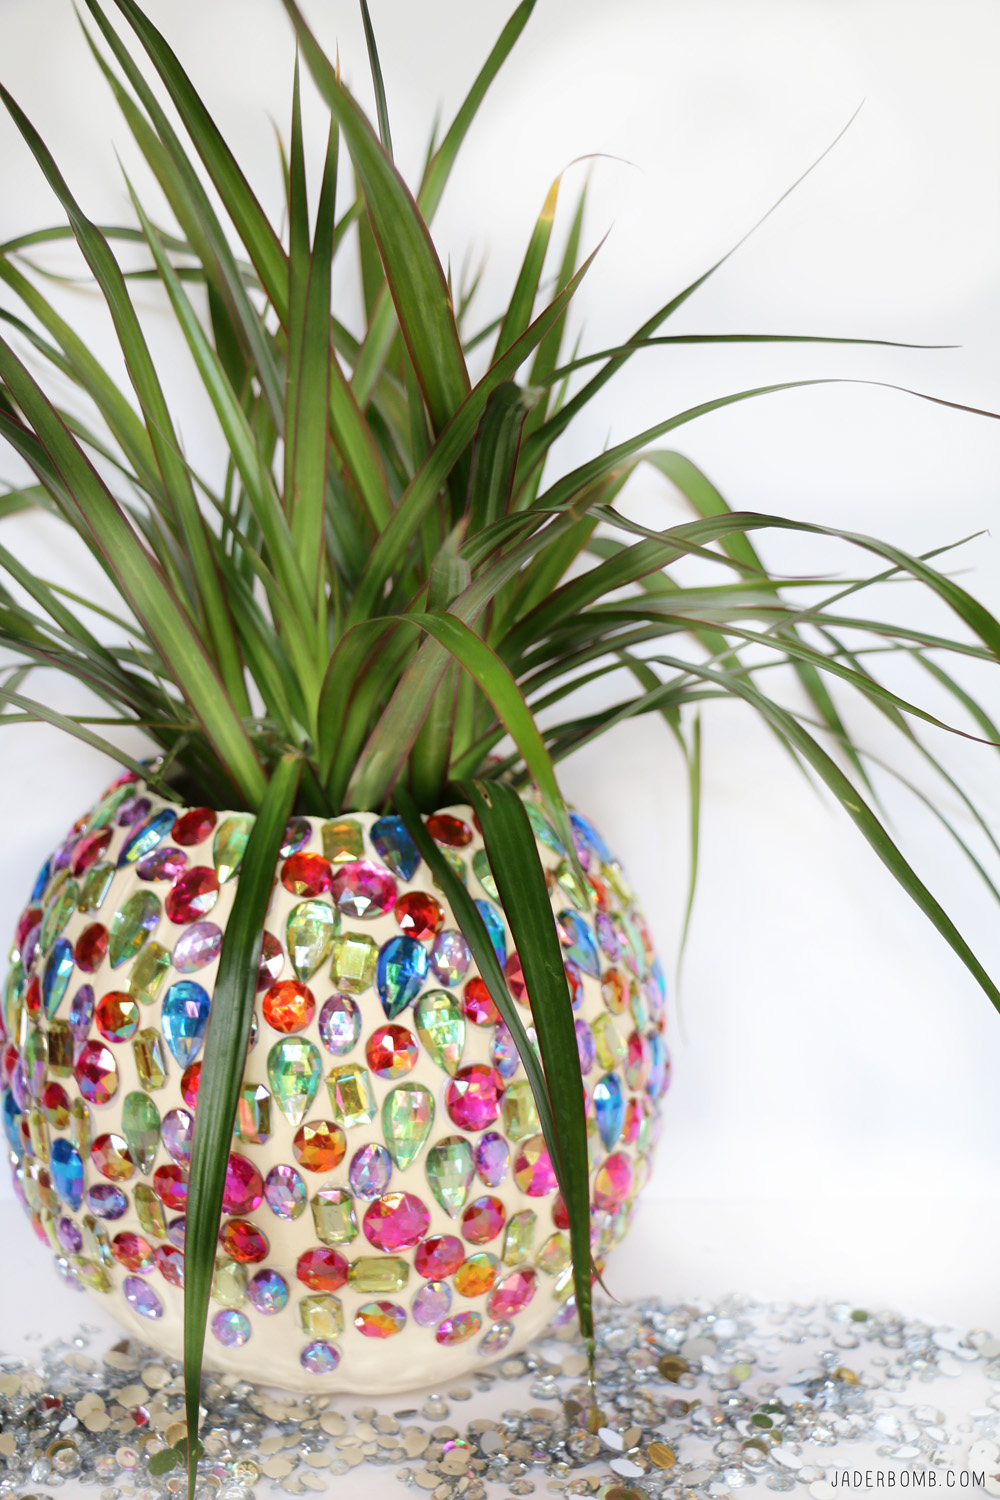
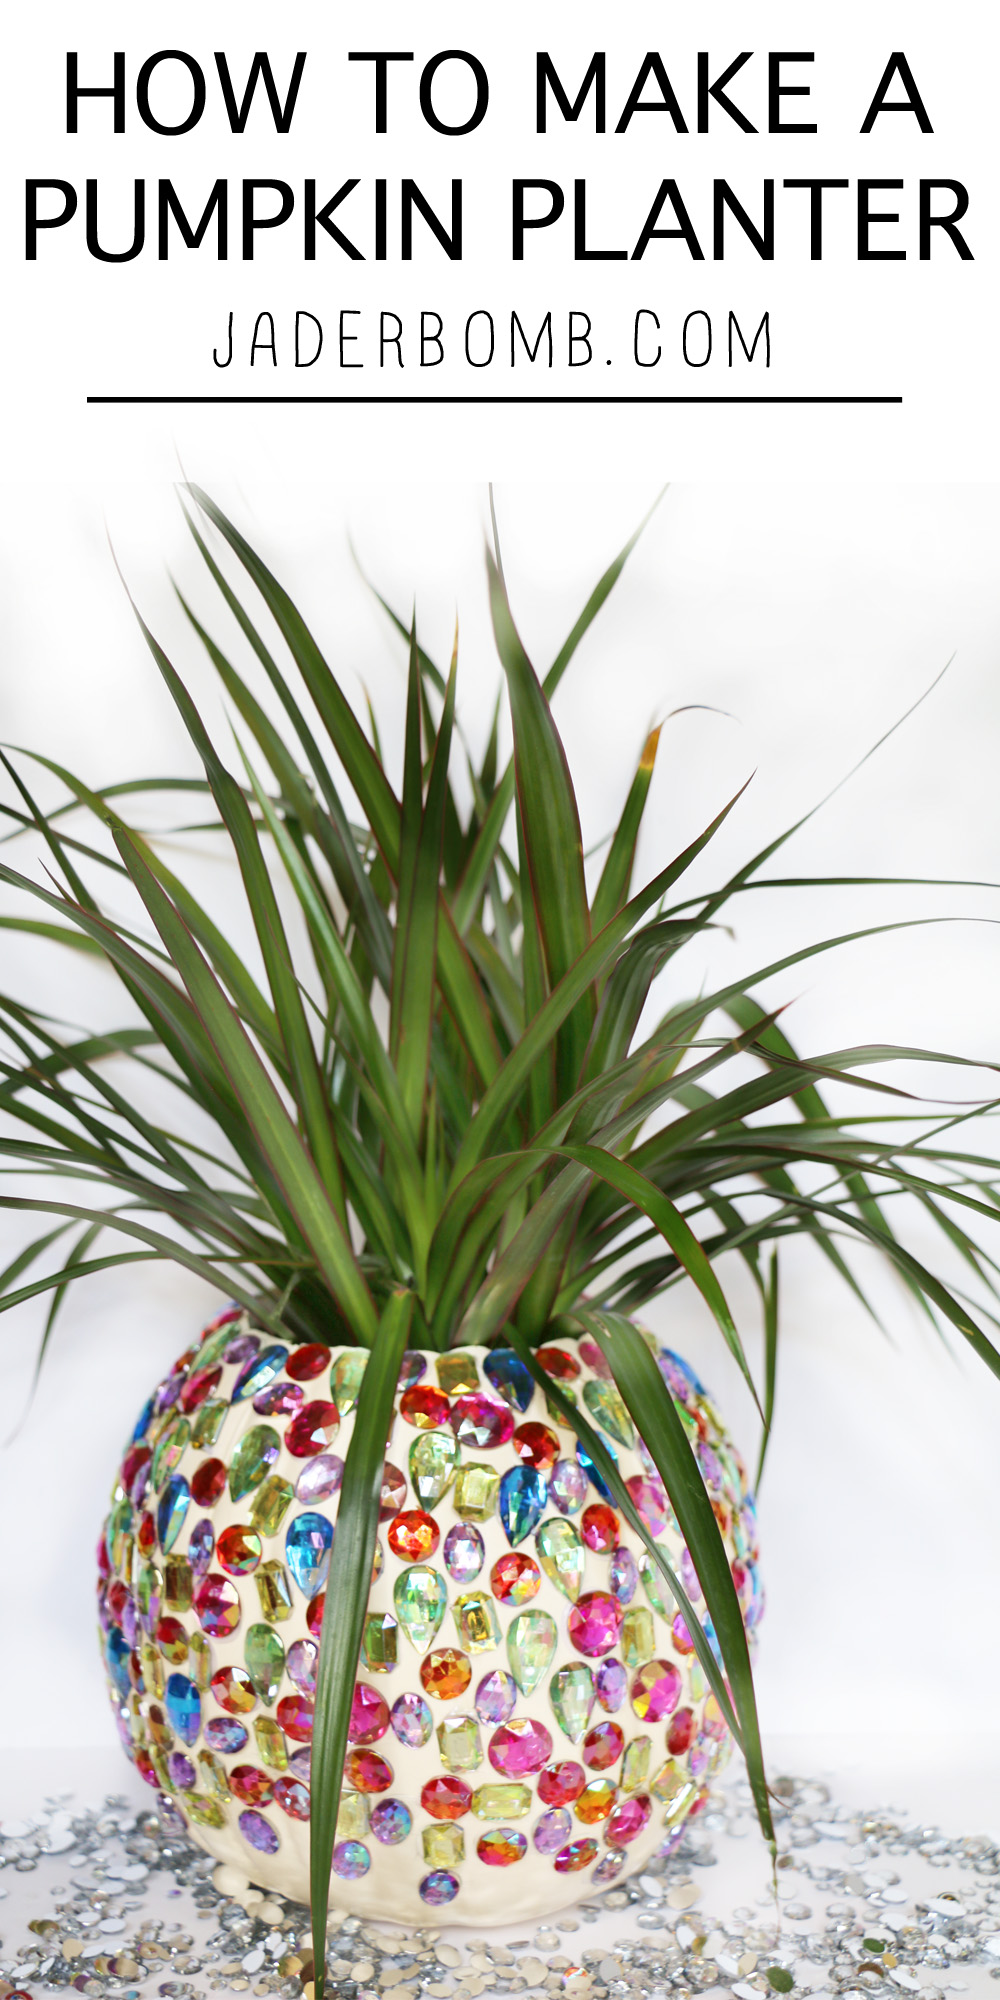
Today is your lucky day because I will show you a DIY Tutorial On How to Make a Pumpkin Planter! I am assuming you are jumping for joy right about now, right! The good thing about pumpkin planters is they make great fall decorations plus they are quick, easy, fun and satisfying. 

One thing I love about pumpkin planters is they look good by themselves or grouped together with multiple pumpkins. Did I mention you can use them indoors or outdoors?! That is a win win in my book because I love succulents and I can visualize these all over my house! They would even be great gifts to give to someone special! 

One great thing about using a faux pumpkin is you can reuse it over for each season and plant different plants or flowers in it based off of the holiday! 

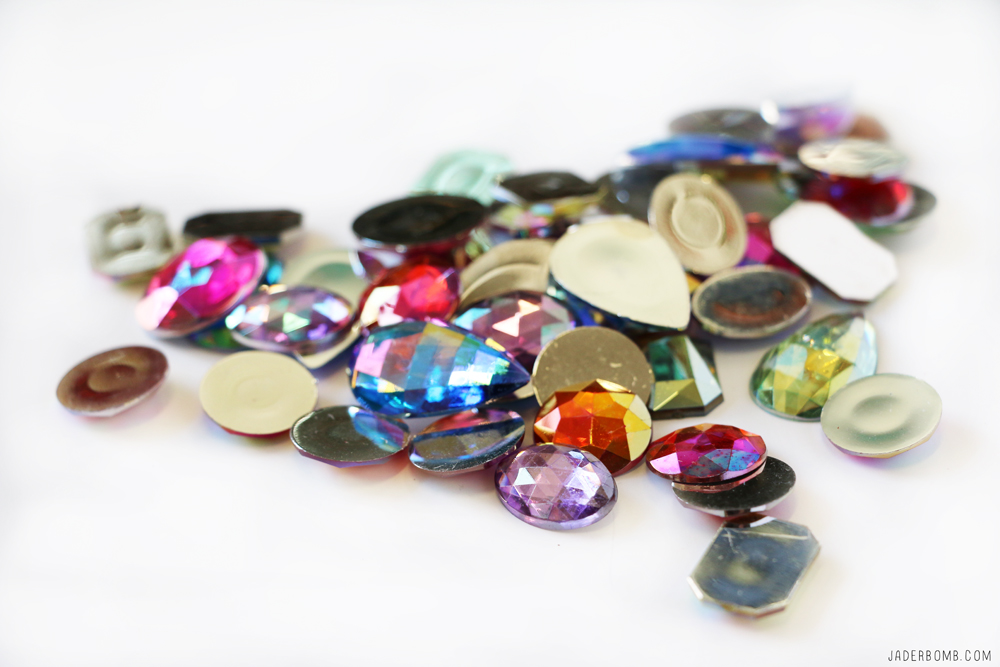
You will need: Faux Pumpkin | Jewels | Hot Glue Gun | 
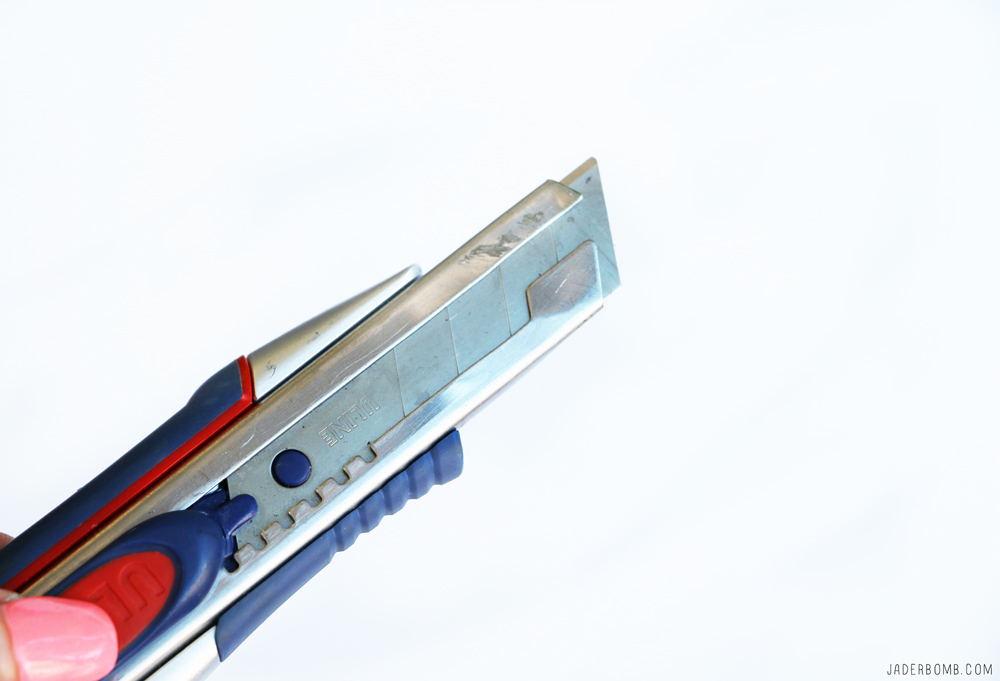
X-Acto Knife

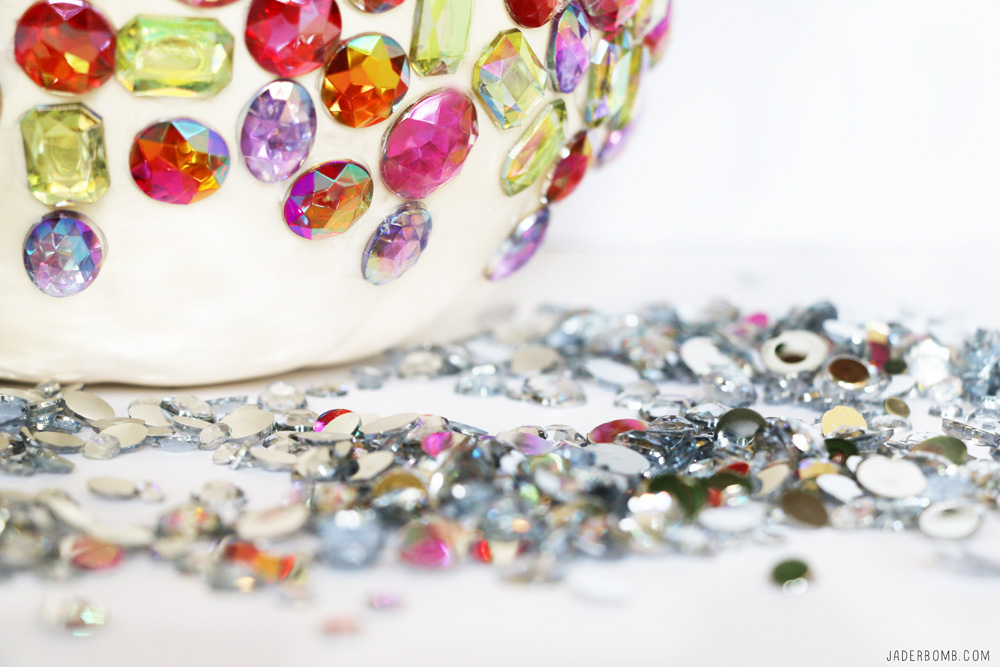
As you can see the materials needed are very minimal which are my kinda projects. I always try to keep jewels like these on hand all year long because you can add them into to many projects.  I could literally stare at these for minutes at a time and get lost in my thoughts, maybe it’s the sparkly accents that gets me! 

For this project you will indeed need an X-Acto knife and I suggest if you have kids involved you have an adult assisting for this part. I prefer using a knife from a hardware store that is really durable, I find they work the best. 

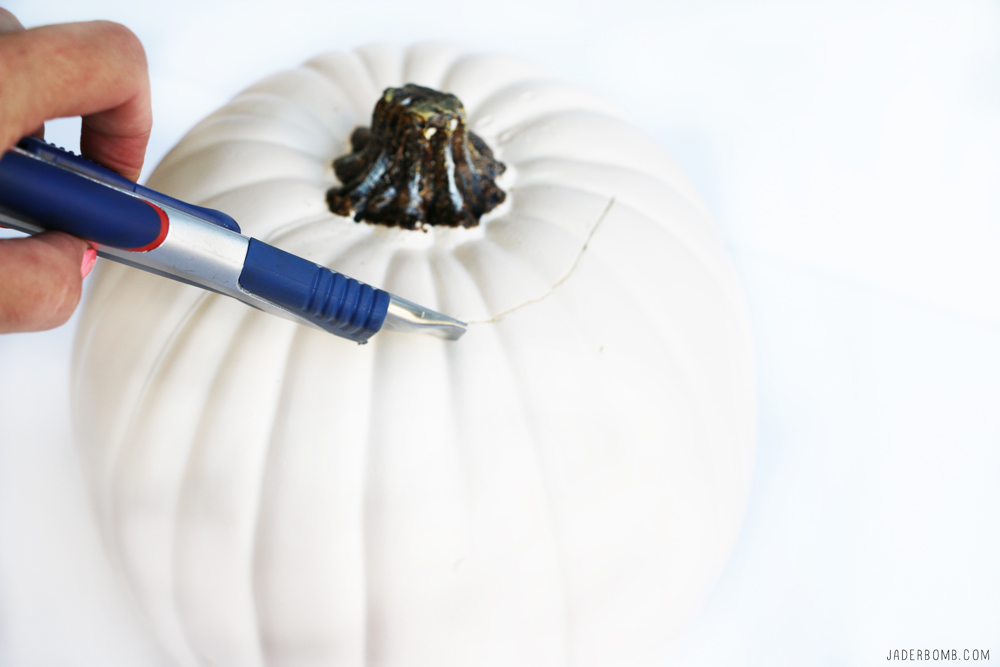
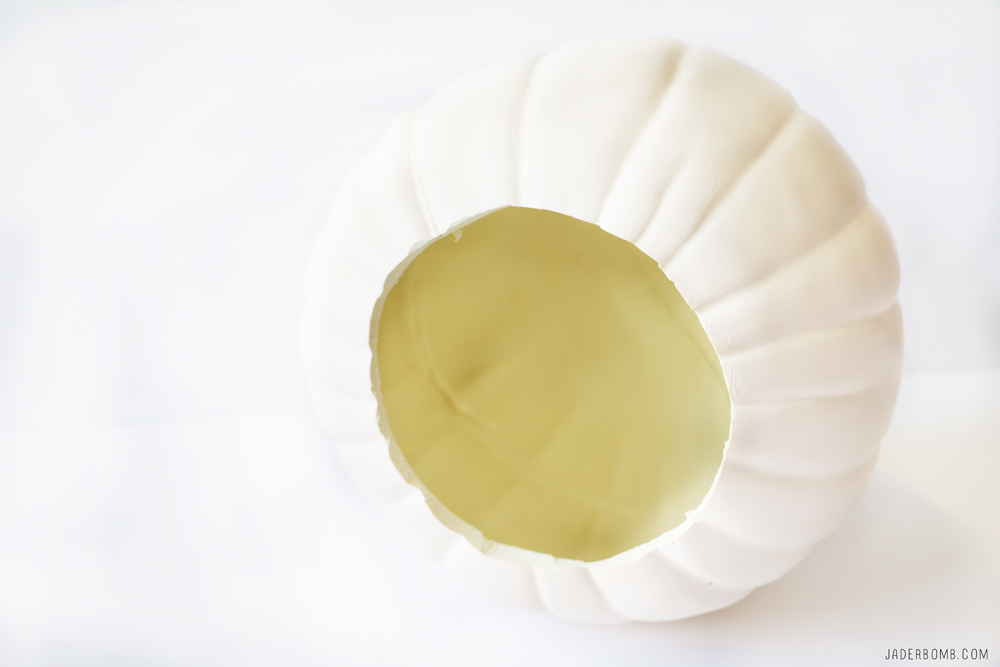
Carefully cut out the top portion of your faux pumpkin. These are hollow on the inside so it’s easier to cut than you think. The most important thing is making sure your fingers are not in the way of the knife! Depending on what you plan on planting inside will determine how large you want to make your top opening. 

You can use any size plant or pumpkin, just make sure that the diameter and height of the nursery pot, isn’t larger than your pumpkin.

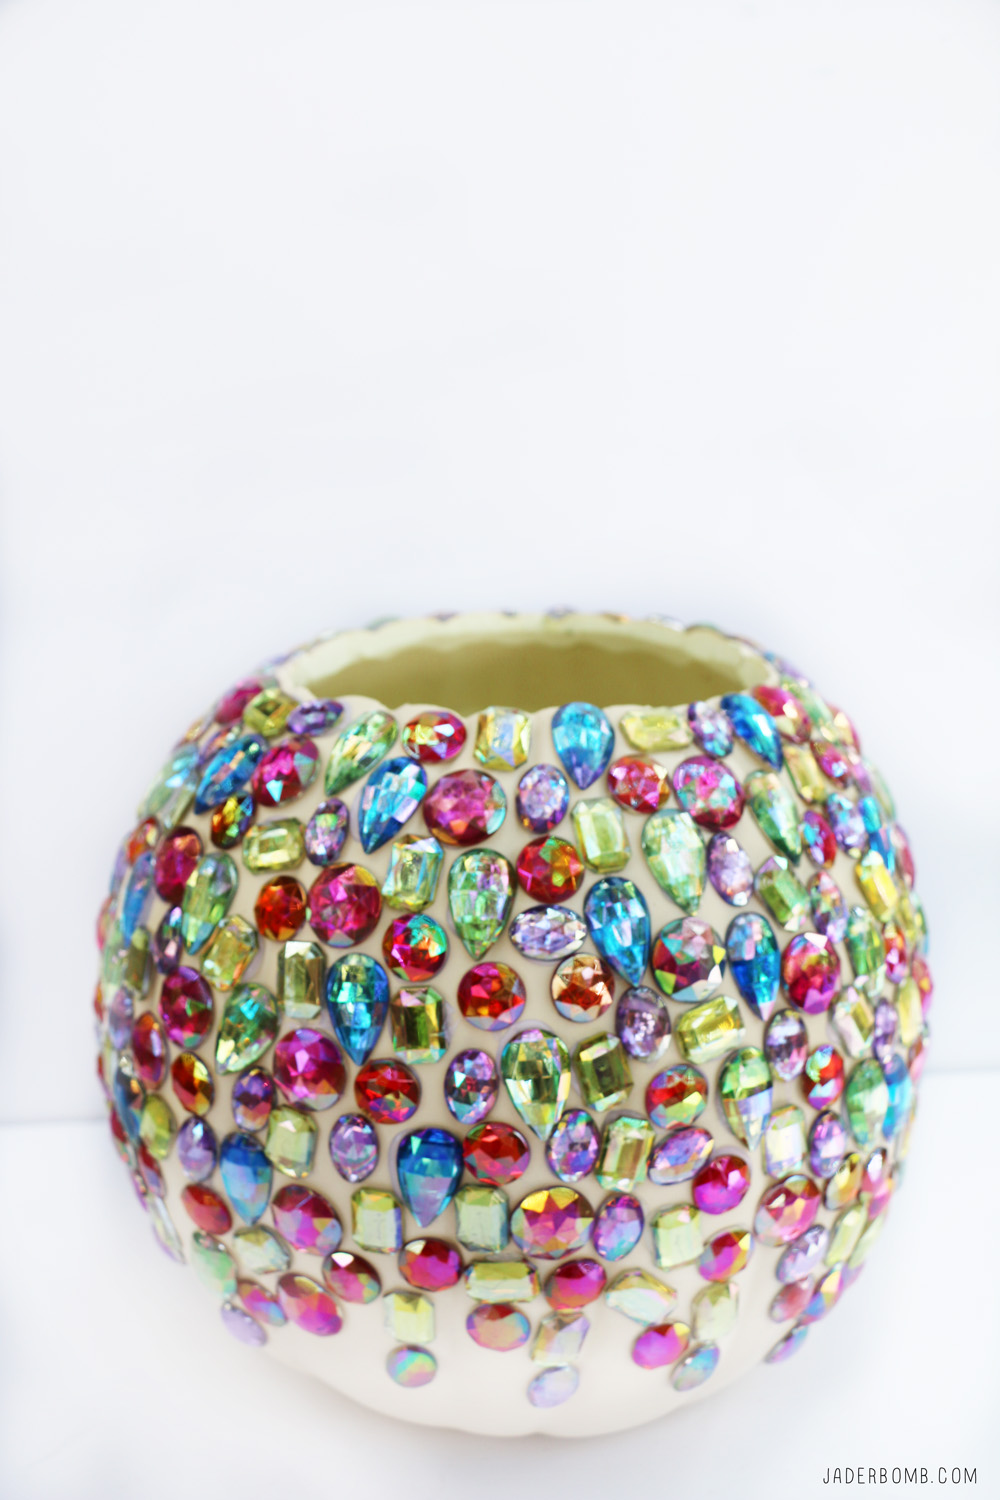
Now you can start hot gluing your jewels all over your pumpkin. I didn’t follow any particular order I just started in one spot and kept adding whichever jewel my fingers picked up, haha!

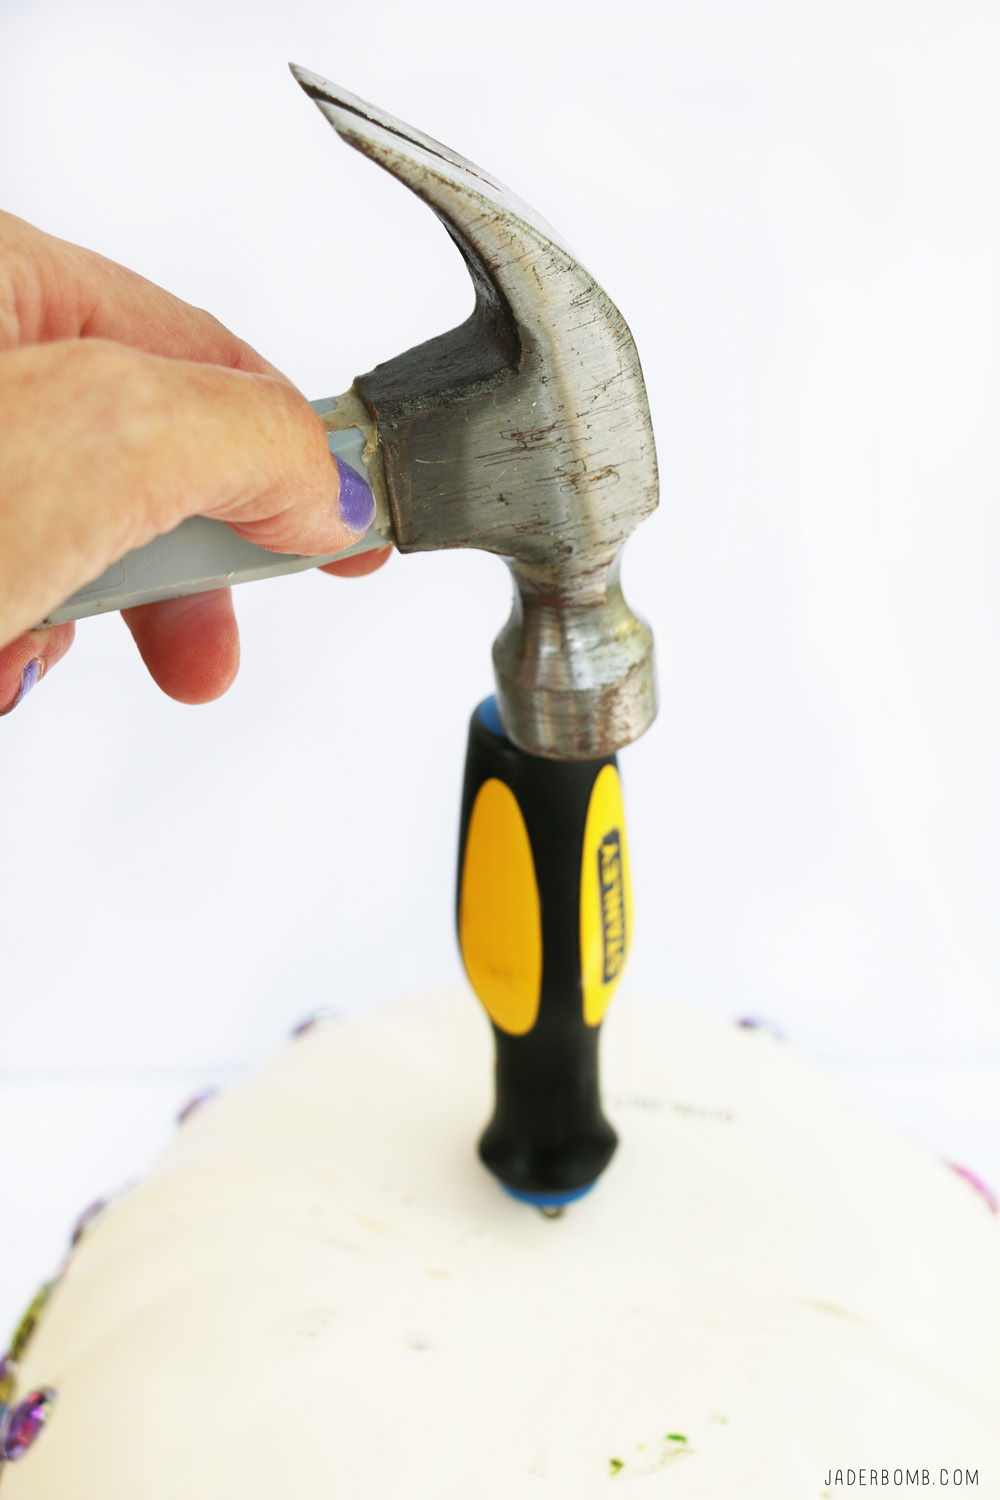
We have to add holes on the bottom of your pumpkin for the water to drain. Because it’s hollow inside you can just hit a hammer on top of a screw driver to puncture the bottom with holes. You can also use a drill if you prefer. Either way just be careful!

Time to add our dirt and plants or flowers! Check out this owl I jeweled up, she is still one of my favorites! Hopefully this DIY Tutorial On How to Make a Pumpkin Planter brings happiness to your life!

I didn’t think I would love this project as much as I did. This will be one pumpkin I don’t plan on taking down for a while! 

I hope you enjoyed this project as much as I did! See you in the next post, until then hugs from my computer to yours!

Don’t forget to follow me on all of my social media channels because I love all of you to pieces!!!! 
FACEBOOK | INSTAGRAM | TWITTER | PINTEREST 


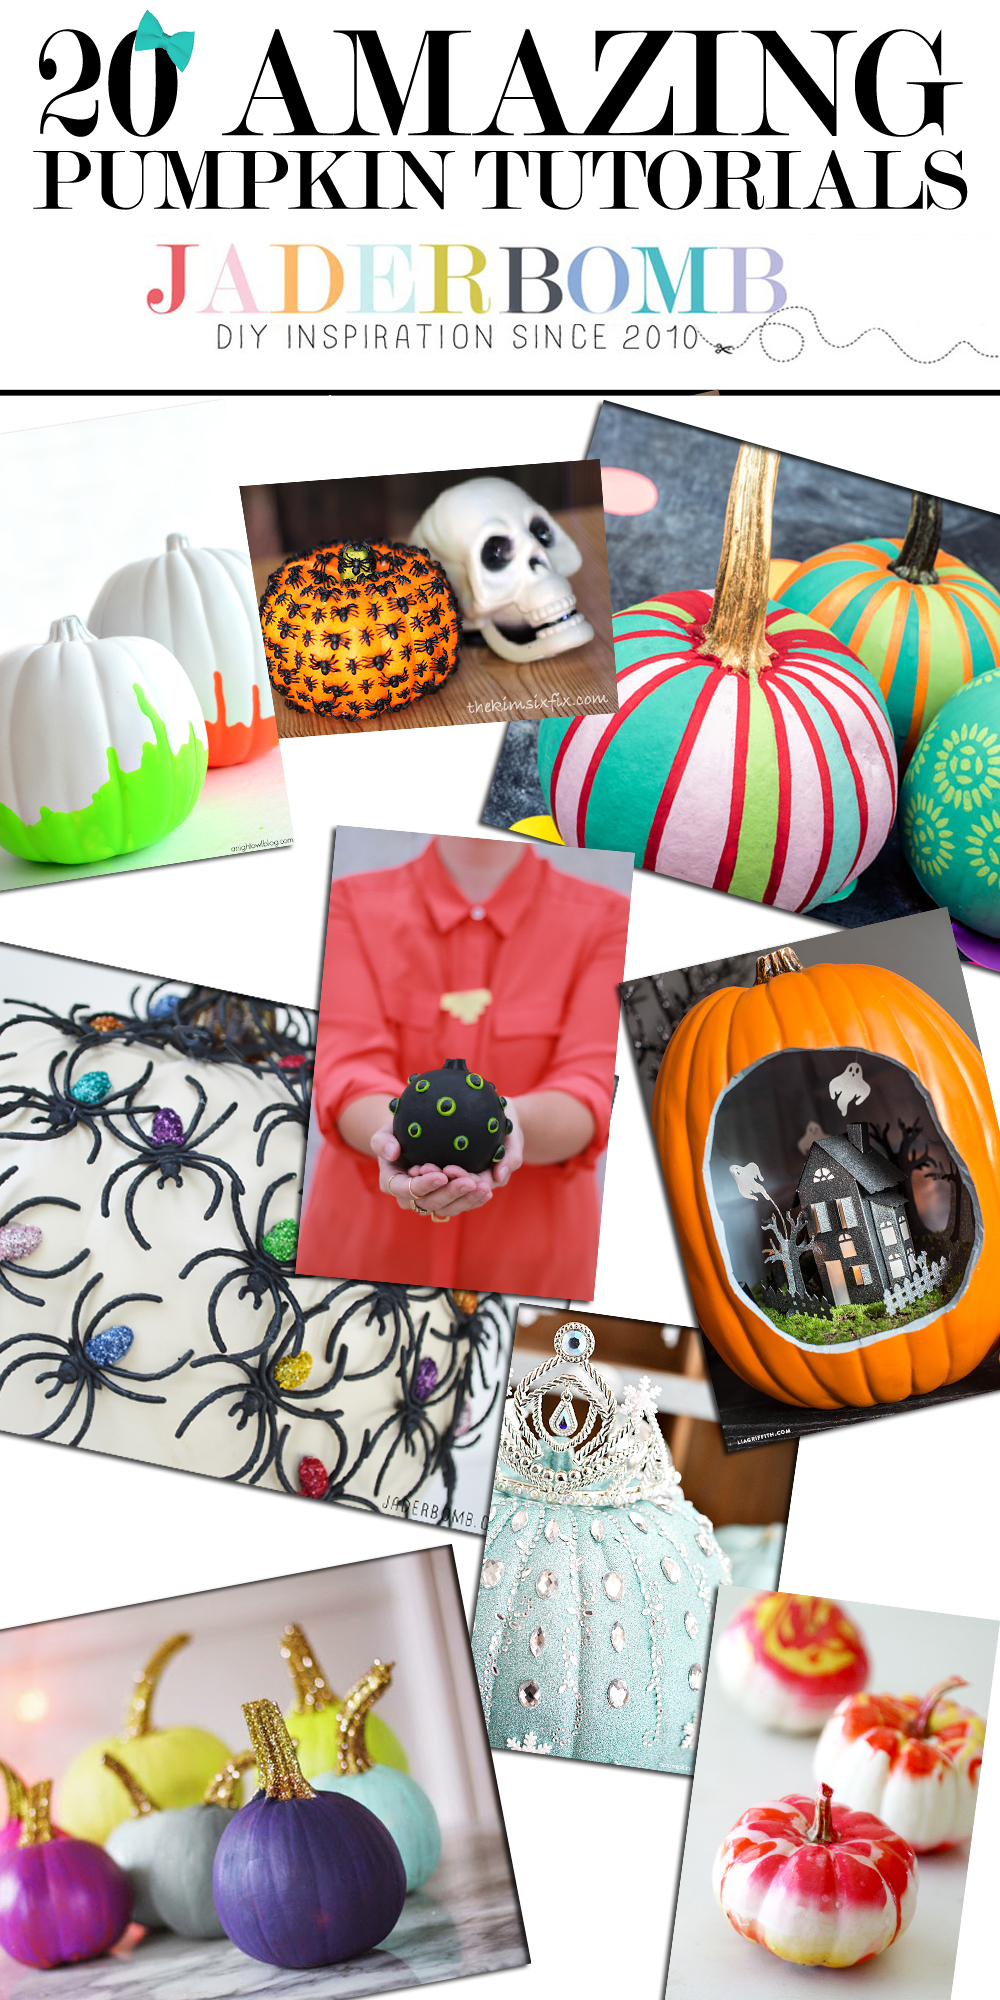
Holy Pumpkin Balls is time for me to share this year’s 20 DIY PUMPKIN TUTORIALS ! Is it really that time of the year and when did it creep into my life ever so effortlessly? Don’t get me wrong the smell of pumpkin/apple candles, nutmeg, freshly cut grass and pumpkin spiced coffee sends goose pimples down my legs but I am really concerned I will not get to enjoy it long enough…..Insert a big laugh here. It’s true because let’s face it as soon as we will get cozy with our Fall decor Santa will shoot rays of his presence right before our eyes. For now I will temporarily sink my soul in the thoughts of how many different pumpkin designs I can create, while I sip on a sweet crown and coke.

Remember my amazing roundup of pumpkins I did last year, if not check them out here!20 DIY PUMPKIN TUTORIALS

Enjoy the roundup Jaderbugs! I hope you try each and every project out and don’t forget to SHARE this post with your friends and family!diy-pumpkins

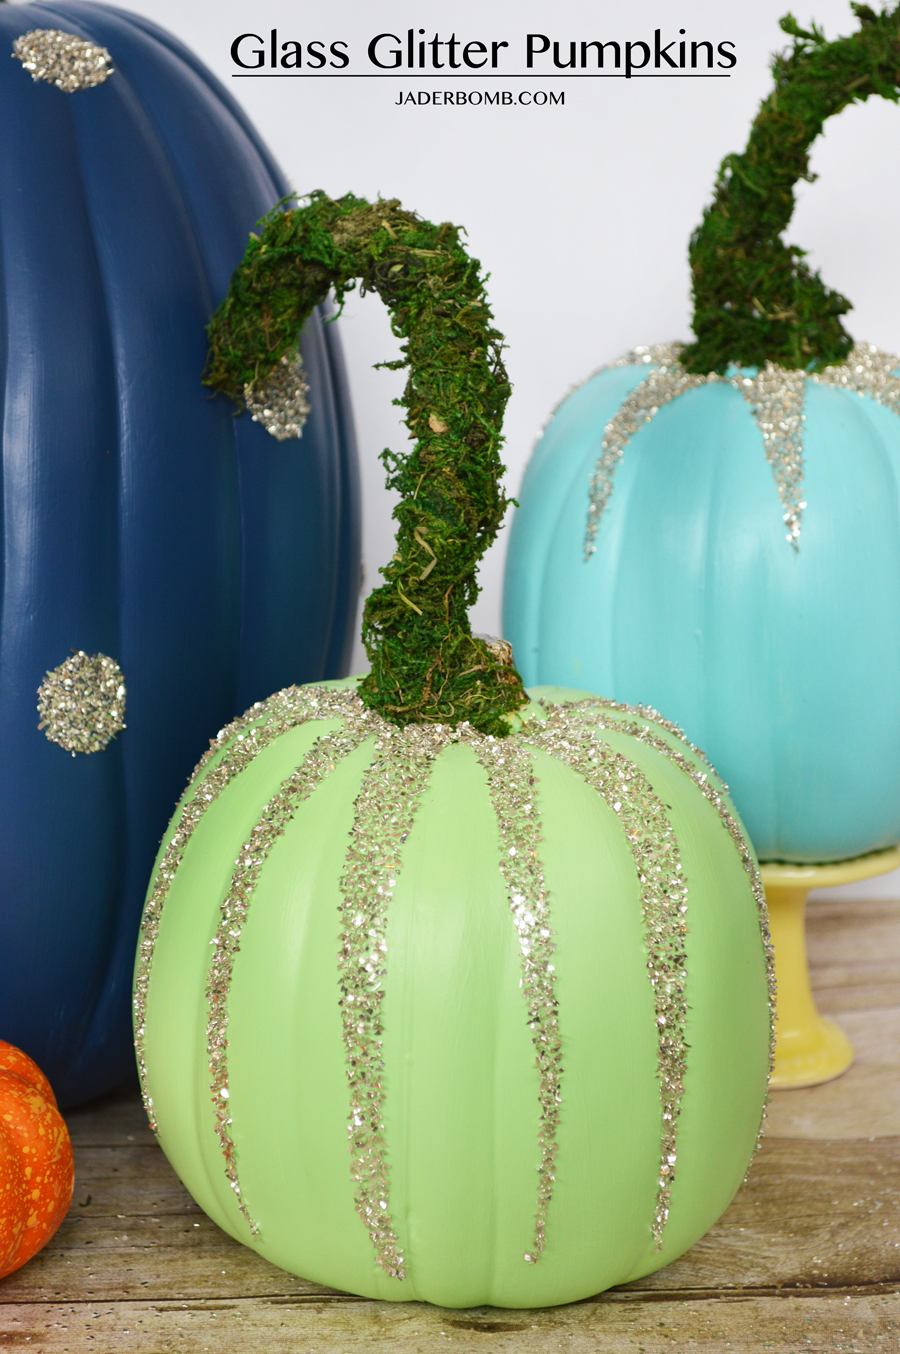
1. How cute are these elegant GLASS GLITTER PUMPKINS
VIA JADERBOMB

Mason_Jar_Vintage_Farmhouse_Pumpkin_0166wm

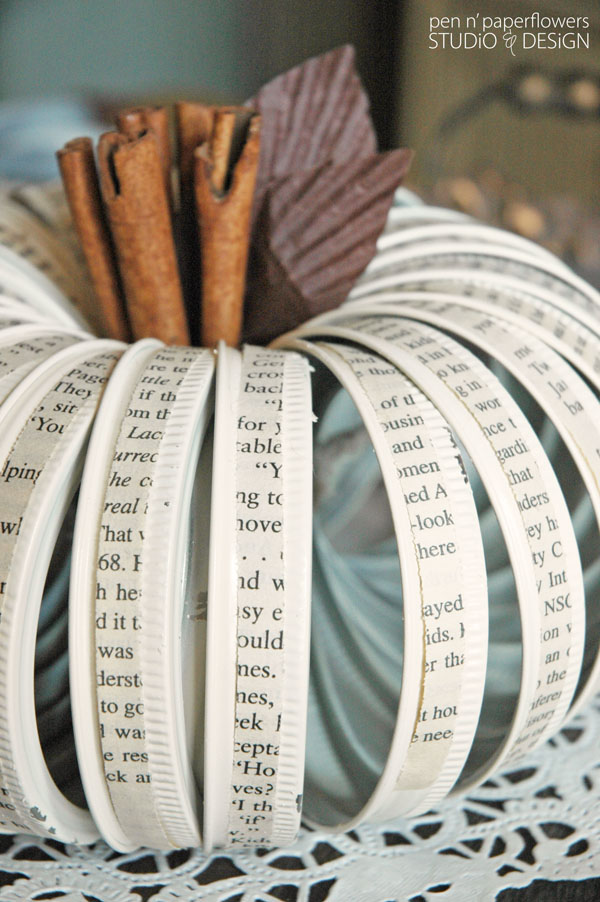
2. I am simply in love with this VINTAGE FARM HOUSE PUMPKIN
VIA PEN AND PAPER FLOWERS

bluepumpkin640

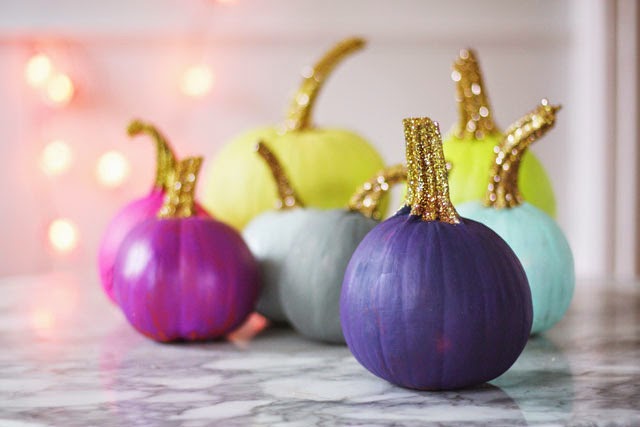
3.Love the colors of these PAINTED PUMPKINS WITH GLITTERED STEMS VIA AUNTPEACHES

Haunted_House_Diorama

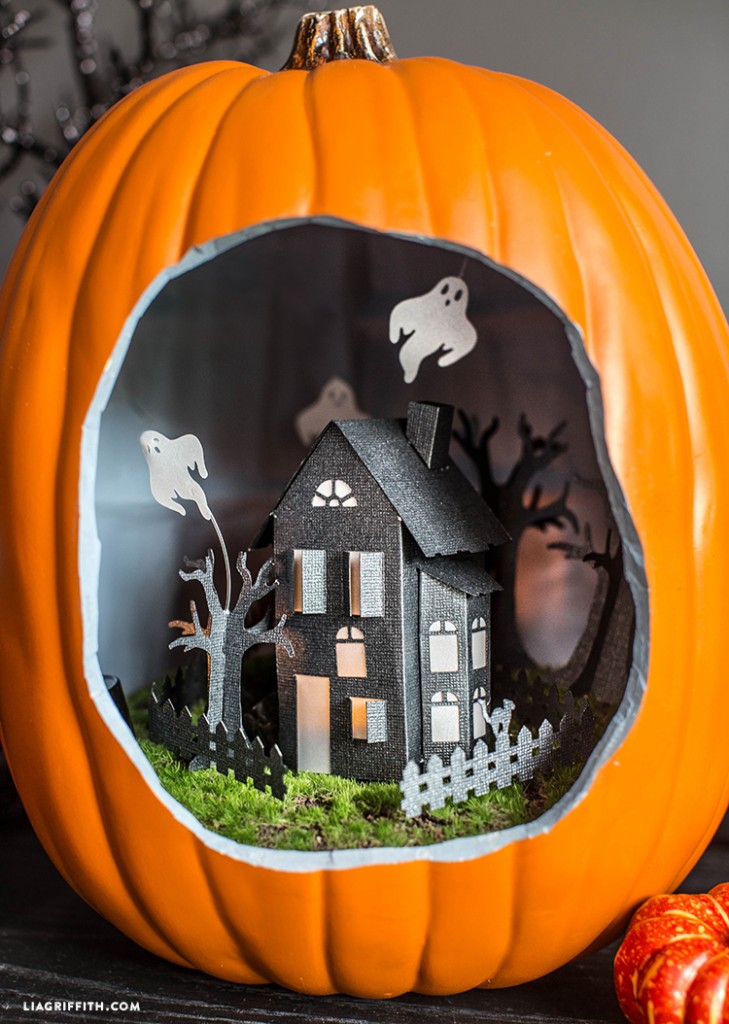
4. I am “dying” to live in this HALLOWEEN PUMPKIN DIORAMA
VIA LIA GRIFFITH

HOW-TO-PAINT-RAINBOW-PUMPKINS-1024x636-1

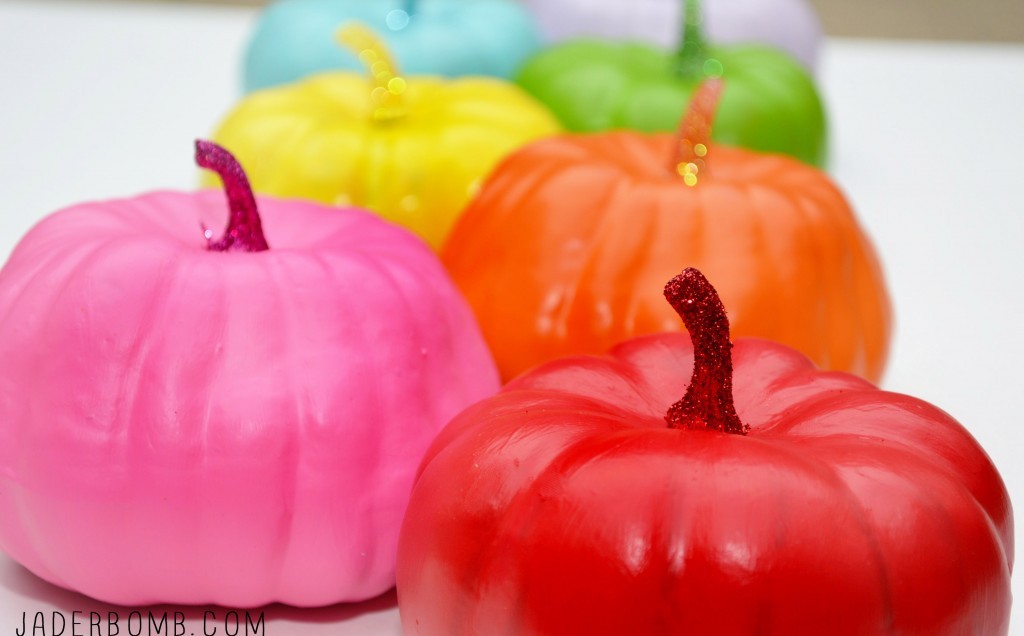
5. Bring lot’s of COLOR into your world with these RAINBOW PUMPKINS
VIA JADERBOMB

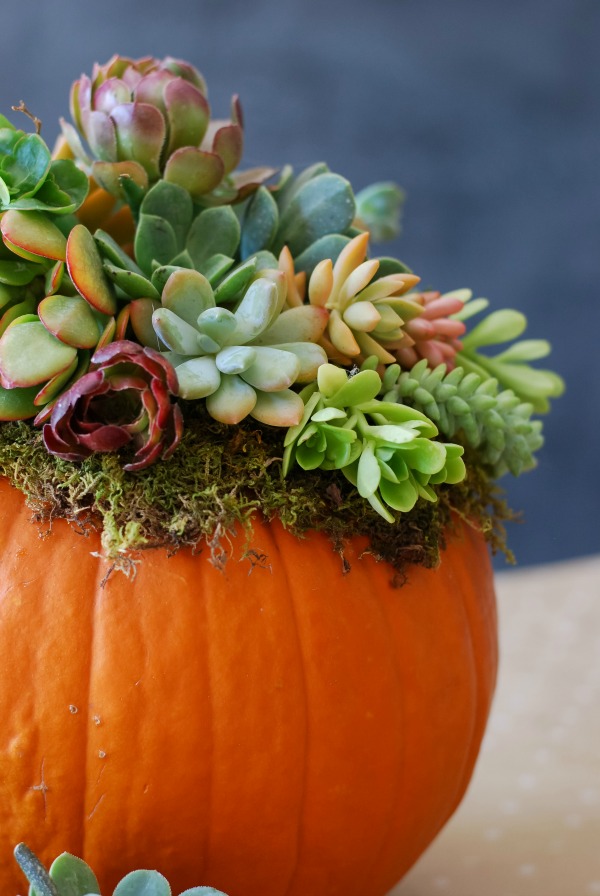
Pumpkin-Succulent-Arrangement-simplyhappenstance.com-136

6. If you ever wanted to bring elegance into your life then you must make this PUMPKIN SUCCULENT
VIA SIMPLY HAPPEN STANCE

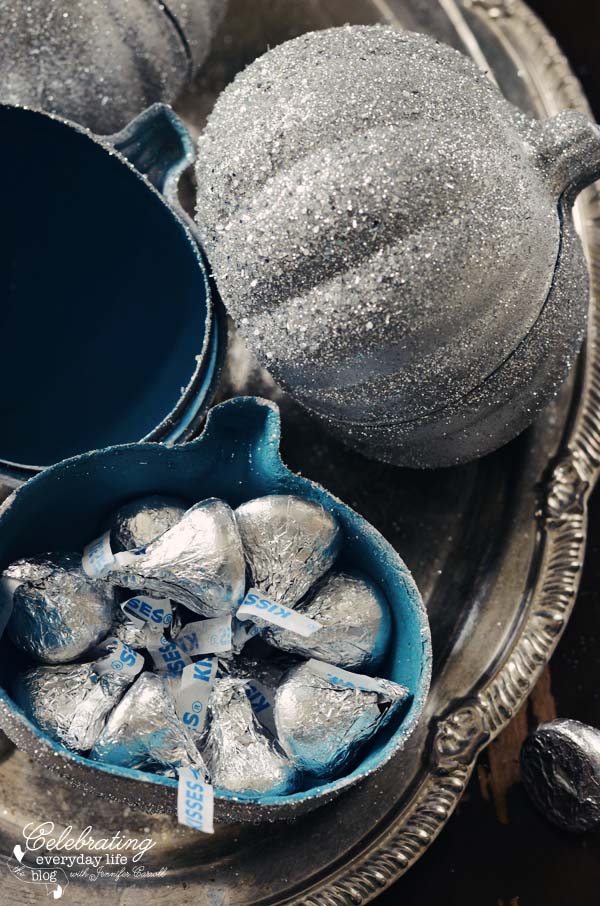
HersheyKisses

7. I need these GLITTERED PUMPKIN TREAT BOXES in my life now!
VIA CELEBRATING LIFE EVERYDAY

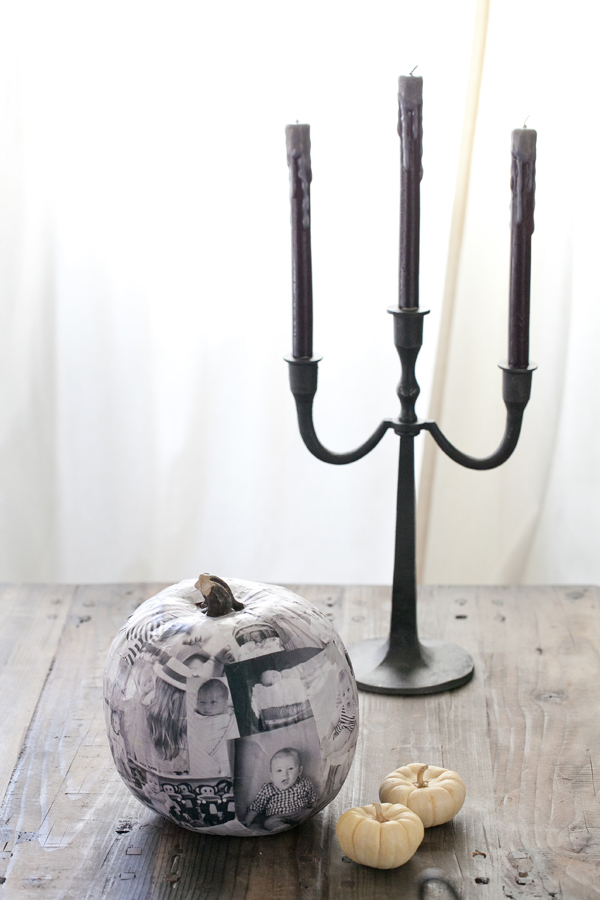
PhotoPumpkin2

8. Capture memories forever with this DECOUPAGE PHOTO PUMPKIN
VIA SUGAR AND CHARM

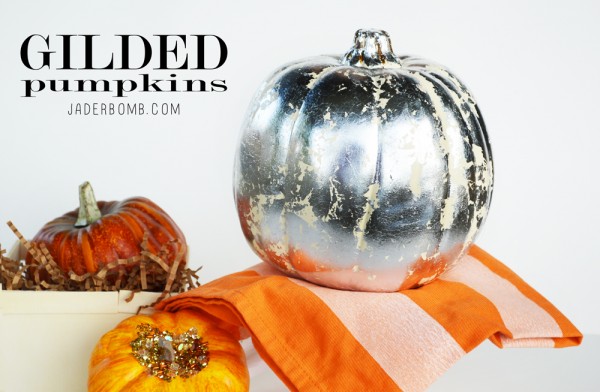
fall-decorating1

9. Make these GILDED PUMPKINS and keep them up all year long
VIA JADERBOMB

DSC0017

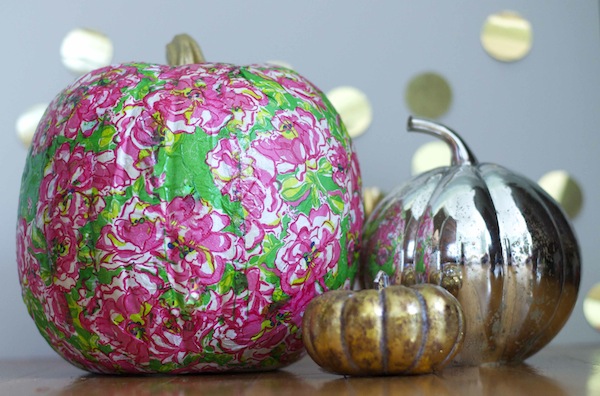
10. This LILY PULITZER PUMPKIN will add happiness to your teen’s bedroom
VIA POP COSMO

Elsa-Rhinestone-Pumpkin-

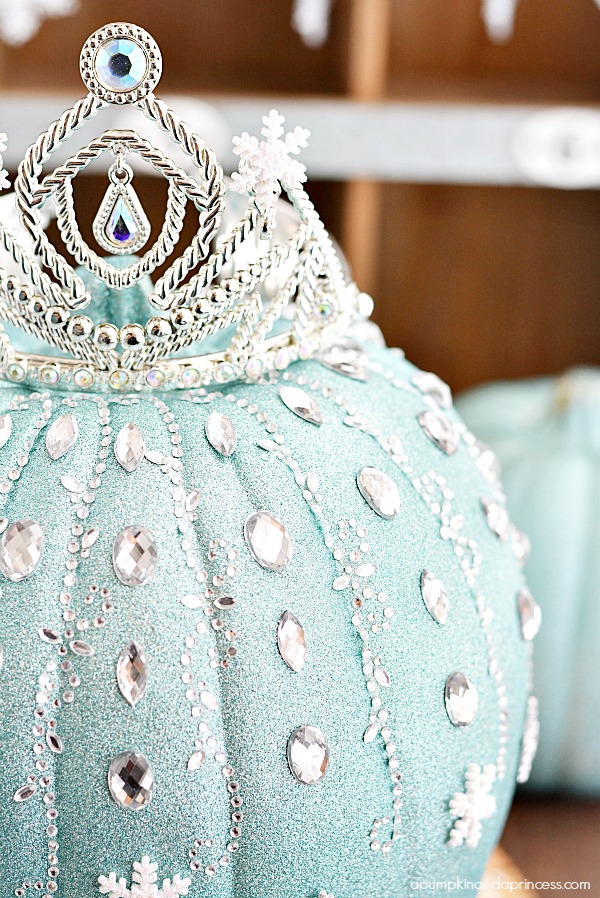
11. What kid wouldn’t love a FROZEN ELSA PUMPKINS
VIA A PUMPKIN AND A PRINCESS

6-painted-mini-pumpkins

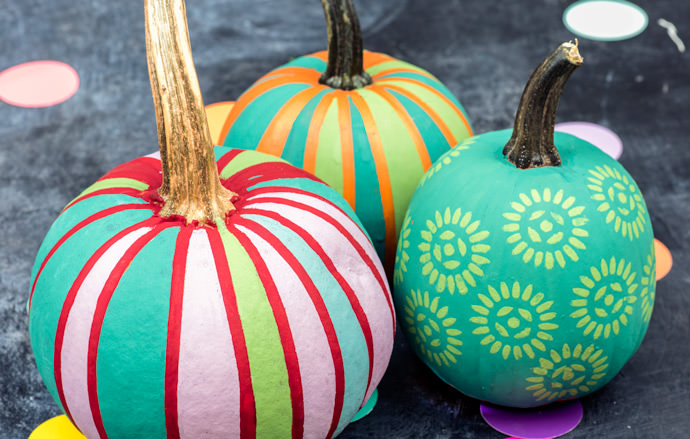
12. A PAINTED MINI PUMPKIN PATCH is exactly what the Dr. ordered
VIA HANDMADE CHARLOTTE

Cute-halloween-pumpkin-6

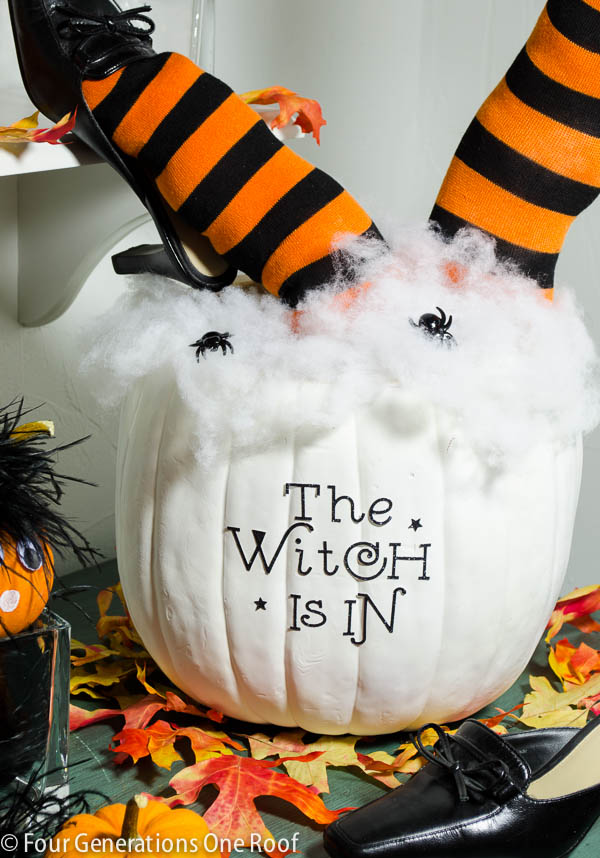
13.  THE WITCH IS IN PUMPKIN will surely give your visitors a fright
VIA FOUR GENERATIONS ONE ROOF

DSC_05651

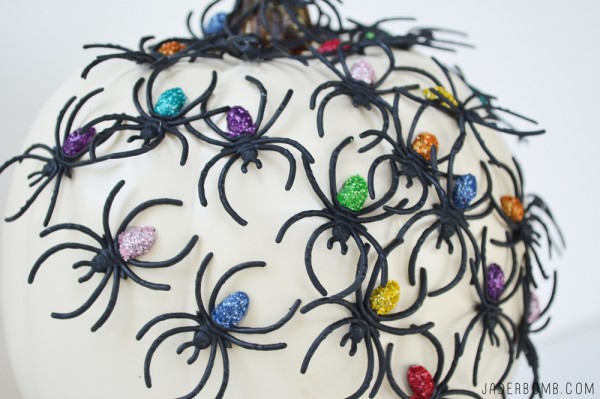
14. Every kid in the world needs to make this DIY SPIDER PUMPKIN
VIA JADERBOMB

final3

15. These NO CARVE TYPOGRAPHY PUMPKINS make my heart flutter
VIA FAIRGOODS

Neon-Paint-Dipped-Pumpkins-6

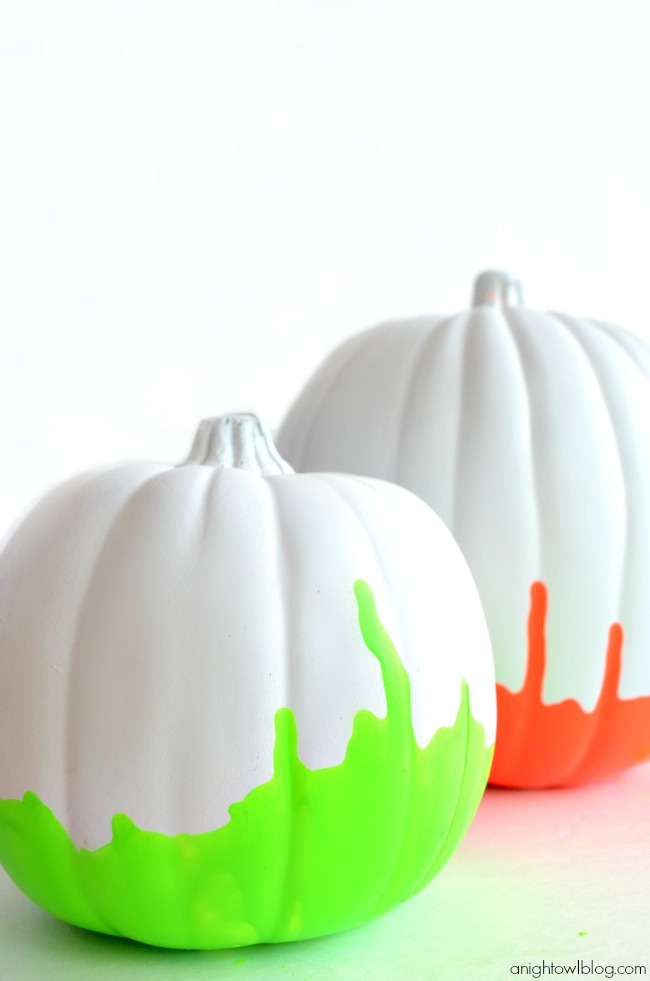
16. Bring a little graffitti into your world with these NEON DIPPED PUMPKINS VIA A NIGHT OWL BLOG

bug-covered-pumpkin

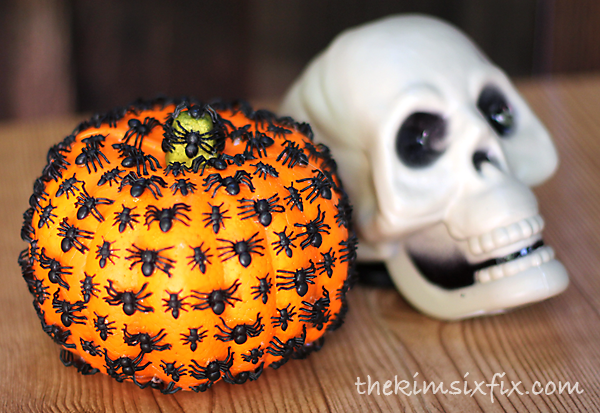
17. This CREEPY CRAWLY SPIDER PUMPKIN makes my back itch, literally
VIA THE KIM SIX FIX

Pumpkins-1-Main

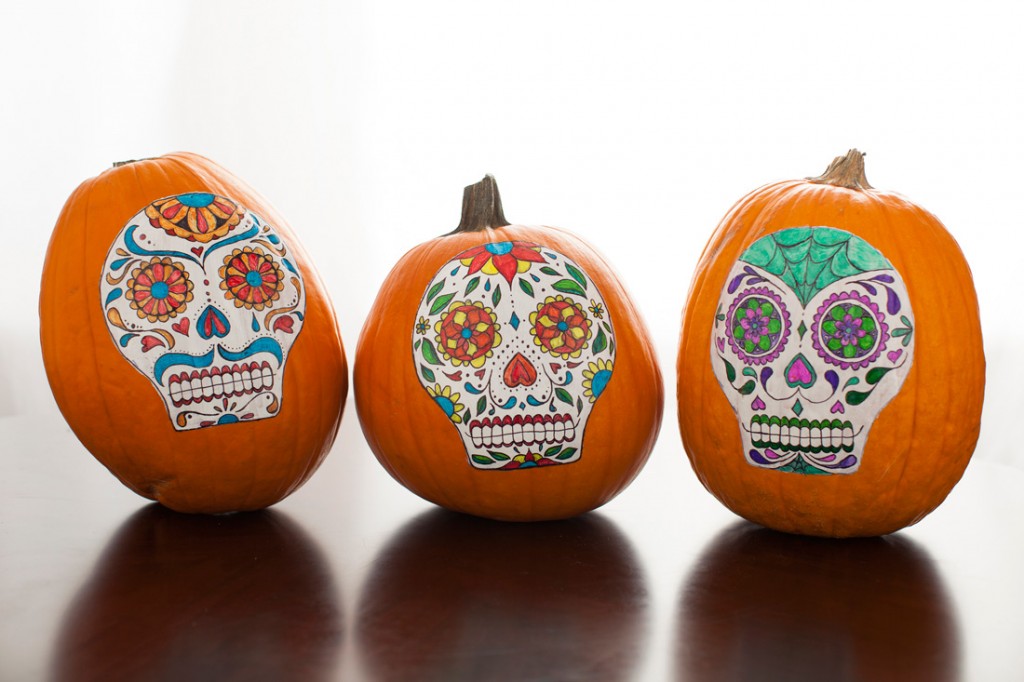
18. NO CARVE SUGAR SKULL PUMPKINS will be a hit at any party
VIA BRIT & CO

creepy-no-carve-pumpkin-diy-craft-project-13

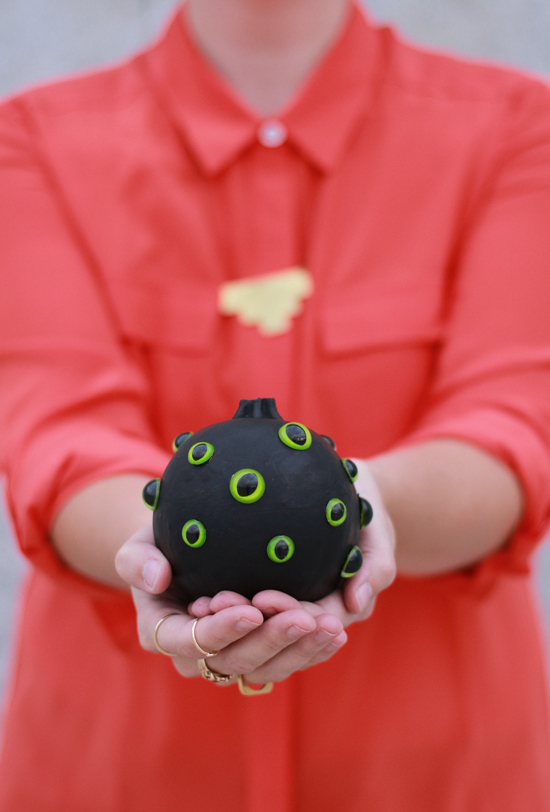
19. I would keep this CREEPY CAT EYE NO CARVE PUMPKIN out all year long
VIA PAPER N STITCH BLOGmarble-DIY-pumpkins

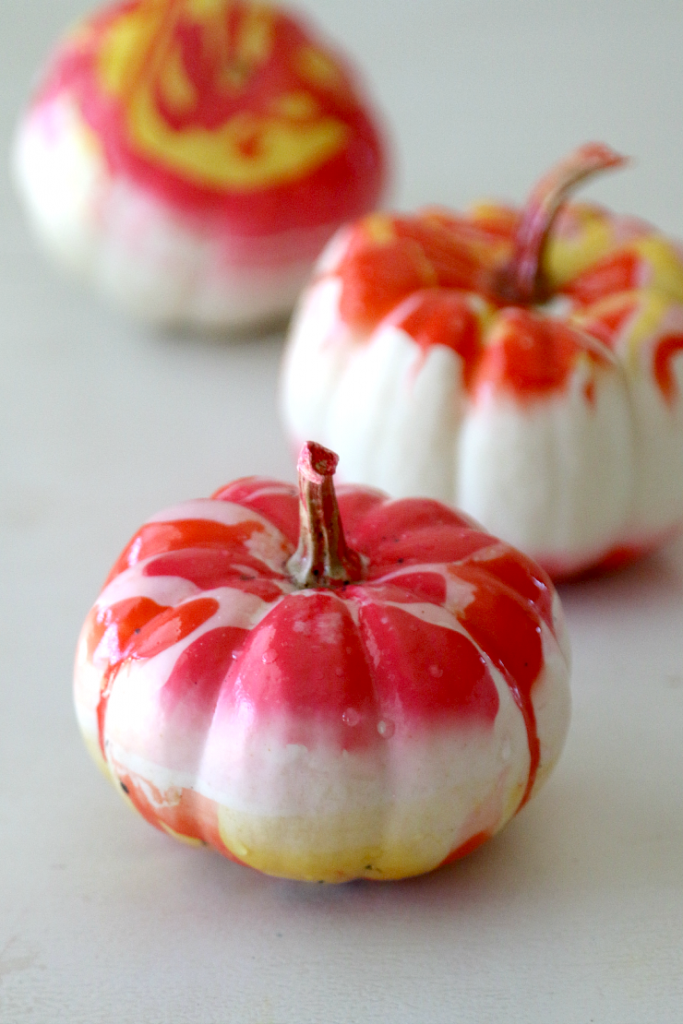
20. Bring the fun indoors by MARBLING A PUMPKIN VIA MOM DOT.COM

I hope you enjoyed this pumpkin roundup, don’t forget to share!

HASHTAG LOGO

Follow me on all of my social media sites fa real!
FACEBOOK | INSTAGRAM | PINTEREST | TWITTER | GOOGLE+ | YOU TUBE


Halloween Party 101. Well not really but let me just tell you I have a thing for crows. I remember when I used to freak out by the thought of a black crow. Now, I smile really big and give them names. I think many people associate a black crow with death and bad luck but shoots, I will go with the positive aspects of them. Here are a few incase you are “dying” to know!

  • Life magic; mystery of creation
  • Destiny, personal transformation, alchemy
  • Intelligence
  • Higher perspective
  • Being fearless, audacious

We all cool now? Remember these book/magazine holders I made? Well today I will show you how to spruce up those lovely white pillar candles that you get from Walgreens for 3 bucks. You know which ones I am talking about right?

The religious ones. But I get the plain white ones. I will gladly assume they are blank so I can create my own spiritual fairy on it and pray to “whoever”.  Today we are praying to the black crows, and not the band. Even thought I rocked out to them 10 years ago. I wonder if the “Black Crows” (the band) is throwing a Halloween party.

black-crow-halloween-home-decor-

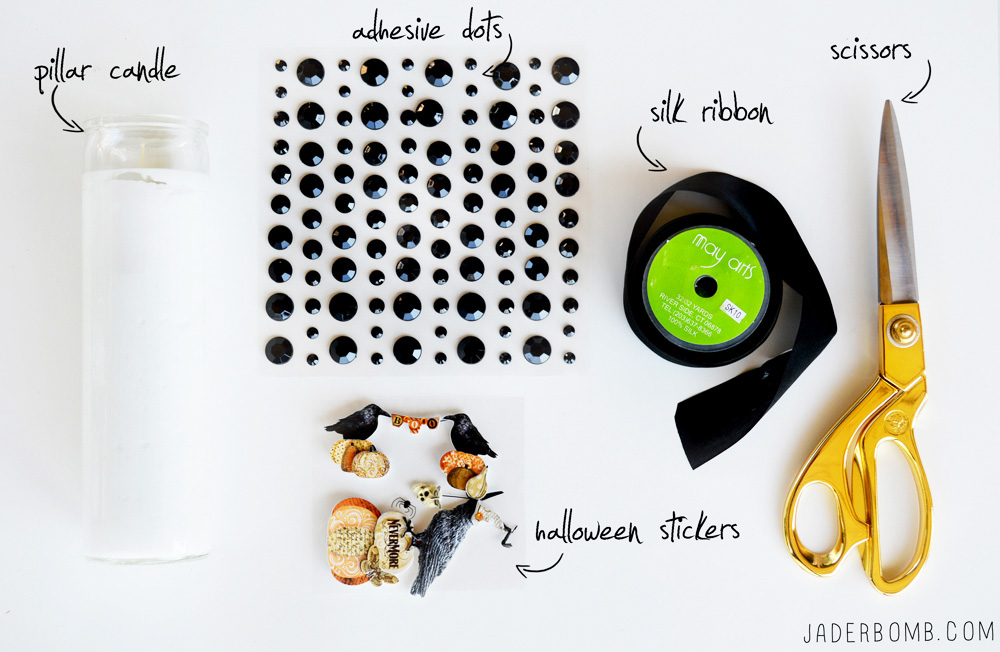
YOU WILL NEED: PILLAR CANDLE | ADHESIVE DOTS | SILK RIBBON | SCISSORS | HALLOWEEN STICKERS
halloween candles diy

Don’t get me wrong. I love glue. BUT I love adhesive jewels any day. Granted they will not be as durable without glue but for projects like this they rock my world. I got this sheet from Michaels and they were one whole dollar.
adhesive stickers jewels crafts

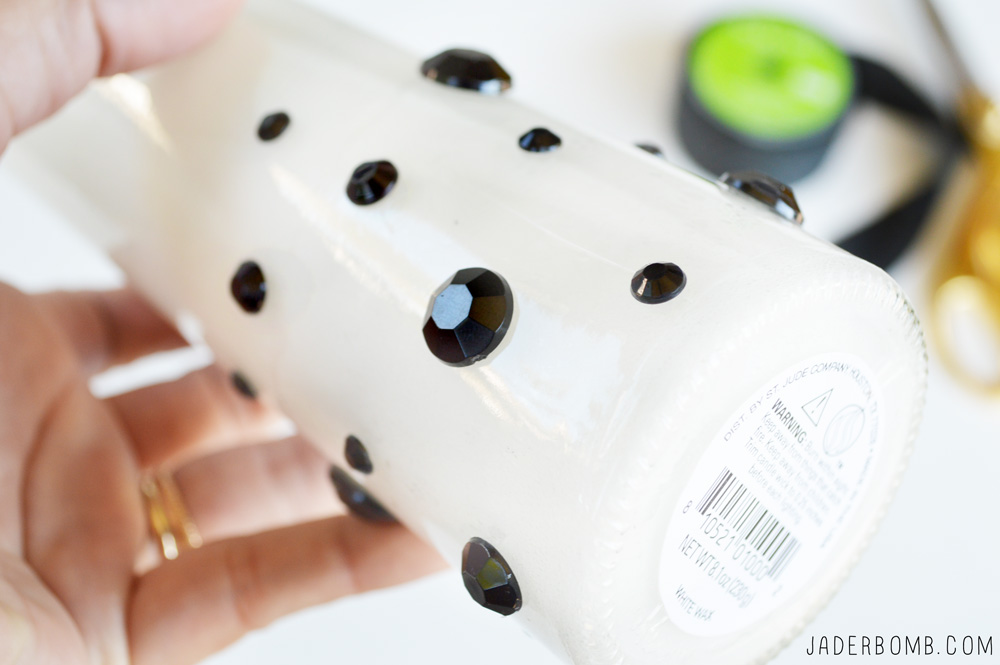
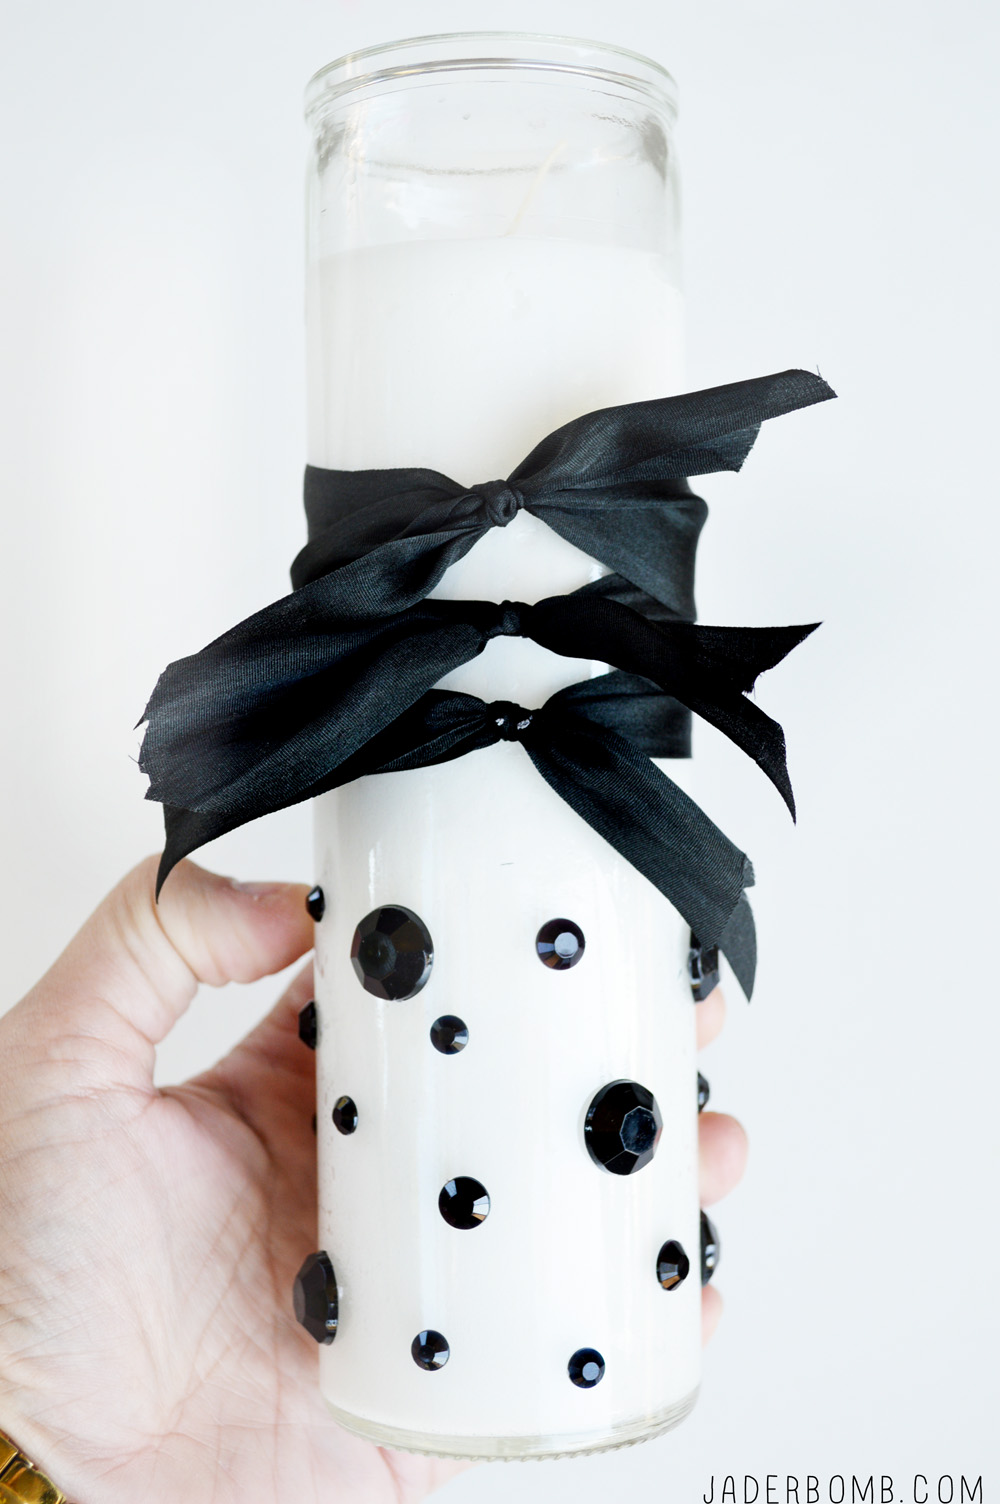
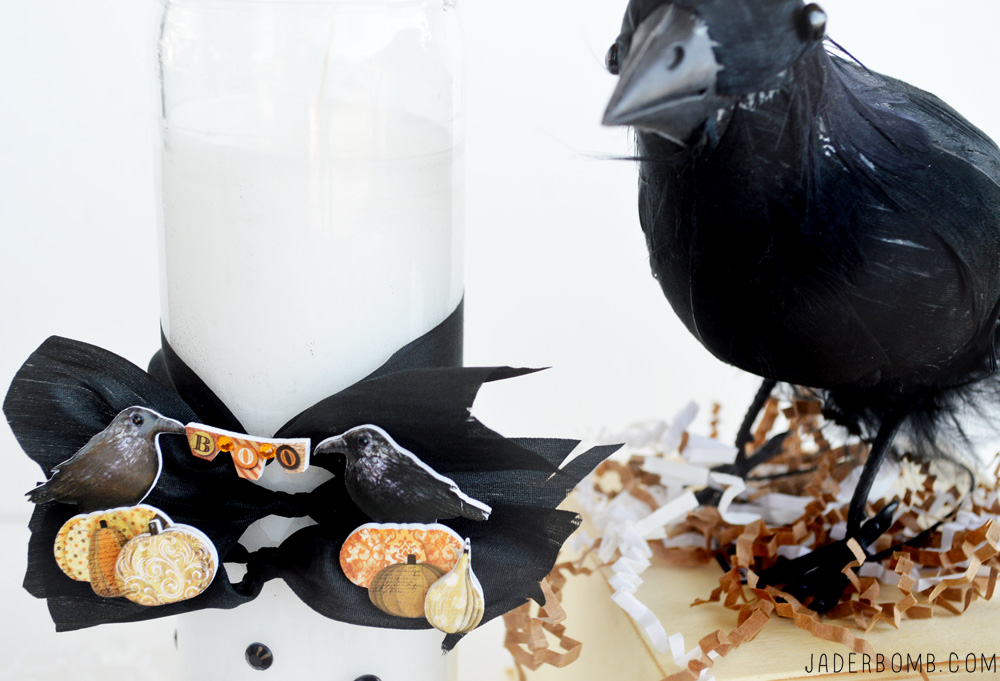
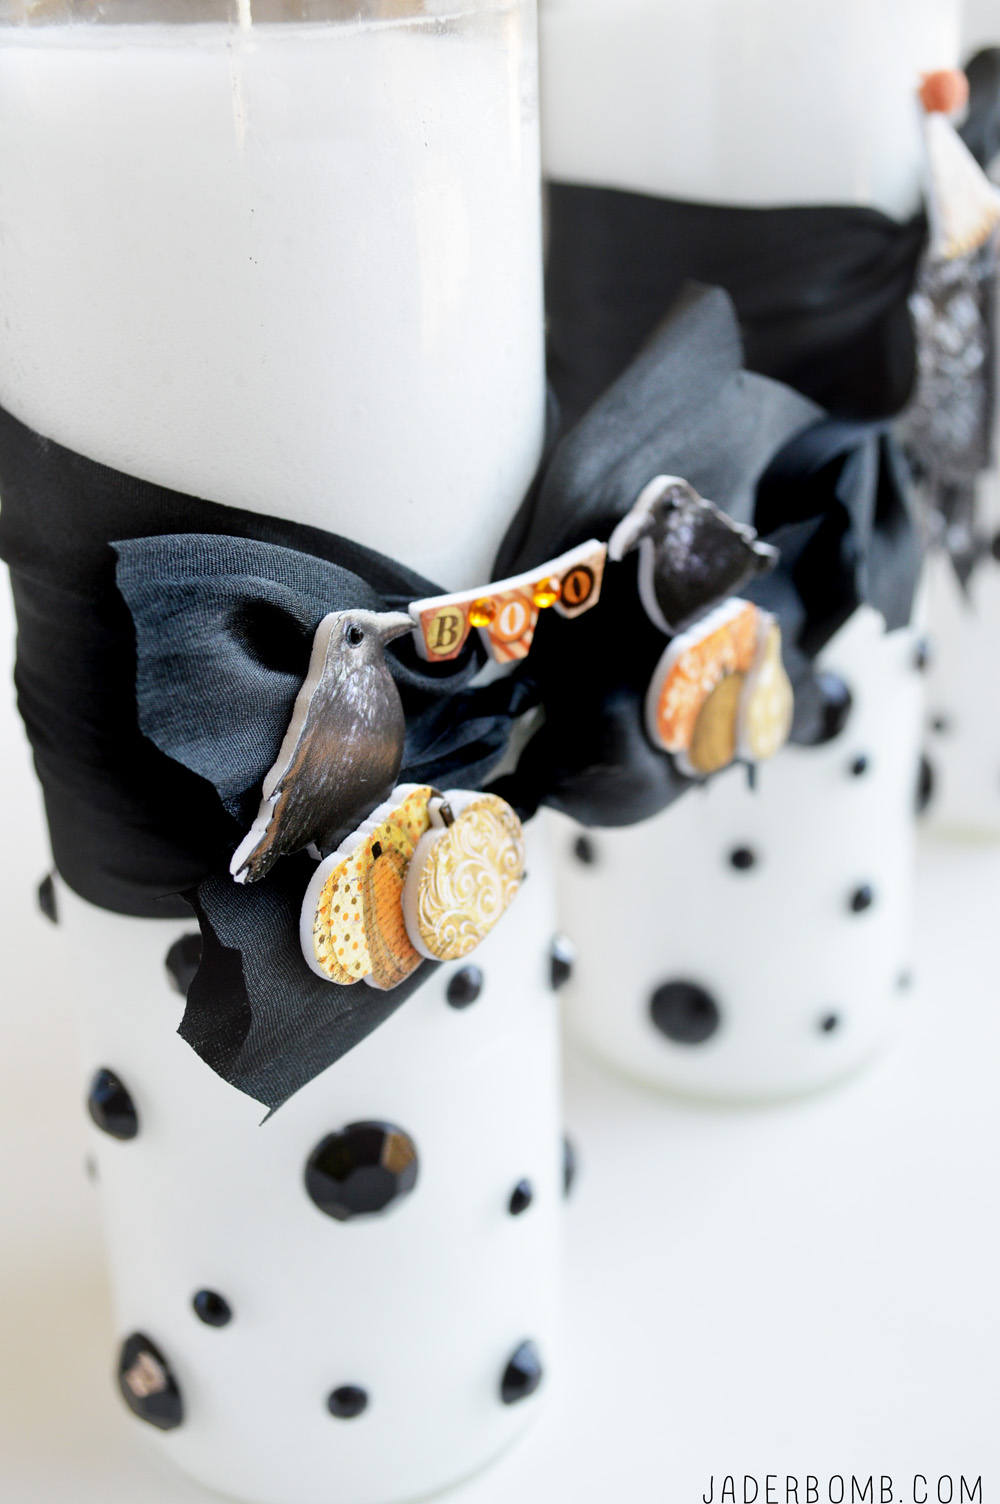
Step ONE: Apply the sticky jewels to the outside of your candle. BAM NO GLUE!diy candles

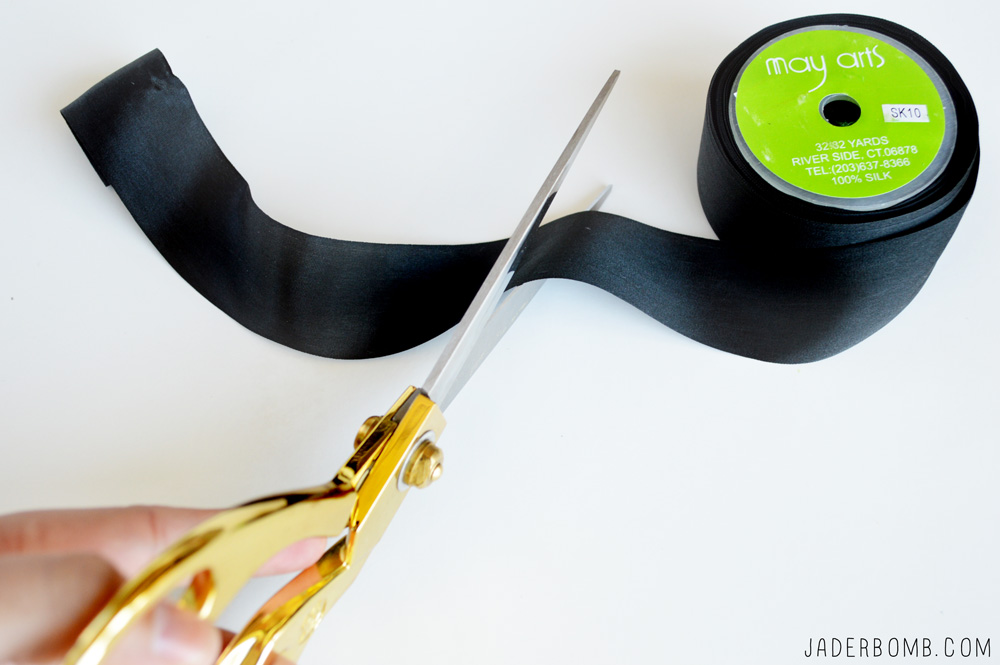
Step TWO: Cut a piece of silk ribbon. Look, if you are a die hard fan of ribbon then you know this is the LAND ROVER of silk land. Well, at least I think so. This stuff is 30 something a roll but let me tell you it’s worth it! It’s as soft as a…..bunny’s tail. silk ribbon crafts

Step THREE: Tie three pieces of ribbon around your pillar candle (above the jewels).easy crafts for your home

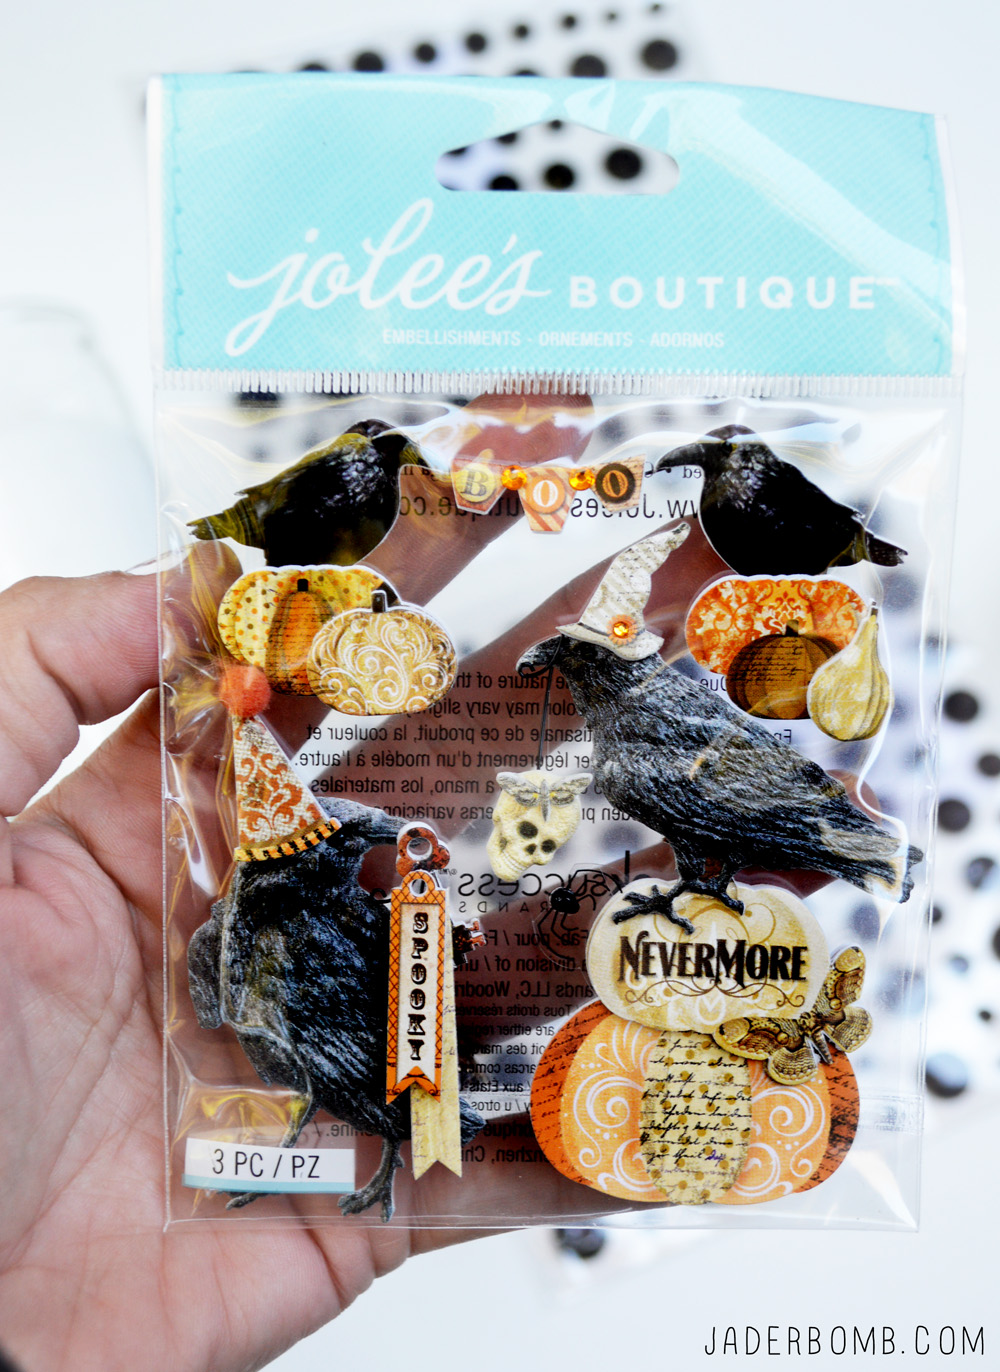
Step FOUR: Admire these unique stickers from jolee’s boutique. Are you familiar with this line? I know I am and you will love them too!halloween stickers crafts

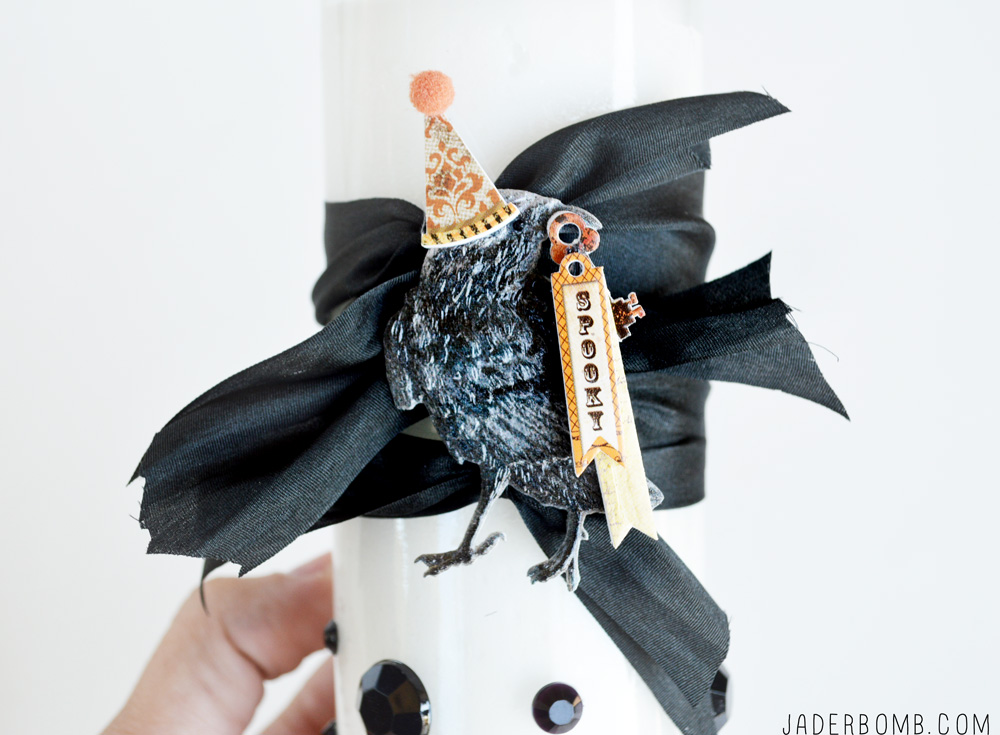
Step FIVE: Grab your favorite sticker and place it directly on top of the ribbon. VOILA YO. halloween crowblack crow crafts

crow crafts

Super easy and quite elegant if you ask me. Now elegant in my world is 30 dollar ribbon so to each his own! Don’t forget to check out how you can still win a nice little gift card to Michaels HERE.

Don’t forget to check out my latest post for Michaels below!

HALLOWEEN PARTY IDEAS

I hope you enjoyed the post today and I am giving you all HUGE glittery filled hugs from my computer to yours!  ♥, Jade

HASHTAG LOGO

Don’t forget to connect on social media! Make sure to use use the hashtag #JADERBOMB on Instagram or Twitter or Facebook so I can keep track of all your awesome creations! 


Today it’s all about Halloween Party Ideas, YO! Let me tell you I am full of ideas thank to my BFF Martha! It’s kinda crazy because I started celebrating Halloween (here on the blog) in September and I should start tackling Christmas but I can’t seem to divorce Halloween yet.

I enjoy all of the quirky, spooky and mysterious qualities of Halloween. Fact is, I have been thinking of what “theme” I will use this year for my Christmas tree. I ran across this and it has me completely confused. So can I have a Halloween tree, or is that against Santa’s rules? Help me out y’all! Remember this black and white party I threw last year?  I would like to go back to that ASAP! It was such a fun party that I had by myself, haha!

So here are a few snippets of how you can decorate any space for a quick and fun spooky party!

ST_12_months_of_Martha_Logo-1

Halloween Party IdeasAre you scared yet? I know I am! TeeHee…

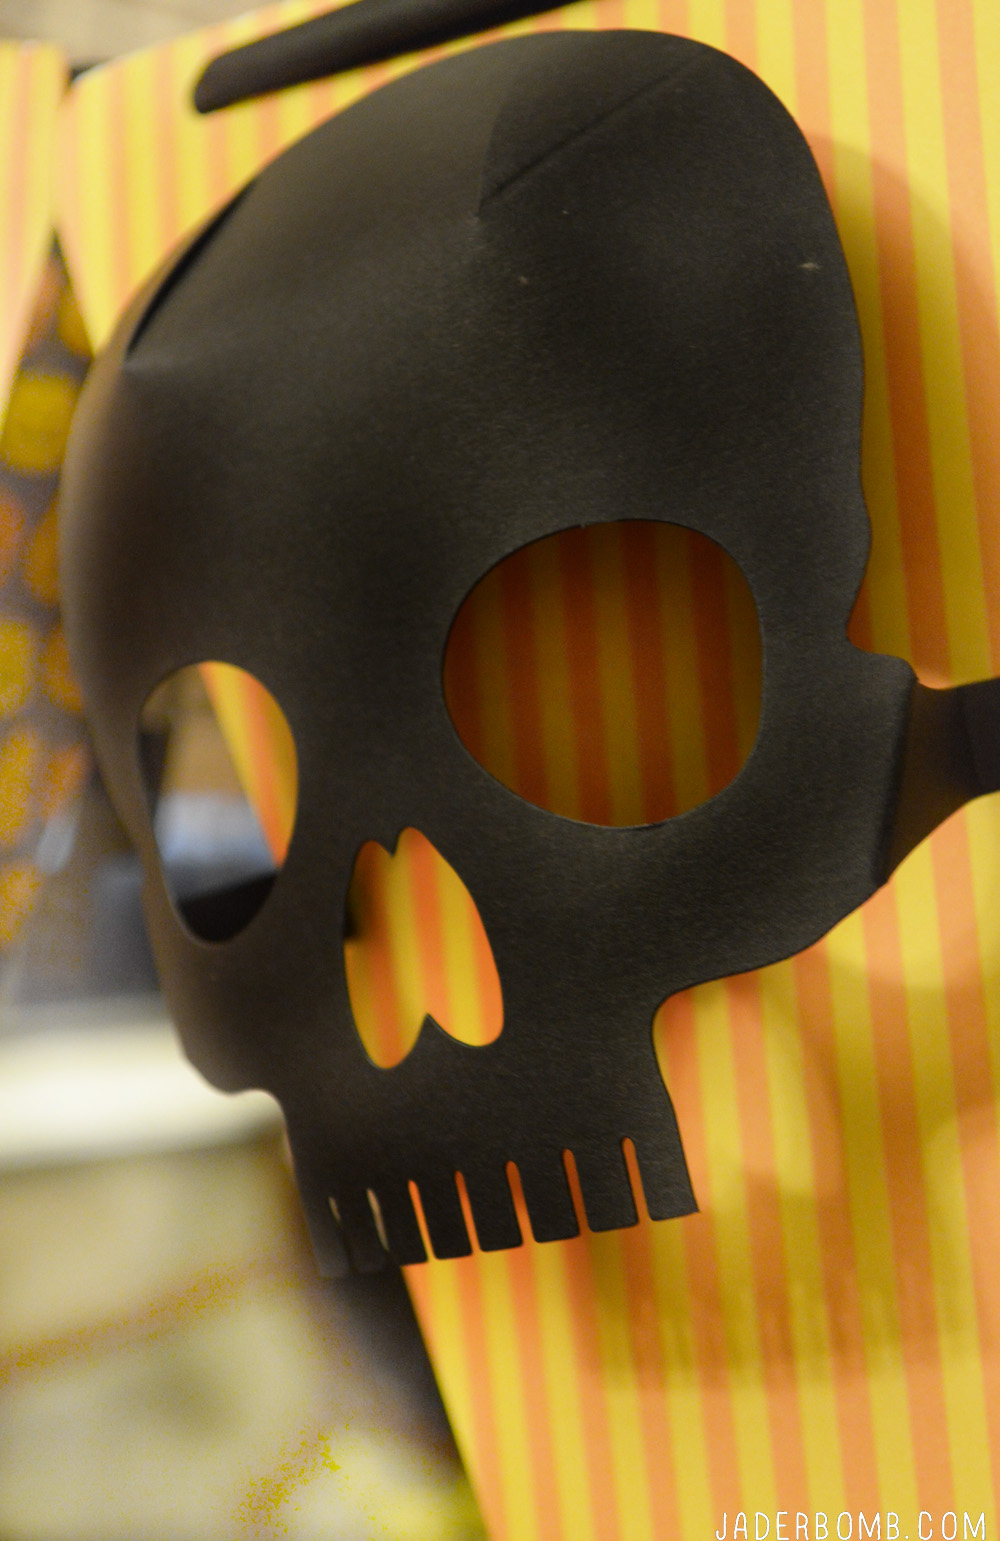
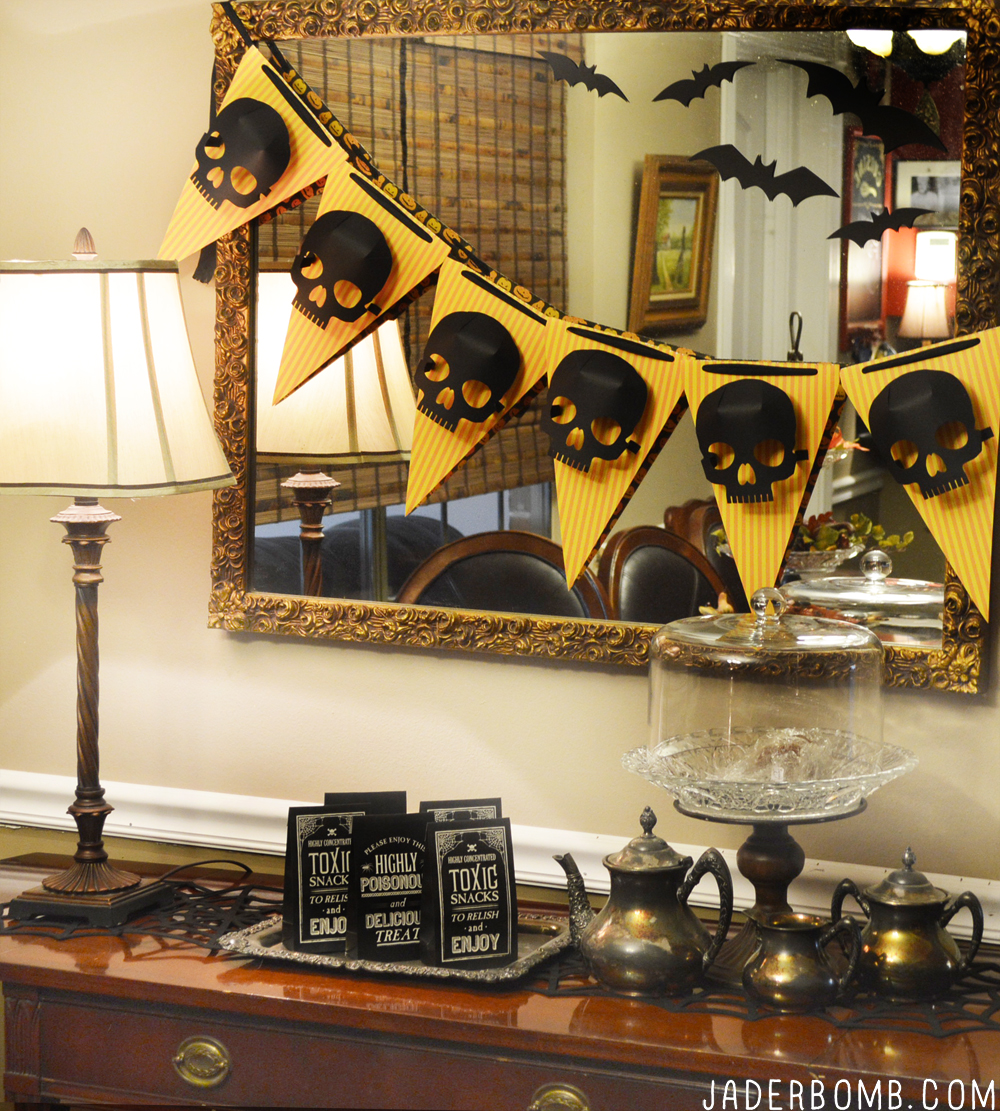
I mean, I almost can’t deal with these 3 dimensional skulls. I love them so much I think if I add a santa hat to them they might just stick around a bit longer.

Santa is pretty old right?

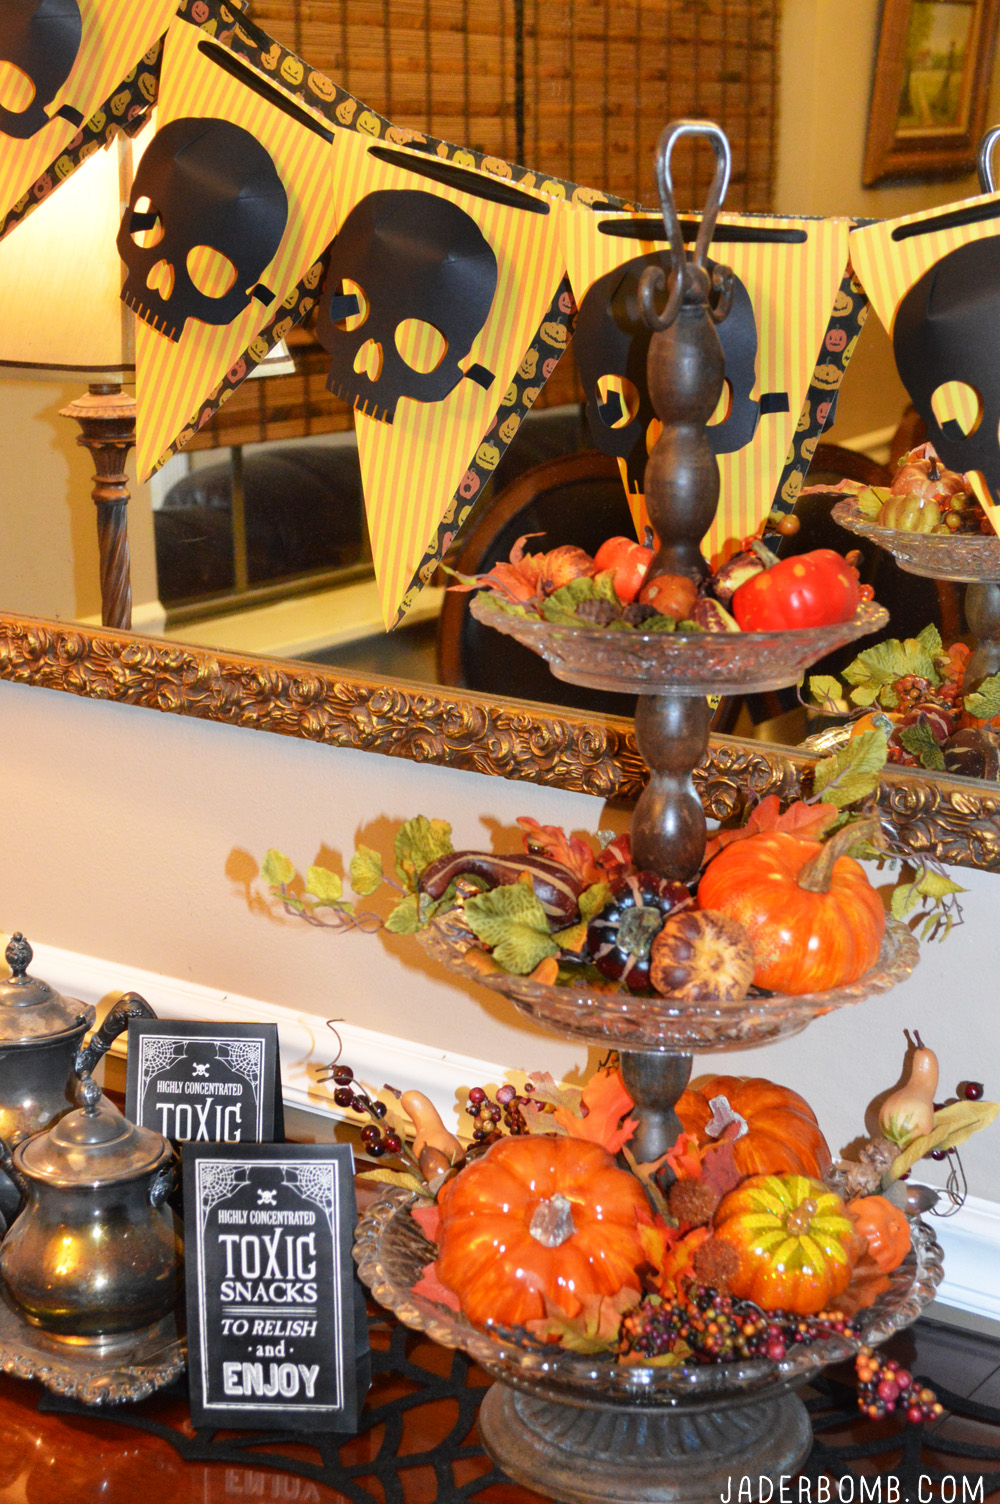
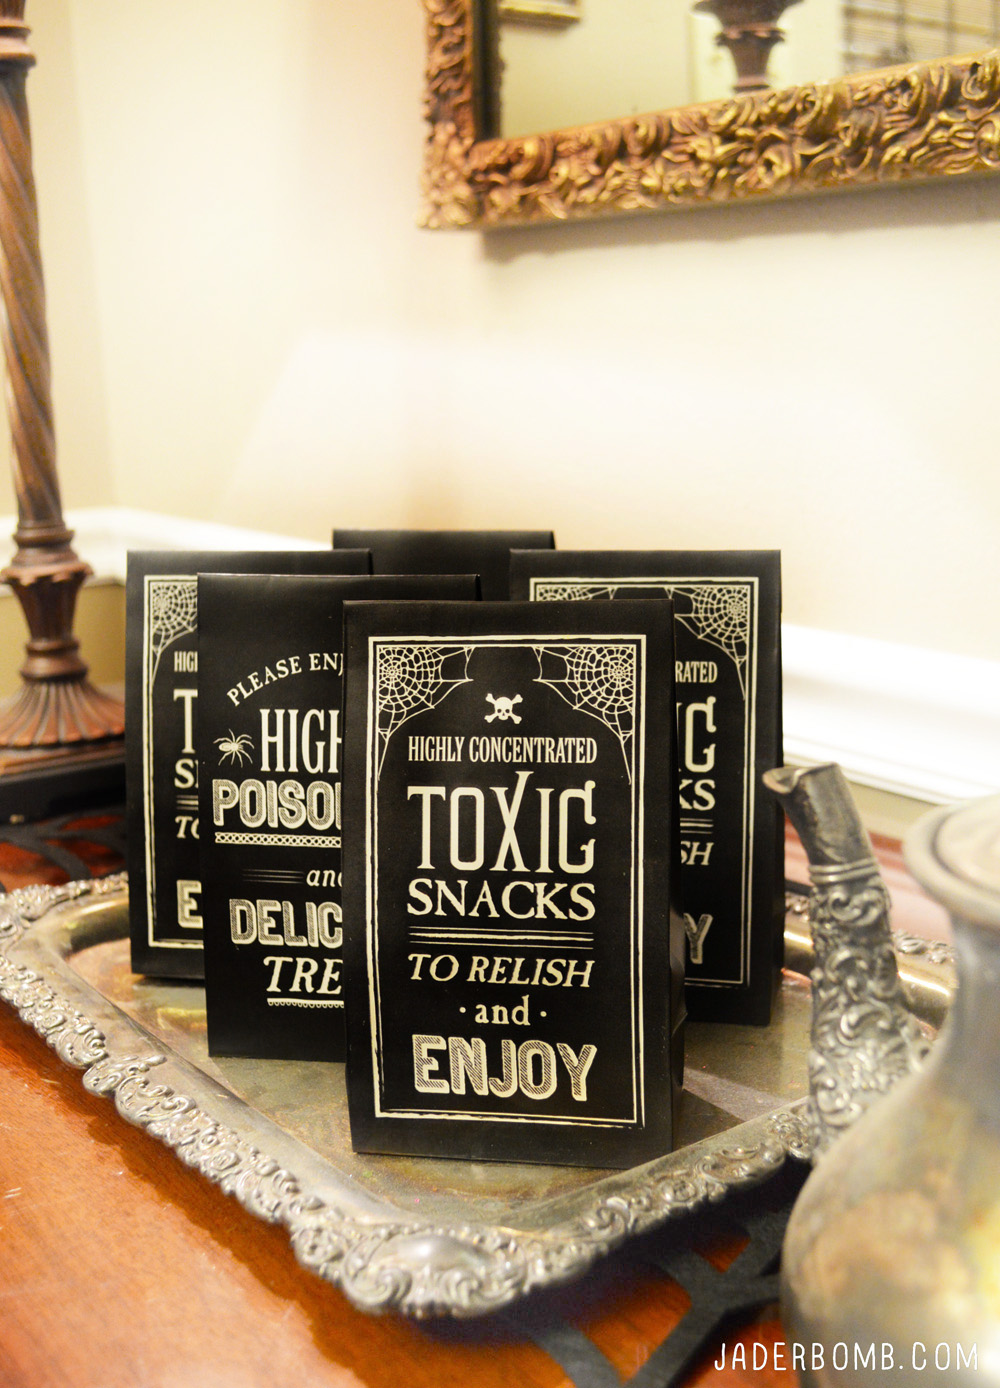
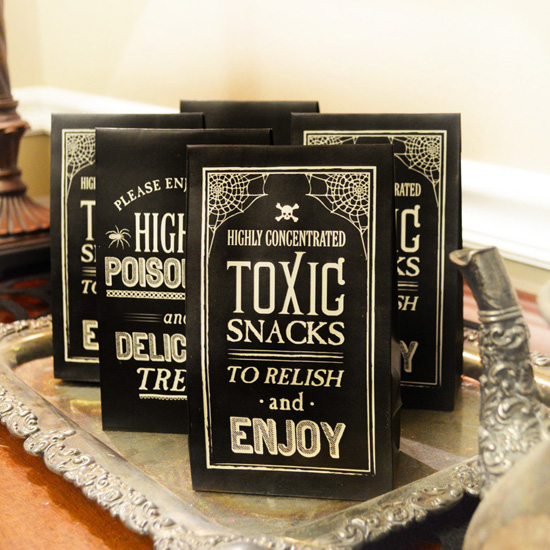
halloween party table ideasNot into Halloween too much, that’s ok! These cute Chalkboard Treat Bags fit right in with a little splash of Fall decor as well. Look closer and you can see this chic spider web table runner.

A MUST.

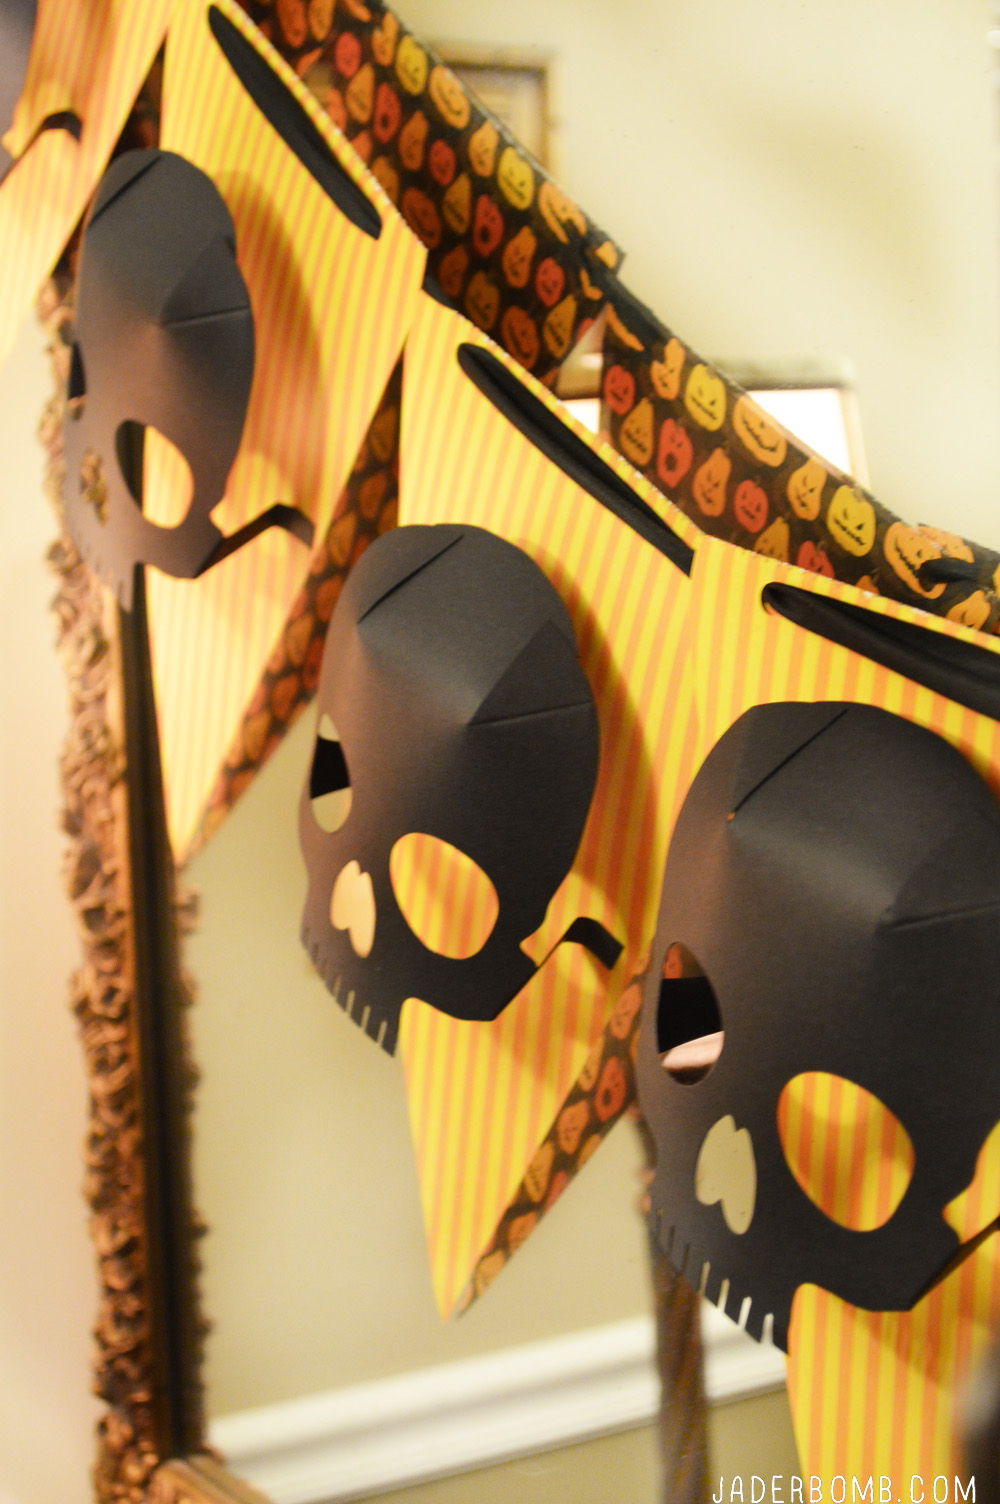
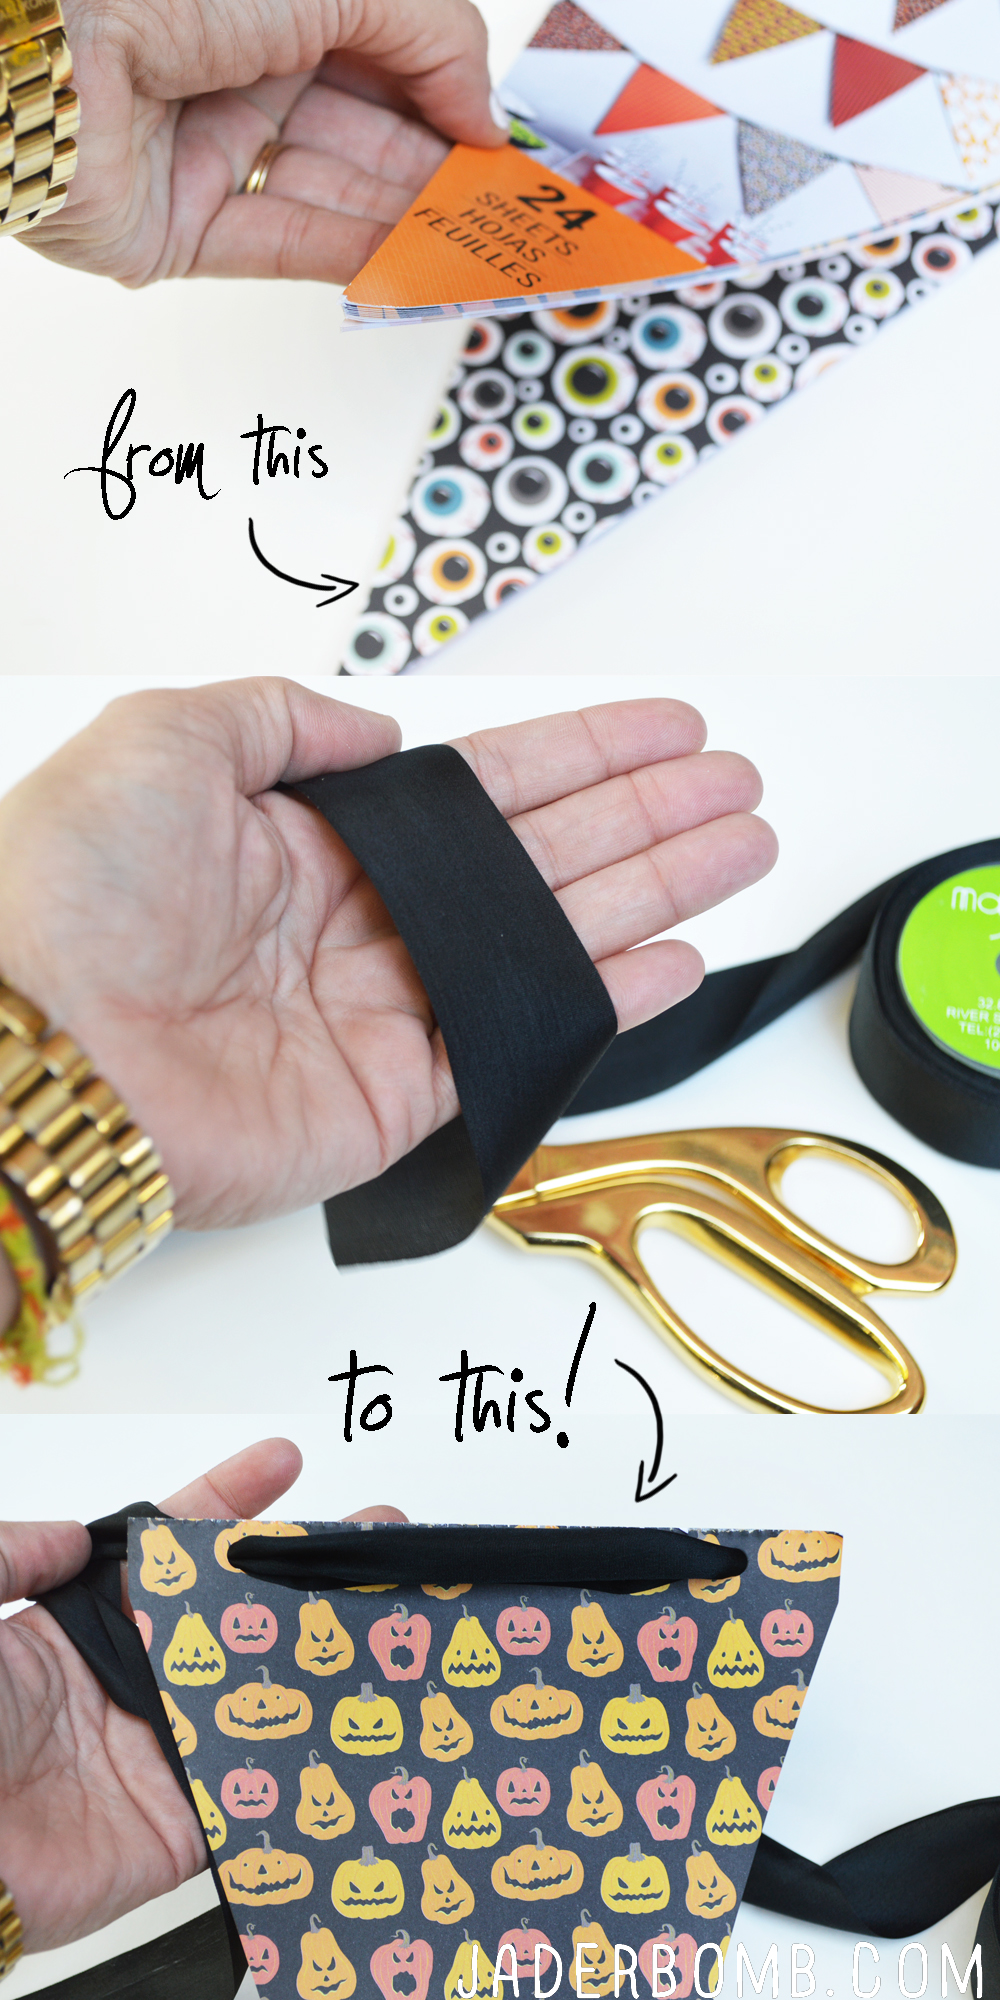
halloween diyYou can make these skull flags for any party in 10 minutes, literally. Check out how I made them at the bottom of this post. After all you can never go wrong with paper flags especially since Martha made it super easy for everyone with her triangle paper pack.

Did I mention they already have holes punched in them! This is a “shake your head moment”….

paper skull mask'

halloween party decor

halloween table party ideas skullNot into mixing Fall pumpkins with your Halloween decor… No problem!

Just add clear glass, a vintage tea set and voila! If you don’t have a tea set you can add tons of clear glass and fill them with spooky little spiders and that will do the job.

Did you notice the bats flying like crazy on the mirror!

paper flag banner diyTo make the flags you will need this pack of pre cut triangles from Michaels. Hold on y’all….They have different prints on both sides! Wahooo!! Since the holes are already at the top all you have to do is pass string or twine through them then hang up! I used black silk ribbon to mine.

If you don’t own silk ribbon then you are missing out! It’s heaven. Seriously. Go get some.

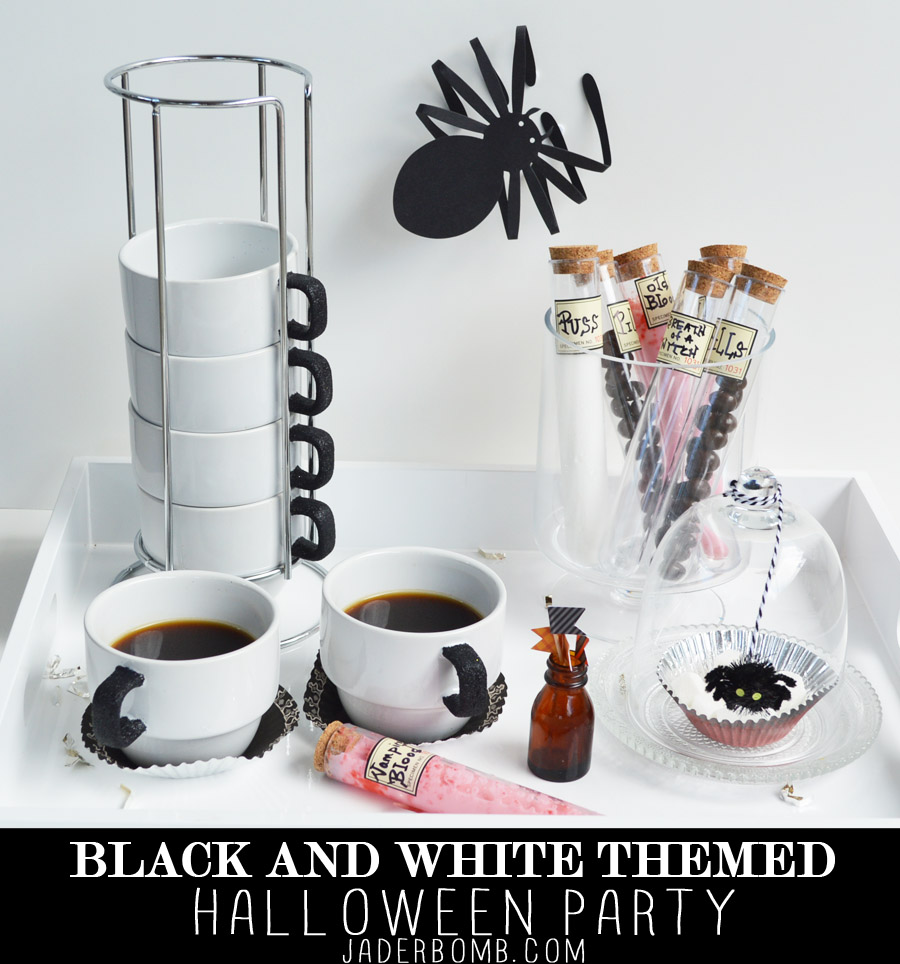
BLACK AND WHITE THEMED HALLOWEEN PARTYCome check out how you can throw a quirky Alice n Wonderland Halloween themed party here!

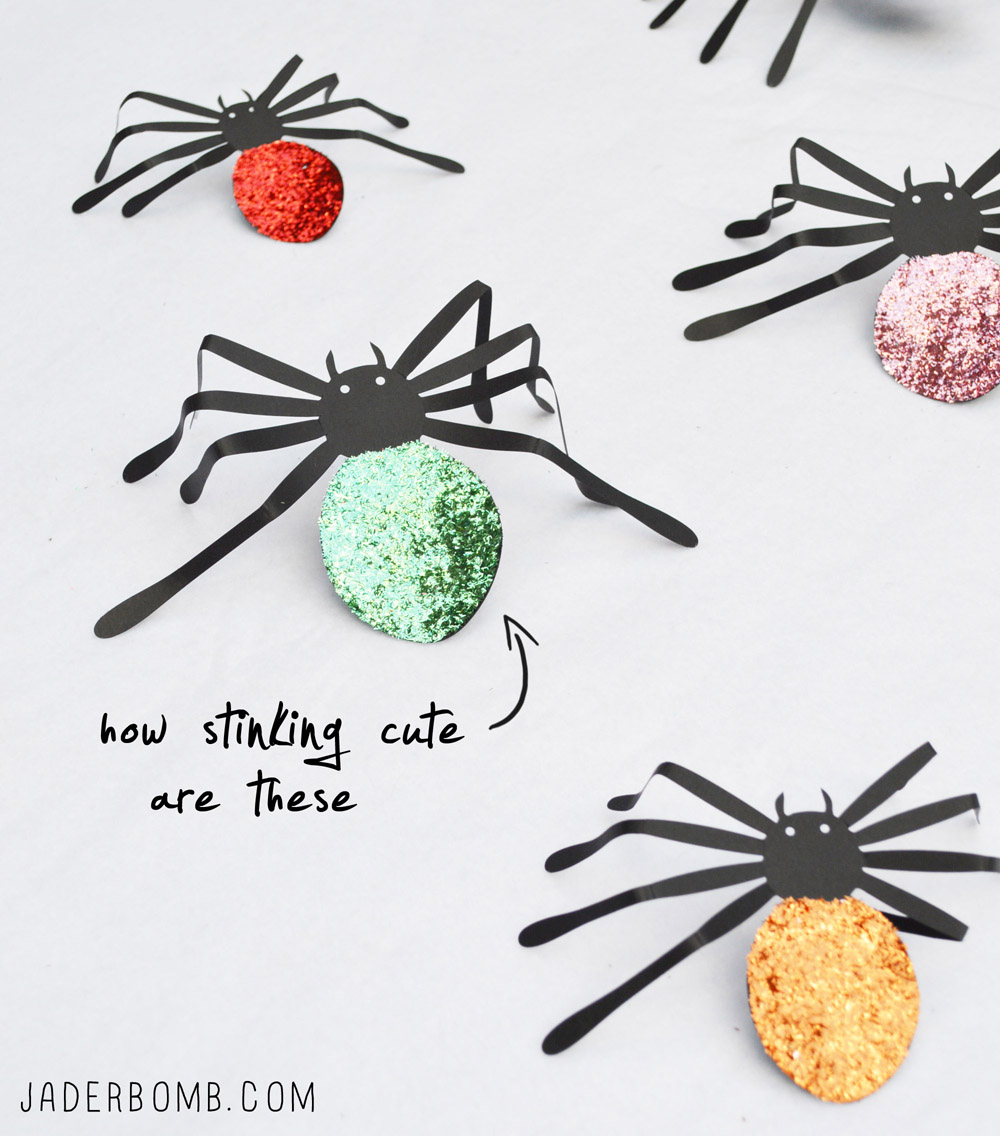
Halloween Decoration Ideas halloween spidersRemember how easy it was to make these glittered spiders! Kids love them.

Check out my collection of spooky Halloween projects!

Click the links in my post or find all of these Martha Stewart Halloween supplies and more at your local Michaels, or order online!

*Martha Stewart Bat Window Clings
*
Martha Stewart Skeleton Skulls
*
Martha Stewart Lace Gothic Table Runner
*
Martha Stewart Chalkboard Treat Bags

This post is dedicated to my BFF Martha Stewart who personally sends me boxes and boxes of goodies each month and in return I create FABULOUS goodies just for you! Did you know I was a 12 months of Martha blogger! Check out all of my posts here. All opinions are completely mine… Pinky Promise!

jade
Don’t forget to connect on social media! Make sure to use use the hashtag #JADERBOMB on Instagram or Twitter or Facebook so I can keep track of all your awesome creations! HAVE A GLITTERY DAY! 


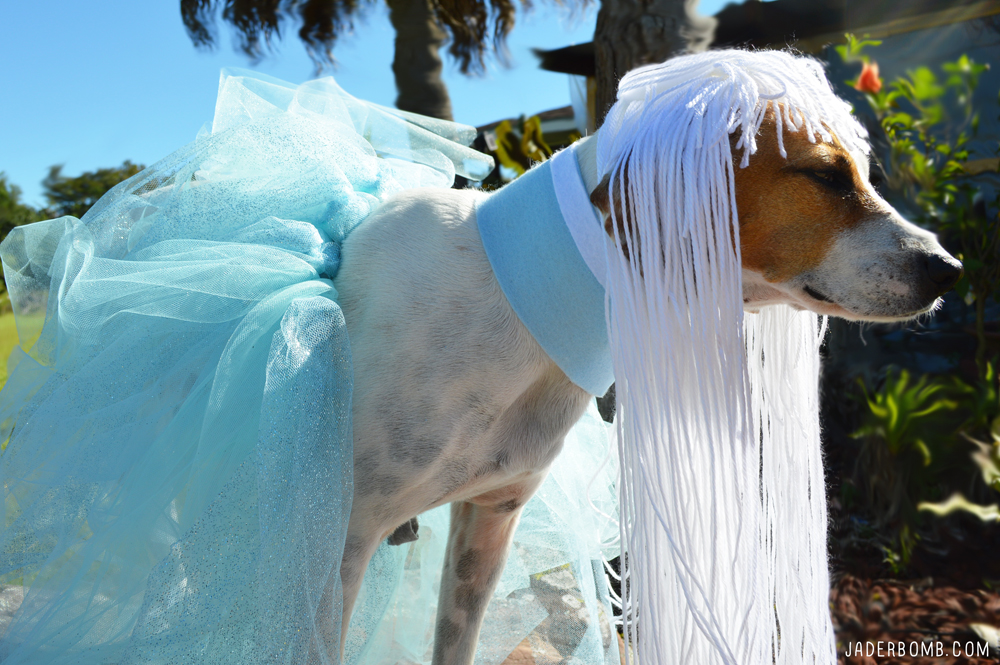
In this month’s Michaels Makers post I will be showing you how to make homemade halloween costume for dogs. This costume was super fun to make. Not to mention my dog was in the best mood during the entire process, as you can see on her cute little face. When I Michaels told us we had to create a Halloween costume my mind went nuts! I started thinking of so many different things but the one thing that made complete sense was elsa and my dog. So the two got together and they are now living happily ever after. This costume is really easy and I know you can do it! Let’s get started!homemade halloween costume for dogs
Check out Michaels’ Halloween Market lookbook or Halloween Pinterest board for some project favorites, including costumes, personalized pumpkins, porch décor and more. 

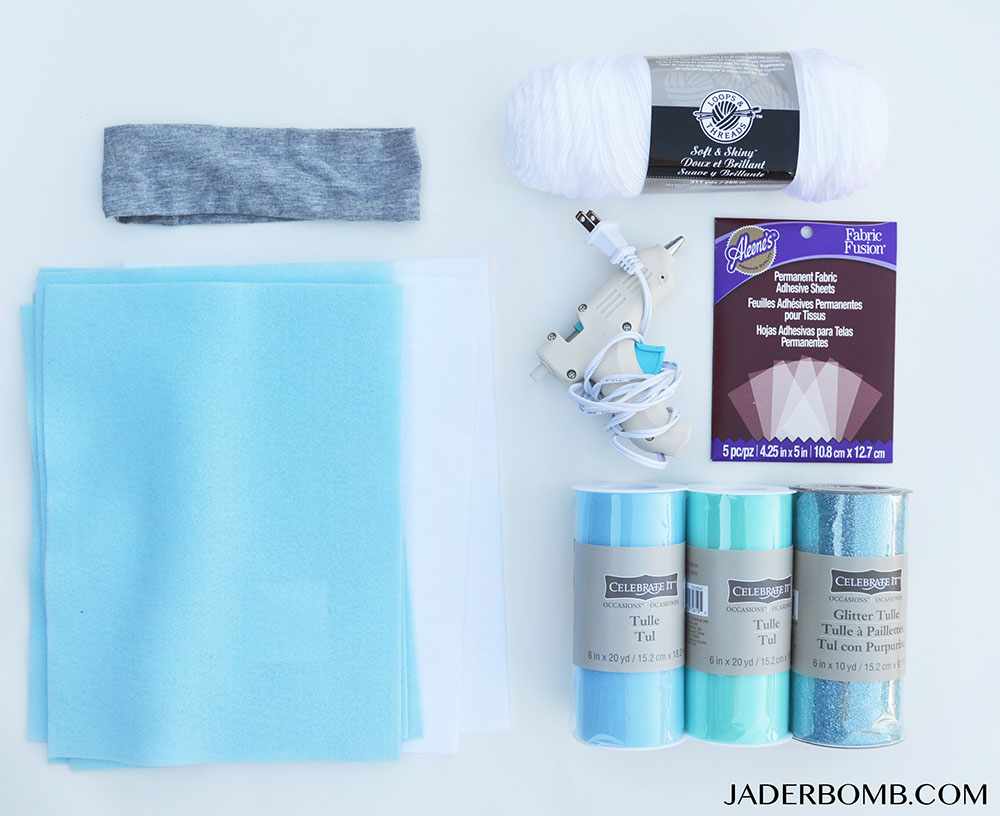
YOU WILL NEED… Headband | Yarn | Glue Gun | Fabric Fusion | Blue & White Felt | Tulle in Shades of Blue

MICHAELSMAKERS

STEP ONE… Take your tulle and cut strips the same size. This will vary depending on how big or small your dog it.
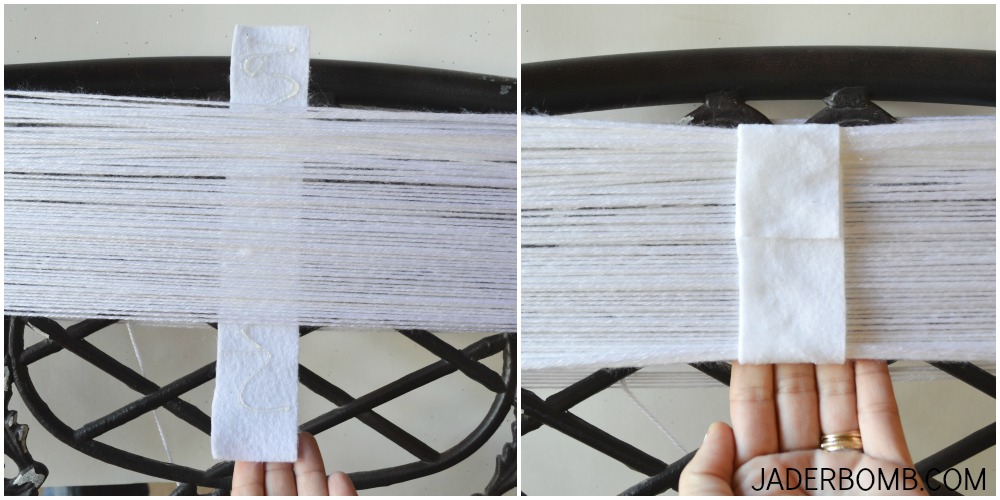
STEP TWO …Pass the tulle around the headband and tie a not. Make sure to make the ends even on top before tying the knot. 1STEP THREE…To make the hair you will wrap your yarn around the back of a chair like below. Put hot glue on a piece of felt then wrap it around the yarn in the middle. This will secure your yarn so it stays in place. When you are done take the yarn off of the chair and cut the “loop” to create two long pieces of hair on each side! It’s that easy. YARN WIG TUTORIALSTEP FOUR …Time to make the neck tie. I figured I would man up the elsa costume a little.  Cut your felt in small strips.
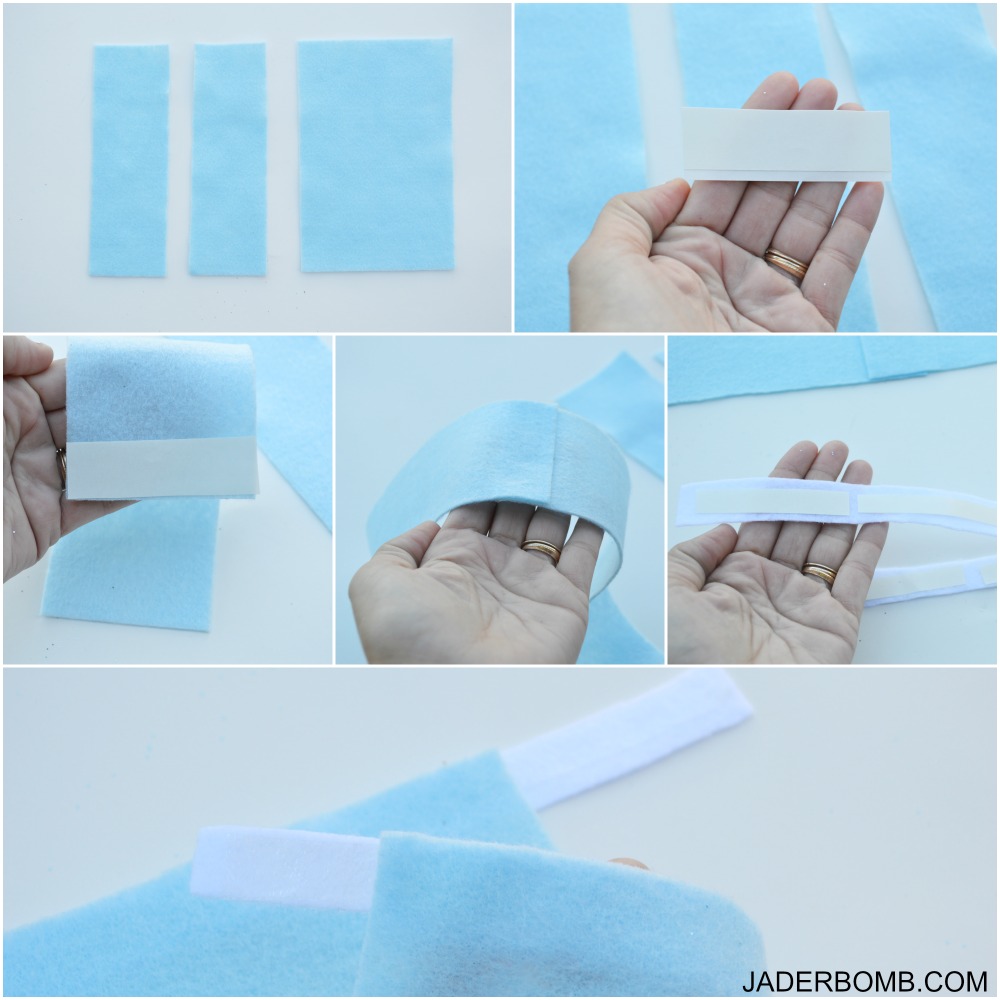
STEP FIVE…Cut small pieces of fabric fusion and place them on the ends of the felt. Add a second strip of felt directly on top of the fabric fusion to create one long strip of felt.
STEP SIX…To connect the neck piece I added two small pieces of white felt on each end to connect under the body of the dog.

frozen crafts

For the hair of elsa, I realize she has a braid but Ceaux Ceaux (co-co) wanted long luscious locks! P.S. To secure the hair I took two pieces from each side and tied it under her chin. Voila! I hope you enjoyed this tutorial! Make sure to check out the other costumes created by the other Michaels bloggers.

Click here to see all of the projects I created as a Michaels blogger! Homemade Halloween Costume for Dogs can be fun if you get created using products from Michaels!
FUN DOG COSTUMES

HOW TO MAKE A TULLE SKIRT

Don’t forget to enter this amazing sweepstakes to win $250 from Michaels!


<!– end InLinkz script —>