Quote of the day:
“It is the first duty of the citizen to be calm.
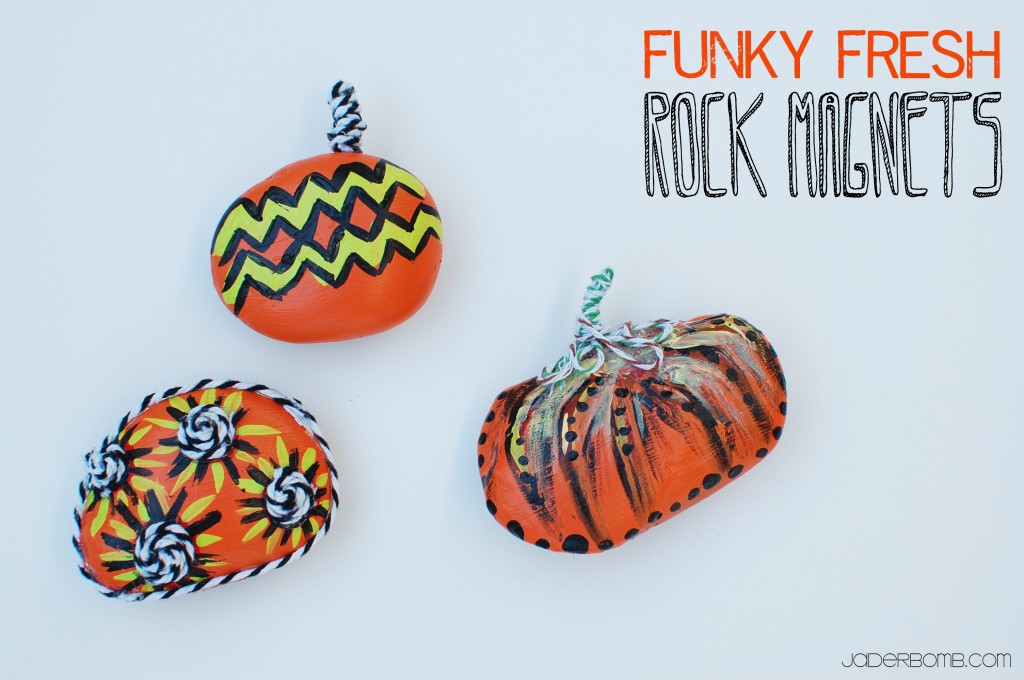
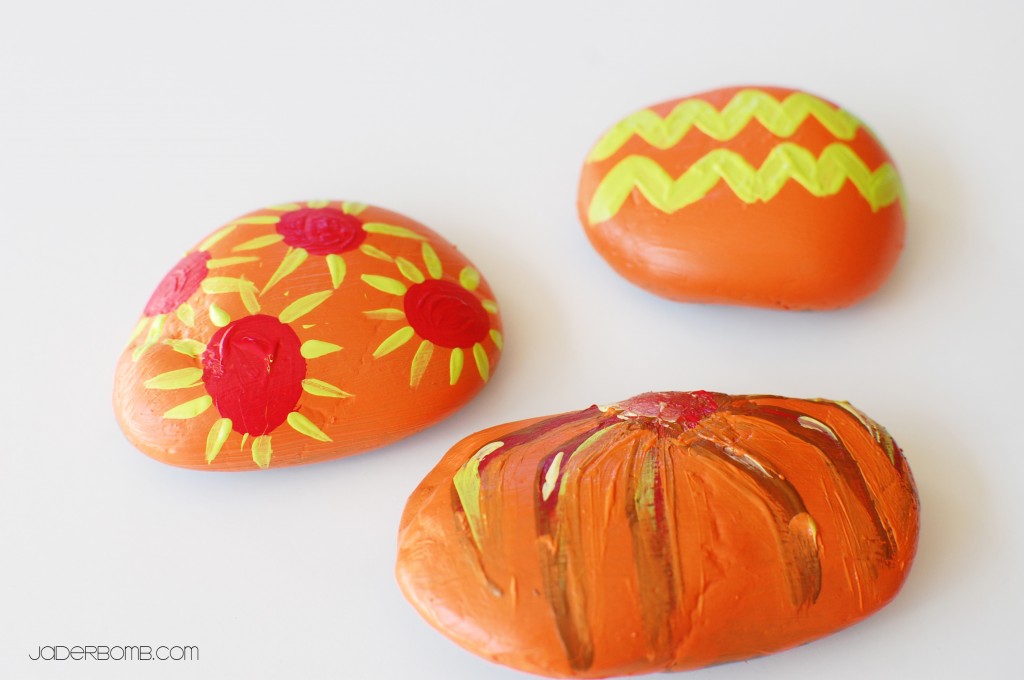
Won’t you take me to… FUNKY TOWN with FUNKY ROCKS… with FUNKY MAGNETS…
You get it, I am pretty excited about these babies. However I never even got to put them up because dad took them to Hawaii and already gave them away! He said all of his friends there would love them. I was hoping he would of “forgot” to give them away. Eh. He didn’t.
Good thing is it’s only rocks! I can make TON’S more Jaderbugs! Let’s get started on our halloween rock magnets
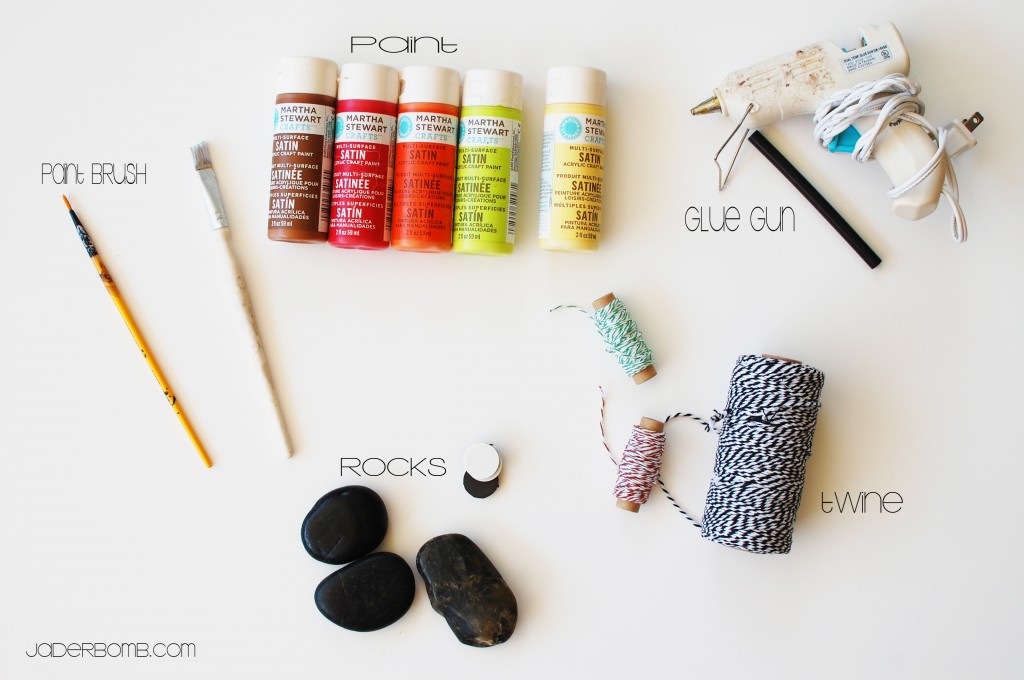
INGREDIENTS:
*Paint
*Glue Gun
*Craft Brush
*Baker’s Twine
*Rocks
*Magnets
Make sure you click on the links of ingredients to order these items!
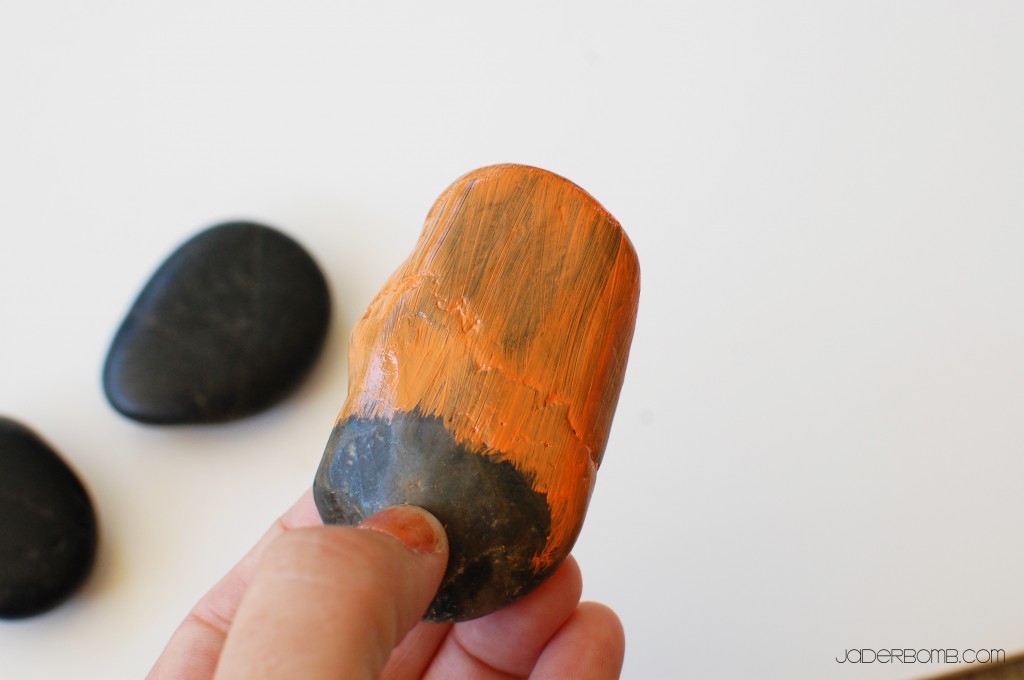
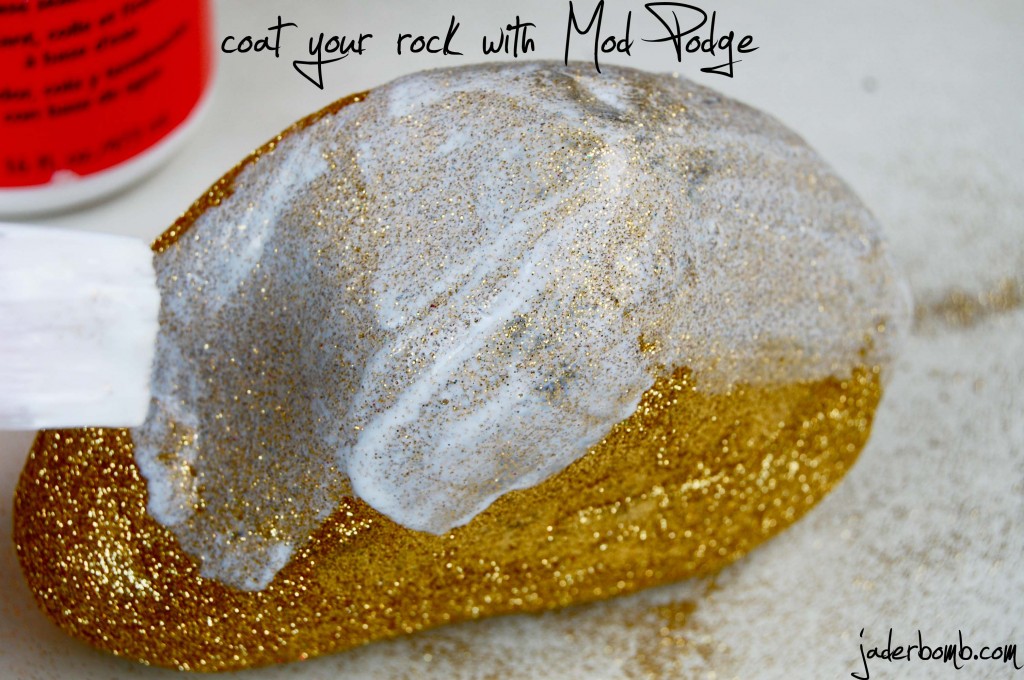
The first thing you will do is paint your first coat of paint onto the rock. I like to do one half, let it dry then do the other half. Remember your first coat will be translucent to a certain degree.
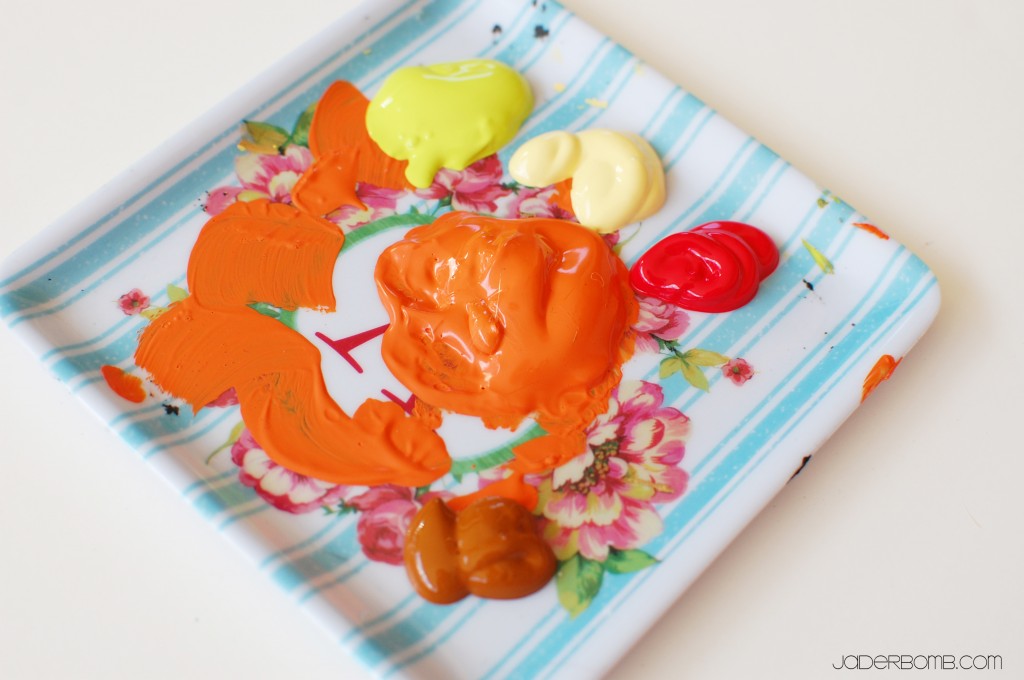
I love taking pictures of my paint. It looks so pretty! NO. I don’t want to eat it, today.
Once your rocks are fully coated you can start painting your design on them. I really enjoy whimsical, organic designs. Remember if you are putting different designs on your rocks to let each color dry thoroughly. I won’t show you the rocks that threw in a pile because I thought I had magical brushes that would not mix the paint together.
HAHA
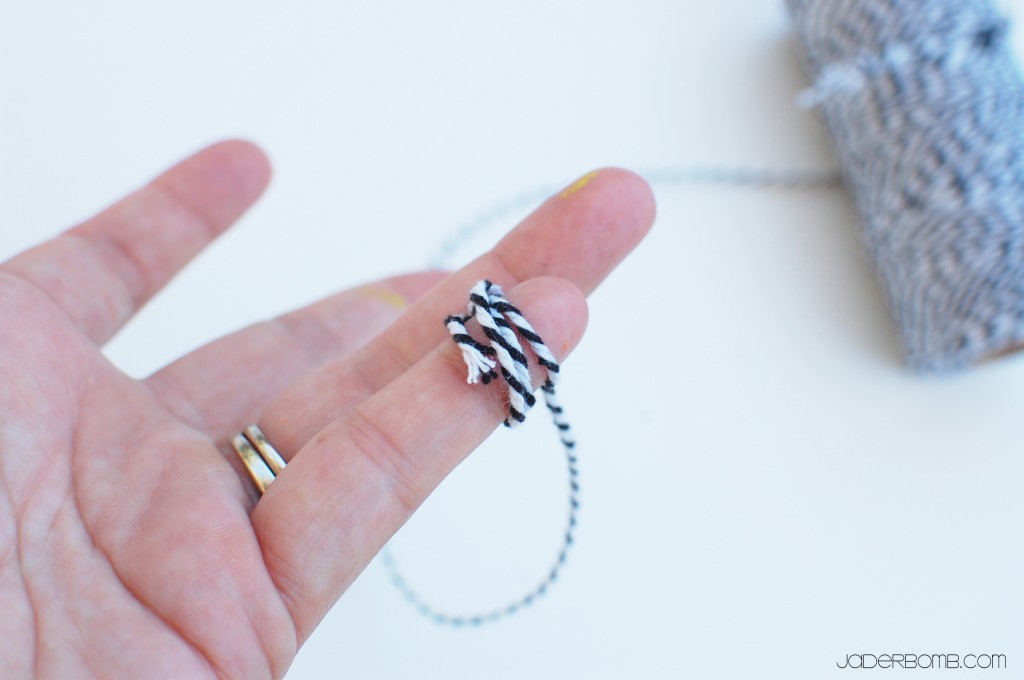
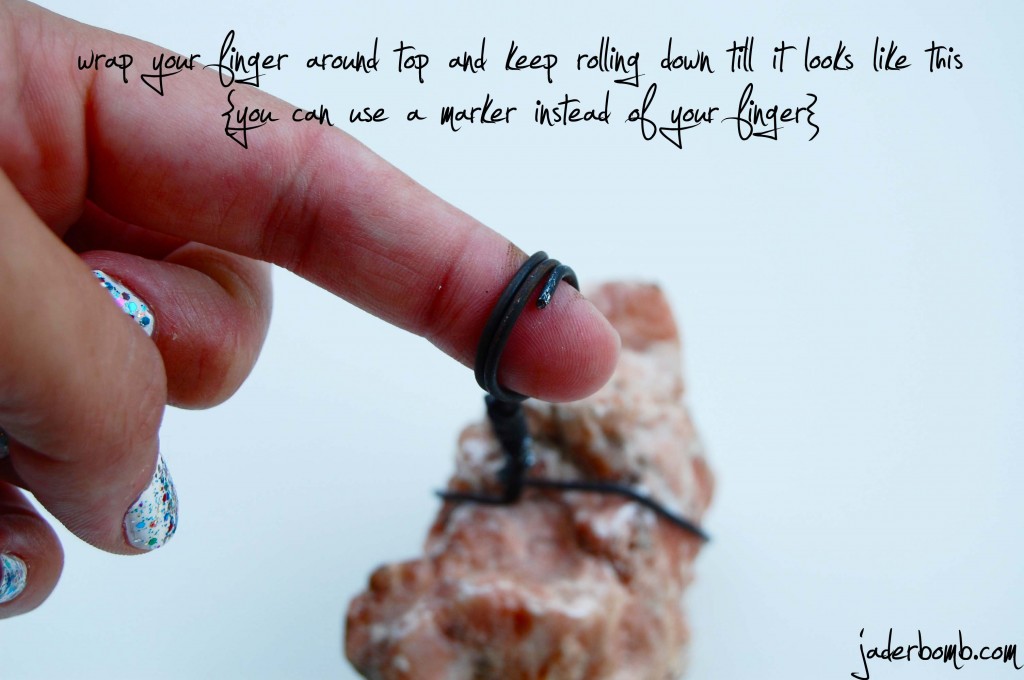
To make the little designs with your baker’s twine I like to start by wrapping them around my finger like this. If you find an easier way please do that!
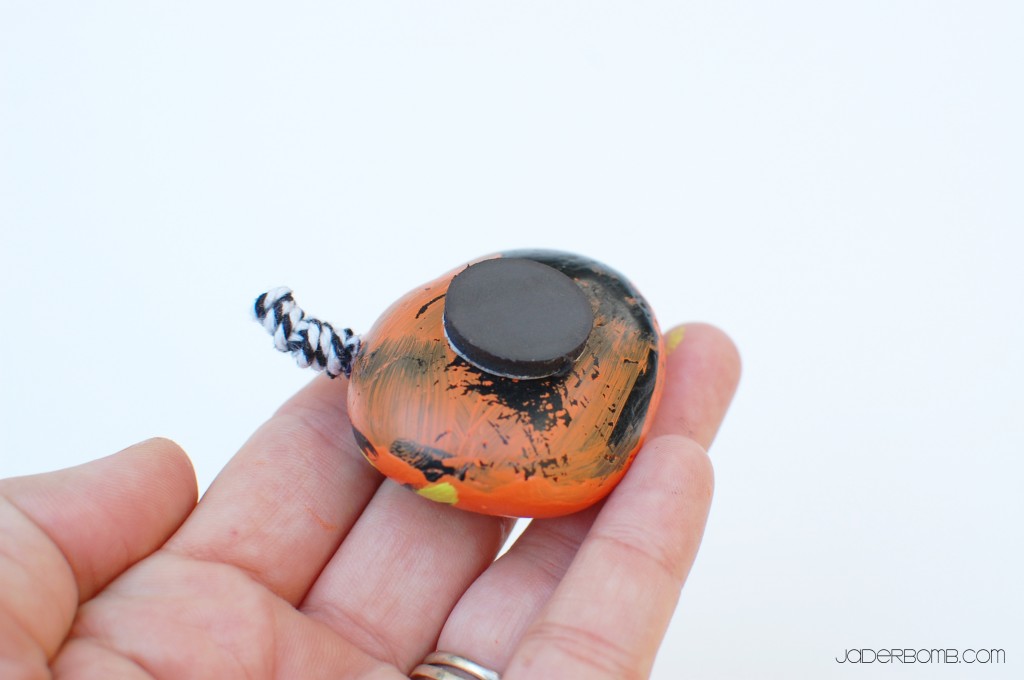
I know. I was lazy. I did NOT paint the backs of my rocks. I mean, had I known they were taking a trip to Hawaii I would of. But, once you are done painting and gluing you can place your magnet with an adhesive backing to the back of the rock. Where ever you choose to put your baker’s twine just hot glue it down.
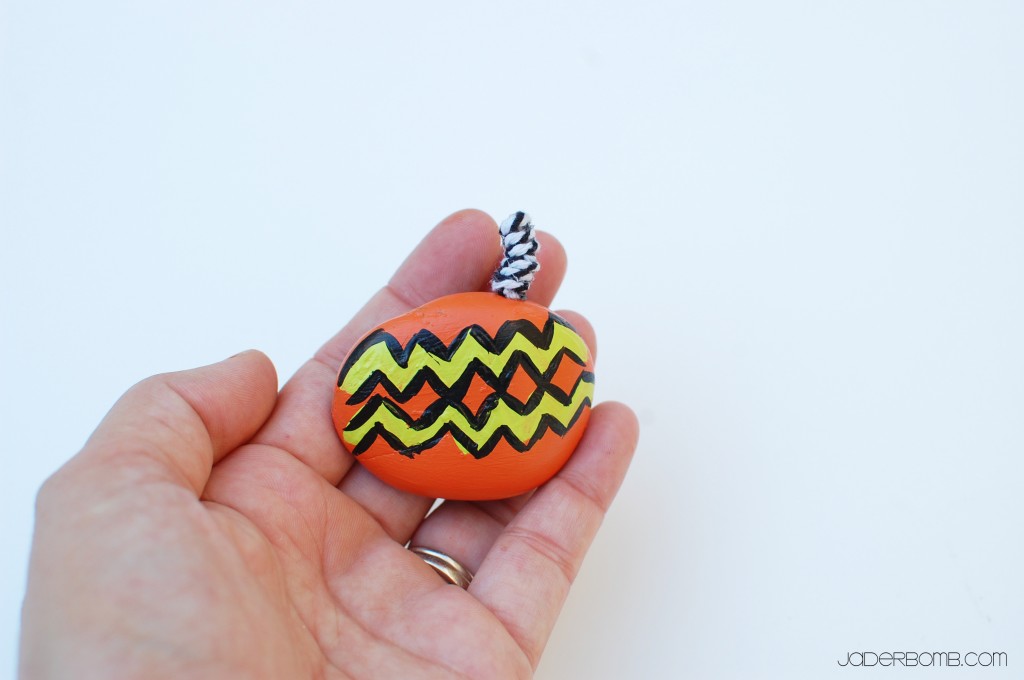
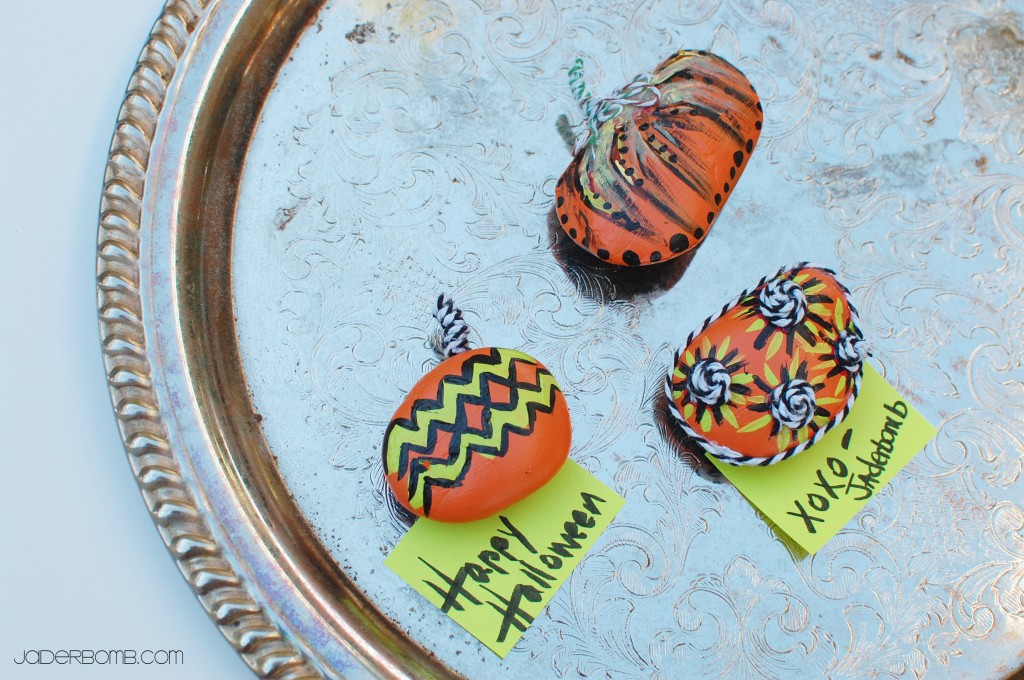
This one kinda reminds me of Charlie Brown’s shirt. I love the way the black and white baker’s twine makes everything pop!
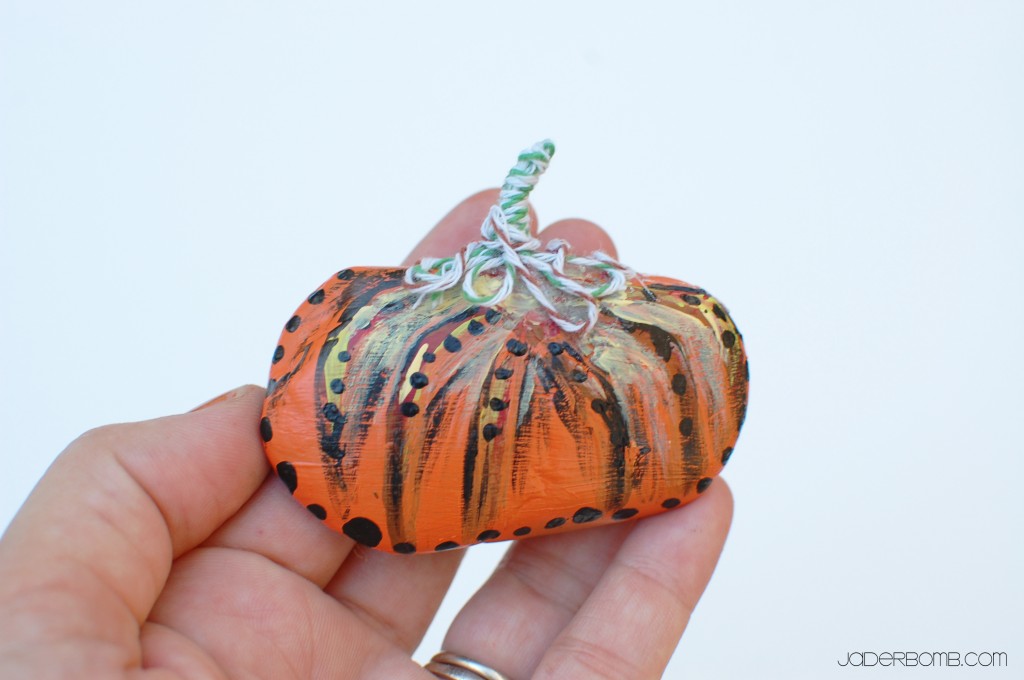
I am totally in LOVE with my little pumpkin. Guess I will make a new one!
(Insert shaking head here, haha)
I have this vintage serving plate in our kitchen and I use it to post important notes. These little magnet’s were cute on it.
I hope you enjoyed this tutorial, see ya in the next post! Make sure you come visit me in these places too! (look below this line, hehe)
Check what else I did these Halloween earrings that look like these magnets here.

