Tag Archives: Wreath


If you are looking for a easy way to decorate for Valentines day then look no further because I have an affordable tutorial for you using pink Christmas ornaments. I think  it’s hard to decorate for each holiday for the simple fact that it can get pretty expensive. Remember supermarket sweep? I used to love that show. When I am in the craft store just browsing I always go strait to the sale isles. Why? Because there is no way I will spend the full price on things when I will end up change the whole appearance anyway. So back to supermarket sweep, I always pretend I am on that show and will give myself 10 minutes in those isles, NO matter how many isles there are. Being crafty sometimes means thinking on your toes and usually you think of how you can use an item within the first 5 seconds of looking at it. Trust that first thought. It’s usually the best one.

I love after Christmas sales, especially when things are 80% off. I try to not go until it’s that low. I figure if something good is already gone I will never know, haha. Plus I  tell myself that whatever is left it’s up to me to use it in another creative way. That’s exactly what I did with the ornaments in this craft. The box was originally 5.00 and I paid .50 for them. I think that is a good deal! I bought big ones and small ones. You never know when you will need extra balls.
(insert quirky smirk and head shaking)

Valentine-Heart-Wreath

Isn’t this wreath so cute!
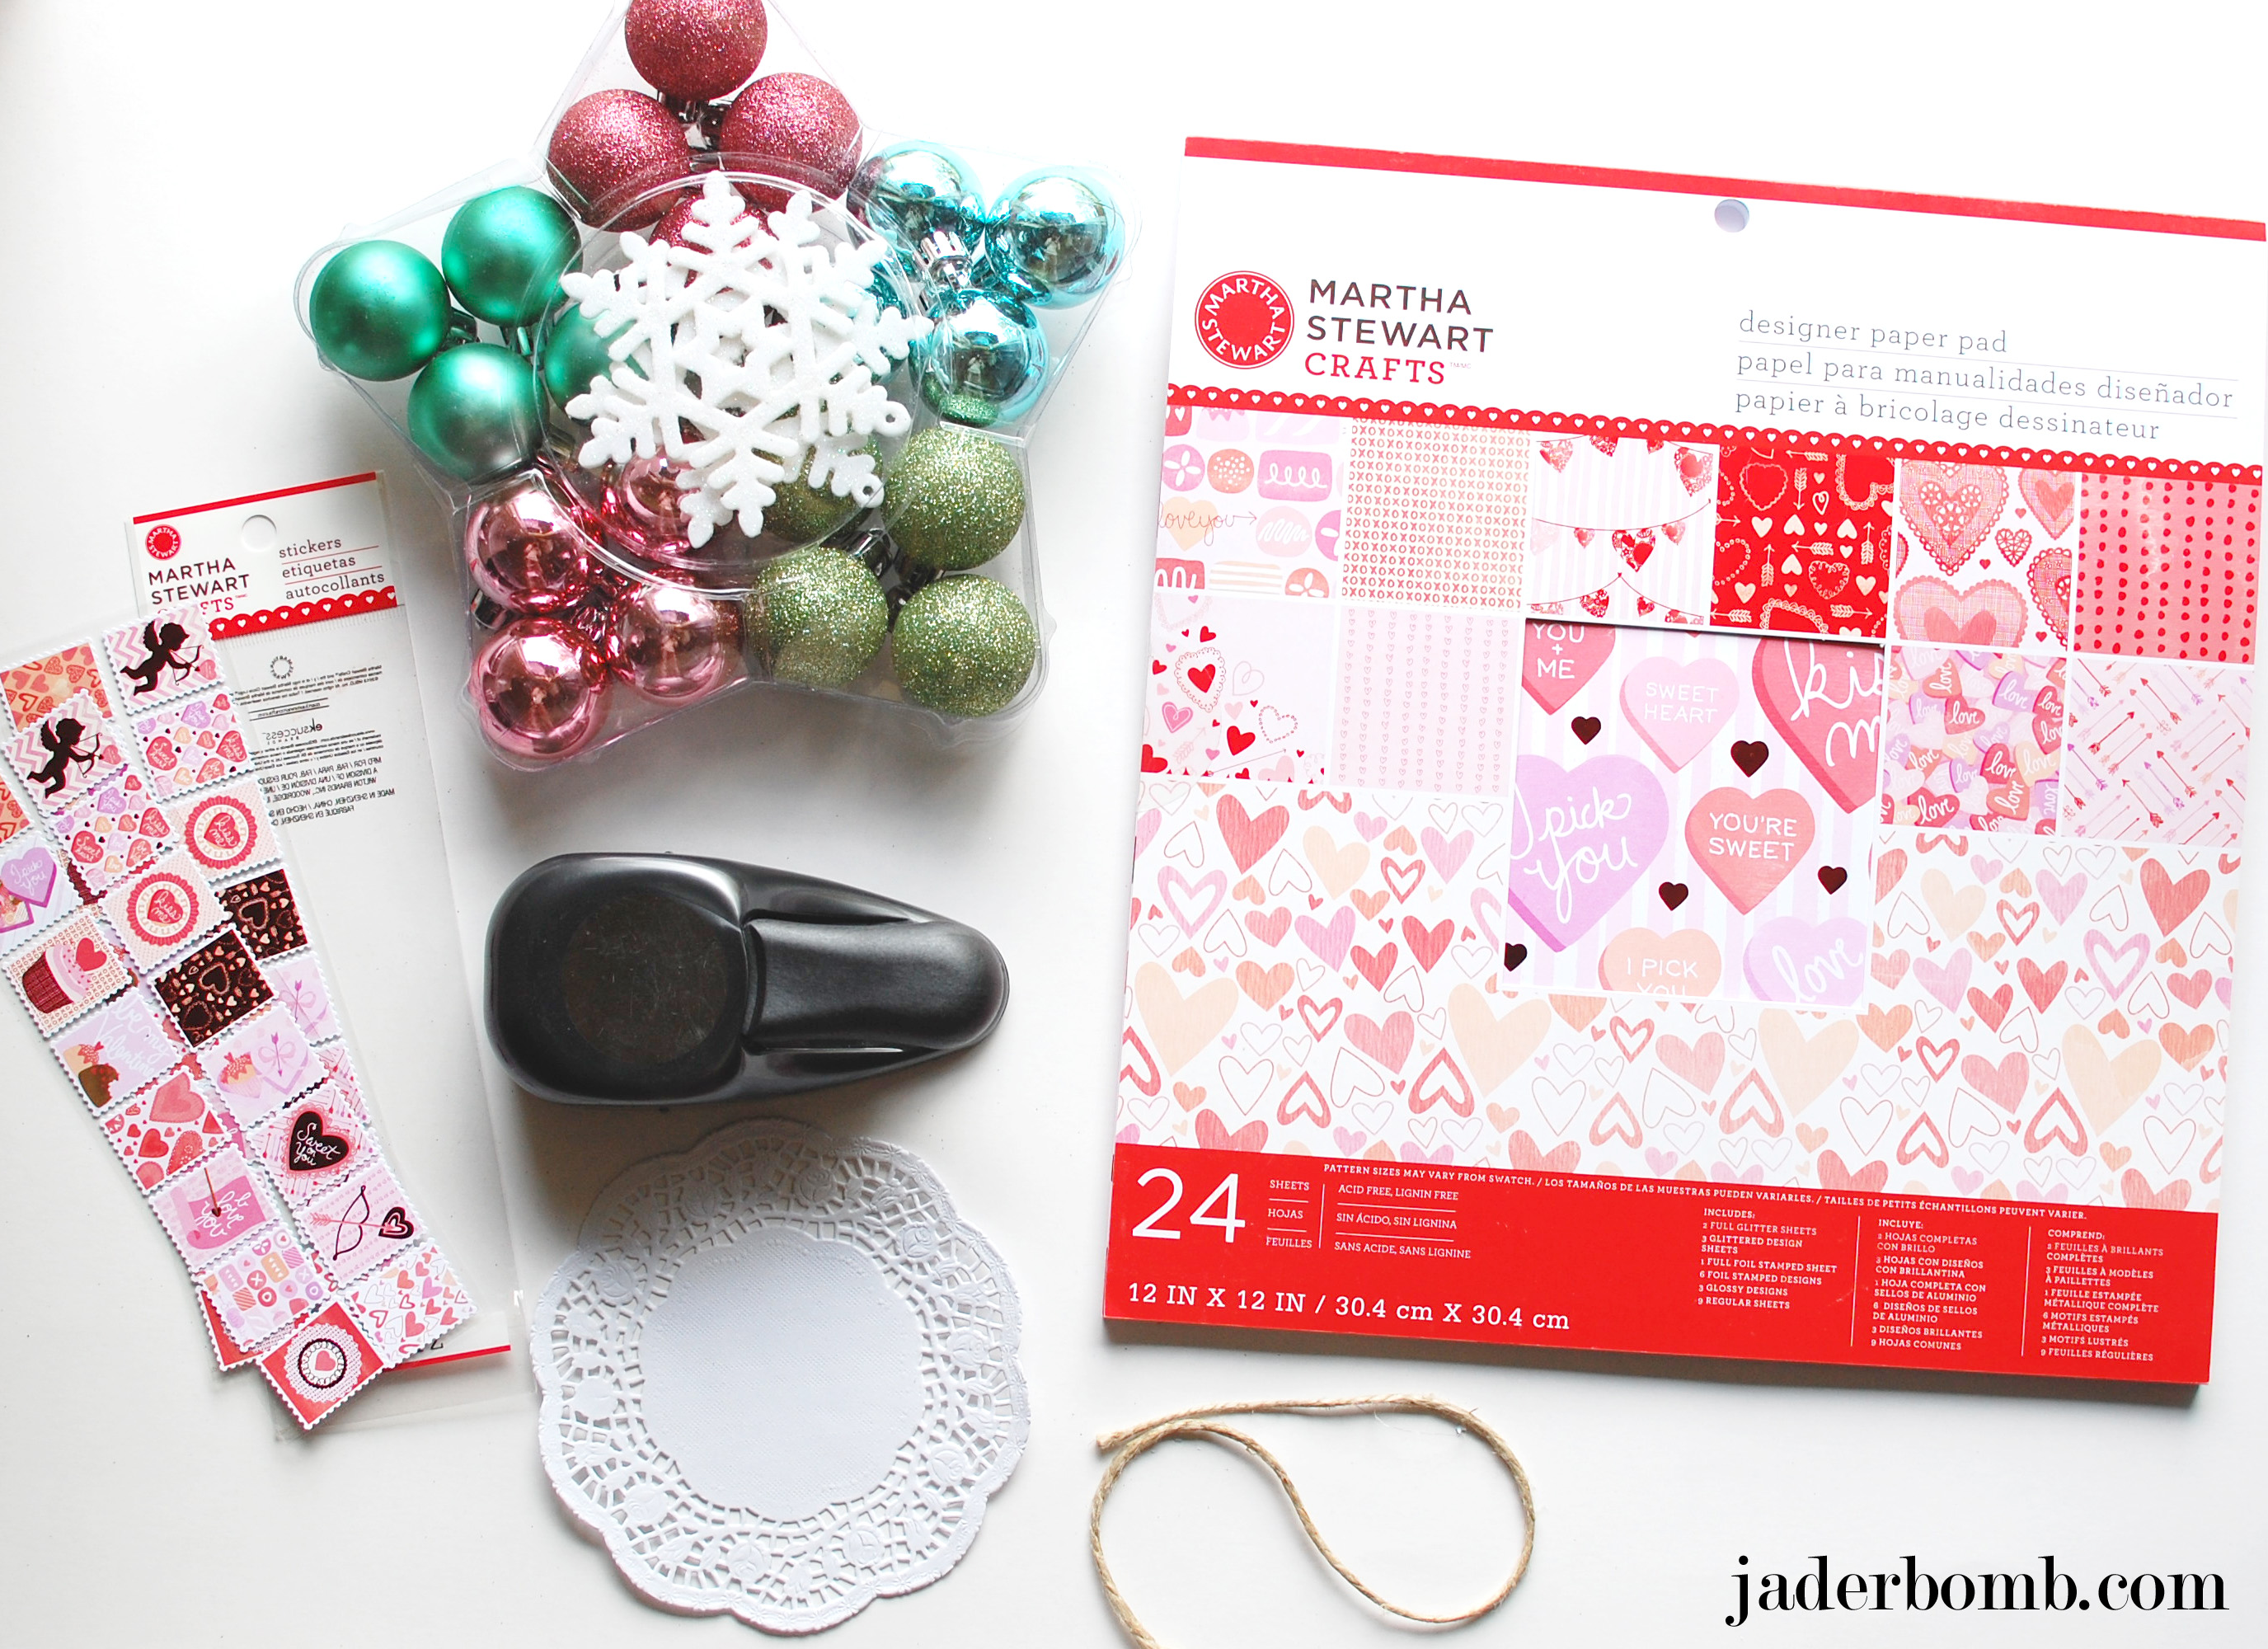
jaderbomb

*Christmas Balls
*Martha Stewart Designer Paper Pad
*Circle Punch
Doily
*Martha Stewart Stickers
Twine

You can order all the items above from one spot, just click on the link.

Valentine-Heart-Wreath

Are you swooning over everything I used? I love anything glittery and pink, it always puts me in a fabu-loso mood.

Valentine-Heart-Wreath

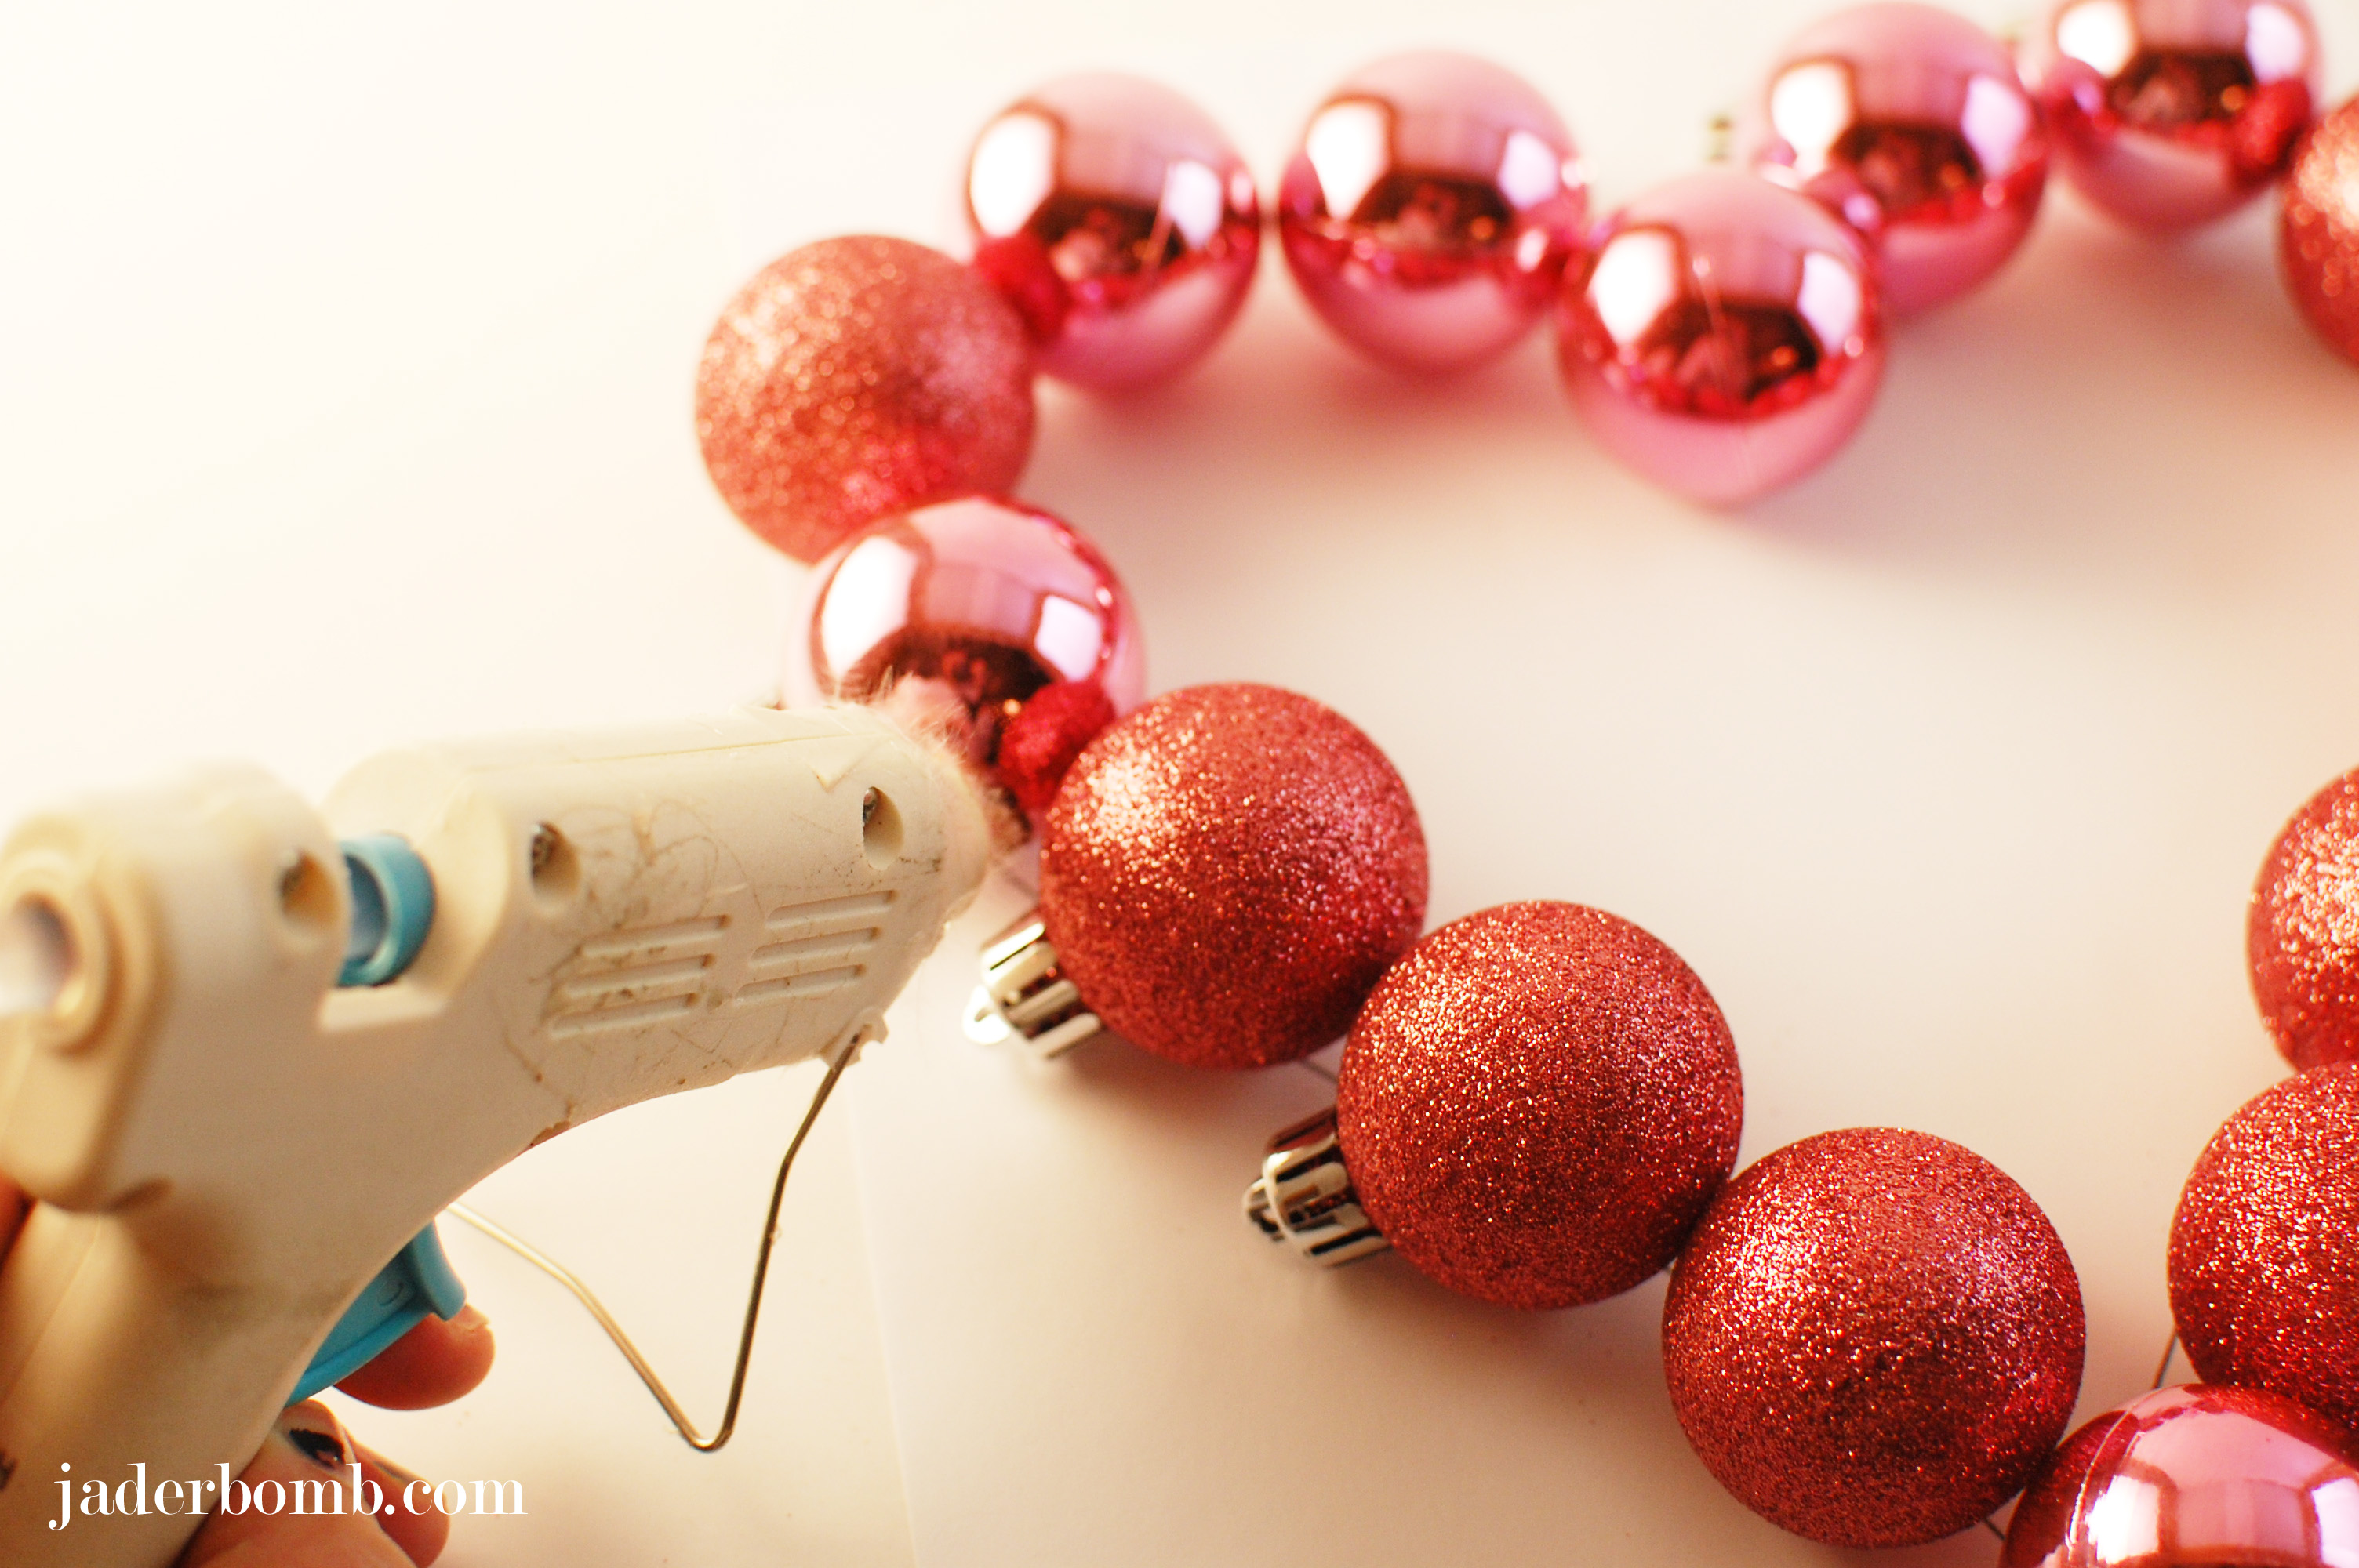
K, the first thing you will do is get a piece of paper and draw out a heart or print one. You can click HERE to download the one I used. Glue each one together. Wait till the glue is dry before you move on to the next spot.

Valentine-Heart-Wreath

I bought these paper doilies from Freds in the birthday party isle. For a pack of 24 it was $1.00. Booyah, you know I grabbed all 45. Fold a doily like an accordion then set to the side.

Valentine-Heart-Wreath

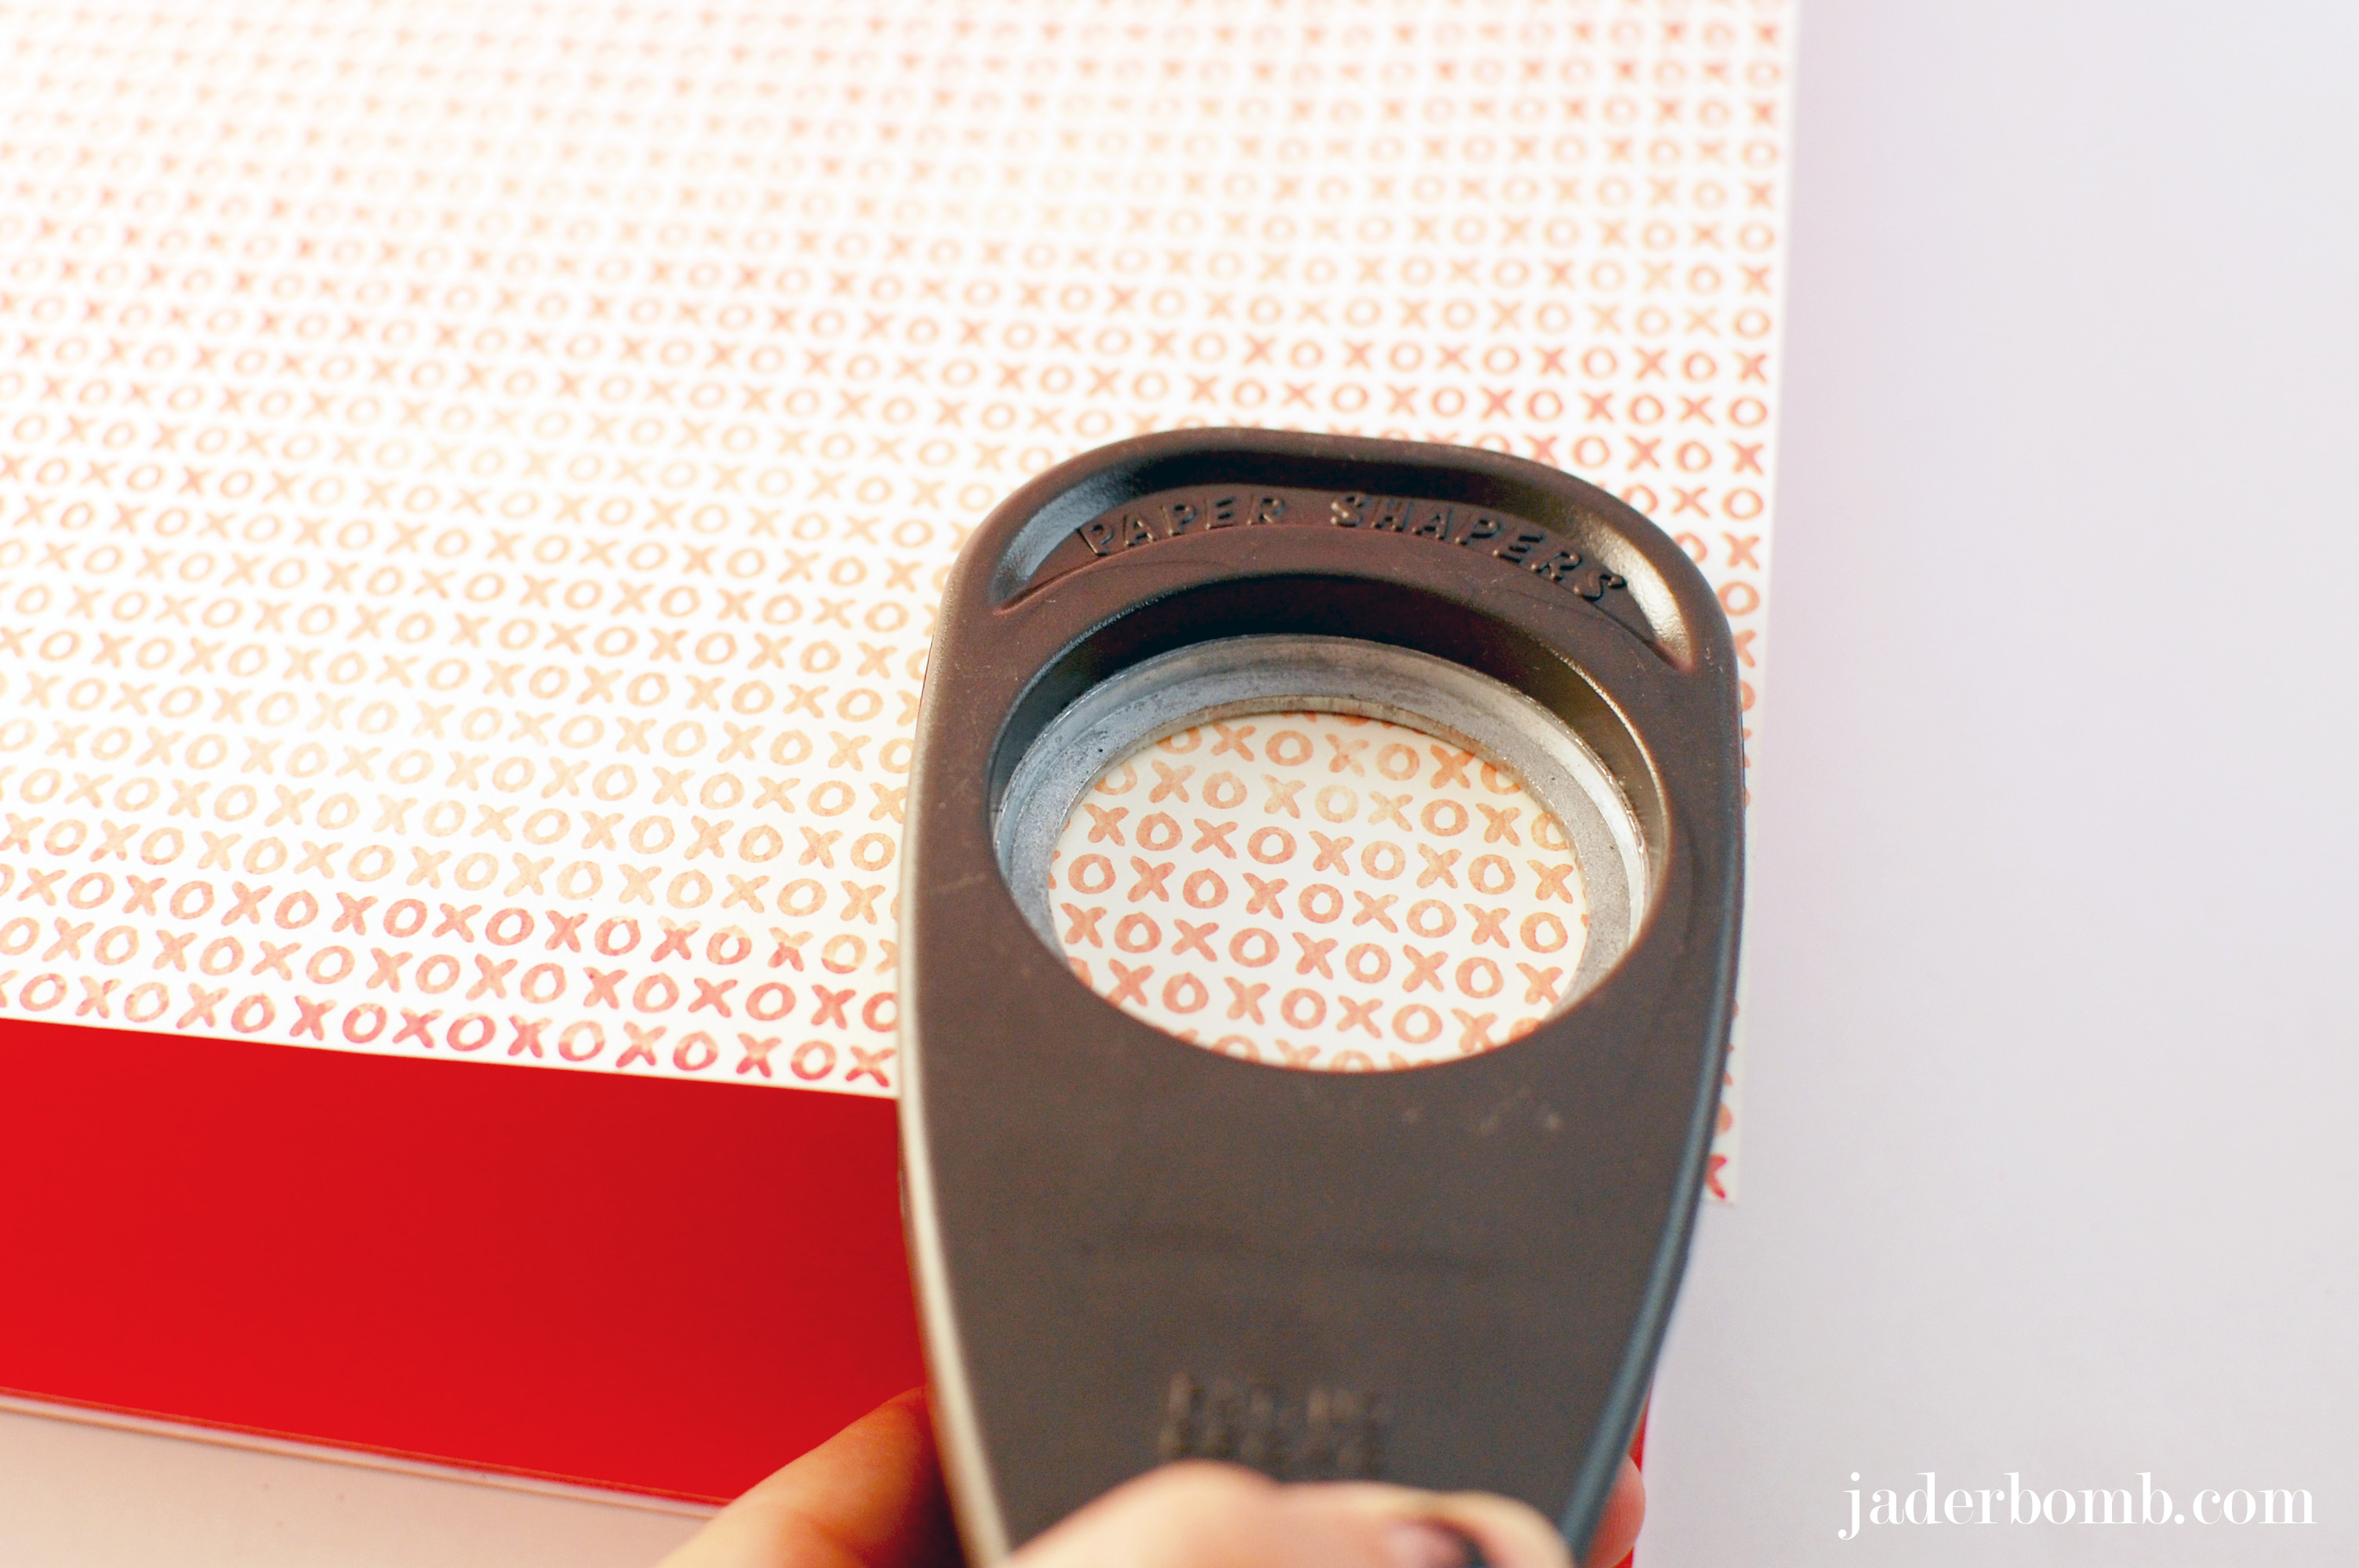
Punch out a circle. I swear when you do one you will want to keep on, it’s addicting.

Valentine-Heart-Wreath

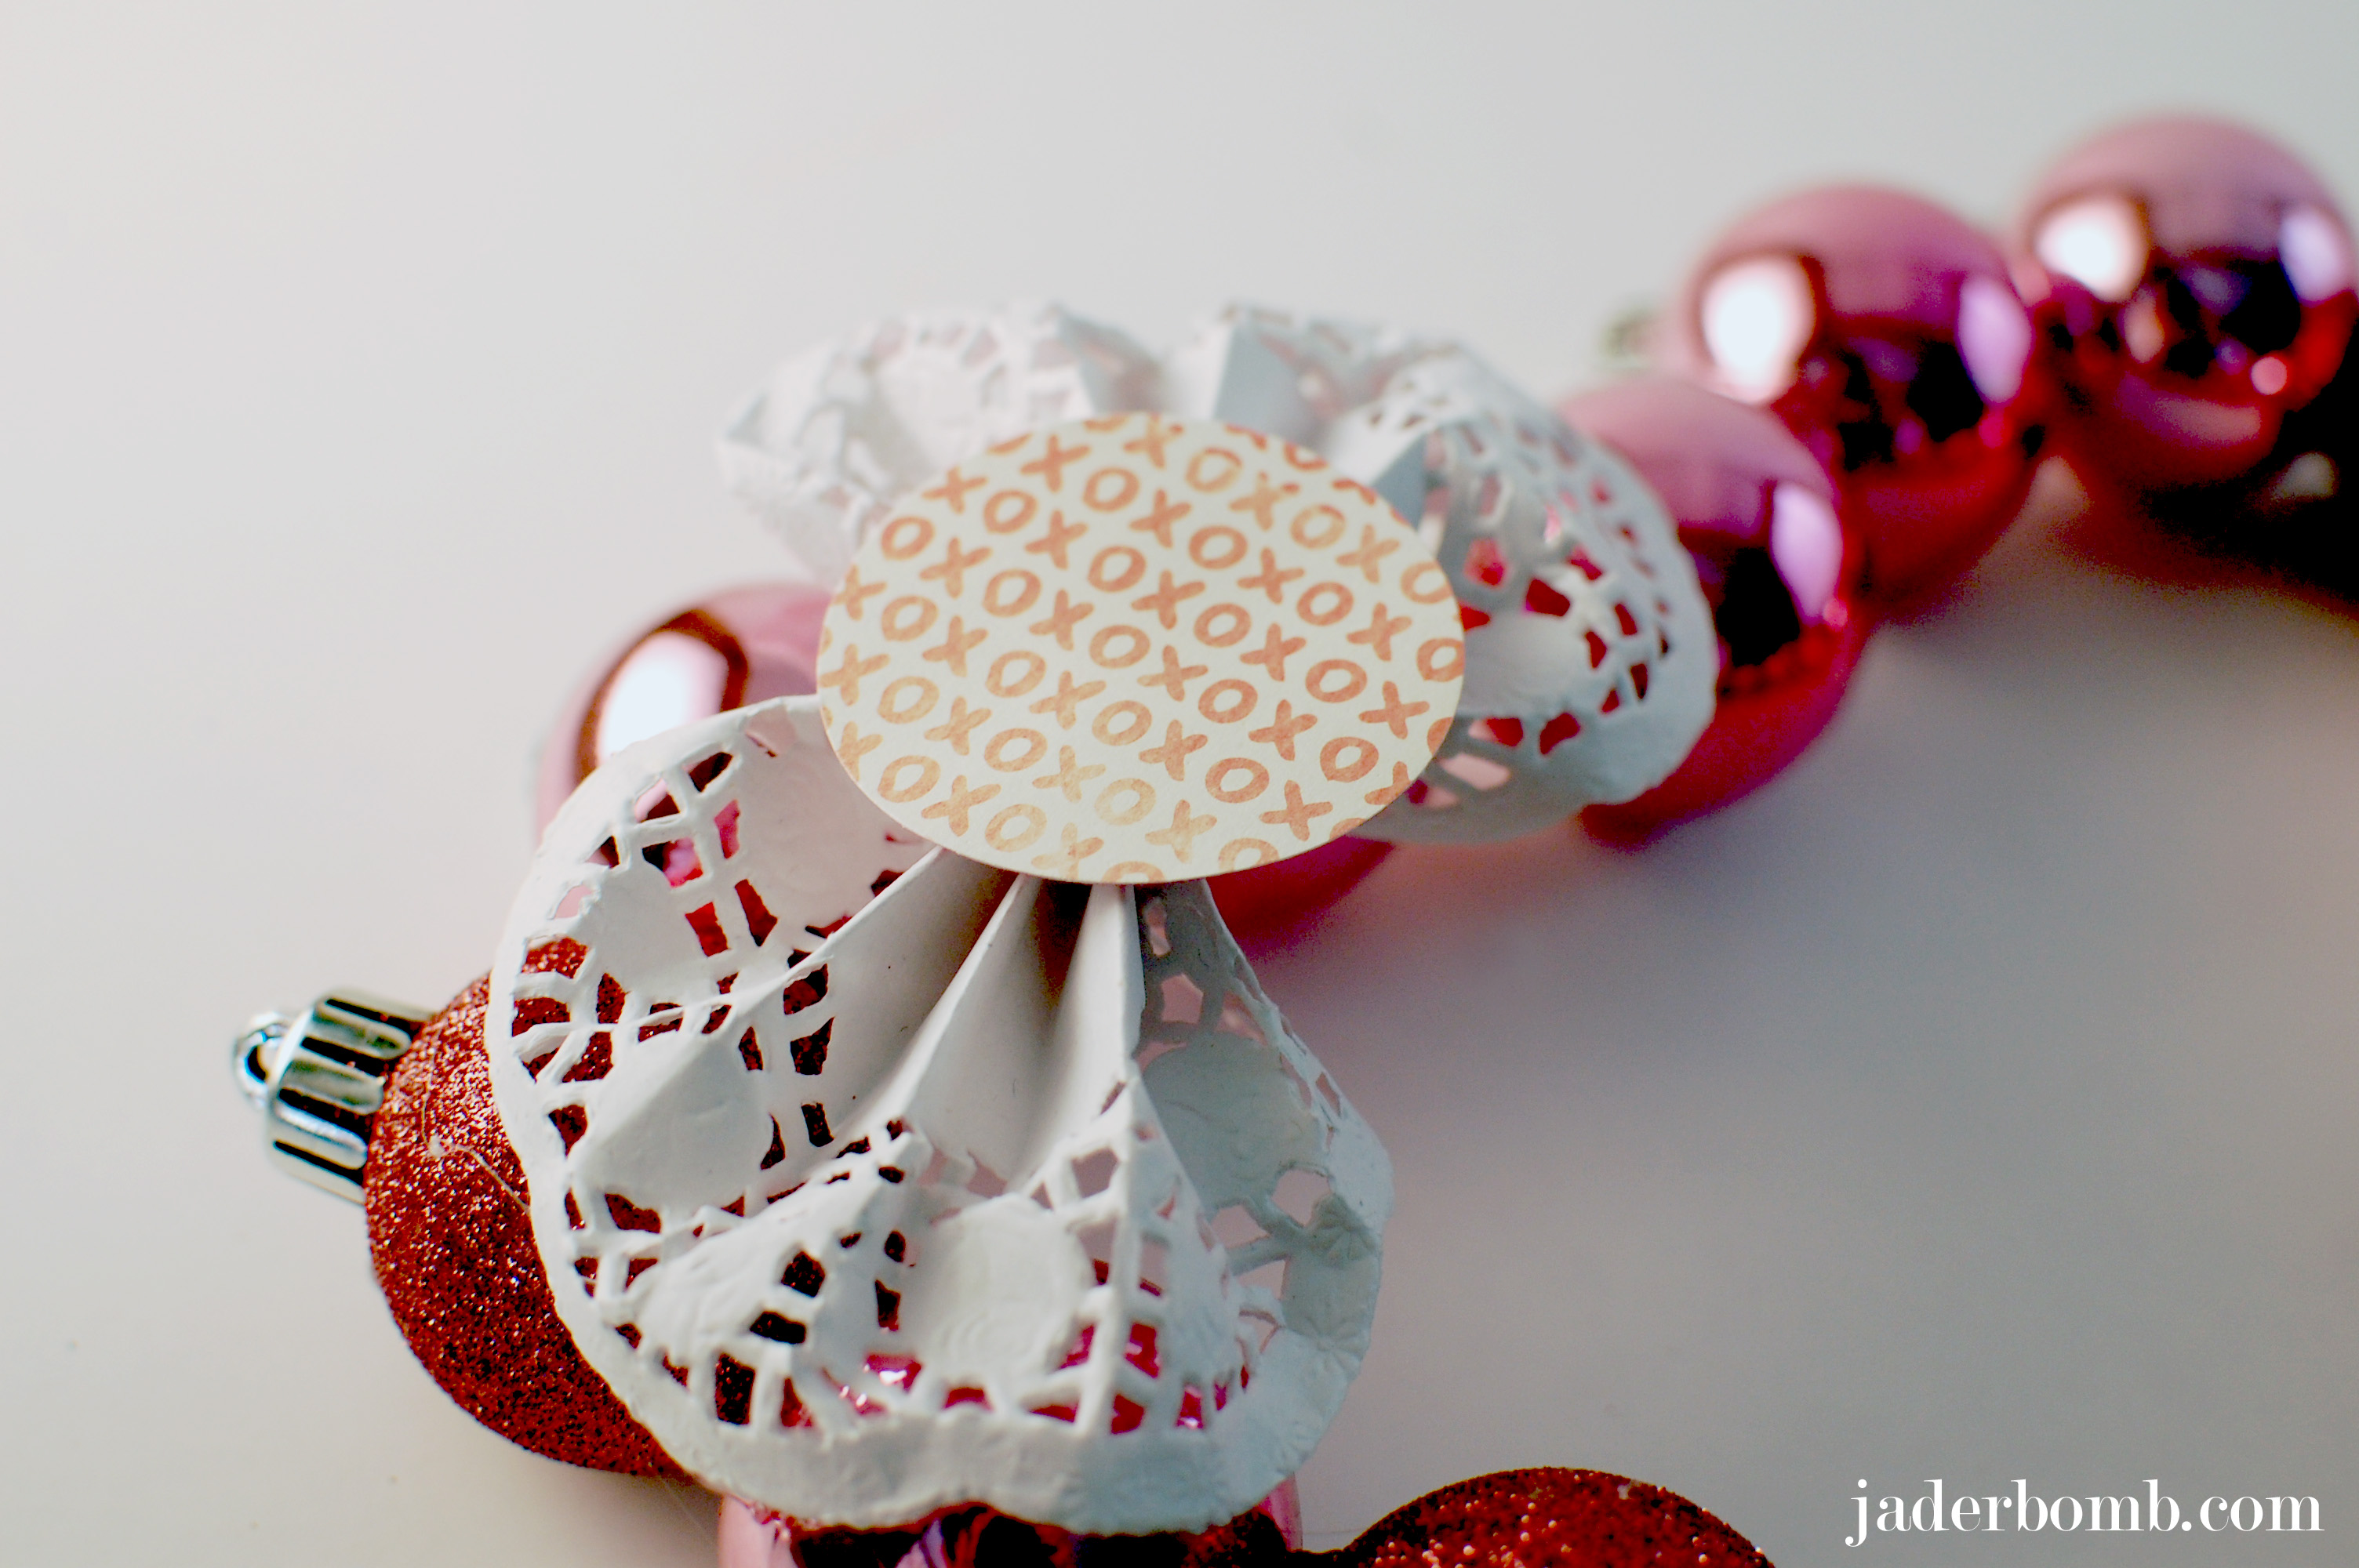
Now is the time you will glue your paper doily onto your wreath, wherever you want to put it. Add your punch out in the middle of doily.

Valentine-Heart-Wreath

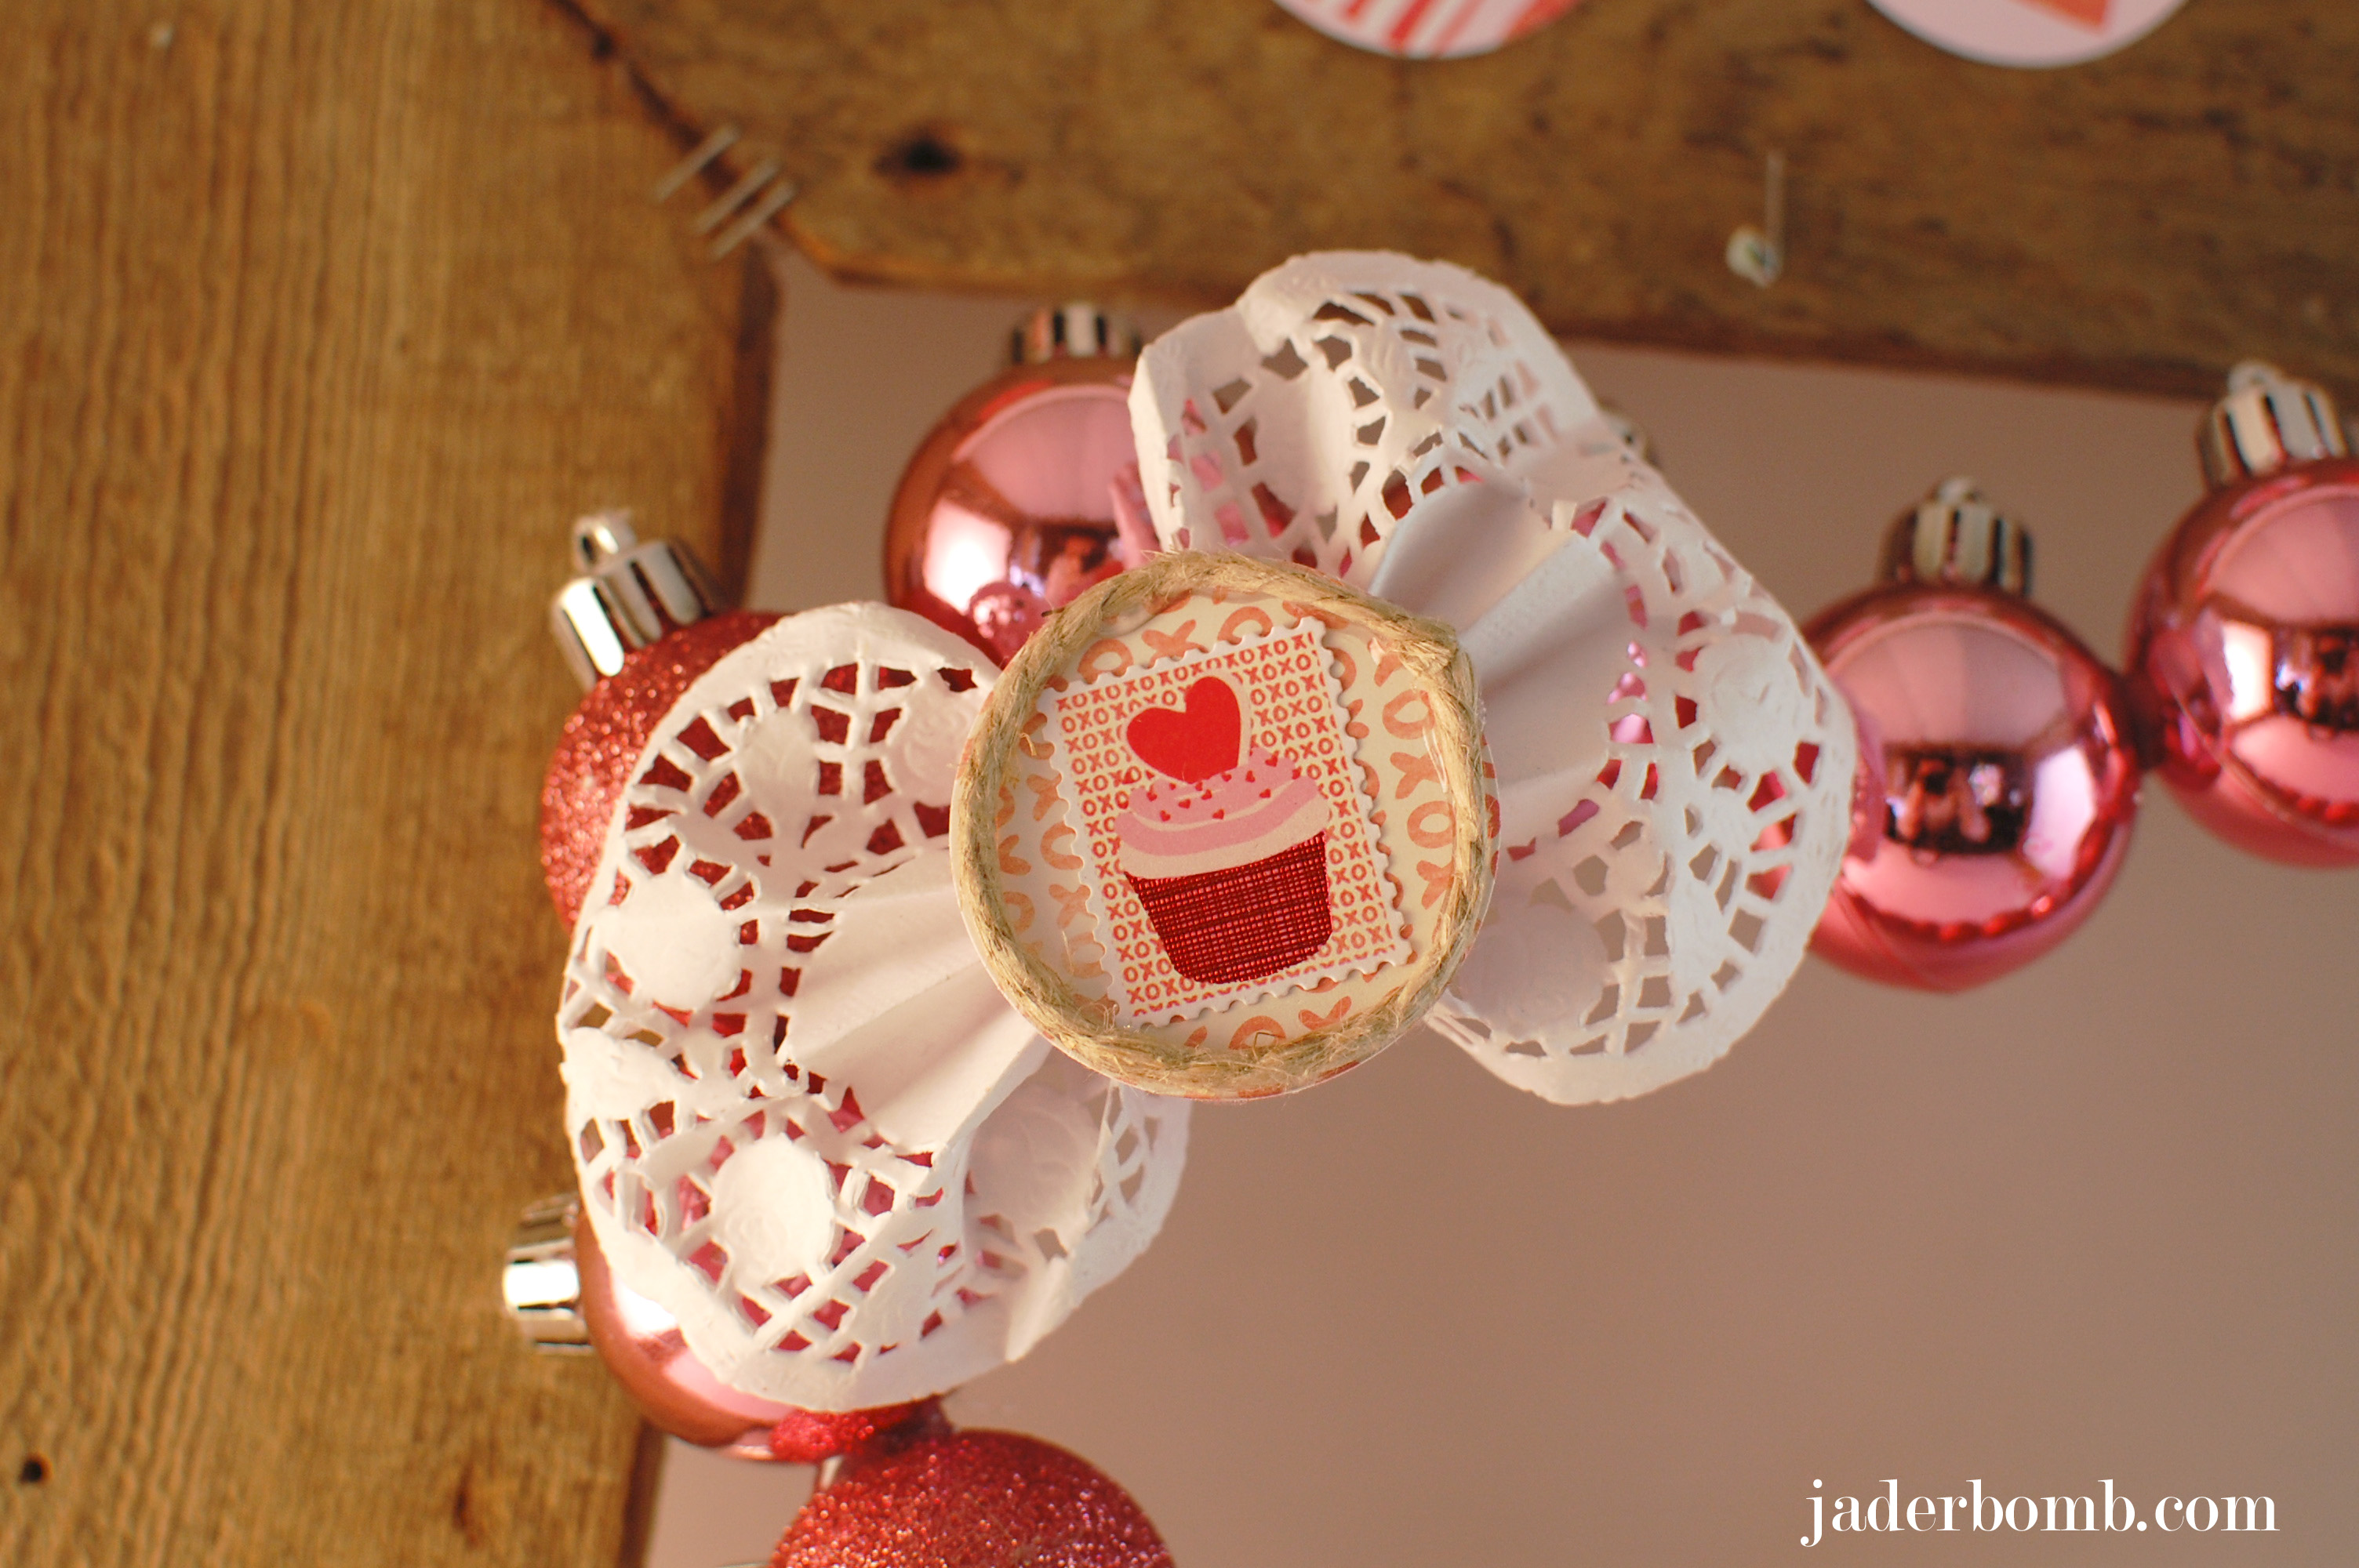
I wrapped a little twine around my punch out then placed a cute cupcake sticker in the middle.

Valentine-Heart-Wreath

So it’s that simple. What I like the most about this is I can keep a fun pink heart up all year round. I hope you enjoyed learning how to make a heart wreath out of ornaments. What is your favorite holiday to decorate for? I’d love to know, let me know in the comment section.

Wanna check out more of my Valentines tutorials? Click HERE.

jaderbomb

Well happy Monday Jaderbugs! I can’t believe it’s 11 pm and I am just getting to write this post.  I could not wait to post this tutorial because I think it’s super cute for this time of year.
The other day I went in the attic to get a “wreath” out and  I realized I had quite a few decorated wreaths. I guess I felt the need for the past 10 years to decorate a wreath and put it in the attic so I can “use” it again the next year. Ehh, no. I don’t think I ever re-used a wreath so I figured I would make a wreath that I can really RE-USE for each season.
Just in case you are wondering I gave the wreath’s to a good home! Let’s get to it.

INGREDIENTS:

*Craft Ring
*Bow
*Burlap
*Glue Gun
*Scissors
*Mini Clothespins
*Stickers 

You can click on the links in the “ingredients” to purchase all of the materials in one spot.

The first thing you want to do is cut out strips of burlap. Your craft ring I am using is wooden only because I wanted something that would be really sturdy. Once you are done cutting your strips then you are ready to glue. Slap a little dot of glue down and start wrapping your craft ring. Over lap the burlap just a little bit like below.

This is what is will look like once it is completely wrapped with burlap. If you don’t know how to make a bow you can always buy pre made ones from your local craft store. Hobby Lobby and Michaels always has nice bows. I bought this black and white one from Michael’s, isn’t it so cute.

The good thing about the burlap is you can add different things to it for different occasions without messing it up. All I did to dress mine up was take some stickers, add some hot glue to the back of it then attach it to a mini clothespin. Remember when we overlapped the burlap? This is why. So we can put the clothespins on each little strip of burlap.

Don’t forget you can do this with flowers and ton’s of other things. So awesome.

I love gnomes so I totally took advantage of Martha Stewart’s little gnome stickers.

I hope you enjoyed visiting with me and my gnomes. See you in the next post Jaderbugs.

P.S. I totally thing this needs to be in a magazine, :).

What will you put on your wreath?

Hellerrrrr, how you derin! Happy “hump” day!

I had the HONOR of seeing my godchildren this week and since they live a goooooood ways from me this was a nice little treat! I told baby girl (god child #2) we would CRAFT! She is just like her Nanny, I swear. I have beautiful Hydrangea’s in my back yard (did I mention BE-YOU-TI-FUL) so we decided to pick some for my house.

See how full they are! Baby girl LOVED them! She said “NANNY, they are pretty like you”… {{melted my heart}}

We picked a BIG bunch of them and headed back to the house. I remember running across this a while back…

I figured this would be the BEST time to get er done. So I said to baby girl “wanna make a FUN wreath to put on my front door” and she said… “NO”. I wanna put them on my picture art. Yep, she said “PICTURE ART”. So guess what we did.

PICTURE ART.

It really was a fun and exciting thing to do considering I have NEVER used fresh flowers before on a craft. We went in my studio and I gave her a shoe box top and said, “get what you want”. These are the things she grabbed.

INGREDIENTS:

I love all of the things she picked. Confirmed to me that she was MEANT to be my GODCHILD!

So we started crafting. Well, I should say SHE started crafting. I let her make all of the rules and she took off! Just goes to show you if you allow your mind to be FREE it could create some pretty amazing things.

Yep! This is part of her “FINAL” piece! How lovely is it! The flowers are all brown now but the memory is still there. I mean, isn’t that what really matters!

I love you Bay!

P.S. Please help us bring
MICKEY SHUNIK HOME!!!

http://findmickeynow.com/


We love you MICKEY!