This is a sponsored post by Darby Smart. I was given a free kit to review and compensated but all opinions, as always, are 100% my own…Pinky Promise!
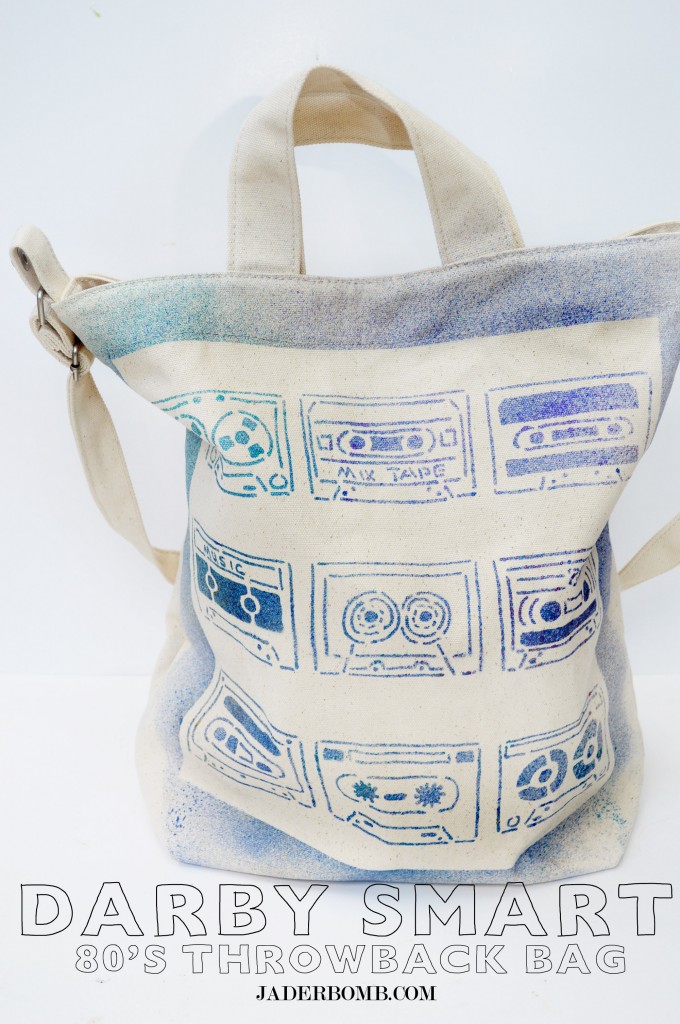
What is Darby Smart?
At Darby Smart, leading designers launch simple DIY projects based on the latest fashion and home trends.
We turn their projects into kits that include chic materials and simple instructions, and send them to you. Create a unique design and show off your style.
It’s like an online vacation for DIY addicts. You can visit the site, find a project kit that is interesting to you and voila. This is what makes this company stand out from others! When you visit this site you will notice that the layout is very user friendly and each project is up to date, trendy and ridiculously cute!
I was so stoked when I received my Darby Smart 80s Throwback Tote Bag kit in the mail the other day. The box was sitting at my front door and I instantly knew what it was. How did I know? Maybe it was the fact that the box was a bold teal shade and the sides were filled with white chevron stripes. Yes, I kept the box. You already know I am a box hoarder.
I have one goal in mind. To create a killer 80’s bag that I could pull off wearing with anything.

*Tulip Fabric Spray Paint (yes these colors are amazing and metallic)
*Baggu Tote Bag
(which is legit)
*Tulip Sponge Dauber
*Ronda Palazzari Cassette Tape Stencil
(this alone is an art piece)
*Aleene’s Tacky Adhesive Spray
(this was not in the kit but I use for all stencils)
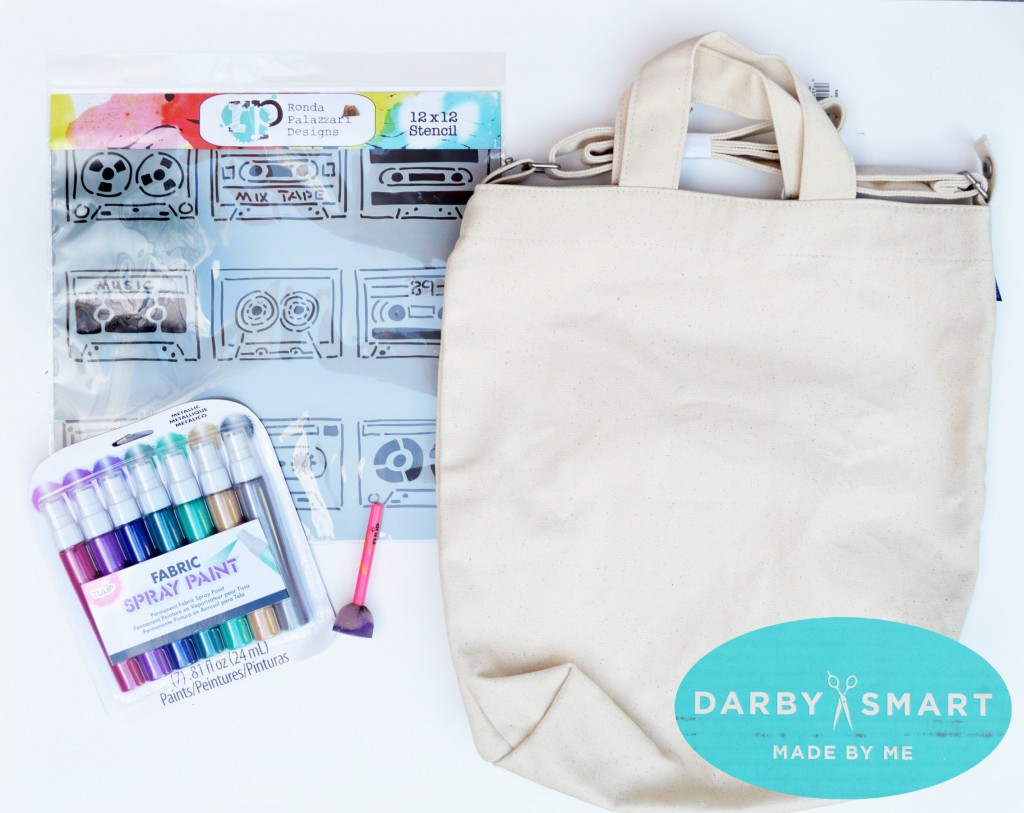
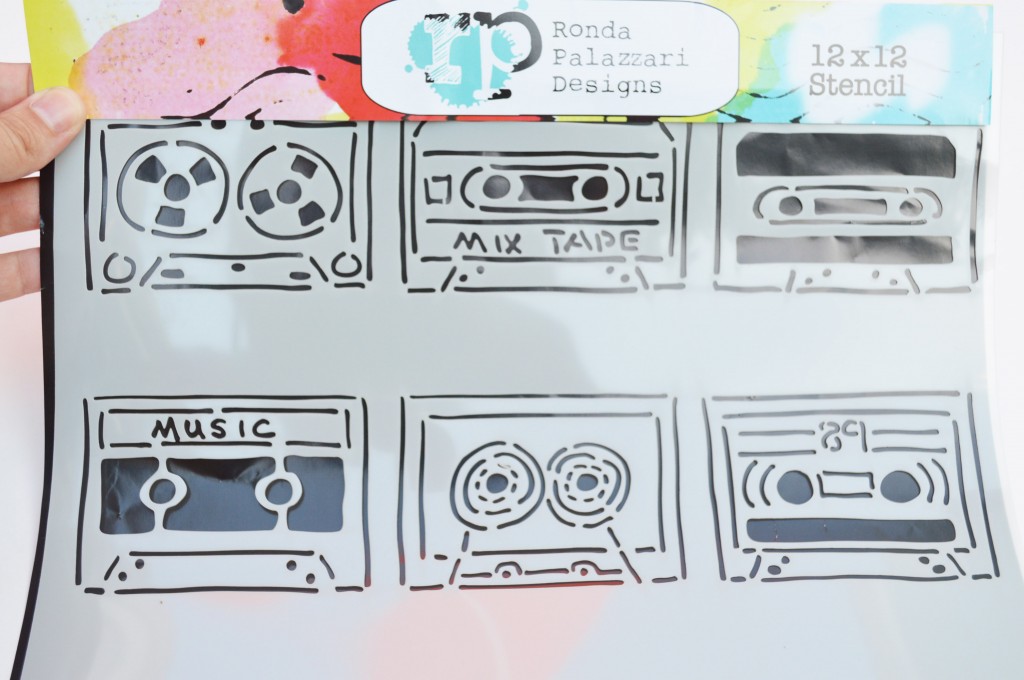
I am in love with these stencils. They truly scream 80’s graffiti! The second I saw them my brain was going crazy. I can’t wait to play with them some more.
If we are going to talk about falling in love with something else it’s Tulips fabric spray paint. When you use these once just consider it an addiction. I promise you will find anything and everything to spray paint.

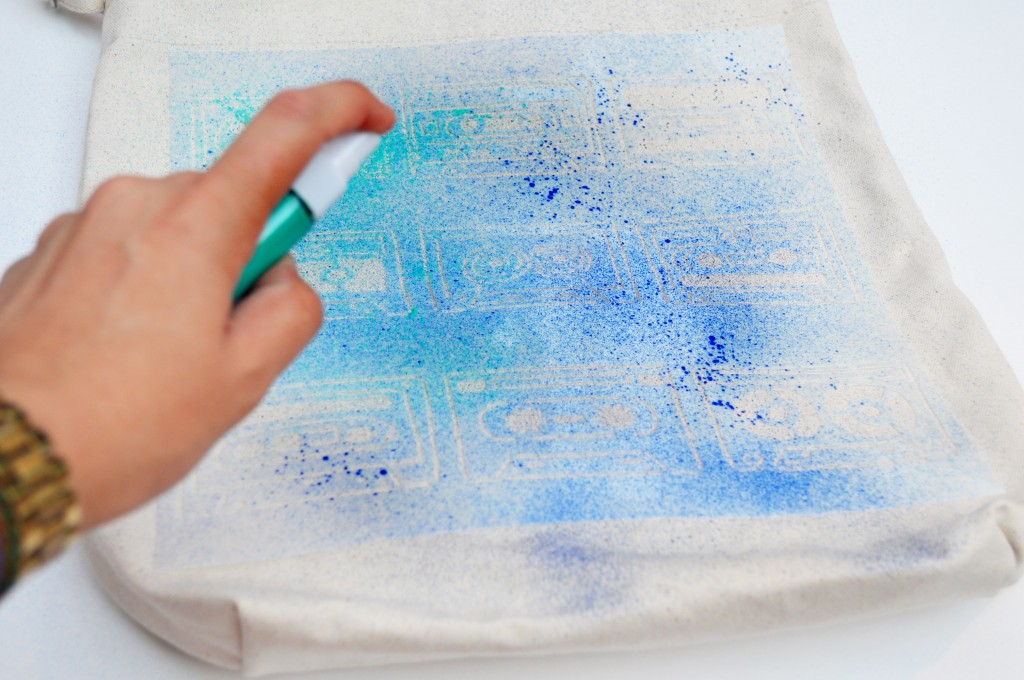
The first thing you want to do is place the stencil on the bag where you want it. I wanted to use the entire stencil since the each cassette was uniquely designed. I used a little tacky spray on the back of stencil to hold it in place. This really prevents it from moving while you are working with it.
I am going with a true 80’s graffiti styled bag.
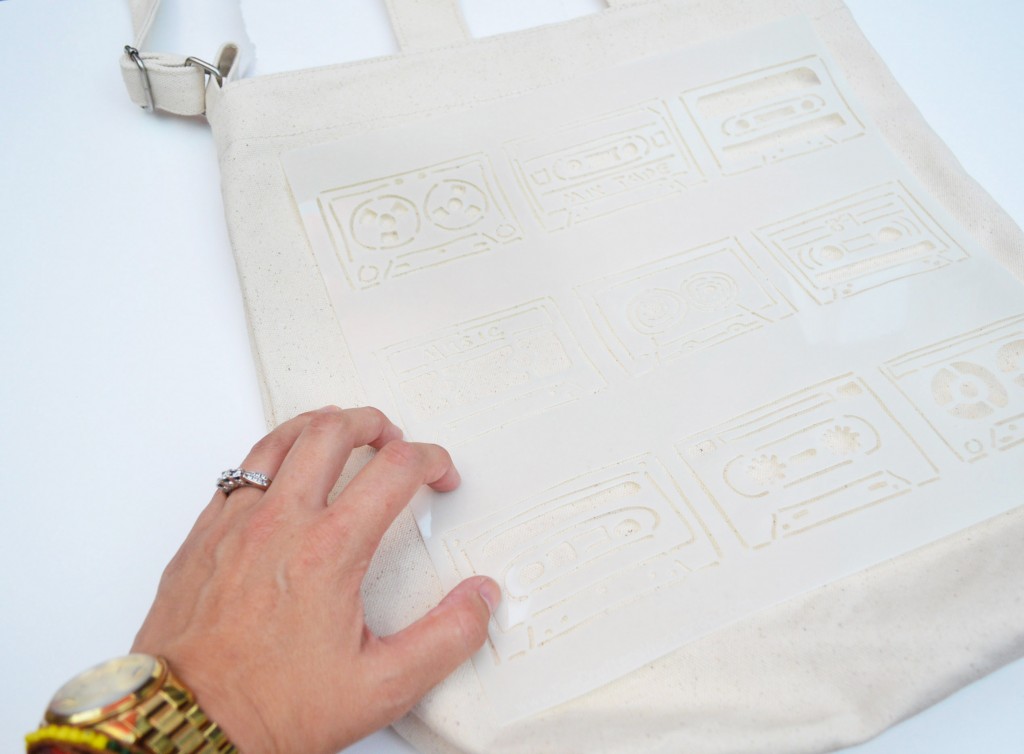
Once your stencil is in place start spraying away. Since each of the metallic sprays make my eyes sing with joy I decided to use all of them. Why not! These sprays are amazing and need to be seen! When you are done let the paint dry. I usually let it sit for 1 hour before I remove the stencil.
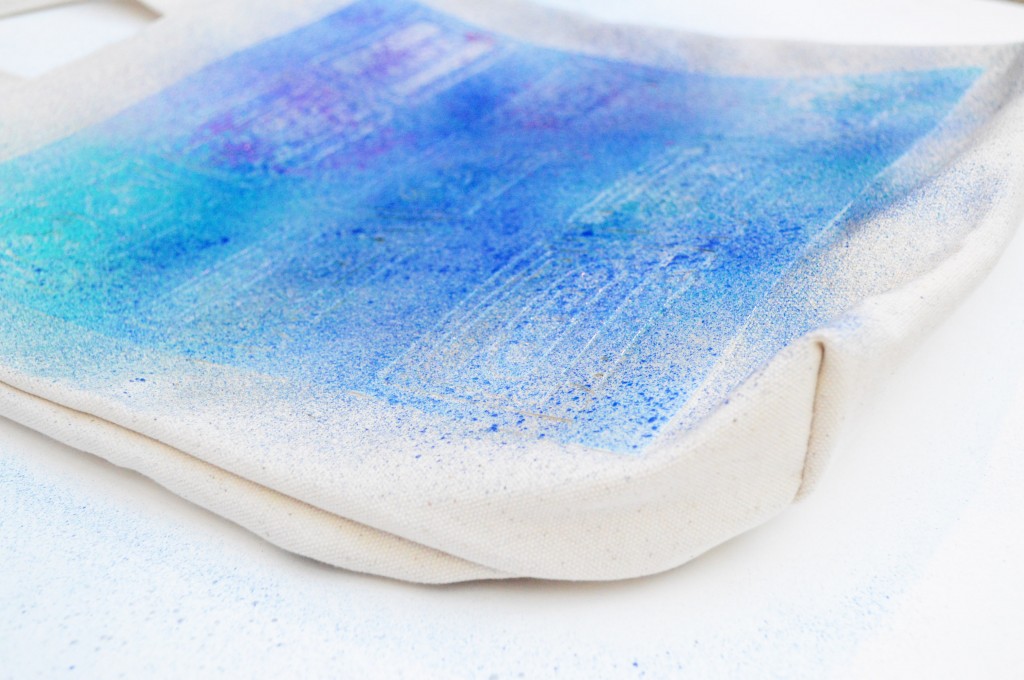
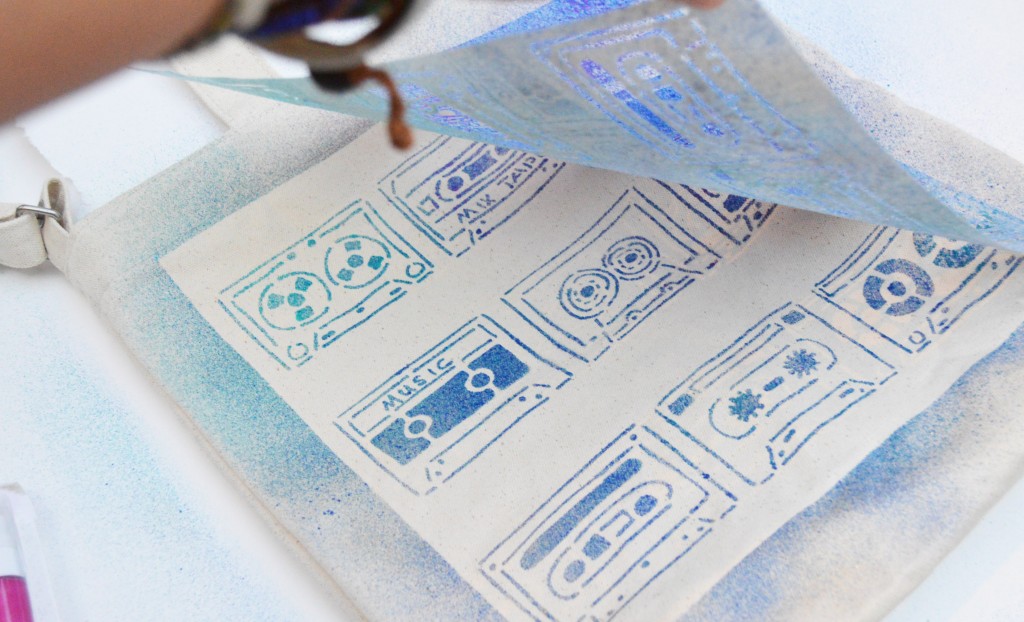
The best part is when you take the stencil off. It’s like magic, y’all! I only designed one side of the bag but you can do it on both sides or wrap the image around the entire bag. If you only want to use one of the cassettes you can place it where you want then tape off the others. Don’t you worry, I made a shirt to go with the bag also!
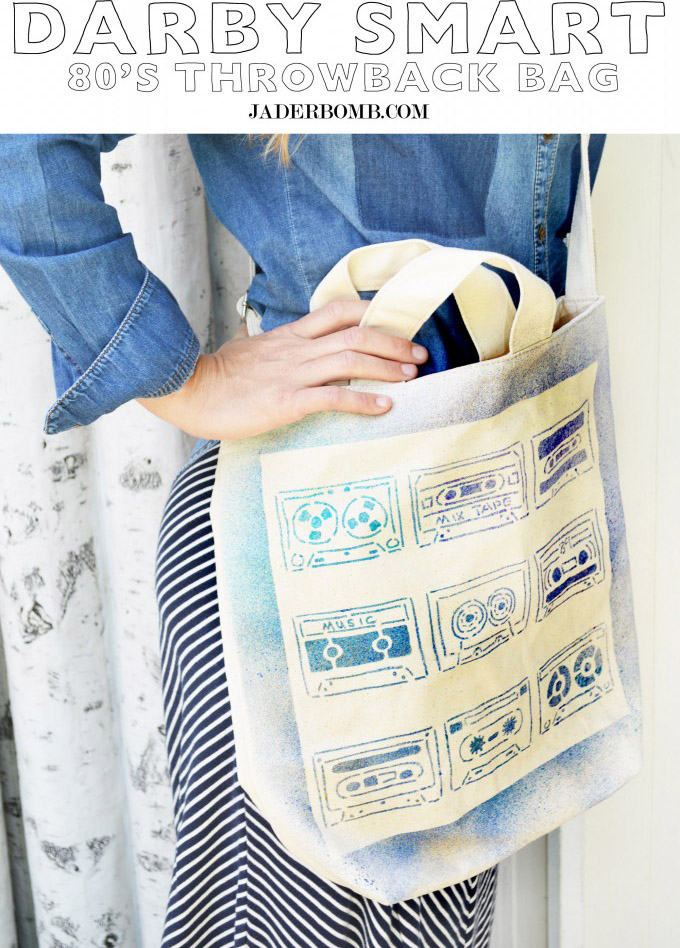
I hope you enjoyed this post and don’t forget to order it! If you want to see the other kits they offer check them out here and don’t forget to check out all of the fun things I Love to Create has going on right now.
HUGE GLITTERY HUGS FROM ME TO YOU,

This is a sponsored post by Darby Smart. I was given a free kit to review and compensated but all opinions, as always, are 100% my own…Pinky Promise!
© Copyright jaderbombllc, All rights Reserved. Written For: JADERBOMB

You really allow it to be appear to be very easy as well as your powerpoint presentation on the other hand to get this subject for being seriously something In my opinion I will certainly not realize. This indicates too intricate and very substantial personally. My business is having a look ahead inside your pursuing article, I will seek to purchase the your hands on this!