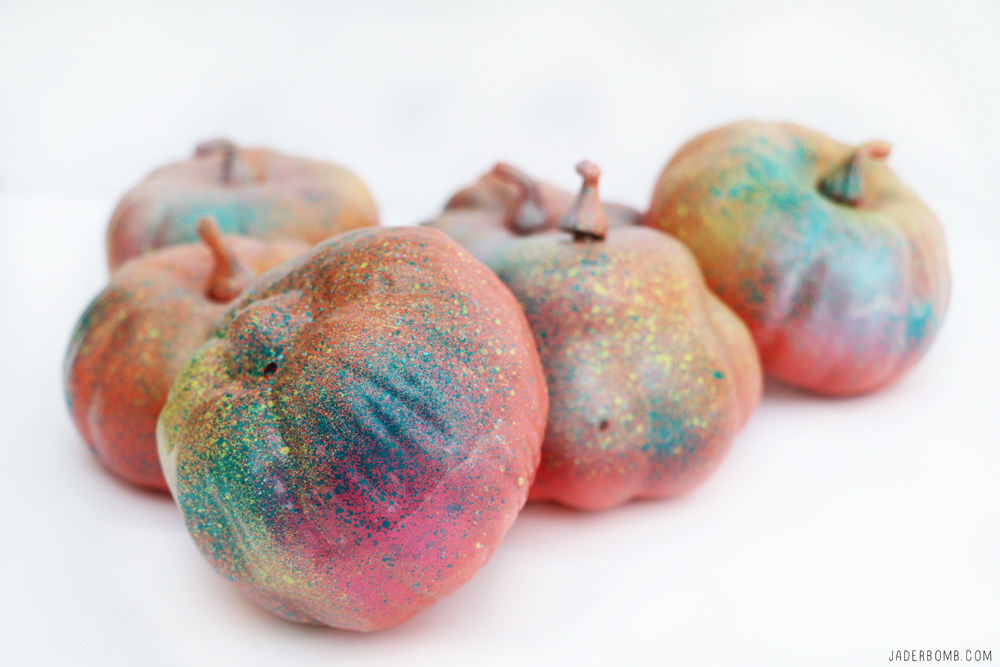
The Simple Secret to Spray Painting Pumpkins! 

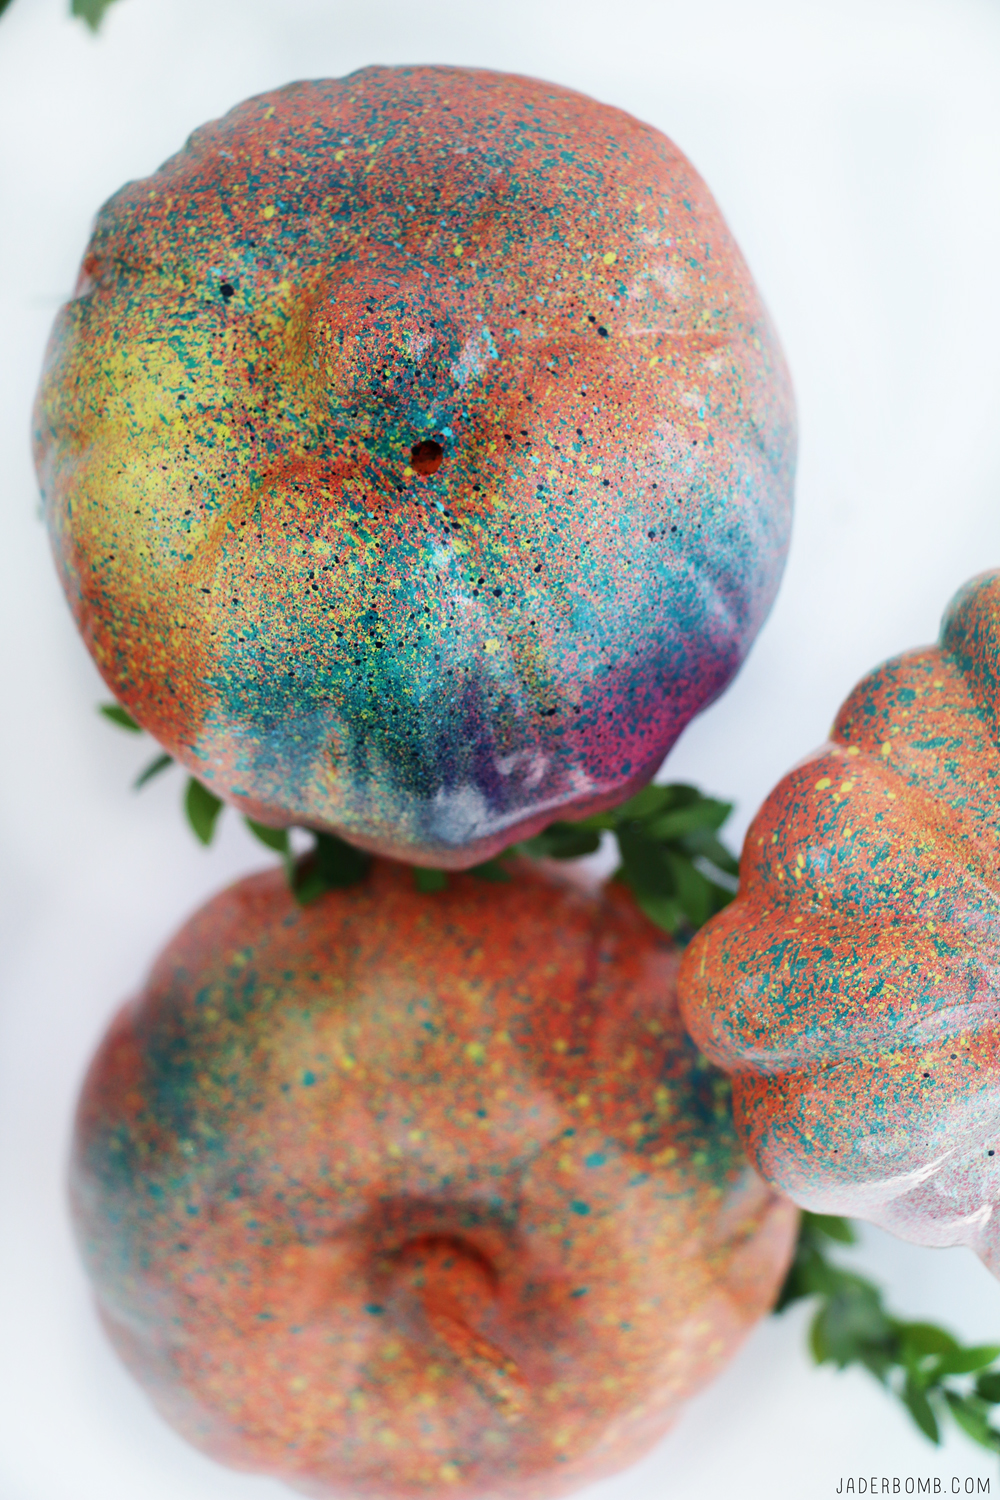
Today I am super stoked to show you how to turn boring pumpkins into graffiti inspired works of art!  There is just something about this time of the year that makes me feel wonderful inside. Let’s get started with our spray painted pumpkins!
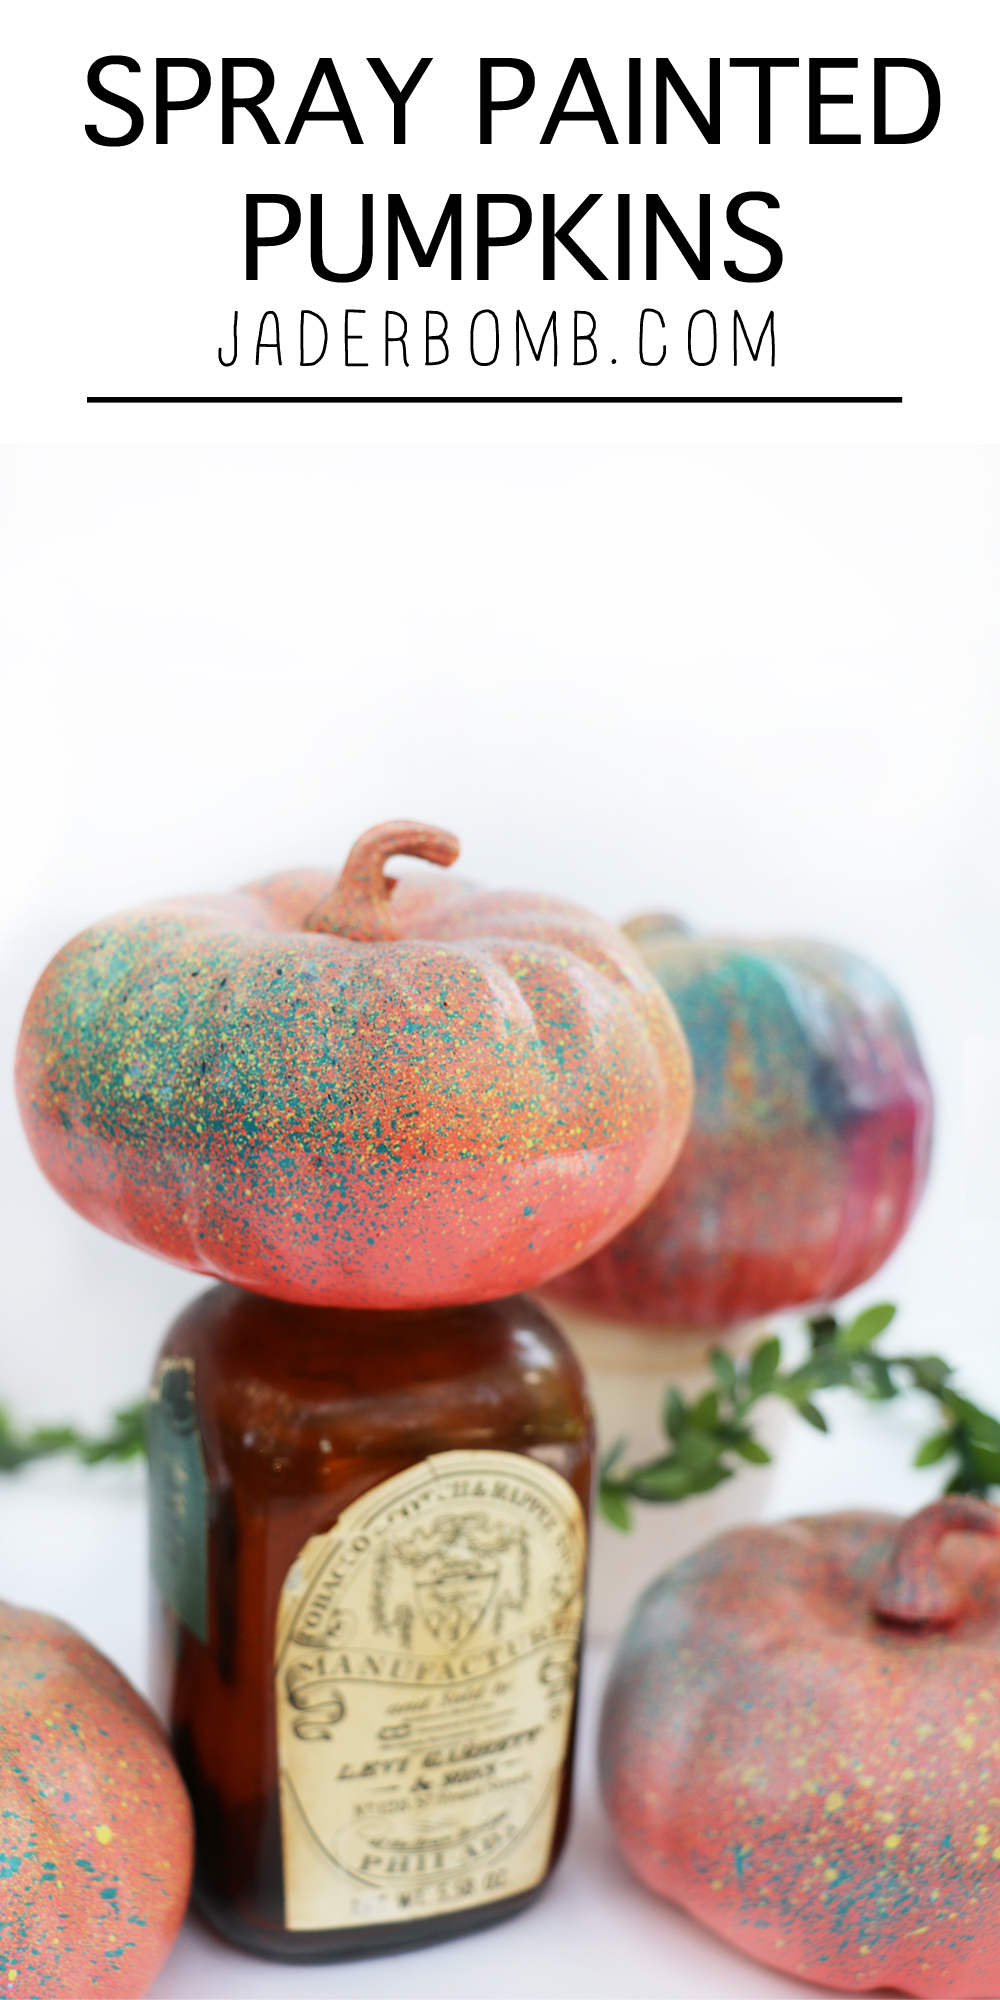
Things you will need for this project: Faux Pumpkins (any size will work) and spray paint

(These are affiliate links: Click on them to purchase all the items I used in one spot! Yo, I am just trying to make life a little easier.)
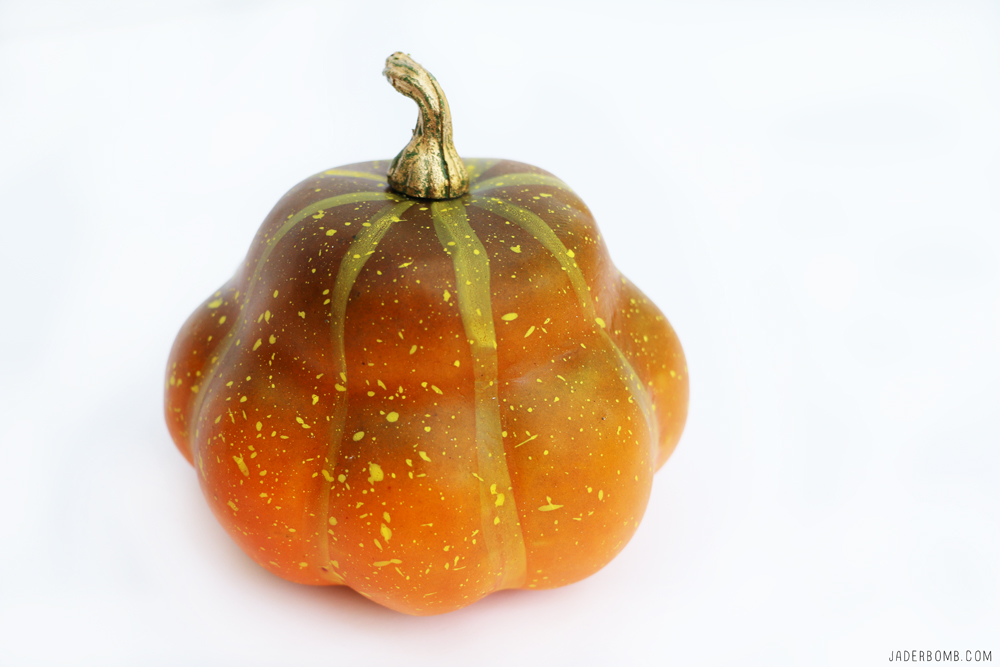
The first thing you will do is create a clean space to spray paint. I suggest in the back yard so over spray doesn’t get on anything. Plus you will walk away with patches of colorful grass if you do it properly! I think we all need a little color in our yard, right!

I used Rust-Oleum spray paint for this project. I prefer them amongst other spray paints mainly because they spray evenly and let’s not forget that the colors are simply amazing. 
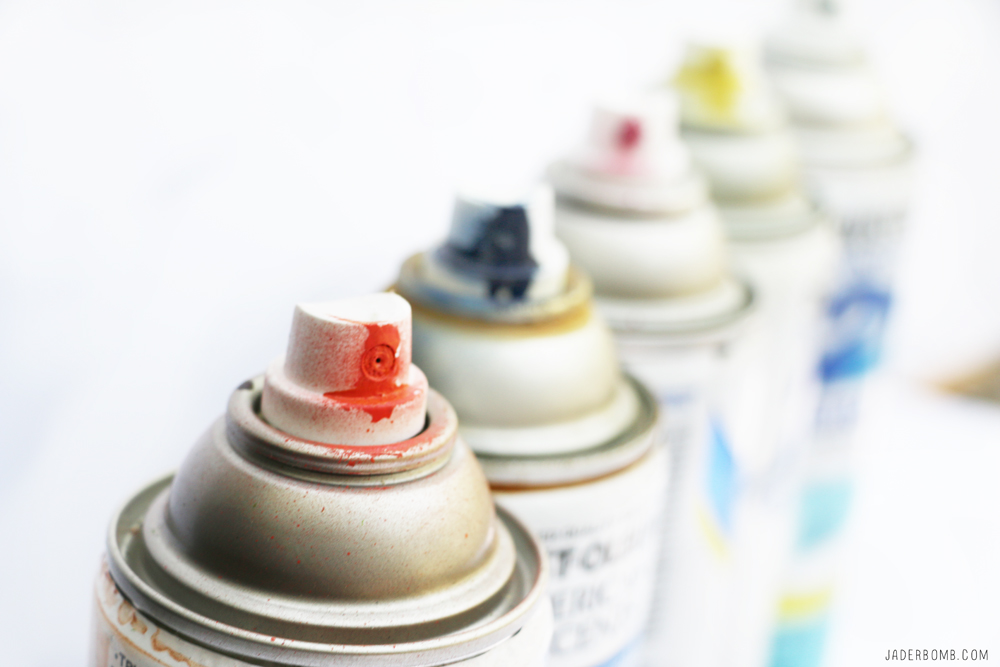
Lately life has been hectic and for some reason I have been feeling the urge to spray paint on a building or wall. Since I can’t just go around doing that I figured blasting pumpkins was my safest route. First thing I did was lay each pumpkin on a clear piece of paper and spray the top portion of the pumpkin. Whatever you do don’t spray the top and then flip the pumpkin over to do the underneath. This will result in an epic failure! Know why? Because the top of the pumpkin will stick to the paper! Just let the top of all the pumpkins dry then flip over and do the bottom. 
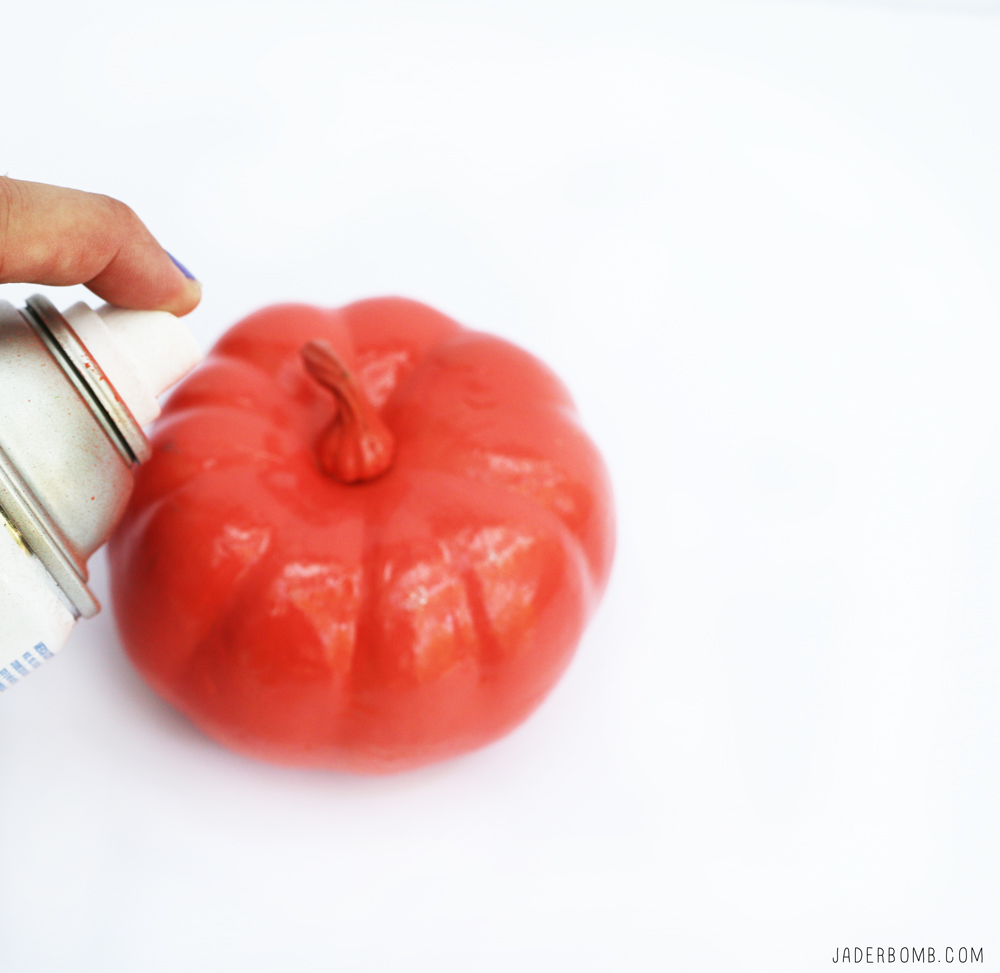
Repeat this process until you pumpkins are coated completely. Once this step is done and all of the pumpkins are completely dry we can move onto the destructive part of the process! 
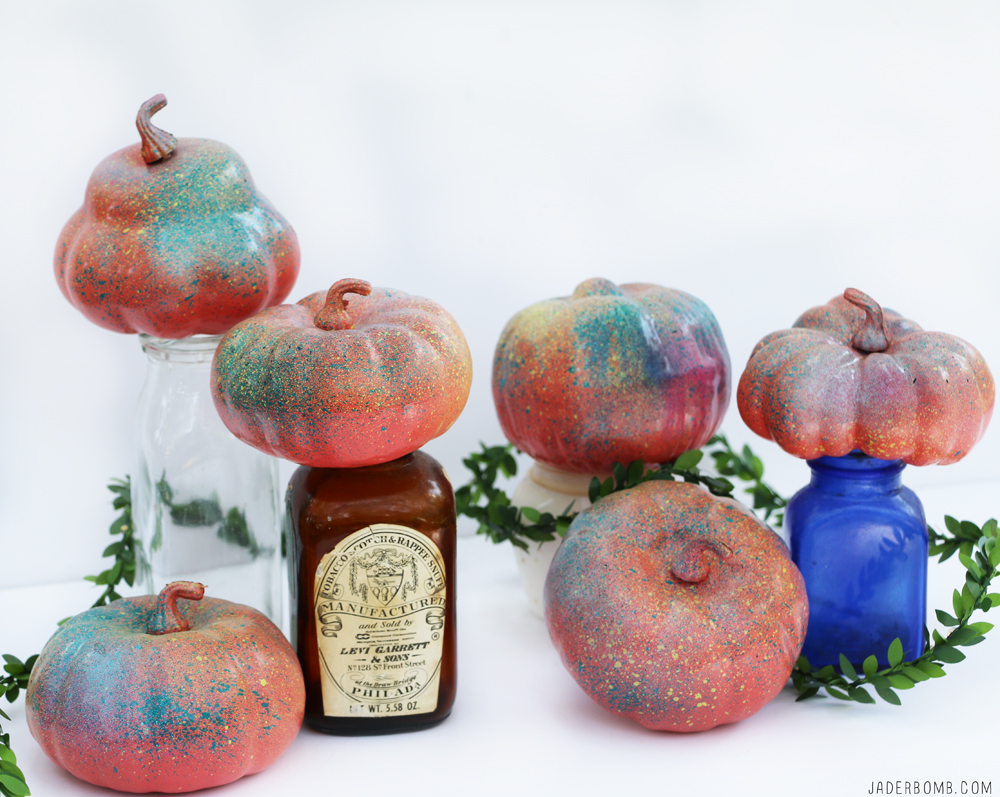
Time to grab all the colors your heart desires and get at it! I started with one color and you want to LIGHTLY tap the nozzle to send out a spritz of paint onto the pumpkin. It’s as if the spray can is spitting onto the pumpkin, haha!

I applied my first “spritz” of color onto all of the pumpkins and then let it dry. Following that you will do the same thing with all of the colors you chose. Now take my advice, you don’t have to use all the colors I used but if you know me, you know I love color.  One tip of advice when doing a project like this. If by any chance you are spraying a certain color and too much comes out don’t sit in the corner and cry like I did. Just grab another color and lightly spray right over it. That is the good thing about this project, you can’t mess up because you can always fix boo-boo’s. 
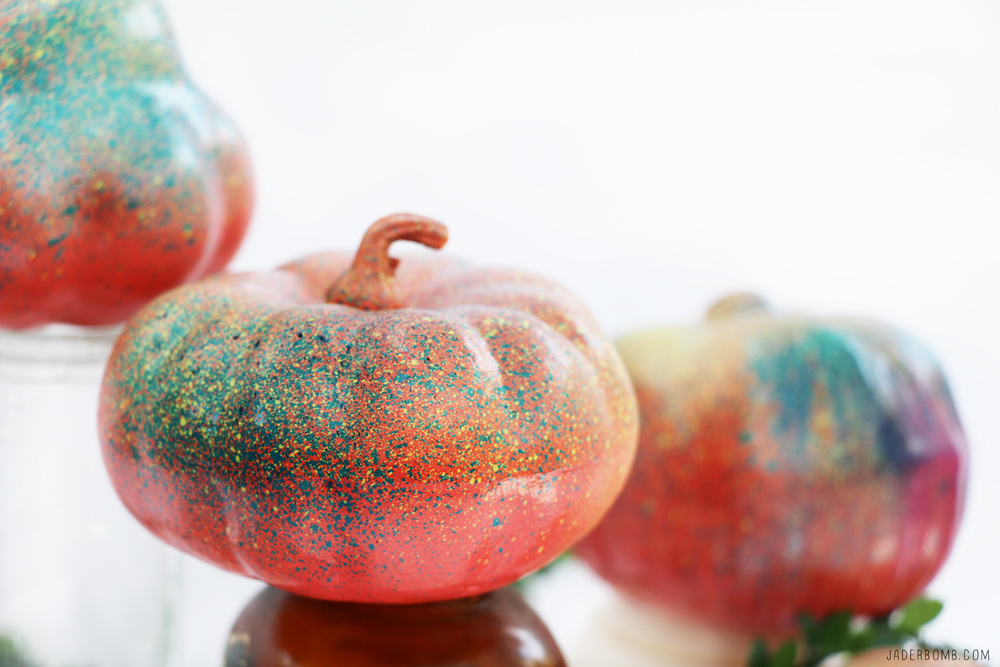
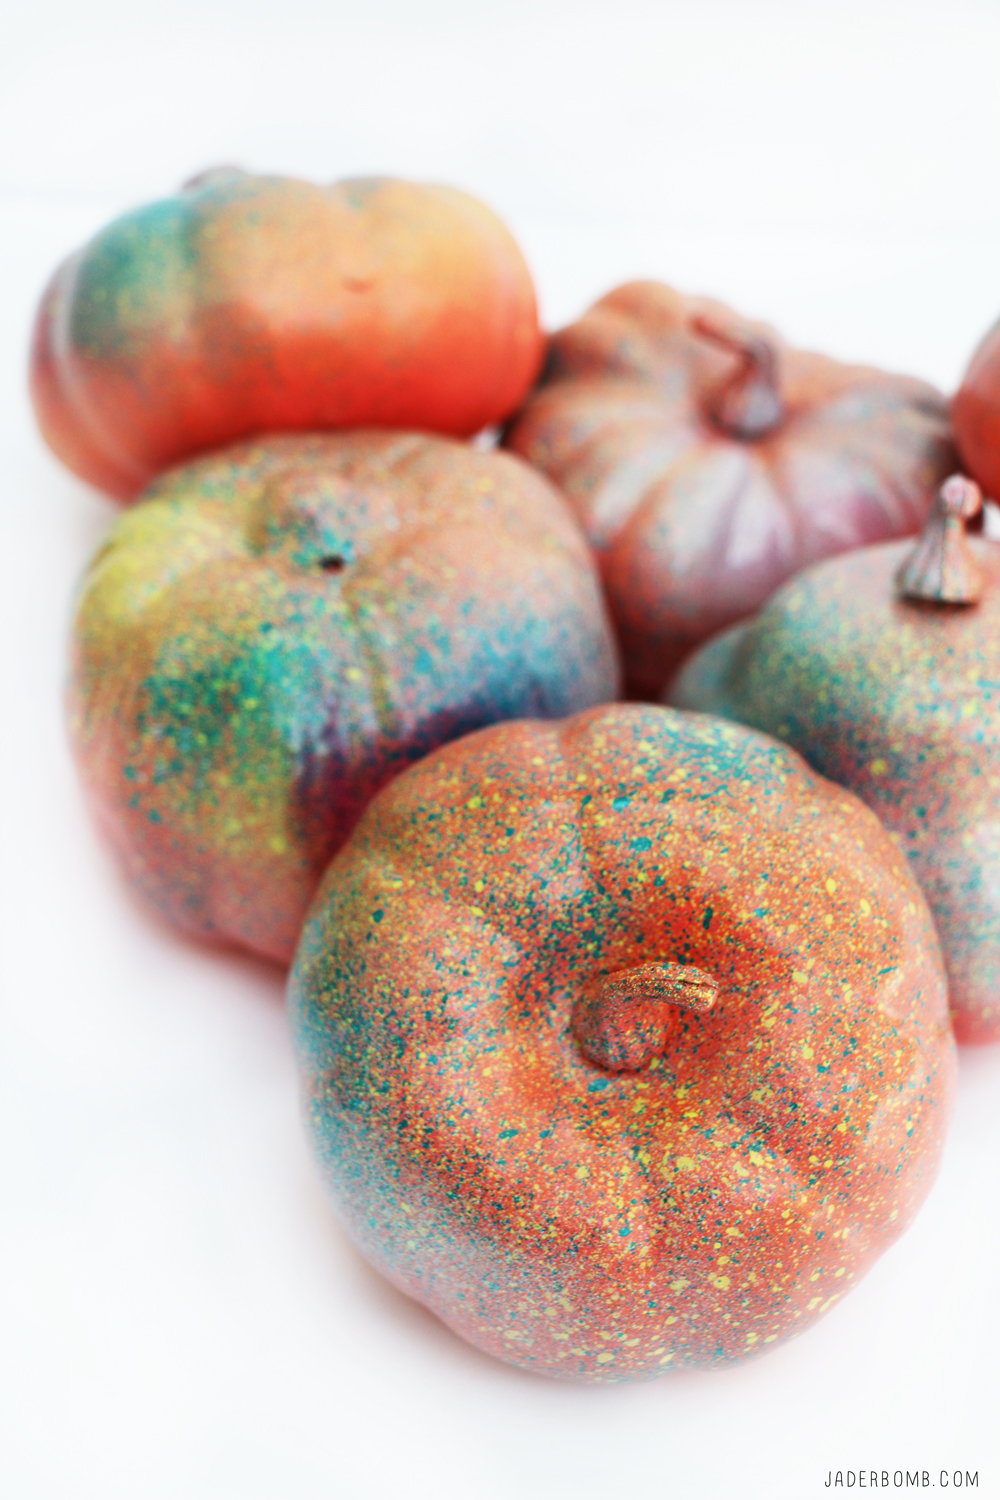
Are you dying over how beautiful and easy these are spray painted pumpkins are? I know I am. I love these because once Halloween is over you can keep them up during Thanksgiving. You can even use more “Fall” colors to change the color palette. 

Now you are asking…what do I do with these when I am finished? That is a really good question. You can throw them into a nice vintage bowl and place on your living room table like I did or you can line them up down the middle of your dining room table for a more modern look. 

Another fun thing you can do is hot glue them onto a wreath with other faux flowers and voila, you have a one of a kind DIY wreath. 
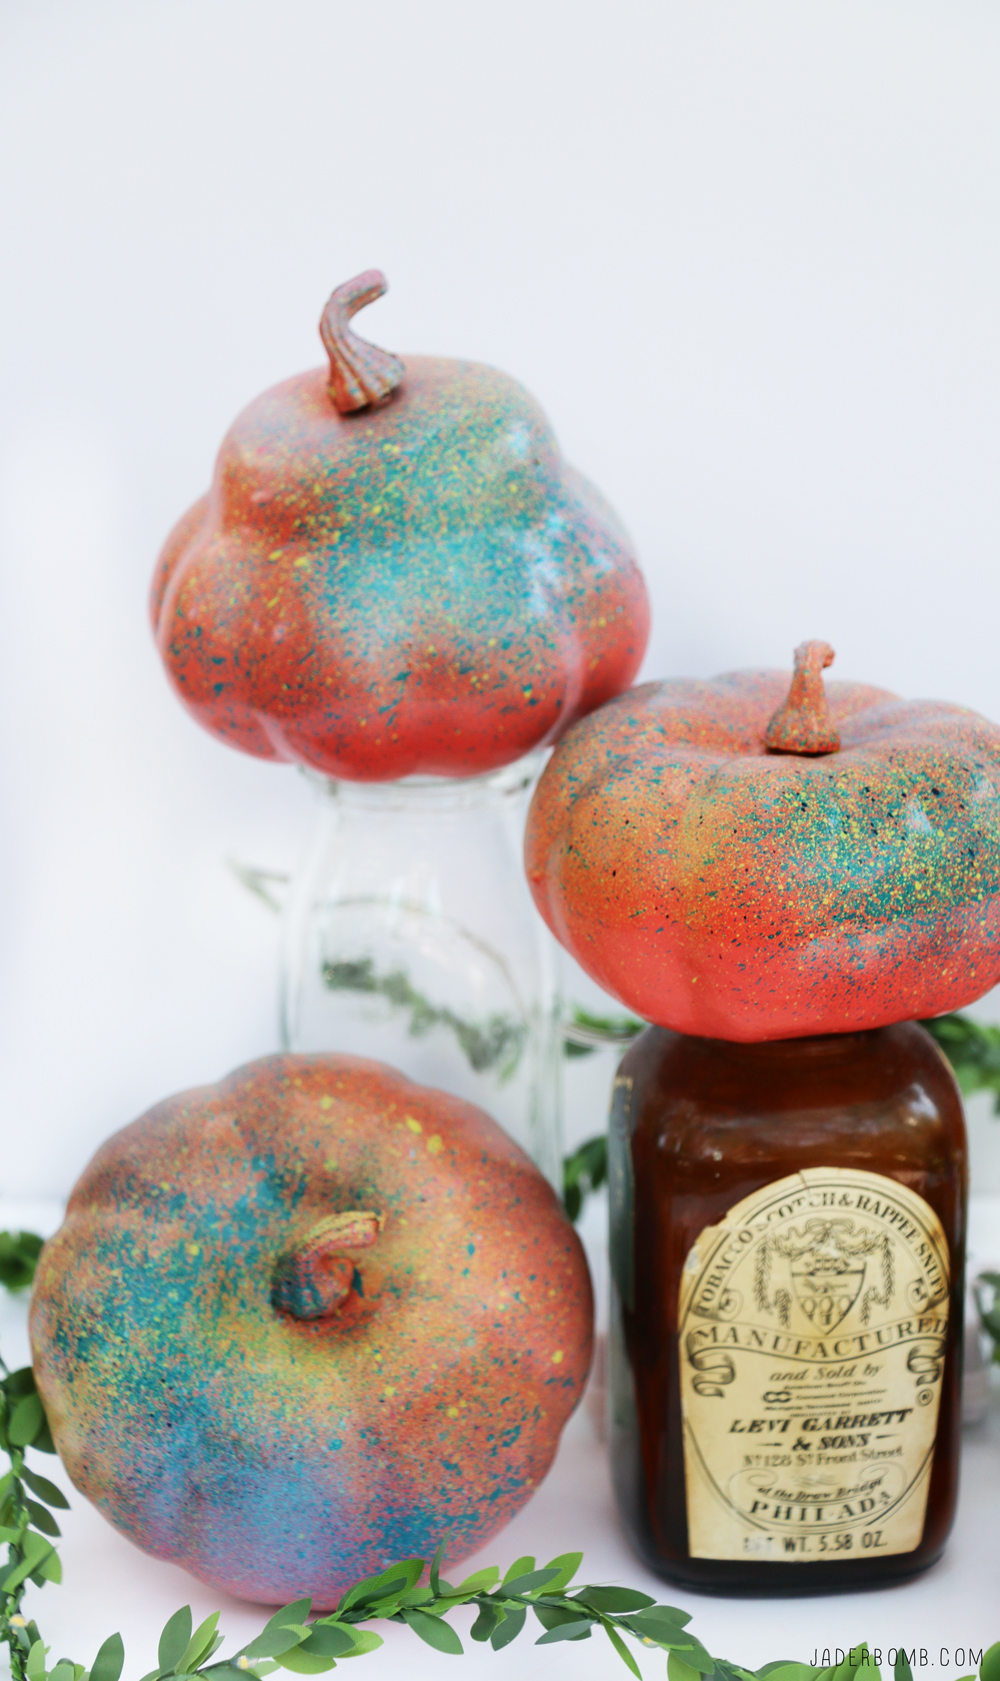
You can even place them on the top of vintage bottles like I did and make that your centerpiece. The options are endless especially if you have a crazy mind like I do! Remember when I did these Halloween houses I will say one thing I wish I had was a mantle to line these spray painted pumpkins on. However I have good news, my dad will soon be helping me make a faux one so stay tuned. 

On another note, if you love all things rainbow like I do then you need to check out these pumpkins I made last year!
Currently it is 5 am in the morning and I am just UP… Jamming to sweater weather and feeling excited that it’s my son’s Homecoming weekend. Did I mention his last one? Am I really the mother of a senior? Where does time go is what I want to know. 

I hope you enjoyed this project as much as I did! See you in the next post, until then hugs from my computer to yours!

Don’t forget to follow me on all of my social media channels because I love all of you to pieces!!!! 

FACEBOOK | INSTAGRAM | TWITTER | PINTEREST 

You won’t believe what I did with Moss!

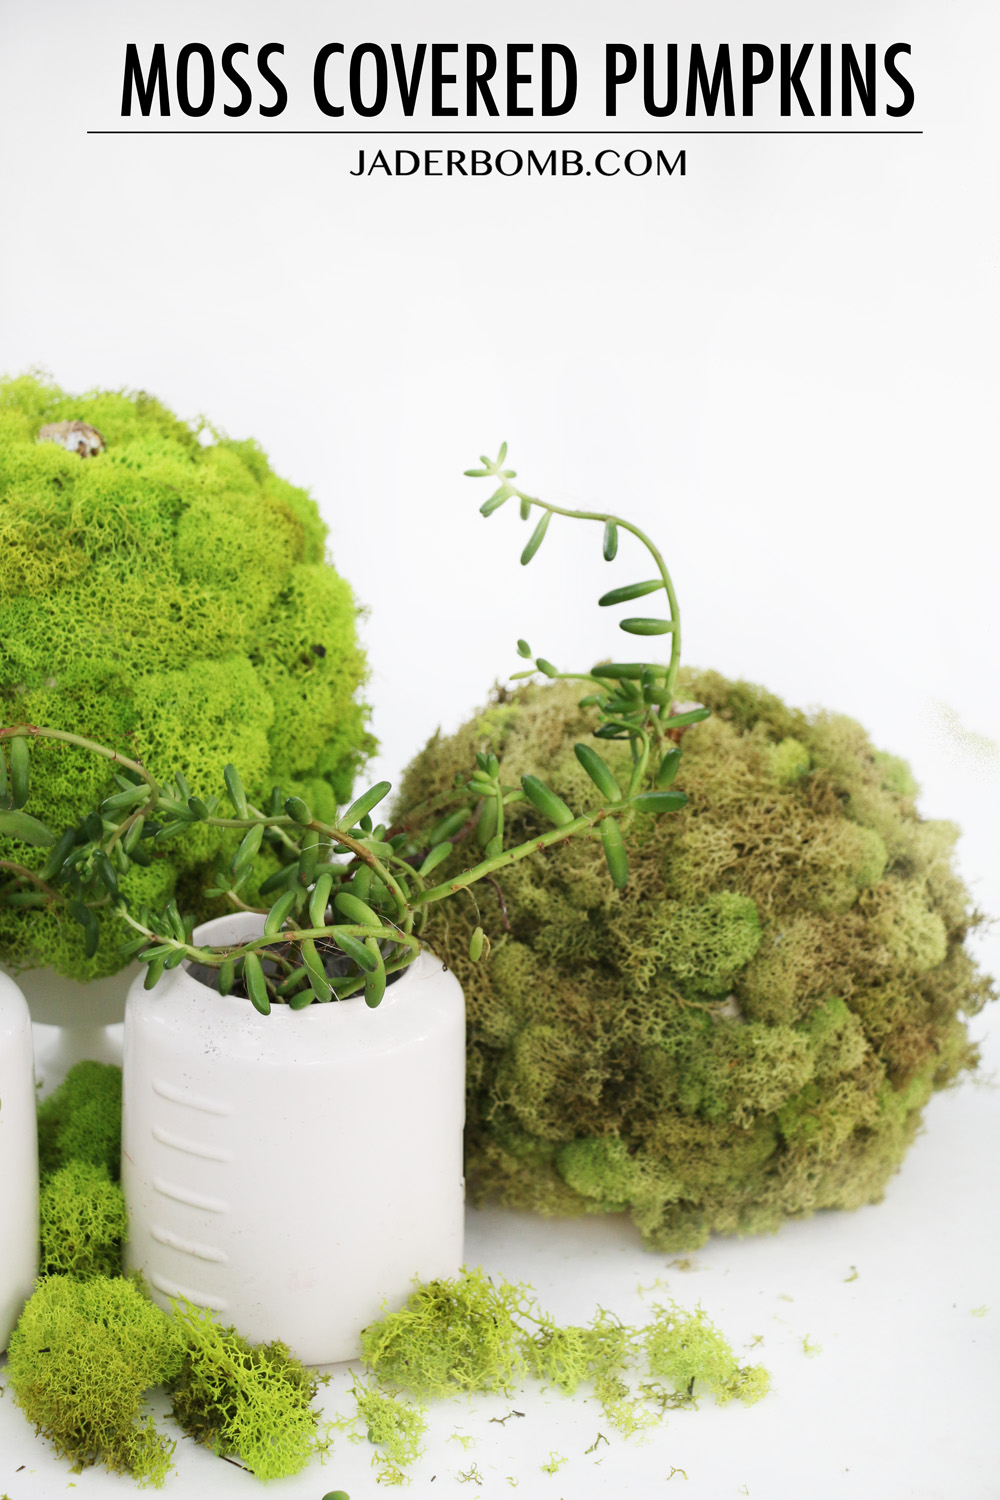
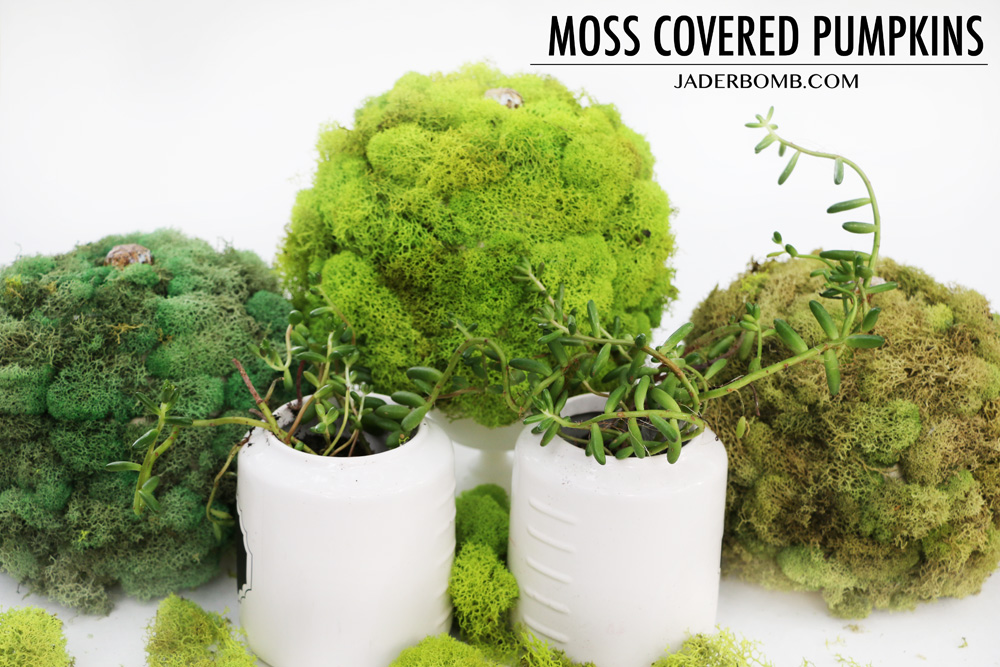
Hey Everyone! It’s been a HOT minute since I posted on the blog but I have to tell you LIFE has a crazy way of throwing so much at you at once…You will be so excited when you learn how to make Moss Covered Pumpkins today. I am always so excited to do this challenge for Michaels.

You all know I love color and even though these are more natural pumpkins I am totally in love. I love the thought that there are little creatures living in the moss in their own fairy land. Maybe I created these because subconsciously I want to be one of the creatures, haha! Who’s ready to get started! P.S. I am leaving tomorrow to go to Carmel California to our annual Michaels Makers Summit so I can’t wait to share with you this adventure! Check out what we did LAST year…You will see why I am so excited!

To kick off fall in your own home, visit Michaels.com and check out the variety of craft pumpkins available – there is every color, shape and size you could ever want! There are tons of ways to DIY your own craft pumpkin for your home, a party or even as a gift.

Moss Covered Pumpkins

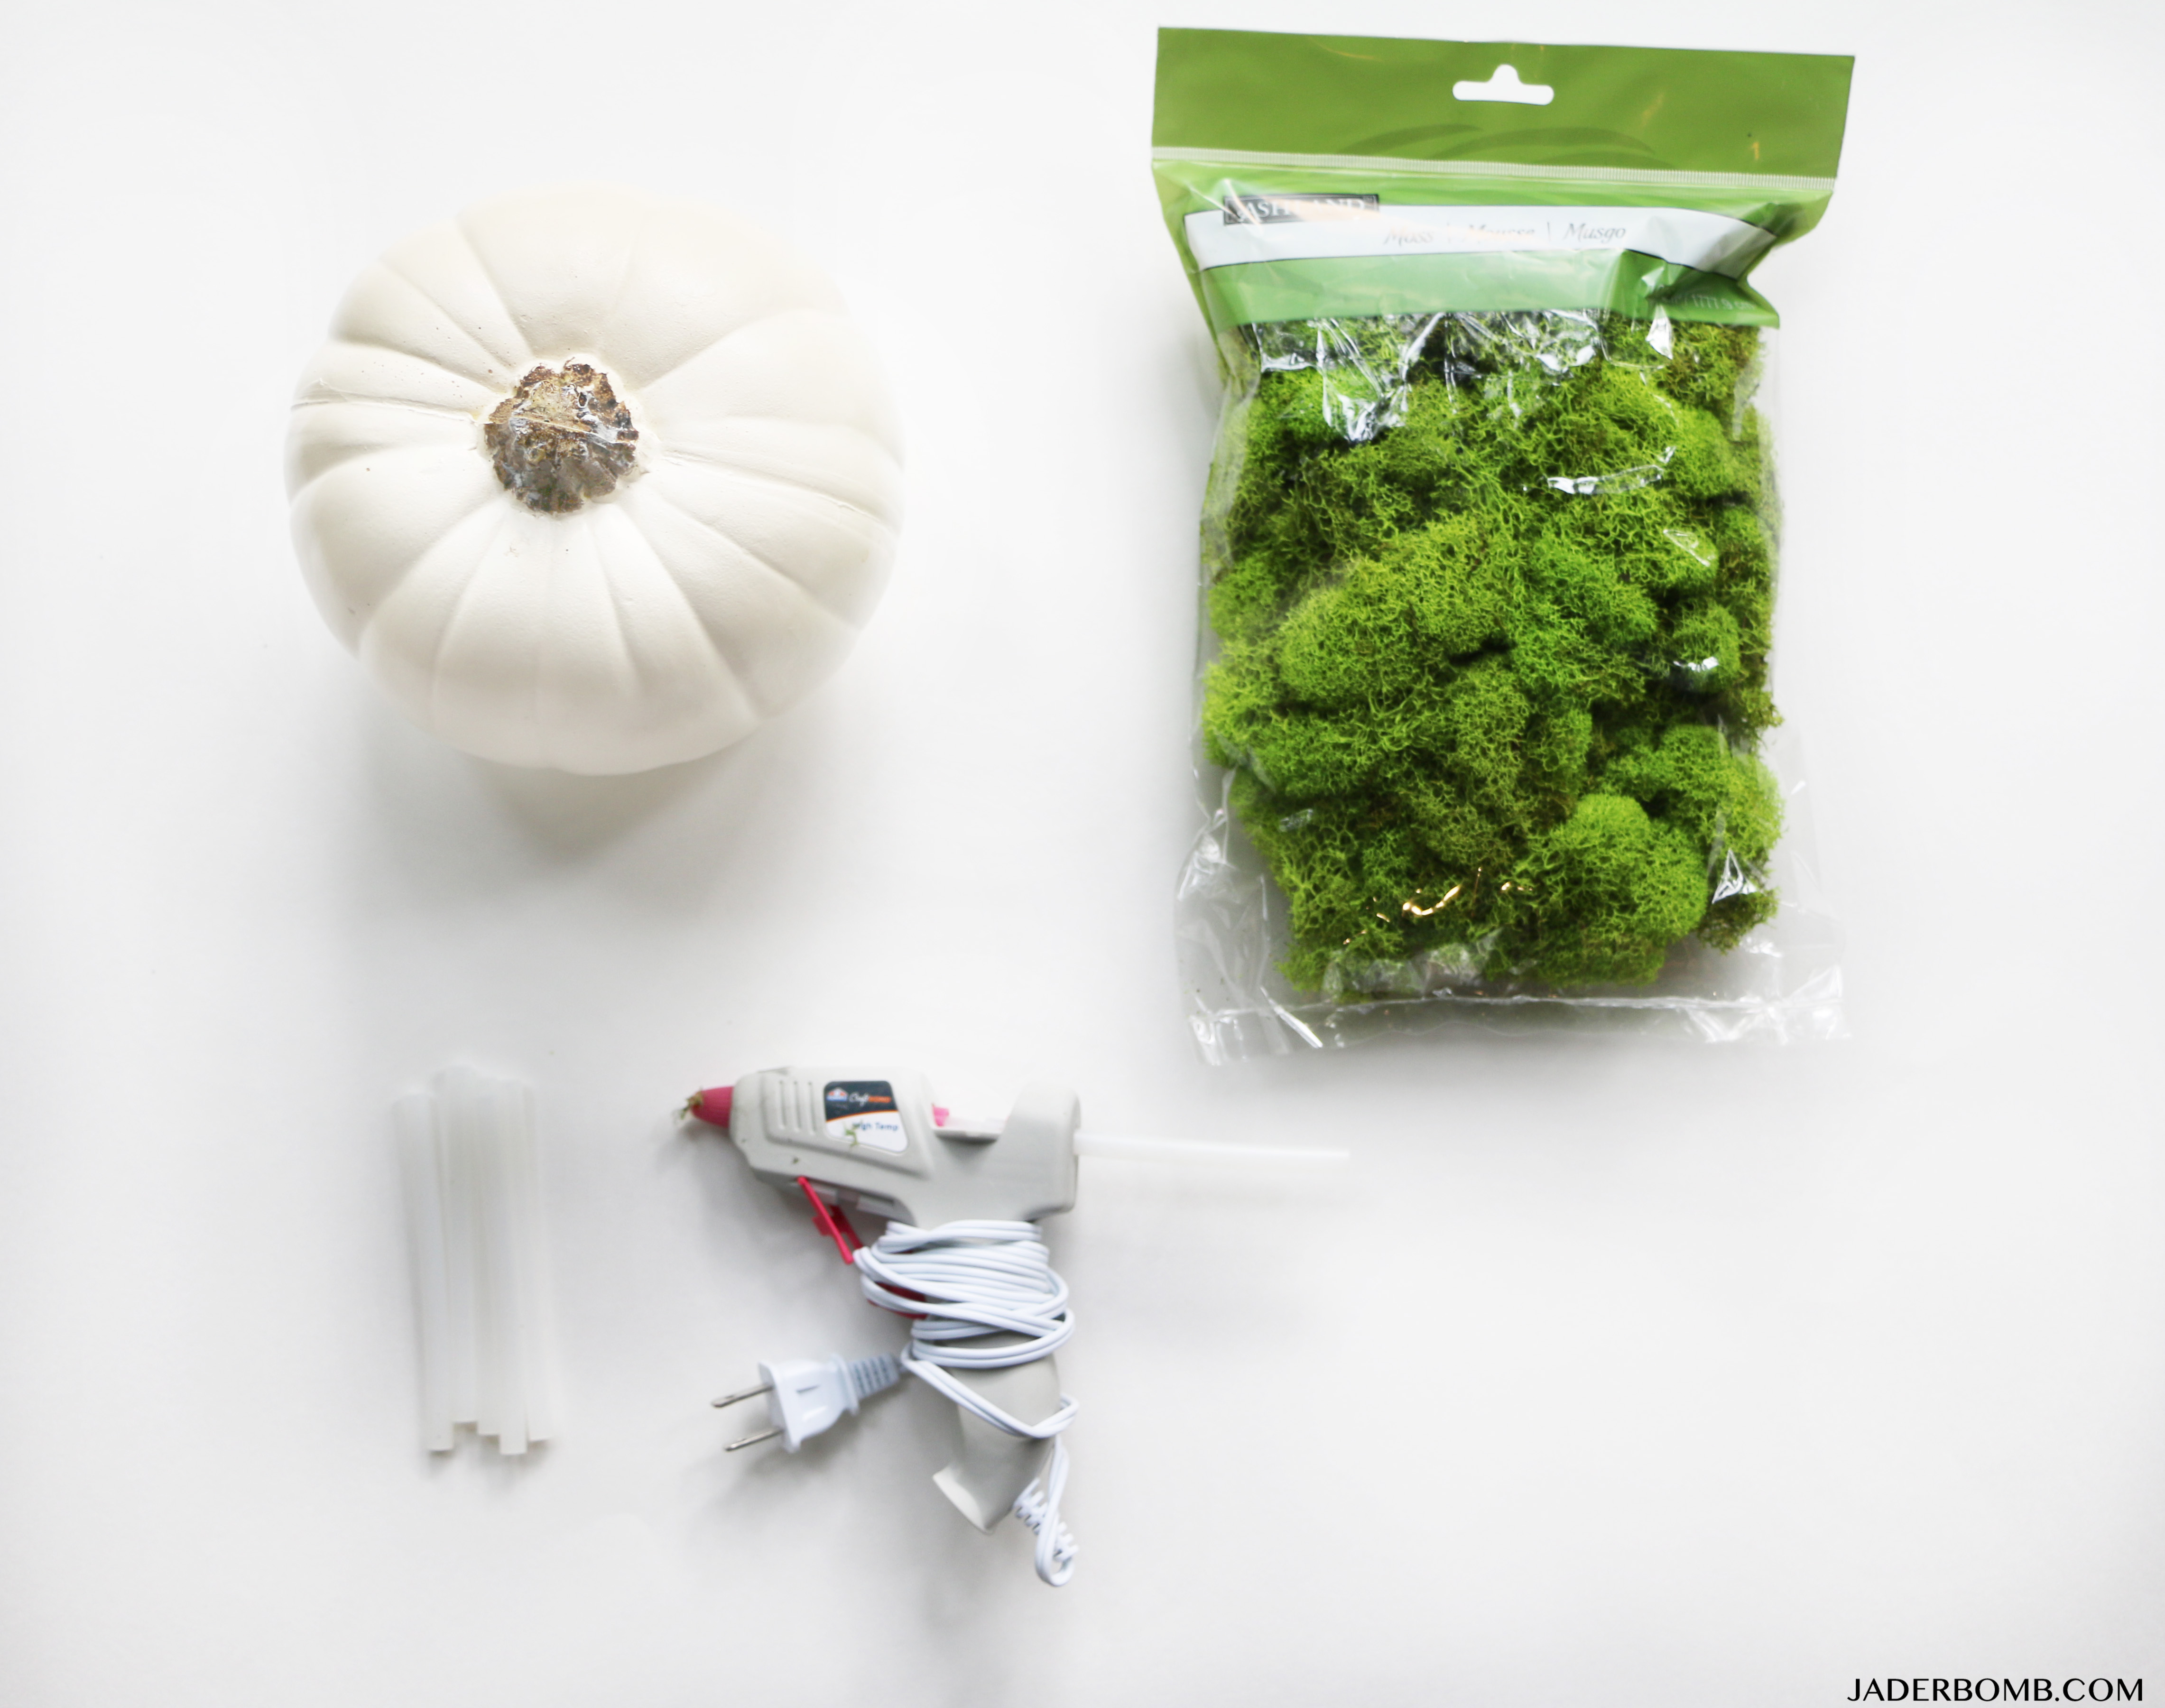
Supplies: Craft Pumpkin | Moss | Glue Gun | Glue Stickspumpkin project supplies

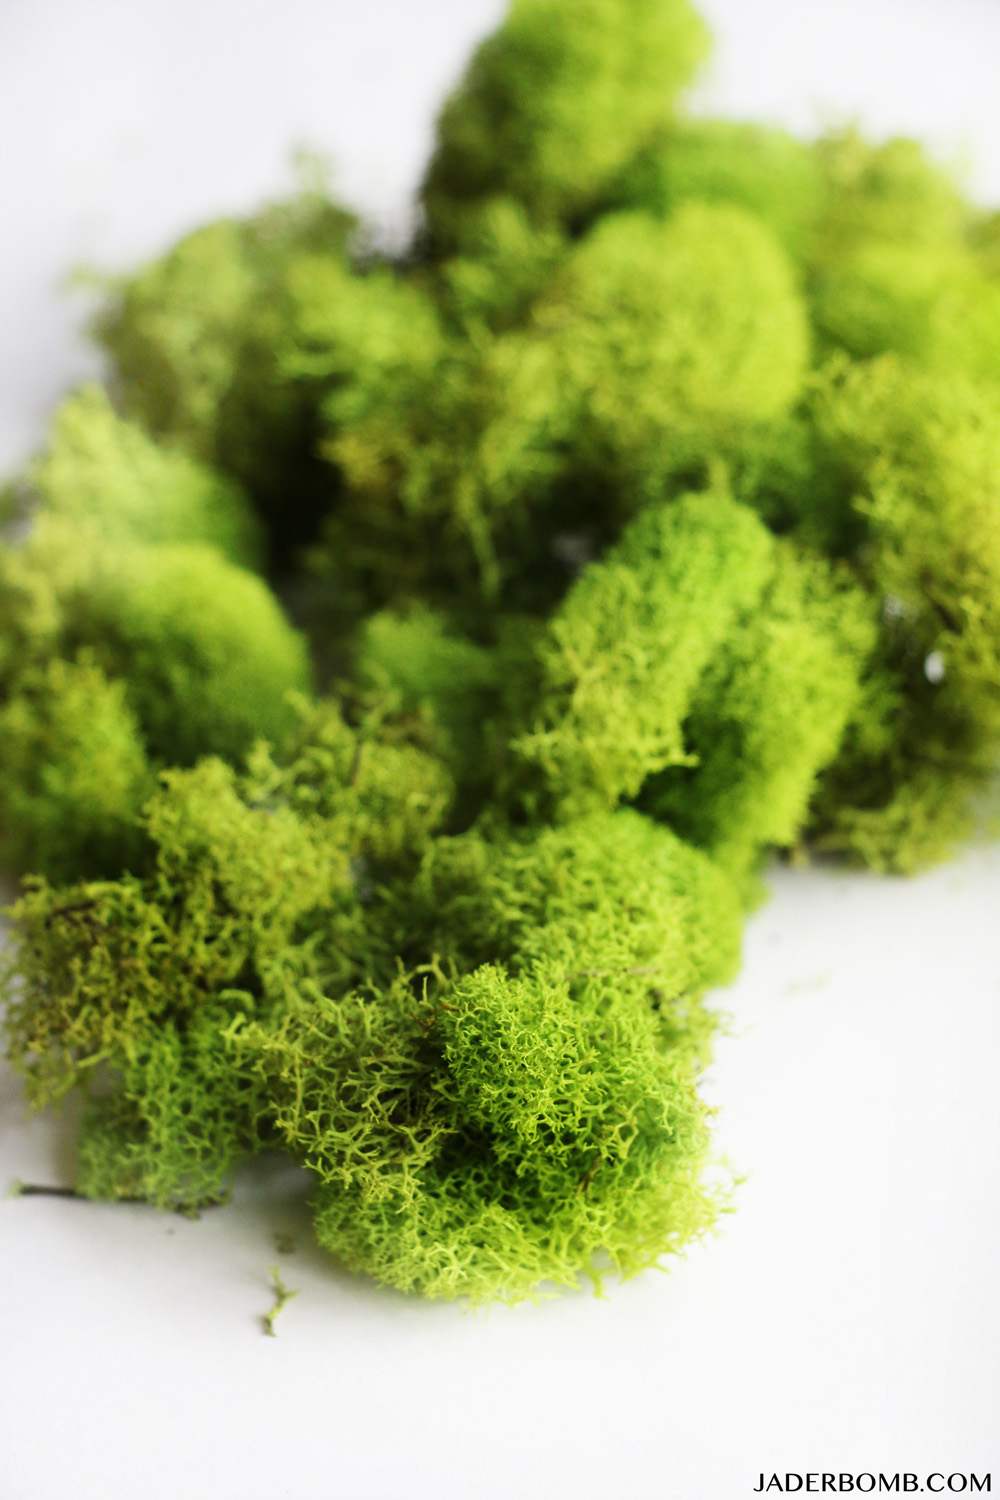
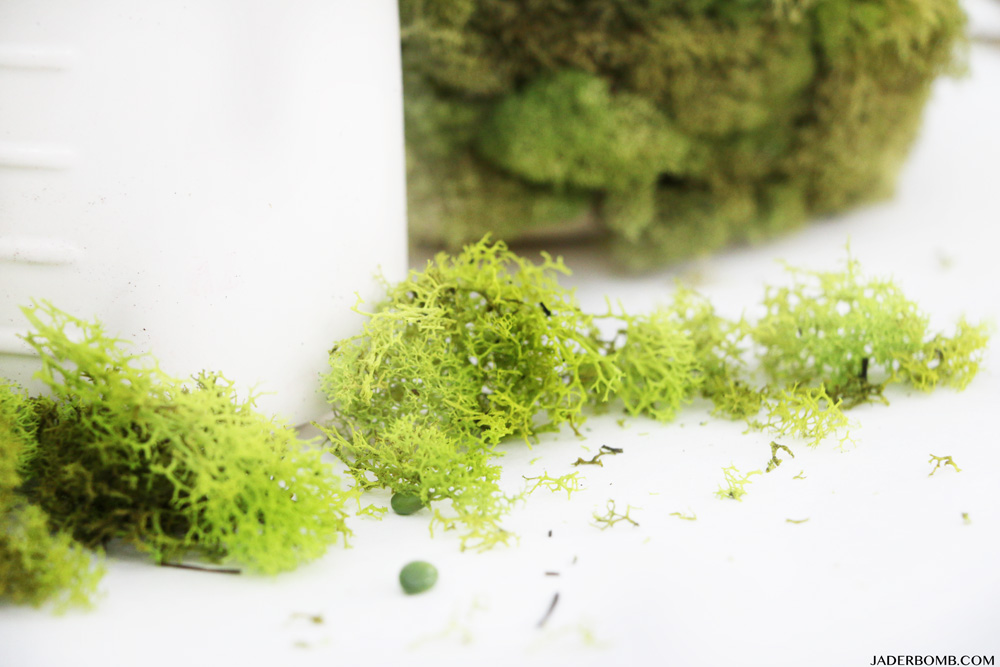
I don’t know about you but I am in LOVE with this beautiful picture of this MOSS! I won’t say what it looks like, haha! If you have never crafted with this Moss you will love it when you get some. It’s so soft and feels like it came strait of a forest. moss projects

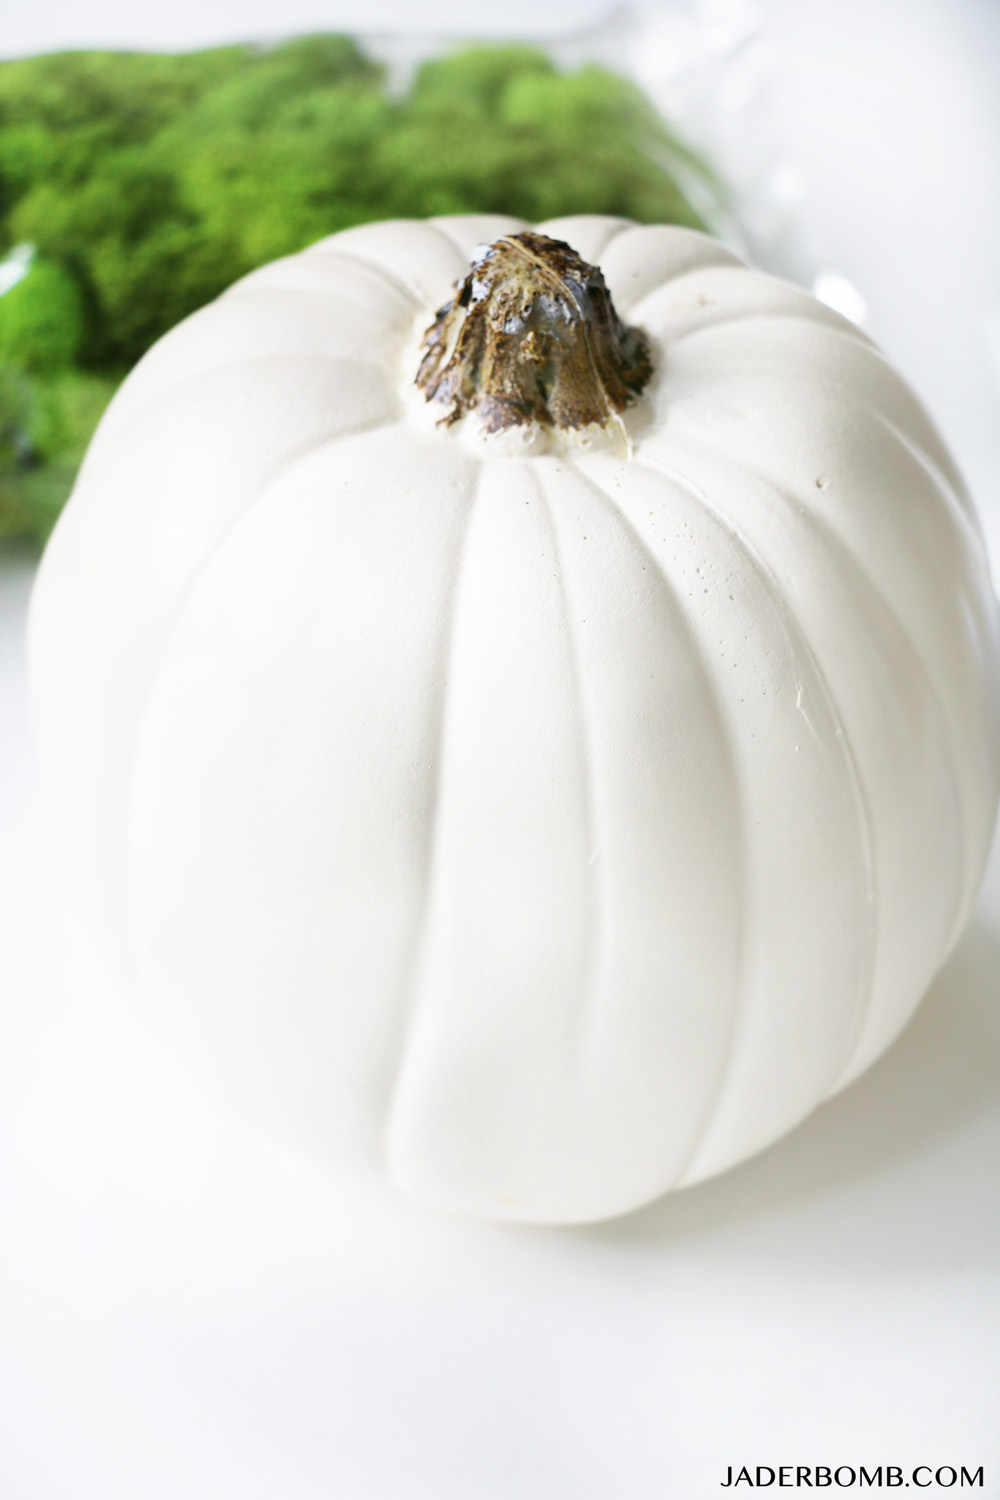
Michael’s has a wide variety of Pumpkins to choose from so I picked the white ones. I wasn’t sure if some of the pumpkin color would show through the moss so I chose white! Guess what… The Moss fills it up completely! None of the pumpkin color shows!craft pumpkin projects

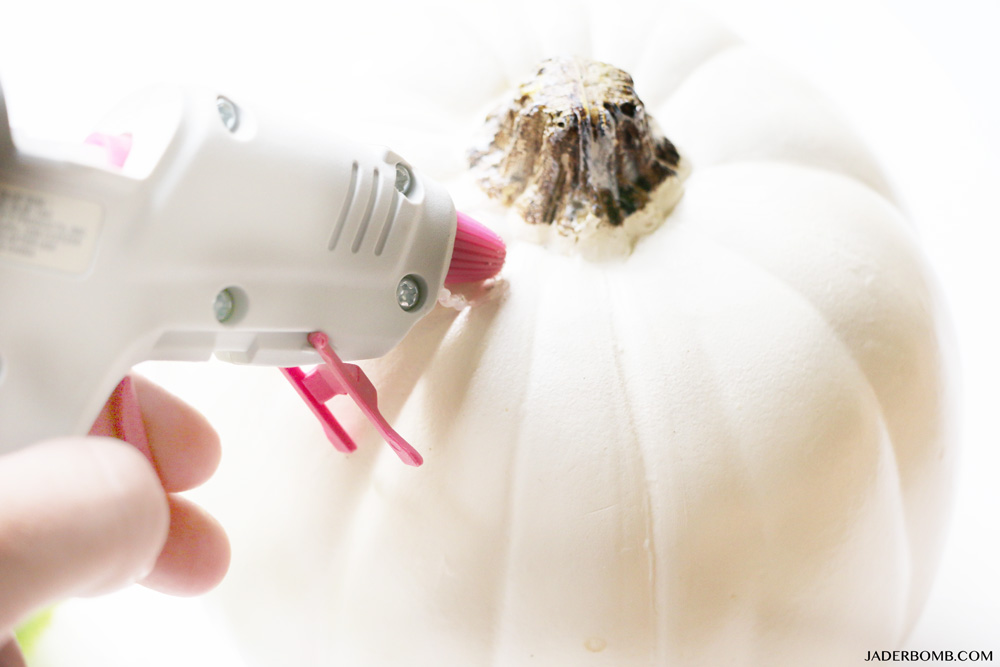
The first thing you will do is plug in your glue gun then when it’s ready add a few lines starting at the top of the pumpkin and carefully place a small piece of moss on top of the hot glue. craft pumpkins

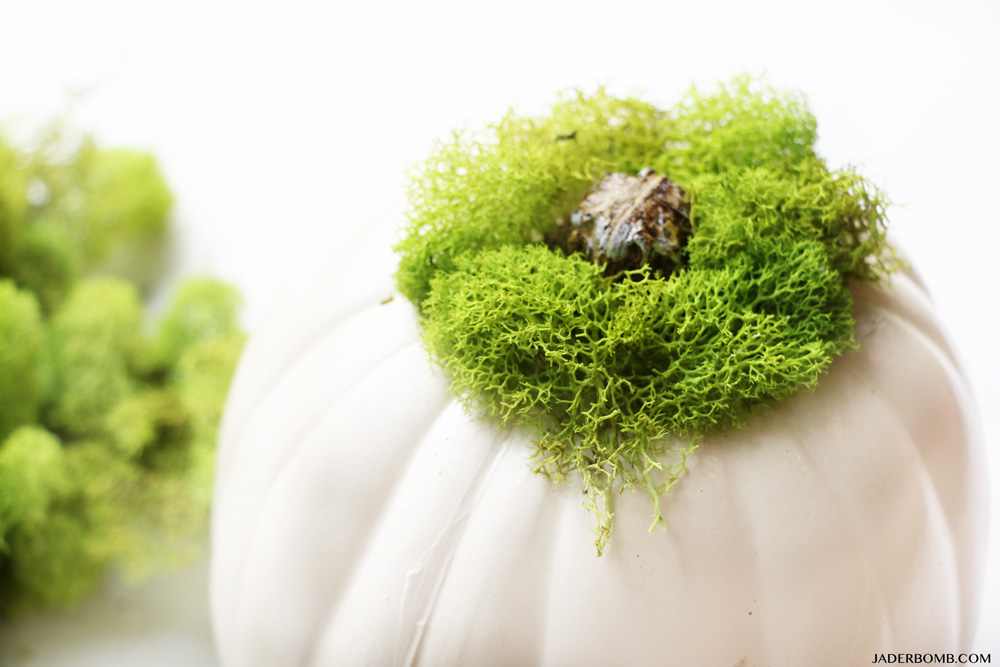
This is what it will start to look like once you start adding your moss. I did choose three different moss colors so I can have three different pumpkins. I wanted them to all look different and boy am I happy I did that!fall pumpkins

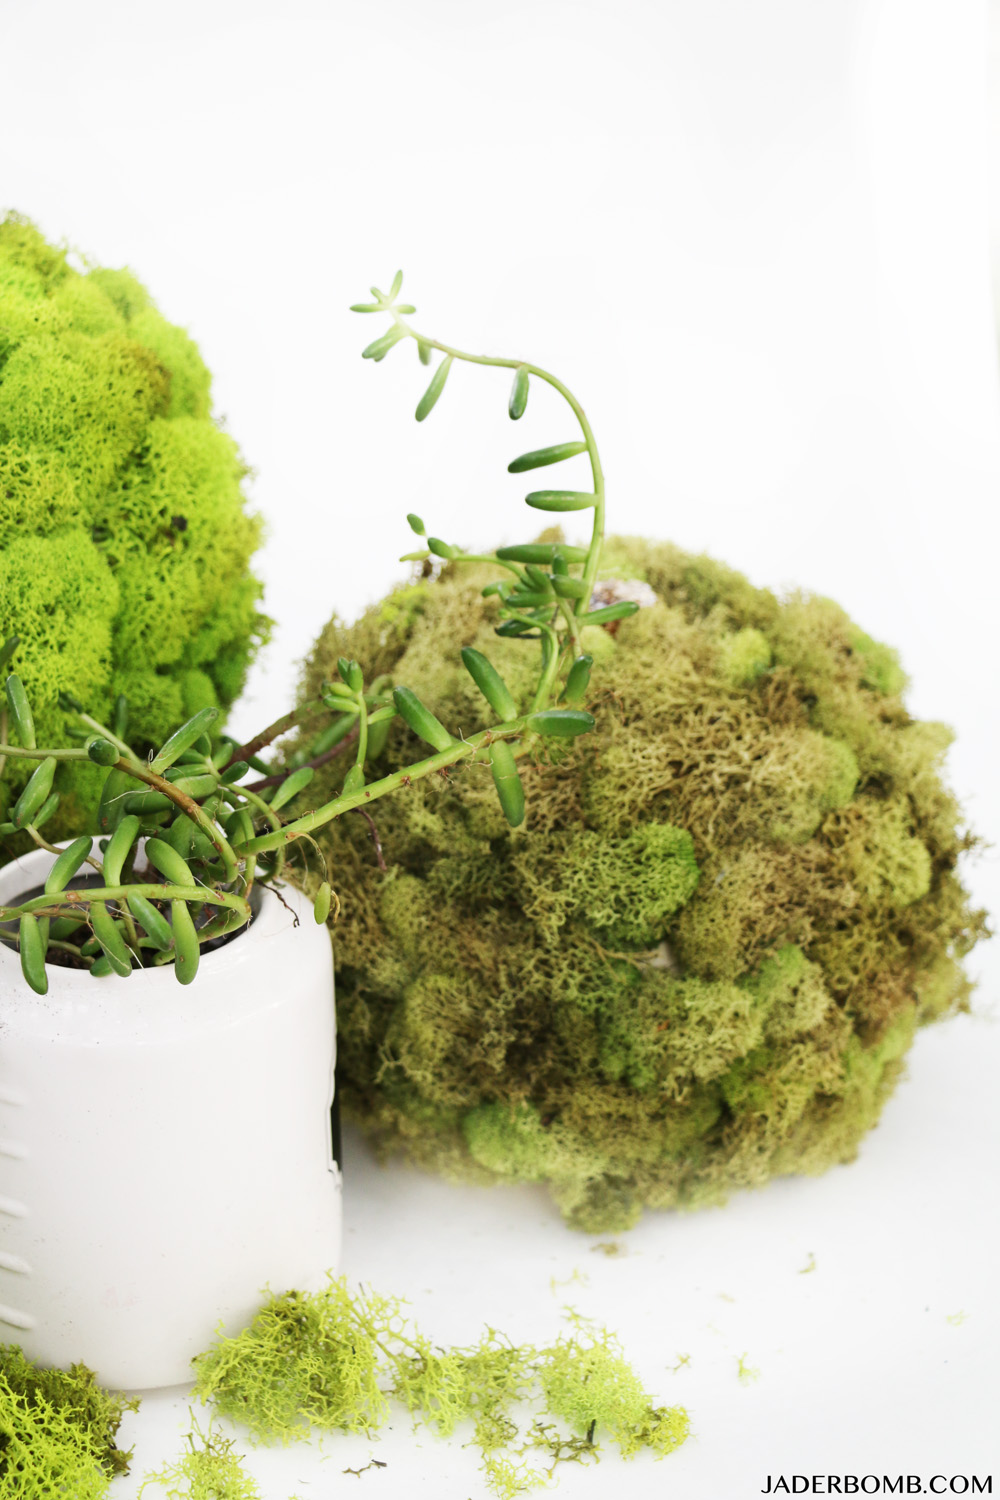
Look how beautiful! It’s like a cute little secret world… Imagine what’s living in this! diy fall pumpkins

I added a few wax plants in the mix to bring it to life. These would look great on a table top for the Fall holidays. michaels makers

how to decorate with moss

halloween kid projects

I hope you enjoyed this project! Stay tuned for the next one! Huge hugs from my computer to yours!


Be sure to check out all of the other Michaels Makers pumpkin ideas on the Michaels blog.


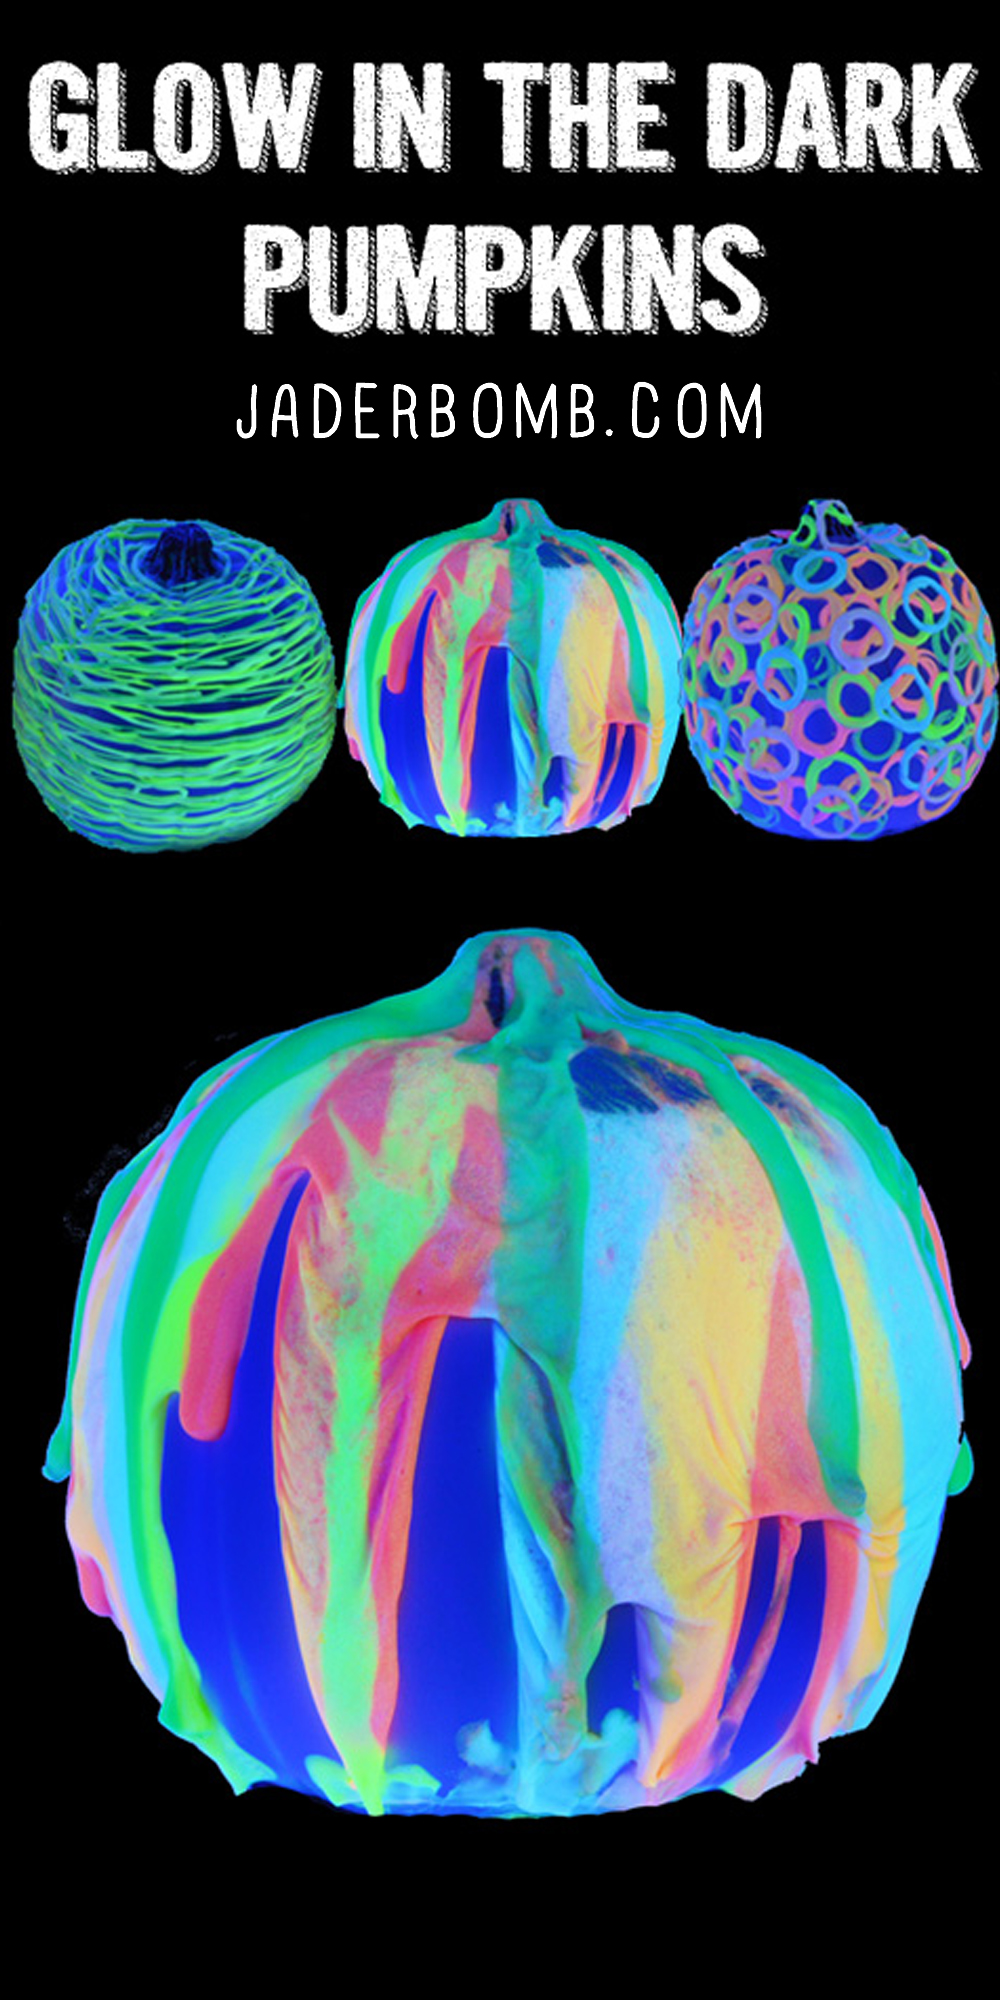
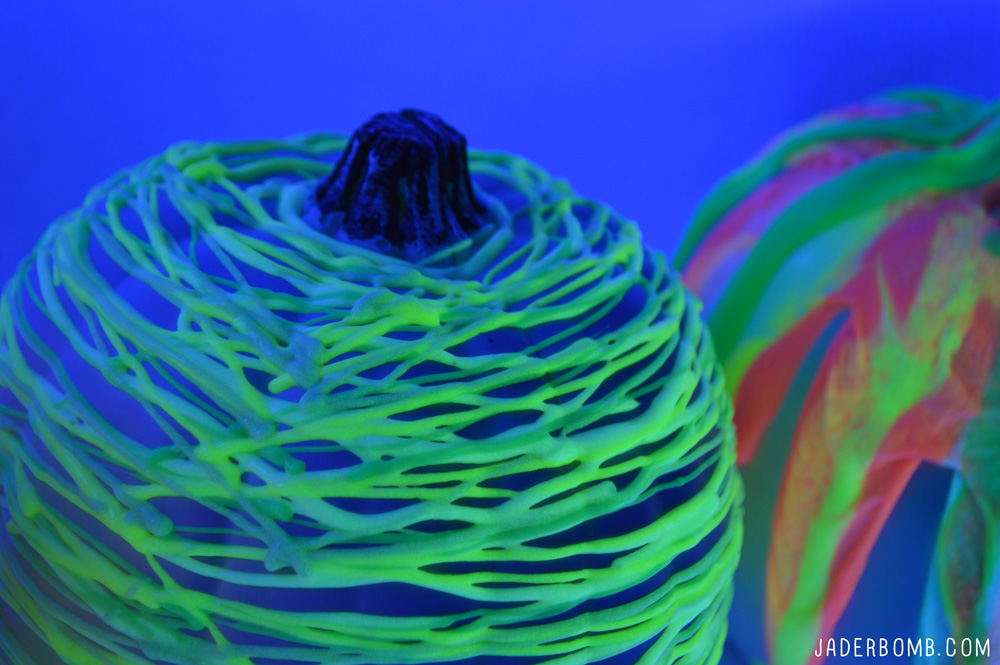
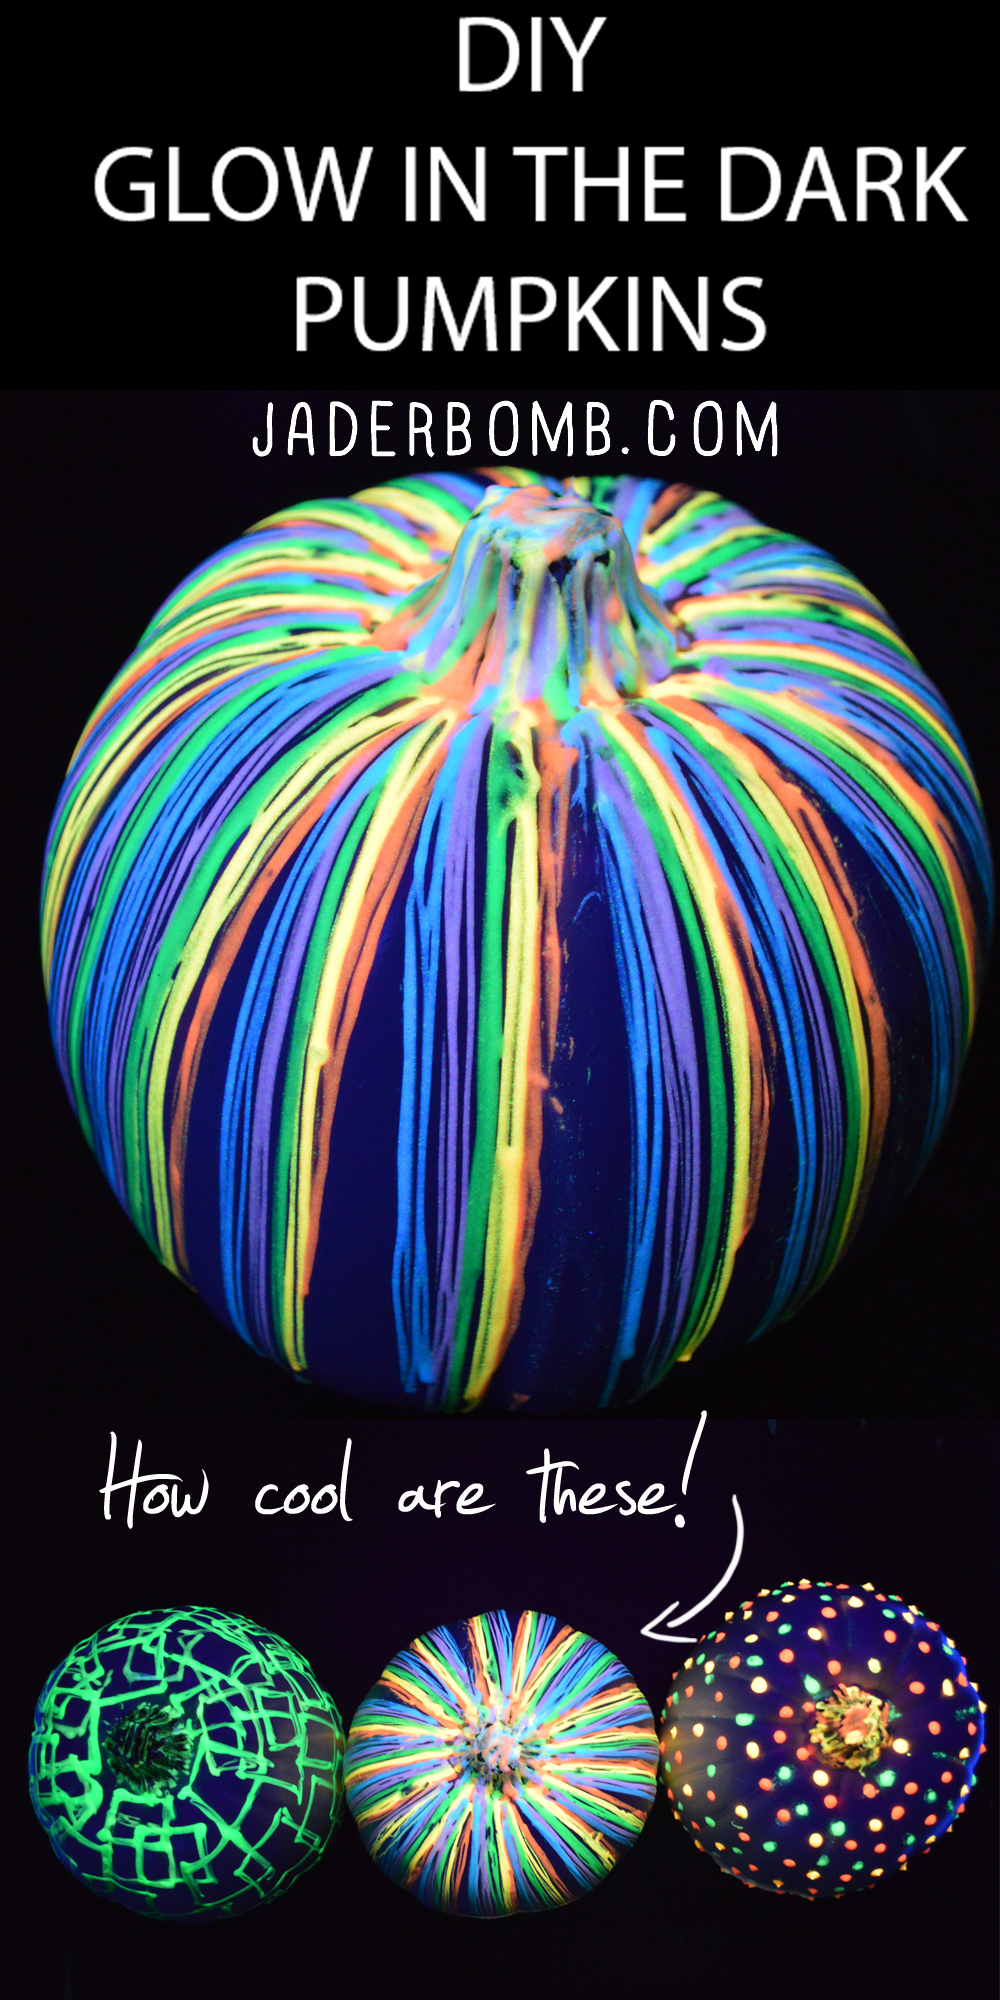
It’s the FIRST day of Fall and today I will be showing you how I made Glow in the Dark Pumpkins. If you know me then you know how much I love Halloween so I figured I would get a little creative with my pumpkin decor. I love crafting with craft pumpkins because I can spend countless hours decorating one and when the season is over I can box it up in storage and reuse it the next year. Unlike decorative craft pumpkins you buy in the store you can decorate yours the way YOU like. For one, they last a heck of a lot longer (heller, saving money 101) and they are simply gorgeous the second you purchase them. Have you seen my pumpkin roundup, if not you have to check it out.

I get all of my pumpkins from Michaelsfollow and right now they are 50% off! I know, This tutorial is a great family project for kids and adults. It’s the kind of project that just makes you feel good! Plus creating is a good way to release anger and and it relaxes you in the process! The FULL tutorial is at the bottom of this post. Come check out all of my past Halloween crafts here. Did you see my glow in the dark pumpkins I made last year??? Enjoy Jaderbugs!

Glow in the Dark Pumpkins

DSC_0786

CLICK HERE FOR THE FULL TUTORIAL!!!HASHTAG LOGO

Don’t forget to connect on social media! Make sure to use use the hashtag #JADERBOMB on Instagram or Twitter or Facebook so I can keep track of all your awesome creations! HAVE A GLITTERY DAY! ♥, Jade

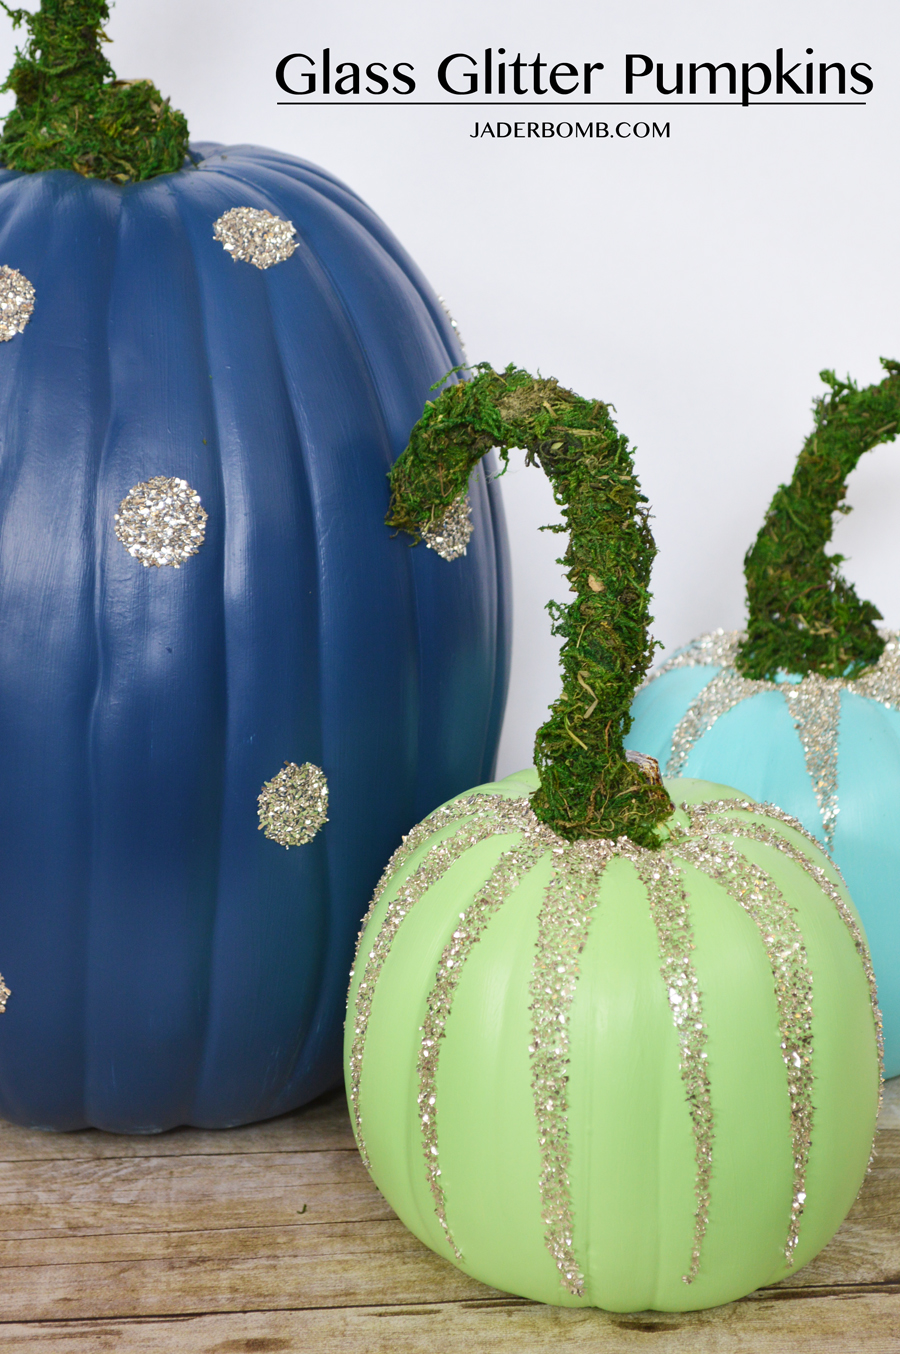
With Fall right around the corner my peeps from Michaels asked me to come up with a Fall project using these amazing craft pumpkins. When I went to Michaels I was so excited to see the different craft pumpkins in the store! I wanted to create something fresh and modern that anyone could create as well. I purchased 1 13″ craft pumpkin by Ashland in Cream and two 9″ craft pumpkins.

diy pumpkins

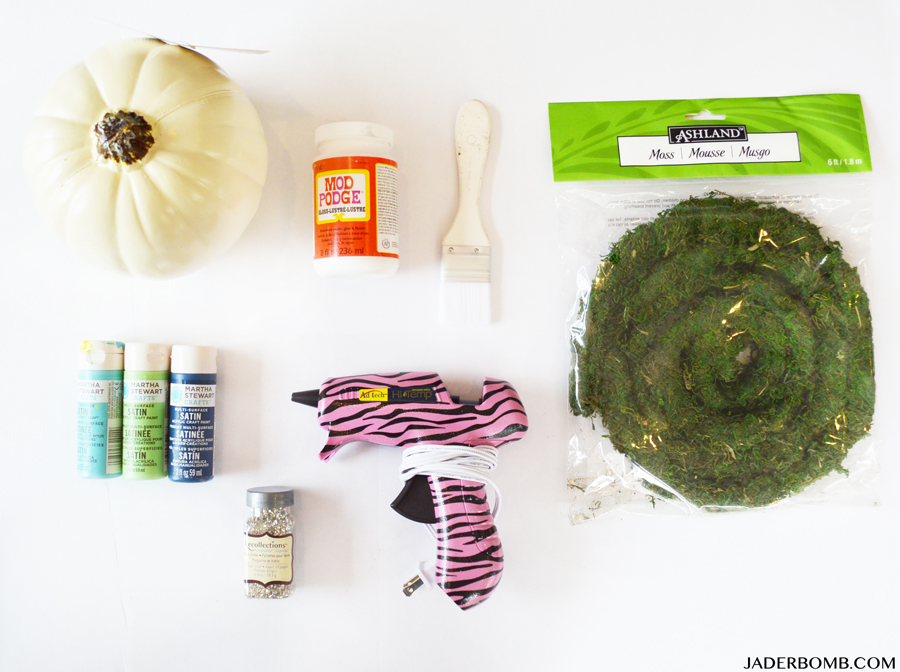
SUPPLIES: Craft Pumpkin | Mod Podge | Craft Brush | Moss | Craft Paint | Glass Glitter | Glue Gun | Fabric Fusion | Scissors pumpkin supplies

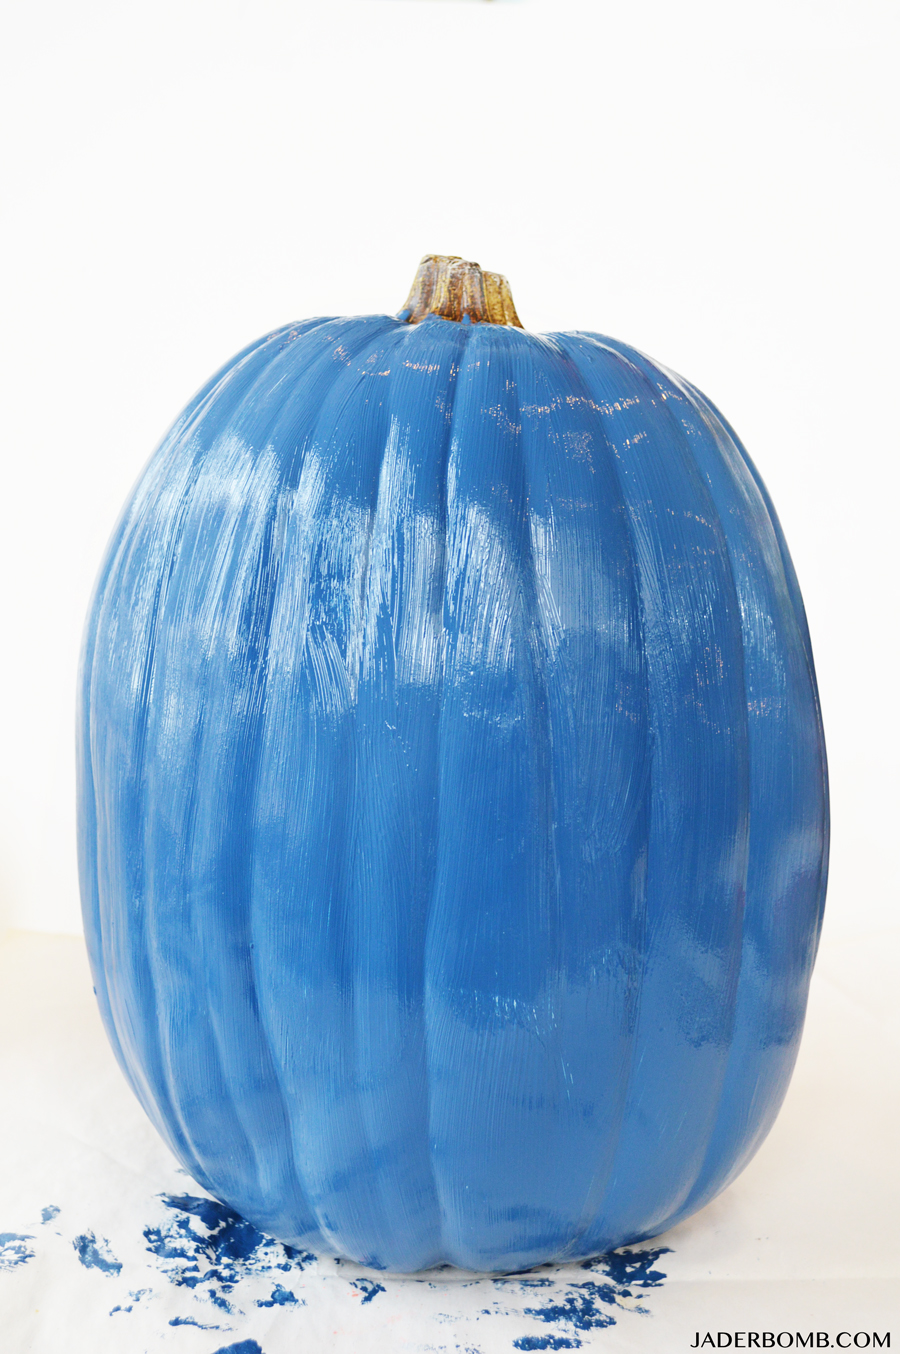
Step One: Paint your pumpkin and set aside to dry. I recommend painting a second coat.

♥To kick off fall in your own home, visit Michaels.com and check out the variety of craft pumpkins available – there is every color, shape and size you could ever want!blue pumpkin

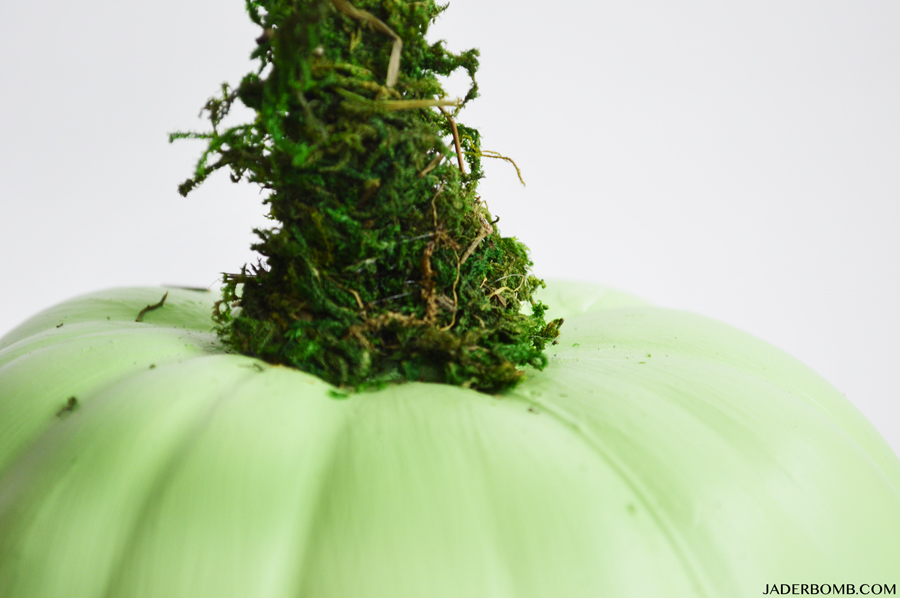
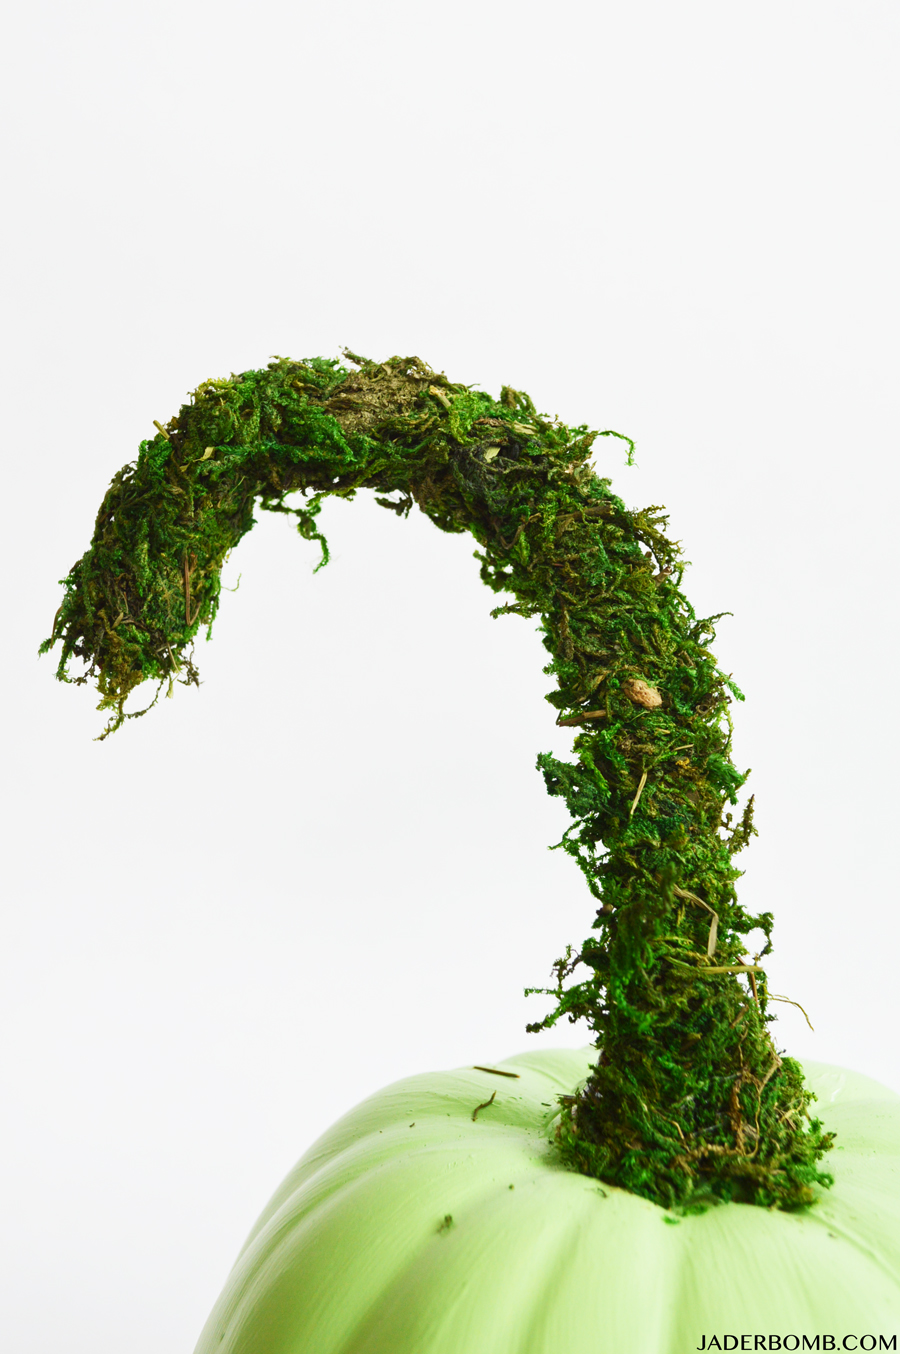
Step Two: Get your coil of moss (purchased from Michaels) and cut a piece to hot glue to the top of your pumpkin. Make sure to hold your moss in place until your glue is completely dry!green pumpkins

This is what it will look like when it’s dry. How precious! whimsical pumpkin

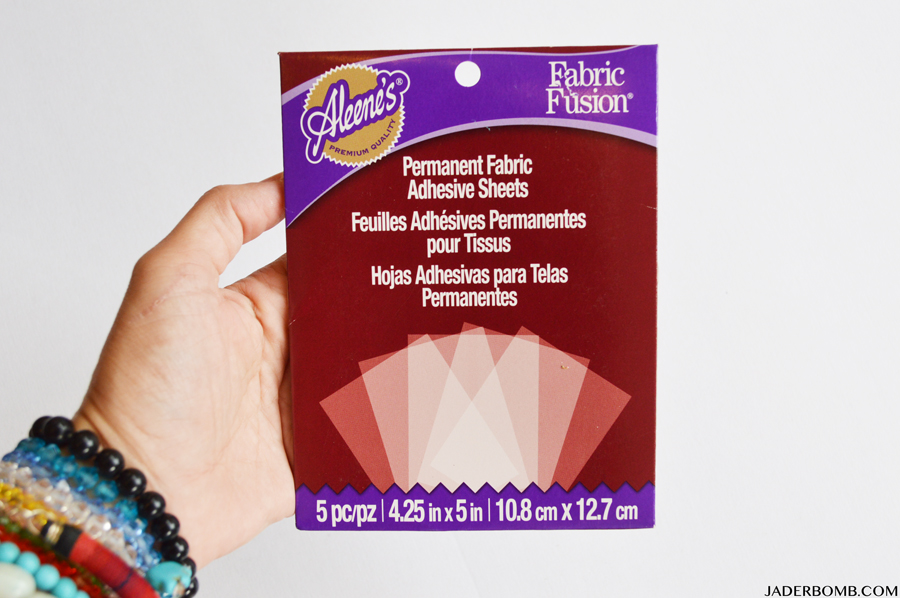
I used this amazing Fabric Fusion to apply some glitter details. This stuff is typically used for fabric but today I will show you another way you could incorporate it into your crafting world!
fabric fusion sheets

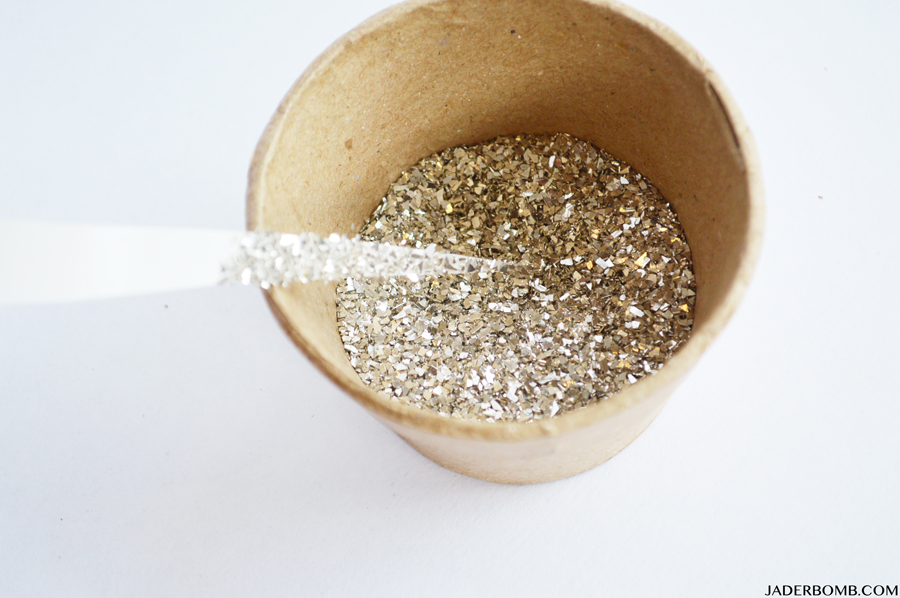
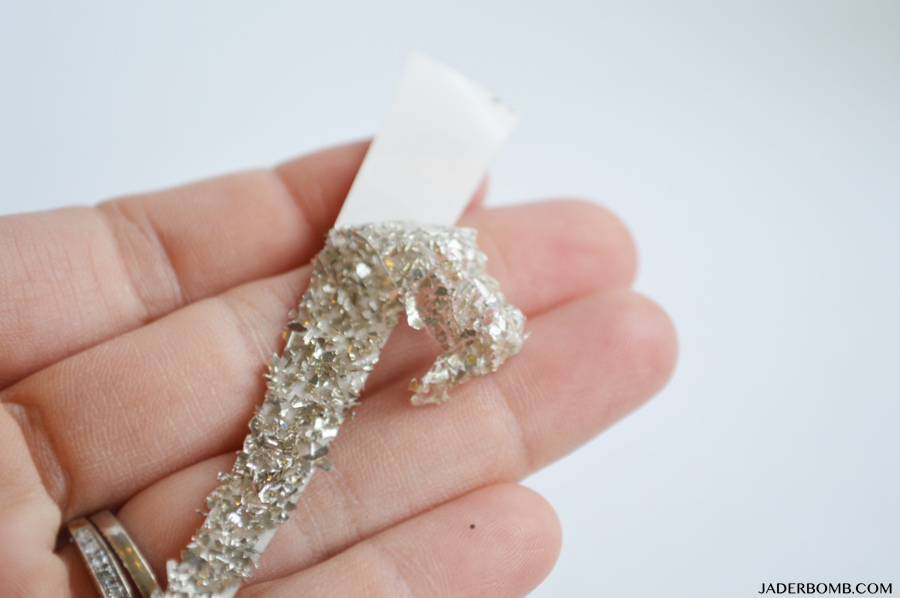
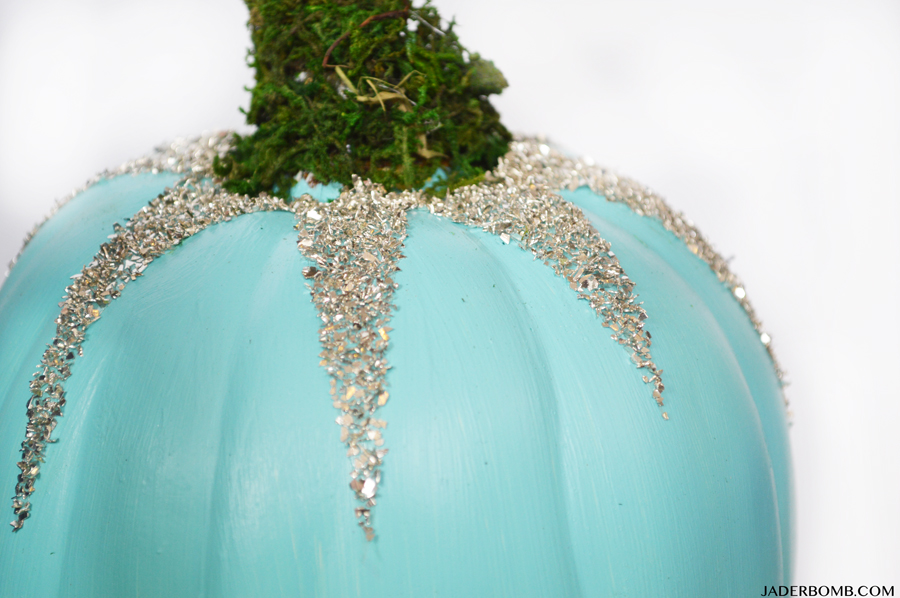
Step Three: Cut your sheet of Fabric Fusion into thin triangles, peel off one side then apply glass glitter to the side that is sticky. Don’t worry once the glitter is on the sheet it will NOT come off!decorate pumpkins

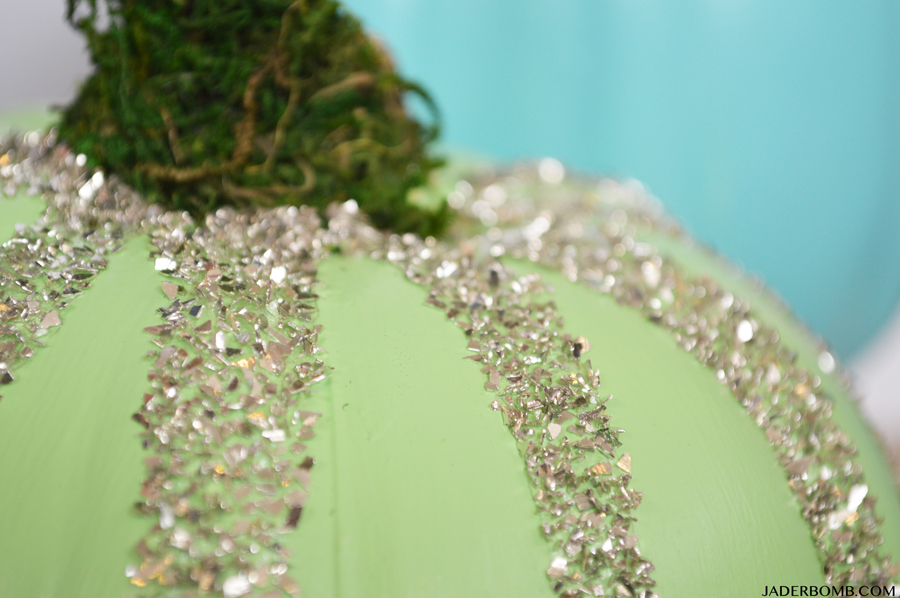
Step Four: Carefully peel off your sticky side of glass glitter and apply the top portion of the triangle to the bottom portion of pumpkin stem then slowly stick it all on the pumpkin.
aleene's peel and stick sheets

I am so in love with this part! It adds a nice elegant look to my pumpkins and it literally took a few minutes! Much easier than glue!glass glitter on pumpkin

I love how translucent it looks once it is on the pumpkin. If I close my eyes I can see this in my own version of Alice in Wonderland, RIGHT!turquoise pumpkin

glass glitter pumpkins

Make sure to follow me for more amazing Fall and Halloween projects! You can fine me here: Facebook, Twitter, Instagram and Pinterest.
XOXO, Jade

There are tons of ways to DIY your own craft pumpkin for your home, a party or even as a gift.

If you’re looking for something a little bit different, Michaels recently started selling these fun half pumpkins, perfect for fall décor wall mounts and fun signs.

If you’re in need of more fall décor inspiration be sure to look at the 49 other DIY pumpkin projects from the rest of the Michaels Makers – they are fabulous!

00000_SO_0901_MIC_MAKERS_l


Today it’s all about Glow in the Dark Pumpkins. I have always loved Halloween so I figured I would get a little creative with my pumpkin decor. I don’t know about you but I am over carving pumpkins, which is why I resort to artificial ones. For one, they last a heck of a lot longer (heller, saving money 101) and they are simply gorgeous the second you purchase them. Have you seen my pumpkin roundup, if not you have to check it out. It’s 20 fabulous ways to decorate your pumpkins!

I get all of my pumpkins from Michaels and right now they are 50% off! I know, I think I will go back again today and get more. This tutorial is good for everyone to do. It’s the kind of project that just makes you feel good! Plus creating is a good way to release anger and and it relaxes you in the process! For the full tutorial click on the link below! Come check out all of my past Halloween crafts here.

Glow in the Dark PumpkinsCLICK HERE FOR THE FULL TUTORIAL!!!

HASHTAG LOGO

Don’t forget to connect on social media! Make sure to use use the hashtag #JADERBOMB on Instagram or Twitter or Facebook so I can keep track of all your awesome creations! HAVE A GLITTERY DAY! ♥, Jade

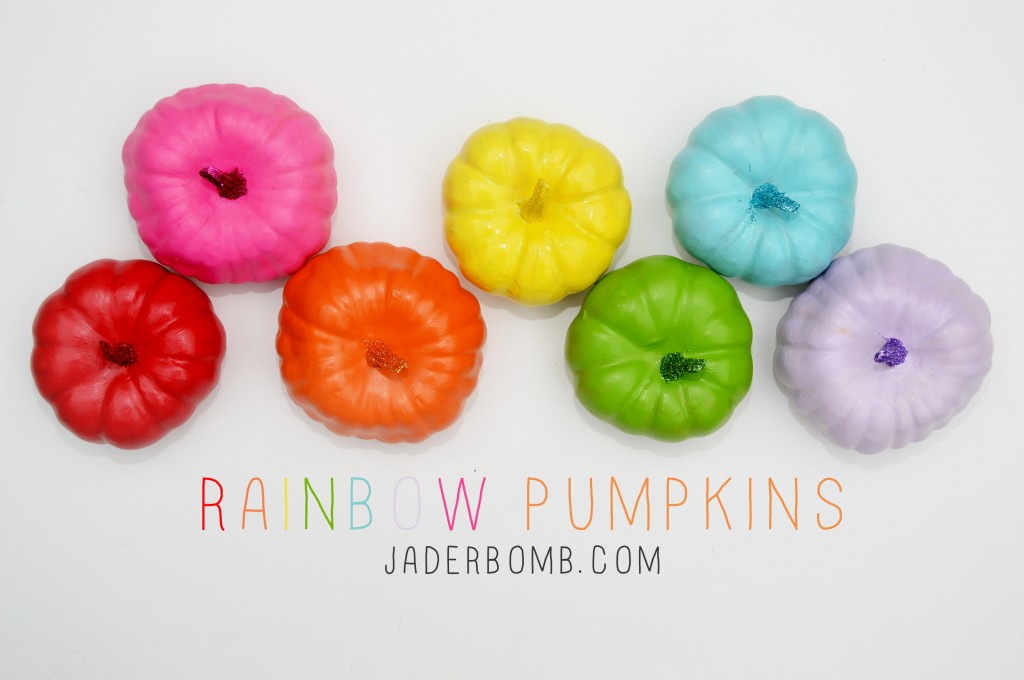
RAINBOW PUMPKINS

I don’t know about you but I love when certain HOLIDAY’S come around!

I used to dislike Halloween a lot but then one day I woke up and I realized how FUN it was. I am sure my love for Practical Magic and Hocus Pocus  affected my outlook also.

I figured I would play things a little different and make rainbow pumpkins. Don’t get me wrong I love black and orange but I like bright and whimsical a little more. I have my fair share of dark colors hanging around the house, don’t you worry.

I also think if you want to turn something from scary to WOW just add a little pinch of glitter. Glitter makes anything better.

If you love Halloween as much as I do then you need to check out these houses I made. Wear these shoes while trick or treating with your kids. I am in love with these black and white kitchens. Oh and don’t forget about my 12 months of MARTHA post. Let’s just say we are mixing shic and modern with a little splash of “coffee”.
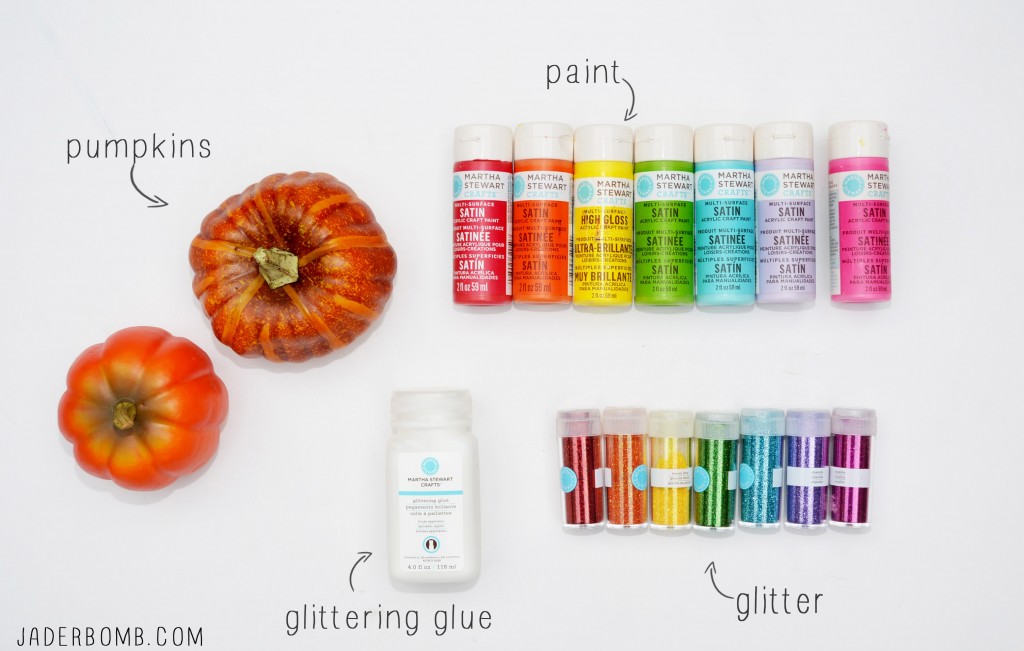
RAINBOW PUMPKIN SUPPLIES

YOUWILLNEED

FUNKINS | PAINT | GLITTER | GLITTER GLUE 

You can order all of the products by clicking on the links above. Yes if you buy from these links it helps supply me with more caffeine!

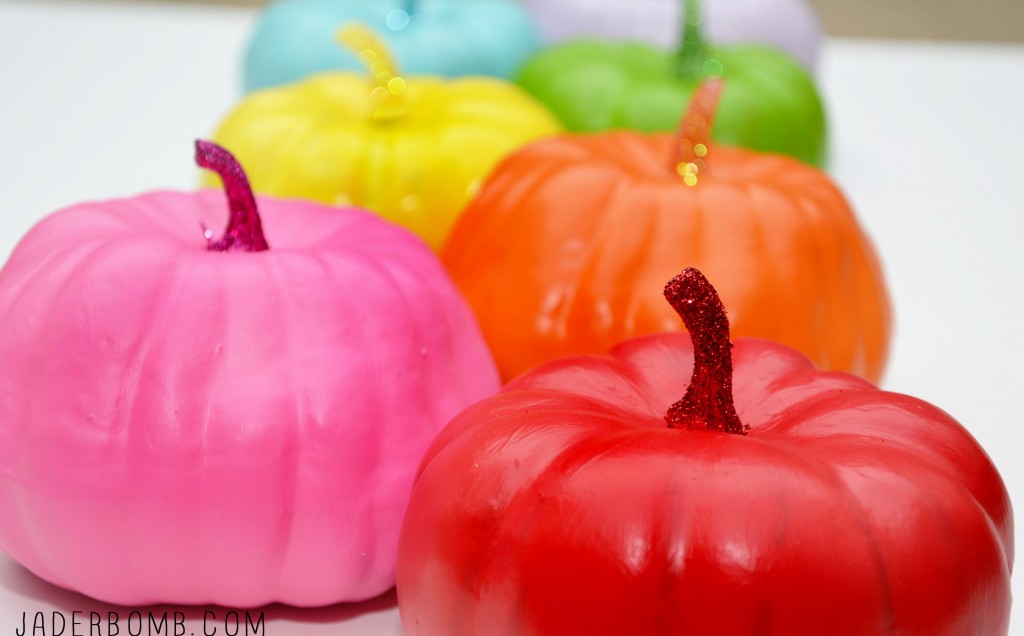
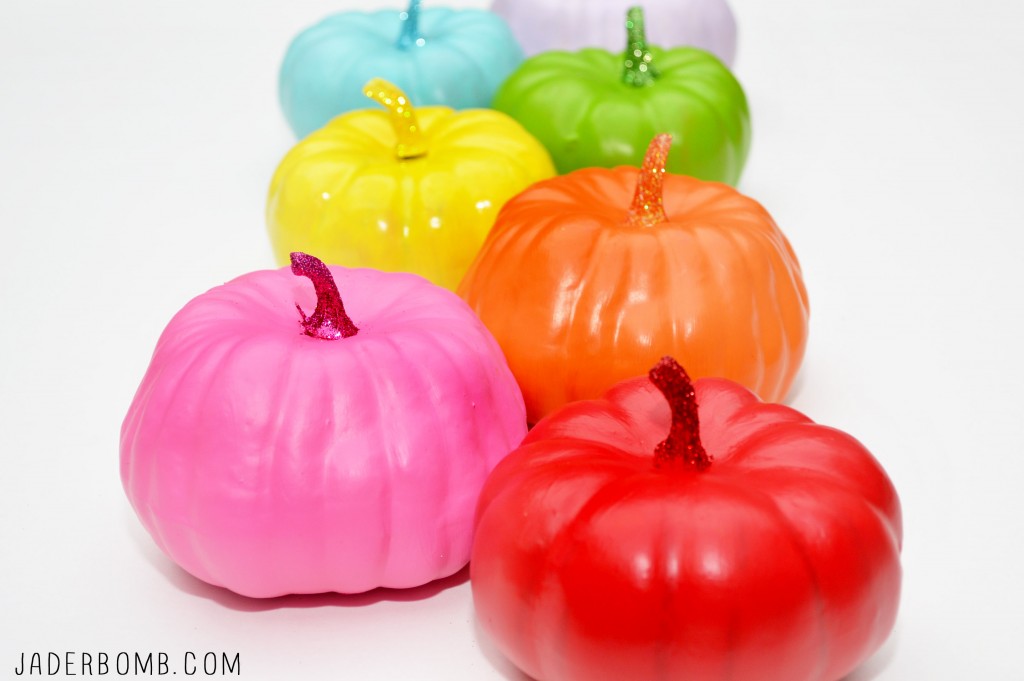
It’s pretty simple. Paint all of your pumpkins with the colors of the rainbow. When they are completely dry add some glittering glue to the stem and sprinkle withe the same color glitter.

I am warning you now, you will prolly smile every time you see these.

HOW TO PAINT RAINBOW PUMPKINS

EASY COLORED PUMPKINS

See you in the next post! Don’t forget:

Huge glittery hugs—See you in the next post! Visit me on FacebookTwitter,Pinterest, or Instagram!ending

Huge glittery hugs—See you in the next post! Visit me on FacebookTwitter,Pinterest, or Instagram!