OPTIMISM: 1. Hopefullness and cofidence about the future or the successfull outcome of something.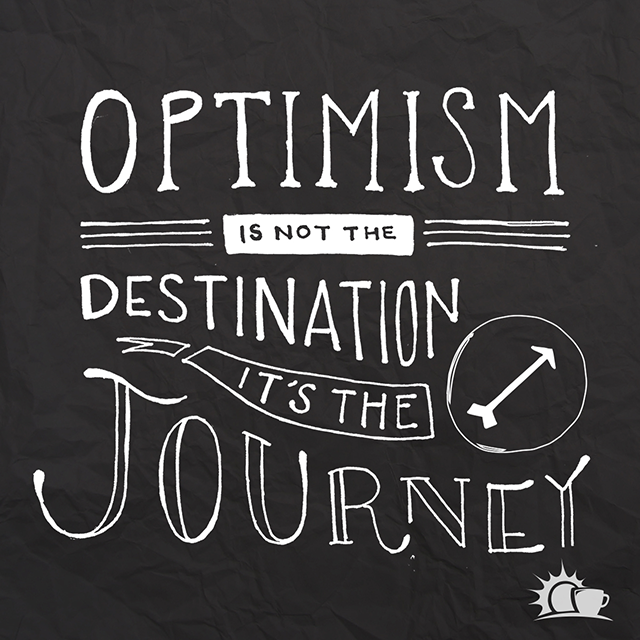
With high hopes of bringing happiness and optimism to everyone in the world, Folger’s is launching “The Best Part”, a social platform that will allow people to connect and share positive stories through Facebookfollow, Twitterfollow and Instagramfollow. Little gestures are exactly that, little. However, you would be surprised at how easy it is to change someones life or day by doing little things.
My story is about an amazing man. Who is he, I would love to know. I guess he was about 80 years old and I met him many years ago. Every time I would walk into Wal-Mart he was sitting in the same chair at the garden section entrance. I would always tell him “HI” and keep walking.
One day as i was leaving something made me turn around and go back to talk to him. As soon as he saw me turn around he started to stand up and I noticed he had a smile on his face. It’s almost like he “knew” I was coming back to talk to him. That day we talked for about an hour outside of the garden section. I sat on the sidewalk while he told me stories of his life. I swear to you, it was the best hour I had experienced in a long time. You could tell he didn’t talk that much to anyone because he had so much to tell me and he couldn’t talk fast enough.  I loved every second of it! I just smiled and nodded the whole time.
When I left that day he gave me a hug and told me “THANK YOU.” Who knew those words would make me feel like I was on top of the world.
After that day I would always talk to him before I left. There was a time that I started to wonder if I was going to Wal-Mart for him and his stories or shampoo and conditioner. I enjoyed our conversations so much and they made me happy to the core. The more I got to know him he would share more and more about his life. How sad and lonely he was and that just sitting there every day brought so much joy to his life. After months of seeing my new friend he told me one day that I brought happiness to his life.
I had a bracelet on at the time he met me and it was from a book store. It was this bracelet. He told me that he loved it so I went buy him one and when I brought it to him he started crying right away. I felt so happy inside. Maybe a tear or two rolled down my cheek in that moment. He put it on and he told me that every time he got lonely or sad he would just look at his bracelet. Did I mention that every time I would leave he would pray over me? He was very religious and he wanted it known. It always made me feel good inside when I left.
I didn’t go to the store for a few days but when I finally went I noticed he was not there. I asked one of the workers if they knew when he would be back or if they knew why he wasn’t there. They had no idea. I have never seen him since the day I gave him that bracelet. Want to know something else? I didn’t even know his name but I guess it didn’t really matter.
Why did he come into my life? What was that about? Was it meant for me or him? I never saw him again but in my head and heart I see him every time I walk into that big garden door.
 The point of this story is to live a happy life. Smile when someone looks at you, nod your head if that is all you can do, don’t be afraid to hug someone, and I mean HUG. Don’t get upset if someone is rude or mean to you. Because the fact is you never know what is going on in their life. You never know. Giving someone attention could change so much.
Optimism. What brings joy to your life? Please share with the world!


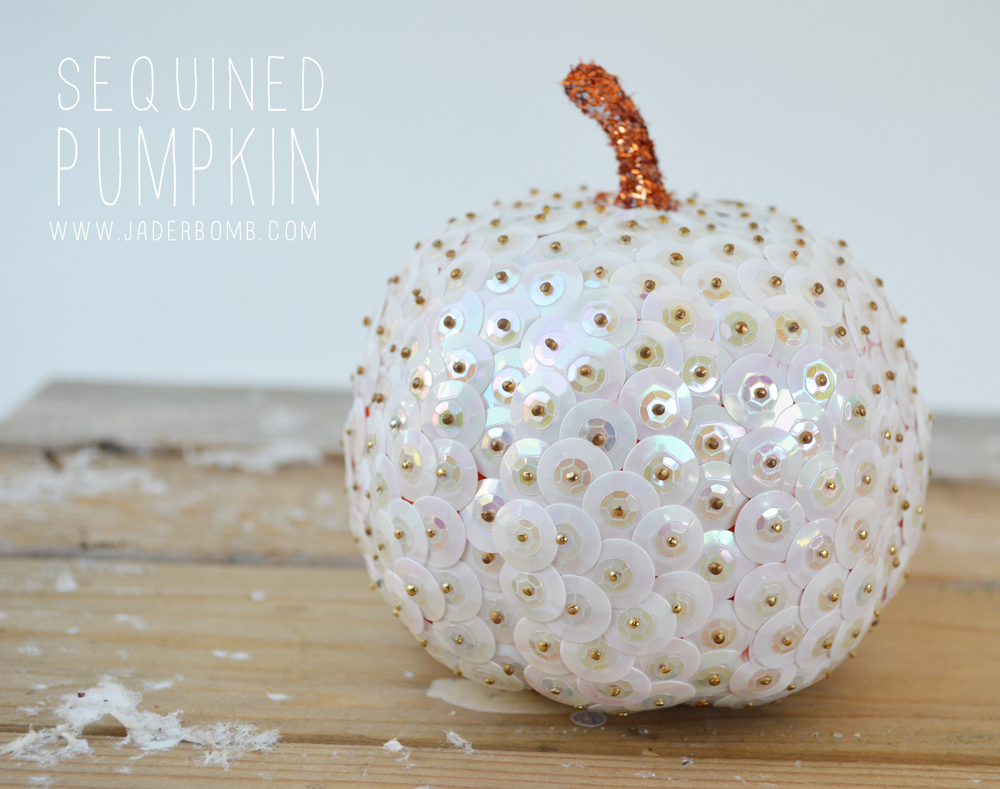
 *
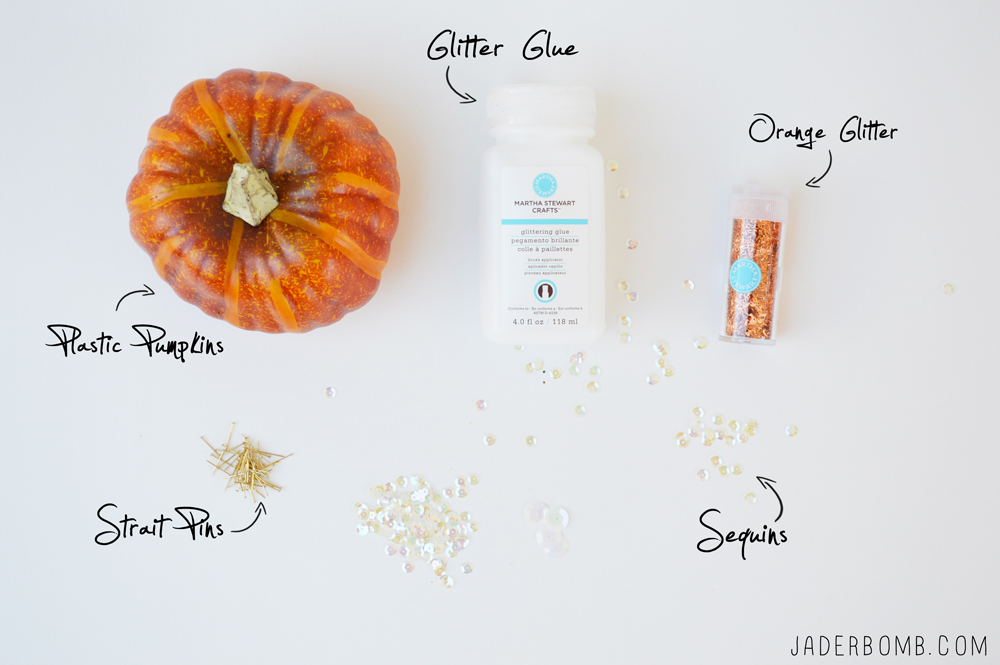
*
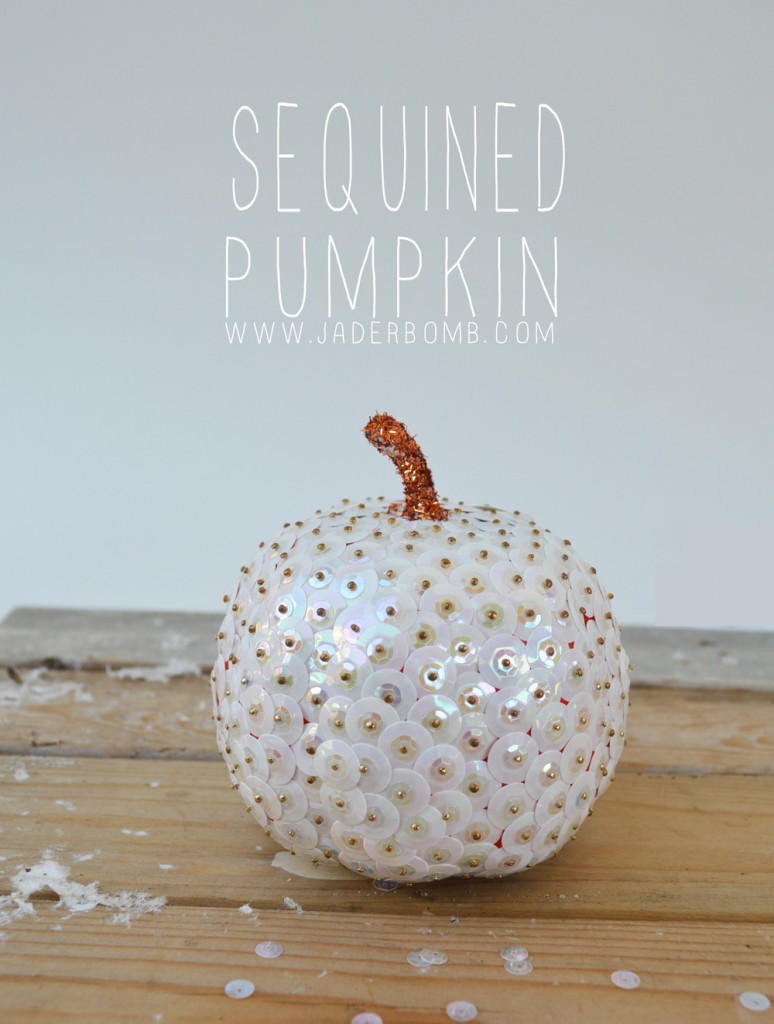
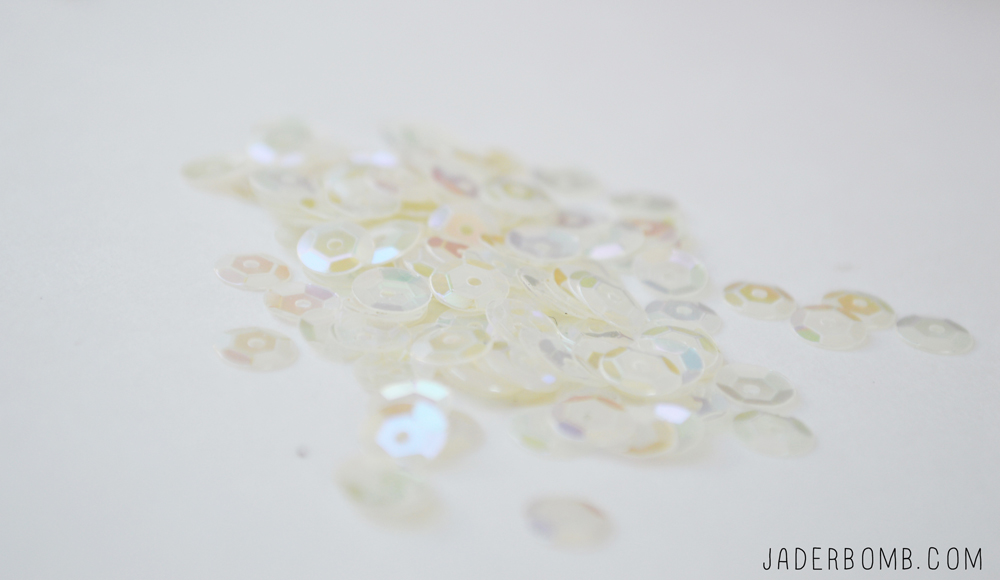 I am using gold head pins. I like the gold because it adds some color to the sequins and dresses up everything.
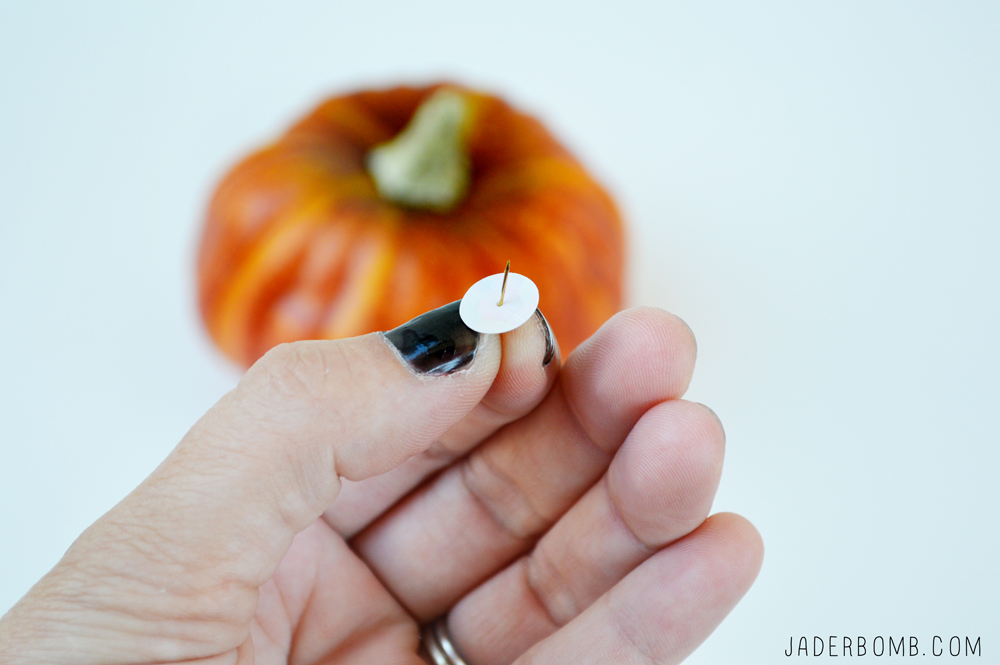 Start placing them in your pumpkin starting the very top.
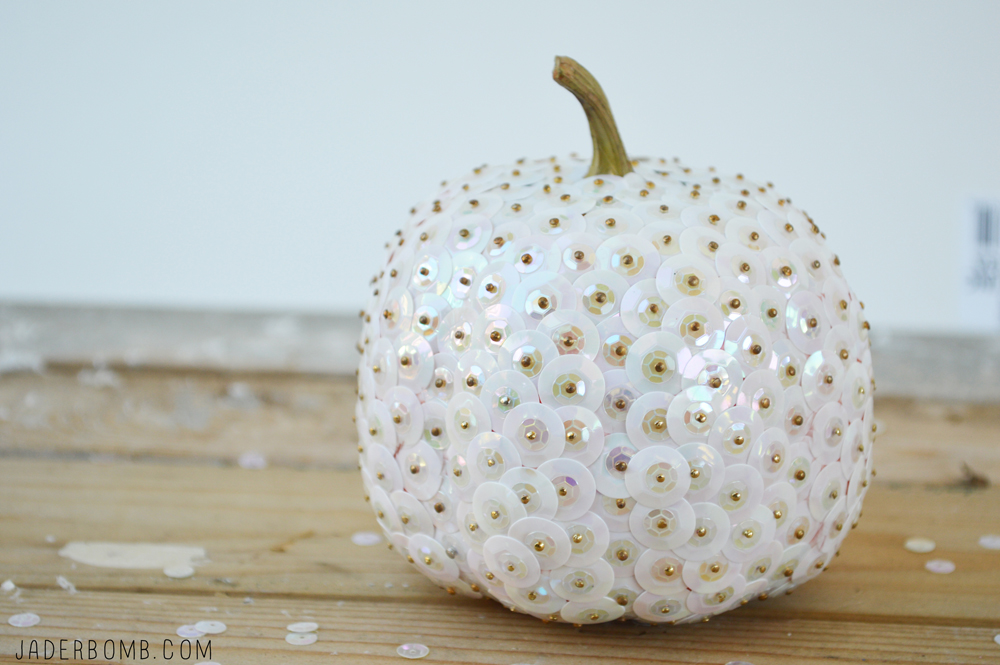
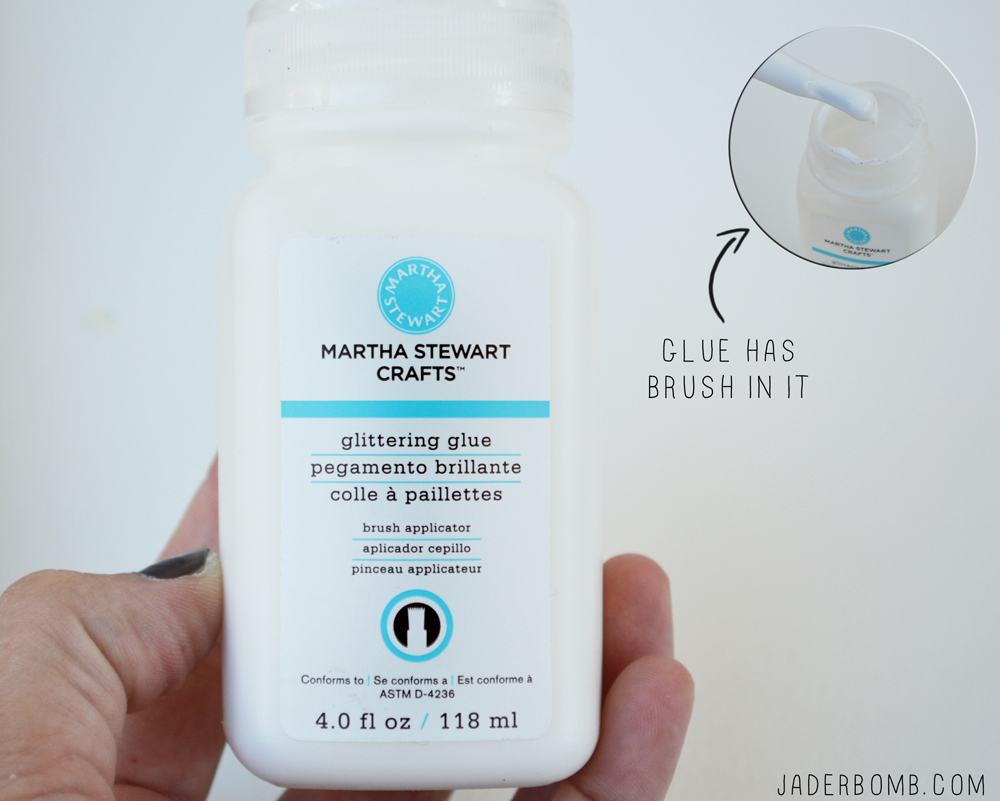
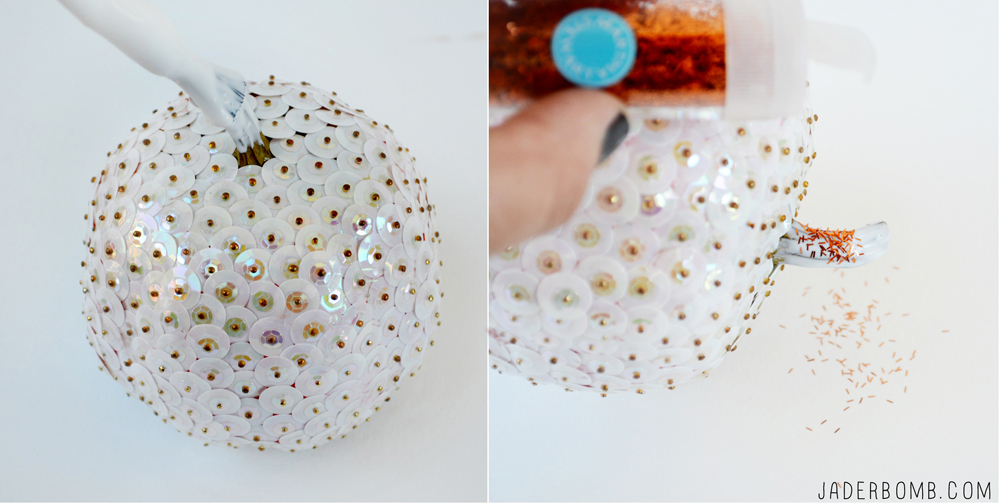


 I loved every second of it! I just smiled and nodded the whole time.
 The point of this story is to live a happy life. Smile when someone looks at you, nod your head if that is all you can do, don’t be afraid to hug someone, and I mean HUG. Don’t get upset if someone is rude or mean to you. Because the fact is you never know what is going on in their life. You never know. Giving someone attention could change so much.

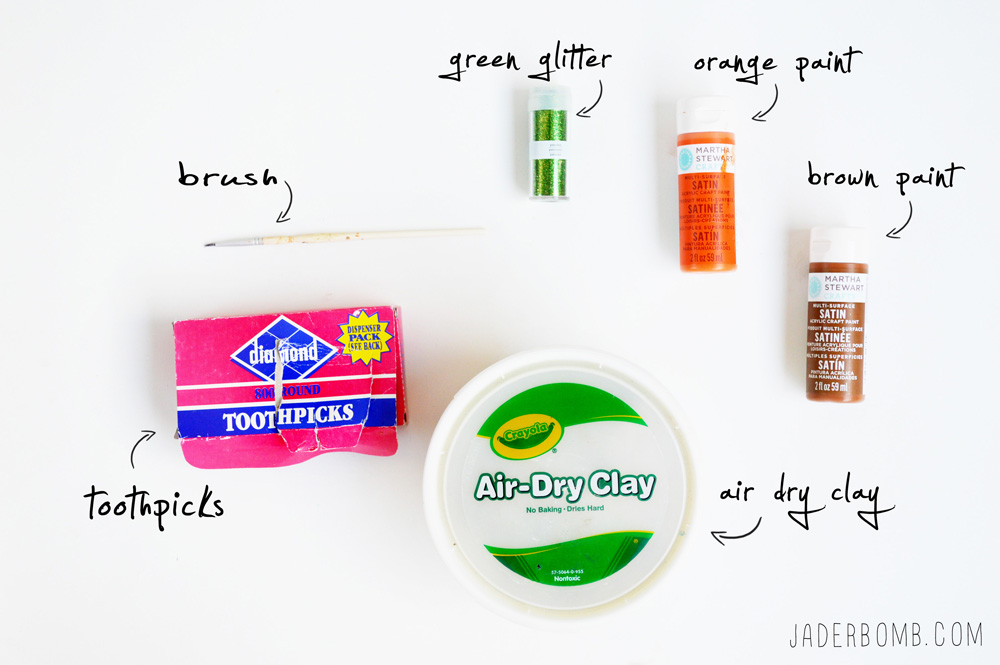
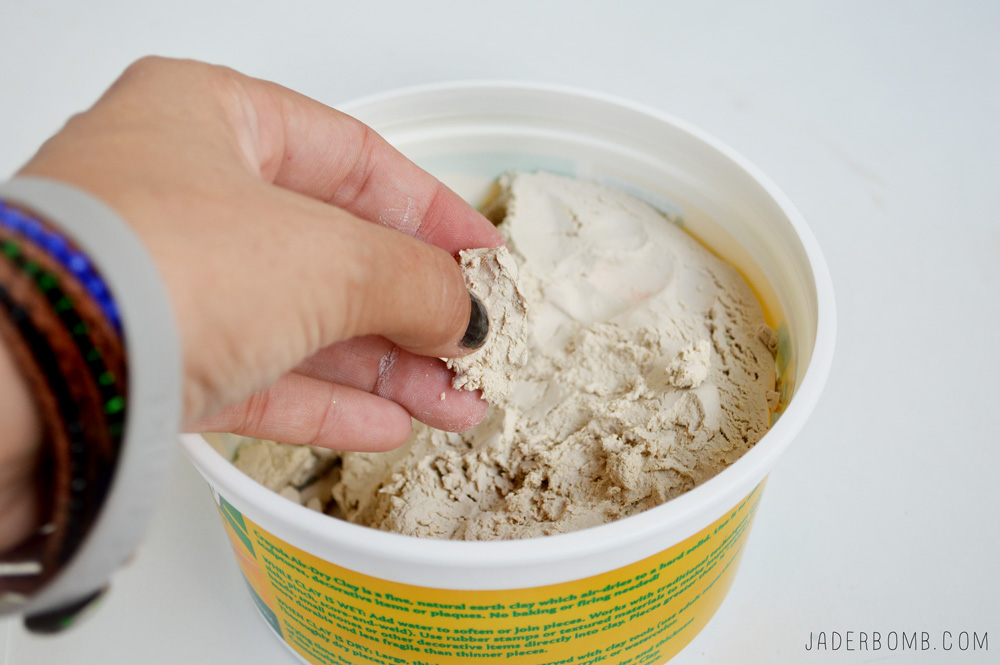
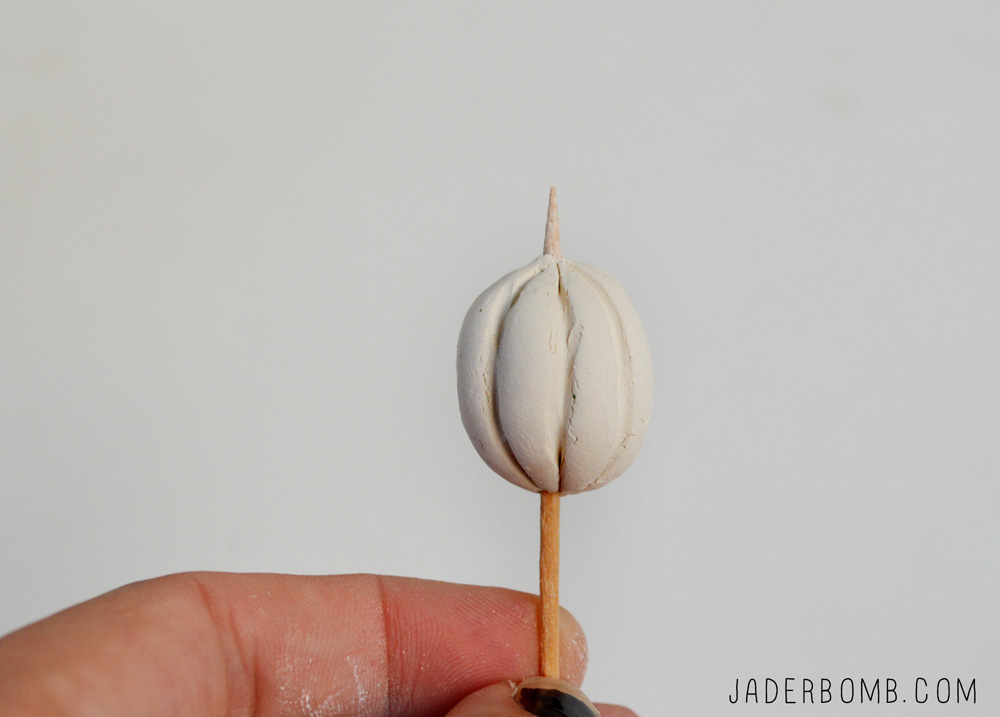 Stick a toothpick through it letting a little piece stick out of the top. Once you do this get another toothpick and draw your lines in the pumpkin.
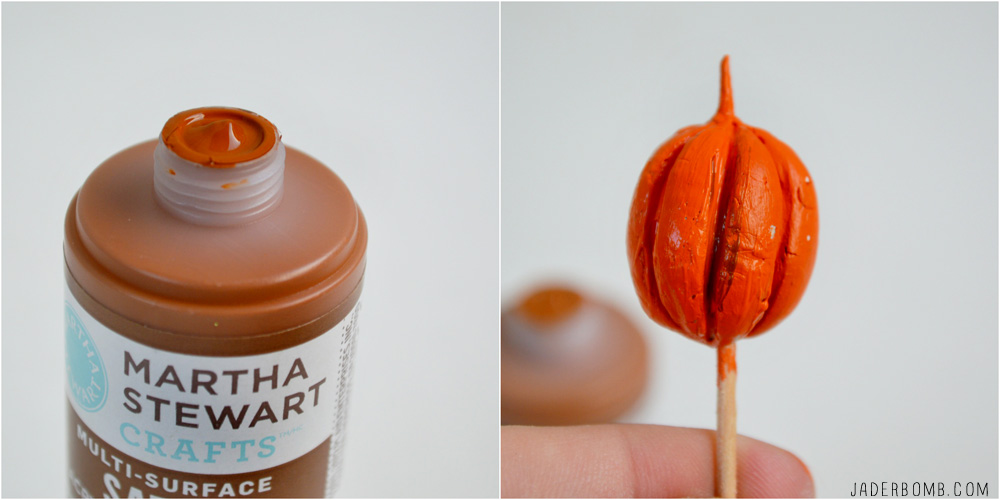
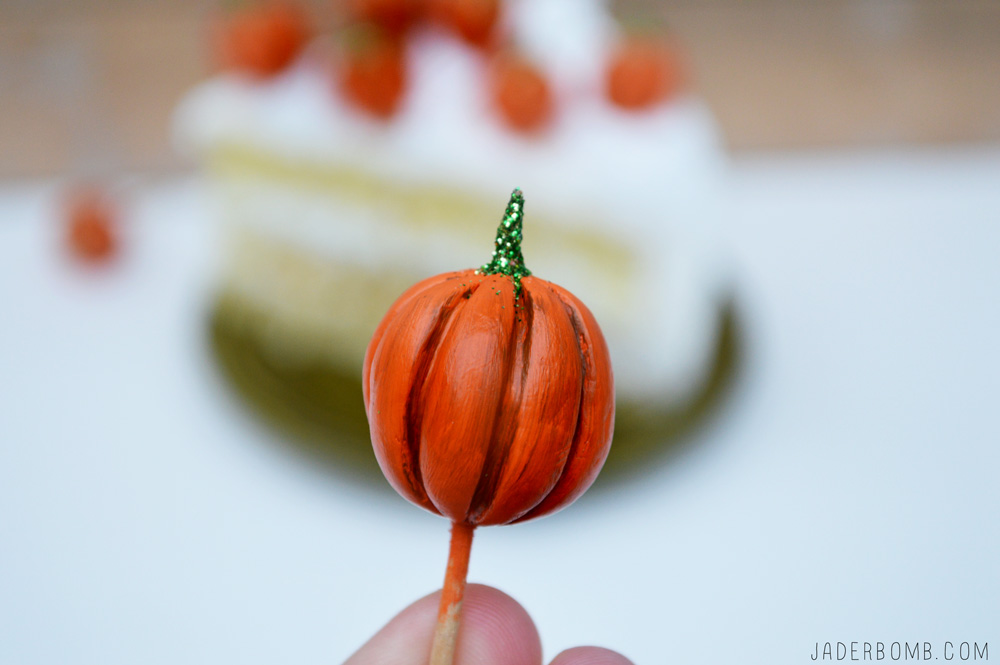 You can even coat a little bit of brown paint over some of the orange if you want.
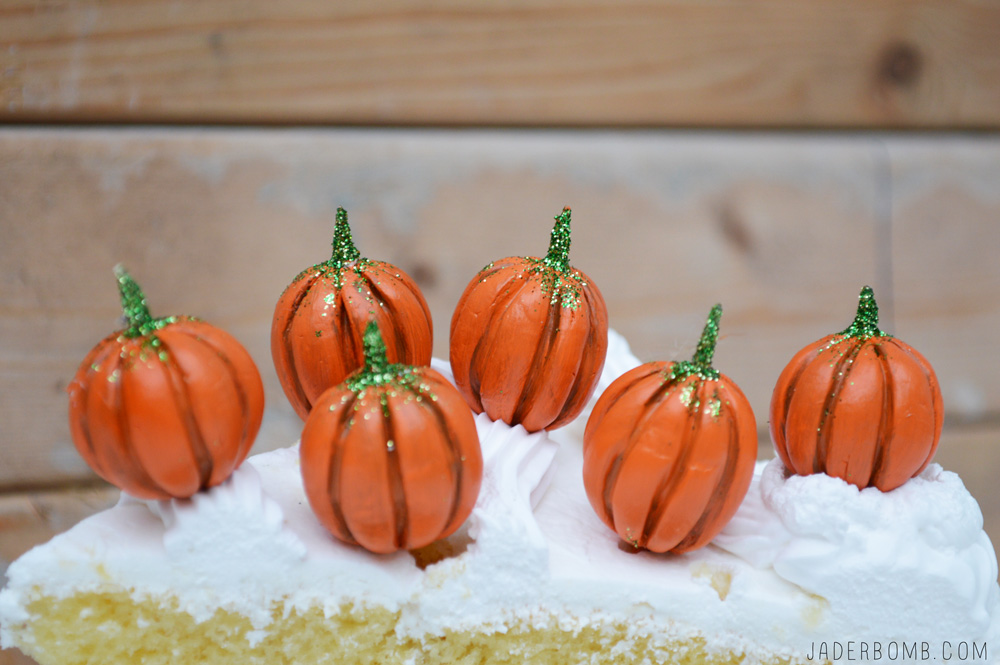
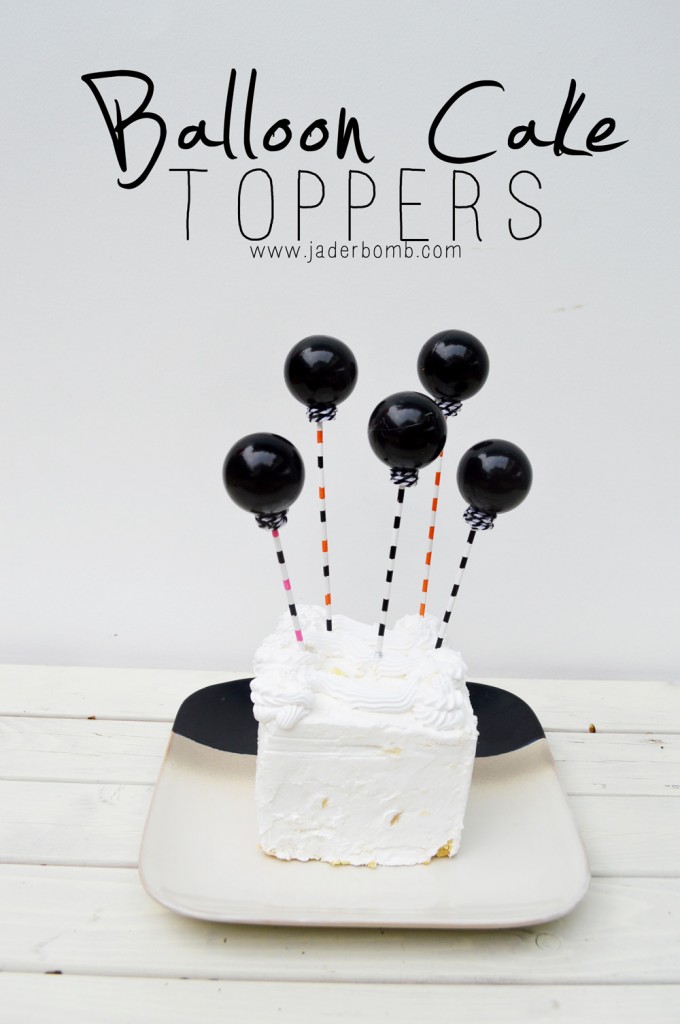
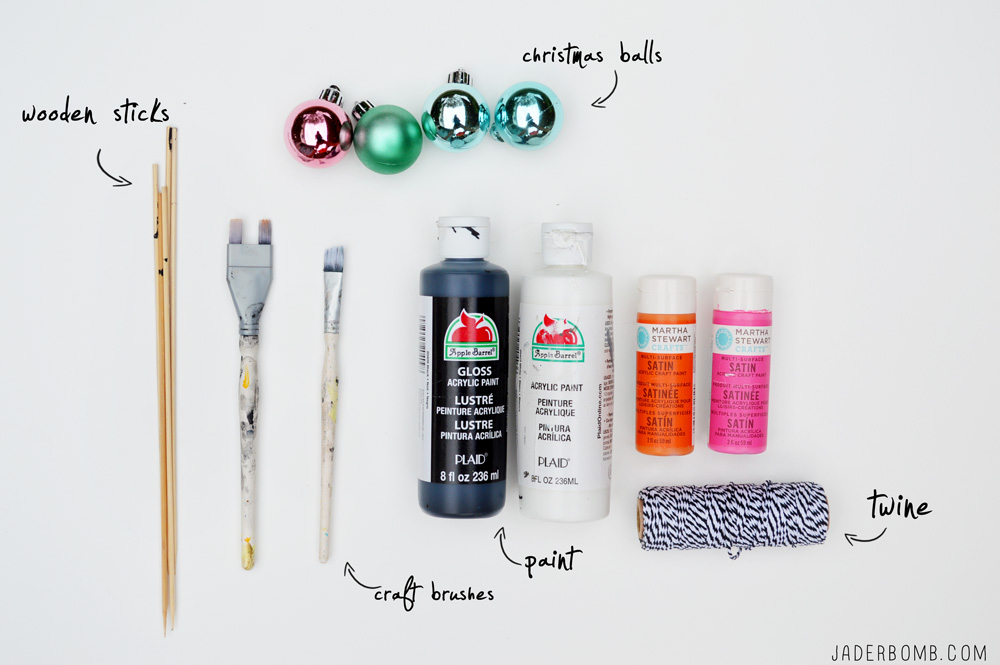
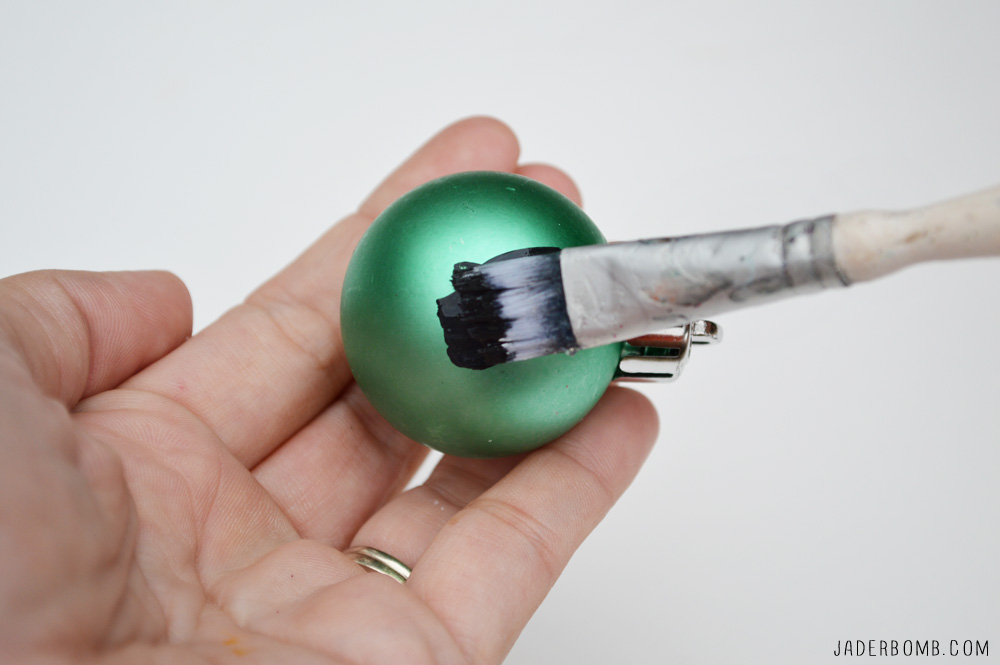
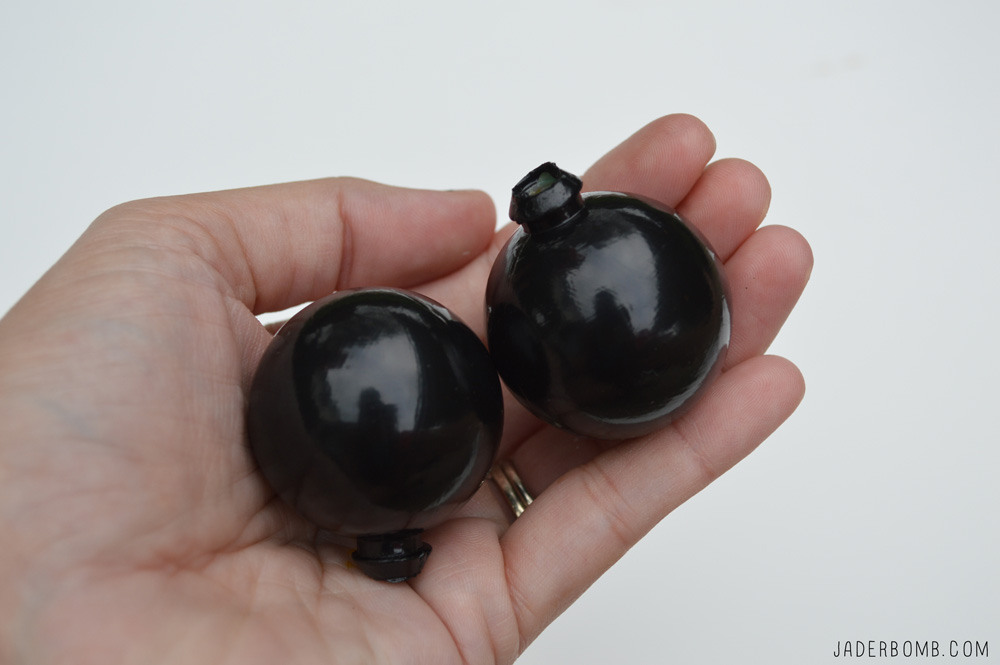
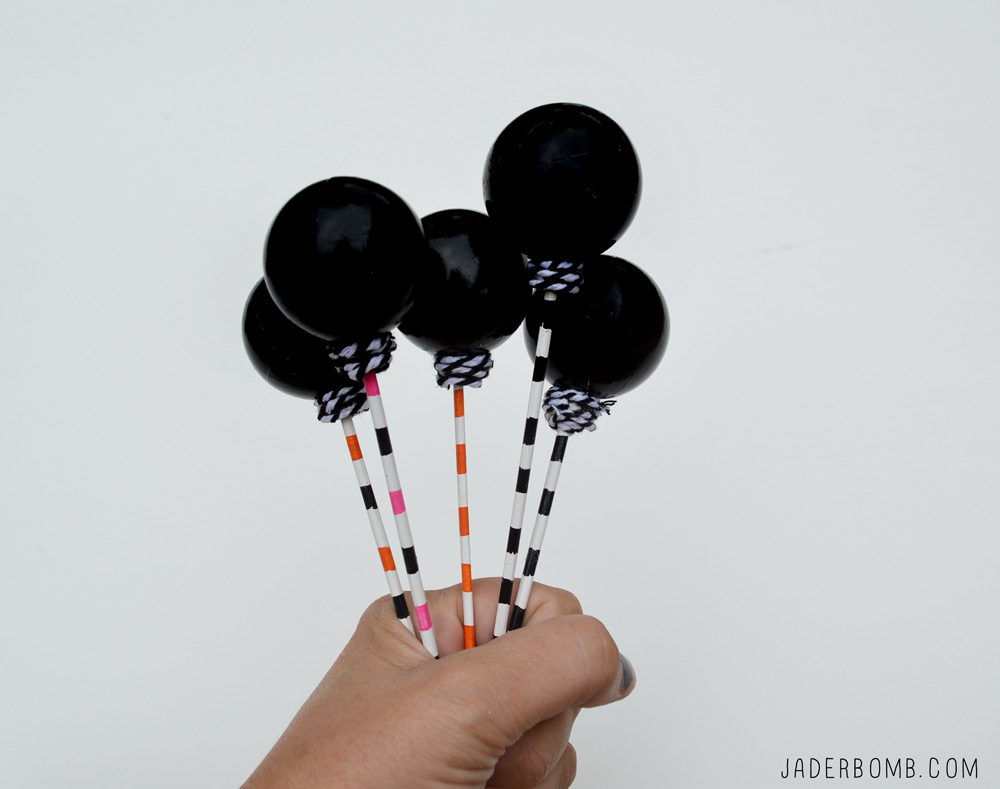 I am so happy with the way they turned out! I know that I did them black but you could do them pink, purple or just leave them the color of the ornament.

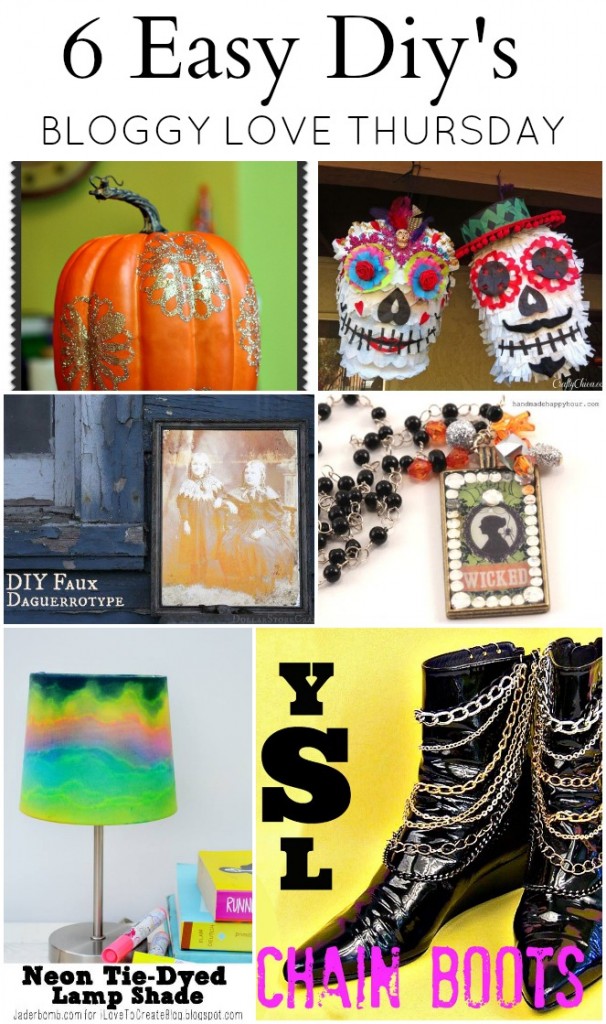 It’s all about 6 EASY DIY TUTORIALS today for Bloggy Love Thursday! I don’t know about you but anything fun, functional and easy makes me happy. Let’s see what everyone is sharing today!