I am a Southern DIY blogger and Designer known for fearlessly conquering anything and everything do-it-yourself. I aim to create unique designs by working through my thoughts, dreams, emotions, and tons of glitter! I believe in doing things that make my heart flutter and smile, and I live by my motto, “Life is simple and so should your style.” To learn more about me, visit jaderbomb.com or email me at jade@jaderbomb.com. You can also visit my Etsy shop at jaderbomb.etsy.com.
Make sure to check out my FREE PRINTABLES site www.freeprettyprintables.com
My biggest accomplishment thus far is being a guest on the Martha Stewart show, yes she smells good.
I love my dog Ceaux Ceaux, pens,the smell of Christmas, GOLD, Dr. Pepper and blogging.
BTW: I bleed glitter, all shades.
Blackboards have been around for a long time. This could even be used for free printable coloring pages. You could color in everything that is white which would give it a litte bit of personality and love.
I wanted to make a printable that could be put in anyones personal space. I think we all deal with hate, love and life which is why I love this printable. Life can be pretty tricky at times. I have dealt with hate a lot of my life and it’s not too fun. Of course there are times that we might not “like” a person but I try my best to never let my feeling get to the “hate” level. Sometimes we are forced internally to choose the people in our life but just because person is not in our life does not mean we don’t like them, right! It’s just the most healthy thing at that time and period.
I hope everyone has a great day!
Happy Birthday Martin Luther King Jr!
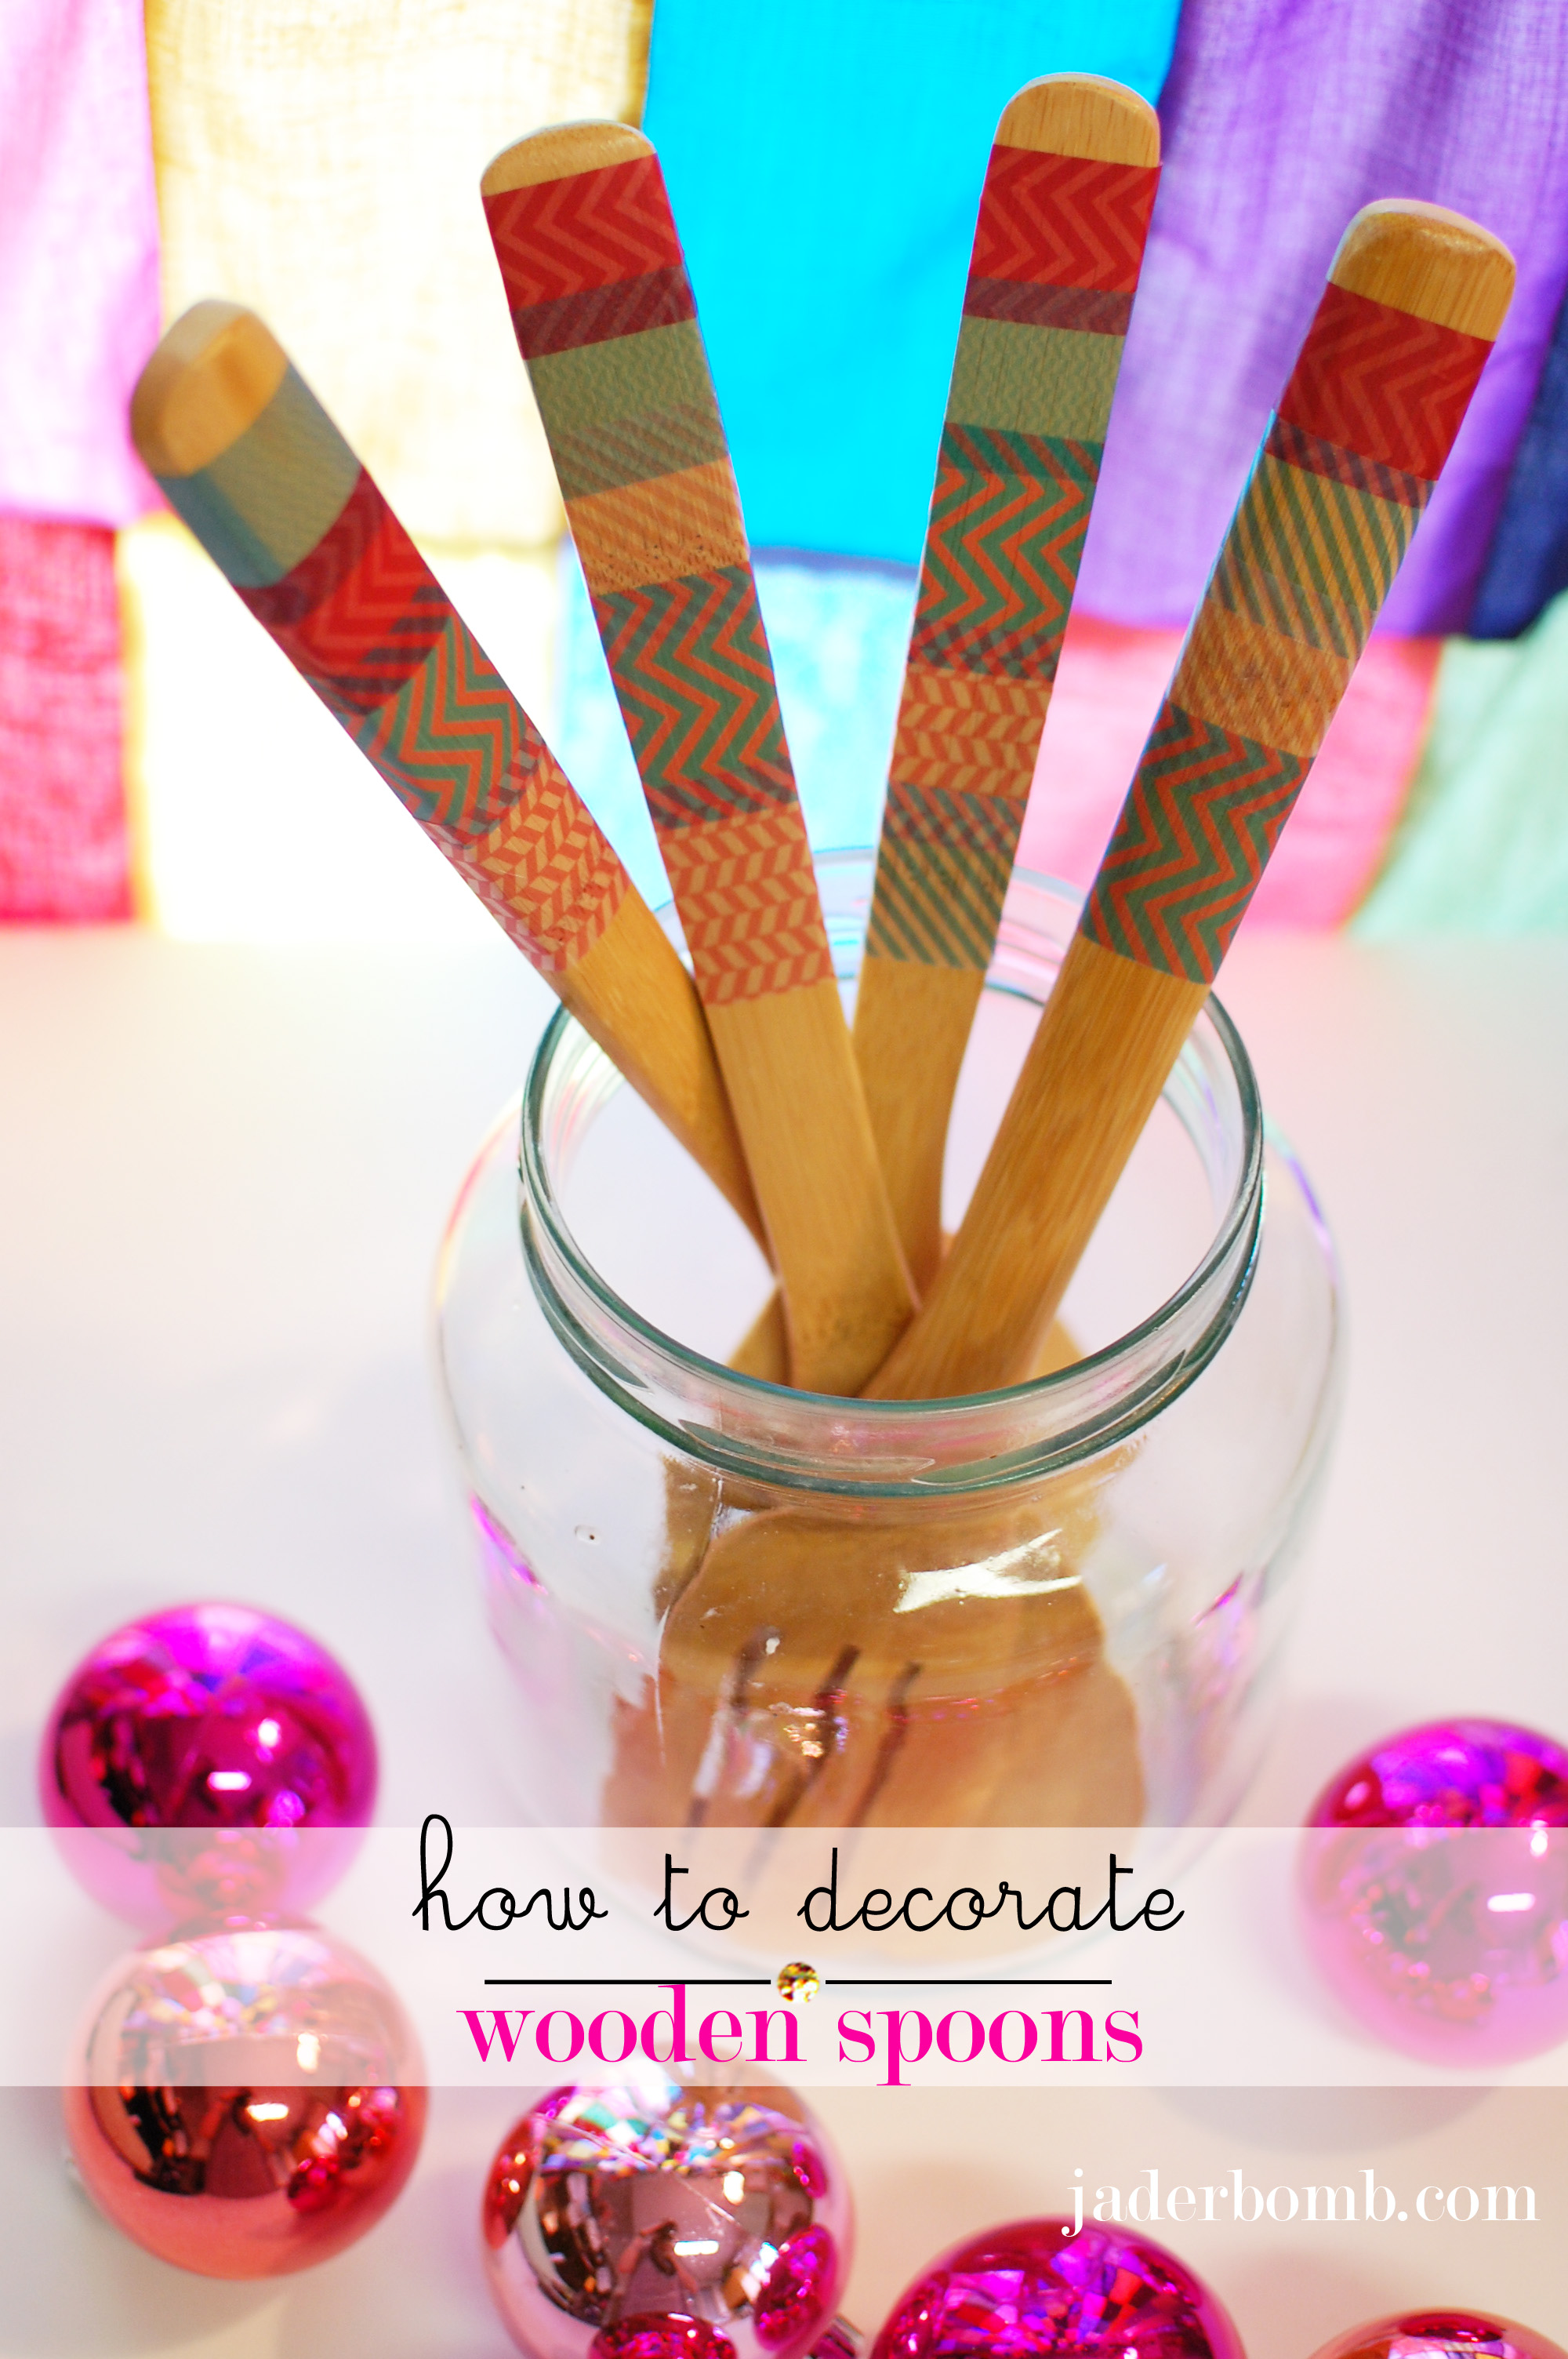
Today I will show you how to take a boring wooden spoon and give it a new life. The wooden spoon has been around for a long time but if you want to spice up the decor in your kitchen and “display” your spoons then stick around! While attending CHA, the Craft and Hobby Association trade show this past weekend my friends at Craft Attitude gave me some of their amazing printable film sheets. If you have not heard of these yet, then now is the time to get crazy. When you see just how these film sheets can do you will flip like a fish in a bowl of kool-aid.
I had never used this product until now and I am still amazed at how much it can do! You can see below just how beautiful they turn out. It’s almost like making your own Washi Tape. I have so many ideas for this product and I can’t wait to start making them all.
I overlapped my designs to give it a more modern look and I love how they are translucent enough to see the sheet behind it. So, when you lay one color over another it creates new FUN colors. You can decorate wooden spoons with any design you like, this is what I love about it!
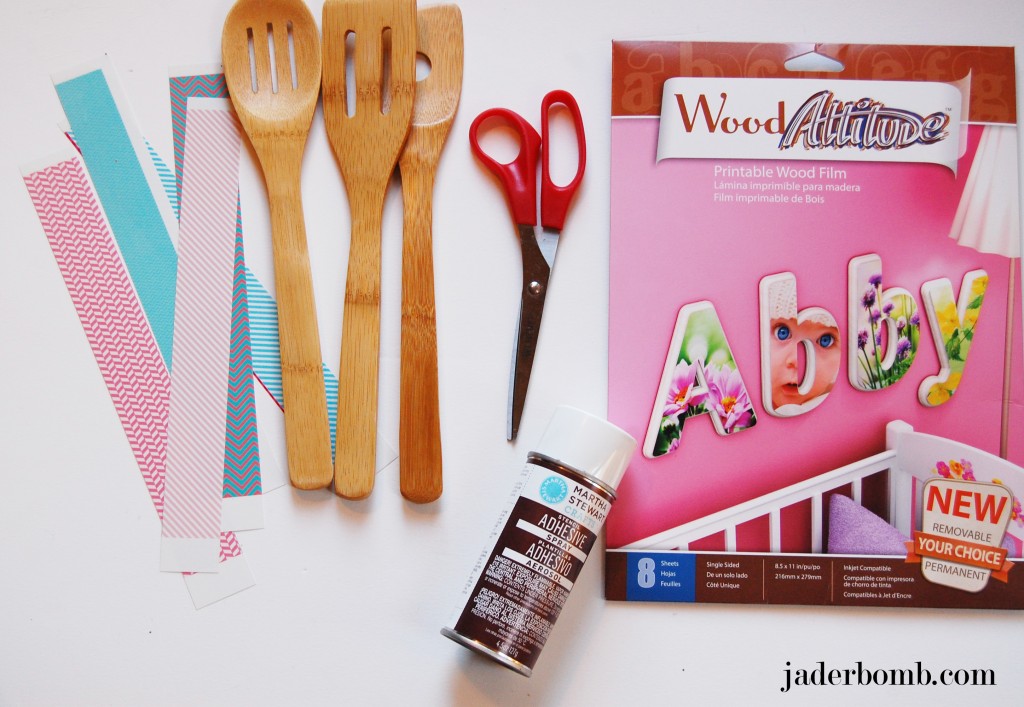
*Wooden spoons
*Wood Attitude
*Scissors
*Spray Adhesive
*Printer
( You can print ANY image onto this film. I just provided the print I used)
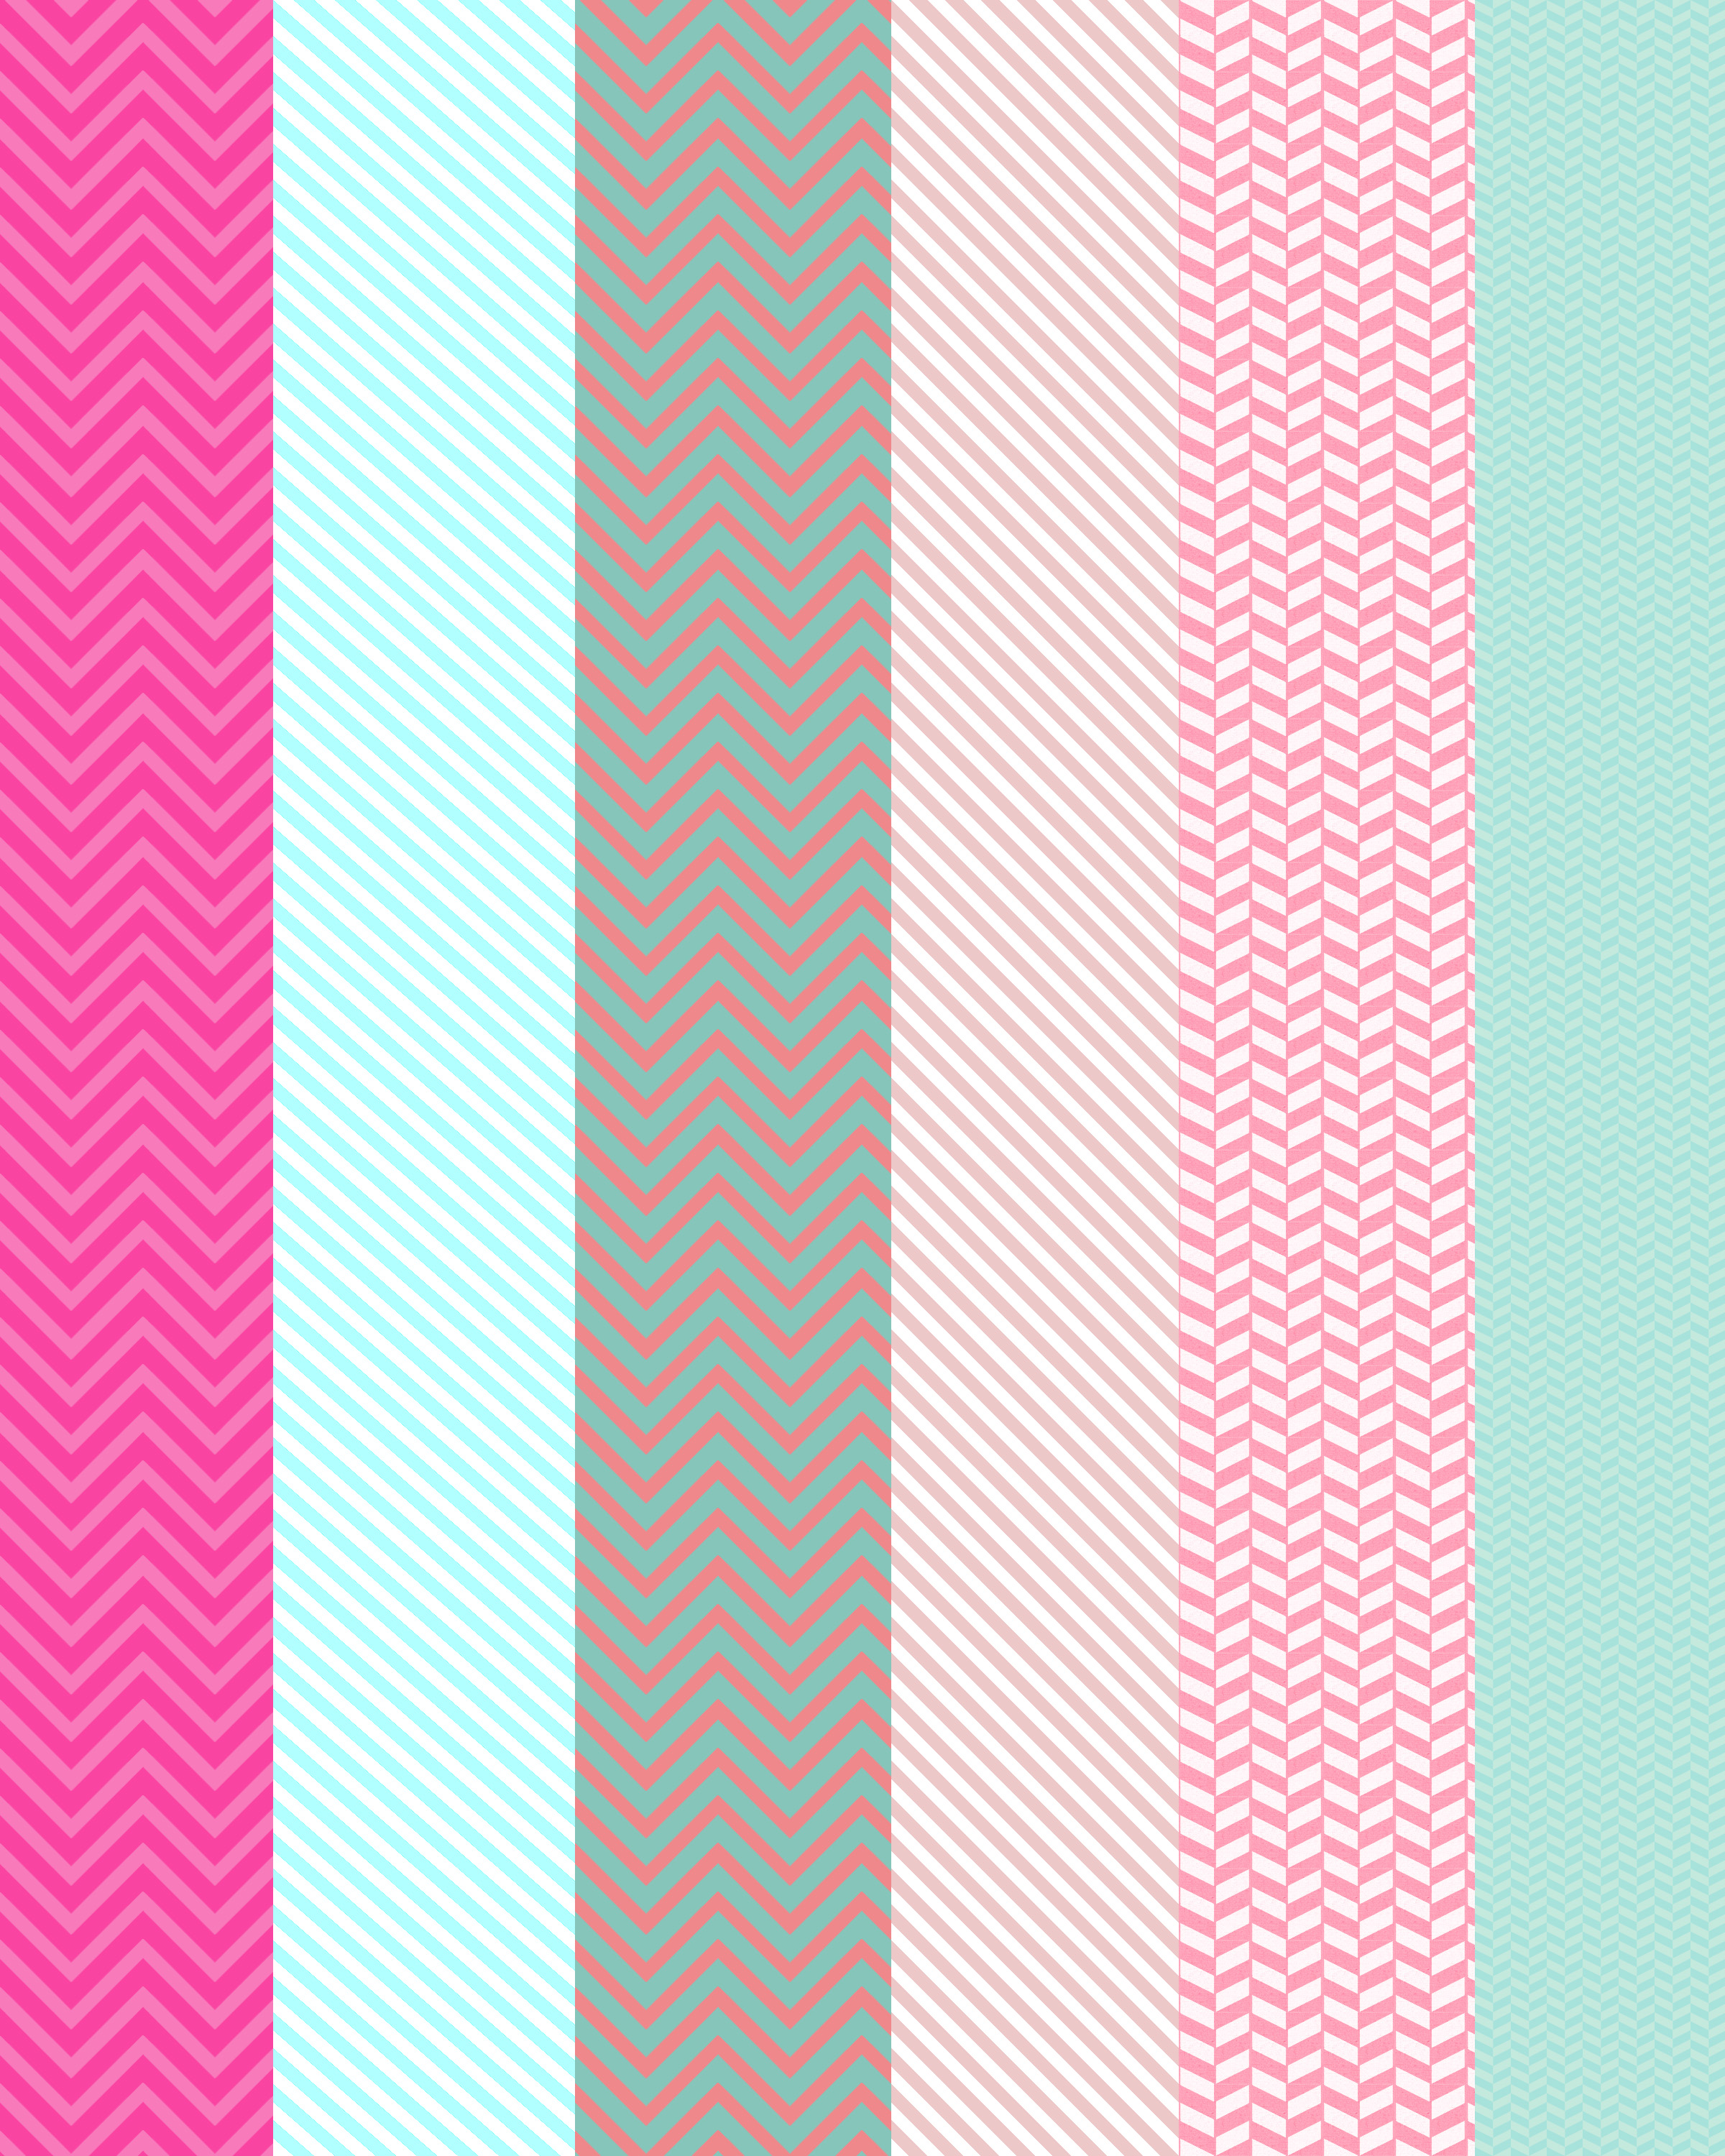
Below you can get the PDF I made for this project, unless you want to make your own paper. Let’s get started with the tutorial.
For the FULL pdf click HERE. I have enclosed a pdf for each color and one with each strip on it. ENJOY!
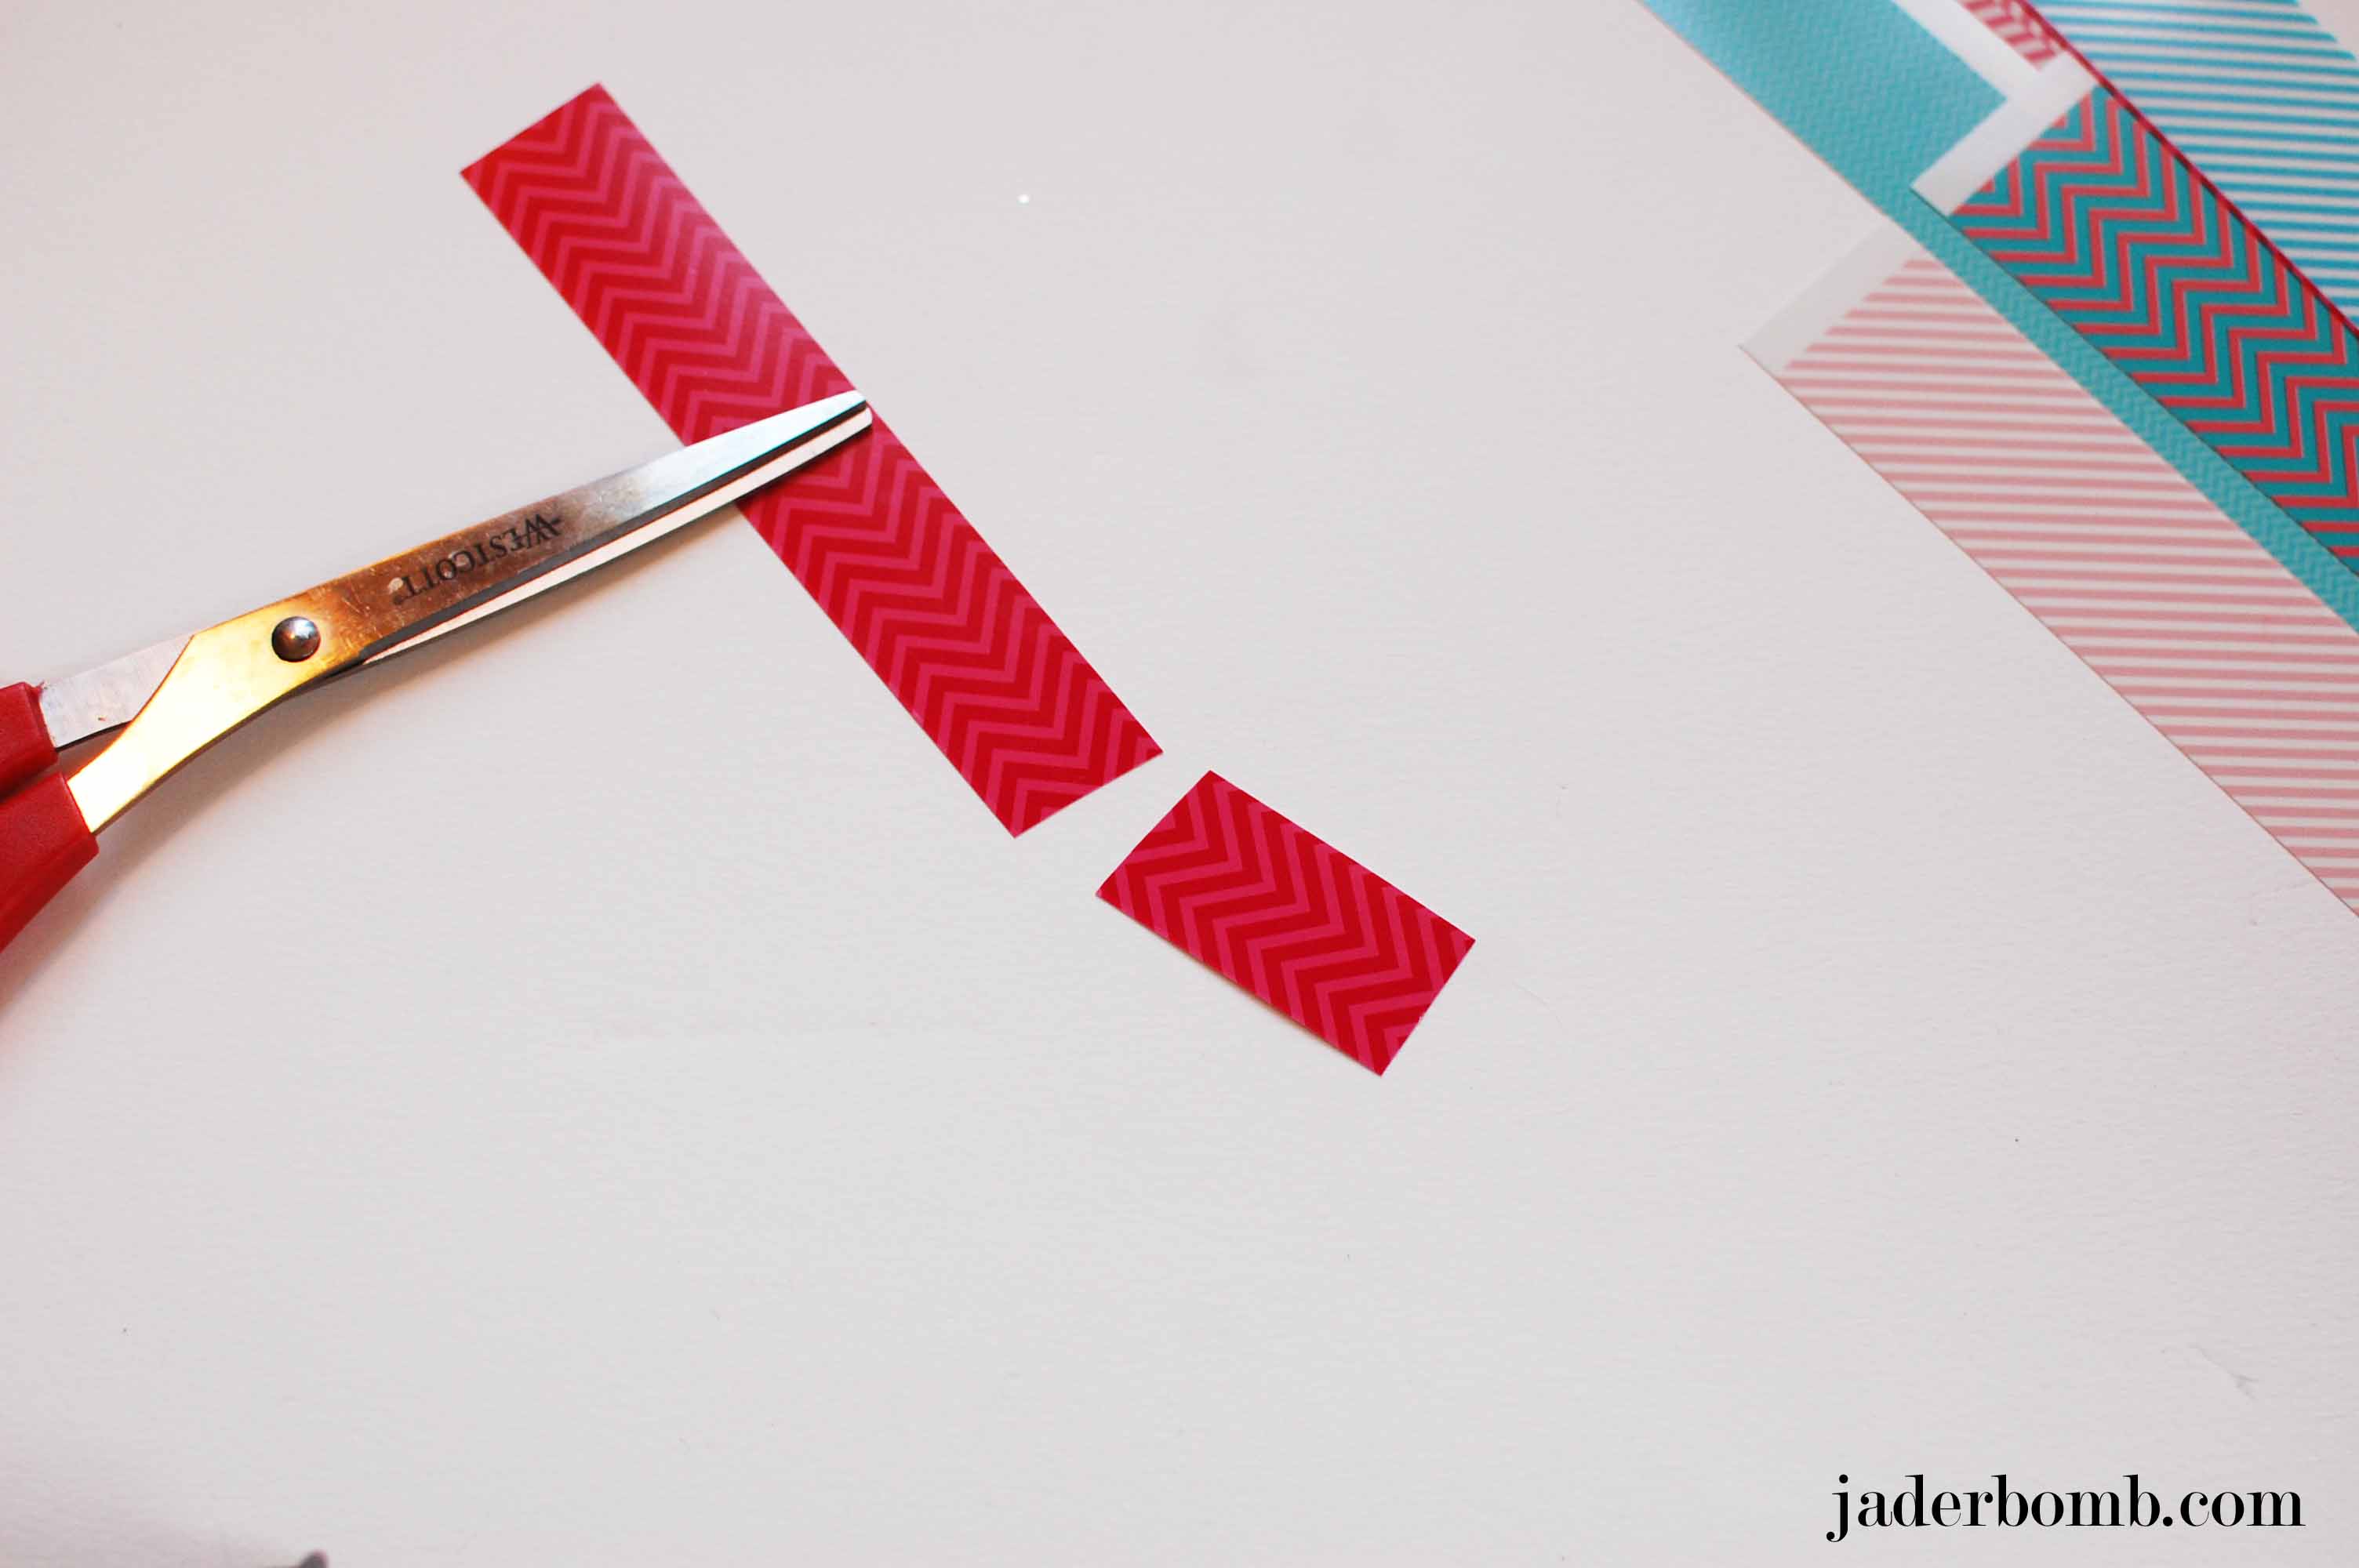
Cut your paper into strips.
Measure the paper around your spoon then cut the strip to the right size.
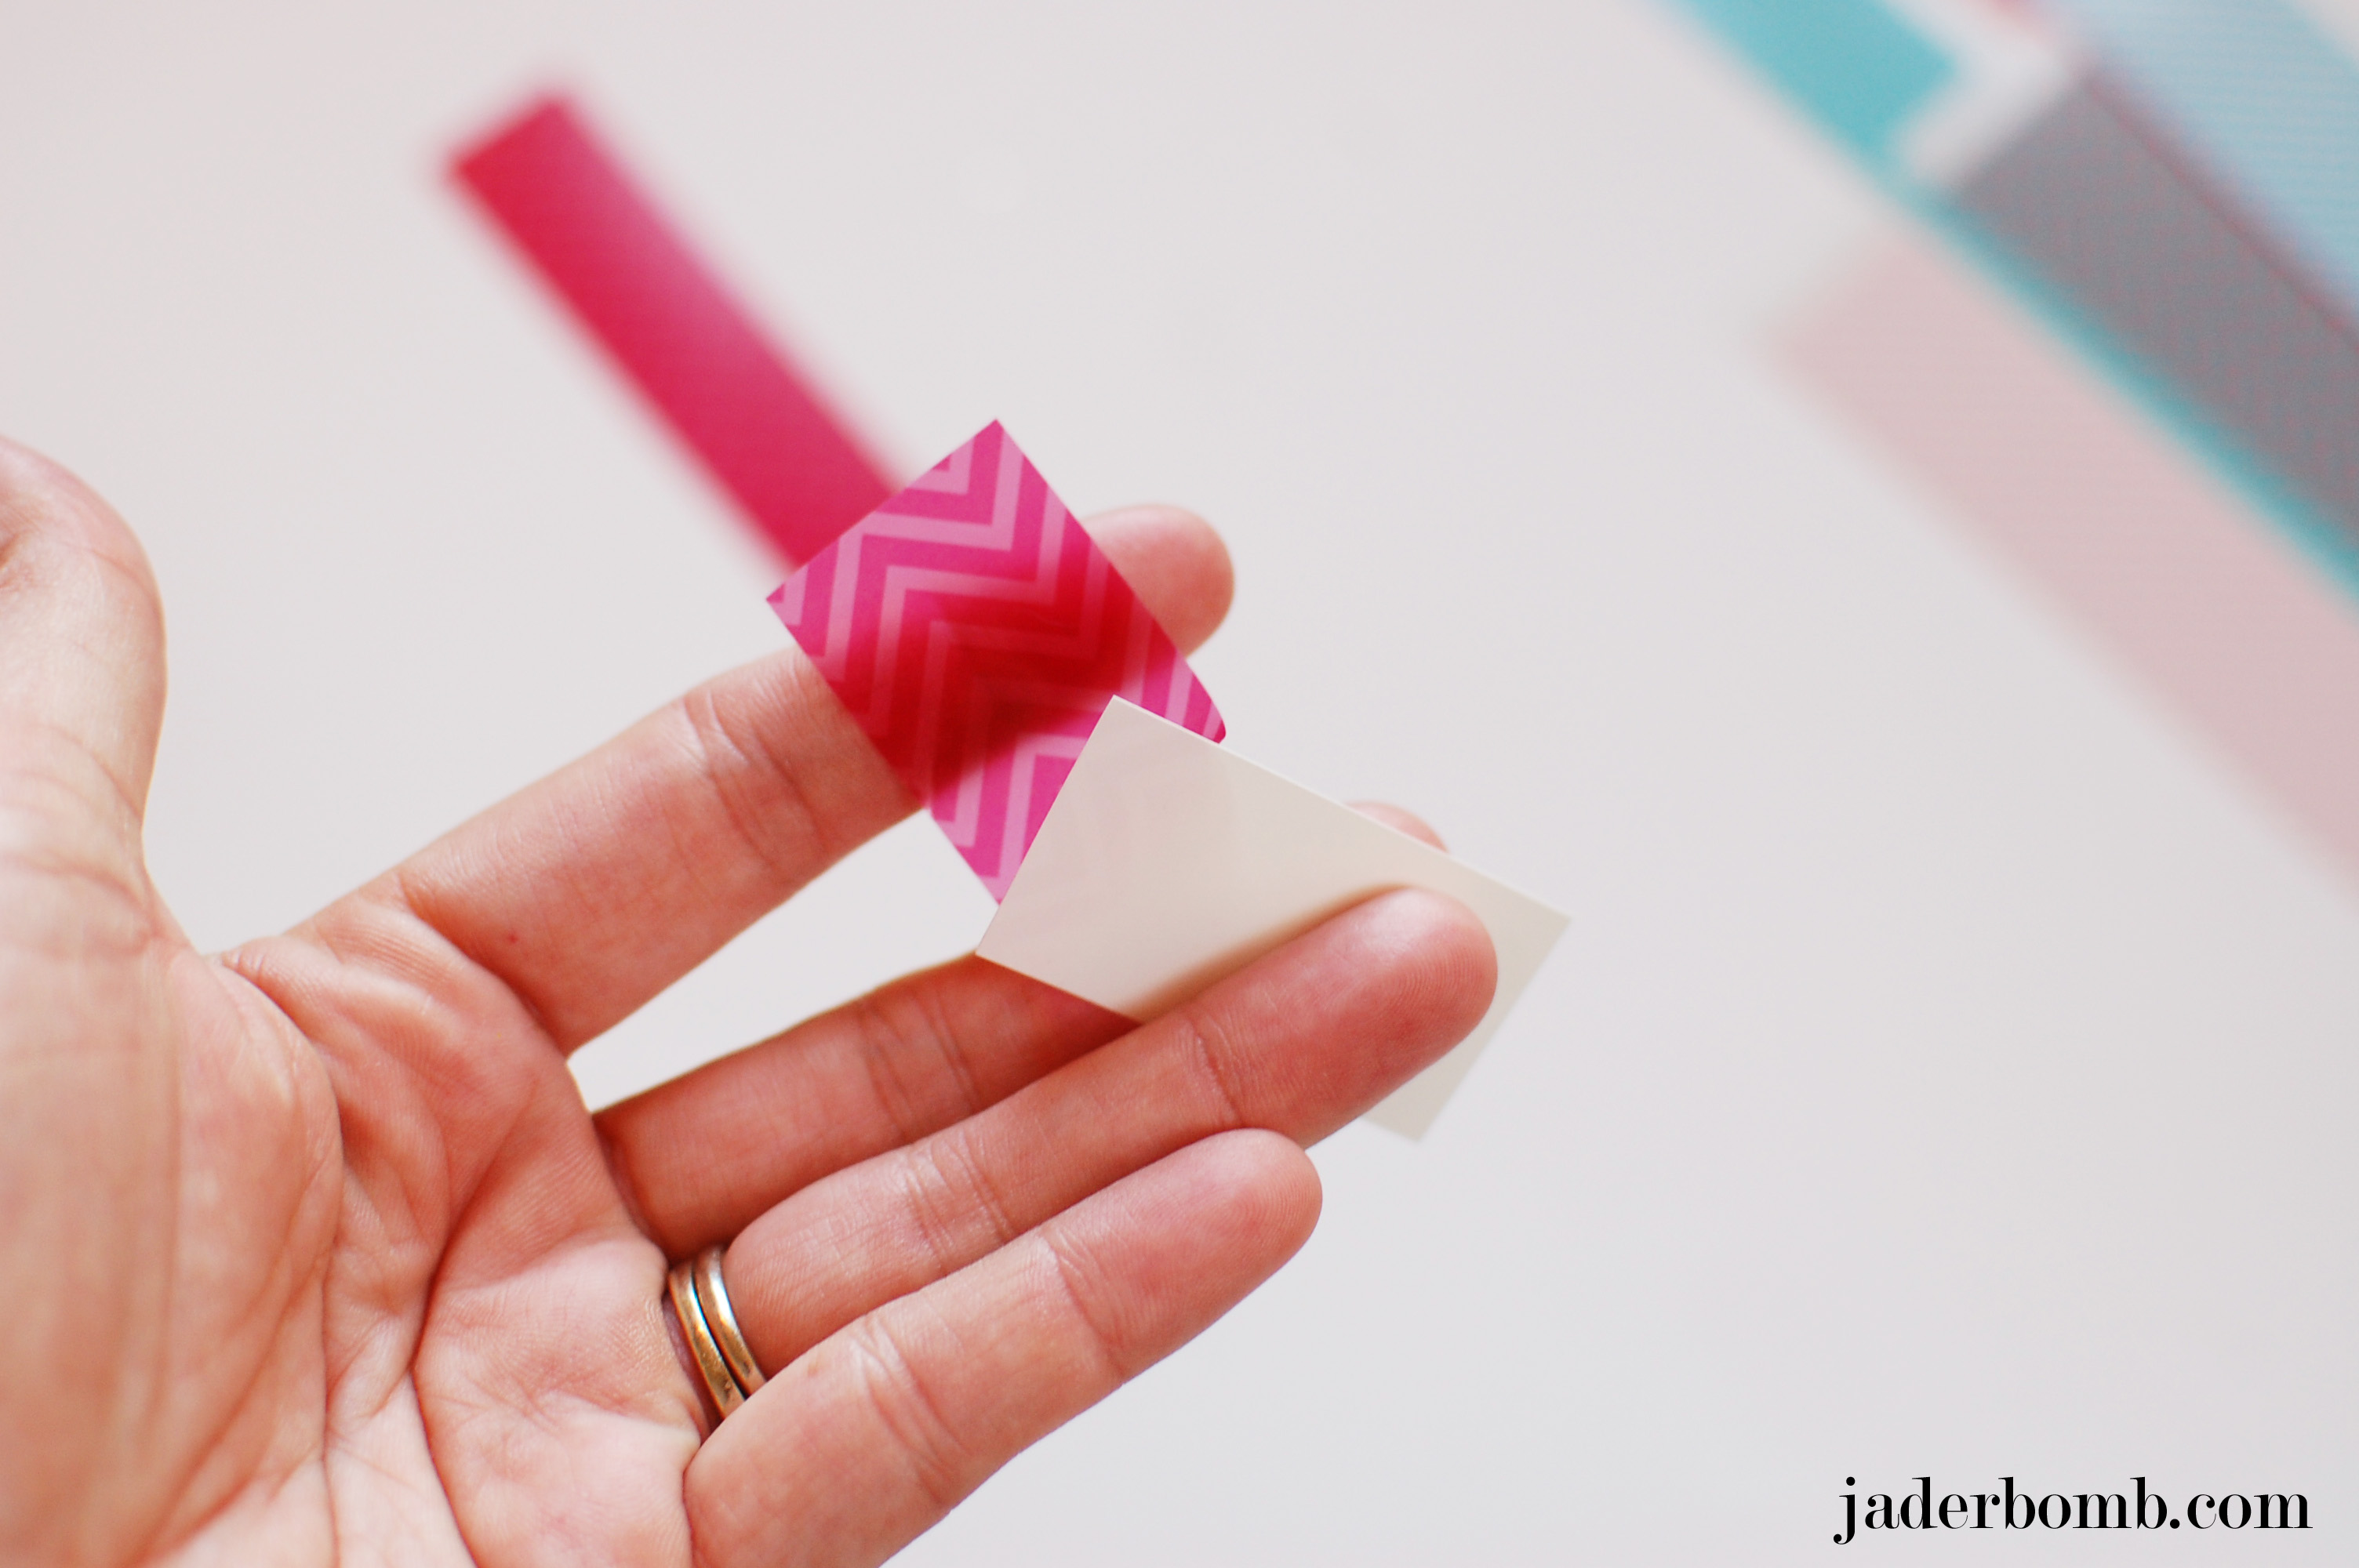
The top layer of paper will peel off really easily. Make sure you stick the shiny side down.
To make sure my strip really stayed in place I sprayed a little adhesive spray to the “not so shiny” side.
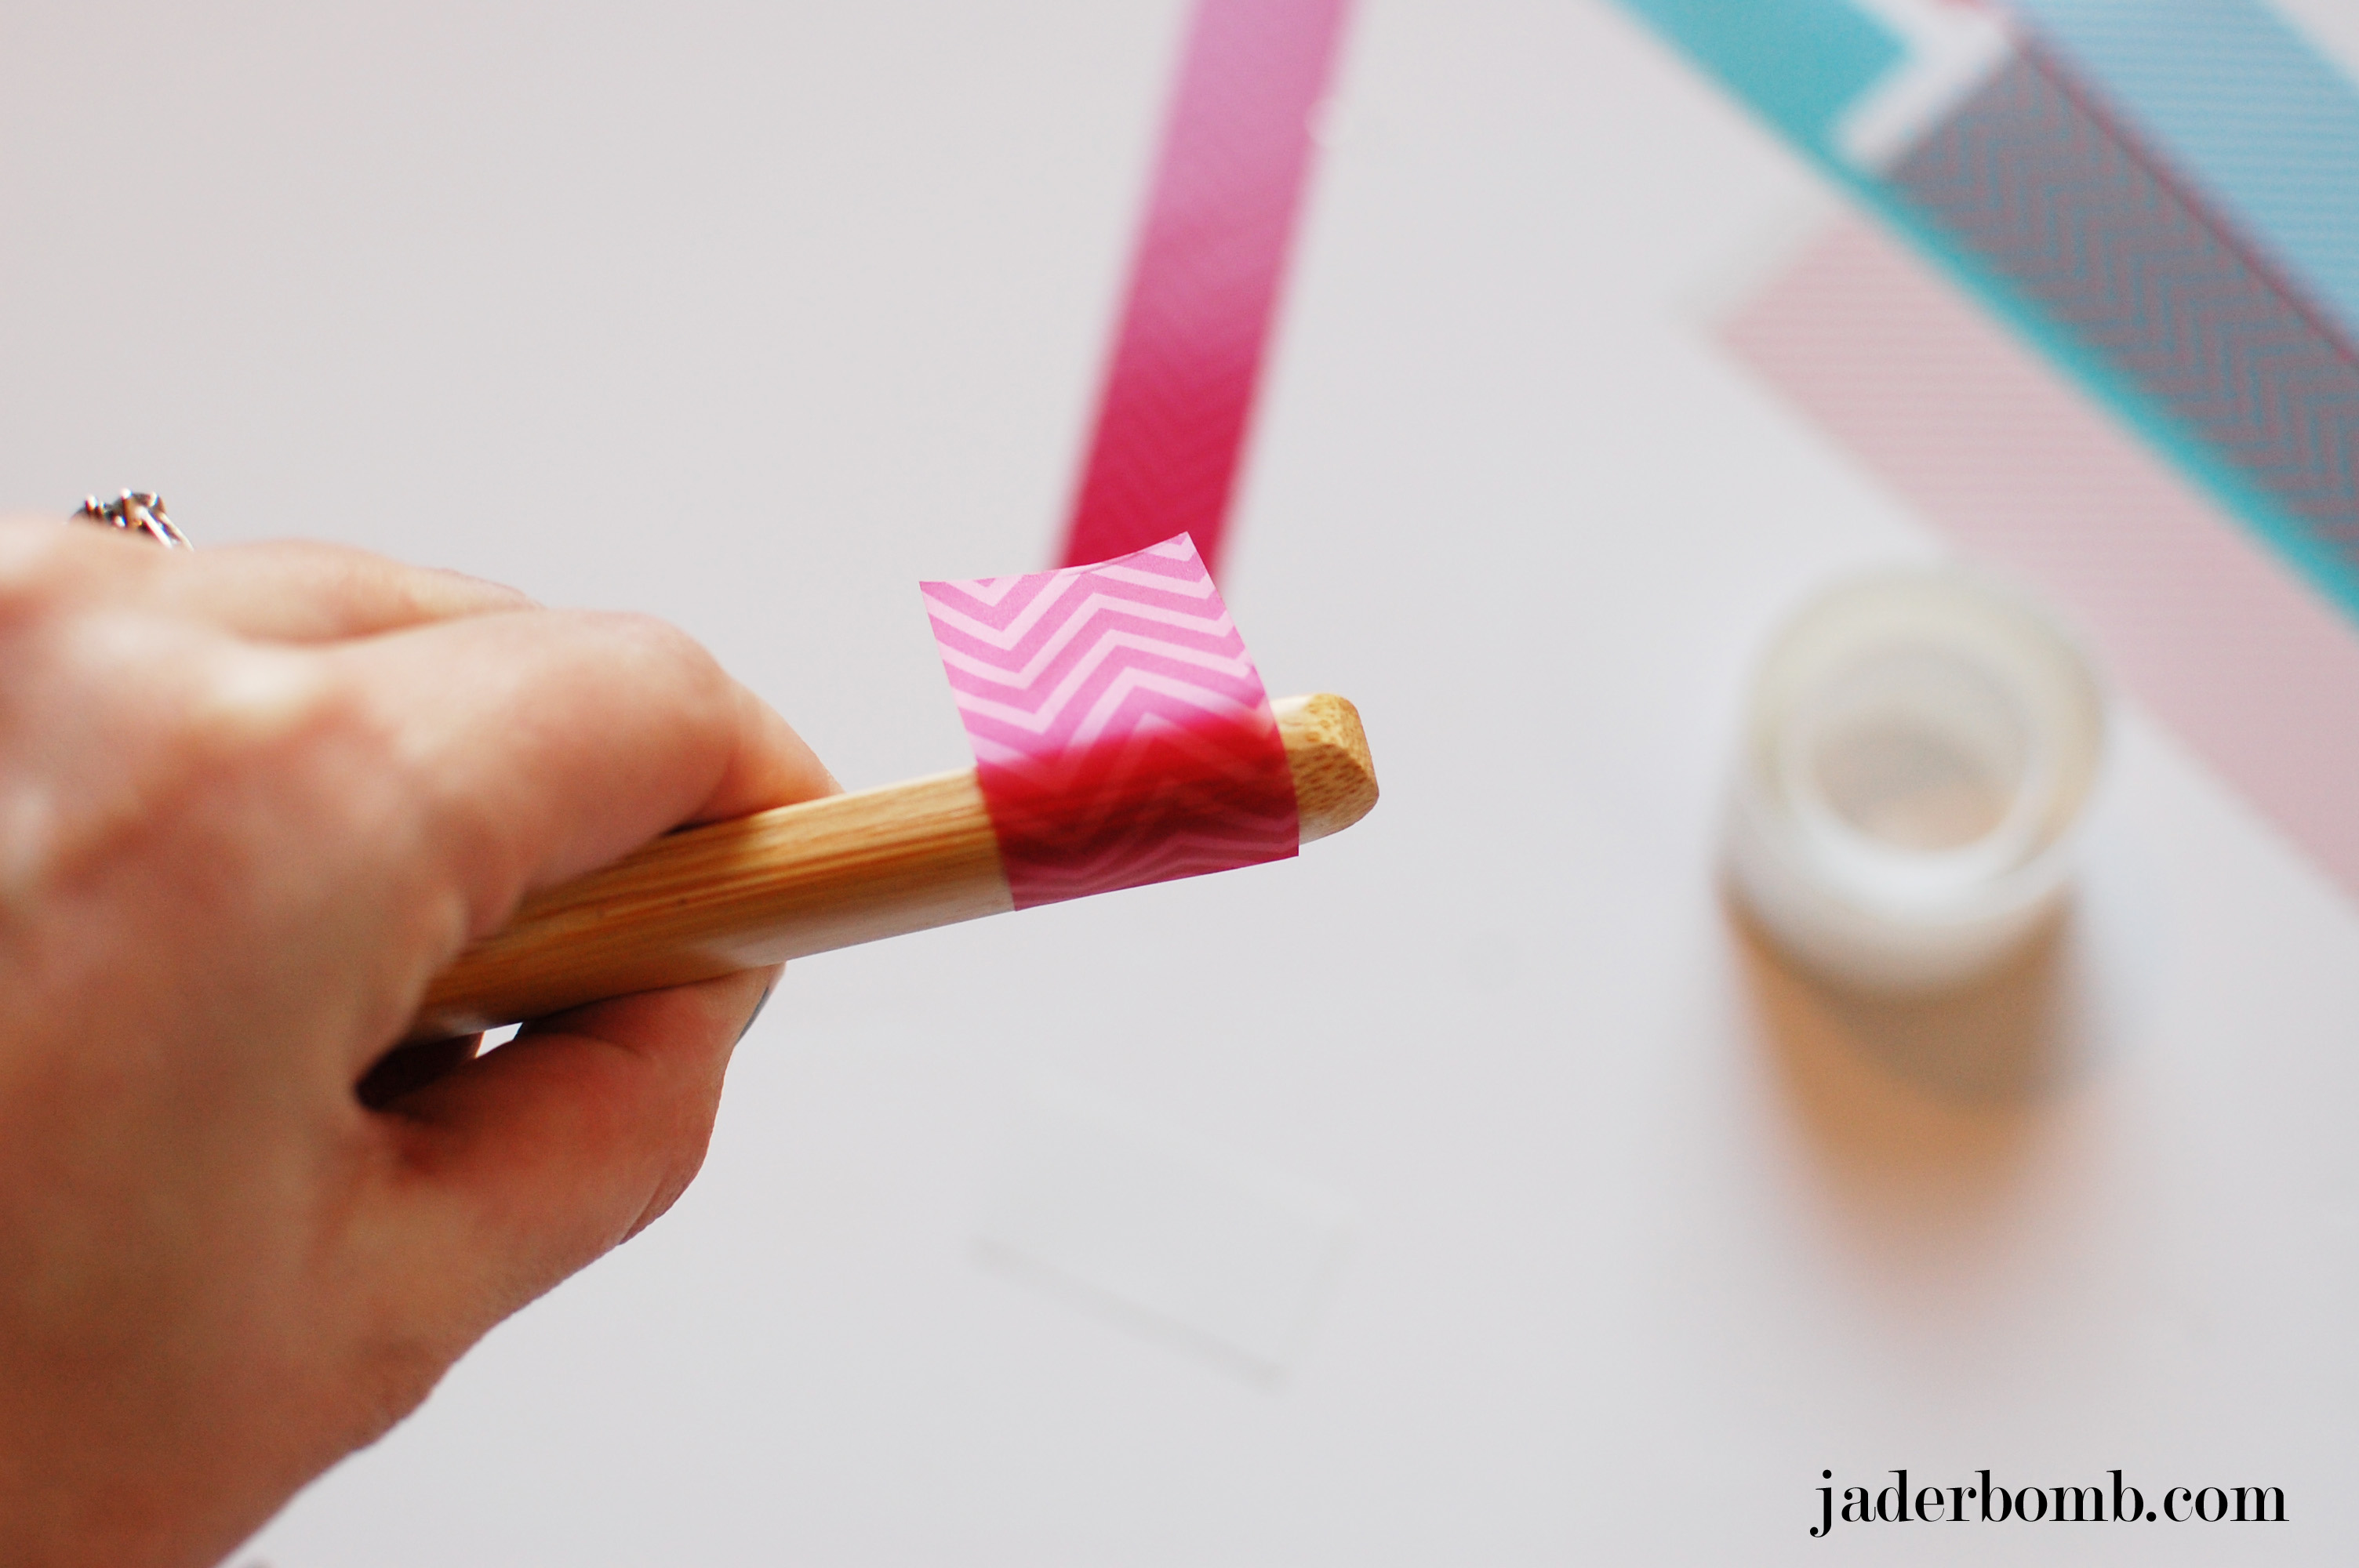
Slowly apply your printer film.
Have fun with it and get creative. Remember you can print any image out on this film.
Let me know in the comment section below if you like this product? Do you like crafting with wood? I’d love to know!
See you in the next post, Jaderbugs!
Don’t forget to make it a DIY KINDA DAY
*I will be doing a FUN GIVEAWAY on Monday so make sure to come back!
*Check out my video that Craft Test Dummies put up on their You Tube! Yes, it is unedited. HAHA
*Make sure to SUBSCRIBE to my You Tube channel so you can get all of my videos
* If you want to know what CHA is all about here are some blogger friends who can tell ya Craft Test Dummies and The V Spot.
*I will be sharing my experience at CHA this weekend so stay tuned!
Disclosure: I received some of the items in this post for free with hopes they get mentioned in my blog. All reviews are my honest opinion, 100%.
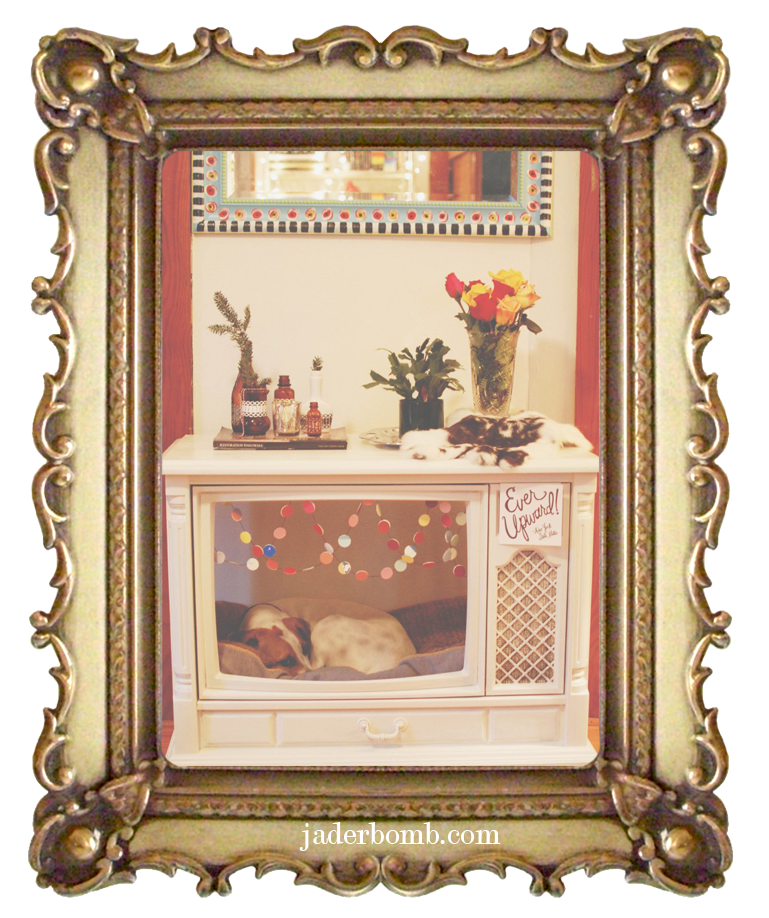
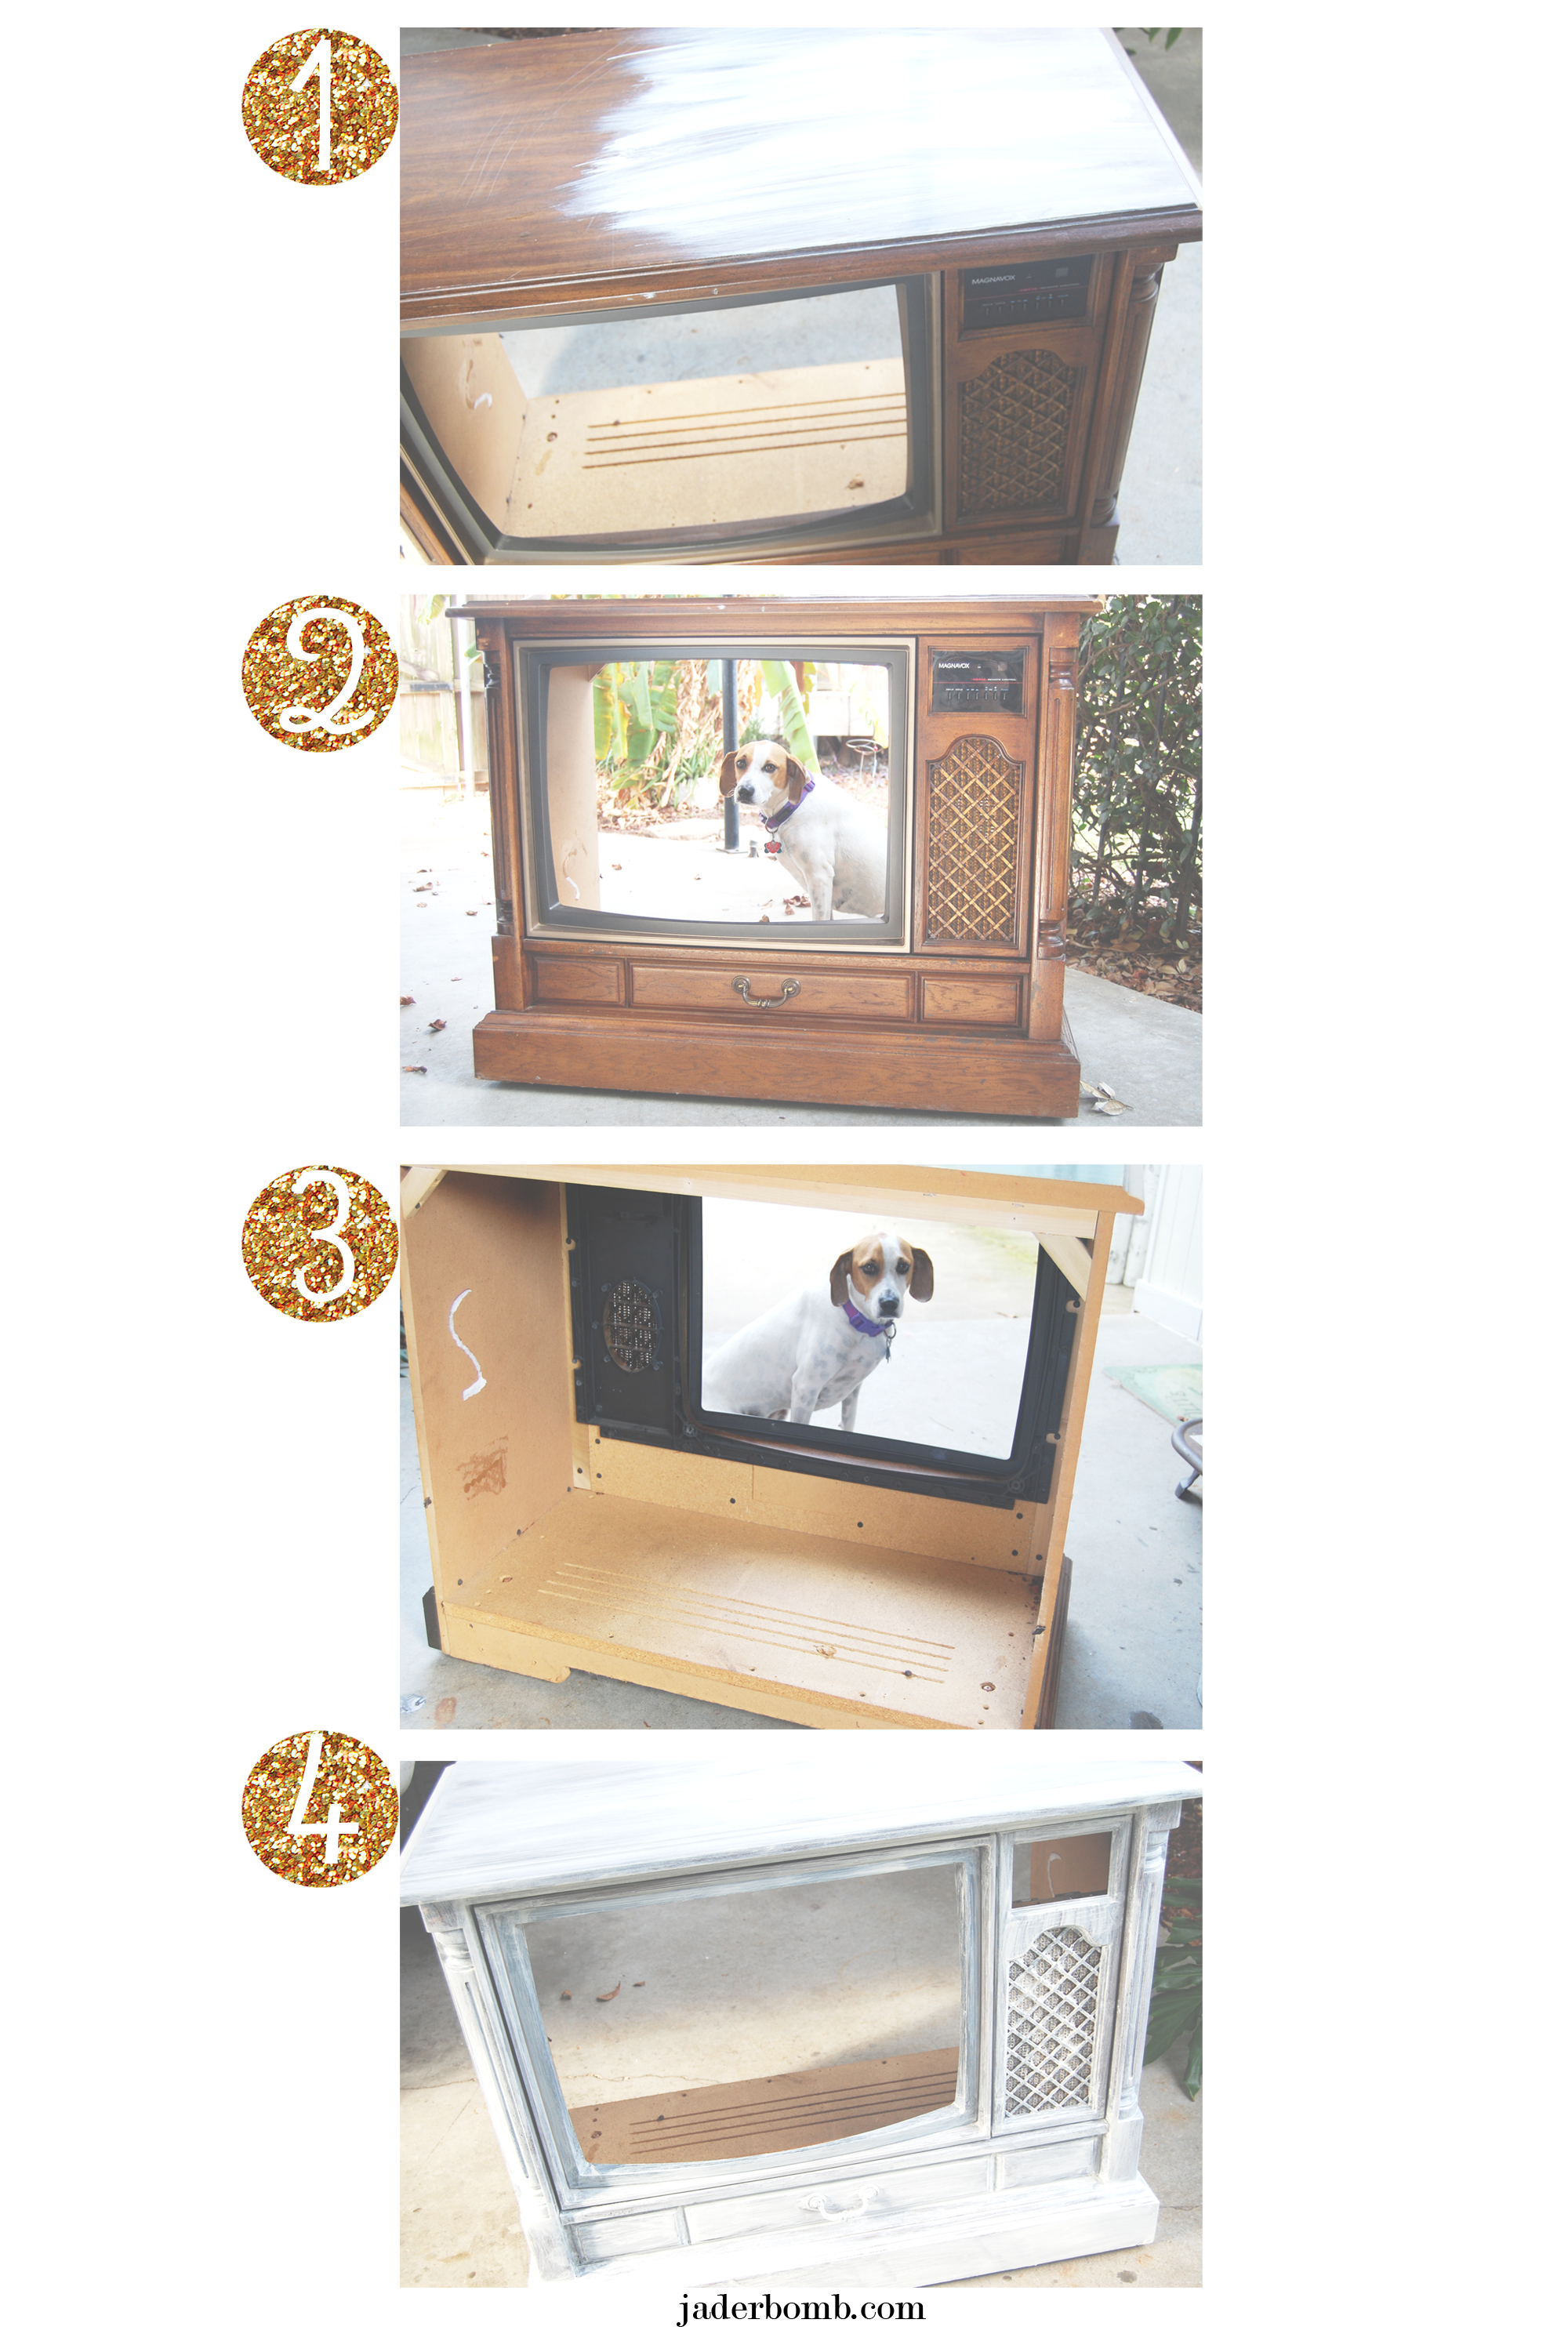
I can’t wait to show you today how I made a dog bed out of an old television. It’s the best dog bed in my eyes and I know you re going to love it. Some beds for dogs are not the coziest and I figured out a way to make a cozy one that’s great for cat’s too. It’s pretty simple to make which makes it nice. I am loving how unique it looks. Most dog beds can look a little generic but not this one. It’s a Jaderbomb dog bed!
How cute is Ceaux Ceaux here! She loves her new bed so much. I think certain dogs like to be in small spaces because it makes them feel safe and secure. Ceaux Ceaux is part beagle and terrier and they love being in a small spaces. I drove up one day at home and my neighbor had this T.V. at the road. I don’t know why I wanted it but I knew it would be something cute. Once I got it home I started to gut it out it. Then I realized it could be a dog bed. Right! It’s really simple to make so let’s get started!
1. The first thing you will do is find an old T.V.
2. See how your animal looks in it,hehe
3. Gut out the entire thing!
4. Start painting it the color of choice. I like things to look “clean and crisp” so white is what I chose.
It’s really that simple. You can also paint or decorate the inside to add your personal touch.
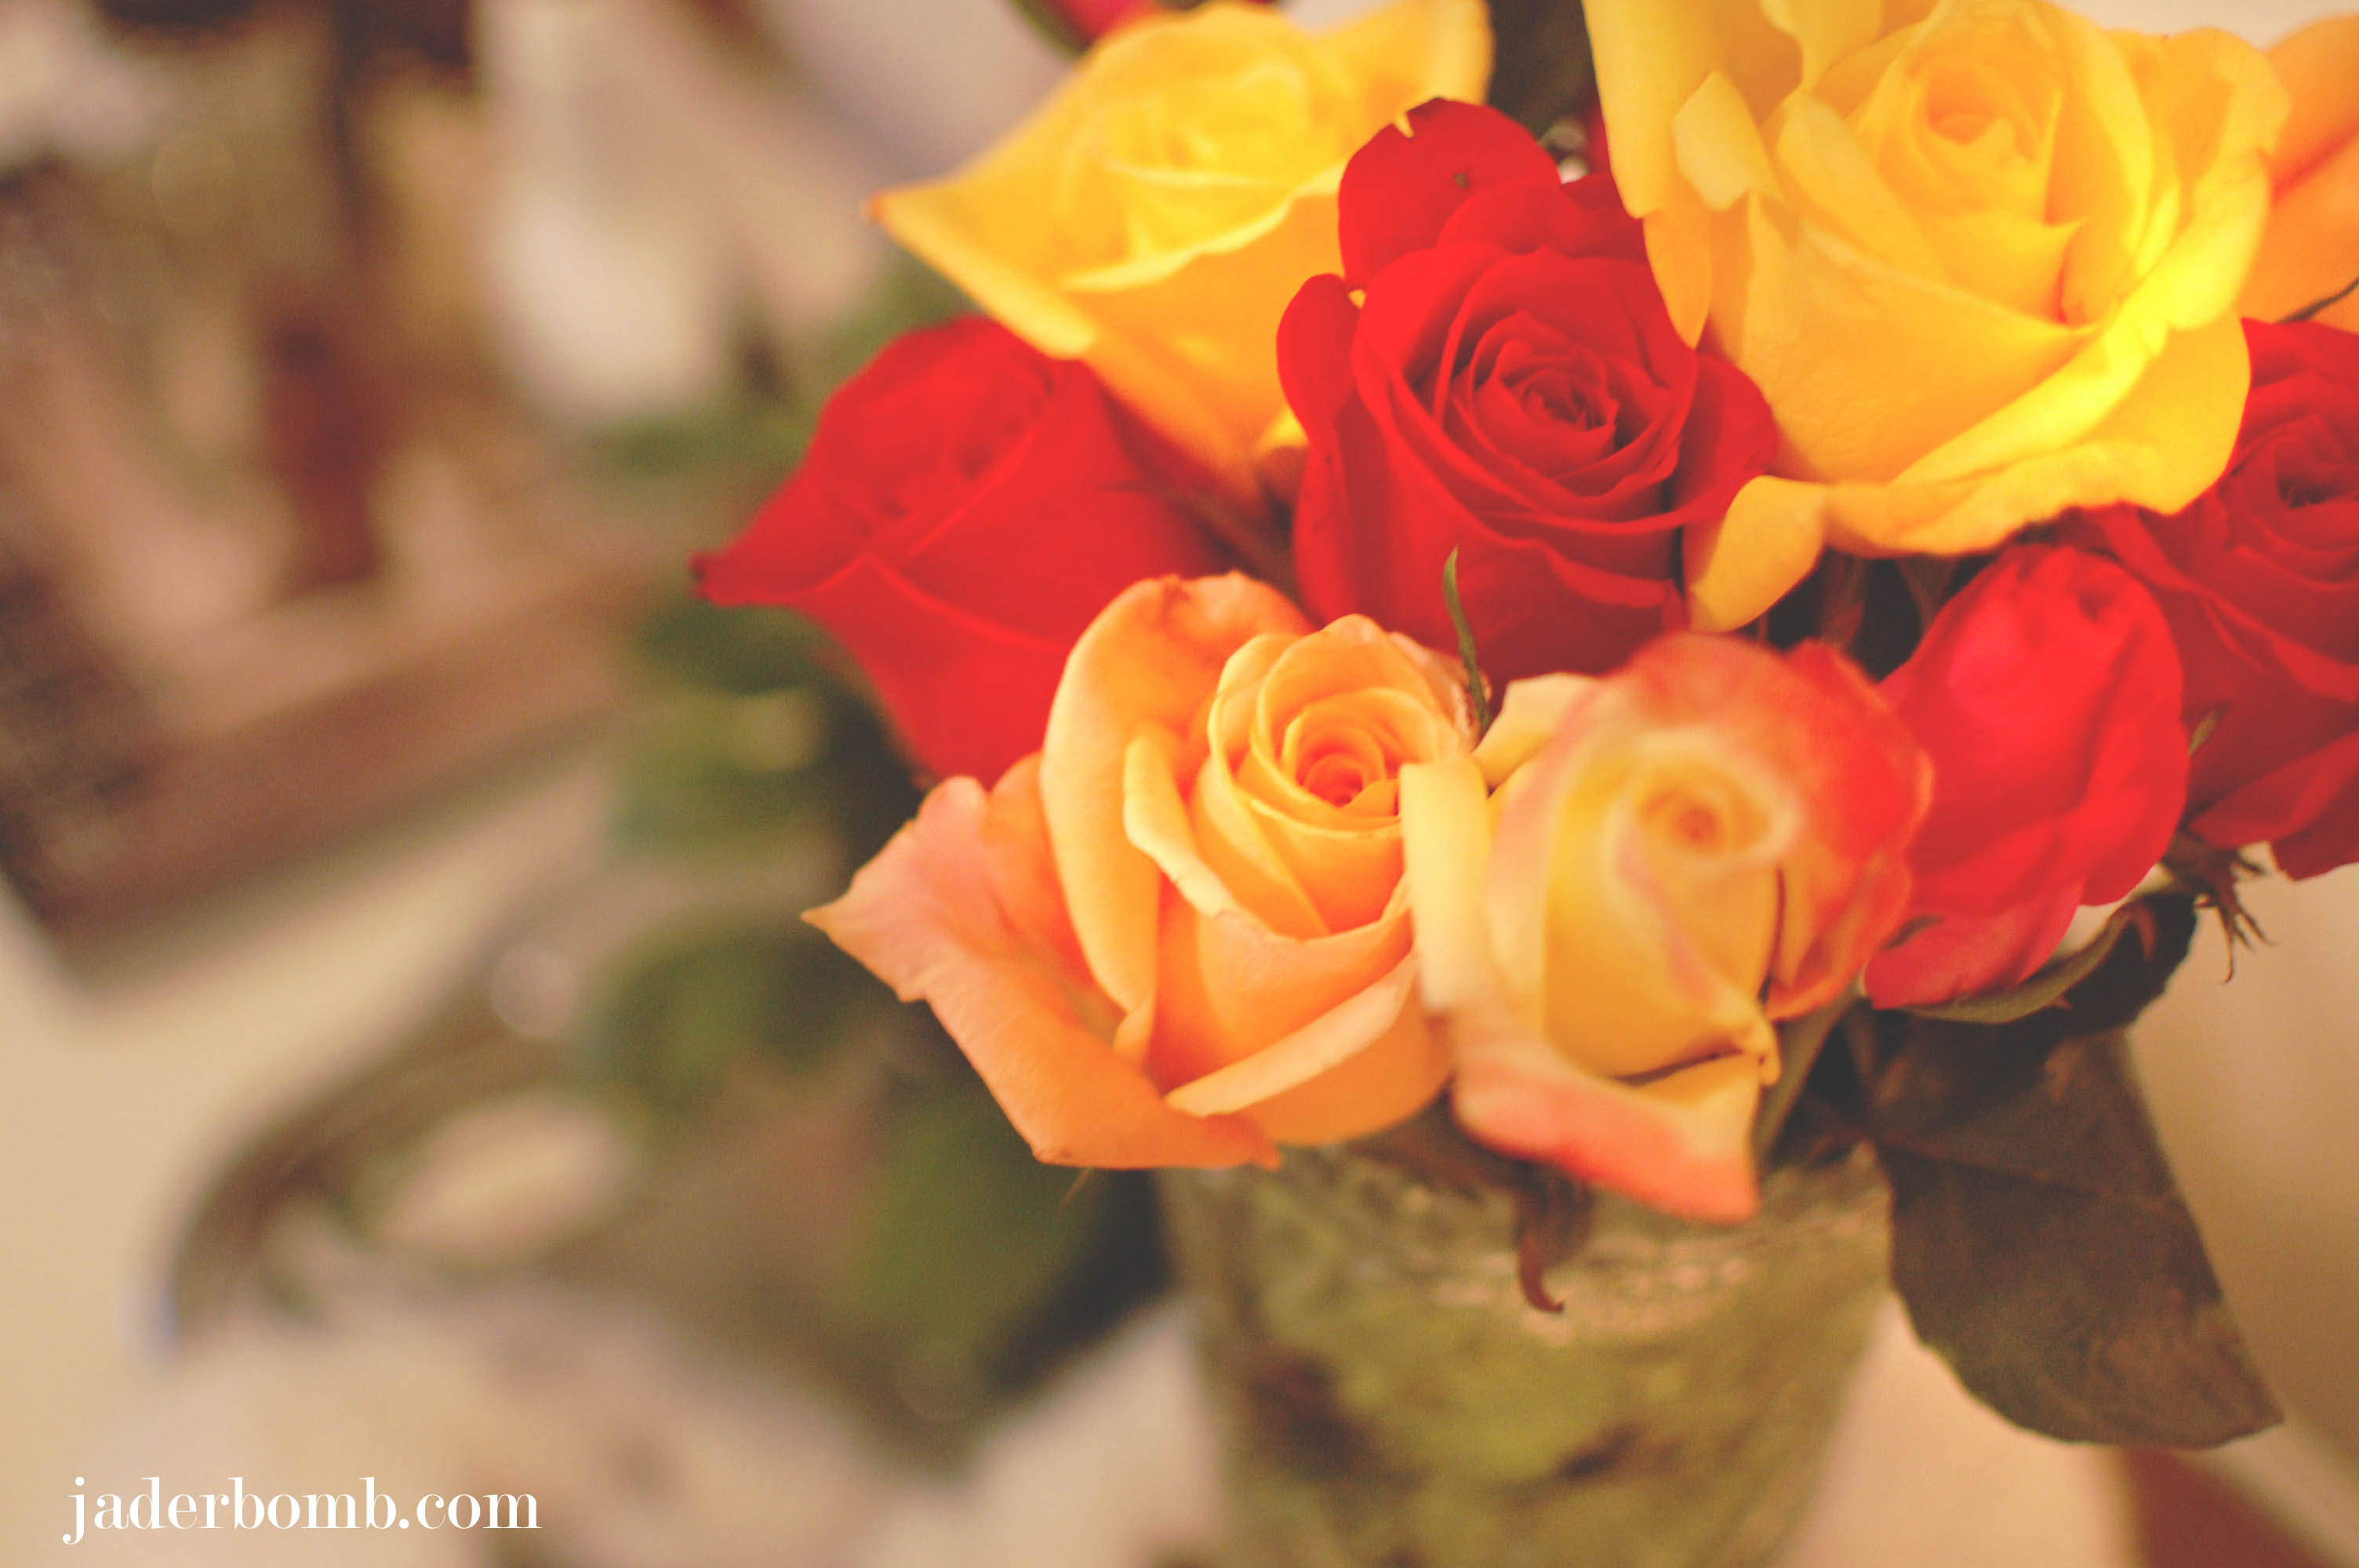
Just thought I would share with you my roses. I have this crazy habit that forces me to buy fresh flowers every week. Trust me they usually take me from 1 to 100 in about five minutes. The good thing about flowers is you can choose different ones each week depending on your mood, how you feel or colors you are attracted to. I always have different ones but my FAVORITE flower is the stargazer lily.
All.TIME.FAVORITE
* You can get to my dog’s blog HERE and her facebook HERE
*Check out the review I wrote for FaveCrafts HERE
*Click HERE to see the homemade greeting card I made for FaveCrafts
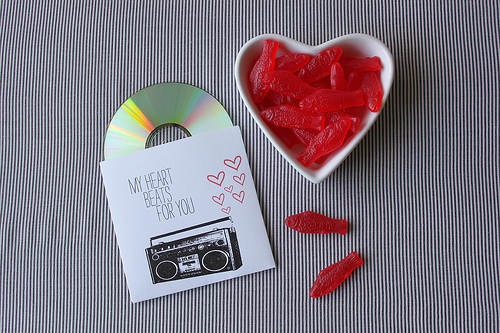
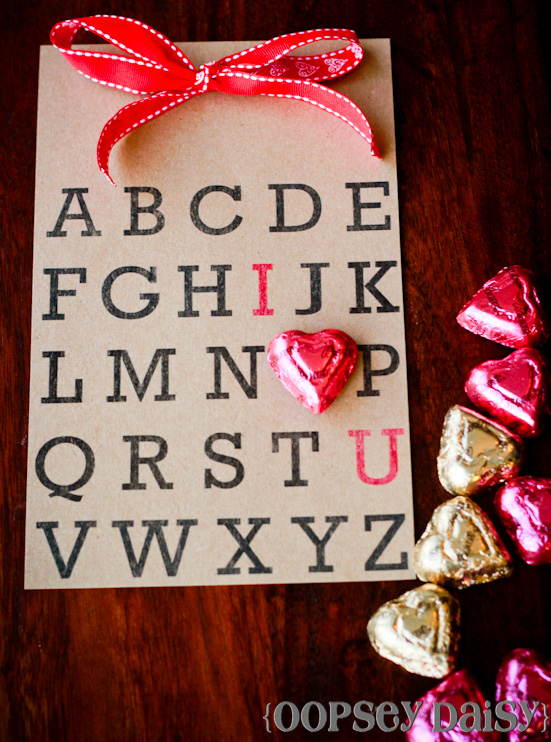
*CHA post coming this week of my favorite new products *Check out some of my most popular Valentines Day Posts BELOW
I hope you enjoyed this post and see ya in the next one.
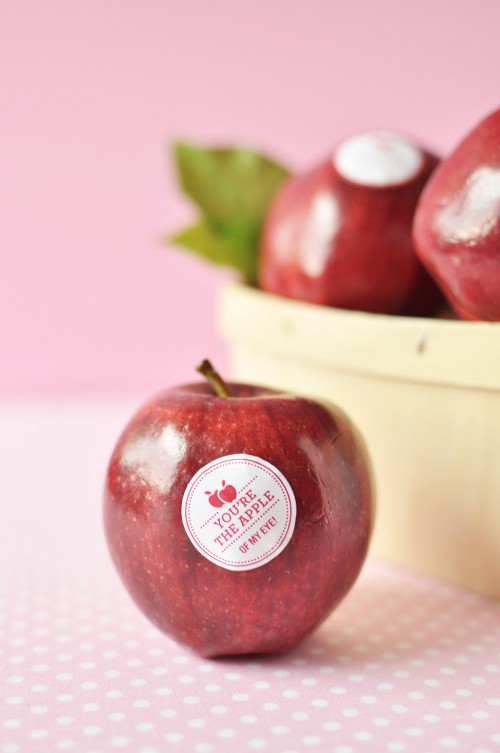
Do you feel like Valentines Day is sneaking up on you?
Quote of the day:
There is no sincerer love than the love of food. George Bernard Shaw
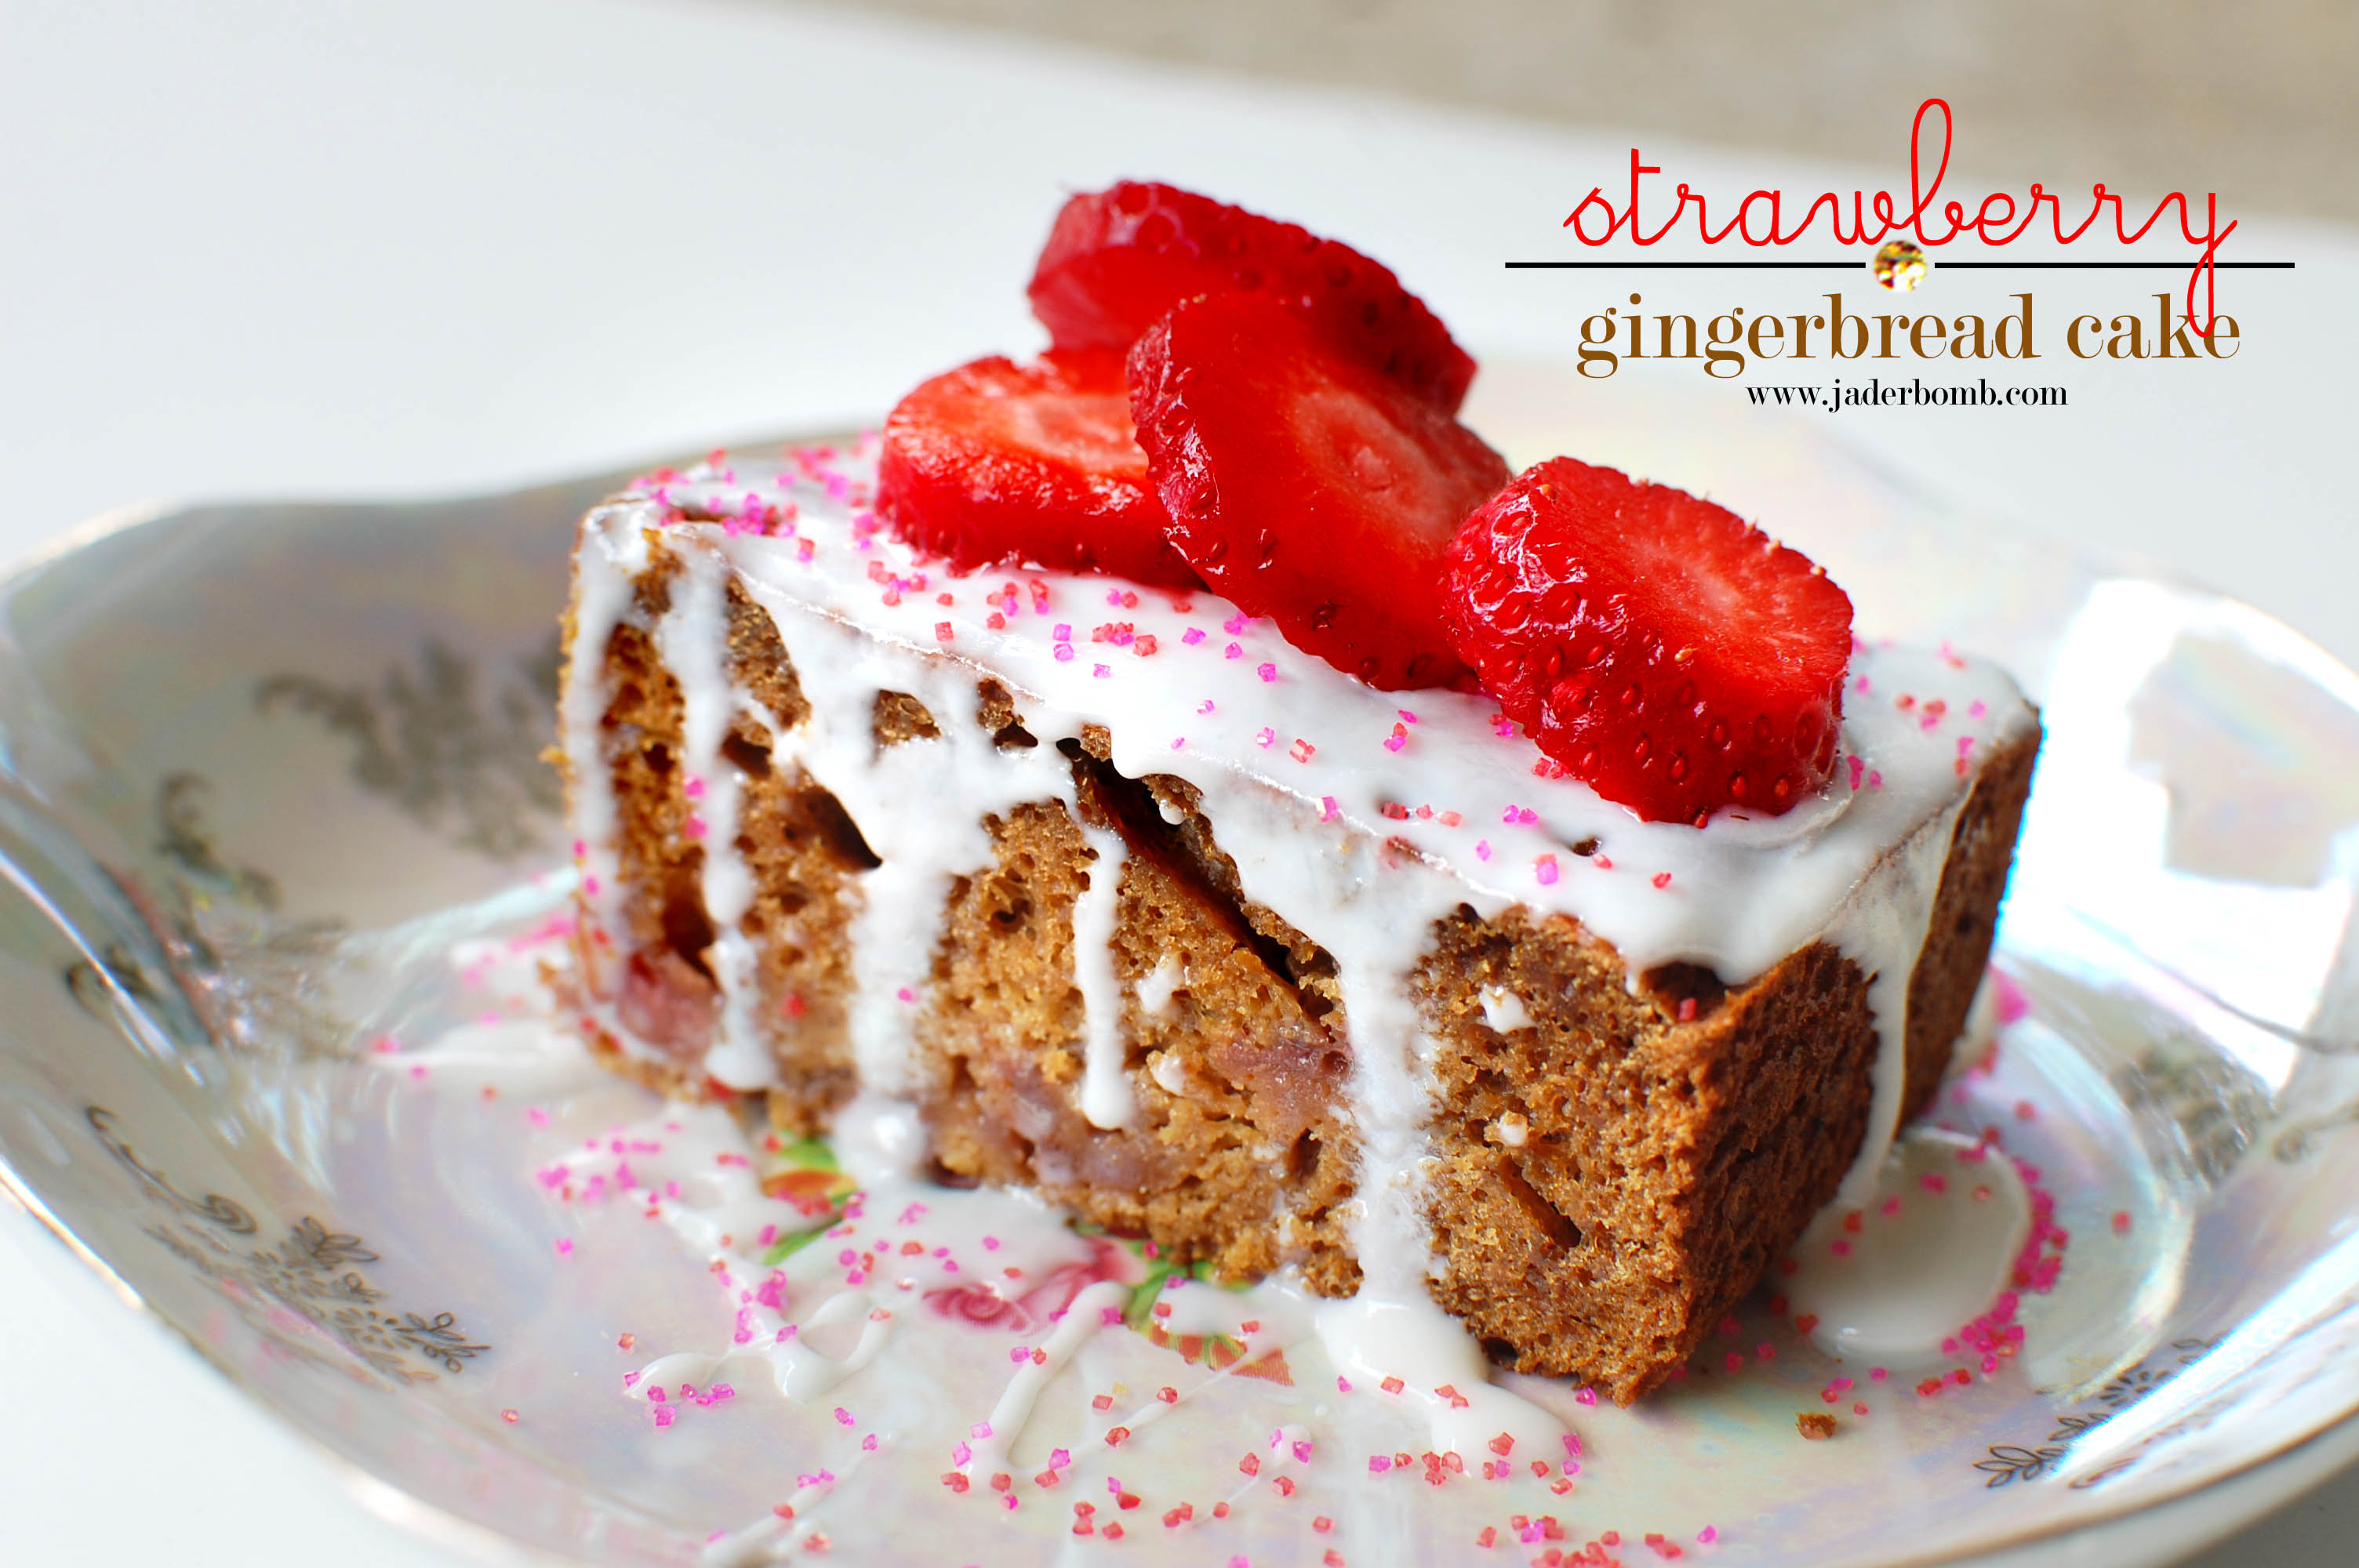
I am totally into baking lately. I have always loved to bake but it’s like the baking bug bit me. Over the Christmas break Ashy and lil one loved every second of it. I just kept bringing them food then desserts then food then desserts, haha. I am excited to share this recipe with you because I sorta made it up as I went. I’m not saying there is no other Strawberry Gingerbread out there but for me I added as I went along. I was just supposed to bake plain gingerbread using the Betty Crocker mix and while I was in the kitchen I started making a salad then before you knew it the strawberries that were in my salad flew into my gingerbread mix! HAHA
Seriously. They just flew in there like they knew that was where they needed to be.
Boy did it come out good! Let’s make it.
INGREDIENTS:
*Betty Crocker Gingerbread Mix
*1 cup of diced strawberries
Start by following the directions on the back of the gingerbread box then throw in your berries. Mix it good then throw it in the oven. Well not really “throw” but pop um in there. When it is done baking let it cool off good. I mixed powdered sugar with a little bit of water to make my topping. To do this the ratio is 2 to 1. I put two scoops of sugar and one of water ,you might have to add a little bit more water depending on how your consistency is. I melted a little bit, drizzled it on top of my gingerbread then topped it with fresh strawberries.
YUM-O
When you eat it warm you can taste all of the fresh baked strawberries inside and it’s so good. If you don’t want the sugar drizzle on top you can replace with whipped cream.
I hope you enjoyed this SUPER SIMPLE recipe. Make sure you come back tomorrow for my favorite featured pics on Valentine’s day crafts. You never know you might be featured.
If you would like to be featured please send me a link to something “Valentiney” to jade@jaderbomb.com
See you in the next post!
Quote of the day: Everything’s intentional. It’s just filling in the dots. David Byrne
Did you know polka dot’s are coming back like they never left? Just thought I would share that with ya!
Do you ever walk in the stores just staring at all of the UH mazing frames for sale. Then you look at the price and realize they are kidding. There is NO way I will spend 30 bucks on a frame when I can enjoy making one on my own. Well I lied, if it’s a really fancy one from an estate sell or antique shop then yes… I just sat in my office a minute ago and realized how close Valentines Day is. Well I know it’s not right around the corner but WHOA where did Christmas go? I kinda love Valentines day because I get to shower my honey’s with ton’s of yummy things!
Did I mention that I love pink?
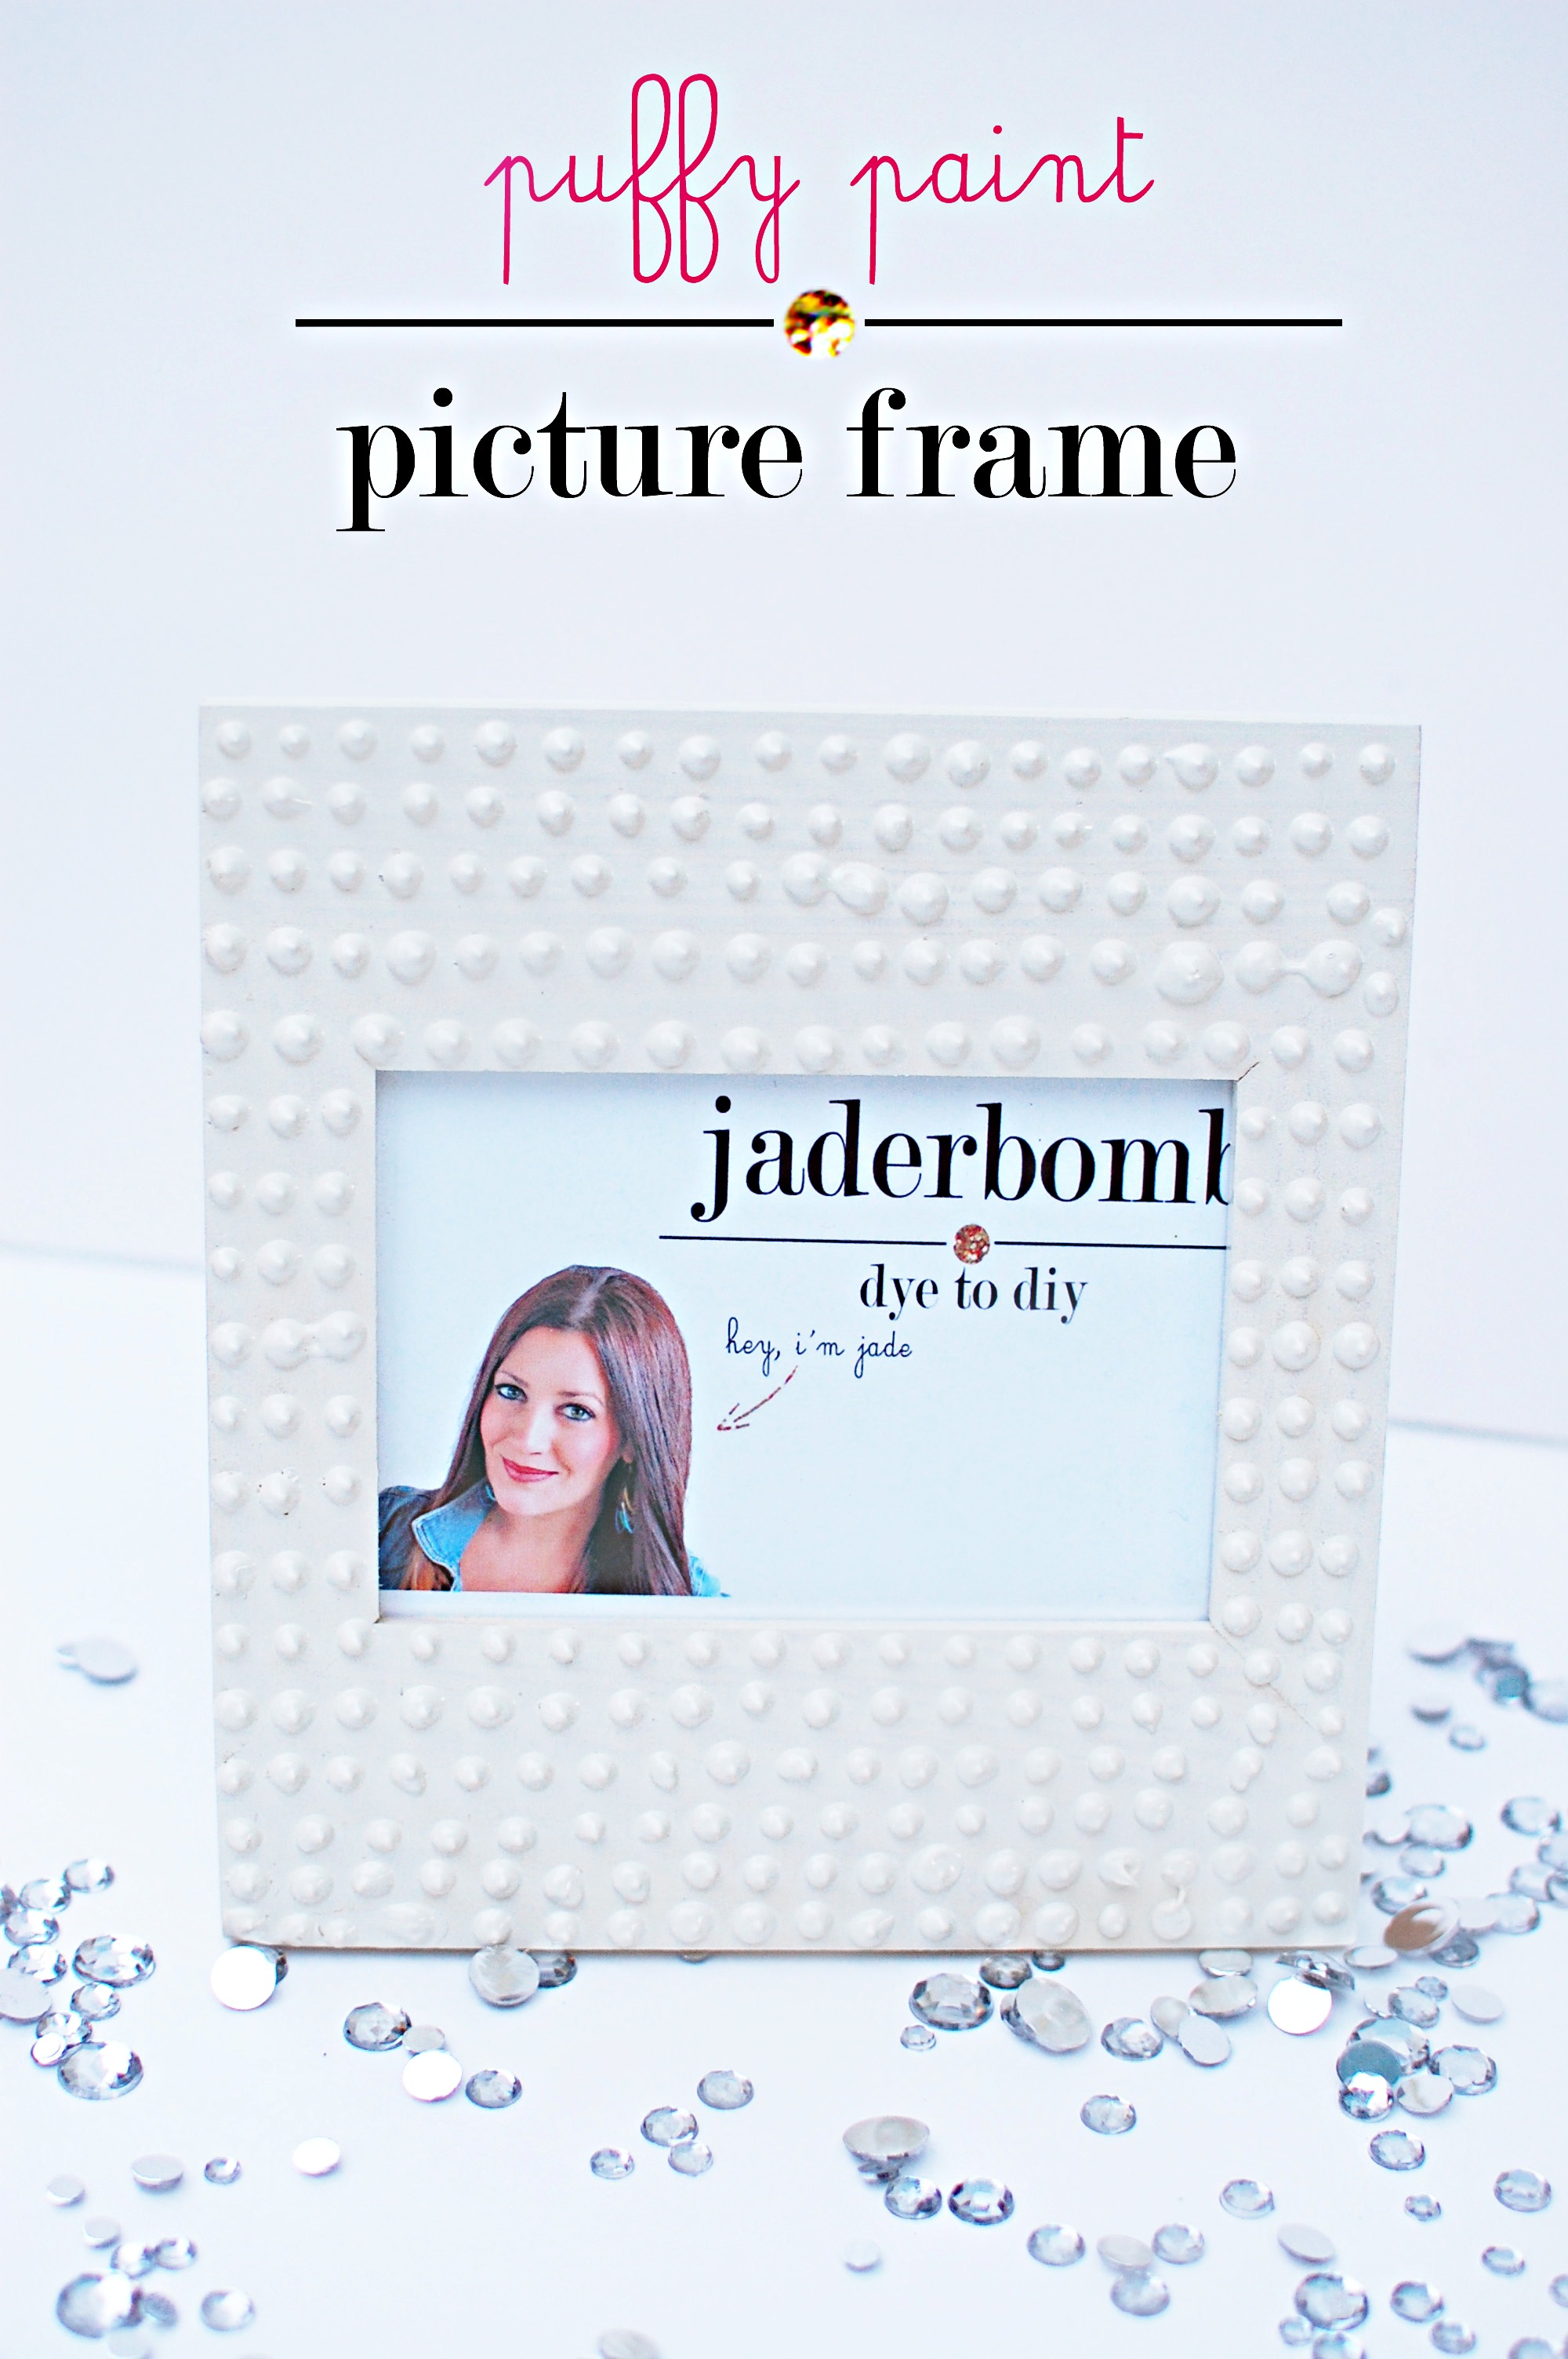
This tutorial is so much fun. You can design your frame any way you want which is so nice! It’s perfect for Valentines day also. It looks like little pearls when you finish it with a white or off white spray paint. Wanna see how I did it? Let’s check it out!
I think all of those jewels on the ground would look fab on a frame, what ya think?
BTW: you can click on any of the links above to order all the items in one spot.
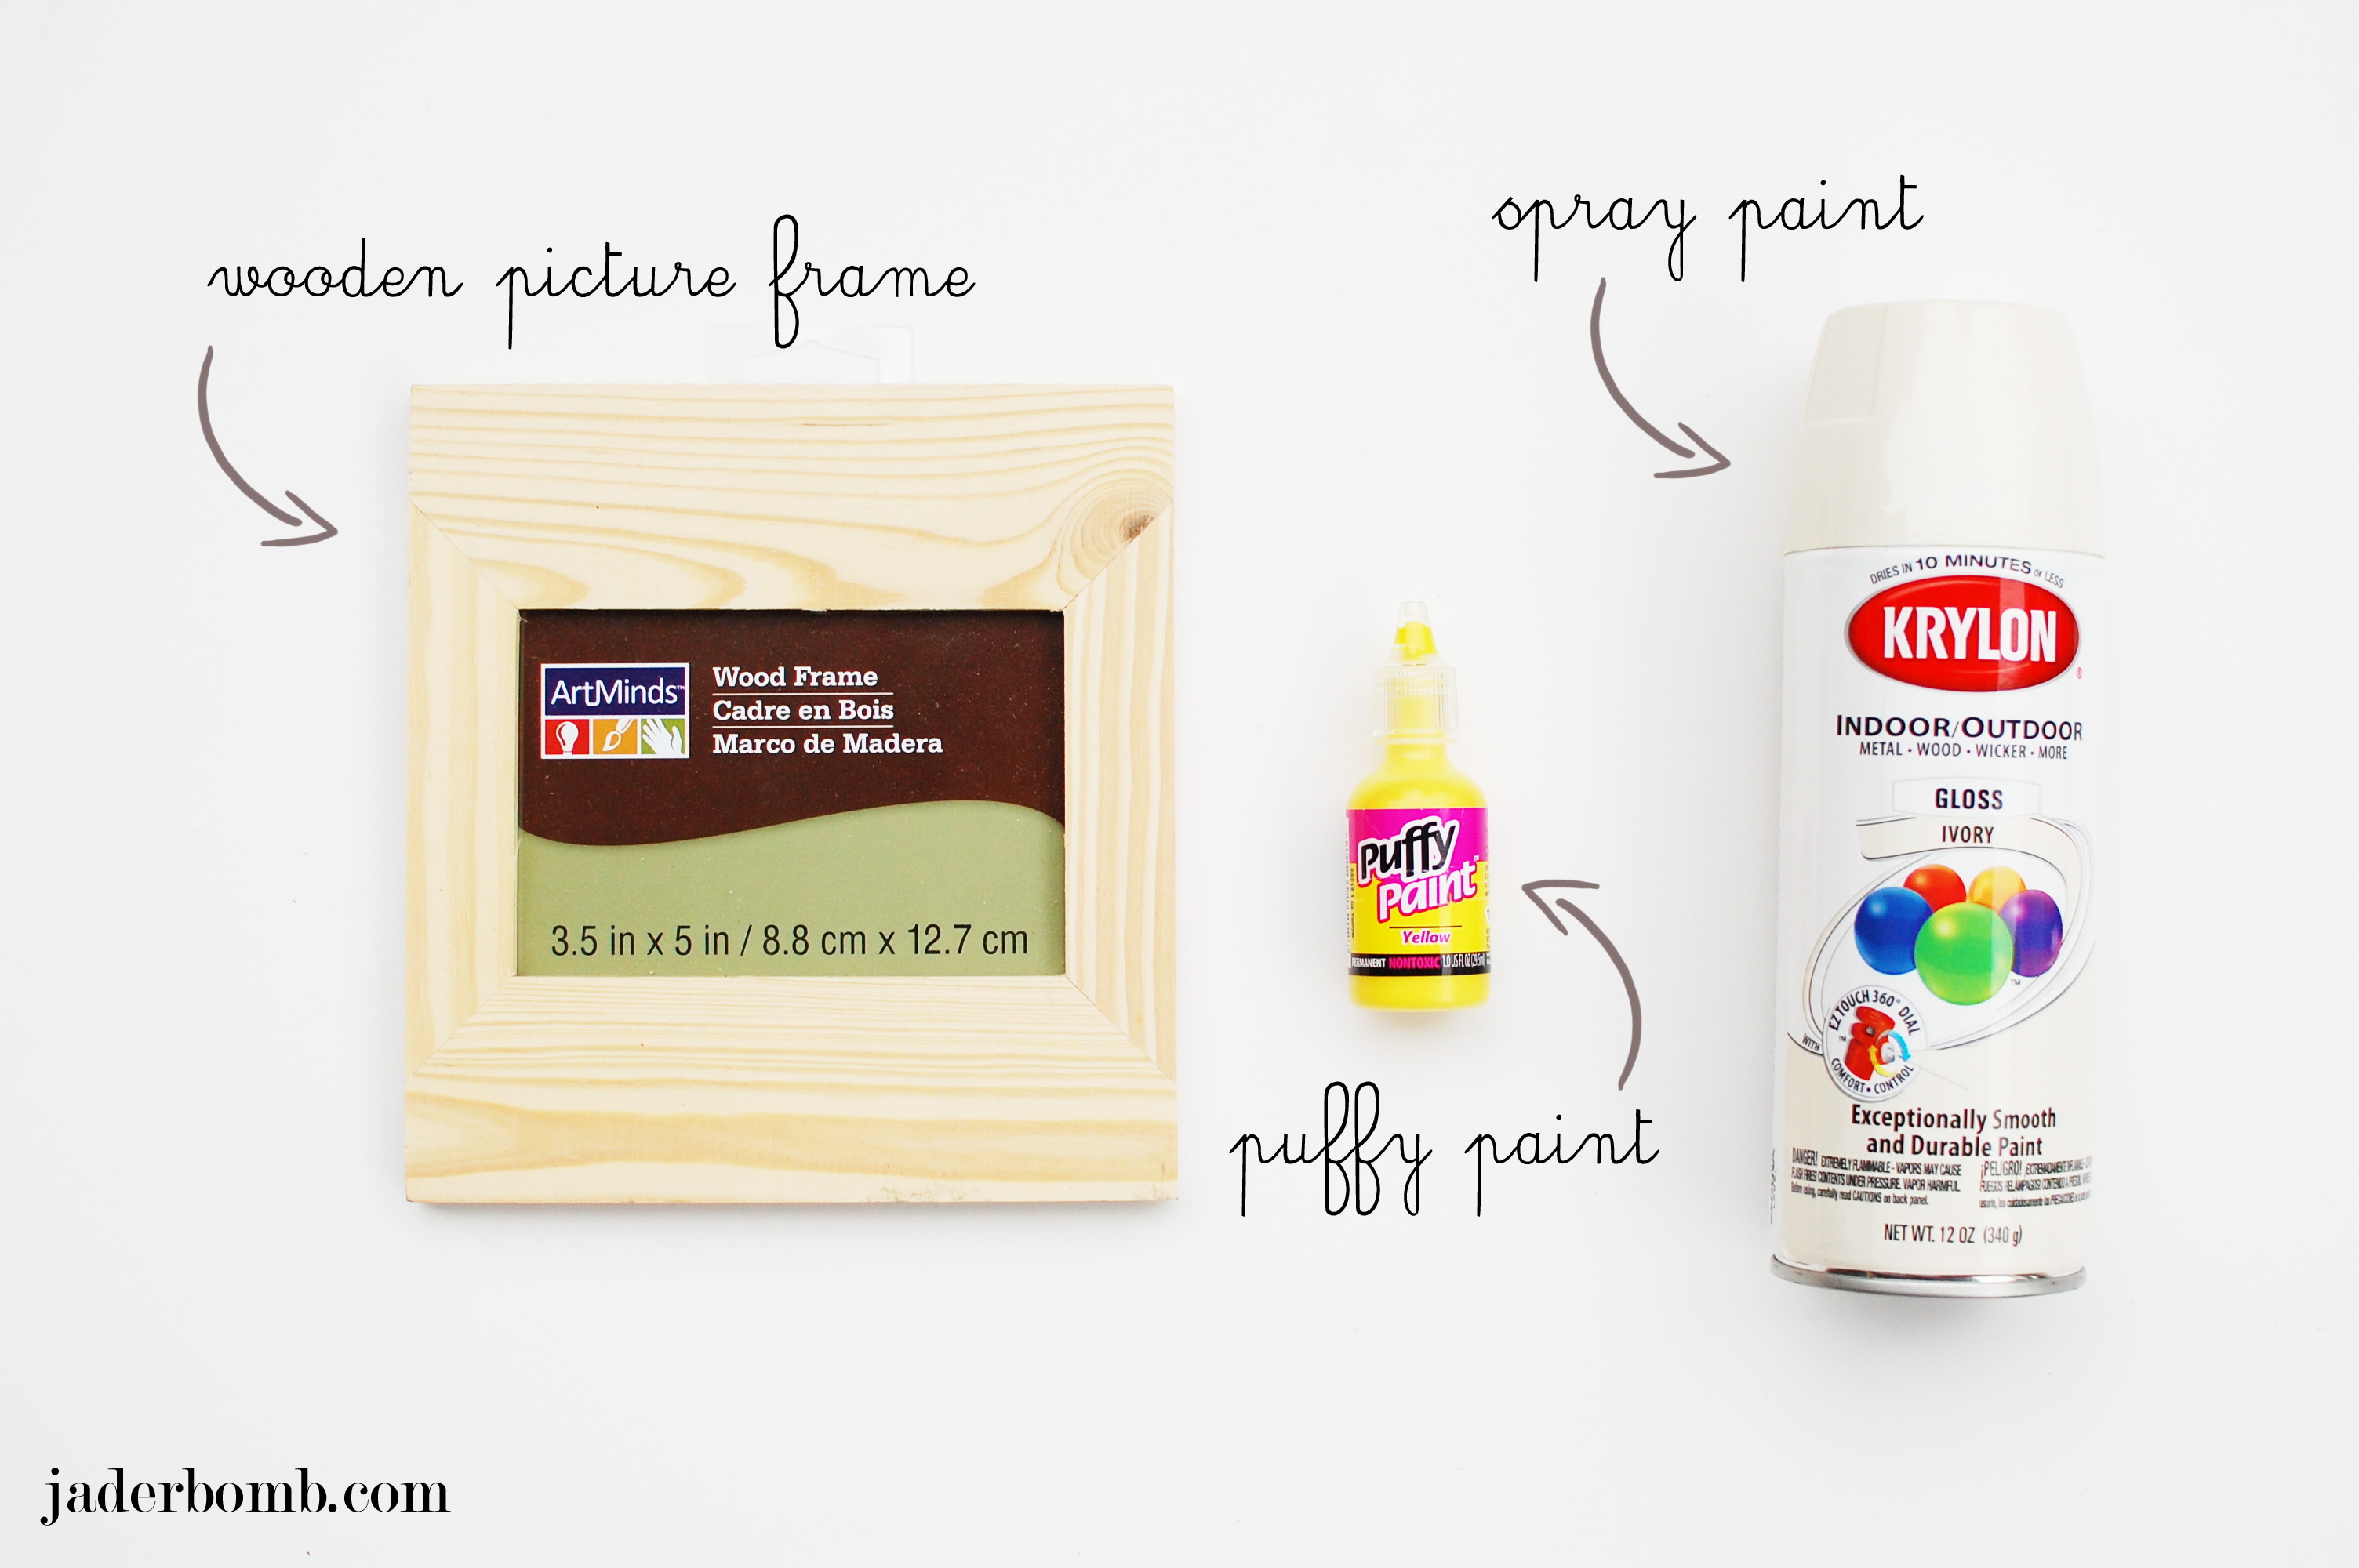
To start you will get grab a bottle of puffy paint, grab your hazmat suit and your ray bans.. JUST KIDDING!
You won’t need a suit but it’s gonna be so cool you might need some shades when you are done! If you use a smalle frame like I did you will only need one bottle. I actually had a little left over. Start by making dots all over your frame. When you are done let it dry completely.
Before you spray paint it take the back and mirror out of the frame then you ready to ROLLLL!
Dont’ they look like little pearls? Pearls always remind me of Valentines day. Just think if you paint them pink or red. What is your favorite way to decorate for Valentines Day? I’d love to know, you can go to the bottom and share in the comment section. I love comments!
In other news:
*I will be doing a giveaway next week
*I will be posting NEW Mardi Gras tutorials
*I will start doing a VIDEO tutorial every week starting NEXT week so stay tuned for these fun little suckers!