“Hip Hop Hooray, Hoooo” for the DIY Leather Cuff we are making today… Right about here you can insert a big old turquoise rock in my mouth. For some reason I am listening to sad, sad music on my computer but that song is BLASTING in my head. It’s probably because Marisa Pawelco’s die cuts are amaze-balls!
I am all about buying leather cuffs because let’s face it it’s easier and most of us don’t have the patience to sit there and cut a perfect line on leather. Remember when I made this one! I think Marisa though of all the impatient people out there when she designed her line with Sizzix!
♥→Today I will show you how to use an awesome crafting tool and how to create the most unique leather cuff using it.
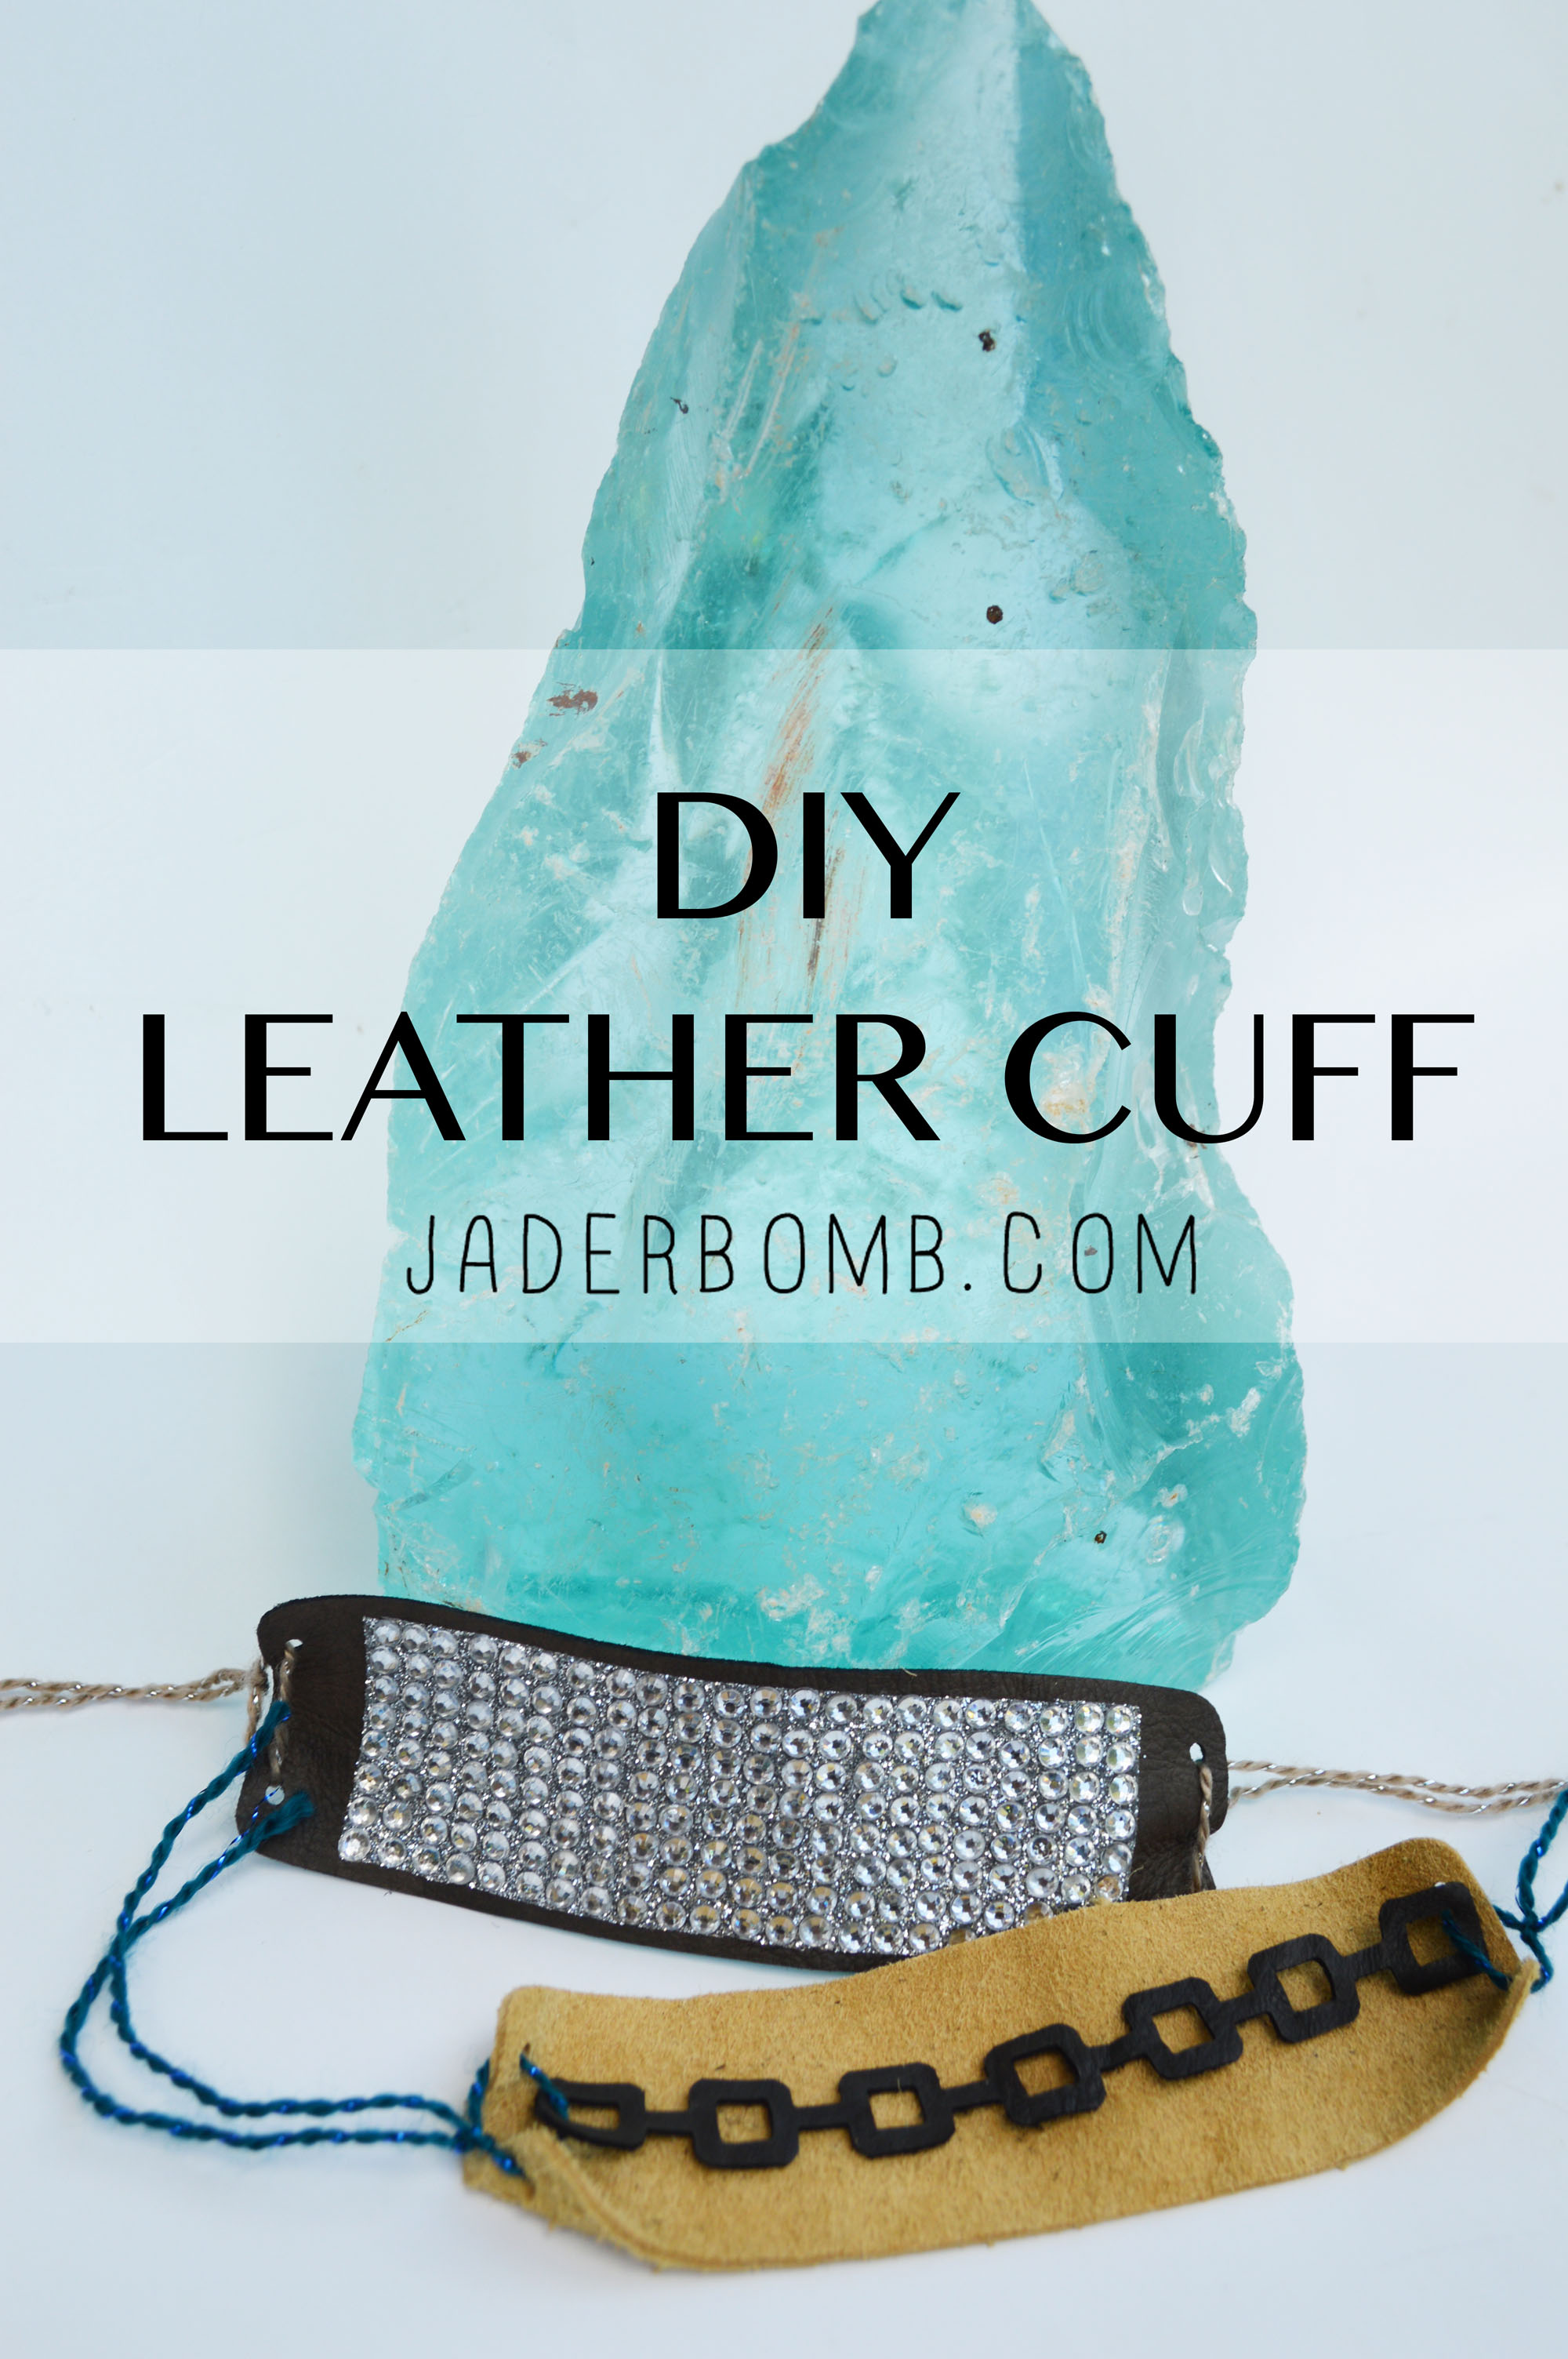 If you are like me then you are totally in love with this turquoise rock! Let’s get started.

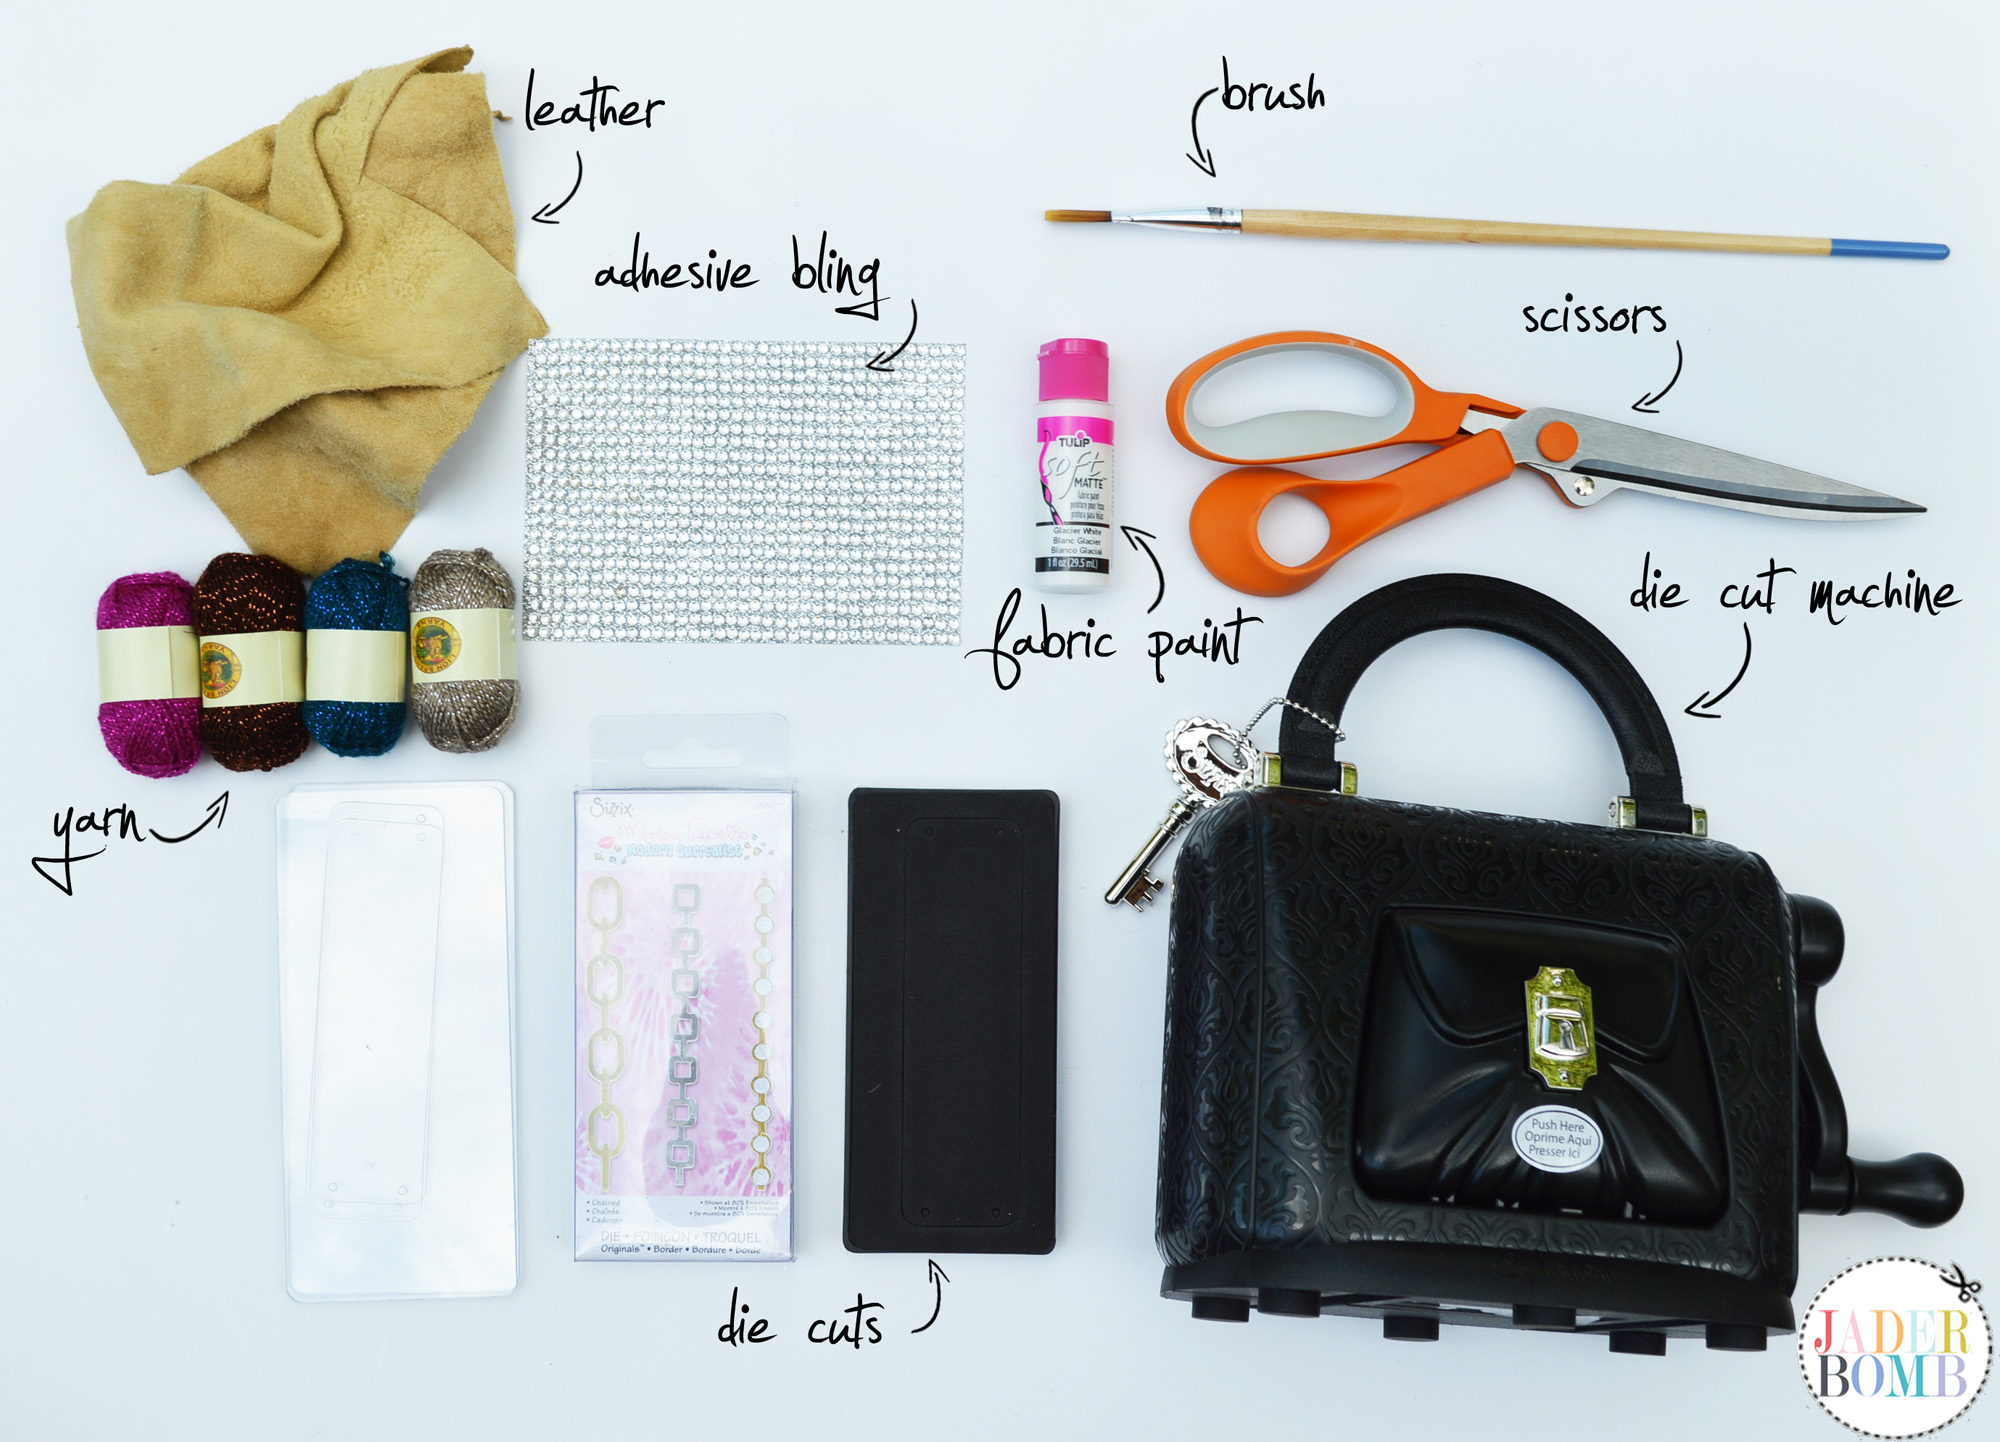
Scraps of Leather \ Brush \ Adhesive Bling \ Scissors \ Yarn \ Fabric Paint (optional) \ Sizzix Sophisticate Machine Only \ Sizzix Originals Die: Chained \ Sizzix Originals Die : Fashion Cuff
Hey! If you want to purchase any of the items I used in this tutorial you can click on the links above and get them all from the SAME spot! They are affiliate links which means you are helping me buy more glitter and gold to make you happy crafts!
 The Sophisticate machine comes with a few parts that you will have to assemble, but don’t worry it’s simple!
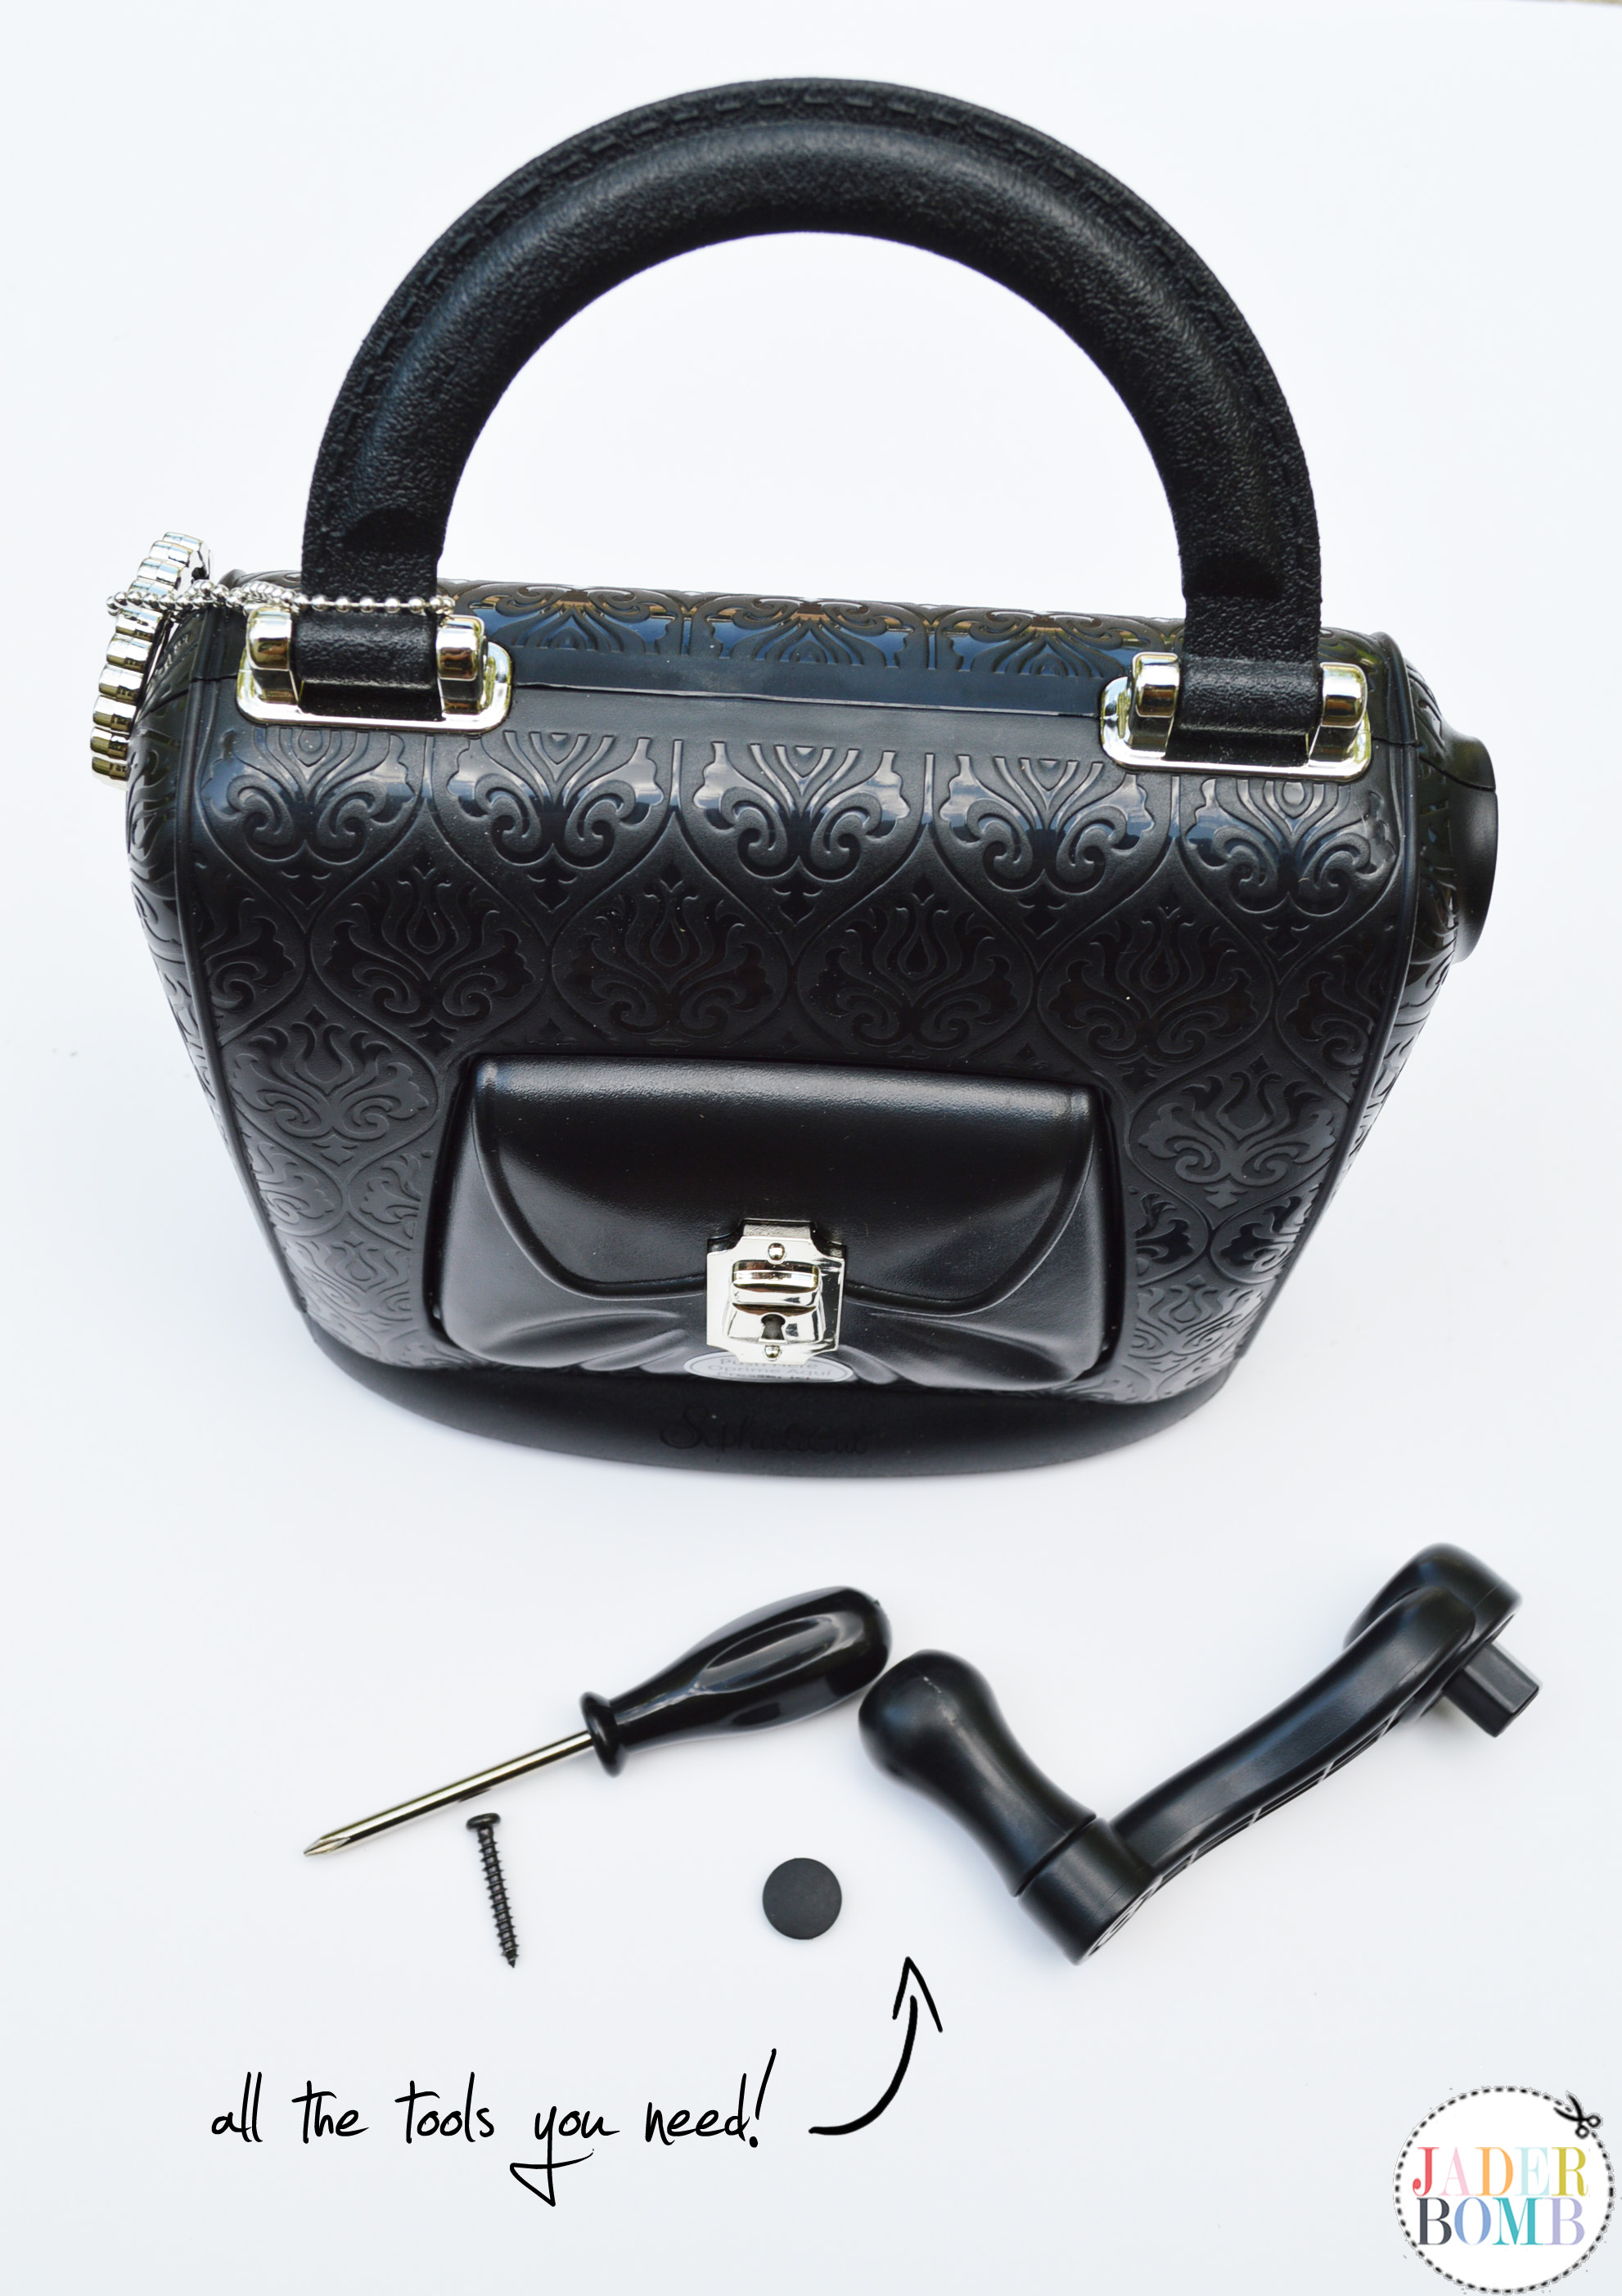
1. Insert the handle into the side of machine
2. Use the screw driver that came with the machine to secure screw inside of the handle
3. Insert the rubber cap that covers the hole
VOILA! Pretty simple huh!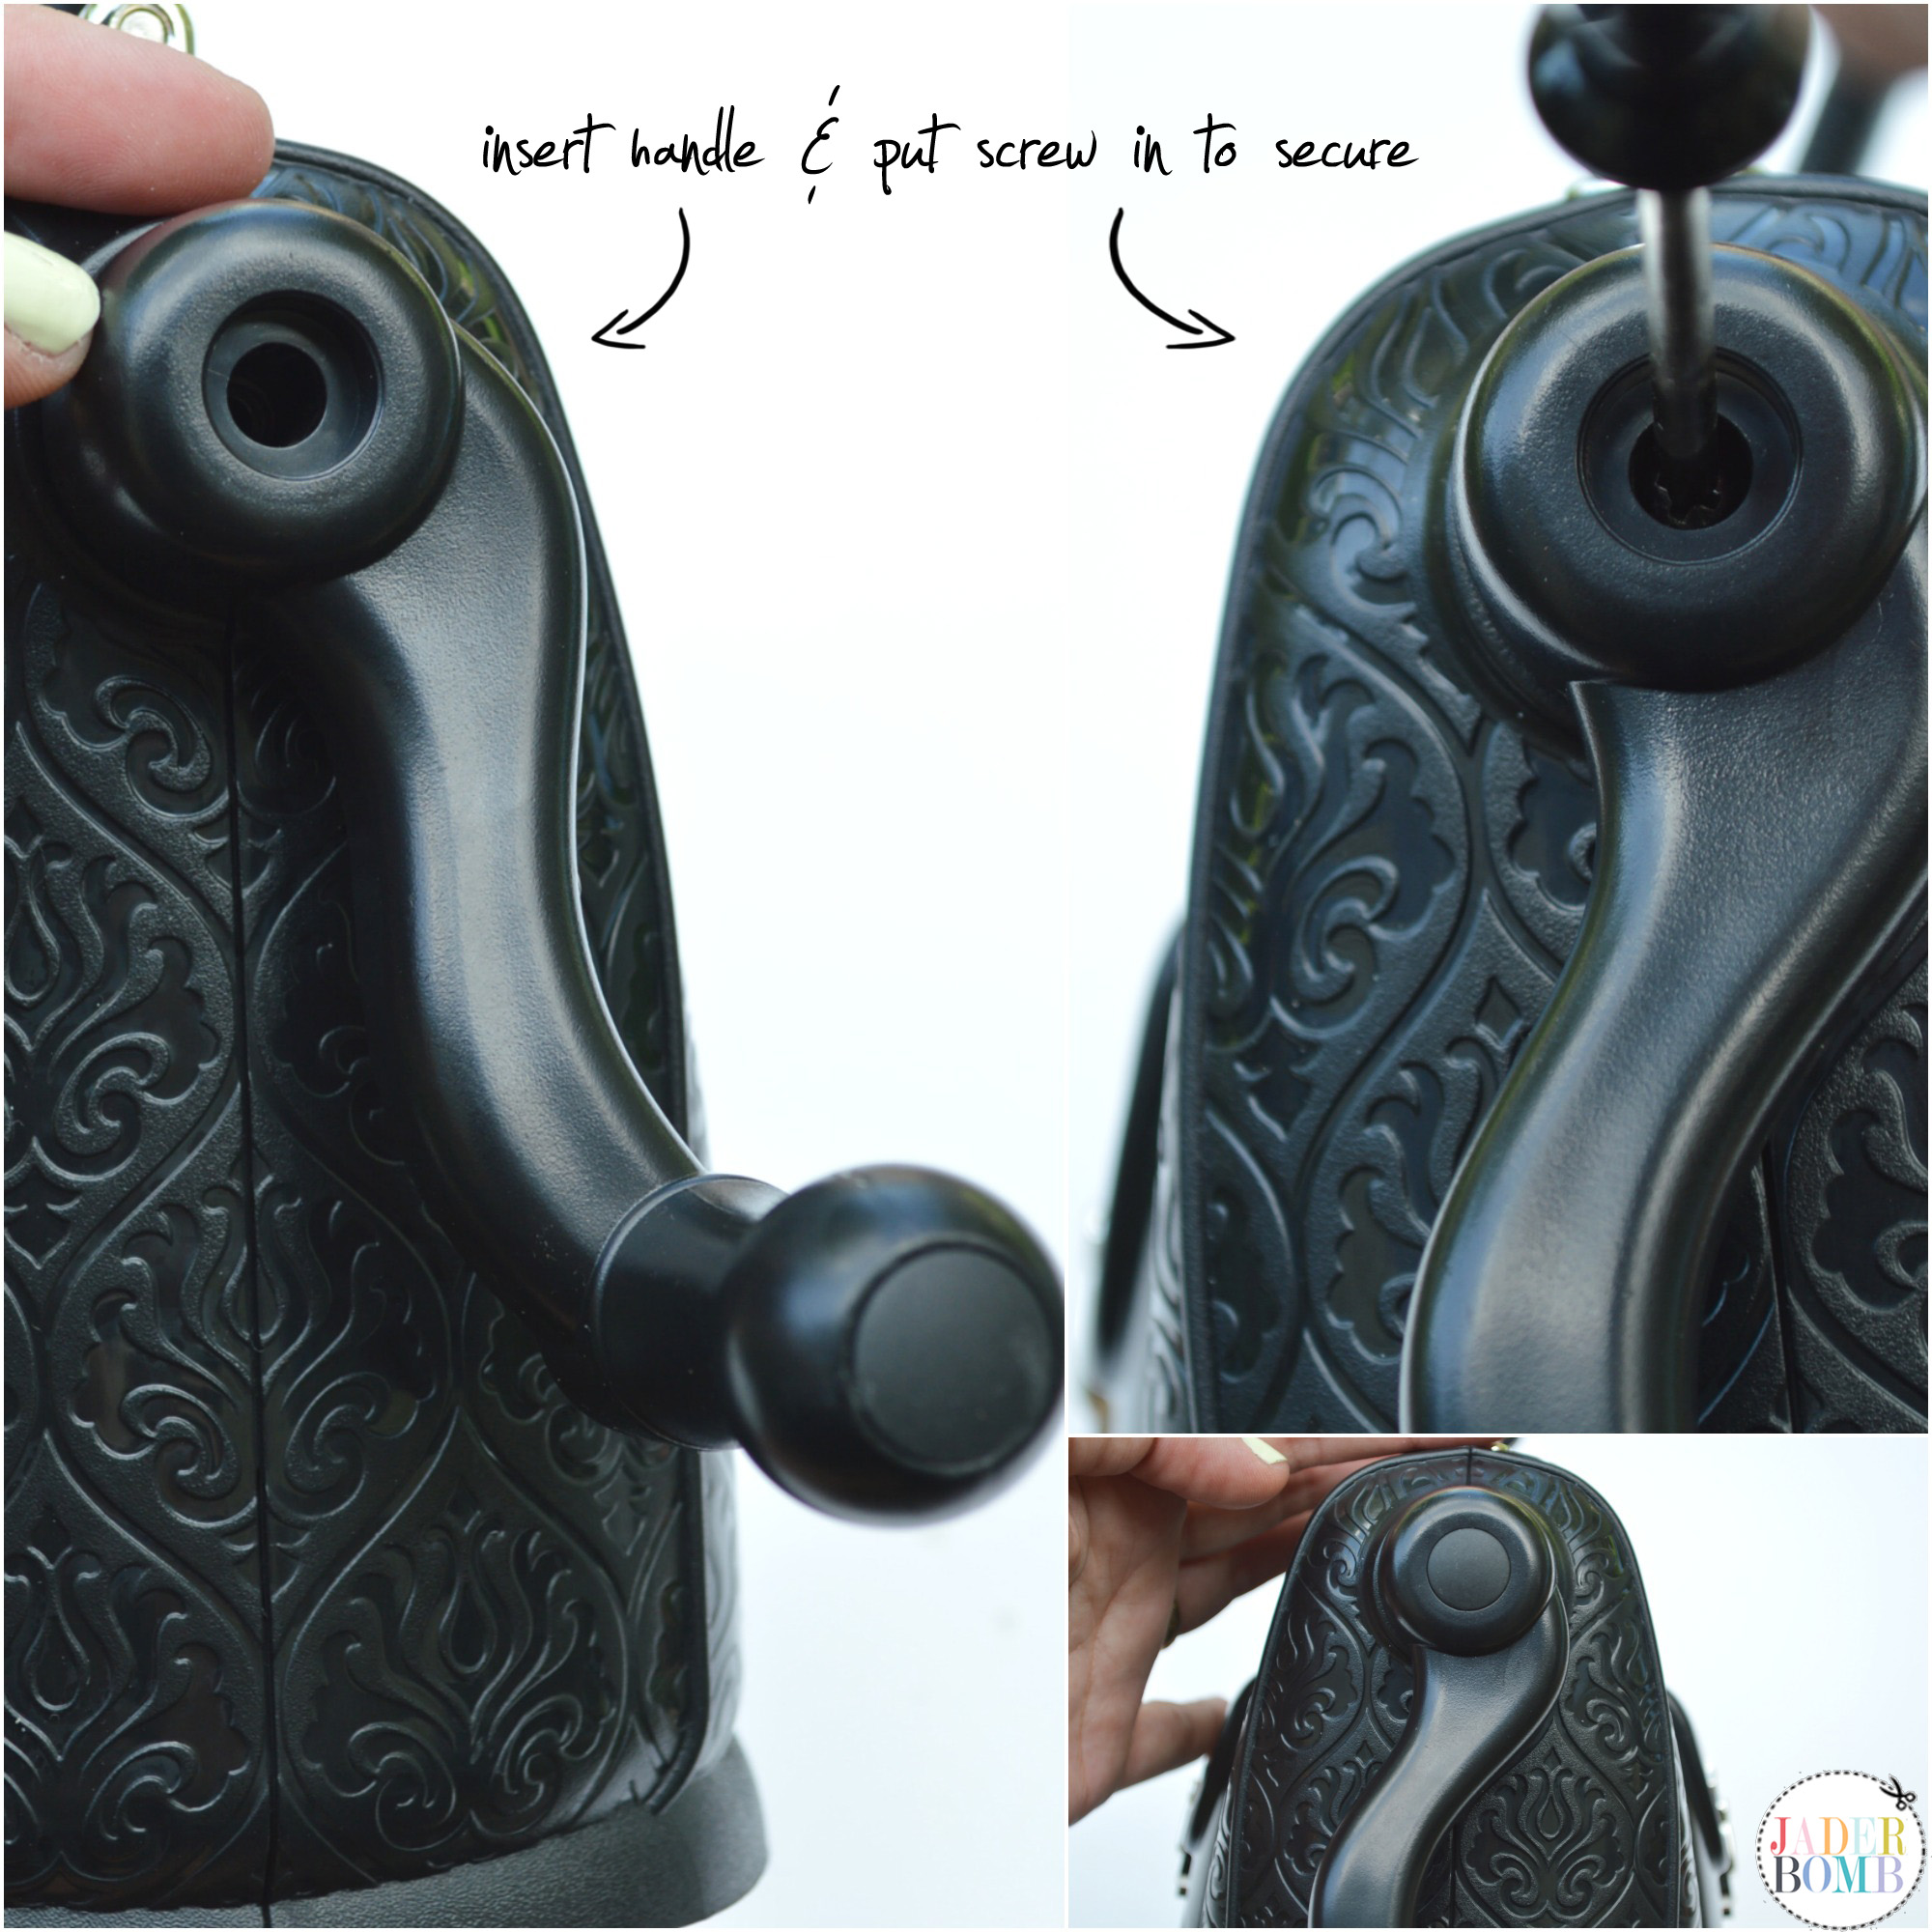
On each side of your die cut machine you press where the sticker is and the sides will flip open. 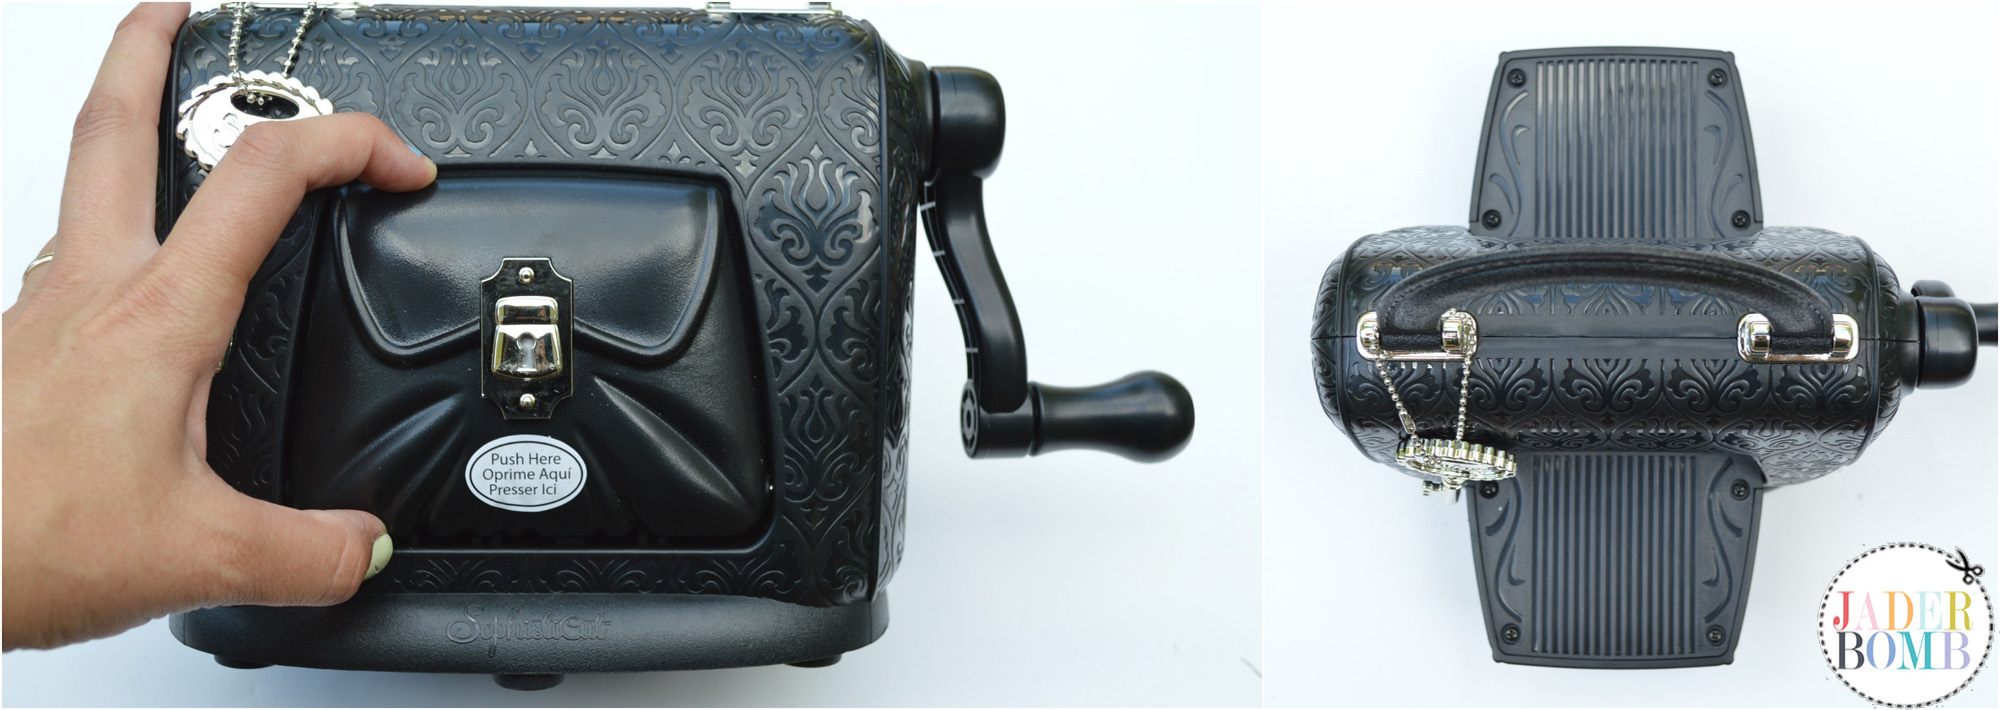
These are the two die cuts we will be using today.
P.S. Do not remove the foam and be careful because the metal inside the rubber is really sharp.
Said no one who sliced their finger trying to “dissect” the chains.
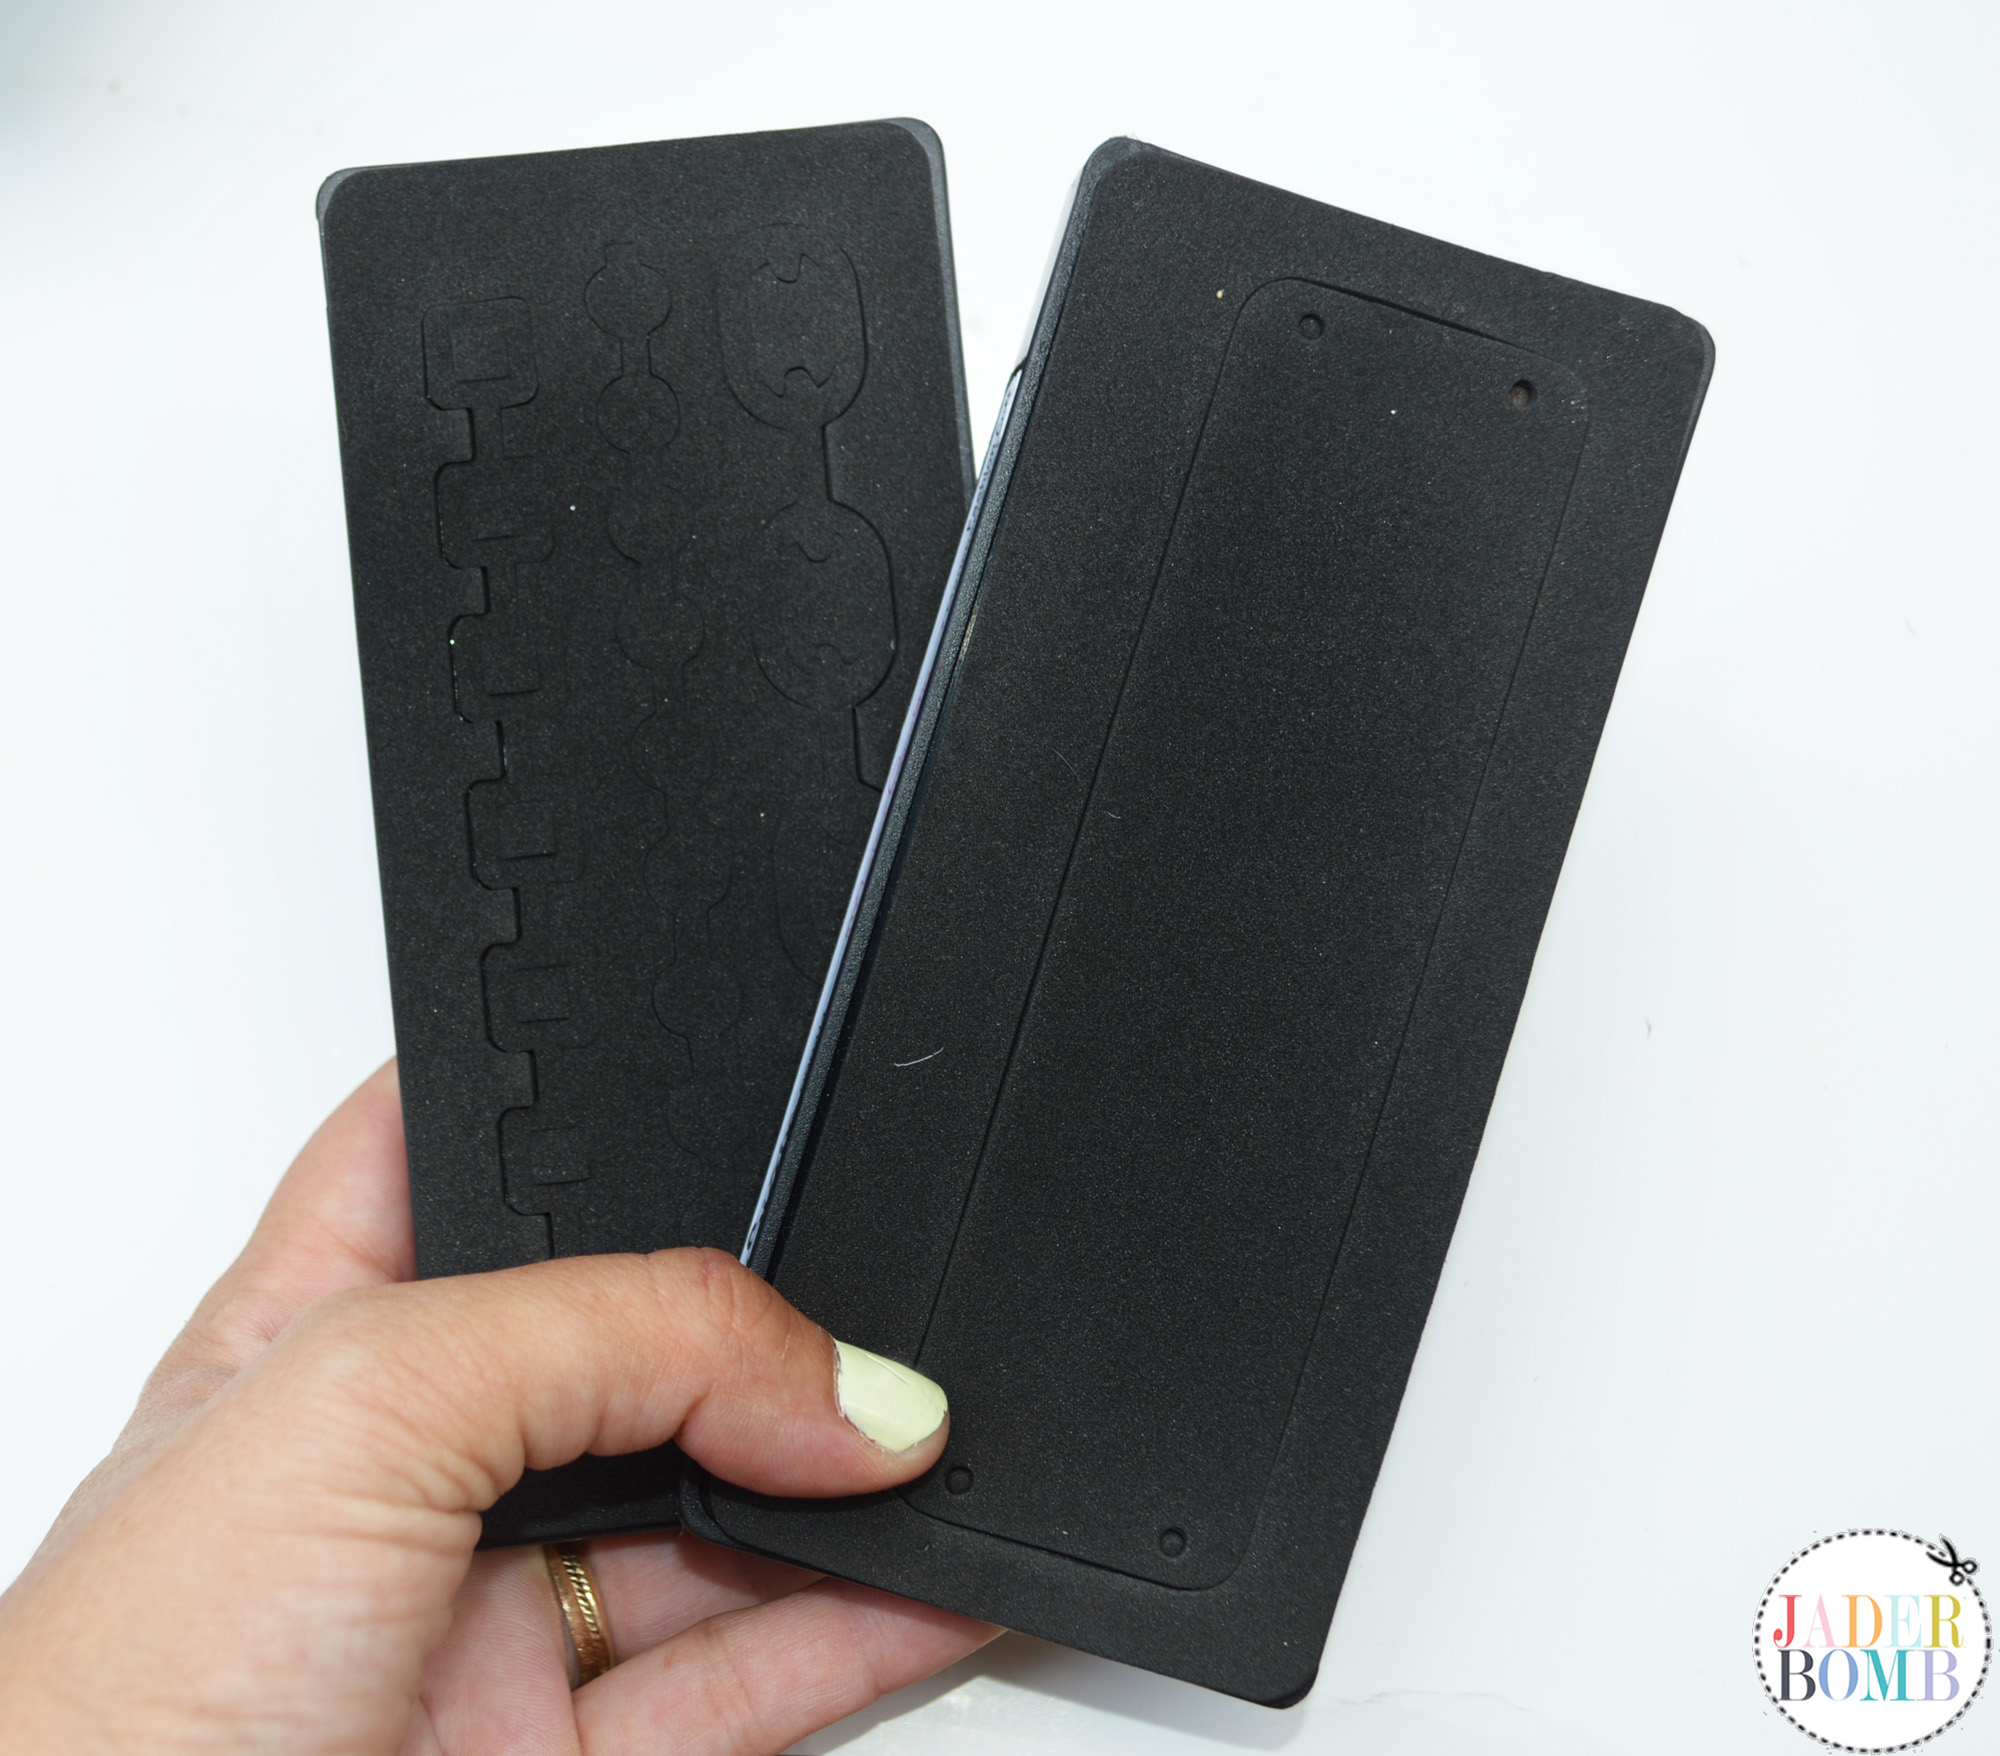
You have two cutting pads that come with the machine and you will need both every time you cut something.
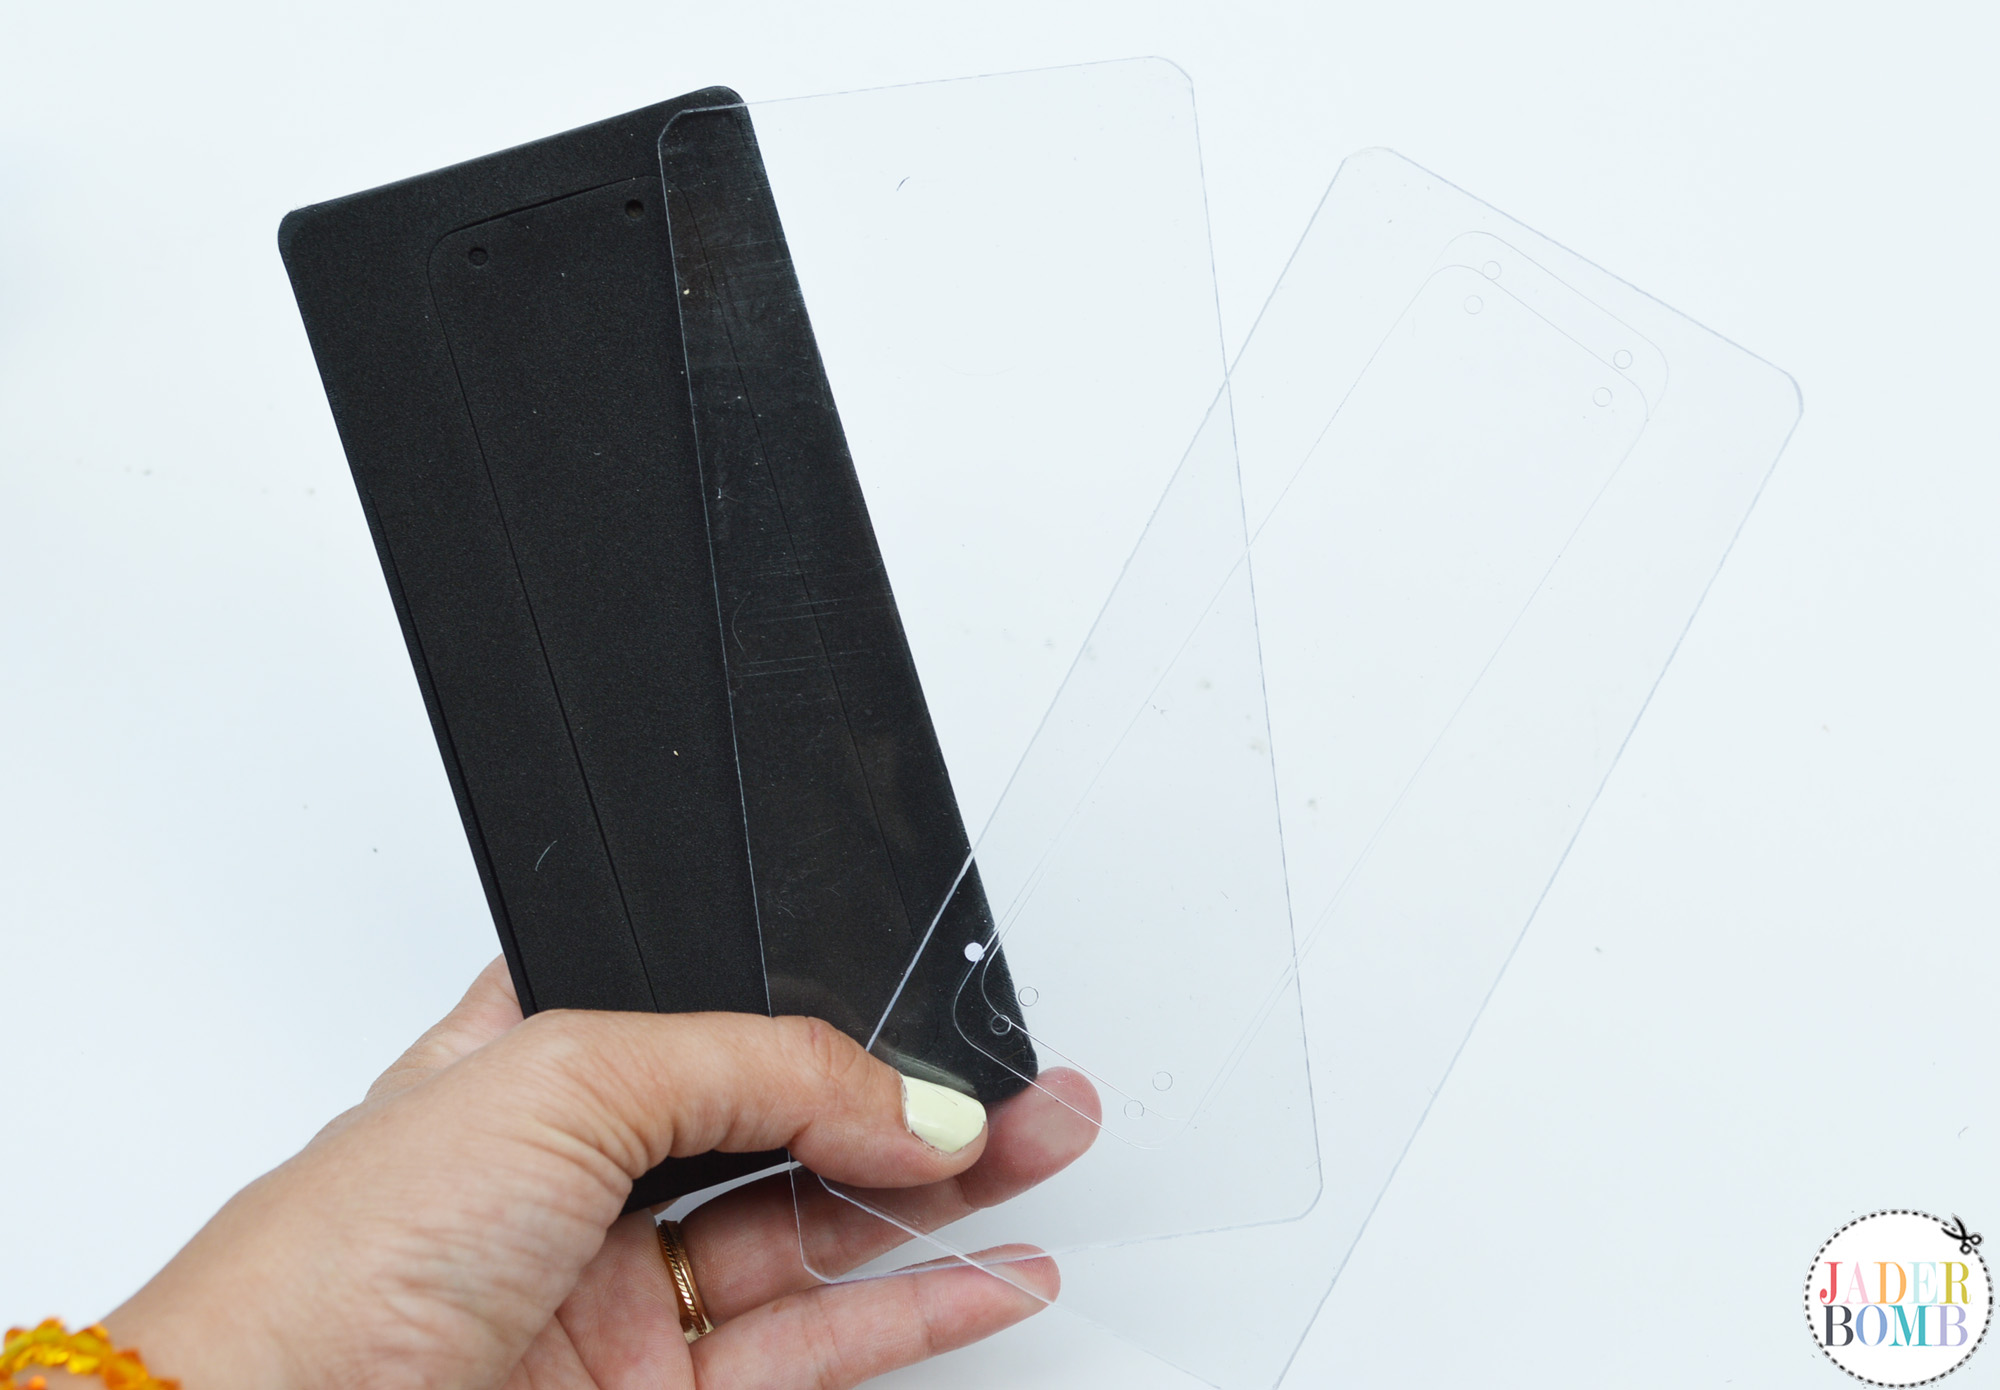
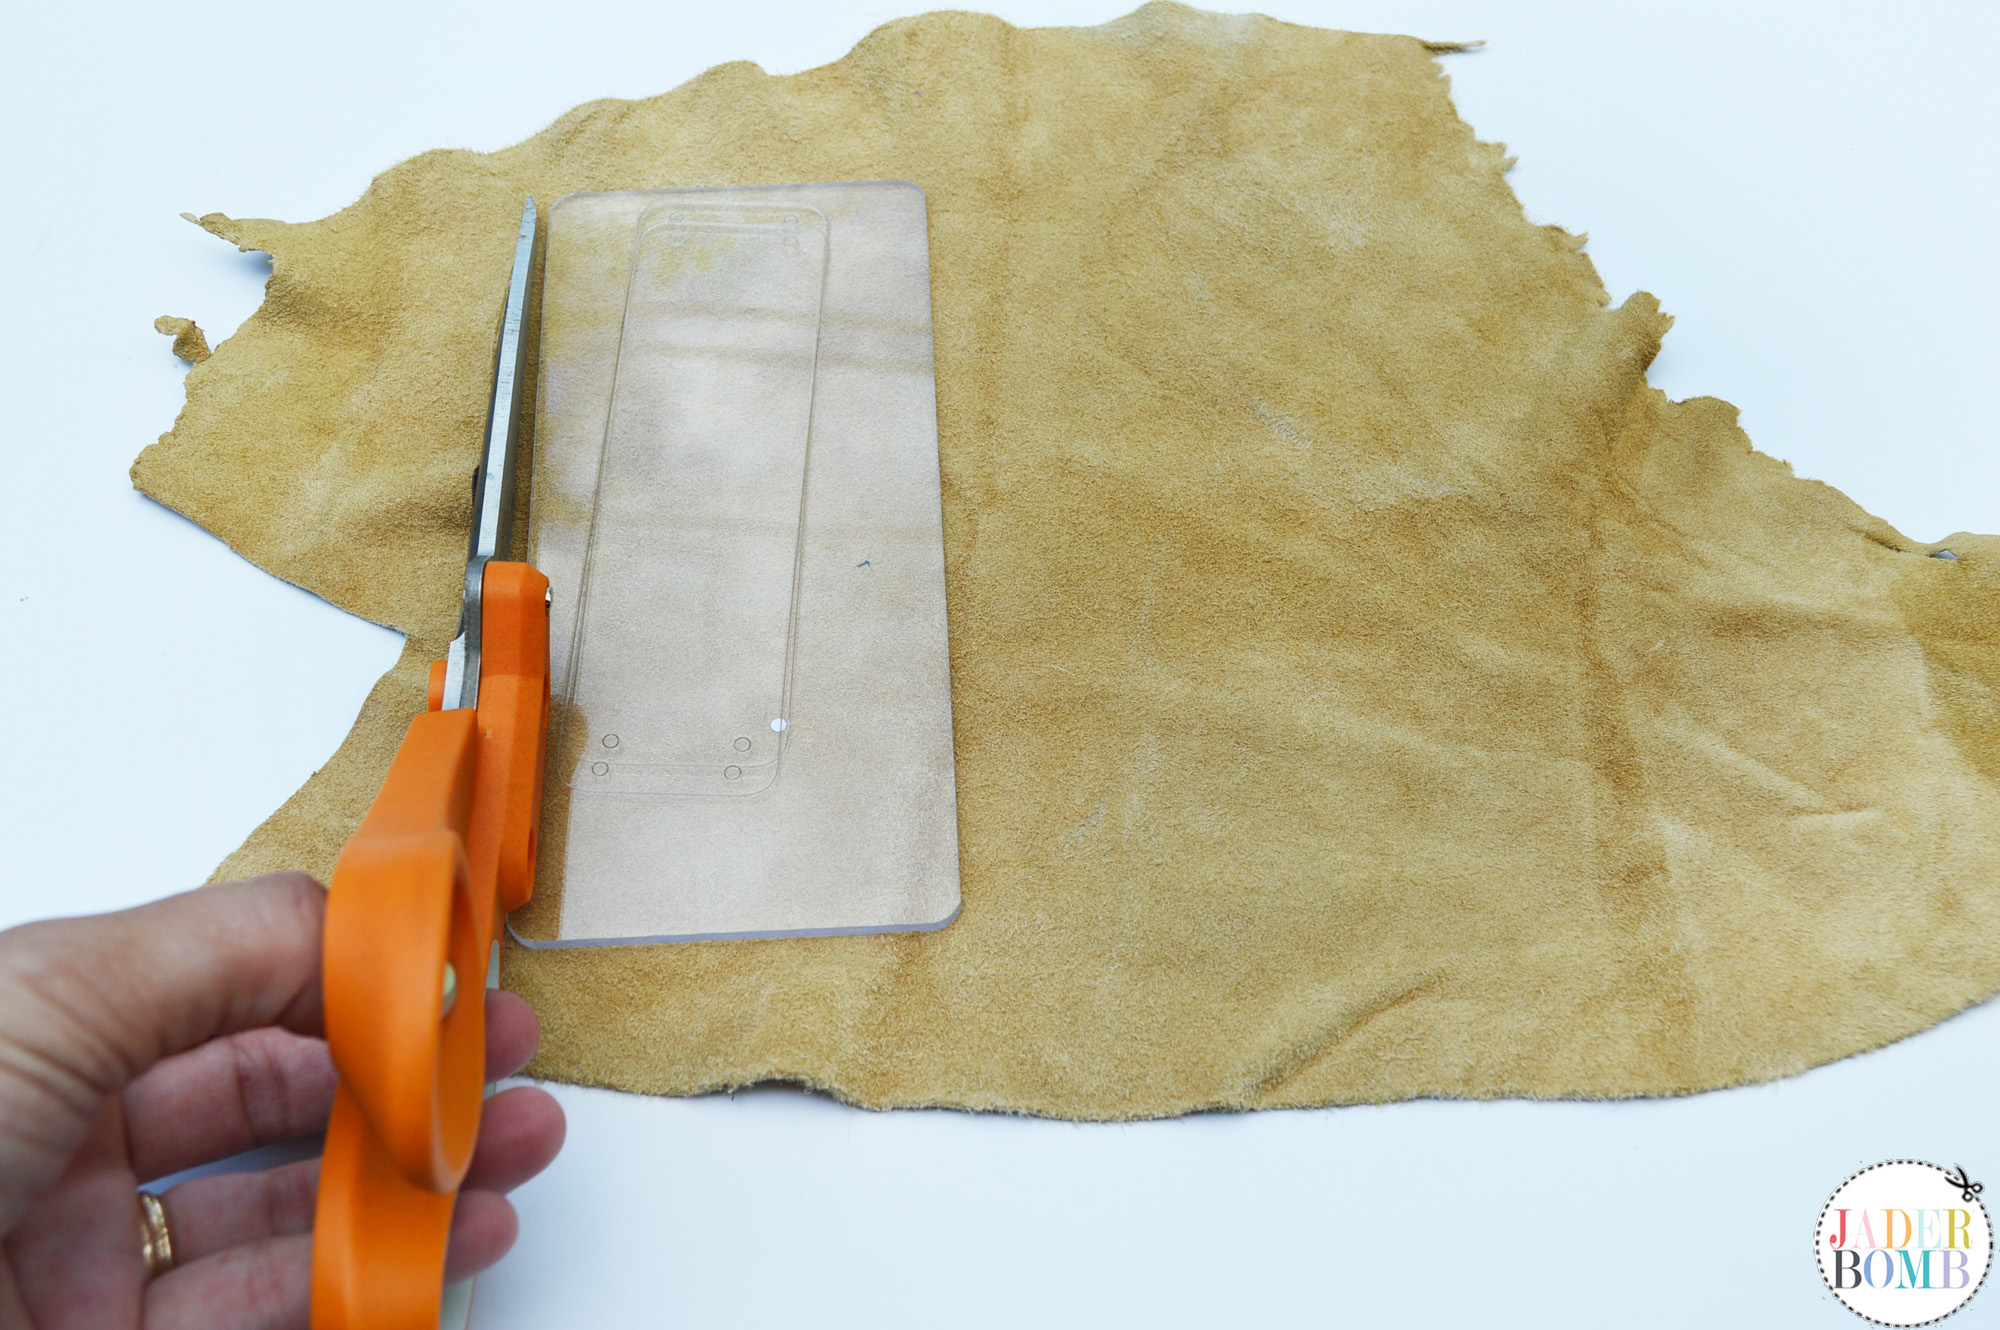
To start you will lay out your leather scrap and place one of the cutting pads on top. With a pair of fabric scissors cut as close around the pad as you can. This does not have to be “perfect”, we just don’t want too much hanging off the edges.
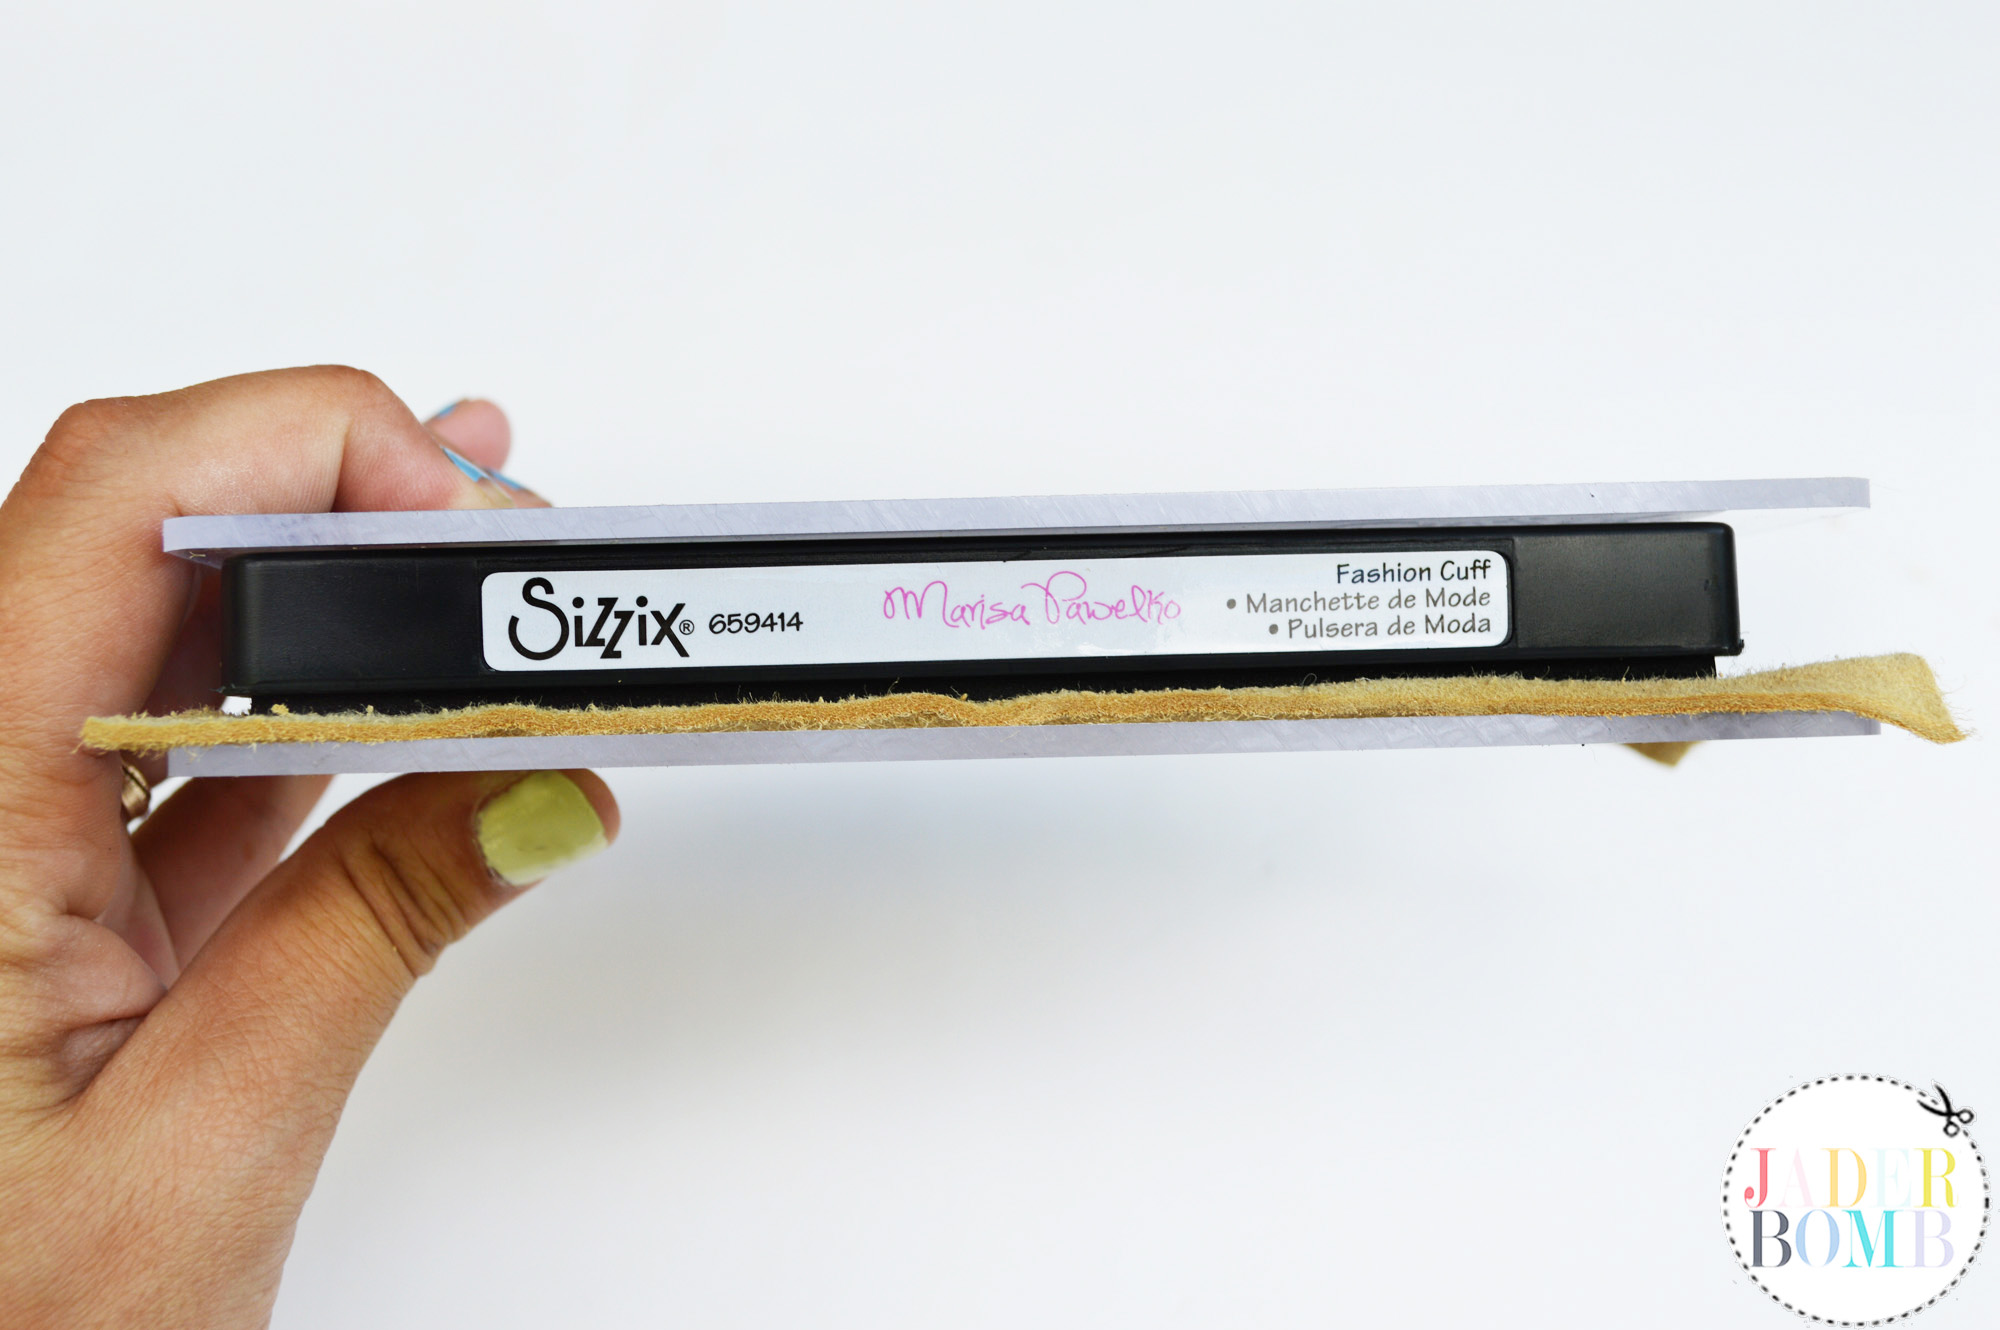
This is how you will layer everything before we start inserting it into the machine.
1st layer: Cutting Pad
2nd layer: Die Cut of choice
3rd layer: Leather
4th layer: Cutting pad.
It’s like a crafty sandwich. Speaking of sandwiches, I think I want one with chips smashed on it.
Keep it all together nice and neat while inserting into the machine. The great thing is it’s convenient for anyone regardless if you are right handed or left.
Shoots, you can even do it with your feet if you want. 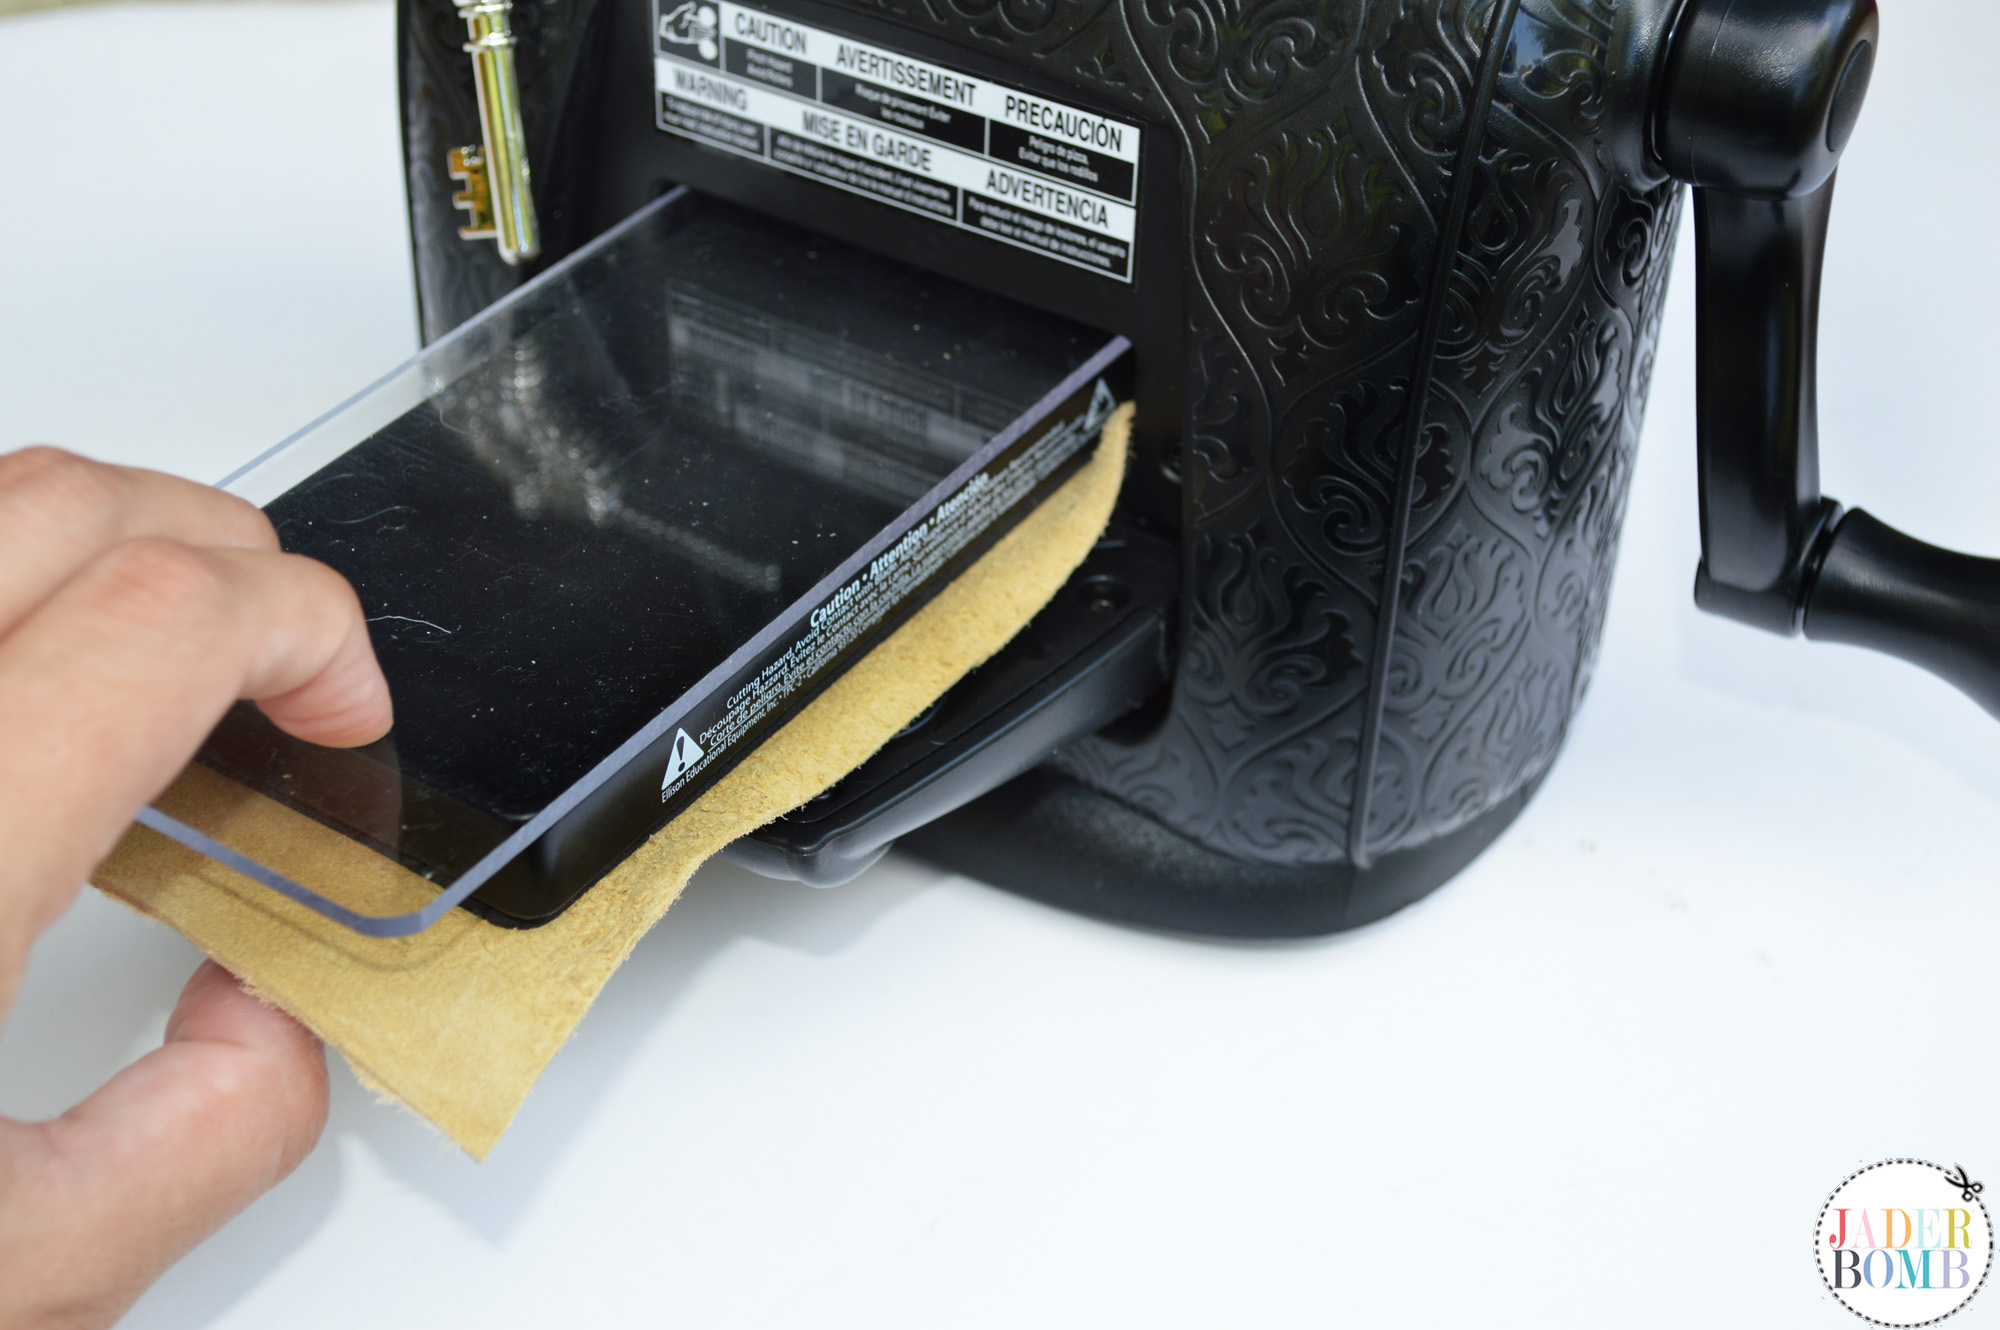
This is what it will look like when you run it completely through the machine. How amazing! It’s like a slice of heaven on a platter. Check out how precise it cuts and those dots…PERFECTION.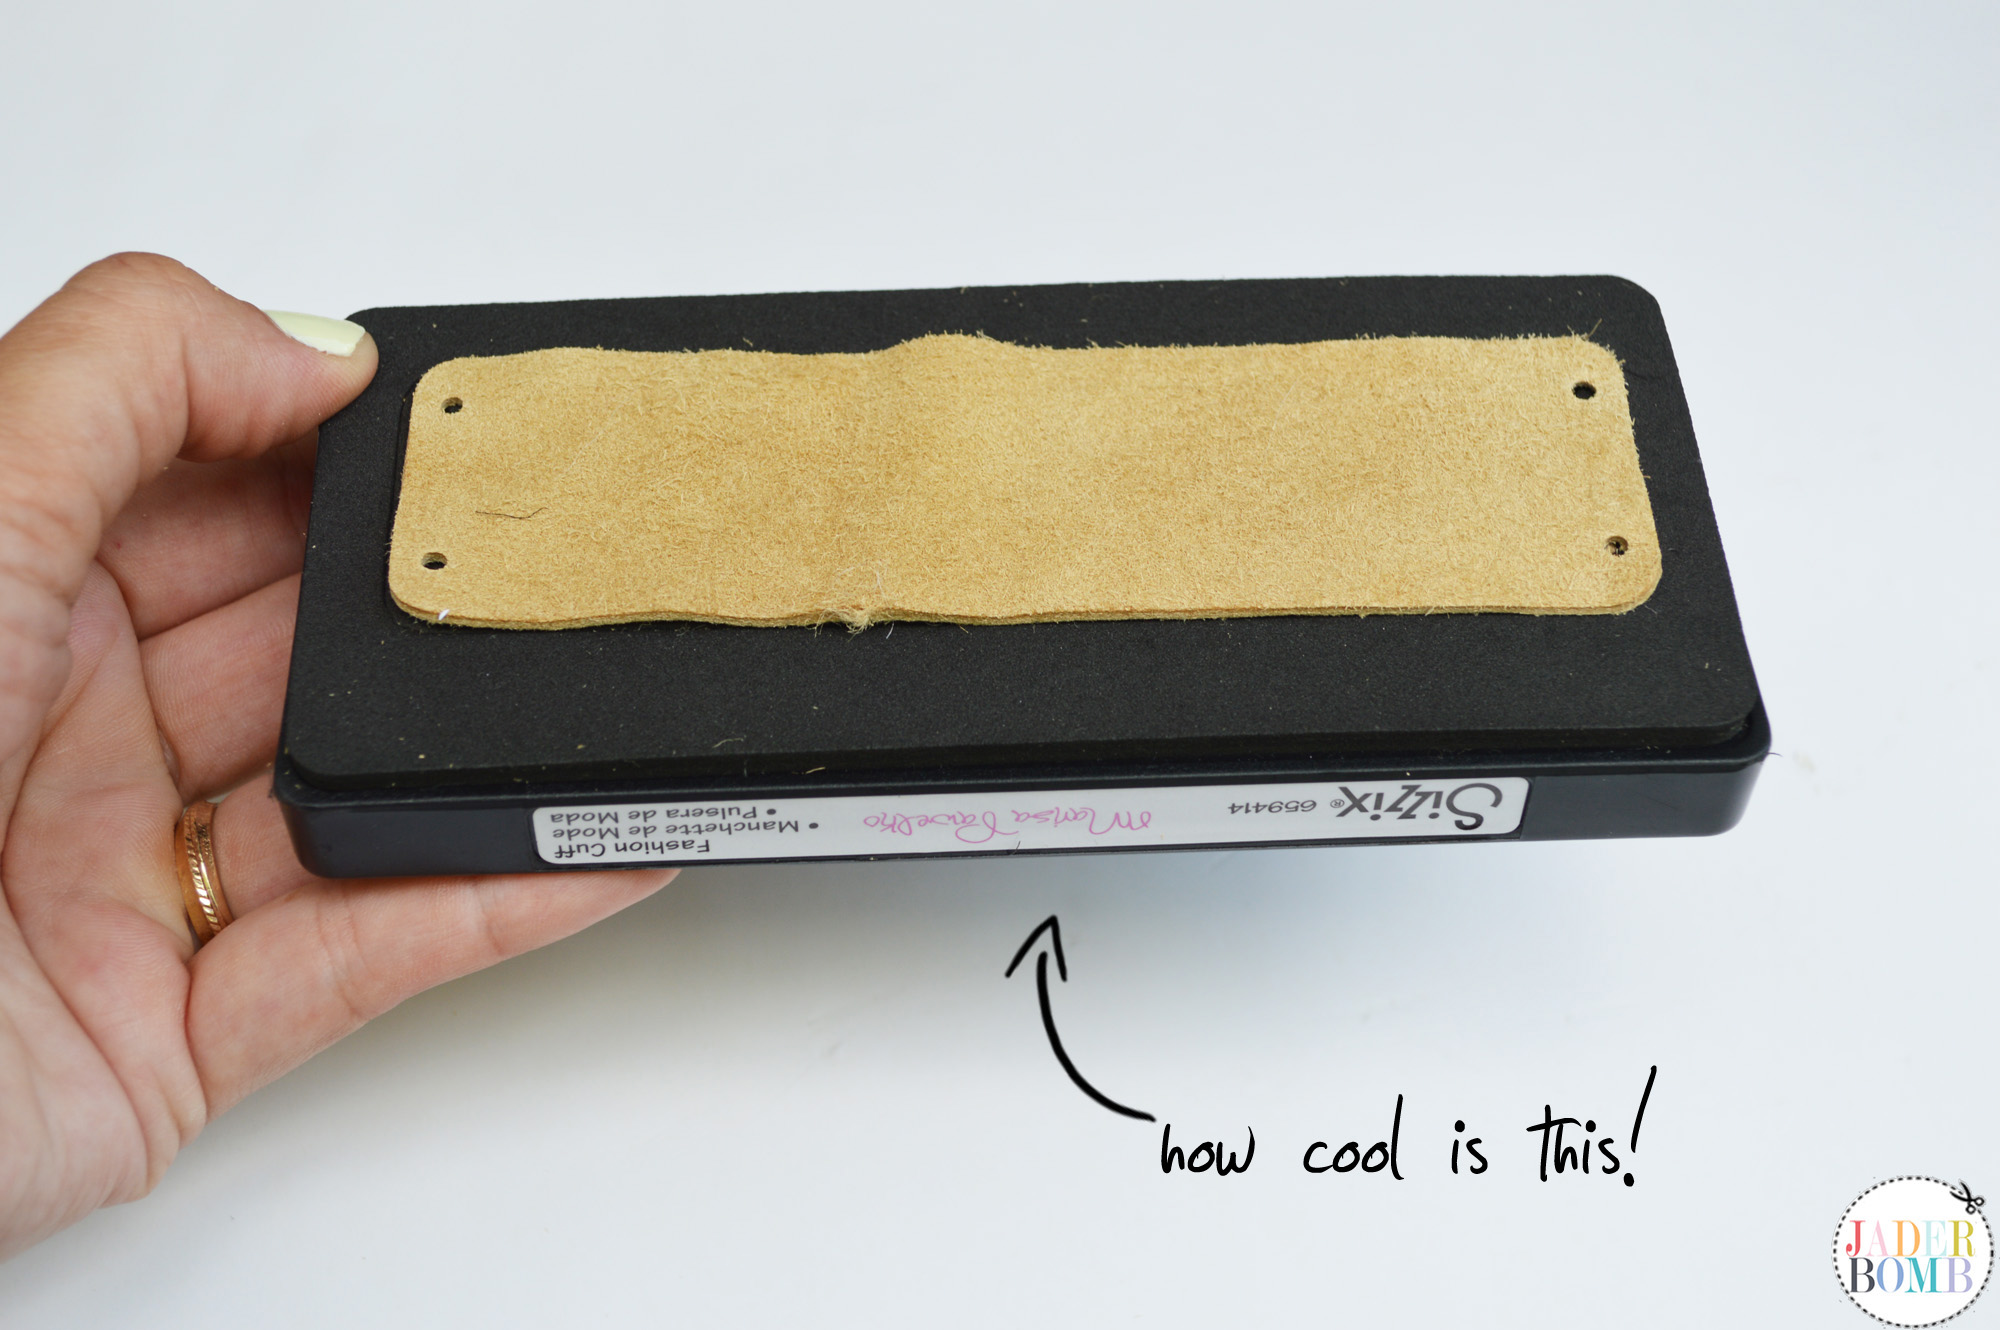
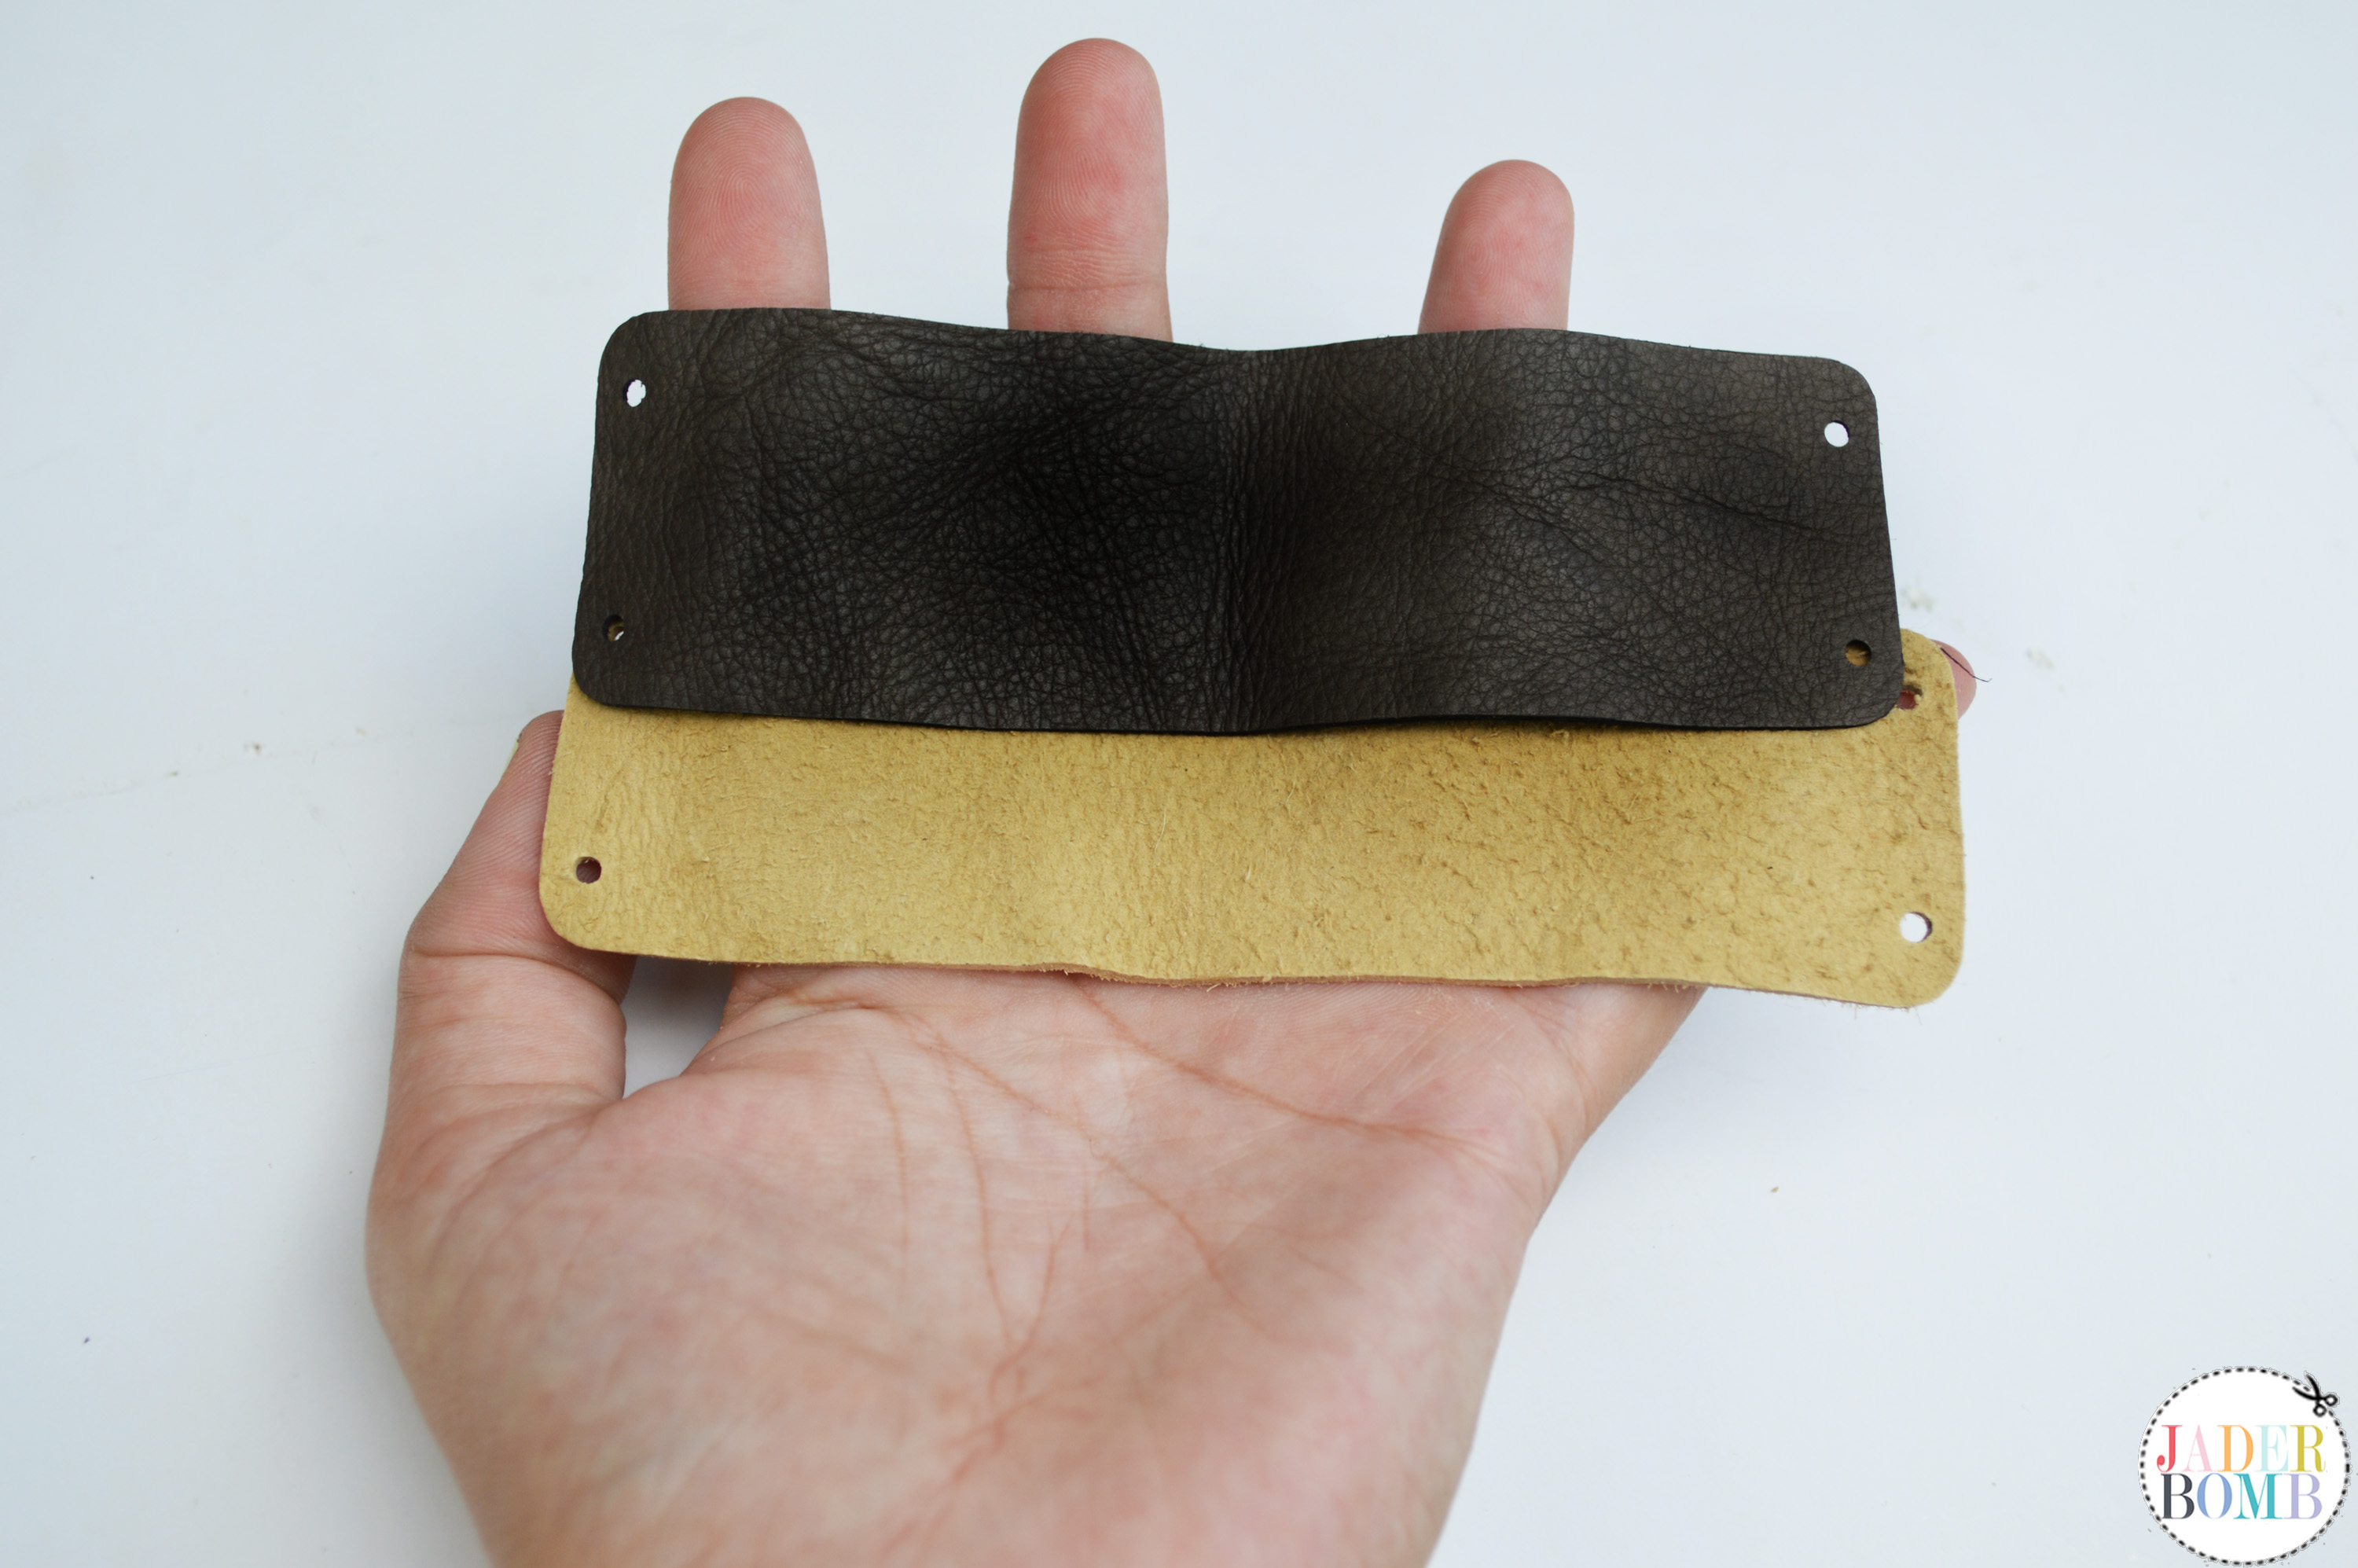
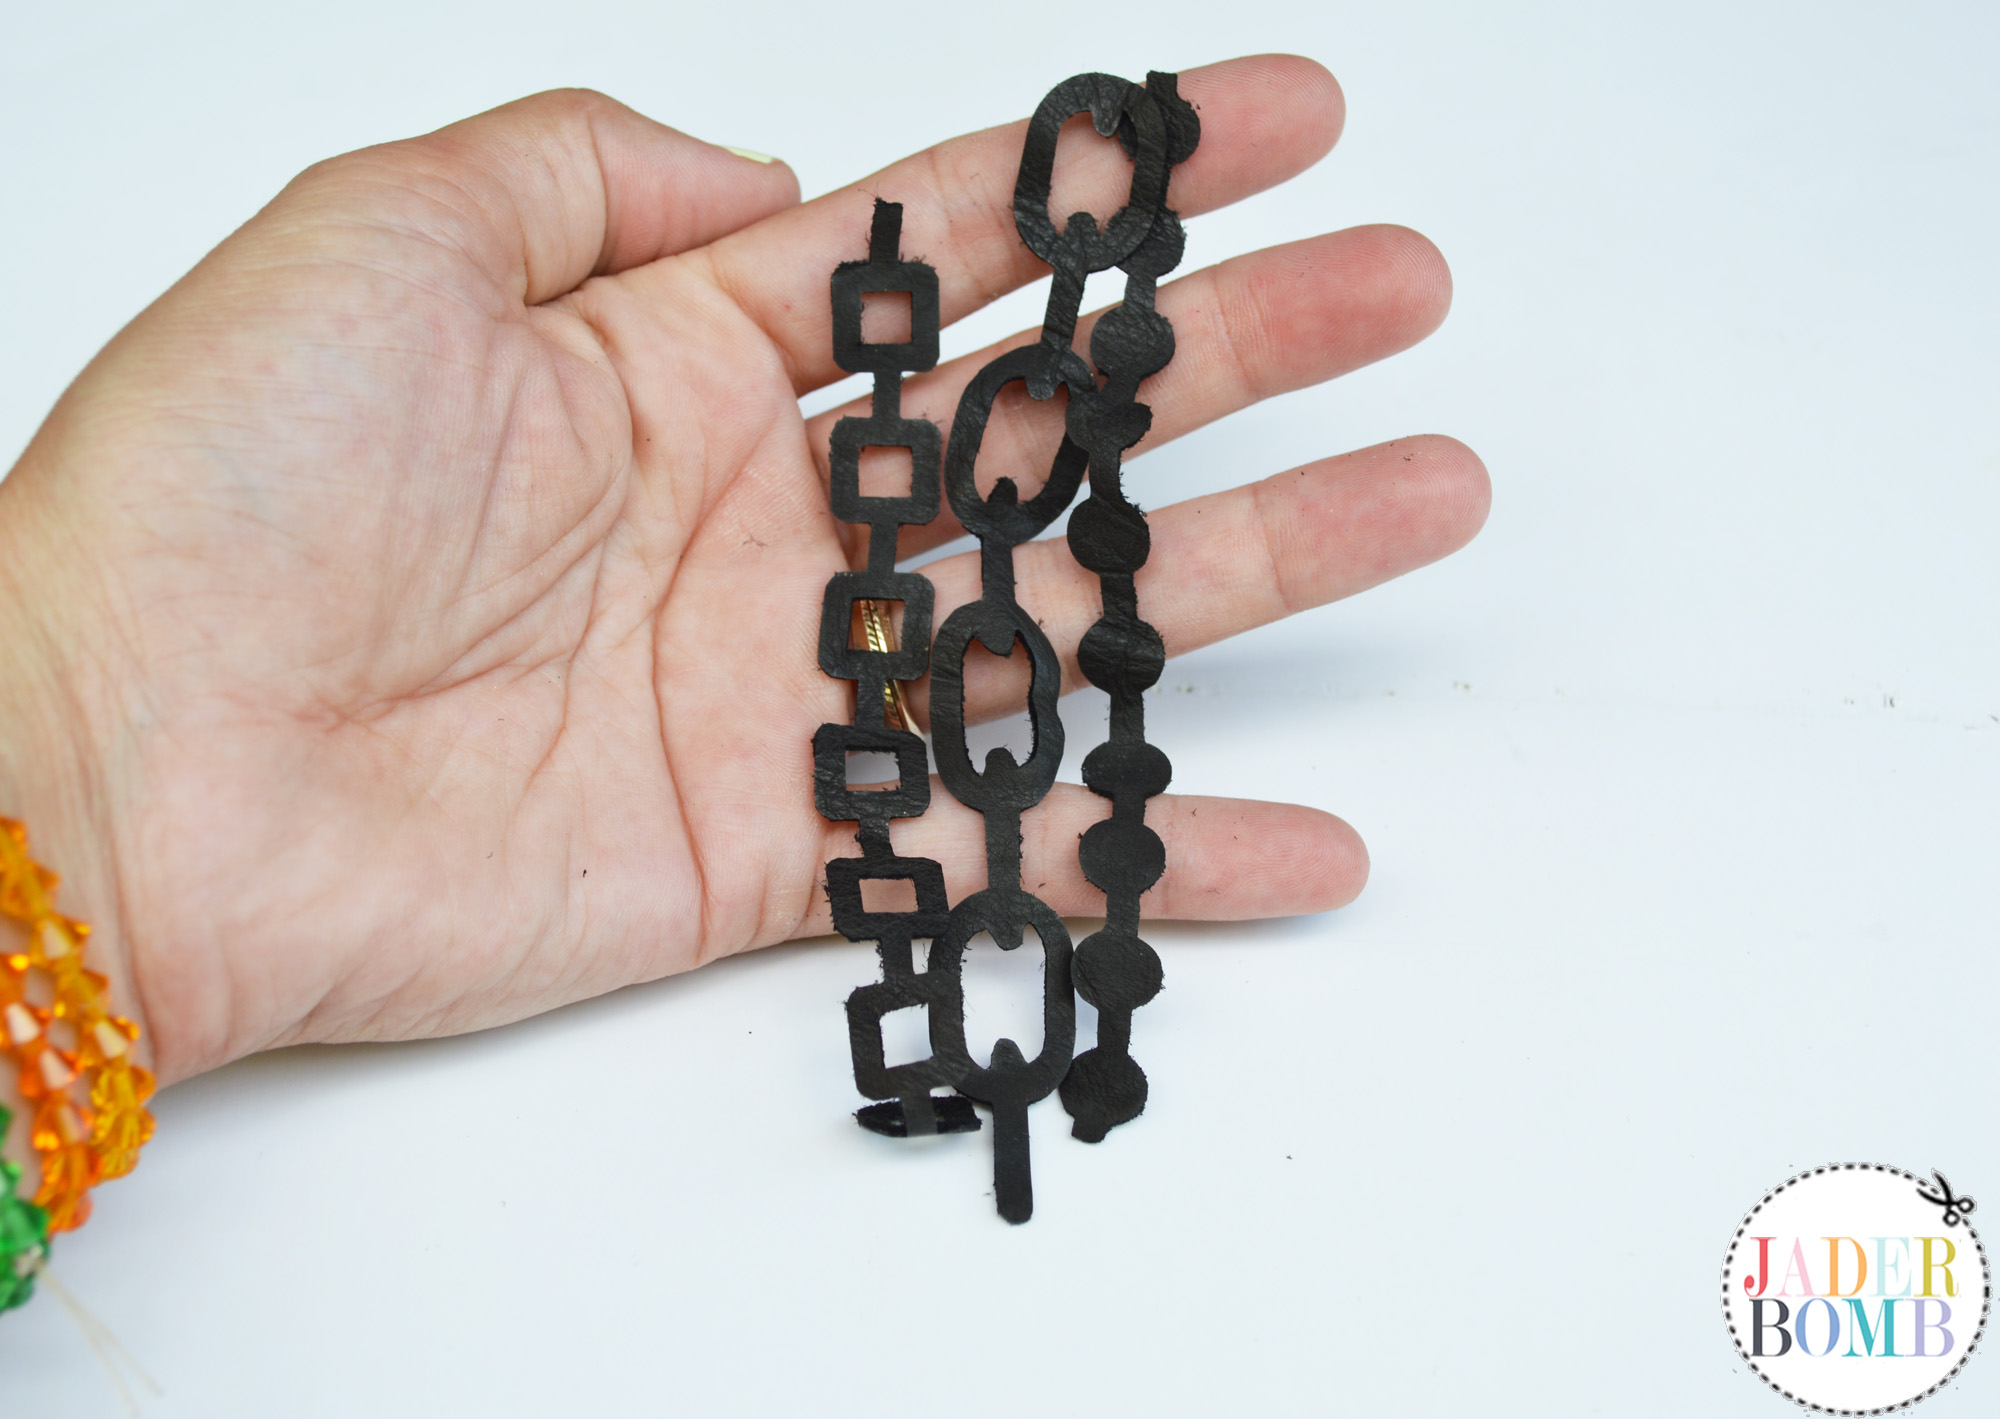
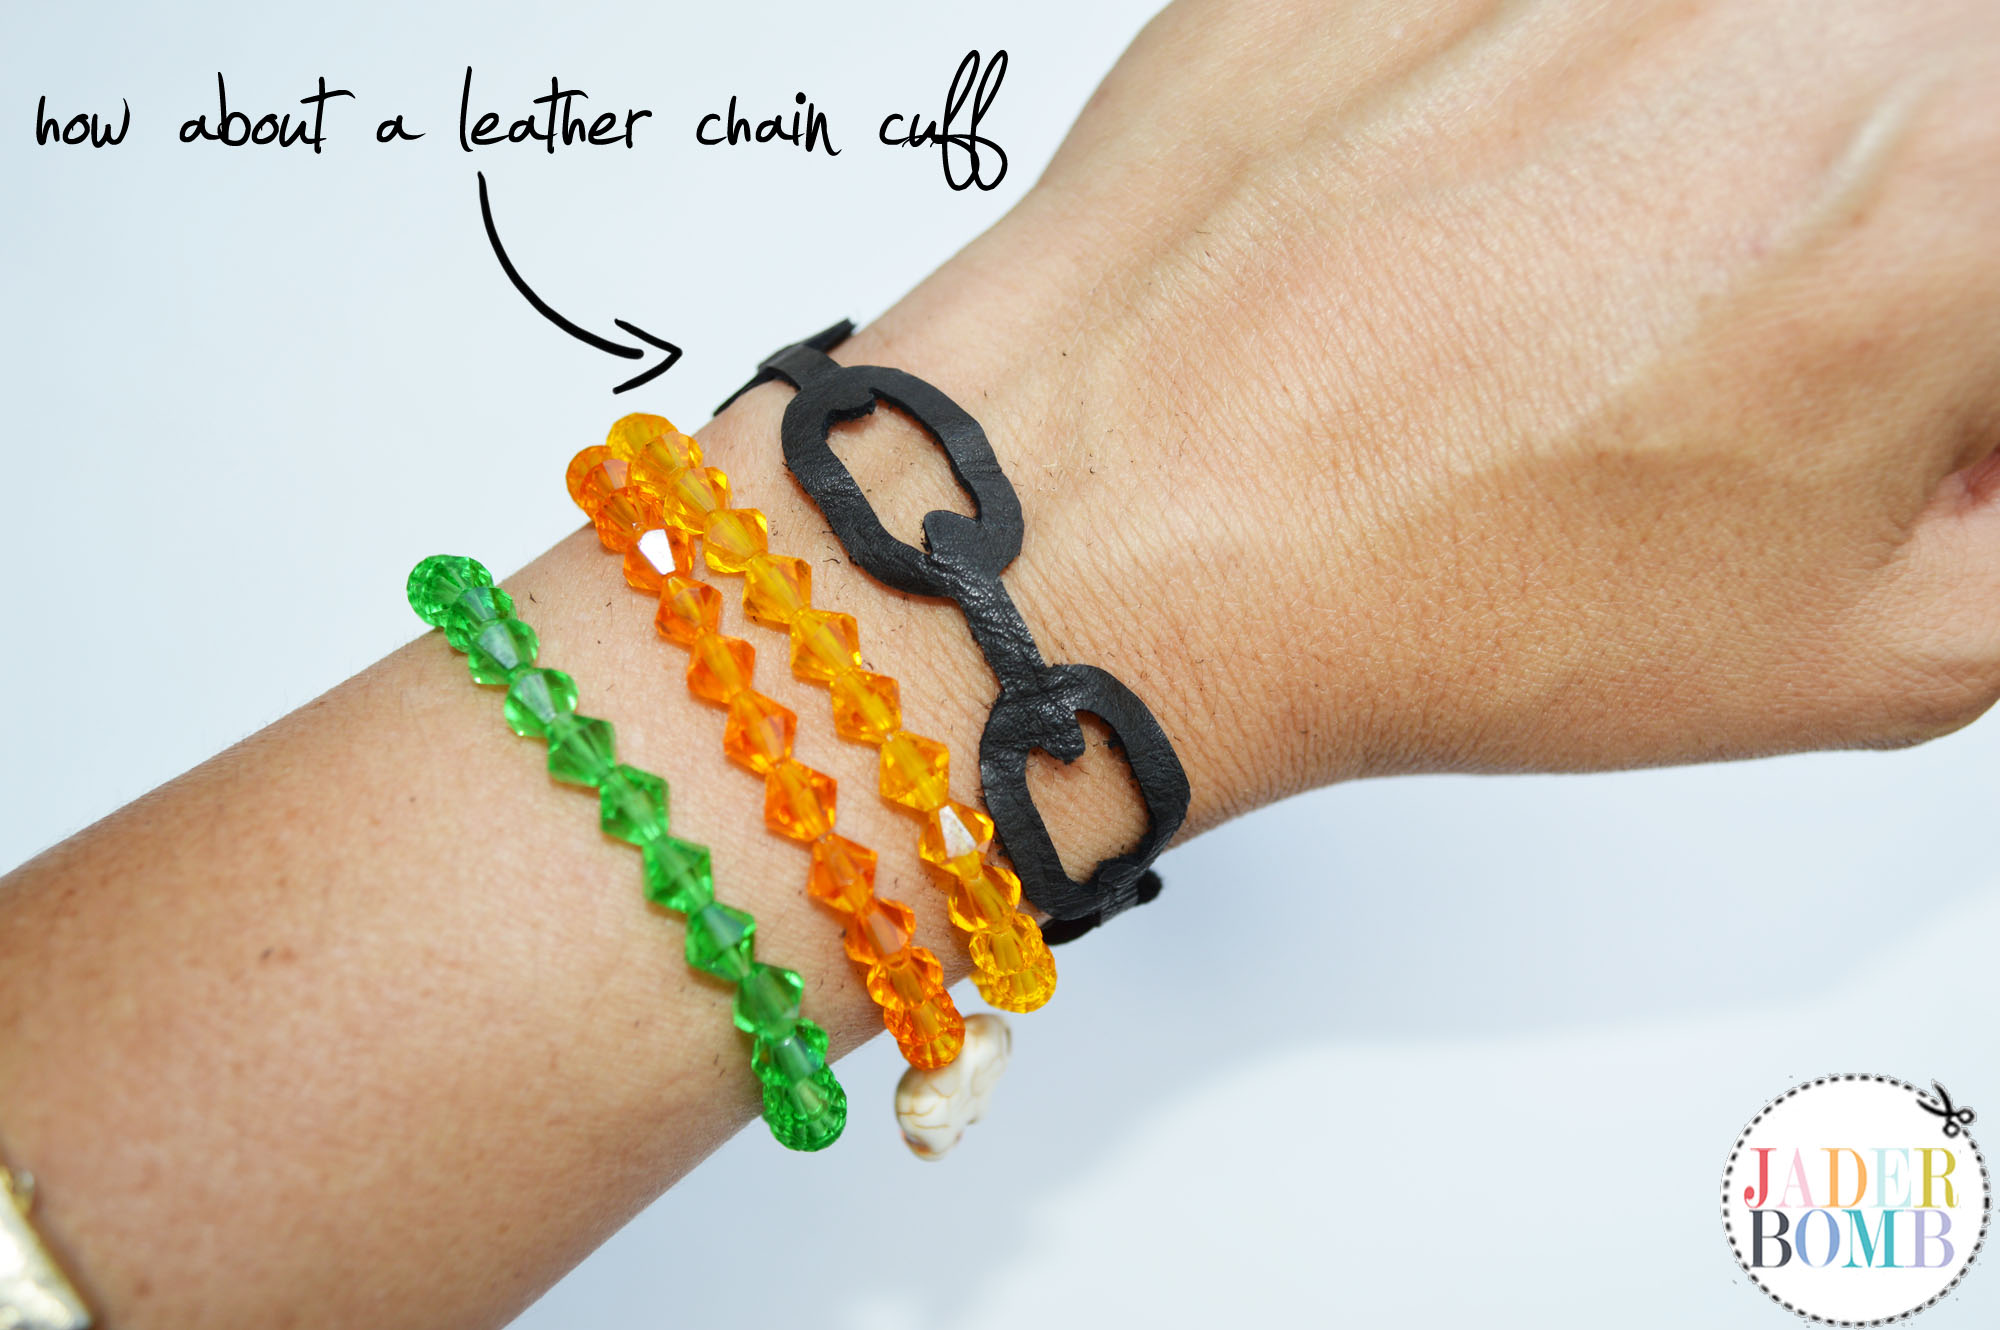
I love how detailed all of her die cuts are. Check out the chains! I have so many ideas just looking at them.
I am also in love with the negative space in this leather. You can even use this as a stencil now.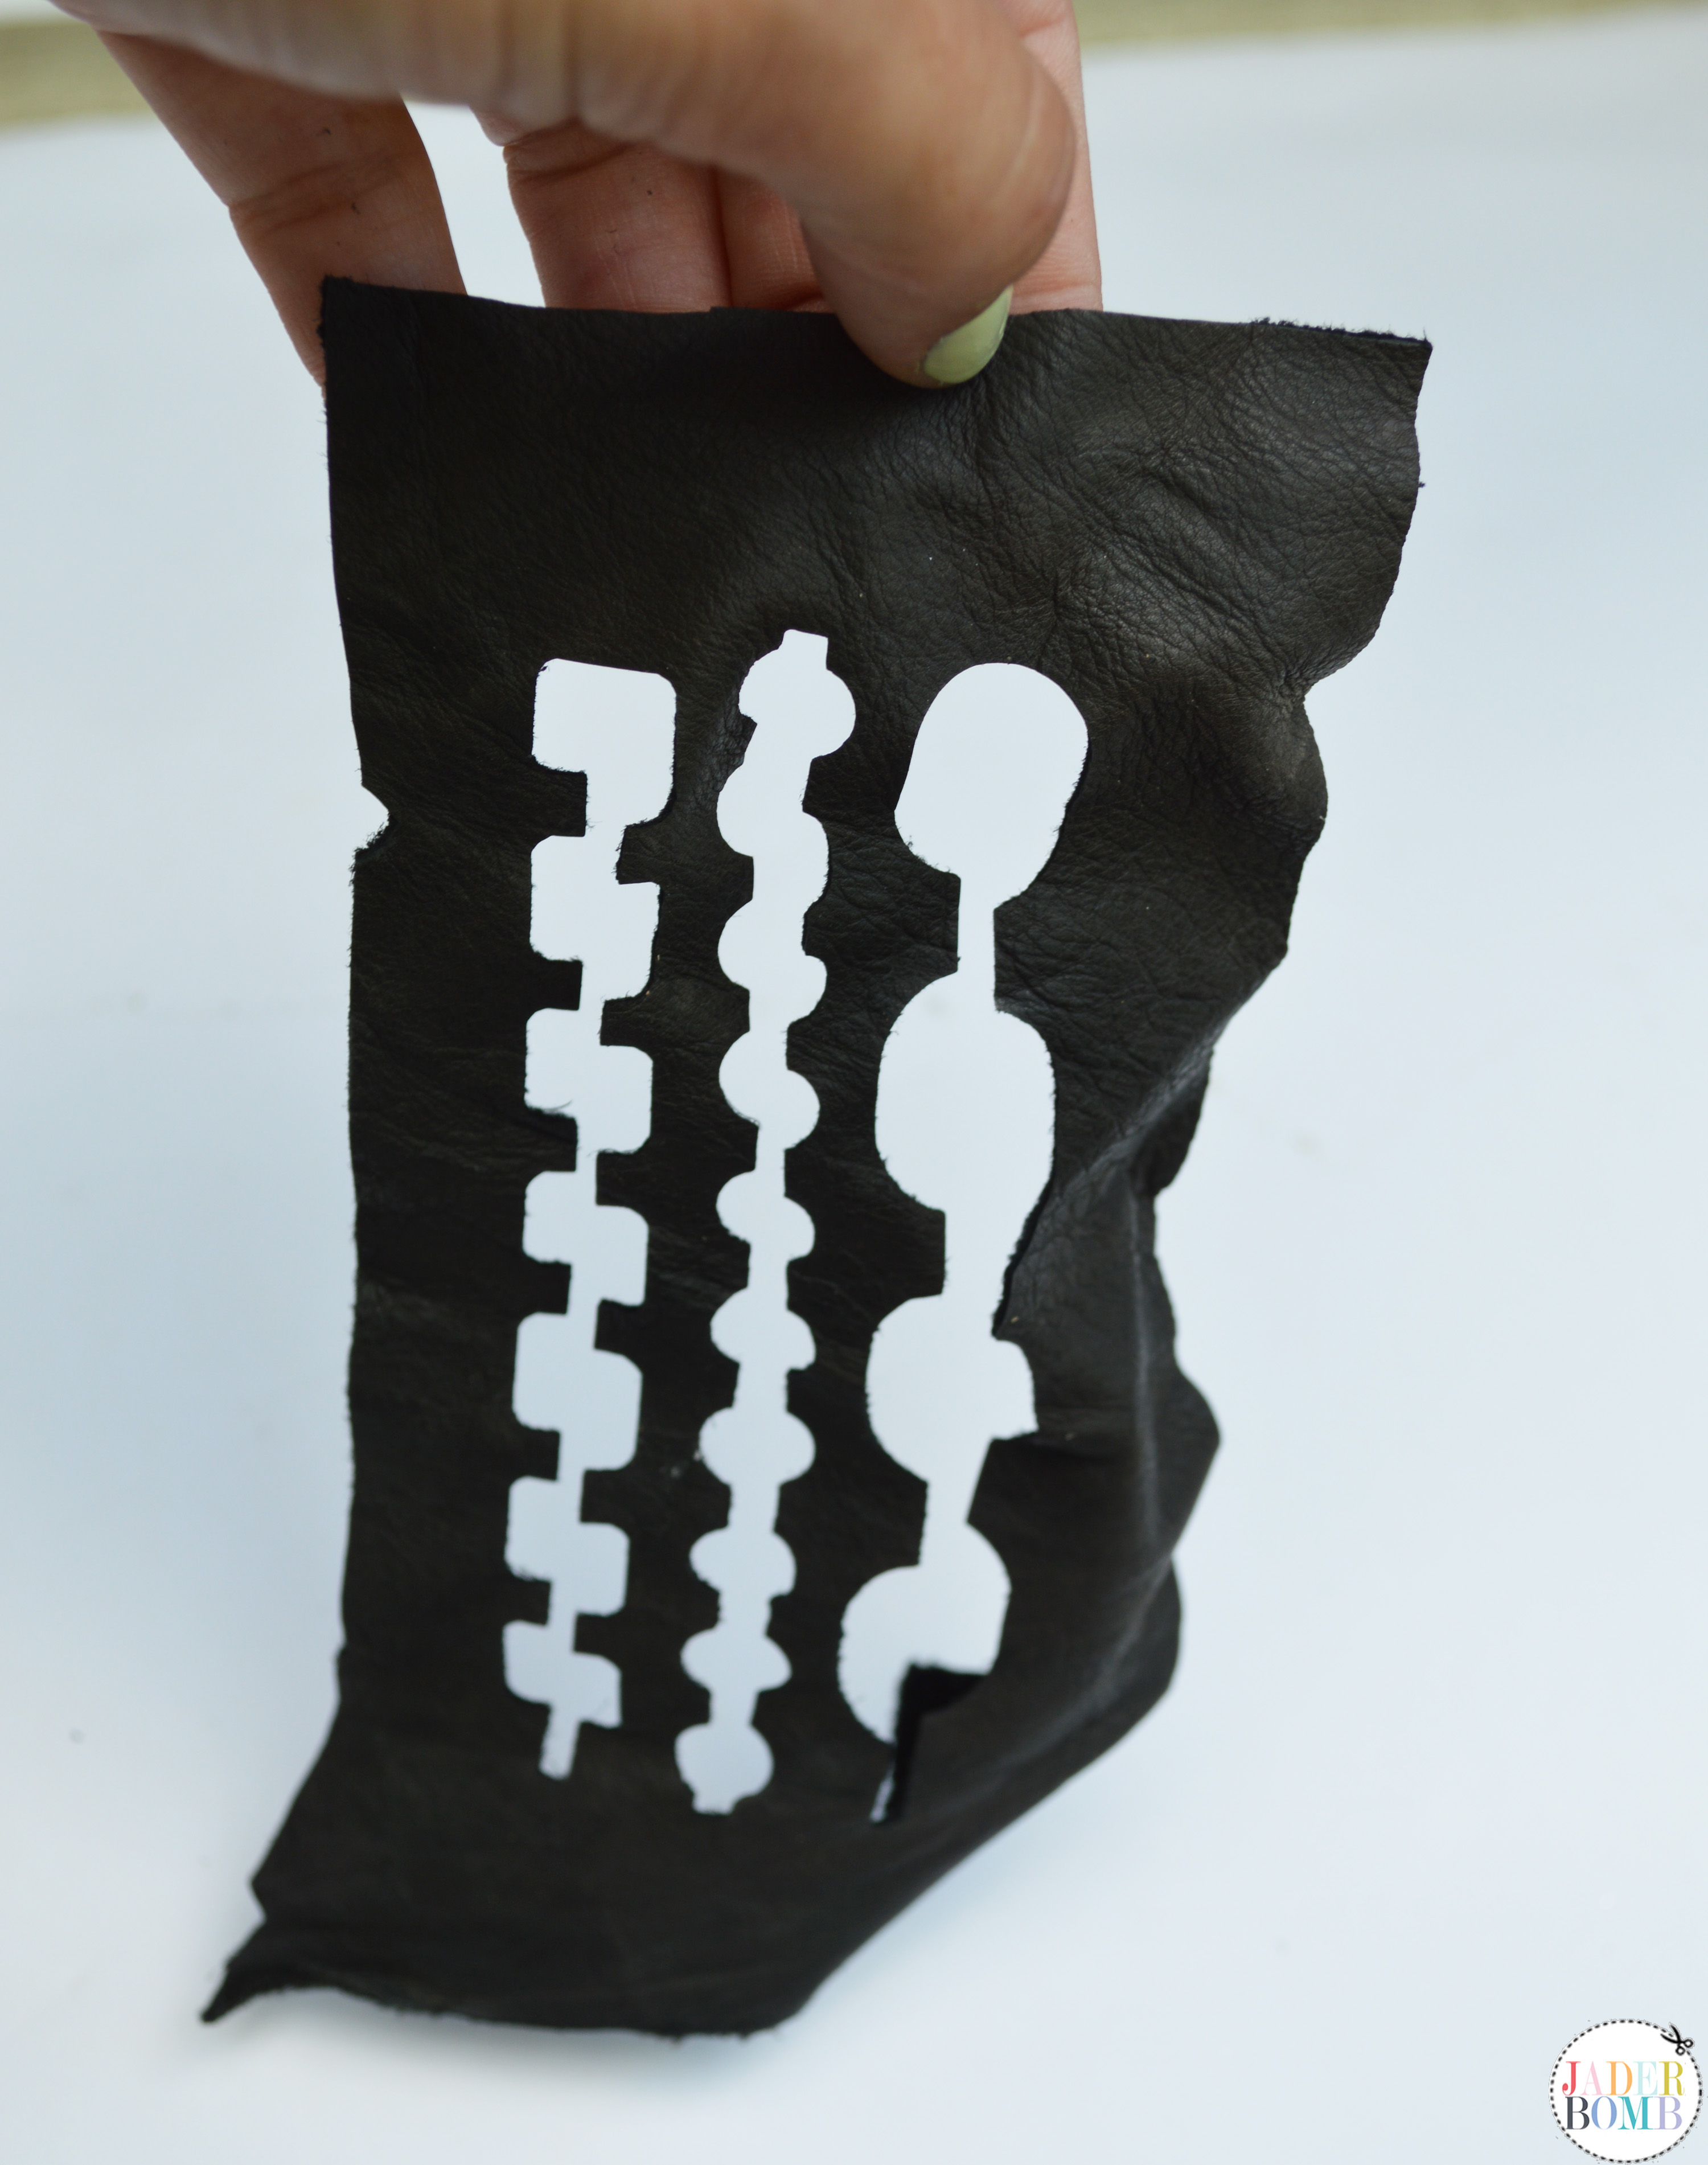
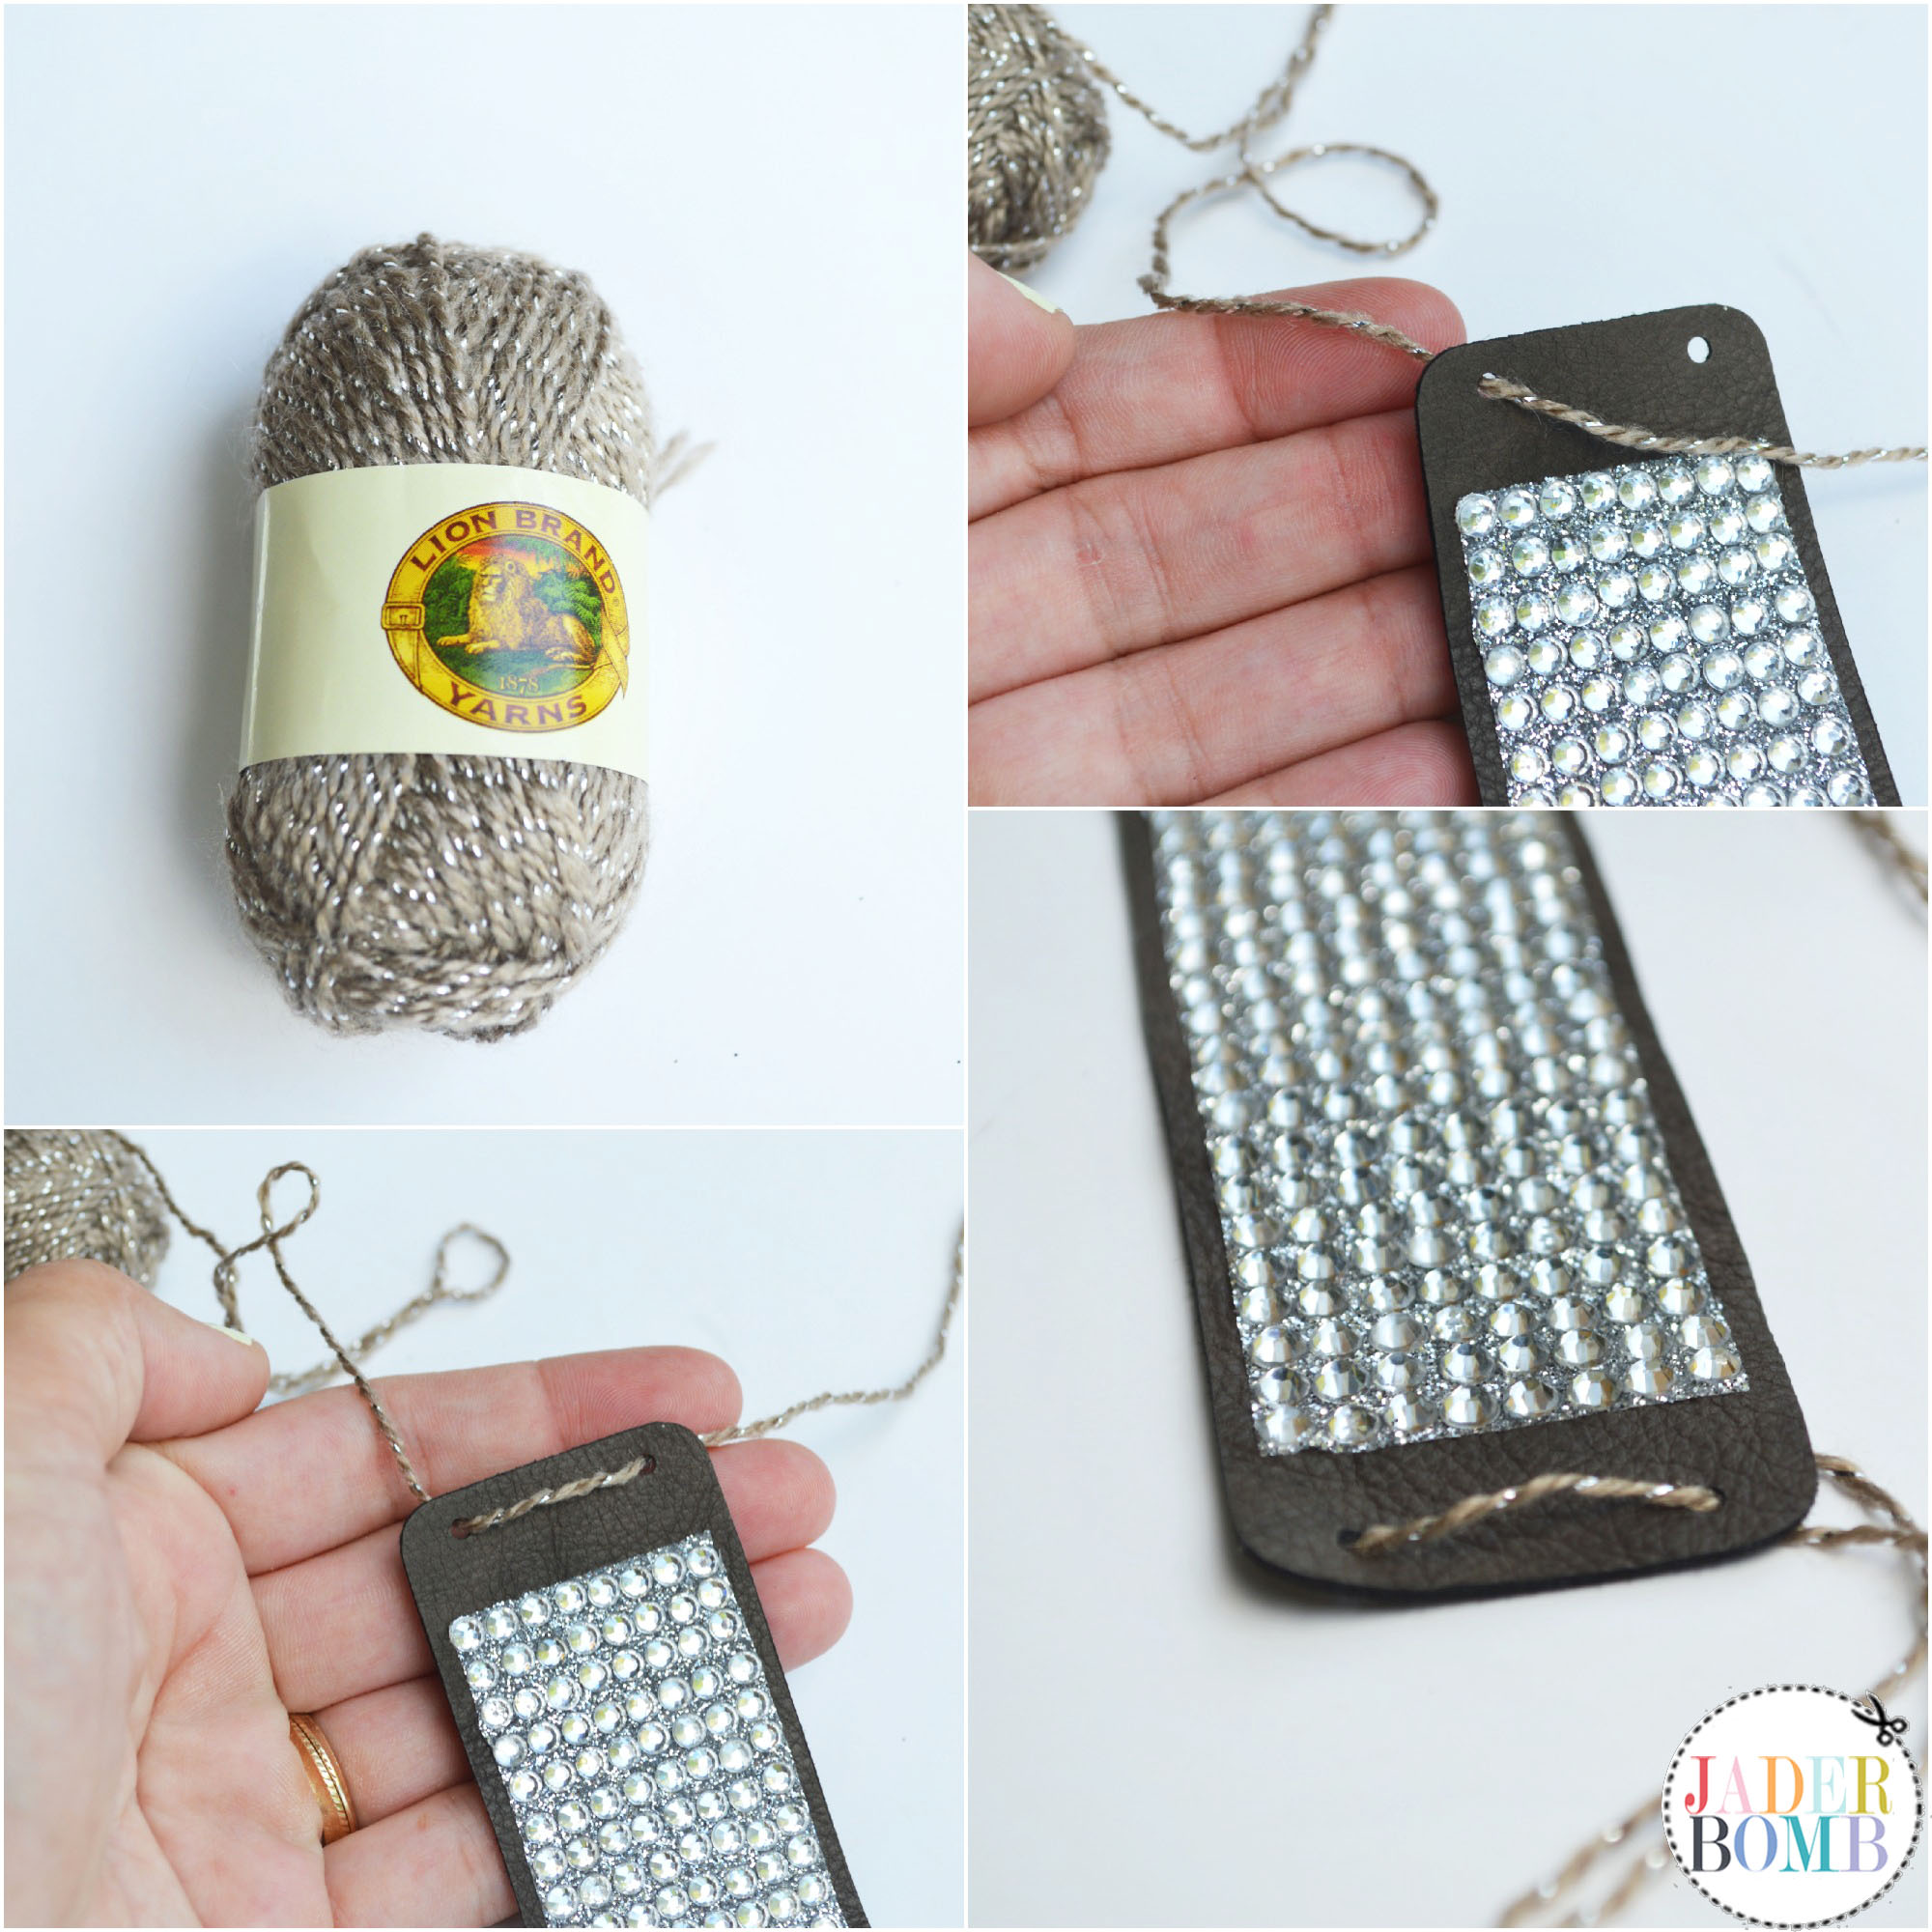
I am using shiny lion brand yarn for my string. I love this tan color. If you don’t like the way I am attaching the yarn you can simply tie a knot or put a chain on the ends. It’s really so versatile. 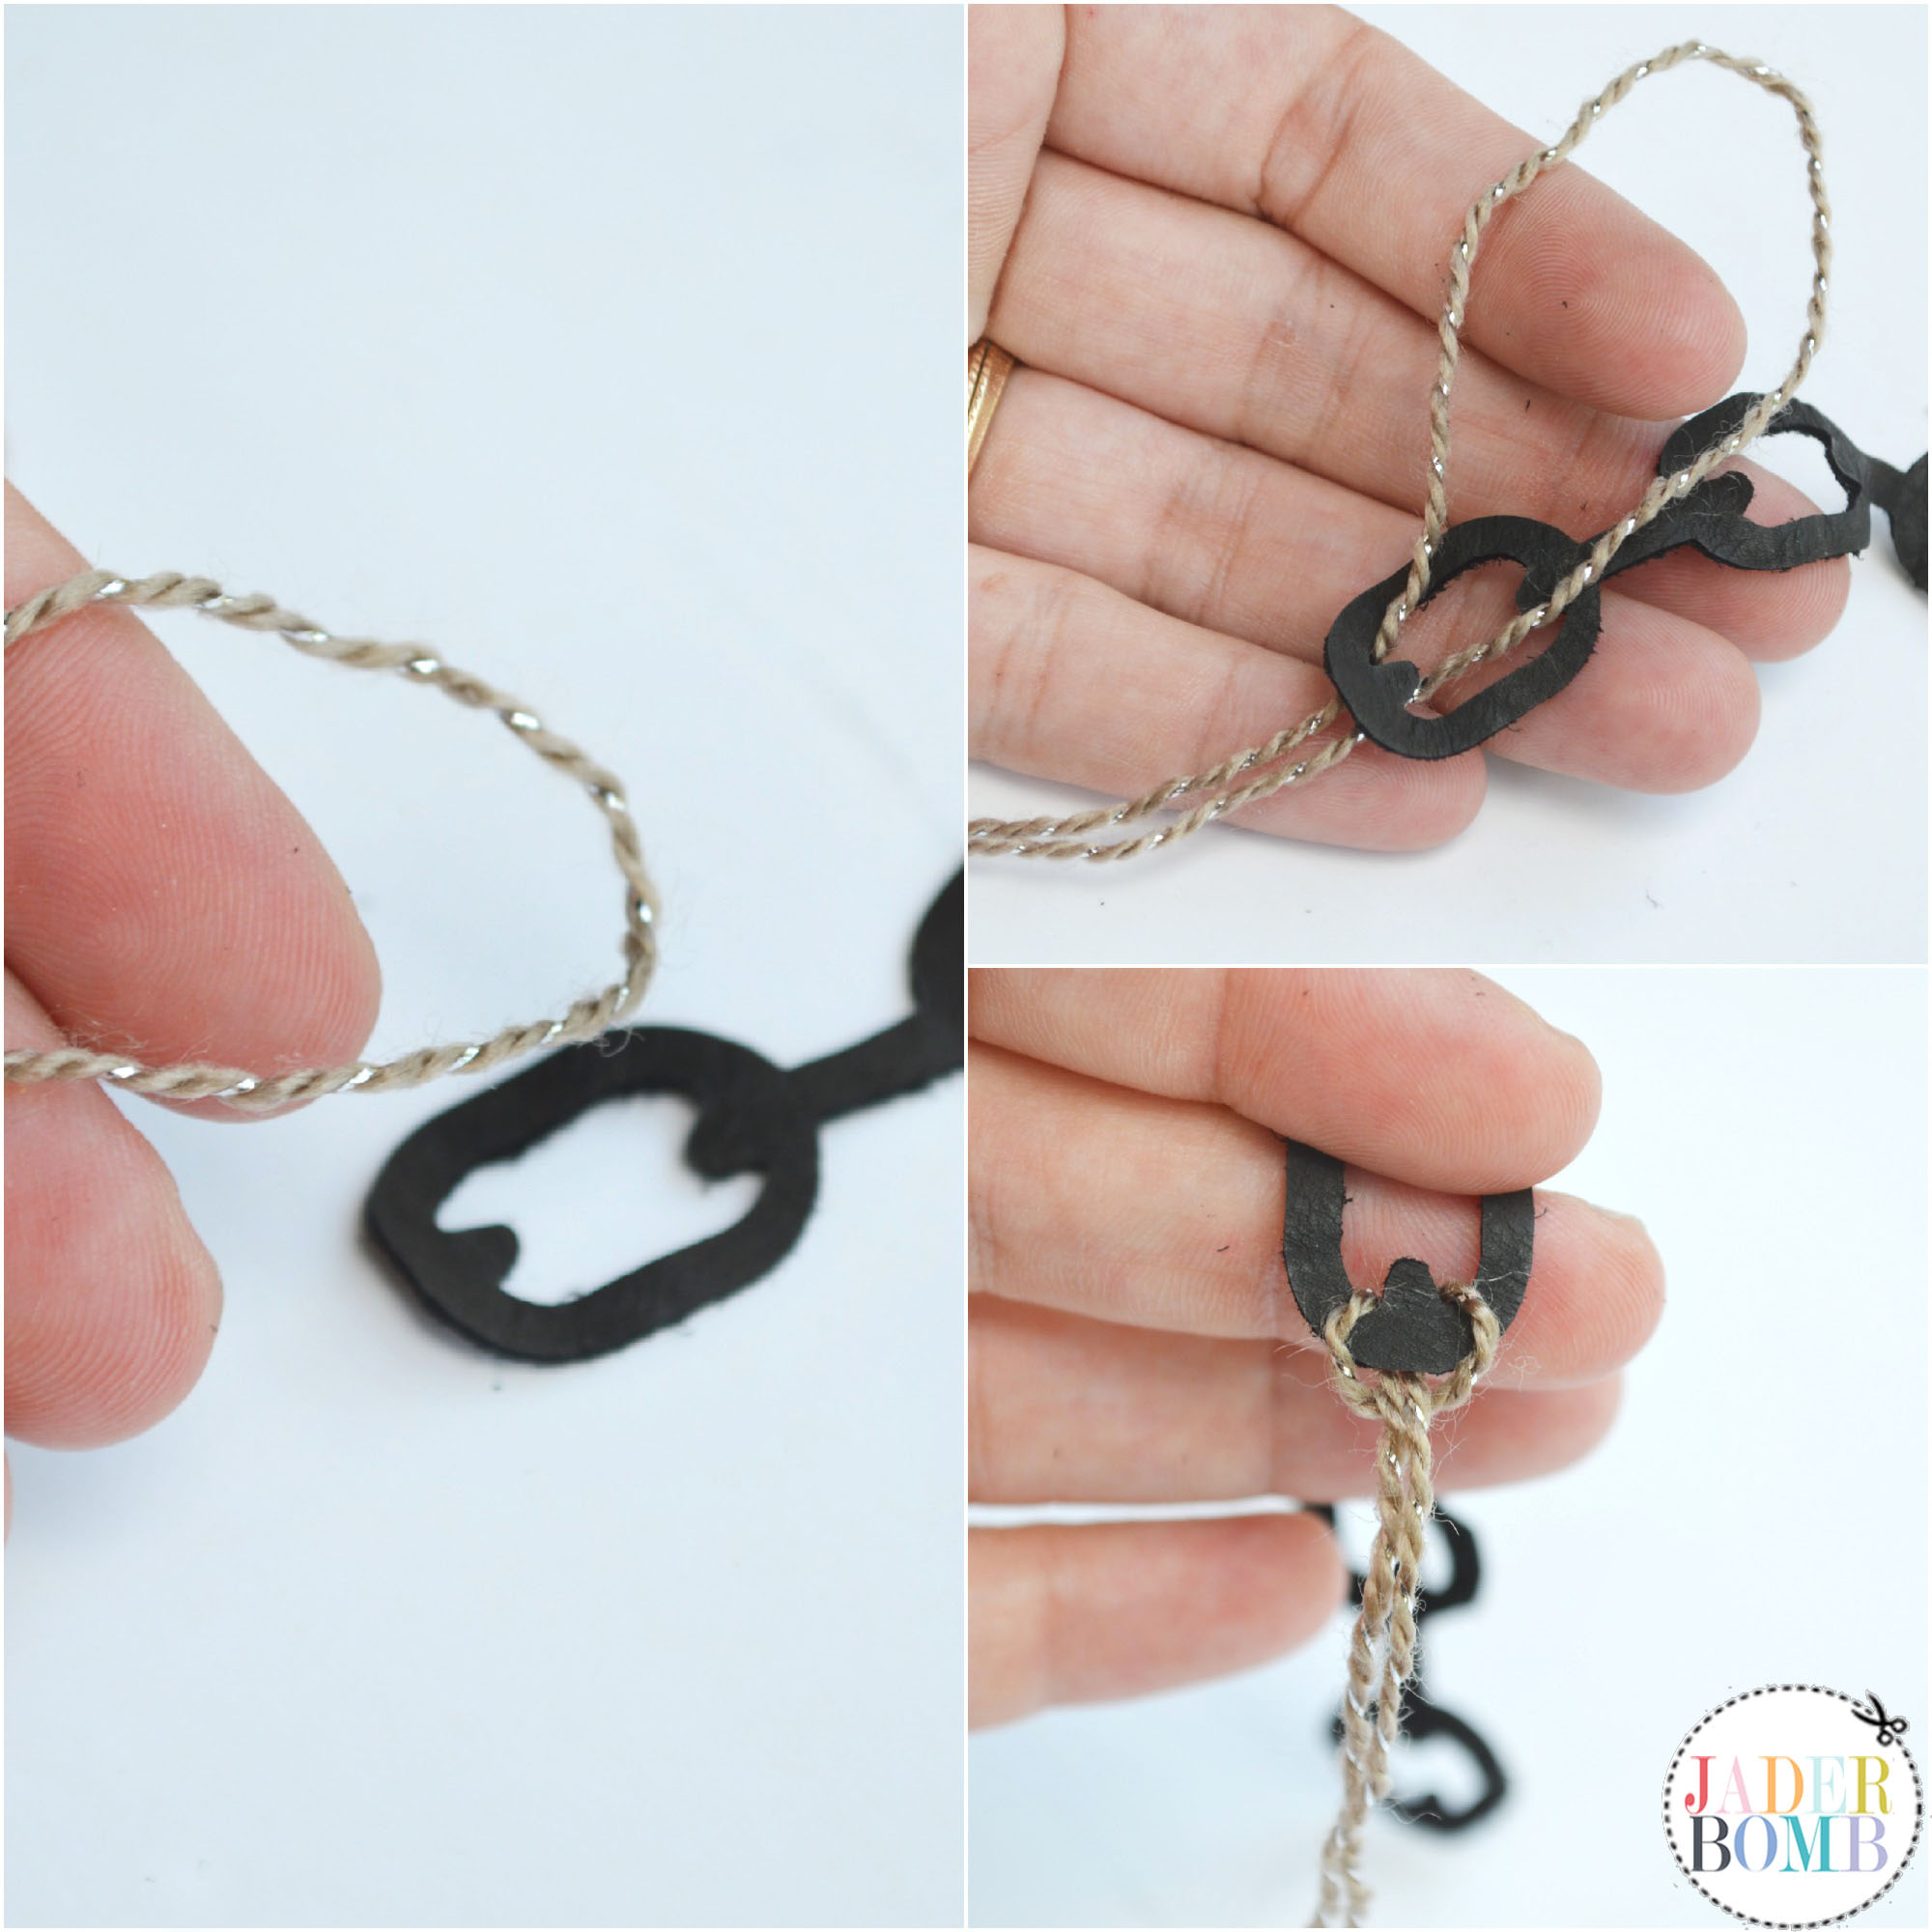
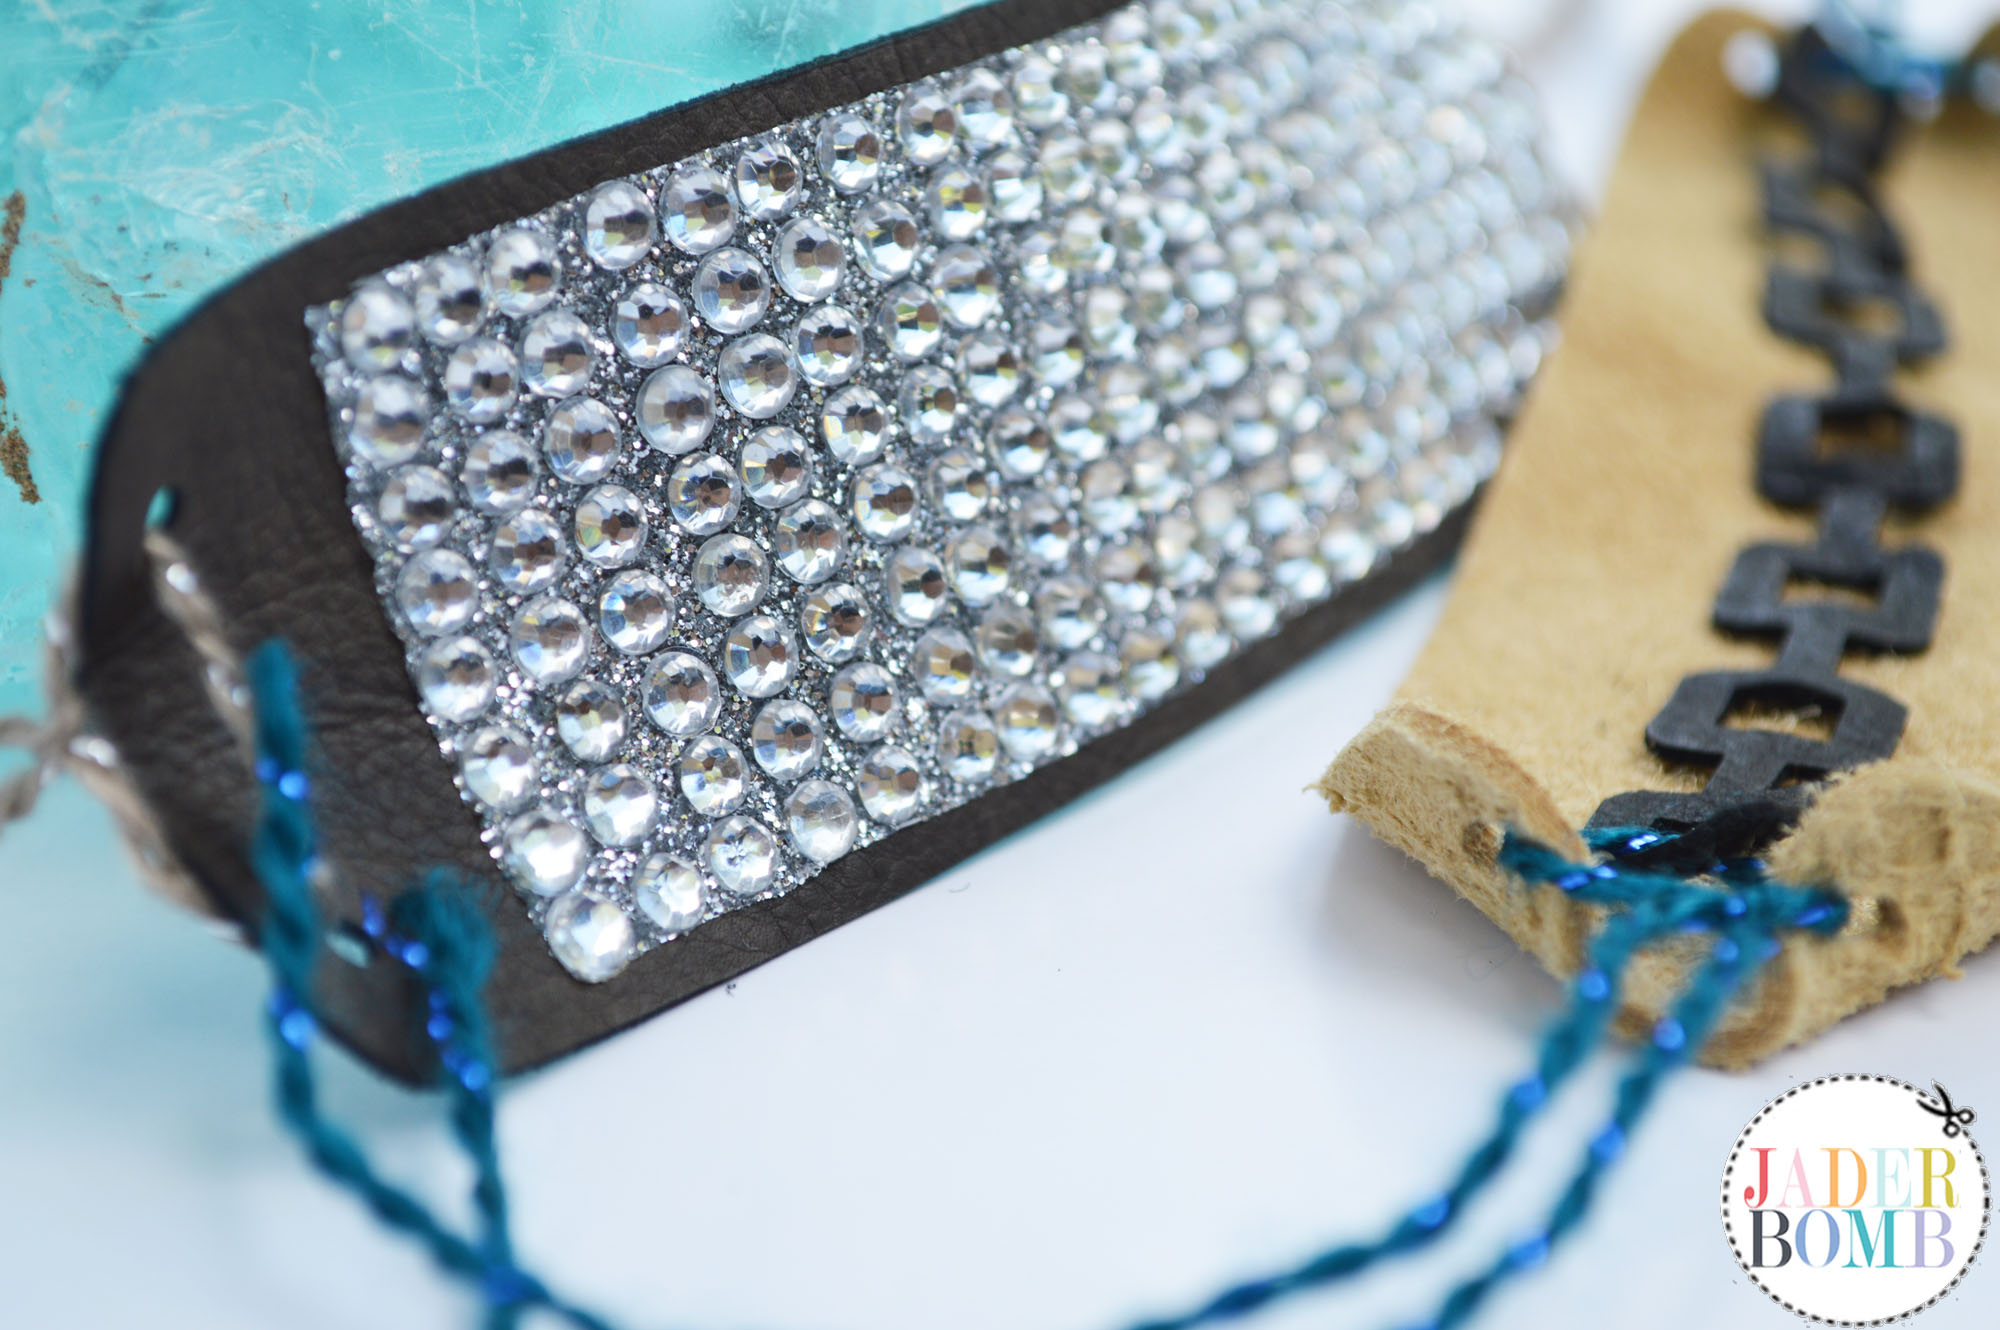
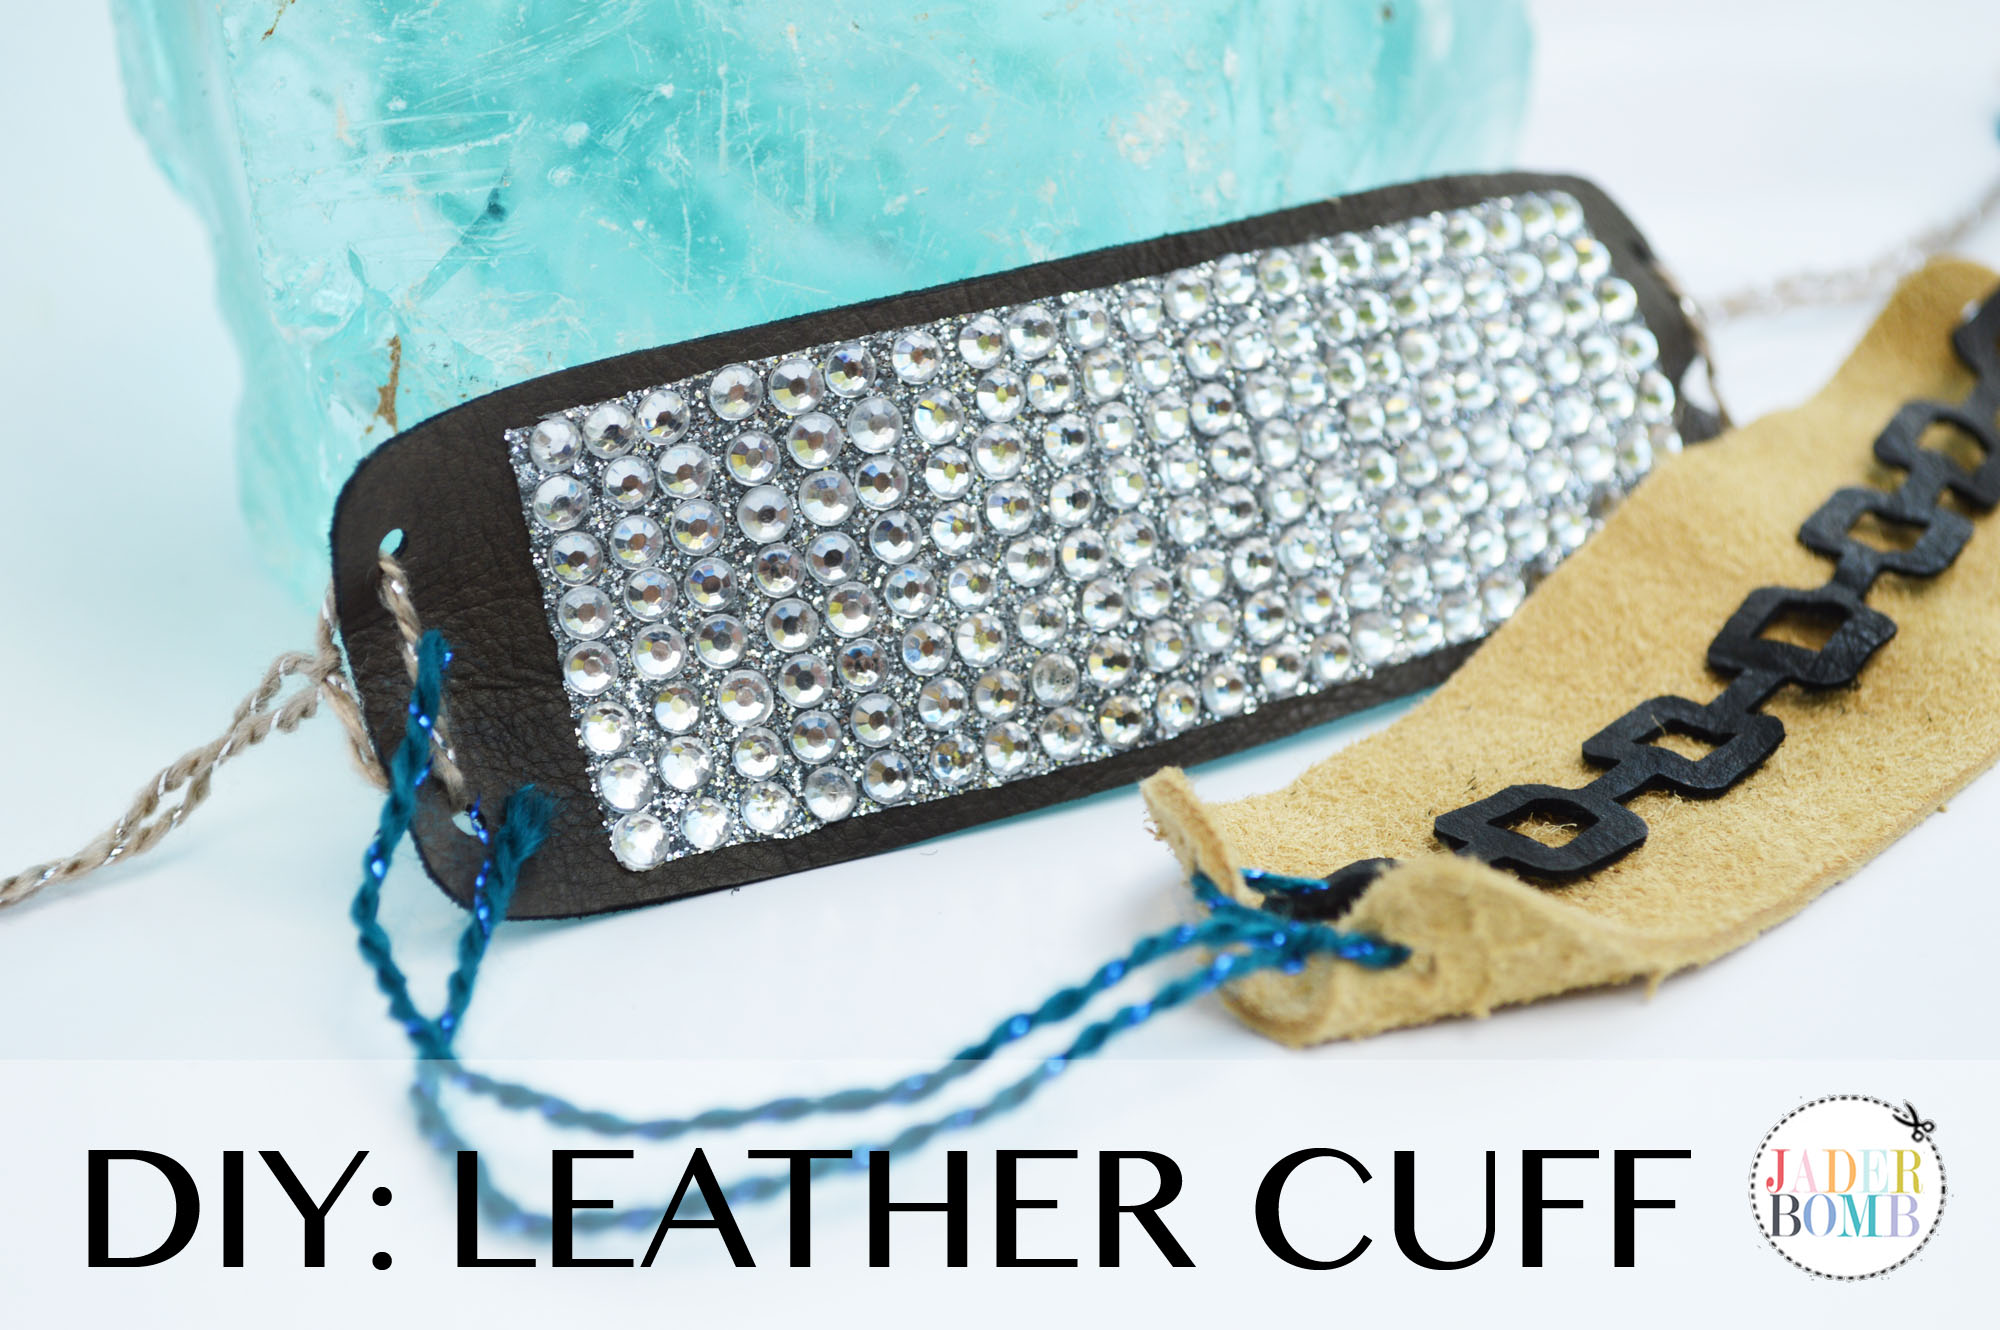
I am dressing up my black leather cuff with a sheet of blingy bling that you can cut then stick on anything.
Are you drooling yet?! I am.
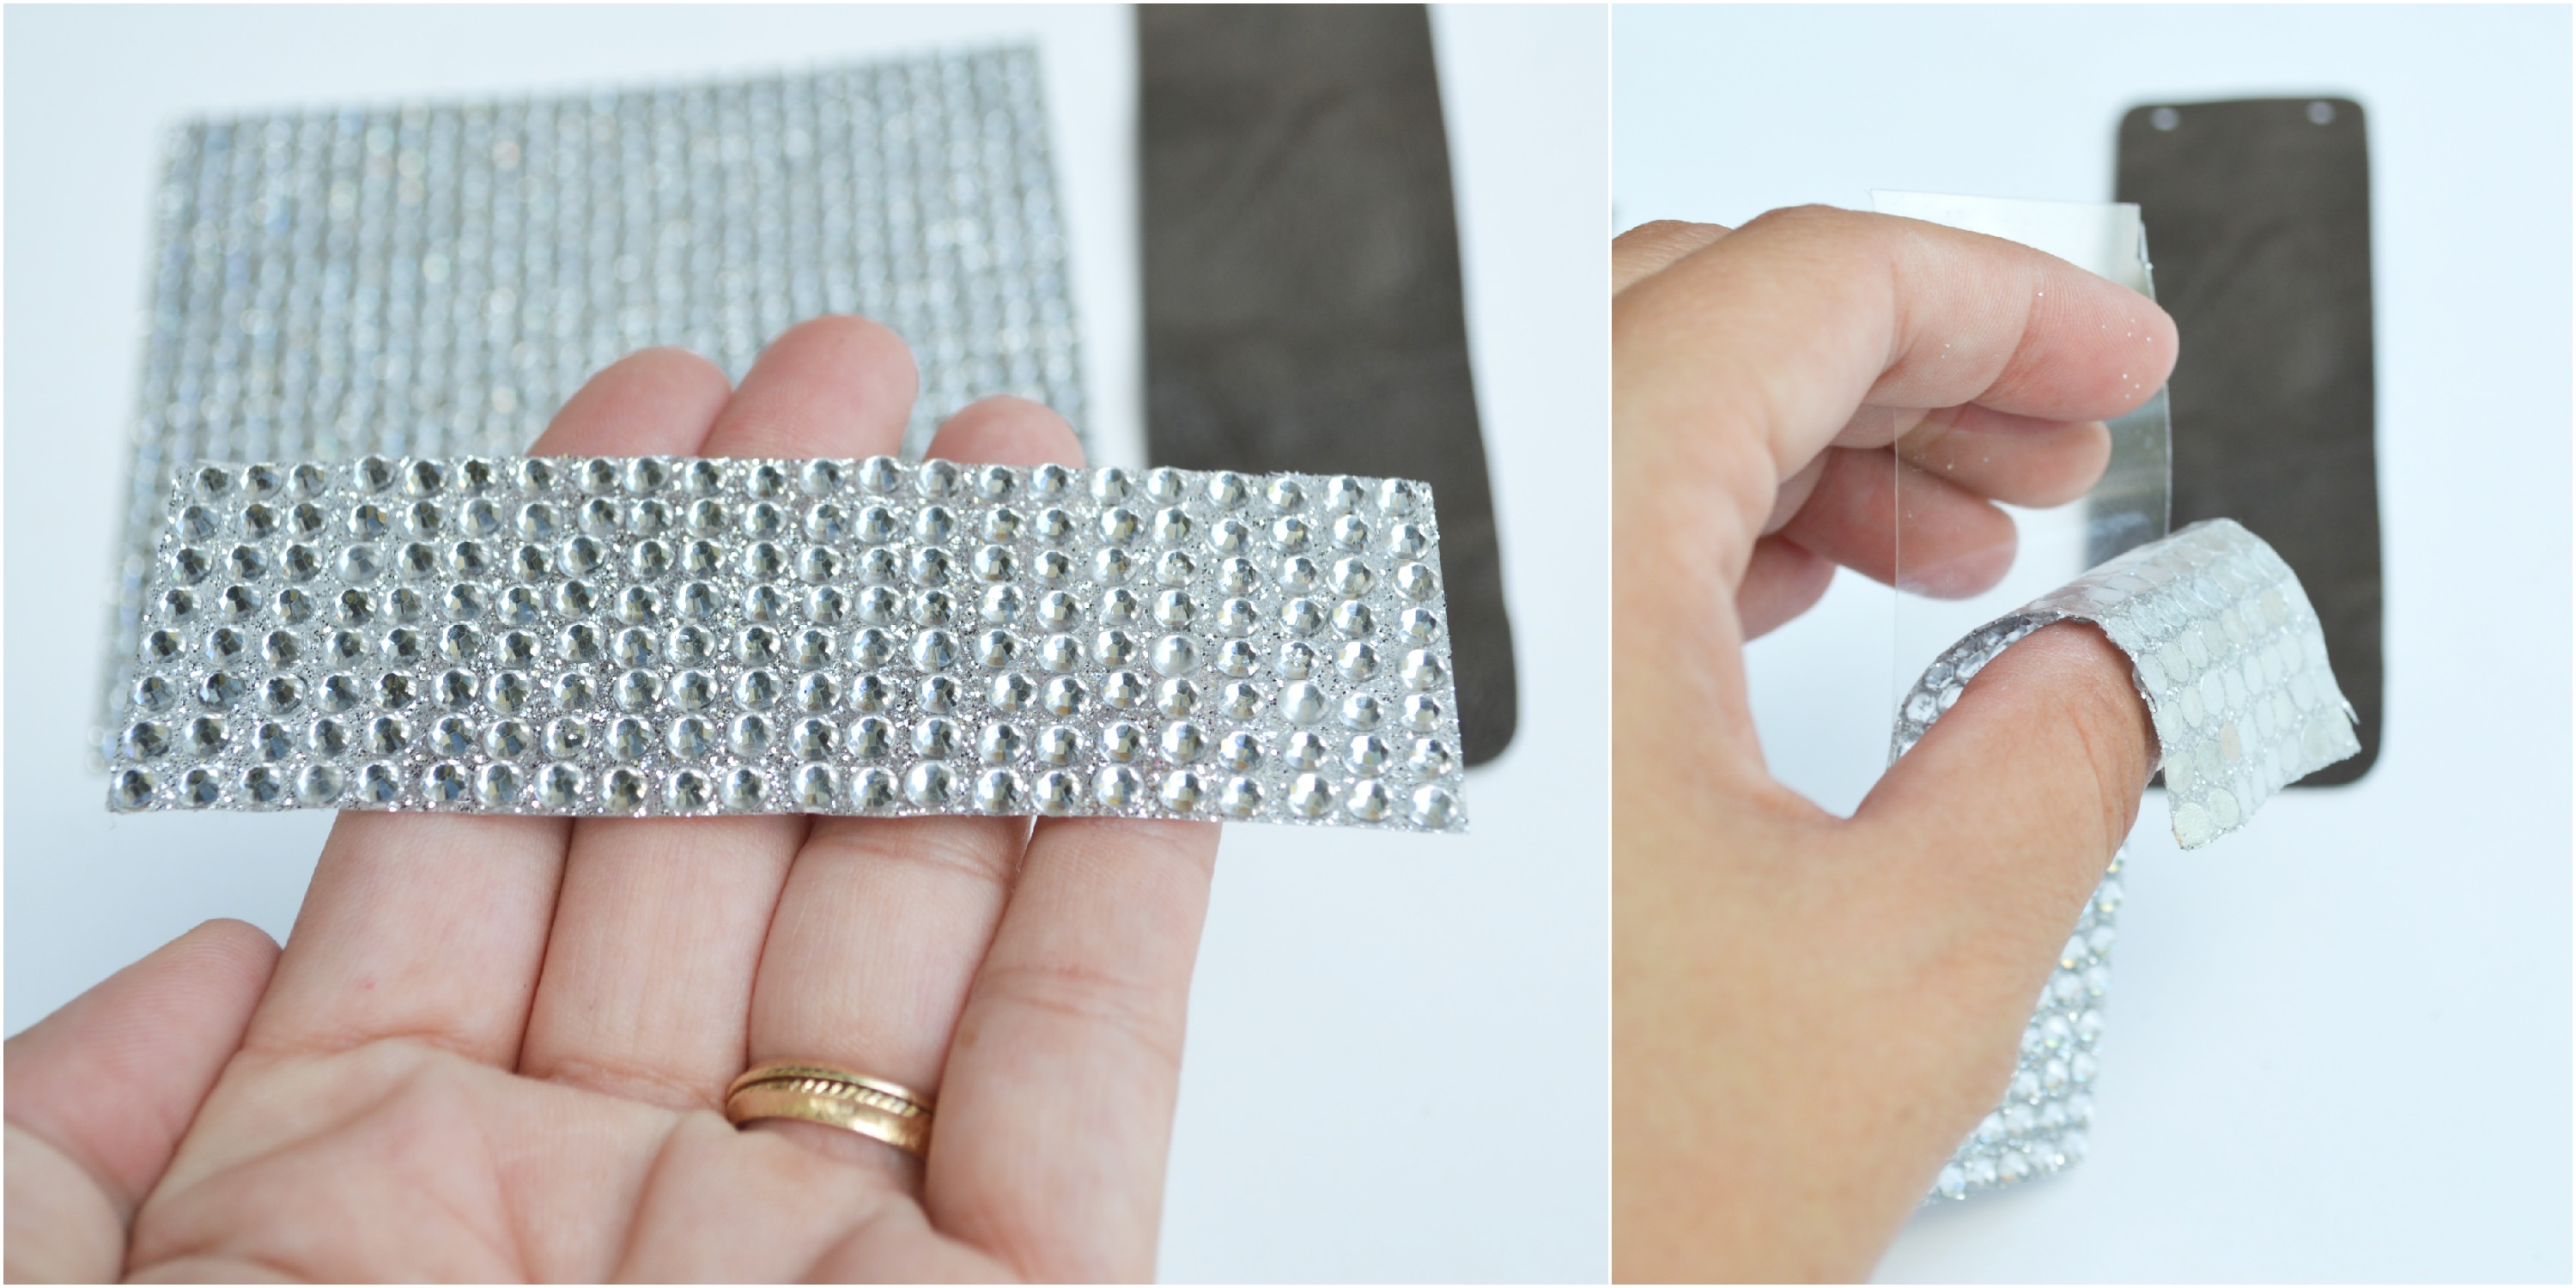
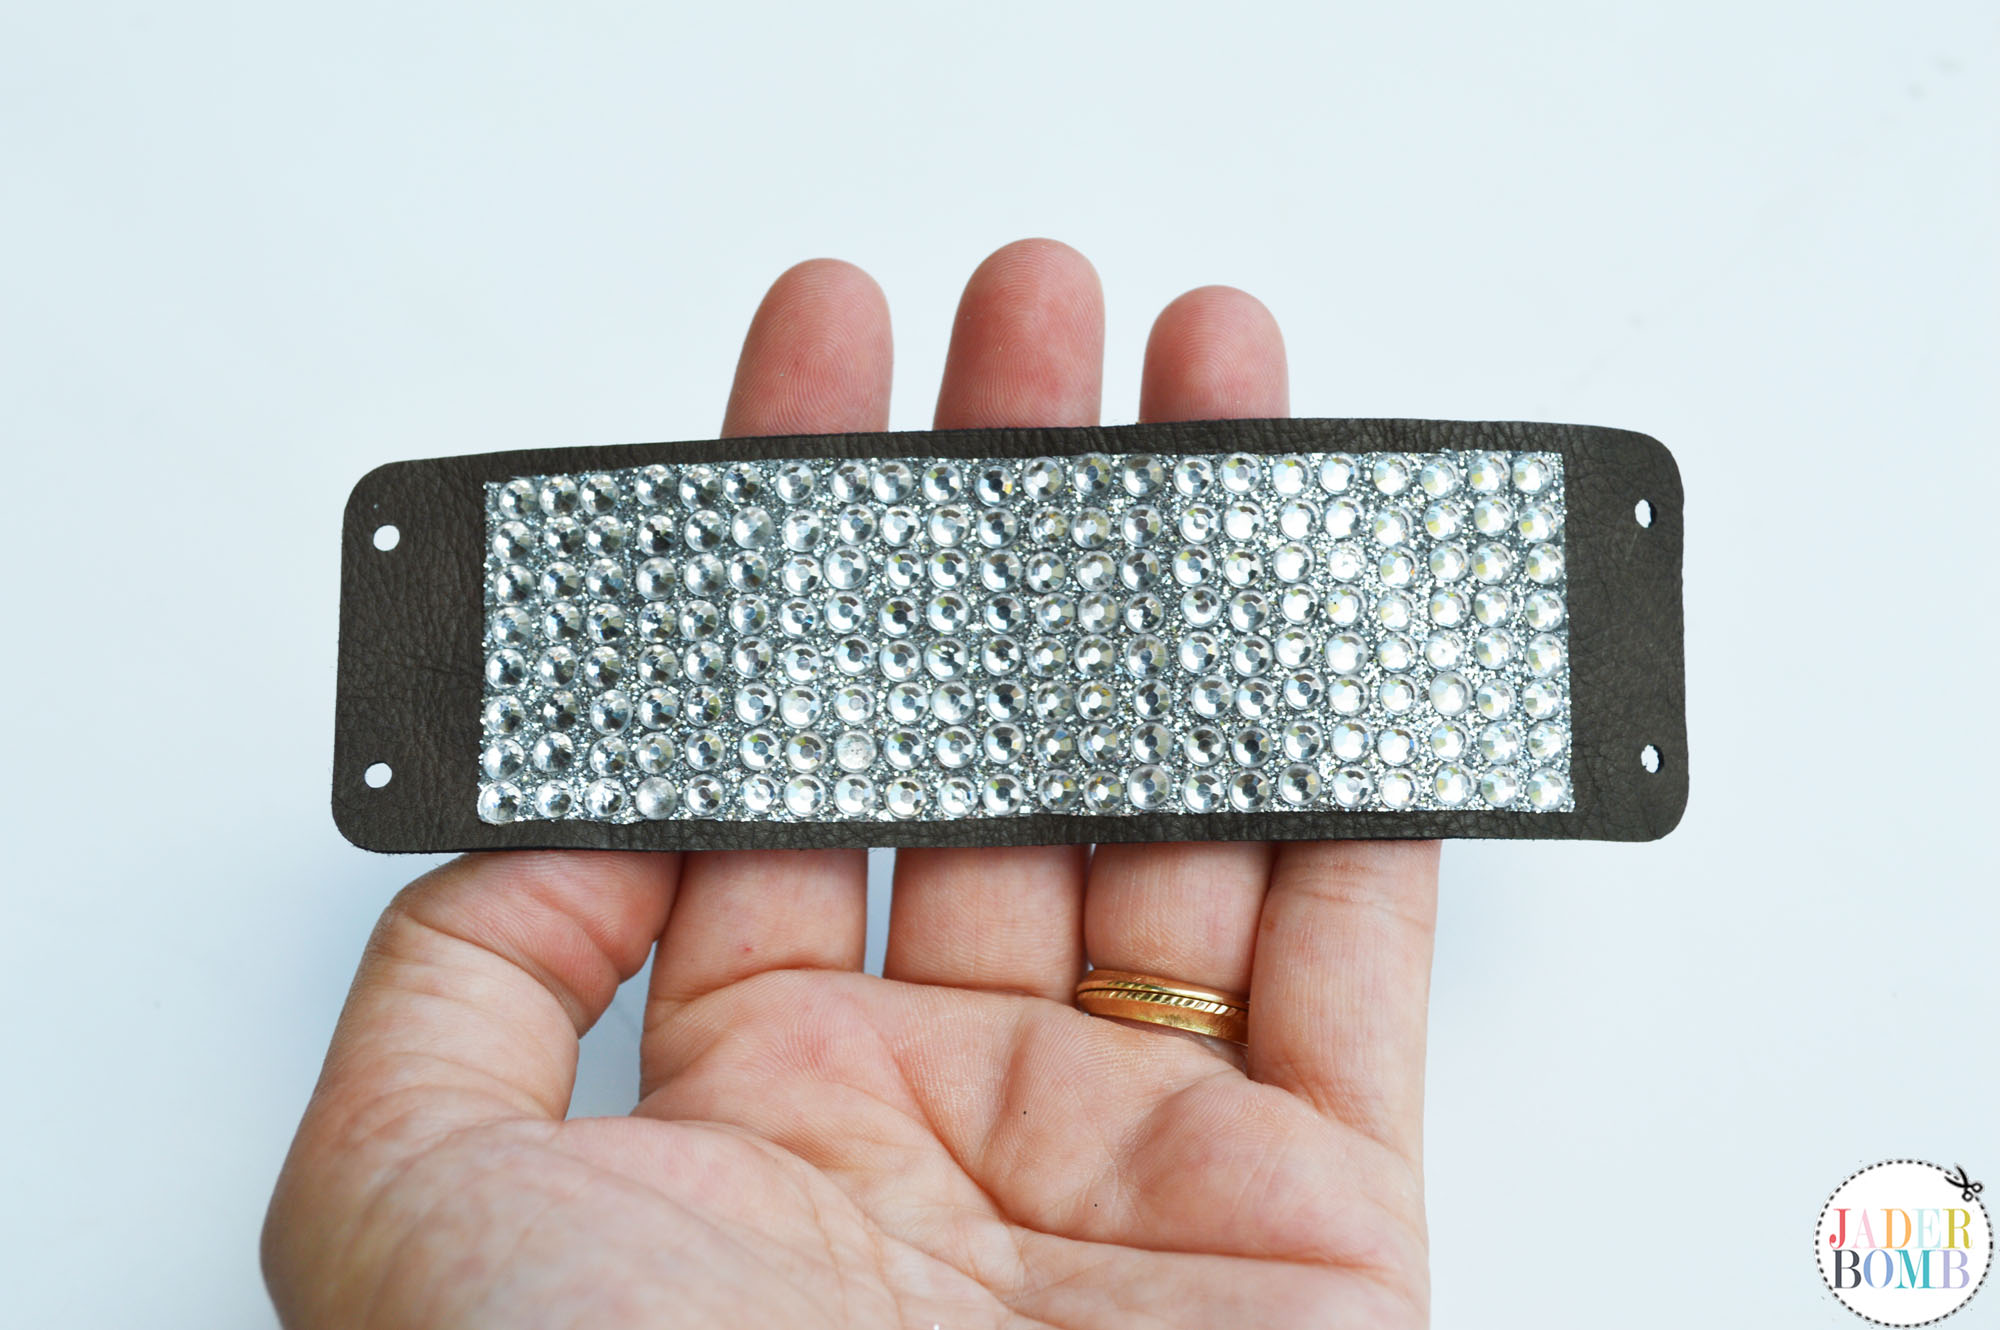
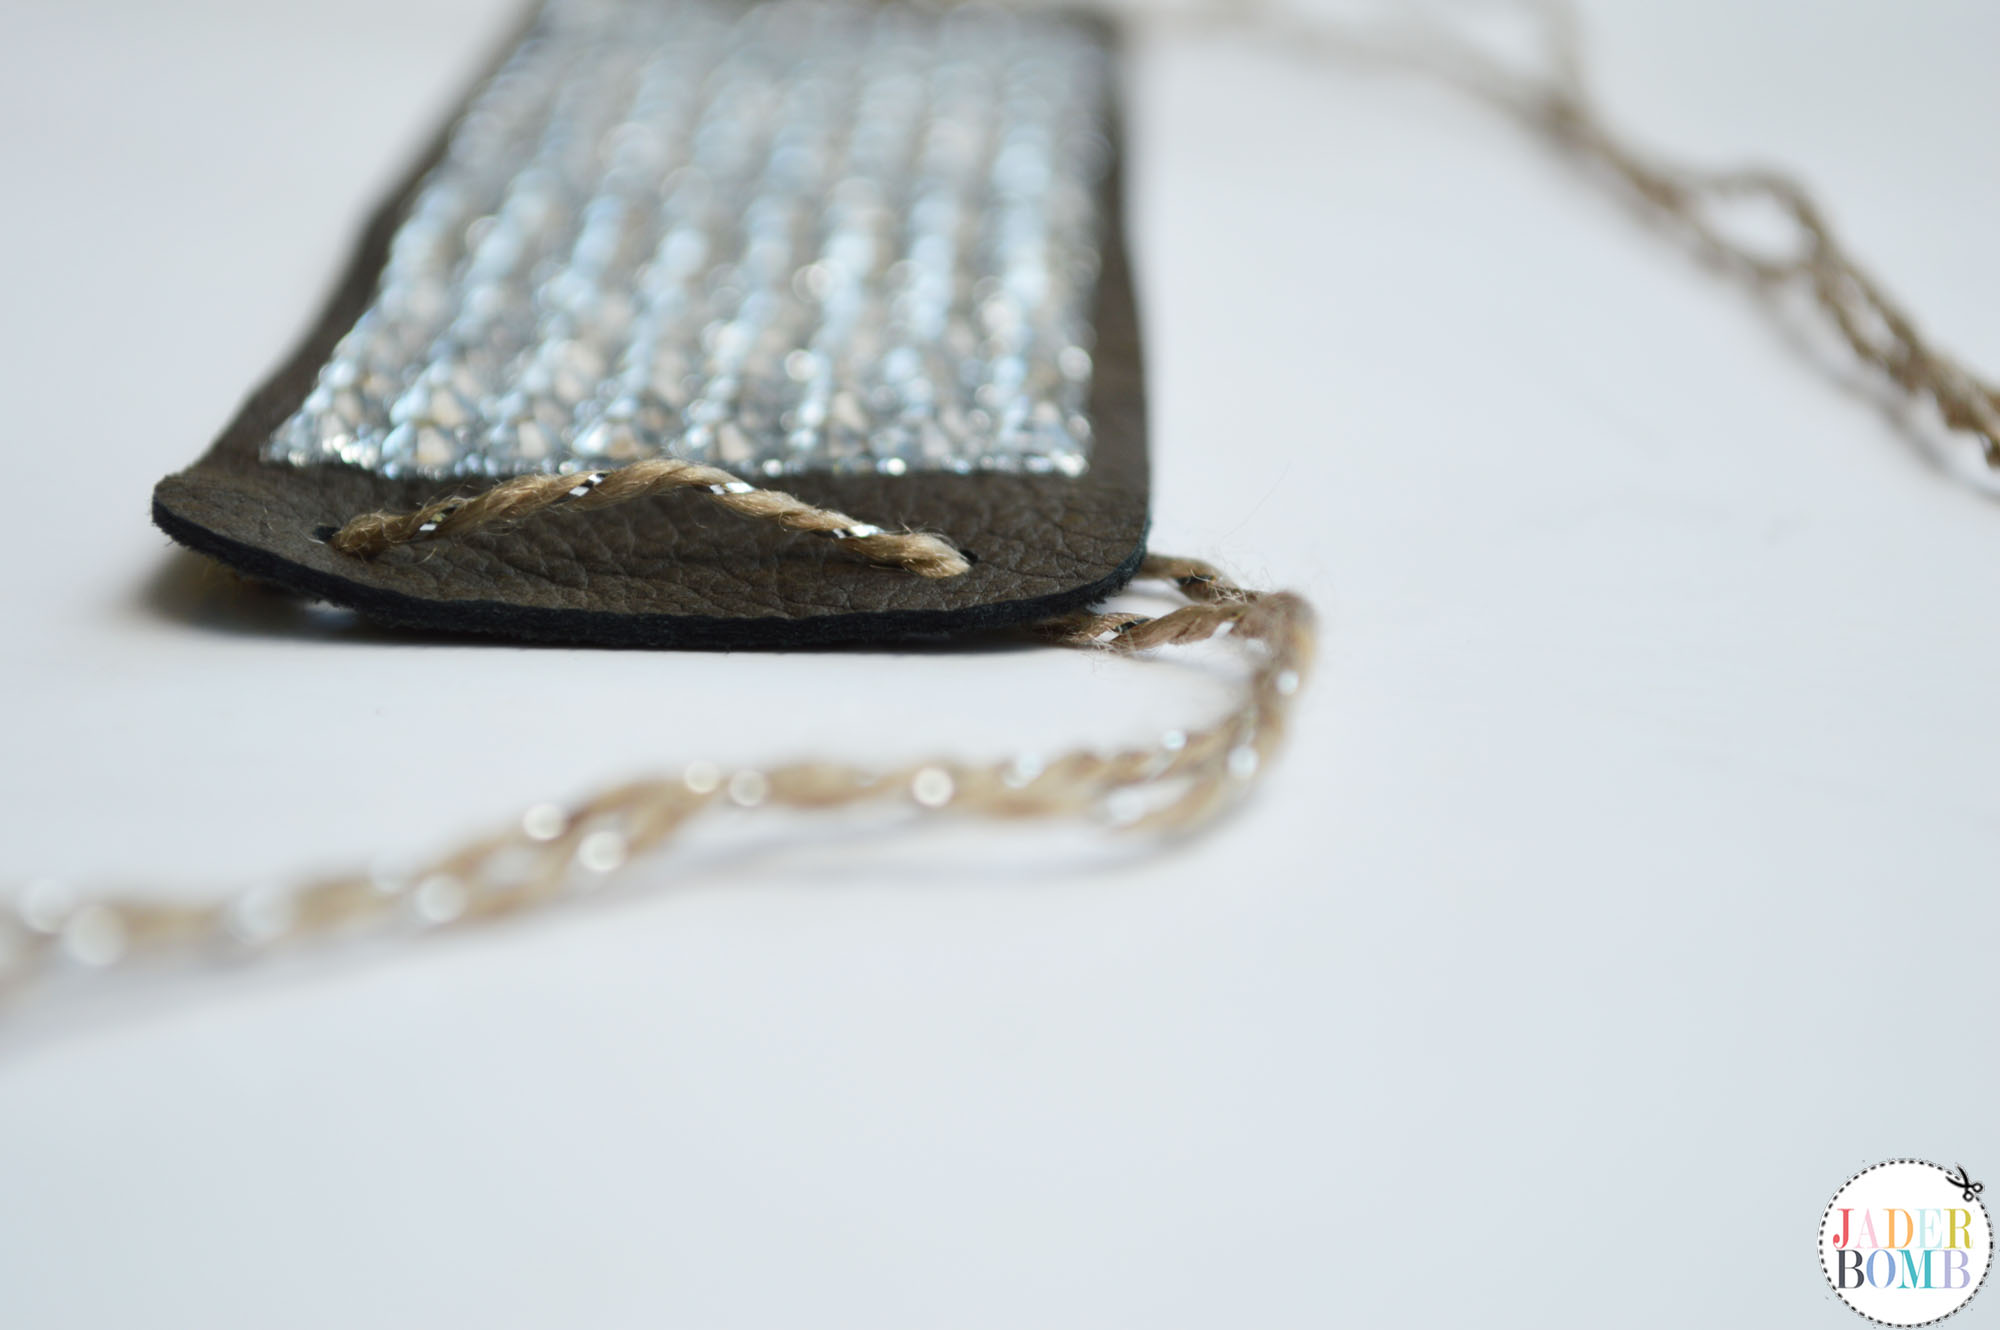 For this cuff I attached one of the leather chain cut outs on top of my plain leather cuff. This will make any arm happy, for real.
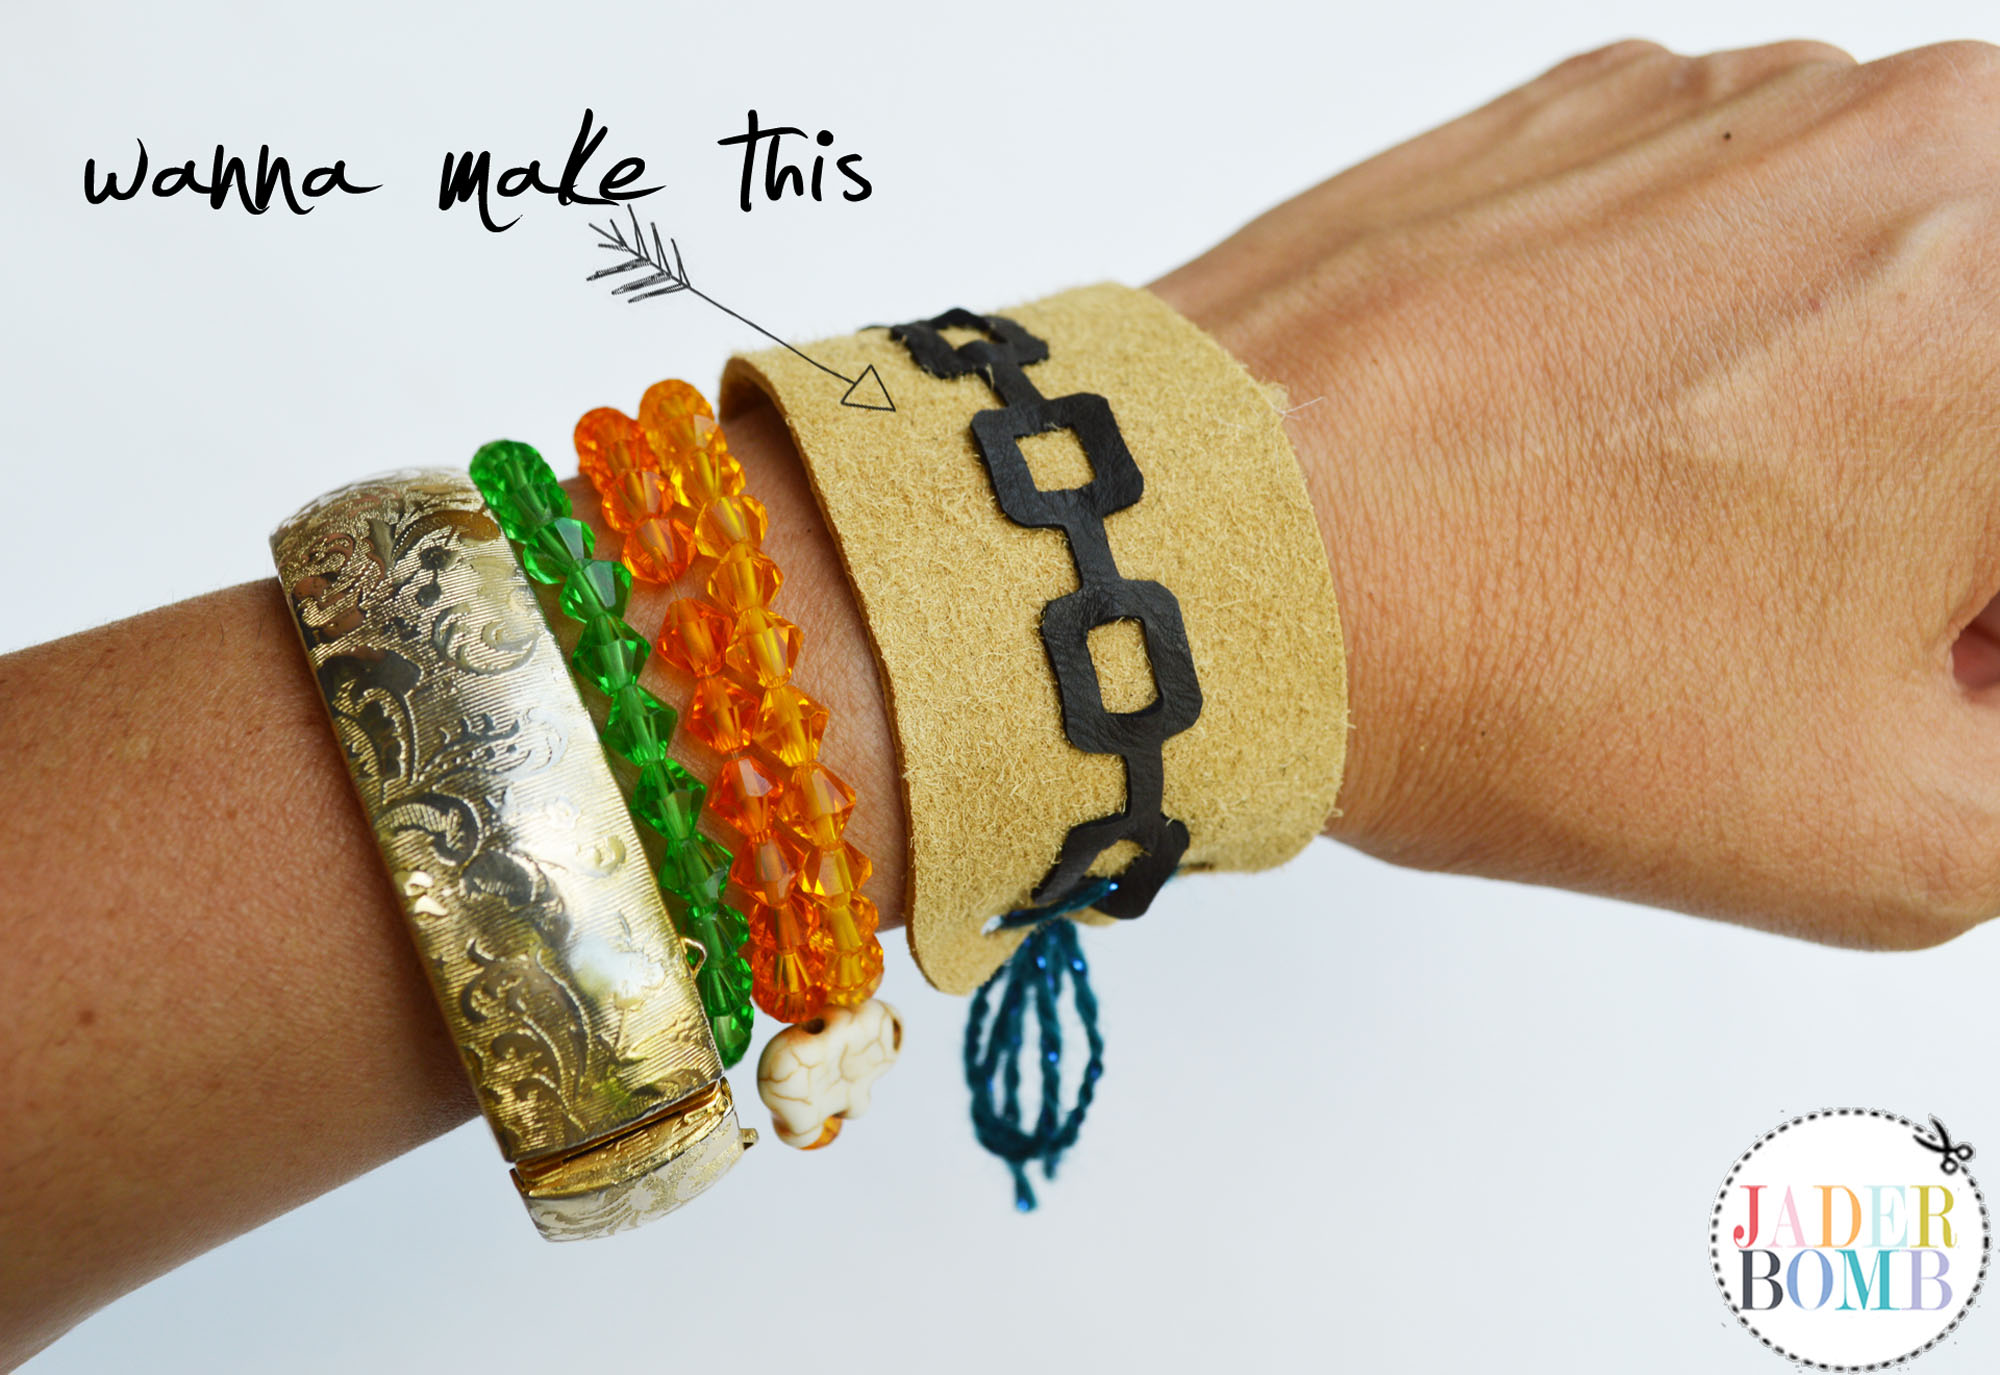
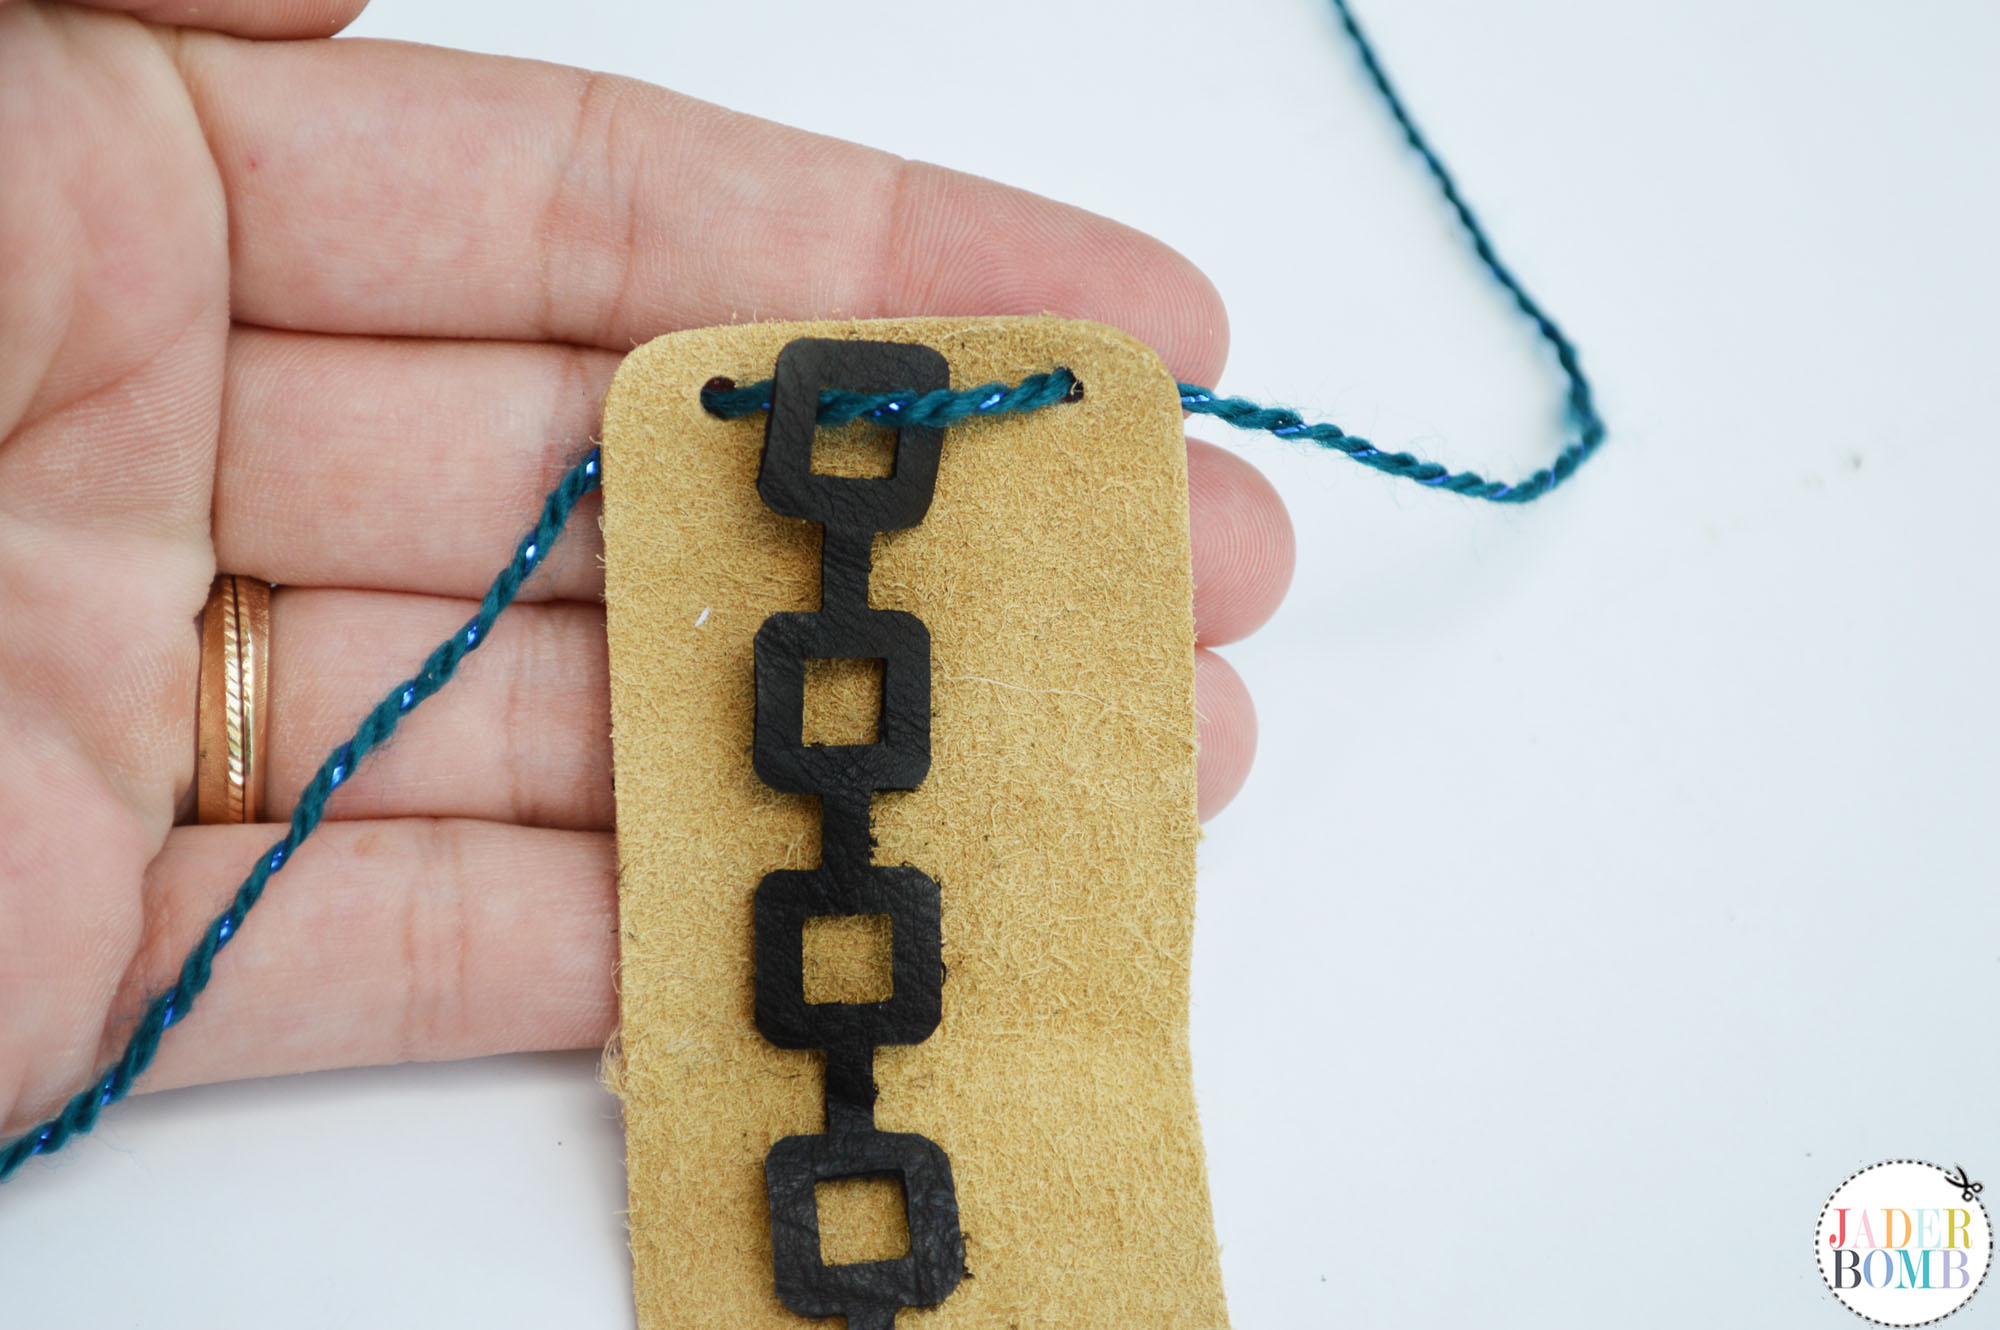
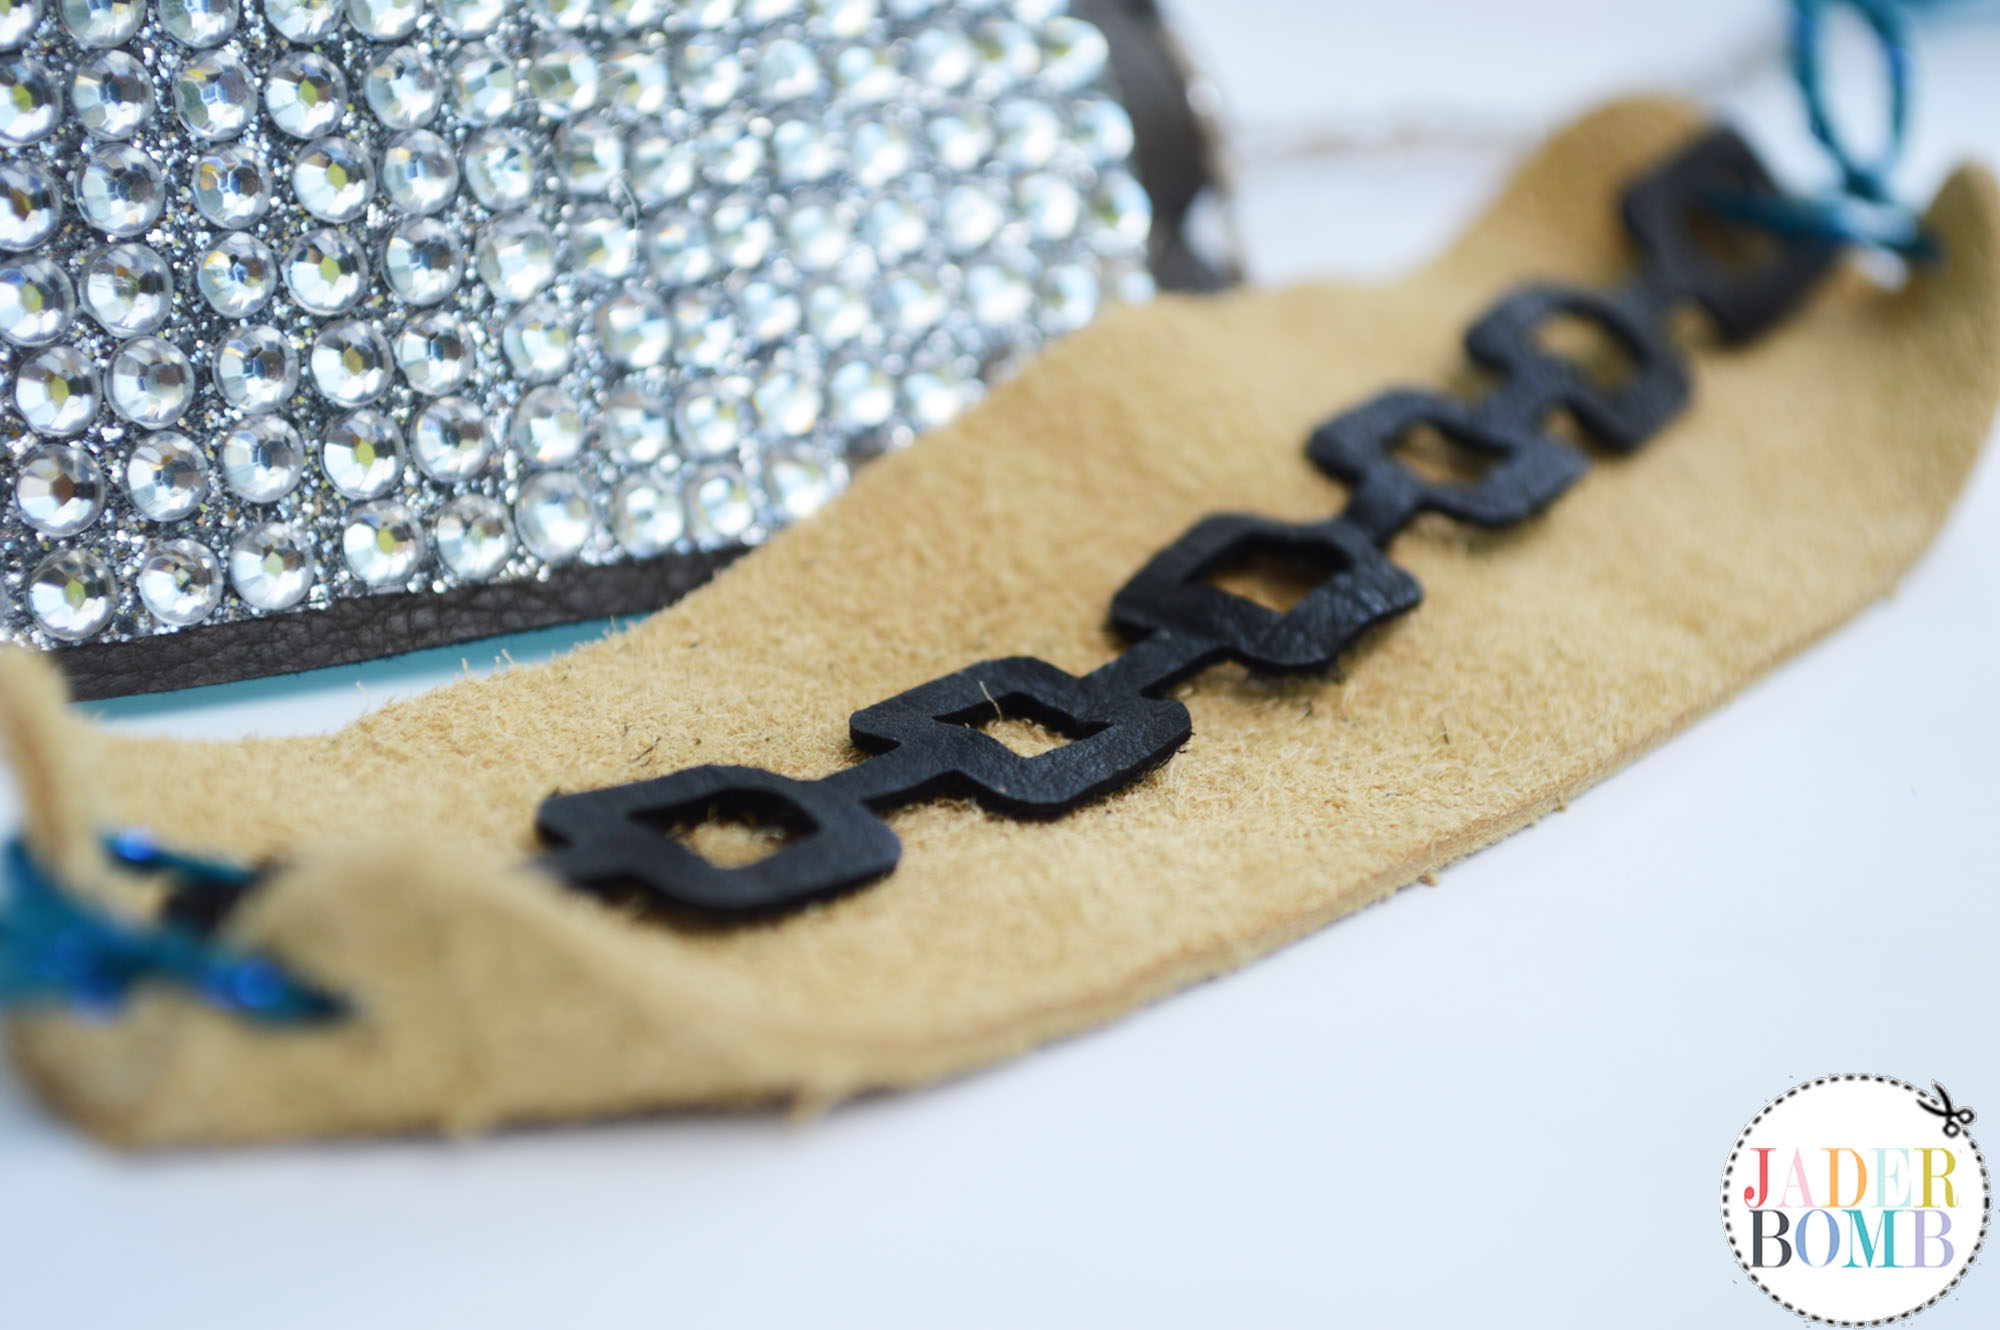
 I hope you enjoyed this tutorial because it’s so stinking cute. Make sure to check out Marisa Pawelko’s site because she super cool.
From Sizzix:
This Sizzix Blog Hop is totally spectacular! Are you ready for some really rad projects? Hop with us today to check out who has been making what with Marisa Pawelko’s line of unique and snazzy Sizzix dies from The Modern Surrealist collection! Her designs will put a little sparkle and extra pizzazz into your day. With the versatile Sizzix Originals dies and the Sizzix SophistiCut Machine you can make fun and easy jewelry, add some perk to your fashion, brighten up your space with a little lively décor- and whatever other exuberant crafts you can imagine up!
Hang out with these designers, see what awesomeness they’ve made, leave them some love and join us back here to share what goodness there was to be had:
- Margot Potter @theimpatientcrafter
- Jonathan Fong @jonathanfongstyle
- Hilary Kanwischer @hilaryscraps
- Anna-Karin Evaldsson @layersofink
- Tami Mayberry @tamimayberry
- Karin Jordan @leighlaurelstudios
- Laura Russell @makelifelovely
- Jennifer Priest @hydrangeahippo
- Tiffany Johnson @iheartart
- Jaderbobm @jaderbomb
- Crafty Chica @craftychica
Jennifer Priest @hydrangeahippo
Tiffany Johnson @iheartart
For this Sizzix Blog Hop featuring the Marisa Pawelko line of Sizzix products, The Modern Surrealist, Sizzix will ALSO be giving away this scandalous prize of over $150 retail value! It includes these phenomenal items: Sizzix SophistiCut Machine, Trucker Cap Mini Card, Big City, Fashion Cuff, Cheetah Overlay, Lush Lips, Sunglasses
Enter your email address below for a chance to win these fabulous Sizzix products!

Don’t forget to connect on social media! Make sure to use use the hashtag #JADERBOMB and you might see your stuff on Instagram or Twitter or Facebook or Pinterest.
HAVE A GLITTERY DAY! ♥, Jade
© Copyright jaderbombllc, All rights Reserved. Written For: JADERBOMB

Pingback: Glittery Lips iPhone Case | A Little Craft In Your Day
Pingback: DIY Cuff/Bookmark for any guy! | A Little Craft In Your Day
Pingback: Modern Surrealist for Sizzix Blog Hop DIY Doyenne
Pingback: Puffy Cuffs | CraftyChica.com | Sparkly, artful inspirations by artist and author, Kathy Cano-Murillo.
Pingback: Sizzix Marisa Pawelko Modern Surrealist Blog Hop! | iheartart
Pingback: Sizzix Blog Hop | Marisa Pawelko The Modern SurrealistSizzix Blog
Pingback: DIY Hip Hop Party with The Modern Surrealist Collection from Sizzix - a Blog Hop! | Hydrangea HippoHydrangea Hippo
Great project!
Thanks Jennifer! xoxo jade
These are super awesome! Love!
Thanks Margot <3 I am loving your cuff too!!!
I love all of the designs!! So much fun& can’t wait to try them 🙂 Great job!!
Thanks Meg! The machine is SUPER easy to use and the die cuts are AWESOME!!!!
Thanks so much for being a part of this amazing blog hop and sharing your creative ideas! I love the way you constructed the blinged out leather cuff! And the way you used the chain as a solo strand for a bracelet totally infused my brain with a million and one inspiring wearable art ideas! I love your easy to understand step-by-step tutorial and I am absolutely honored to be featured on your awesome blog. Your support means so much to me! Keep up the amazing design work girlfriend! xoxoxoxox
Awe thanks Marisa! You are amazing and super talented and I am glad to work with you fran!
Love all your ideas for these bracelets. Thanks for sharing with us your take on using these new dies.
So glad you liked them Judy! I am so in love with all of them!
Fun projects created to dress up your wrists! Love the die cuts
Shari, I am glad you like the projects!!!!! Good LUCK
Totally rad dudette! MUST have this entire collection!! Learning that the SophistiCut comes with it’s own screwdriver set me off (in a good way)! Now I KNOW I NEED this awesome machine along with all of these dies and accoutrements!! Crossing my fingers that I will be saying THANK YOU after seeing my name as the winner of this amazing contest! TFS!
Good LUCK Barb!!!!!! I know, it comes with a screwdriver!!!!!!!
Wow! Great project and awesome photo tutorial!
Thanks JONATHAN!!!
Fabulous projects!! Love the bling!
Bling is always good Anna-Karin! xoxo, Jade
Super chic! Love it!
Thanks Shannon! XOXO Jade
Love anything suede and leather. With the added bling = WOW!!
Theresa: I agree! Glad you enjoyed it! Good LUCK!
Love the bling, so awesome.
Thanks Heather!
What pretty leather cuffs! I really love the blingy one.
Thanks so much Robin! I love the bling too <3 Jade
Love this idea for a cuff with the bling and all! what a great idea I juts love it! thnx so much for sharing!!
Linda: Glad you LOVE!!!!
I love how you used the rhinestone sticker sheets from The Buckle Boutique! Would you mind if I share your project on their blog?
Shawn: I surely don’t mind if you share just as long as you share one picture with a link back to the full tutorial! Glad you enjoyed!
Pingback: Leather and Rhinestone Cuff | The Buckle Boutique