I am in love with this easy tutorial on how to paint on glass. I hope you get inspired and make 19 of them, seriously.
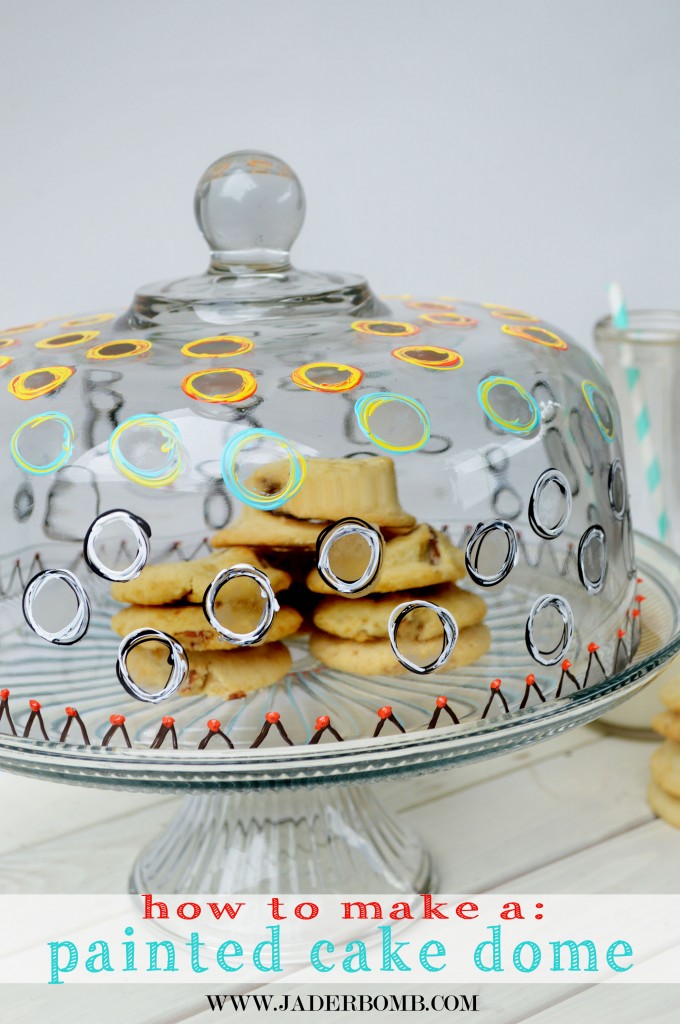
What goes better with a beautiful cake or yummy cookies?
1) A glass dome
2) A etched and painted glass dome
{drum roll and the sound of a roaring crowd yells)
A painted glass dome!!!
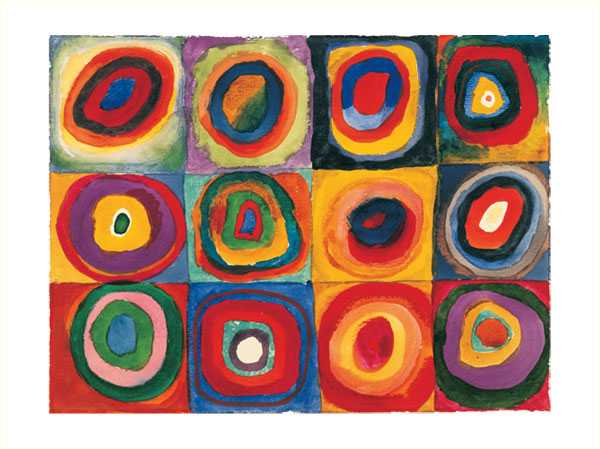
I love fine art but what I love more is making inspiration pieces that go with certain pieces. I love Kandinsky so I dedicated this piece to him and his abstract-ness. If you are not familiar with his work, check out the picture below.
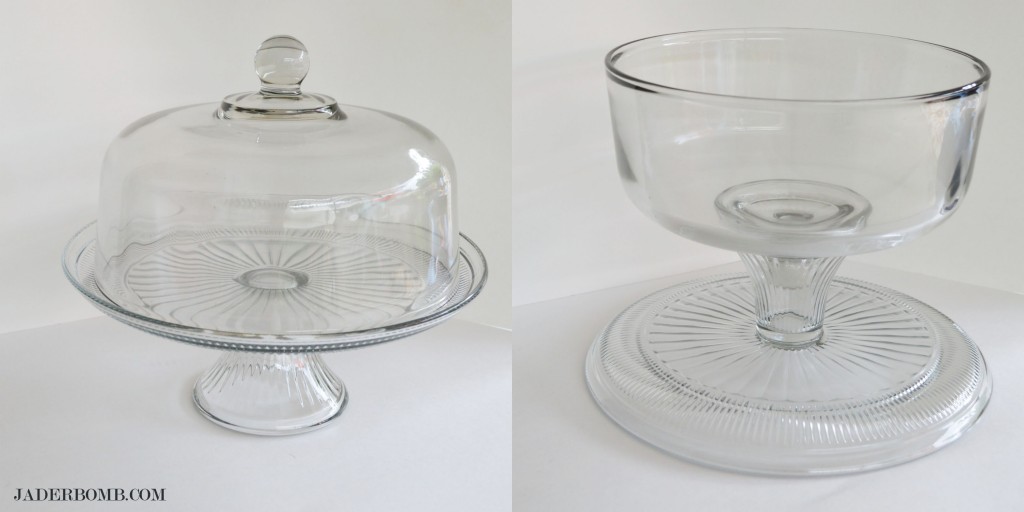
I purchased this glass dome/ punch dish from Wal-Mart. Seriously it was 11 bucks. That is so cheap I can make a new dome for each holiday. Oh lard.
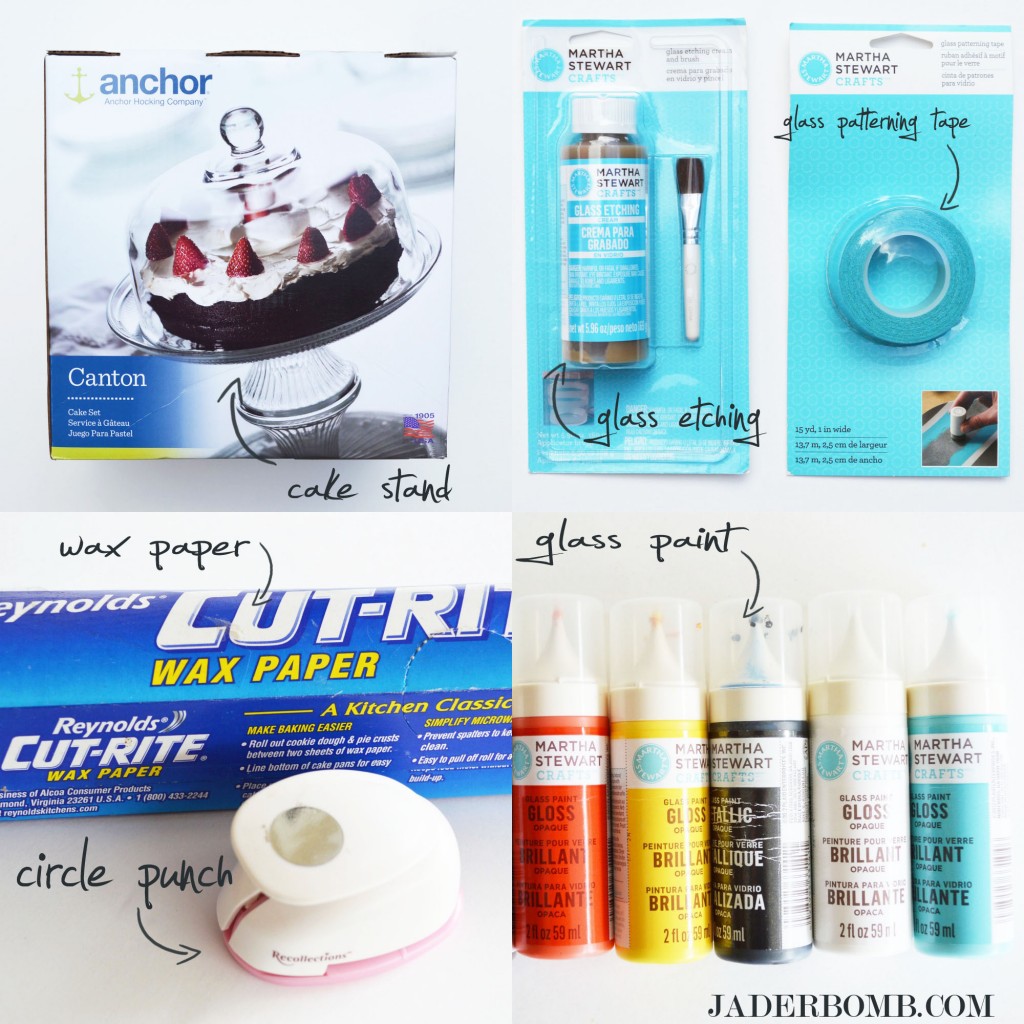
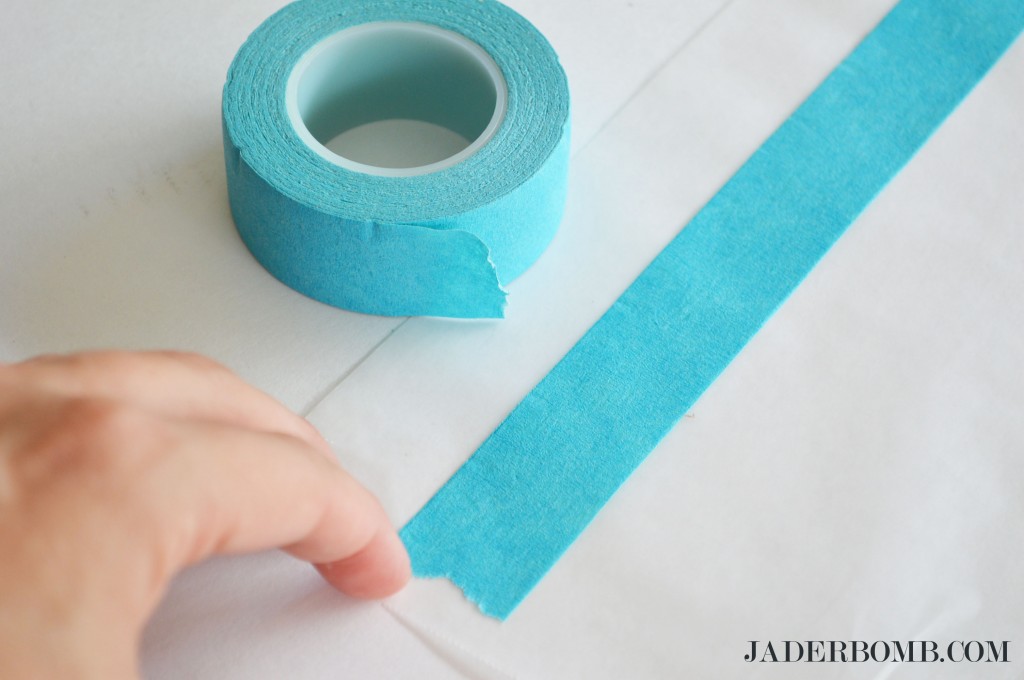
1) Get your Martha Stewart glass patterning tape and lay a strip down on wax paper. After you apply the first strip add another one right on top.
The reason we are putting two pieces on top of each other is to make it sturdy enough to punch through. I am using a one inch circle punch. You can use any size you want but if it’s bigger than one inch you will have to make your strip of tape wider.
2) Punch a hole right through your tape.
The reason we put wax paper under the tape is so we can peel it off when we are ready to use it. It’s like a homemade sticker.
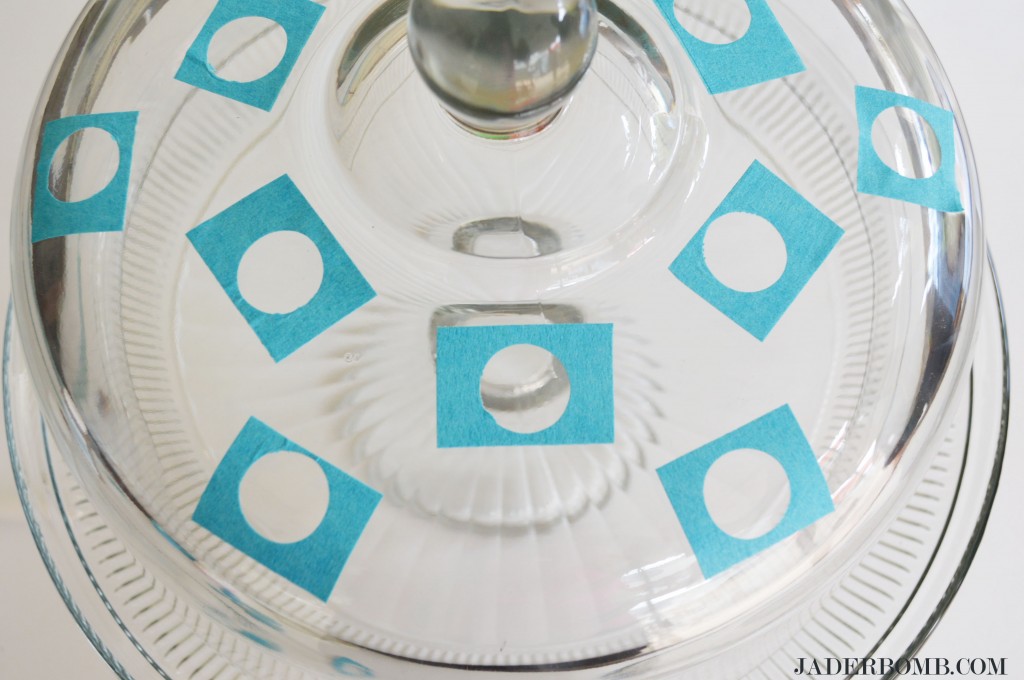
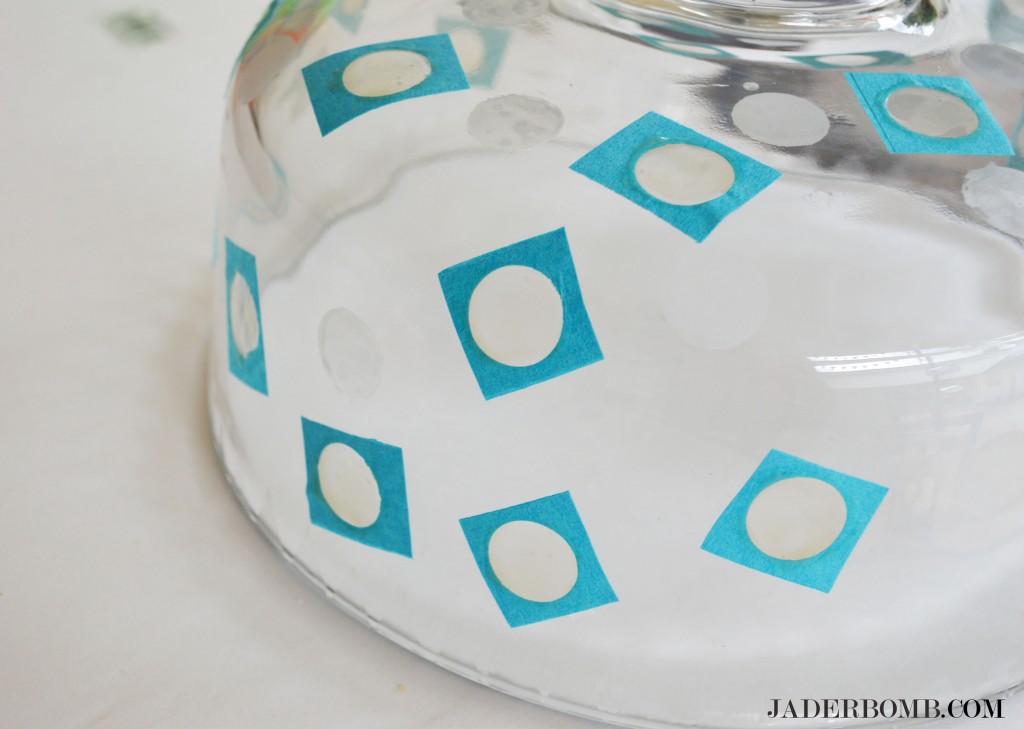
3) Take the wax paper off of each circle and placed them on the glass.
I only want to etch the circle shape which is why I am using this part of the punch.
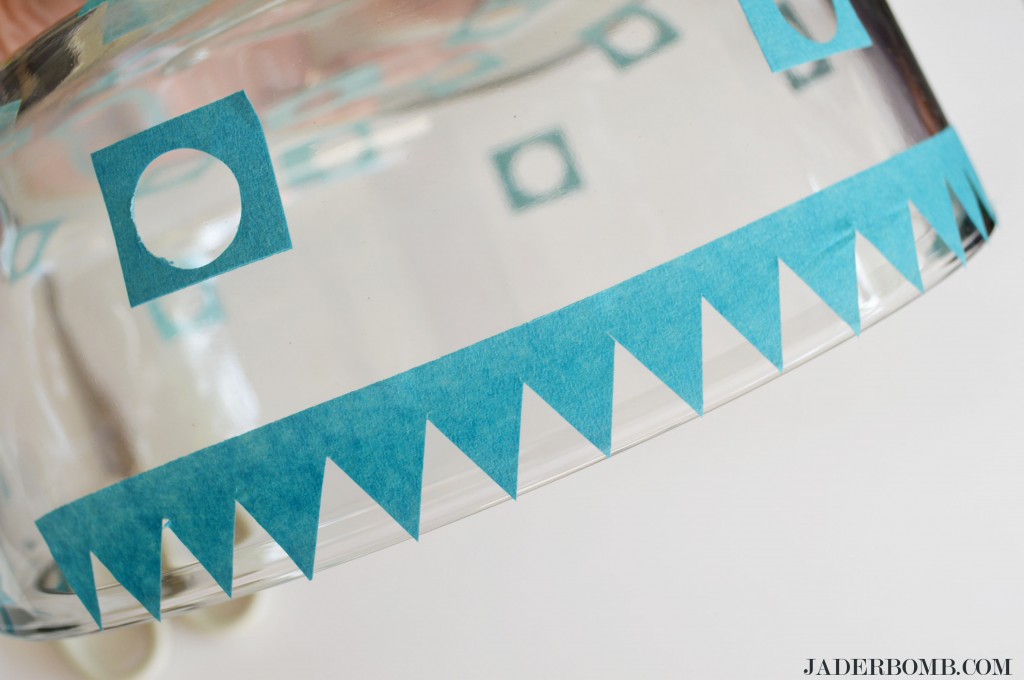
4) To create the whimsical boarder around the bottom you will follow the same steps but cut out triangles.
Are you shaking your head at how easy this is so far?
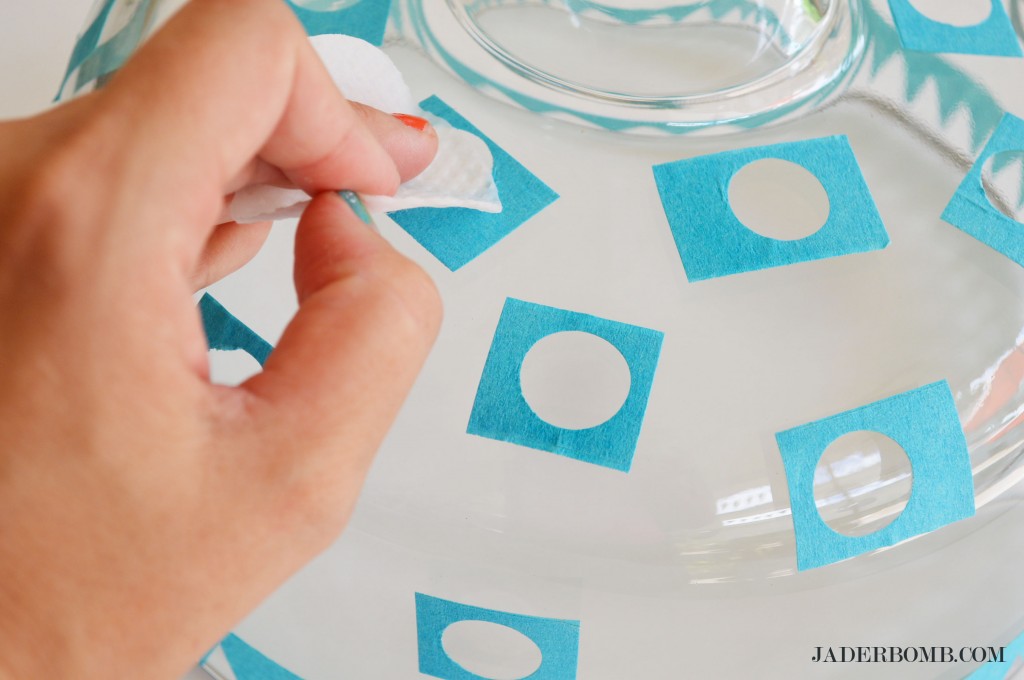
5) Get a small cotton ball with alcohol and clean the spots you will be etching.
This cleans the oil off of the glass.
6)Apply an even coat over every thing then let it sit for 15 minutes, then rinse under running water.
This part is so much fun and did I mention easy! The etching cream comes with a brush that you will use. I dipped the brush into the cream and applied it directly to the glass surface. You want to put enough while making sure you blend it nicely.
P.S. Don’t lather the cream like I did. Epic fail.
7)I did one layer of dots, cleaned my glass then applied more dots.
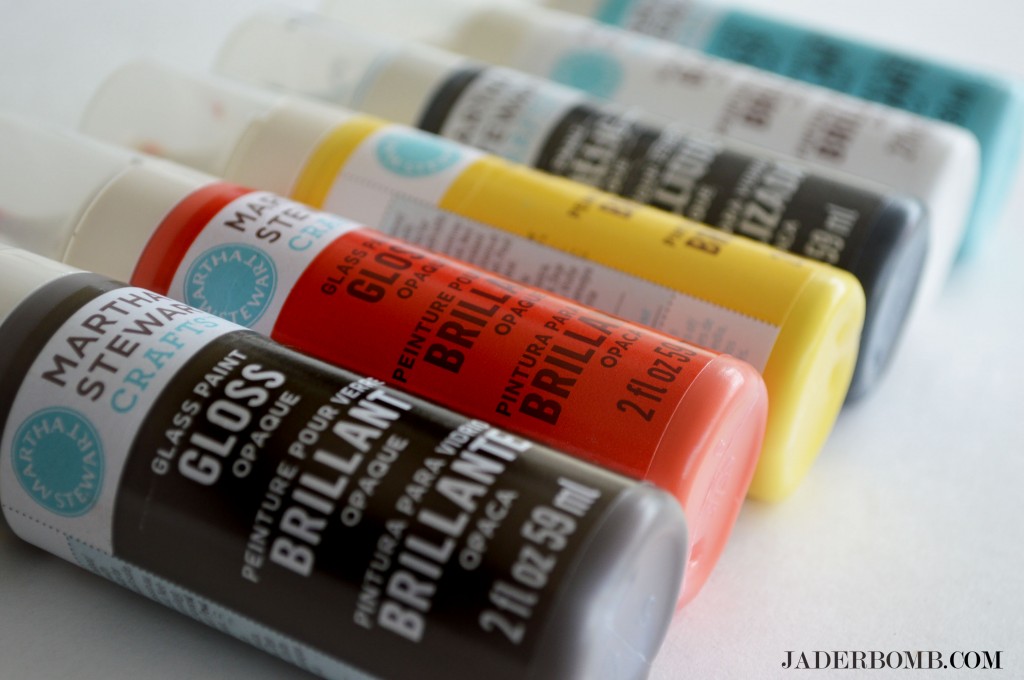
Once you are done grab your glass paint. I used Vanilla Bean, Yellow Jacket, Black Nickel, Geranium, Wedding Cake and Pool .
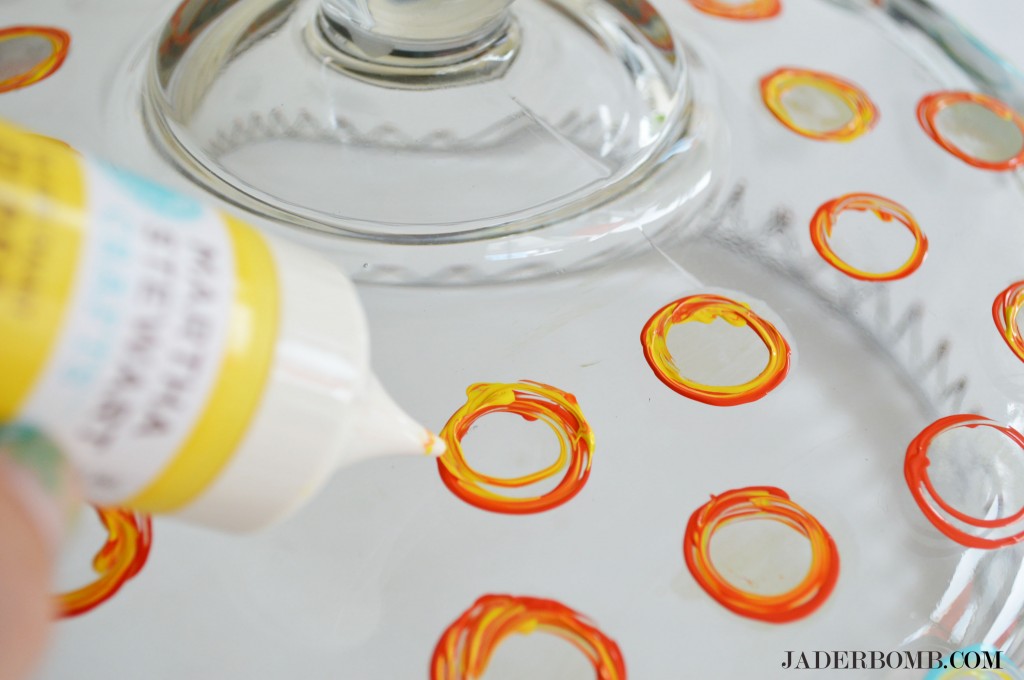
8) Start making circles with your glass paint.
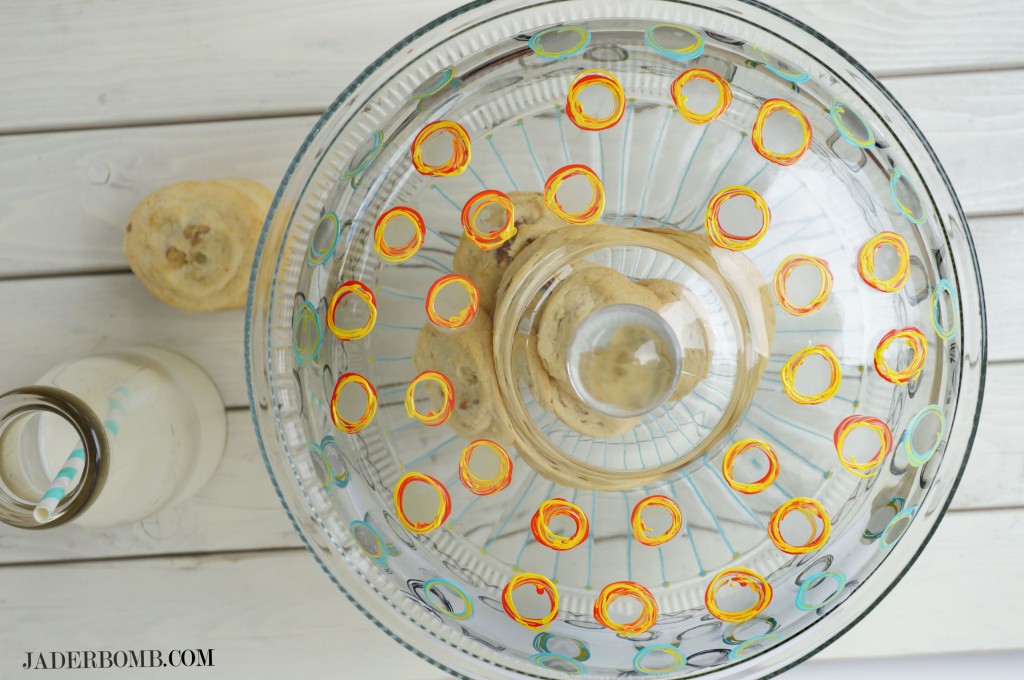
I like to mix one or two colors together while they are wet. Doesn’t everything work better when wet?!
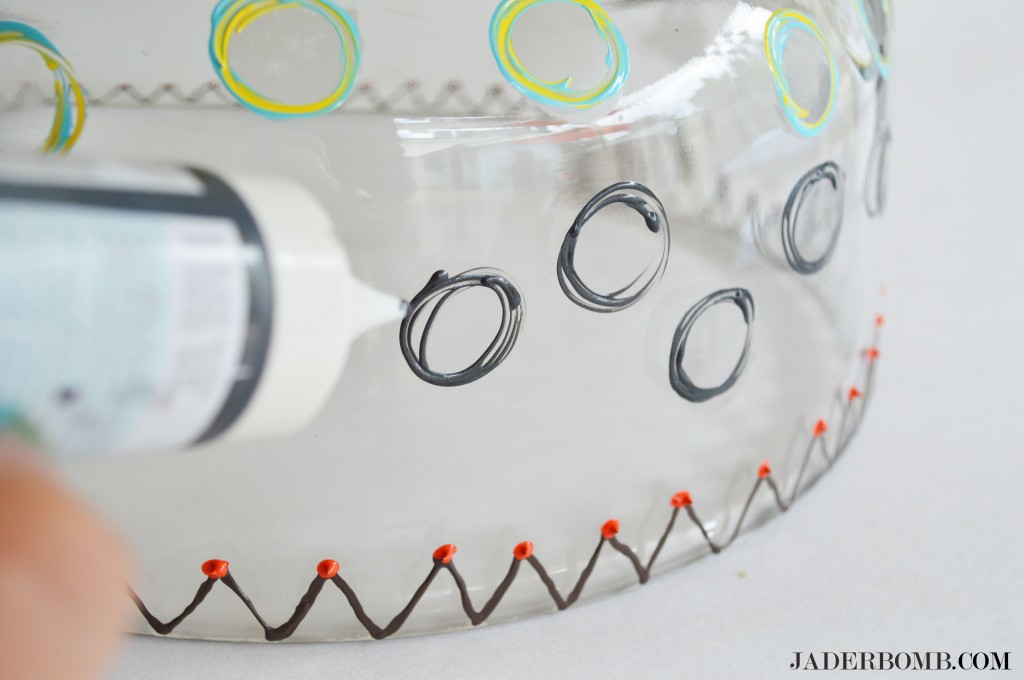
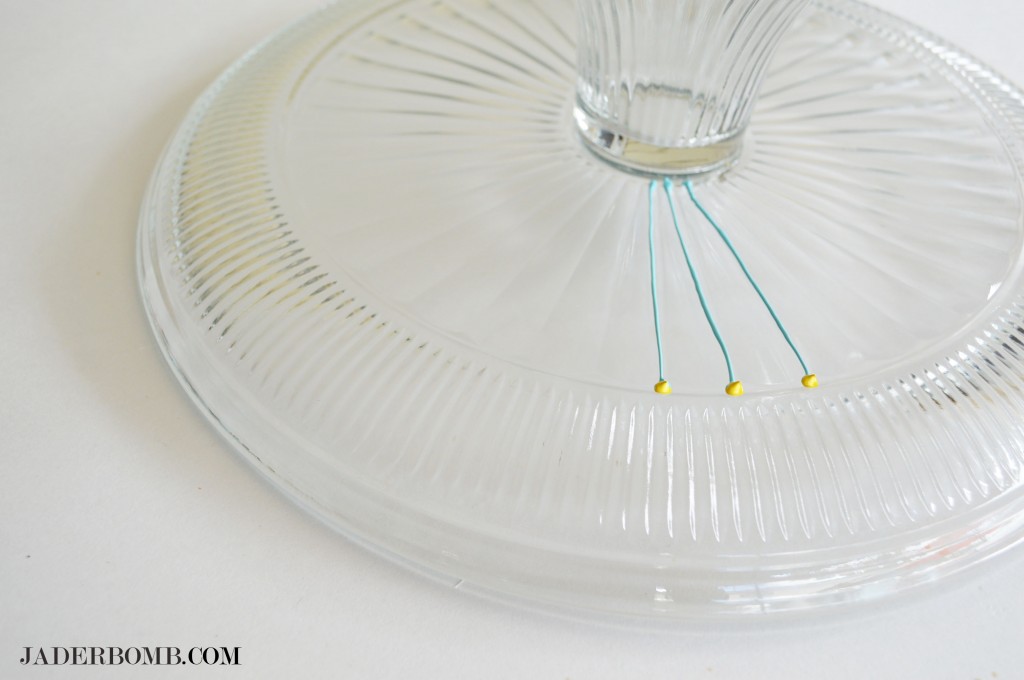
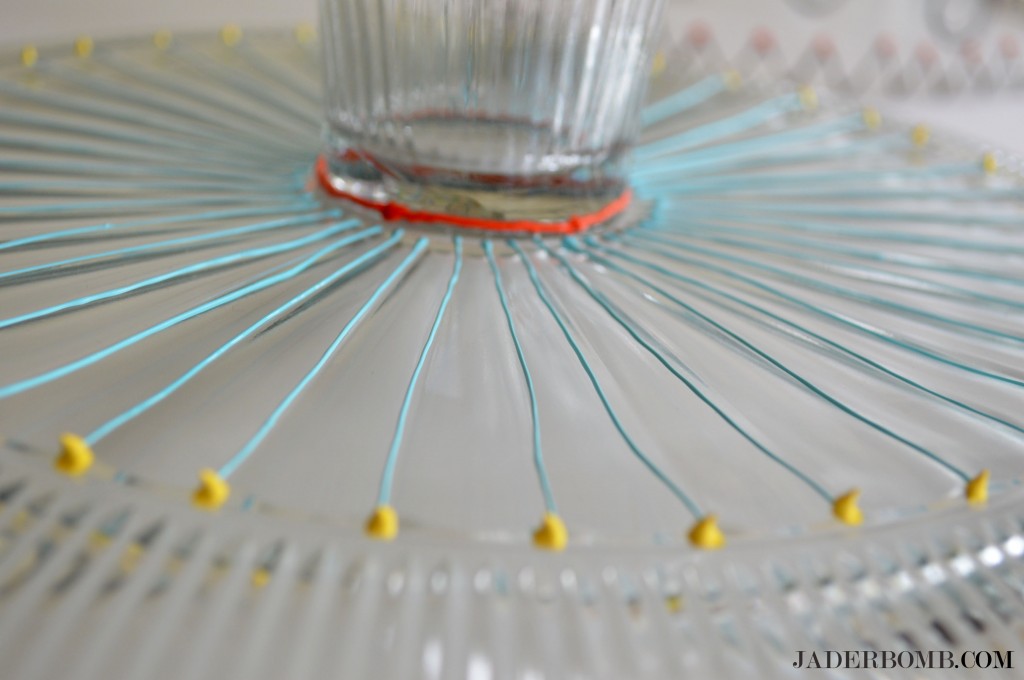
If you want to add that extra snazziness to your dome you can paint on the bottom.
I just painted the creases that were already there then topped them off with bright yellow dots.
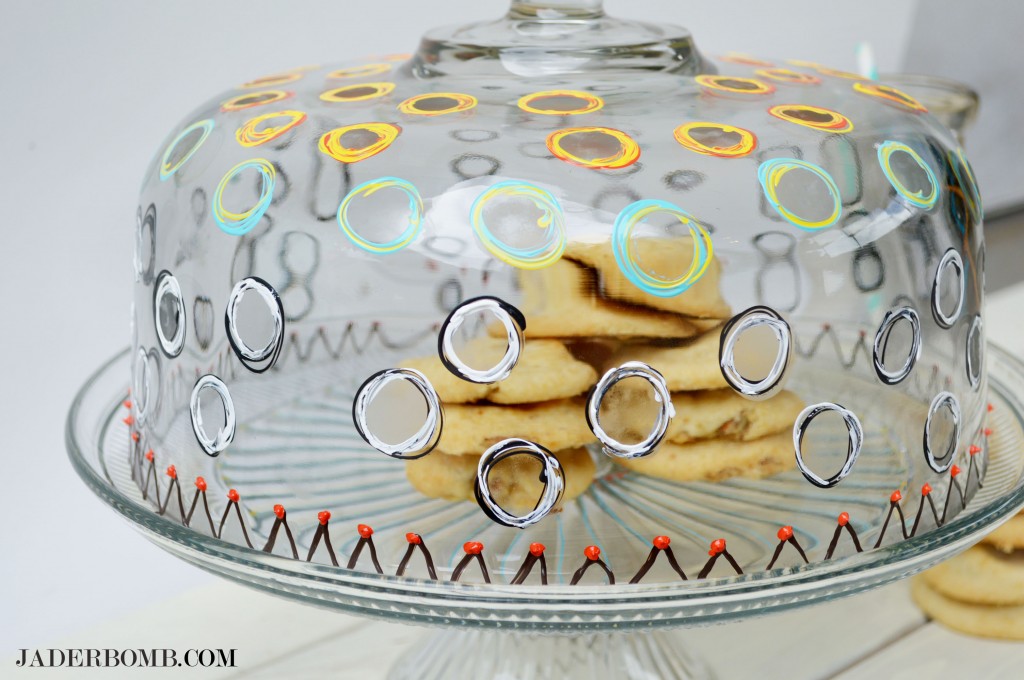
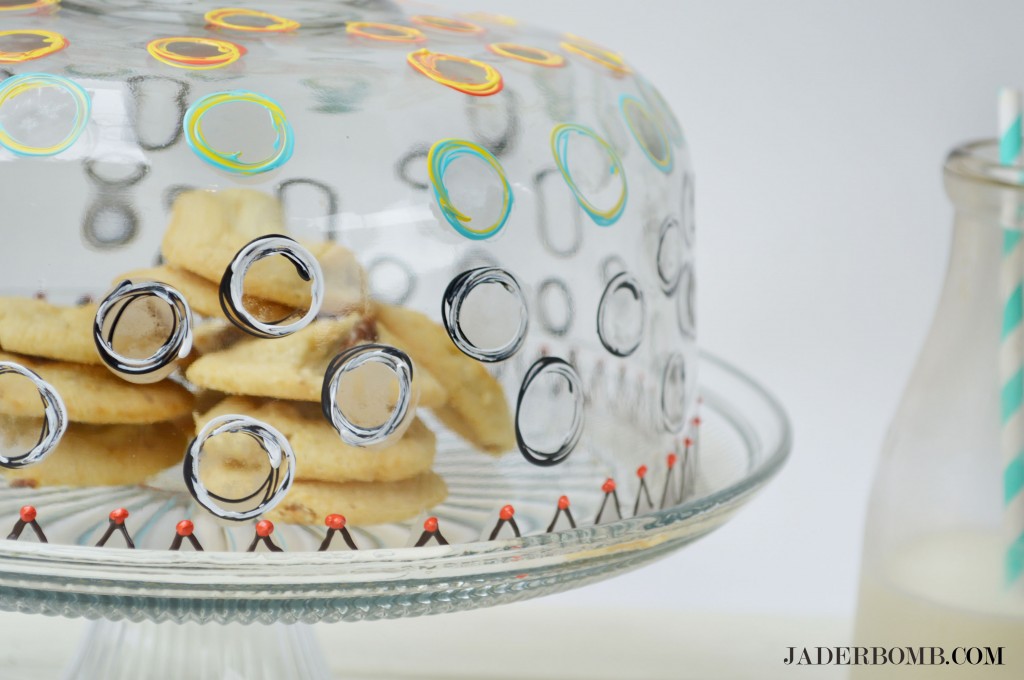
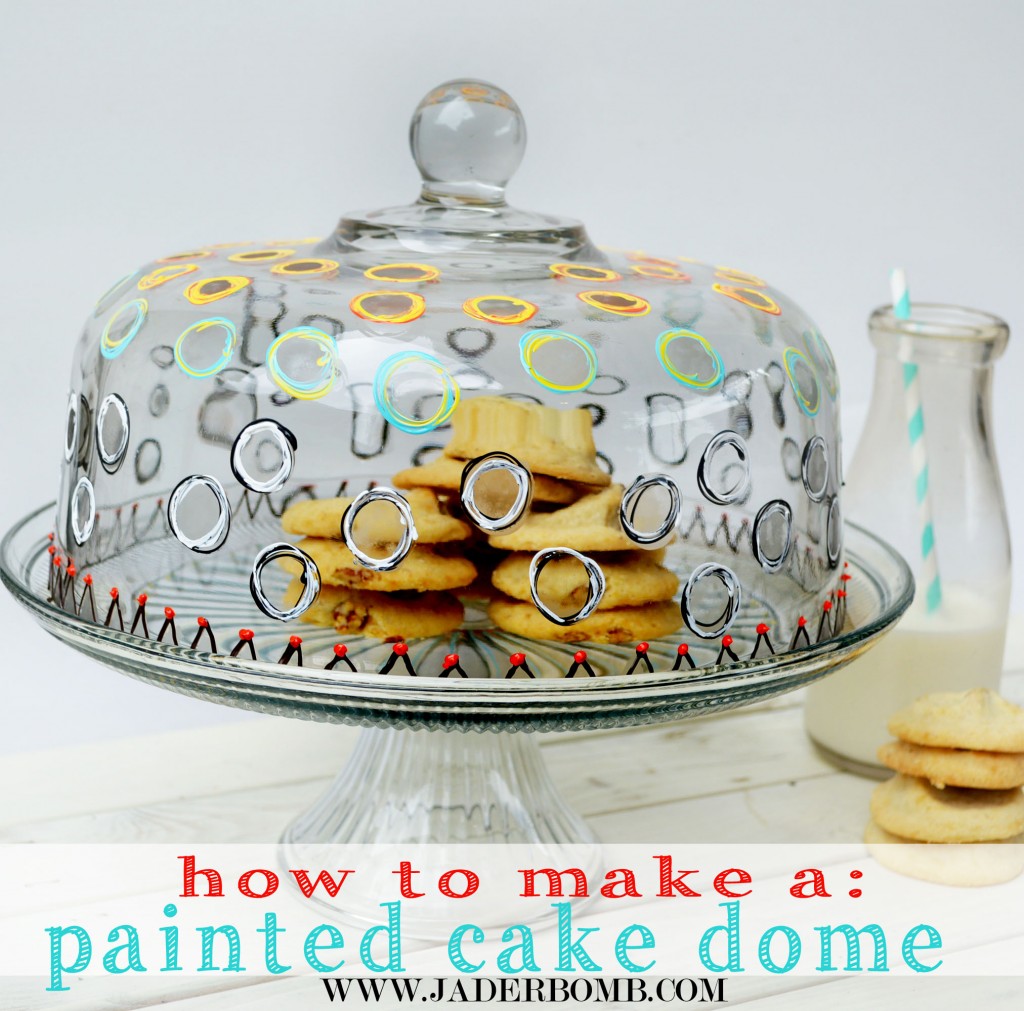
The one thing I love about this project is you can use whatever colors you want and anyone at any age can do this. It’s like rainbow lights instead of road lights. Good luck sticking things in this dome because I think the bright circus like print on the outside makes things on the inside look yummier.
If you want to check out all of my other posts that I have done for the 12 Months of Martha check them out here.
If you like crafting with glass then you want to check out my easy tutorial on cutting glass. Don’t forget to follow me on instagram, just search JADERBOMB. Also you can look up #12monthsofmartha to see what everyone else in the group is posting. Big huge glittery hugs!
Jade
This is a sponsored post but 100% is my opinion. Panky Promise!
© Copyright jaderbombllc, All rights Reserved. Written For: JADERBOMB







So cute – I’m craving cupcakes all of a sudden!
K
Kelly: Ha!
This is a beautiful piece. I love it and it looks so simple. I can see me using this in the near future. Thanks for sharing Jade!
Thanks Glenda! I had a lot of fun making it!
Pingback: Six Crafty Ideas for the Weekend! | CraftyChica.com | Official site of award-winnning artist and novelist, Kathy Cano-Murillo.
Pingback: 6 Super Awesome DIY Projects DIY Doyenne
Pingback: Make it: Vintage Apothecary Bottles | JADERBOMBJADERBOMB