Happy almost Fourth of July!!! I know. It’s still June but it’s early enough to start putting out the RED,WHITE & BLUE! I have to admit, I am not really a Fourth of July fan. I mean. Let me clarify that. I am not a HUGE fan of decorating in RED, WHITE & BLUE. Maybe one or two things, or three. But that’s it.
I ran across these clear glass plates at Wal-Mart and could not pass them up! Did I know at the time what I was using them for? Of course not. You didn’t know that’s how it works with craft bloggers? After so long we sorta become mini hoarders. Why do you think when it’s time for a party everyone goes to the crafter. They know they will have whatever they are looking for. Chances are your crafter friends will just say this…“nah, go ahead and take that and that… and that..I have plenty more”
BAM. SCORE. (teeheheee)
Let’s get to crafting!
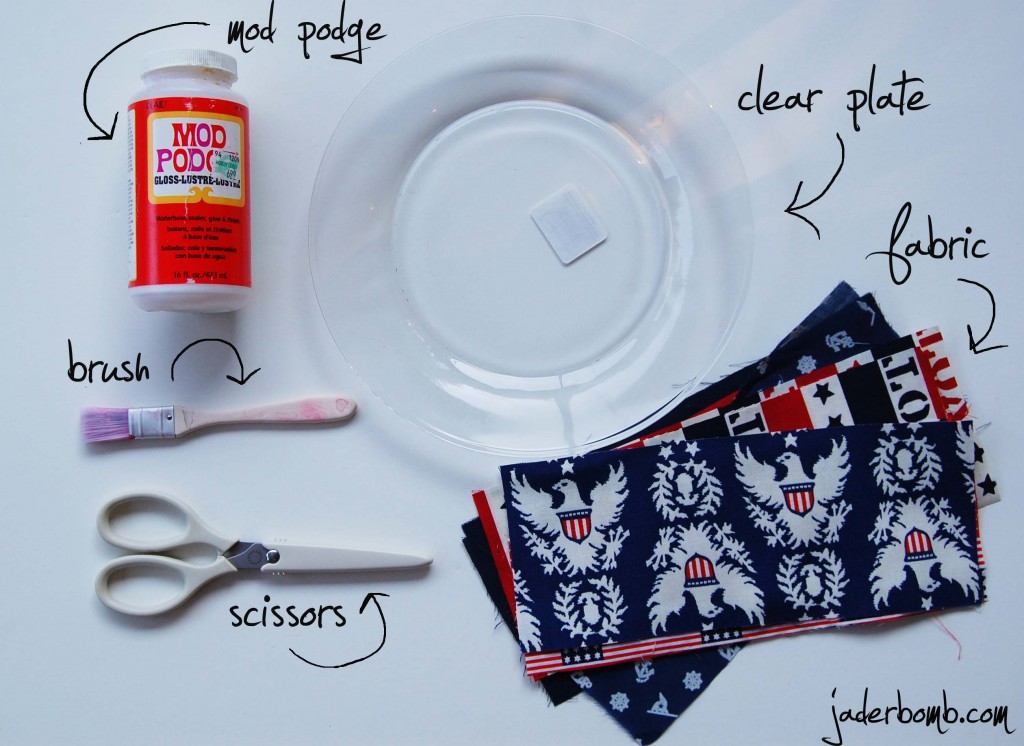
INGREDIENTS:
- If you want to use other fabric you sure can! You can use the same in this tutorial and make your own awesome plate! You can make it match your room or give it as a gift!
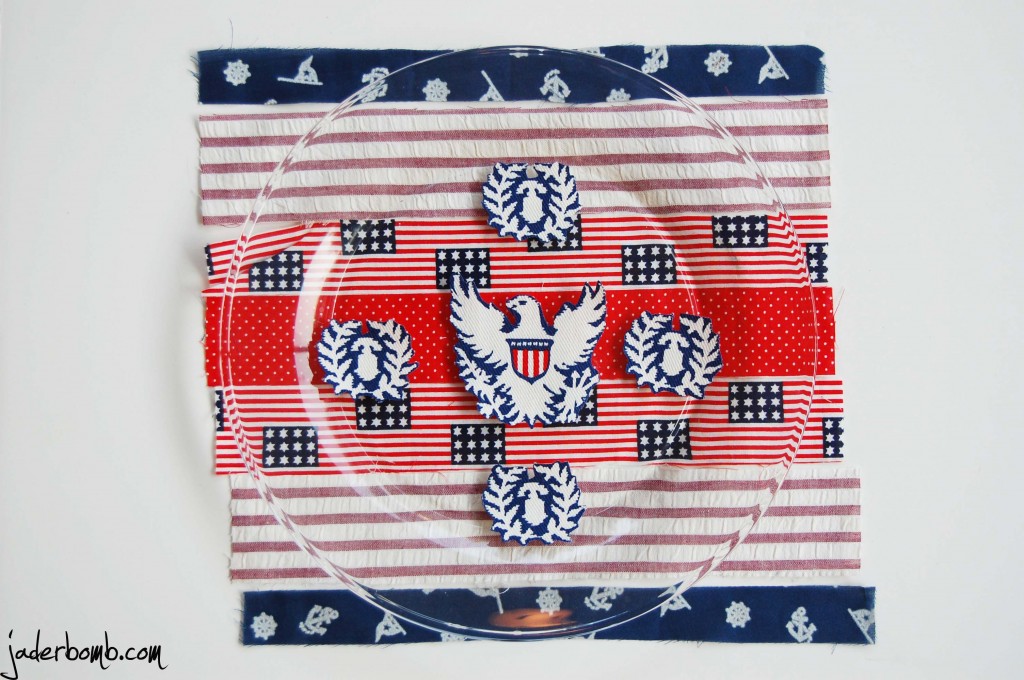
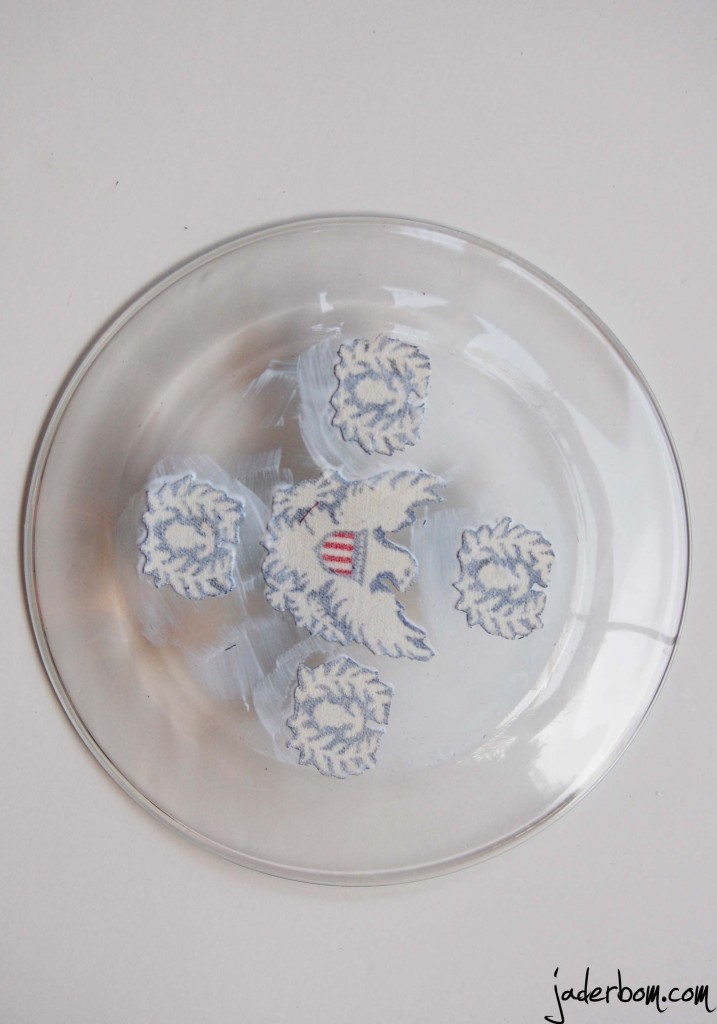
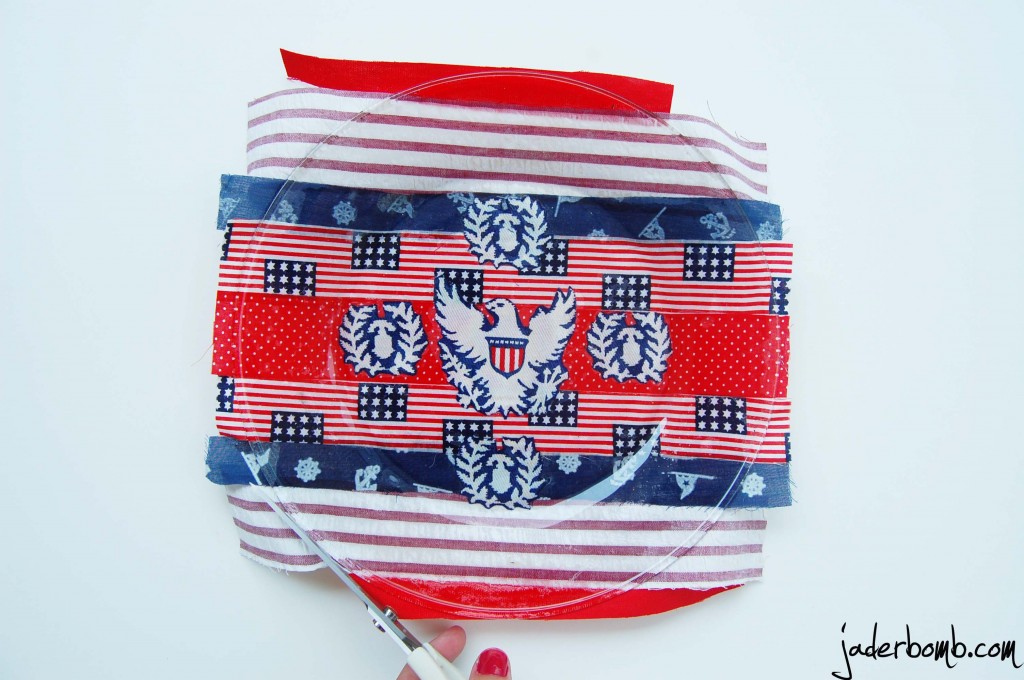
- Start by cutting out your strips they way you want them and place them under the plate. You can arrange them as much as you like until you are happy with they way it looks. Those four little images on top of the plate I cut out of fabric. You can use anything for the center of the plate I just really liked the way this looked! I found a piece of fabric with these designs on them and fell in love!
- Apply a small amount of Mod Podge on the back of plate then stick down your images you want as your focal point. Make sure you put these face down, not face up! After you stick them on the plate apply another small amount of Mod Podge to the back of them. Fun EY! Oh, I will be doing a review this week of my friend Amy’s book MOD PODGE ROCKS! I will be doing a giveaway also!!! {insert a high pitch scream)
- Apply all of your strips to the plate while it’s faced down. Remember you want to do all of your images face down if you are looking at the back of the plate. After you let it dry (about 3 hours) get some fabric scissors and cut the edges. I love my Martha Stewart all purpose scissors! They cut ANYTHING!!!!
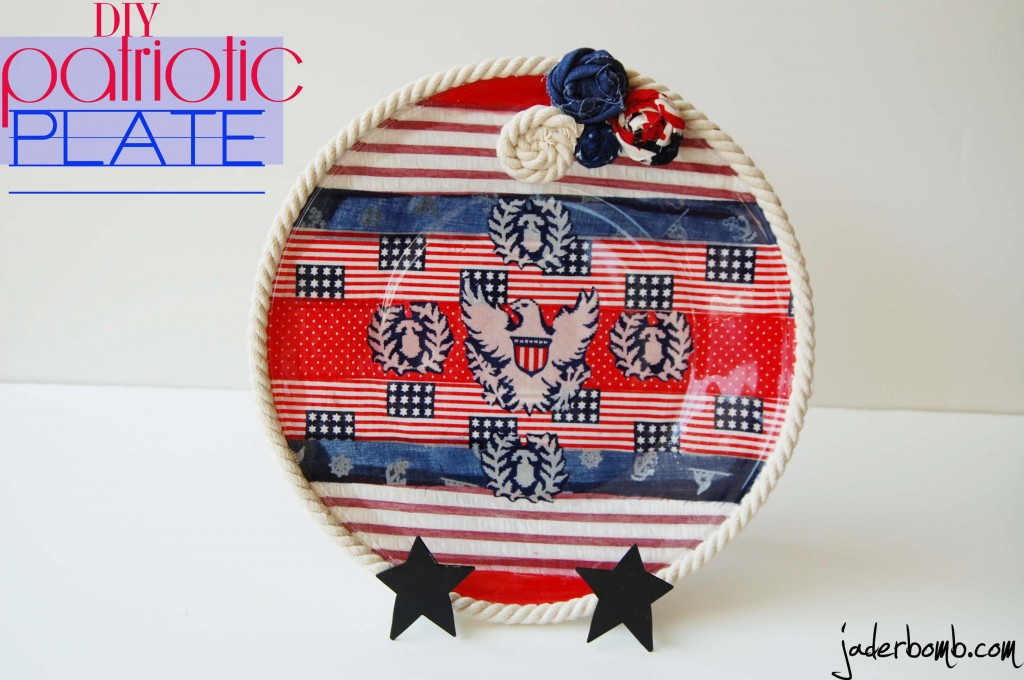
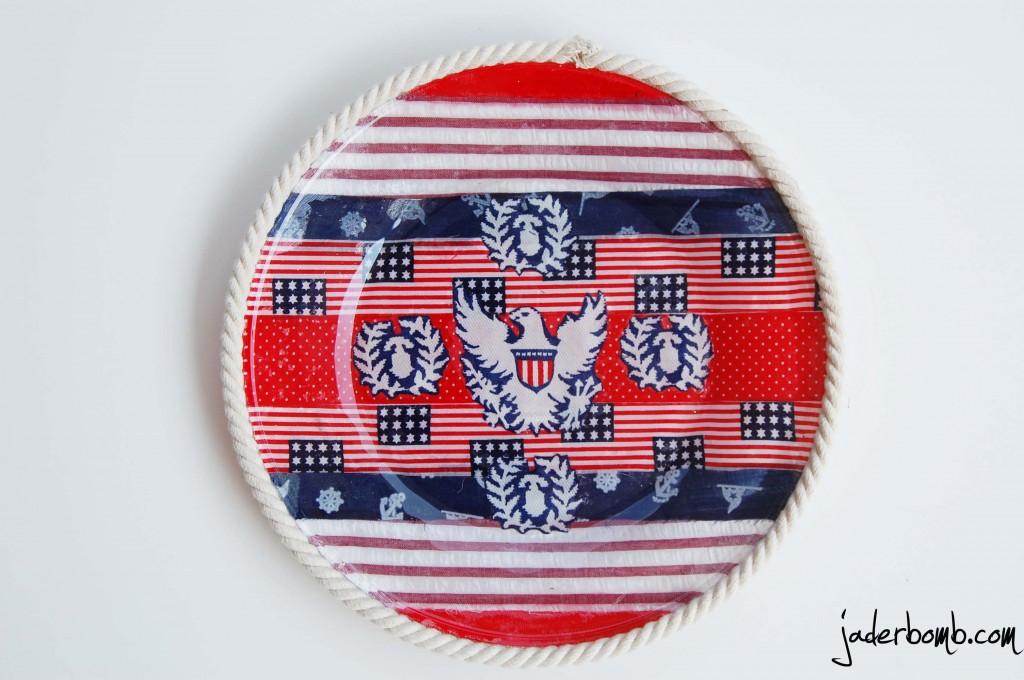
- After you trim the edges you can dress it up by adding some fun things to the edge of the plate. I thought this fun rope would add a whimsical touch to my plate! I bought it from Michael’s craft store and it was NOT expensive!
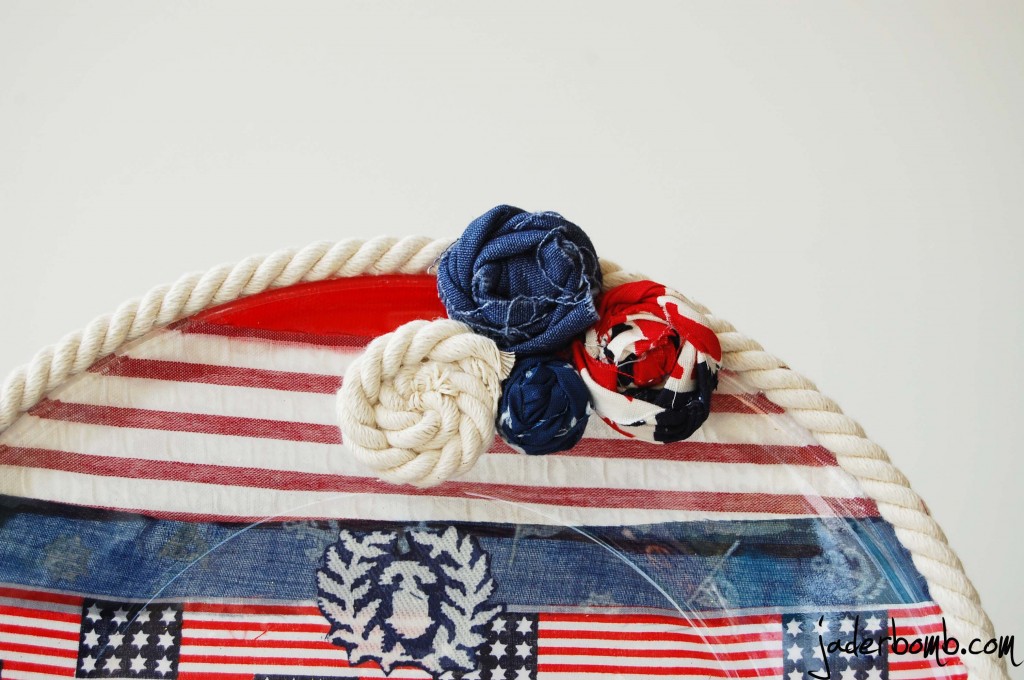
- I made a few fabric Rosettes to also dress it up. If you want me to do a tutorial on how to make a Rosette please leave a comment below or let me know on facebook!!!! Seriously. This is CRAZY CUTE!
- I hope this gives you loads and loads of inspiration that will be bursting out of your brain like fireworks!
- If you want to find more jaderbomb love check me out in these places!!!

Wow – this is like the ultimate patriotic Americana decoration! And it’s got a nautical feel too. Way to go! 🙂 I’m not much of a 4th-of-July-decorate-my-home-with-cannons kind of gal either, but I do like your plate!
SO fun!! I love it. It’s a little more tattoo-ish than regular patriotic patterns, and I like that.
Amy: I thought it was a “little” more than the normal also! HAHA
So cute and perfectly patriotic!
Pingback: JADERBOMB – In remembrance of 9-11