Tag Archives: Christmas Crafts

I don’t know about you but if you add glitter to anything you will put an instant smile on my face. Today we will be making Glitter Dishes!

I started playing around with paper plates a few weeks ago creating a few easy ways to “dress” them up. I think I was successful with it, what do you think?! I mean, I truthfully hate washing dishes and putting them up so why not serve anyone out of fancy paper plates. It’s not like I am having Christmas at my house but if I did I would lay all these babies out!

Check out these I made with ribbon and these with lace!

howtomakeglitterdishes

you will need*
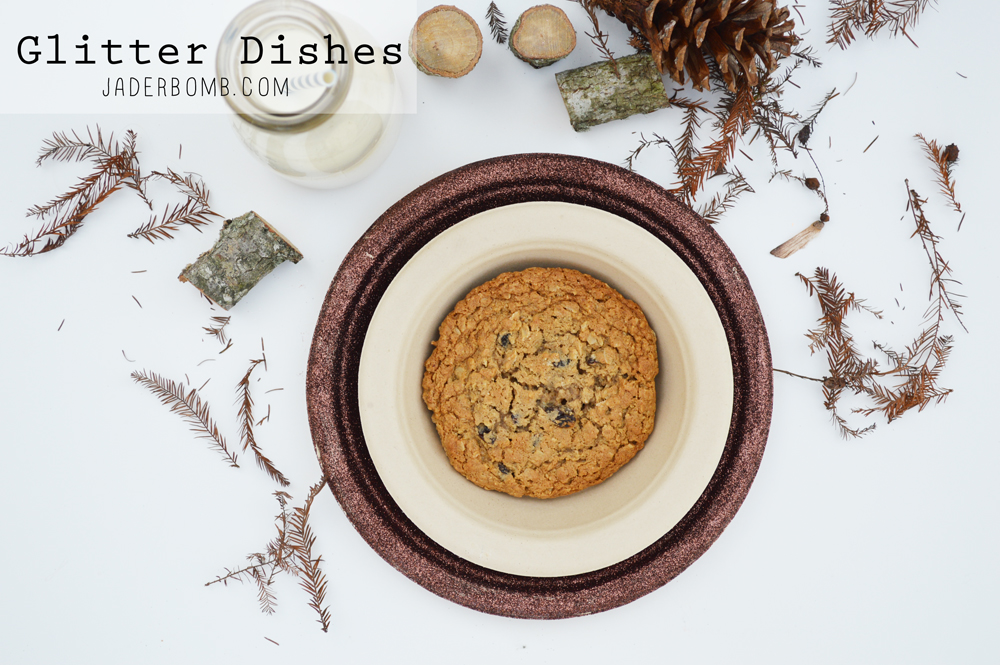
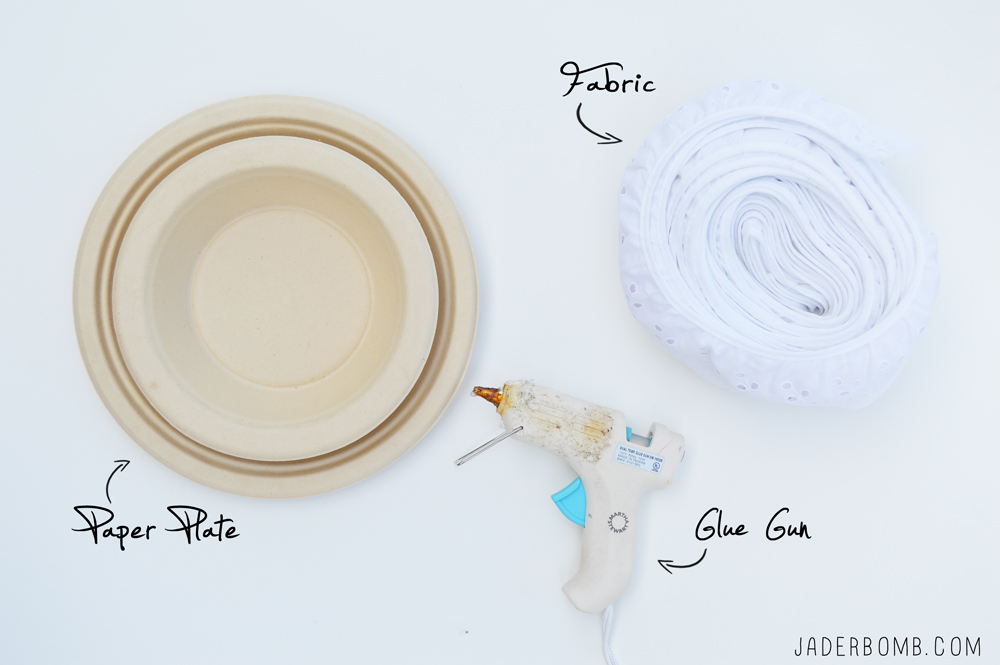
Paper Plates and Bowls   * Glitter  *Brush  *Mod-Podge  *LOVEGlitteredPlateSupplies
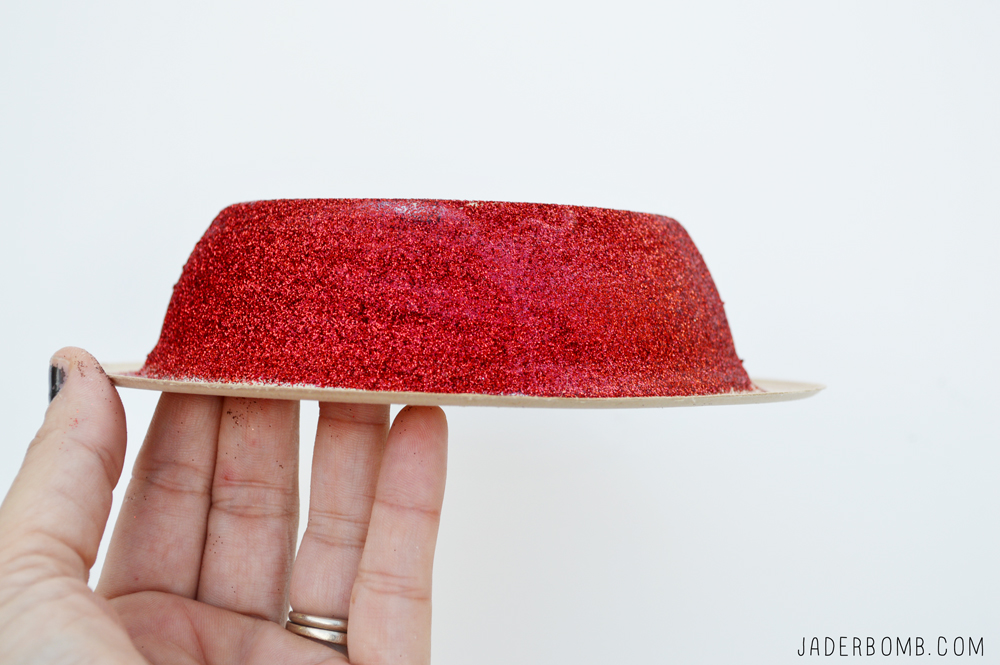
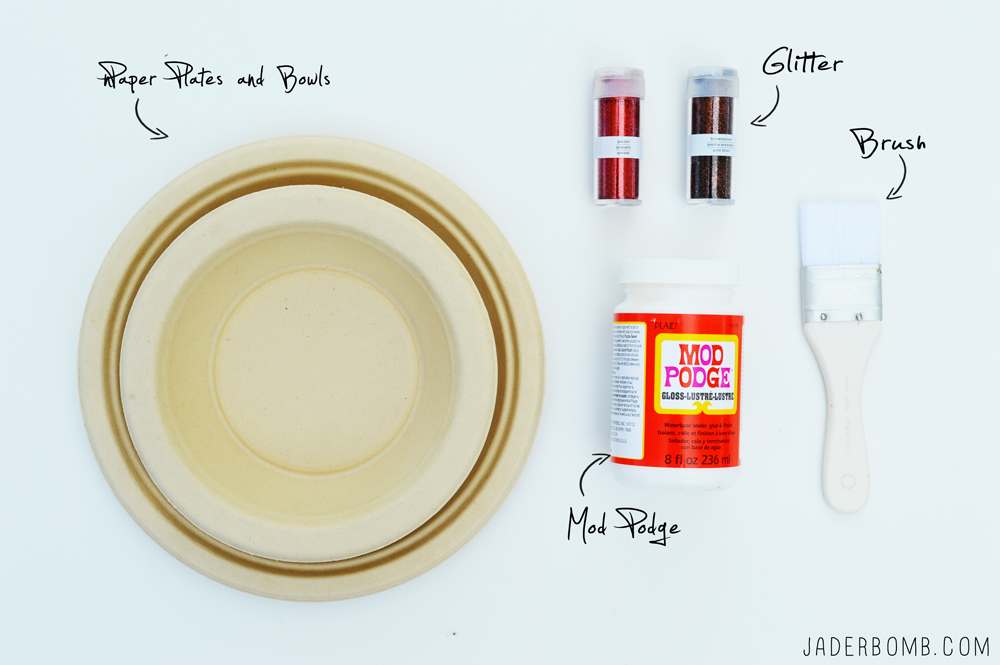
The first thing you want to do is coat your paper plate with Mod Podge. easywaystouseglitter
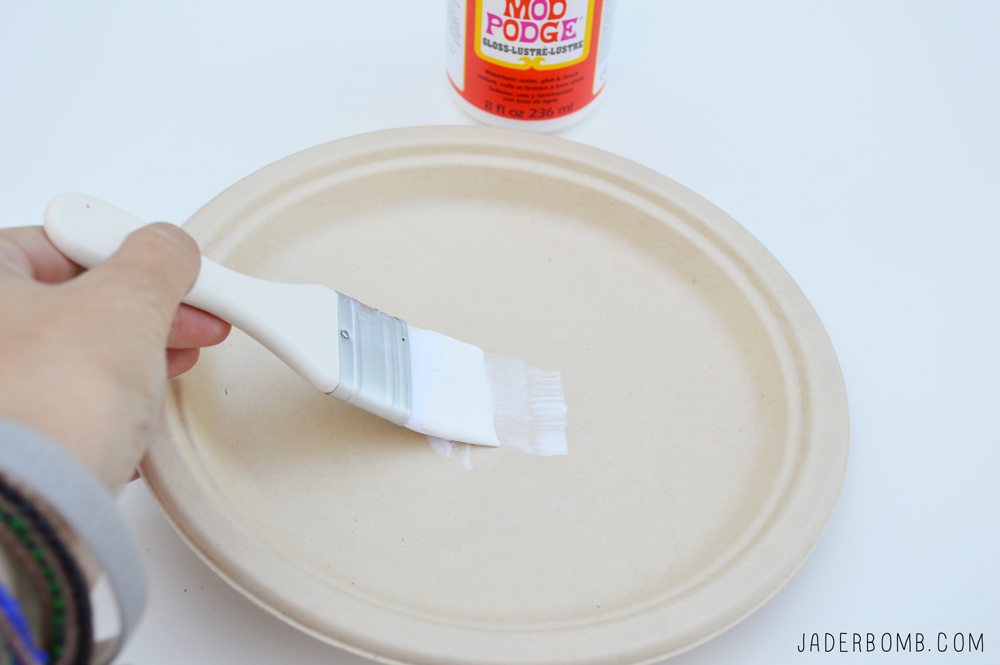
You want to work a little fast since Mod Podge dries very quick.

howtouseglitter
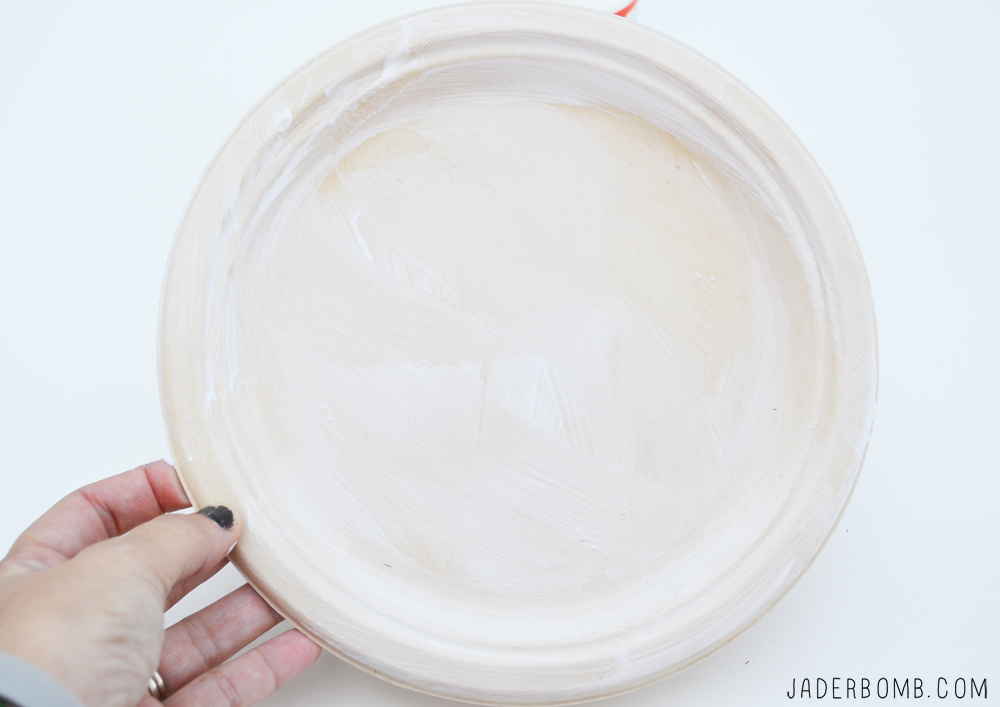
Sprinkle glitter over the wet Mod Podge. Don’t worry if it’s not perfect because after all it’s just going to be used as decoration. Did I mention you will throw it away after it’s used!
glittered plate

I coated the underneath of the bowl just to add a little more love. thingstodowithglitterglitteredplatesglitterdishes
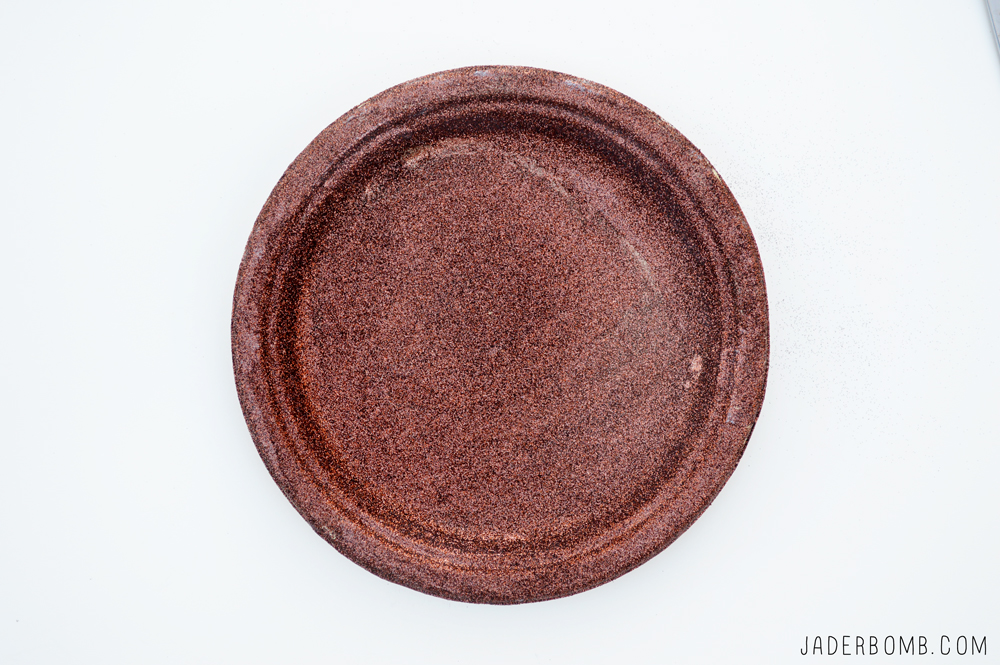
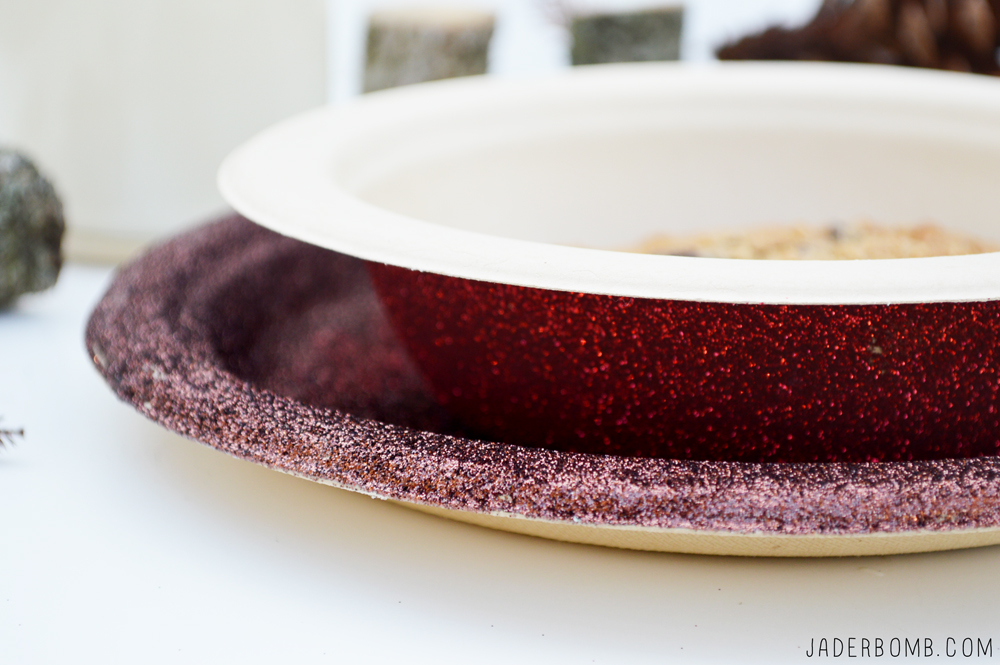
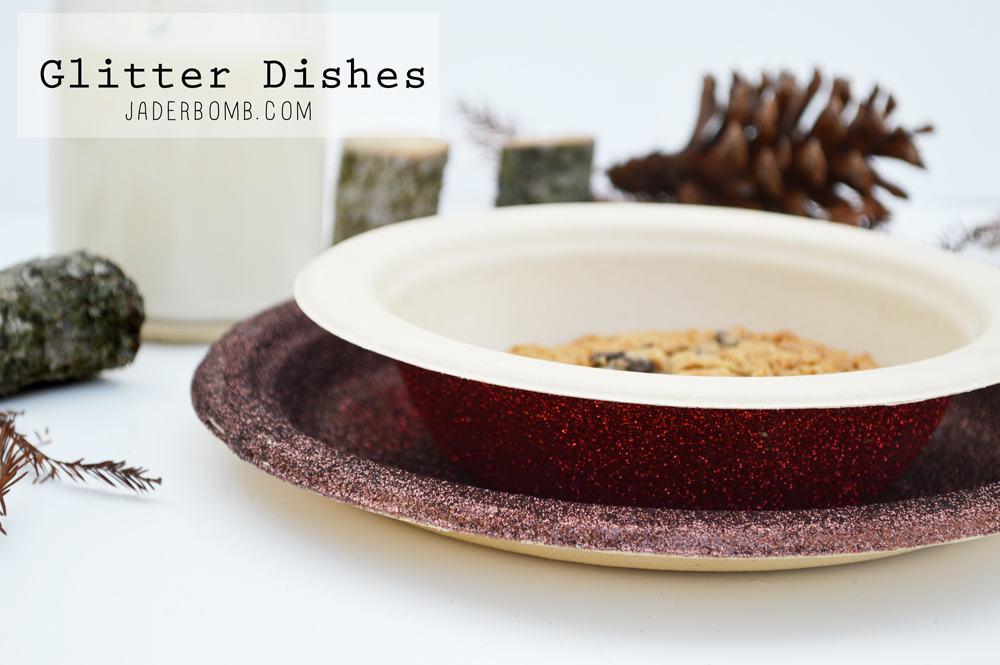
It’s seriously that simple! Fun thing is you can make them for every holiday and it will not break the bank.

What will you use your glittered bowls for?
jade

Today I will show you how to make a 2 Tier Party Platter. It’s really simple and did I mention you can toss it when you are done using it!

Yep today we will use paper plates (sturdy ones) for this project.

I don’t know about you but I like an easy clean up after a day full of chaos so this works perfectly. Let’s get started.
diy 3 tier party platter

YOUWILLNEED

*Paper Plates * Fabric Lace * Hot Glue Gun * Empty glass bottle DIY Serving Dish
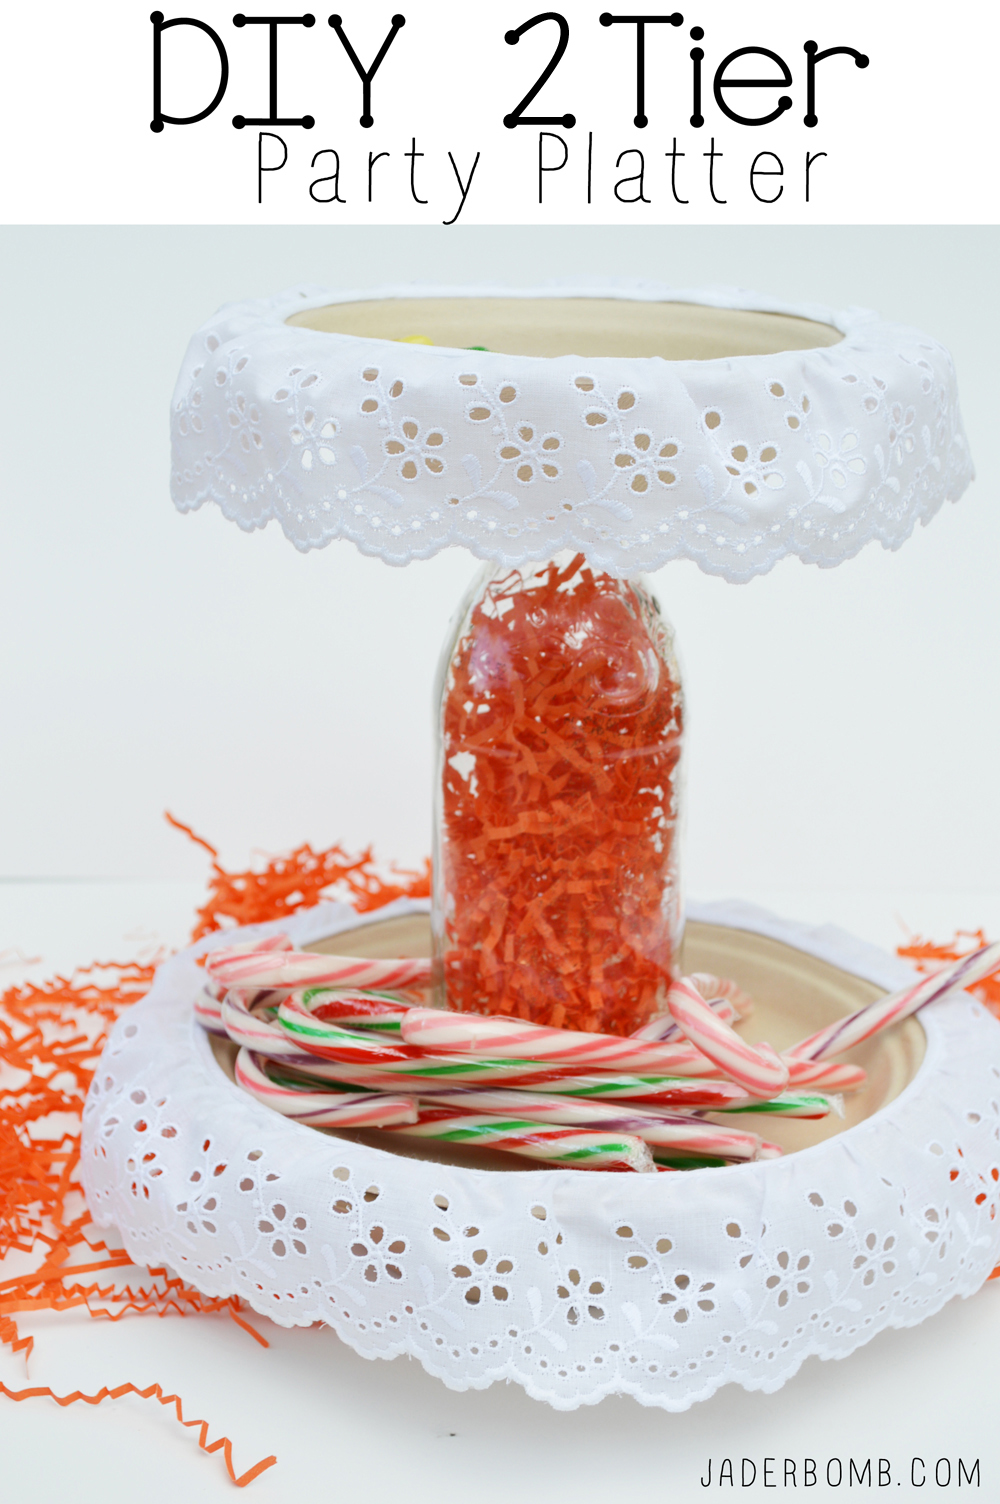
Put some hot glue under the bottom of the glass bottle. If you don’t have hot glue you can use E600. two tier serving dish
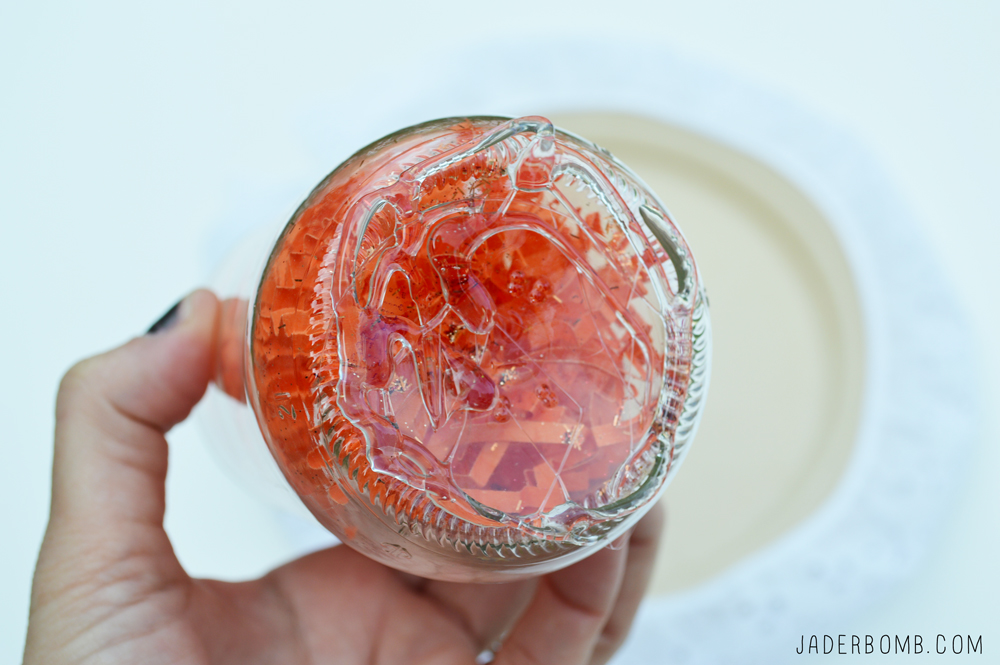
Gently place the glass bottle down onto the large paper plate, directly in the center. diy serving dish tutorial
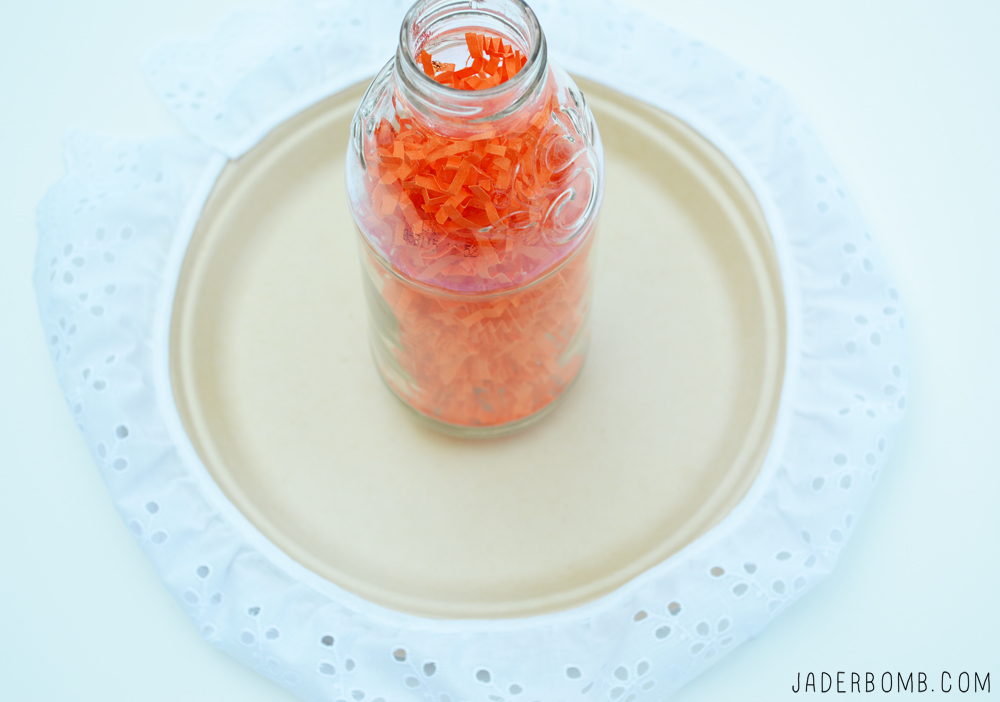
Gently hold it there for a few minutes to make sure it dries completely.how to make a serving dish
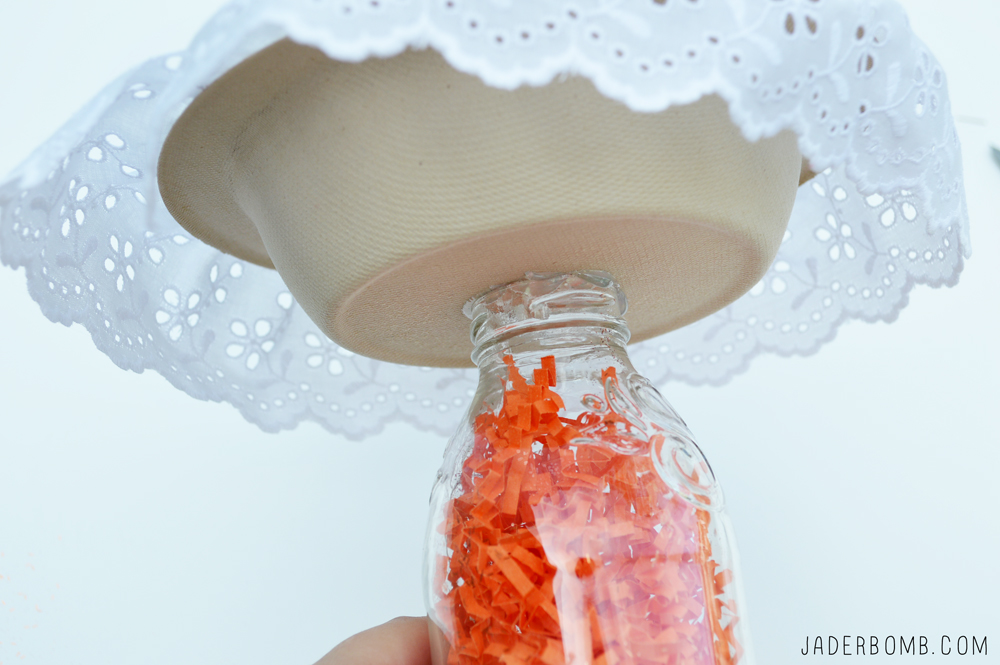
Get a small paper bowl and glue it to the top of the glass bottle. Hold until secure!2-tier platter

How stinking cute is this.

Things you can use this for:
*Put candy in for a holiday party
*Use as a makeup holder
*Keep in a space to throw your keys in and change
*Craft Supplies
*Kids toys

The possibilities are endless really. The best thing is it’s affordable and you can toss it if it get’s dirty and nasty.

What will you use your’s for?
ending1

Kellys-Favorite-Handmade-Things-600x600
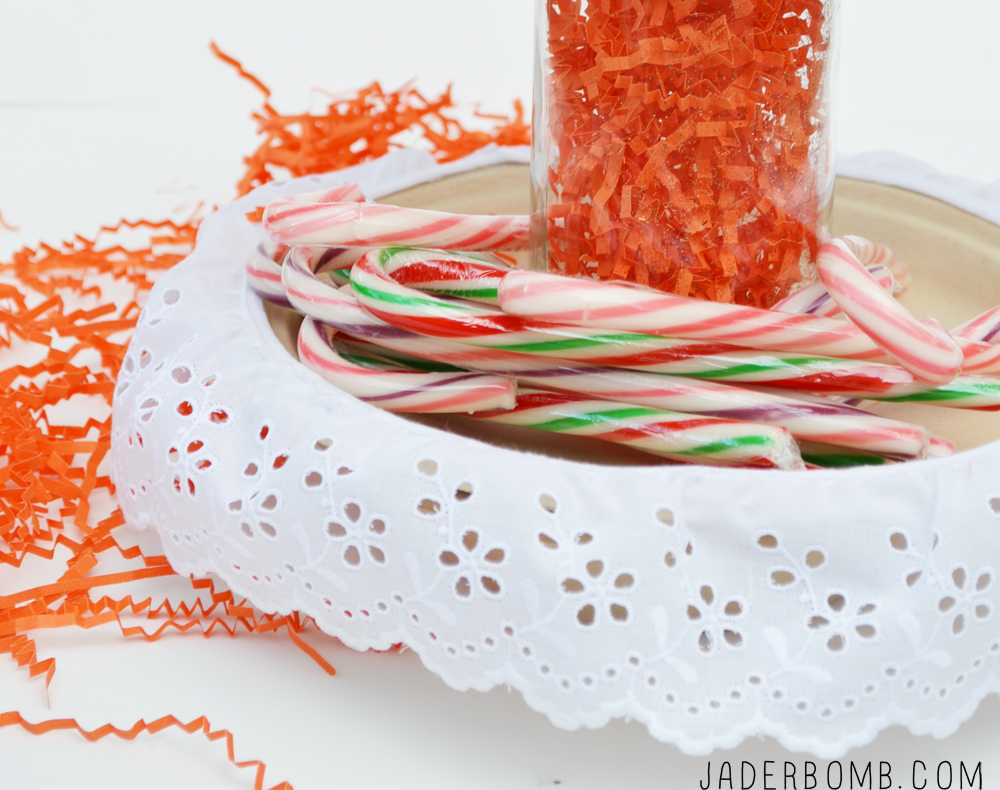
Hey my lovely craft buddies. Today I am excited to share with you Kelly’s Favorite Handmade Things! This is an exciting post because you will have a chance to win each of these items! I am so thrilled to be a part of this amazing group. Wahoo!

Wanna enter to win? Scroll to the BOTTOM of this post and enter using the Rafflecopter box. GOOD LUCK!

Kelly – Eclectically Vintage (that’s me) – Little Bit Country, Little Bit Rock and Roll vintage silver spoon keychain

Stamped Silver Keychain eclecticallyvintage.com

Lucy – Craftberry Bush – stag watercolor art pillow (Shop Craftberry Bush)

Stag pillow

Angie – Knick of Time Interiors – hand painted Milk & Cream on glass sign (Shop Knick of Time)

Milk and Cream Co. Sign available from Knick of Time

Jeanne – JuNxtaposition – vintage typewriter key necklace (your choice) (Shop JuNxtaposition)

typewriter key necklace

Jen – Jennifer Rizzo – set of 3 original art silkscreened dish towels

Handmade Santa dishtowel

Melaine – My Sweet Savannah – salvaged wood Christmas tree (Shop My Sweet Savannah)

Salvaged wood Christmas tree

Jen – City Farmhouse – hand painted Ski Lodge sign

Handmade ski lodge sign

Jeanne – Jeanne Oliver Designs – Sadie Handbag or $89 shop credit (Shop Jeanne Oliver Designs)

Jeanne Oliver Sadie handbag

Lucy – Bel Monili – vintage buttons and baubles bracelet (your choice) (Shop Bel Monili)

Vintage bauble bracelet

Denise – The Painted Home – music sheet flowers in new blue mason jar

vintage music sheet flowers

Jade – Jaderbomb – gold glittered PEACE letters (Shop Jaderbomb)

Glittered Peace letters

Laura – Top This Top That – burlap wreath

burlap wreath

Good Luck! I hope you win everything!


a Rafflecopter giveaway

ST_12_months_of_Martha_Logo-1

I was so excited when I got this month’s box of goodies in the mail! I actually had ton’s of ideas once I started going through everything but I went with my gut instinct on this one.

The holiday’s are coming up and let’s face it, nobody likes store bought tags. I wanted to show you a simple and affordable way to achieve a “fannn-cyyy” look for a “fannn-cyyy” price! <—- yes say it like it’s spelled. I even threw in how to stamp your own ribbon.  This year we will make it all about personalized gifts.

Now your gifts will be bursting with DIY’ness.

Personalized Gifts

YOUWILLNEED

Tags | Burlap Ribbon | Martha Stewart Flourish Rubber Stamps | Love
***You can purchase all of these fabulous items in one spot by clicking on my affiliate links!

stenciled fabric supplies

Pure love is what I felt when I saw how this flourish rubber stamp set was packaged. Shoots I would buy it just for the box, y’all! It comes with 10 stamps and 3 colors of ink. Black, White & Silver. Perfect for any holiday decor. how to use a stamp

Since my tags were fairly small I decided to use a stamp that would fit perfectly on them. I also used a big stamp that went off the edges of tag and it came out so cute!

how to stencil fabric jaderbomb

Since your packages or bottles of wine will have a fun tag hanging from them why not add a little embellished ribbon to go with it.

I mean, it would really top things off. You could also wrap this stamped burlap ribbon around a candle or add it to any wreath for a pop of DIY.

How to print on burlap

Stenciled Labels 12 months of martha jaderbomb

These can be used for practically anything. I will be using them as gift tags for Christmas but I wanted to show you how you can use them as part of your display also.Stenciled Fabric

Personalized Gifts DIY 12 months of martha

I hope you enjoyed this 12 months of Martha post. Check out what else I made for Martha. If you are on Instagram, Twitter or Facebook make sure to search or share my pics by using this hashtag #12monthsofmartha and #jaderbomb

Wanna really stalk me? Come visit me on Facebook, Twitter, Google+, Pinterest or Instagram.

ending

Happy CYBER MONDAY Jaderbugs! I hope to have all of my tutorials up before the end of the week showing you all of the “cheap” ways I decorated our Christmas tree. I always believe when you make your own things they look so much better than store bought items. Don’t cha agree?

Today’s tutorial is so soft and fluffy. When I was in the store the other day I started looking at garlands and when I saw the prices on them I was like “ER MY GERD”… I couldn’t get over the prices of them. I figured out in that moment I would make my own. I wanted something to look like SNOW… Then it clicked.

COTTON BALLS

Are you excited yet? The great thing is you can have your kids help with this, just be careful of the needle. I think they make kid proof needles I am just not sure where they sell them. I mean. What is kid proof? Can they not stab themselves with it? Will it even go through clothes? See… I just don’t know ~

INGREDIENTS:

*cotton balls
*needle
*thread 

I purchased all of my ingredients at Walgreens. Make sure when you purchase your cotton balls that you get the JUMBO ones. I accidentally got the small ones and you can totally tell the difference. The big ones look so much better.

Start off with ONE large cotton ball.

Carefully string your needle right through the center of the cotton ball.

Pull the string through and continue until you have enough for your tree. One piece of advice. I though I could have ONE long garland but because you are using thread it sorta breaks easily if there is too much weight. I know you are prolly thinking…cotton balls, weight. Trust me it breaks.

I like to do about 20-30 cotton balls and then stop. It just works better. I am sure if you used the small cotton balls you could make one big garland but these jumbo babies are huge! 

This is what you will get JADERBUGS! It’s so much fun right. I really like it because it’s super affordable and honestly. I think it looks better than a store bought garland.

Here is ONE of our trees in the house. Tutorial coming soon on how we make this bookshelf so stay tuned!

If you decide to make one please post it on my Jaderbomb facebook page! I love showing the things you make.

Don’t forget to make it a DIY kinda day,

Facebook Twitter Gplus Pinterest YouTube E-mail RSS

Oh HAPPY day Jaderbugs! I have this post I am working on featuring 5-10 homemade crafts you can make to decorate your Christmas tree with. That will be coming up this week but I wanted to share a few of my favorite ones with you now. I love making things that fill those empty spots in my Christmas tree. You know? Those spots that are screaming for love and affection? This year is the FIRST year we ever got a real tree. It was so much fun going through the entire process. Lil one had fun picking it out. The one thing I didn’t realize is that you can’t BEND the branches like a fake tree.

HAHA.

Do you know what this means? HUGE spots that need love and affection. I tried sticking ornaments in those lonely spots but it was just not working. Our living room tree’s theme is GOLD, WHITE and a pop of red. I thought why not add a little bit’O candy in the tree and that is where this idea came from. I didn’t want to go out and buy candy ornaments because they are super duper expensive and I just don’t like throwing away money like that.  I hope you enjoy this craft because they turned out SO cute. Just think you can do silver ones and put bright fun paper around them. I love this because you can be creative and add paper on them that you personally love.

Stay tuned because I have THREE trees in the house this year so you will be seeing some fun ways to decorate a tree. Did I mention each room has a different theme? Eh…. I know. I have OCD.
Let’s get started:

INGREDIENTS:

*Scissors
*Twine
*Mylar Tissue (purchased from Walgreens)
*Scrapbook paper
*Paper towel roll

You can click on any of the ingredient links to purchase these items in ONE spot.

 The first thing I want to tell you is this Mylar Paper is GOLD and SILVER. This is what it looks like right from the package. You can see that there will be a crease from where it was folded.

If you flip the paper over it will be silver. I didn’t know this until I bought it. I think this is great because you can choose this side if you don’t want GOLD.

The first thing I did was lay my cardboard roll on the edge of tissue, roll it over so see where I need to cut.  The goal is to have no cardboard showing.

Once you cut it it will look like the picture below. It will be too “long” so you will need to cut the strip in half. I used the crease that was already showing as a guideline.

Once you cut it wrap your roll with the tissue paper and secure with tape. I like to use double stick tape so I can “hide” the tape from the human eye. It actually just looks a little better this way.

Get a piece of twine and tie it around the ends of the roll. This will give us that CANDY look. Are they not so cute? I planned on leaving them just like this but I really wanted them to pop.

Soooo. I added red and white chevron paper around them.

This is what they will look like once you are done! I hope you enjoyed this tutorial… Make sure and post yours on my facebook page so I can share with my readers. I love seeing your take on one of my crafts.

Don’t forget to make it a DIY kinda day,

Facebook Twitter Gplus Pinterest YouTube E-mail RSS