Tag Archives: christmas DIY

ST_12_months_of_Martha_Logo-1

I was so excited when I got this month’s box of goodies in the mail! I actually had ton’s of ideas once I started going through everything but I went with my gut instinct on this one.

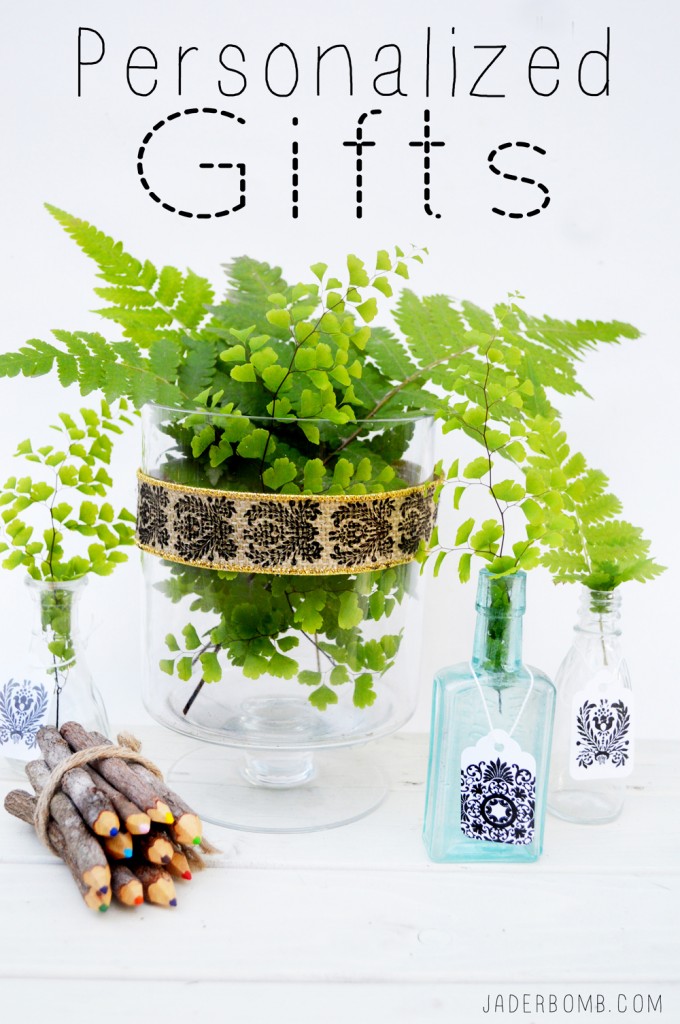
The holiday’s are coming up and let’s face it, nobody likes store bought tags. I wanted to show you a simple and affordable way to achieve a “fannn-cyyy” look for a “fannn-cyyy” price! <—- yes say it like it’s spelled. I even threw in how to stamp your own ribbon.  This year we will make it all about personalized gifts.

Now your gifts will be bursting with DIY’ness.

Personalized Gifts

YOUWILLNEED

Tags | Burlap Ribbon | Martha Stewart Flourish Rubber Stamps | Love
***You can purchase all of these fabulous items in one spot by clicking on my affiliate links!

stenciled fabric supplies

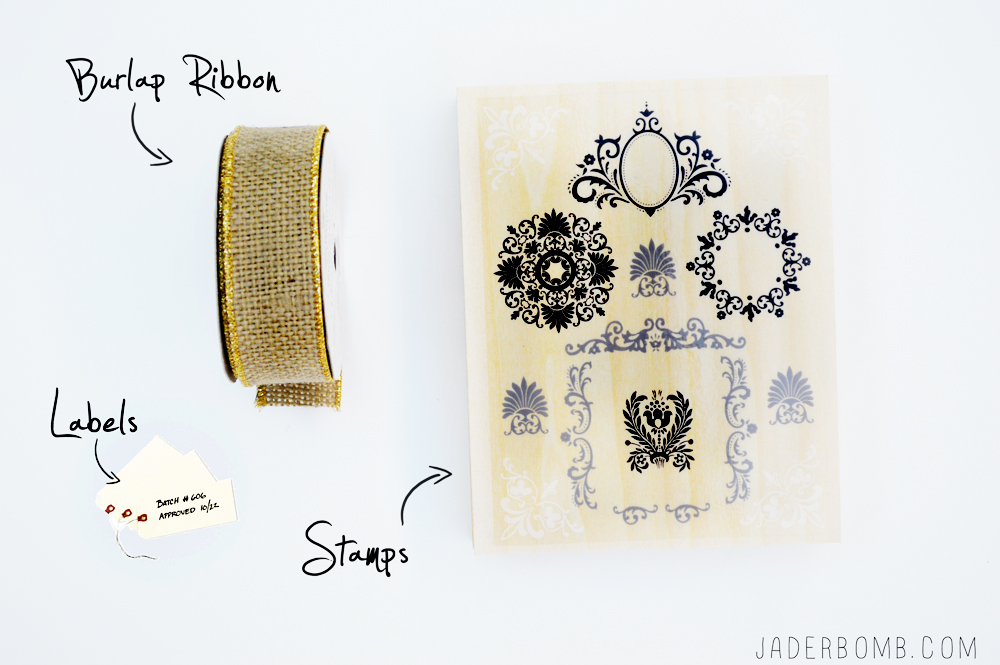
Pure love is what I felt when I saw how this flourish rubber stamp set was packaged. Shoots I would buy it just for the box, y’all! It comes with 10 stamps and 3 colors of ink. Black, White & Silver. Perfect for any holiday decor. how to use a stamp

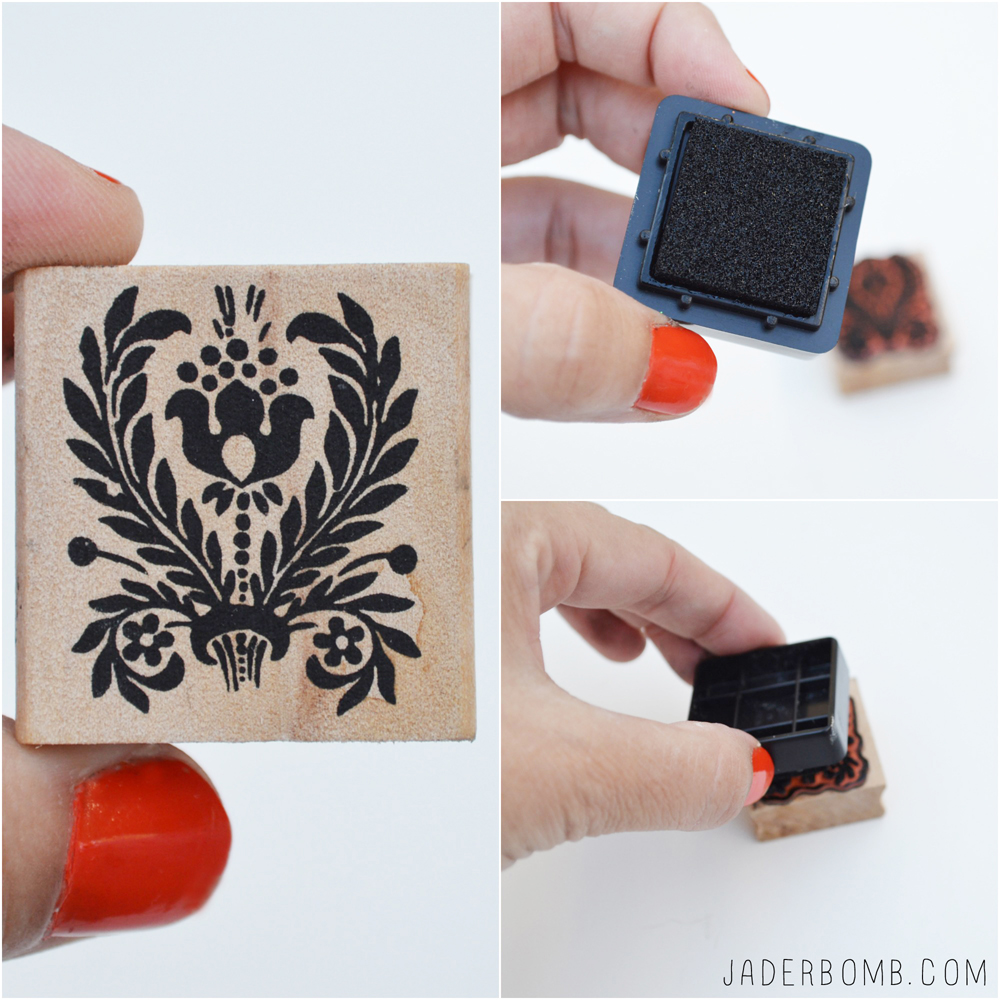
Since my tags were fairly small I decided to use a stamp that would fit perfectly on them. I also used a big stamp that went off the edges of tag and it came out so cute!

how to stencil fabric jaderbomb

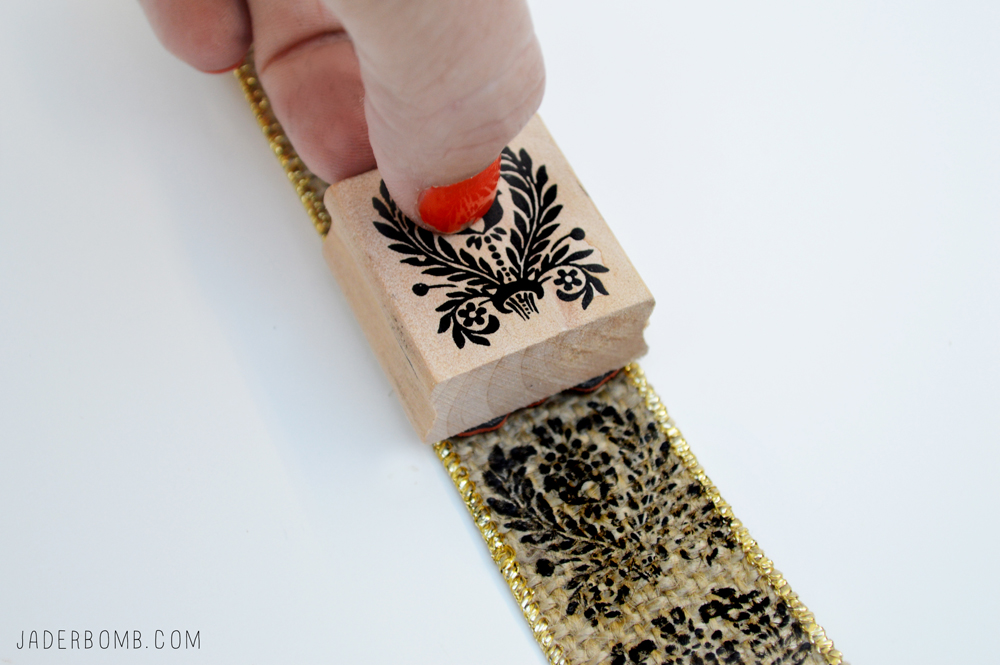
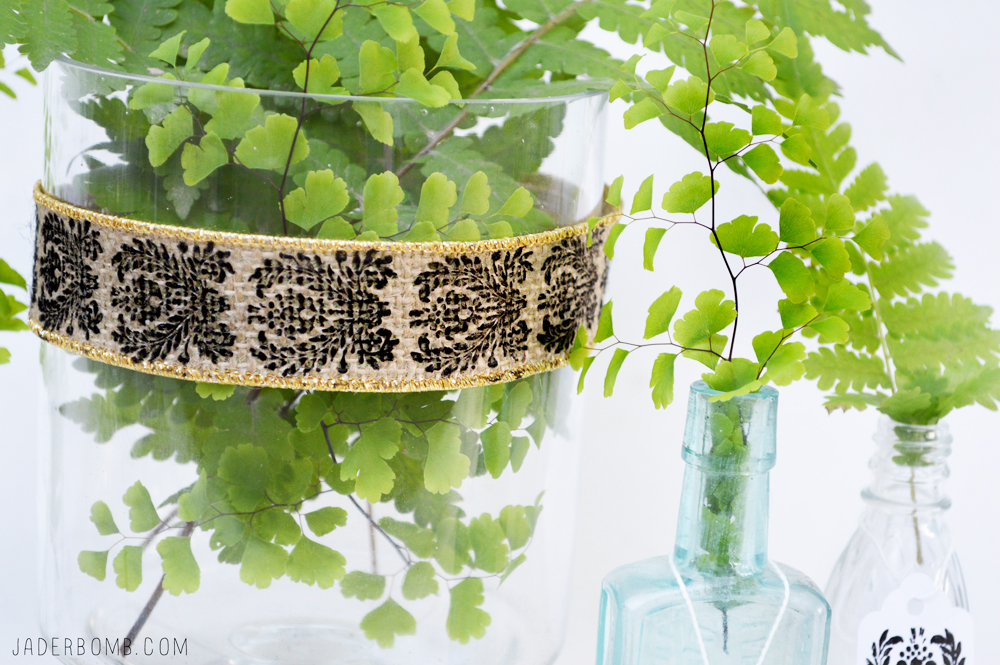
Since your packages or bottles of wine will have a fun tag hanging from them why not add a little embellished ribbon to go with it.

I mean, it would really top things off. You could also wrap this stamped burlap ribbon around a candle or add it to any wreath for a pop of DIY.

How to print on burlap

Stenciled Labels 12 months of martha jaderbomb

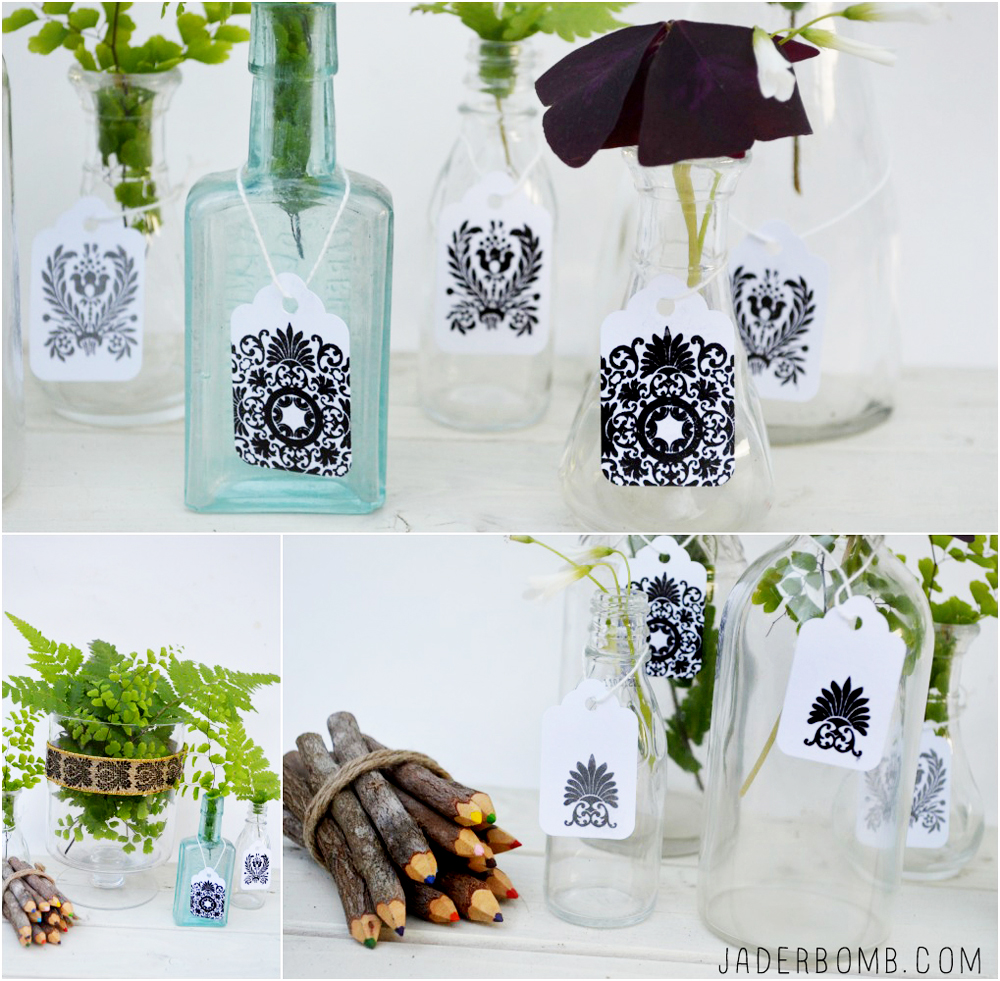
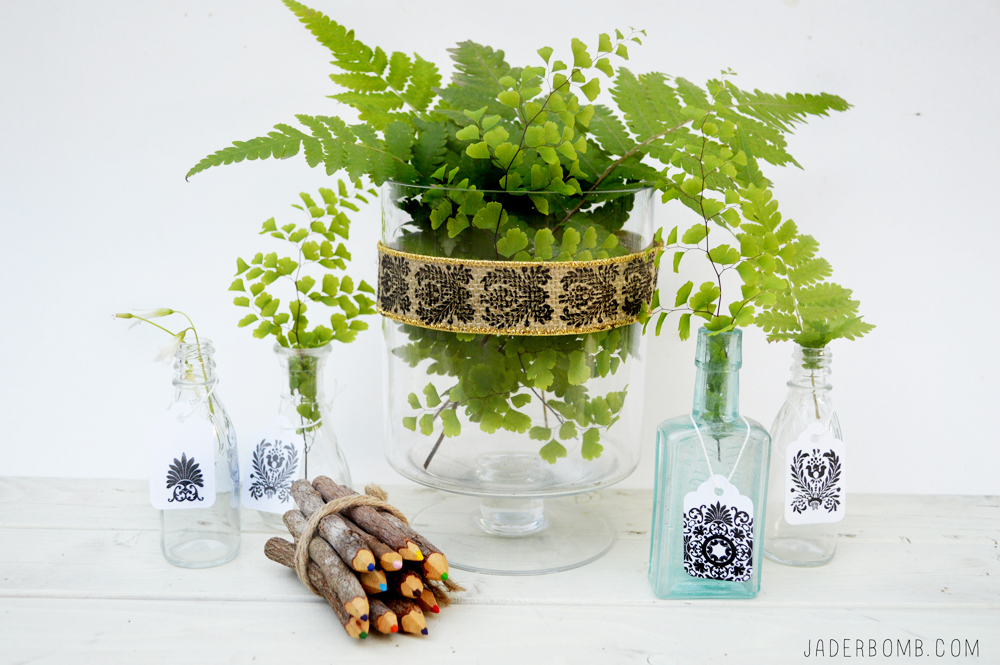
These can be used for practically anything. I will be using them as gift tags for Christmas but I wanted to show you how you can use them as part of your display also.Stenciled Fabric

Personalized Gifts DIY 12 months of martha

I hope you enjoyed this 12 months of Martha post. Check out what else I made for Martha. If you are on Instagram, Twitter or Facebook make sure to search or share my pics by using this hashtag #12monthsofmartha and #jaderbomb

Wanna really stalk me? Come visit me on Facebook, Twitter, Google+, Pinterest or Instagram.

ending

Happy CYBER MONDAY Jaderbugs! I hope to have all of my tutorials up before the end of the week showing you all of the “cheap” ways I decorated our Christmas tree. I always believe when you make your own things they look so much better than store bought items. Don’t cha agree?

Today’s tutorial is so soft and fluffy. When I was in the store the other day I started looking at garlands and when I saw the prices on them I was like “ER MY GERD”… I couldn’t get over the prices of them. I figured out in that moment I would make my own. I wanted something to look like SNOW… Then it clicked.

COTTON BALLS

Are you excited yet? The great thing is you can have your kids help with this, just be careful of the needle. I think they make kid proof needles I am just not sure where they sell them. I mean. What is kid proof? Can they not stab themselves with it? Will it even go through clothes? See… I just don’t know ~

INGREDIENTS:

*cotton balls
*needle
*thread 

I purchased all of my ingredients at Walgreens. Make sure when you purchase your cotton balls that you get the JUMBO ones. I accidentally got the small ones and you can totally tell the difference. The big ones look so much better.

Start off with ONE large cotton ball.

Carefully string your needle right through the center of the cotton ball.

Pull the string through and continue until you have enough for your tree. One piece of advice. I though I could have ONE long garland but because you are using thread it sorta breaks easily if there is too much weight. I know you are prolly thinking…cotton balls, weight. Trust me it breaks.

I like to do about 20-30 cotton balls and then stop. It just works better. I am sure if you used the small cotton balls you could make one big garland but these jumbo babies are huge! 

This is what you will get JADERBUGS! It’s so much fun right. I really like it because it’s super affordable and honestly. I think it looks better than a store bought garland.

Here is ONE of our trees in the house. Tutorial coming soon on how we make this bookshelf so stay tuned!

If you decide to make one please post it on my Jaderbomb facebook page! I love showing the things you make.

Don’t forget to make it a DIY kinda day,

Facebook Twitter Gplus Pinterest YouTube E-mail RSS