Tag Archives: deer stencil

Today we are getting all urban country making a Stencil 1– Deer Stencil Table Liner using my best friend Ed Roth’s banging stencil line.

Check out these rainbow coasters I made using some of his stencils with Plaid! OH WAIT: Check out this ginormous yarn bombed deer that will stare at you till you are blue in the face. Literally.

Ed Roth Stencil 1_jaderbomb

Not only does he have the cutest face on the planet but he gives the best hugs in the world.

Now if you know me then you know I live in the South, specifically Louisiana which means everyone here loves a good deer in their life. I sometimes pretend I am living in New York with the sounds of horrific traffic in the background and the only chance I will see any deer is by using a stencil like this. I guess I’m not the kinda girl who likes to eat them or hang them on my wall as “decor” but more power to those that do. Today I am showing you how to use this stencil in a spectacular way. So put on your boots because we about to get COUNTRY, urban country that is. On another note check out this business that really is called “Urban Country”. It’s legit.


 Stencil1 has collaborated on DIY events with high-profile brands, like The Gap, Converse, Sharpie, and Etsy, to engage their customers and grow their base through interactive, creative, hands-on experience. Ed is an engaging host who knows his stuff and is equally comfortable in front of a crowd and a camera.
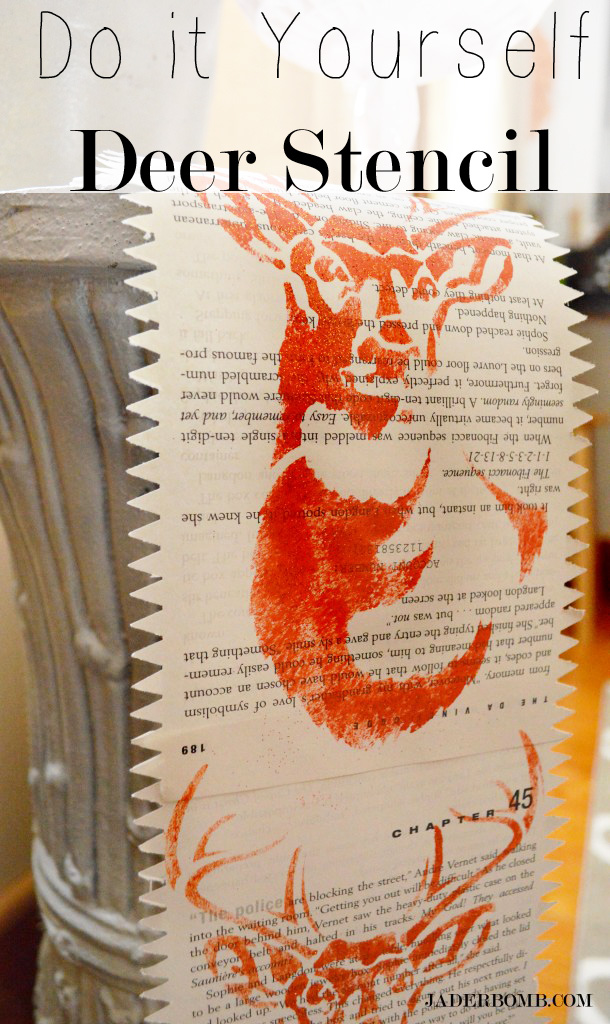
Stencil 1- Deer Stencil Table Liner

YOUWILLNEEDEd Roth Deer Stencil // Book // Craft Paint // Glitter // Craft Knife // Scissors // Tape // Pouncer // Fiskars Paper Punch
DSC_0015
Step ONE: 
Tear out a few pages from a book. You can use any book that you have laying around but for some reason I always crafts with pages from Twilight. I guess I am still a die hard fan. Yes. I still dream of turning into diamonds like Edward did. Go ahead, judge.

You can rip the pages out or use your crafting knife to get a nice fine line. If you don’t have one just grab your trusty pair of scissors.

Step TWO: Get your paper punch and punch those pages till they can’t be punched anymore. Notice I am only doing the sides of the sheet. It’s kinda like edging your hairline or your yard. I think. I don’t edge either of those so it’s just a guess.

Step THREE: Line the pages up on top of each other and tape them down on the back side.
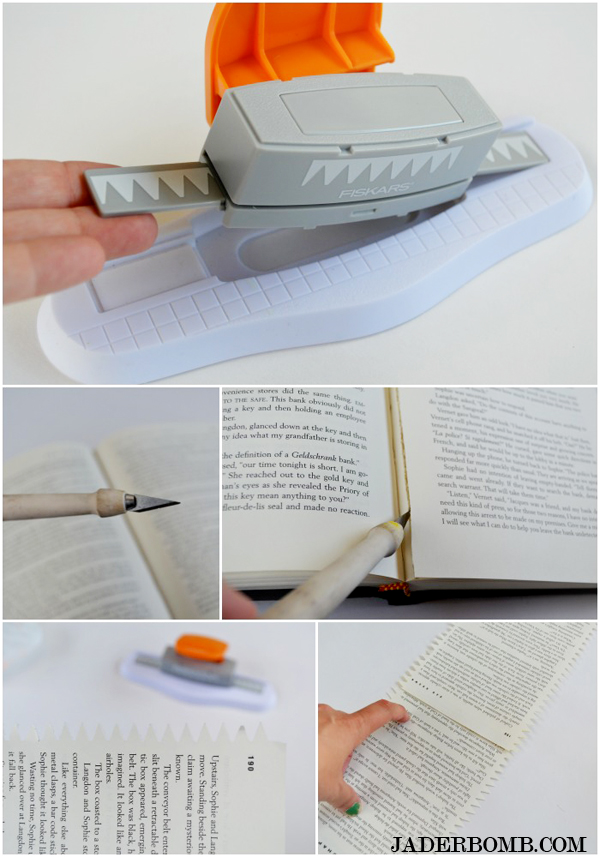
book page paper punch
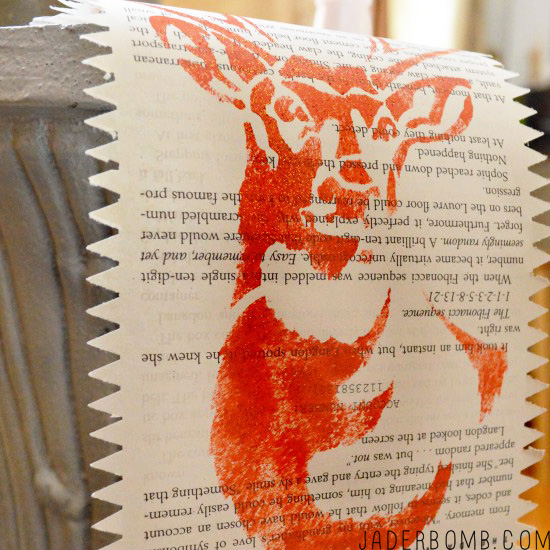
Step FOUR: Grab your deer stencil and place it on the bottom of your “book sheet table liner”. Grab your dauber and pounce your little heart out with your color of choice.Continue doing this until your get to the end of your liner.  I liked the masculine look of orange or I just thought it’s was sorta “Urban Country” looking. While your paint is still wet sprinkle a little bit of glitter on top and let it dry till the cows come home. That is about 20 minutes.

Or if you are impatient like me you could blow dry that baby.
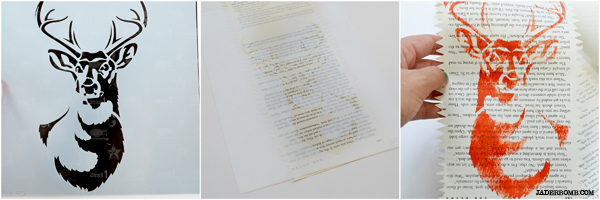
book page table runner deer head stencil

craftgawker1

Note cards are always fun to make which is why you have to see what I made on some precious rainbow cards!

Don’t forget to connect on social media! Make sure to use use the hashtag #JADERBOMB and you might see your stuff on Instagram or Twitter or Facebookor Pinterest.
HAVE A GLITTERY DAY! ♥, Jade

HASHTAG LOGO


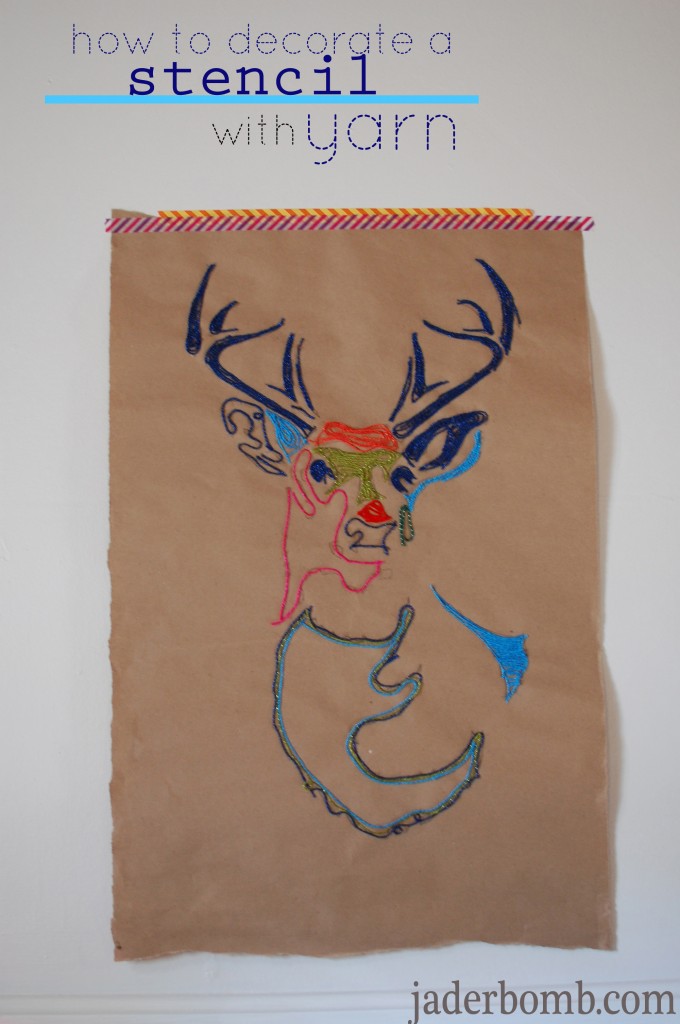
  Stencils R’ Us… Have you ever wanted to yarn bomb something.  I see trees wrapped in delicious yarn on the internet however I have never seen one in person. Maybe one day! What I will show you today is how to “yarnbomb” an outline of a stencil. My good friend Ed Roth has a stencil line that is UH-MAZING. His company is called Stencil 1. When I received his book and stencils in the mail I remember screaming in my car when I saw this large deer head stencil. My friend Ben was with me when they came in and he tried to secretly take it, epic fail. I originally wanted to take this stencil and trace it on a canvas until I realized that was the “normal” thing to do. There is nothing normal about me…

So, put on your yarn belt because it’s going to be a fun ride.

yarnbomb-stencil1-jaderbomb


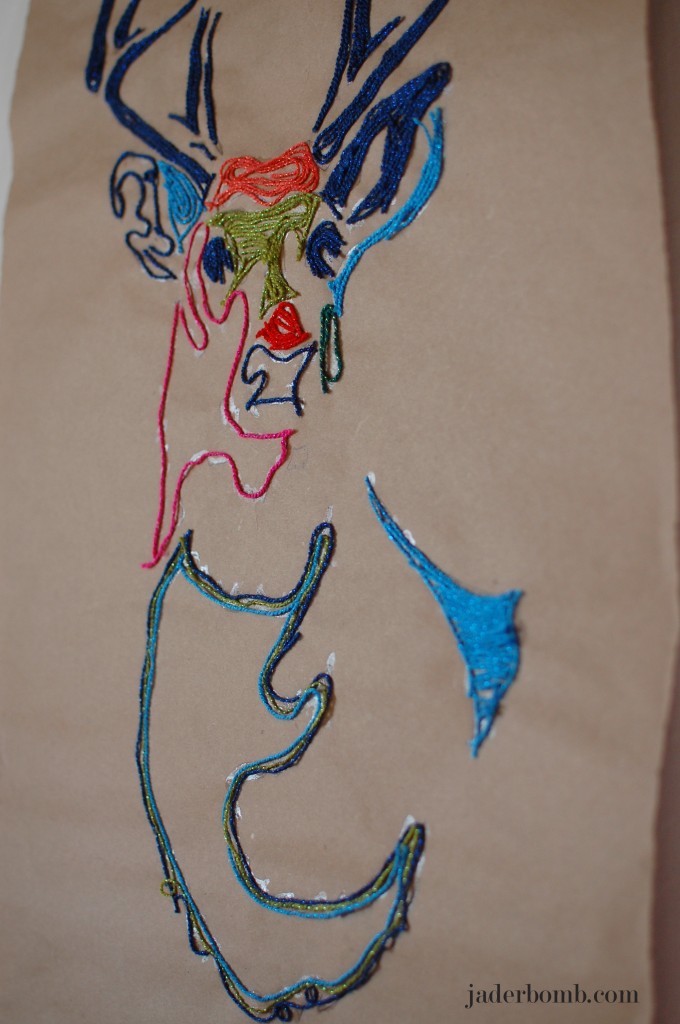
I am so happy with the way it came out. I looks like it did in my head, but better. There is something so modern and chic about it. Let’s get started.

yarnbomb-stencil1-jaderbomb

jaderbomb

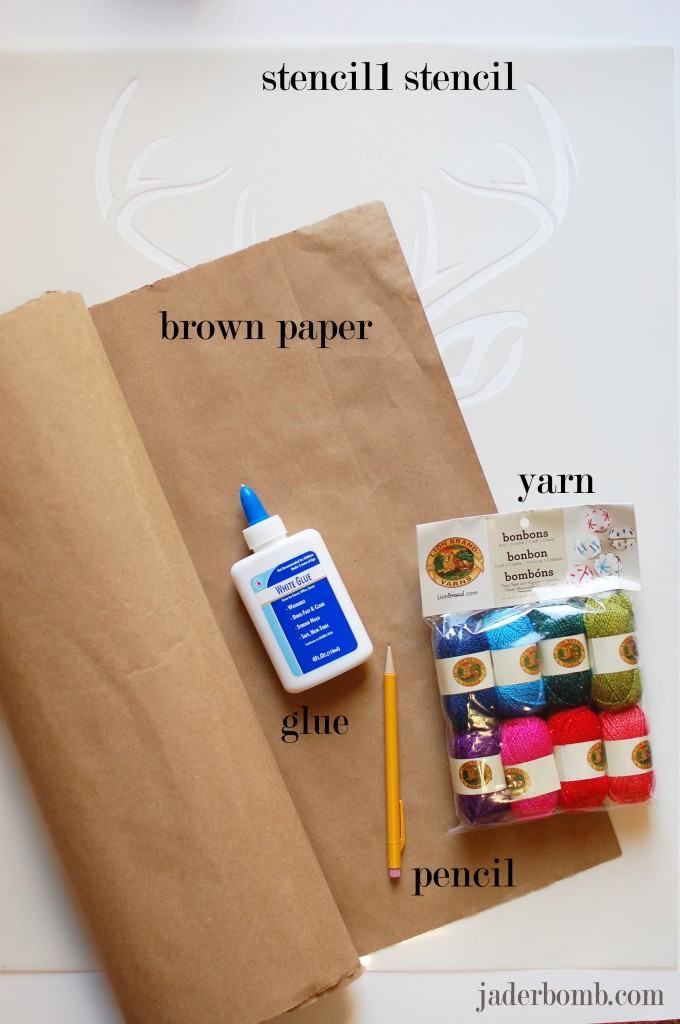
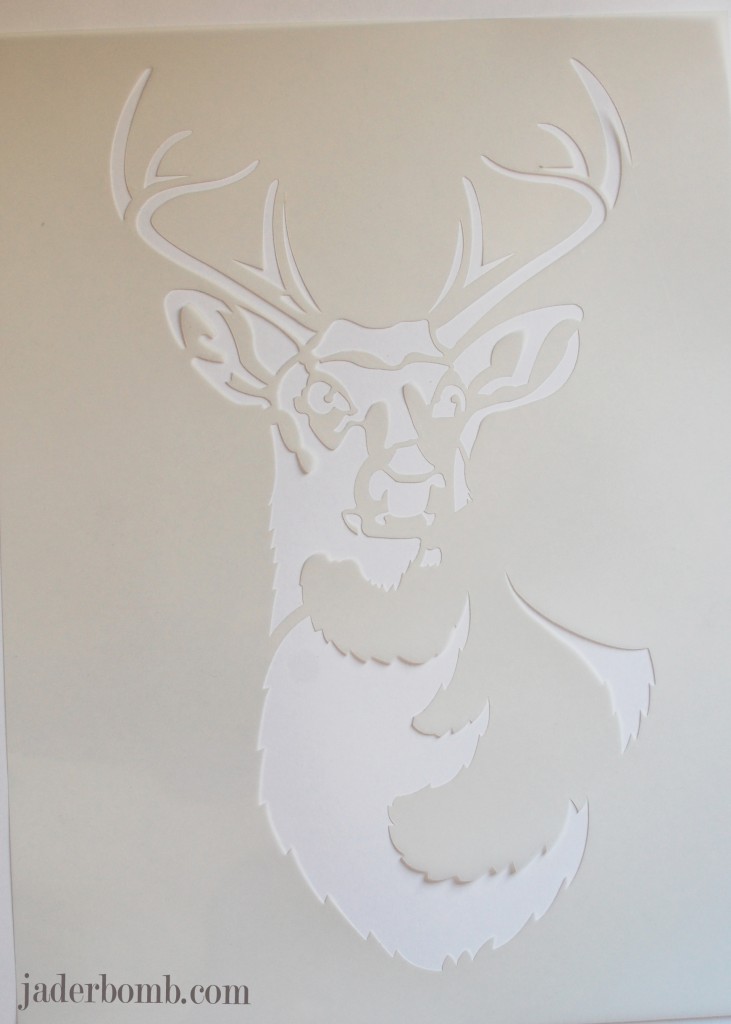
*Stencil 1 Stencil “Large Antlered Deer 24×24”
*Brown Kraft Paper (this came with the stencil-Recycle)
*Glue
*Pencil
*Lion Brand BonBon Yarn
*Lana Del Ray Paradise Soundtrack to put you in the zone

Click on links above to order from one spot.

yarnbomb-stencil1-jaderbomb

The first thing you will do is lay out your stencil for a little while until it is completely flat. These stencils are made from a sturdy material and the thickness of the stencil is perfect.  Surely worth every penny.

yarnbomb-stencil1-jaderbomb

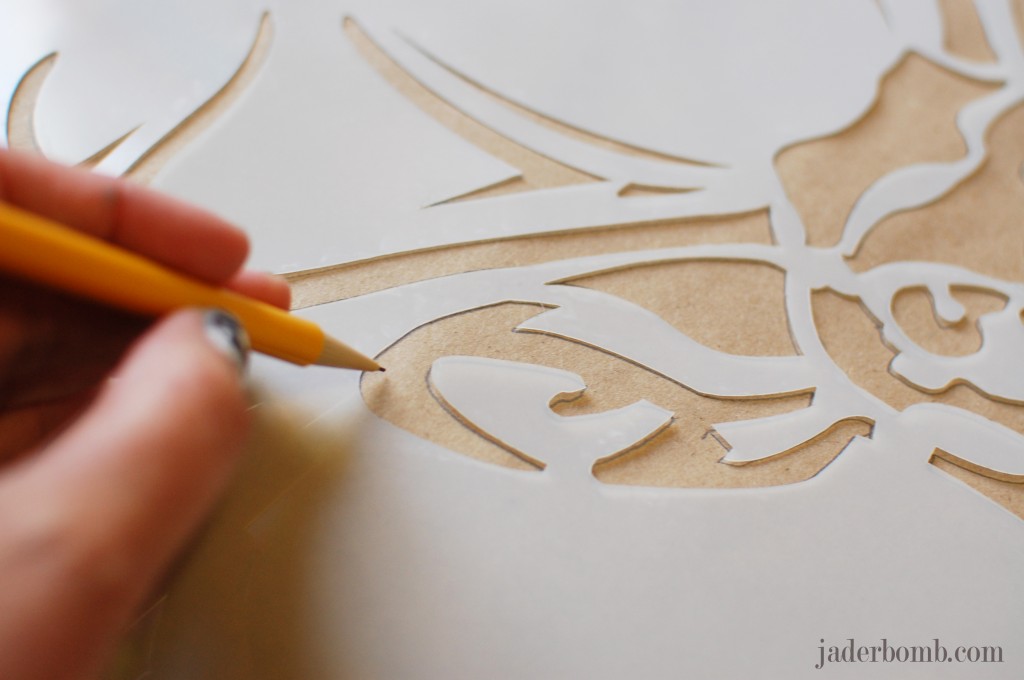
Tape it to your brown kraft paper and start tracing. Don’t rush this part.

yarnbomb-stencil1-jaderbomb

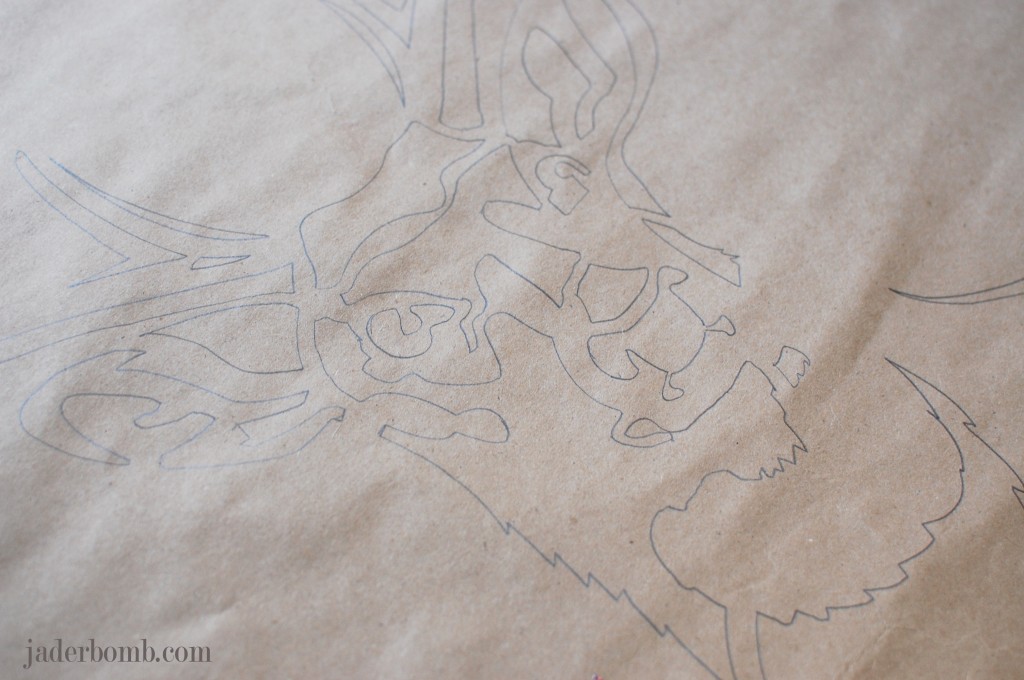
It will look like this when you are done tracing.

yarnbomb-stencil1-jaderbomb

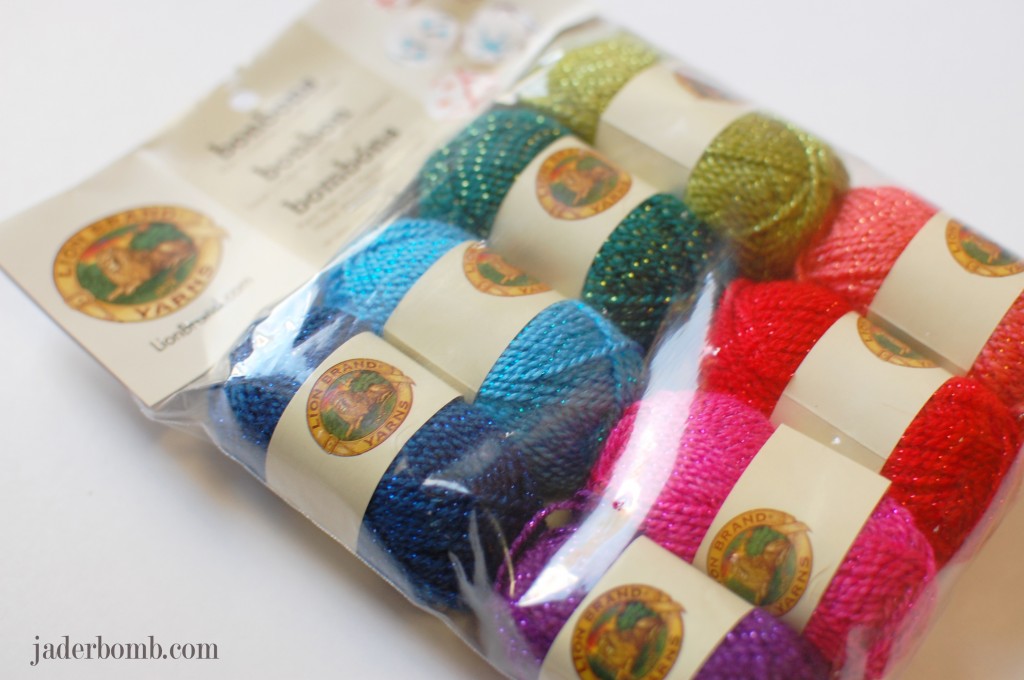
I got this pack of yarn from Lion Brand Yarns and I felt this was the perfect time to break them out of the package. The quality of the yarn is soft and delicate. There is a hint of shimmer in the yarn which is so smart. For those who love glitter this will give you your fix and those who might not love glitter this is a way to add it to your life without the mess.

yarnbomb-stencil1-jaderbomb

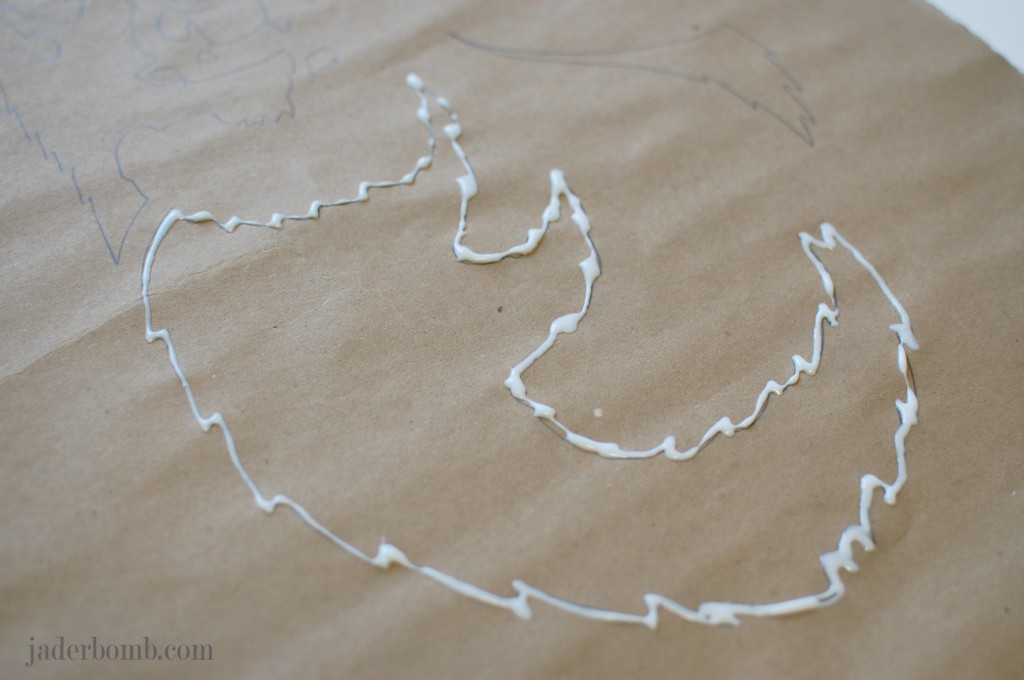
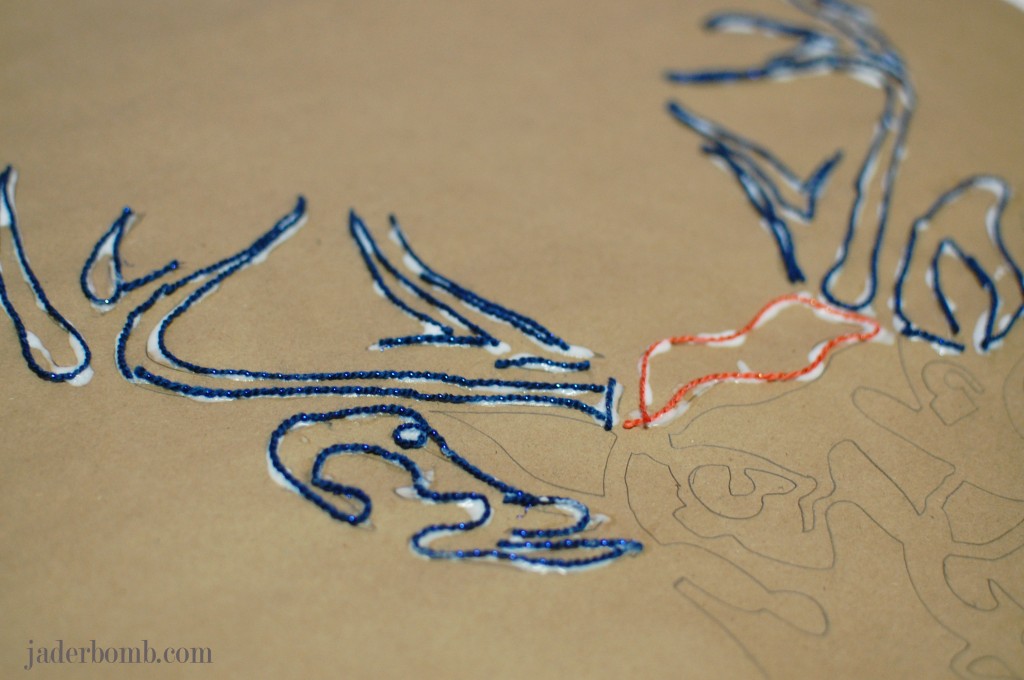
Start by outlining a section of the stencil with your glue.

yarnbomb-stencil1-jaderbomb

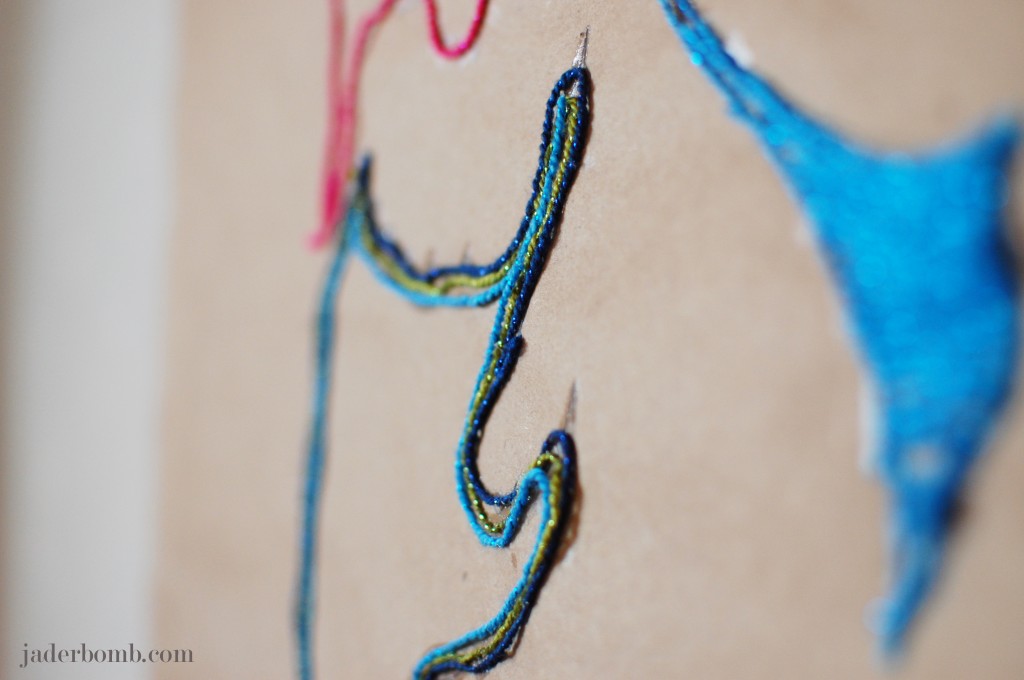
Next you will gently place the yarn right on top of the glue. Initially the glue will be white but when it is fully dry it will be translucent.

yarnbomb-stencil1-jaderbomb

See! This is the part where you decorate your deer head in your own way. I wanted to fill some sections in and leave some empty. It sorta represented absence to me.

yarnbomb-stencil1-jaderbomb

I am showing you this picture because I want you to see how the glue looks before it is dry. Don’t let this step freak you out. When you are done set aside and allow to dry completely. You will be left with a fabulous shabby chic art piece.

Ed-Roth-Stencil1-Jaderbomb

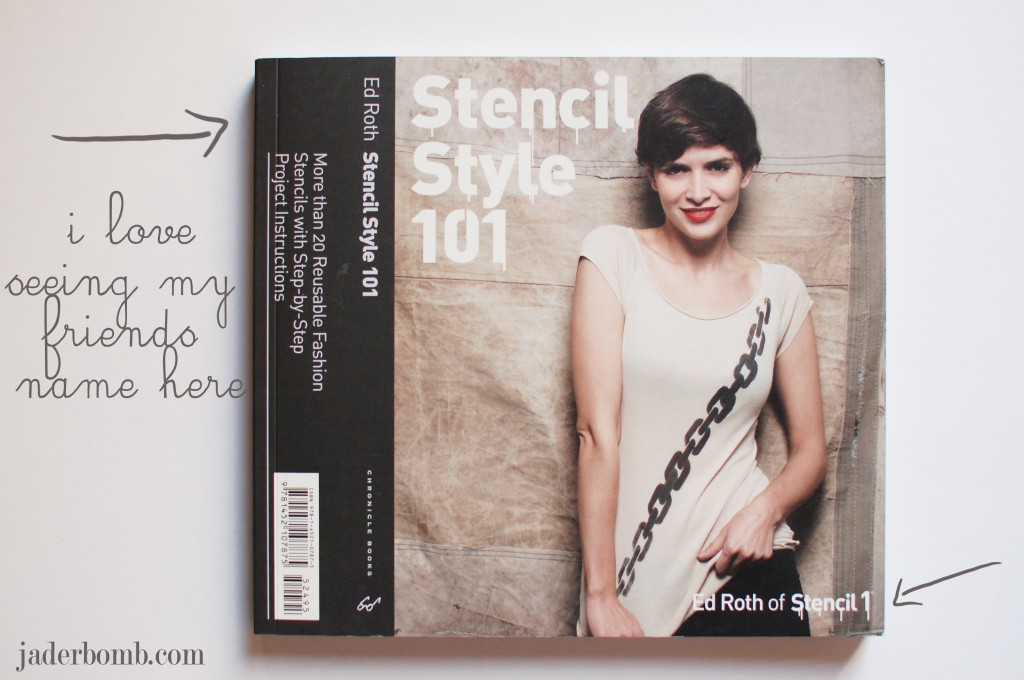
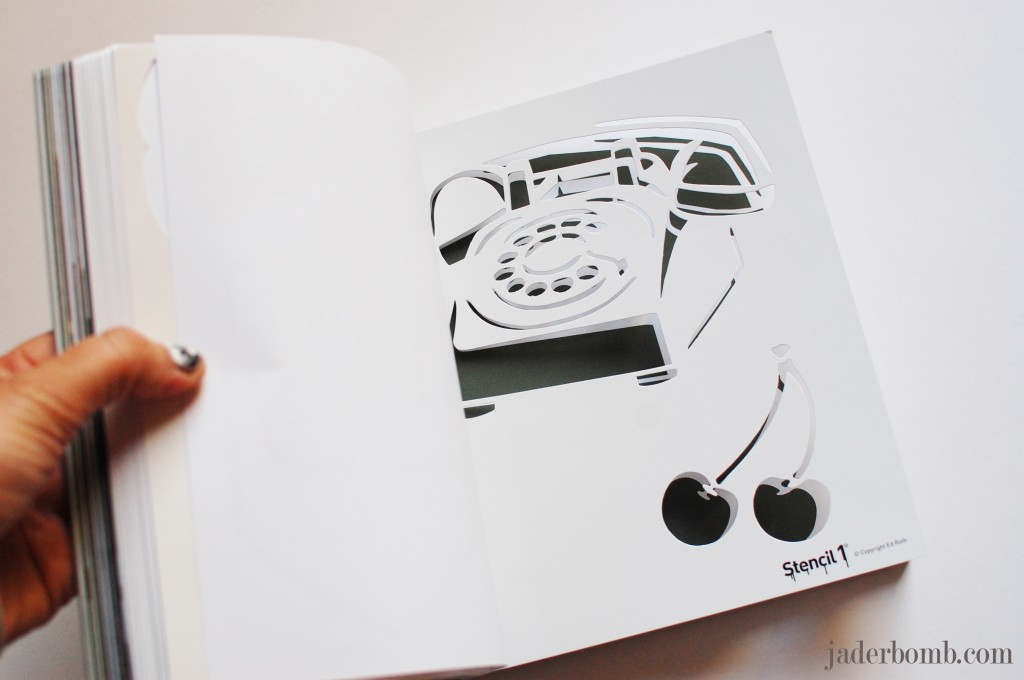
I am so proud to call Ed my friend. He is so talented and I promise you will see his name around very soon, in BIG places. This is one of his books. Yes, I said “one” of his books. I was so impressed when I saw the inside because it is a book unlike any I have ever seen. It has stencils in it along with instructions on how to use and take care of your stencils. You can order this book HERE.

Ed-Roth-Stencil1-Jaderbomb

This is just one of the stencils in his book. He has the best retro images I tell ya.

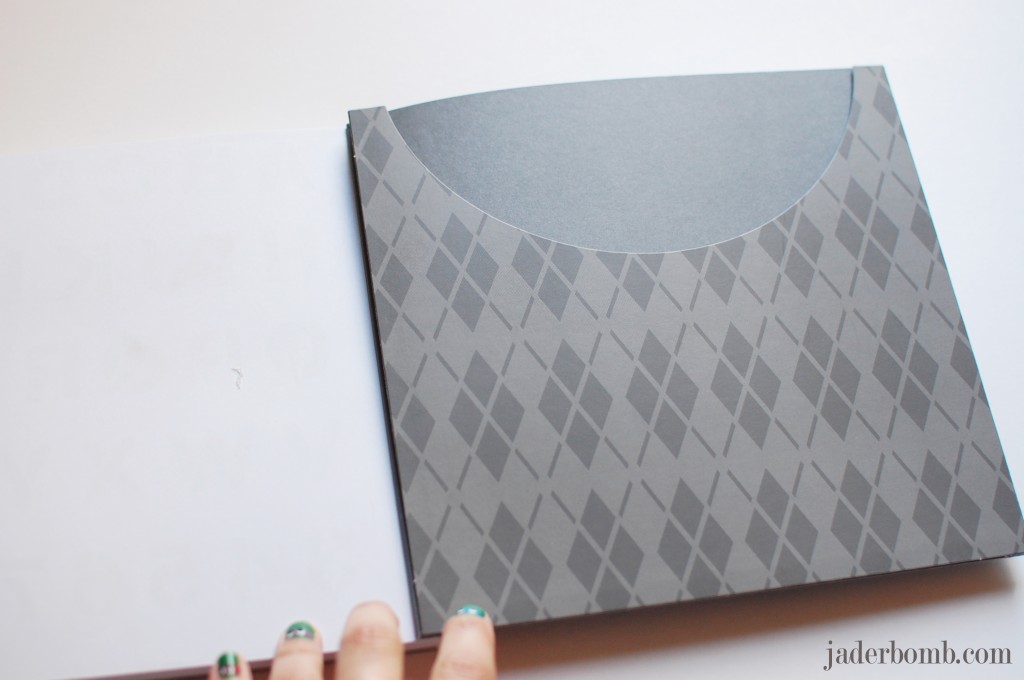
Ed-Roth-Stencil1-Jaderbomb

My favorite part is this folder in the back. He is so smart. So when you use a stencil in the book you place it in the folder when you are done so you will not ever loose it.

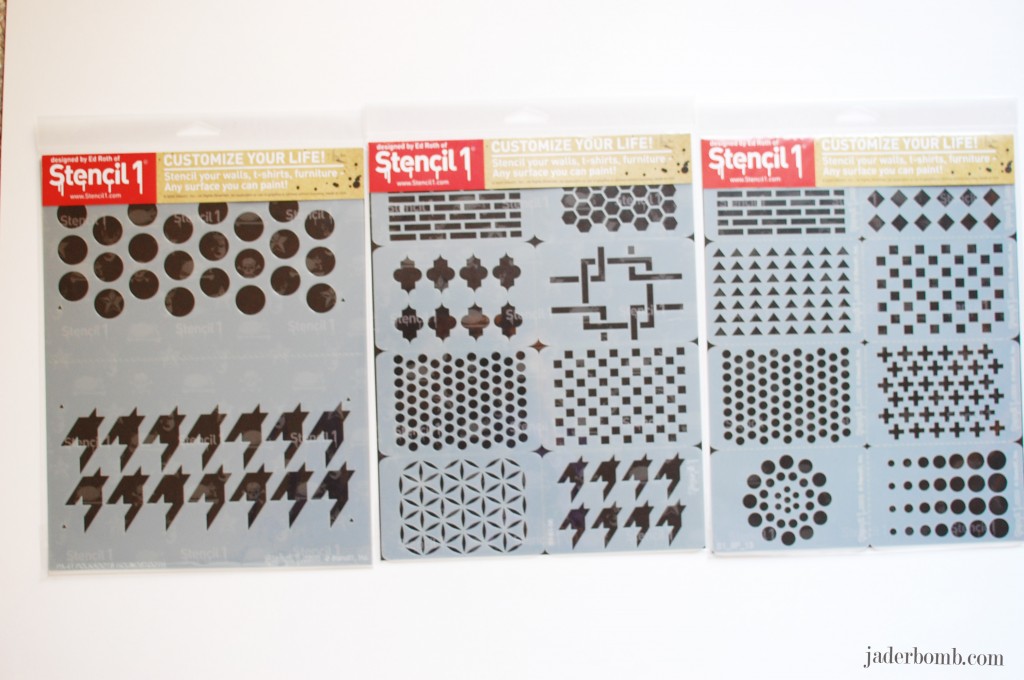
Ed-Roth-Stencil1-Jaderbomb

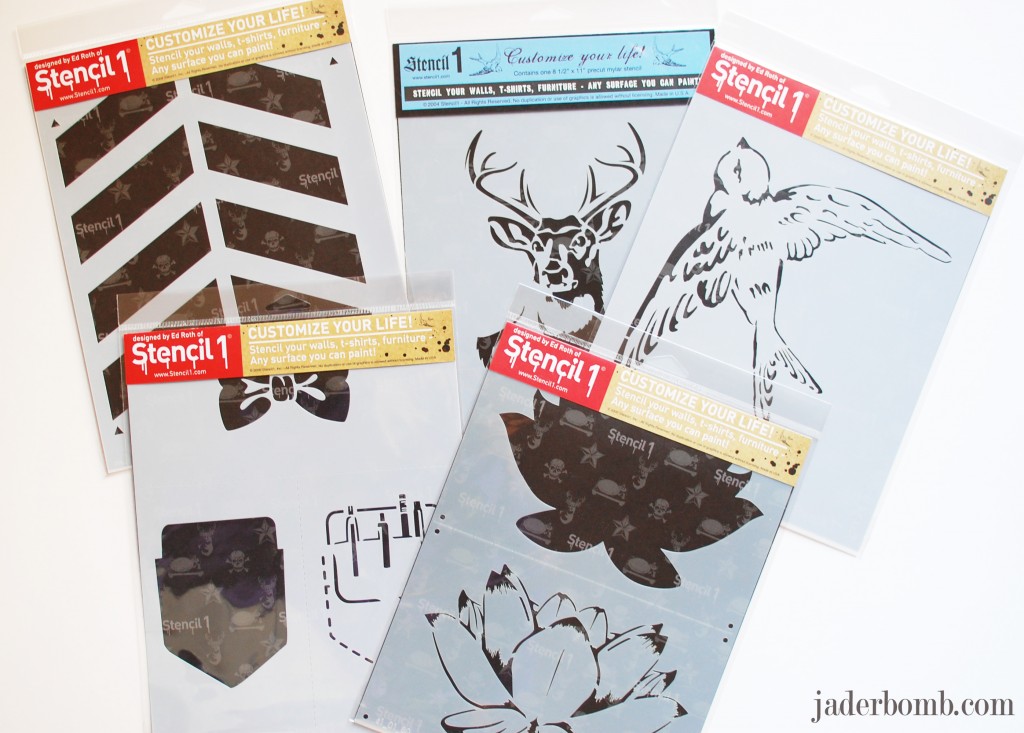
These are other packages of his stencils. You can see all of them HERE.

Ed-Roth-Stencil1-Jaderbomb

I can’t’ wait to show you the other projects I am working on with his stencils.

I hope you enjoyed this tutorial!

jaderbomb

This post is brought to you by Ed Roth’s stencil line Stencil 1. I received product for this post. All opinions expressed are 100% mine. You can check out Stencil 1’s line here.