Jewelry takes people’s minds off your wrinkles – Sonja Henie
Hey everyone! I am just getting back from the most amazing trip ever and I wanted to share this tutorial with you on making Color Blocked Gold Bracelets . I will be sharing more about the my trip later this week so make sure to come back and check it out!
If you are like me then you can sometimes be cheap! Very cheap!
I personally call it being “smart”, right. I found a set of gold bracelets a while back at Old Navy and bought them. Check out what I was REALLY doing there when I found them. I wasn’t sure exactly what I would do with them but I knew I would figure it out and it would be RAD. If you like gold check out this cute gold flag banner I made for a cake.
I finally decided I wanted to add a splash of color to them. Finger nail polish is the best thing to apply to metal because it stays on for a LONG time. Let’s get started. How beautiful are these bracelets. I knew they would be a hit on my vacation and now I am madly in love with them. I think I need about 10 more on my wrist.
You will need:
1. Nail Polish
2. Gold Bracelets or Gold Chain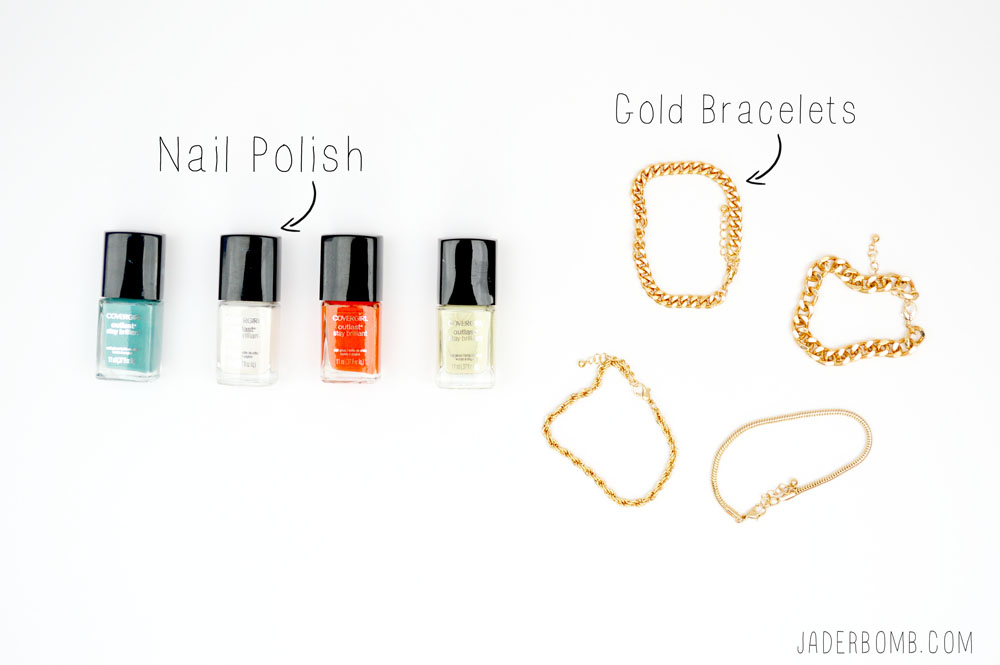 I am using Covergirl outlast stay brilliant nail polish. I am in love with all of their colors and they fit perfectly with my smile!
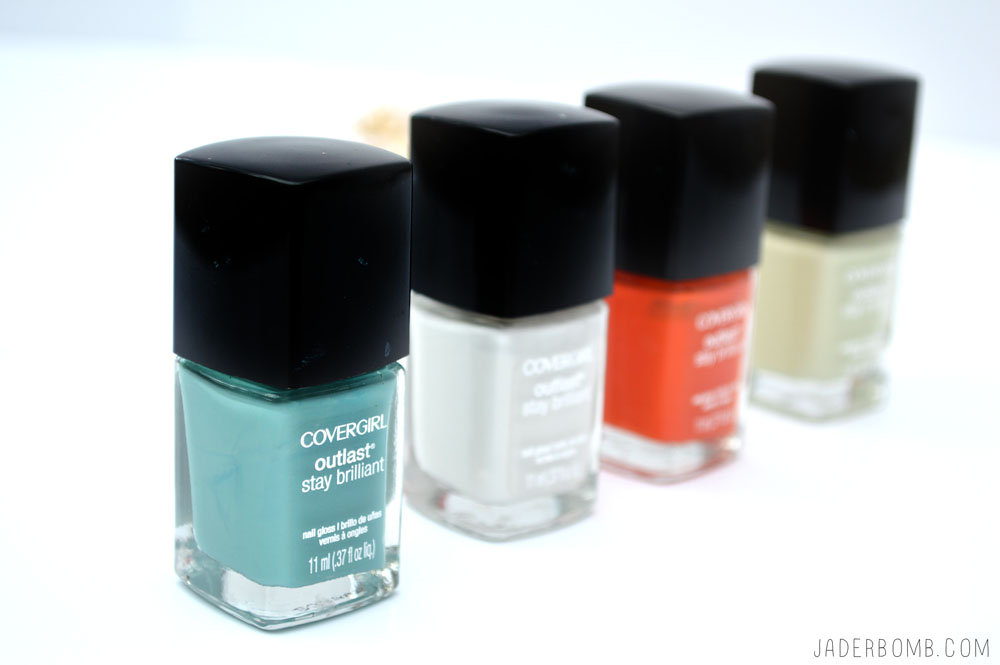
If you want to purchase all of the colors from one spot make sure to click my affiliate links below! The colors I am using in this post are:
1. Mint Mojito 285
2. Snow Storm 110
3. Go-Go Mango 245
4. Salt Water Taffy (not sure of number)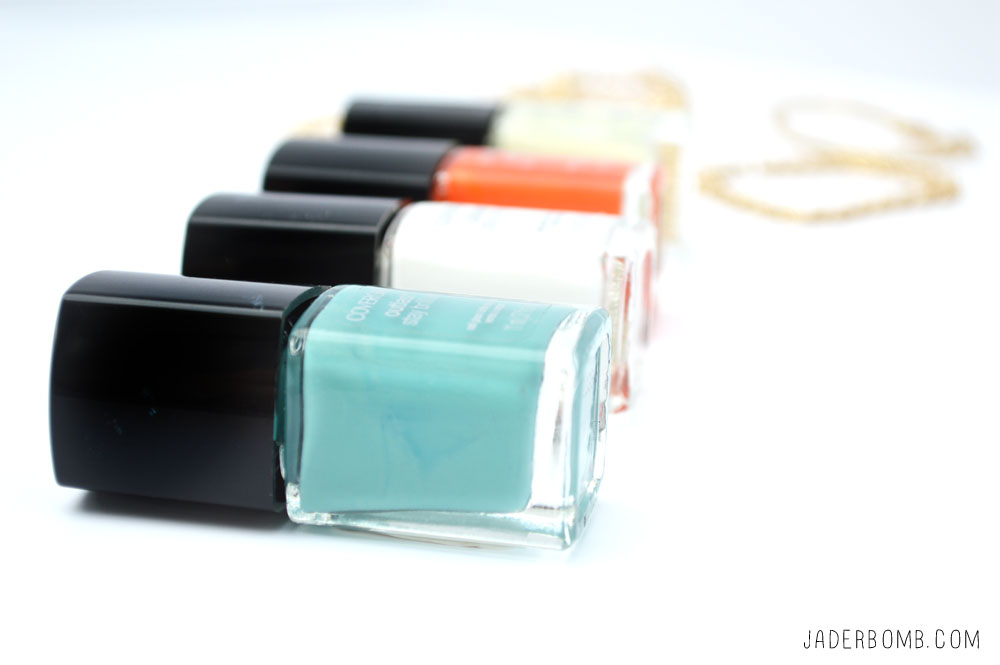
 Step 1: Lay out your gold bracelet on a clean surface and coat one side with nail polish.
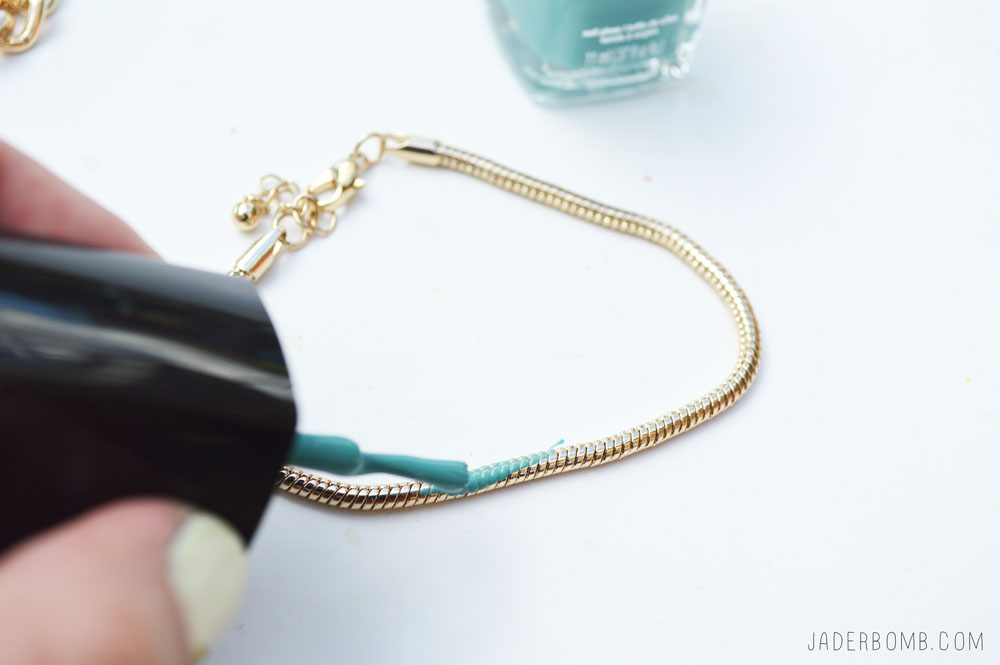 Move on to the next one and remember to coat one side at a time. It doesn’t take too long for the polish to dry. In 10 minutes you can flip it over and do the other side. I like to do about 2 good coats of each color. My goal is to give it a matte finish.
  You can see below how it will look if you only do one side of the bracelet. Depending on the links I would decide if I wanted to do both sides on some of them.
 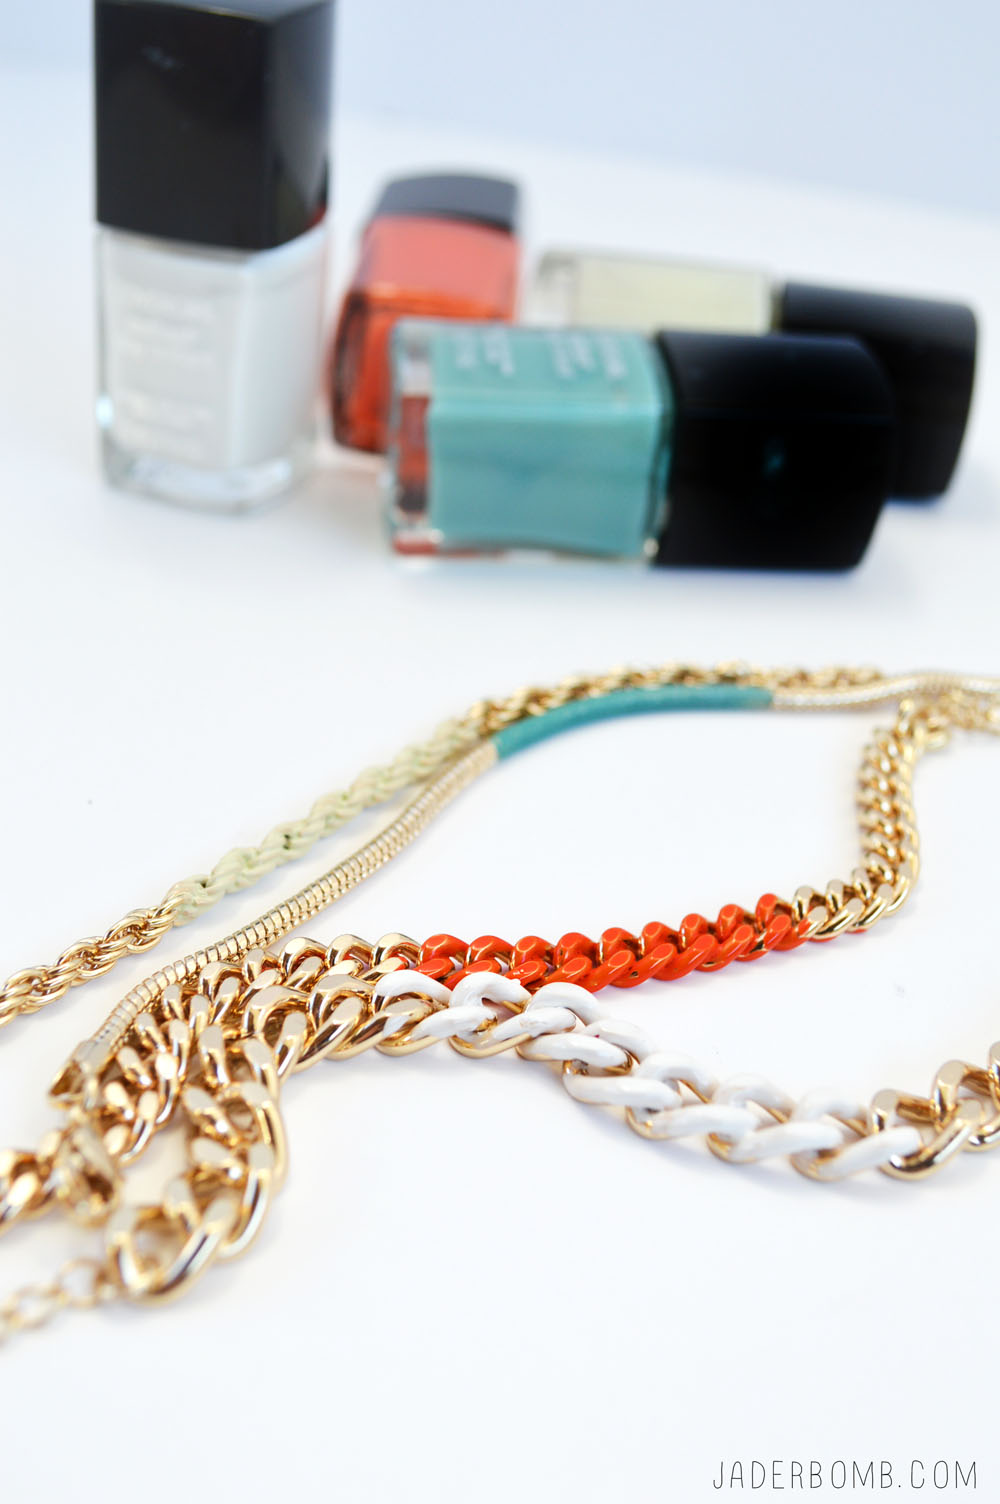 One tip I have when storing bracelets is to sling them over the top of a really cool jar. You can find these at garage sales or vintage stores. Plus it looks really pretty.
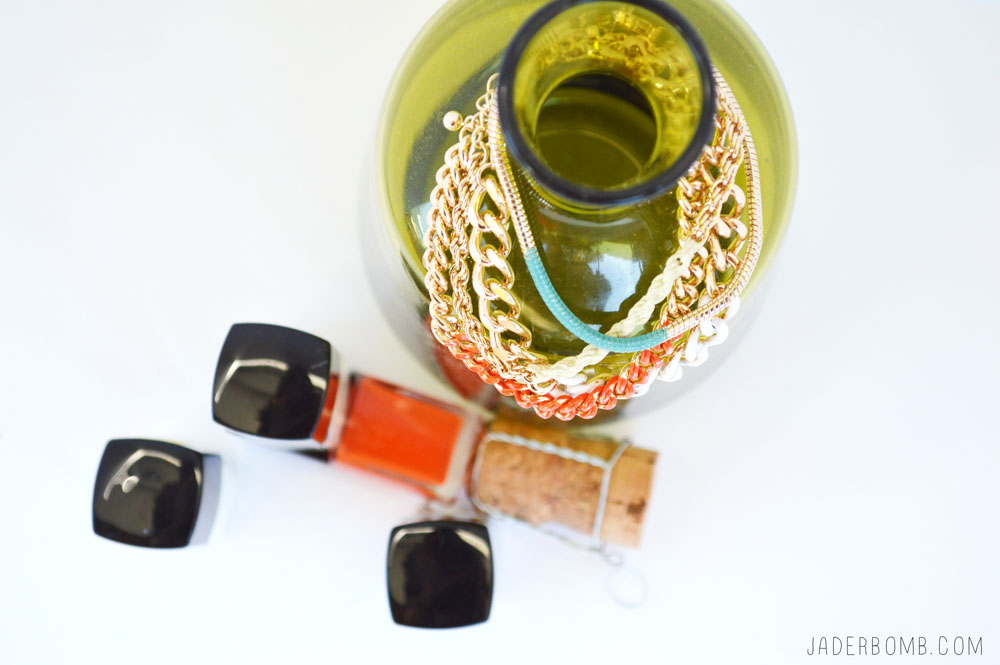
I hope you enjoyed this tutorial and you tell all of your friends about it…. NOW GO COLOR BLOCK!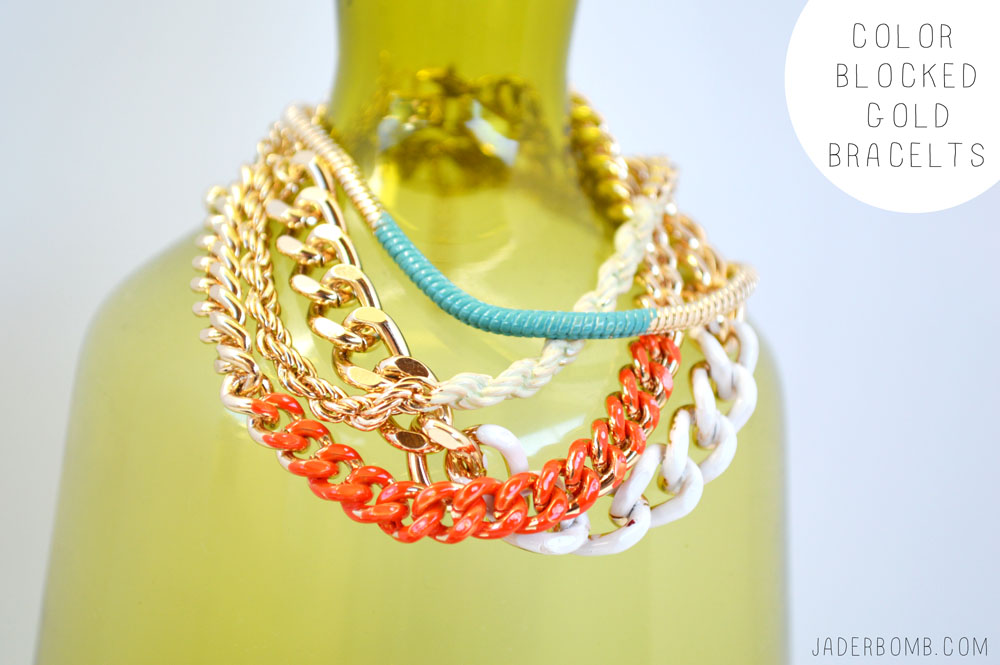
HEY! Easter is coming up and if you like to dye eggs then you have to see what I did with some HERE. If you like to give gifts for Easter then check out THIS! Everyone will love these babies.
Don’t forget to follow me on ALL of my SOCIAL MEDIA sites to see all the juicy and fun stuff I post! Just click on the links below and they will take you strait to them!
BIG HUGS TO ALL OF YOU GLITTERY CRAFTERS! XOXO, JADE

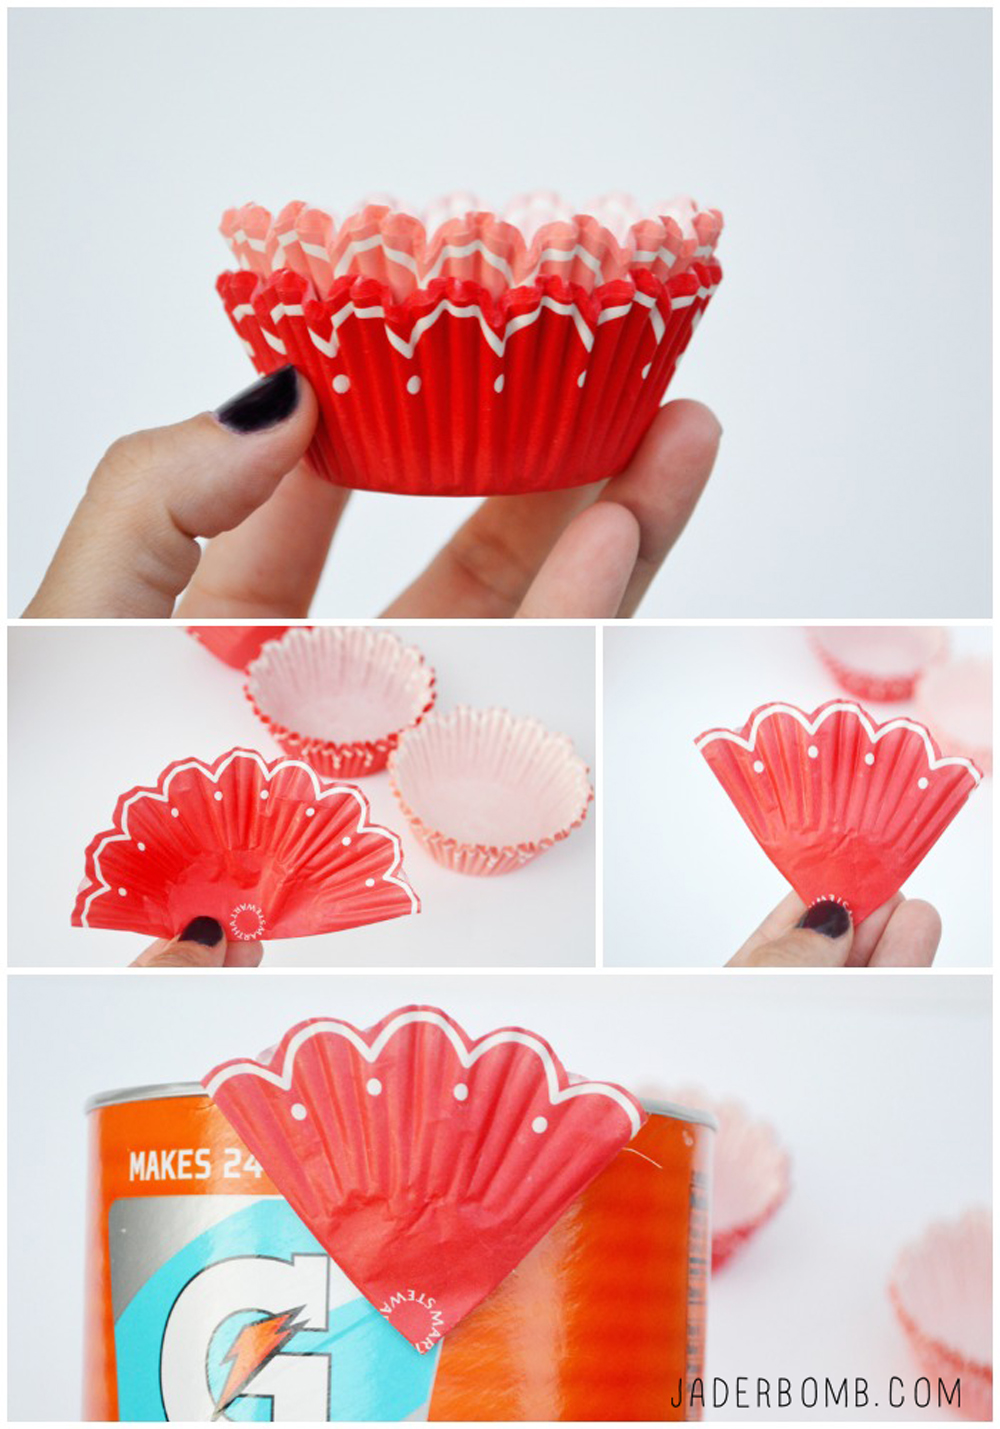
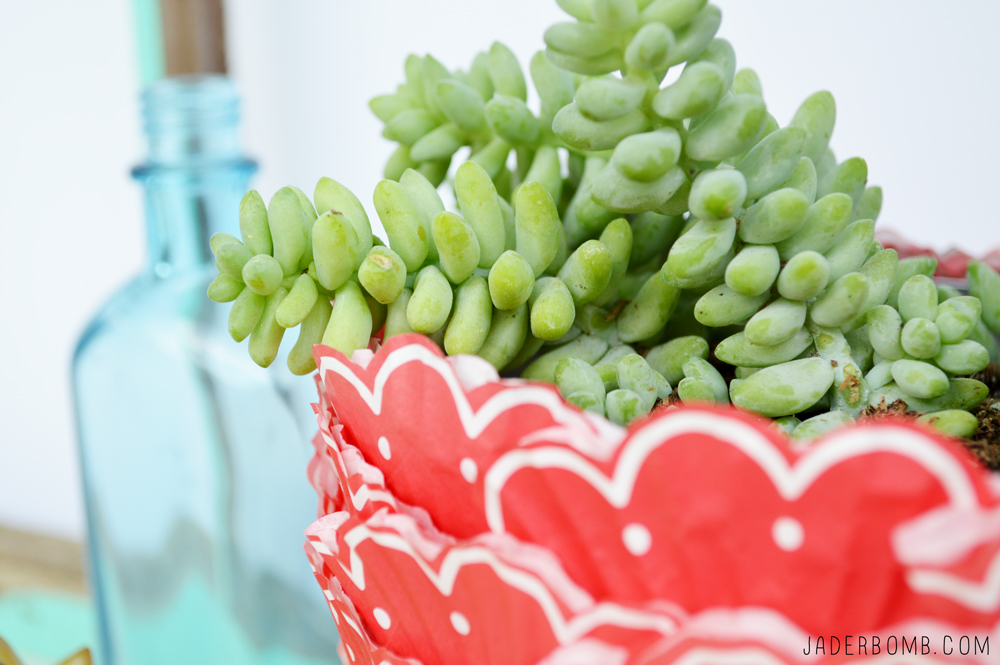
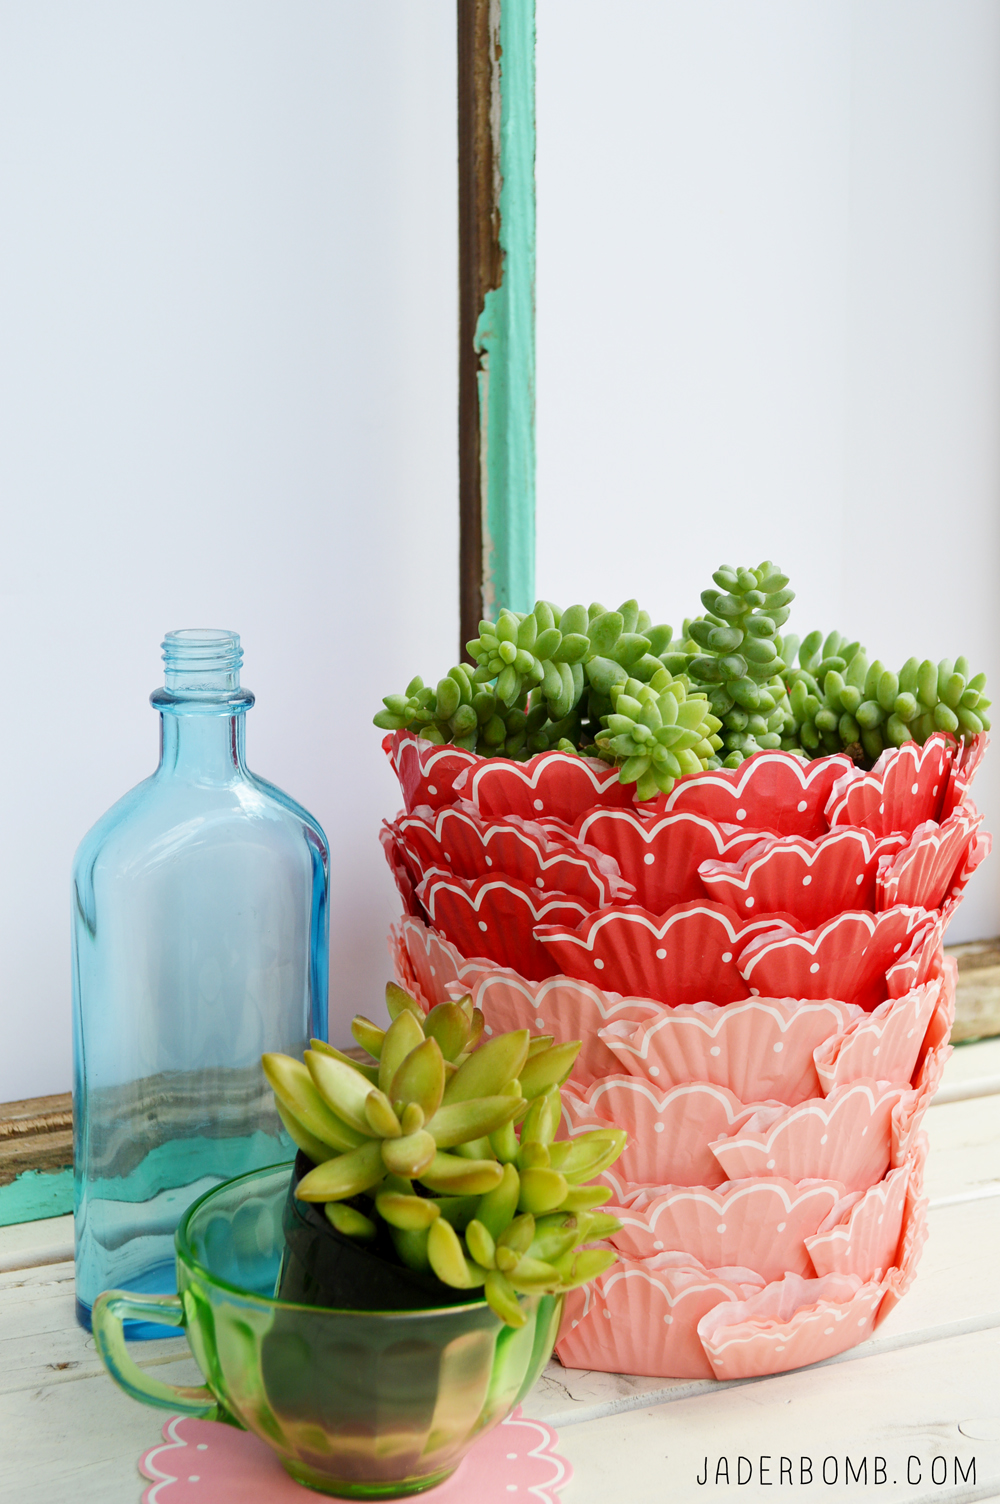
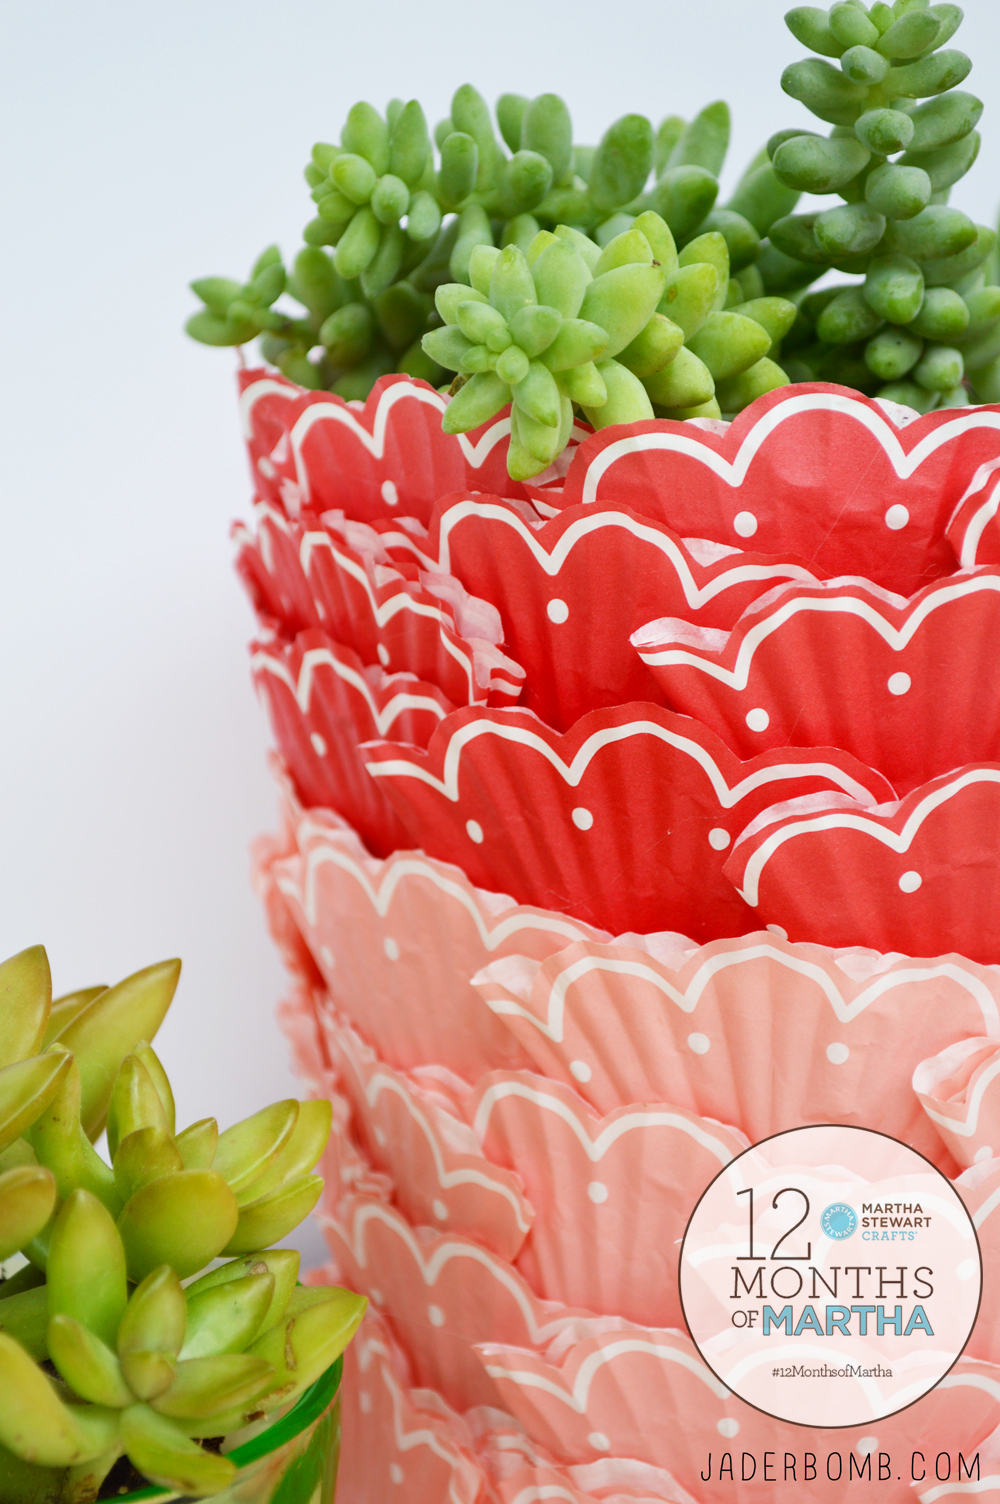
 Happy 12 MONTHS of MARTHA day! What? You didn’t know I blogged for my best friend? Martha just left and I gave her this cupcake liner planter that I made, she loved it…. (hehe) Check out all of my posts here. Don’t forget to enter my AMAZING GIVEAWAY!
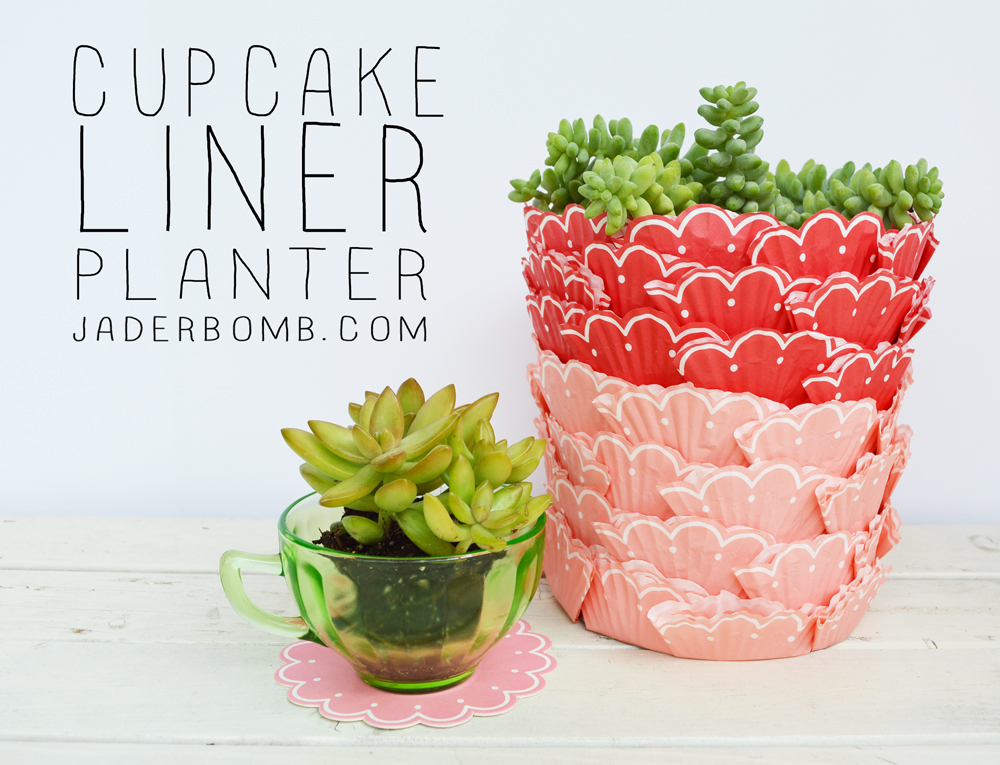
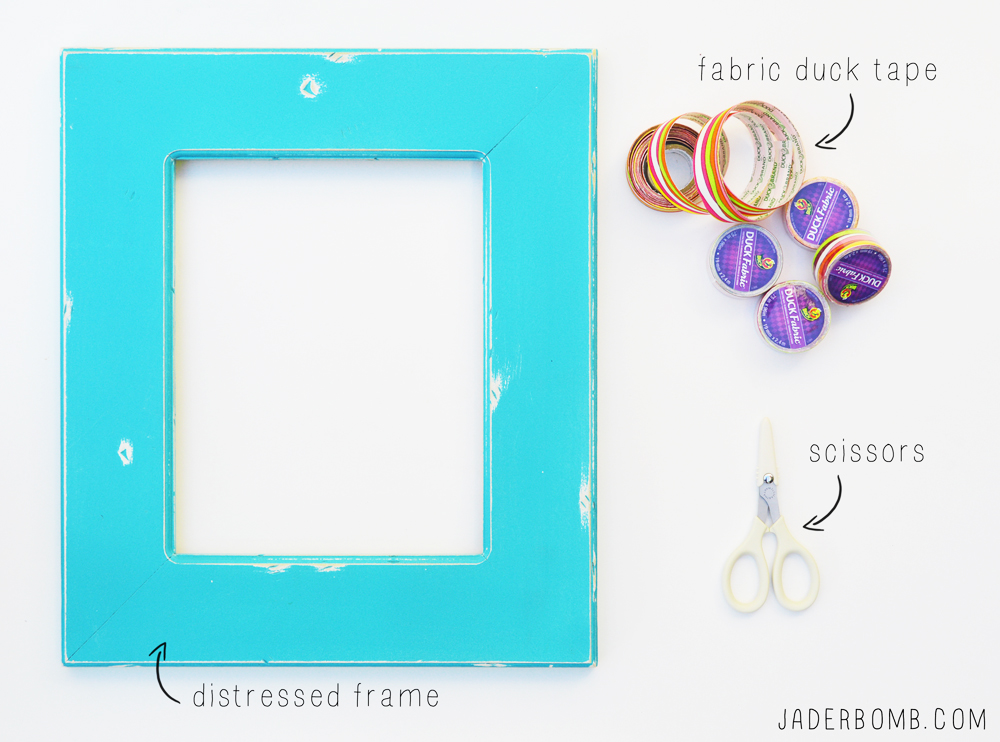
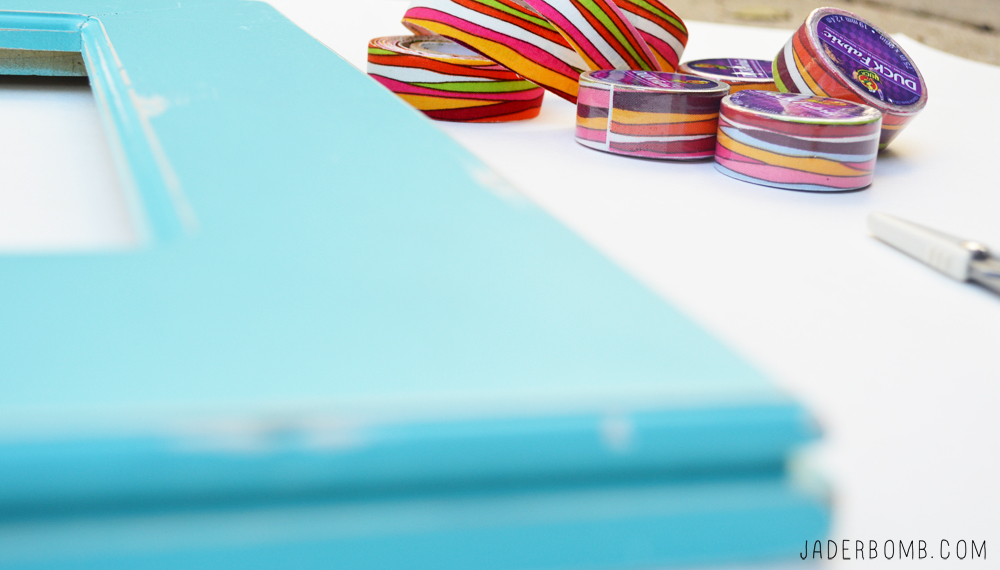
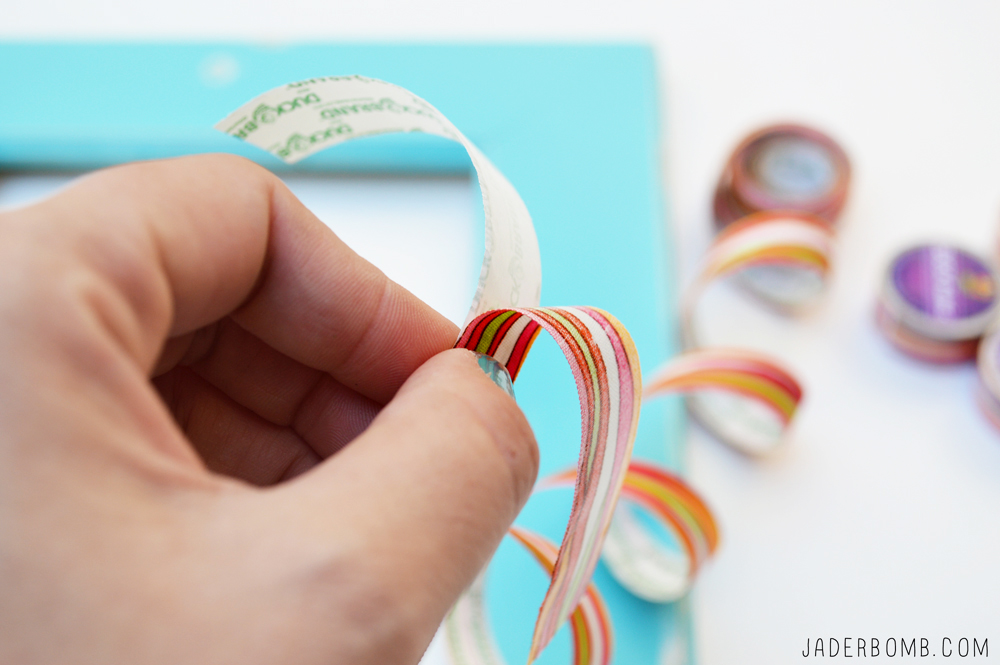
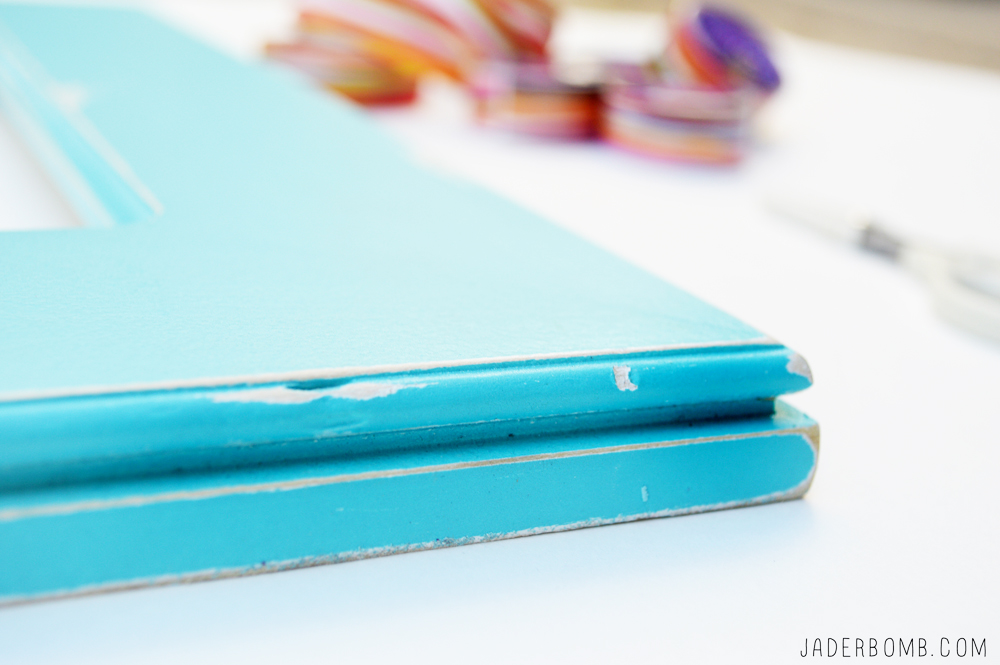
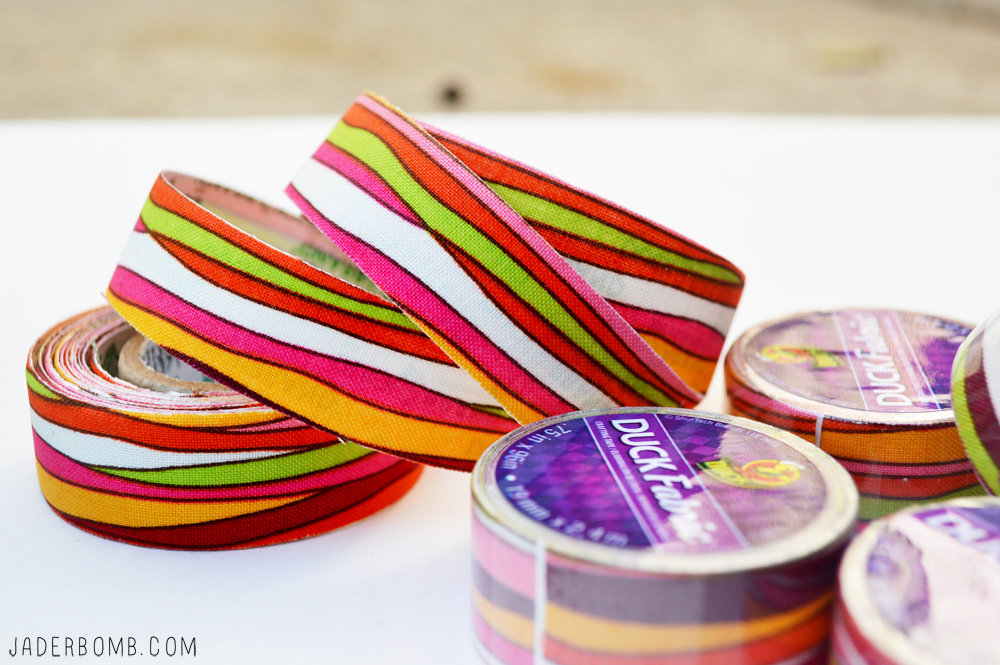
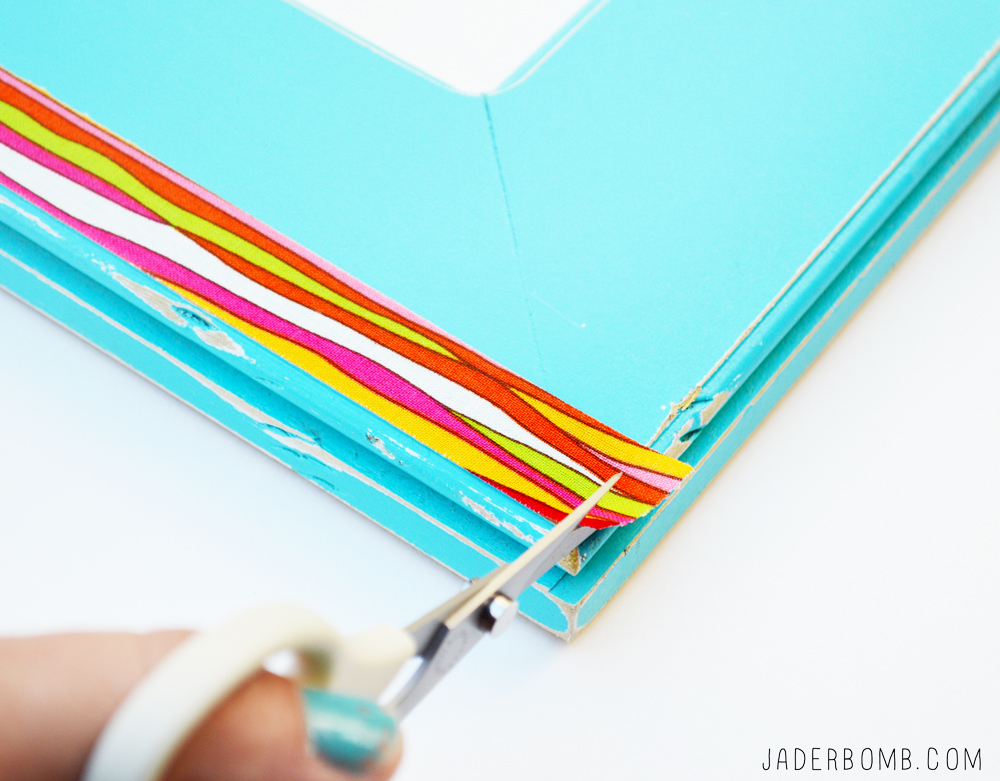
 Howdy Jaderbugs today I will show you how to make the coolest duck tape frame! I do a duck tape post each month and we all know if I could wrap myself in duck tape I would! Especially all of their new designs. I love
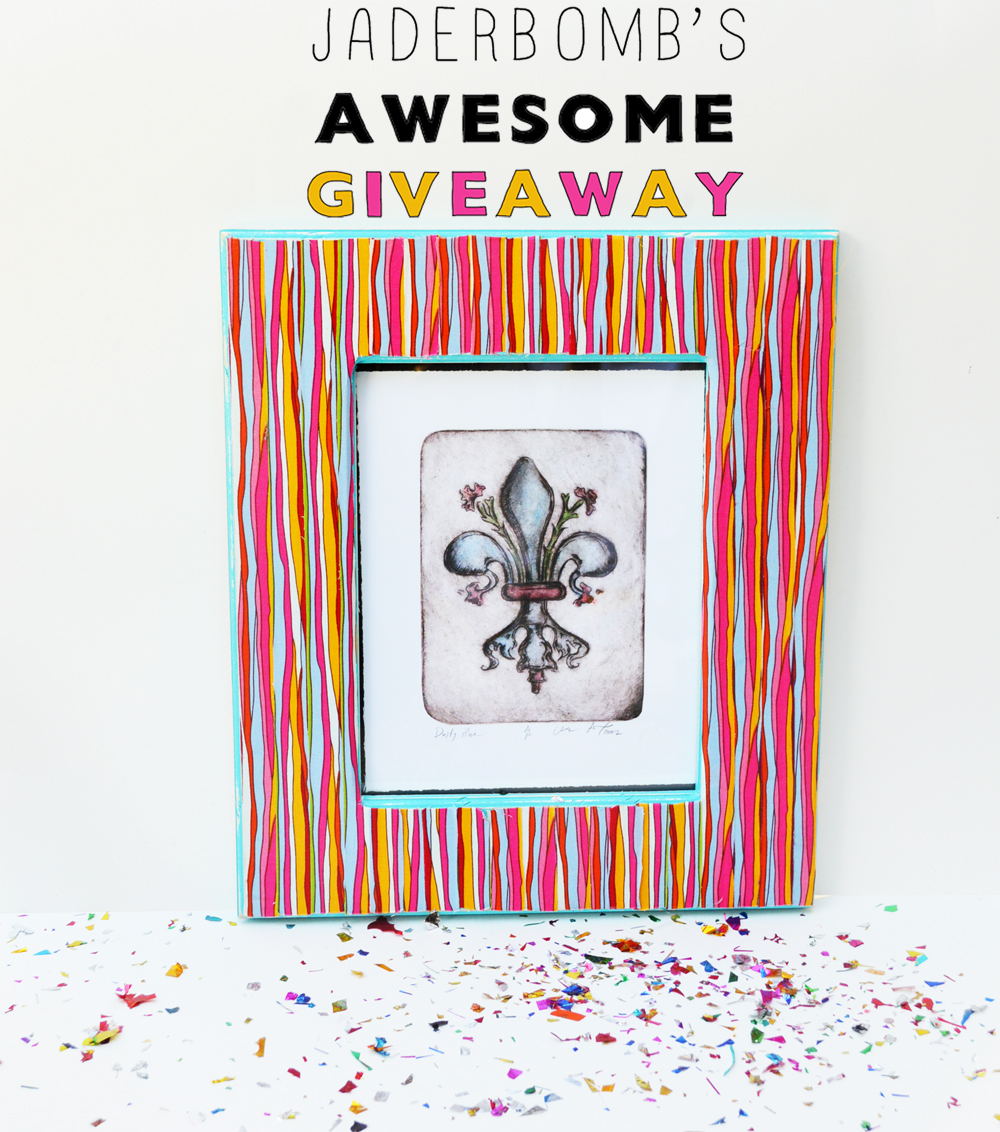 I hope you enjoyed this tutorial and good luck with the giveaway!!!! Don’t forget it ends on the 7th!
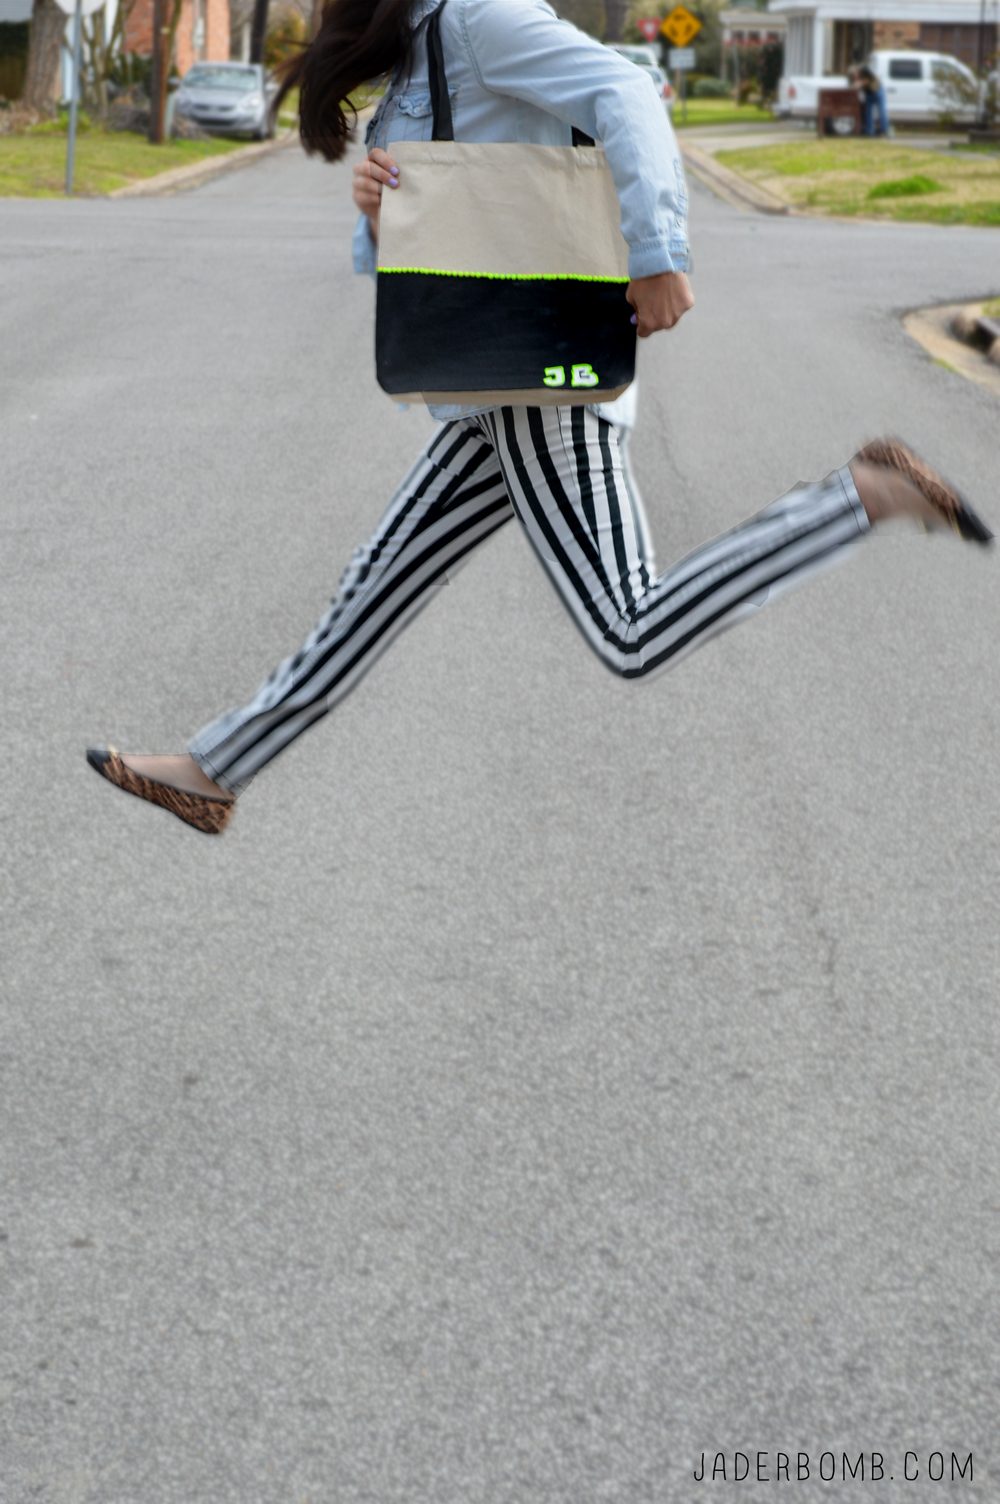
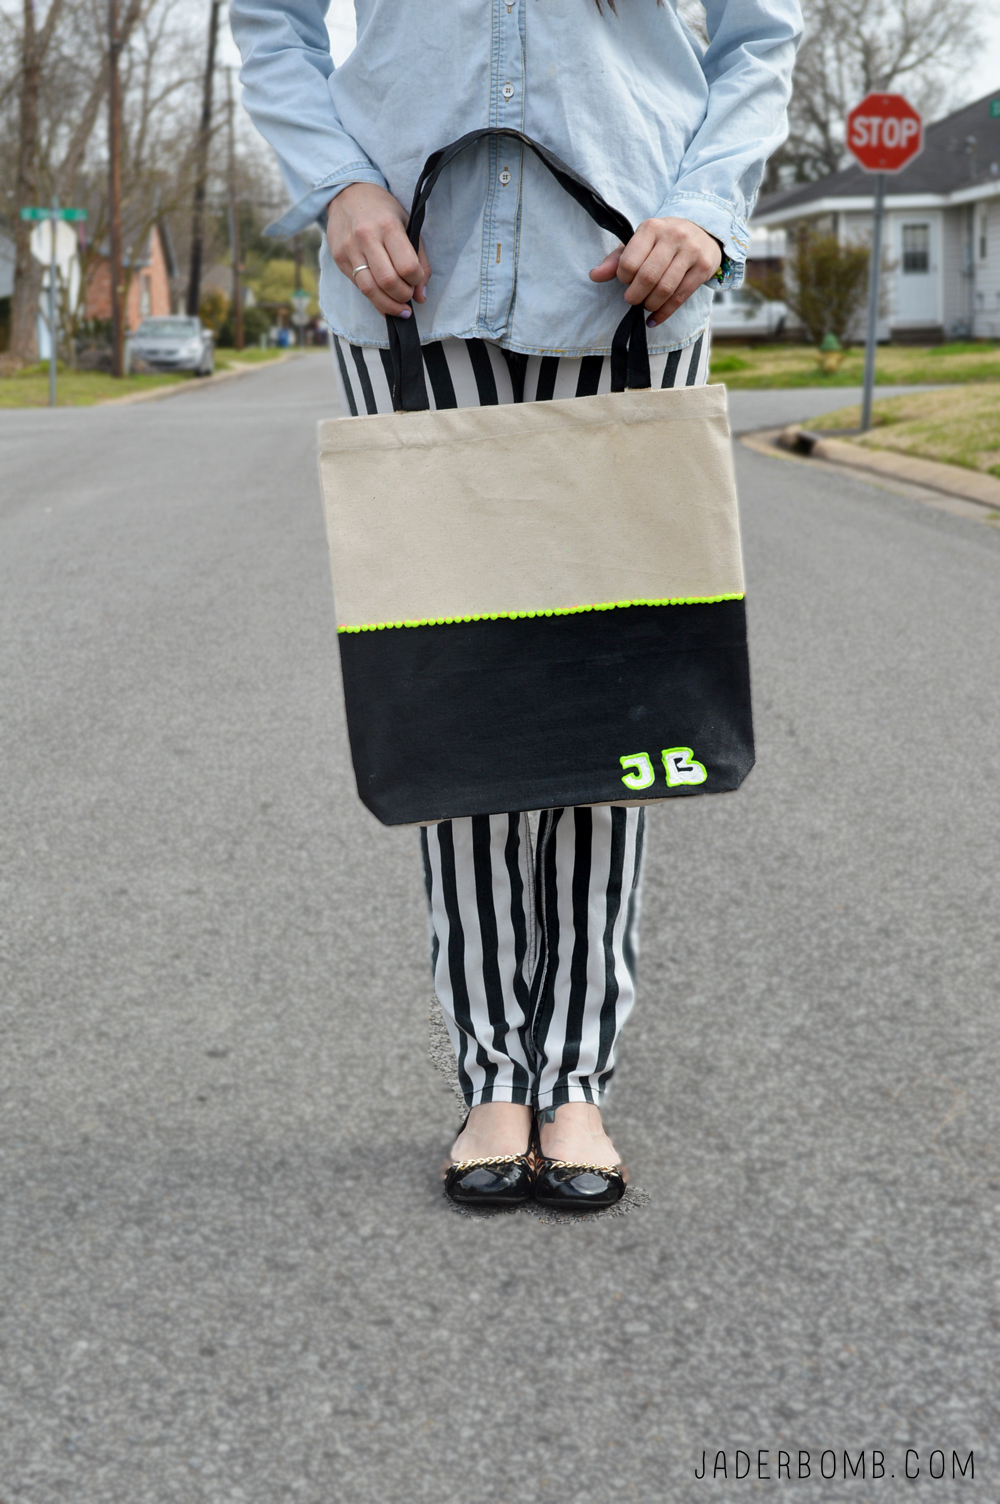 EXAMPLE 2: STAND IN THE MIDDLE OF ROAD AND HOLD BAG WITH A SLIGHT SEXINESS TO IT AND JUMP STRAIT UP IN THE AIR. CAREFUL NOW THIS CAN BE DANGEROUS.
 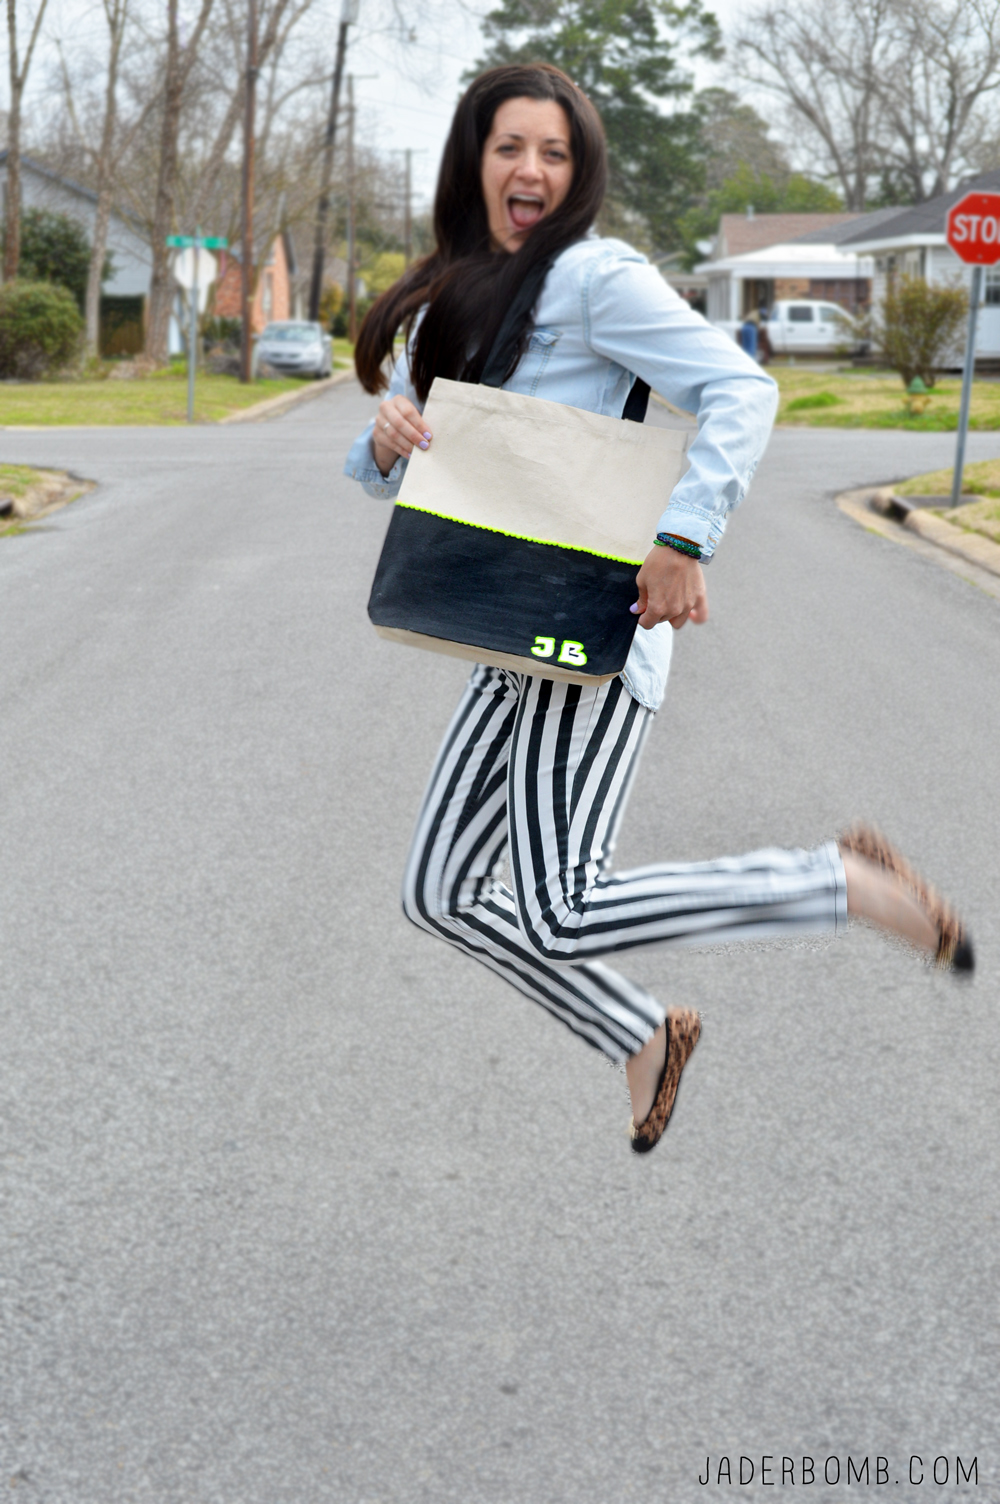 EXAMPLE 3: STAND IN THE MIDDLE OF THE ROAD TOUCH THE BAG WITH ONE HAND LIKE YOU ARE PROTECTING IT FROM ALIENS WHILE OTHER HAND IS BENT AND SEXY. P.S. DON’T FORGET TO BEND ONE KNEE, NOT TWO. JUST ONE.
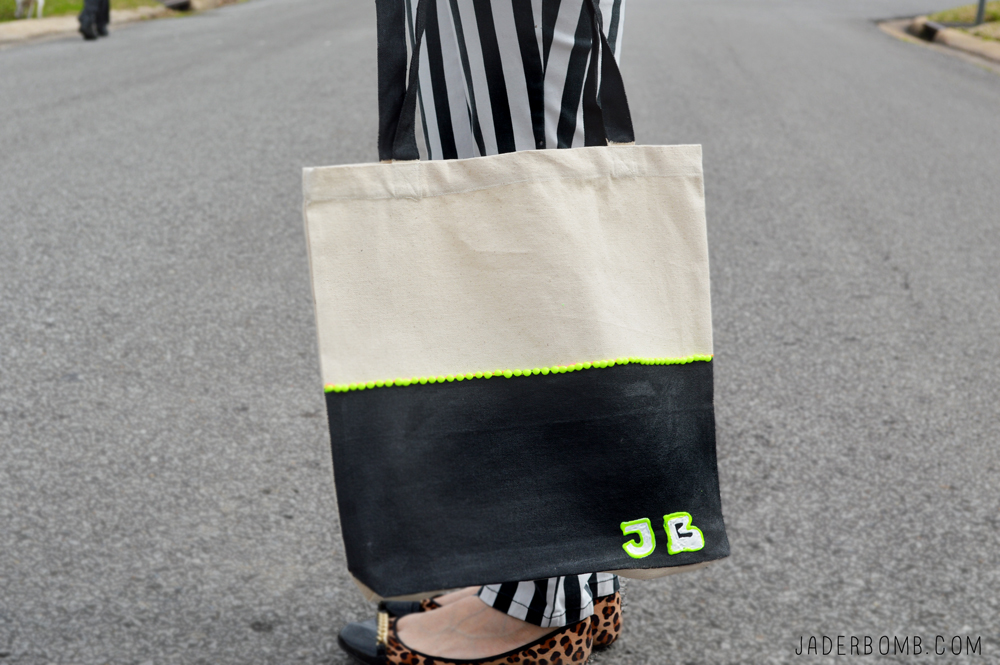
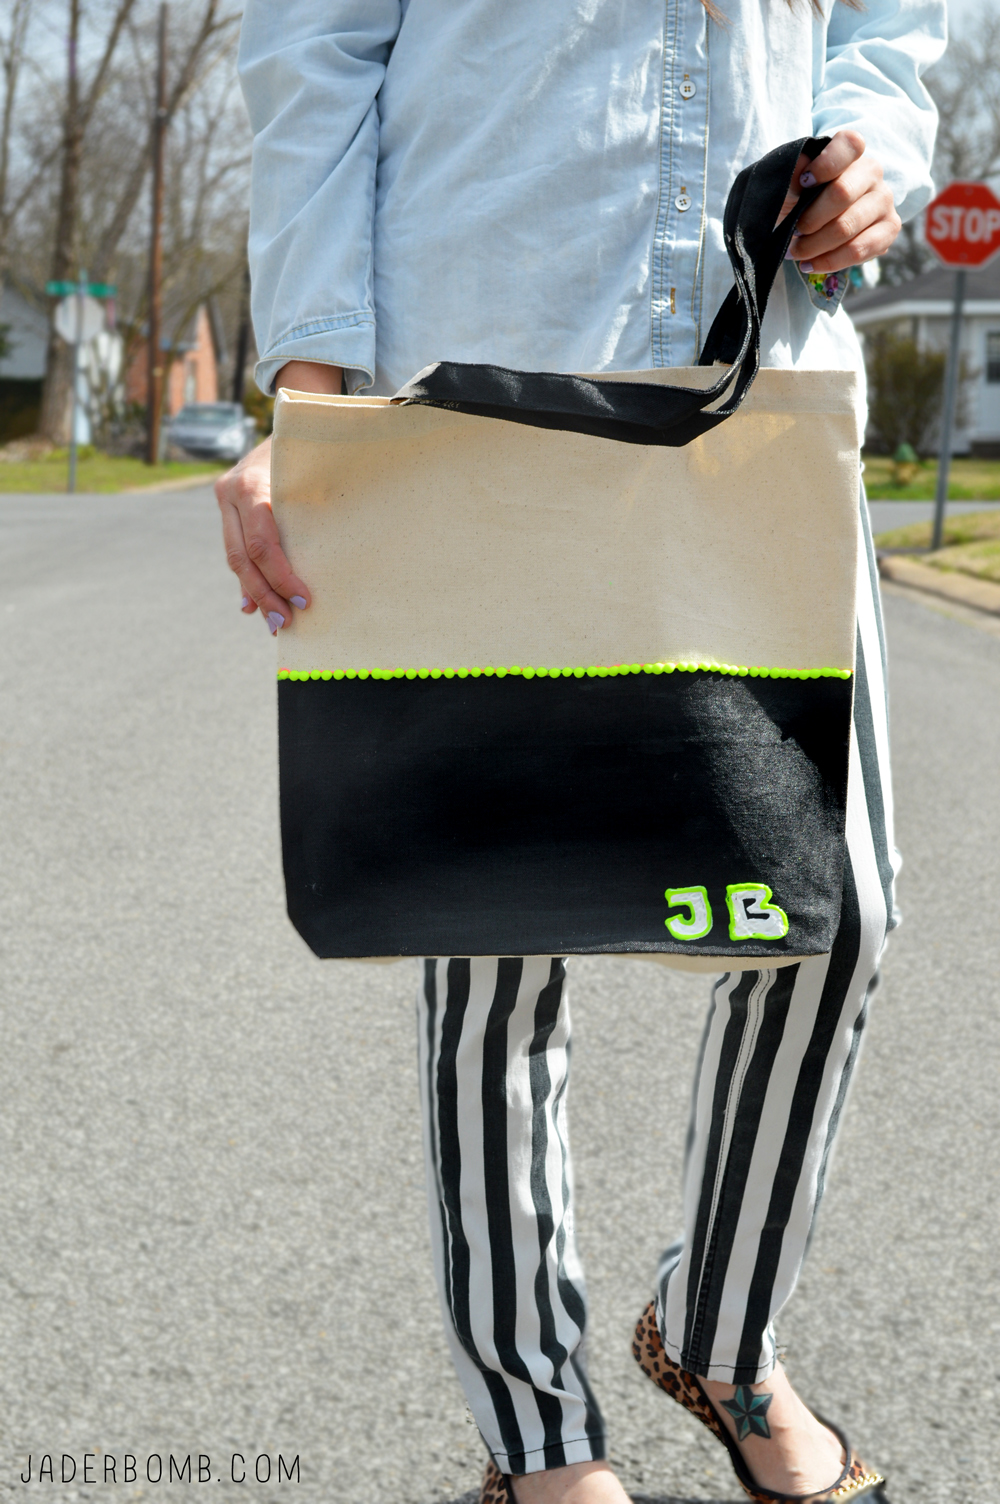
  EXAMPLE 4: STAND IN THE MIDDLE OF THE ROAD AND JUMP STRAIT UP WITH KNEES BENT. REMEMBER WE STILL NEED TO LOOK WHIMSICAL AND SEXY ALL WHILE KEEPING THE BAG IN THE PICTURE. WE CAN SEE I OBVIOUSLY SUCCEEDED HERE.
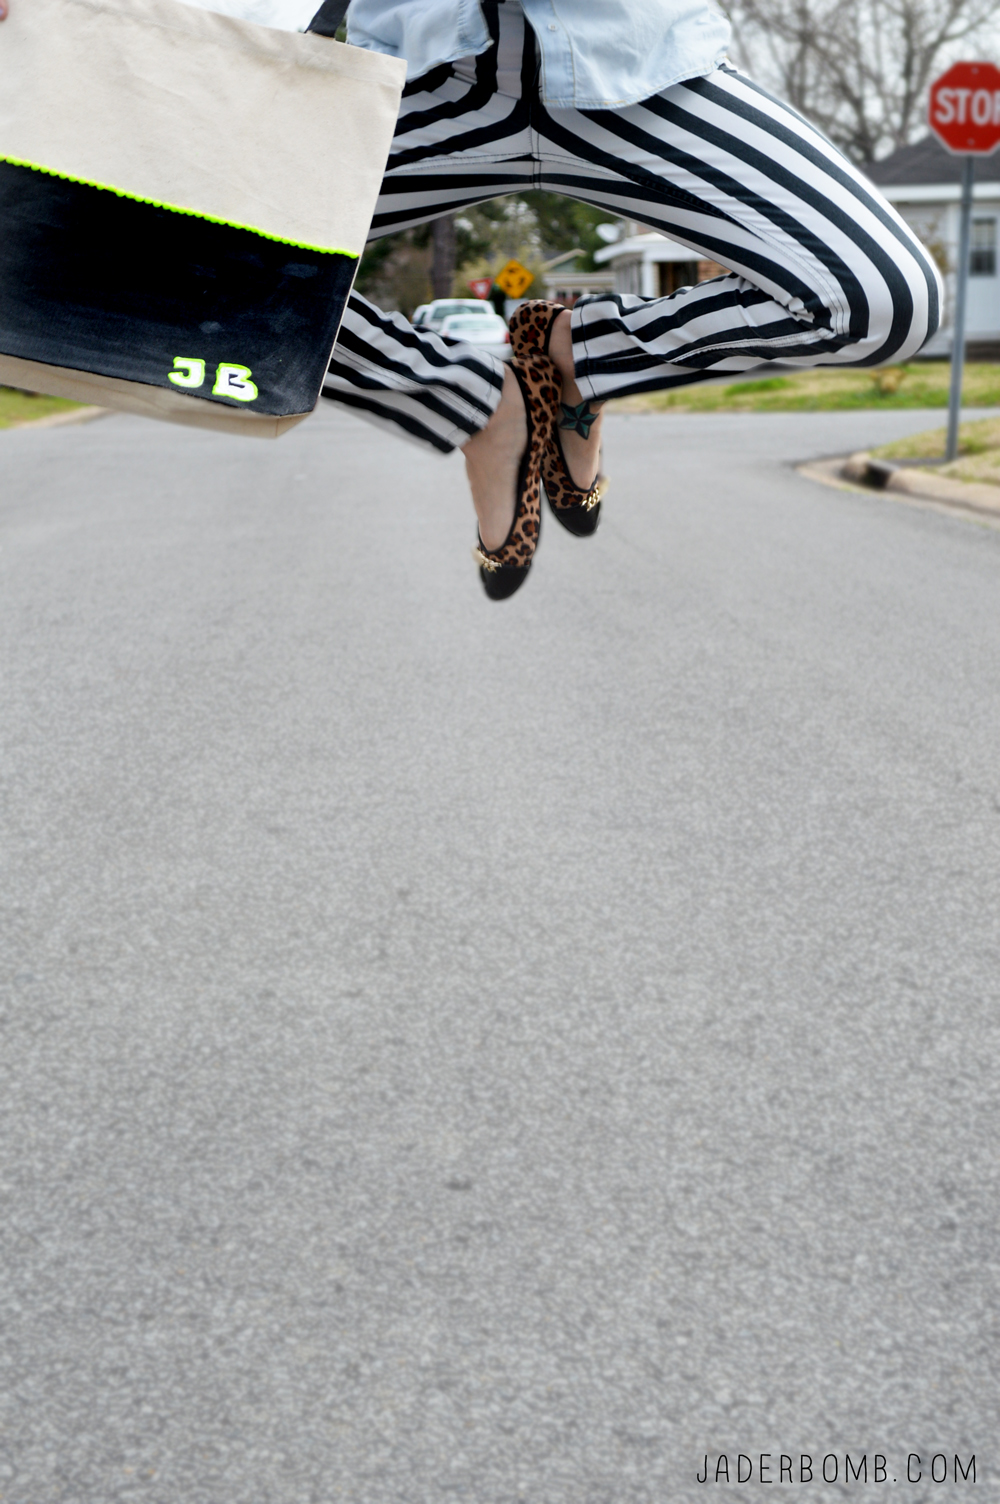
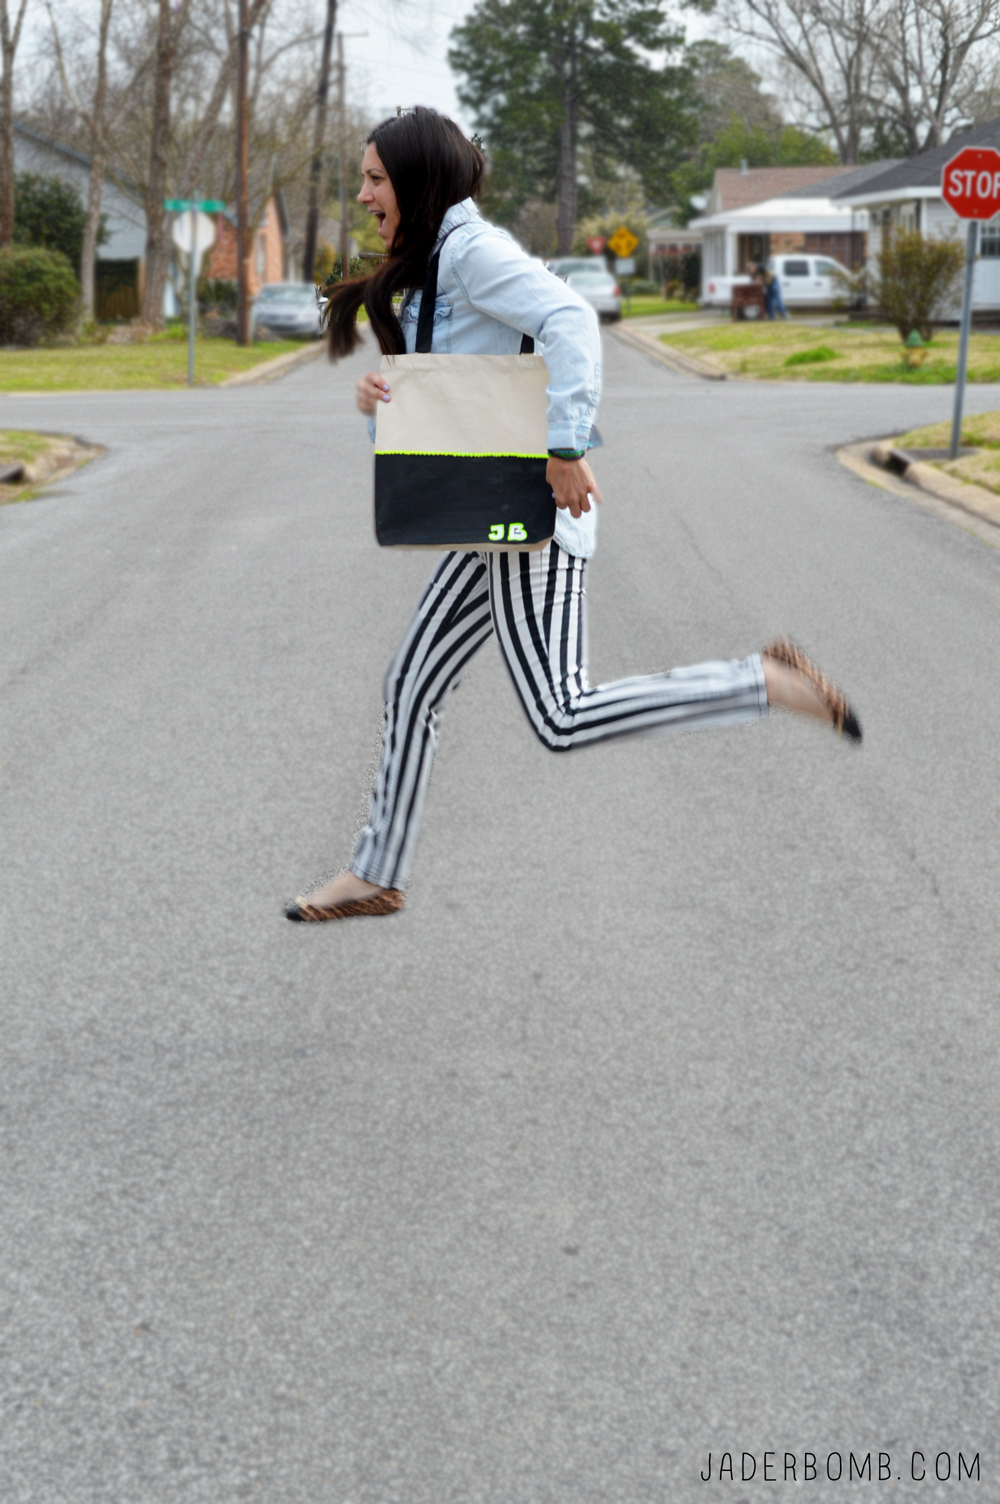

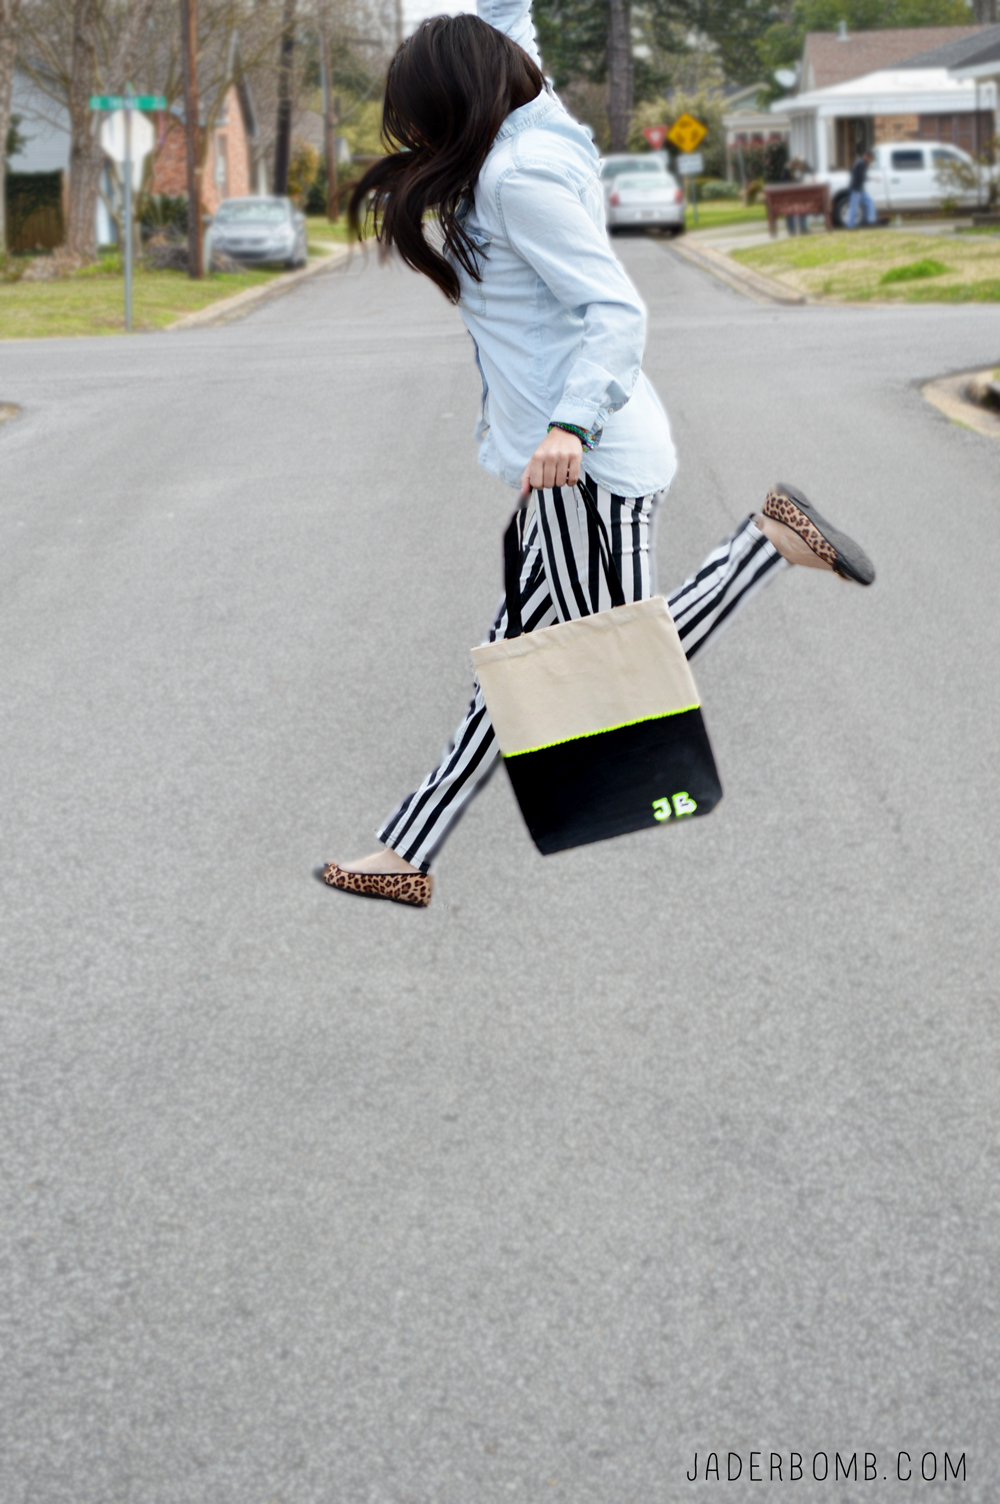 I mean, I will be honest with you. It’s that easy to become a fashion model. If I can make it so can you. Stay tuned for the next photo shoot with a really cool Old Navy Striped Dress.

 When I was asked by
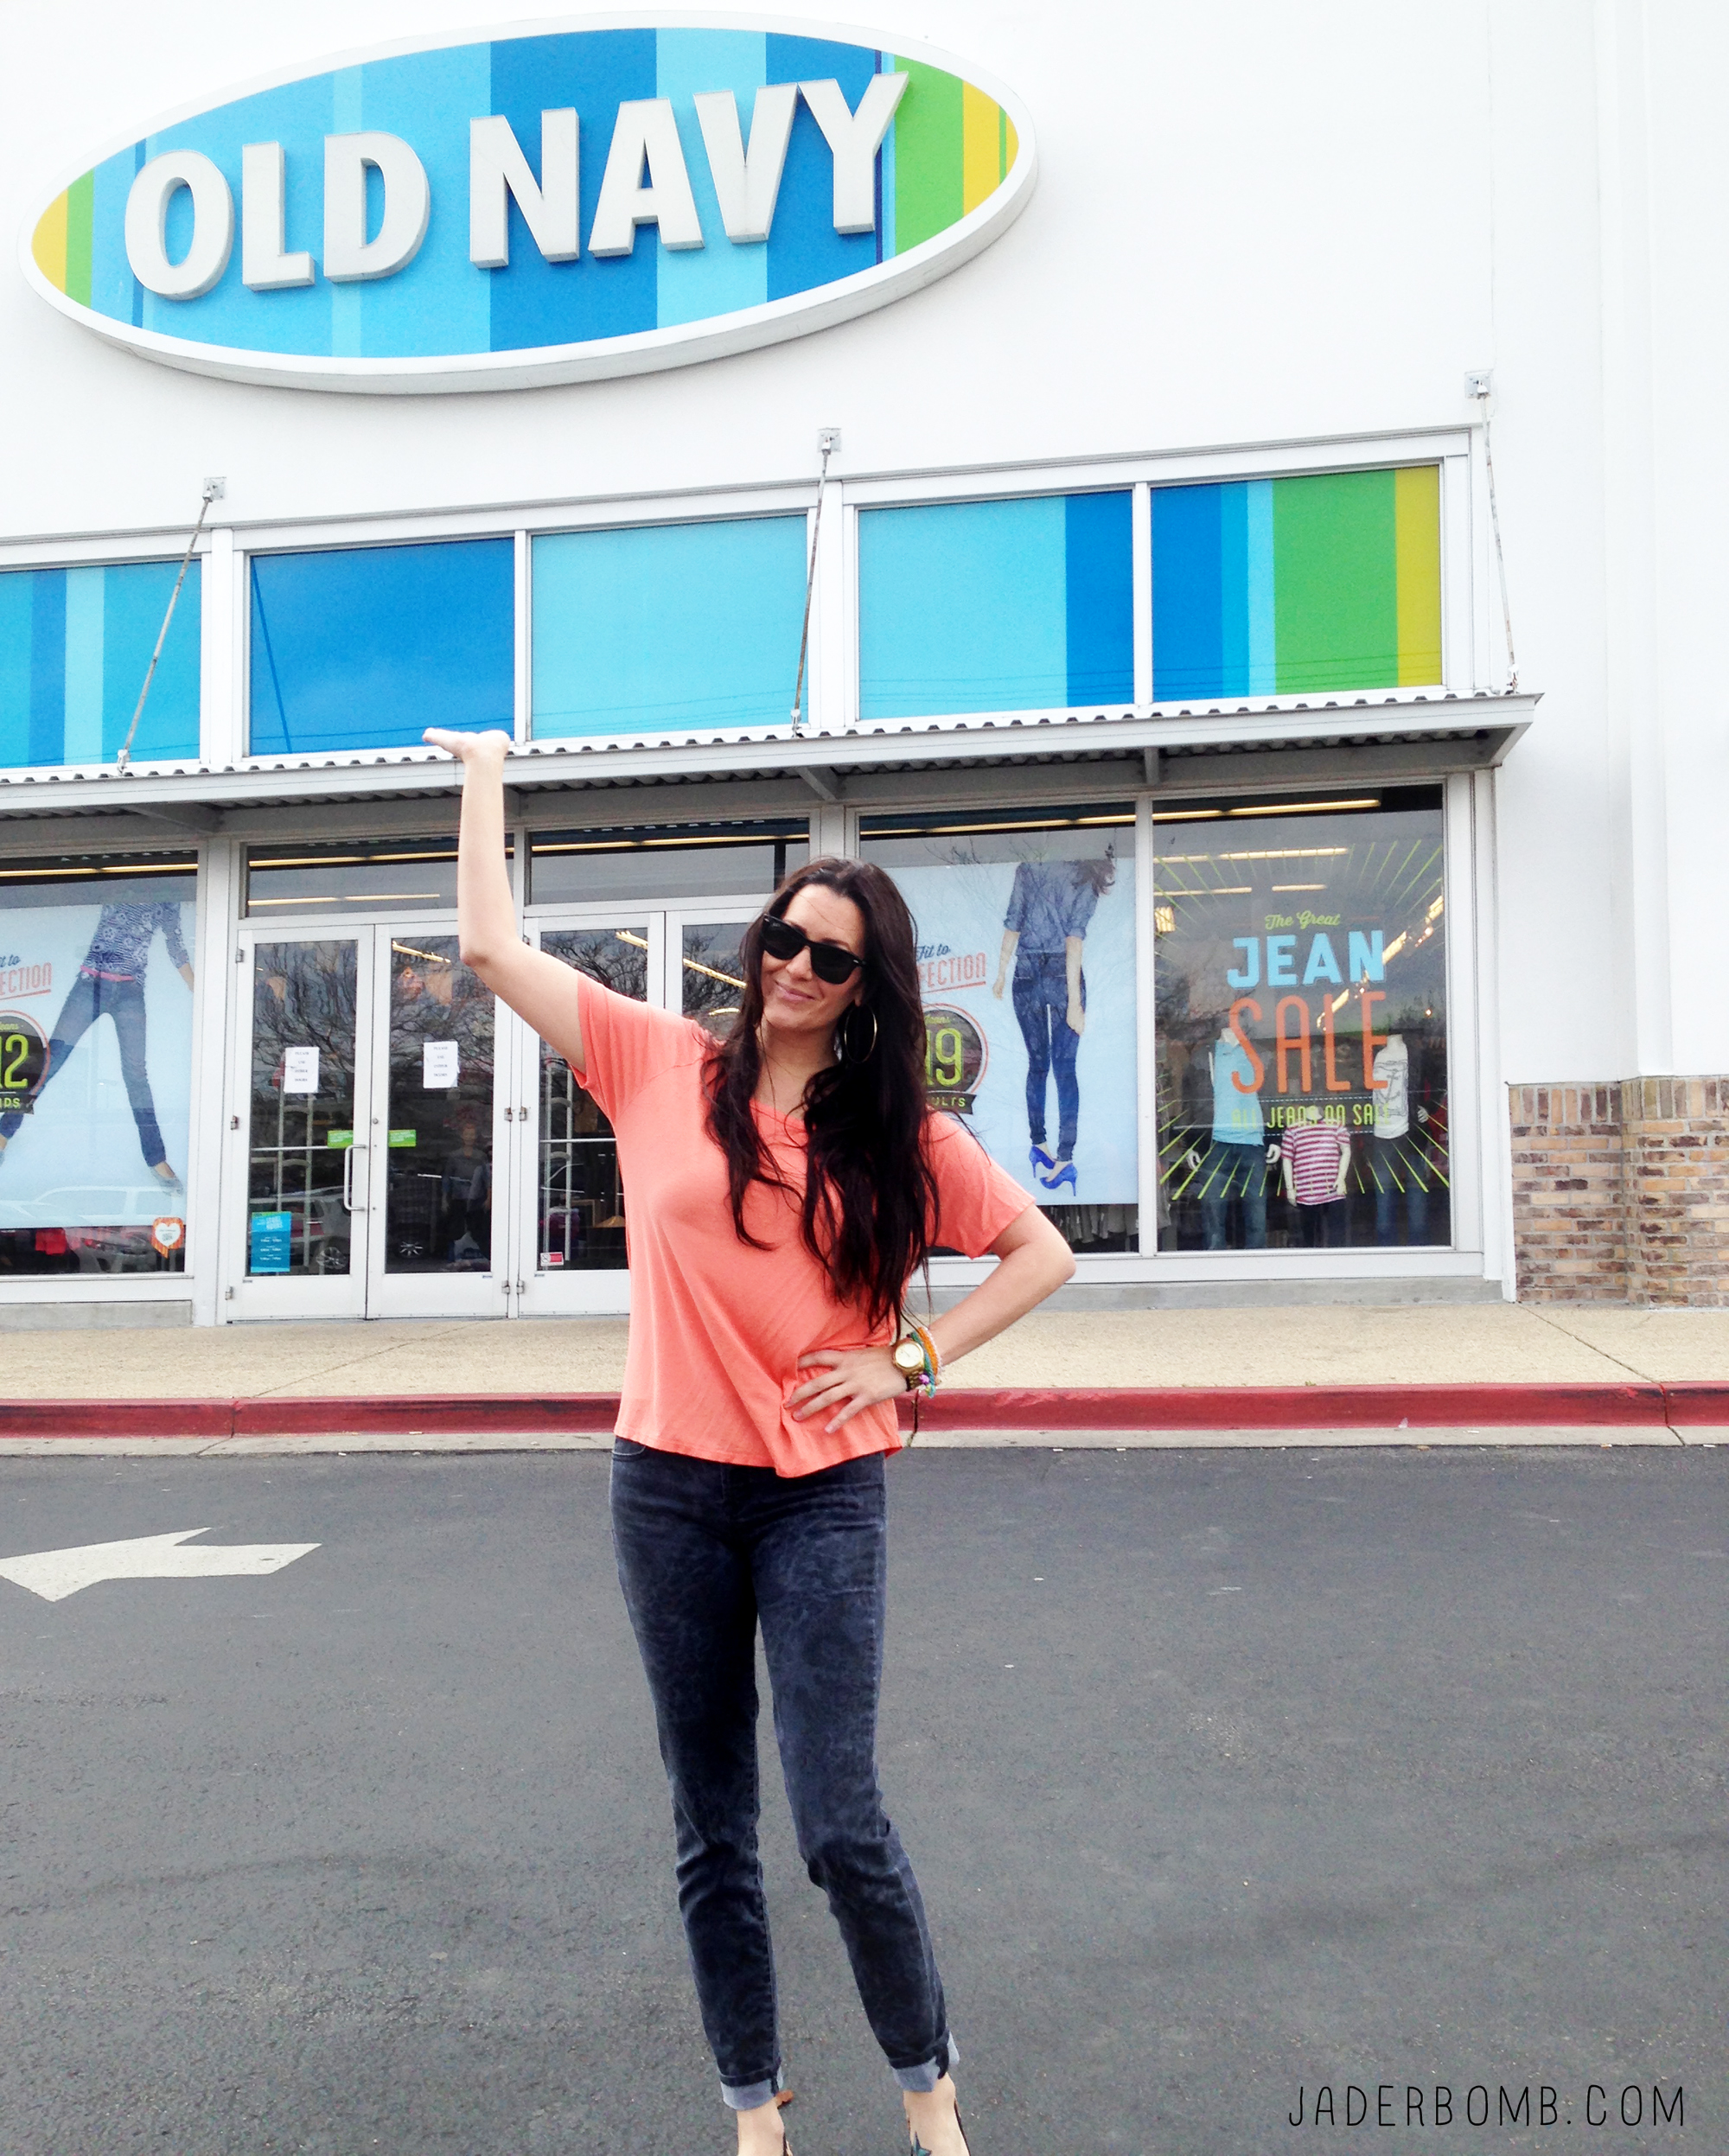

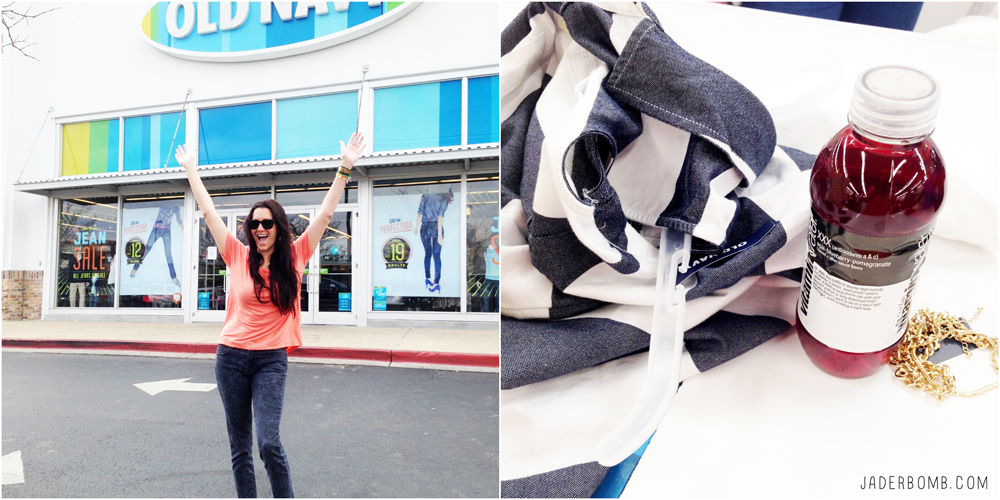
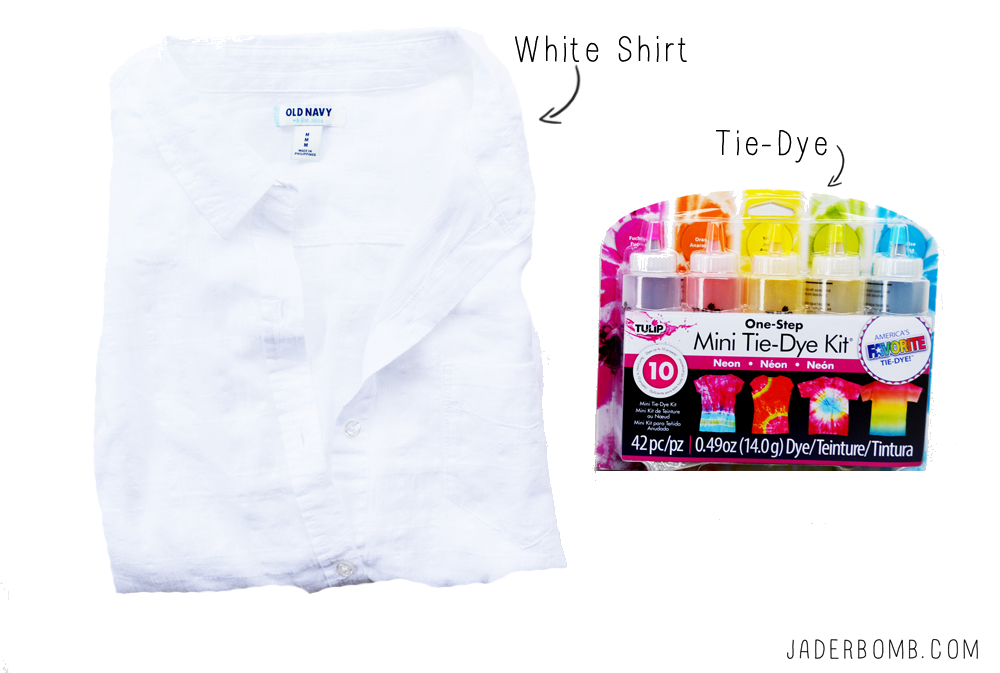
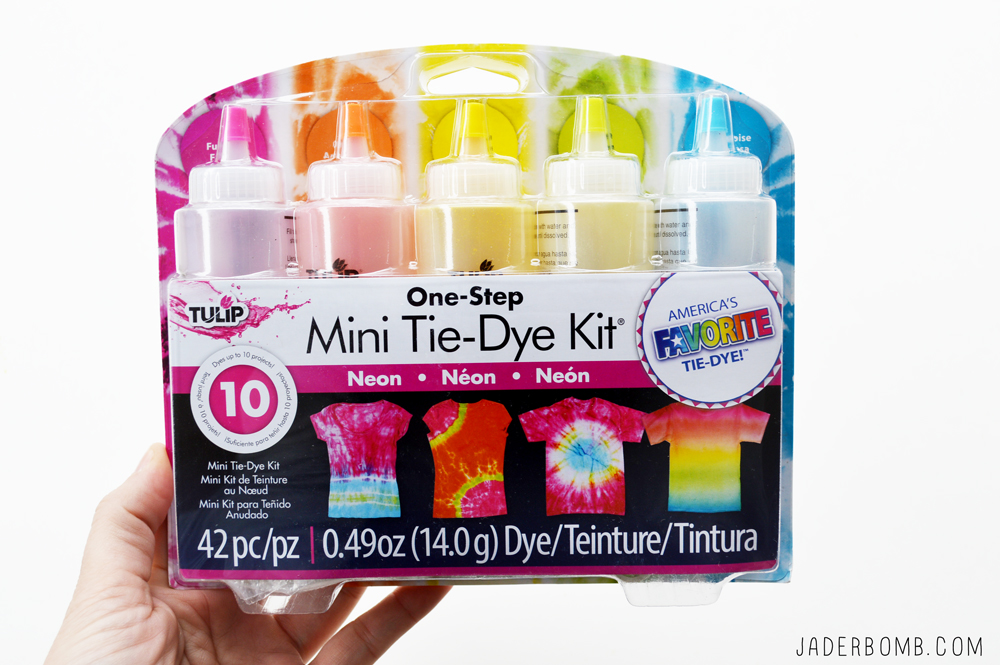 As you can see the bottles have powder inside of them already. We will not fill the bottles with water for this project.
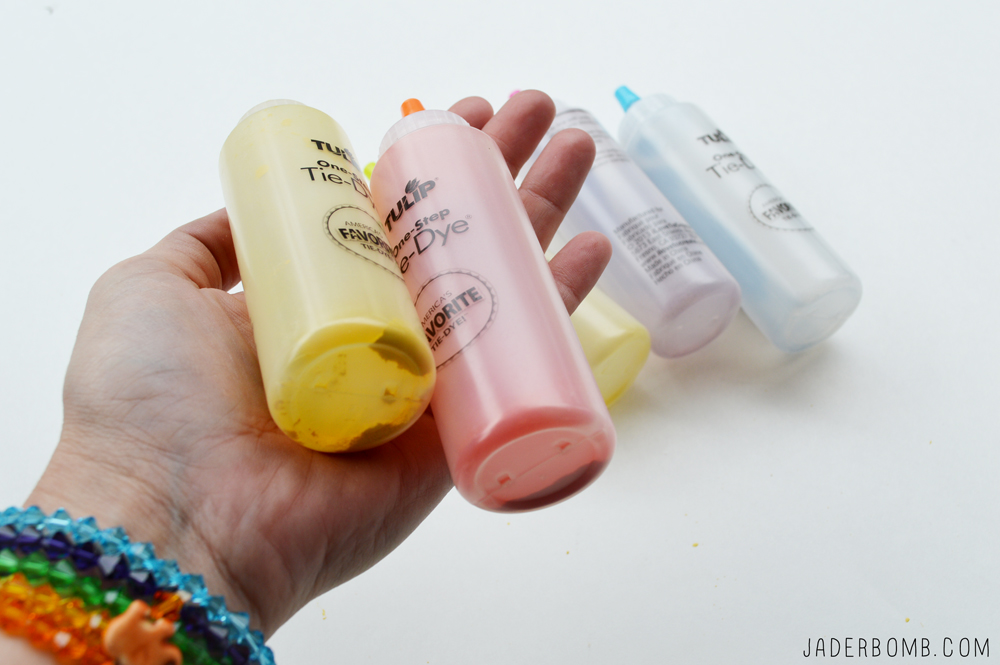

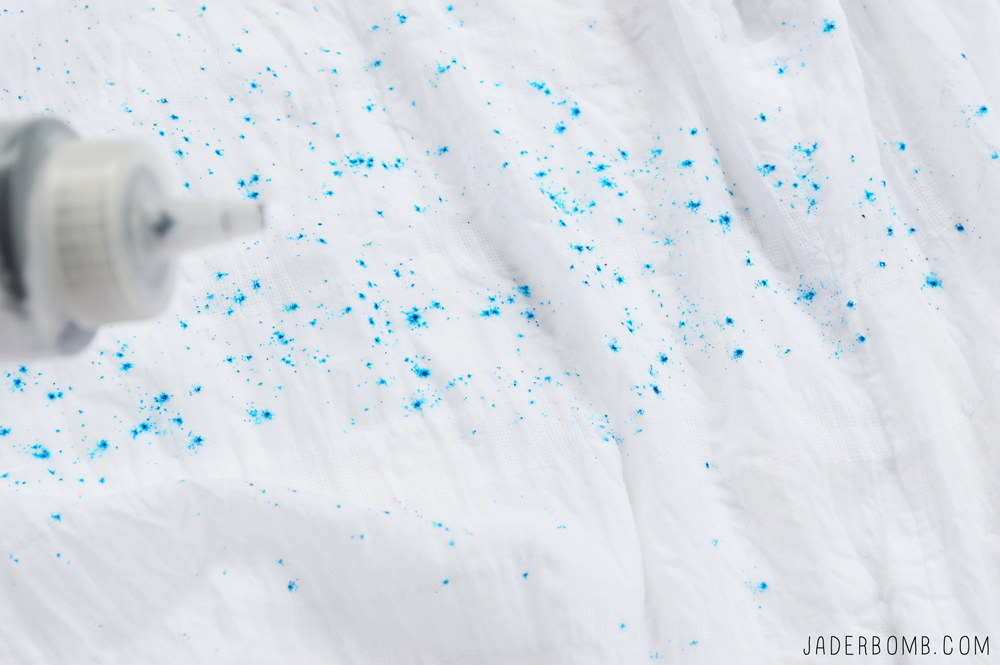
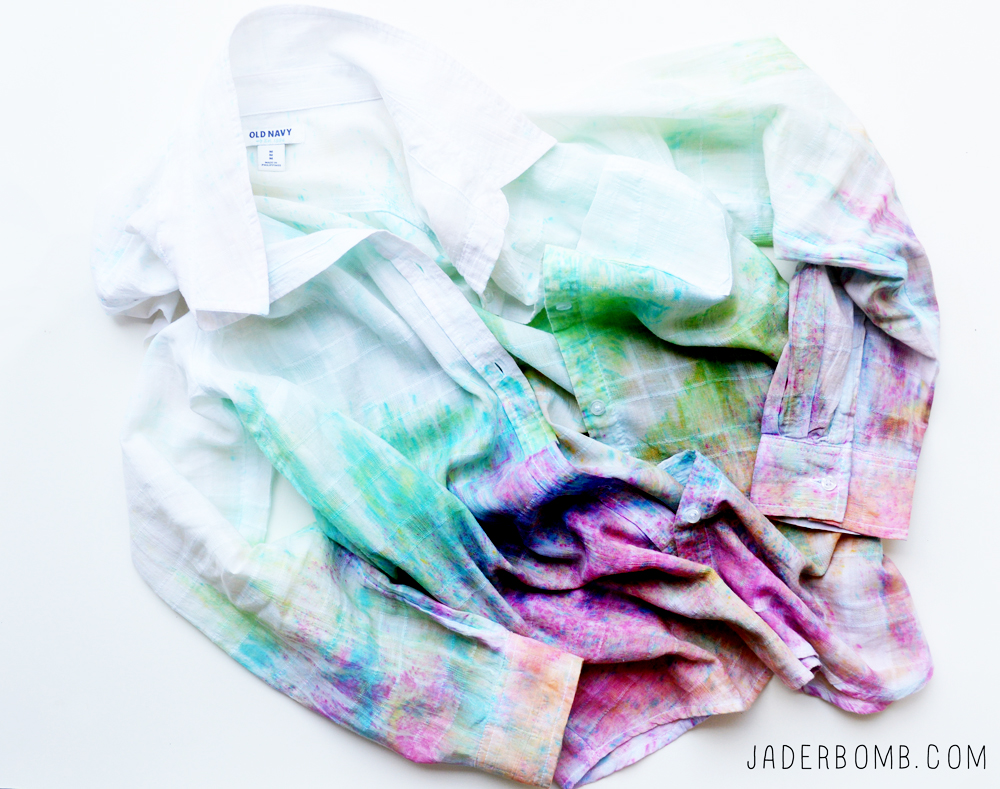
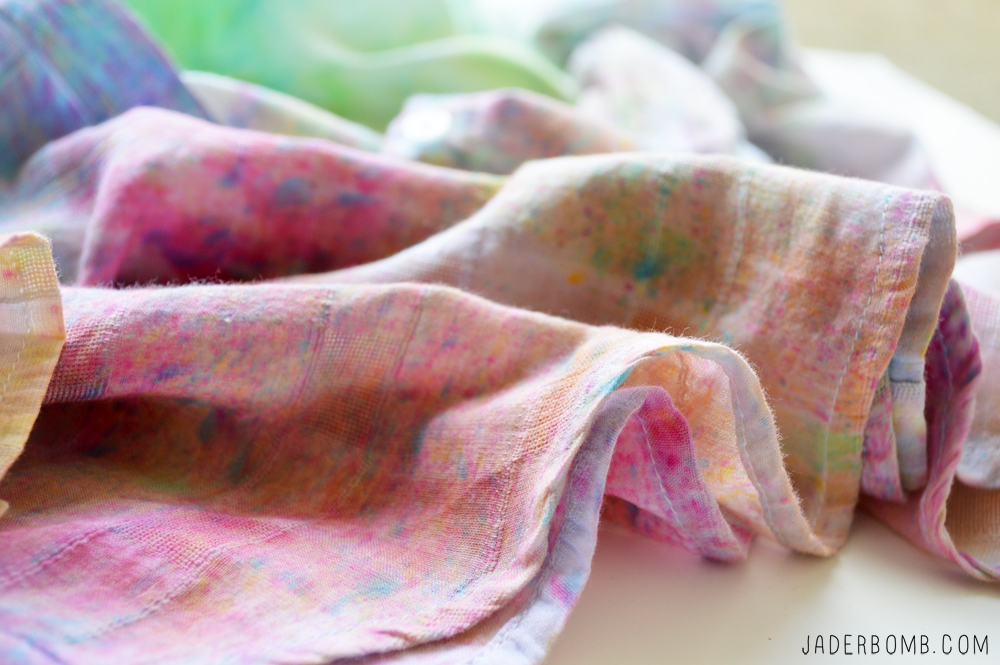
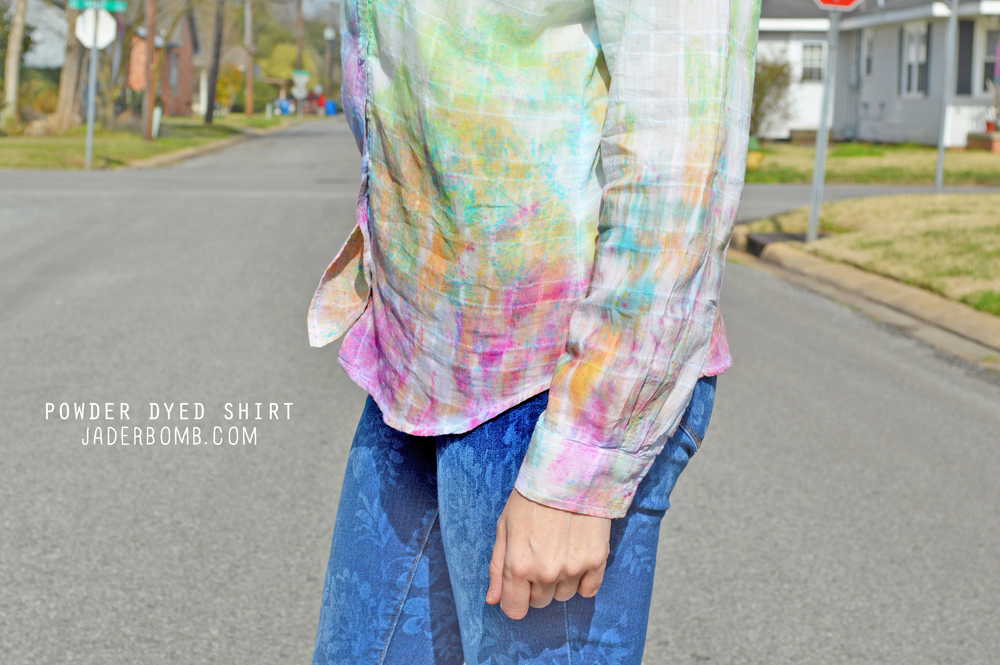
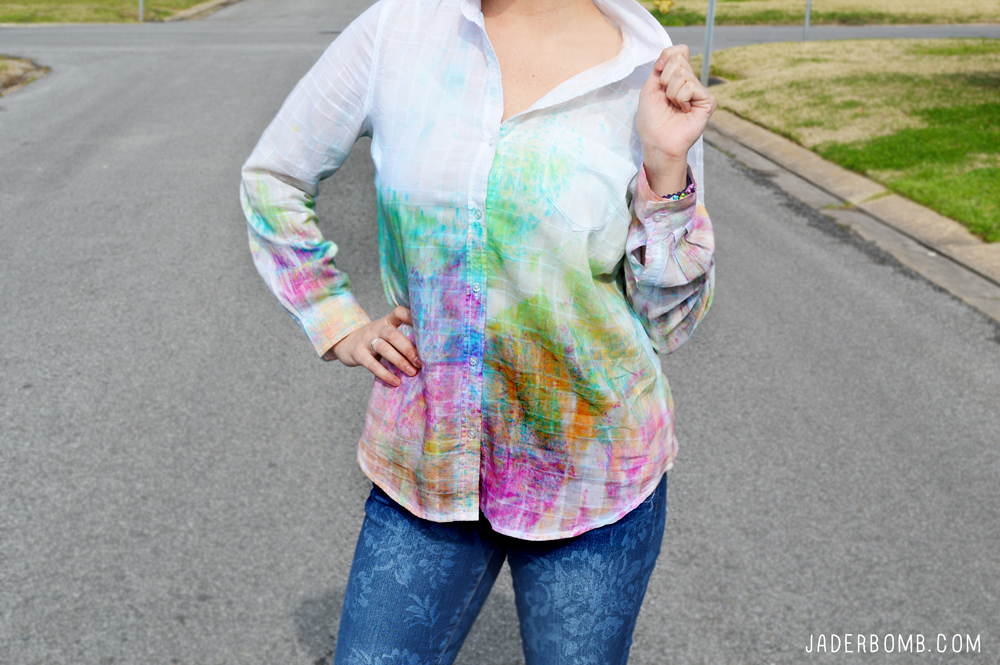
 I love how all of the colors start bleeding together. If you know me then you know bright it right!
 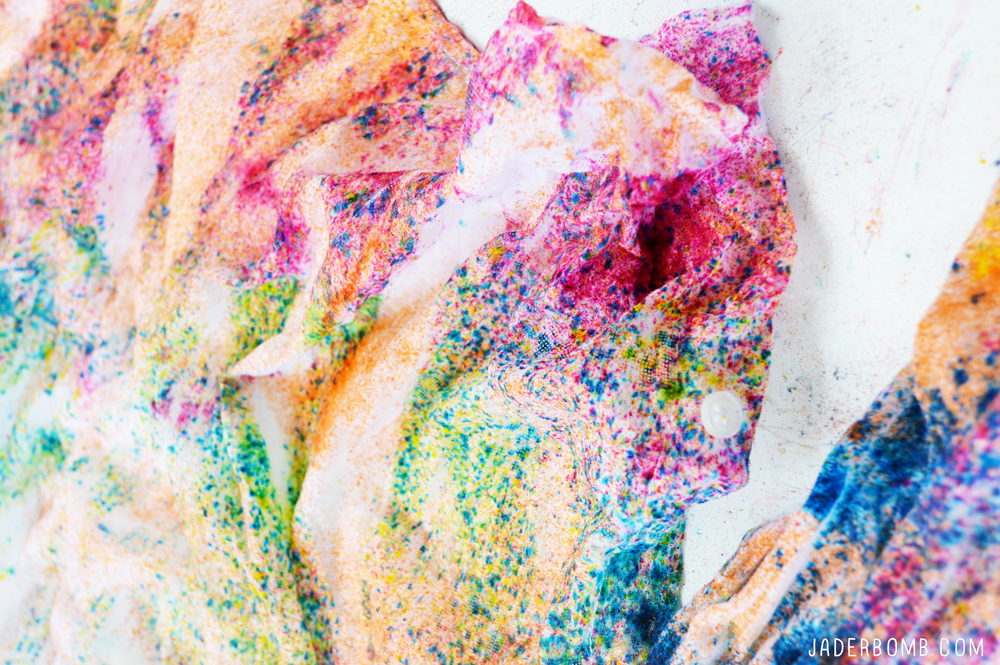 You want to let the powder sit on the wet shirt for a couple of hours. The longer it sits the brighter the colors will be.
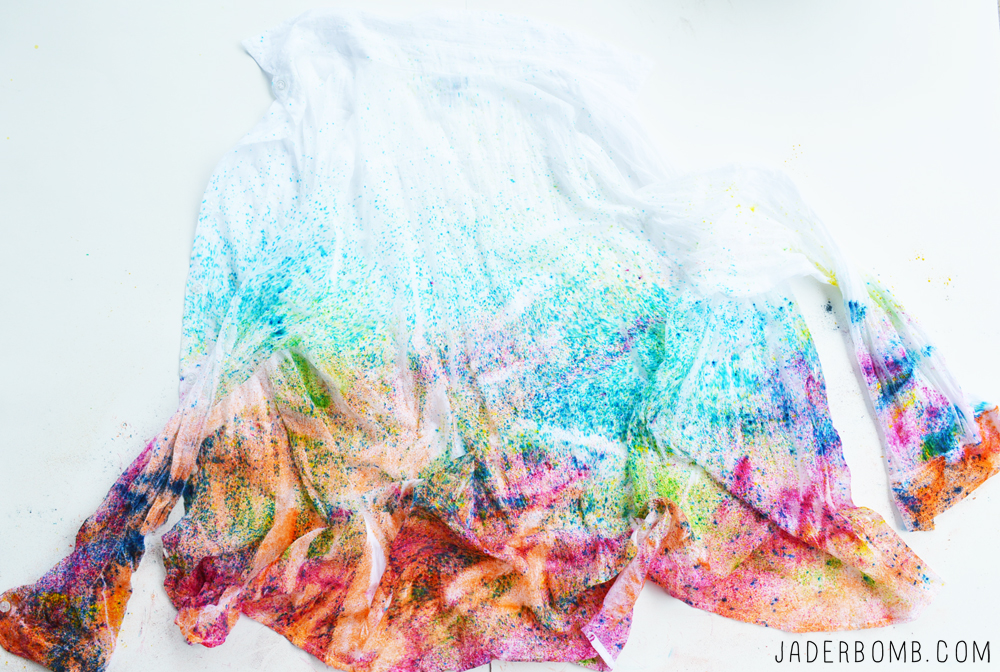
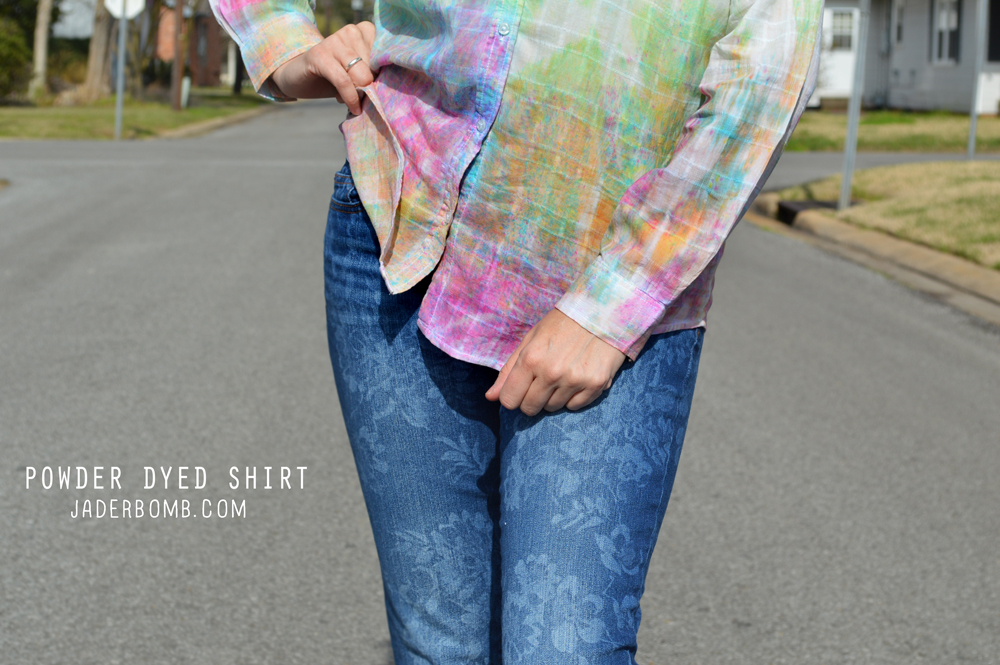
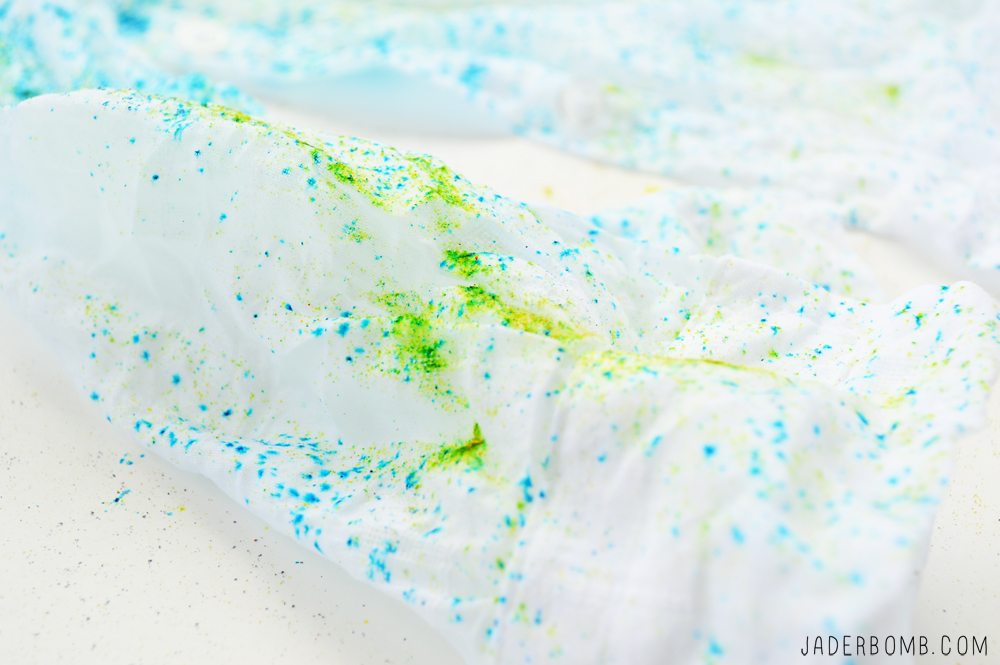
 After a few hours I rinsed my shirt under cool running water then washed it separately. WOWZERS! I am so happy with the way it turned out.