Tag Archives: diy

The Simple Secret to Hand Painted Journals!

Happy Summertime y’all! Can’t believe it’s almost time for school to start! Is it just me or do you all feel like this summer has flew by like a bird chasing a worm, haha! Doesn’t the early bird get the worm?! I remember as a kid being so excited to start a new school year. Me and my mom would go to the local store and check everyday for the supply list to come out. Was I the only one excited about this little sheet of paper?

Now let’s fast forward a little because back when I was a little.  Lisa Frank was in style, you know the “good ole days”… These day’s things just feel so generic and don’t get me wrong I love basic colors and styles however this day and age DIY is the way to go… There is nothing more meaningful than creating something yourself and sporting your own unique style.

Today I will show you an easy way to turn a basic journal into a work of ART ♥  
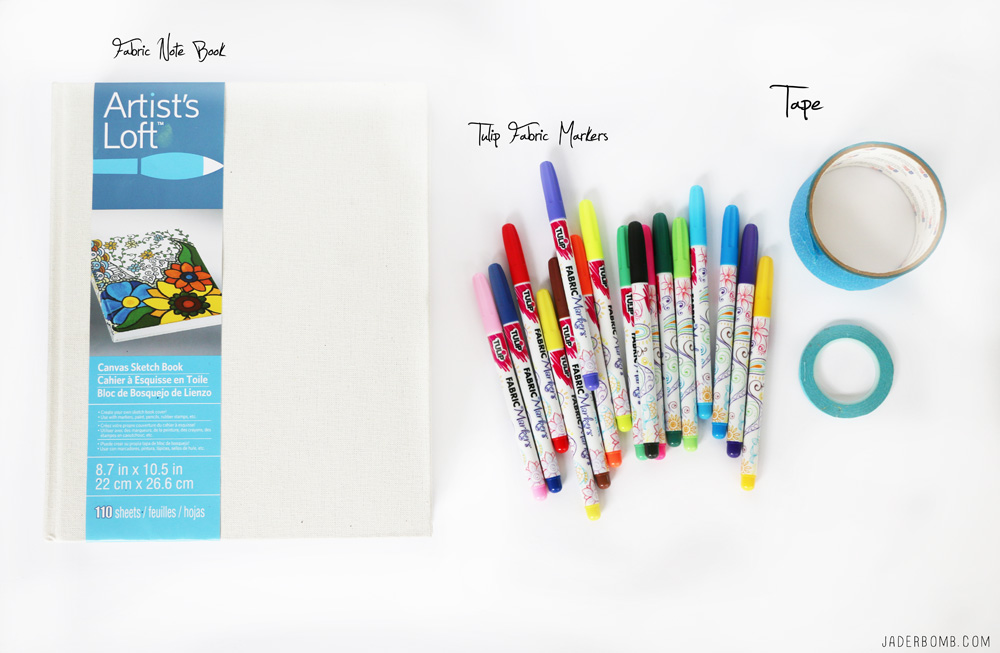
Blank Canvas Notebook | Tulip Fabric Markers | Painters Tape

You can order all of these products from Michaels by clicking on the links above!If you know anything about what I love then you already know how much I LOVE Tulip fabric markers. You can use these on so many different products and create amazing designs. Check out other things I created HERE. Let’s also talk about how wonderful the color selection is! I mean, there is like four different shades of each color! Swoon 101!
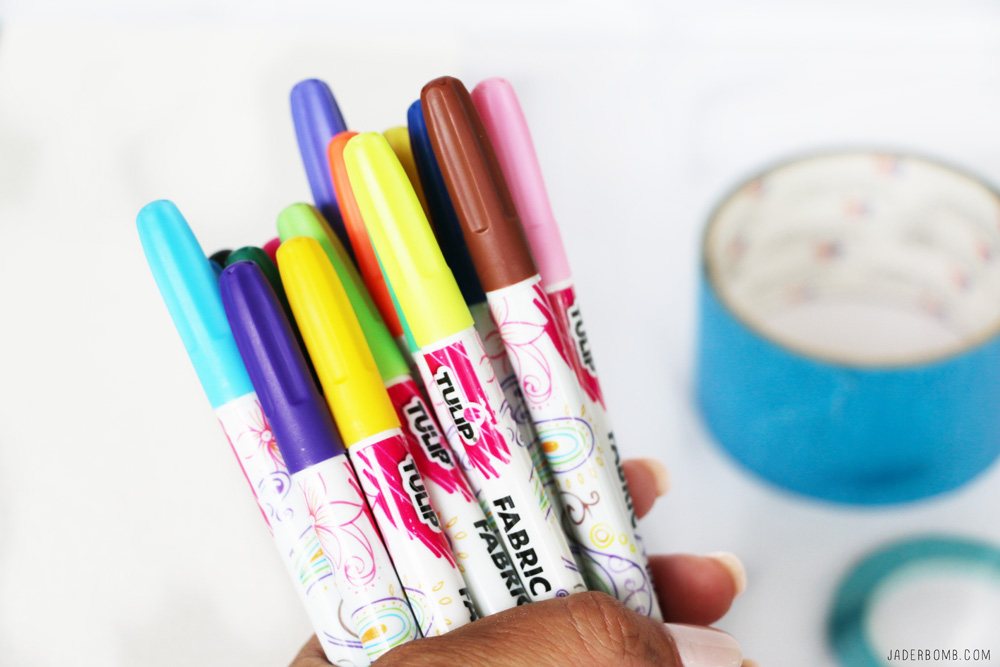
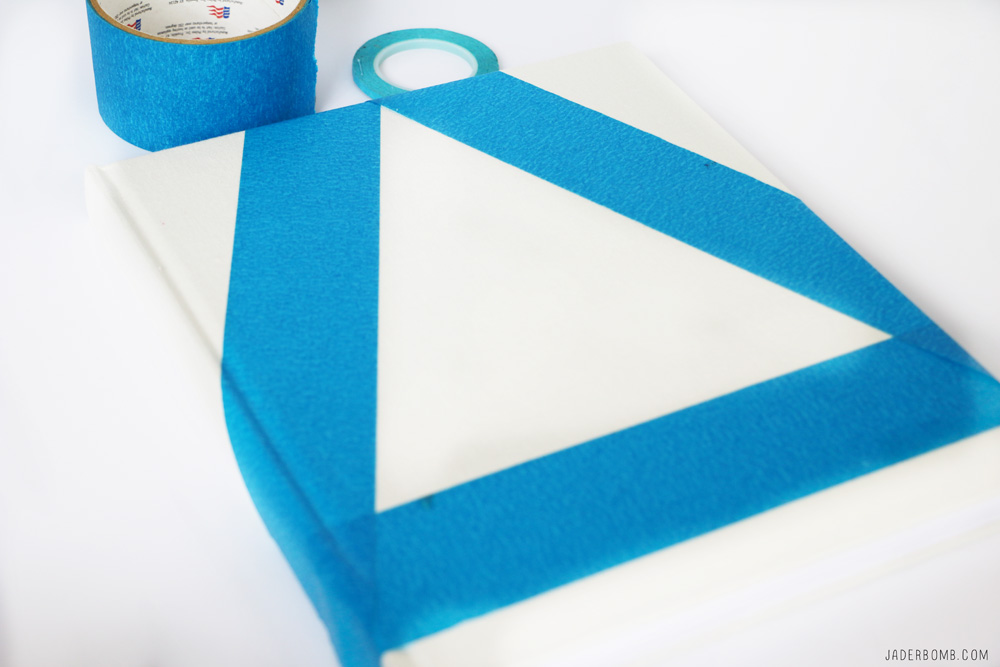
Step One: Make sure your canvas journal is completely clean then use the painters tape to create your design. I am sticking to geometric designs for this post. Sometimes less chaos is better believe it or not!
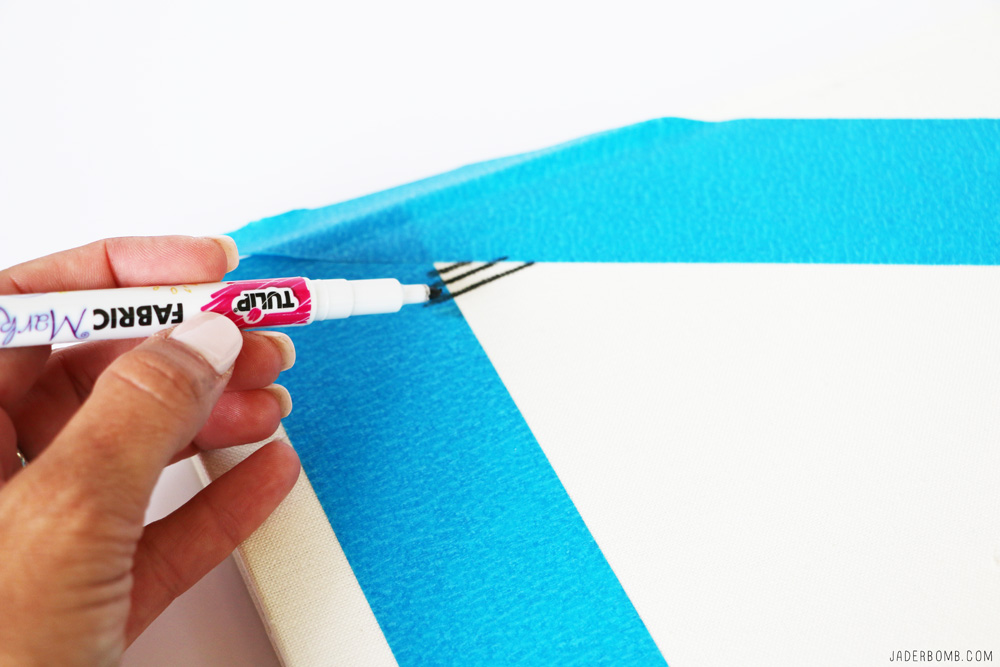
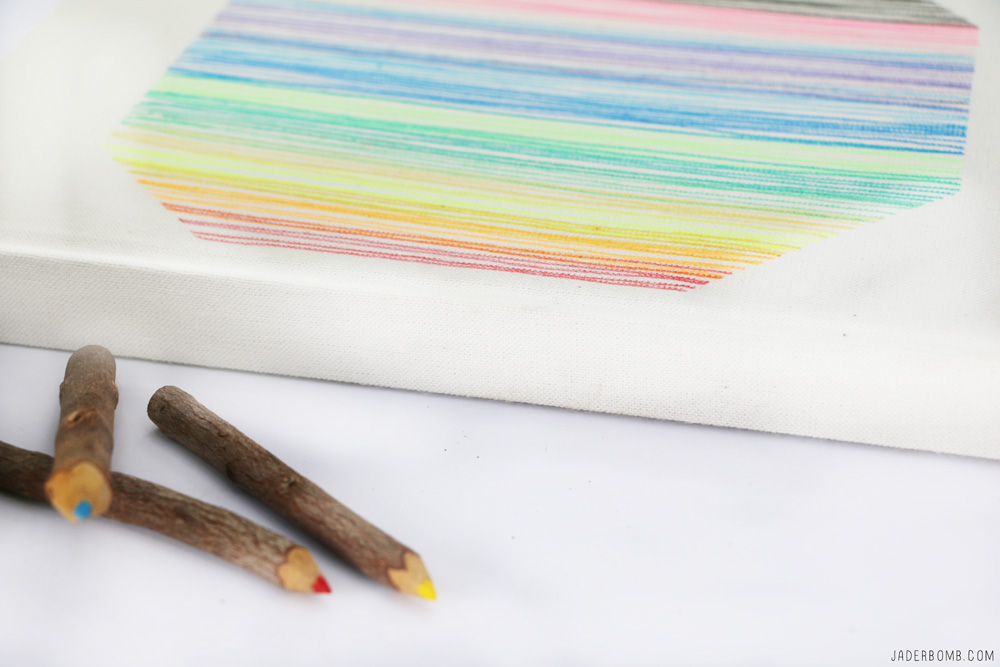
Step Two: Get the fabric marker color you want and go to town! I am doing lines for all of my journals because I think it’s very modern, clean and crisp. I love that these would also look amazing on your dining room table stacked with other books. 
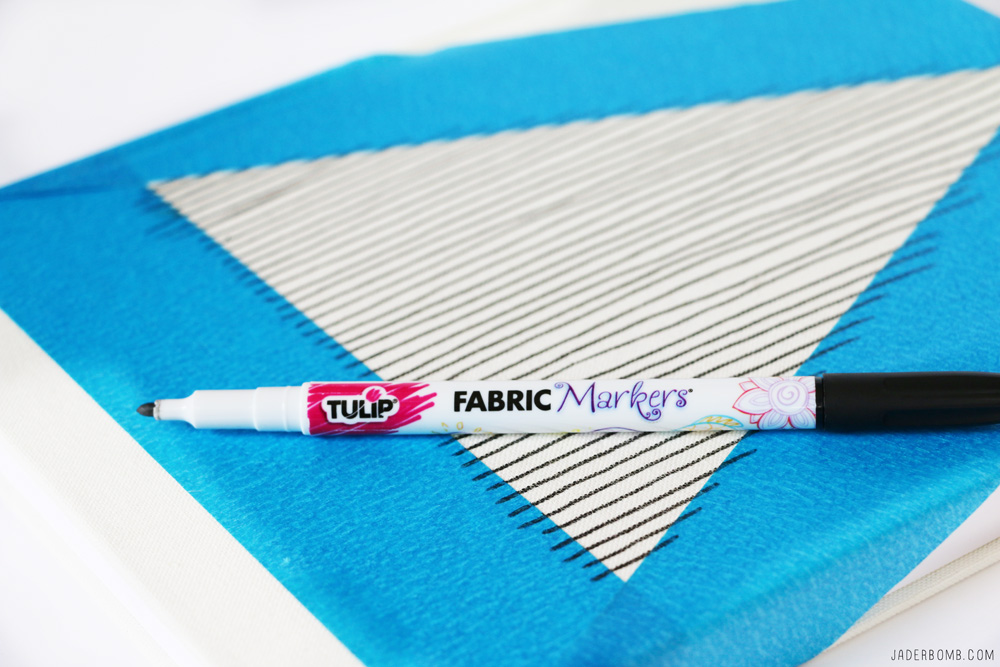
Step Three: Admire what you just created! Insert huge laugh right about now!
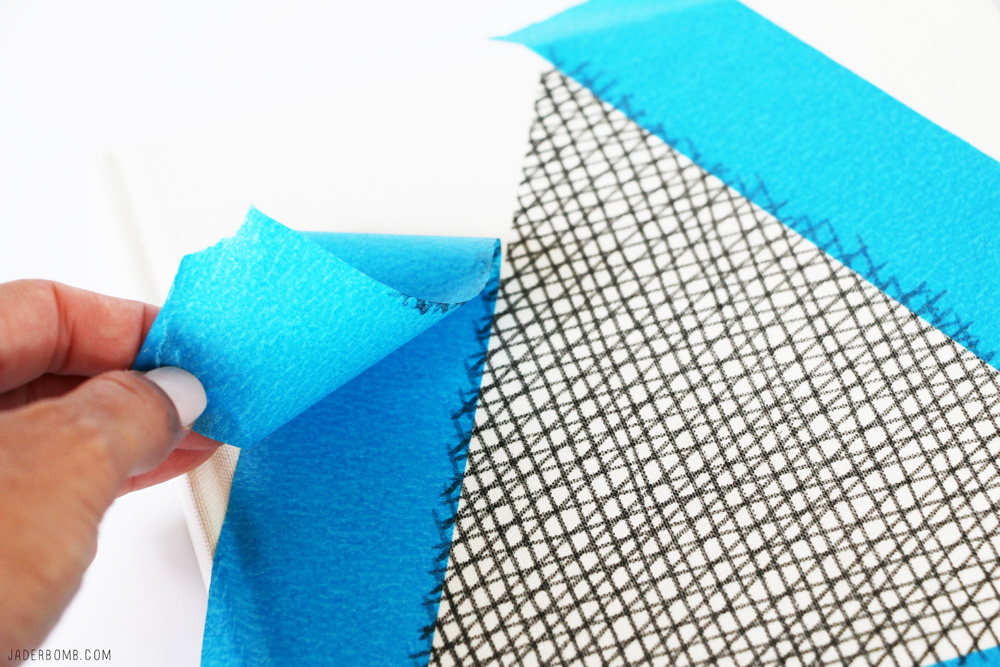
Step Four: After letting your markers dry into the canvas for about 10-15 minutes gently peel off your tape. If you are using painters tape it will peel off really easy! What are you left with? Well, beautiful crisp lines that will make your heart pound for days!

The great thing about this project is you can give a journal with a pack of fabric markers to someone as a gift and they can create something special that they will remember forever. 
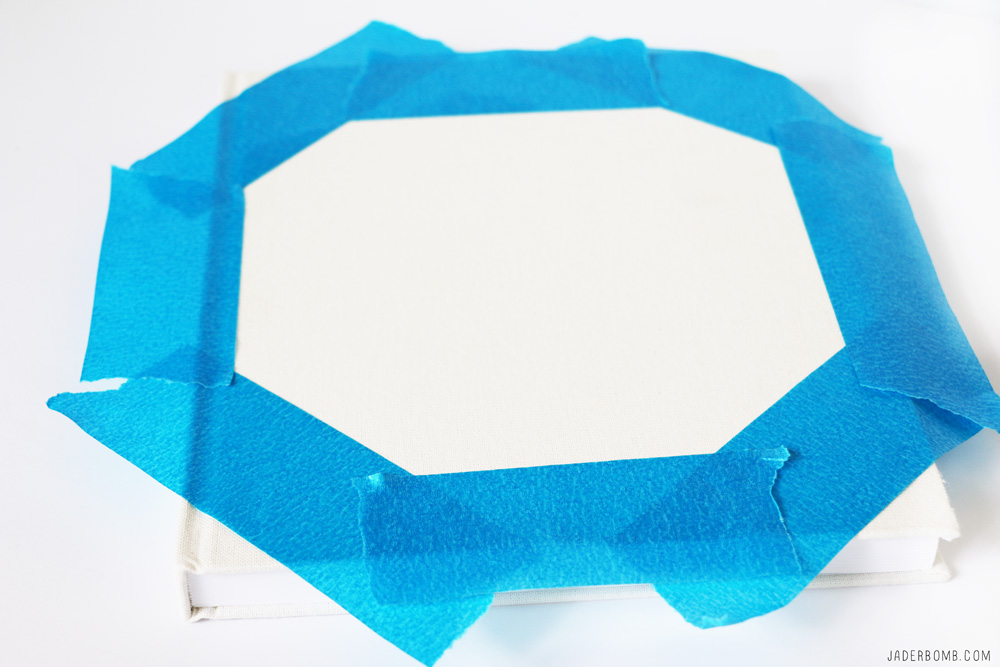
I am repeating the same steps but doing a different design! What’s great is you can even overlay designs with the tape. It’s the best project to show off your creativity. 
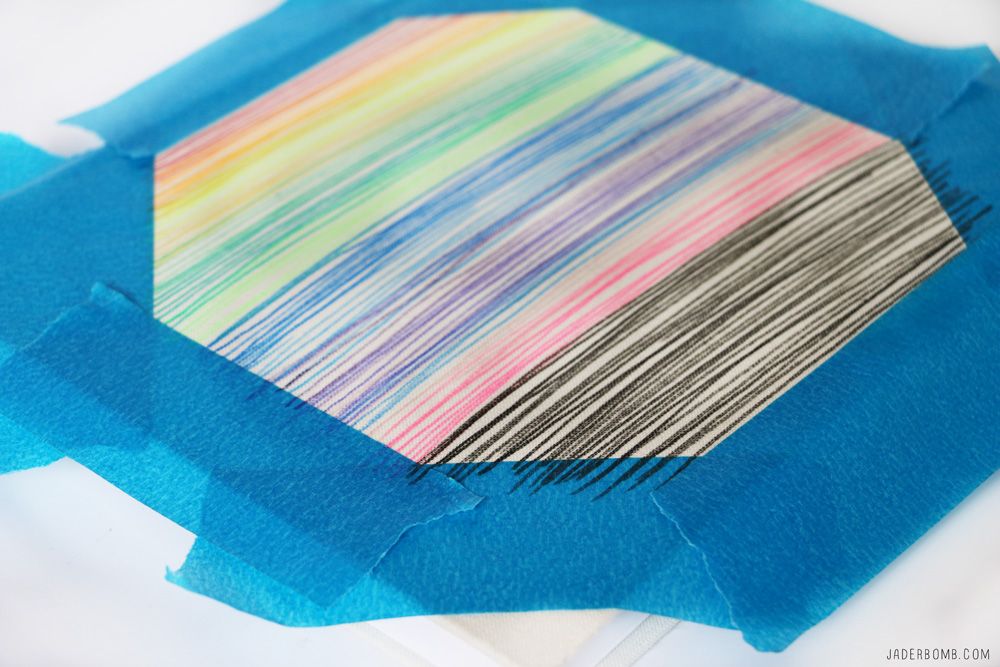
I am totally digging all of these wonderful colors! For me when I see bright colors it just instantly makes me feel better inside and I am sure it will do the same for you! 
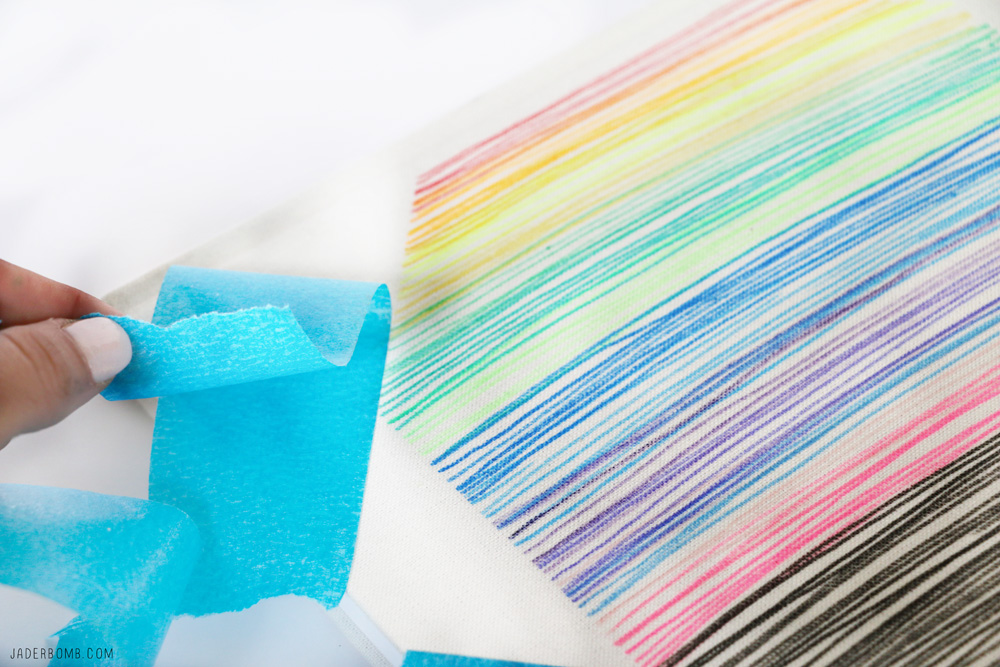
There are so many different things you can do with a blank canvas… If you want you can write your favorite quote on it or you can freehand a special drawing, the possibilities are endless!
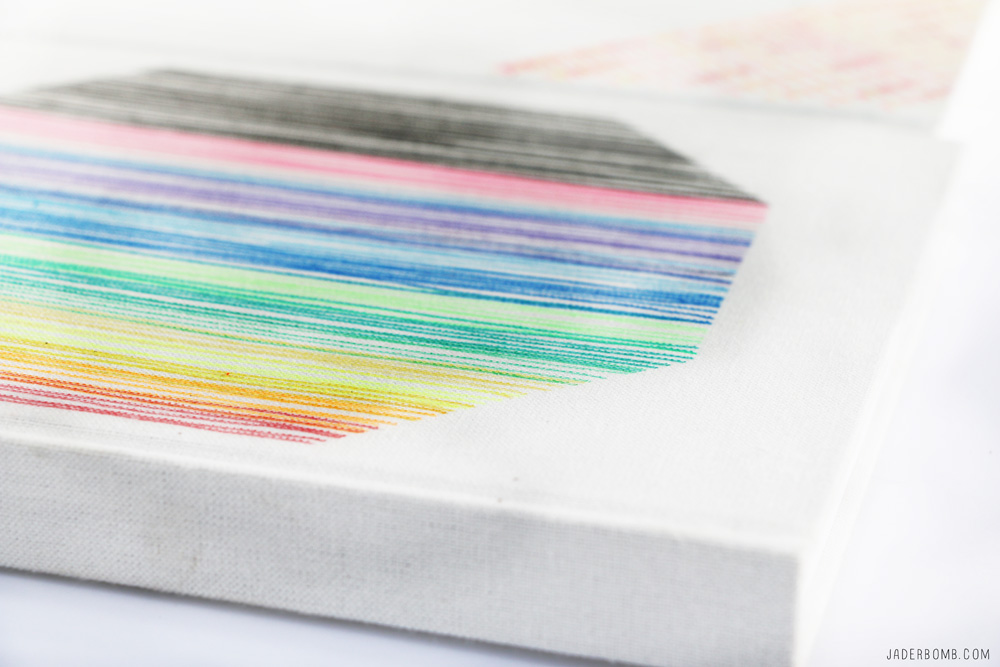
I even used some very thin tape to get a different look. Mix and match with thin tape and thick tape it’s all up to you!
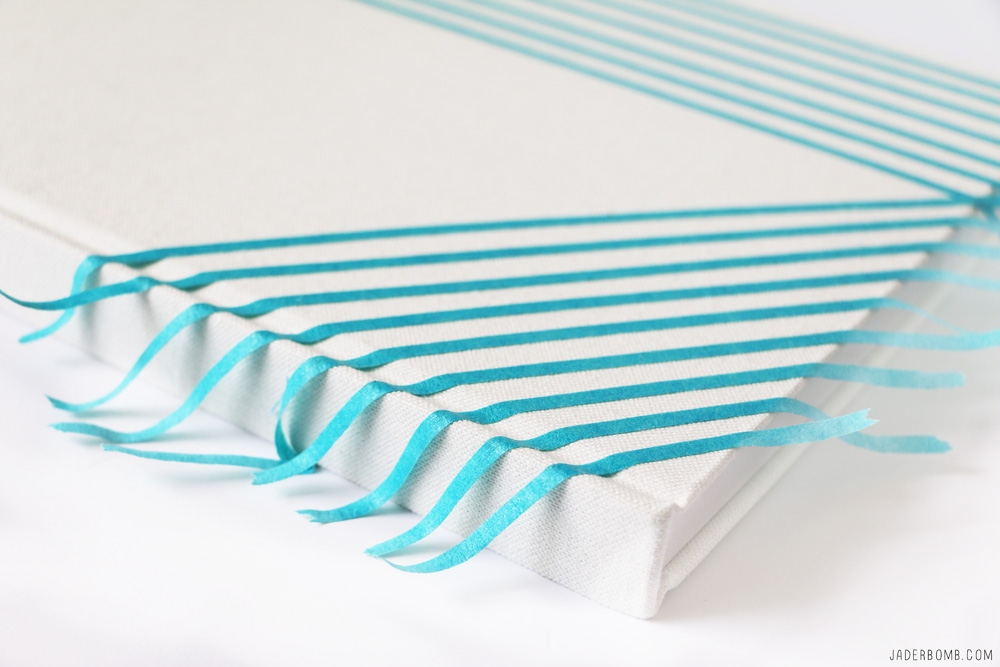
If you notice below I drew lines completely over the tape to create one long line only because I know when I remove the tape I will have a white line where my tape is. 
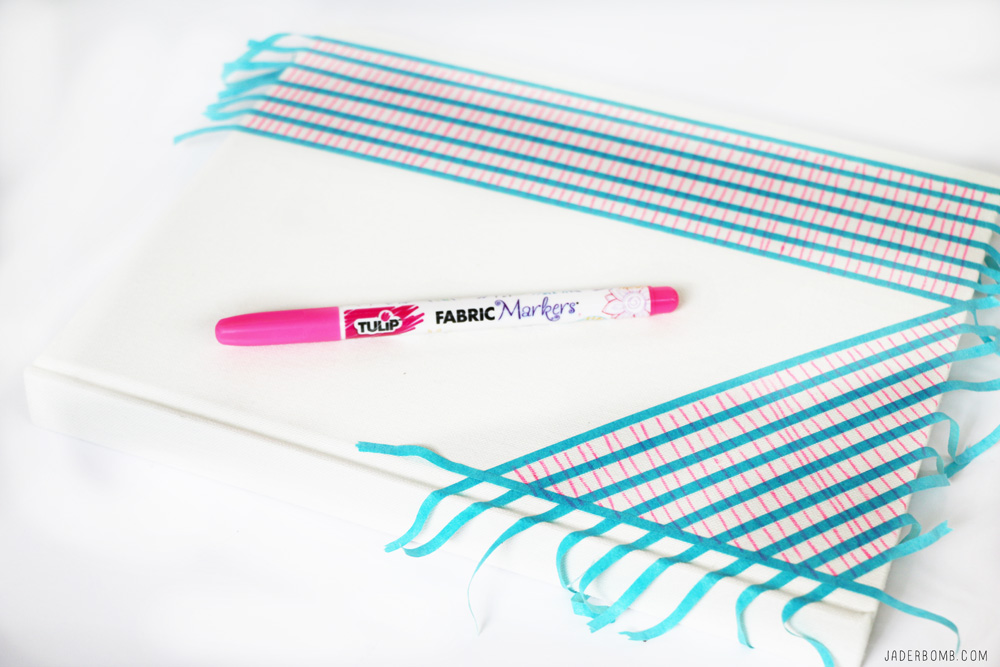
Don’t forget to mix and match your colors because they blend really nicely together. 
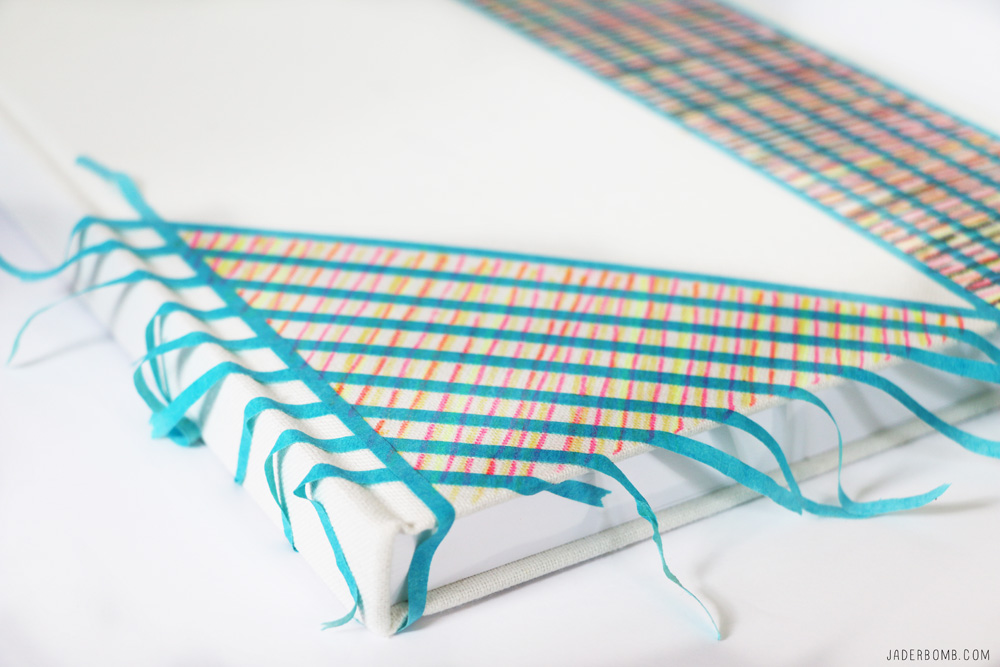
When I tell you pulling this tape off in the end is my favorite part… It’s like heaven to my fingers. Not even joking!
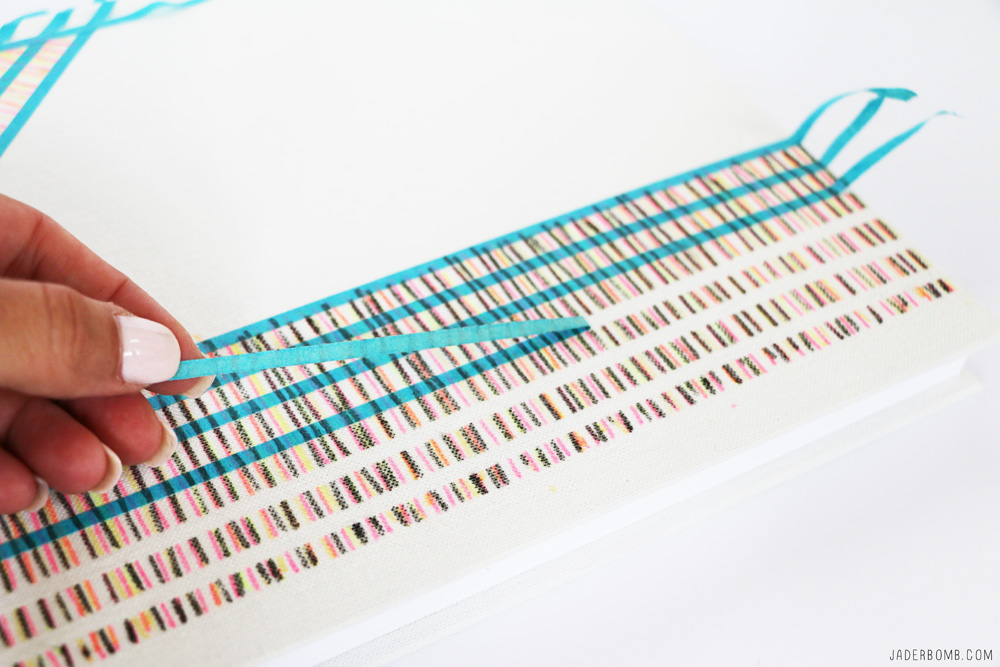
 l like to use black as a accent color! It just adds a little BANG to the colors. 
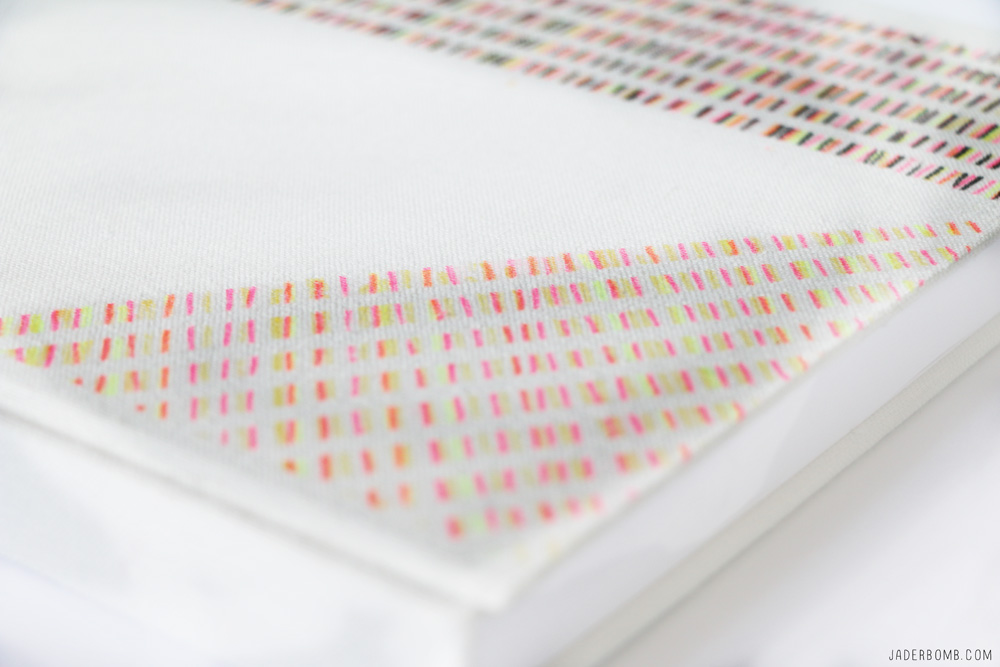
With over 800 new styles of craft paint, Michaels has more paints for more surfaces! Check out some of their new finishes including ultra-metallic & watercolor and get started on your next DIY!
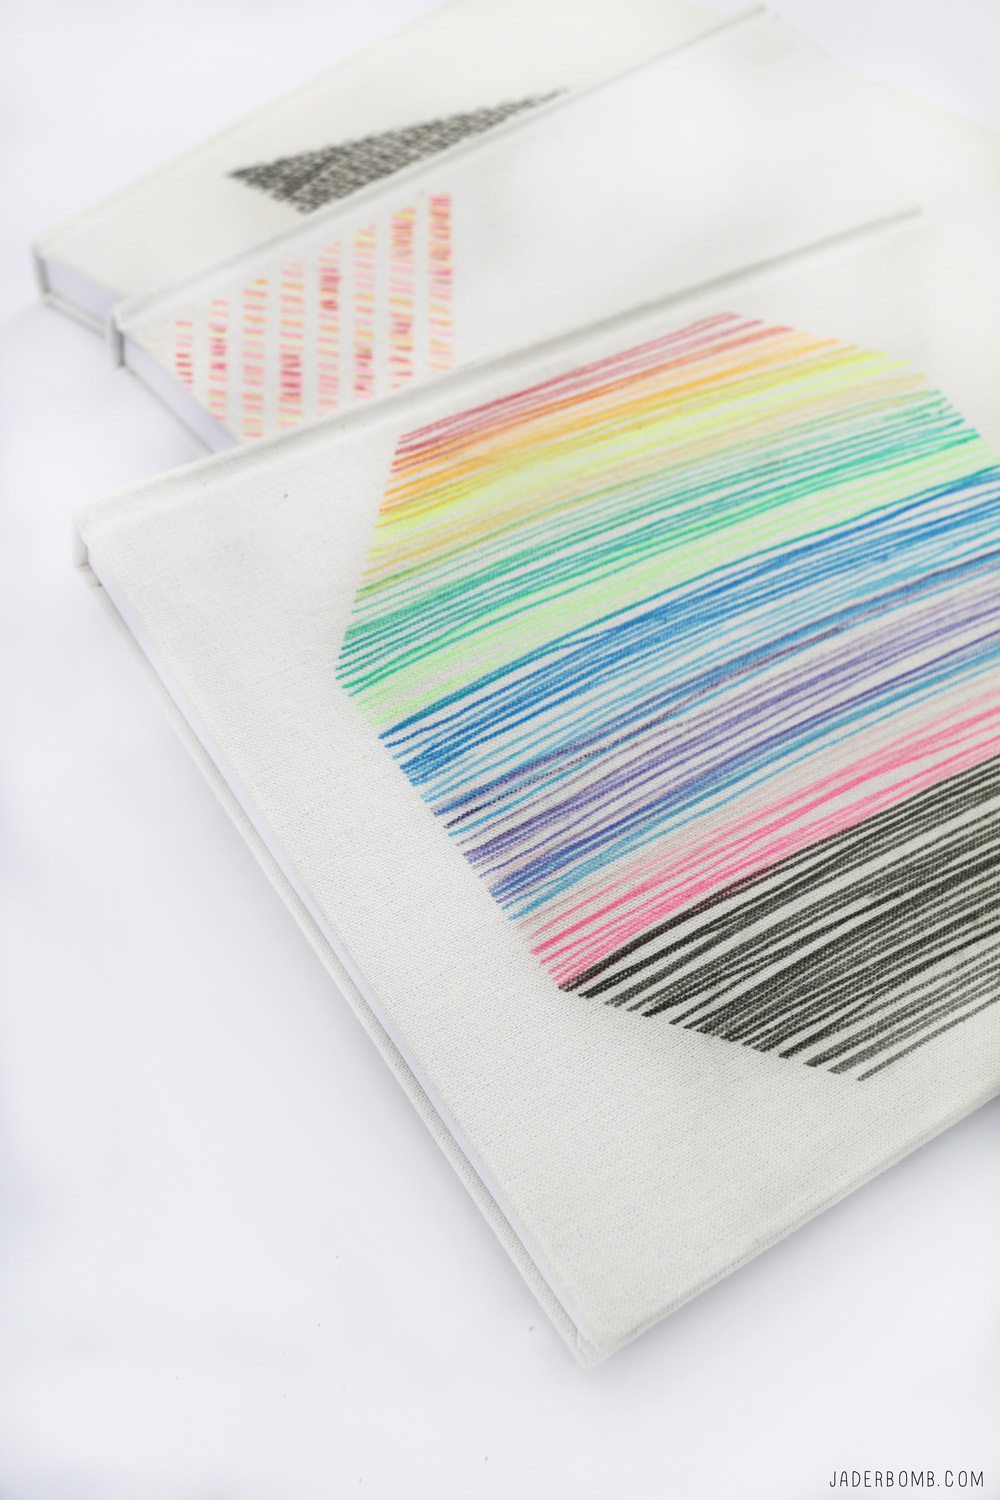
Remember my Fairy Gardens I made? Click HERE to see them, trust me you don’t want to miss them! I have these babies all over my house and they just bring me so much peace and happiness. 
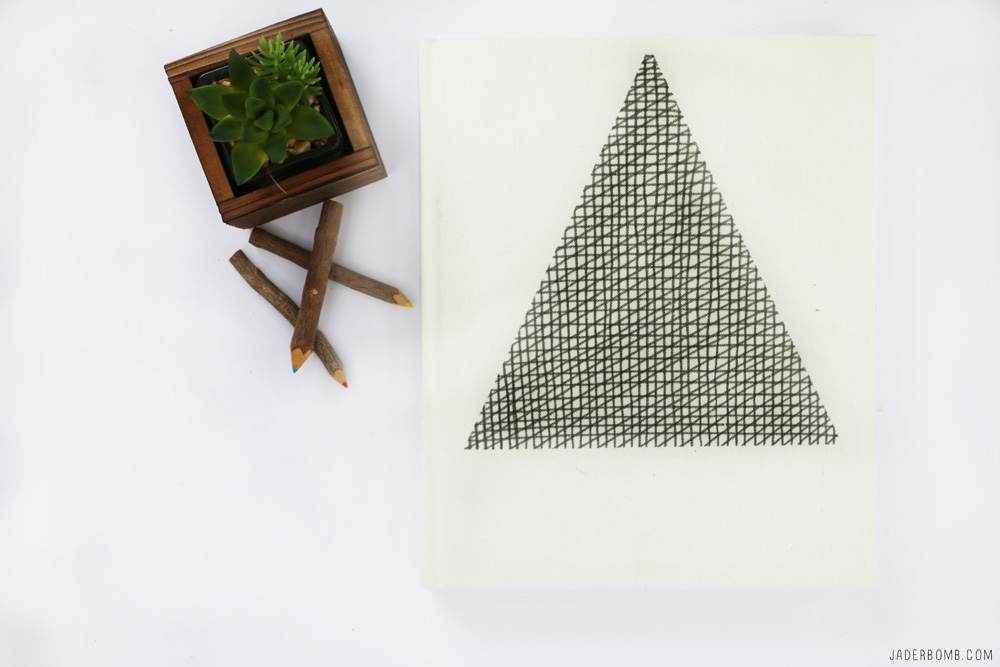
I hope you enjoyed this project because I sure had fun making it! Sheesh I already gave away two of my journals… Wonder what I should do with the last one! Maybe I will keep it for myself!  Hugs from my computer to yours, I LOVE YOU!

Looking for even more inspiration? Make sure you visit Michaels’ blog, The Glue String, to see the rest of the Michaels Makers’ DIY projects!

Don’t forget to follow me on all of my social media channels because I love all of you to pieces!!!! 

FACEBOOK | INSTAGRAM | TWITTER | PINTEREST 


The Simple Secret to making faux flowers come to life! 

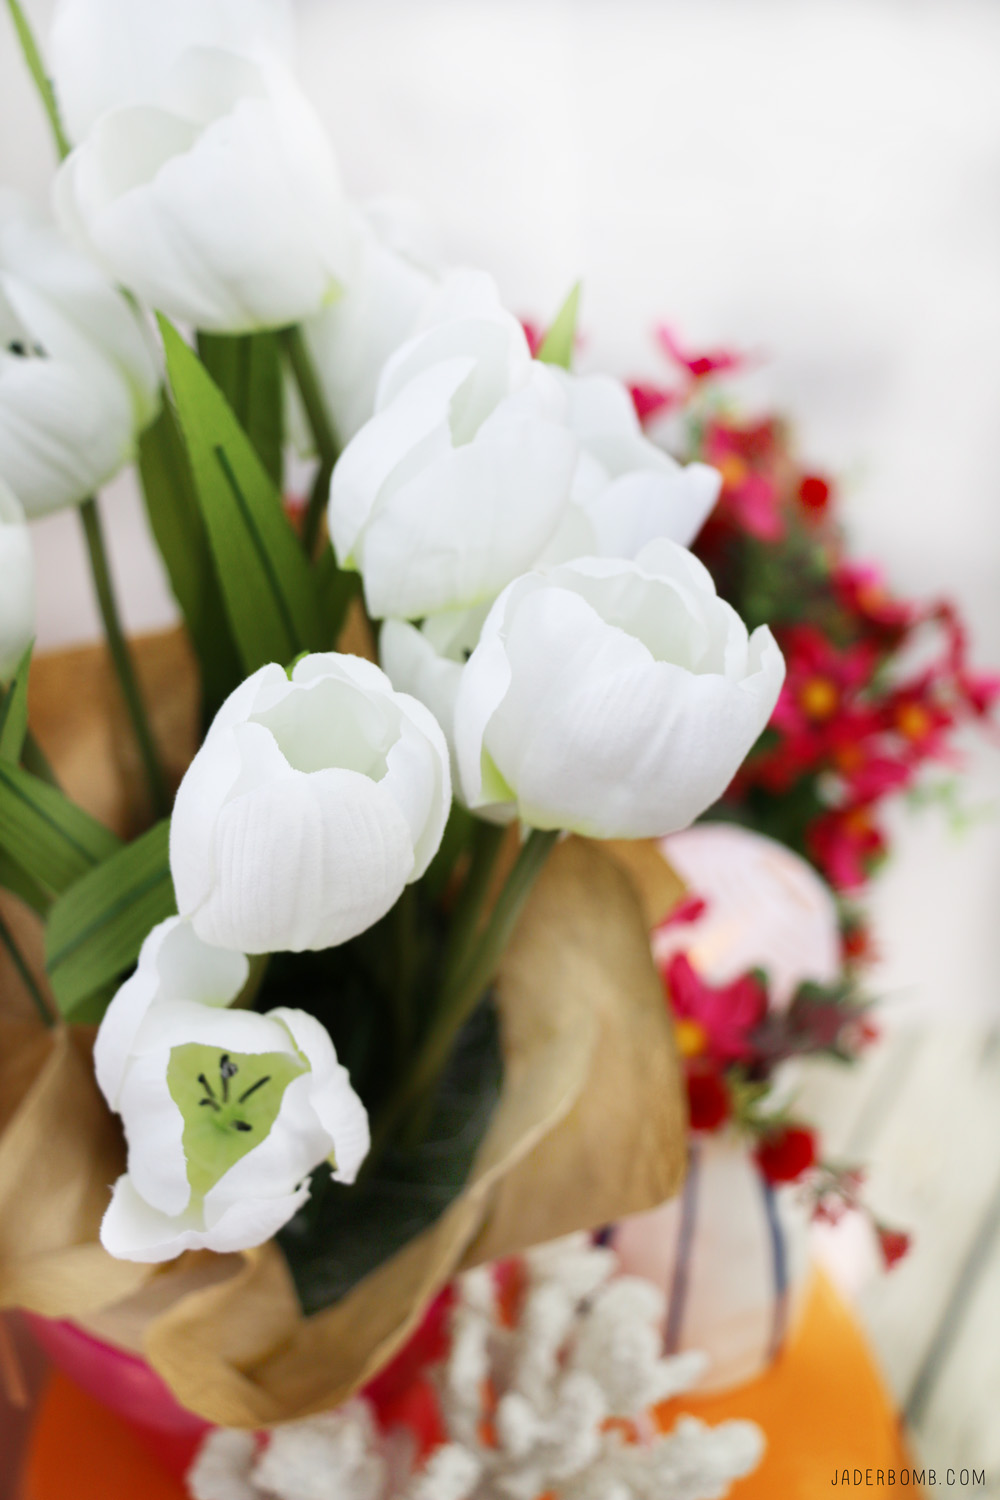
Today I will show you how to DIY with Faux Flowers. Whether you’re looking for fun décor, bright blooms, or cute party supplies, Michaels has everything you need to MAKE summer fun! If you follow me on any of my social media outlets you will notice that I take lot’s of flower pictures. I don’t know but I just get some kinda joy when I see something beautiful blooming strangely out of the ground. 

This month’s Michaels Makers challenge is completely based around faux (fake) flowers. Now I know what you are thinking… I am “so” not a fake flower person because I was saying the same thing until I had the chance to gawk over the realistic flowers at Michaels. I also grabbed a few items from the store as well to make my flowers feel at home. You won’t believe the awesome items for Summer decor that are in the stores now. Who’s ready to check it all out! 

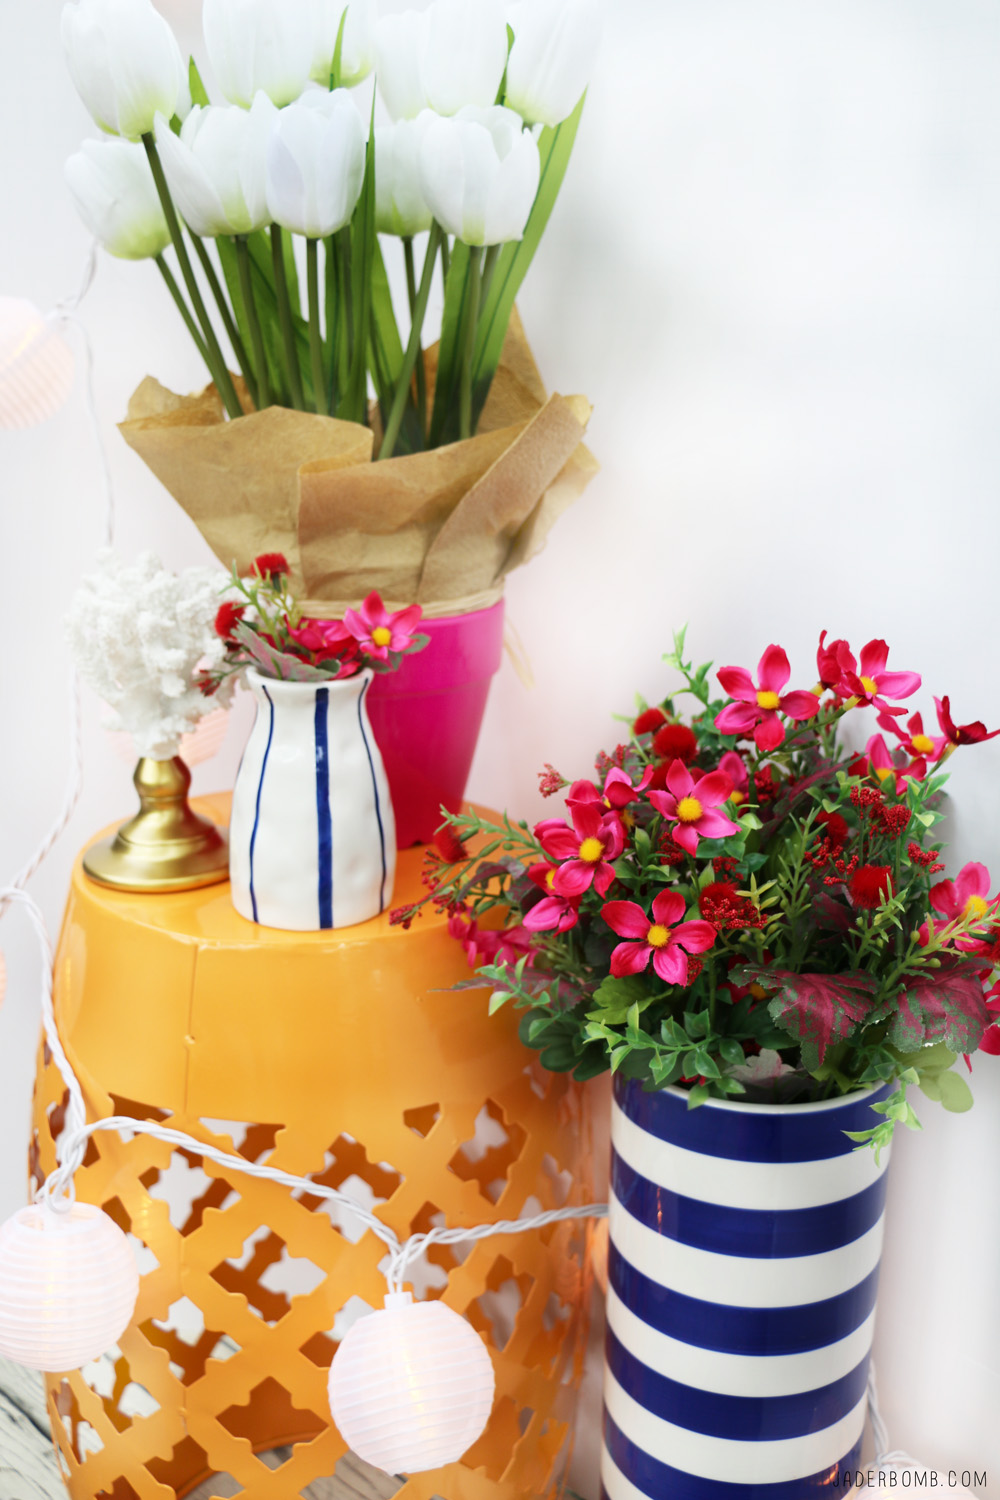
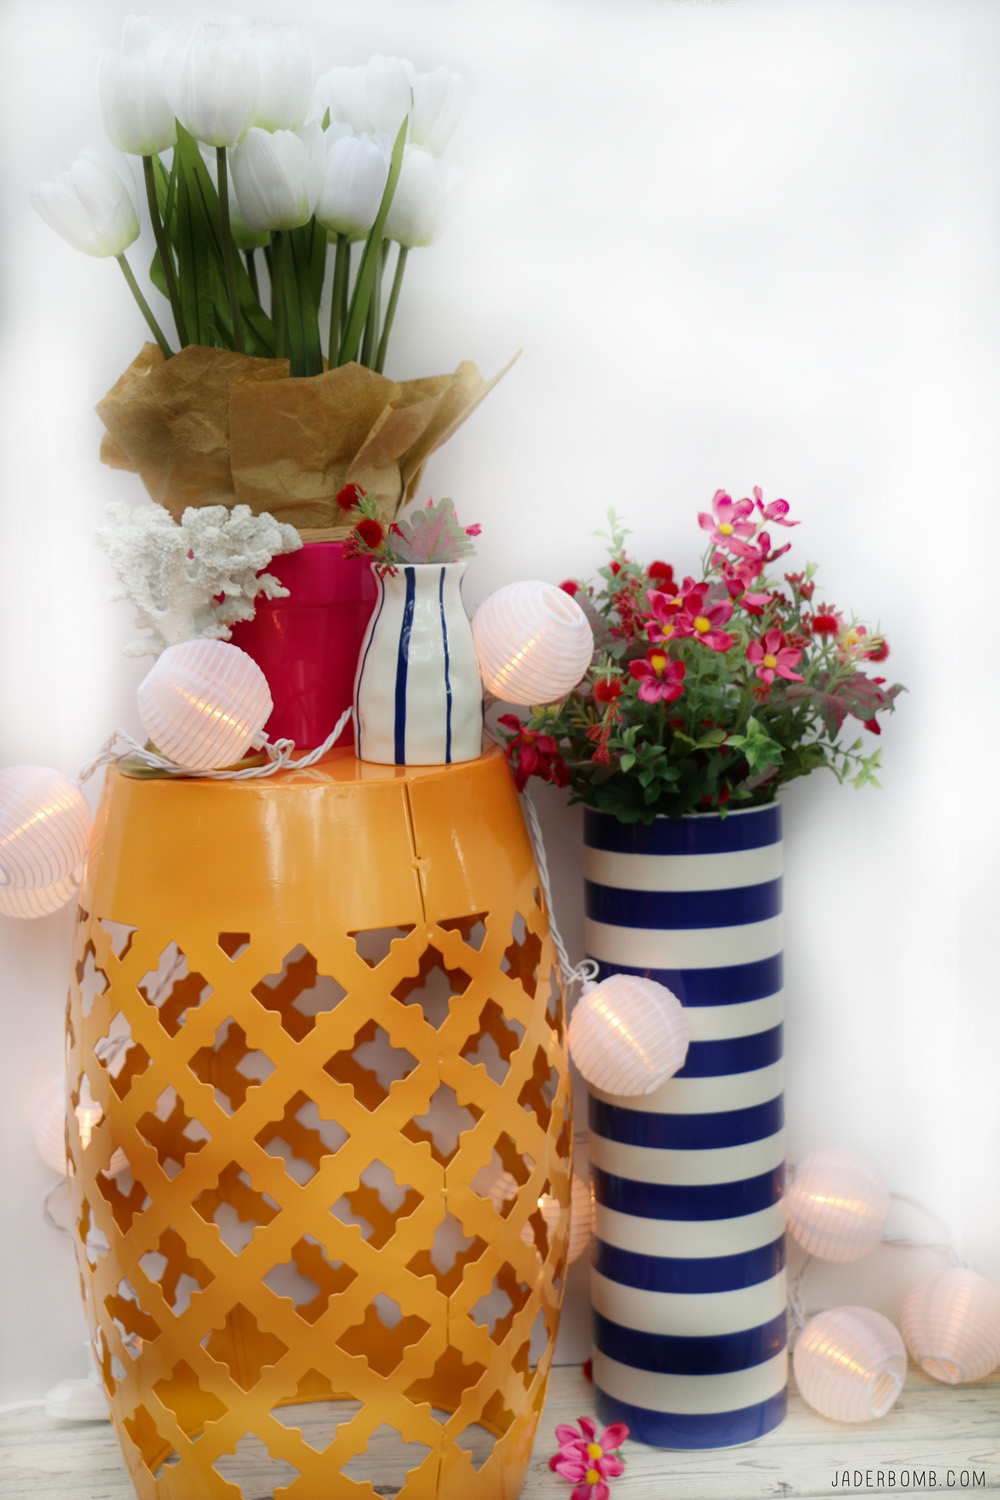
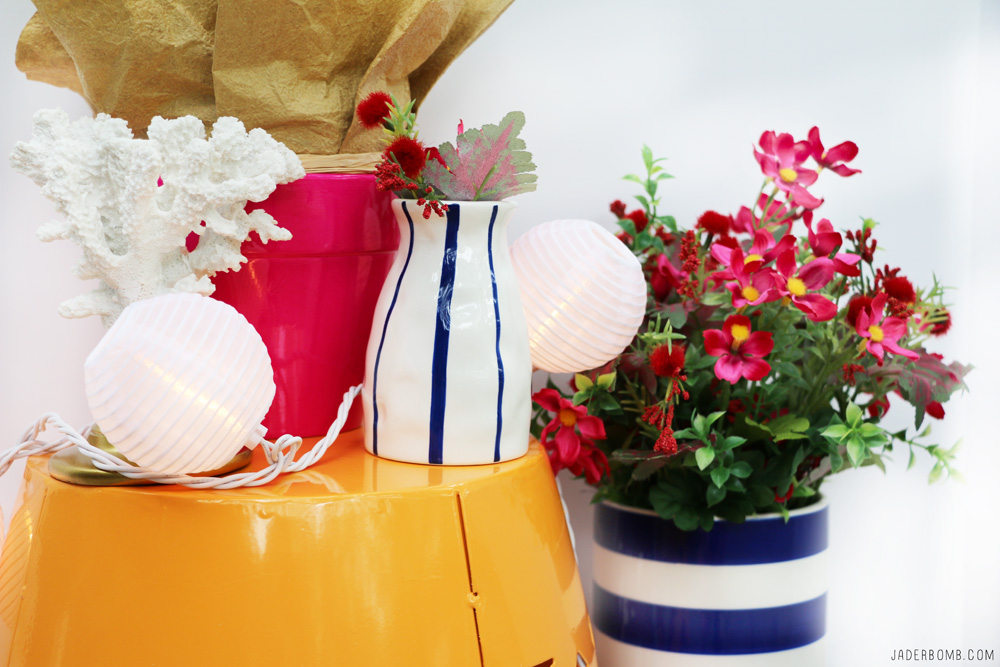
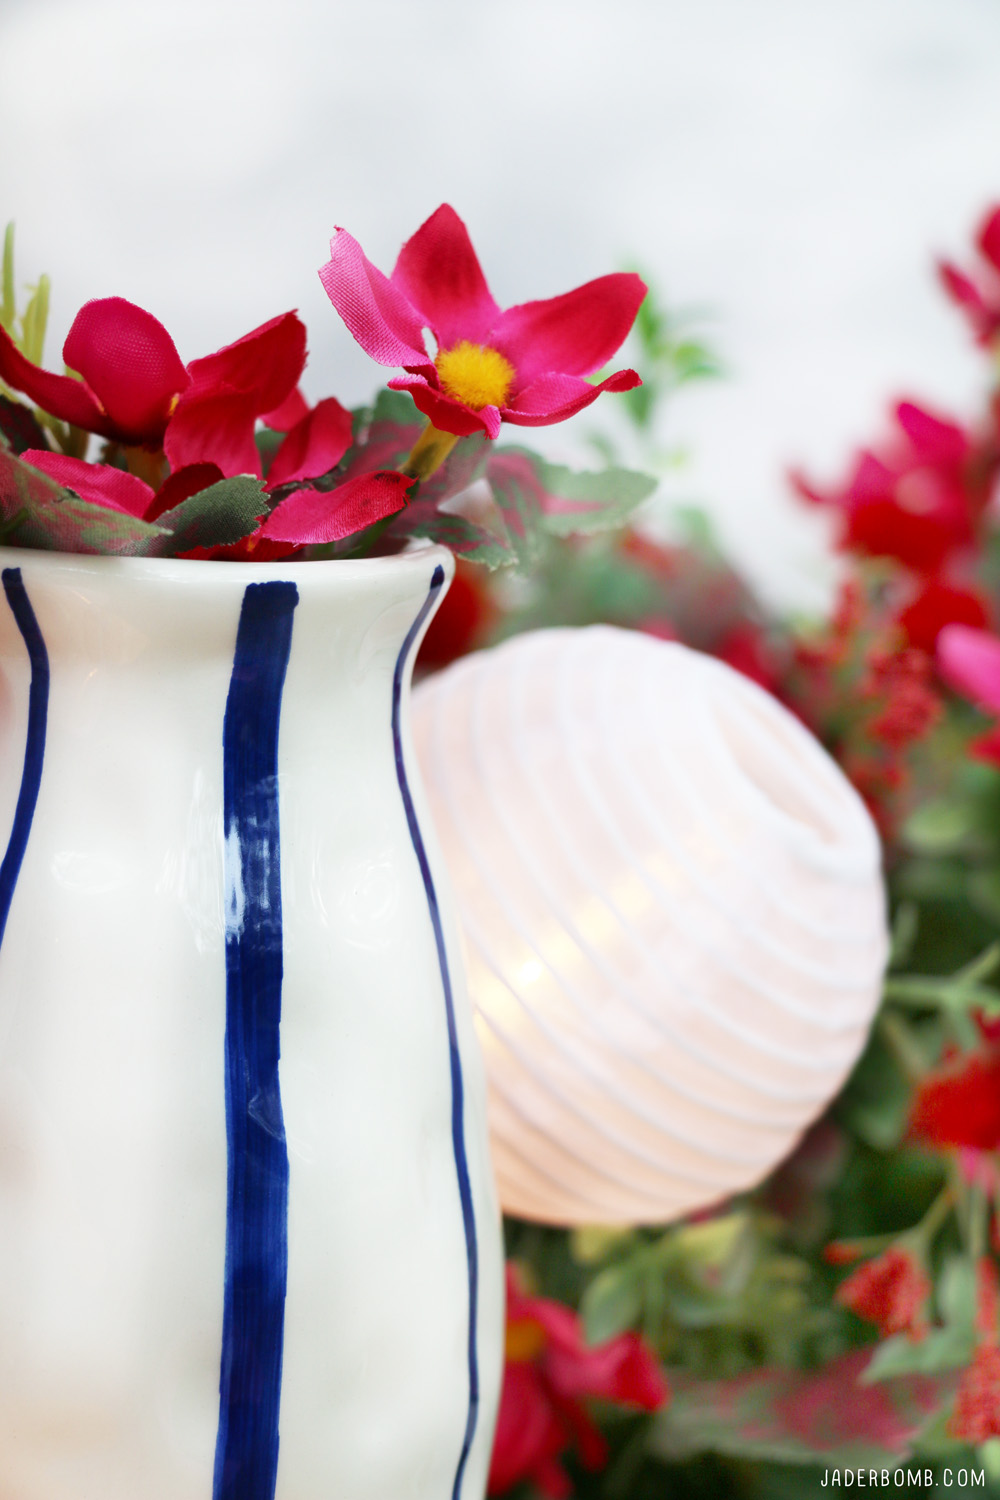
Now before we begin I want to tell you that one thing I love about faux flowers is if you can purchase some that look really real then you can spread them out all over your space and things will look fresh as all get out all year long. Don’t worry that is what I plan on doing with mine! Yes I purchased this cute blue and white vase at Michaels a well!

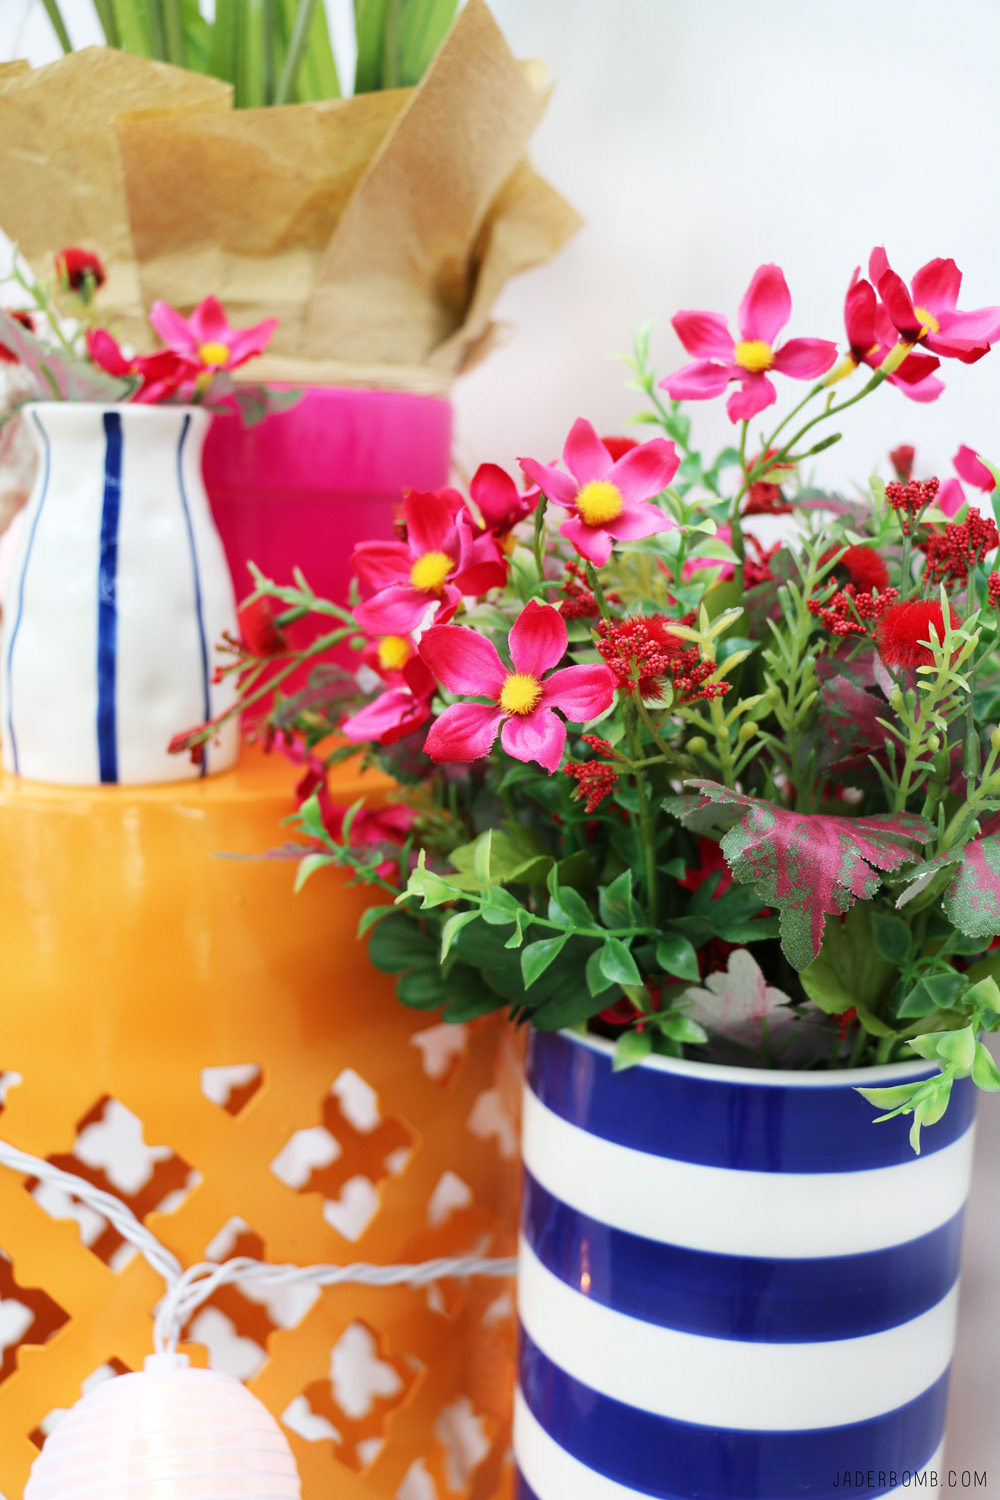
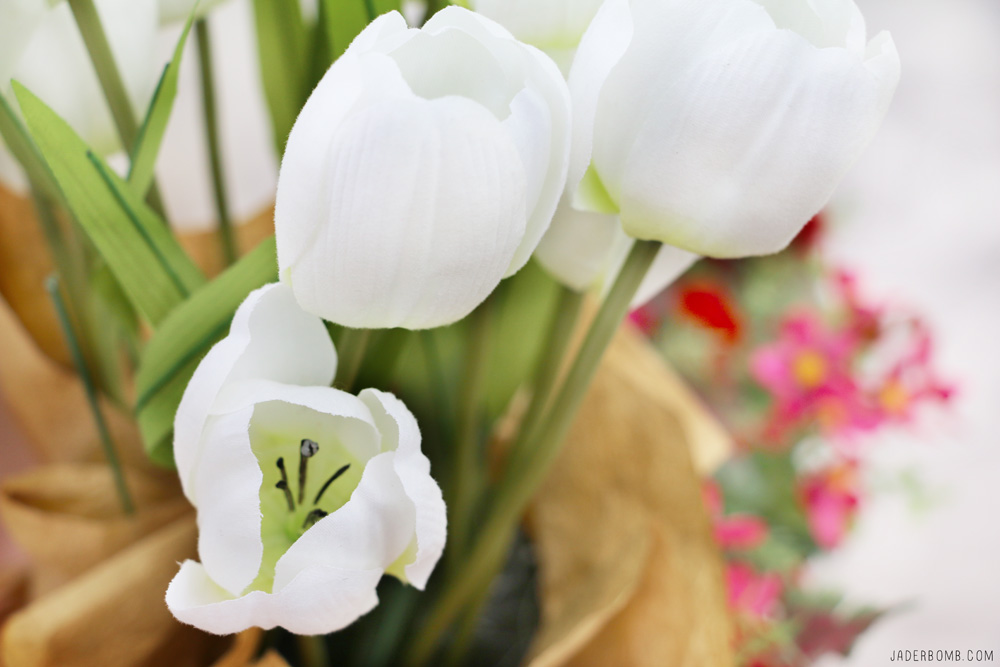
Summer is right around the corner and let’s face it we all travel a lot which means if you have real flowers out then most likely they will be dead and gone when you get home. One good thing about these faux tulips is they will live forever, hehe… alongside these beautiful wild flowers. Are you also digging this stellar vase as well! Between me and you blue and white goes with any decor so get out and grab you some!

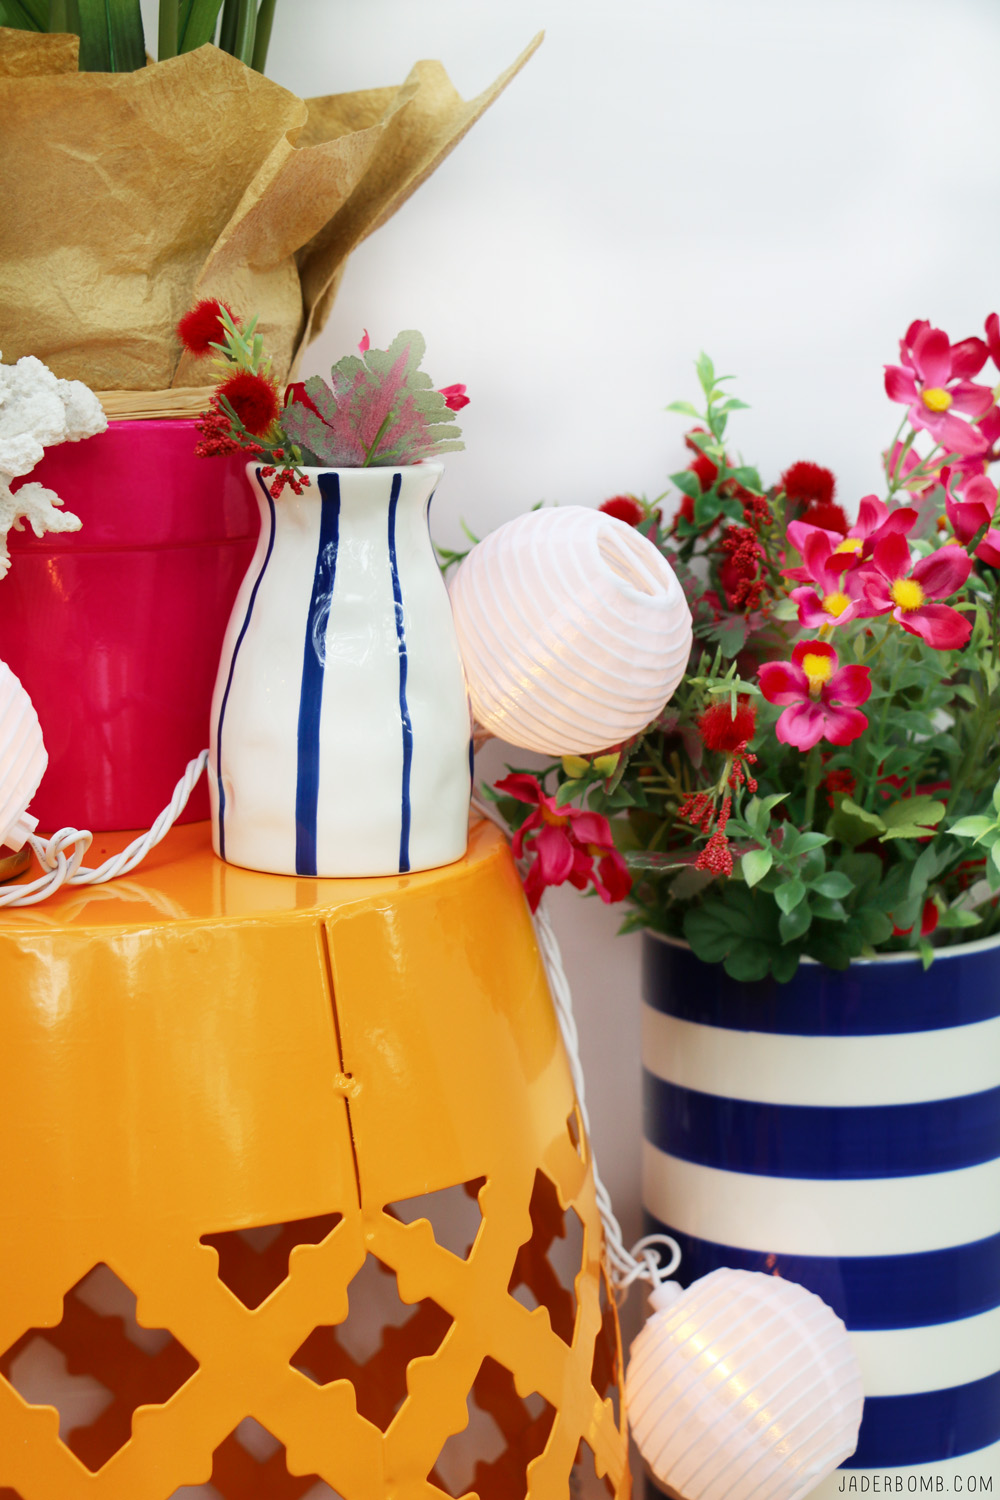
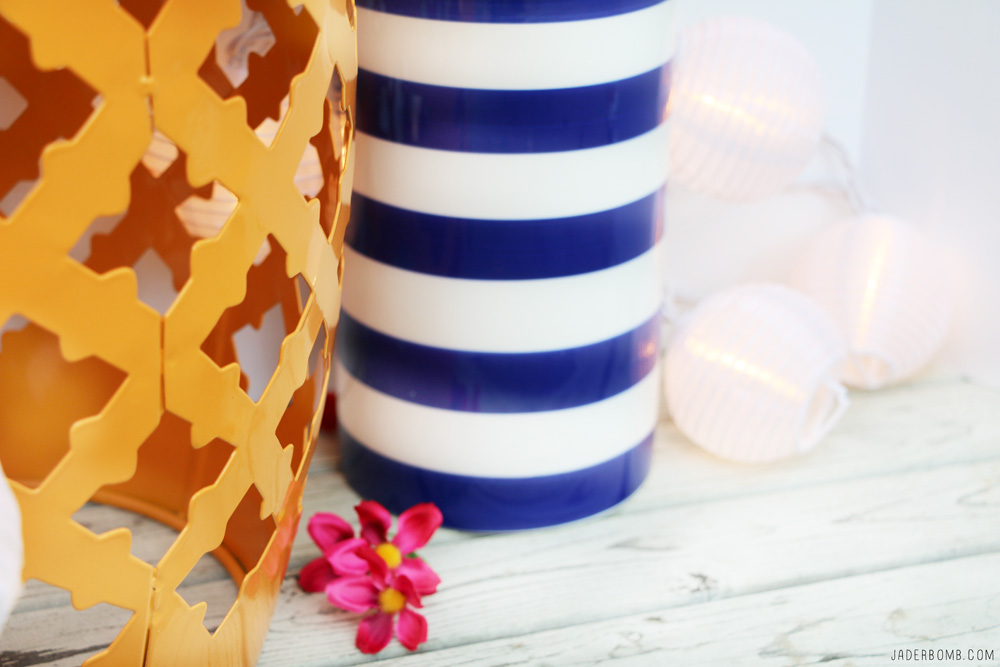
I love these end tables Michaels is carrying, which come in a ton of colors. The orange just stuck out to me so I had to have it, plus I love the pattern. Way to go Michaels.

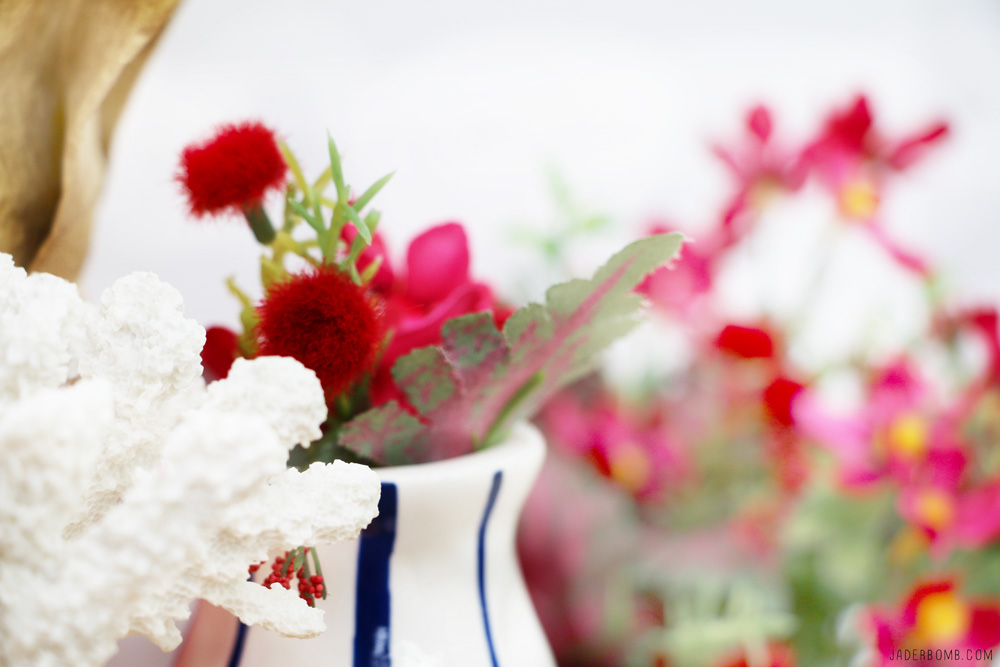
The great thing about wild flower bouquets is you can snip off a few of the flowers and add them to little vases for a modern look. Small vases look great around bathtubs, kitchen sinks and in bathrooms. 

If you are smart you are already in your car driving to Michaels! Listen you have to grab these flowers before they run out. Also, they have a large variety of string lights which look good around anything. I won’t lie, as soon as I took these pictures I strung these lights over my bed… SWOON!

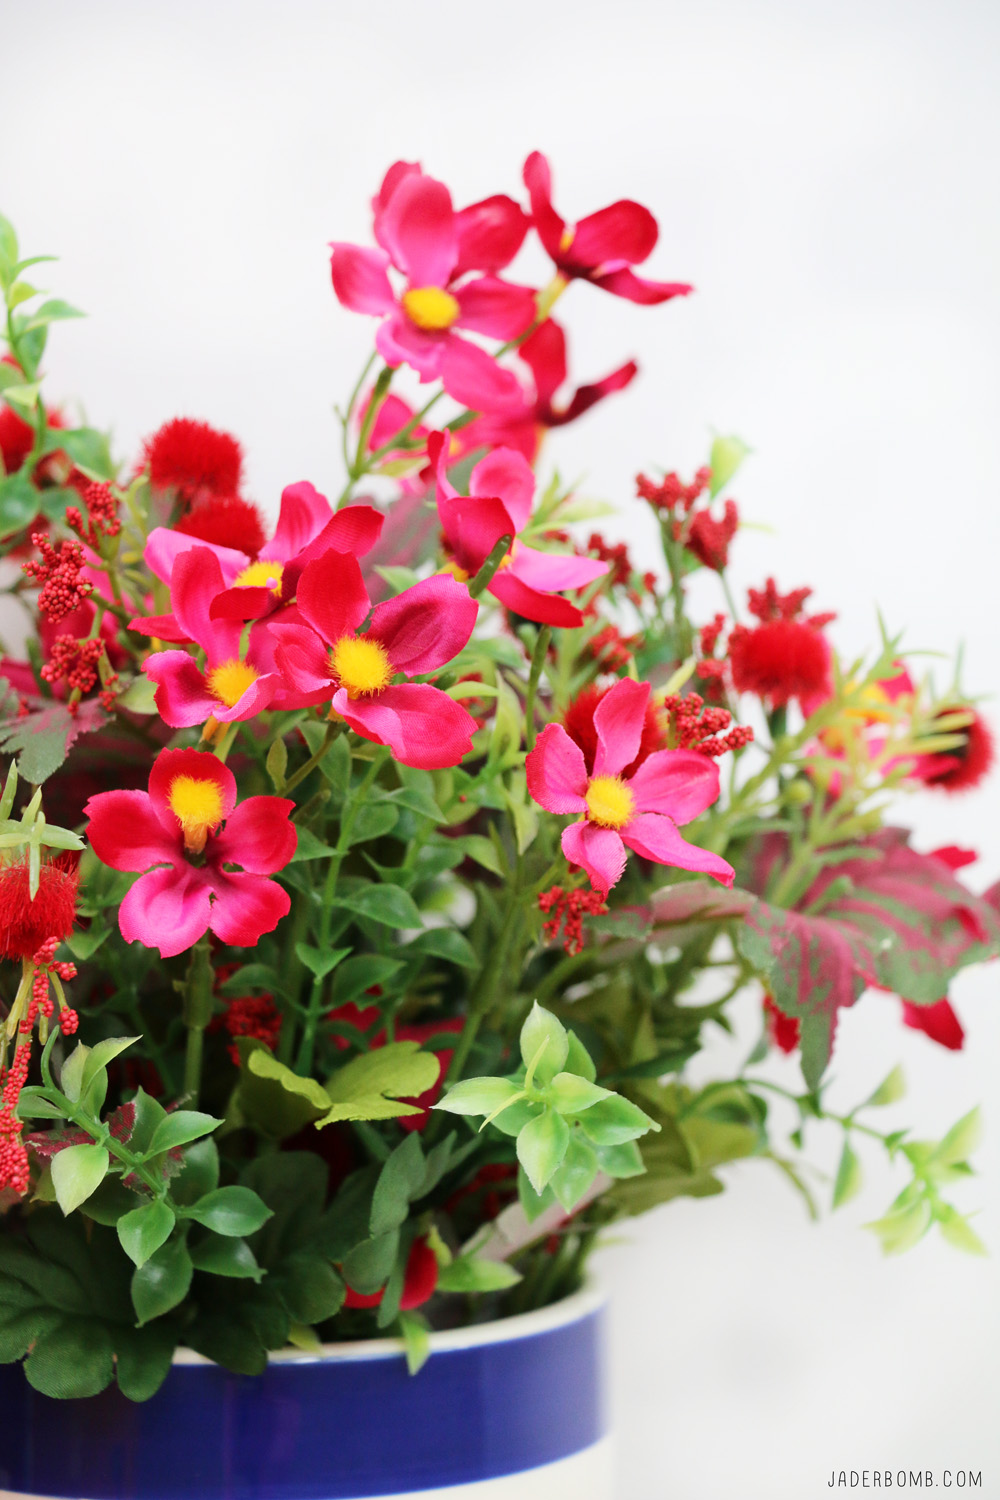
Are you drooling over these delicate pink flowers yet? 
Remember this project I did last month for Michaels? If you have not seen it  you must check it out, it might give you some more faux inspiration.  I hope you enjoyed learning a few simple ways to incorporate faux flowers into your life. Make sure to follow my on my social media outlets to see all the fun and creative things I am doing!

FACEBOOK | INSTAGRAM | TWITTER | PINTEREST 

Looking for more inspiration? Make sure you visit Michaels’ blog, The Glue String, to see the rest of the Michaels Makers’ summer fun project ideas.

See you in the next post!

The Simple Secret to making a Fairy Garden! 

Happy almost Spring you guys!!! Can you believe it’s almost that time of the year already! I know personally living in the South I look forward to Spring and Summer because all of our trees get green and our grass grows way too much but anyways, let’s just say I am super stoked to see beautiful greenery. 

When I was little girl I used to love little containers that I could fill all my goodies with.  Especially ones with glass where i could see strait through them. Let’s get started so I can show you how to make  cute fairy garden. Let’s get started!
fairy garden

pencil-030117

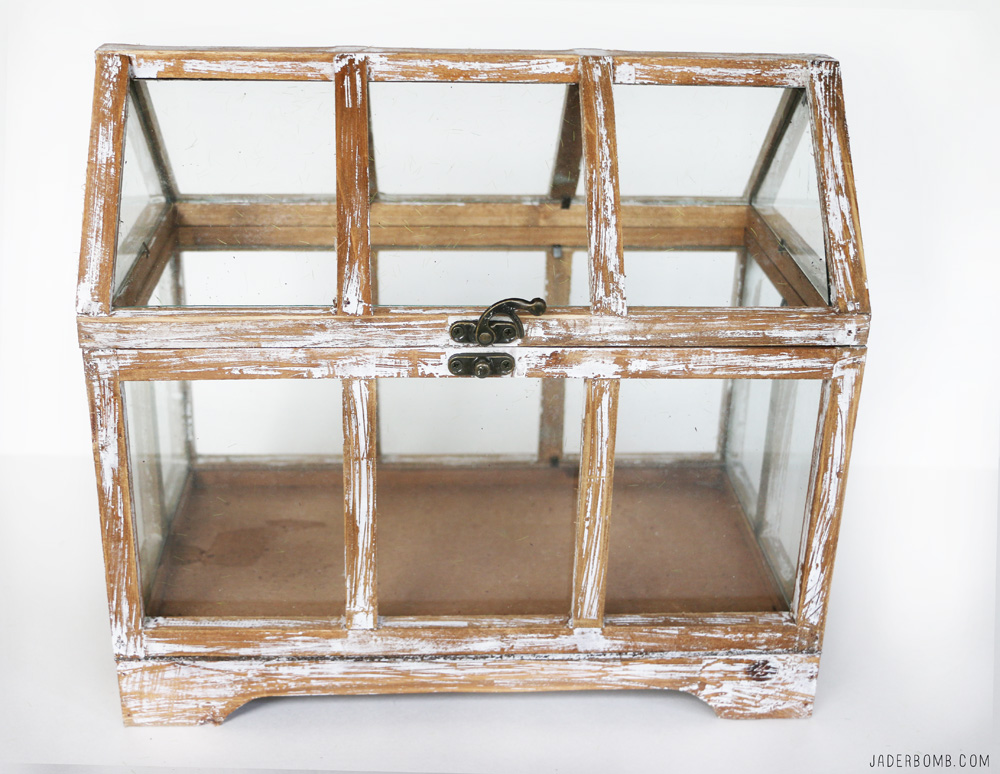
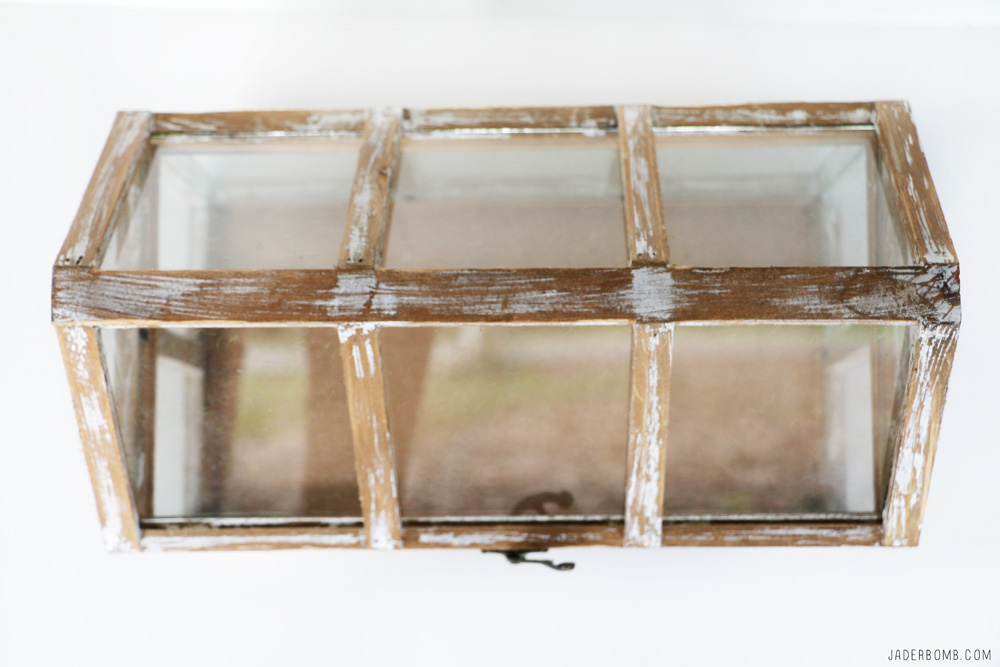
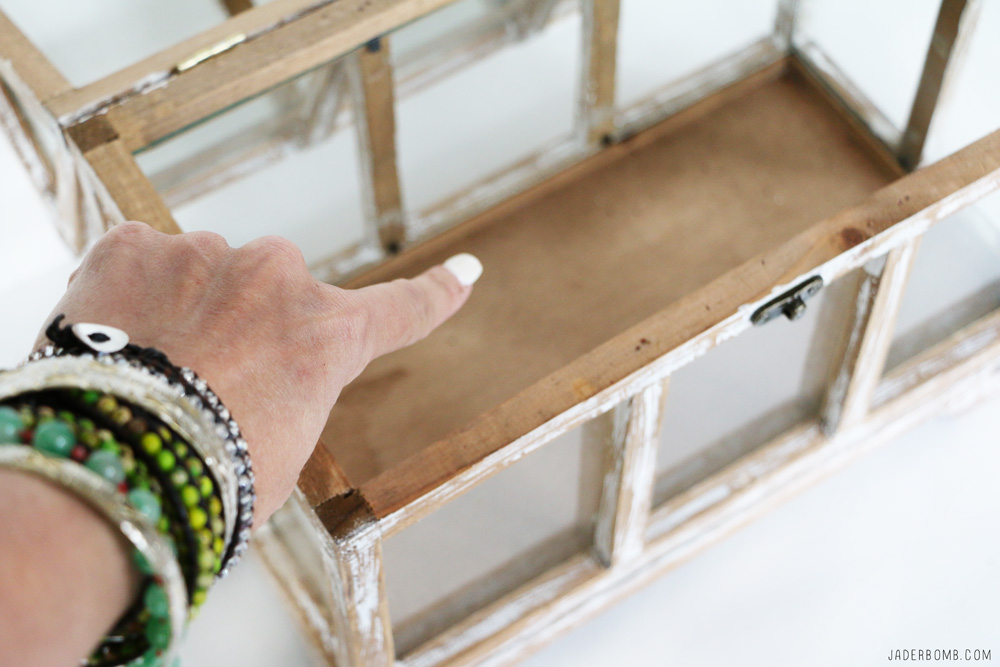
First thing you will need is this container which I purchased at Michaels craft store. I love how shabby chic it looks! wooden fairy garden

Now if you are anything like me then you can think of a billion things you could put in this container. Fun collectibles or trinkets! Click below to get a great deal on one. 

Purchase this planter for a great price here!

fake moss projects

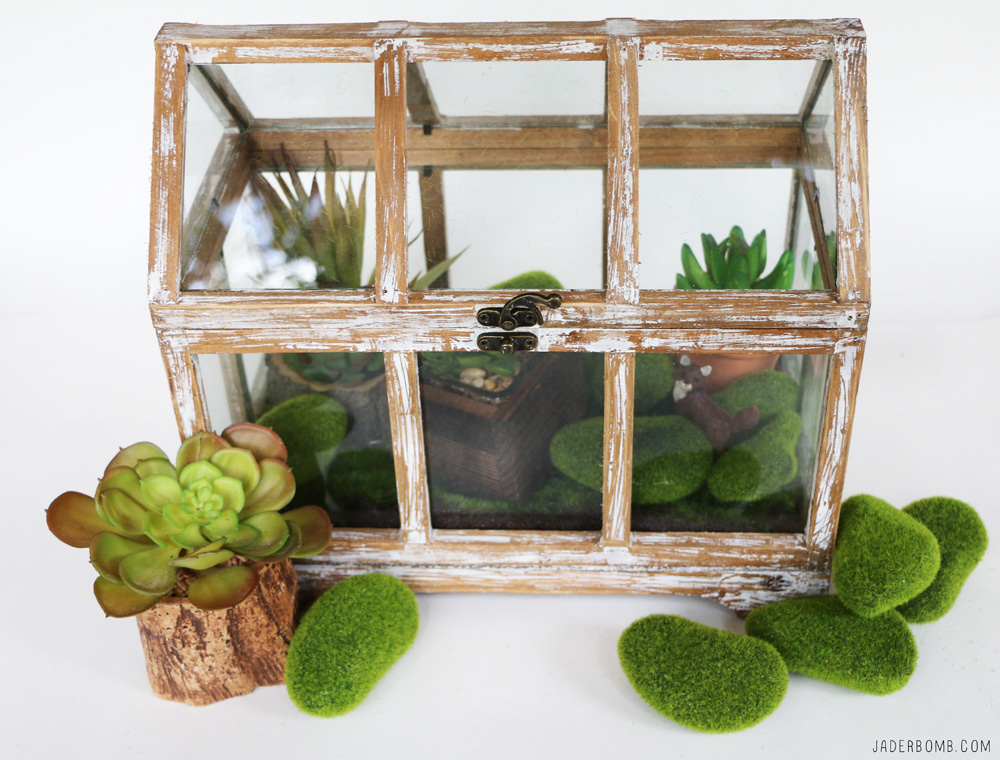
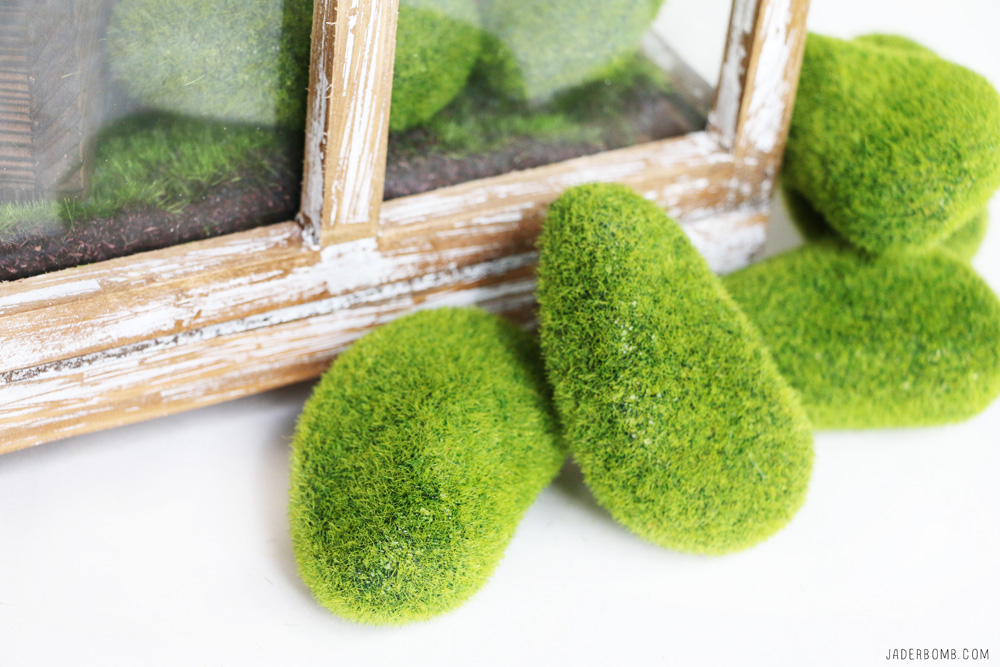
Next thing you will need to make your garden is moss. Above are two types that I like to use in my fairy houses. 

Purchase your square Moss sheets and Moss Rocks at a great price right now! planting box

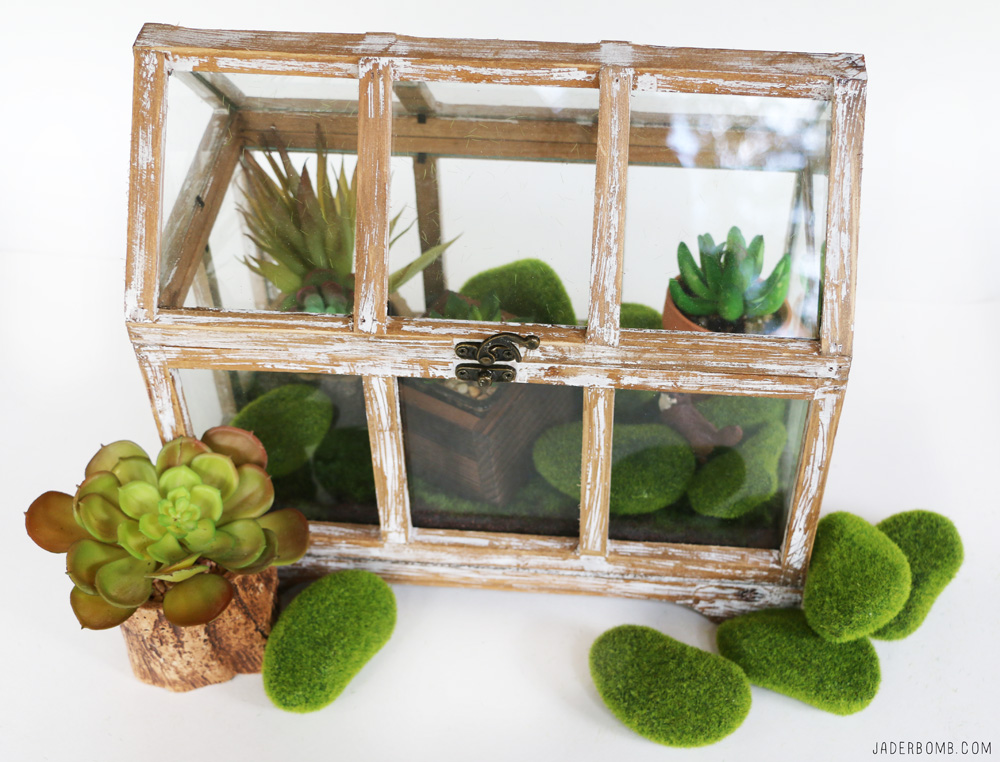
I am in love with the pointed peak at the top of this one. It kind of reminds me of an old little Southern  church. diy green house

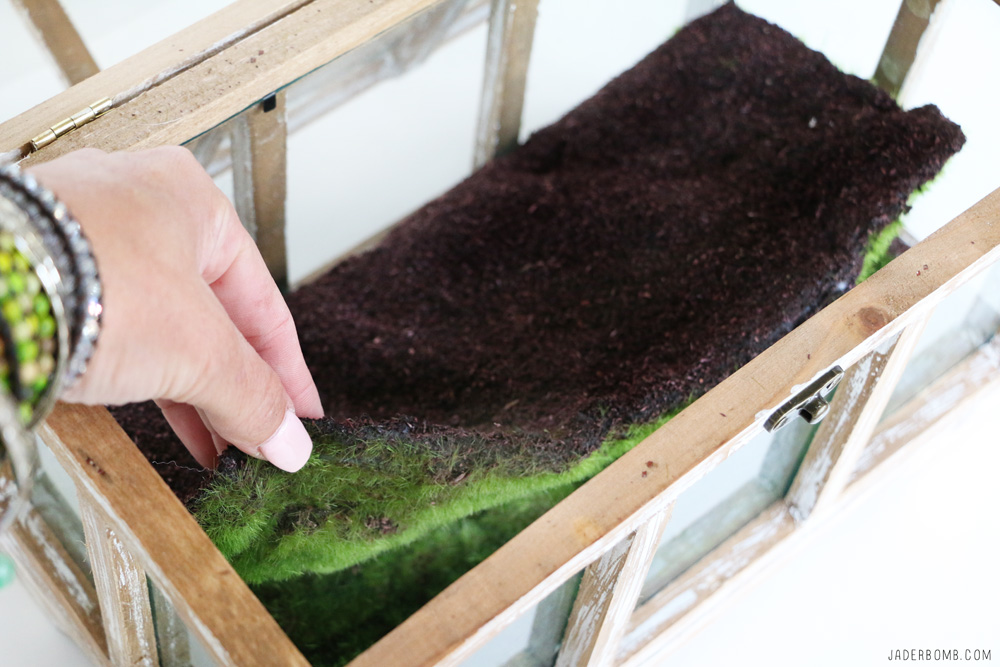
First thing we will do is add a layer off faux moss onto the bottom of the house. fake moss

Take the full sheet, fold it in half then cut down he middle with scissors. You can get all of these items from Michaels and you can order this moss from the link above. how to make a fairy garden

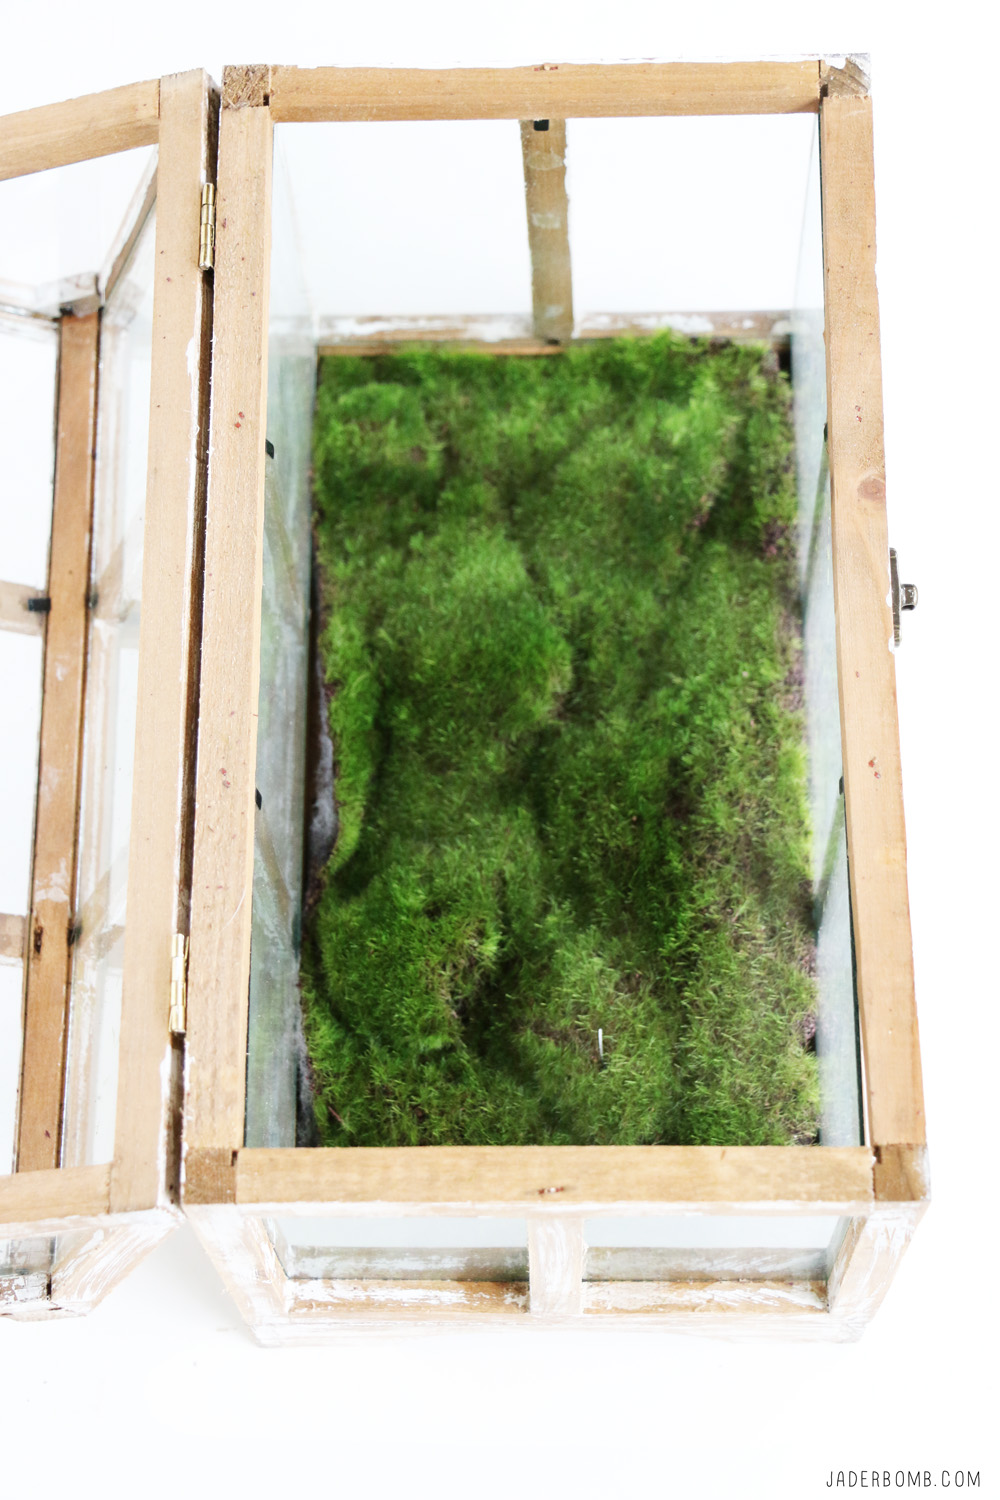
One cut you can place half of the sheet of moss at the bottom of the house. Keep in mind you will have the other half to use for another project. I love laying out this flat sheet of moss and putting little collectibles on them for my friends and family to see. wax plants

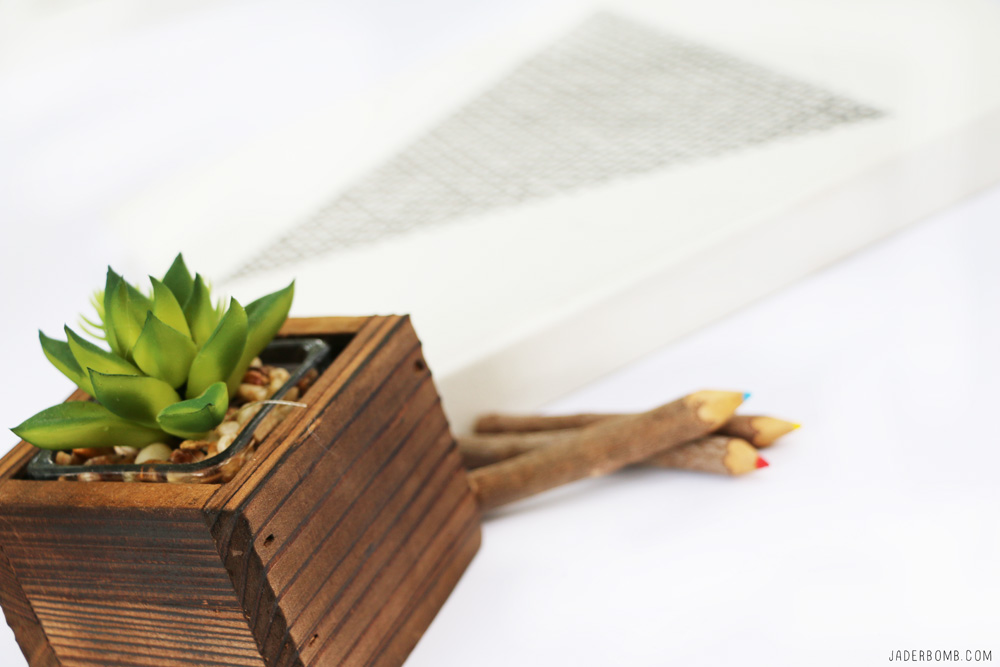
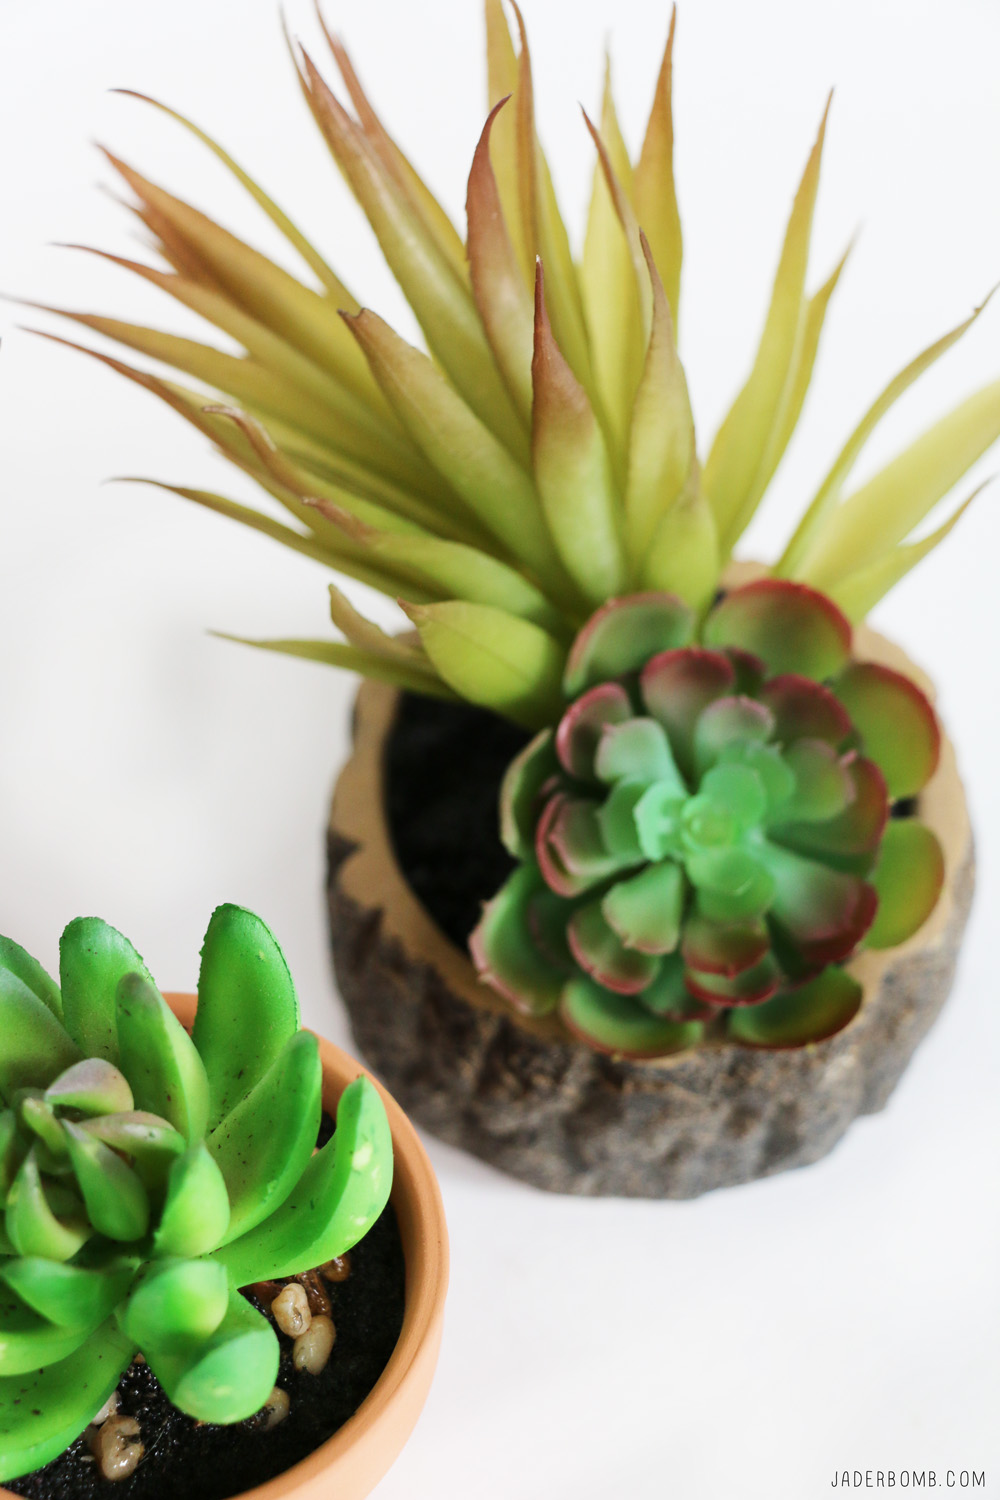
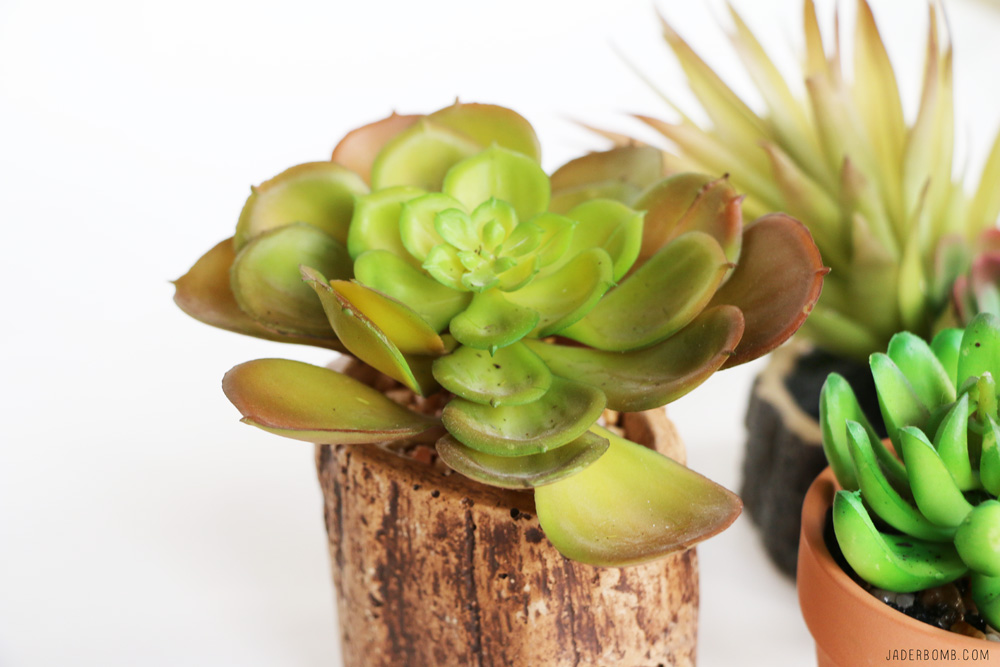
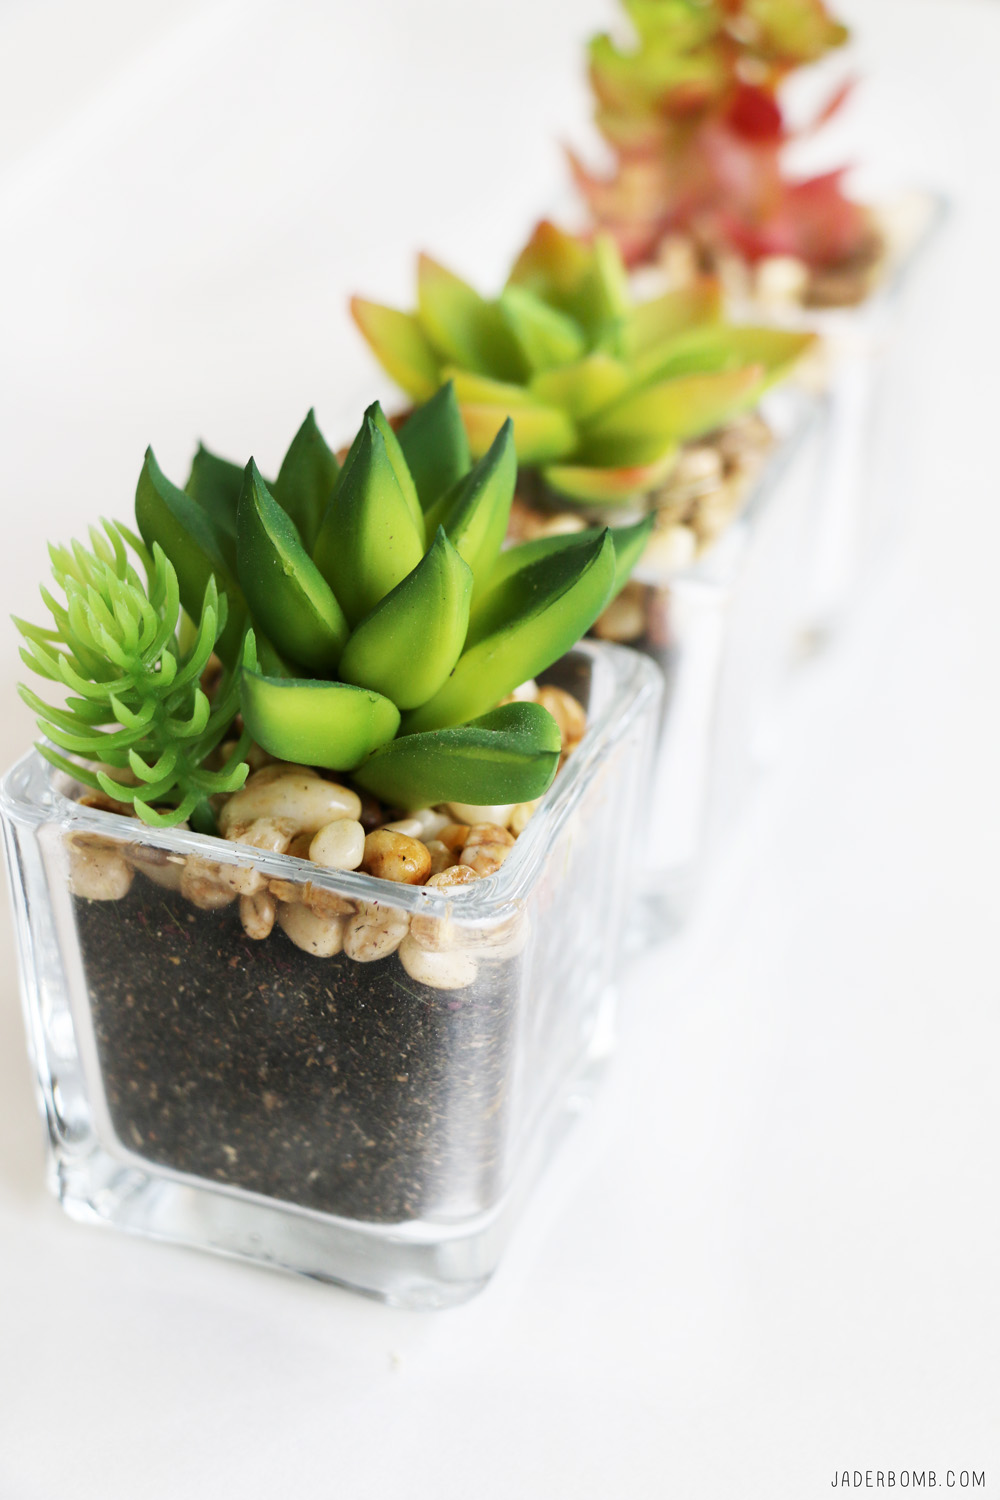
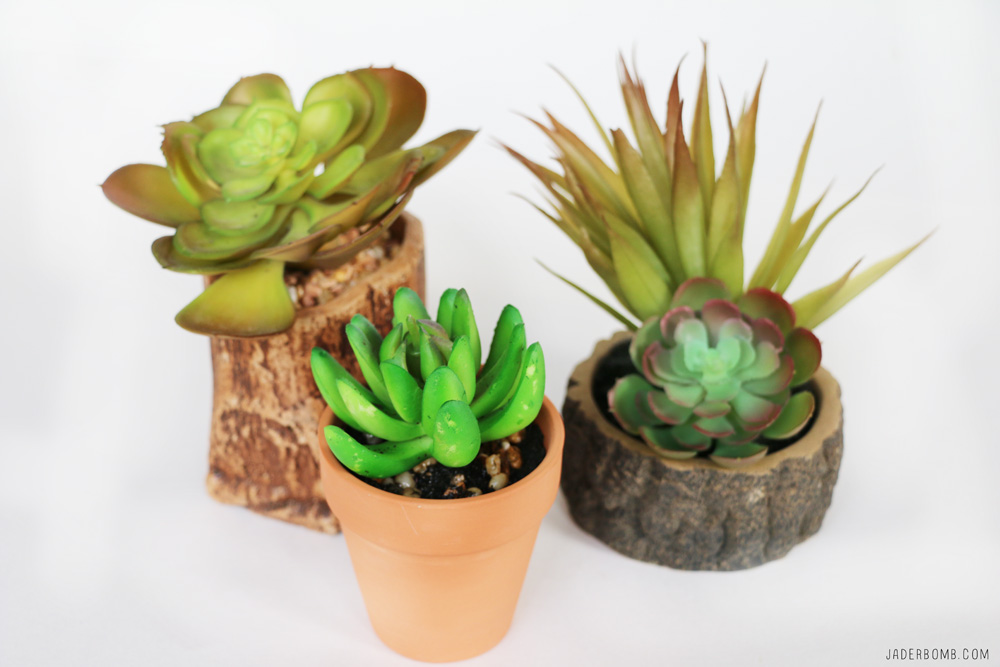
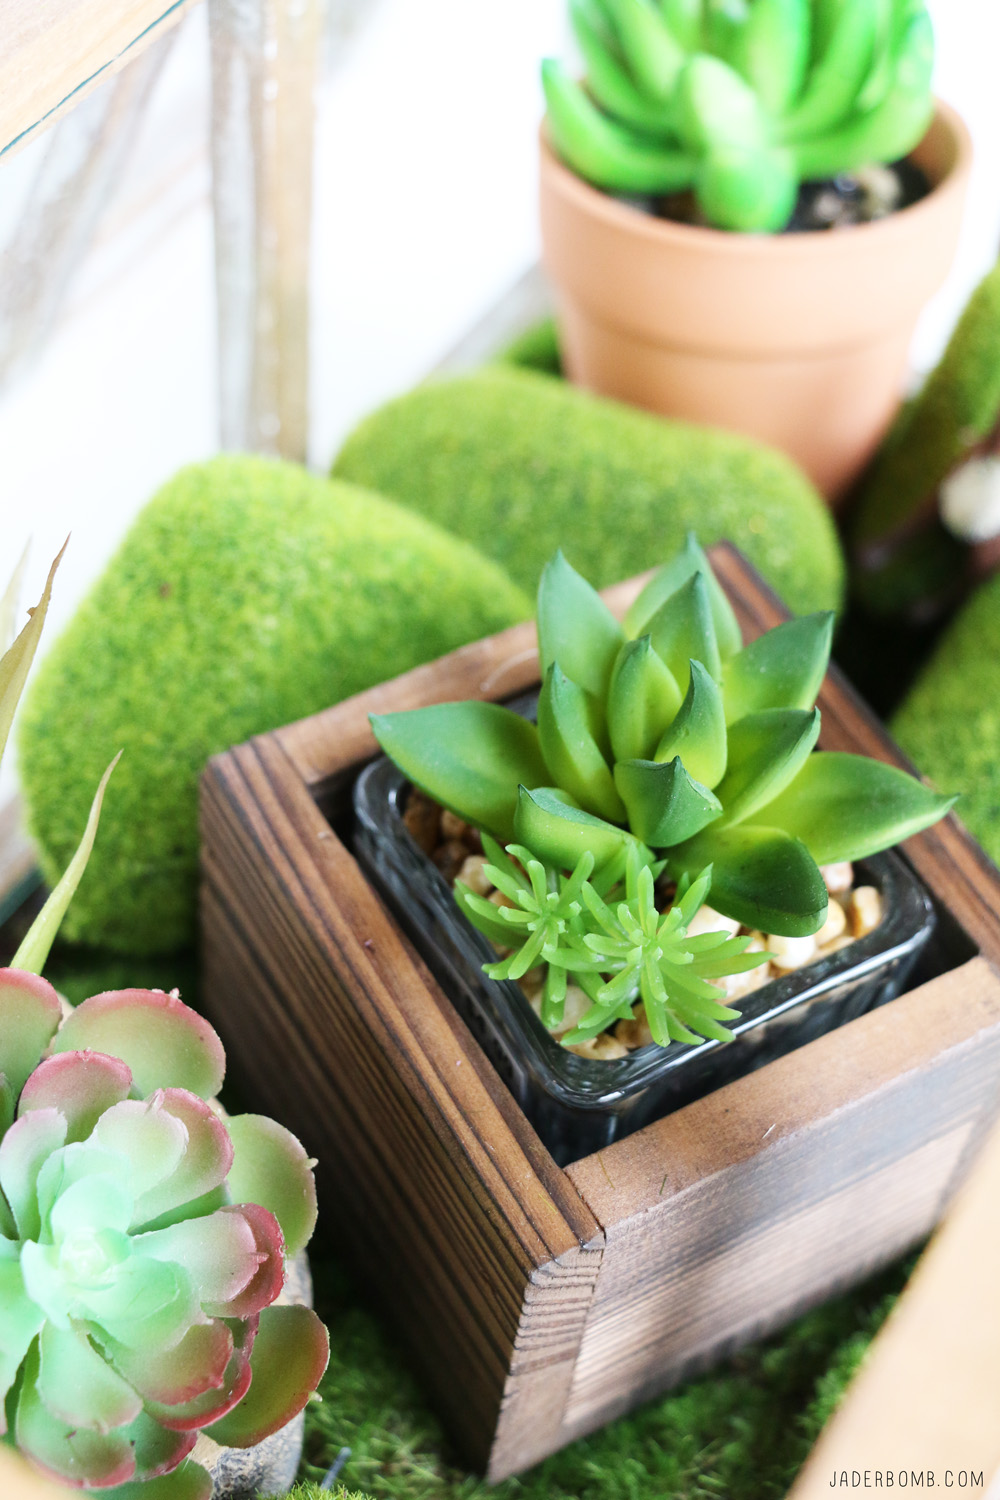
Michaels has a huge selection of Pre-Made Succulent in Wood Slice By Ashland, Click here to get these at a great sale price available now! I personally love these because they NEVER die! (hehe)

wax plant projects

Michaels has a huge selection to choose from and with Bohemian projects trending like crazy right now I think these are a must to put all over your house!summer projects

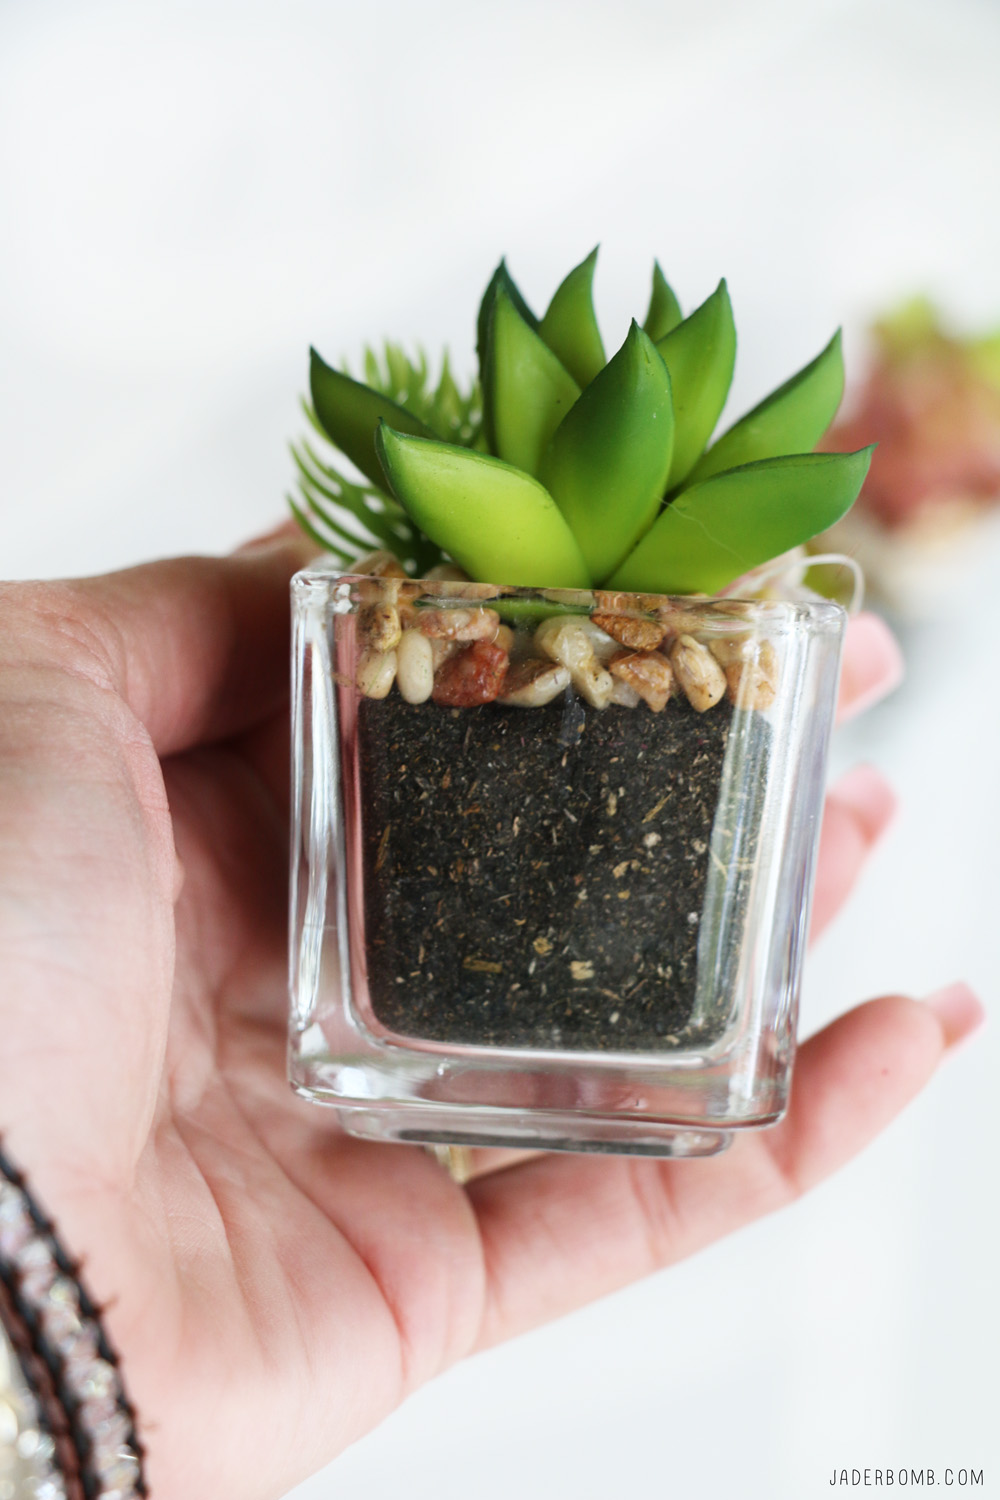
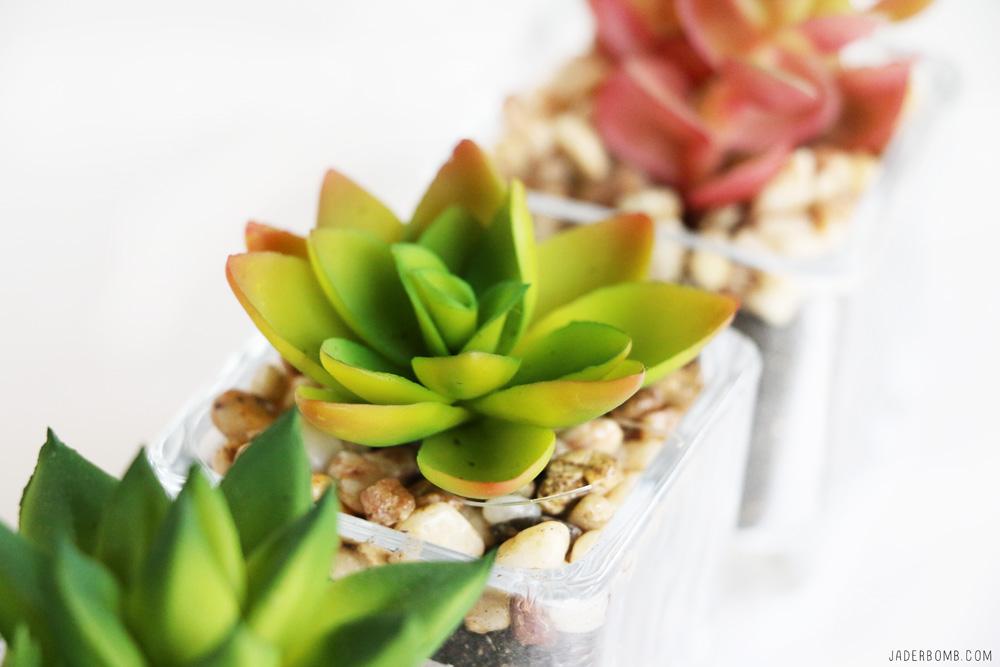
Look how cute these are. They come in a class container and it literally looks like it has real dirt in them. outdoor projects

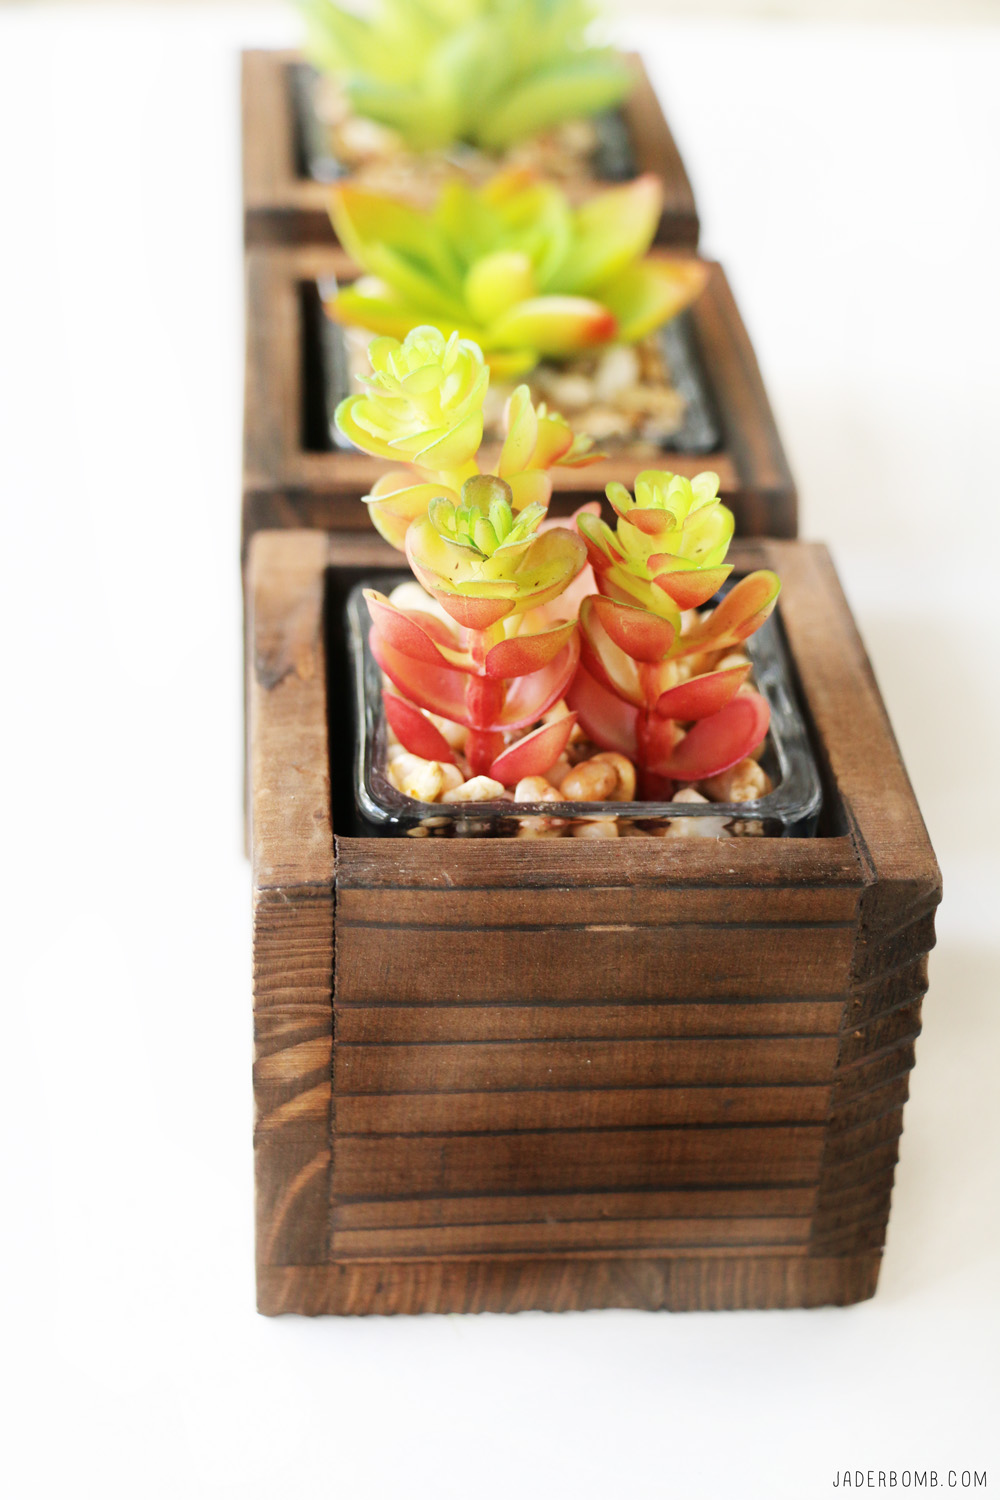
You can also get these little wooden boxes to place them in if you want them to look a little more elegant. These would be great for weddings!
wax plant diy projects

michaels projects

michaels makers

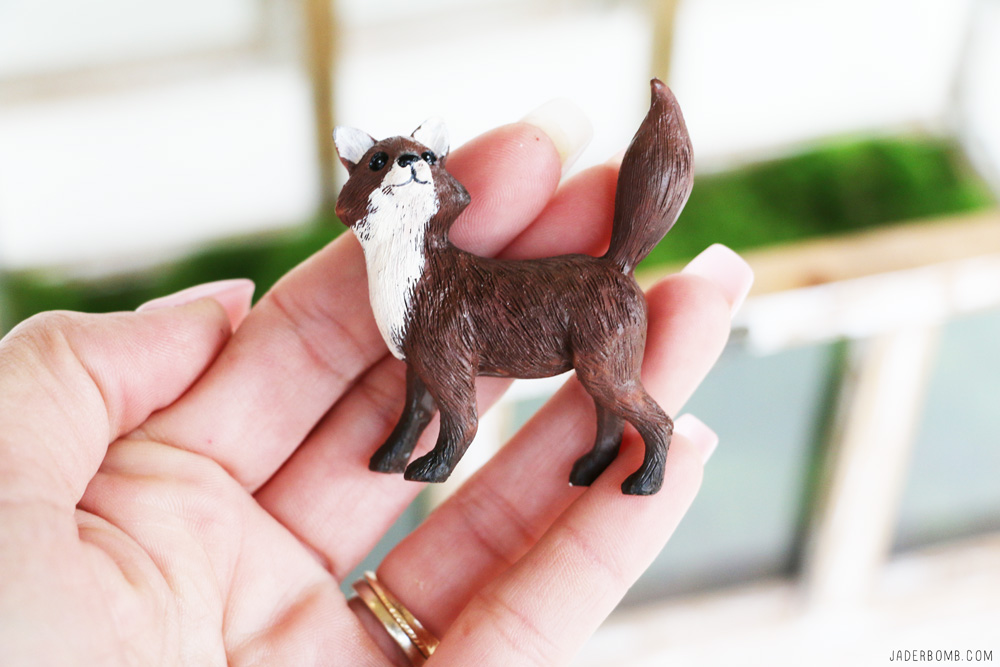
I just had to get this fox to add in my little container. She’s cute isn’t she! Order one today by clicking on the link below. 
fox ideas

Purchase cute fox for a great price here!kid projects

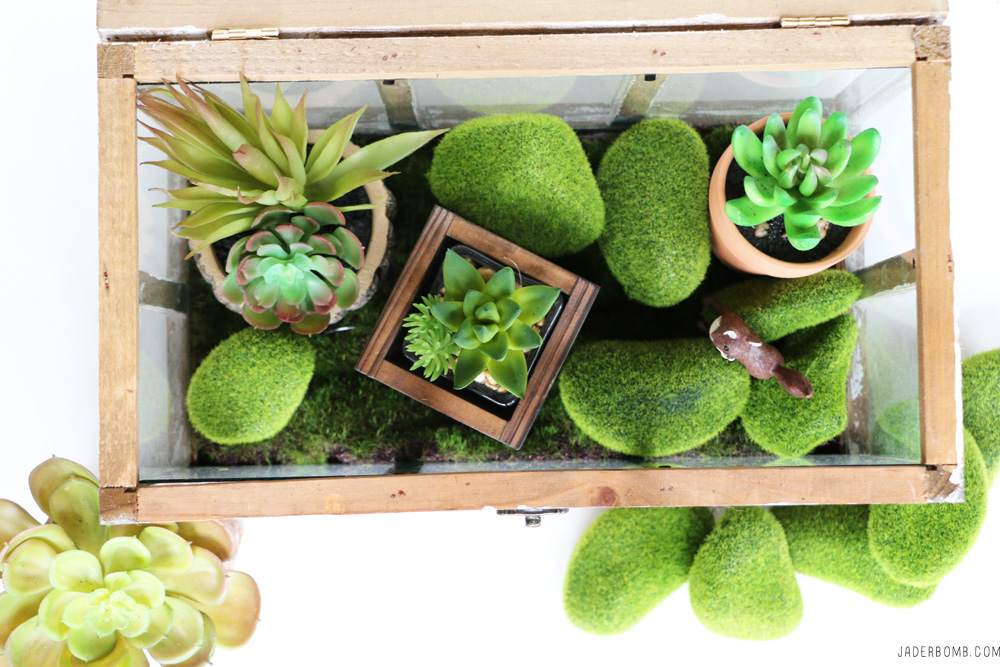
Once you are ready you can start putting all of your faux wax succulent plants in your house. You could also use real dirt and real flowers if you don’t want to use the faux succulents. green house ideas

I love these moss rocks. You can add these anywhere they will bring a little life inside any room in your house or outside. moss rocks

diy summer crafts

diy projects

I hope you enjoyed this post and I would love to hear what was your favorite part of the project in the comment section below. Don’t forget to share this post with your friends and family!!!!

Looking for more organization inspiration? Make sure you visit Michaels’ blog, The Glue String, to see the rest of the Michaels Makers’ organization project ideas.

Don’t forget to follow me on all my Social Media spots! I get down and dirty on them. Fa real! Are you ready to organize your life yet?

FACEBOOK | INSTAGRAM | TWITTER | PINTEREST 
[inlinkz_linkup id=700397 noentry=1 mode=1]

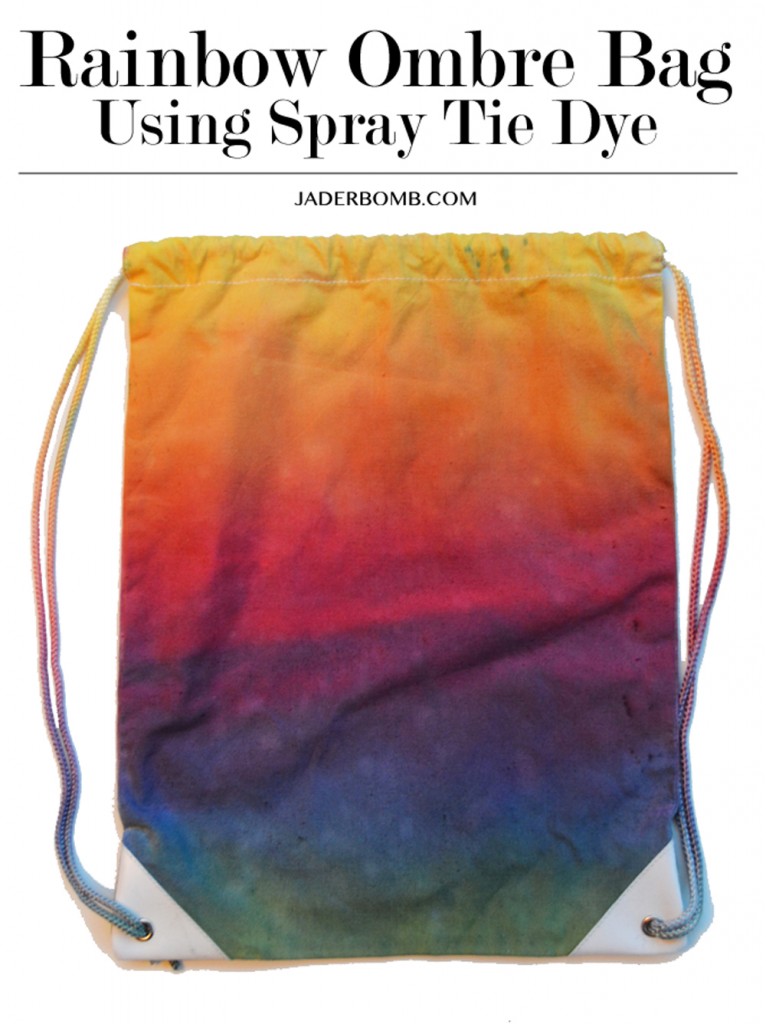
Today I will show you how to make this rad Rainbow Ombre Tie Dyed Bag! I don’t know about you but I feel like my soul never left the 80’s and with that being said it’s clear that I still love anything Tie Dye! Seriously, my boho hippie soul would rock this to just about anything. Now if rainbow isn’t for you no worries because you can still follow my steps but do which ever colors that fit your fancy pants! Who’s ready to go back to Woodstock, I know I am!

Let’s get started!

how to tie dye a bag rainbow ombreSummer is always an exciting time of year especially when you can express your personality with your backpack. Tulip One-Step Tie-Dye can make this happen in a matter of minutes. I always have a hard time choosing the colors I want to use so in today’s post we will use the 3 primary colors. You can never go wrong with these colors because you can create so many shades with them.
Red + Blue = Purple
Yellow + Red = Orange
Blue + Yellow = Green

MATERIALS:
Plain Canvas Bag
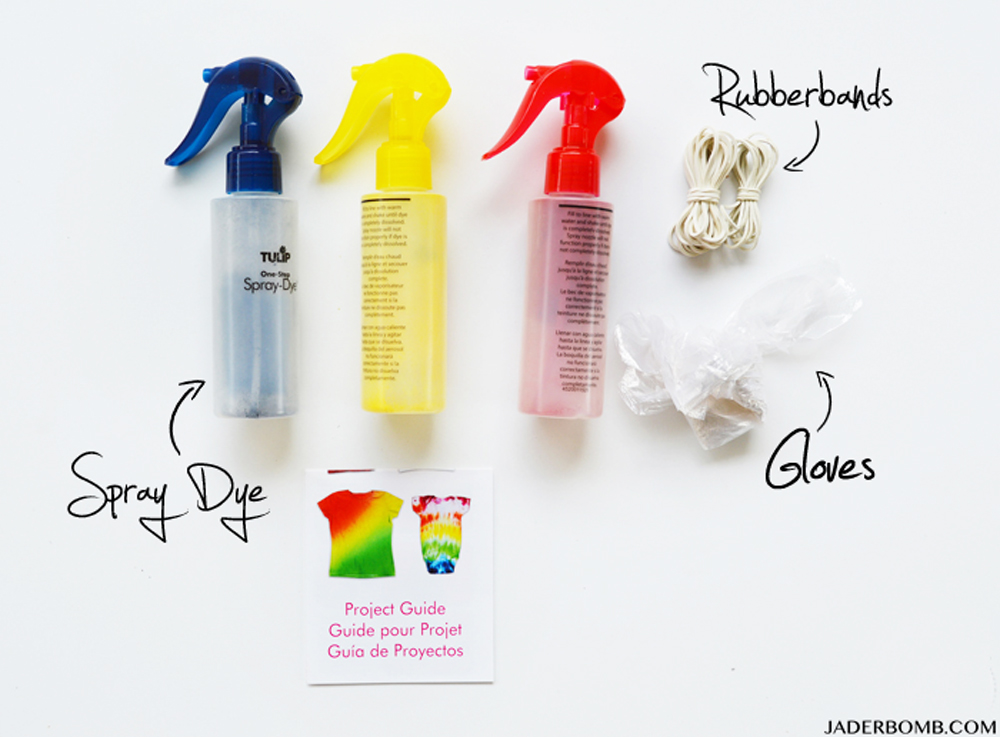
One Step Spray Dye Kit

((( These are affiliate links so when you purchase from these links you are helping me out a lot! So YO, thanks!)))

When you open your kit it comes with everything you need. Bottles that are pre-filled with dye powder, rubber bands, plastic gloves and a project guide. How freaking cool is that. It’s like a one stop shop!
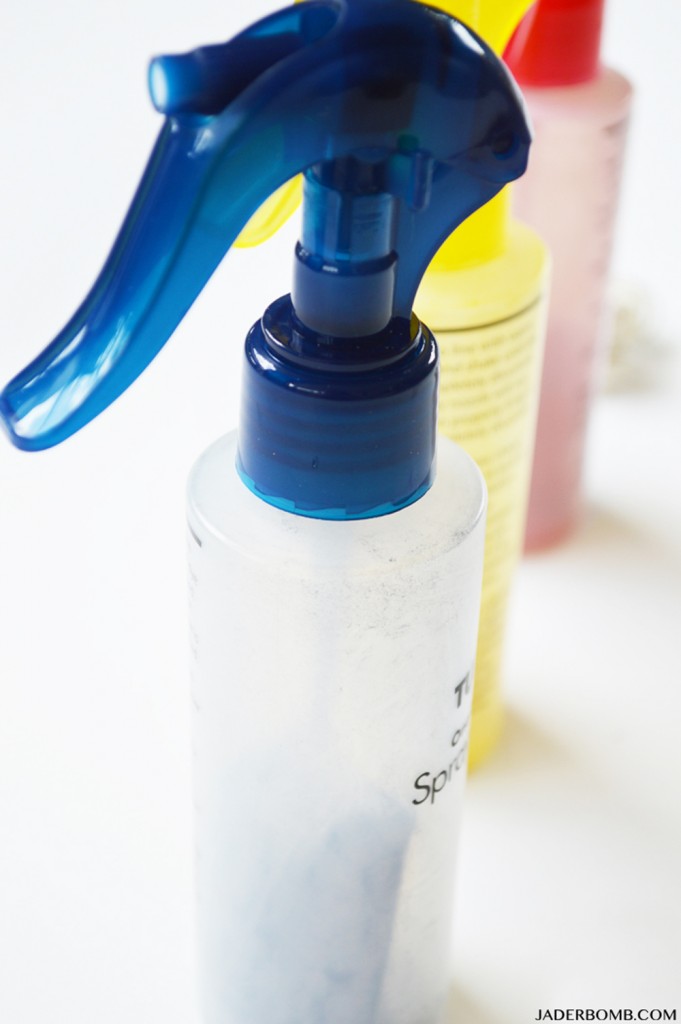
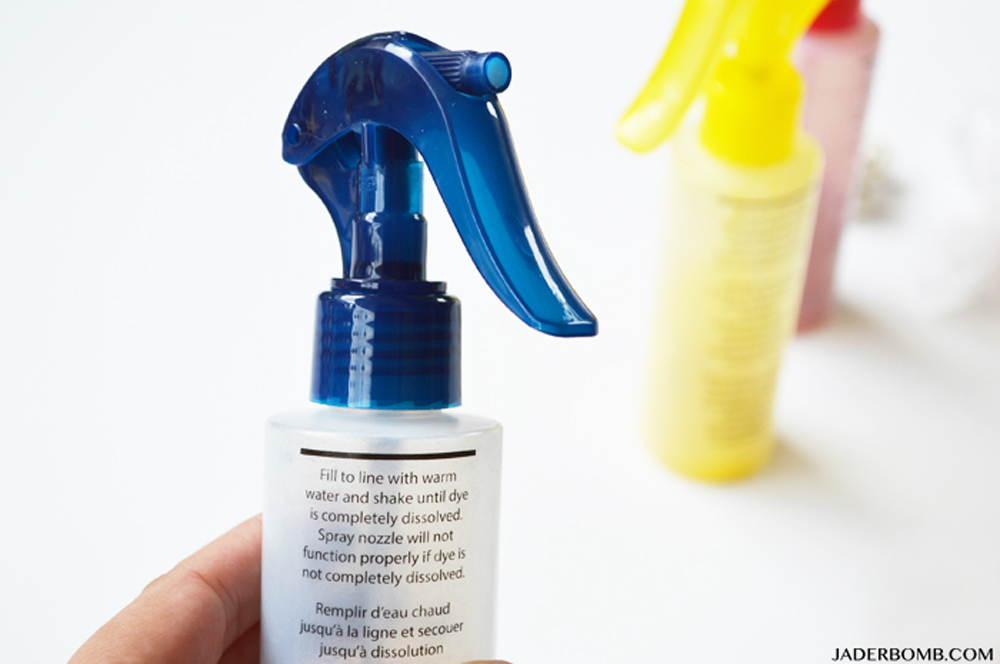
how to paint a bag I love how each bottle’s spray top matches the color that is inside. This makes it easy when storing.
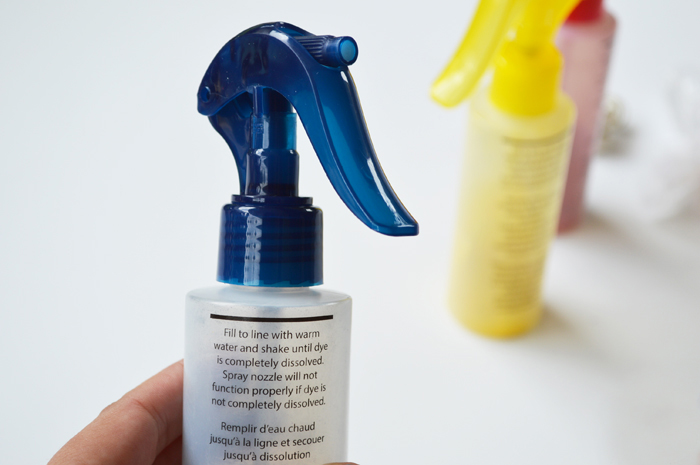
easy kid projects The first thing you will do is fill the bottle with water all the way to the black line. Make sure to use warm water when filling your bottle. DSC_0313 I am leaving my bag dry when applying the spray dye. Some instructions will tell you to wet your fabric before applying dye but for this project we are going to leave it dry. Start from the bottom and use the darkest color and gradually go up with red in the middle then yellow along the top.
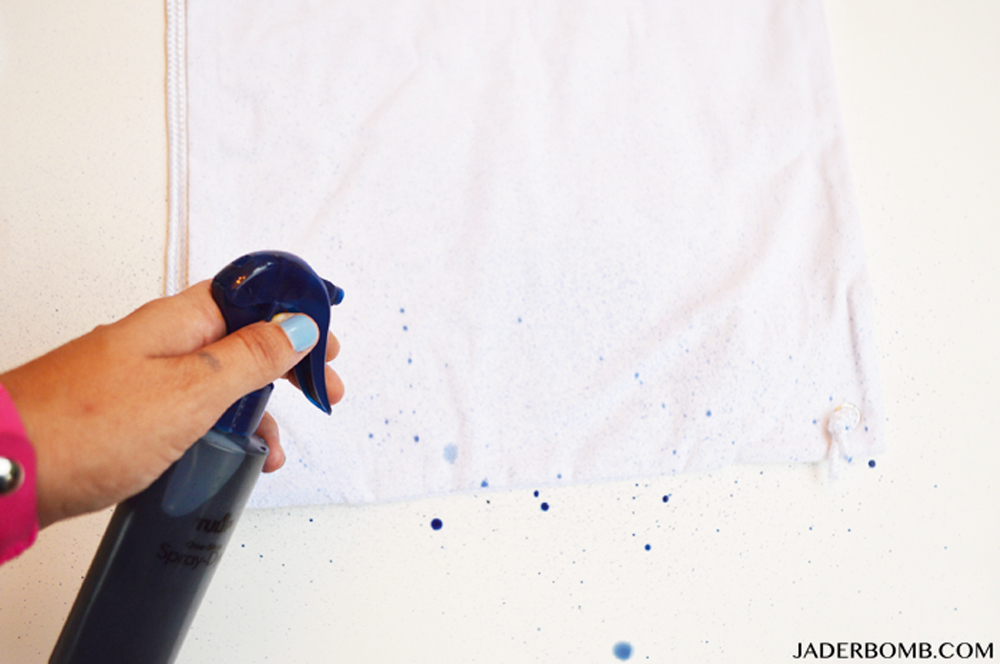
spray dye projectsAfter you apply these three colors let it sit for about 2 minutes.
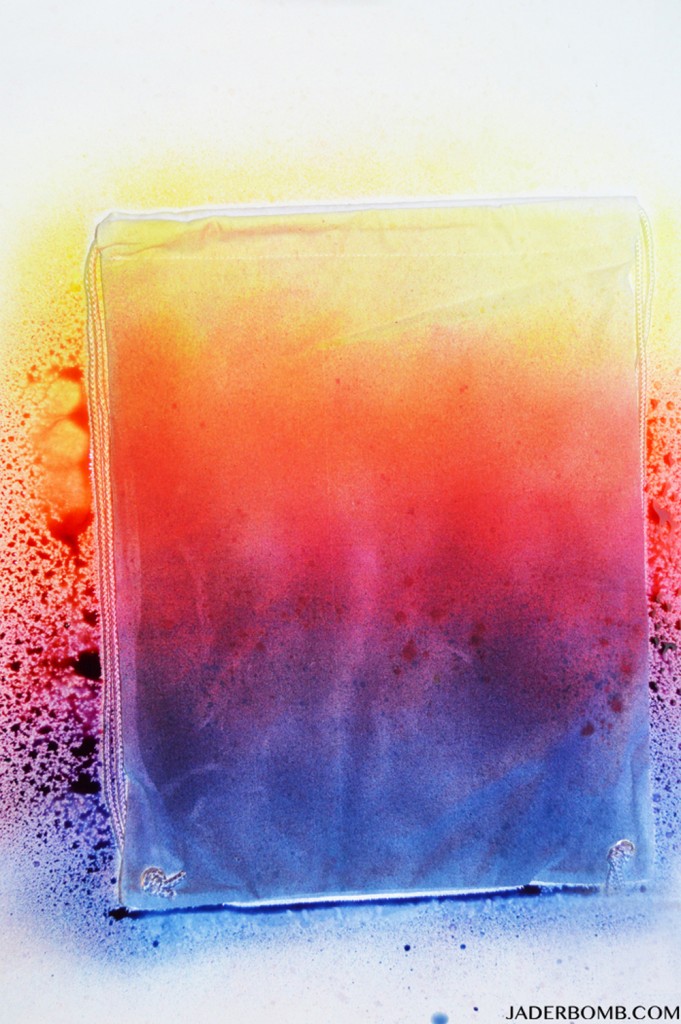
Grab your yellow and spray on top of the red dye, it will start turning orange.

Apply blue on top of the red and you will see it change to purple.

Add yellow on top of the blue and you will see green come through.

!!!How fun is this so far! I want to do this to everything I own now! I think bed sheets would be amazing! Also, you can continue to spray over and over on top of each color until you get the shades you are happy with.
spray tie dye
Are you drooling yet over this Rainbow Ombre Tie Dyed Bag!!!!how to tie dye a bag Let it sit over night to dry and this is what it will look like! Notice I even dyed the string straps! I always hand wash and let hang dry when I am completely done.
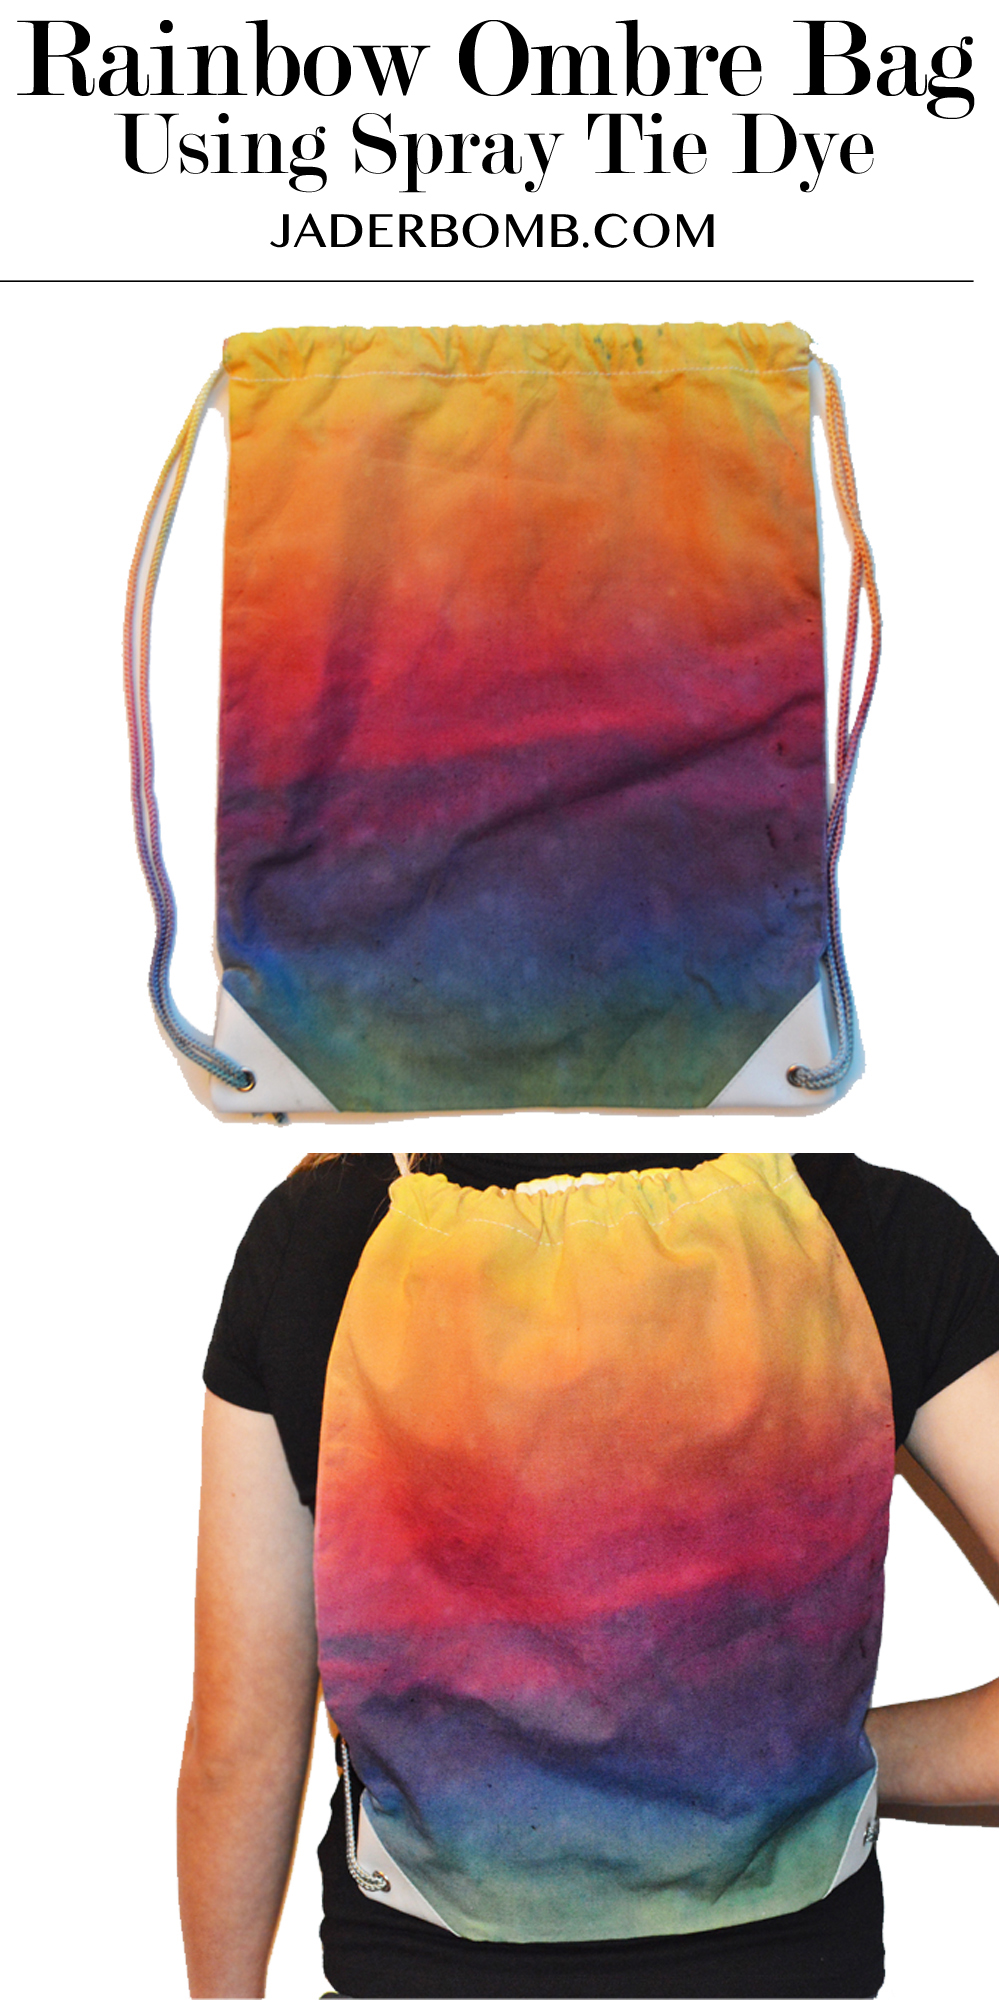
I am absolutely in love with this project. It’s fun, easy and kids or adults will love doing it! bohemian diy bagHave a great SUMMER and don’t forget to show your personality in everything you do, because there is only one you!
Sending ton’s of Tie-Dye LOVE your way!
xoxo Jade

Make sure to visit me in social media land… We can totally be online besties!

FACEBOOK | INSTAGRAM | PINTEREST | TWITTER | GOOGLEYOU TUBE

Happy New Year! This is officially my 1st post of 2016 and this will be my year to organize my life and hopefully everyone else’s, haha! Michaels has the perfect items to choose from to help your life stay organized and that is the hard part! This #MichaelsMakers challenge really put me in the perfect mood to get a few new items for my studio and I can’t wait to show you what I decided to get!

Inspired to organize your own space? Start the year off right! Michaels has tons of products and storage supplies that can be used to decorate and inspire creativity in any room of your house or office.

XXXXX_SO_0101_Jan_Michaels_Makers_m

I especially love this time of the year. It is the perfect time for us to do a fresh cleansing of our spaces we spend a lot of time in plus it’s aways fun to get new things to help us organize our chaos! Remember last year when I showed you my WHOLE studio and how I stay organized?

organize your craft room

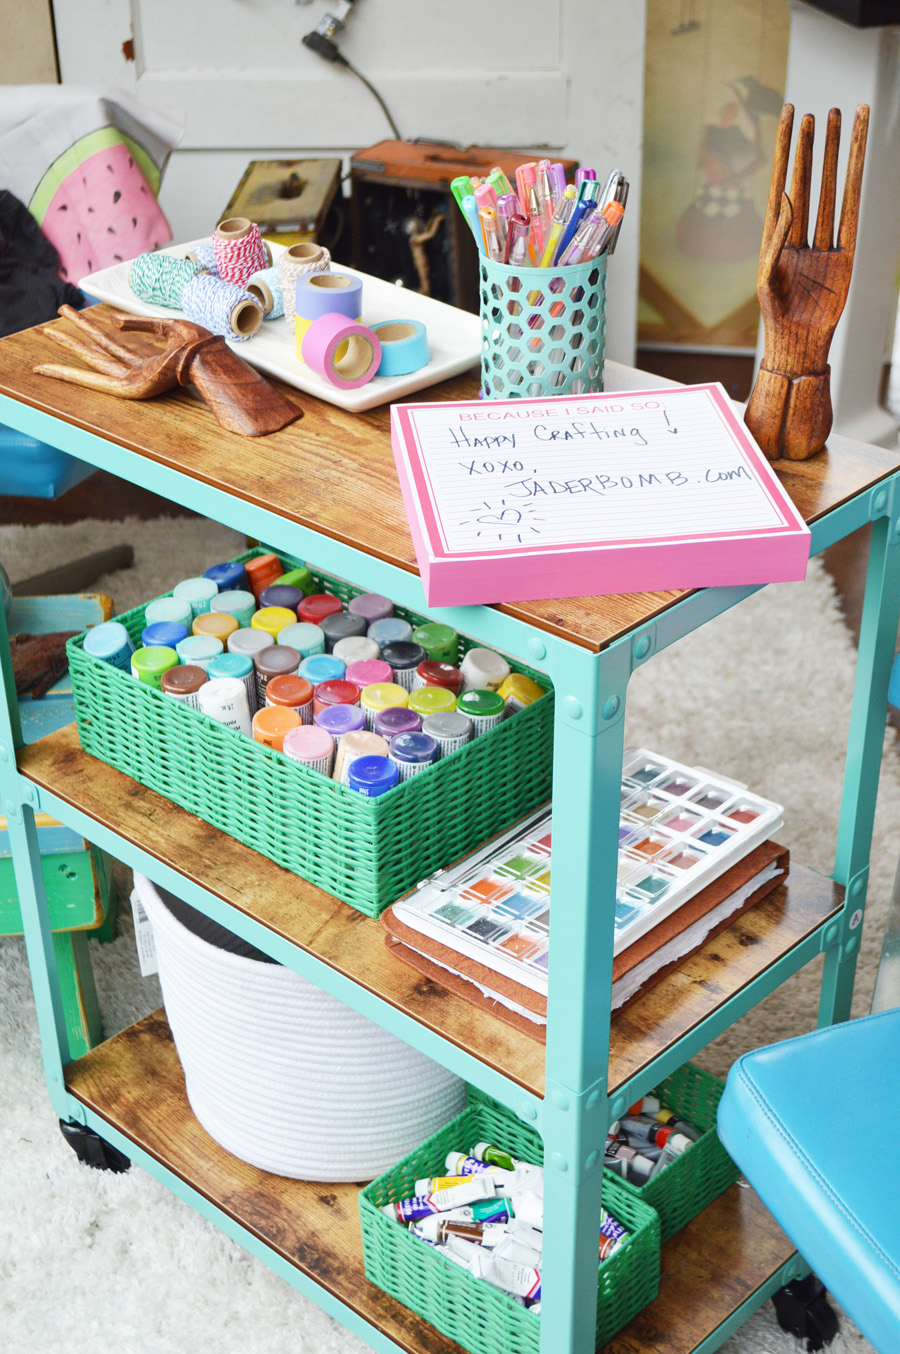
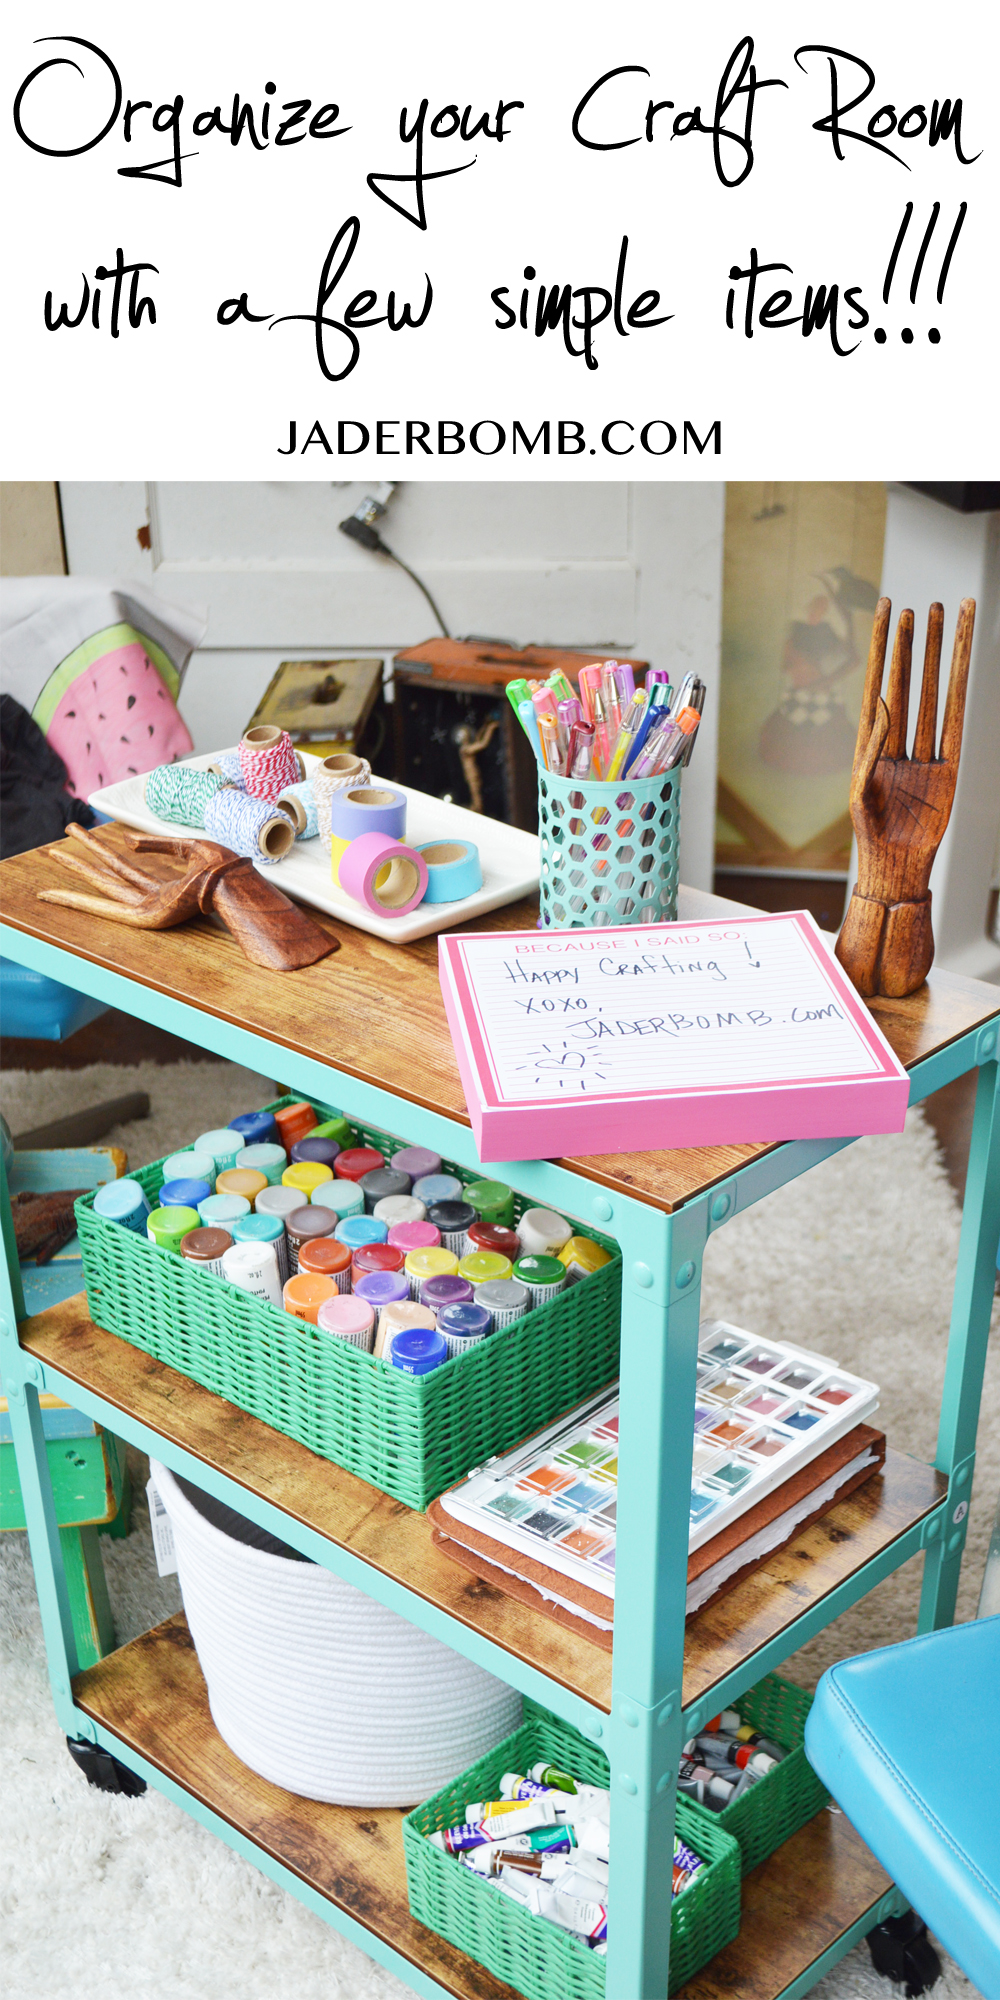
I was stoked when I found out about the new line of organizational products from Michaels! Cre8ted spaces has bright and whimsical products that will freshen up any space you are in! Did I mention that this line is now 50% off right now!!!! I literally started screaming inside when I saw this cute teal cart and I knew I just had to have it!

I just loved the idea of having a mobile cart of art supplies to bring back and forth from one room to another!

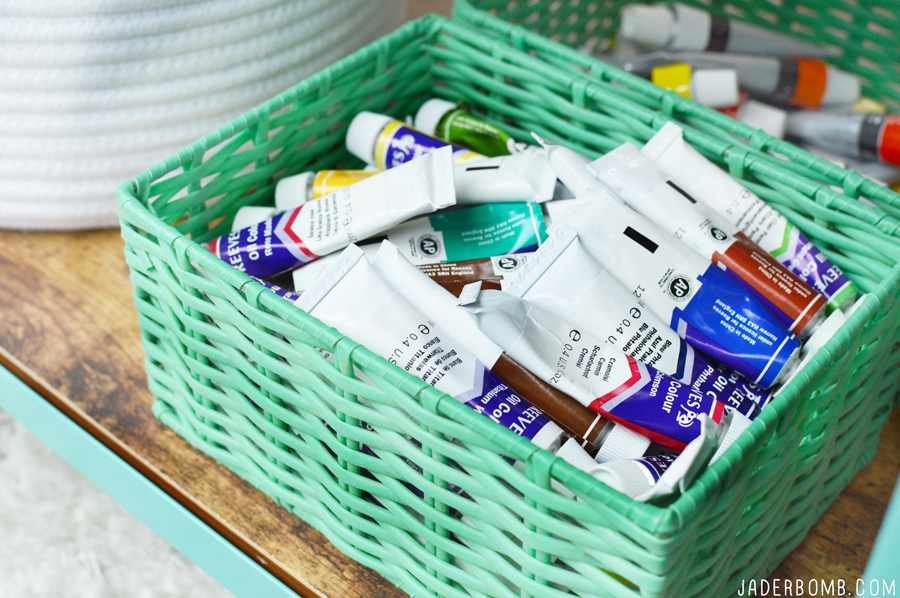
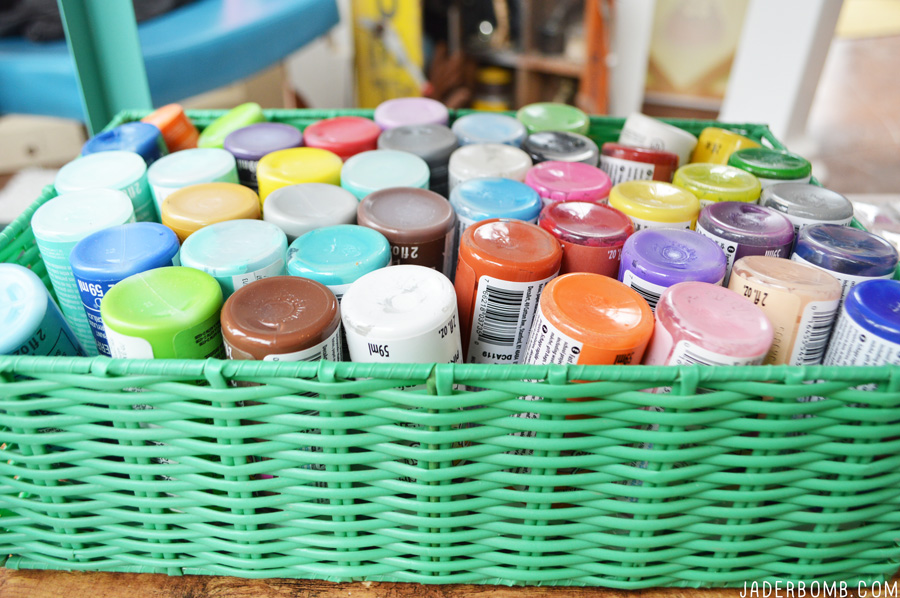
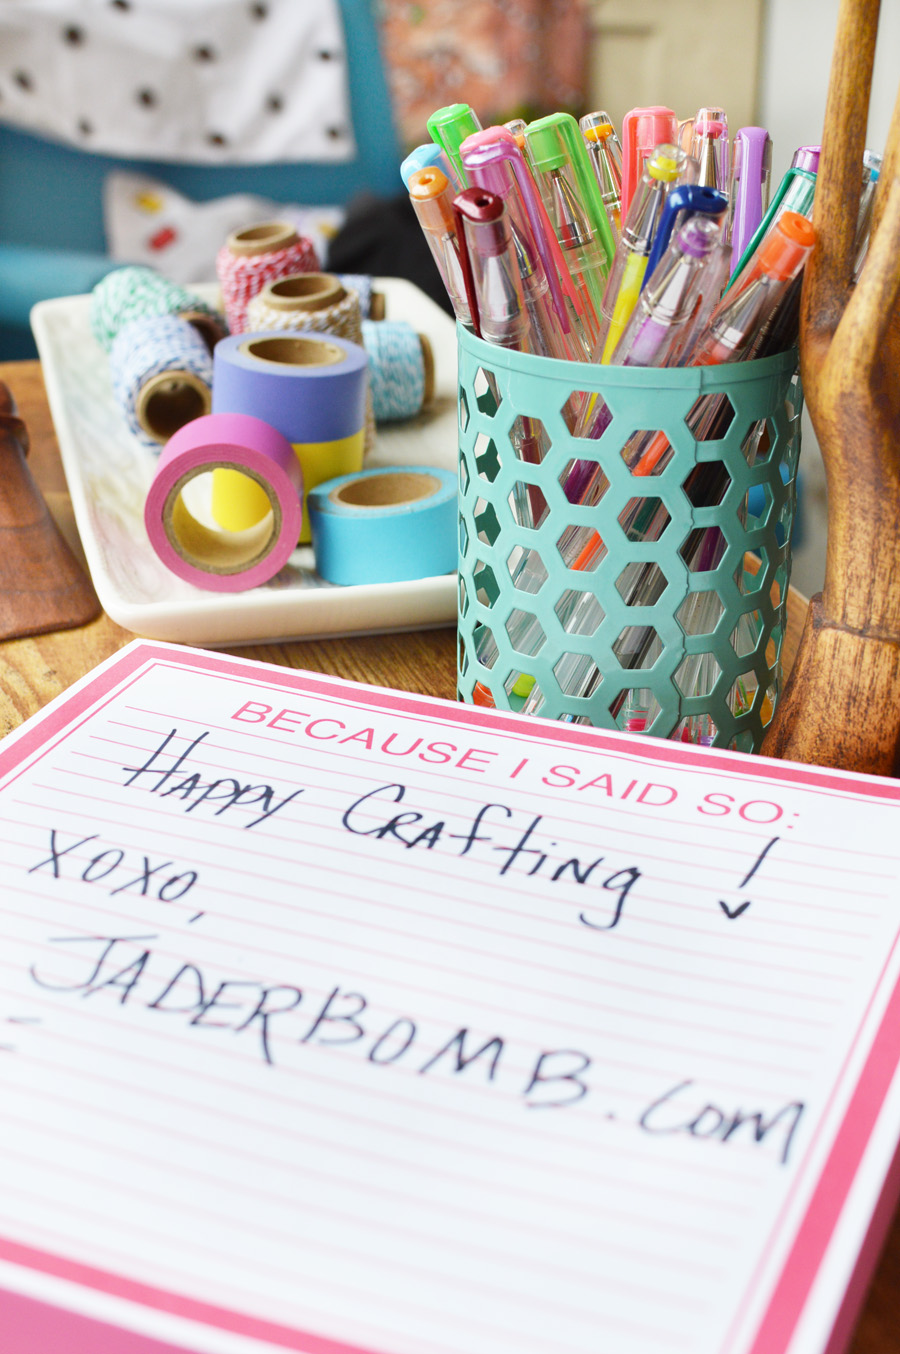
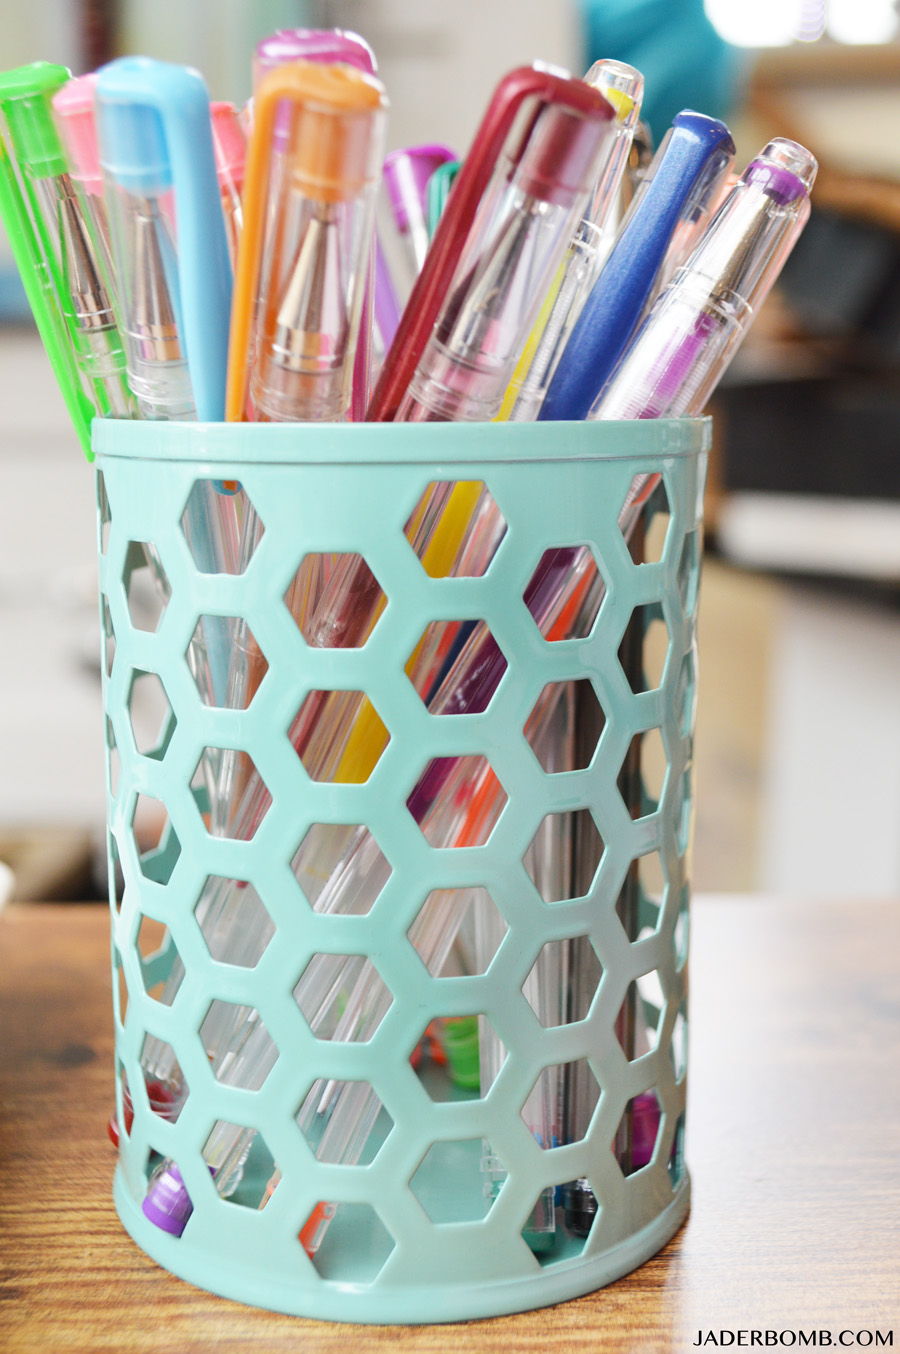
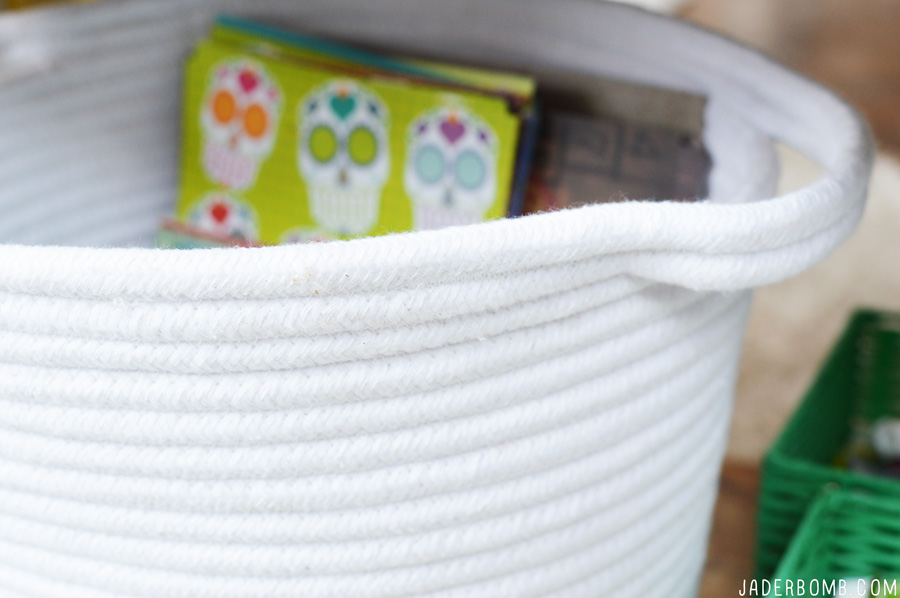
For starters why not clean out those cardboard boxes filled with tubes of paint and throw them in these cute green boxes. I can’t even express how much I love this color, it totally fits my personality. easy organization tipsNow I love having ton’s of containers for pens, pencils and paint brushes. I bought about 6 of these cute patterned ones and scattered them all over my studio.
how to organize pens

Why not clean out your bathroom and place those items you use daily in cute containers or baskets so they actually look nice sitting out!

basket organization

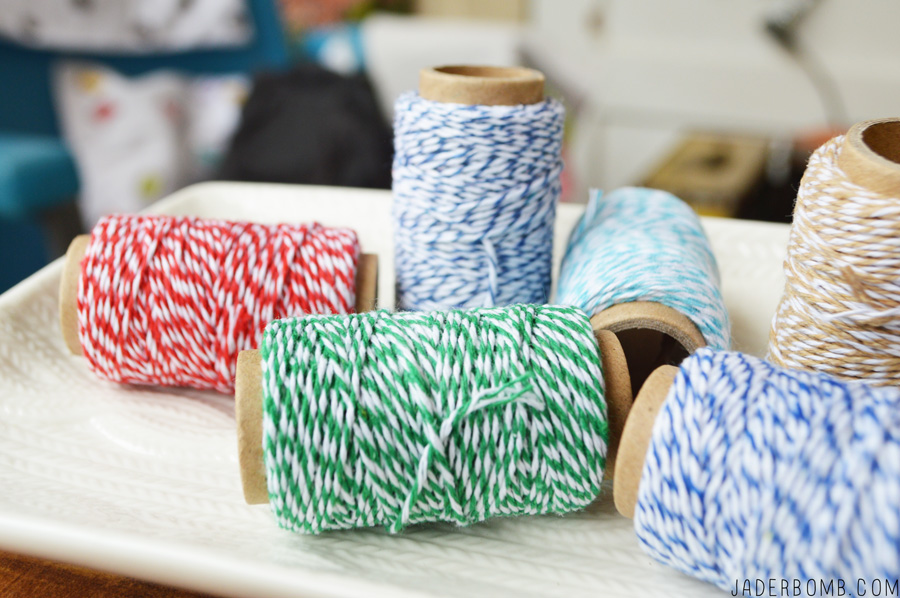
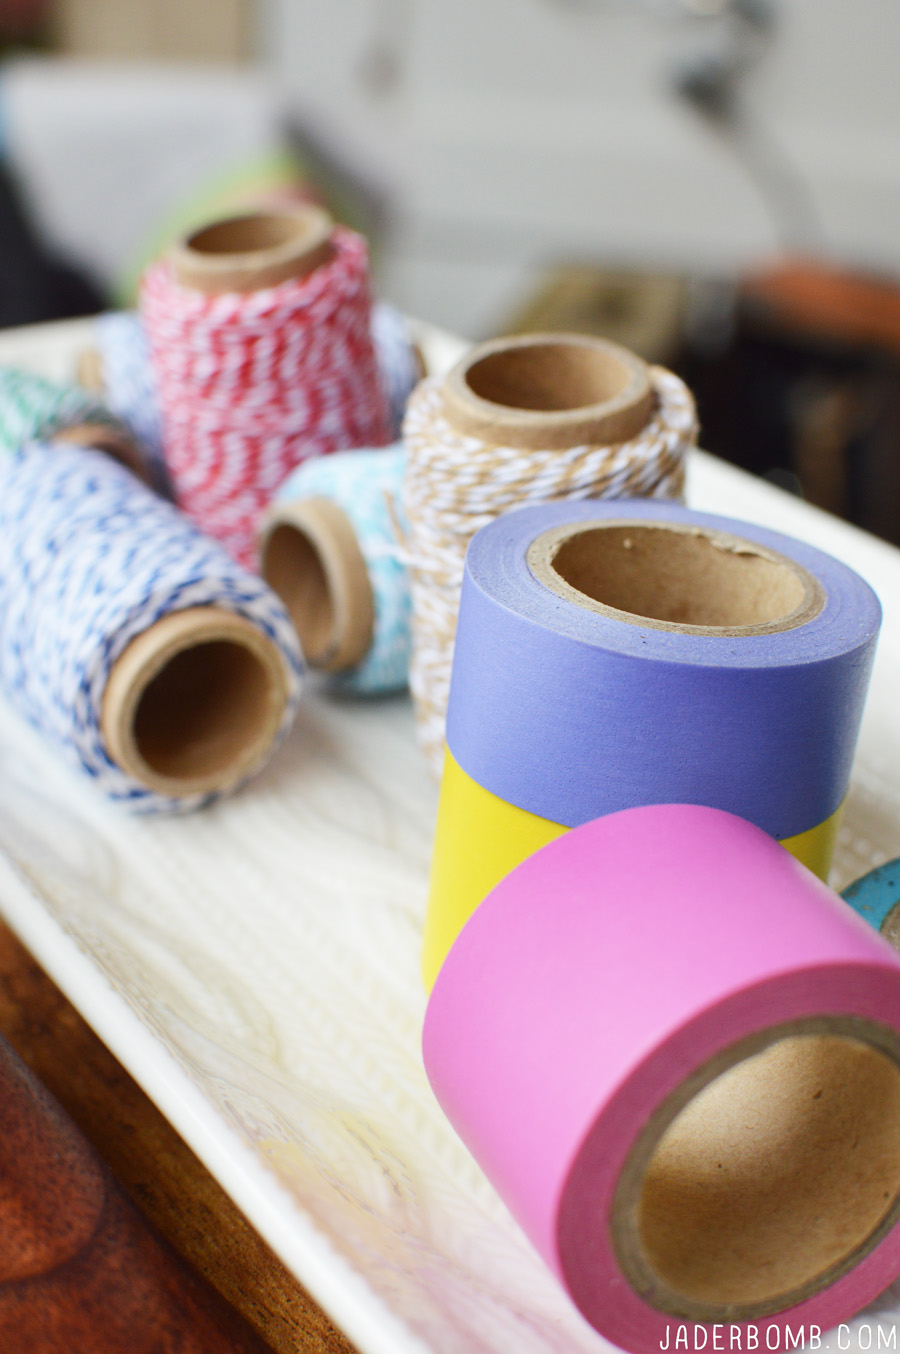
Honestly I could go on for days because you can literally organize every single corner of your life with these containers. I did however run across this Christmas tray at Michaels for 65% off!! It has a sweater pattern on the top and I will keep this out all year long. I love using twine for all of my project pictures so I figured this would be the best way to display them.

twine projects

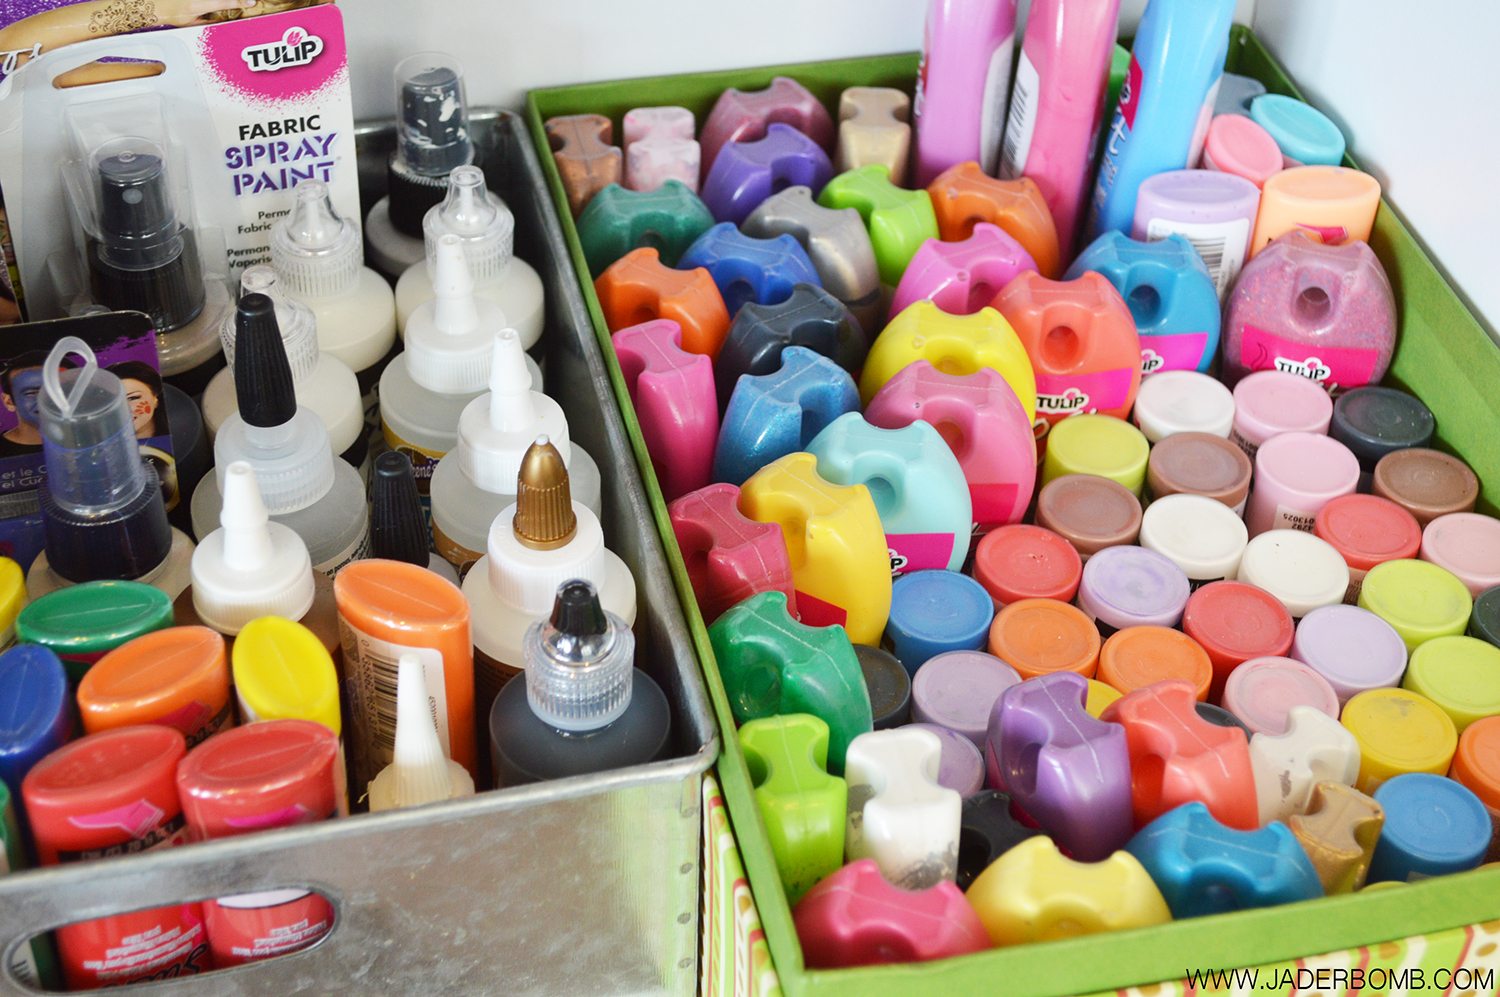
I also bought these containers to store different brands of products in. I love staying this organized!STORE-PAINT-IN-A-CRAFT-SPACE

This cart holds all of the things I use daily and I love it. I think I might just have to get a cart for my house as well. organize paint

how to organize washi tape

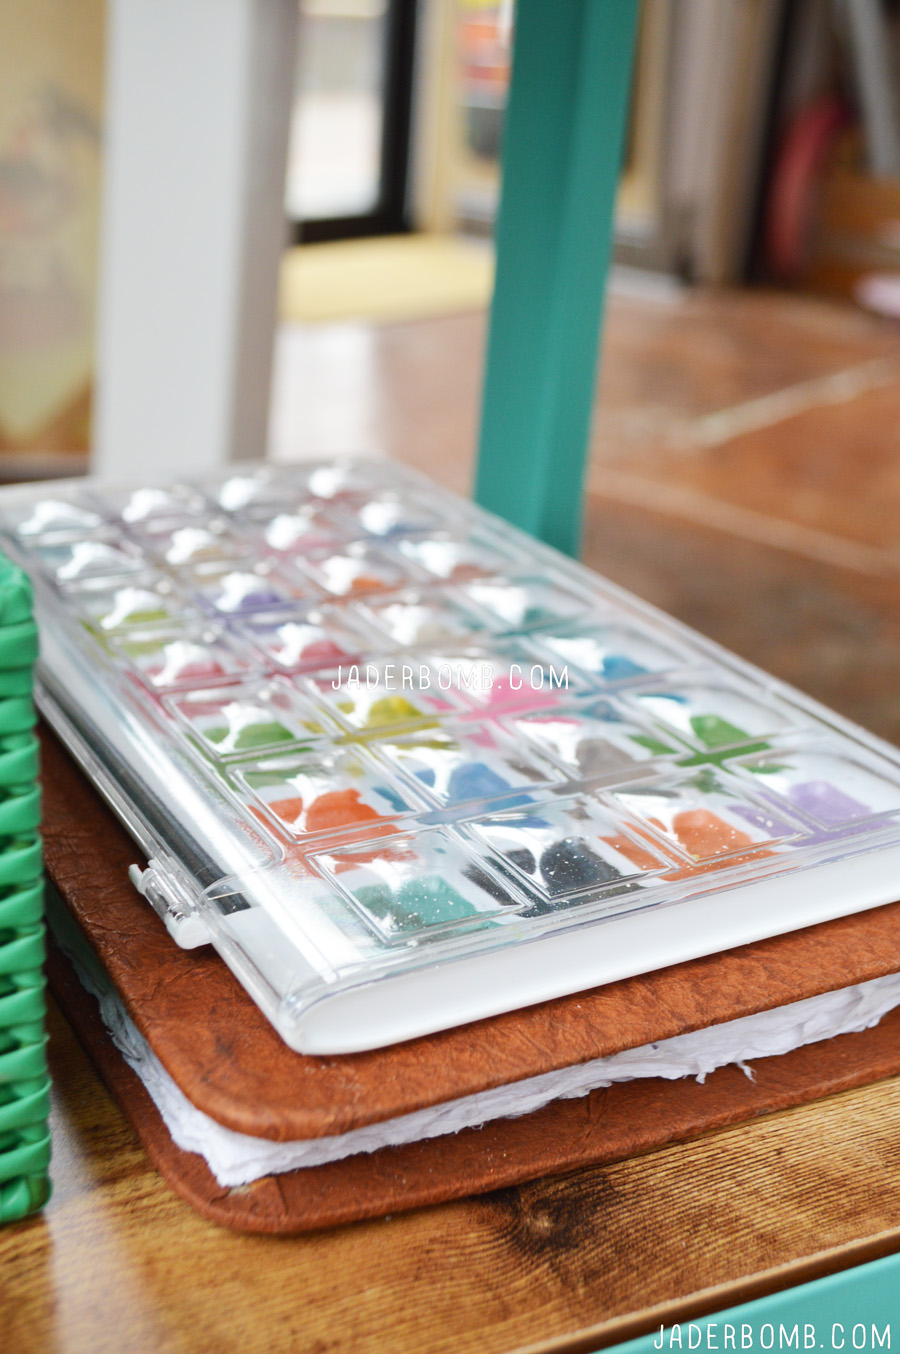
How nice is this basket for paints! You will never have a problem looking for that perfect color. basket organization tips

craft tray

happy crafting

Michaels just launched a new line of storage and organization product called Cre8ted Spaces available in stores now and it has tons of different colors, bins and office supplies – with more than 300 new items in 4 coordinating colors, you have to check it out!


I hope you enjoyed this post and until the next one, HUGS!!! XOXO, Jade

If you don’t know where to begin, you can always take a look at some of the fun storage projects on Michaels.com or the other 49 makers’ ideas on The Glue String for tips on designing, organizing and decorating their favorite places!


HO HO HO it’s all about DIY Hand Painted Mugs today! It’s a cold night in Louisiana and I am typing this while watching the Kardashians and eating Taco Bell. I know you are all wishing you were in my shoes, NOT! I have a few things on my mind tonight. For starters I would like to meet the person who invented these new “star beam” lights that place little dots all over your entire house! Let’s face it who has time to put thousands of real lights all over their house? Not me! Although I will admit that all year long I have sugar plum visions of my house decorated like the ones in the mushy Hallmark movies.

I guess I should keep those visions in my head because I can execute them much better there, haha! OH, my good friend Aunt Peaches just did something incredible and I am so jelly but I will start manifesting us doing it together next year, check it out here! You will FLIP OUT!

Also incase you didn’t know I added some charm in my house this year with a RED Christmas Tree. I know…a RED ONE! You won’t believe how gorg it it y’all check it out here and see exactly what I am raving about! Also, is there such thing as TOO many trees in one’s house? I think I might be a little obsessed because I counted the ones in our dining room and I have 5. Yes they vary in size but still, who has that many trees in ONE room? I also have 3 in the kitchen, one in the living room and one in our main bathroom. I am sure you are all shaking your heads huh…

Let’s all make hot cocoa and drink out of cute mugs, especially the one I am showing you how to make today!
DIY Hand Painted Mugs

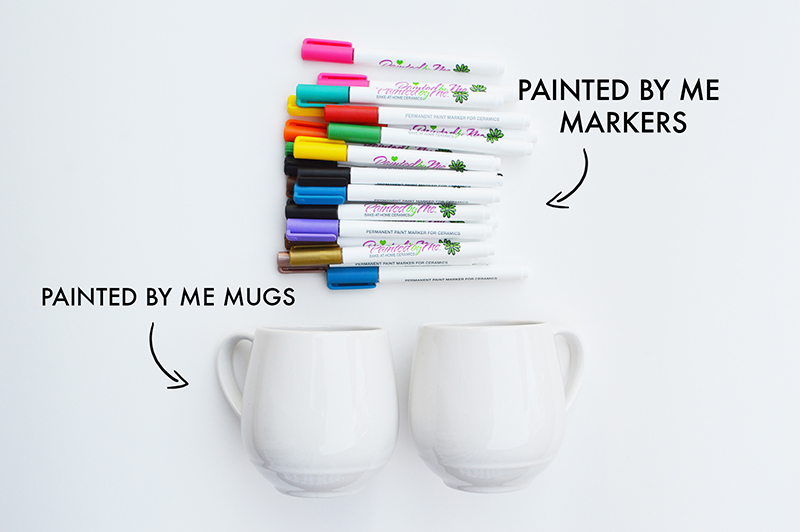
We are making some cute painted mugs using minimal products, literally. You all know I work for I Love to Create and all I will say is these markers have to be my favorite thing in the world lately. They are bright and fun so if you think this will be a boring roller coaster ride you are sadly mistaken.

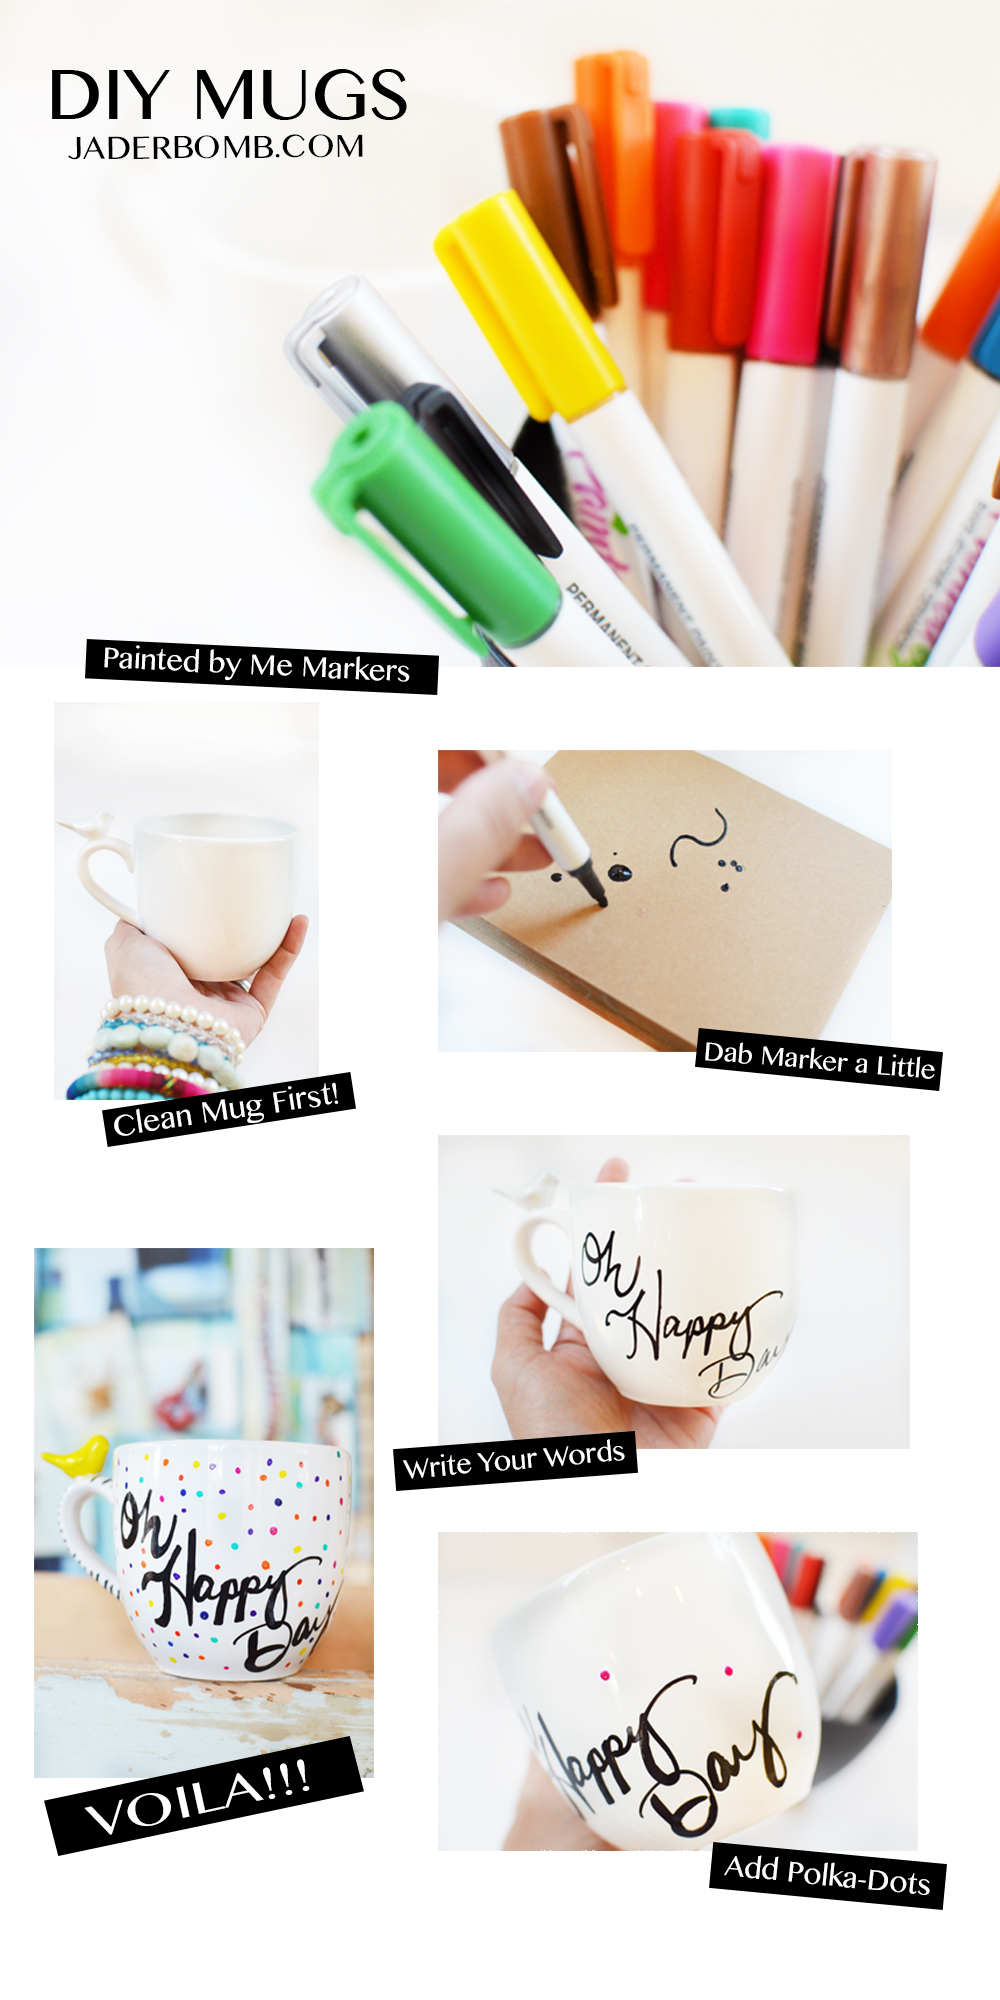
You will need: Painted by Me Markers & Painted by Me Mugs (Bird Mugs) diy mugs

Now rest assured, these markers are made so anyone can use them. You remember those paint pens that you would SHAKE SHAKE SHAKE and press the tip down on paper until the paint would slowly trickle down! These pens work the same way, but better! Hope you enjoy this project. HOW TO PAINT ON MUGS

It’s really that simple. The reason why I love this project is because anyone can do it. Seriously you could have a paint party and it would be so much fun. Plus your mugs will be personal and every time you look at them you will have happy thoughts!


FYI: WHEN YOU ARE DONE PAINTING YOUR MUG YOU HAVE TO DO THIS….
*Place mug in a cold oven.
*Turn your oven to 350.
*Bake for 45 minutes.
*When timer goes off, leave the mug in the oven to cool off with the oven.


That it is! Now your mug is safe to handle, wash, put in the dishwasher or throw at someone… HAHA, don’t do that we wouldn’t want to ruin the mug for anything stupid!
CHICK MUG

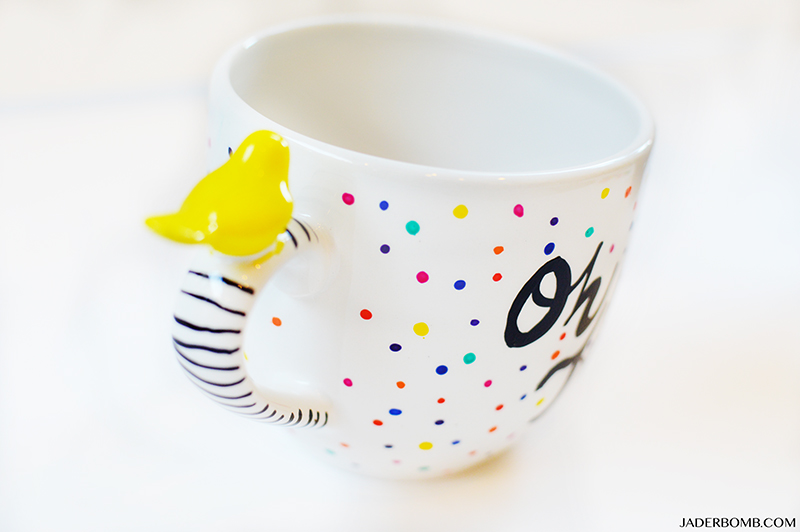
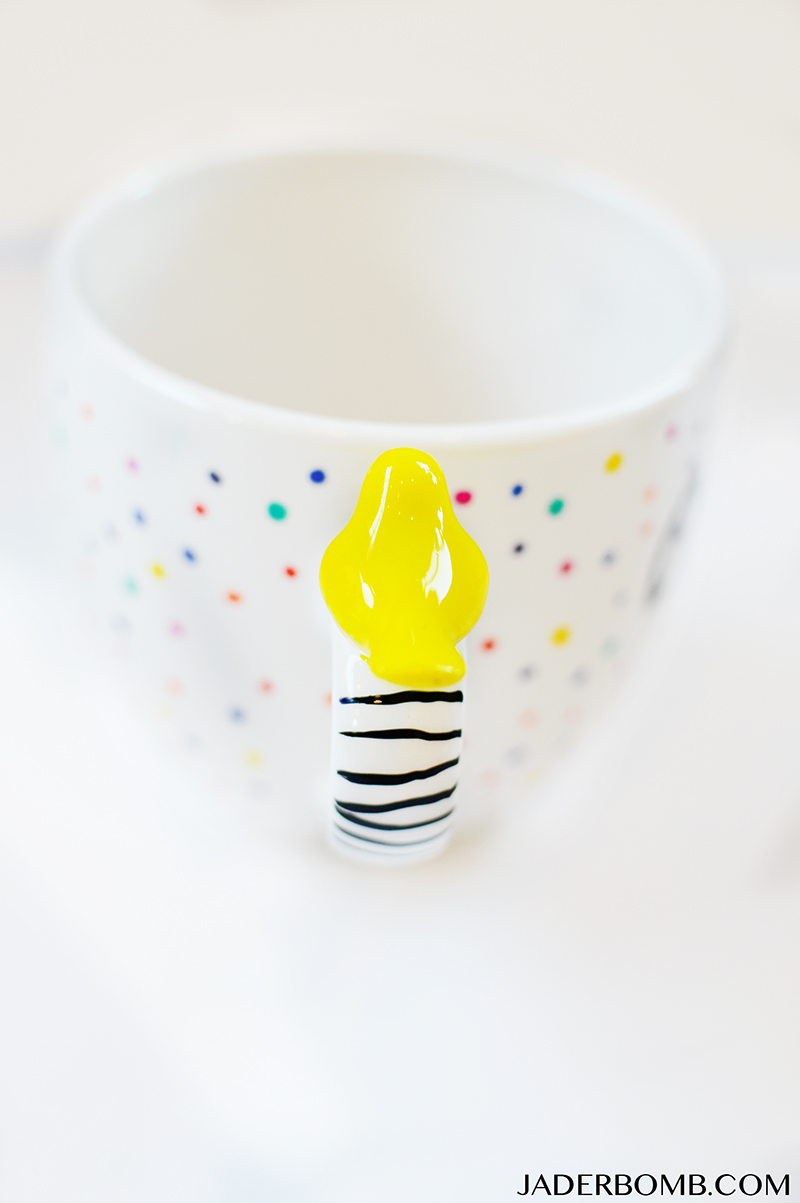
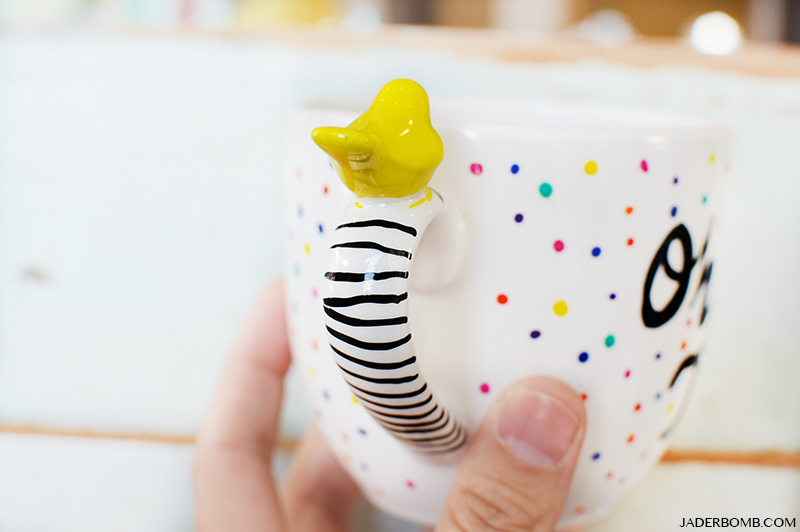
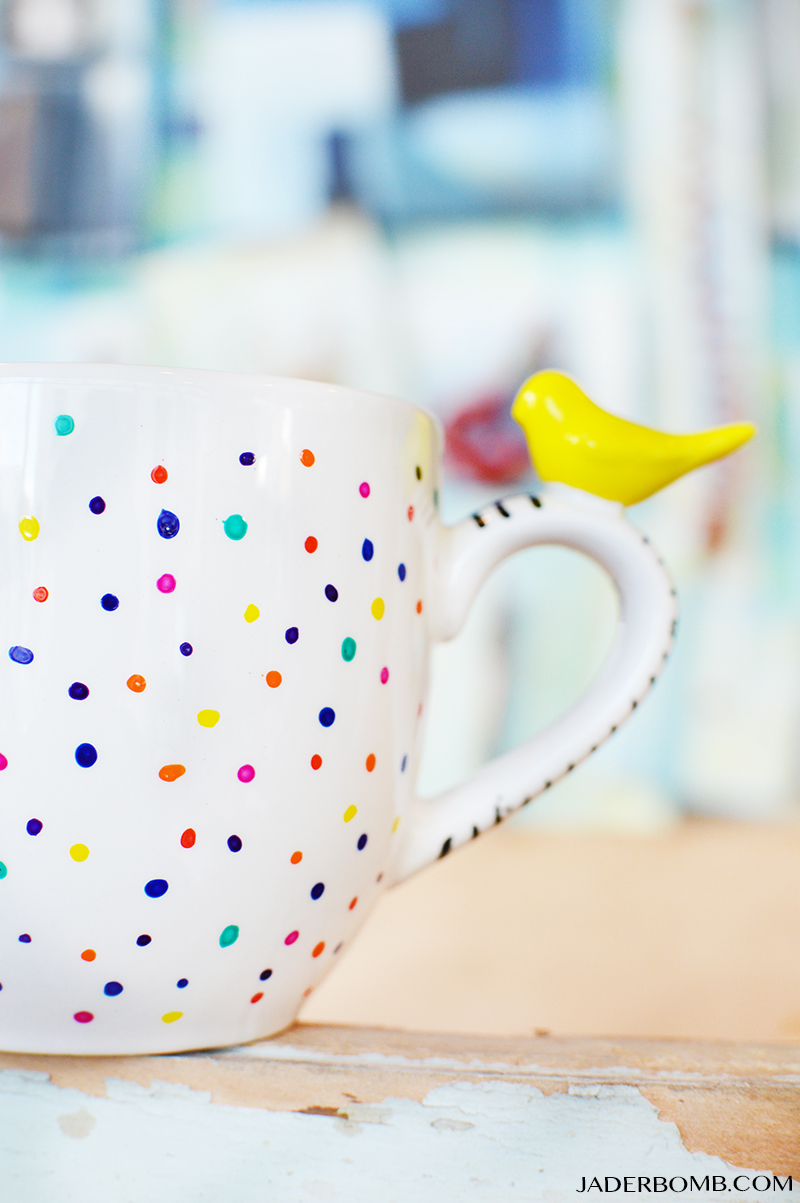
These mugs I used today have a little bird on the handle and I love it. It’s like a thumb rest, seriously. Plus you can decorate the bird however you want. homemade mug

painted mugs

These pom pom’s have absolutely NOTHING to do with this post but why not. Look how beautiful they are! My friend Alexa Westerfield sent me these!colored pom poms

polka dot mugsDIY Hand Painted Mugs are fun for the whole family so get everyone involved. Plus it’s nice to see your personal mugs in the cabinet when you grab one!
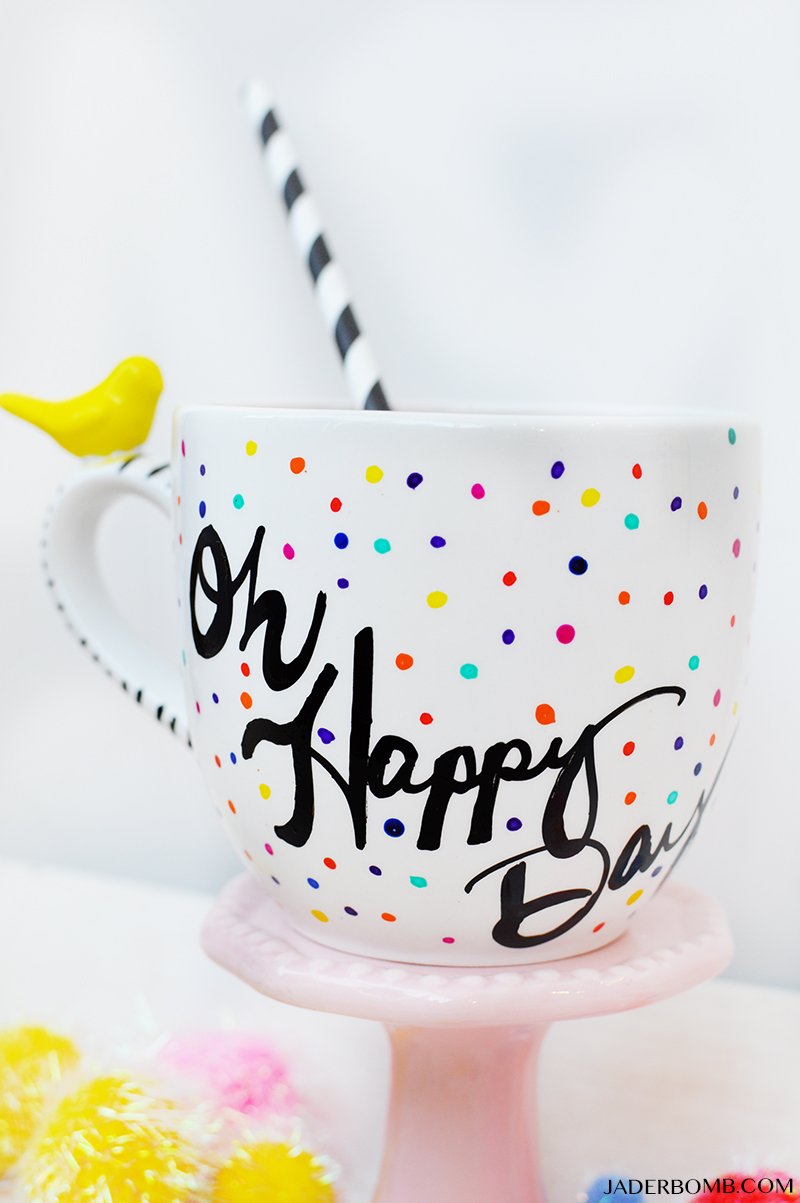
rainbow mug

Happy Holiday’s Y’all! Hope you eat too much candy and drink a lot because I will!!! See you in the next post… XOXO Jade

Come visit me on all my social media sites! Just search JADERBOMB on all of them!
FACEBOOK | INSTAGRAM | PINTEREST | TWITTER | GOOGLEYOU TUBE