Tag Archives: diy

Happy Tuesday Jaderbugs! I could not wait to post this because lately I have been noticing everyone’s amazing tree pictures. Earlier tonight I posted on my facebook page that I was doing a post on Christmas trees and I got ton’s of pictures sent to me. If for some reason you send me a picture after I post this don’t cha worry, I will add it in!

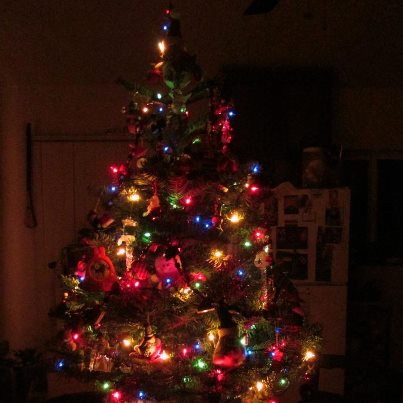
I am very pleased to start off my Christmas tree post with this amazing tree. My friend Stephen Brown (you might remember him from craft wars on TLC) sent me this and my mouth just stayed open for about 46 seconds. You see that little gingerbread house under the tree?  Yes, this is in his fabulous home. I am just going to pretend that is my house and I live IN his house, in this little bitty house… Did I loose you yet?  It’s okay because I lost myself, haha! Make sure you visit his website to order all of his “GLITTERVILLE” items. He has ton’s of Christmas ornaments that you will go crazy over.

I am loving my girl Meg Allan Cole’s tree! Is it not the best tree ever! It’s all about DIY and that is what I love the most! Check out her awesome blog HERE where you can see the full tutorial on how she made this retro tree.

I love the simplicity of this tree from Virginia at LiveLoveDIY. It looks like it came strait out of a magazine!

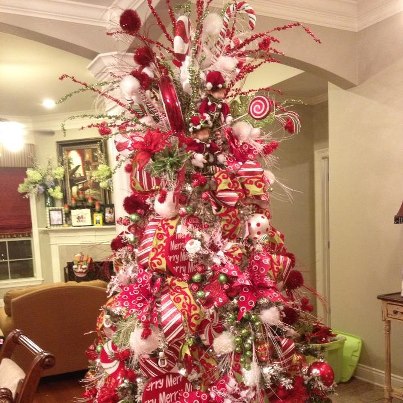
This amazing tree is from Lindsay Trahan Adams with Periwinkel Pink Gifts. I feel like I just stepped into a Gingerbread home… I love how it’s all red and white. Very festive!

 This is the tree of a friend of mine Ashley Matte. She is a really famous country singer!!! I love how she brings a little Louisiana with her everywhere she goes! I love the brown, green and red ornaments! Make sure and check out her site by clicking on her picture!

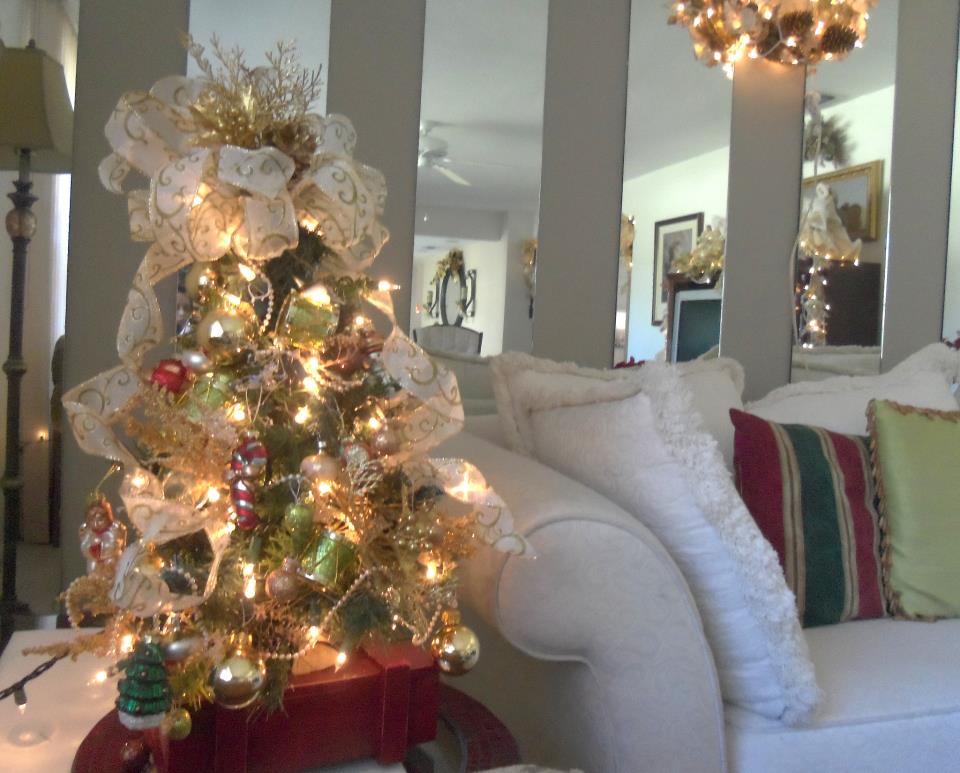
This is my friend Rosa Clifford’s tree. I met her through Martha Stewart and I am SOOO thankful for this! She is the sweetest person in the world and her tree is just as sweet! Check out her website HERE, she makes the BEST cards ever.

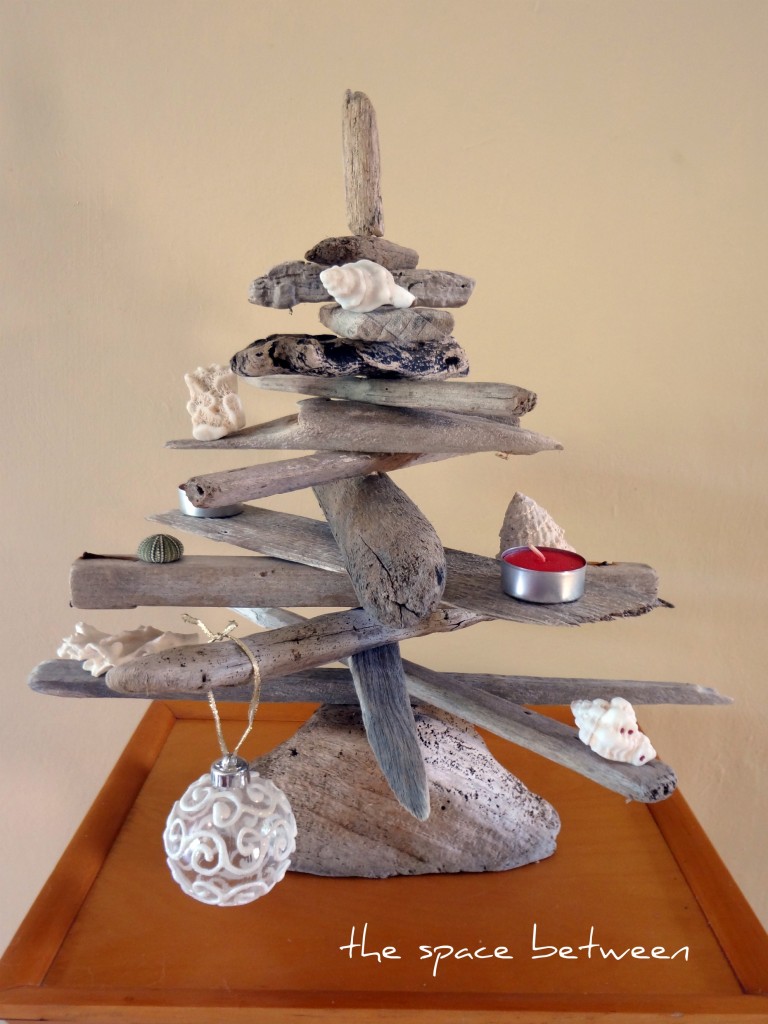
Seriously how cute is this tree. I love how she made this out of drift wood. Check out Karah’s blog The Space Between for more great ideas!

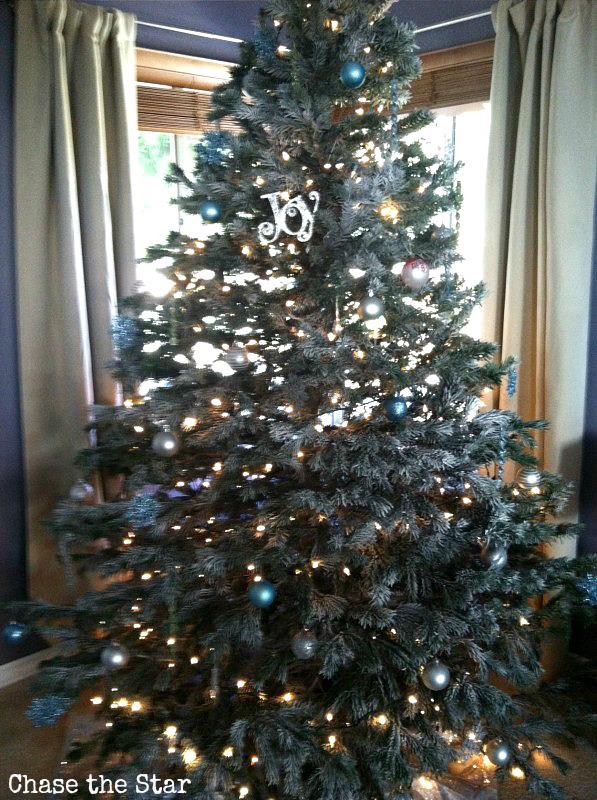
I have always loved shades of blue on a tree. It just looks magical! This is from Barbara at Chase the Star.

Roeshel from the DIY Show Off did it again! Can you guess what my favorite thing about this tree is? How she wrapped the base of the tree~ It looks like she went in the snowy forrest  cut it and wrapped it up to put in her house! Love the red flowers in it also!

Sue made me so happy when she told me she was putting up a tree this year. It had been 4 long years since she put a tree up! Check out her site here!
Courtesy of Sue Doyle

The first thing that I thought of when I saw this was WOW, that is HUGE! I am really into colored lights lately so I appreciate that she has red lights tied into her white ones! Check out Cheri’s blog, It’s So Very Cheri.

This is another room that I just can stare at. I love how clean and crisp everything is. This is Cynthia Weber’s tree, who is an amazing interior decorator! Check out her blog HERE!

I always love when I see red ornaments. Maybe it brings me back to that picture in my head of what Christmas is… You know, the red and green picture. Heather from Setting for Four completely brought me back! She has a great blog so I suggest checking her out!

All I will say is WHOVILLE. I want to move there and put this tree on the top of my house!
Courtesy of Lauren Rippon Michael

Another one of Lauren Rippon Michael’s trees! Yep, she has two in her house. Don’t we all strive to be like her!

What I love most about this tree is the stand it is in. It’s not a traditional stand and I actually love that you don’t need a skirt around it. Very creative!
Courtesy of Jenn from the blog
Rook No. 17  

If this tree doesn’t make you want to get UP and dance then I don’t know what will. I love how bright it is!
Courtesy of Gabe Andrews

I am really loving this silky ribbon around this tree. It’s a great way to add some depth to a tree. Good to fill spots on a real tree also.
Courtesy of Jordan Dehart

When I saw this tree my heart melted. I love anything black and white. I especially love the checkered wrapping paper!
Courtesy of Veronica Rebollo Broussard

The one thing that caught my attention here was the feathers hanging! What a great way to dress up a tree.
Courtesy of Ivy Wiltz

WOW! I have never seen a silver tree before. I might have to put this on my list to get for next year. I love how bright and whimsical this tree is!
Courtesy of David Little

I love the red and green glittery ribbon on this mini tree!
Courtesy of Amy Hammond

I have to say I am very impresses by this tree! I love the ball garland all over it!
Courtesy of Rocky Roussell

My favorite thing on this tree is the letter’s that spell out LOVE! I also love the red cardinal at the top!
Courtesy of Nora Castaneda

My favorite thing on this tree is the RED BOOTS!
Courtesy of Clyde Valentine and Alix Tucker

I have always loved white trees. They really make all of your ornaments pop.
Courtesy of Crystal Lytle

I just love the tree in the picture and the entire setting. It looks like a picture perfect postcard!
Courtesy of Erin Prejean Benoit

This white garland reminds me of SNOW!
Courtesy of Cindy Spell

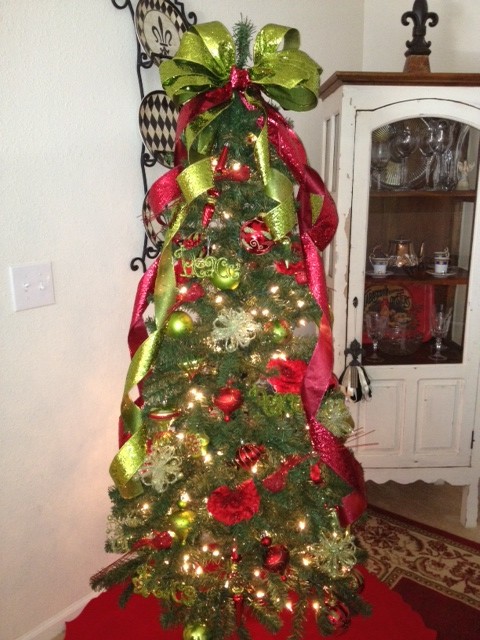
I love a good ole traditional red and green tree!
Courtesy of Amanda Toups

I love all of the Doves in this tree, plus the white ornaments.
Courtesy of Frances De Leon

I hope you enjoyed this post Jaderbugs!

Don’t forget to make it a DIY kinda day,

Facebook Twitter Gplus Pinterest YouTube E-mail RSS

Happy CYBER MONDAY Jaderbugs! I hope to have all of my tutorials up before the end of the week showing you all of the “cheap” ways I decorated our Christmas tree. I always believe when you make your own things they look so much better than store bought items. Don’t cha agree?

Today’s tutorial is so soft and fluffy. When I was in the store the other day I started looking at garlands and when I saw the prices on them I was like “ER MY GERD”… I couldn’t get over the prices of them. I figured out in that moment I would make my own. I wanted something to look like SNOW… Then it clicked.

COTTON BALLS

Are you excited yet? The great thing is you can have your kids help with this, just be careful of the needle. I think they make kid proof needles I am just not sure where they sell them. I mean. What is kid proof? Can they not stab themselves with it? Will it even go through clothes? See… I just don’t know ~

INGREDIENTS:

*cotton balls
*needle
*thread 

I purchased all of my ingredients at Walgreens. Make sure when you purchase your cotton balls that you get the JUMBO ones. I accidentally got the small ones and you can totally tell the difference. The big ones look so much better.

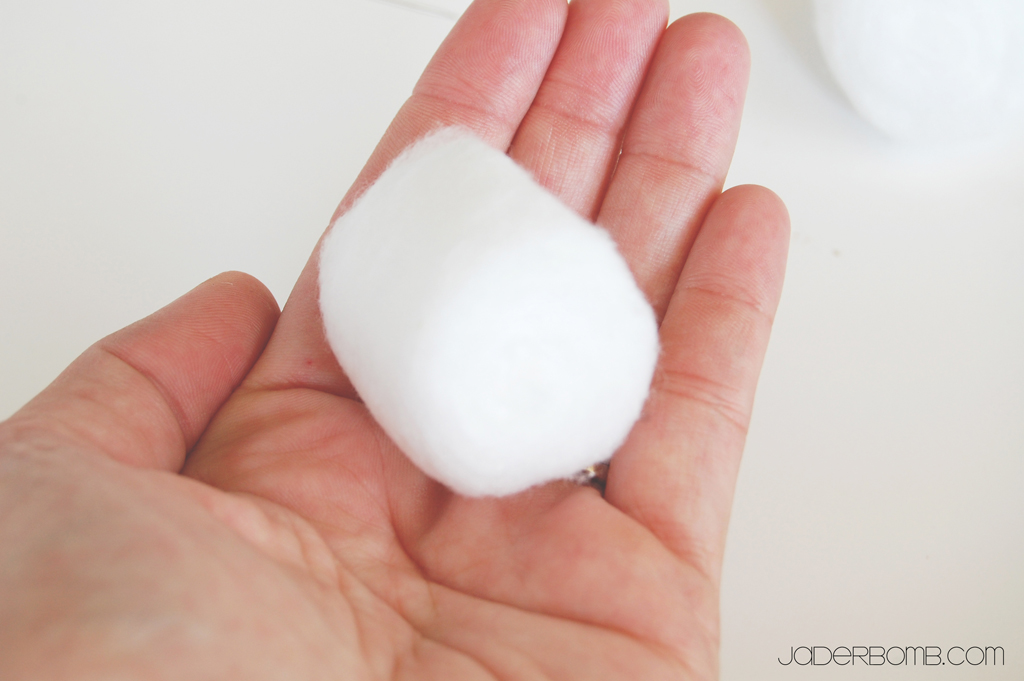
Start off with ONE large cotton ball.

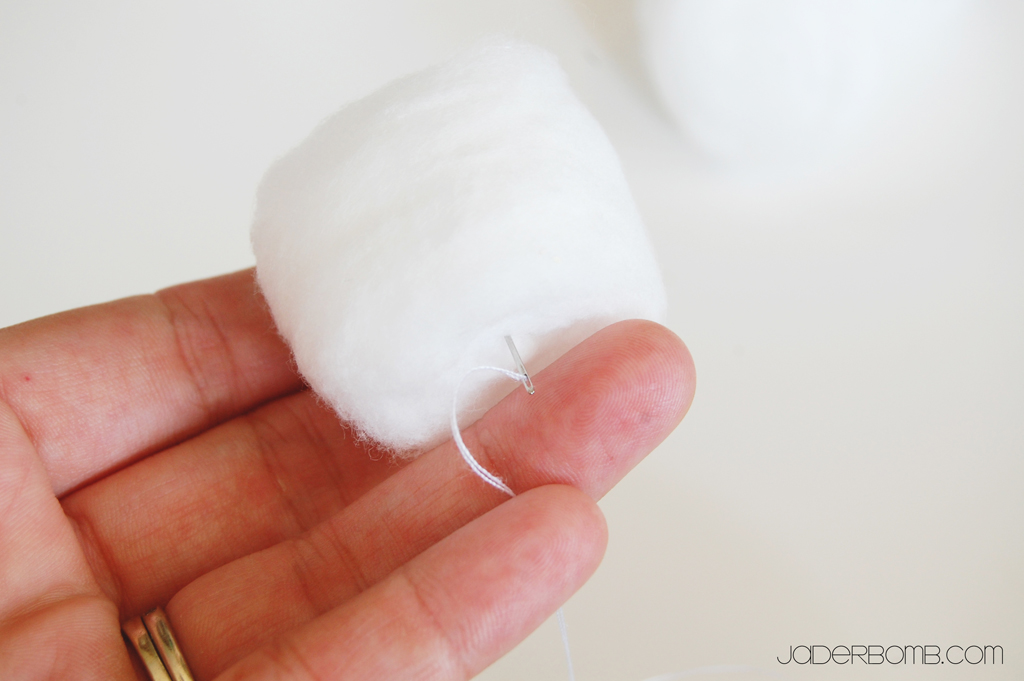
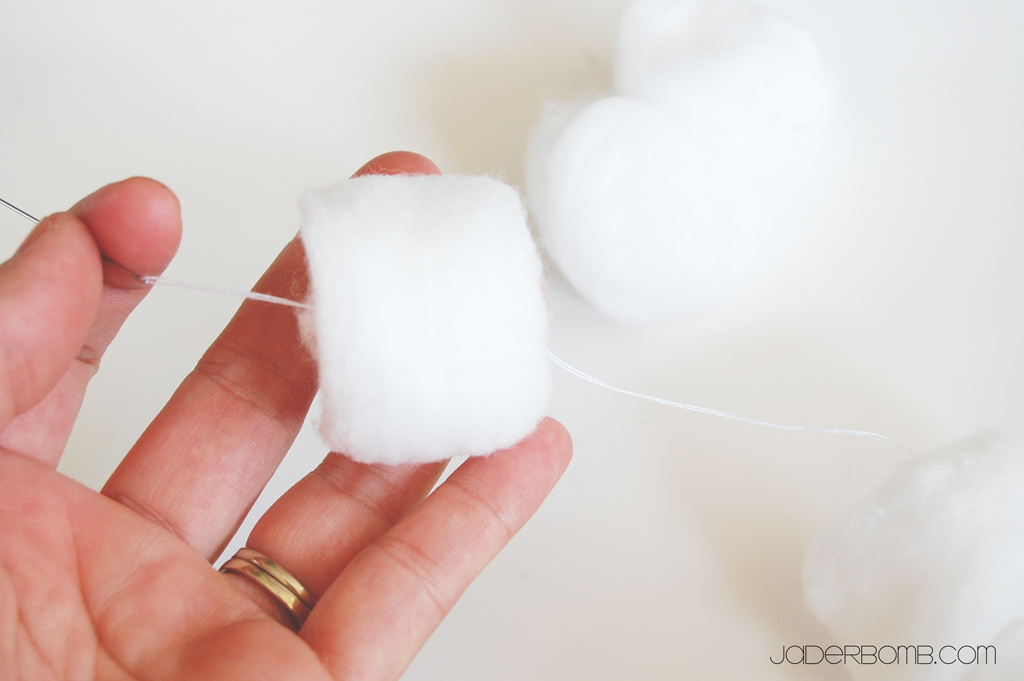
Carefully string your needle right through the center of the cotton ball.

Pull the string through and continue until you have enough for your tree. One piece of advice. I though I could have ONE long garland but because you are using thread it sorta breaks easily if there is too much weight. I know you are prolly thinking…cotton balls, weight. Trust me it breaks.

I like to do about 20-30 cotton balls and then stop. It just works better. I am sure if you used the small cotton balls you could make one big garland but these jumbo babies are huge! 

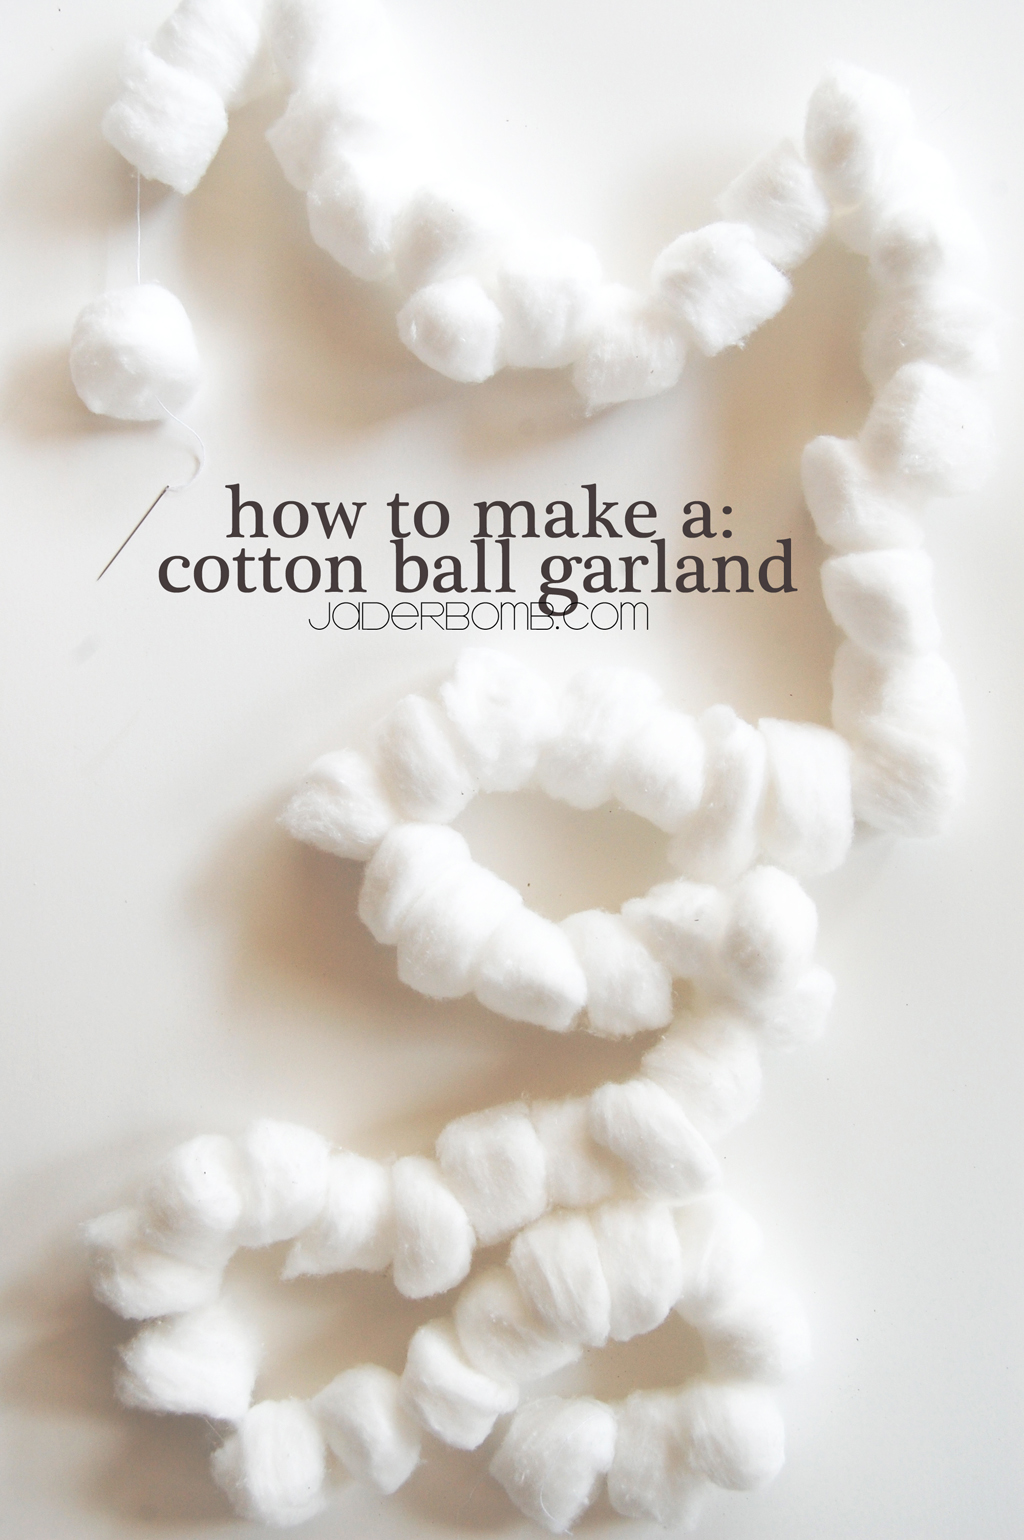
This is what you will get JADERBUGS! It’s so much fun right. I really like it because it’s super affordable and honestly. I think it looks better than a store bought garland.

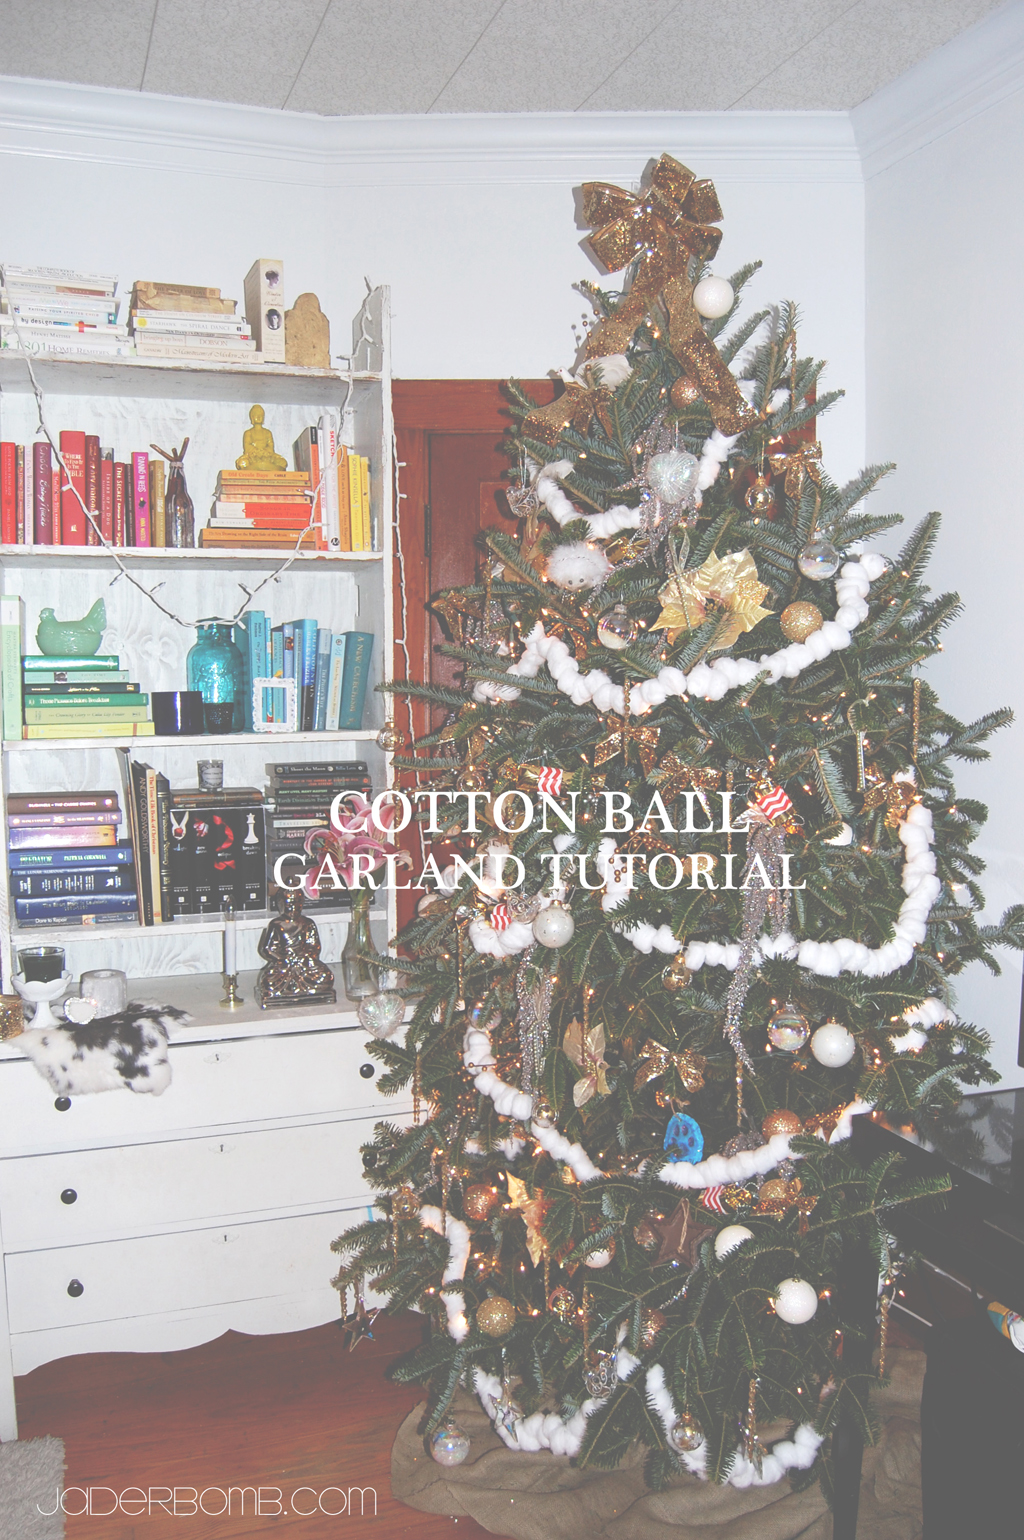
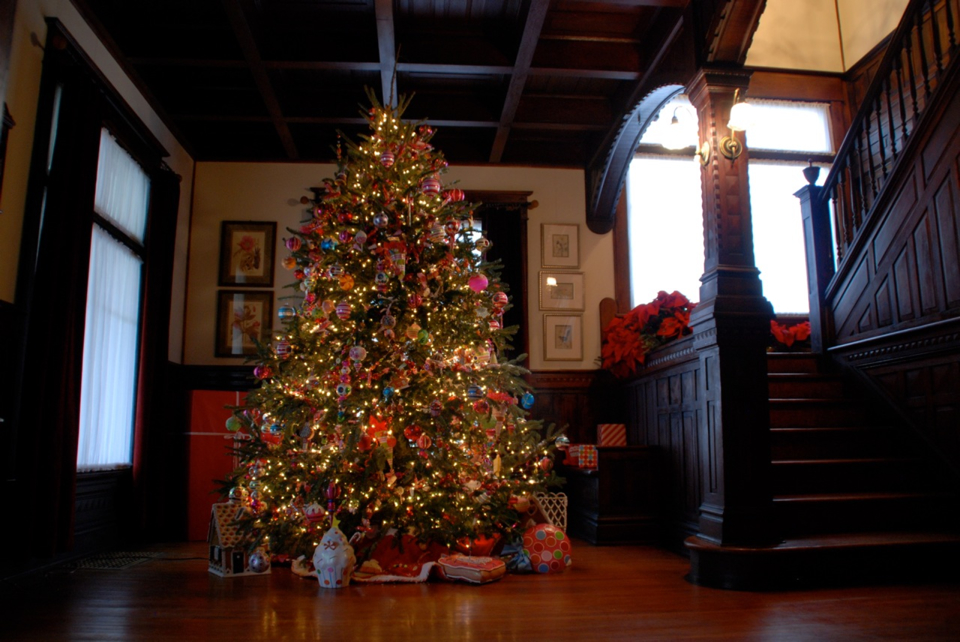
Here is ONE of our trees in the house. Tutorial coming soon on how we make this bookshelf so stay tuned!

If you decide to make one please post it on my Jaderbomb facebook page! I love showing the things you make.

Don’t forget to make it a DIY kinda day,
Facebook Twitter Gplus Pinterest YouTube E-mail RSS

Quote of the day:
“After hard work, the biggest determinant is being in the right place at the right time.” -Michael Bloomberg
Are you ready to make Washi Tape Candles? I know I am so let’s get started!

I really love making crafts that are easy, affordable and easy. Yeah, I know I said easy TWICE because that is my favorite part about it!
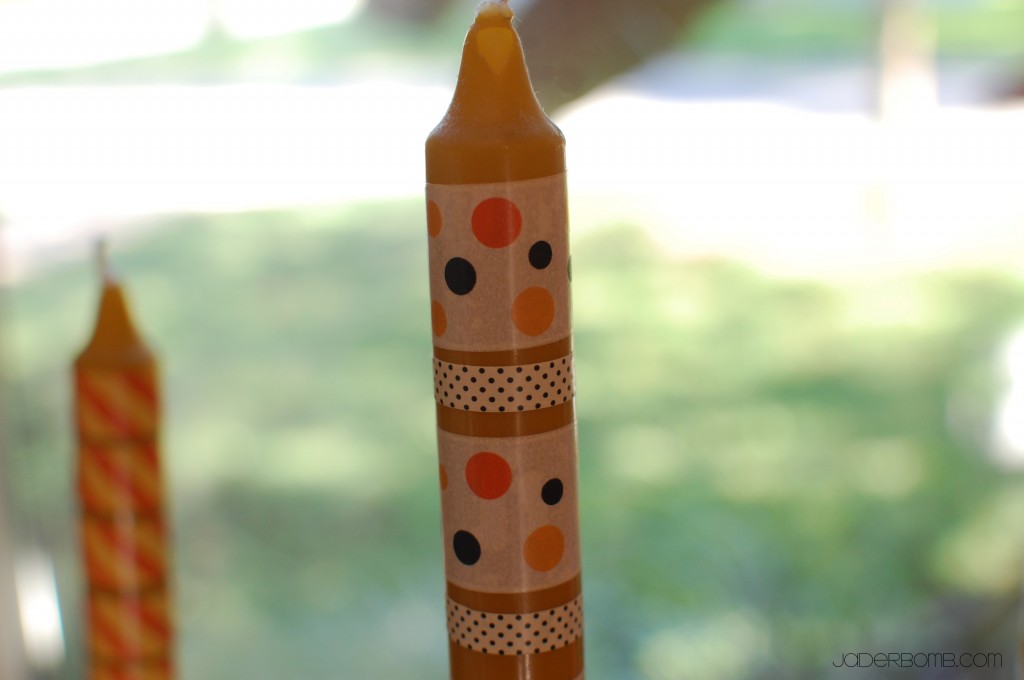
Since your candles are made of wax when you are ready to take off your washi tape it will come right off. You won’t have to worry about damaging your candle. I used long thin candles because I wanted to dress up my centerpiece on our table. I keep this baby up year round. So, when Christmas comes around guess what I will do…prolly grab some white pillar candles and put Christmas washi tape on them. Wanna see how easy it is to do this? If you want to see how I made HOMEMADE WASHI tape click HERE.

INGREDIENTS:

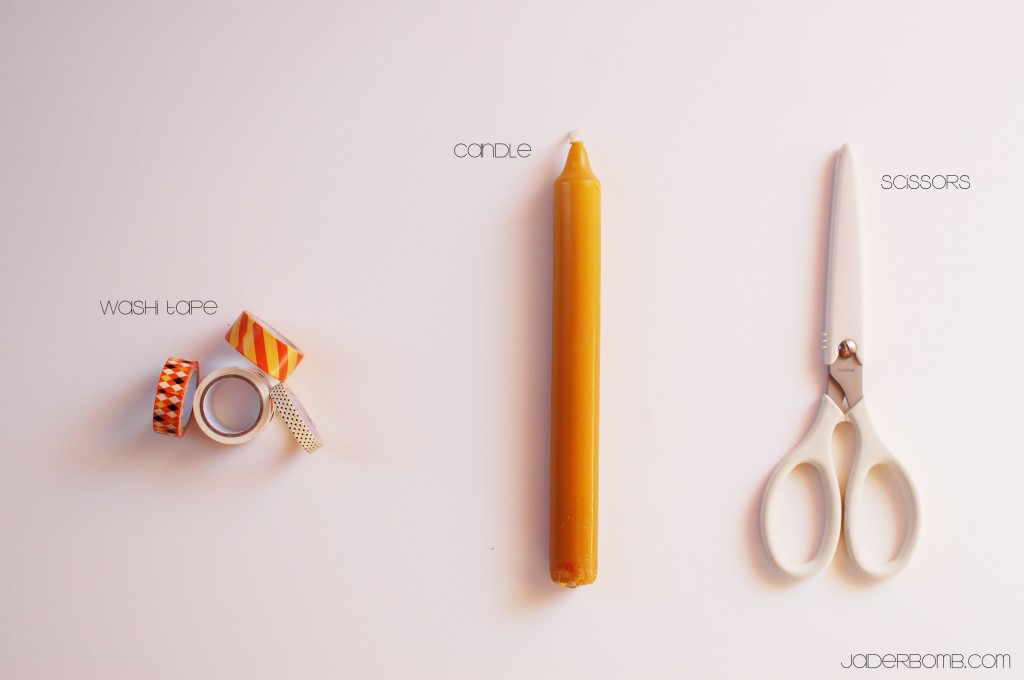
*Washi Tape
*Scissors
*Candles

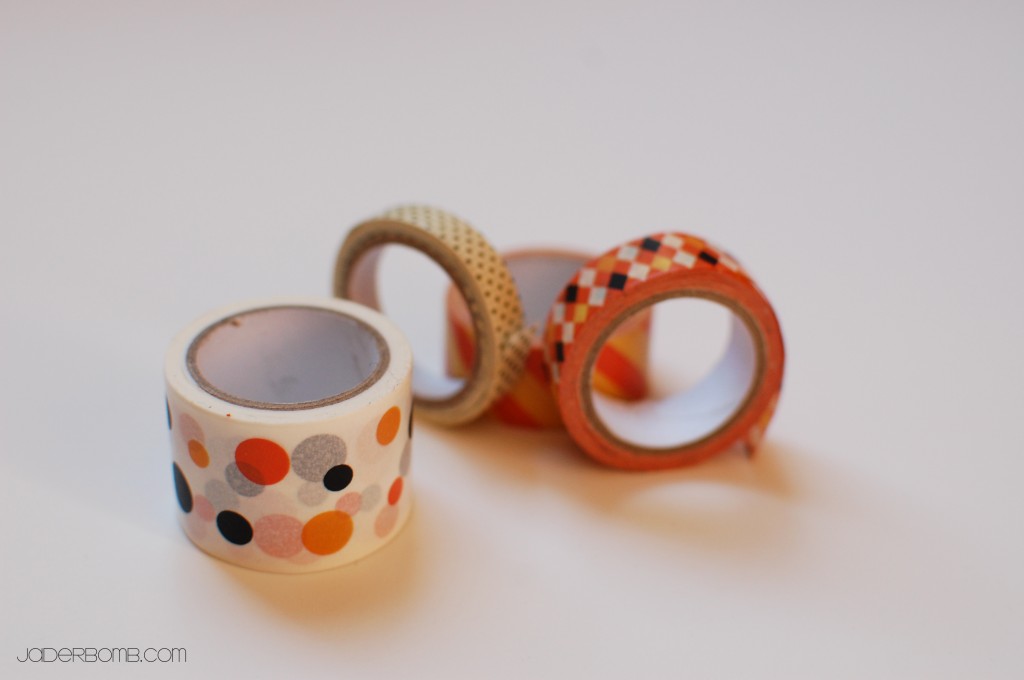
I am using Halloween washi tape by Martha Stewart. You can buy directly from the link under my ingredients (above).

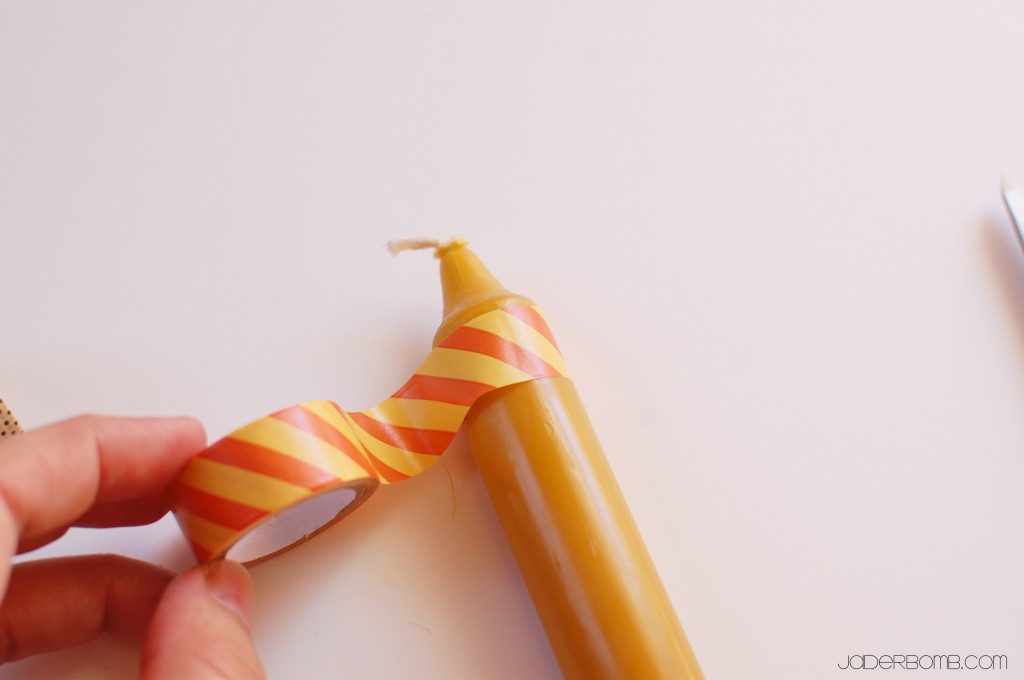
The first thing you will do is stick the end of the washi tape on the candle.

Wrap it till it meets the other end of washi tape, then SNIP it!

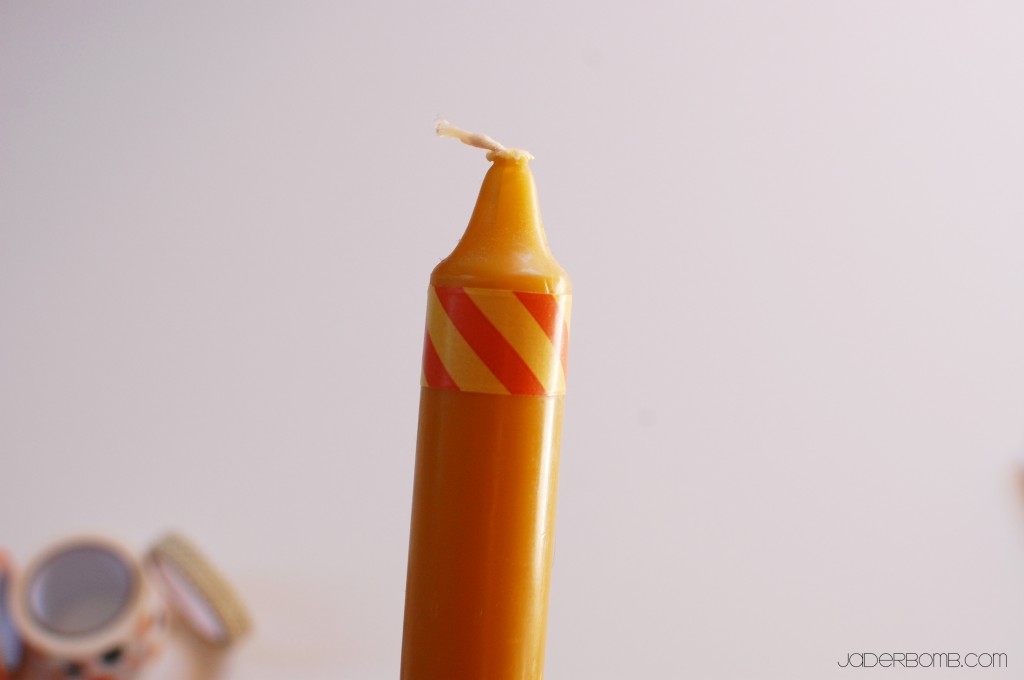
Tadah!
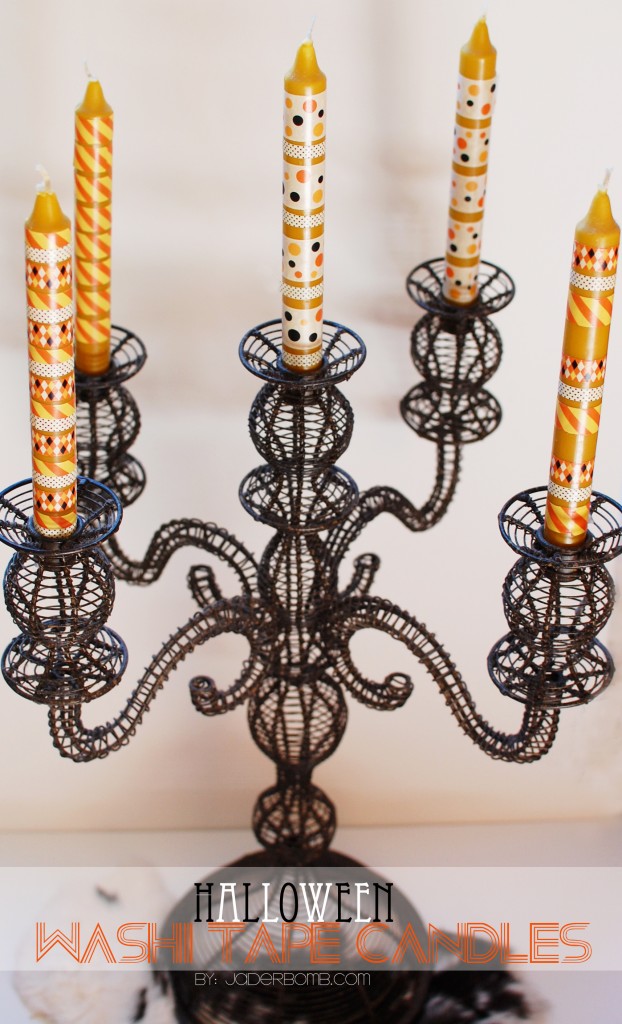
This is the end result! The fun thing about this craft is you can use whatever washi tape you want and this is practically good for ANY occasion. A simple candle can turn into a work of art with this tutorial.

I hope you enjoyed it… See you in the NEXT post.

*Have you seen my vintage CHRISTMAS lights printable. Click HERE to download it!

Quote of the day:

“Lose not courage, lose not faith, go forward.”

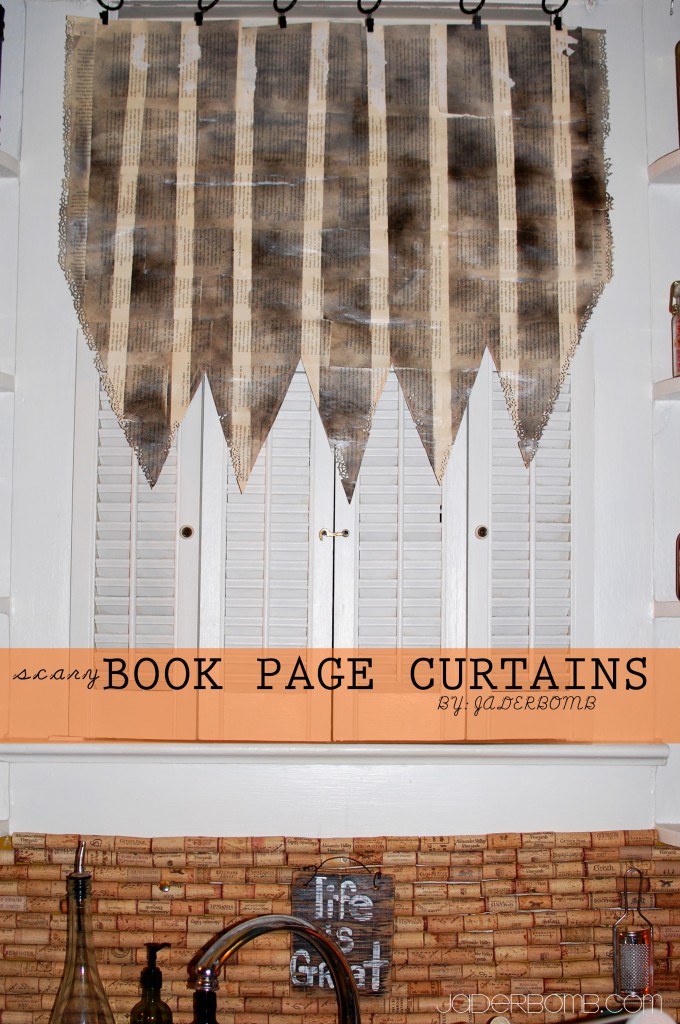
How much fun are these spooky book page curtains! I have to say I never every thought I would make curtains for my kitchen using pages from a book. But, why not?If it’s temporary until Halloween is over then we need to bring the spirit indoors!Let’s get going so I can show you how I made them!

INGREDIENTS:

*Book
*Adhesive Spray
(I love this one)
*Masking tape z
(Do you realize all that you can do with this tape?)
*Black spray paint
(you do NOT have to buy the most expense one either!
*Mod Podge
(I wish I could eat this stuff.)
*Brush
(not used a spoon for the Mod Podge)
*Martha Stewart Halloween Punch

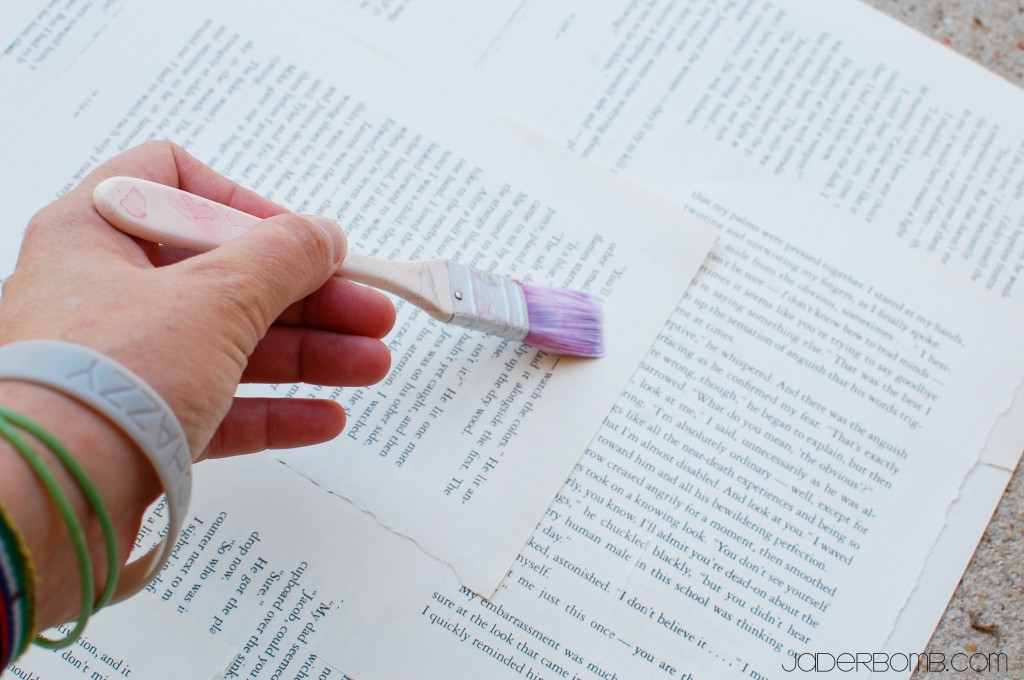
The first thing you need to do is tear pages out of a book. I am using the FIRST twilight book because it will NEVER get old reading those pages. (I know I know I’m a sap)

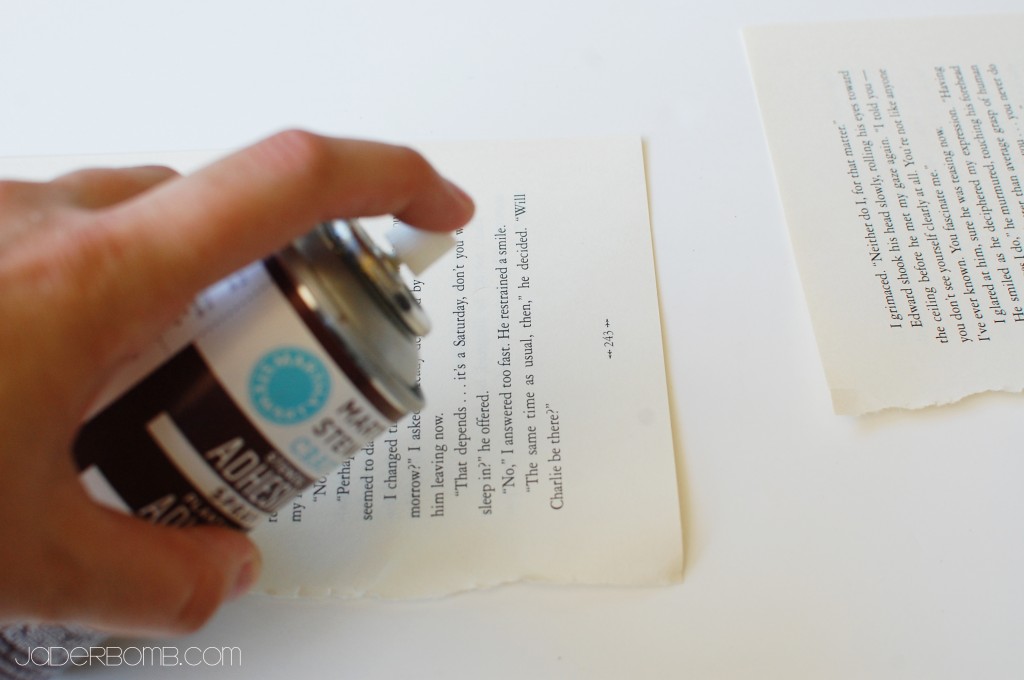
Spray the edge of your book pages with adhesive spray.

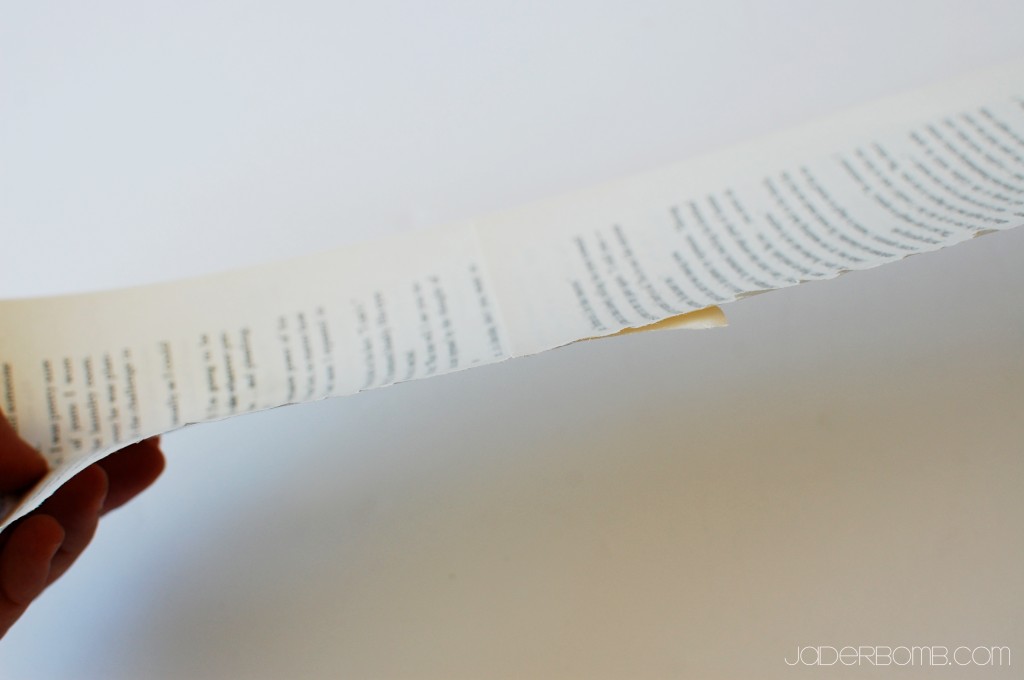
Then stick another book page on top. Just like this! (below, haha)

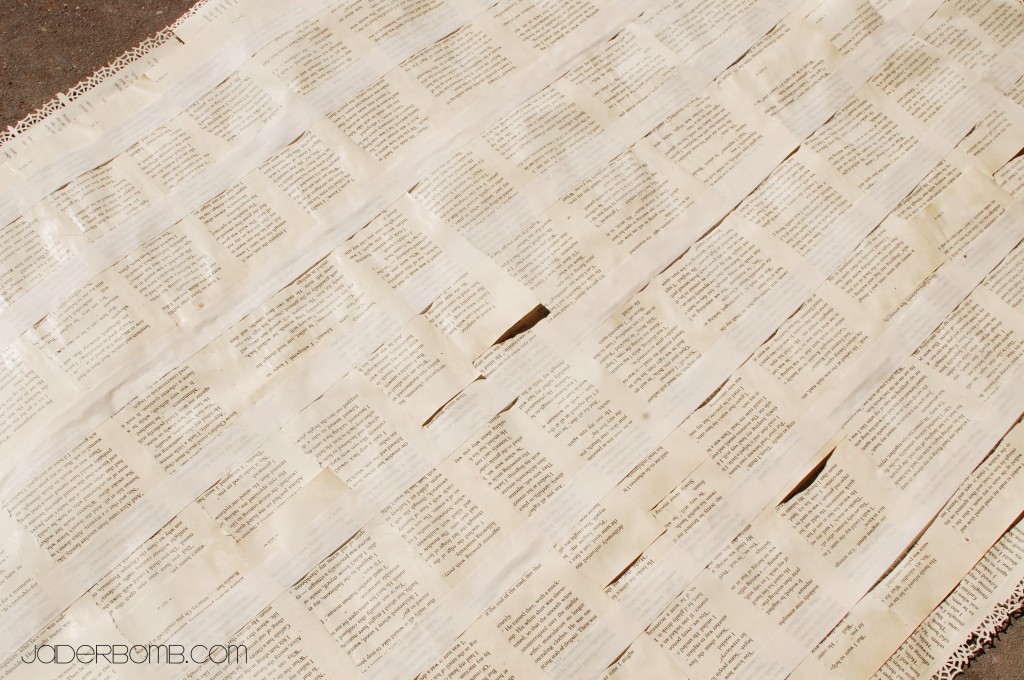
This is what it will start to look like once you get rolling! Hint: Once my sheet got large enough I would bring it in the house and place it on top of the window to see how much bigger it needed to be. I could of measured it and done it the “correct” way but that’s no fun! Notice the edges are punched with my Martha Stewart HALLOWEEN puncher!

Once you have the correct size and you are done sticking pages together it’s time to break out the MOD PODGE! This is where you insert a BIG wahoooo.

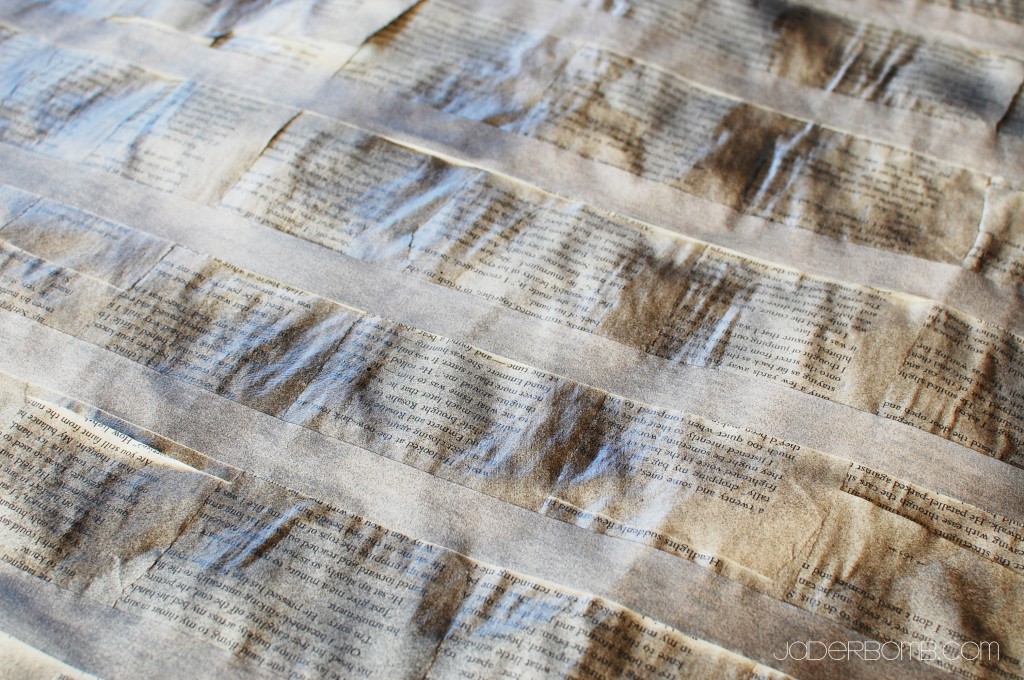
When your Mod Podge is completely dry lightly add strips of masking tape on top of your book pages. (see below)
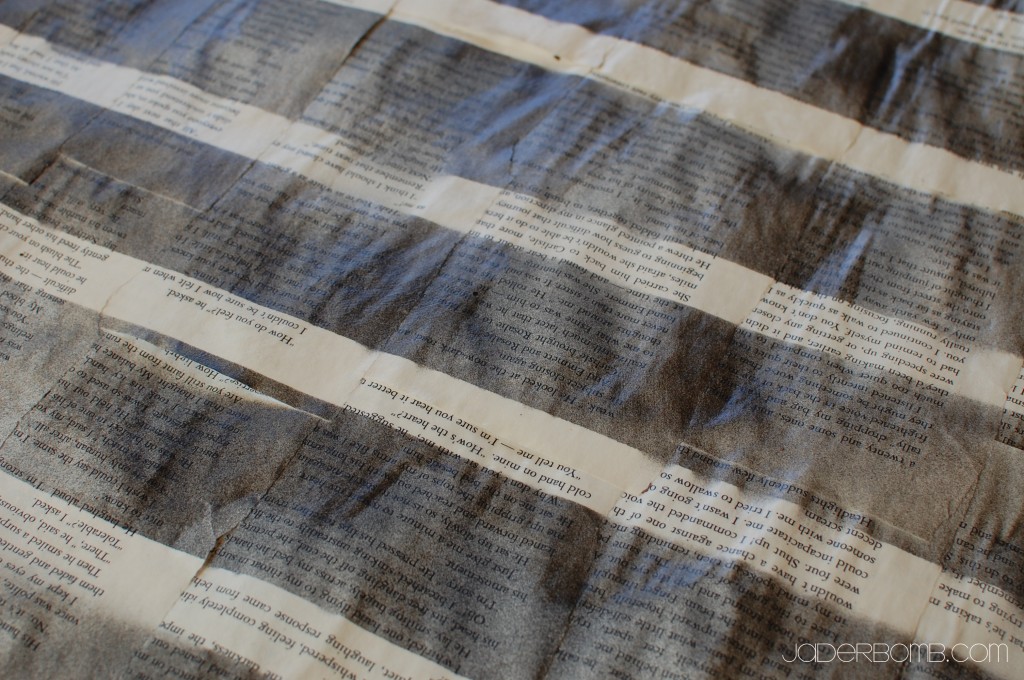
You don’t want to press too hard because it will tear the pages when you peel if off. Spray your pages with black spray paint. I didn’t spray a super thick coat because I wanted a washed, vintage look. You could spray it till it’s completely black if you want that look.

Keep in mind you can spray with whatever color you like.

When the spray paint is dry peel off the tape~ Be careful. I ripped a couple of my pages because my tape was pressed really good to them. (craft fail)

Thank goodness this was a scary Halloween look otherwise I would have “tossed” this project into the trash.

When I was completely done with all of the steps I put it up in my kitchen like the picture below. I drew where I needed to cut with a piece of chalk.
I then took it down and VOILA! A spooky HALLOWEEN curtain! What I love the MOST about these curtains is how they look with light coming through them. It really makes our kitchen feel spooky.

The great thing about this project is it’s practically FREE. It’s easy for anyone do to AND when the spooky holiday is over you can toss it without feeling bad. Although I might just keep mine up and stencil letters on it for THANKSGIVING. Yes, I love them that much.

See ya in the next post Jaderbugs!

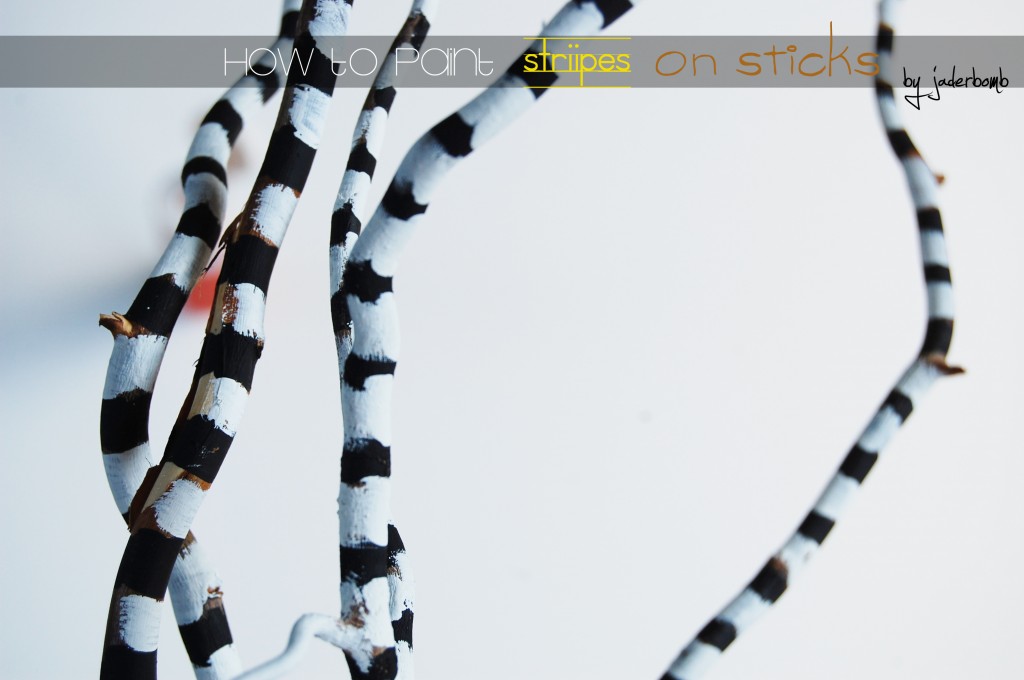
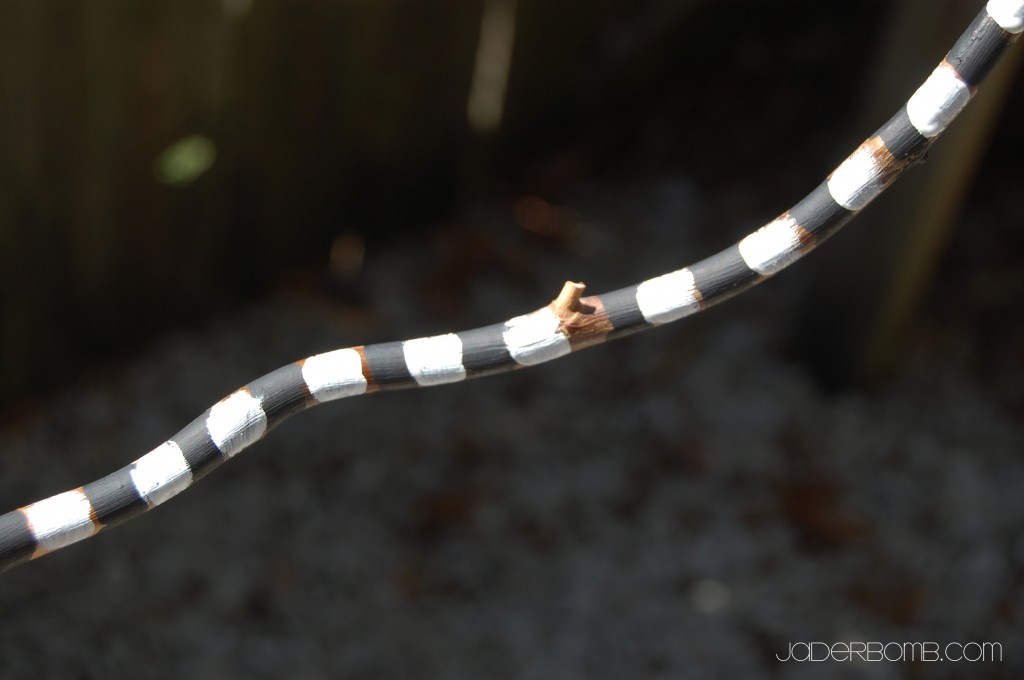
I am truly in love with this CHEAP stick painting craft.  My crafty buddy Stephen Brown has a lot of “black and white” stripes in his new book Glitterville’s Handmade Halloween: A glittered guide for whimsical crafting!

So, I figured I would do the same thing using sticks or branches. It really is so much cheaper than buying things in the store and it adds that whimsical touch to your home! Stick Painting can be very addictive so be careful, haha! I love to decorate my home or any space I visit with painted sticks. You can spray paint a ton of them one specific color and stick them in a gorgeous vase. That would fix any home decor problem and it is practically free. Unless you go steal the sticks from your neighbors yard because you can’t even keep your own trees alive.

Quote of the day: 

“I am BOLD enough to say, though not in a literal sense, that I almost prefer striving without success to success without striving.” 
-Georges Vanier

 stick painting

Let’s get started…

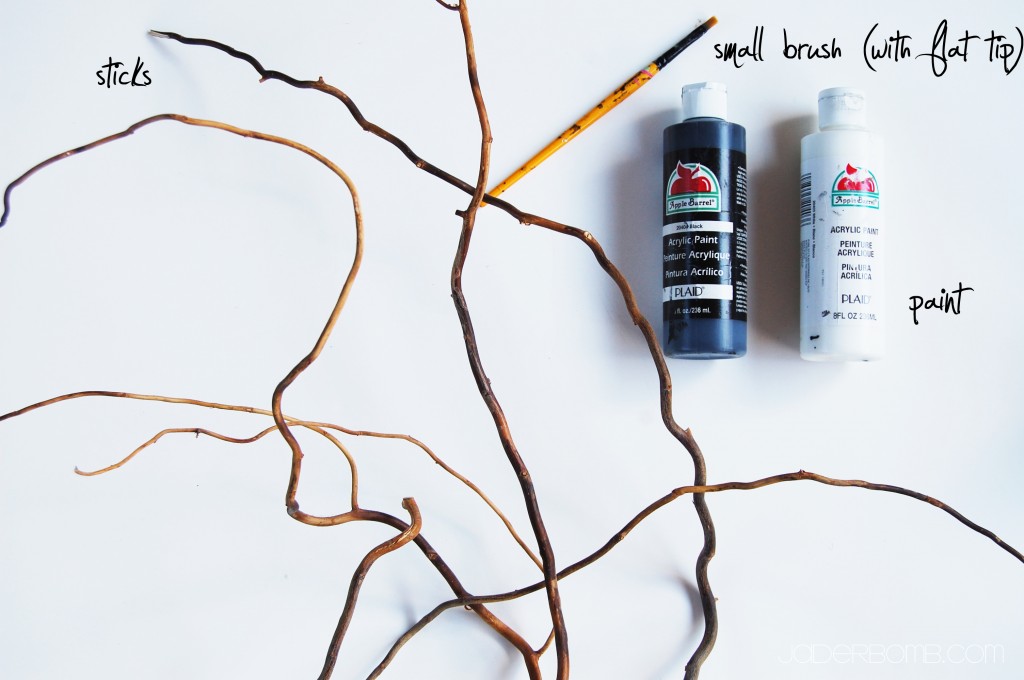
INGREDIENTS:

*PAINT

*BRANCHES or STICKS

*PAINT BRUSH

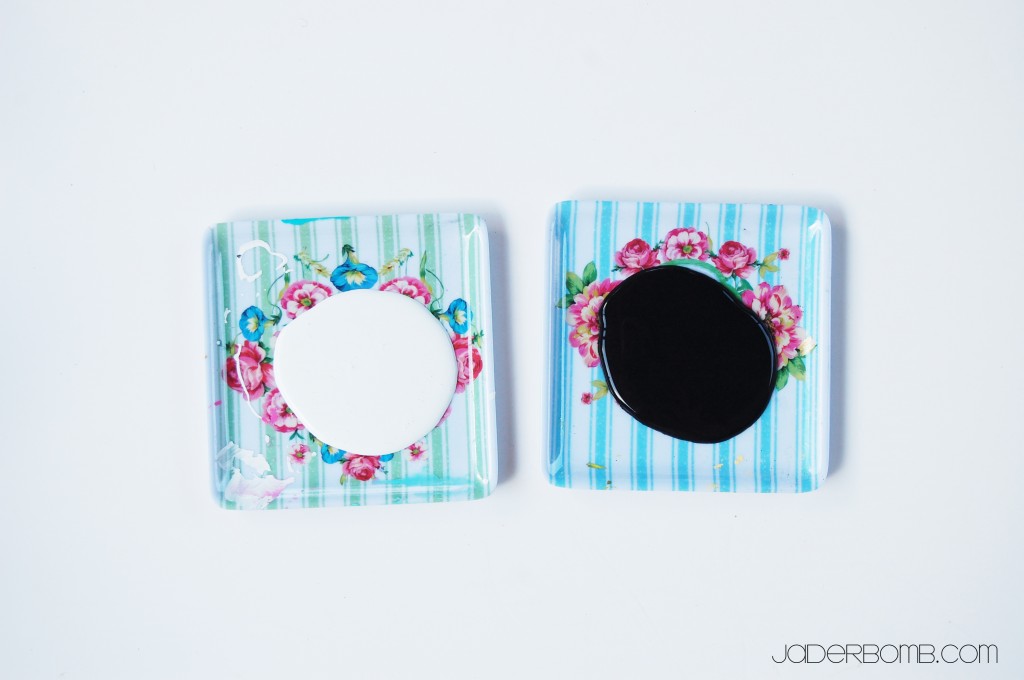
The first thing you need to do is squirt some paint on a saucer.

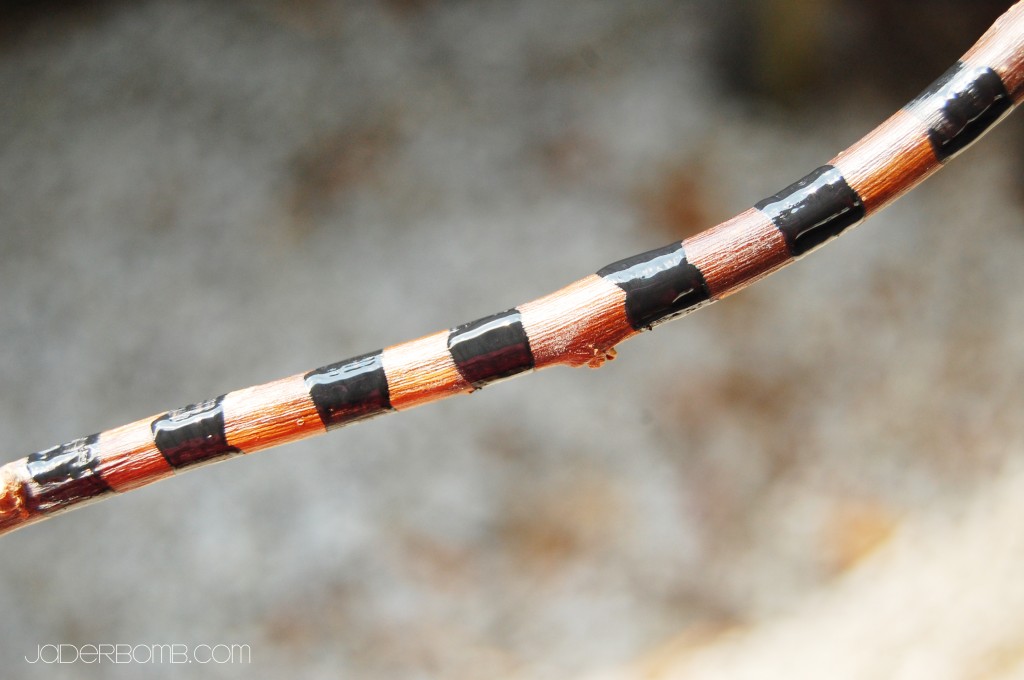
Next you will paint black stripes around your branches. I like to hold my brush on the branch and just slowly spin the branch.

After you add your black add your white! It’s that simple.

Huge Glittery Hugs, Jade


Quote of the day: 
"Decide that you want it more than you are afraid of it" -Bill Cosby


Heller and HAPPY “hump” day

YEP! It’s that time. Time to start showing you the tutorials of some things in my FALL kitchen decor. If you didn’t see my FALL decor I did in my kitchen click HERE to check it out!

I always have fun making displays in our house, it’s like making a p-nut butter n nutella sandwich. It just mandatory. Let’s get it popping Jaderbugs

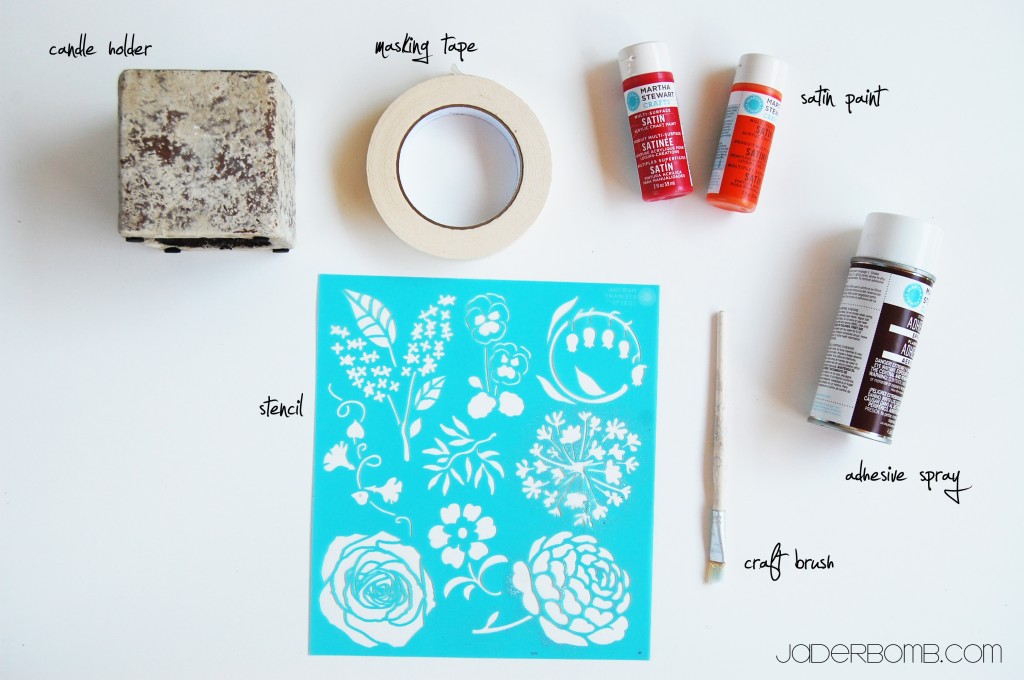
INGREDIENTS for this CRAFT:

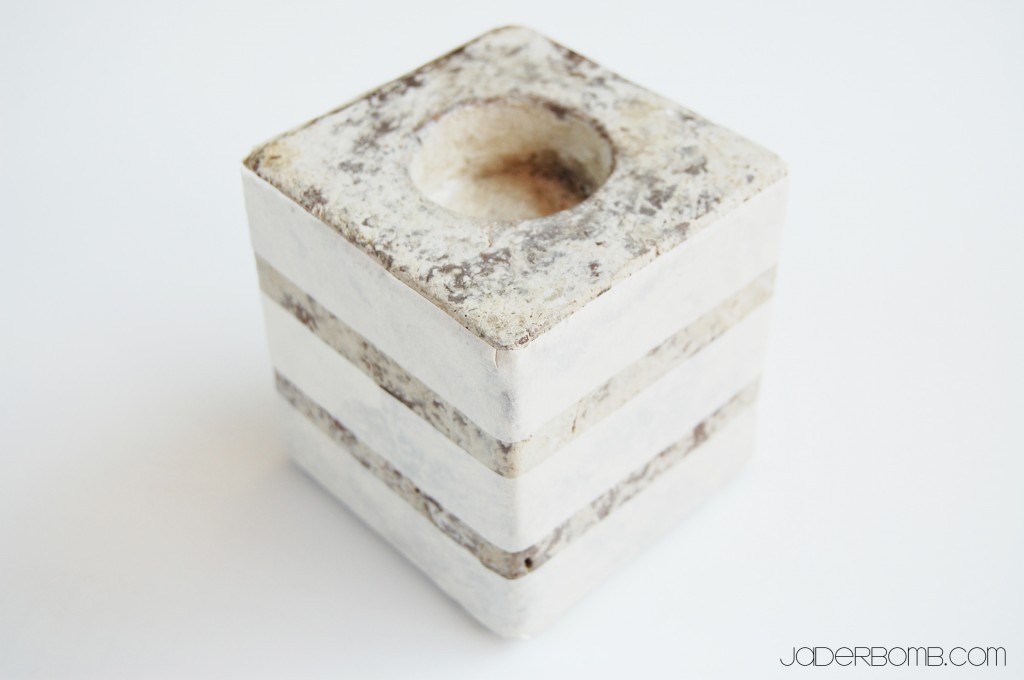
*candle holder (I am using one I already had)
*masking tape
*Martha Stewart satin craft paint
*Martha Stewart stencils
*Martha Stewart craft brush
*Martha Stewart adhesive spray

and LOTSA LOVE…

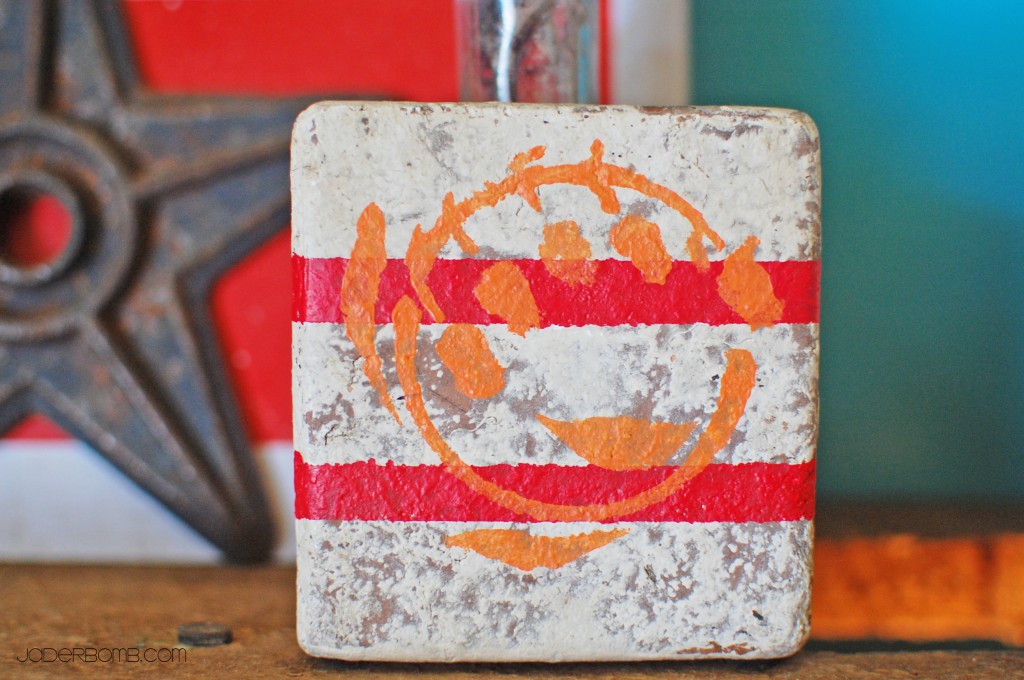
You can use whatever stencils you prefer for this project. I wanted to use some sorta blossom to represent fall. These stencils are the best because they have an adhesive back to them which makes it so much easier to apply to different surfaces.

First thing you will do is tape off the spots where you do NOT want paint. I am doing horizontal stripes on my candle holder.

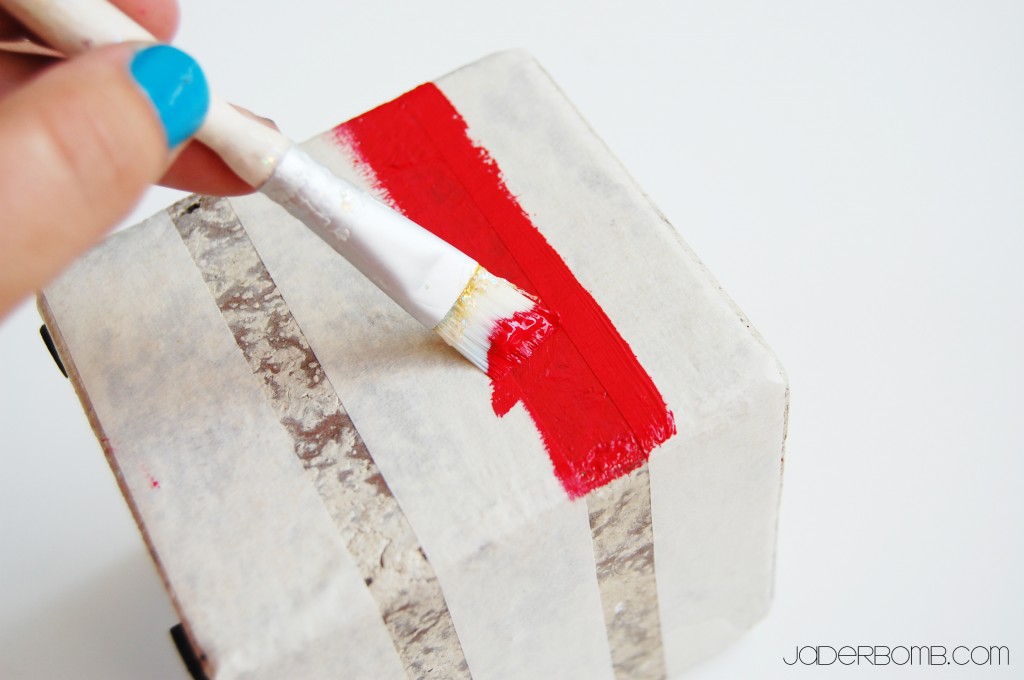
After you tape it off paint the sections that are showing. I’m using “BROWN CHICKEN BROWN COWWWW” red. That’s not really the color but it should be! (say that saying about 4 times in a row)

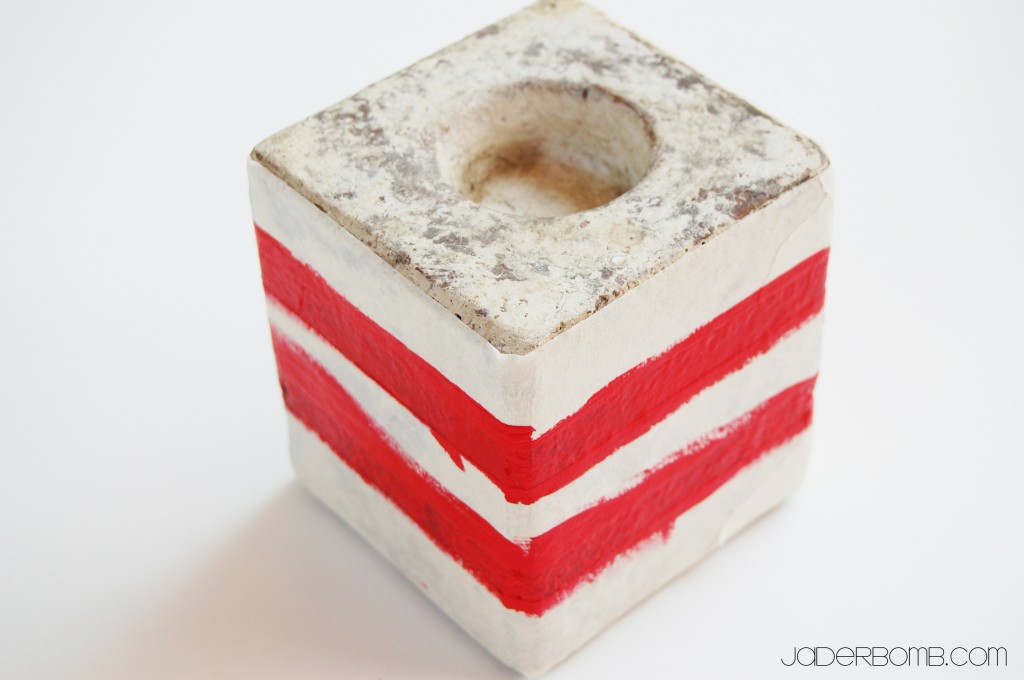
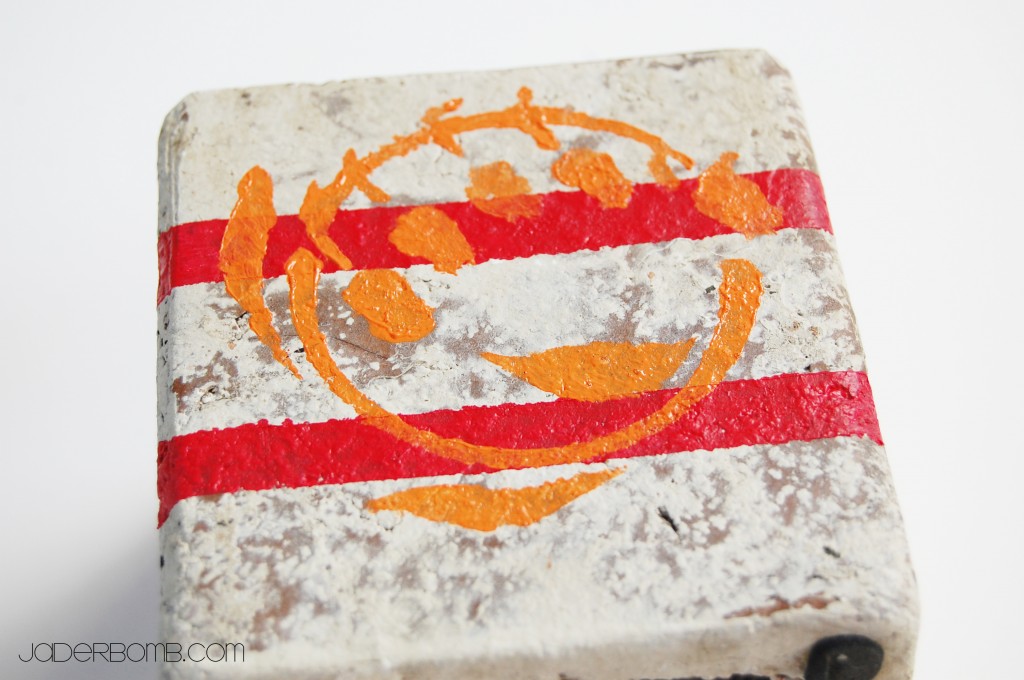
This is what it will look like when you are done painting. Let it dry. When it is completely dry gently peel off the masking tape.

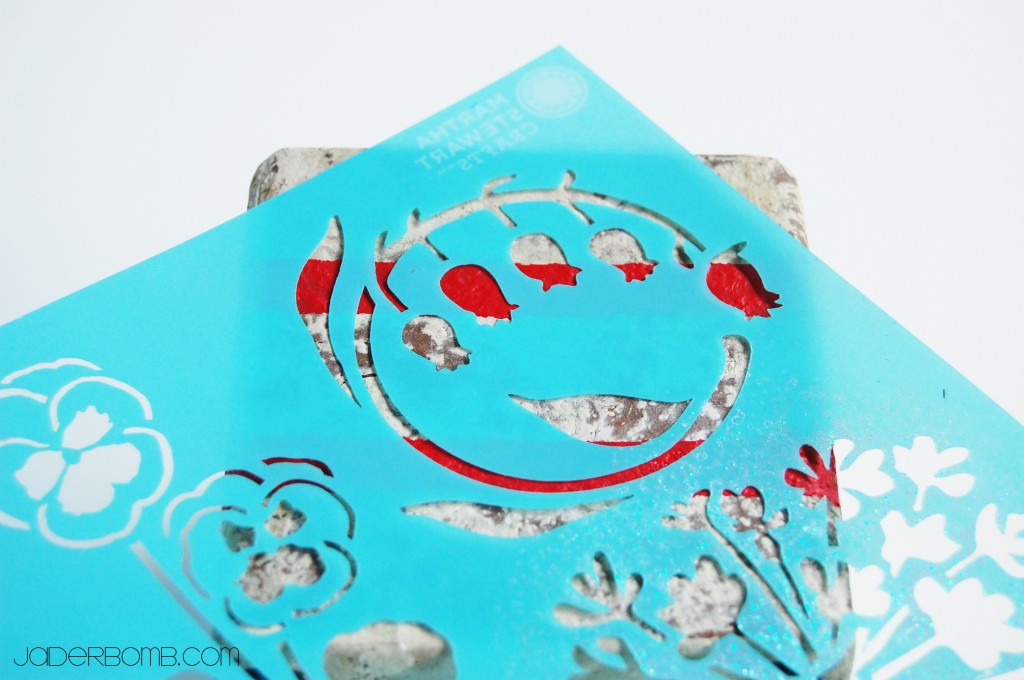
Grab the stencil you like, spray the back with adhesive spray and STICK it down! Even thought the back has a little adhesive to it already I like to add more so it “really stays!

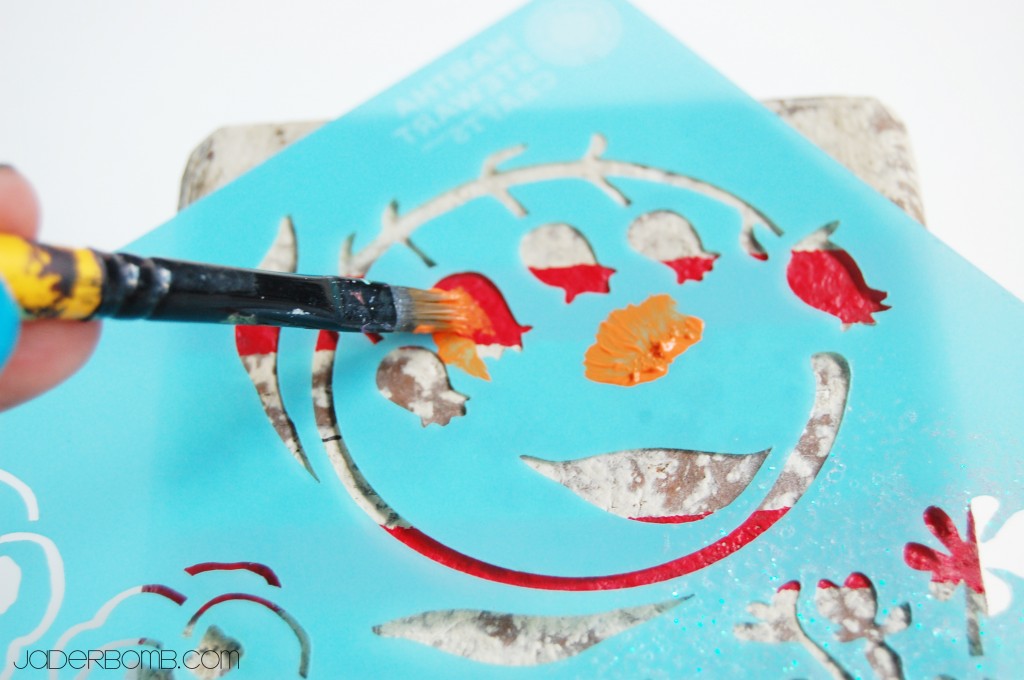
Get a brush and lightly pounce the stencil with paint. You could use a foam pouncer for this but I like the texture from a brush.

When you are done filling in your stencil BOOM BAM WOW! Your done! Of course “LET IT DRY” before you start decorating with it.

I hope you had a B to the LAST with this project. I can’t wait to see you in the next post!

What colors would you use for this project?

IN OTHER NEWS:

This Friday I will be Co-Hosting a twitter chat with MOEN. If you are not following them on Twitter hurry and follow them HERE. Follow me on twitter HERE.
So don’t forget to put it in your calendar!

This coming Saturday is going to be a fun one! It’s Saturday Social! It’s a linky party that I will be Co-Hosting and you will be able to link up your social media outlets.  I will be hosting a Twitter party so see ya there! (more info on this later this week)