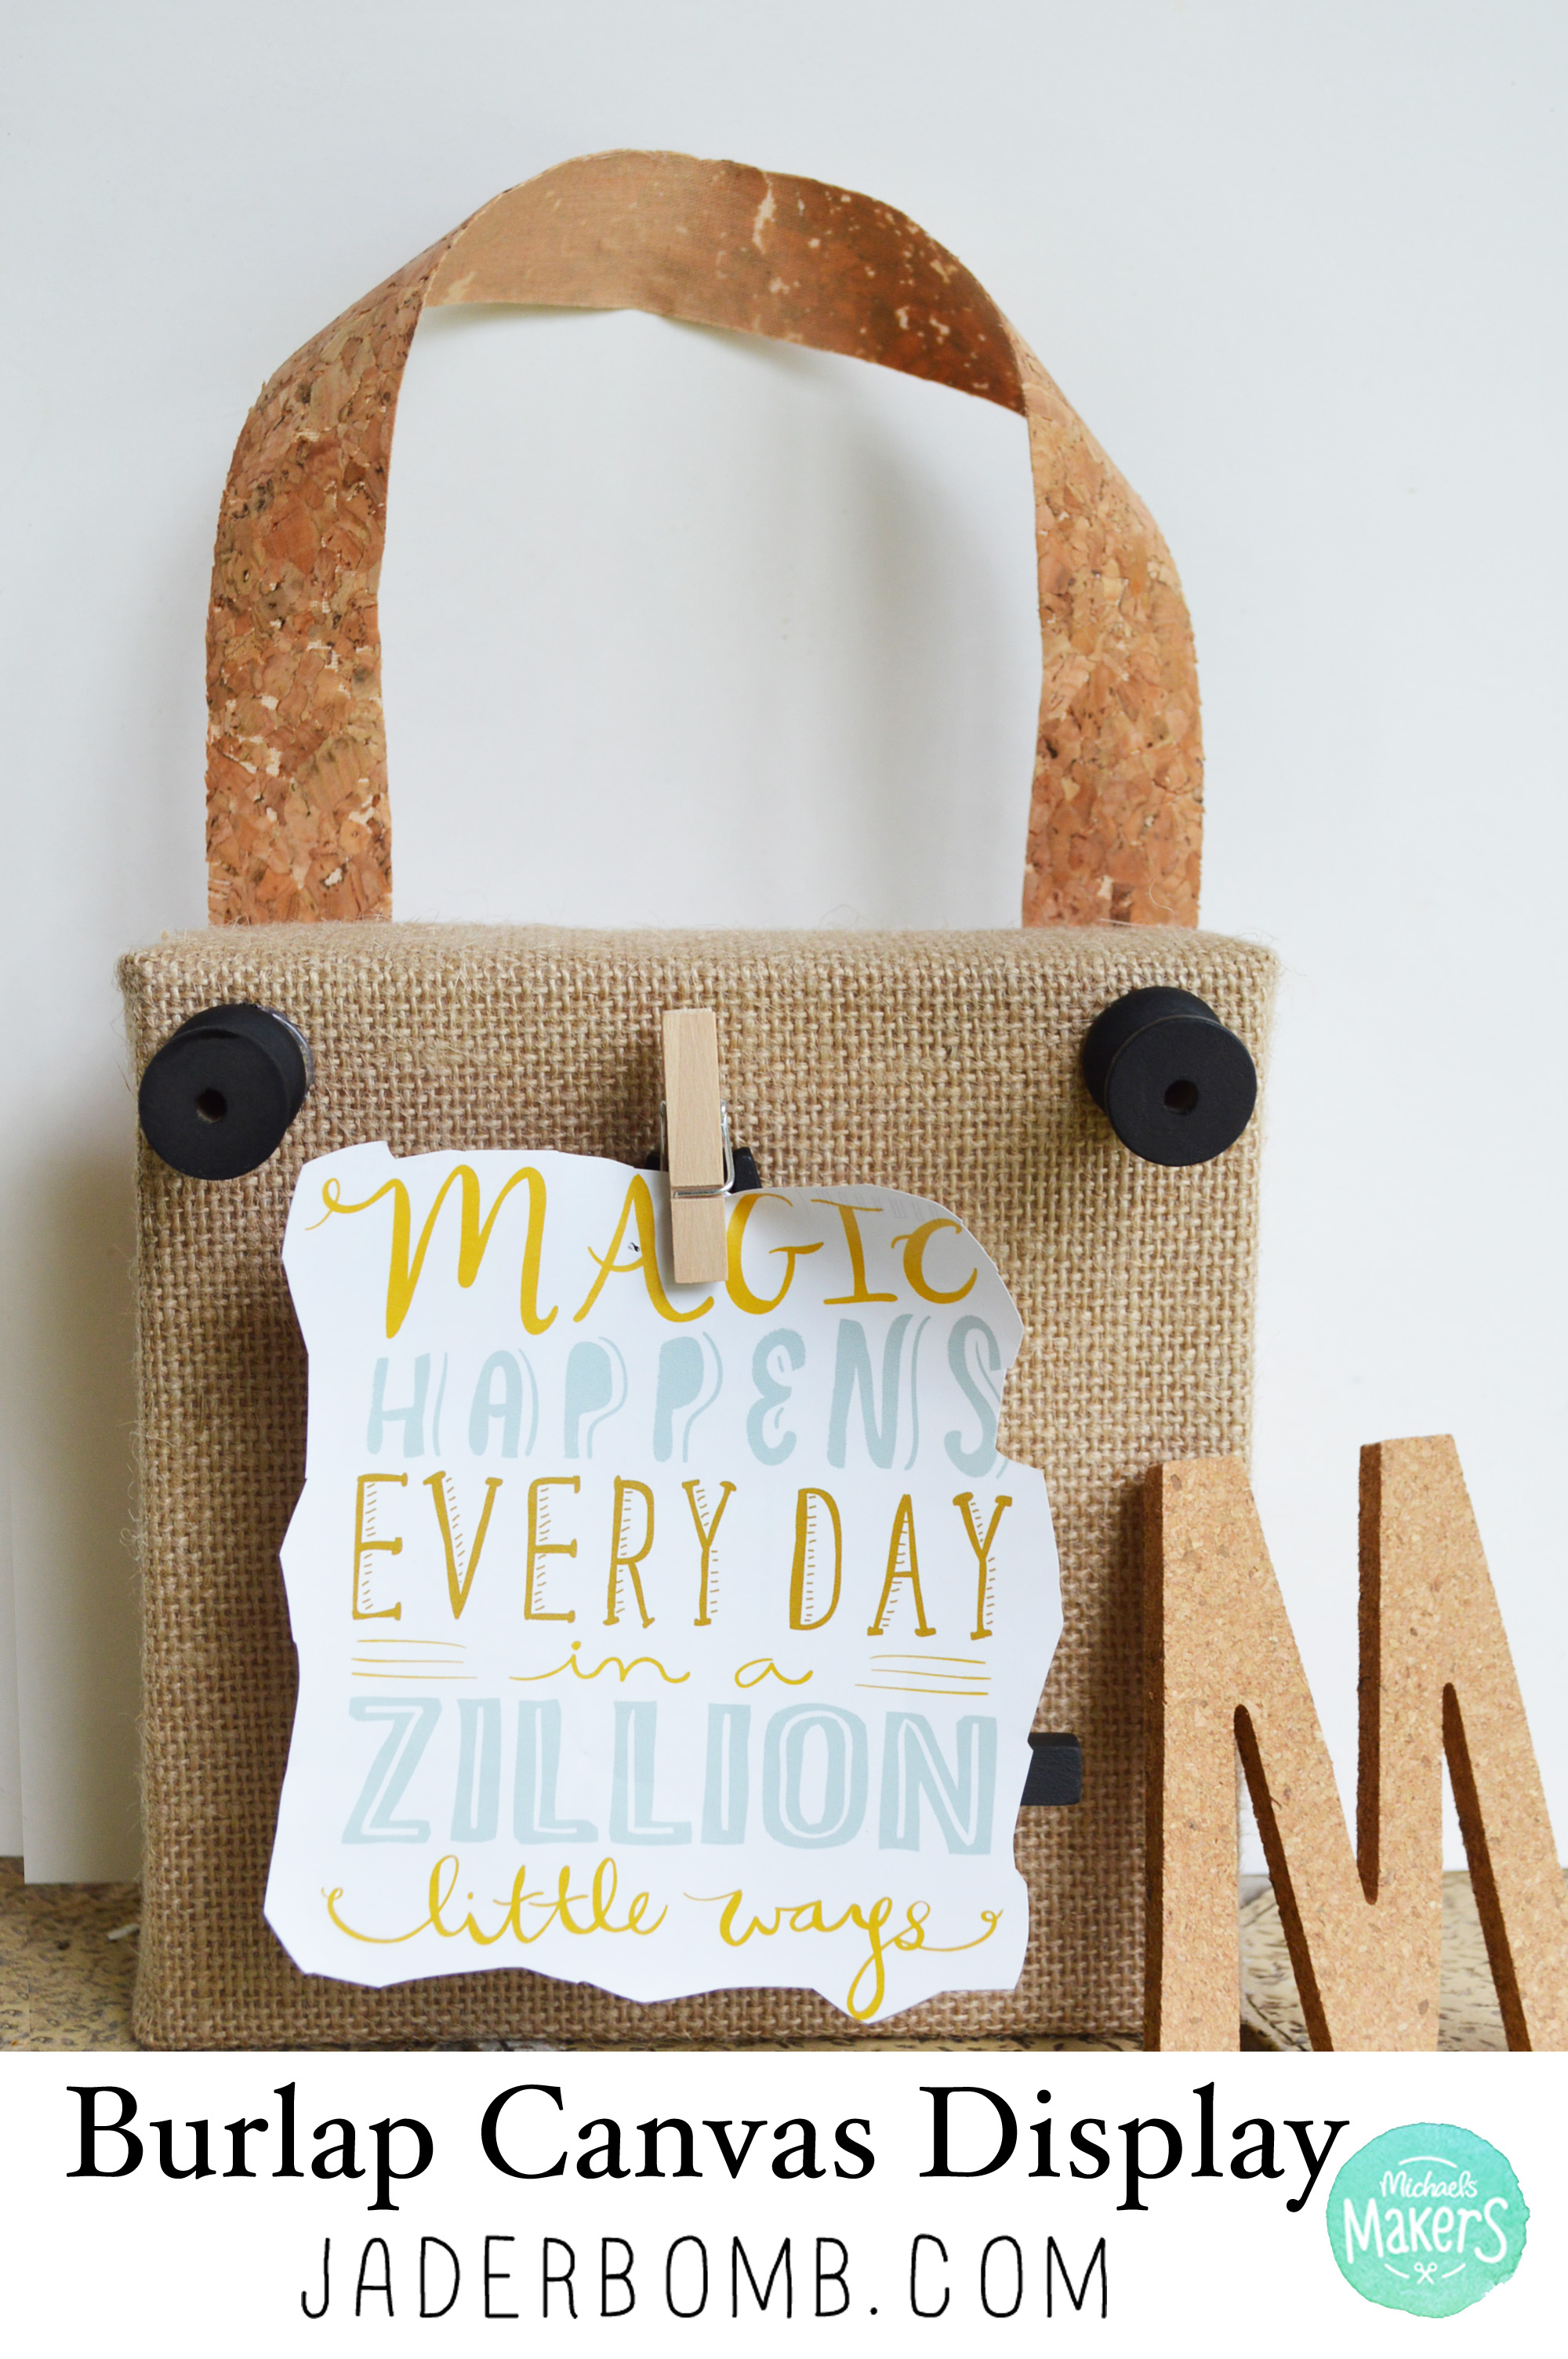
 As part of the Michael’s Makers team I will be creating crafty challenges each month. The challenge this month was to choose a product from the raw bar and and I chose the burlap stretched canvas to create a Burlap Canvas Display.
Next month Michaels Stores is releasing a new line of products called Raw Bar and guess who got a little sneak peek, ME! I can’t wait for you to see this line so be on the lookout starting on August 8th because it will be available in all Michaels stores nationwide. Michaels created the Raw Bar because customers requested raw surfaces that are unfinished and easily craft-able.
The Raw Bar is made by materials that are completely inspired by nature and some of the surfaces include wood, metal, canvas, chalkboard, cork, and burlap. Are you in mad love yet?
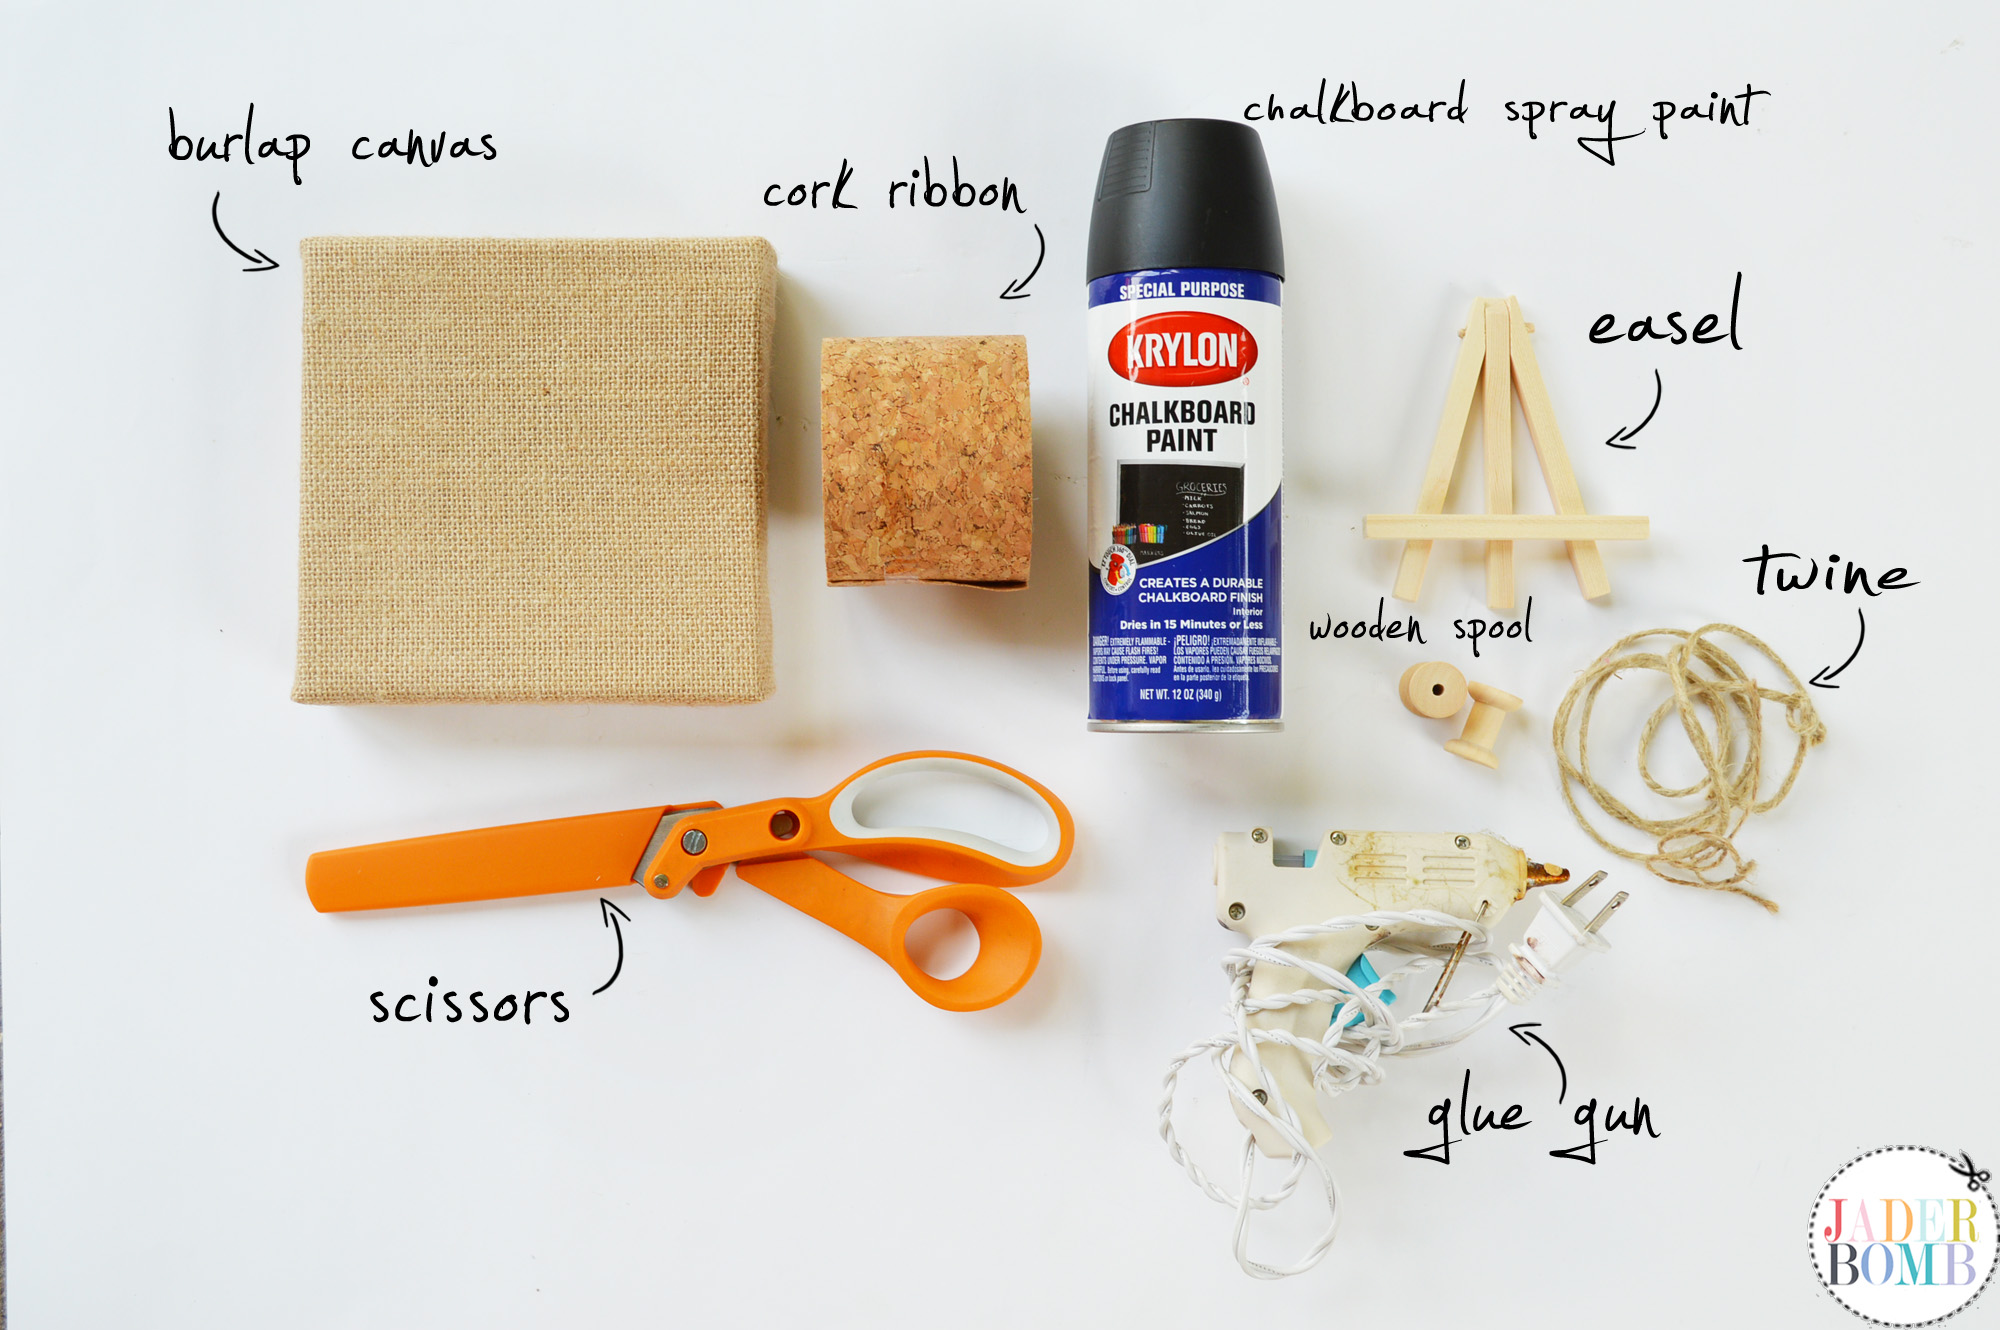
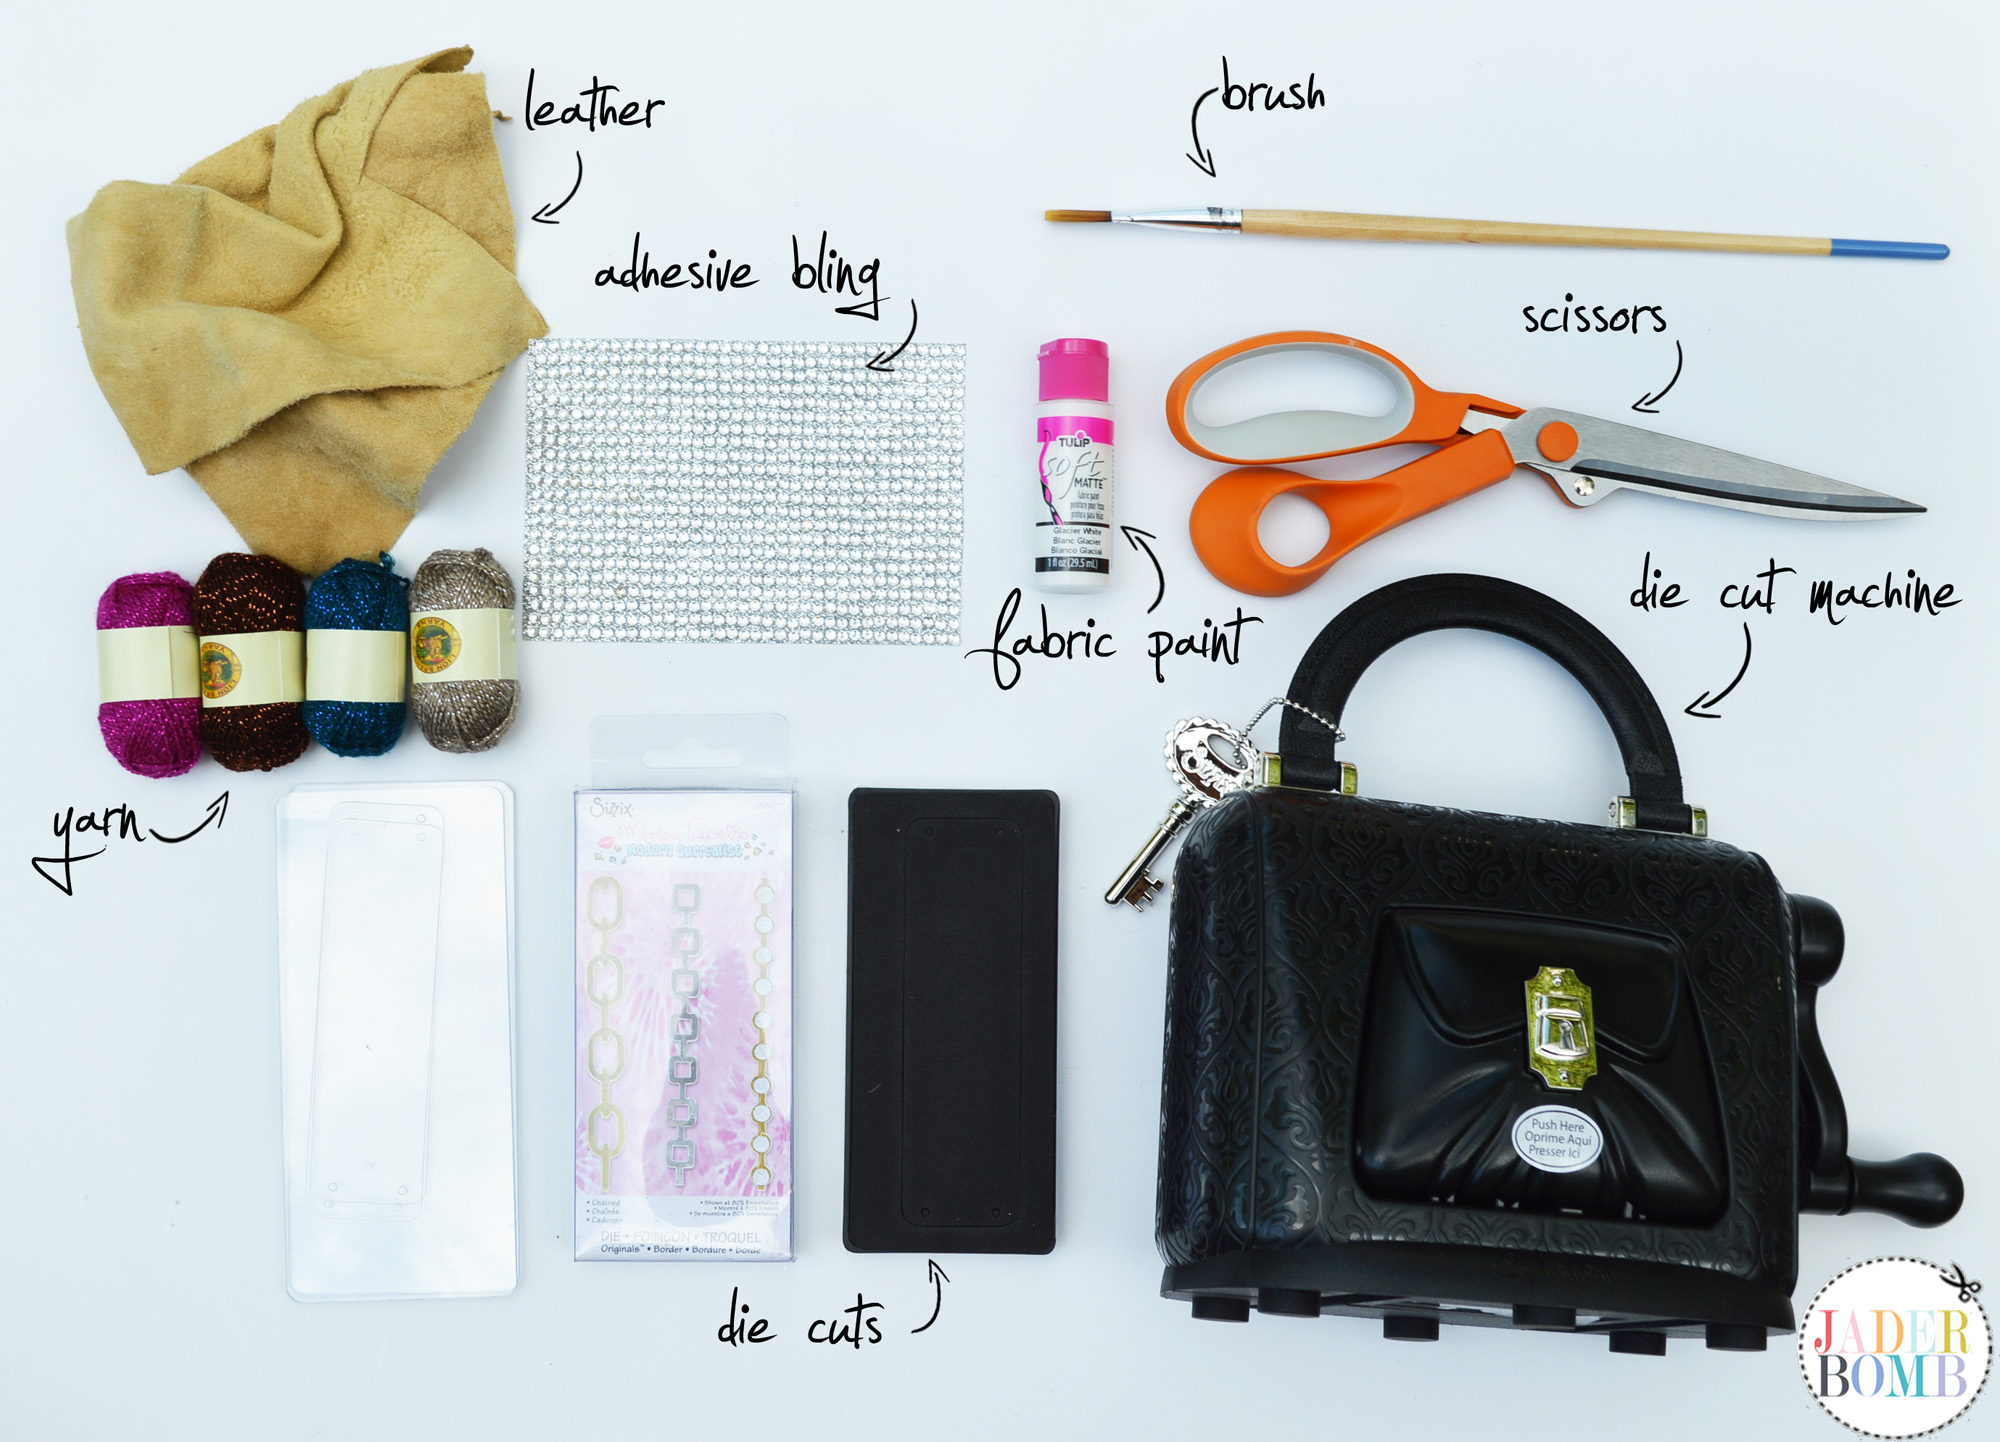
You will need:
♥Canvas Burlap
♥Cork Ribbon
♥Chalkboard Spray Paint
♥Miniature Easel
♥Wooden Spools
♥Twine
♥Scissors
♥Glue Gun
I know what you are thinking when you see this cork ribbon, “where has this been my whole life”… I will say it’s not thick enough to stick a tack through and hold something up but it’s very pliable and easy to work with. It’s truly the perfect “natural” touch to add to any craft you are working on!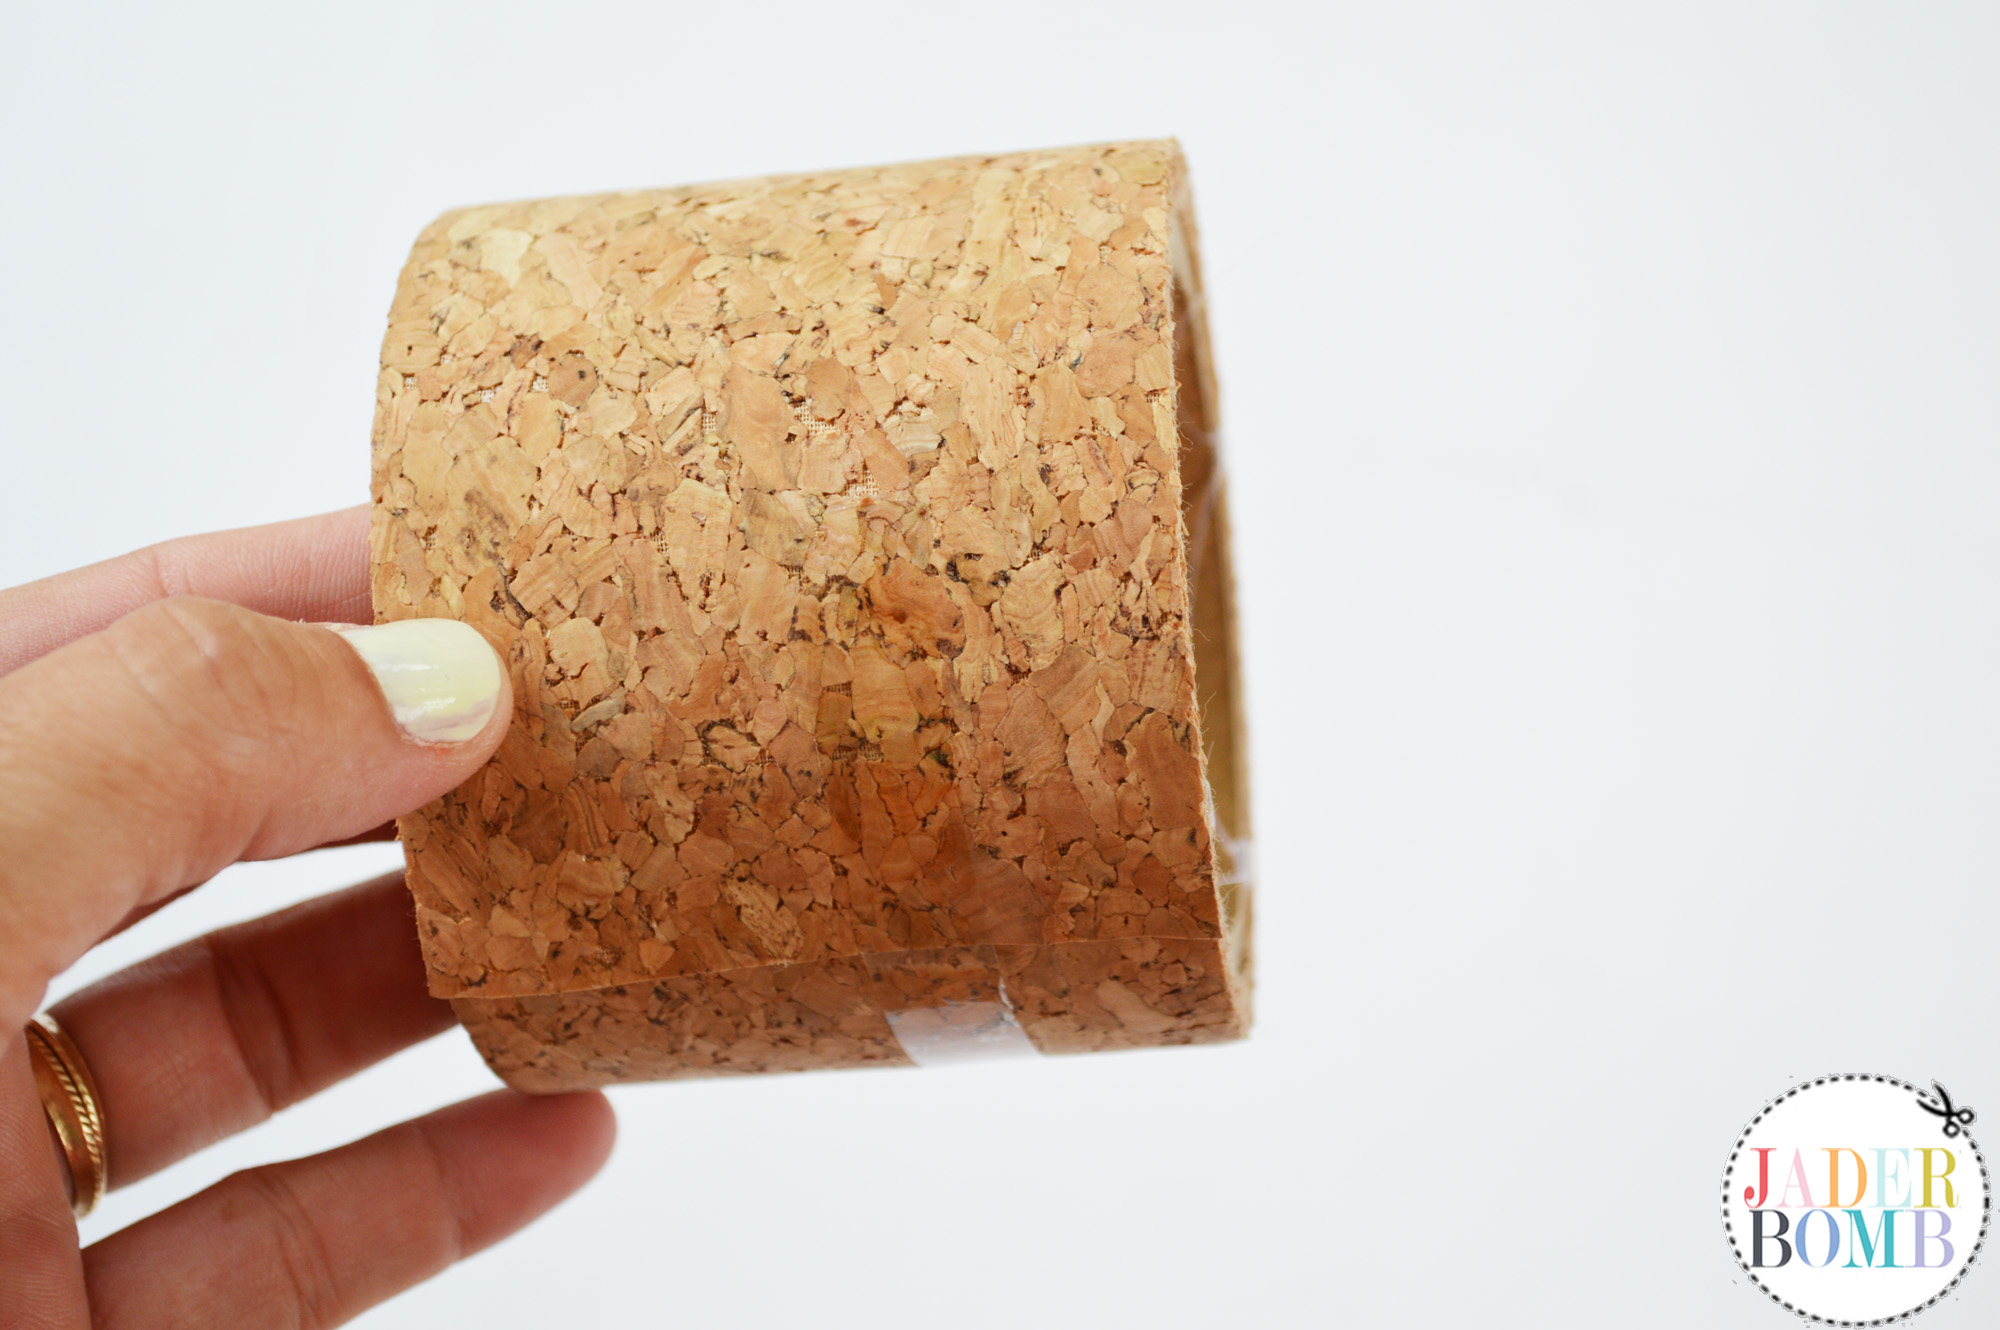
I purchased this miniature easel from Michaels and they are so precious. 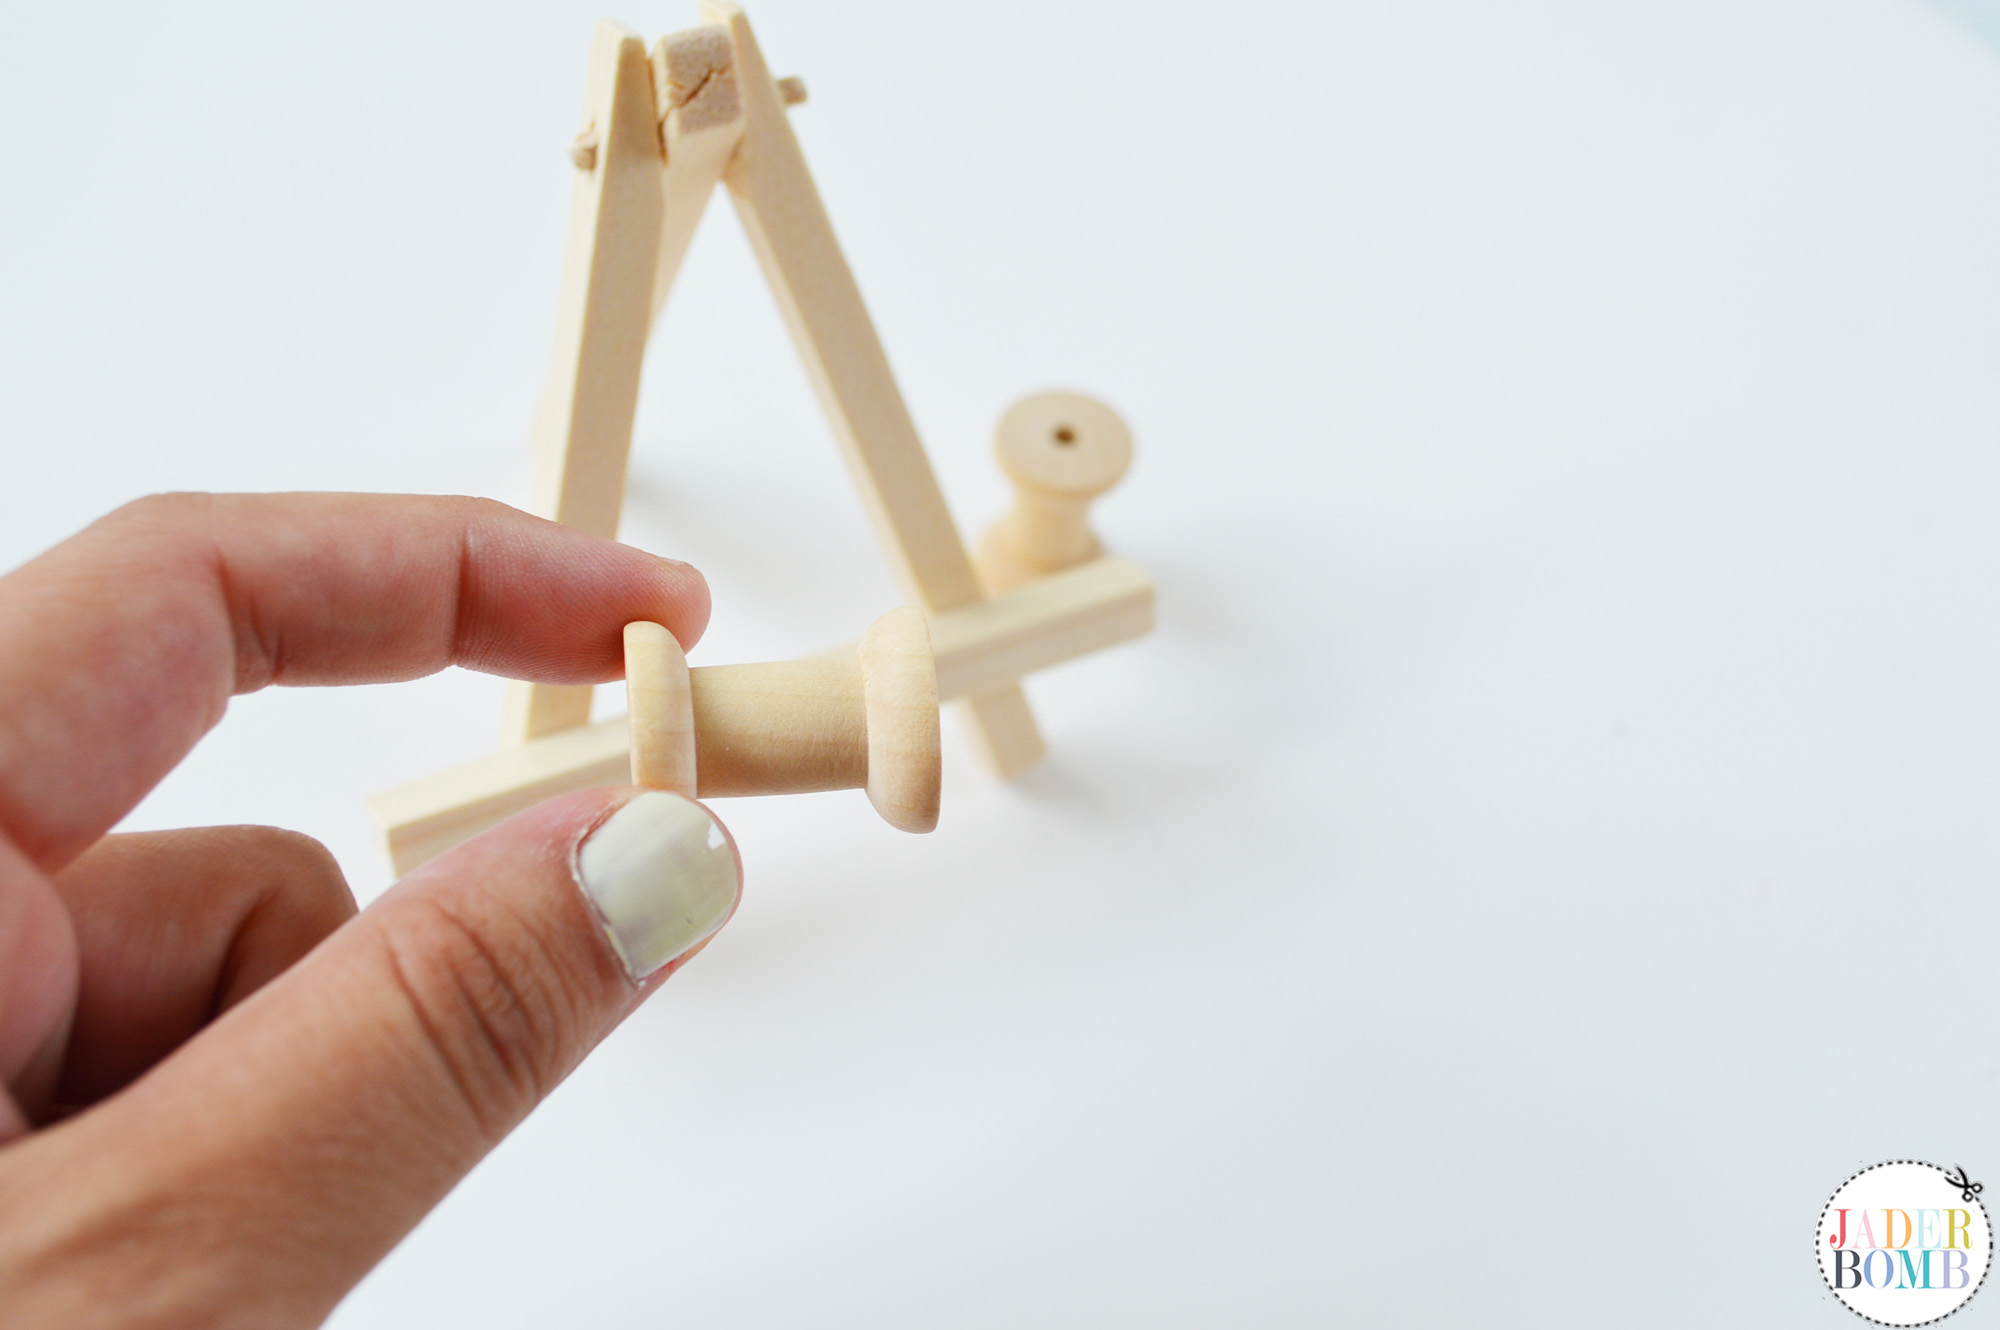
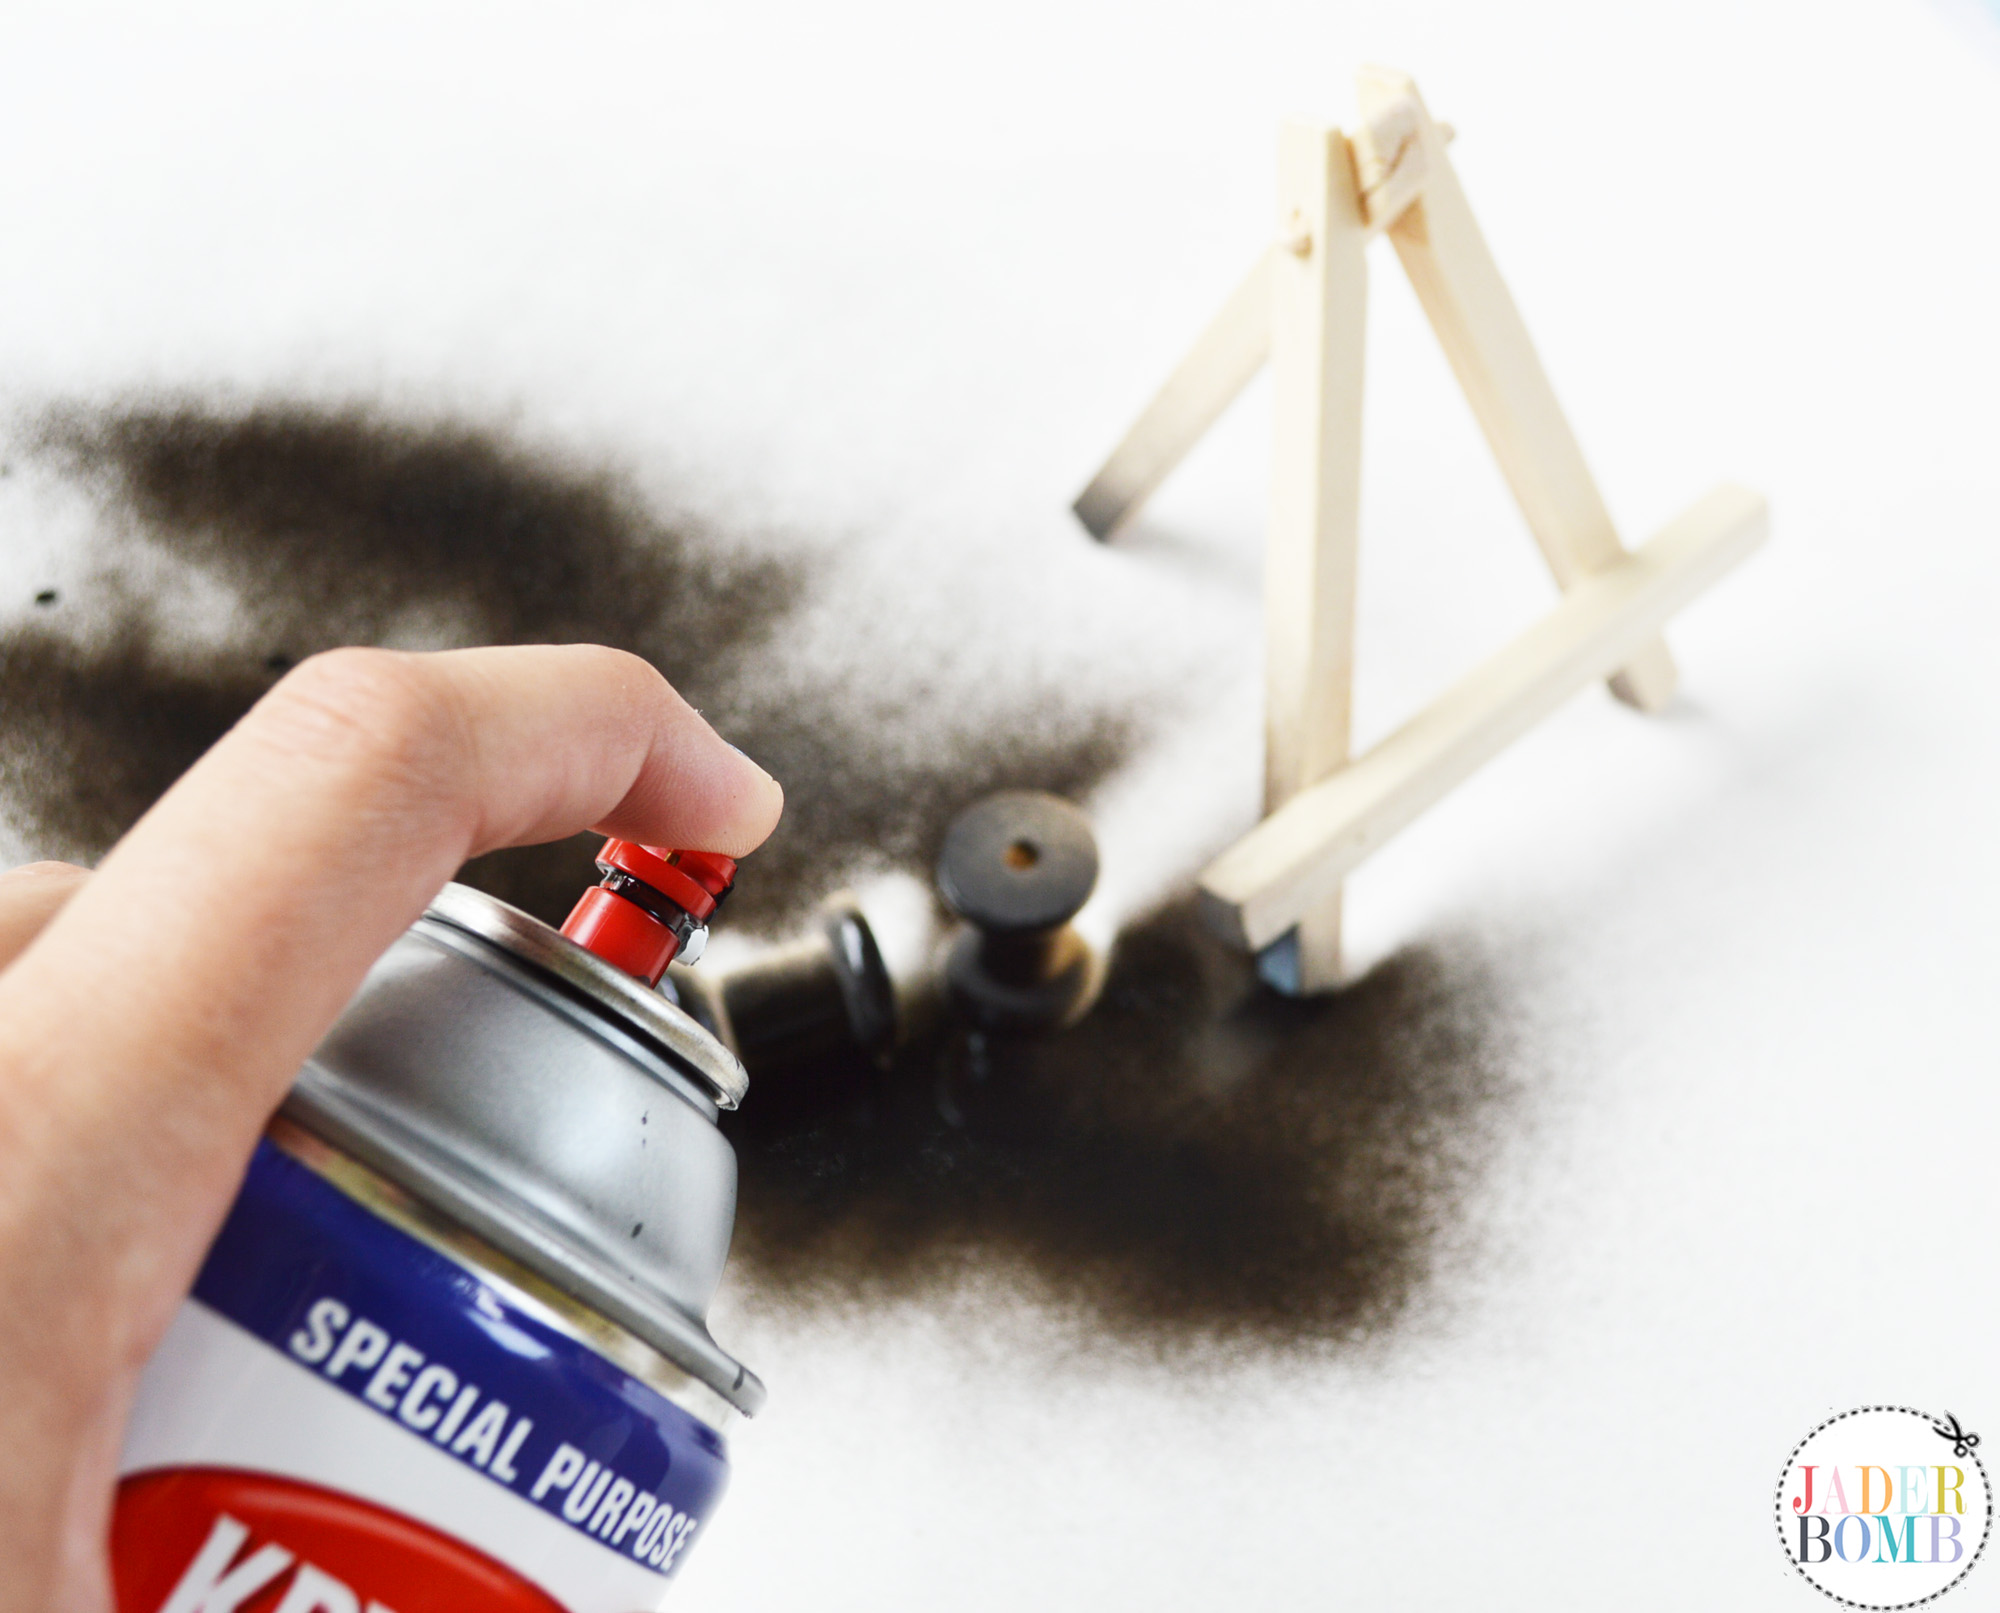
Step ONE ♥ Spray paint your easel and wooden spools. You might have to spray one side and wait for it to dry before you move on to coat the rest.
Step TWO ♥ Once your wooden spools are dry you can add a dab of hot glue to one side of the spool. 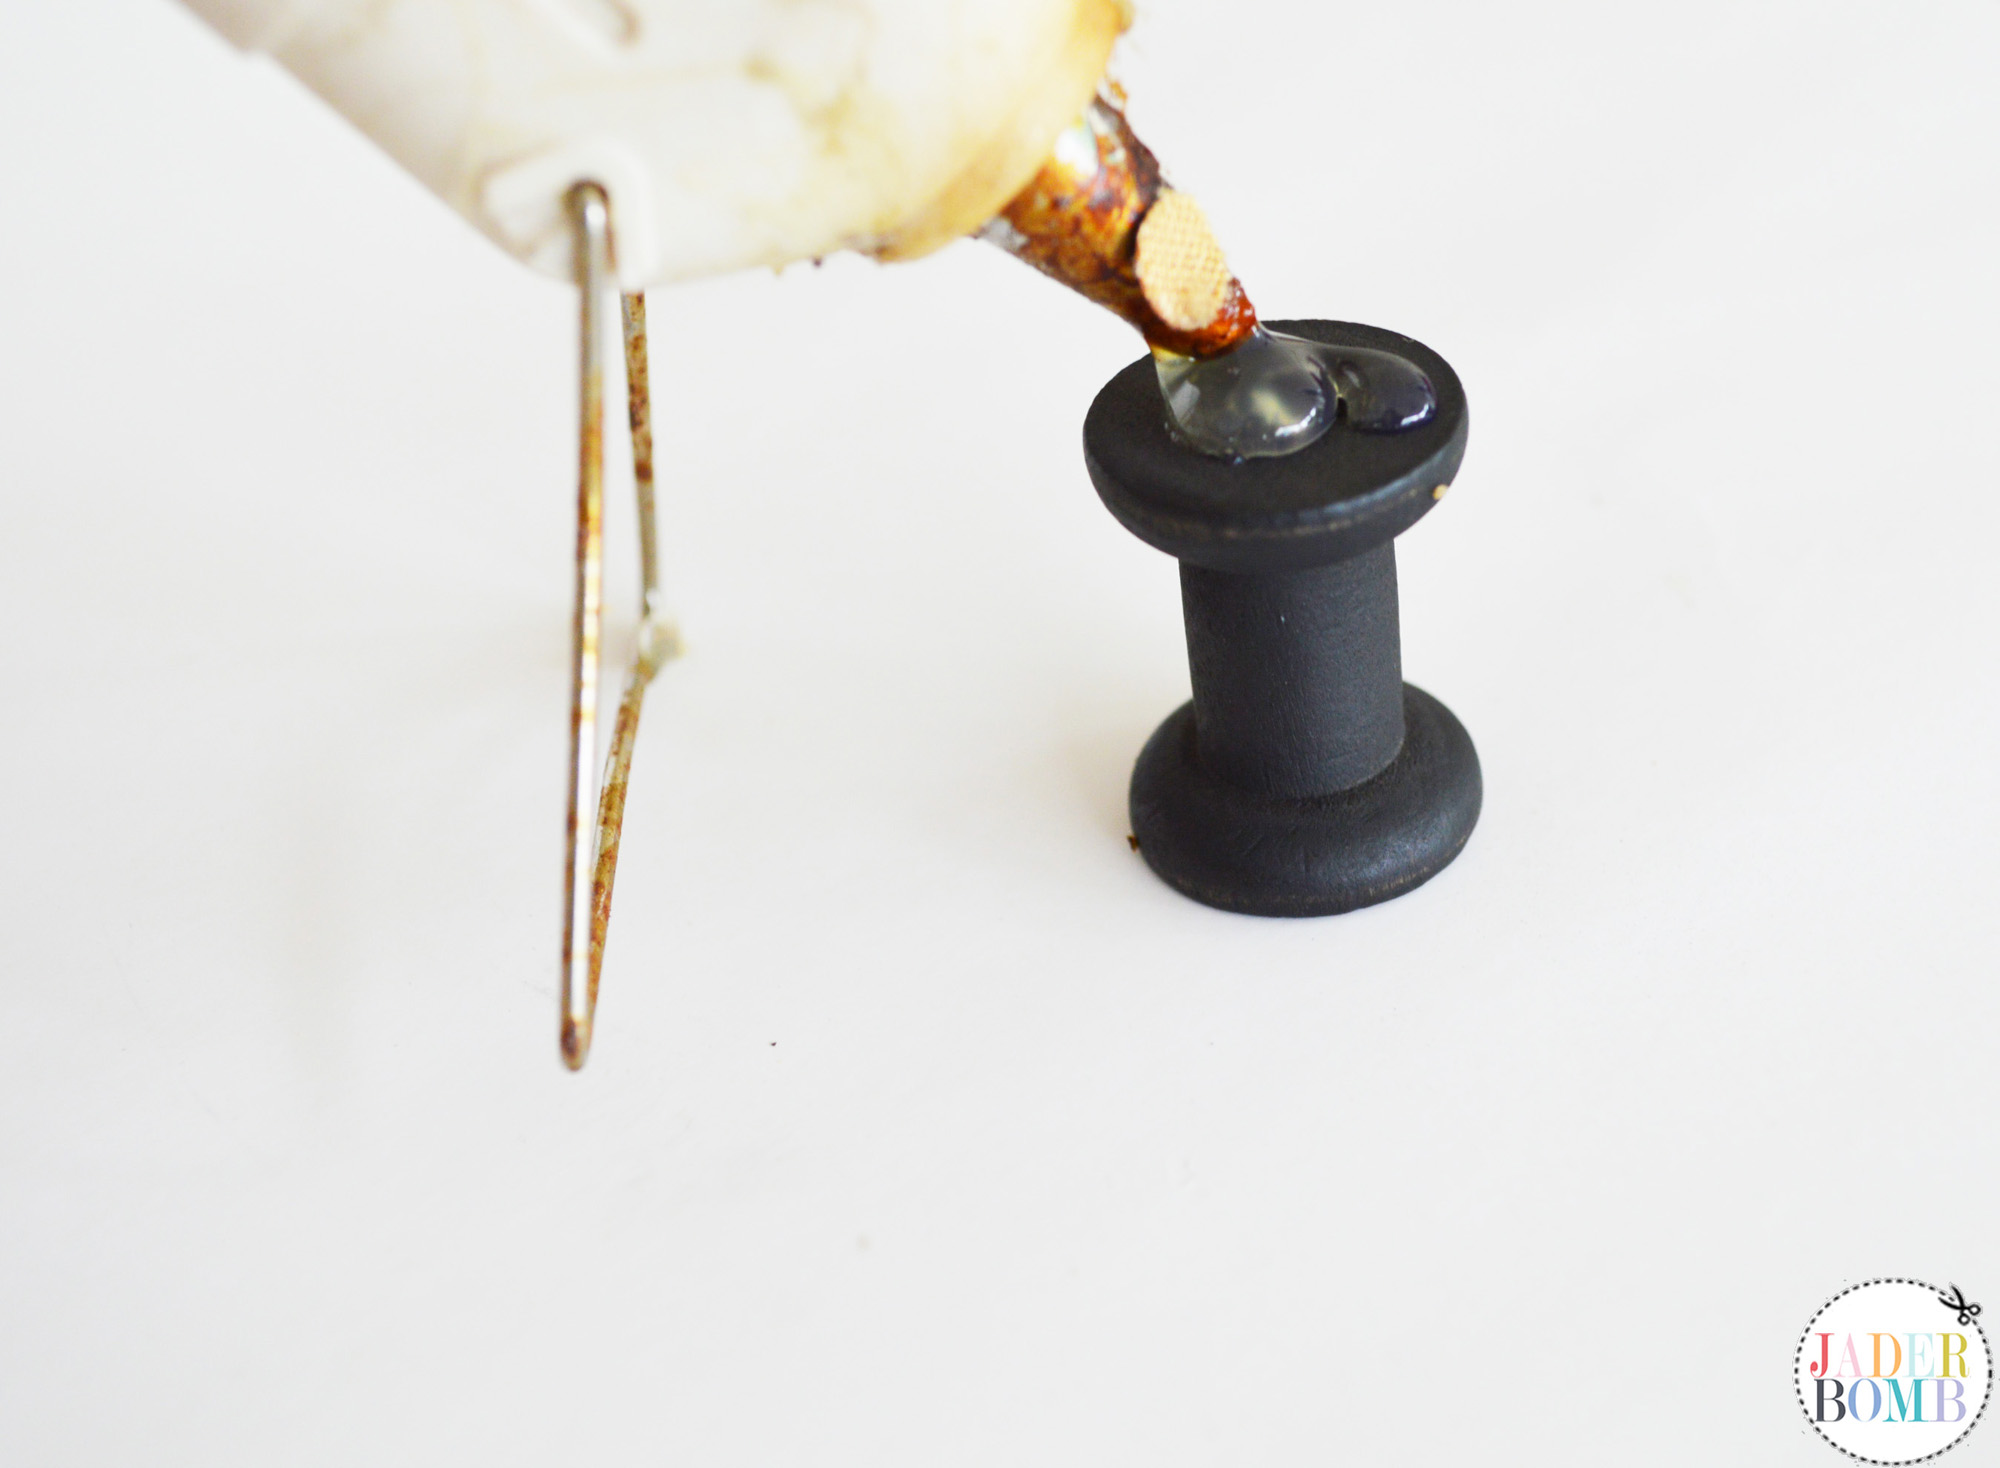
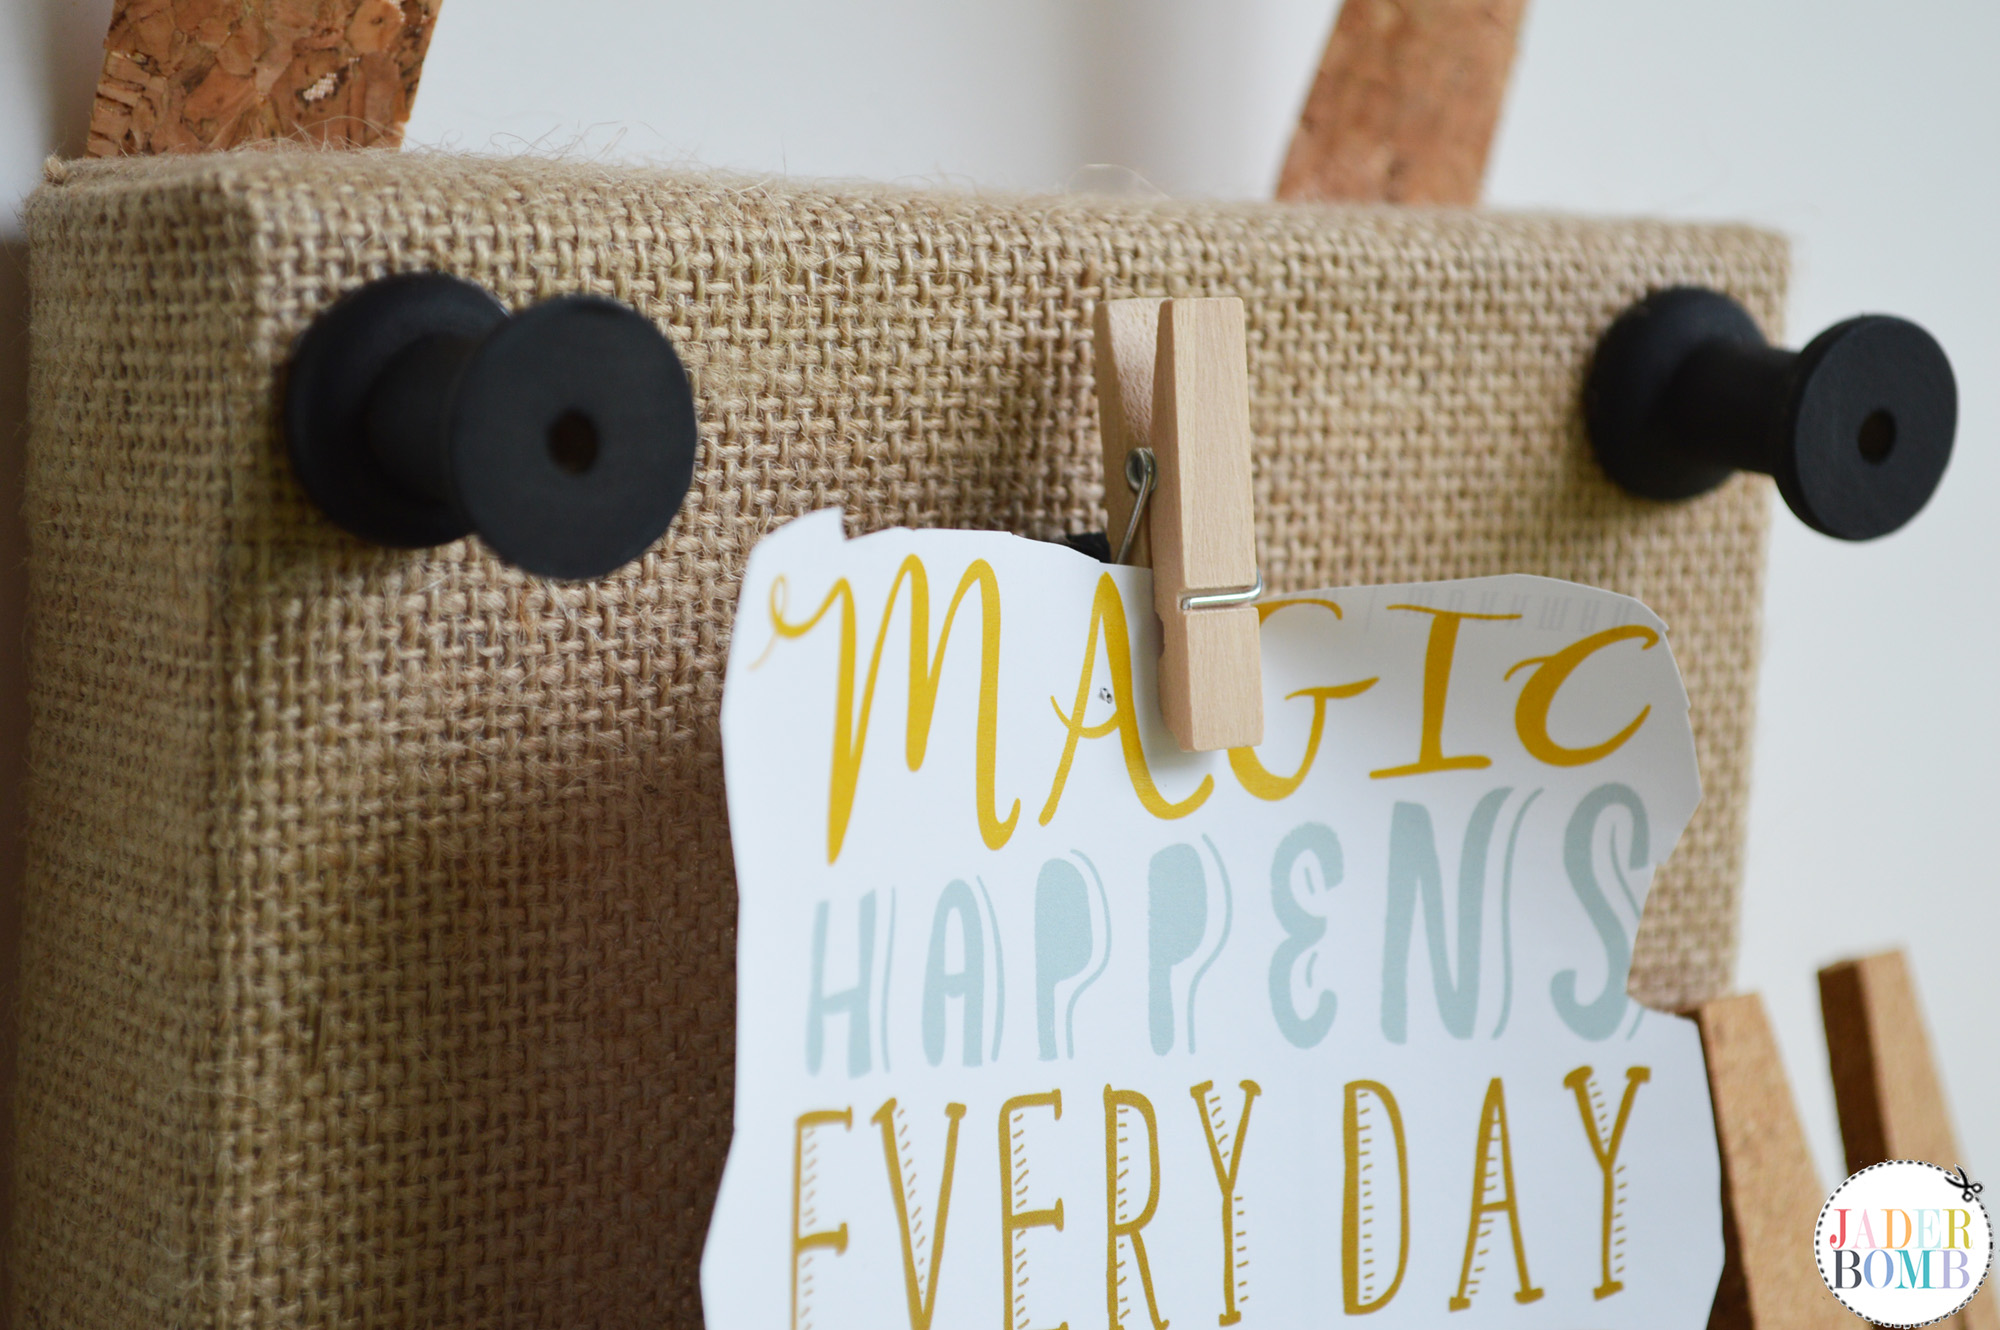
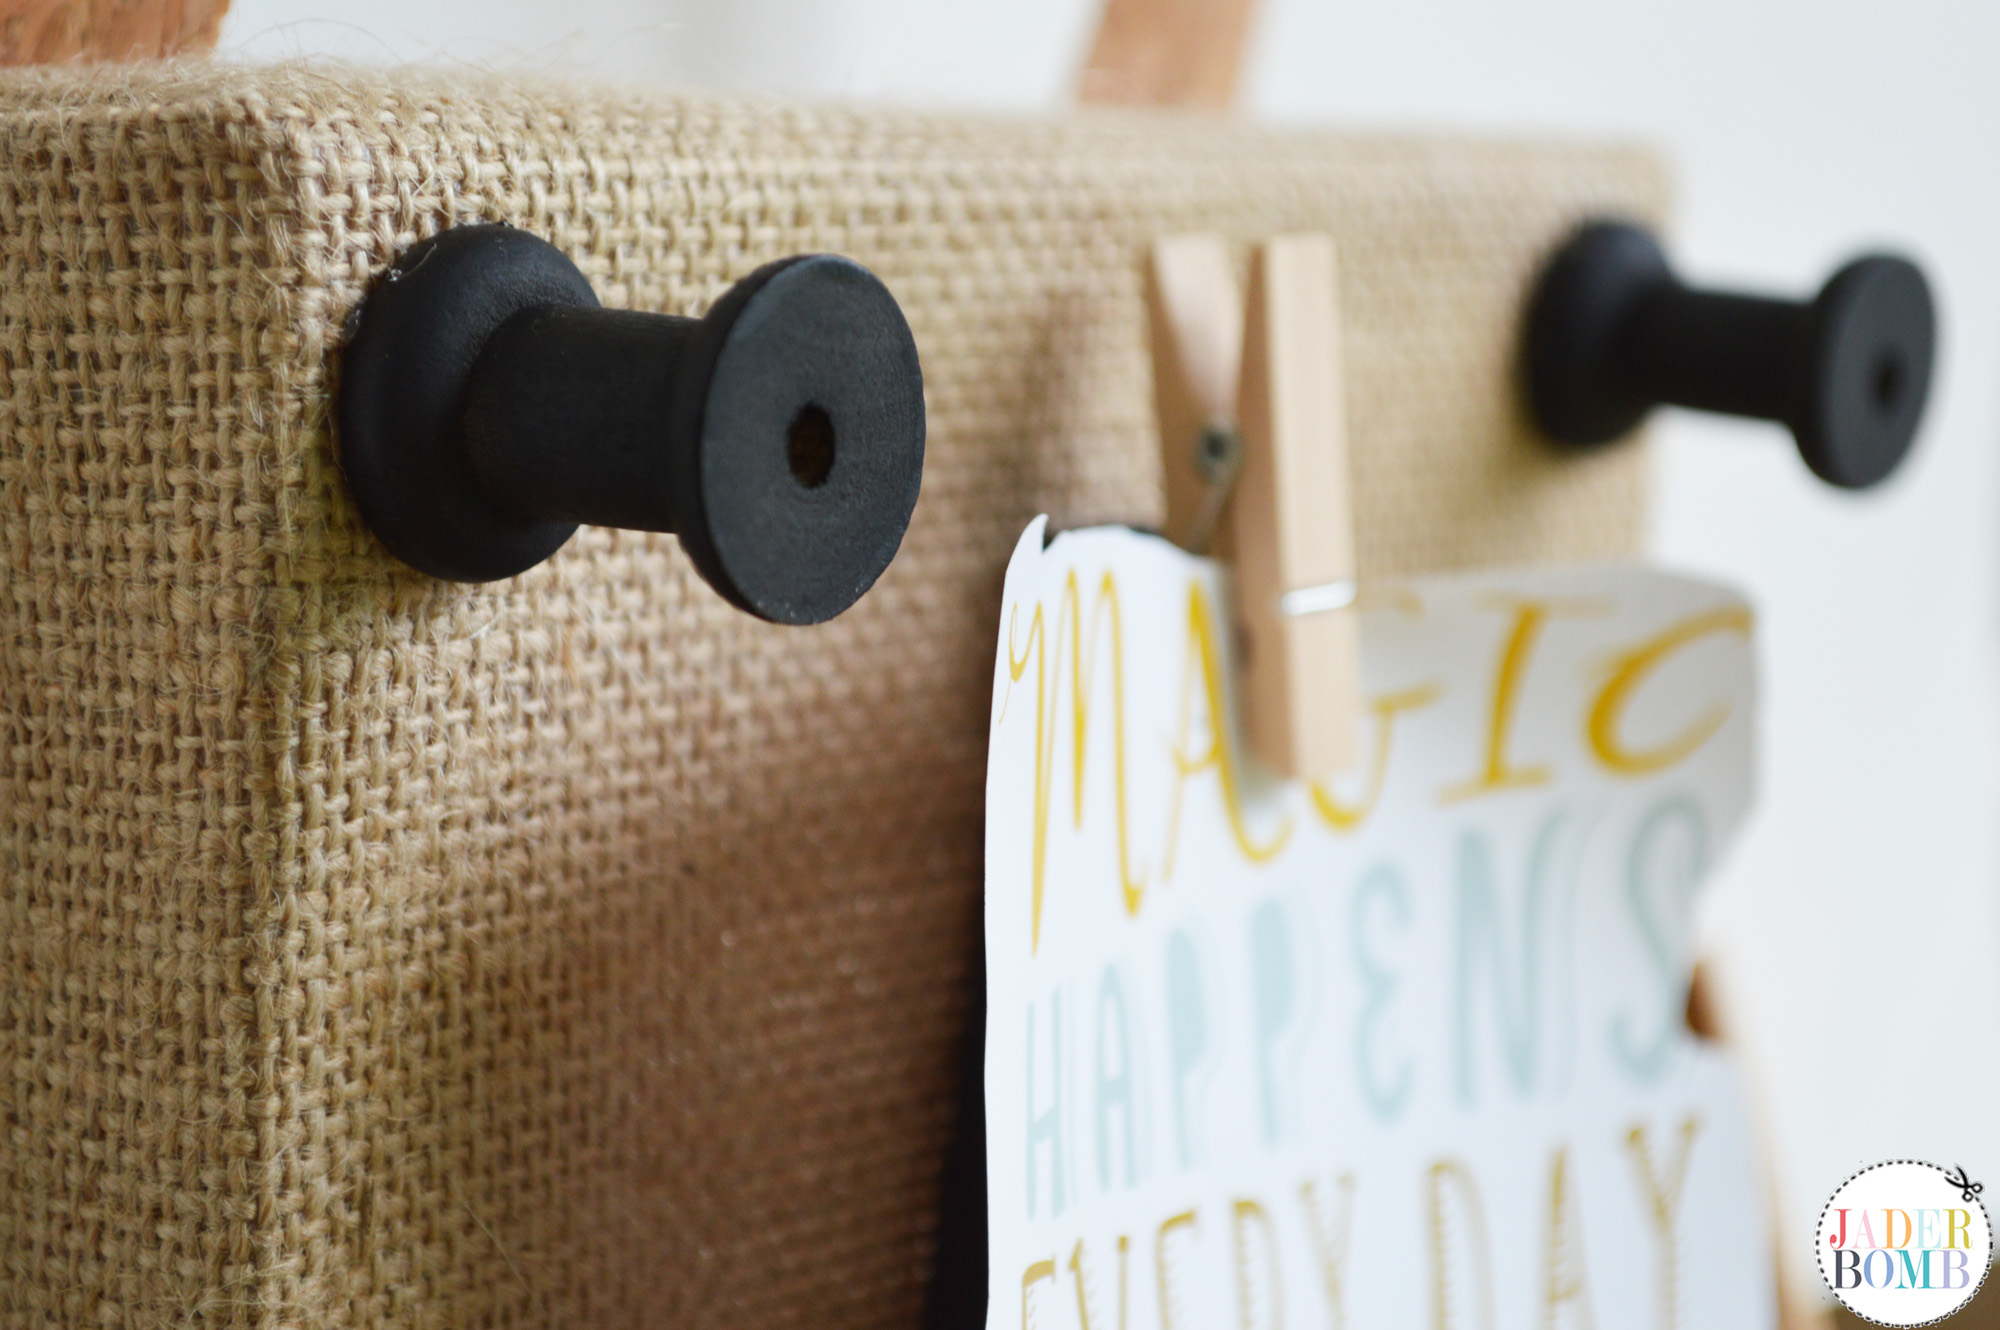
Step THREE ♥ Carefully place the wooden spools on the top two corners of your canvas. These can be used merely for decoration or you can hang trinkets from them. Very versatile. 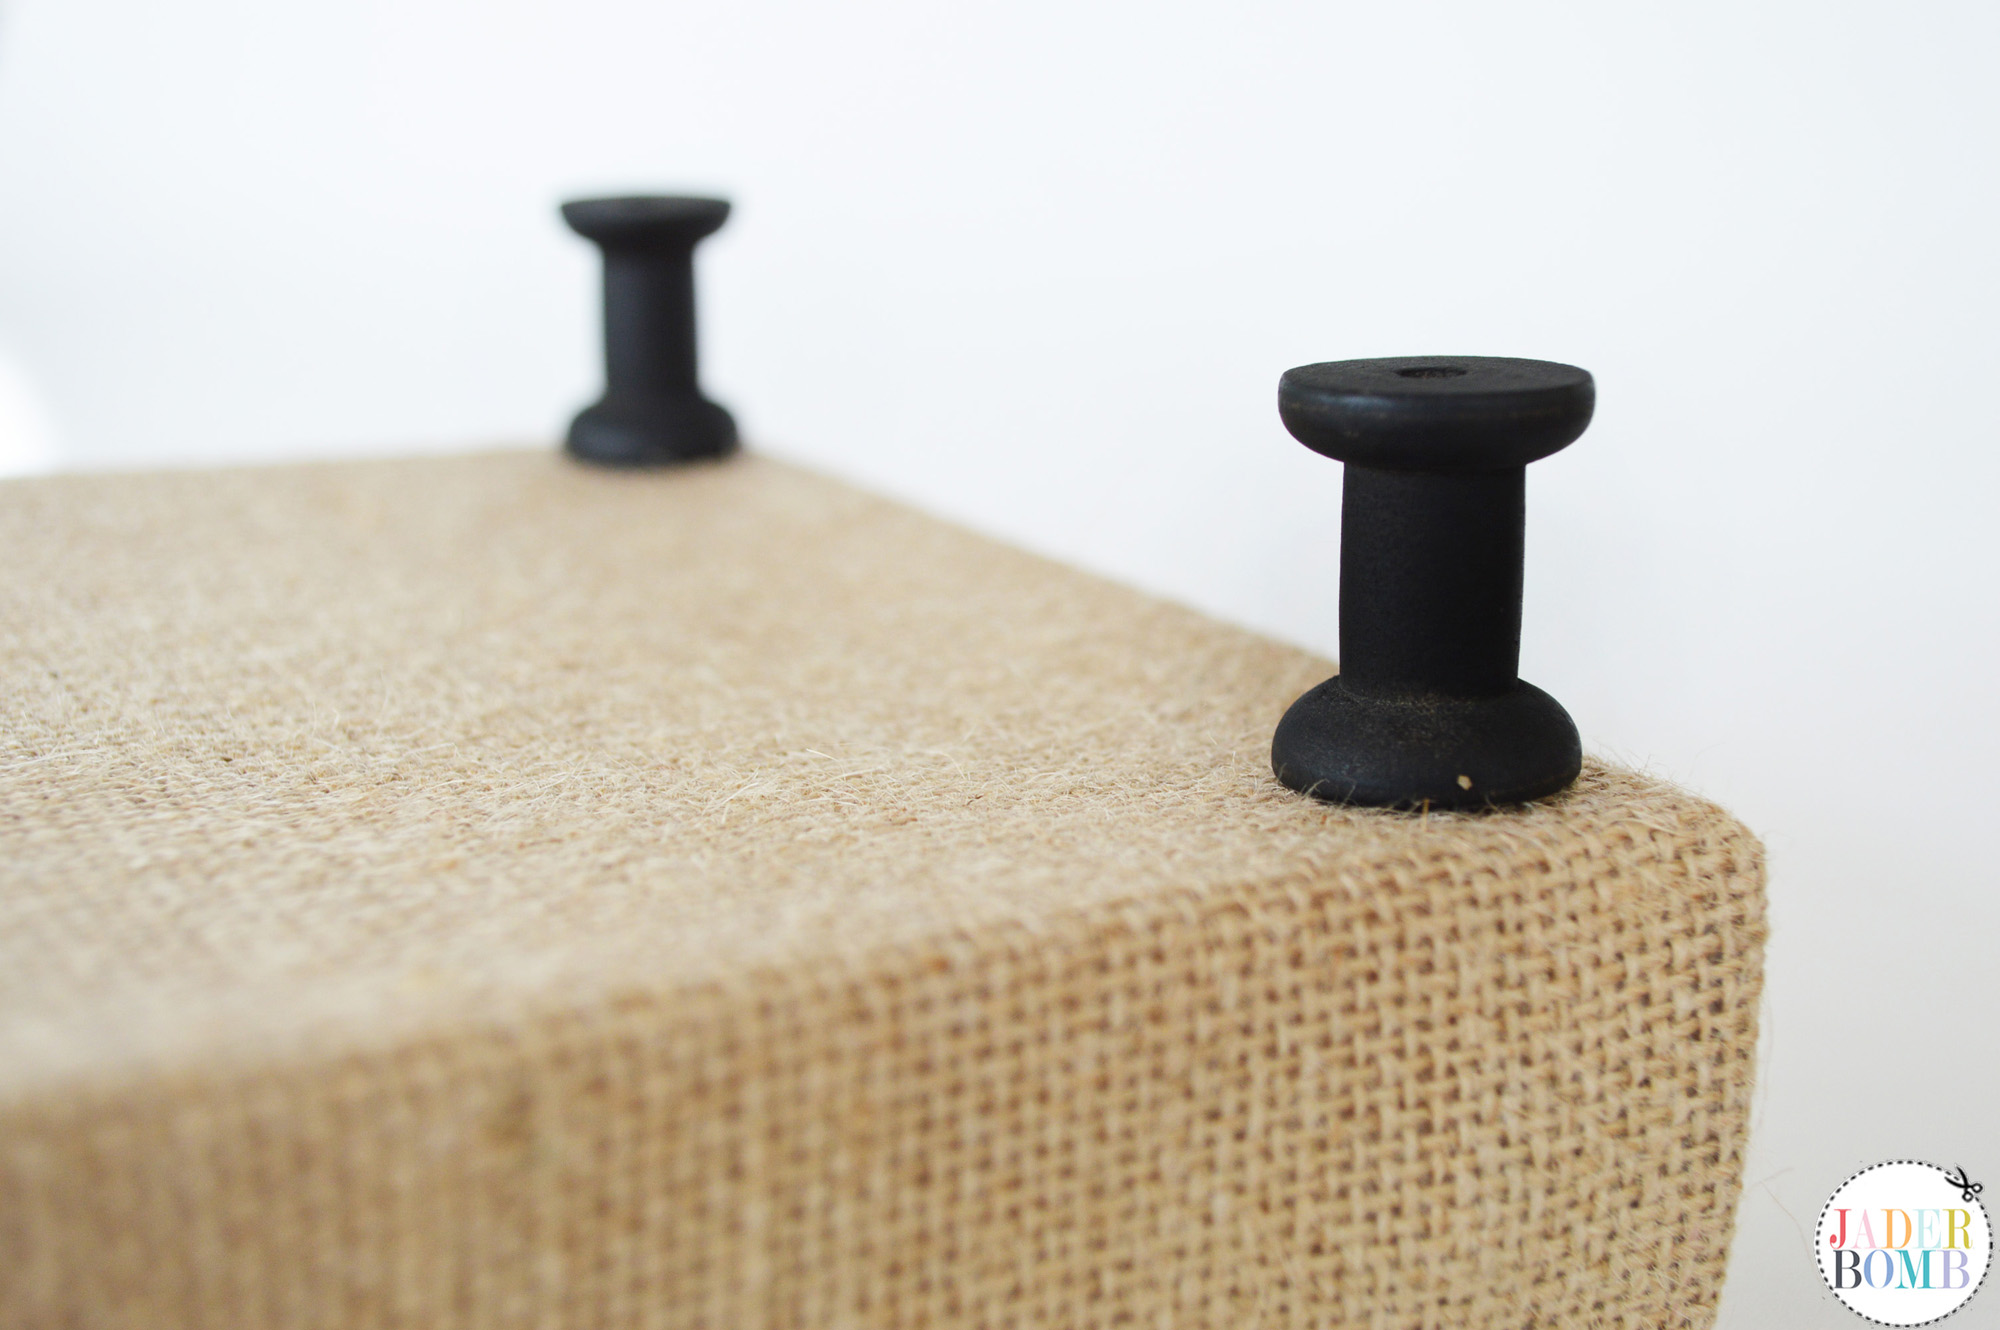
I love the contrast of the black chalk paint against the burlap canvas. It’s very natural and shabby chic. 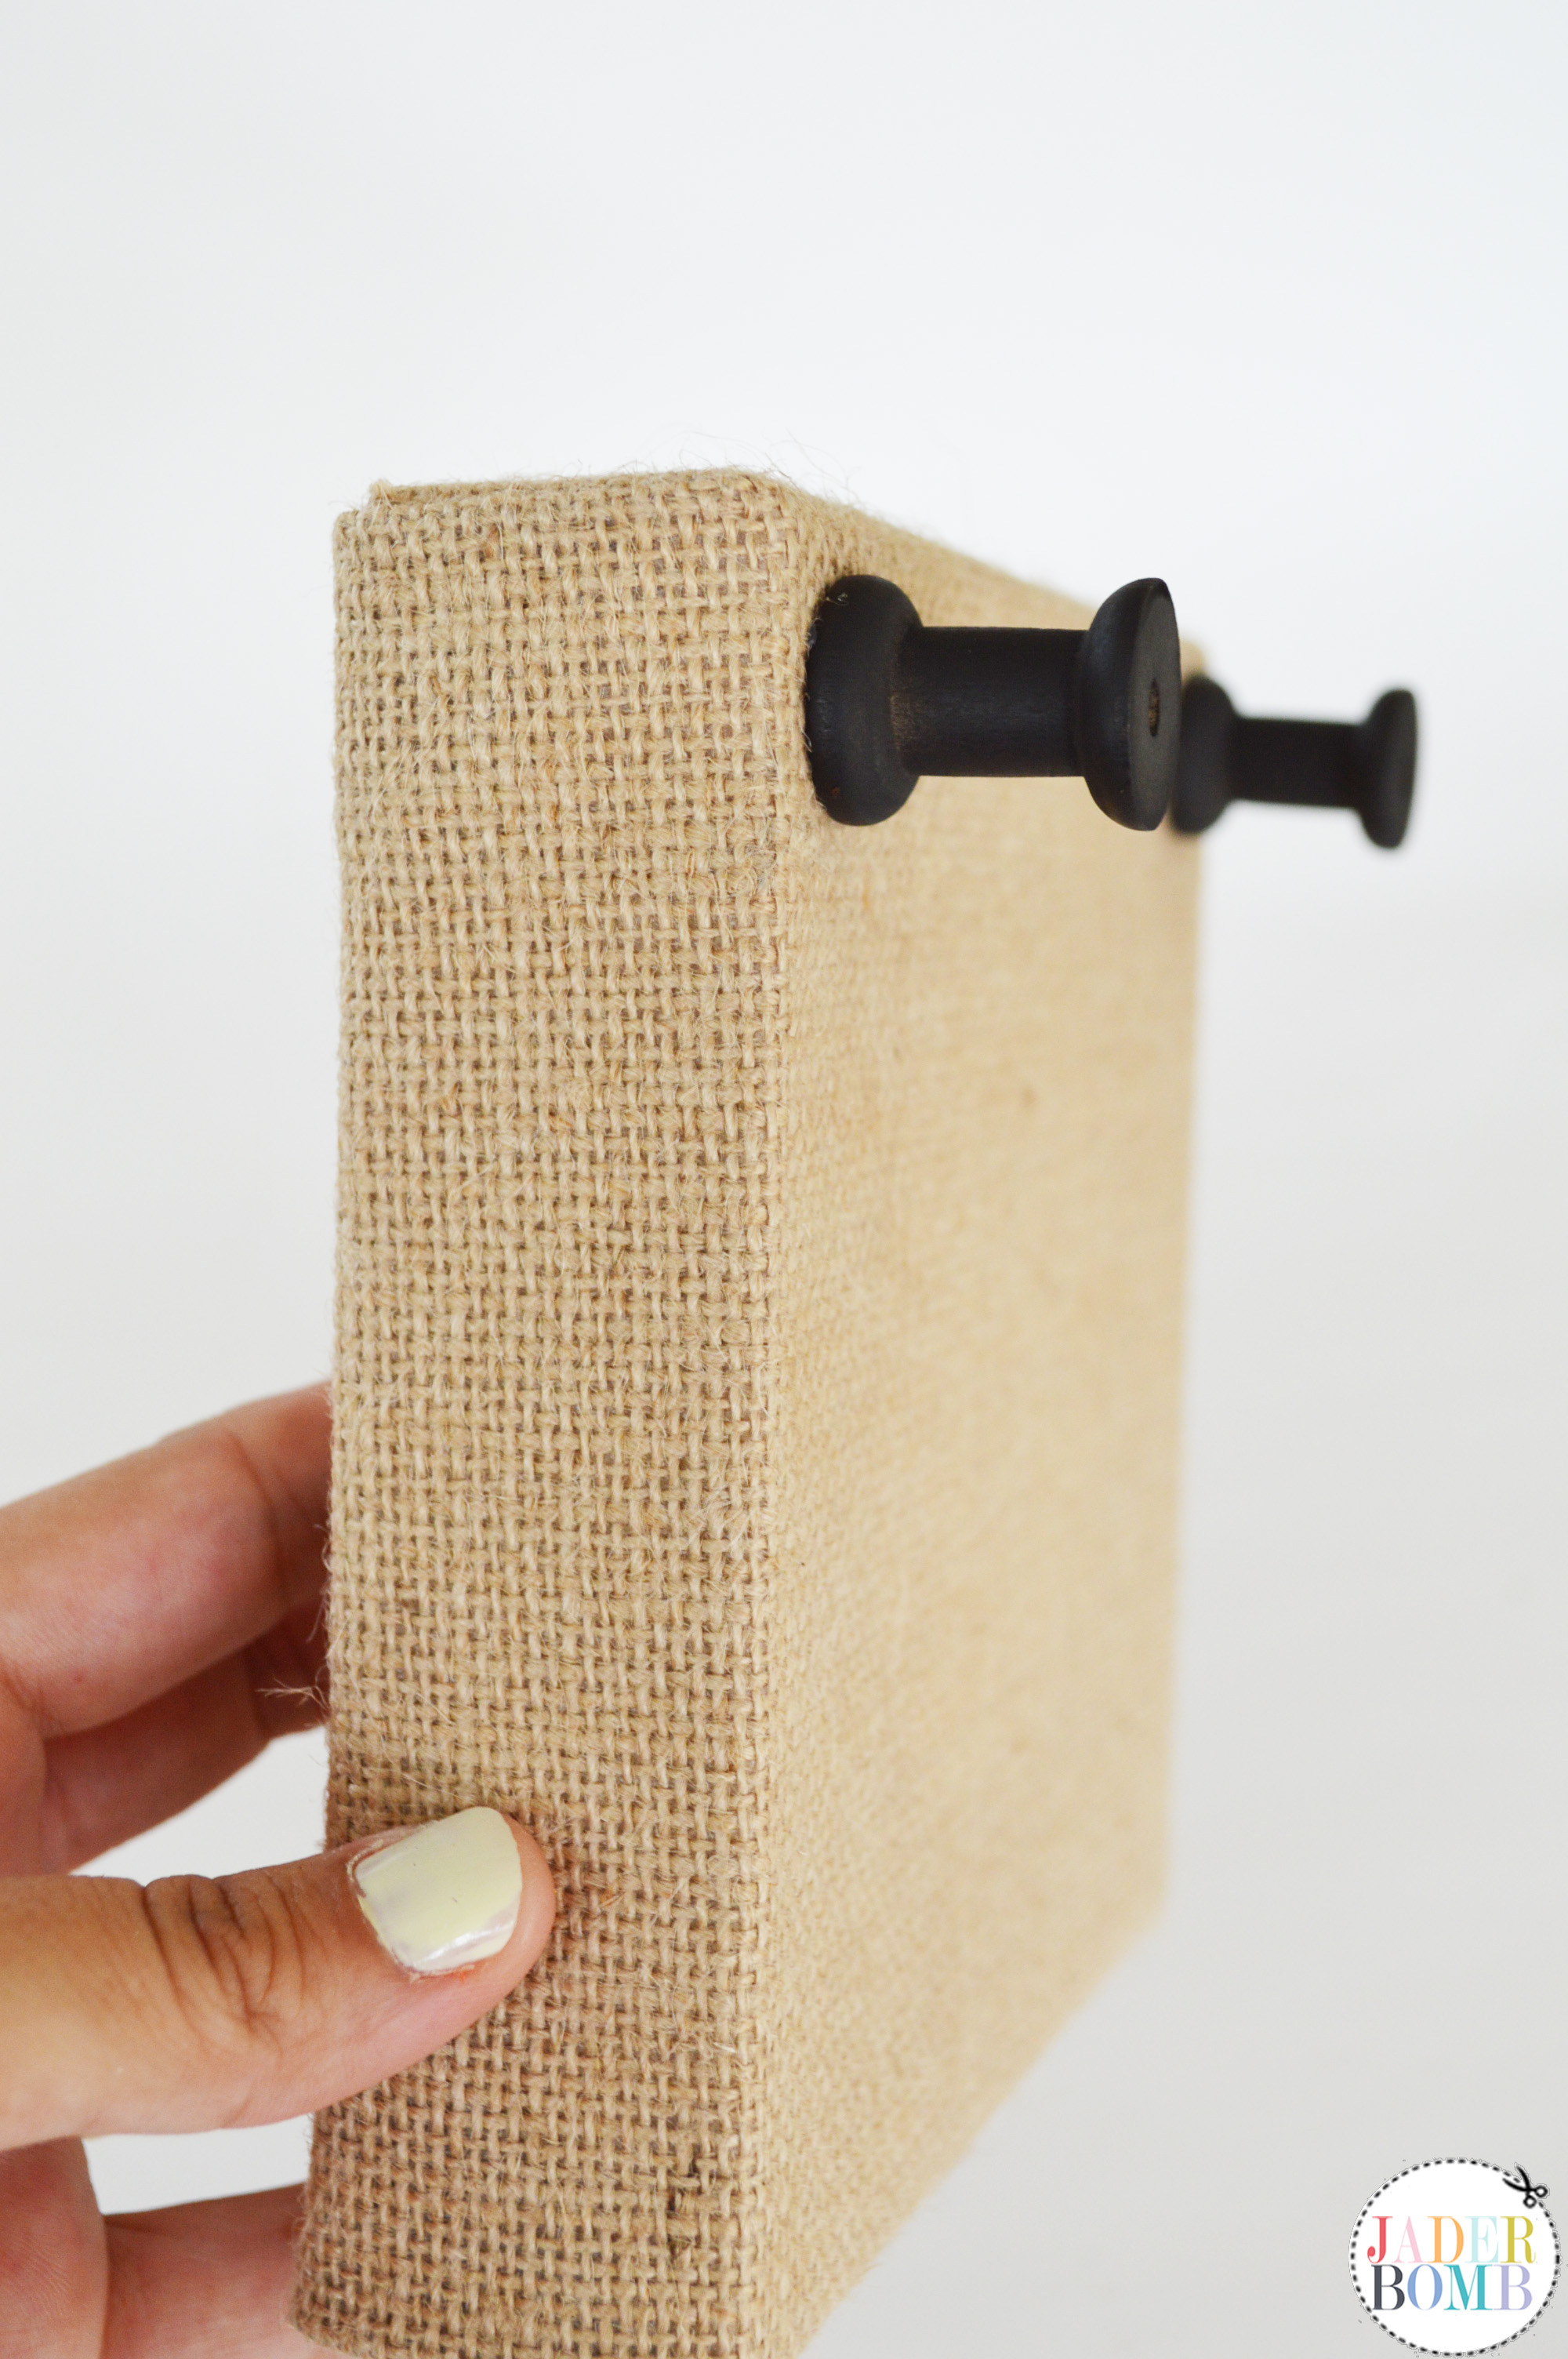
Step FOUR ♥ Tear off a piece of cork ribbon. You will flip when you feel how awesome this ribbon is. I can see little girls already with cork bows in their beautiful hair. 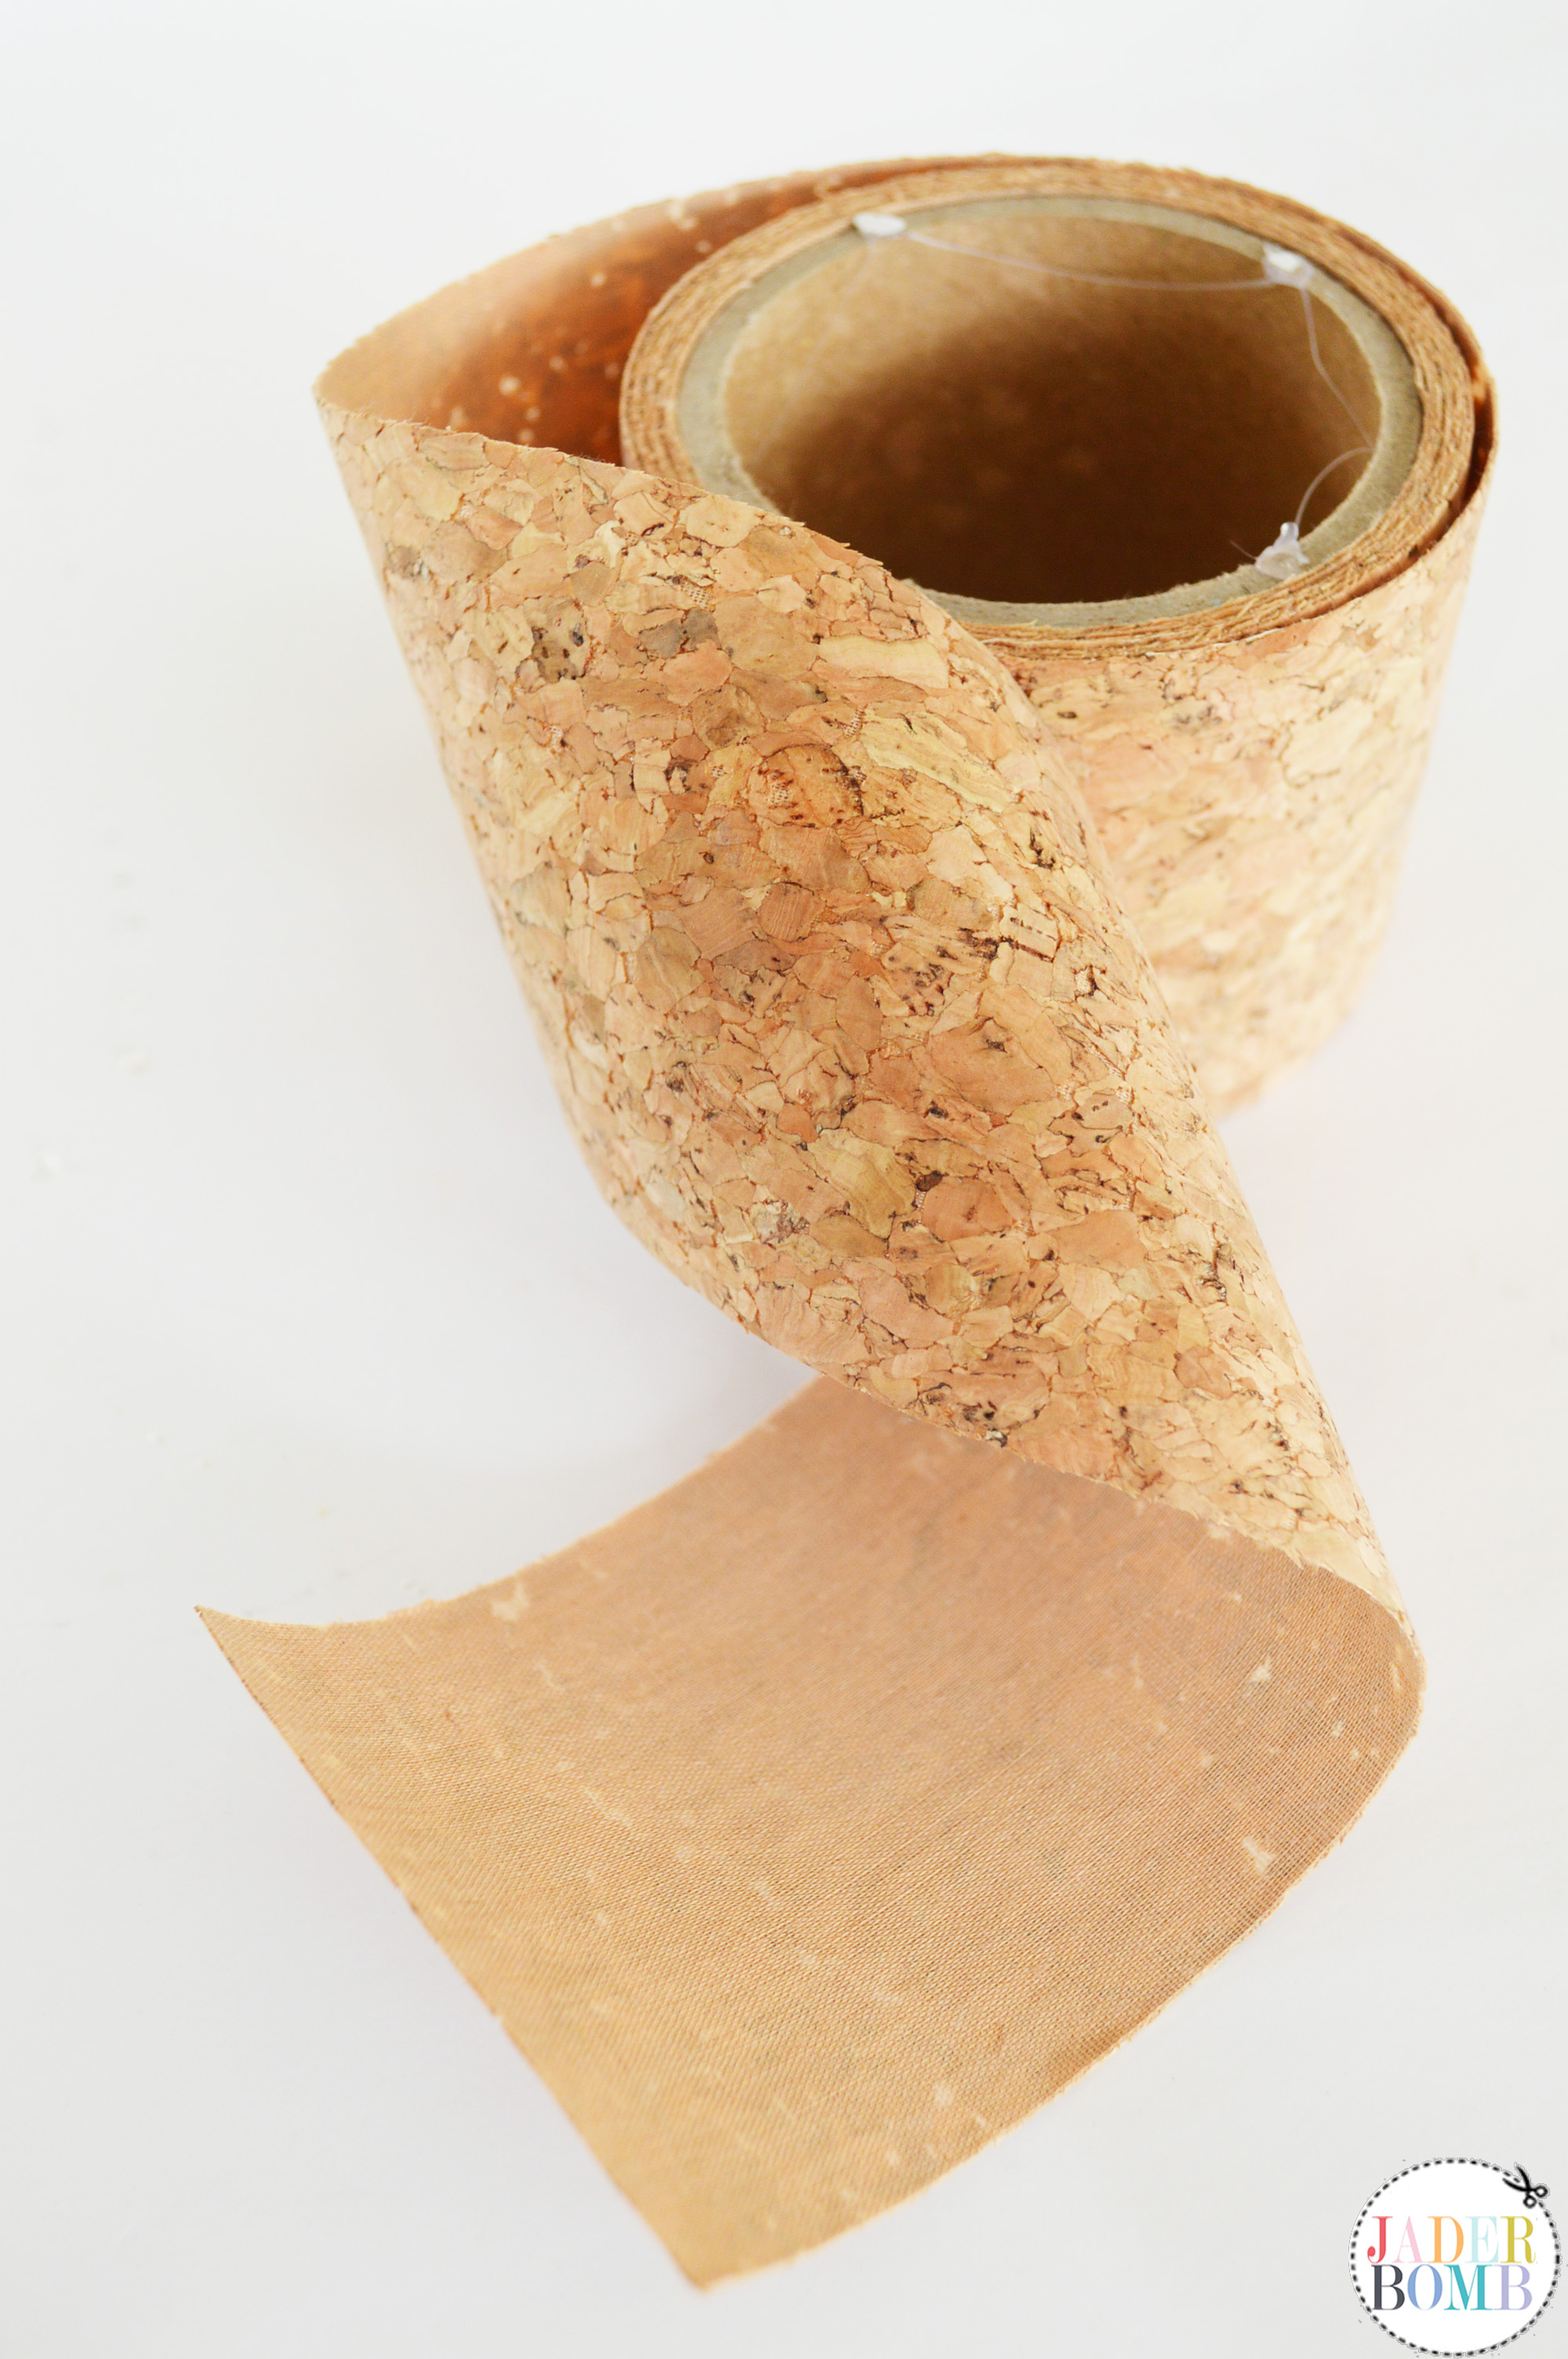
Step FIVE ♥ Once you cut a decent length of ribbon off of the roll, you will fold it up a few times like below. You will then get your scissors and cut directly in the middle. 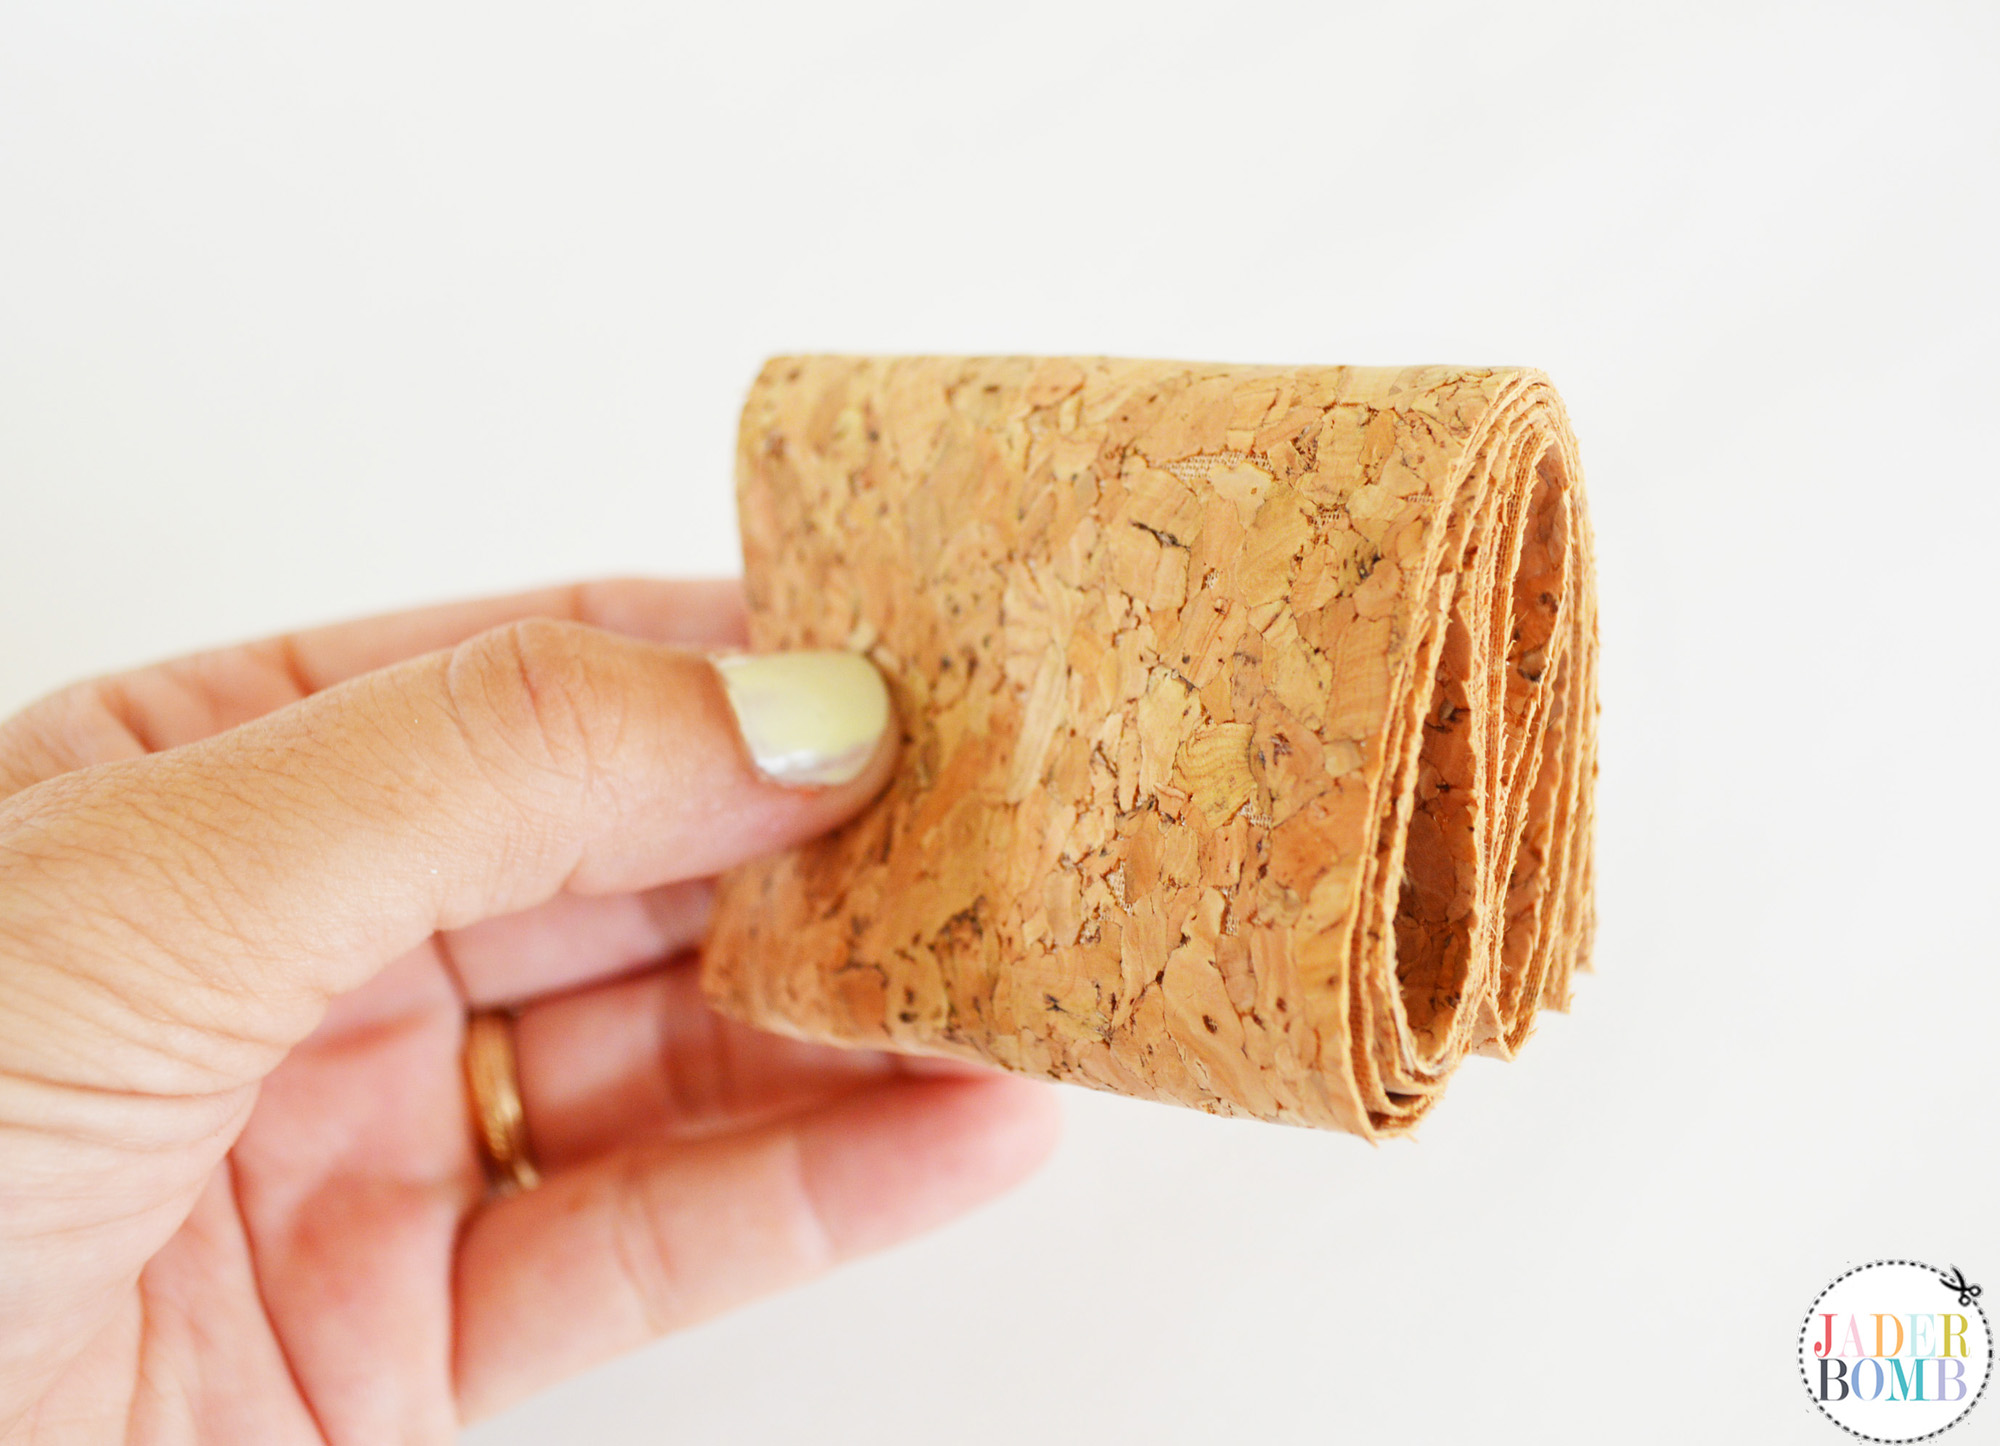
Step SIX ♥ Turn your burlap canvas over and place your cork ribbon along the back side to figure our how long or short you want your hanger to be. 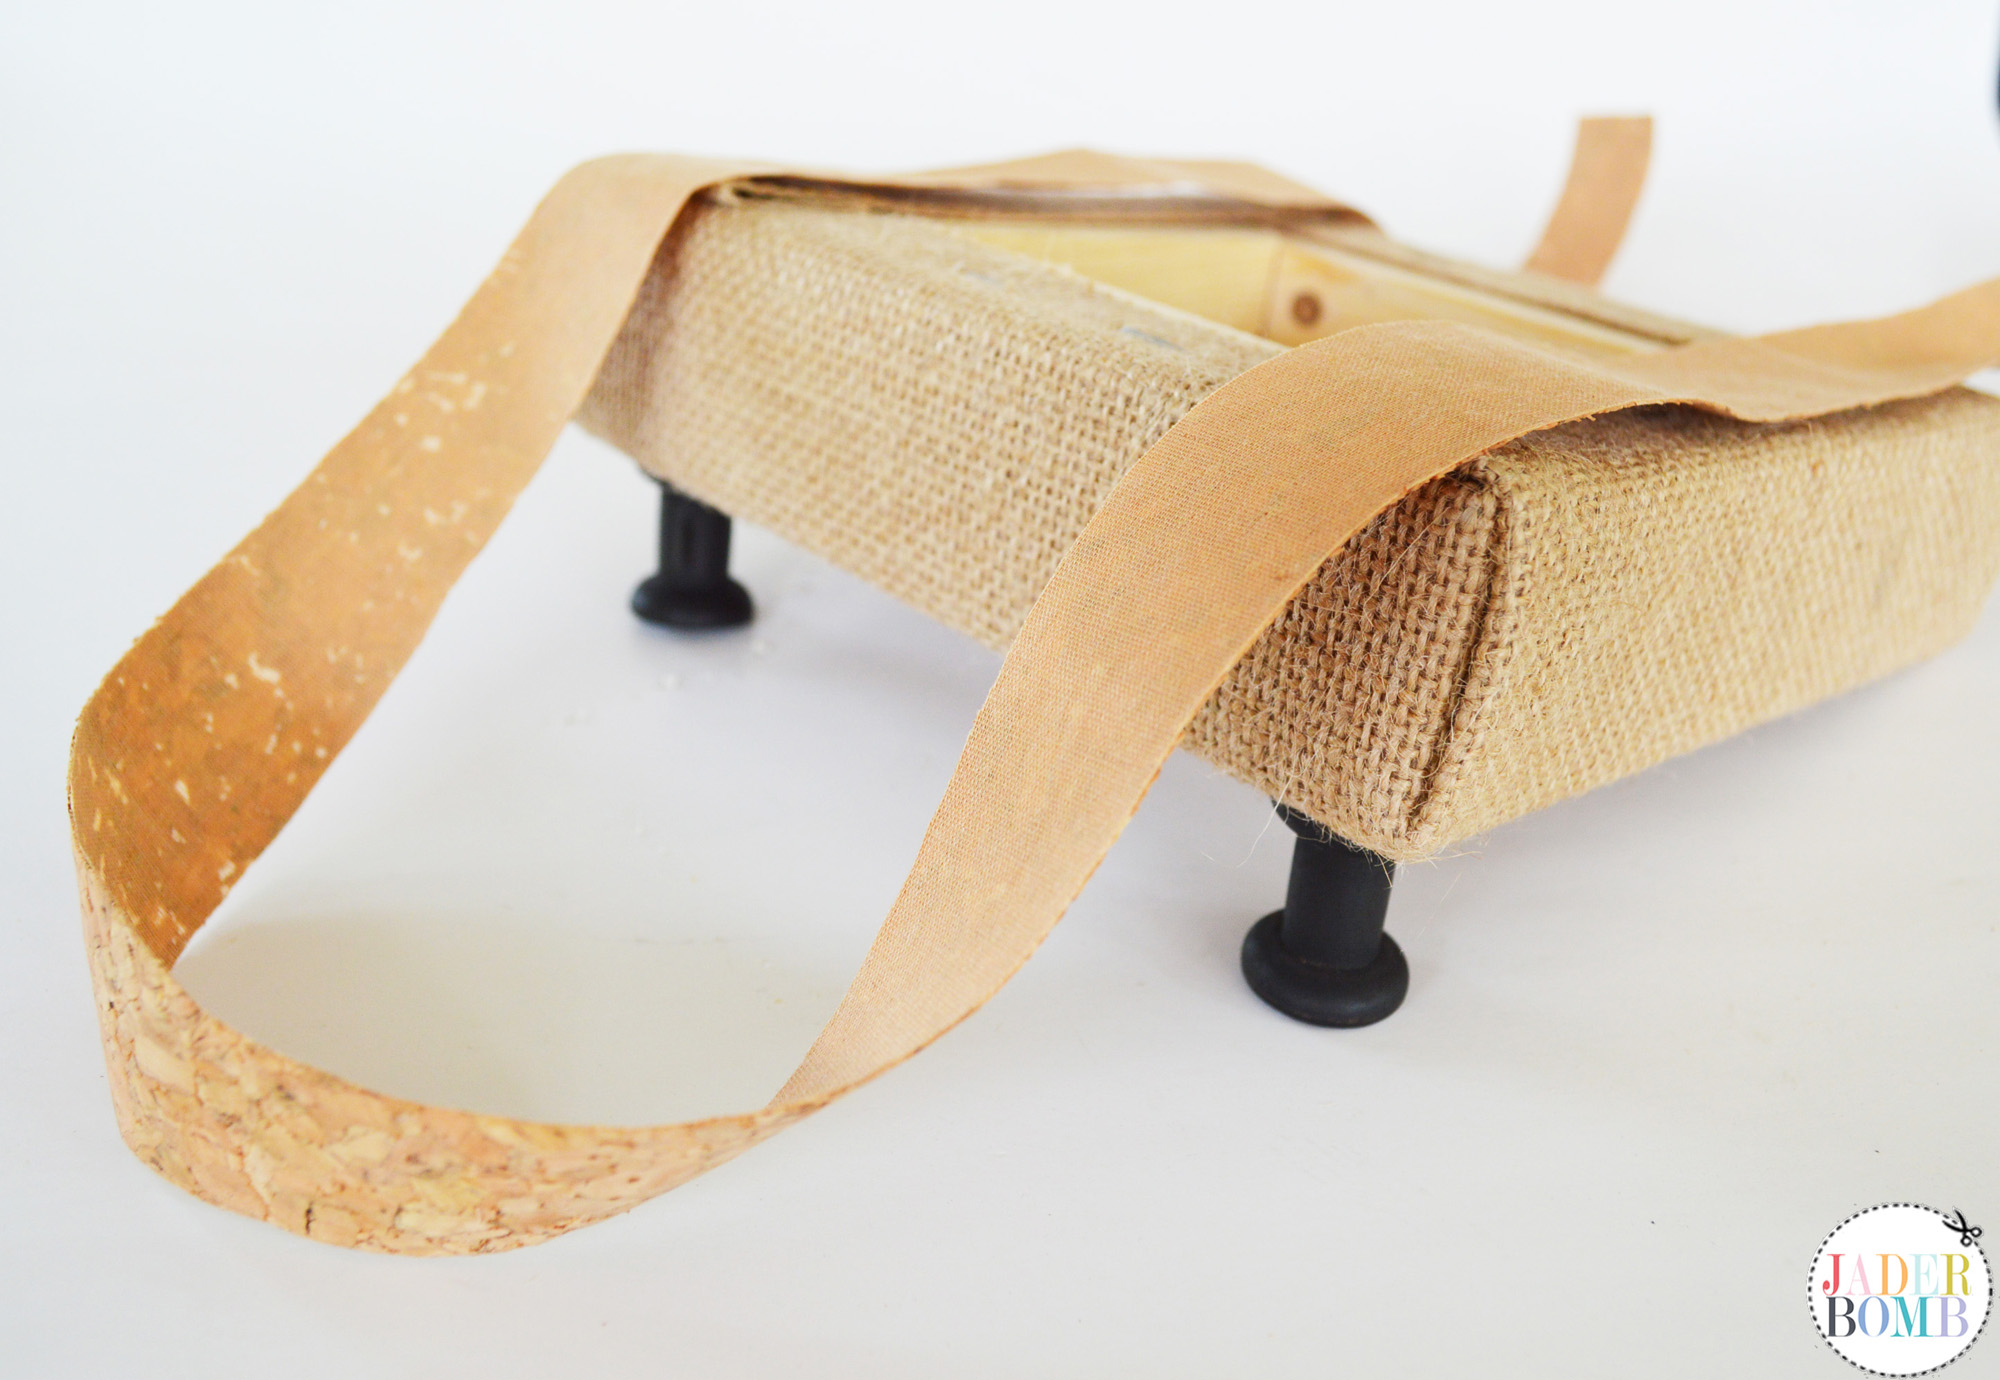
Step SEVEN ♥ Once you decide on the length of your ribbon add a line of hot glue down the back side of your canvas and quickly place the ribbon on top of it. Careful not to burn yourself! Or if you do just yell really loud and you will feel MUCH better! 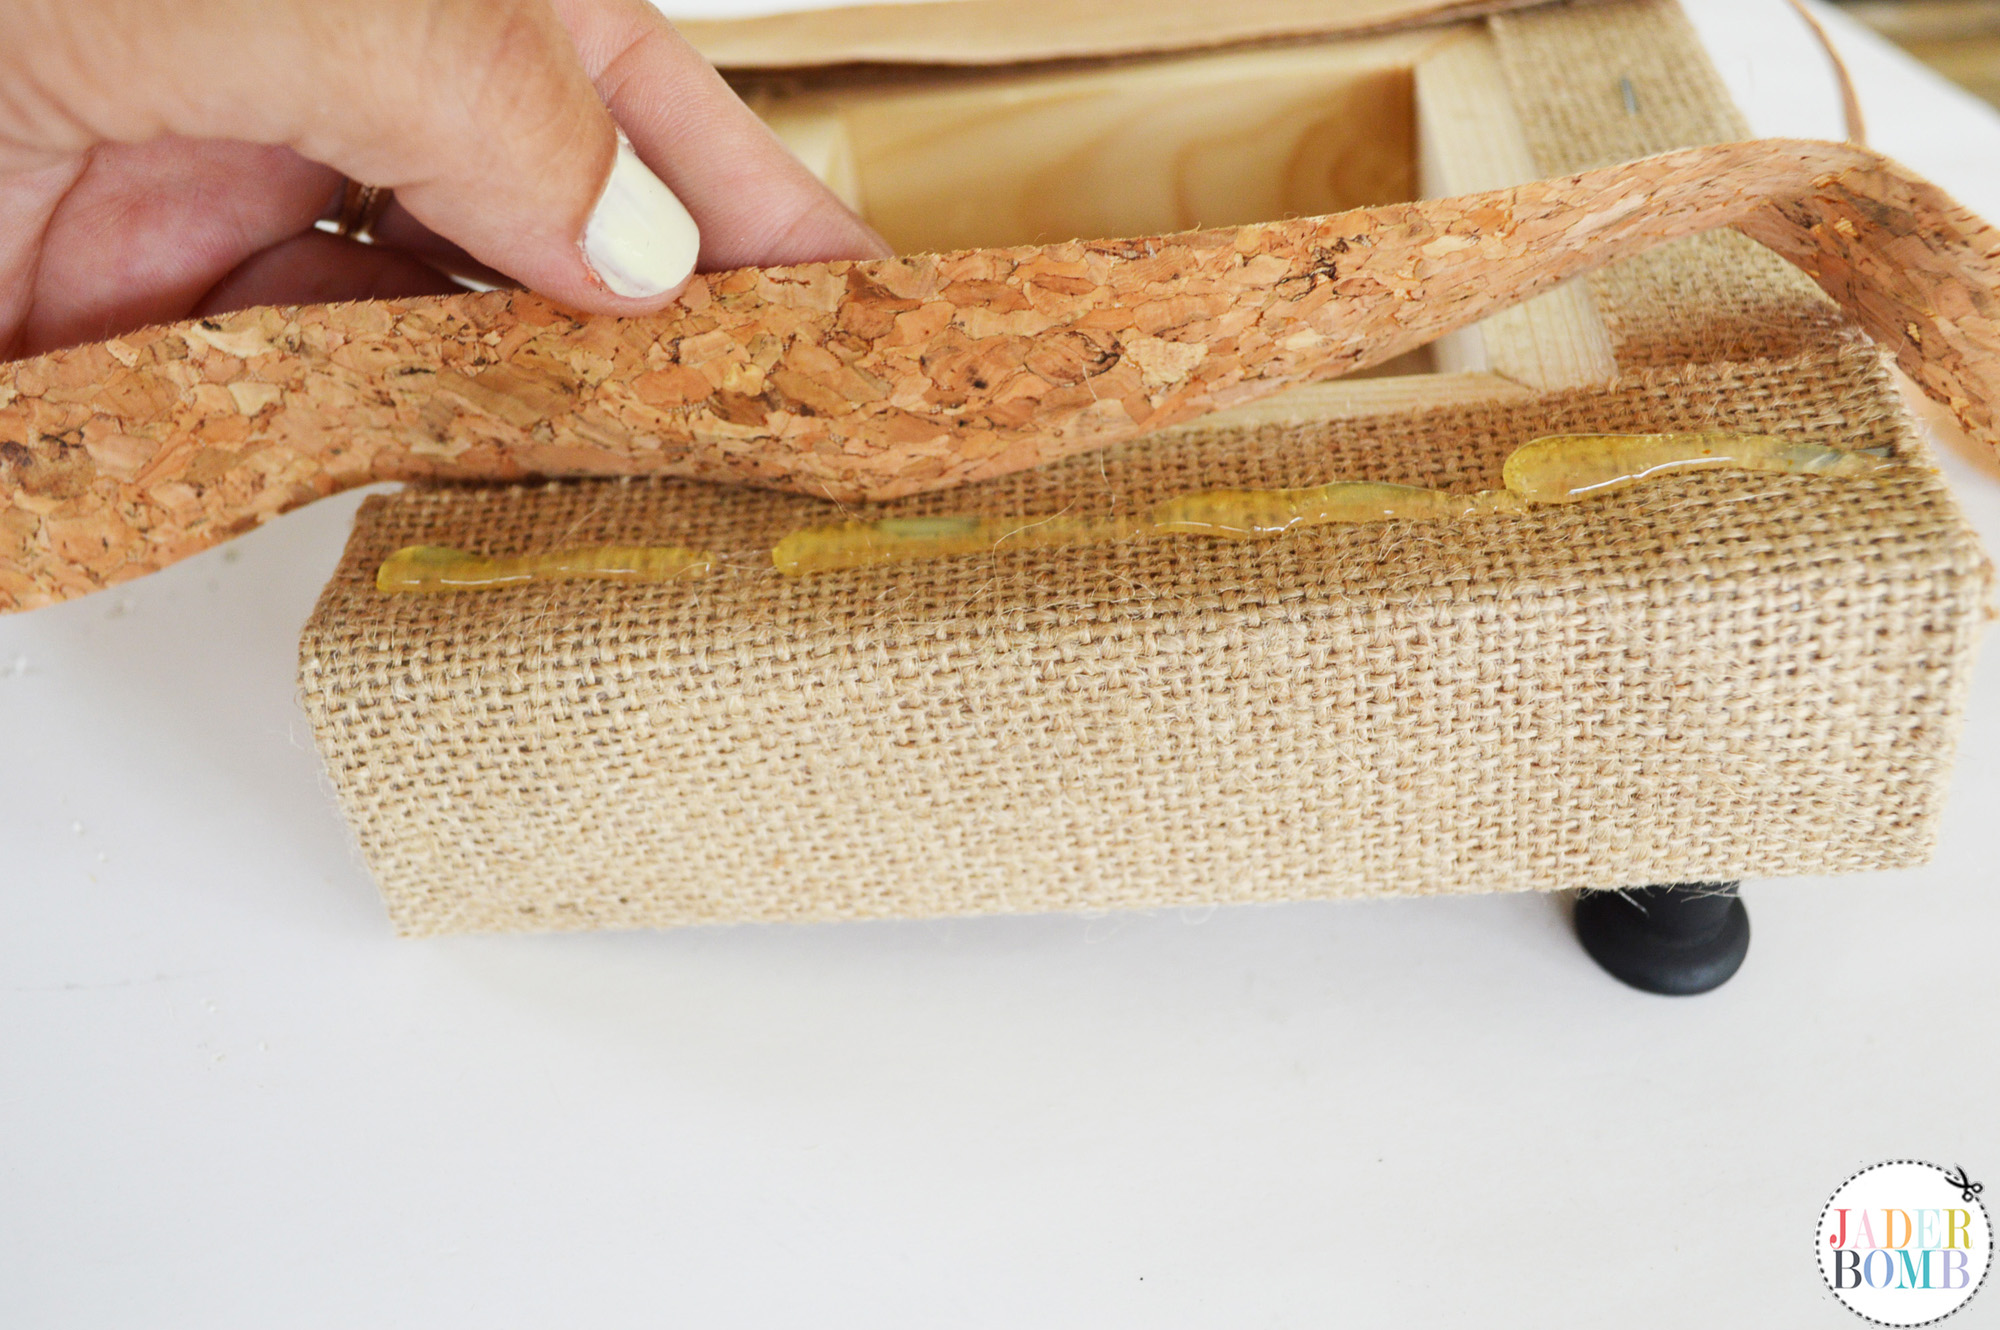
This is what your canvas will look like once you are done with the ribbon. 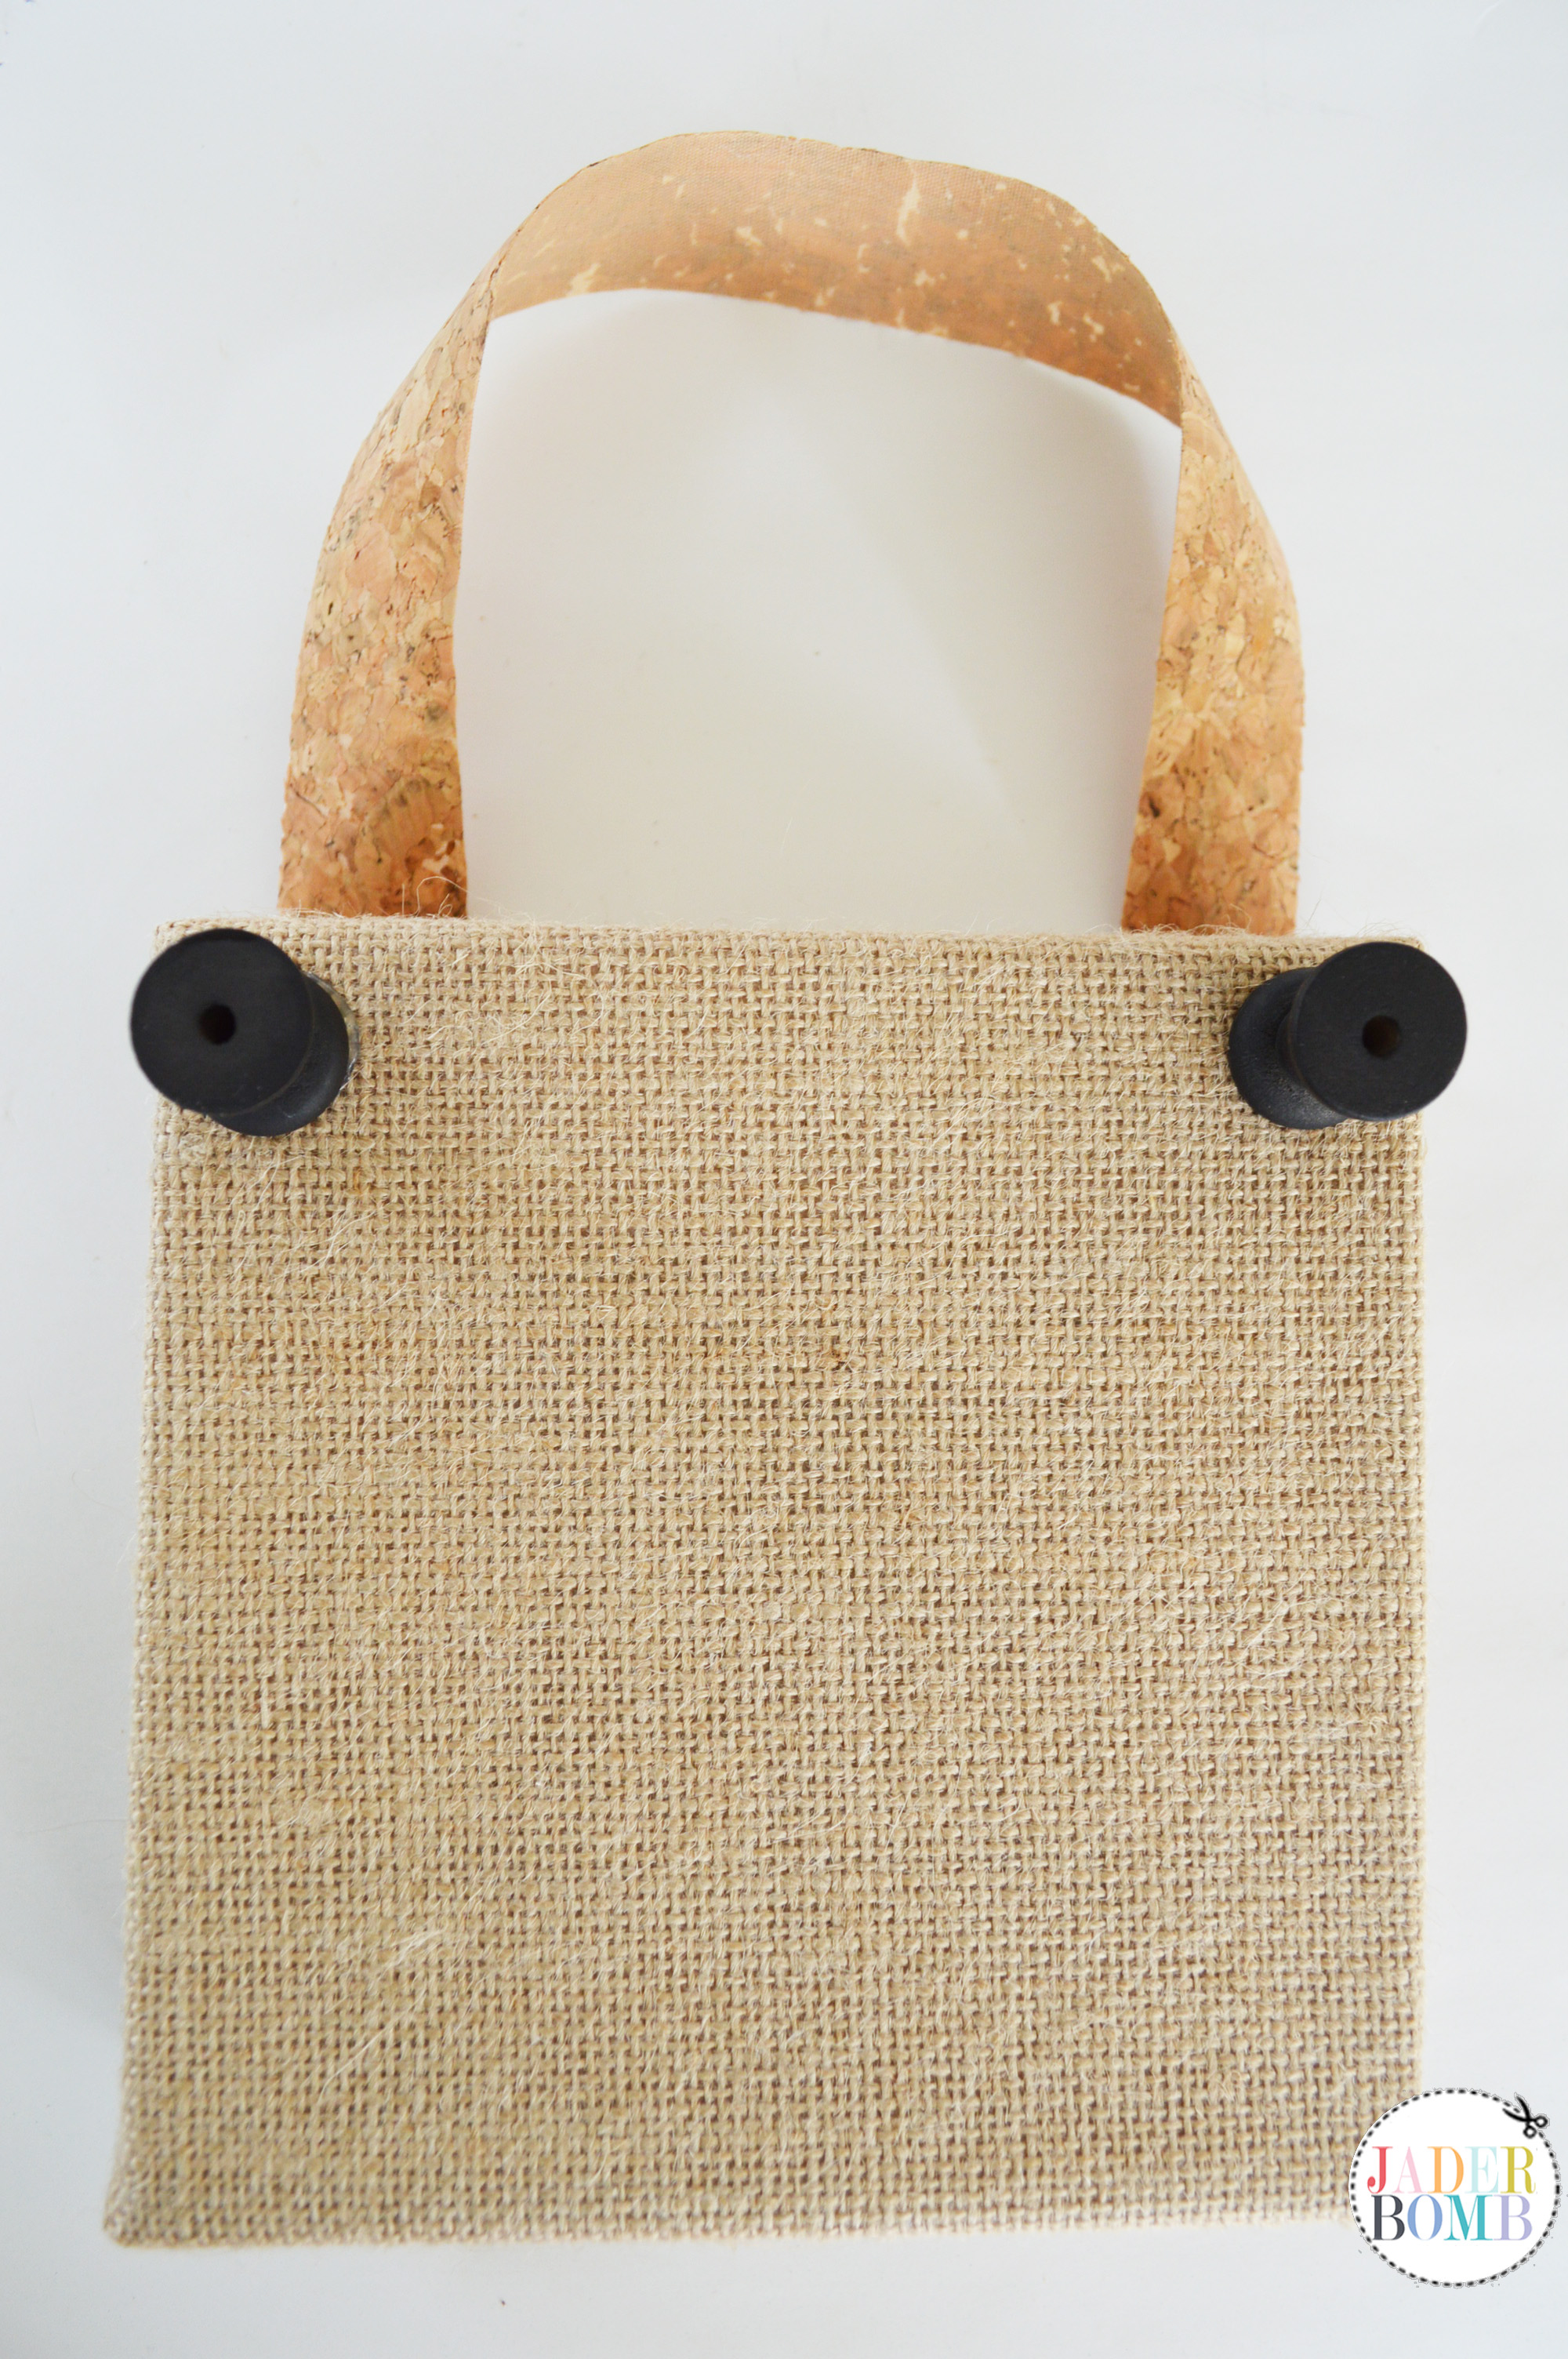
Step EIGHT ♥ Make sure your easel is sprayed completely with the chalkboard spray and once it’s dry add hot glue to the back side of the easel. 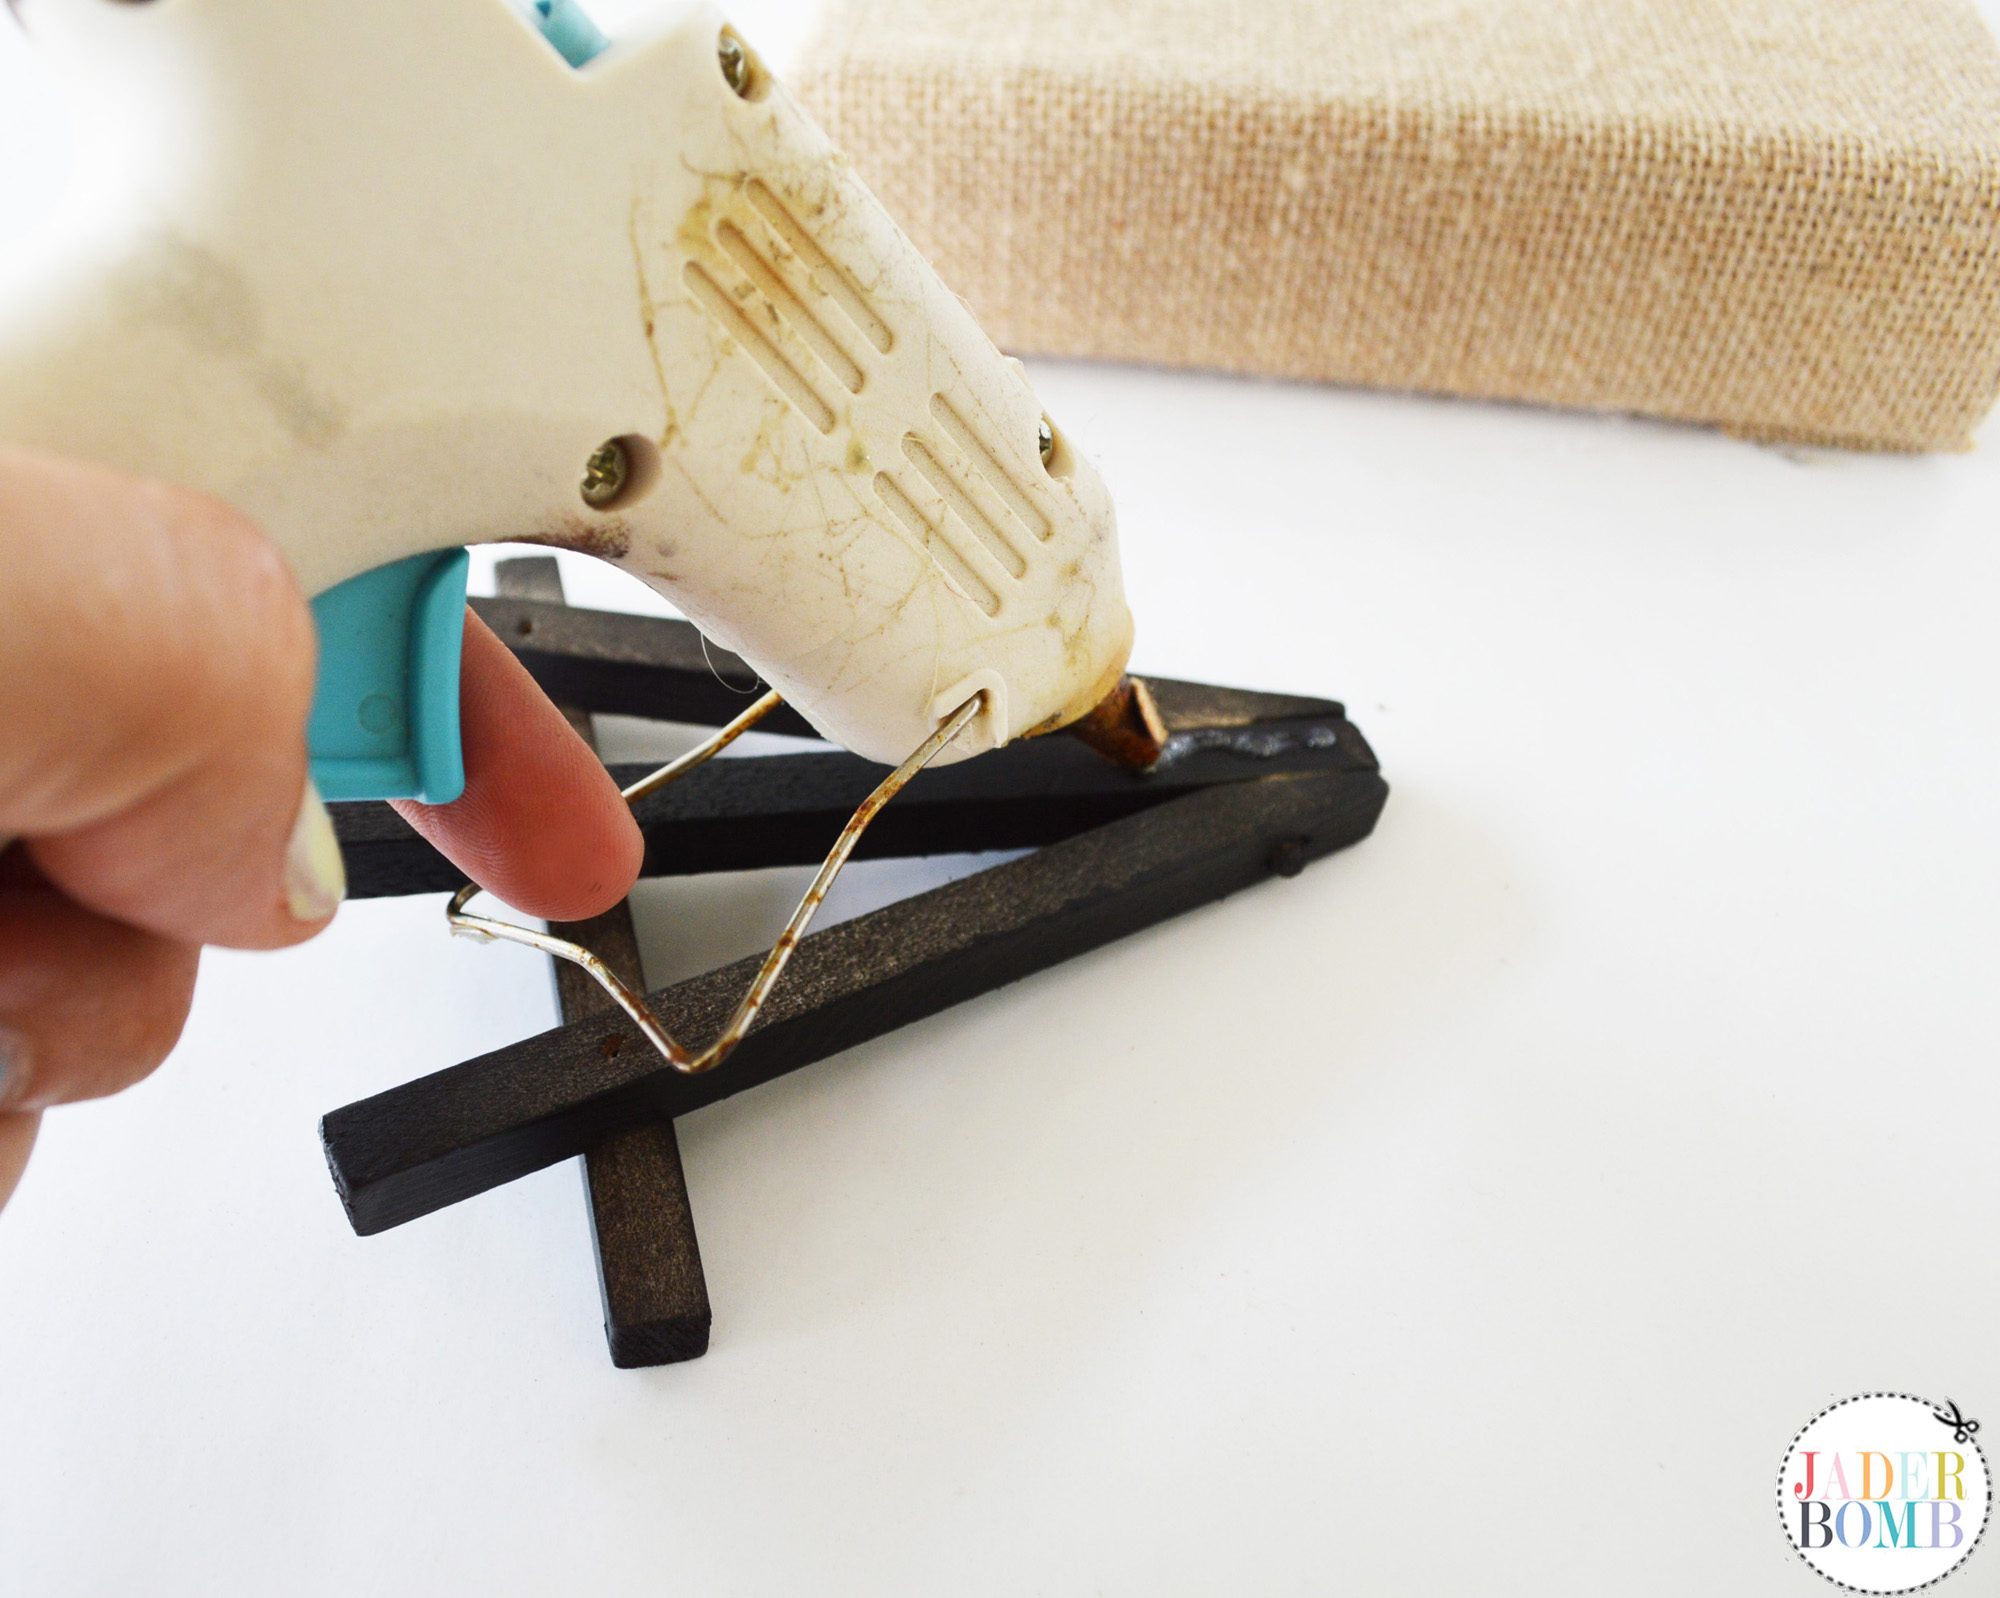
Step NINE ♥ Place the easel directly in the middle of the canvas. How cute is this!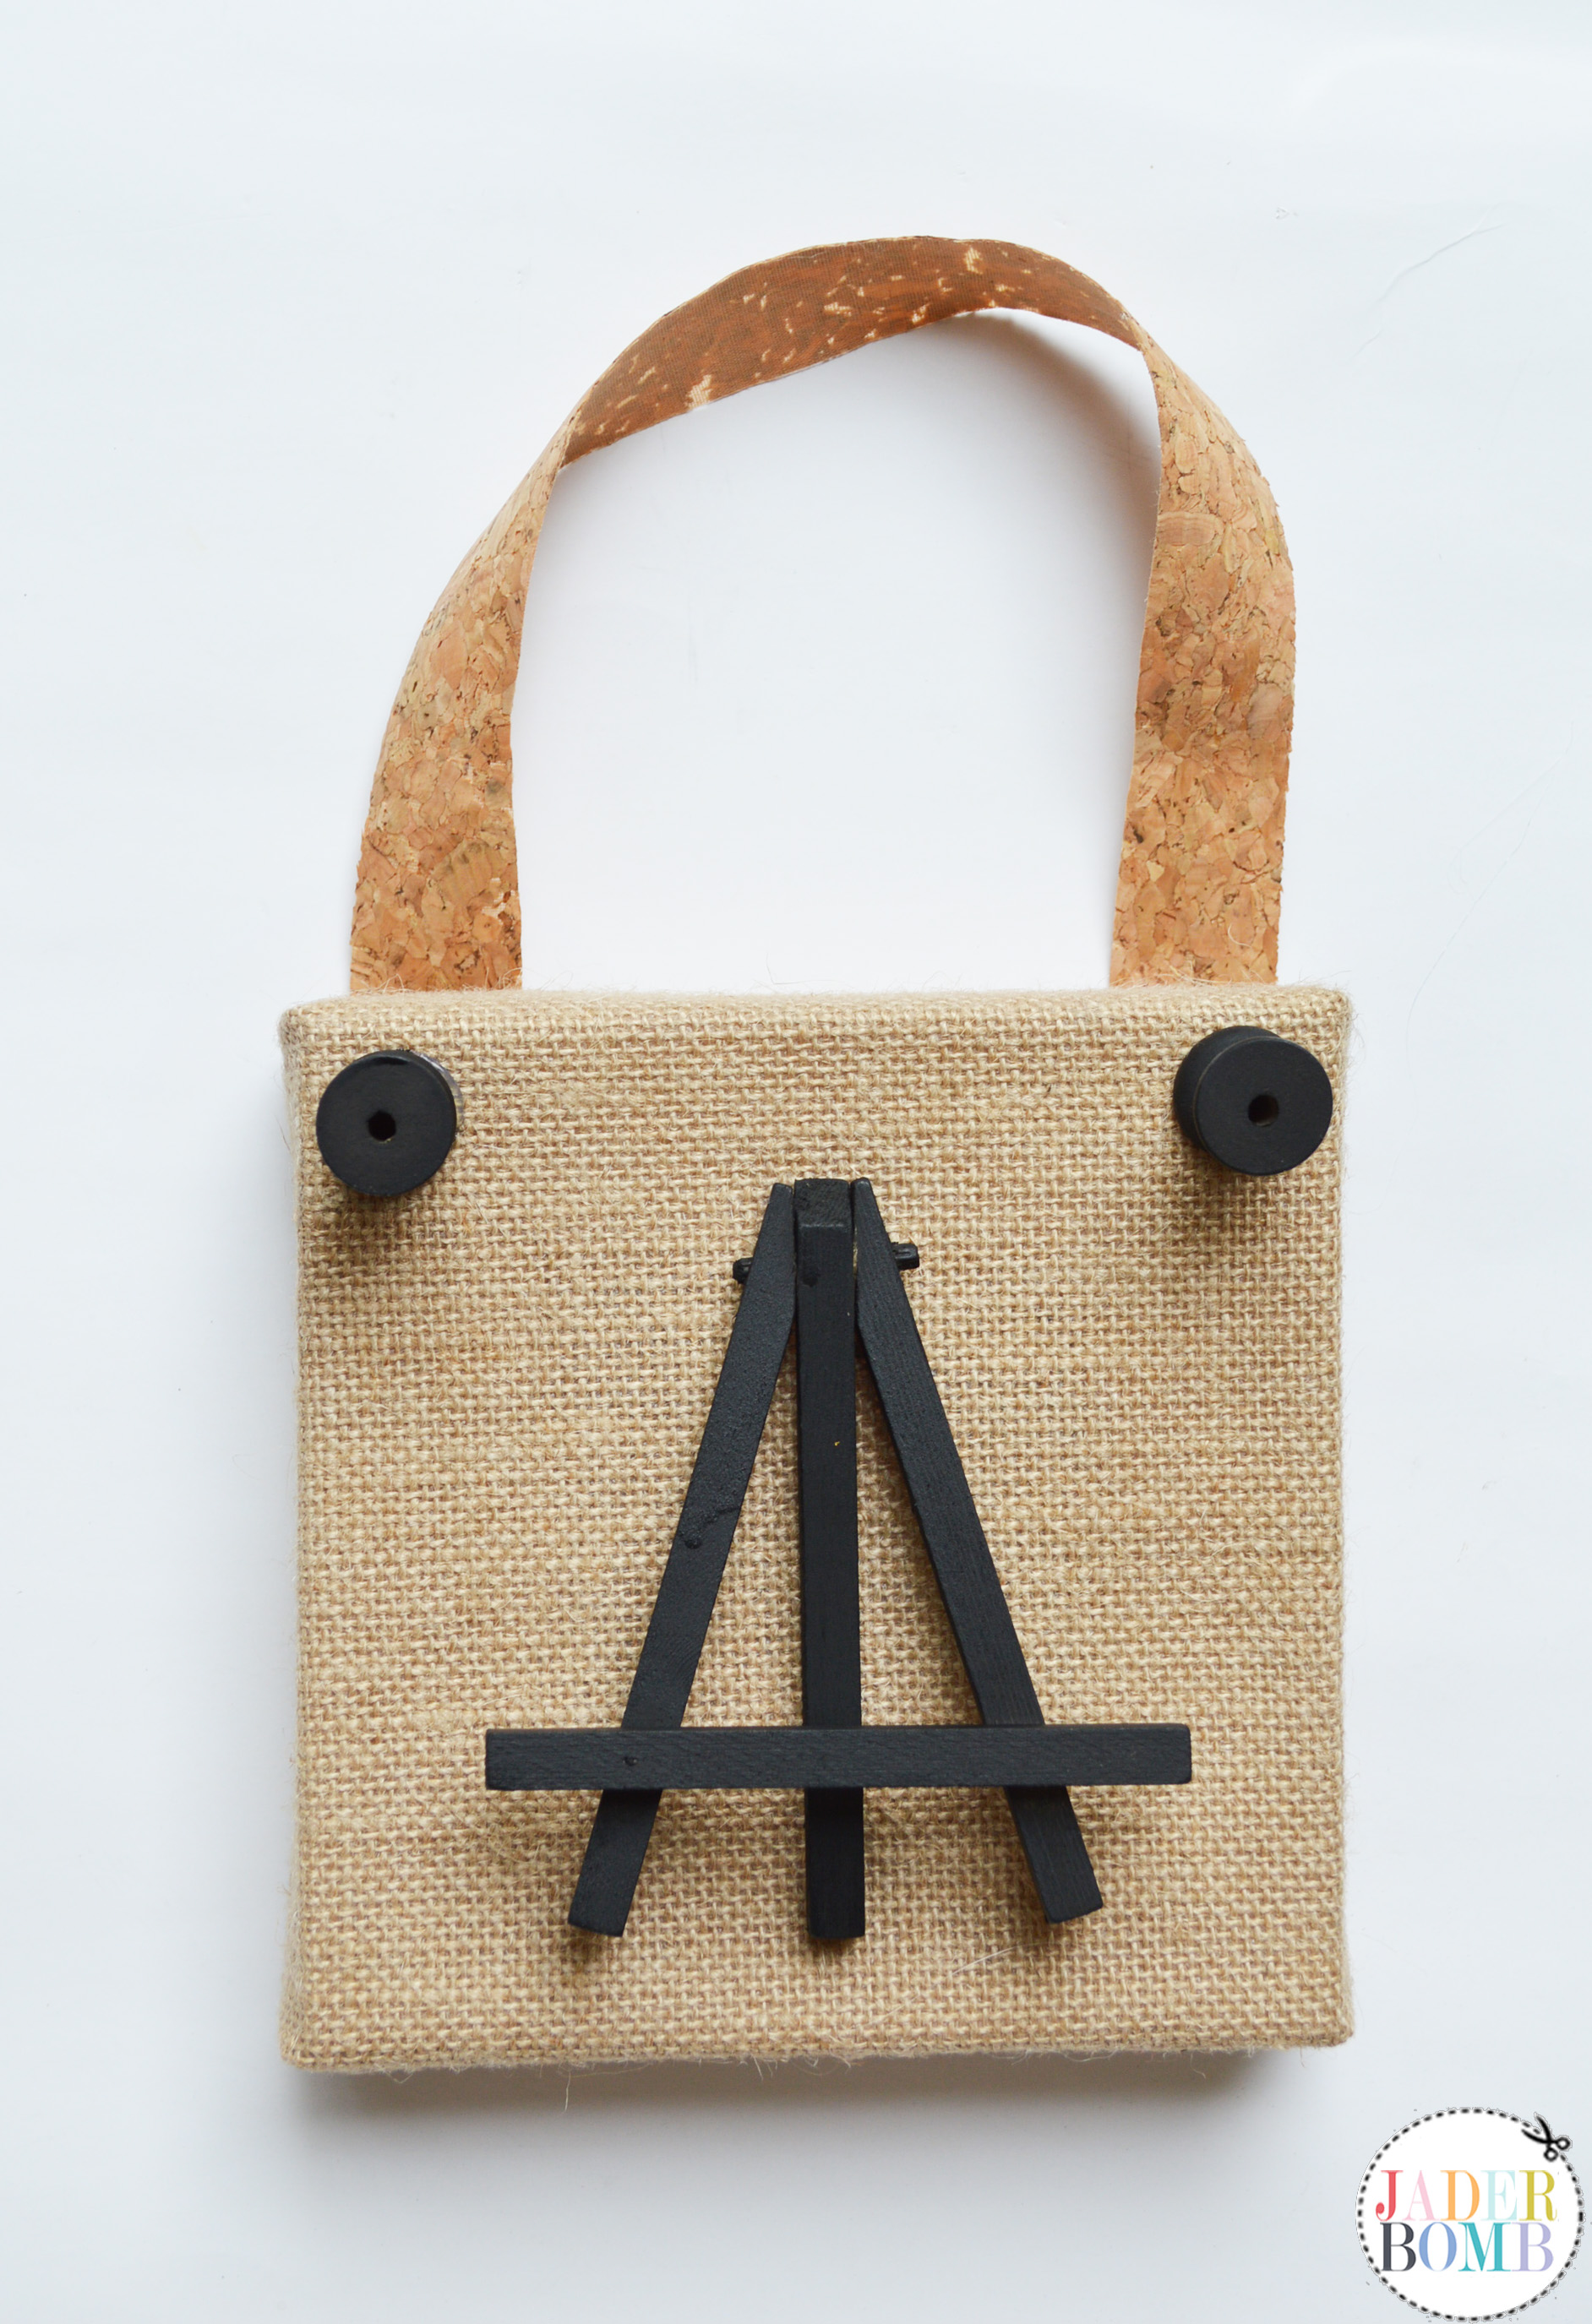
Step TEN ♥ This is optional but I added a little clothespin that is a part of the line at the very top of the easel. I’ll tell ya, hot glue is like magic ♥
Now we can hang things from the spools, clip something with the clothespin or open up the easel and place a picture or anything that makes you happy on it. 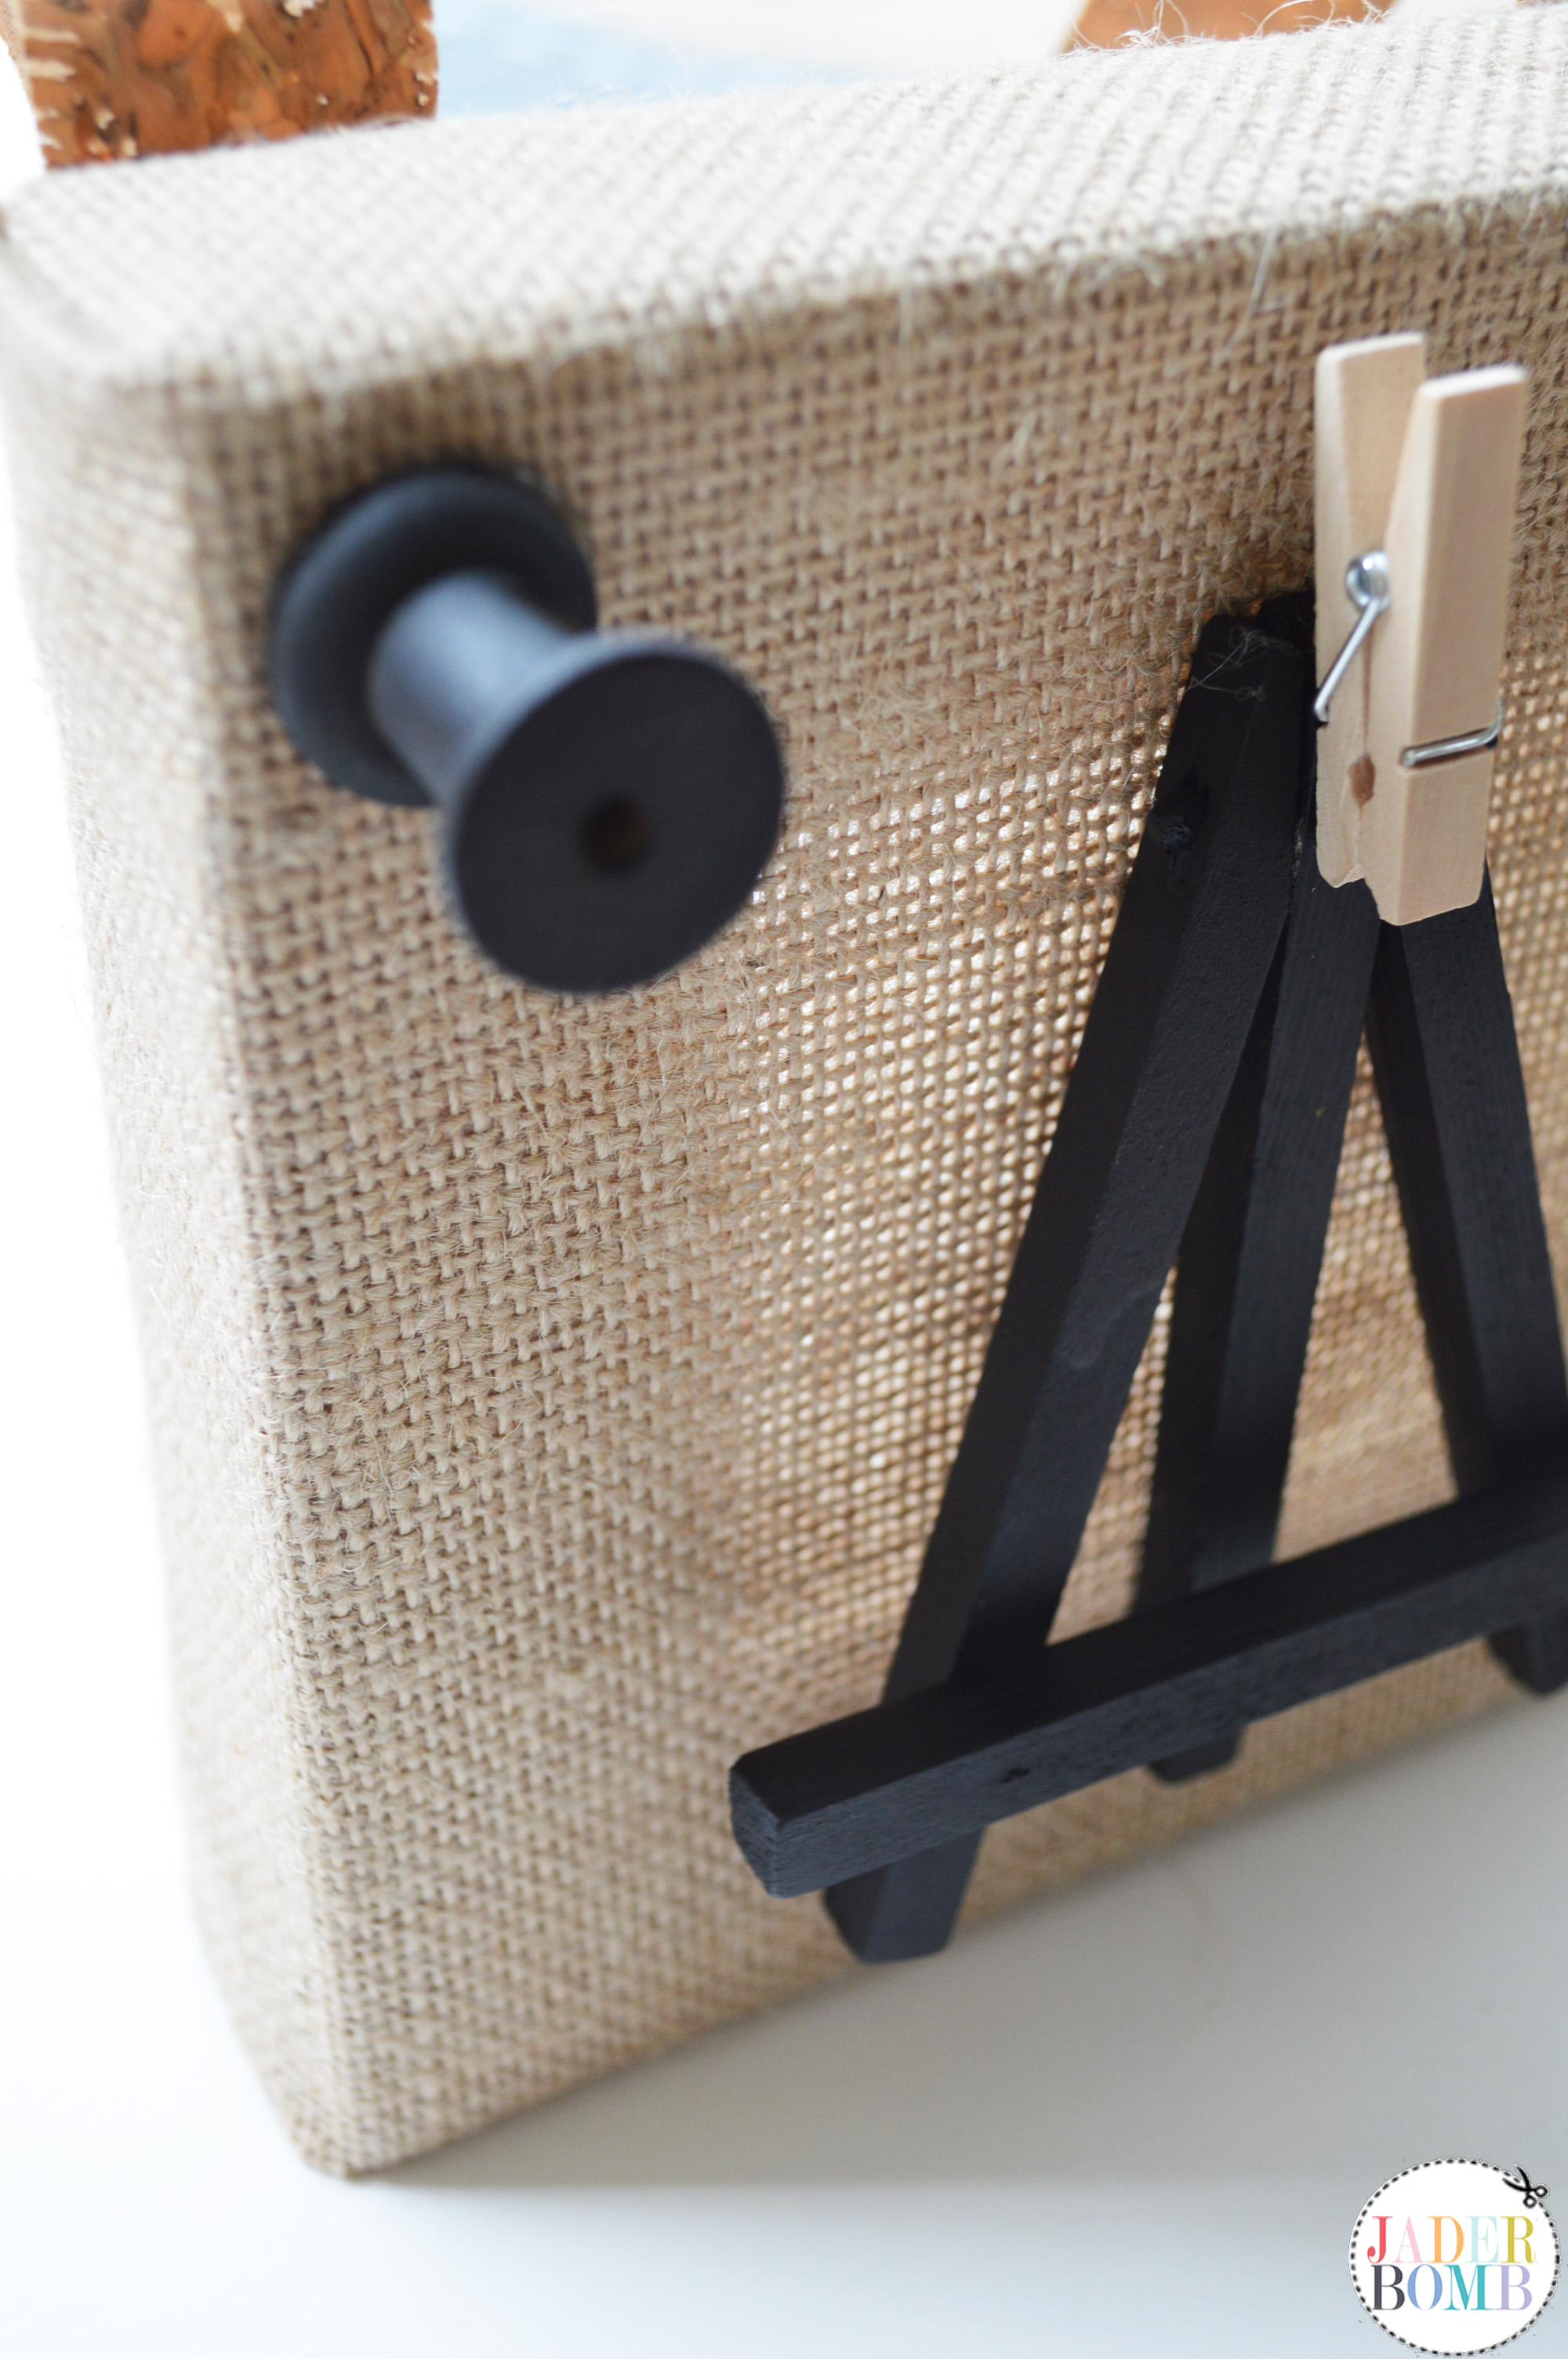
I think this would be so cute in a bathroom, bedroom, office space or in a spot where you want to display cute things. 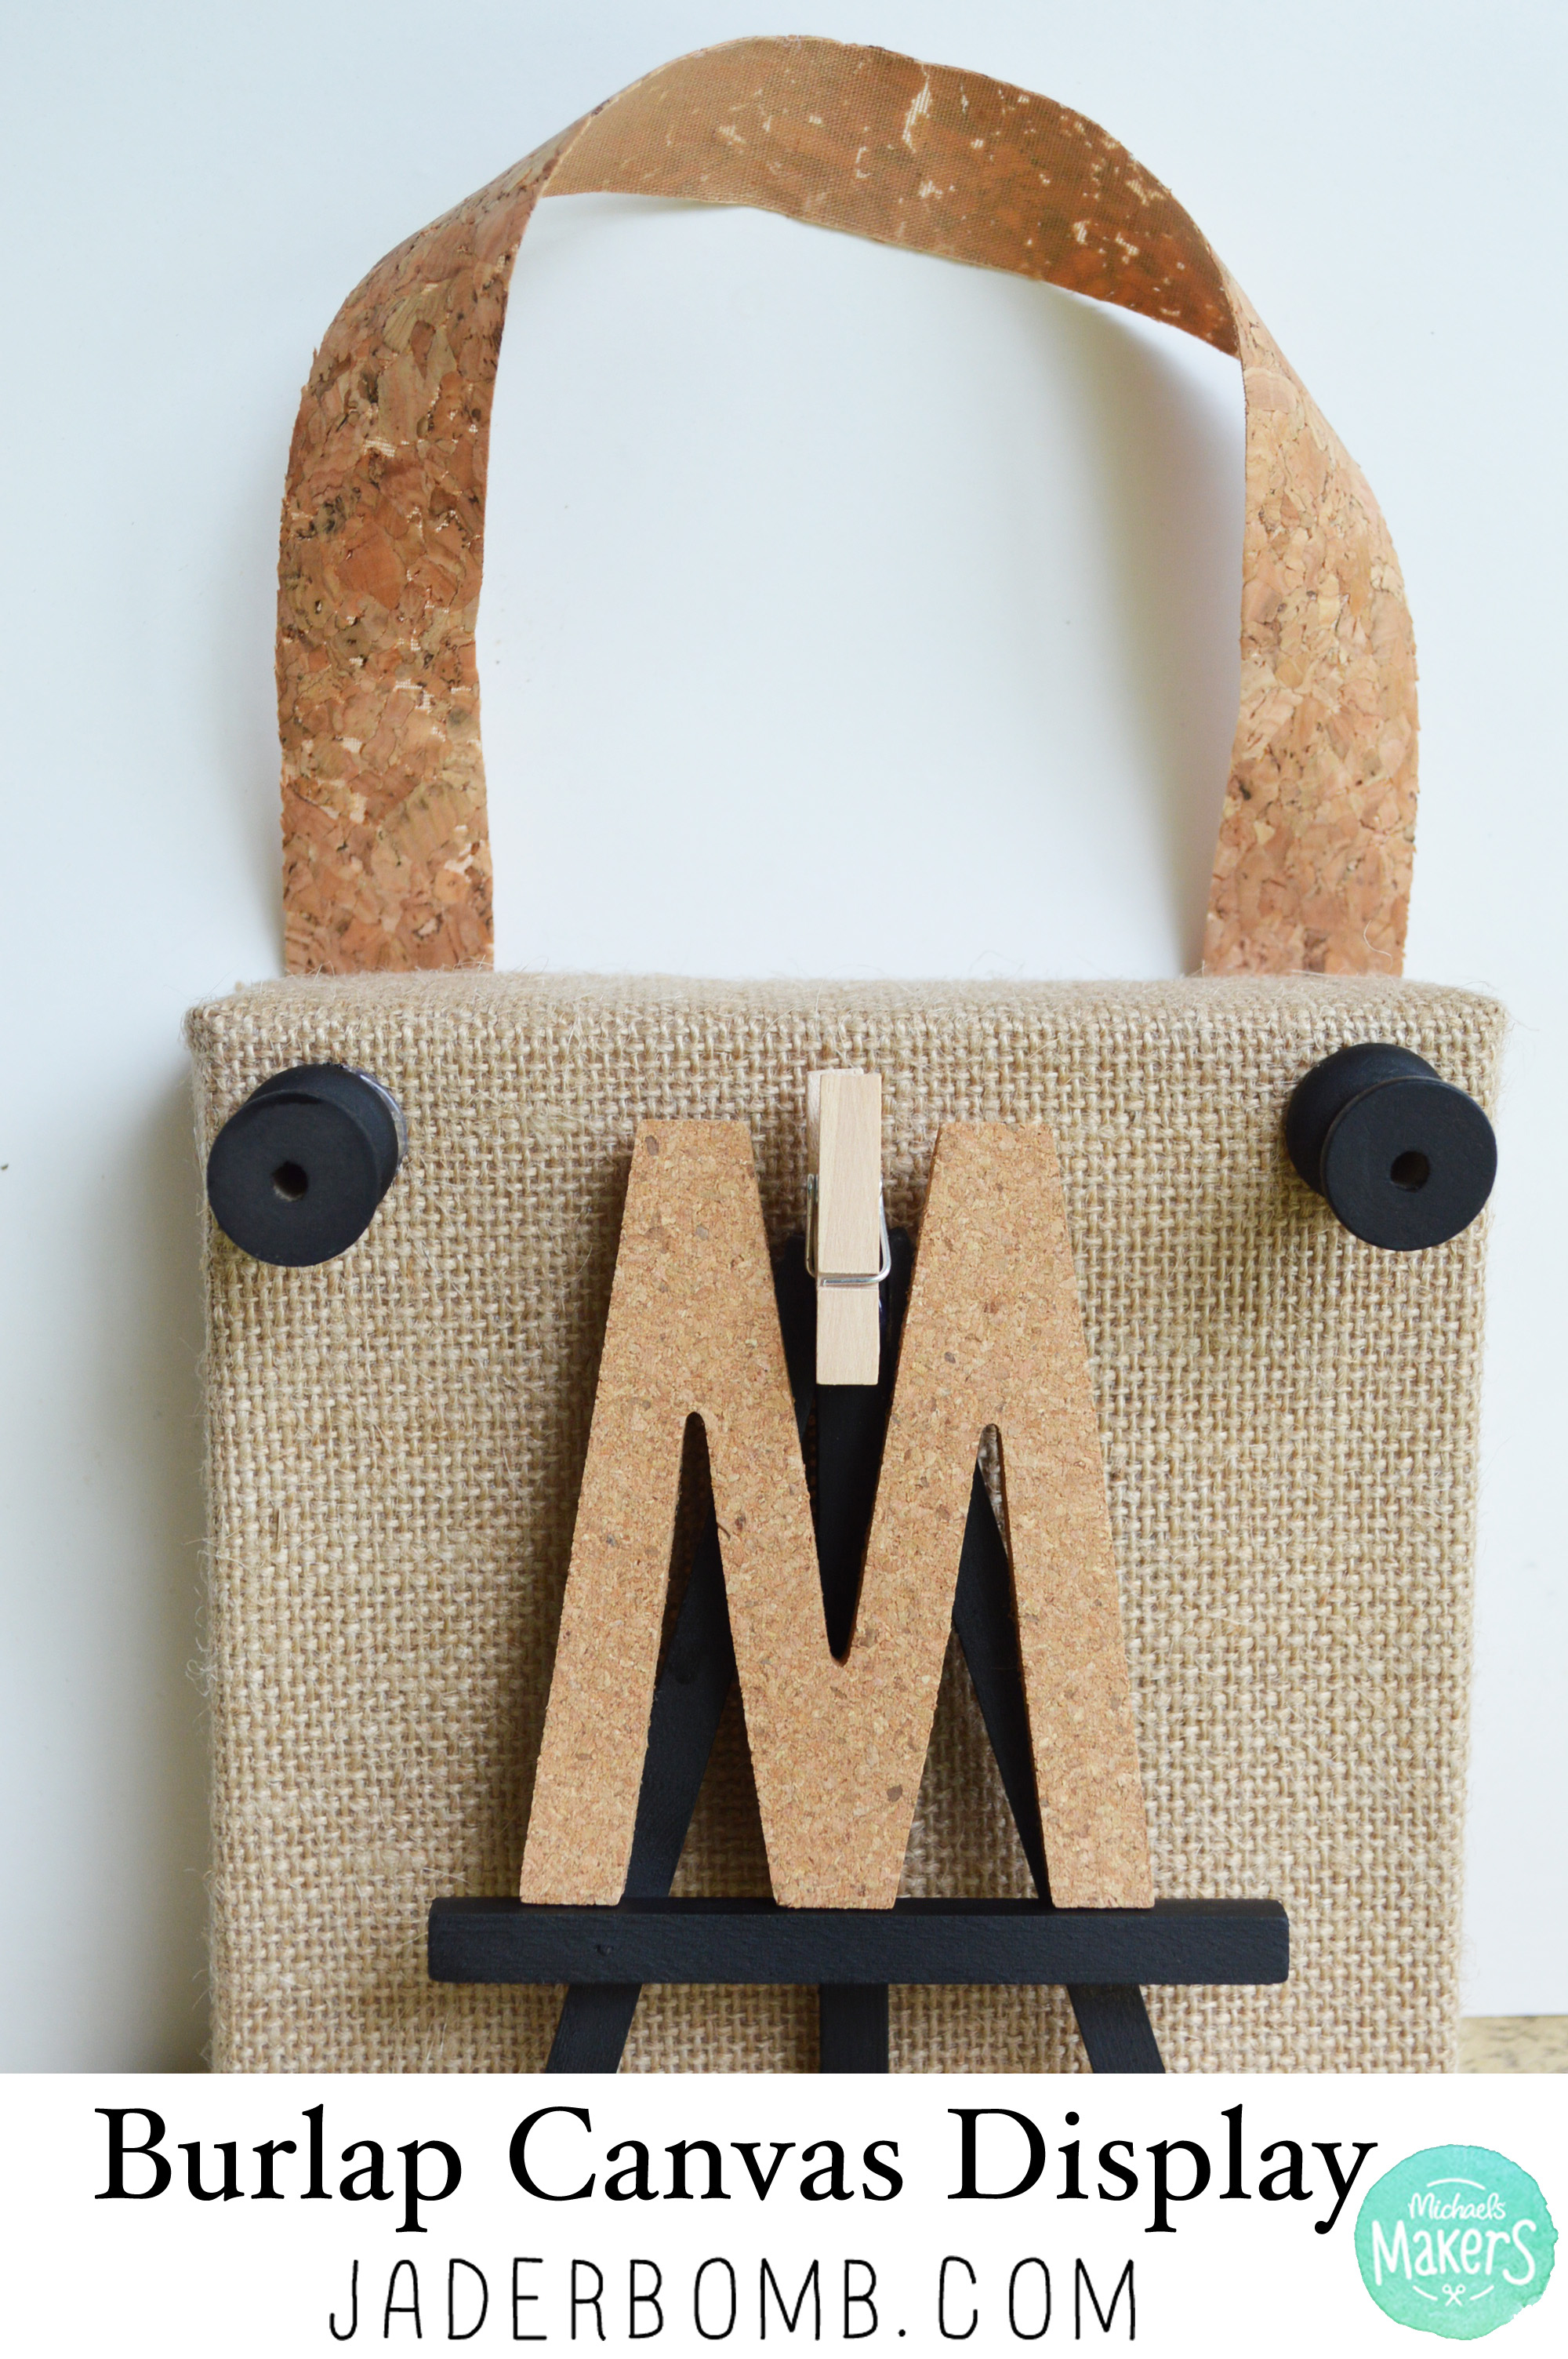
![]()
Don’t forget to connect on social media! Make sure to use use the hashtag #JADERBOMB and you might see your stuff on Instagram or Twitter or Facebook or Pinterest.
HAVE A GLITTERY DAY! ♥, Jade
July Challenge: Raw Bar
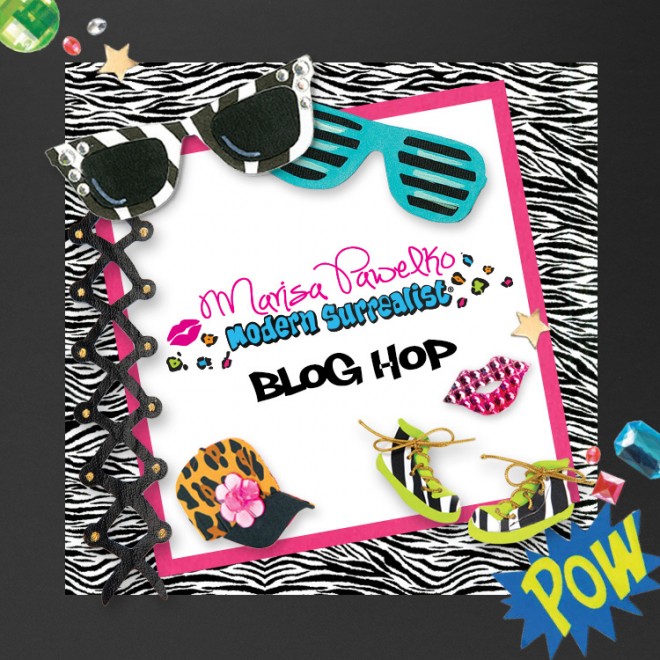
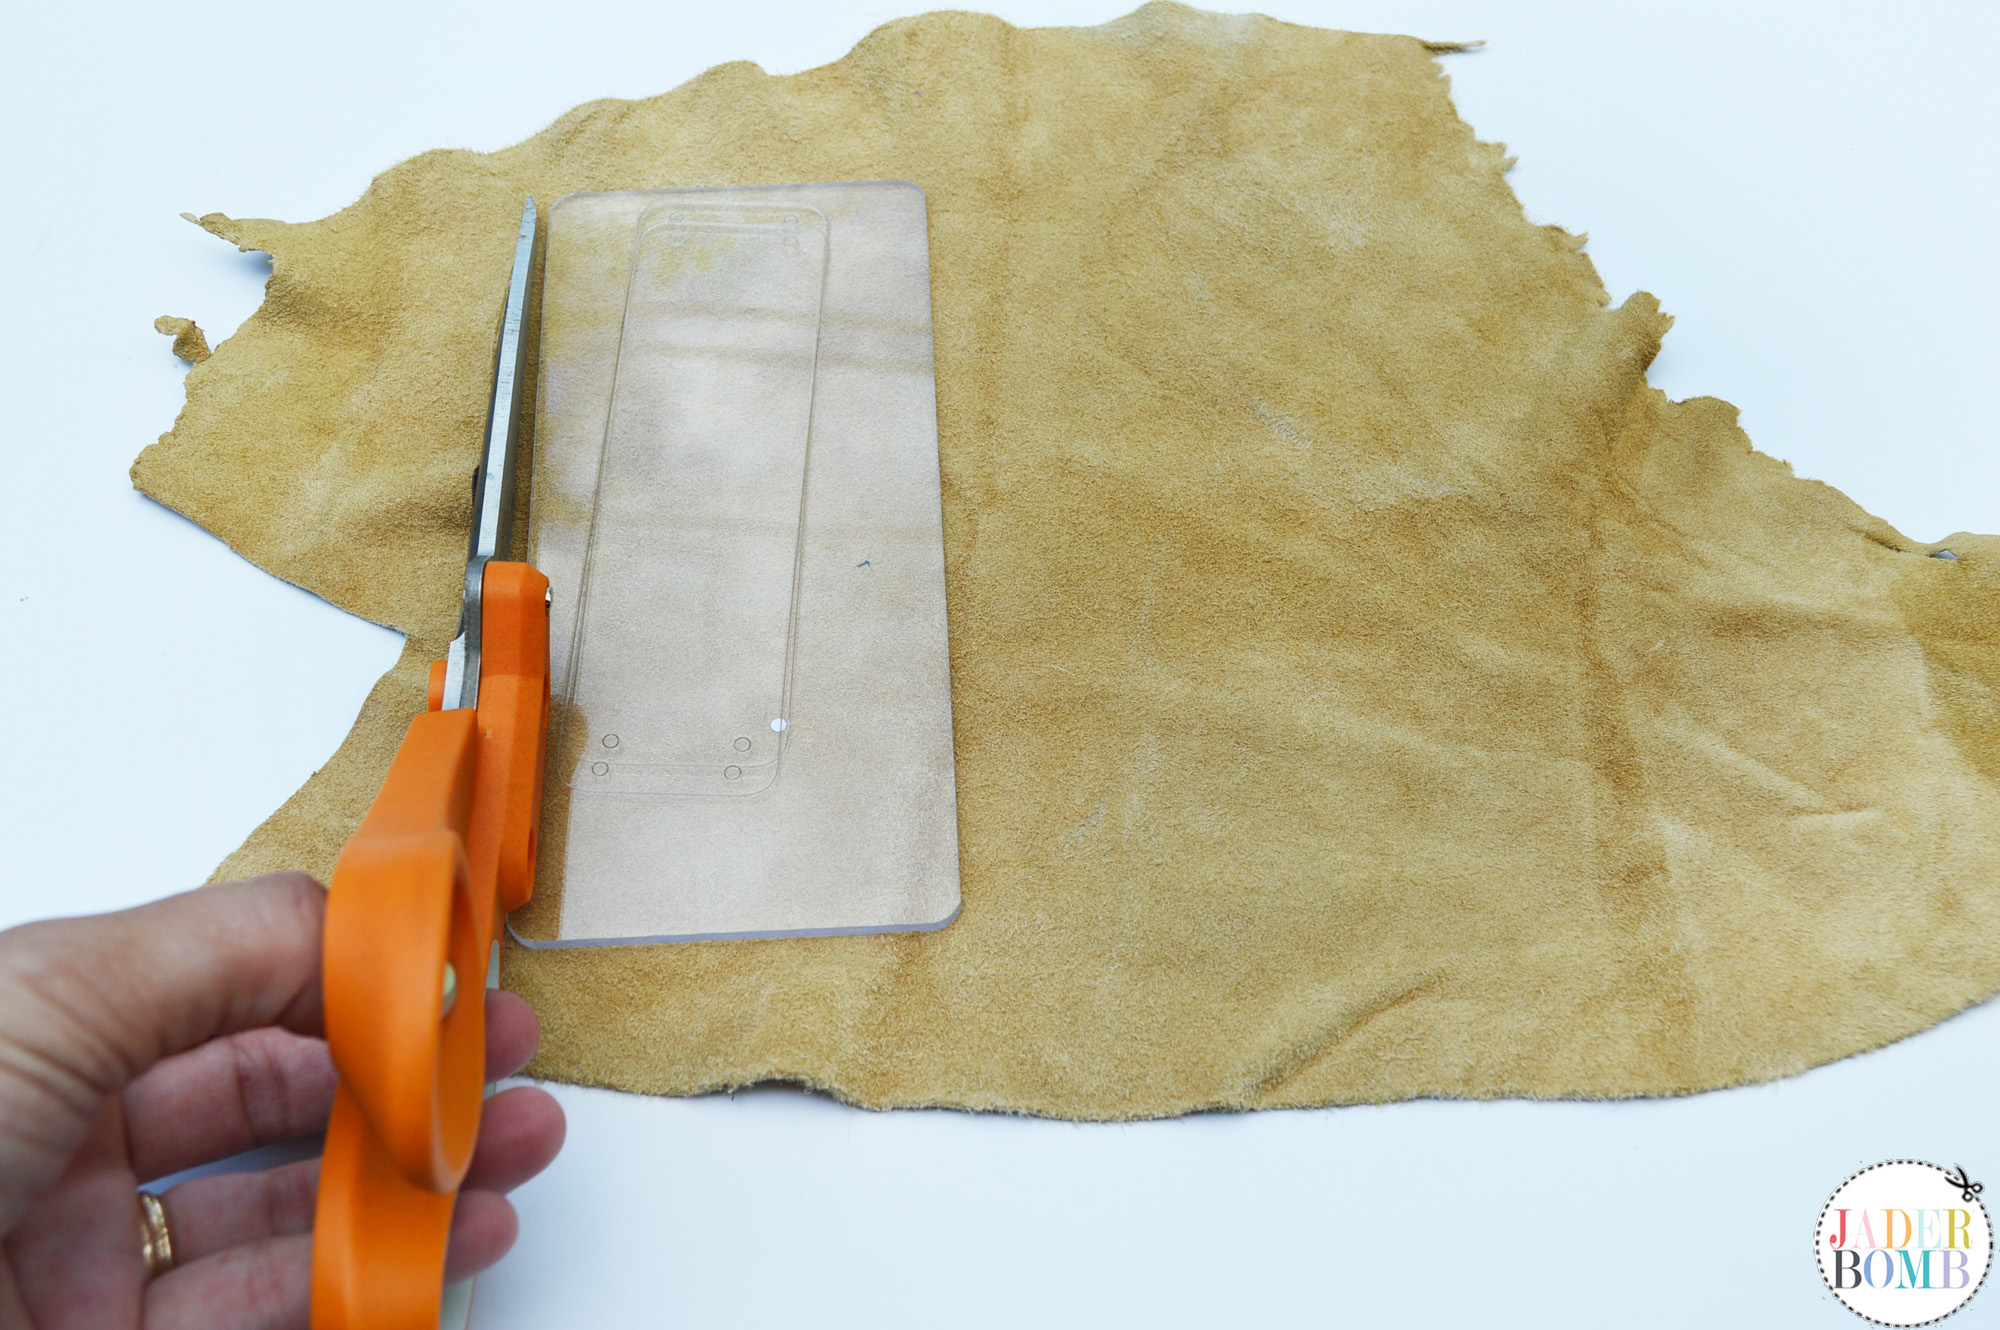
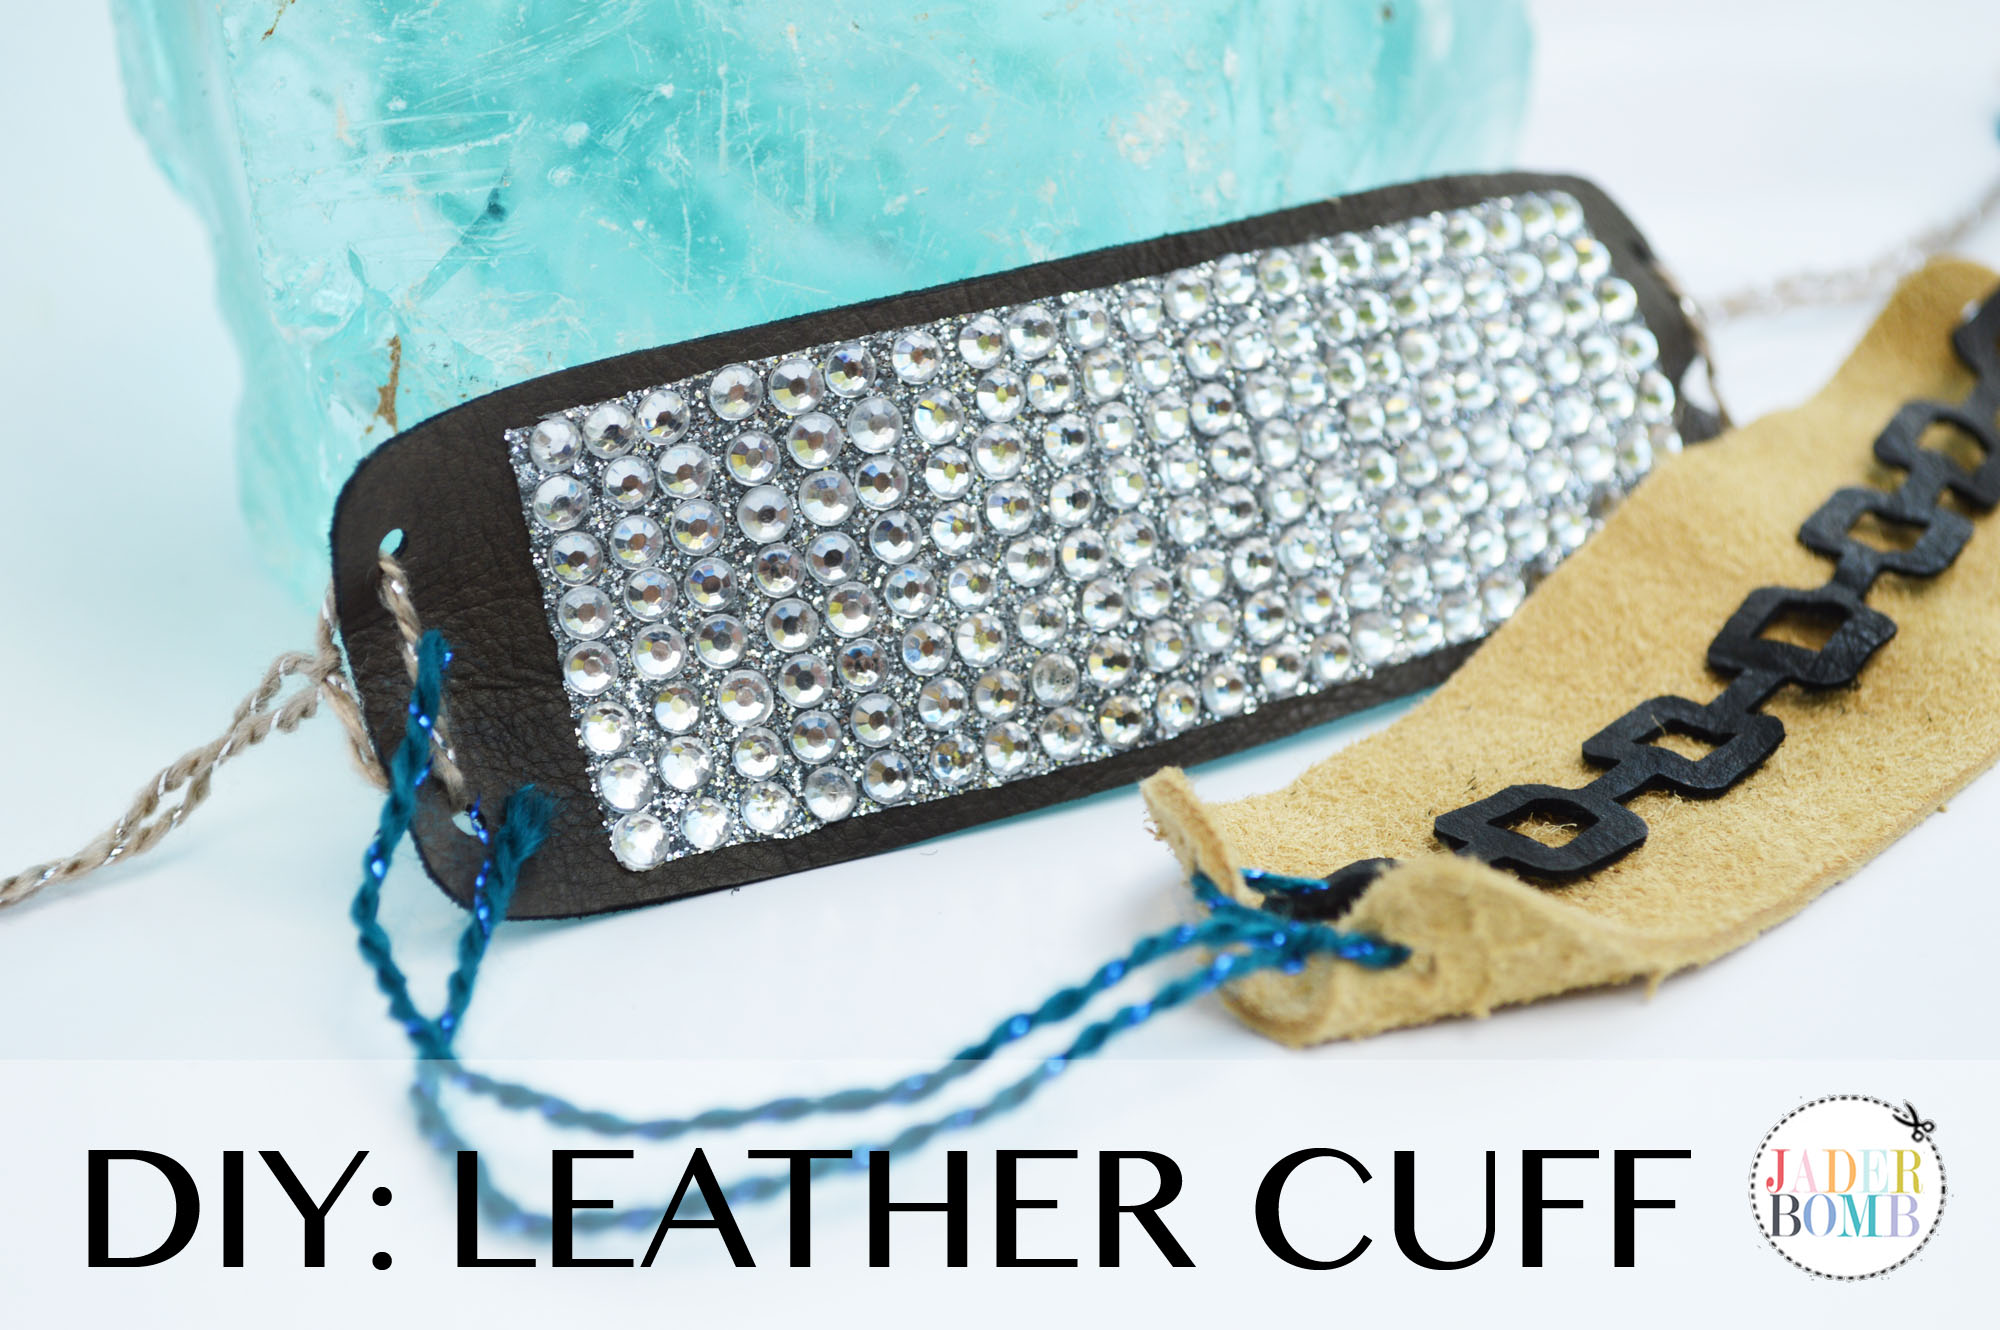
 If you are like me then you are totally in love with this turquoise rock! Let’s get started.
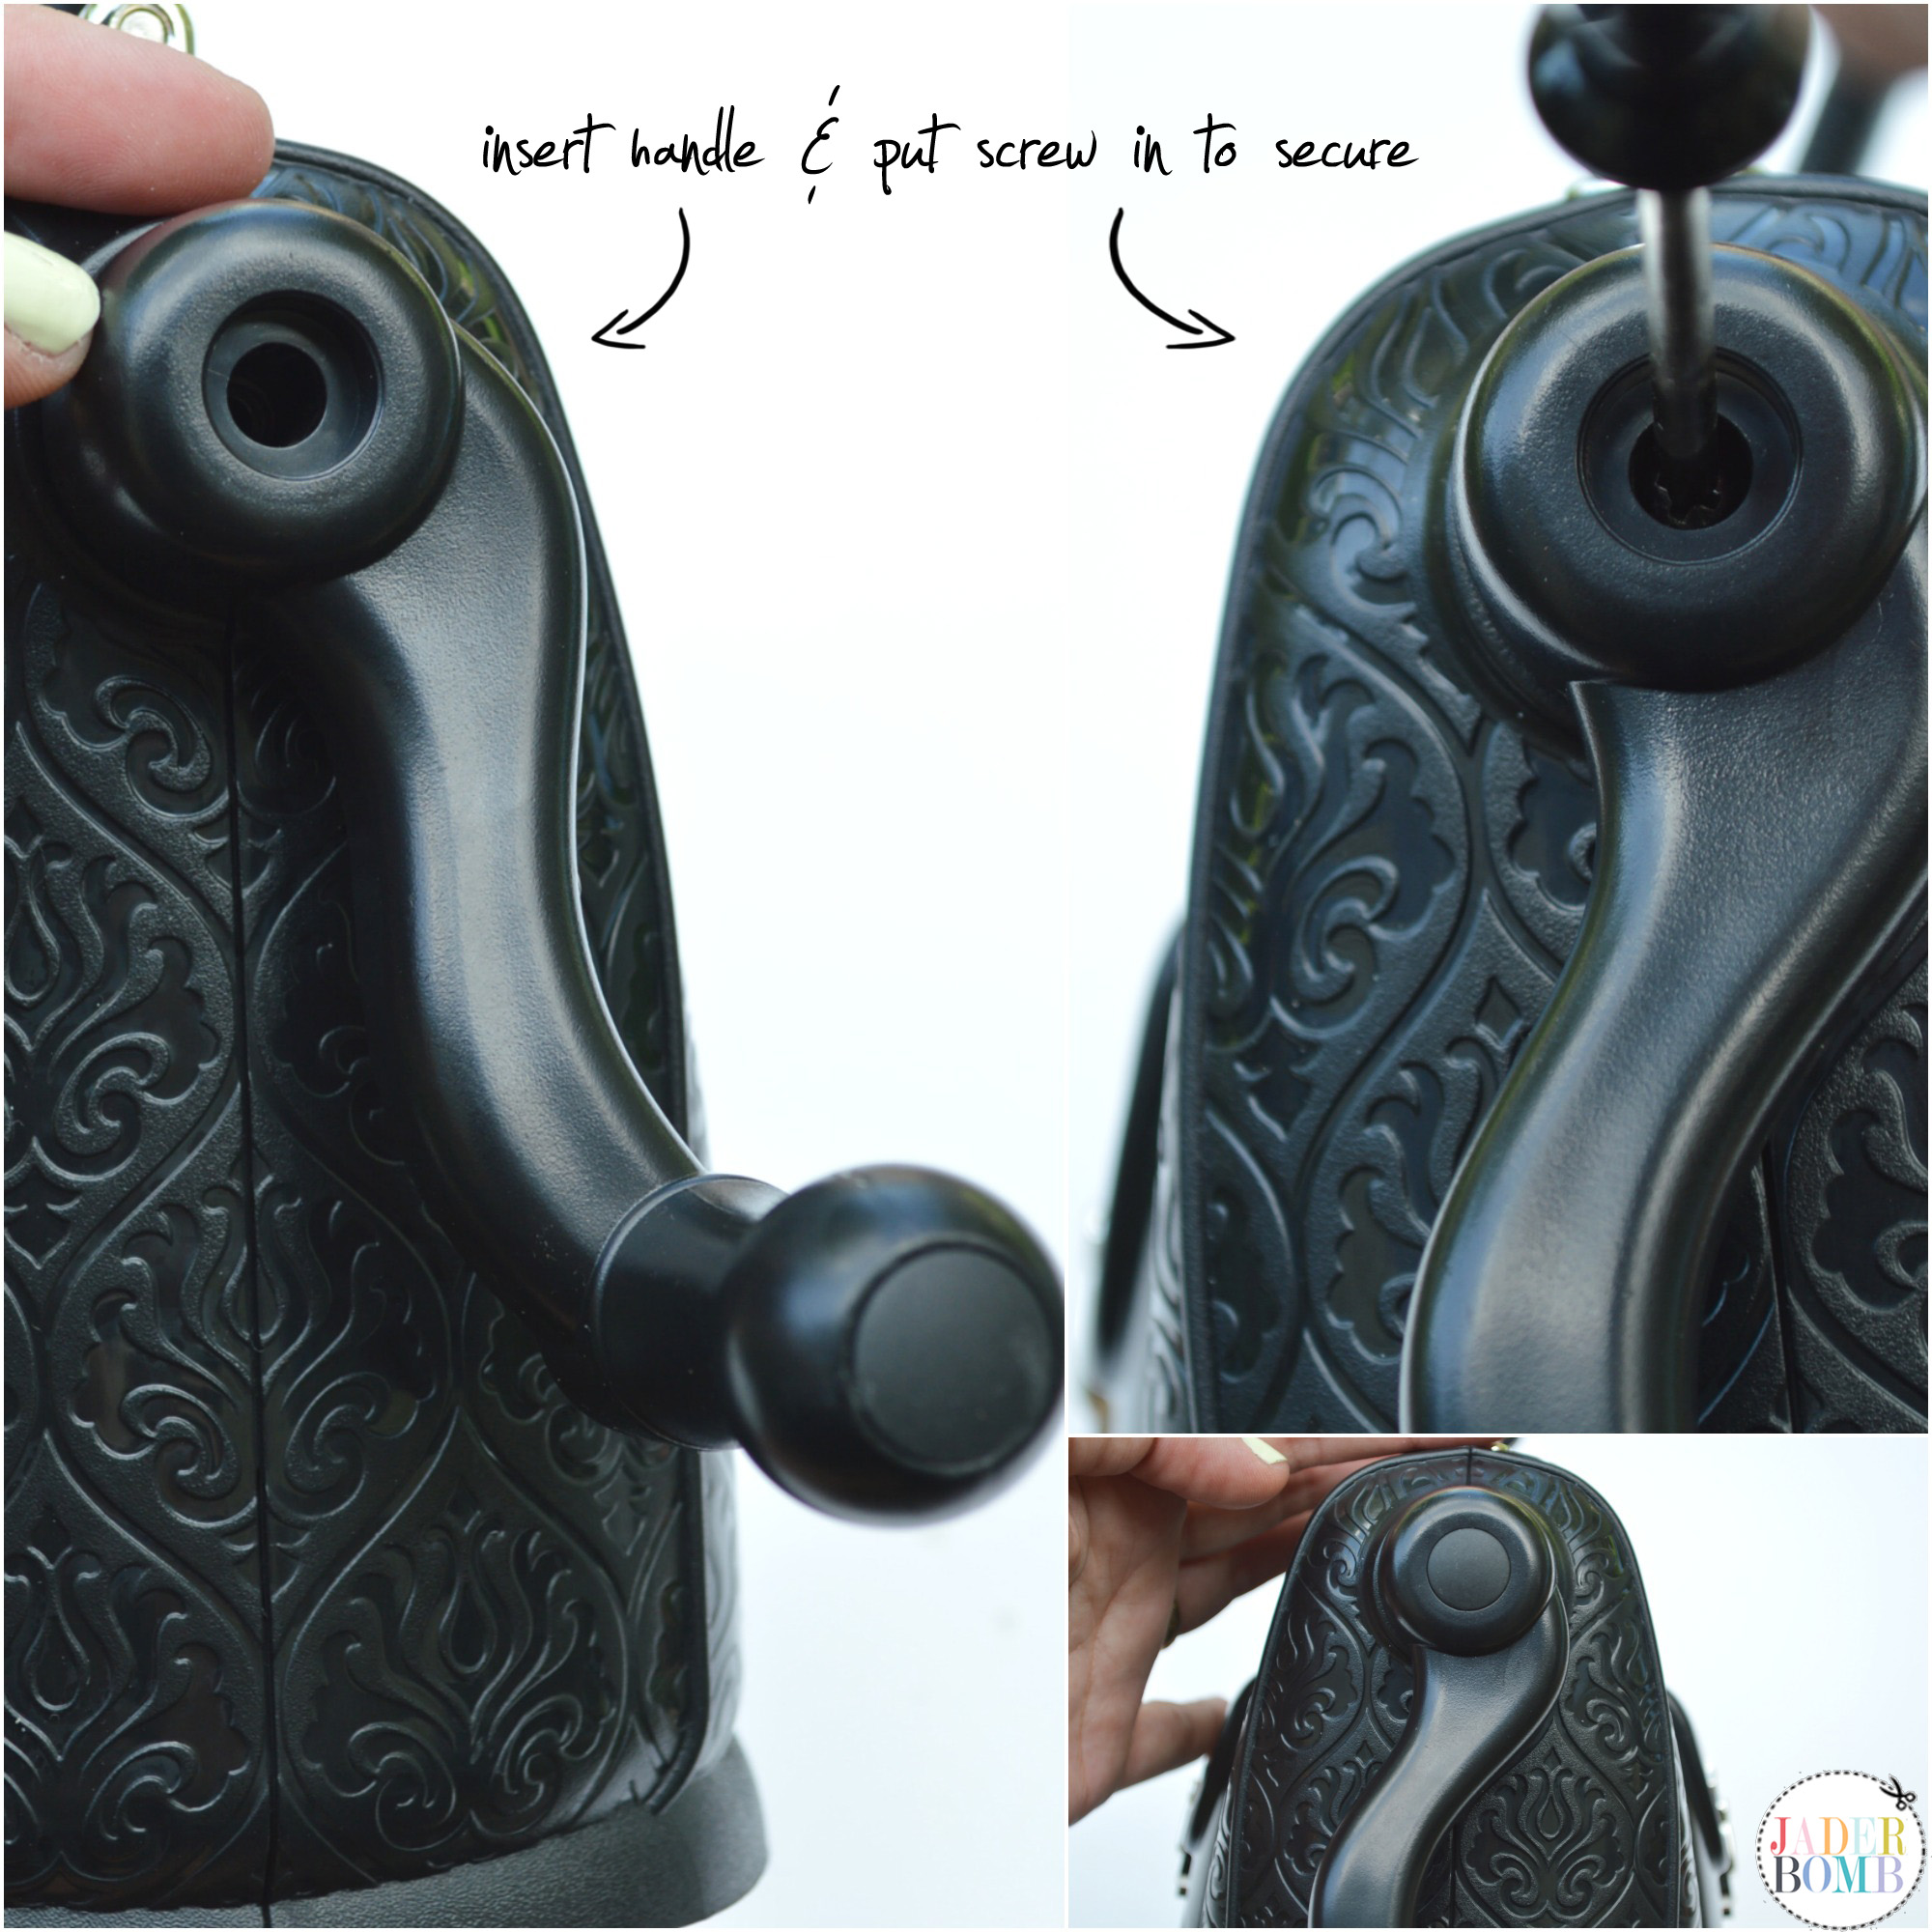
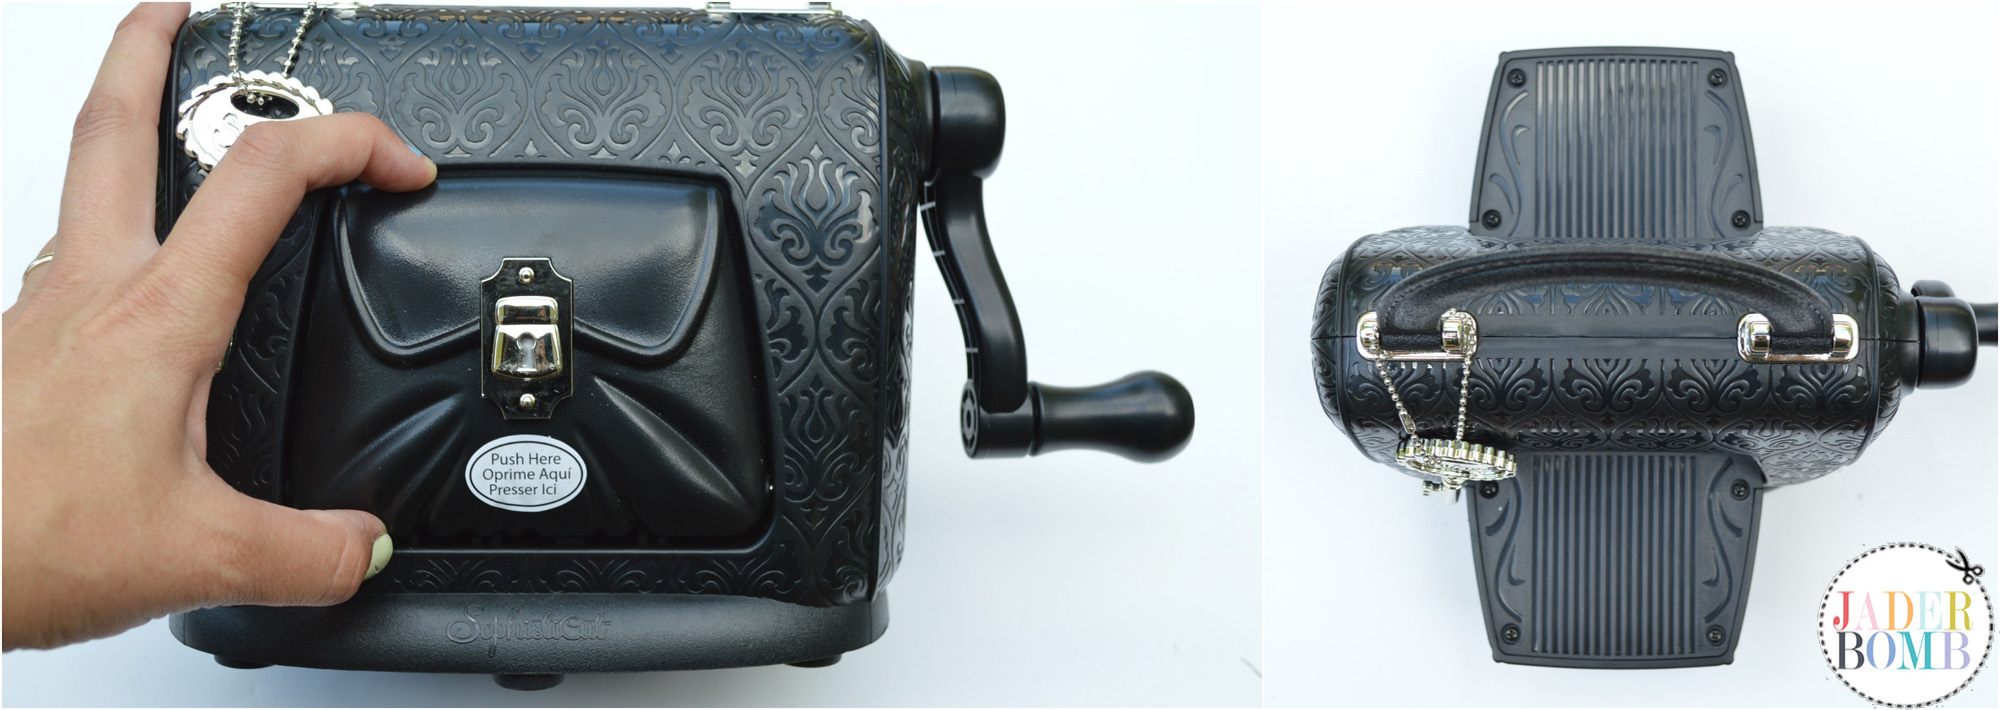
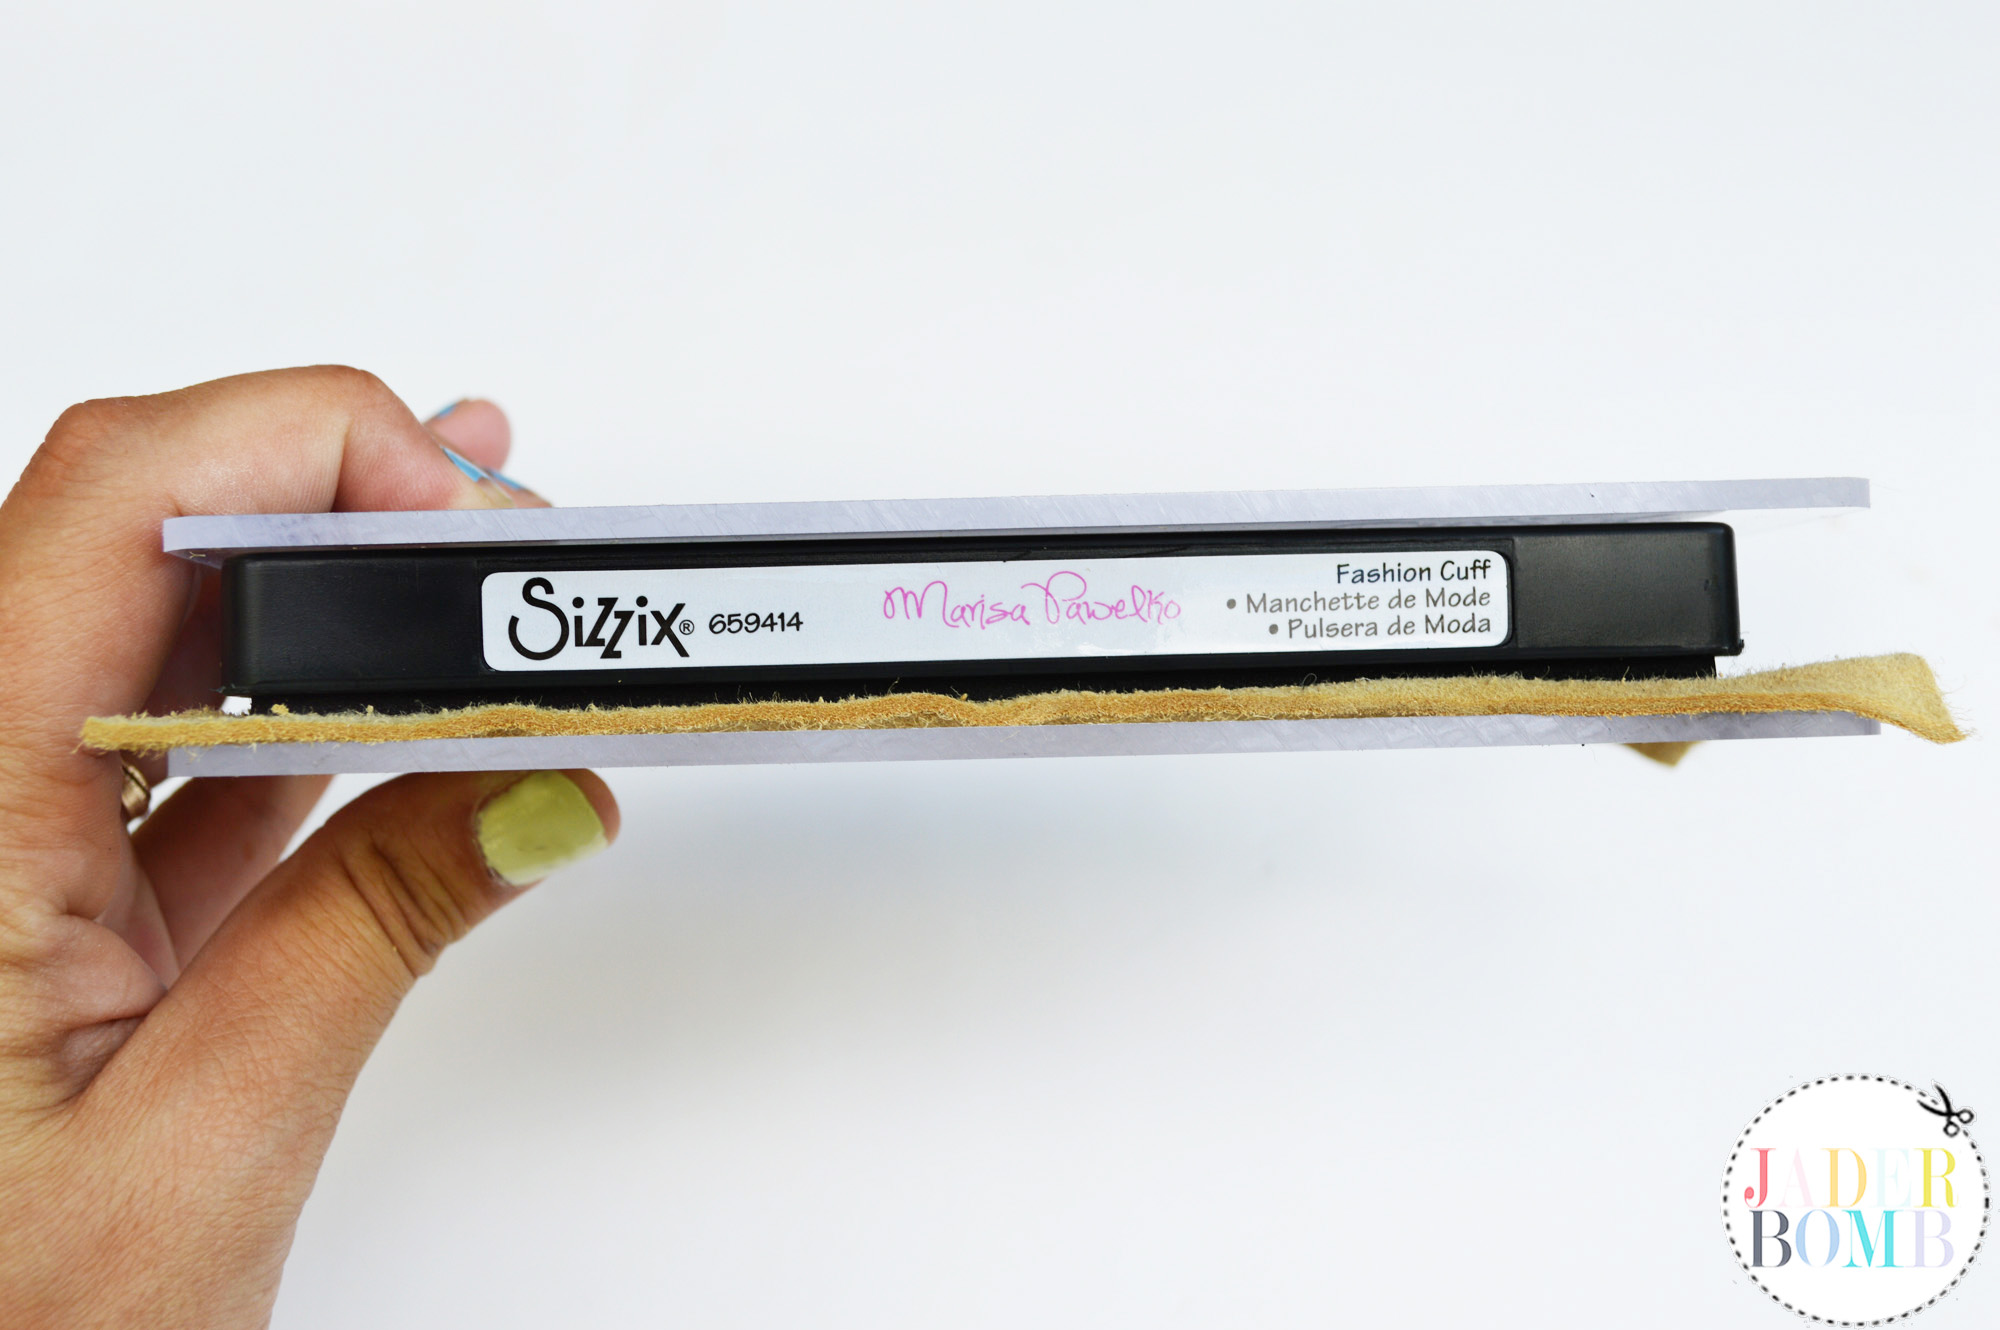
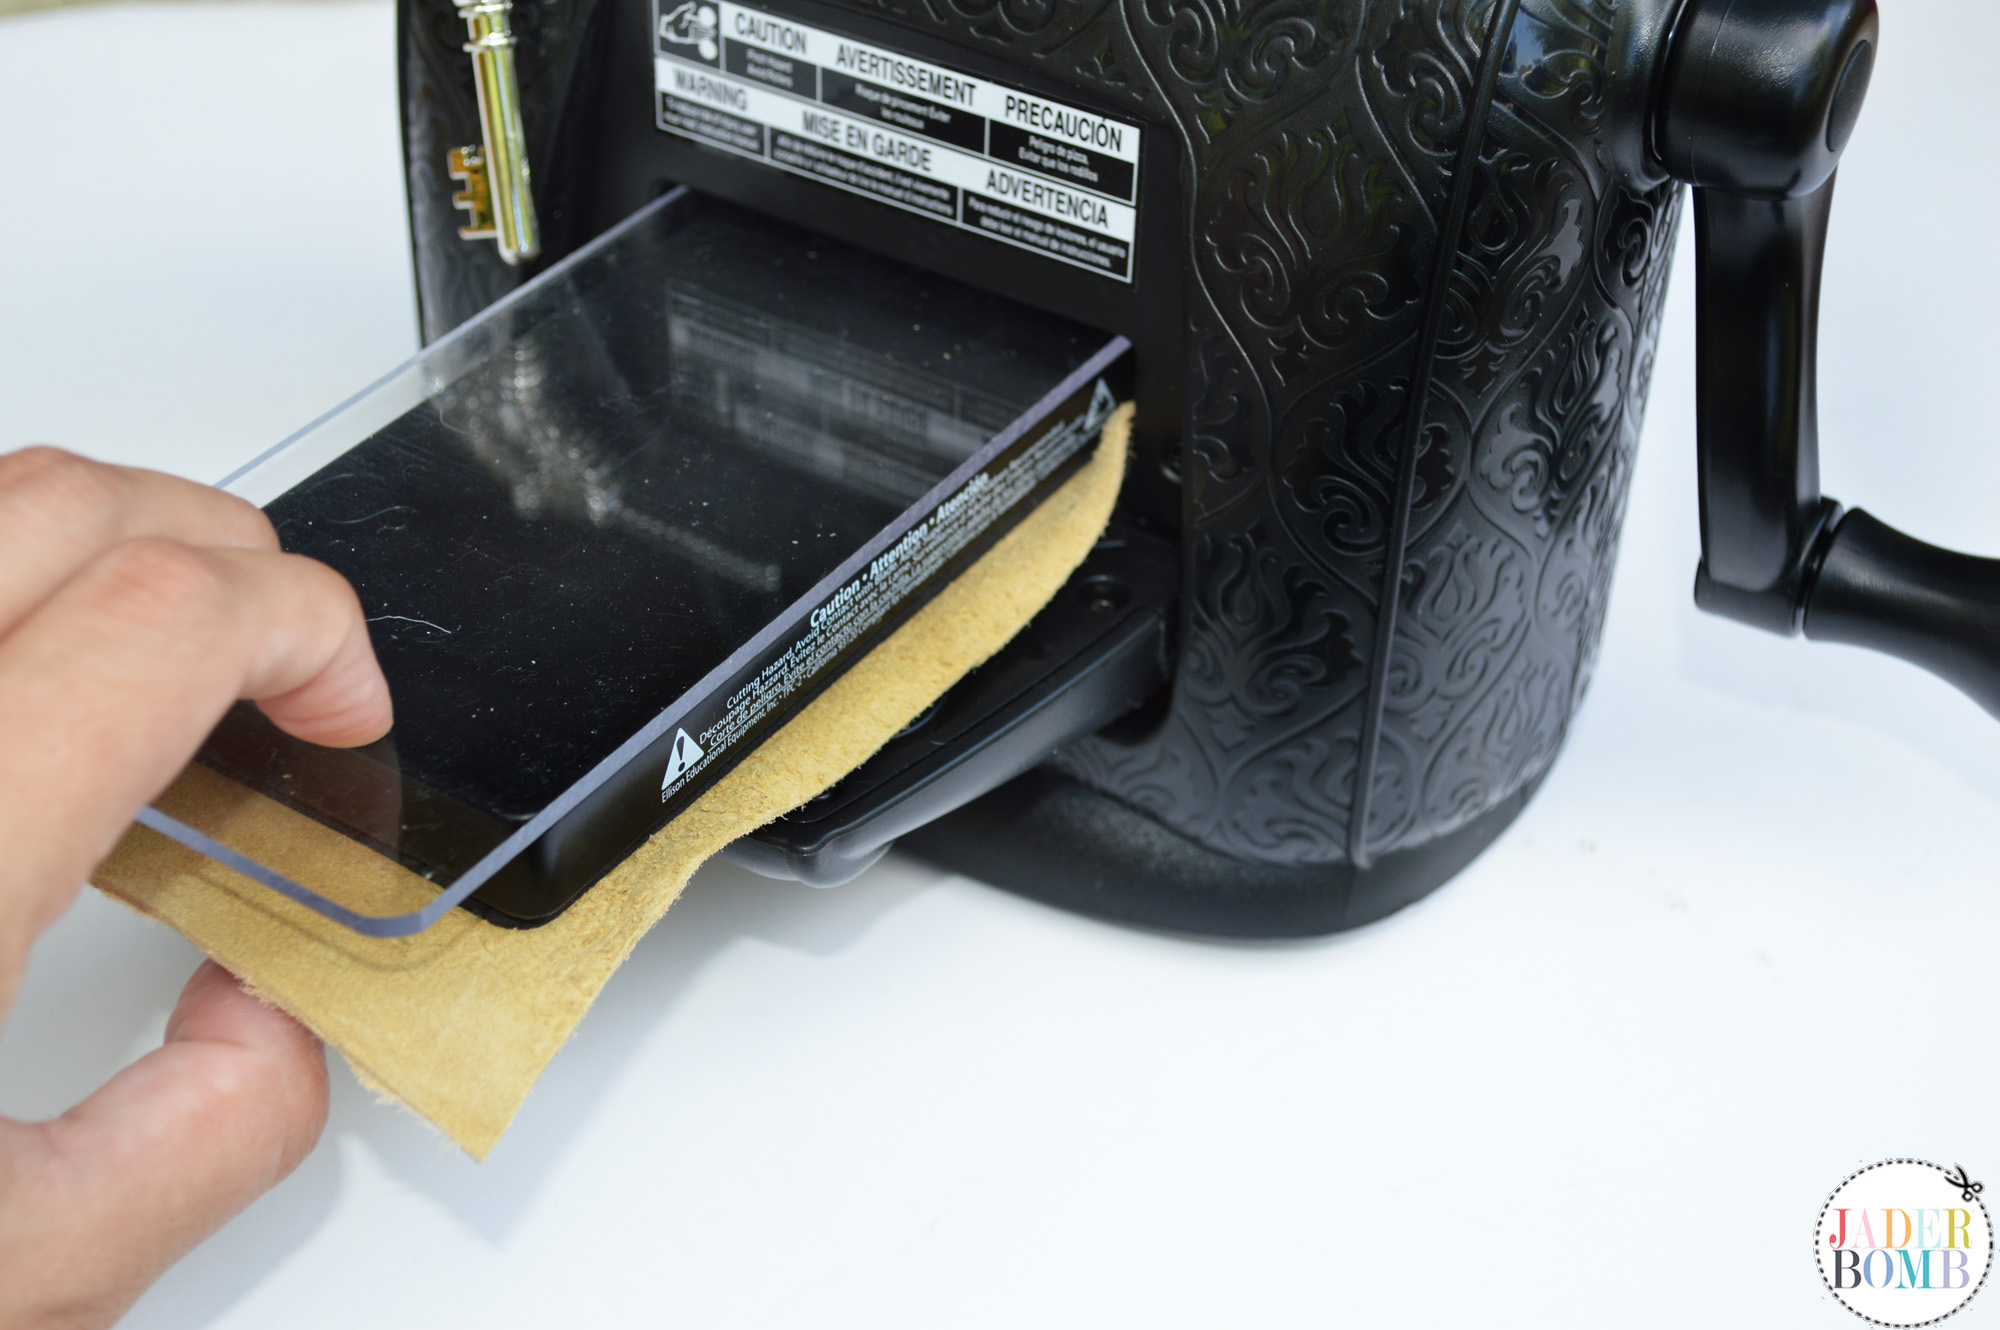
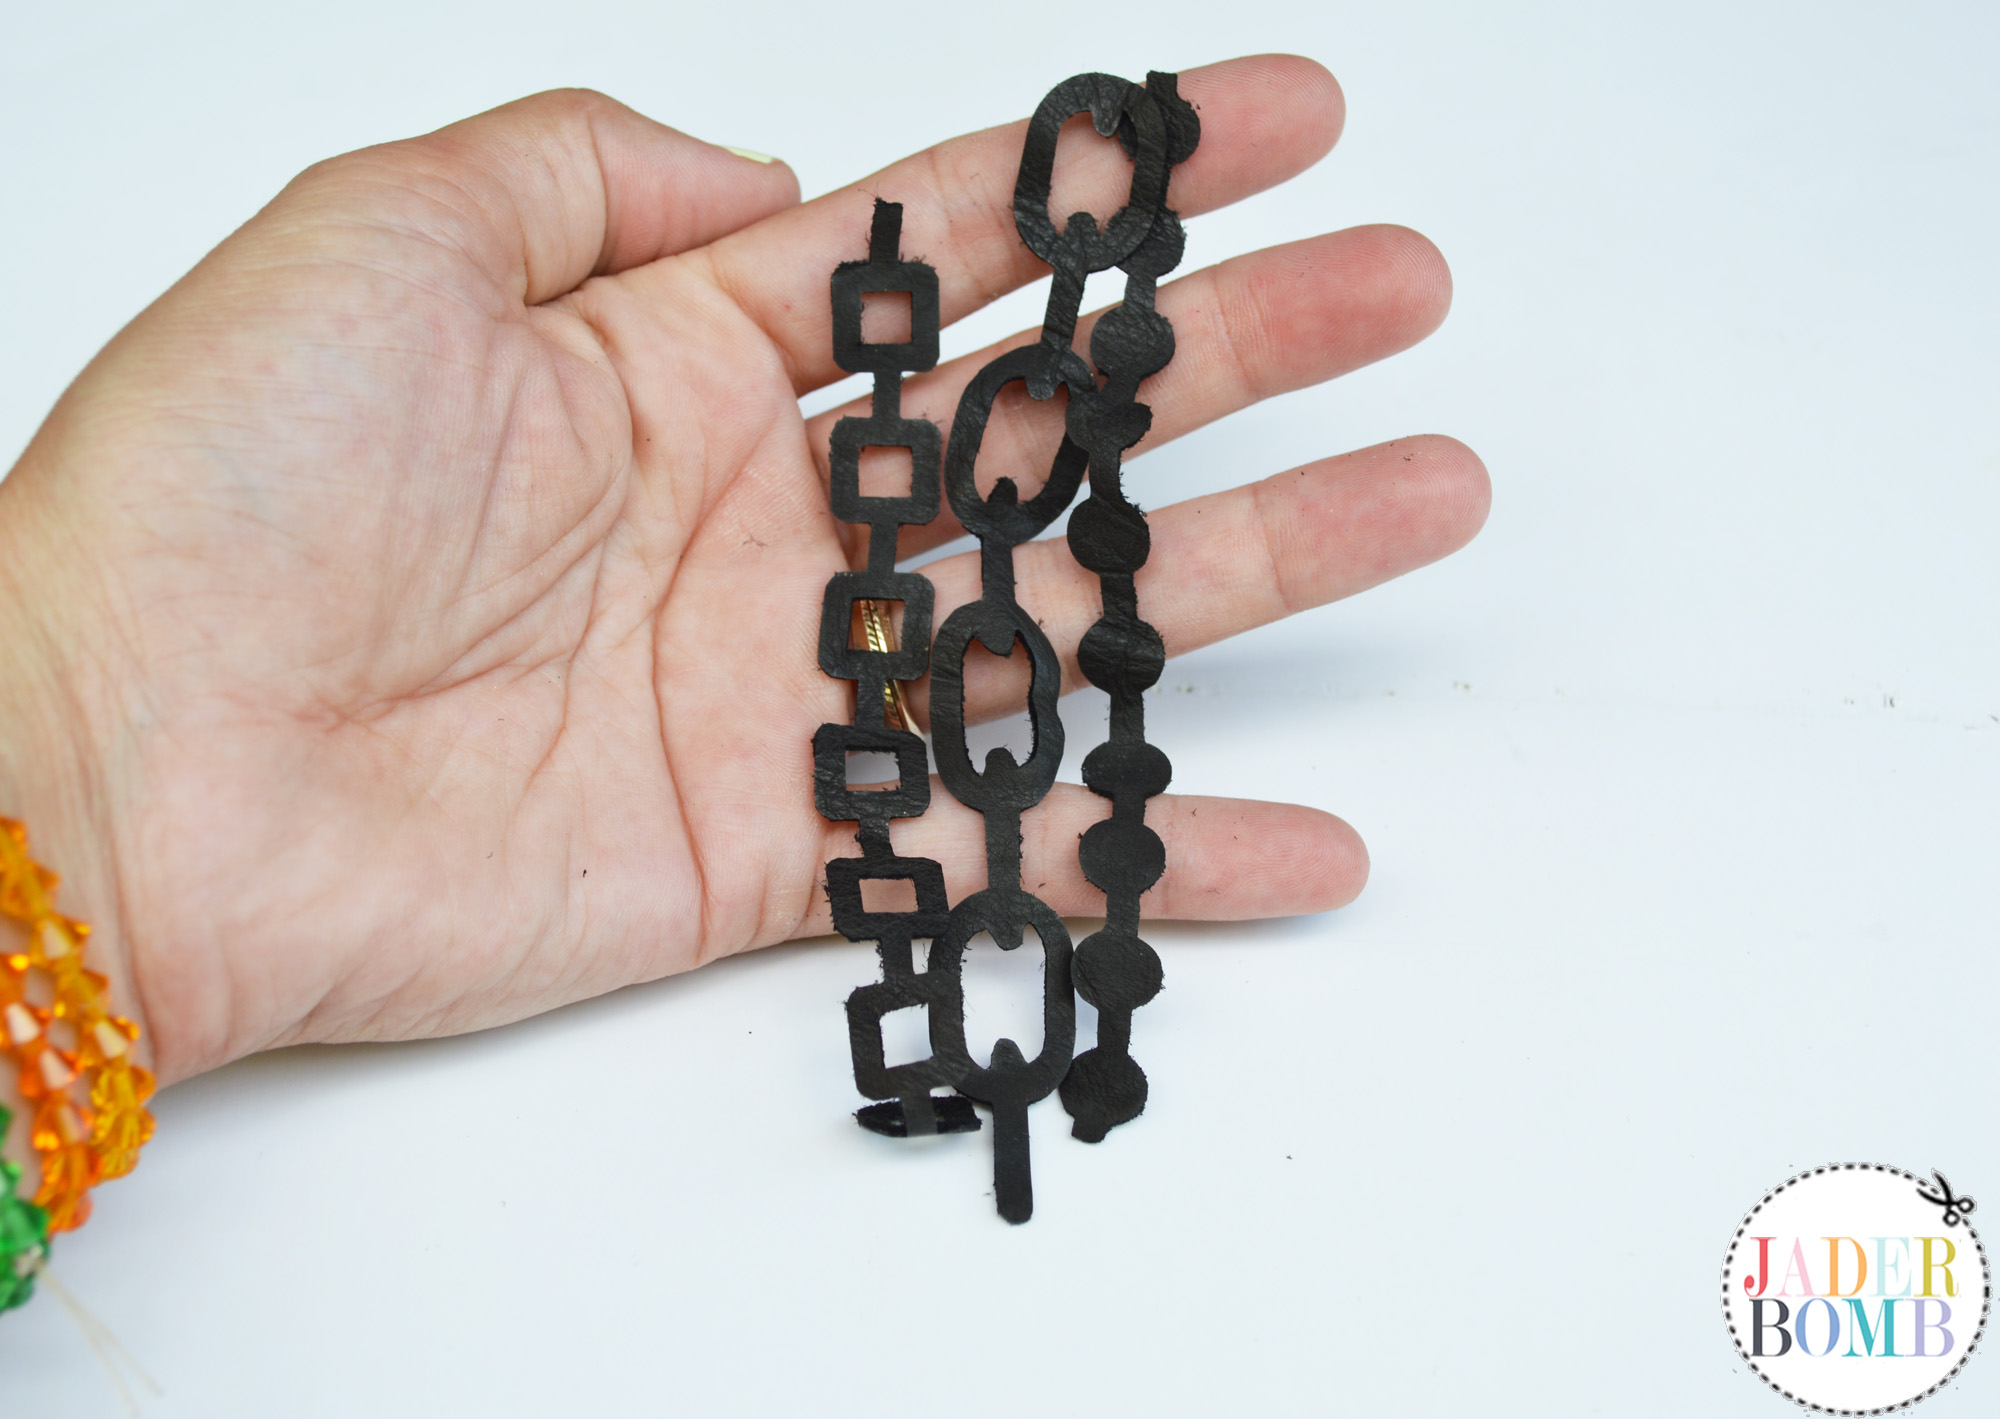
 The Sophisticate machine comes with a few parts that you will have to assemble, but don’t worry it’s simple!
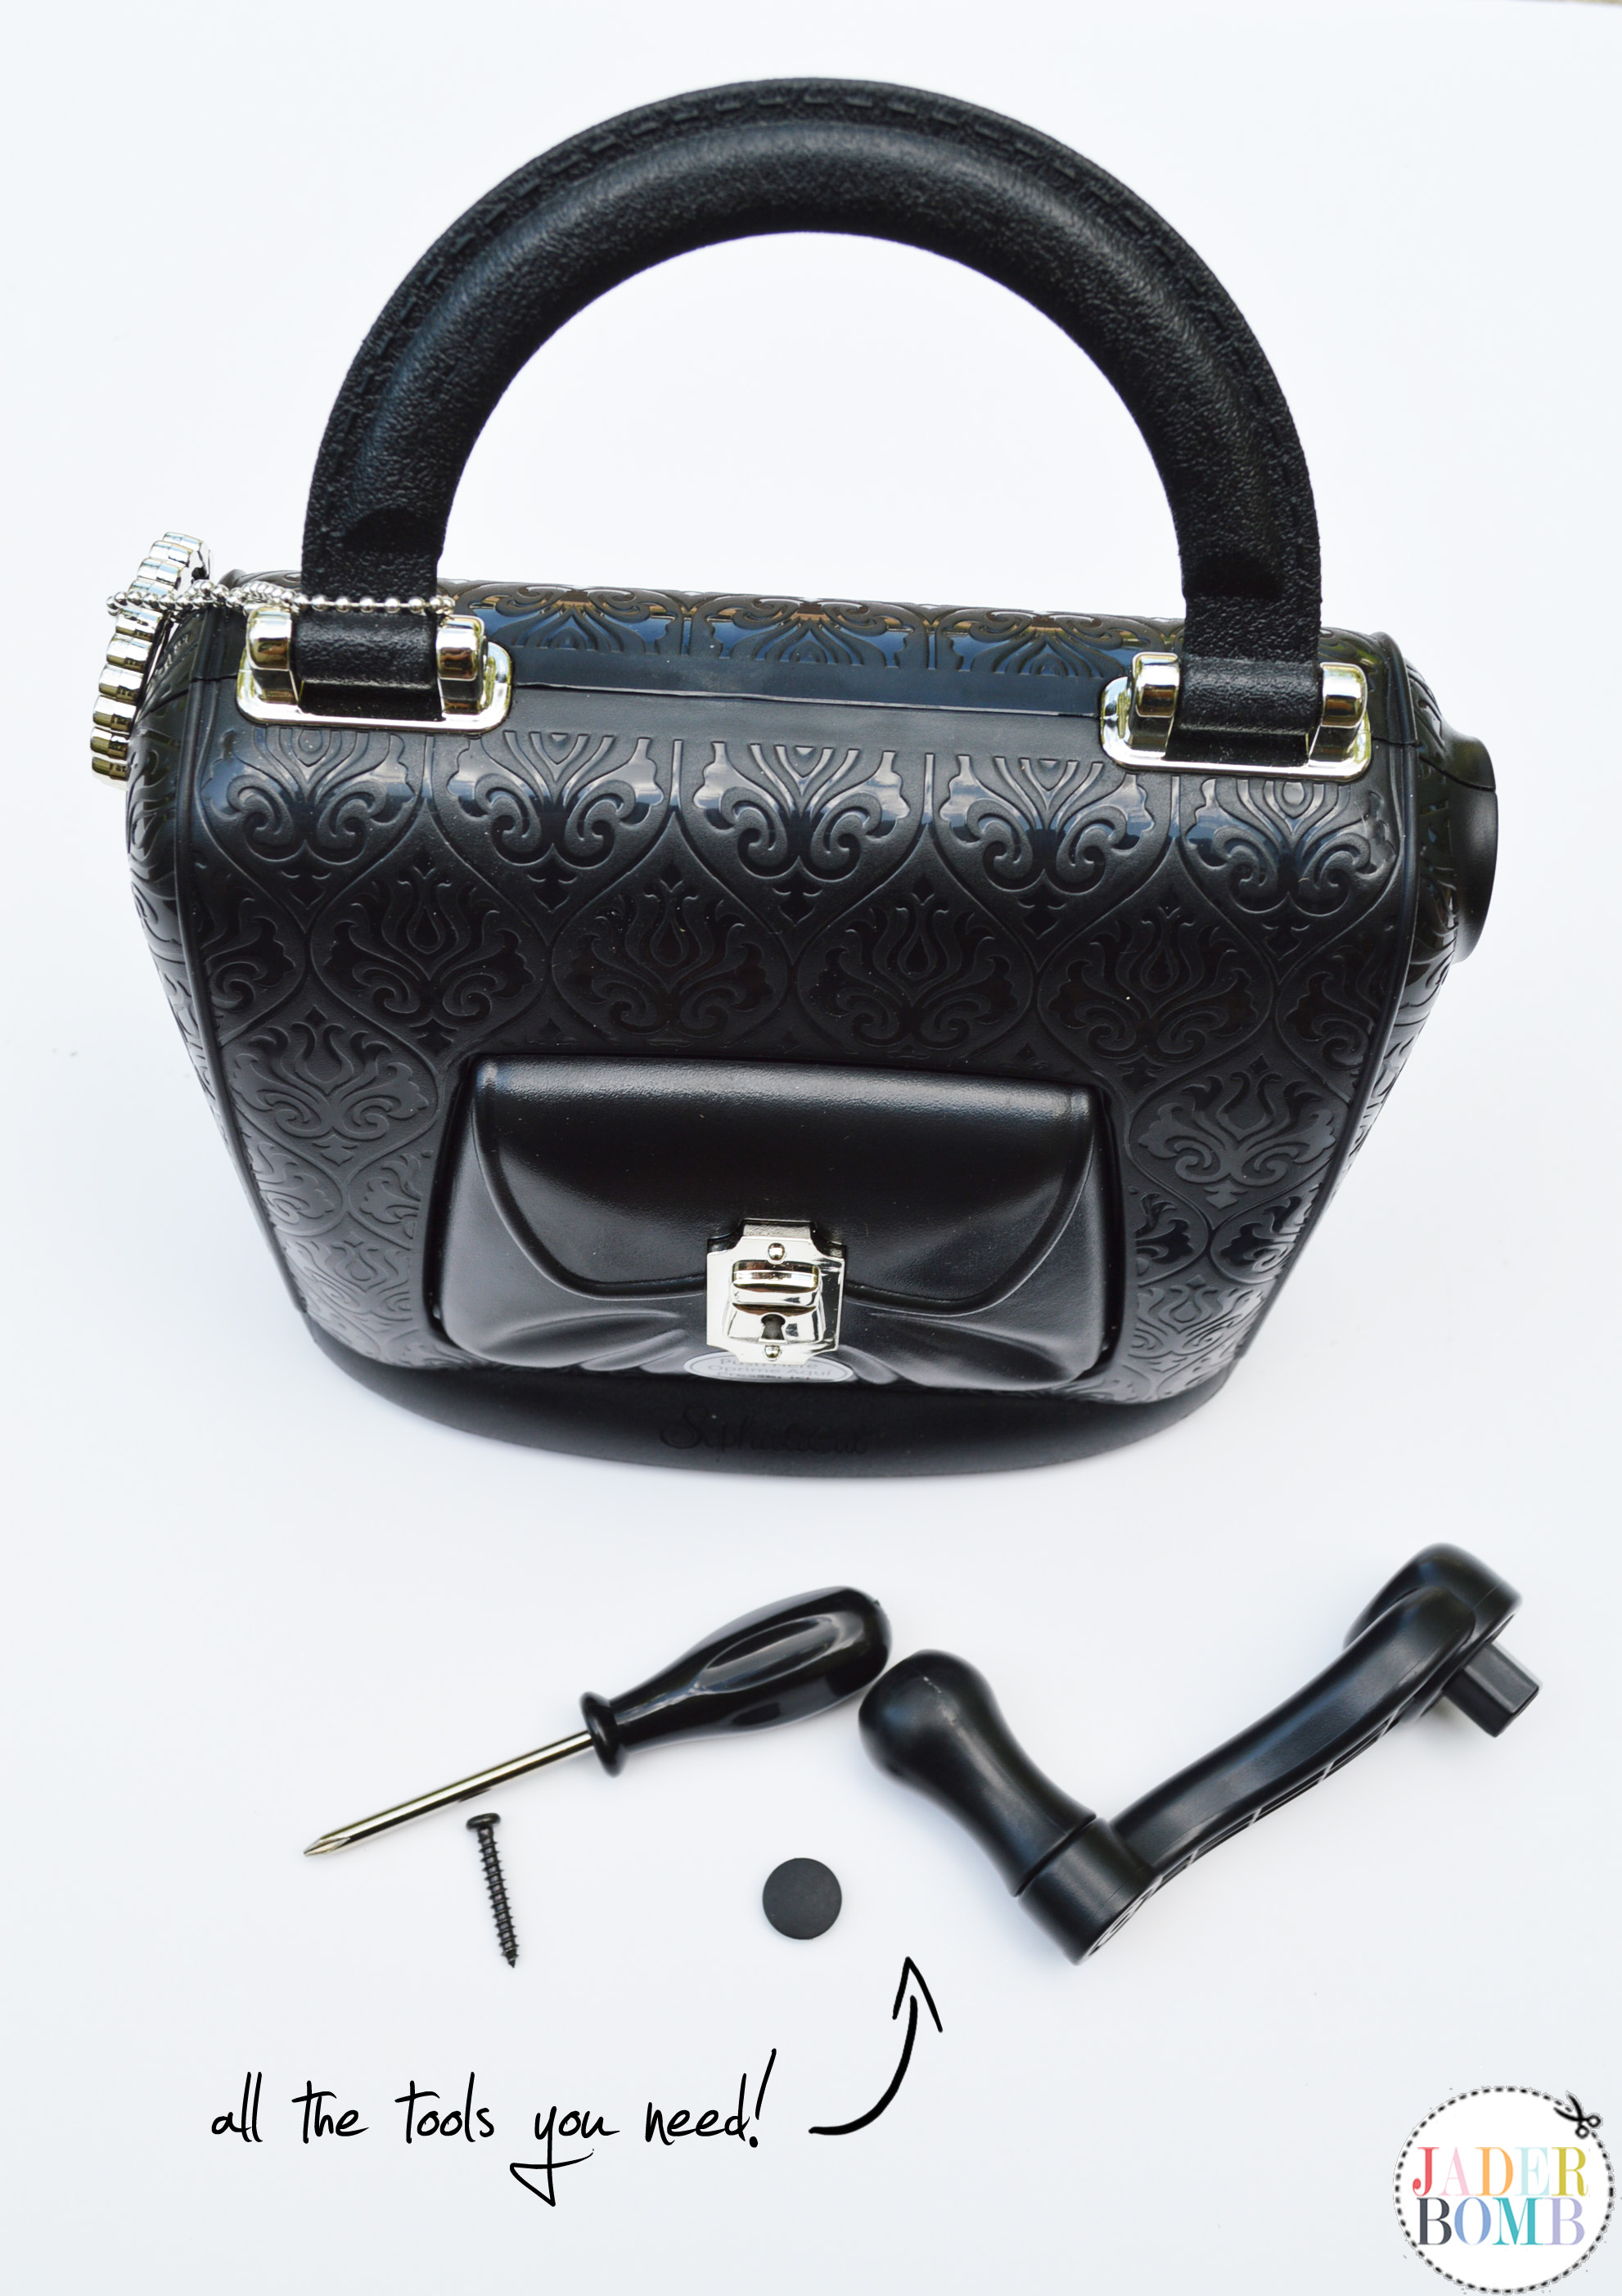

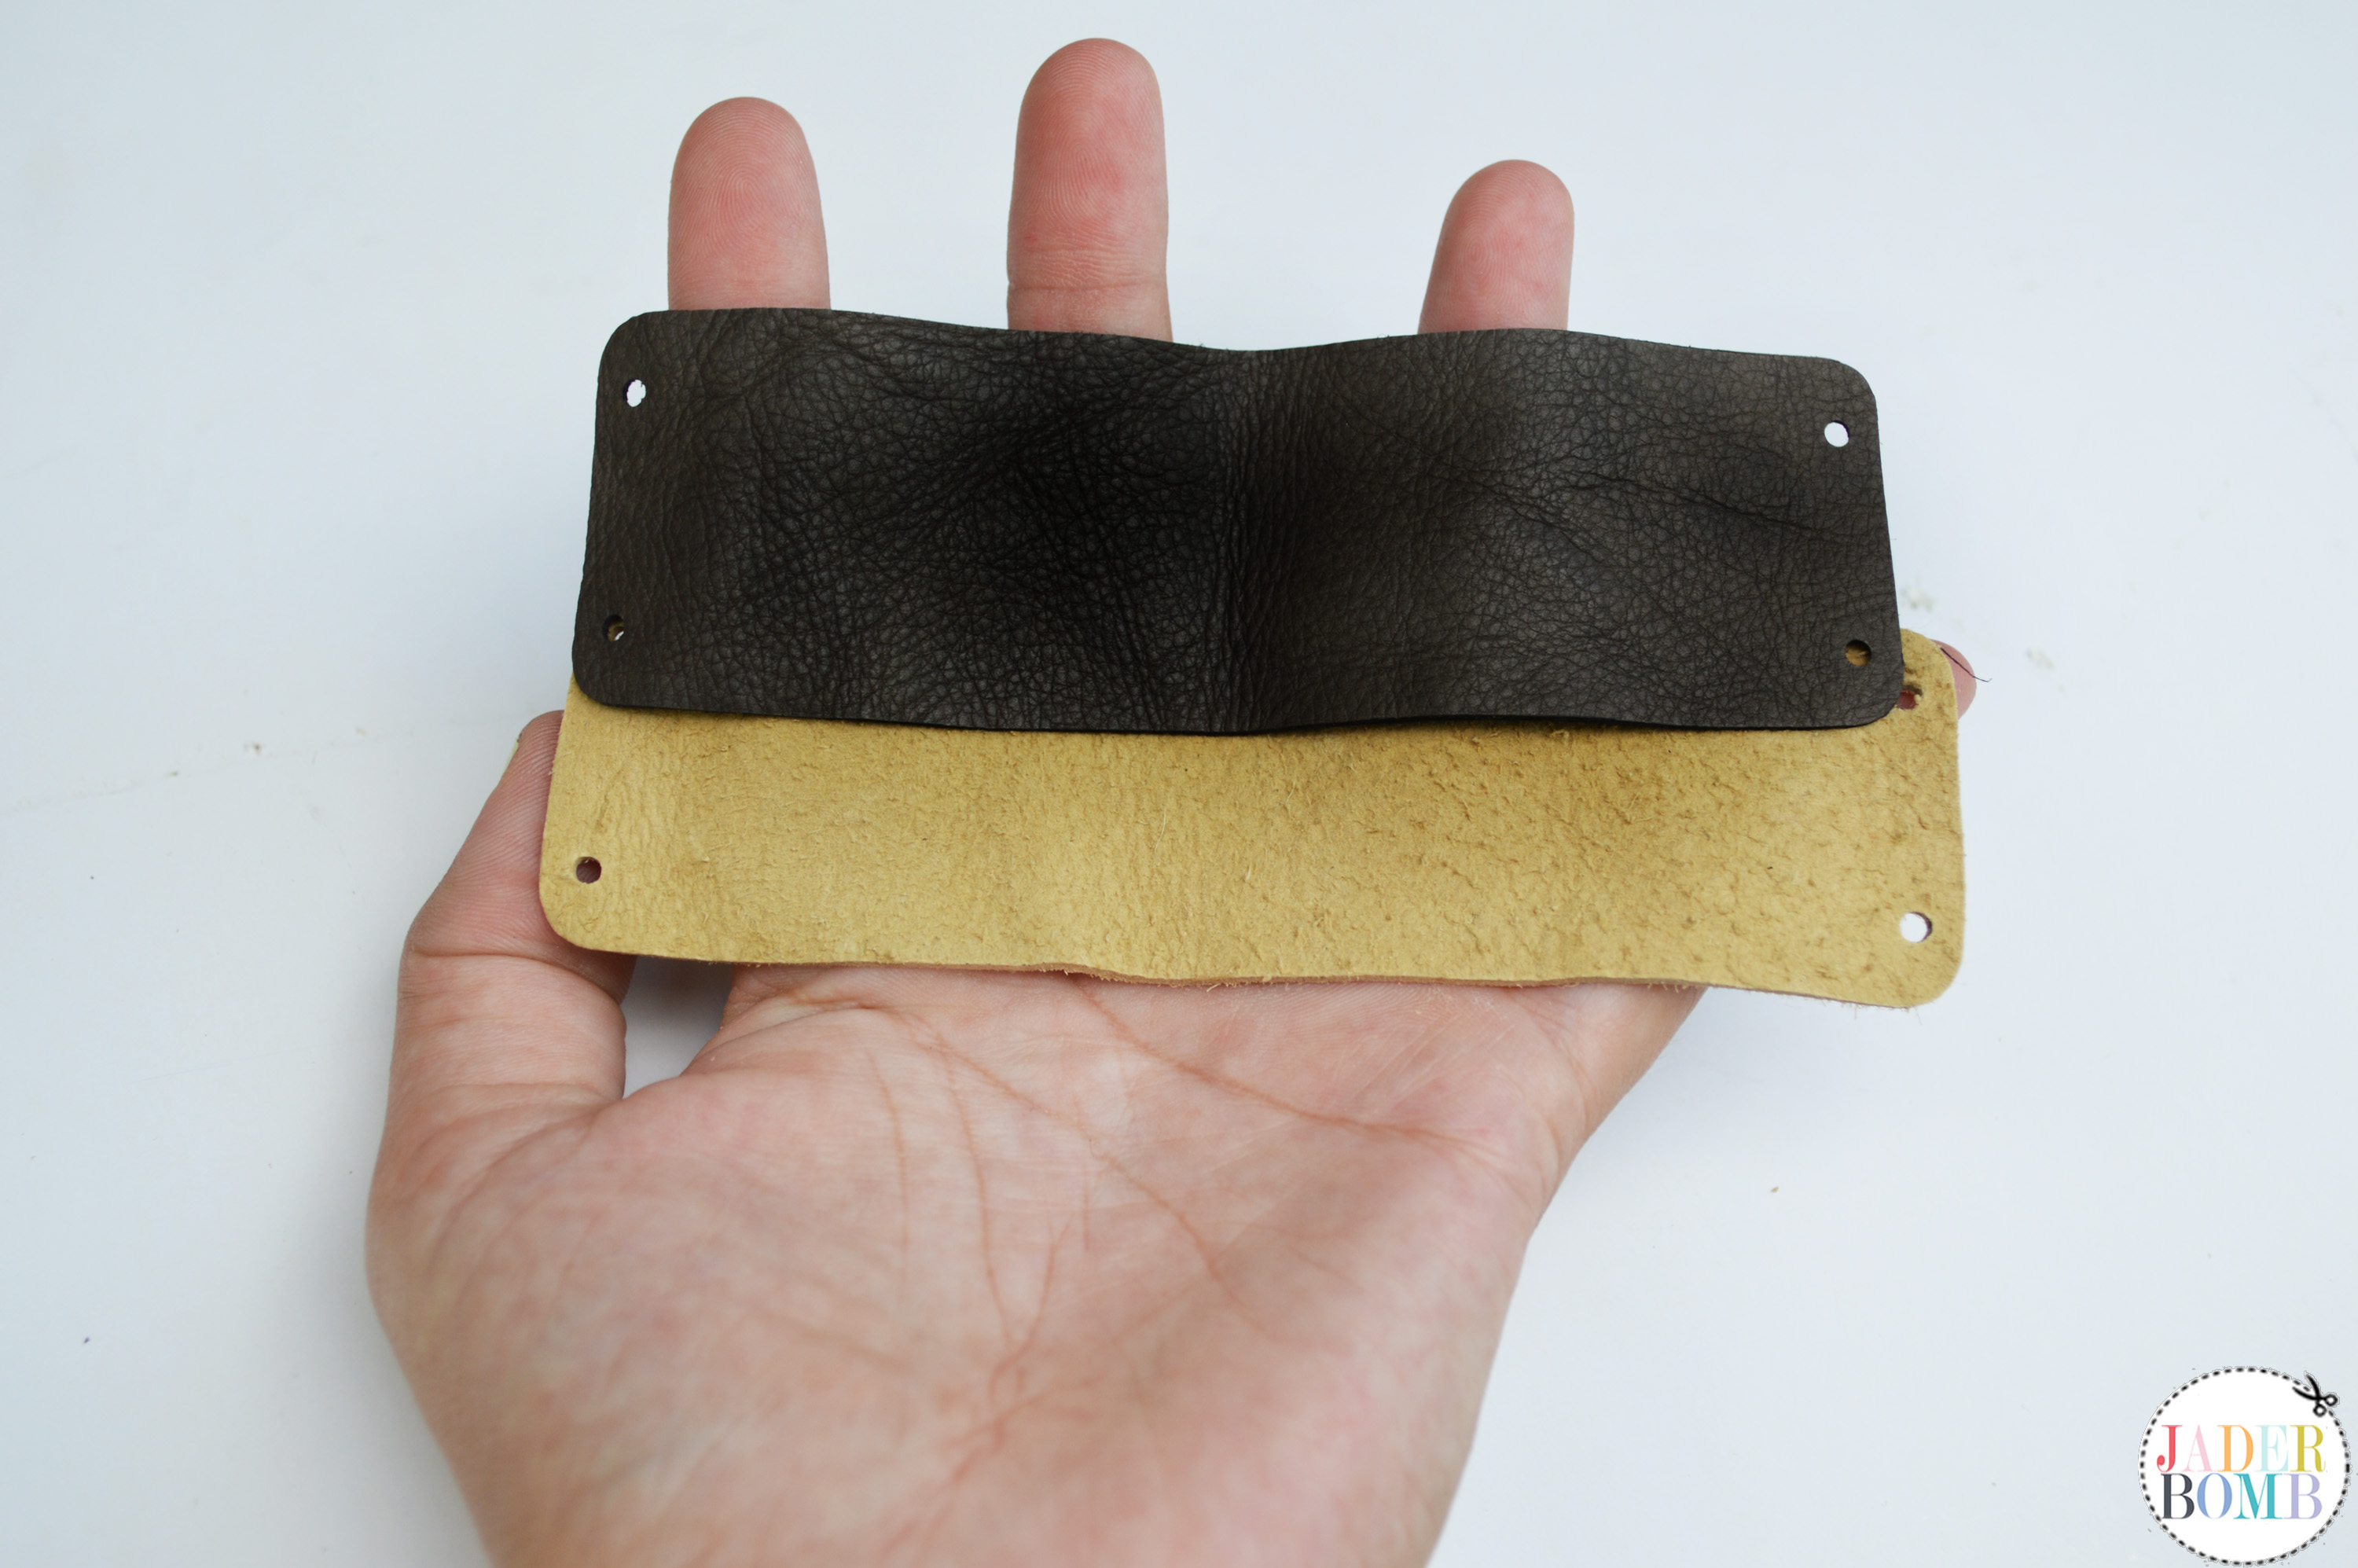

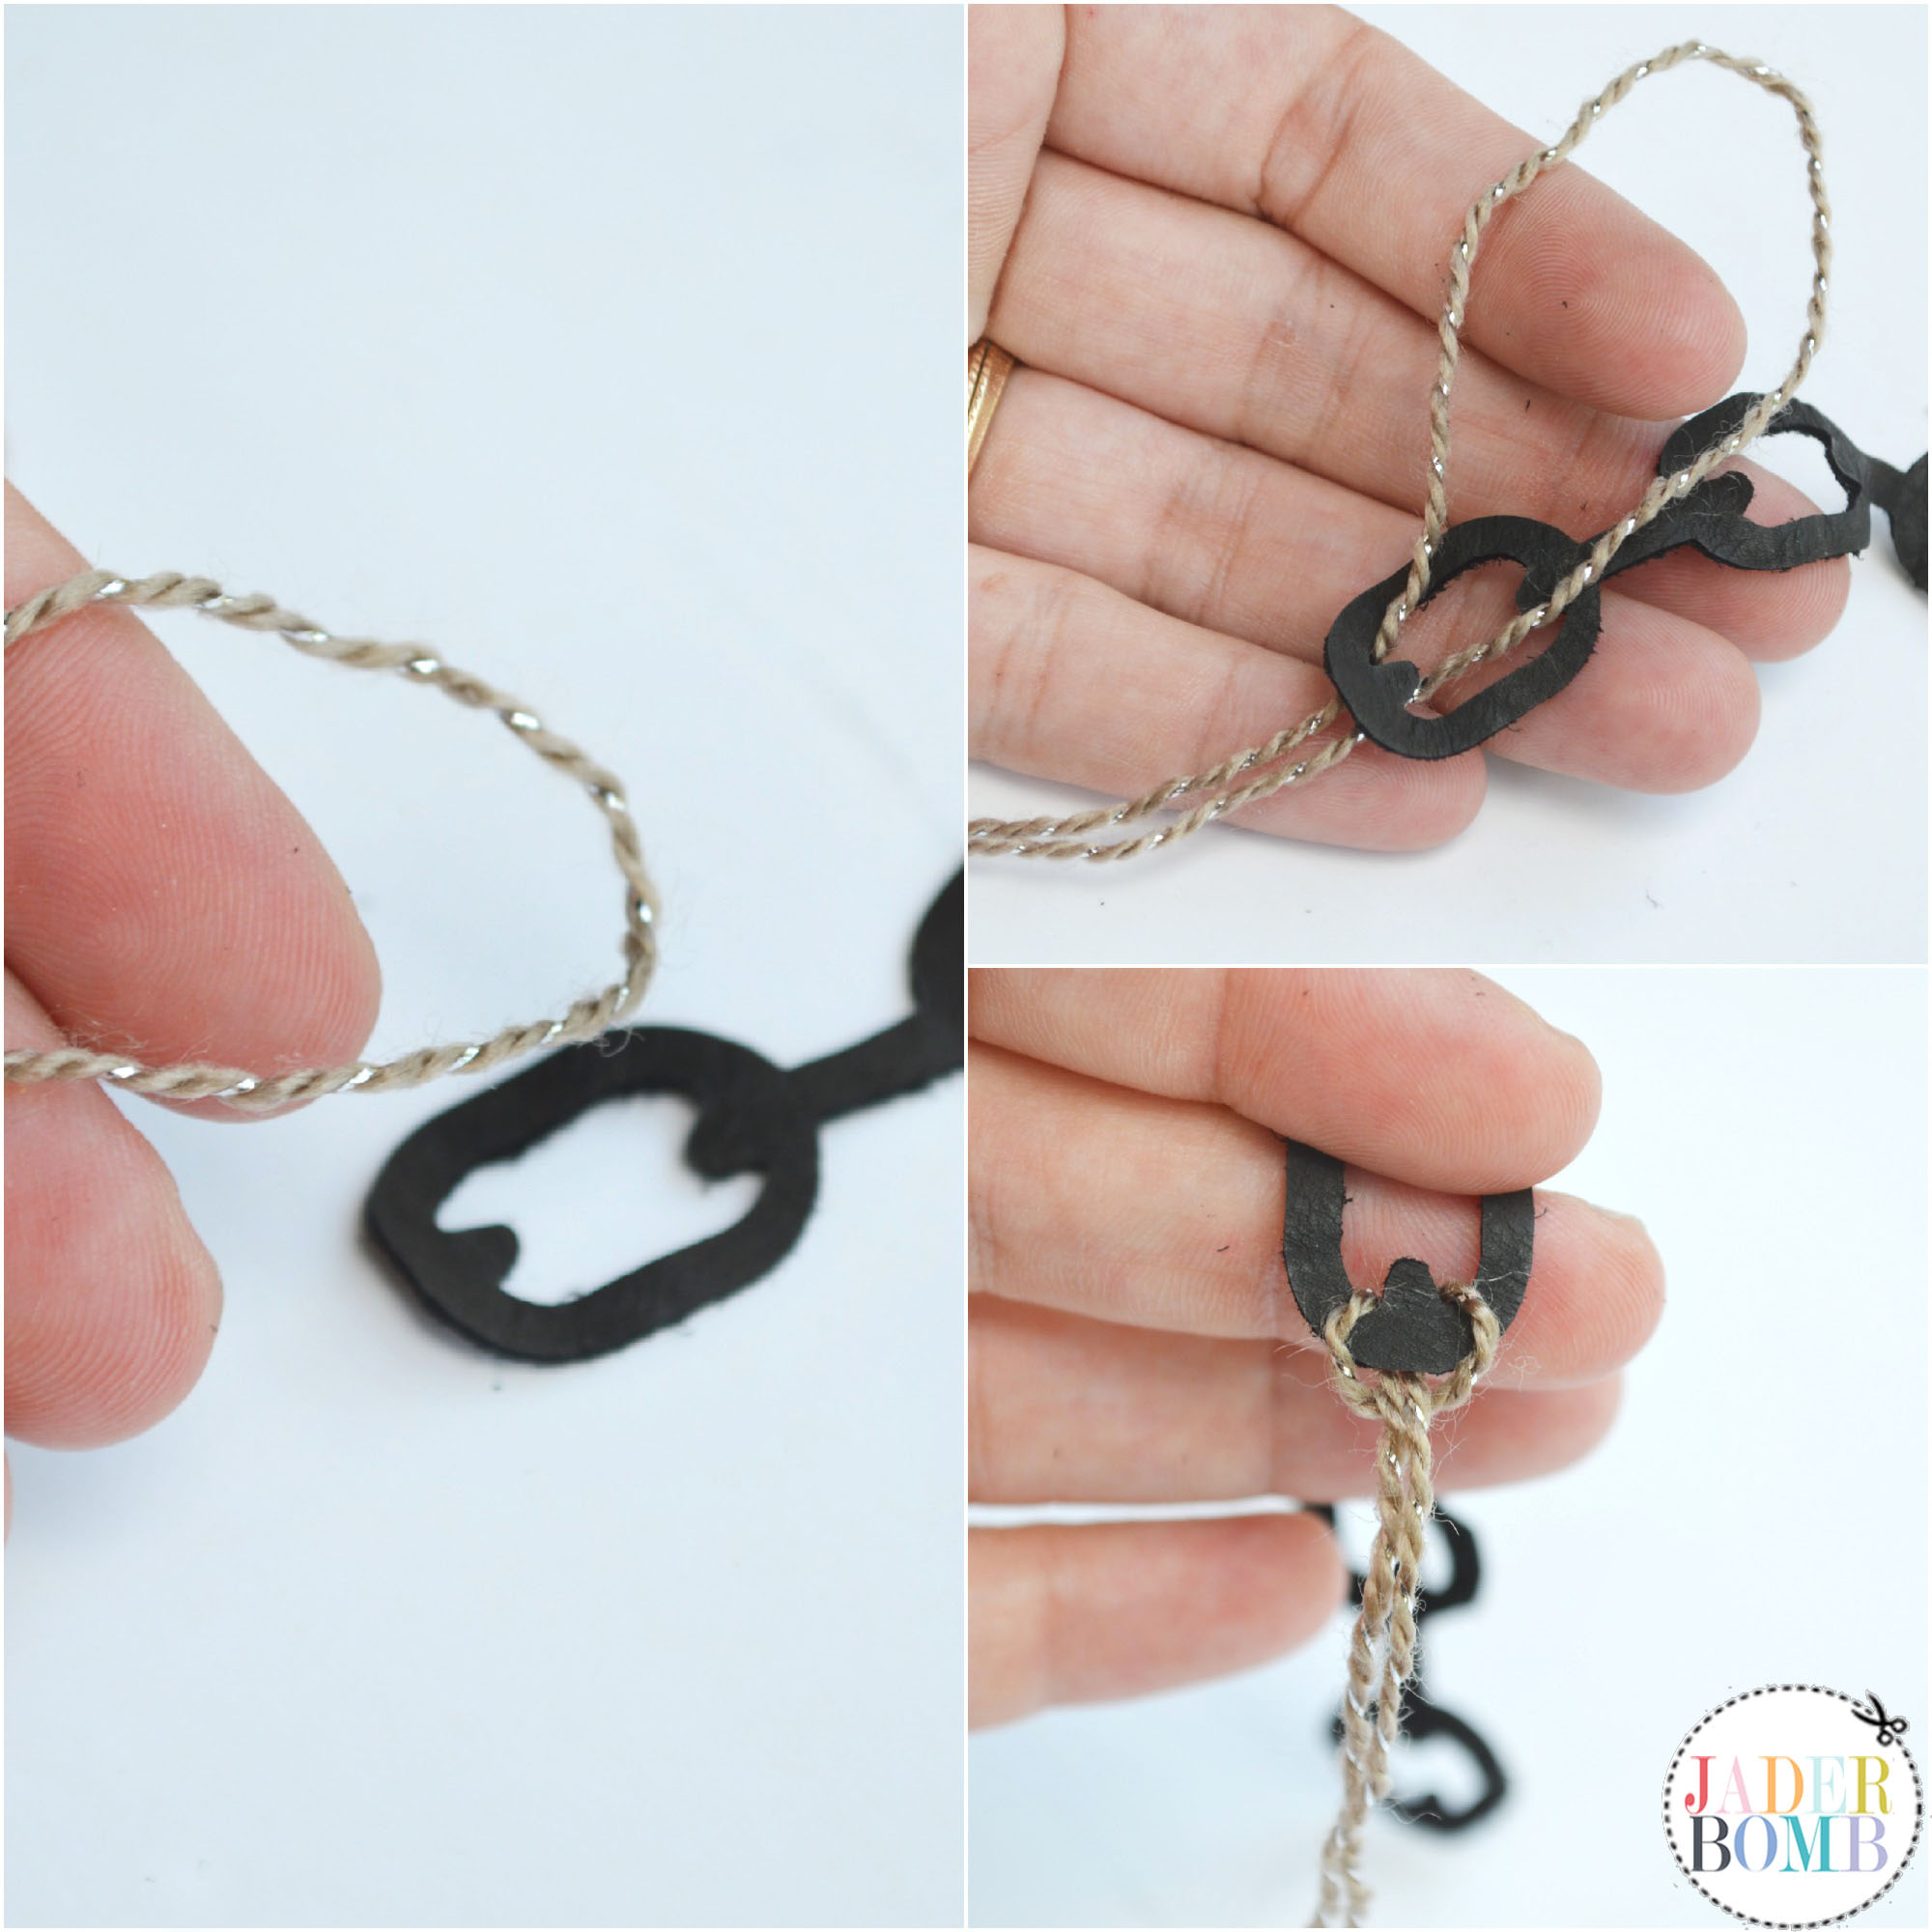
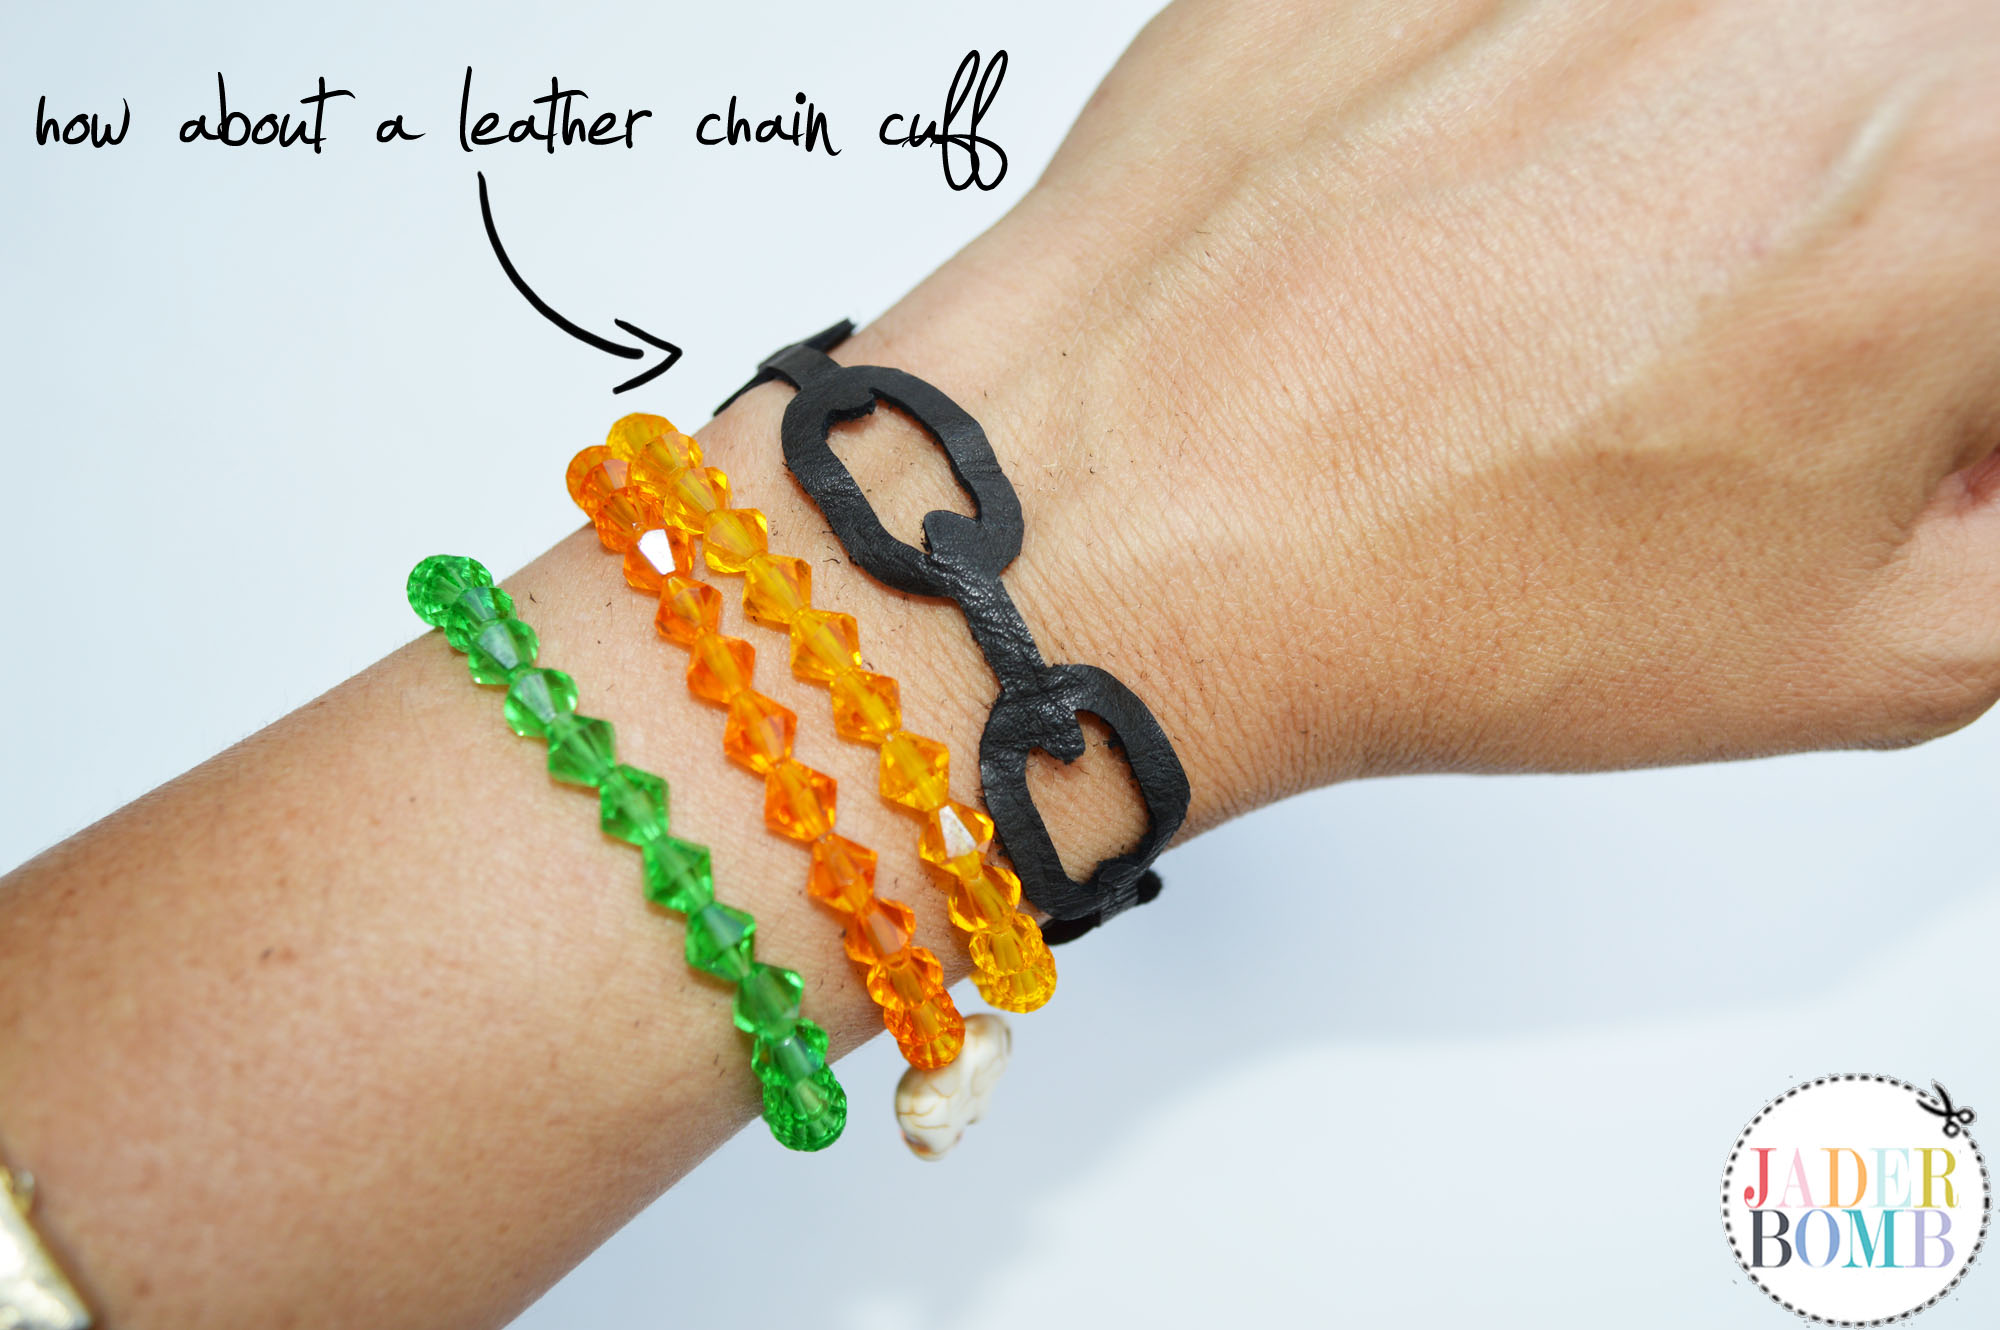
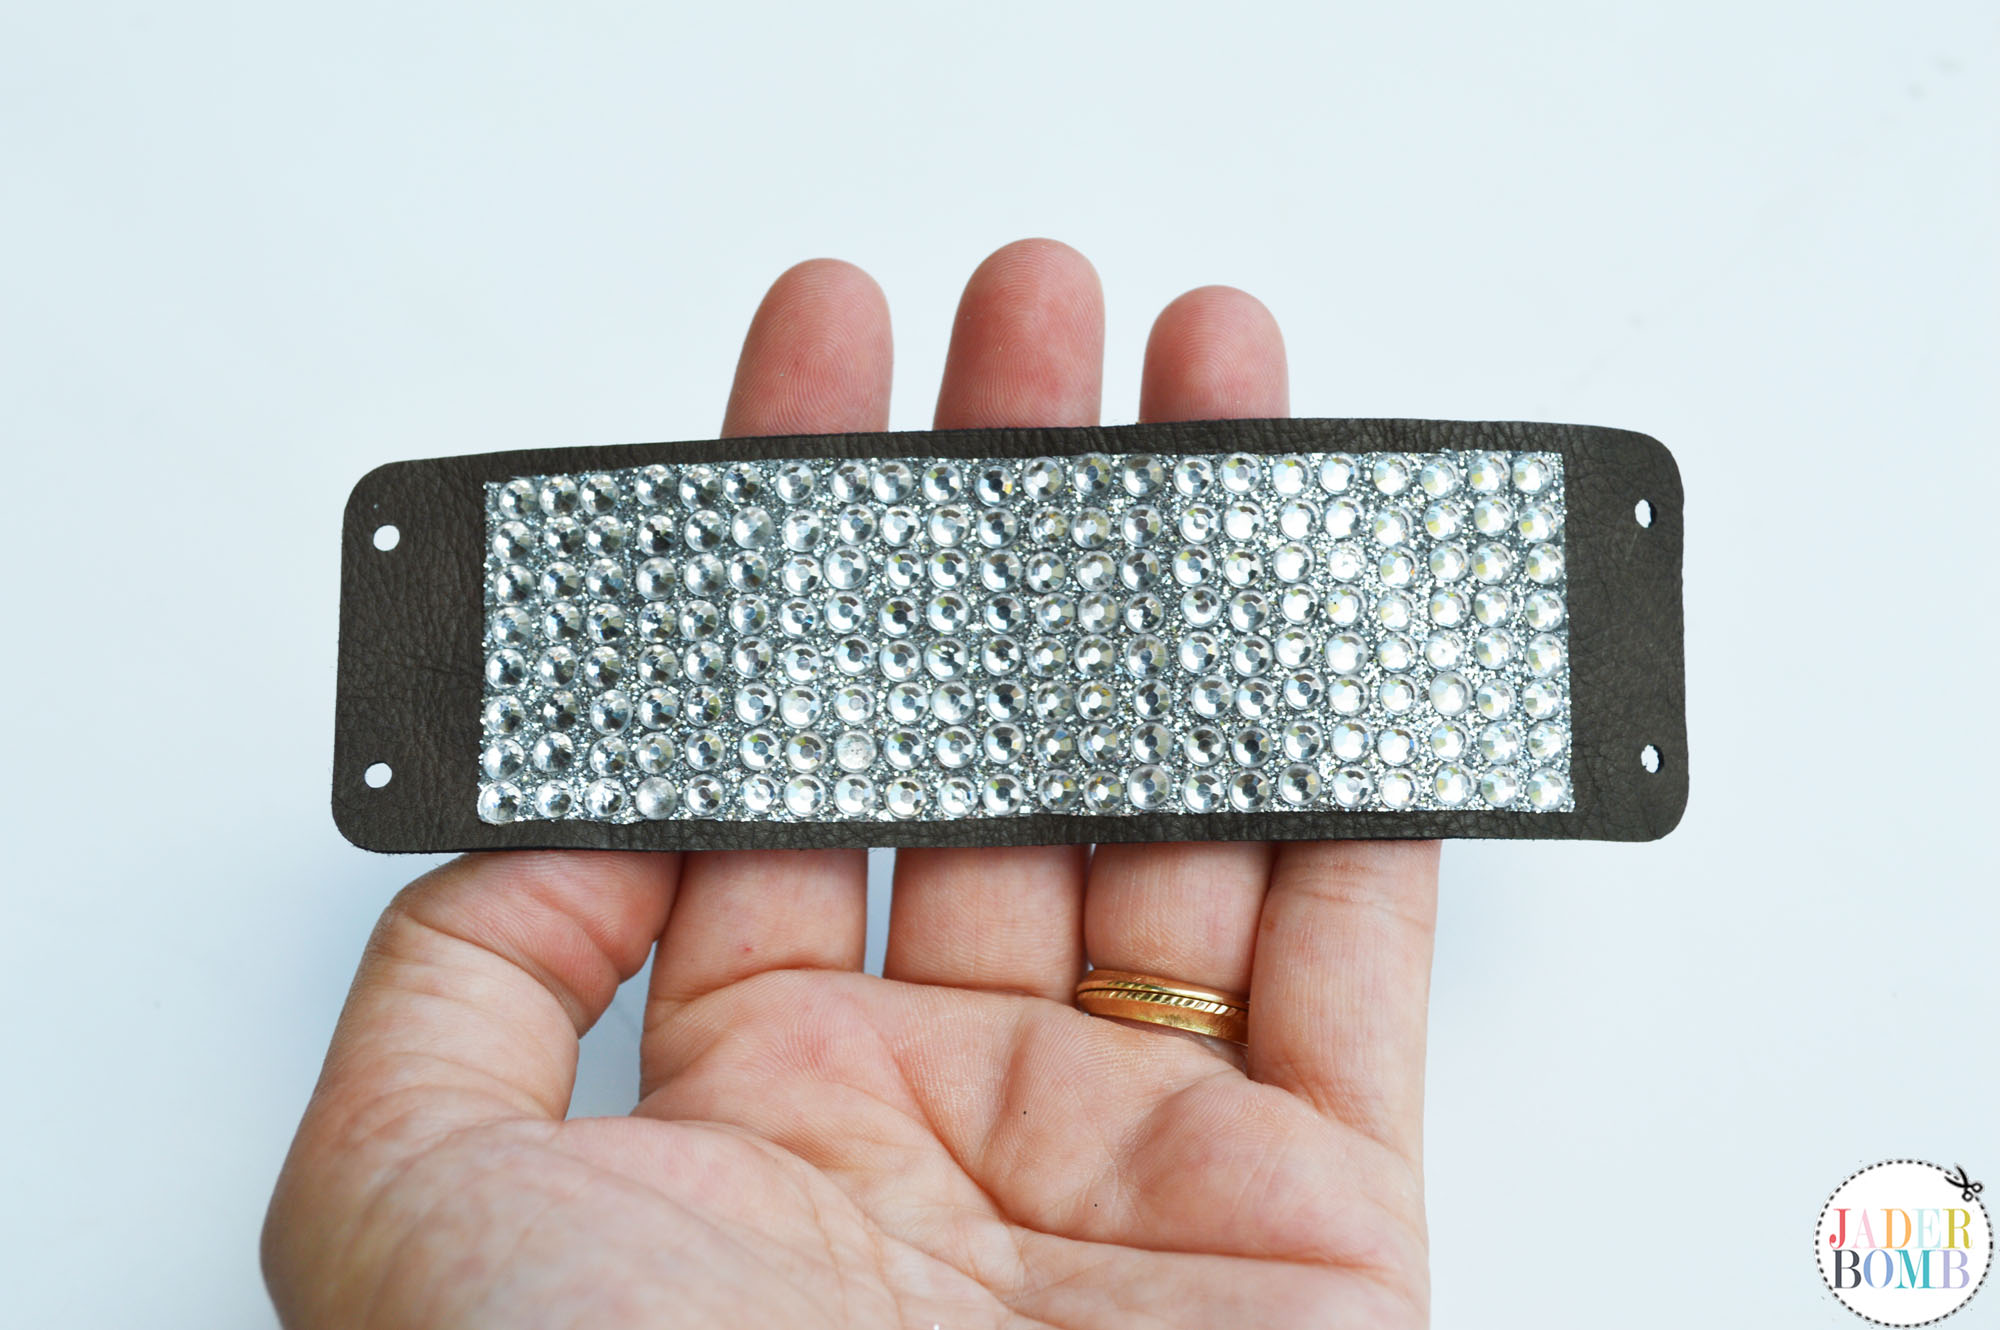
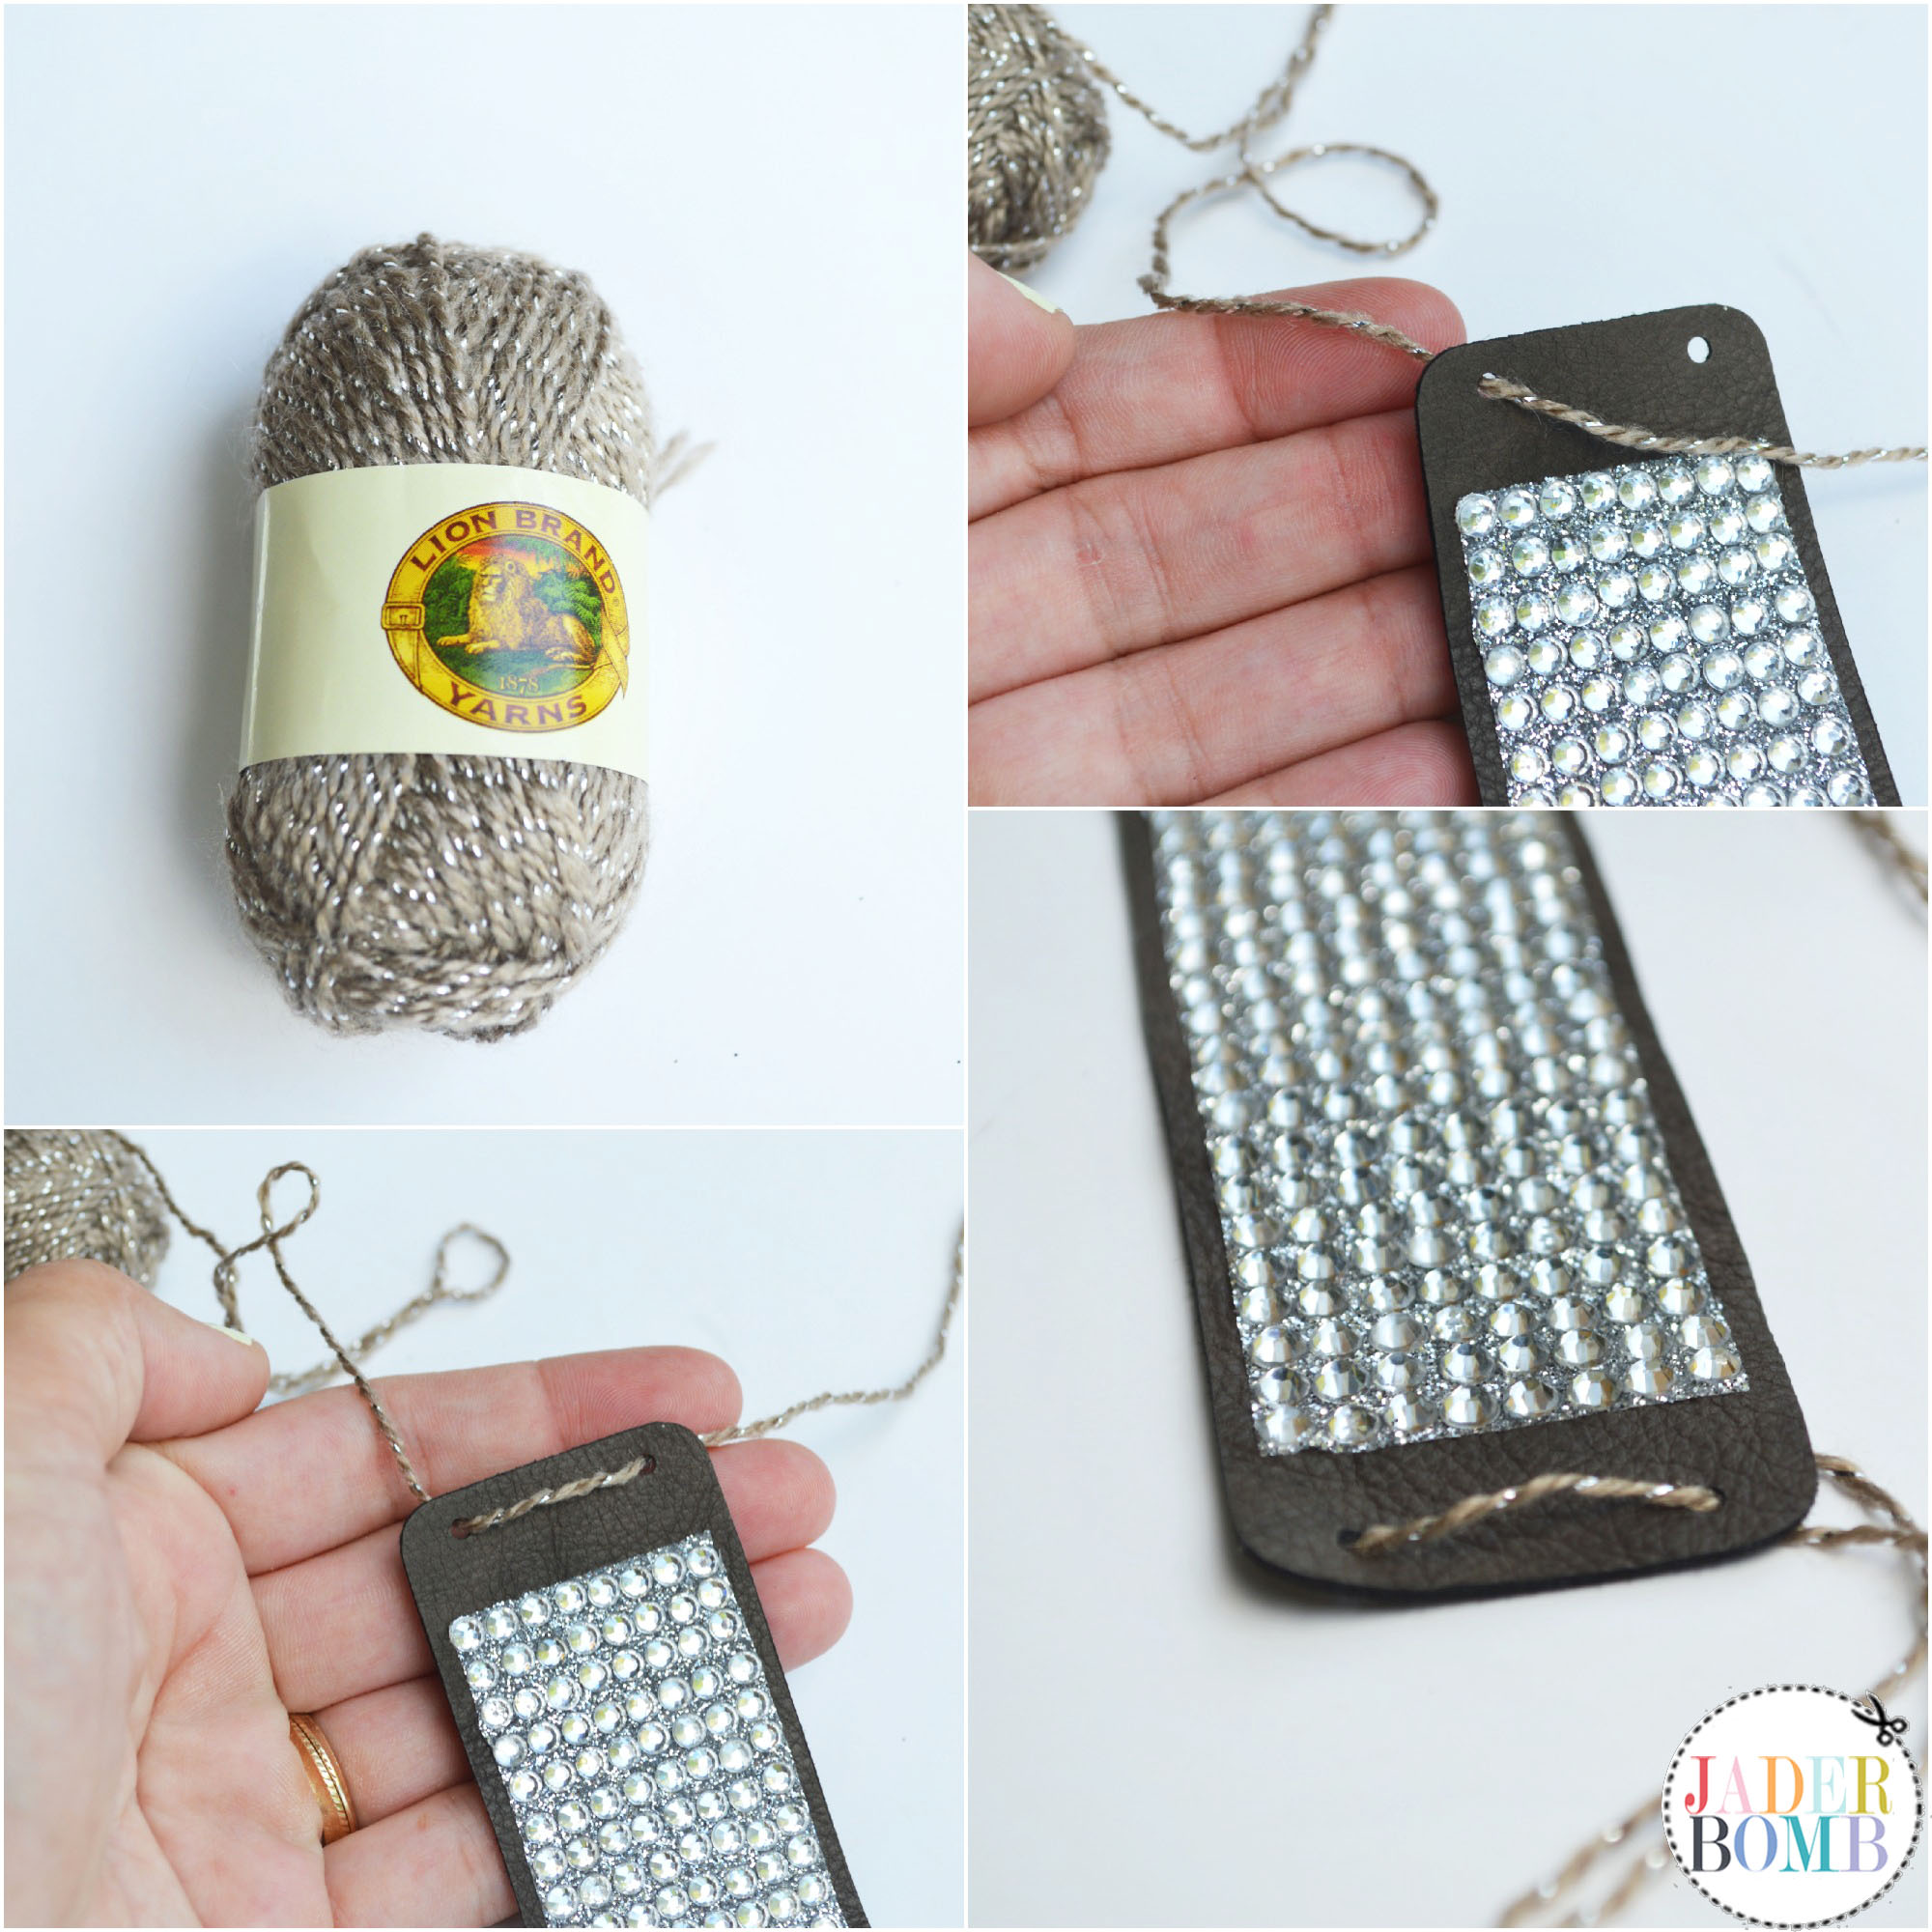
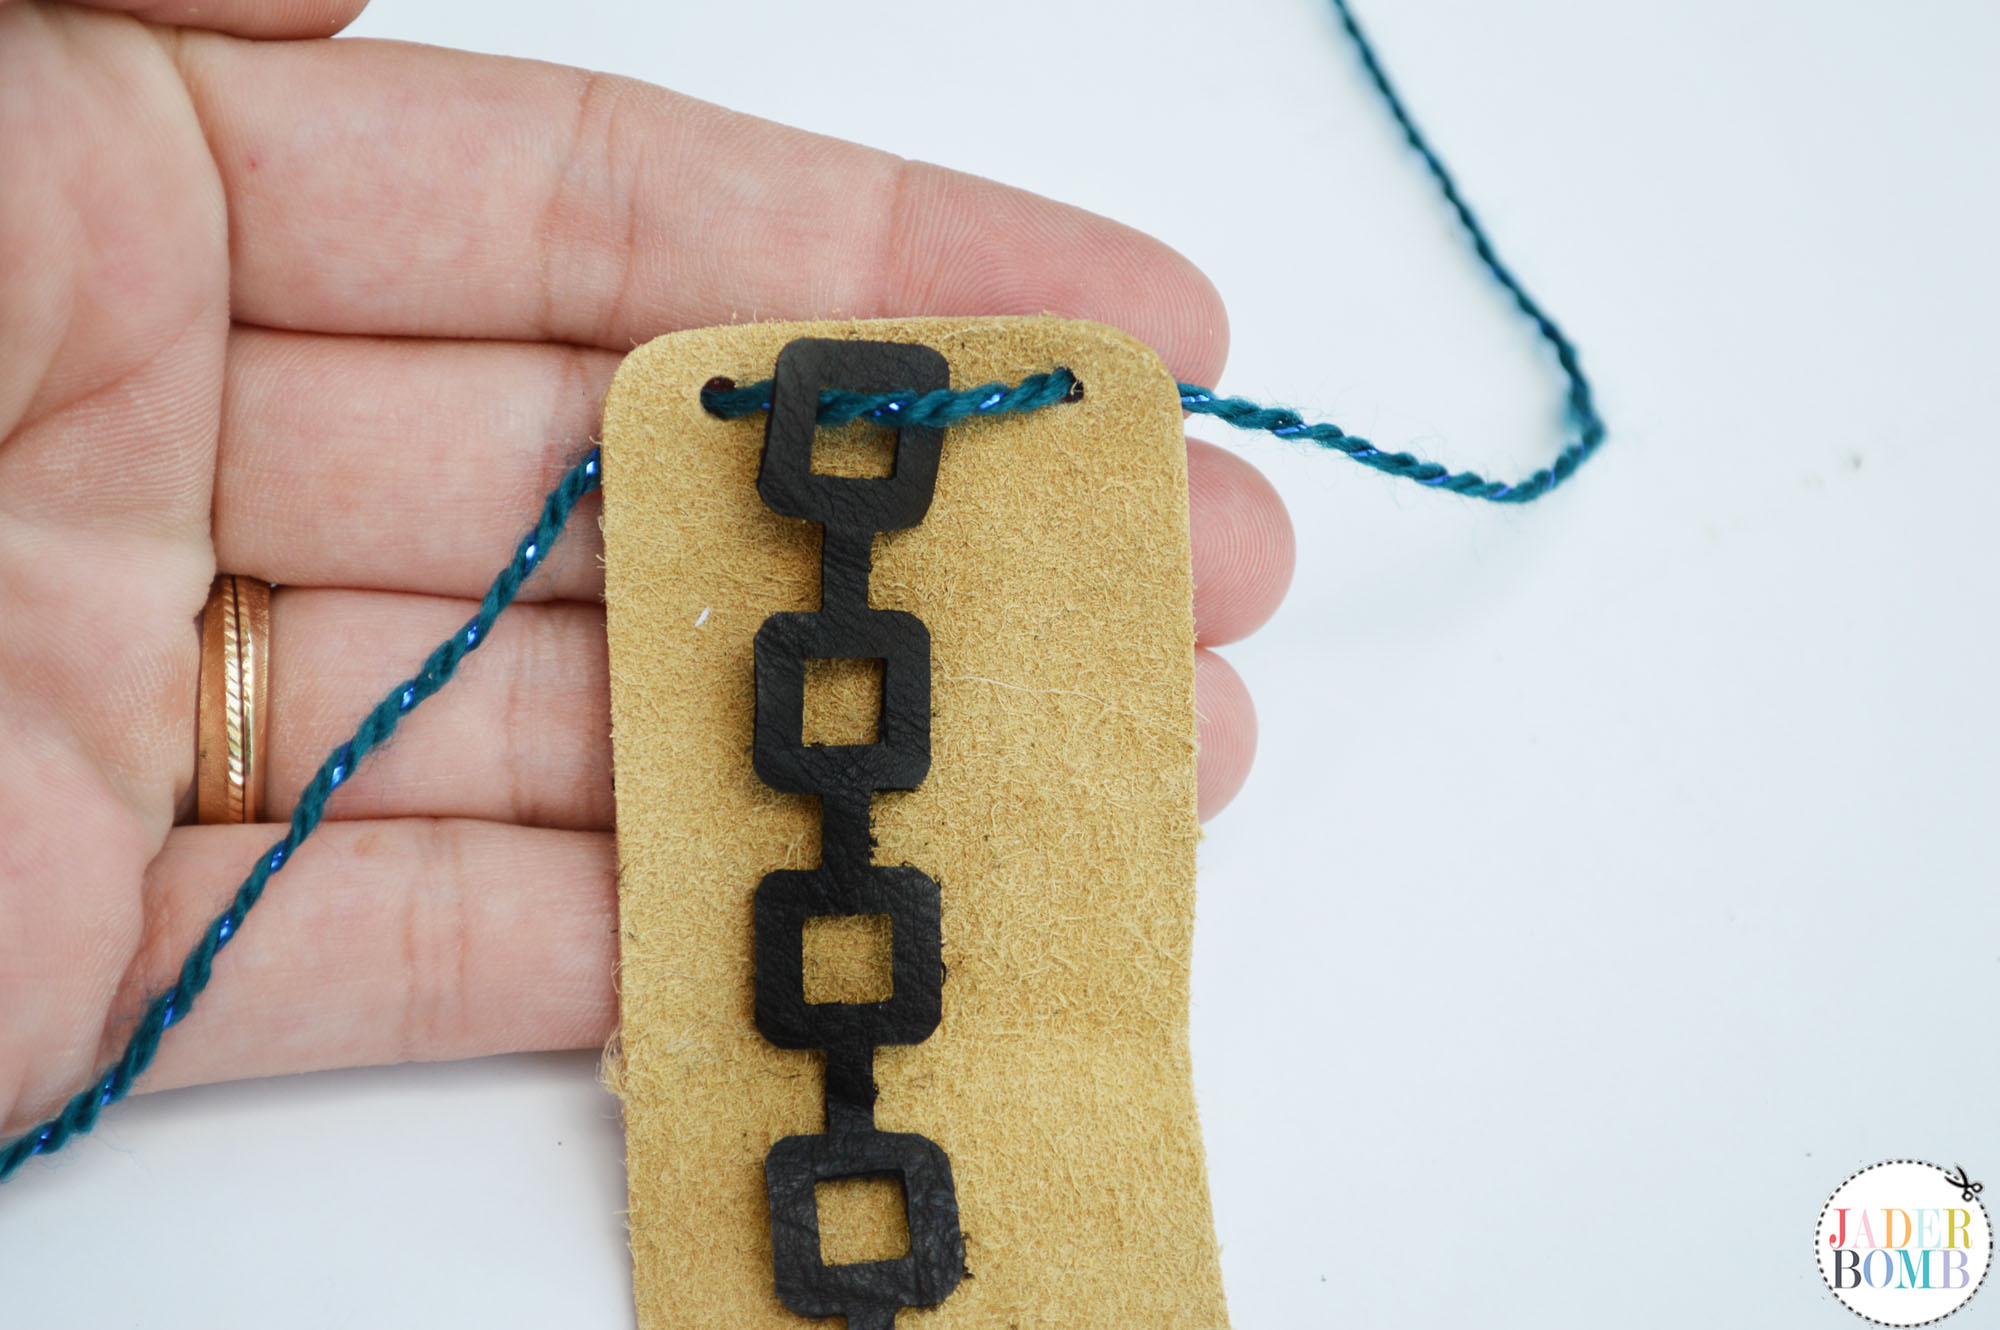
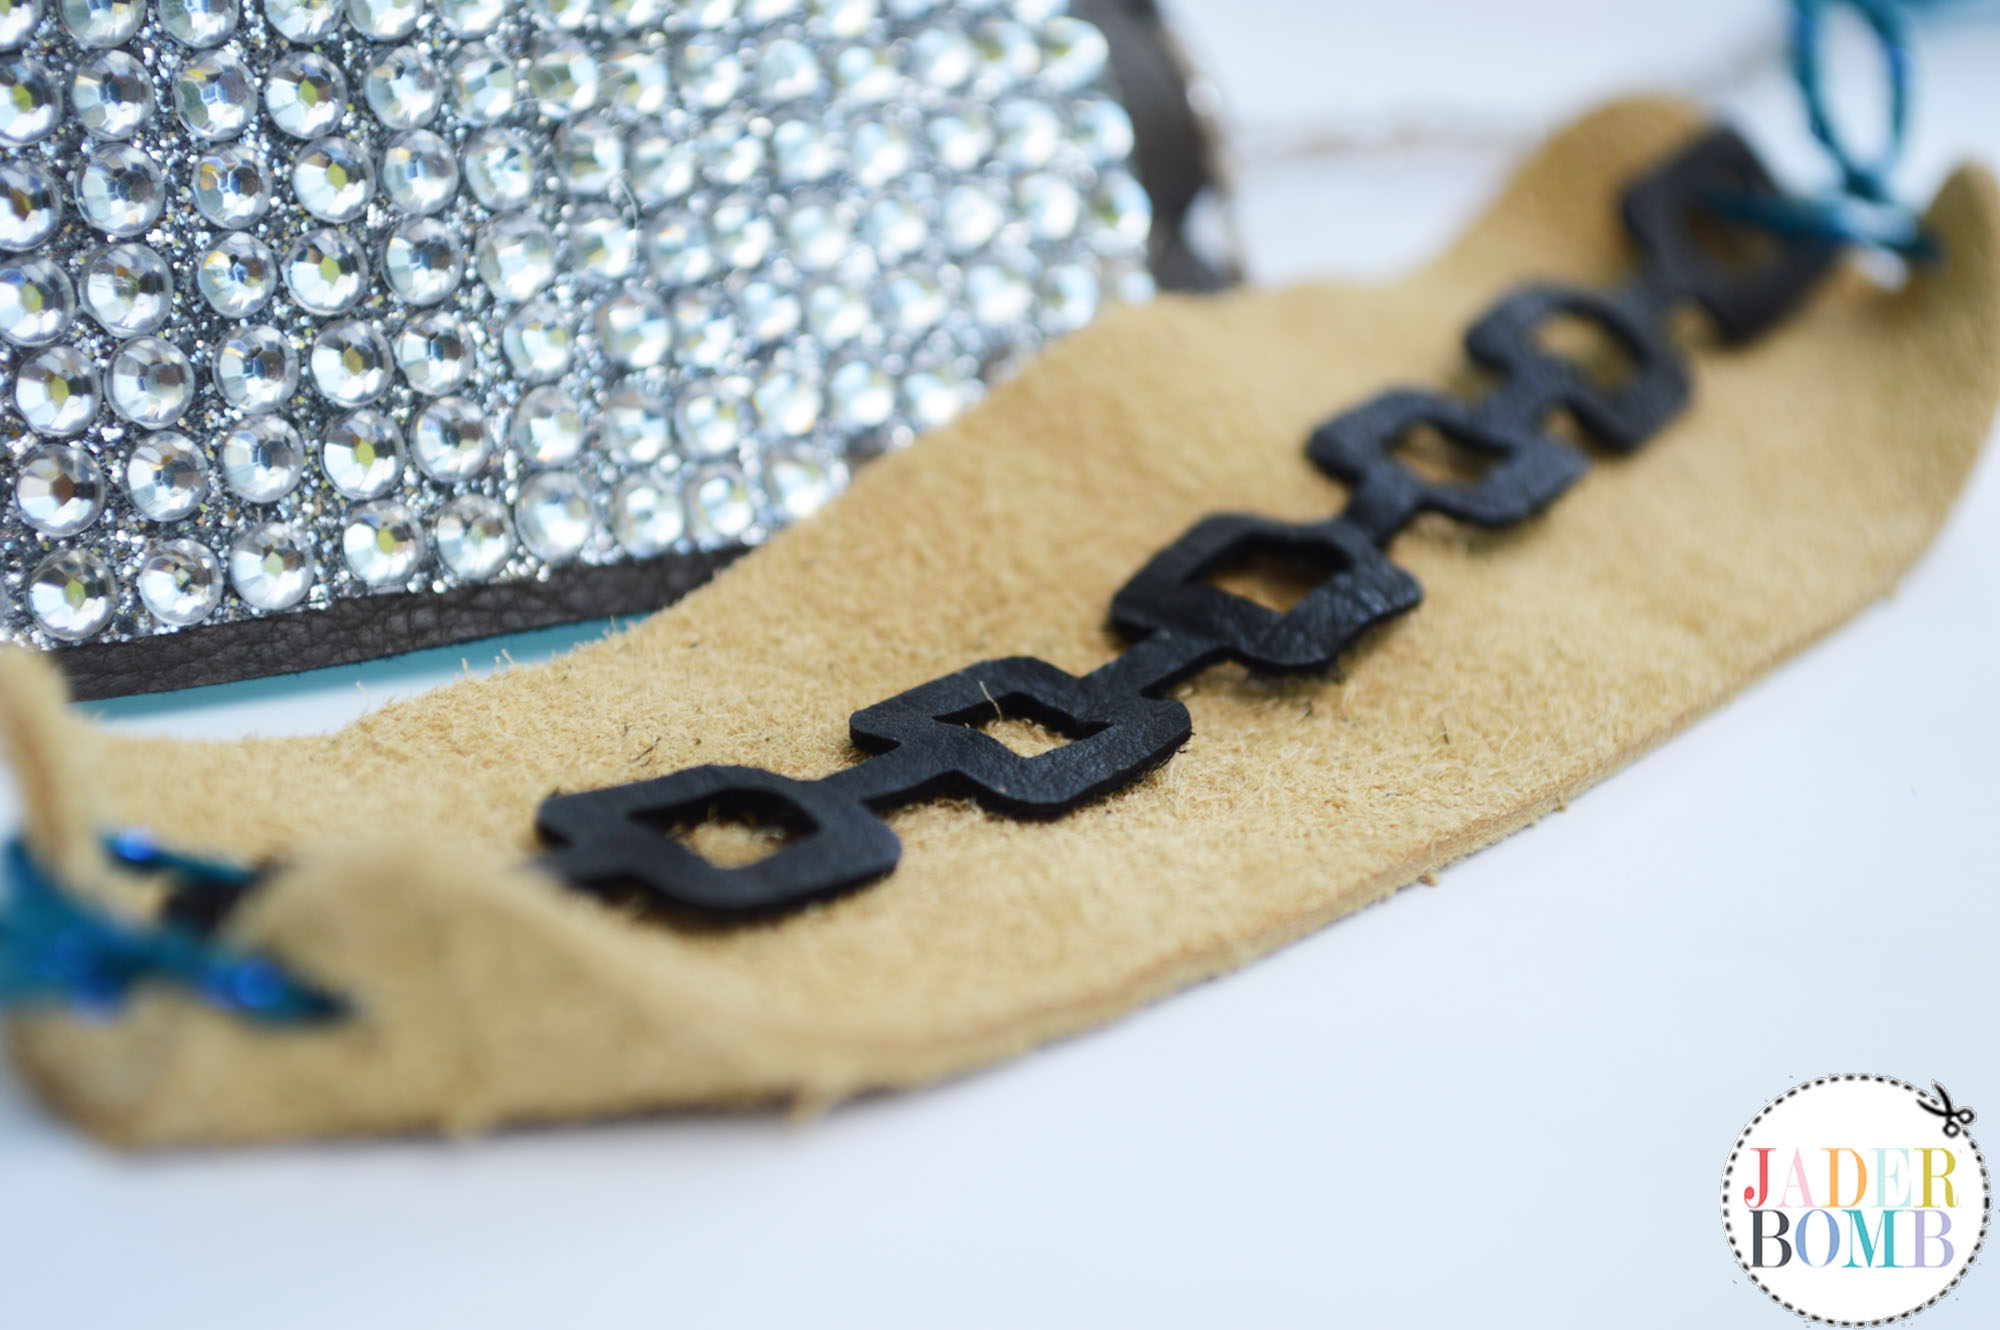
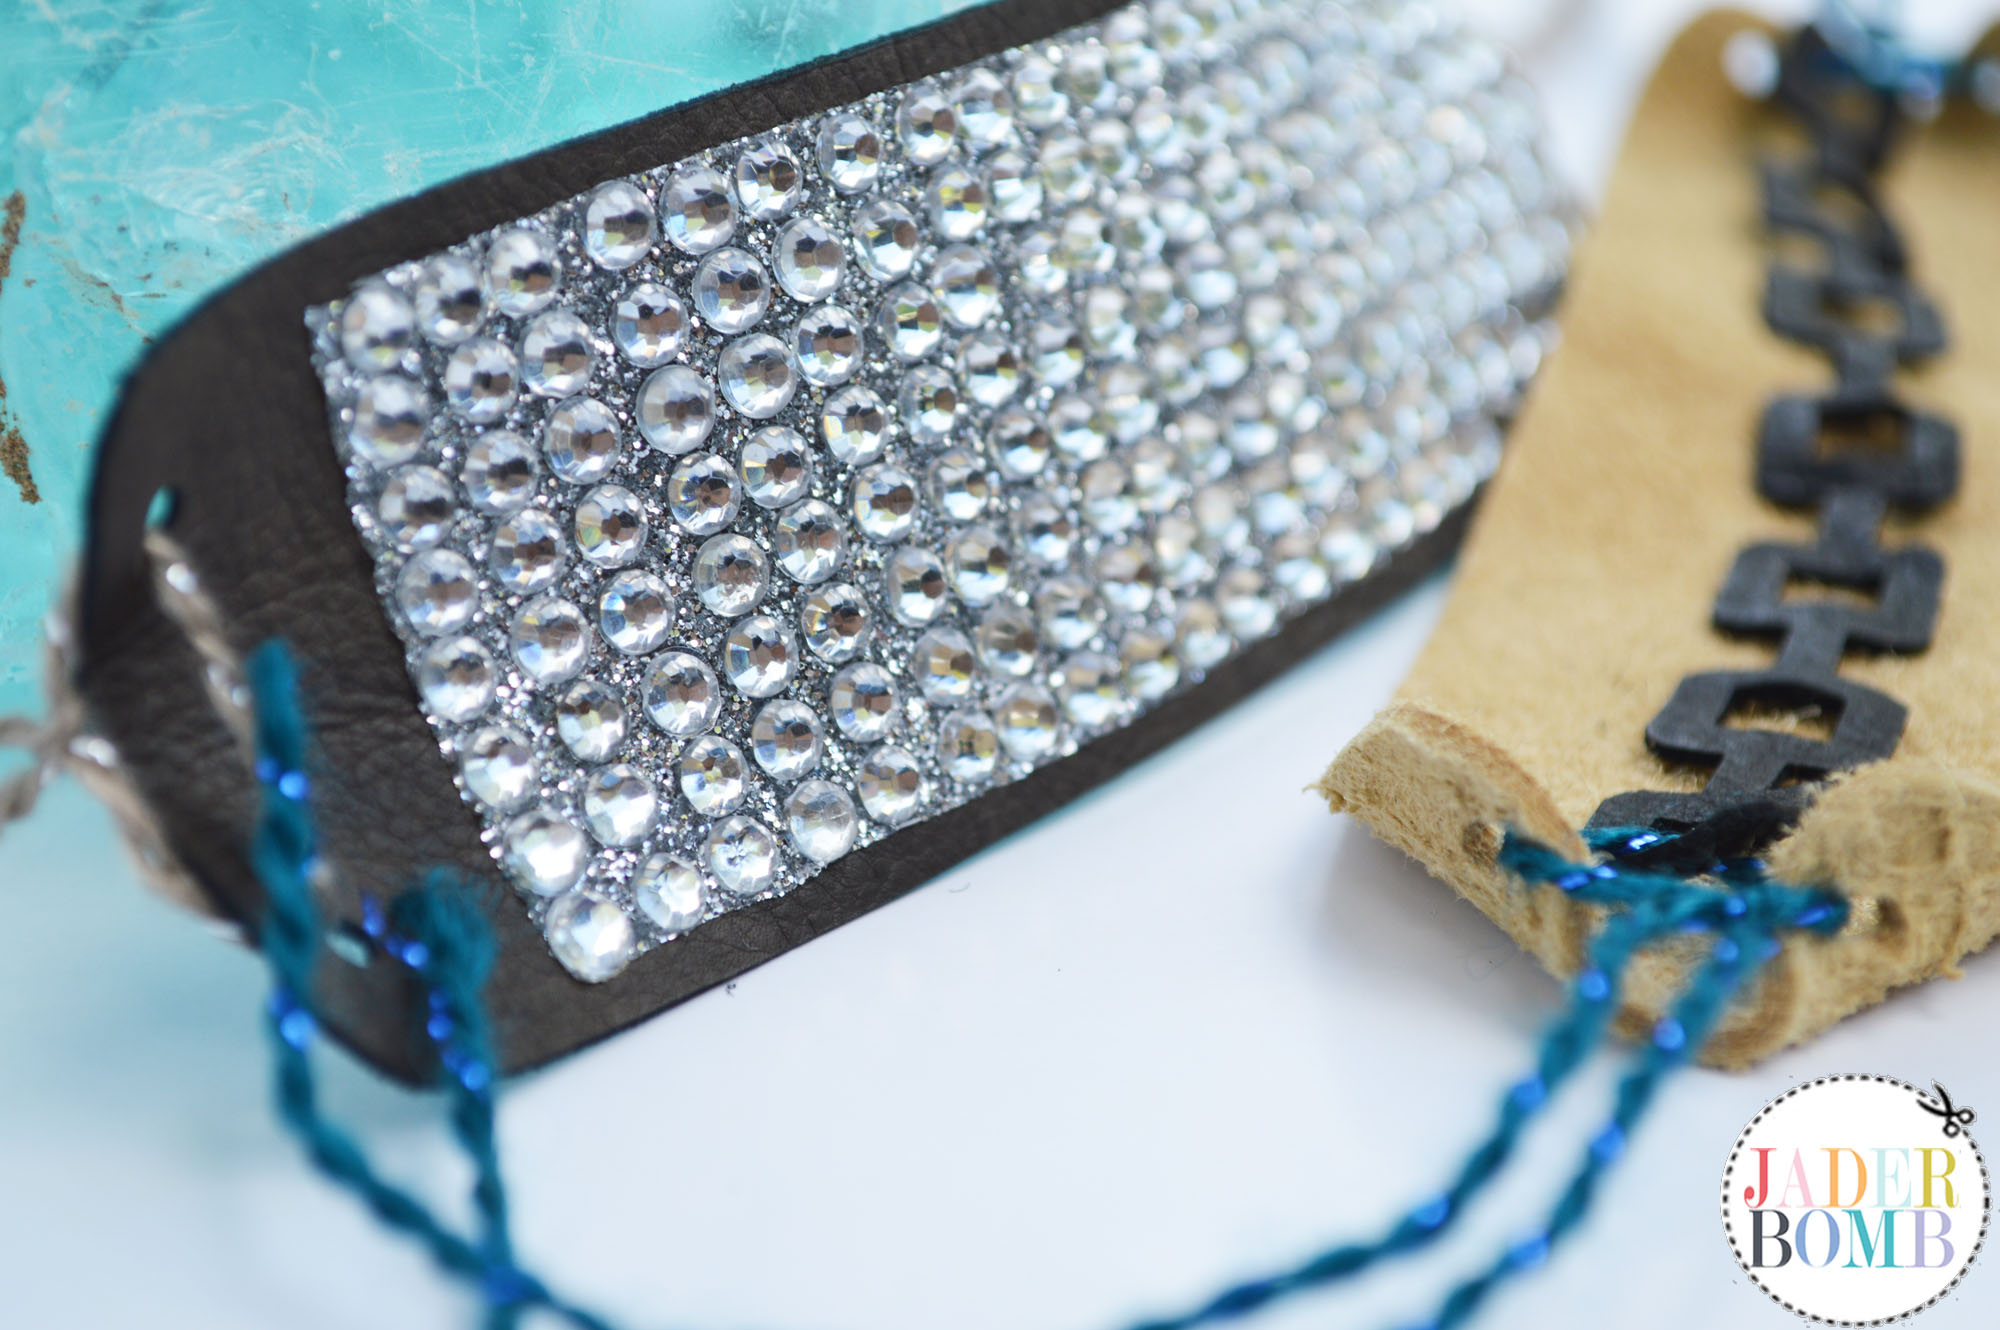
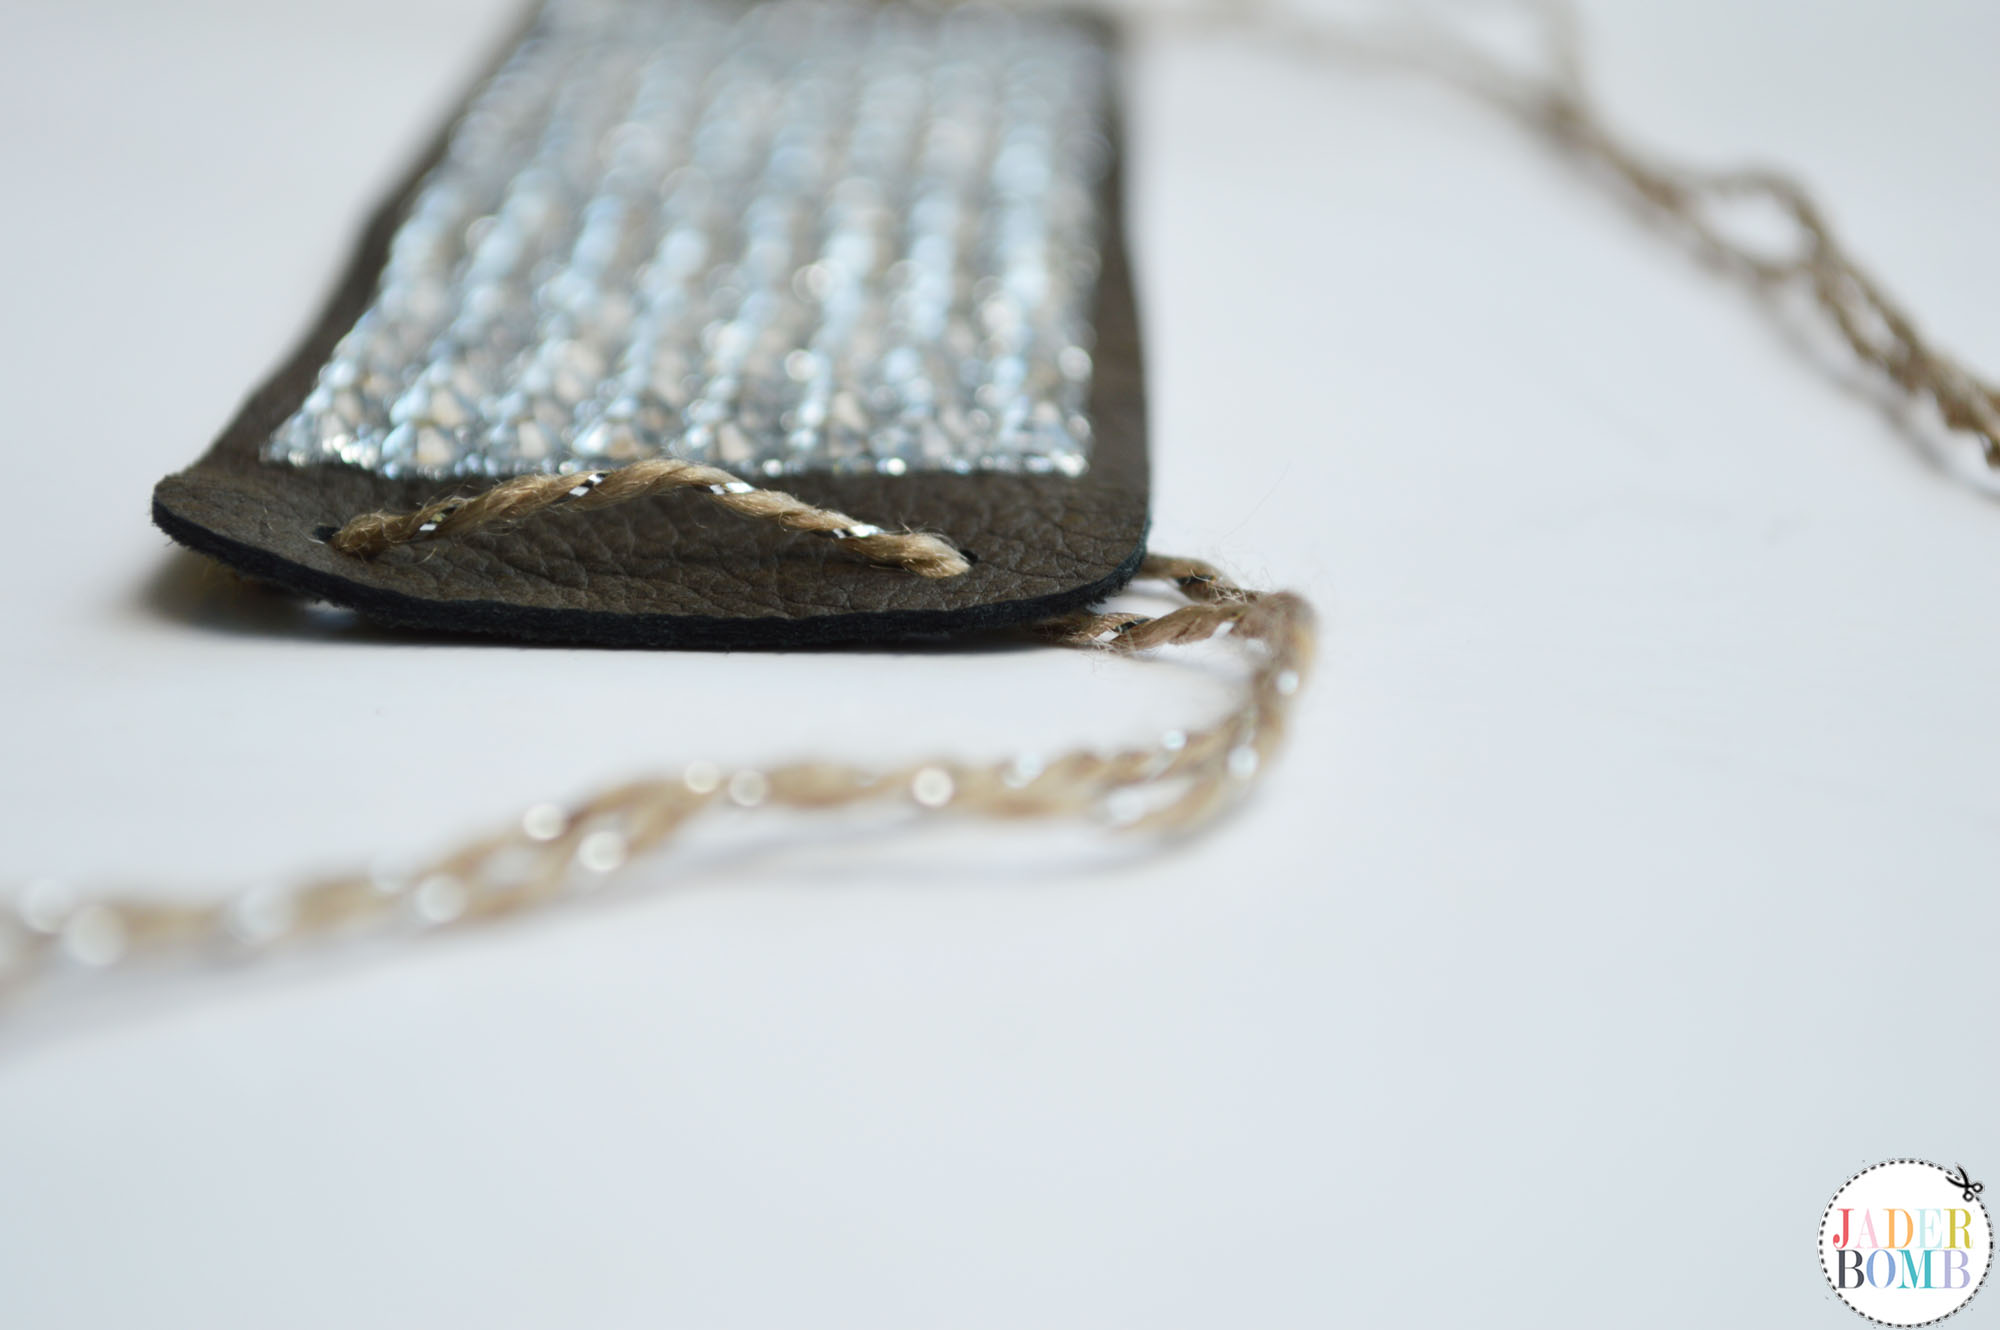 For this cuff I attached one of the leather chain cut outs on top of my plain leather cuff. This will make any arm happy, for real.
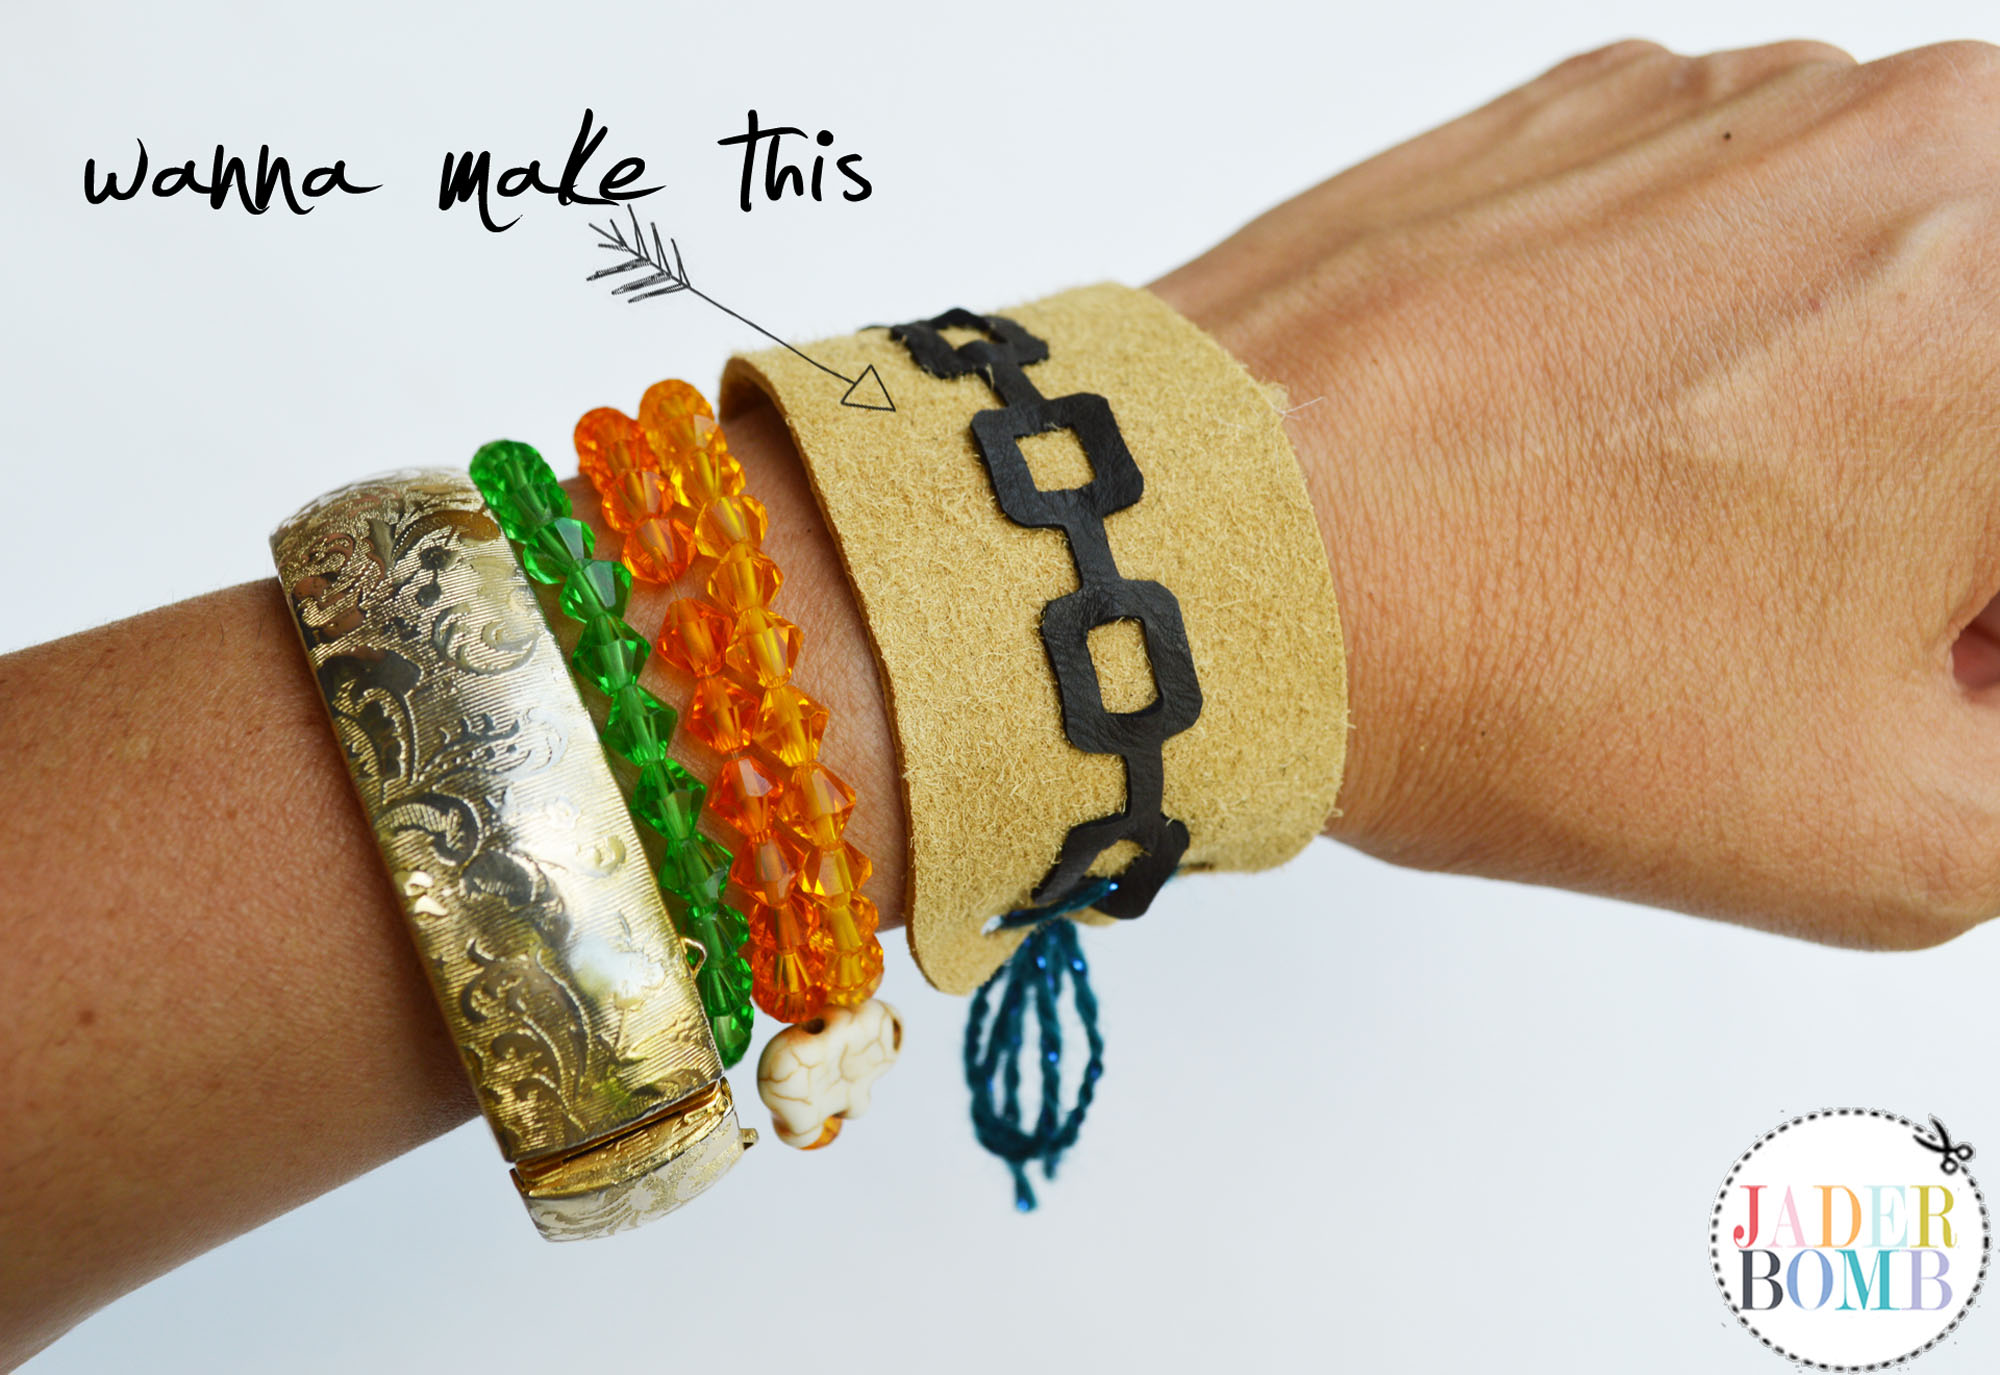
 I hope you enjoyed this tutorial because it’s so stinking cute. Make sure to check out
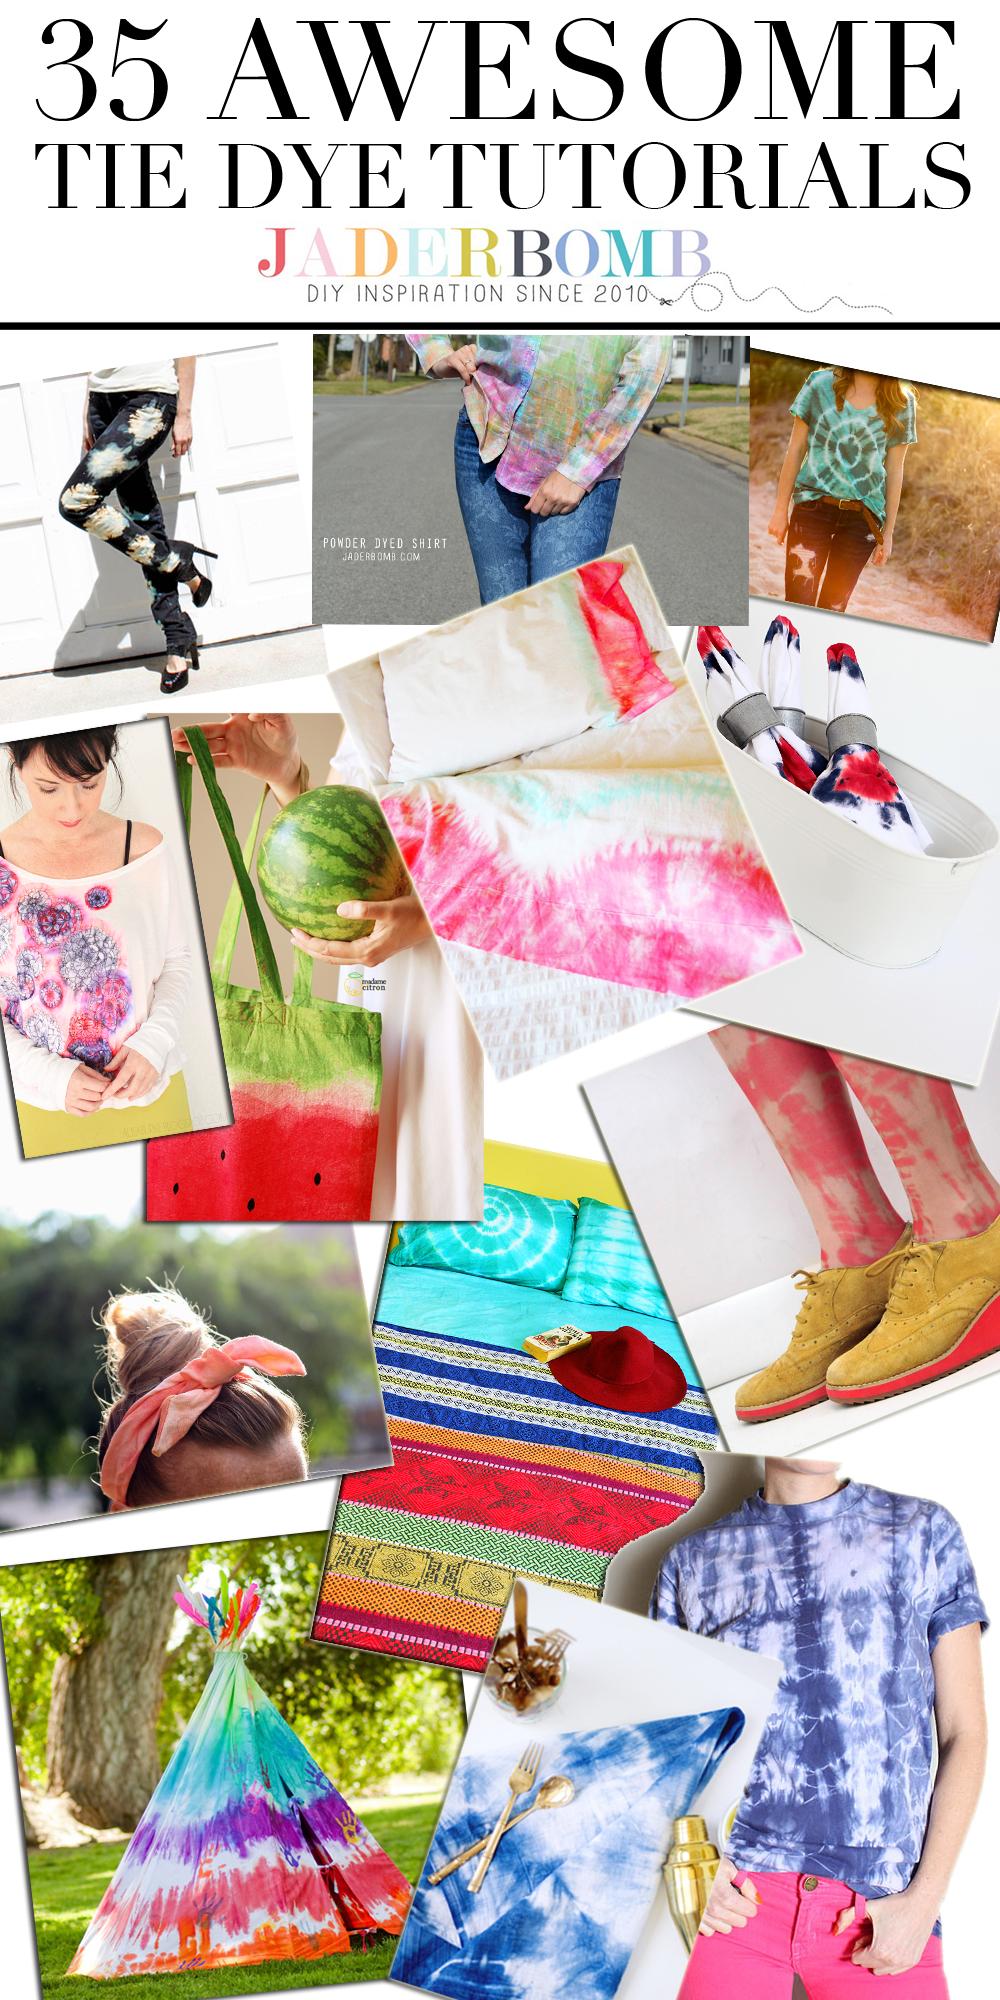
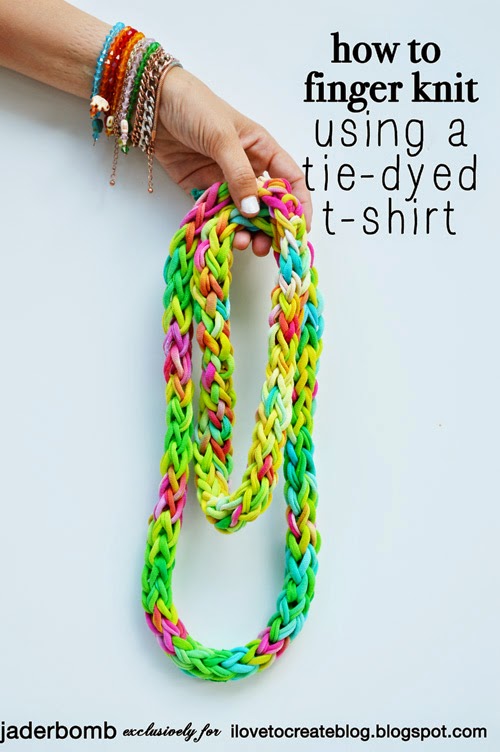
 1. Spice up your wardrobe with this
  2. This shirt would look fabulous with a pair of leggings or some skinny leg jeans.
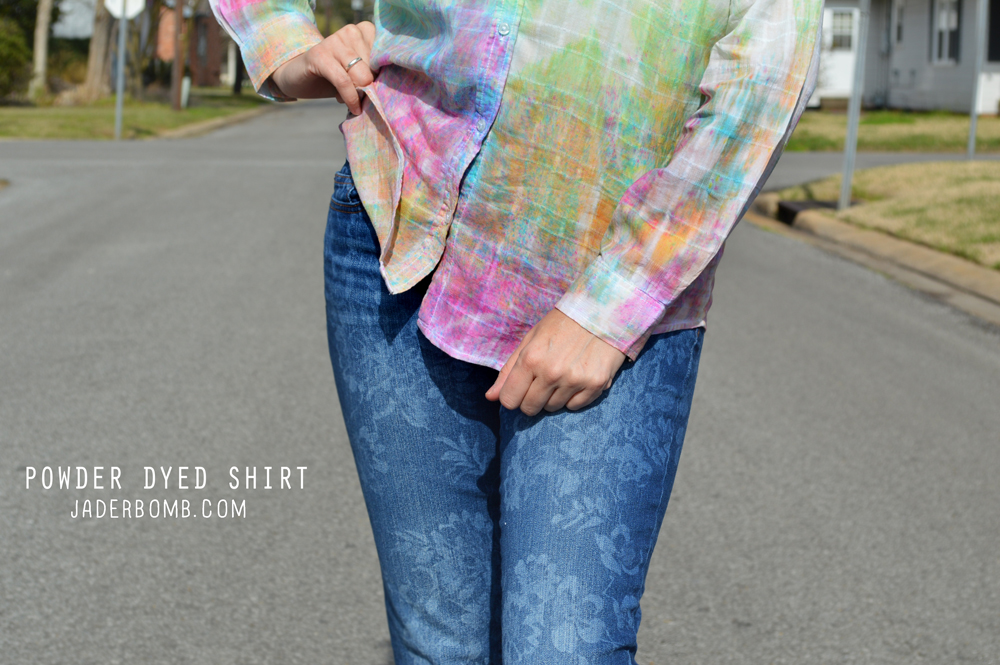
  3. Why be boring when you can sport a
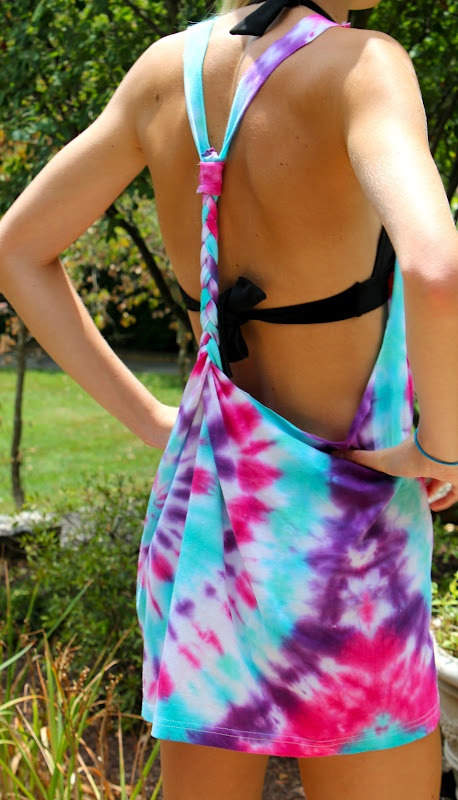
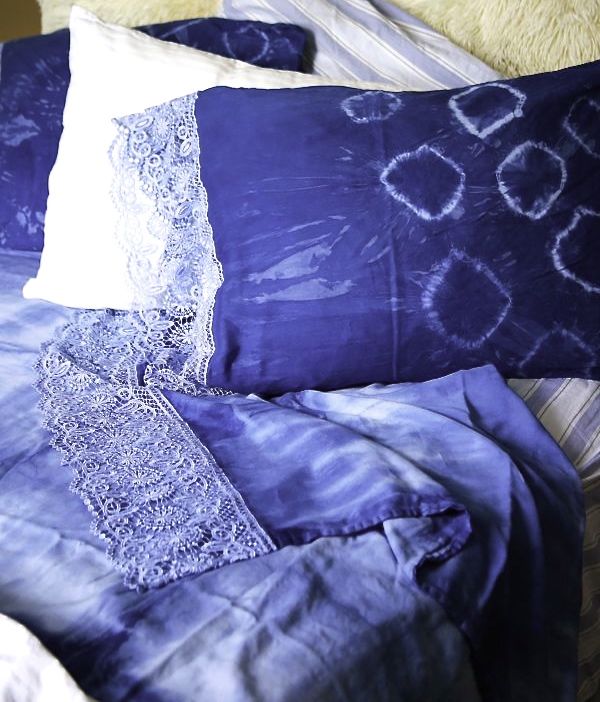
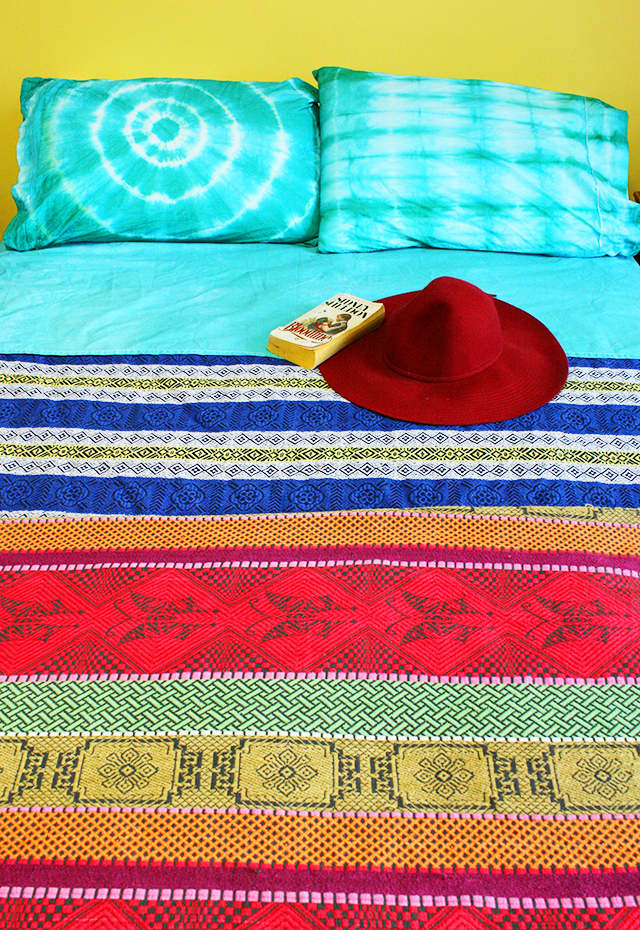
 5. These
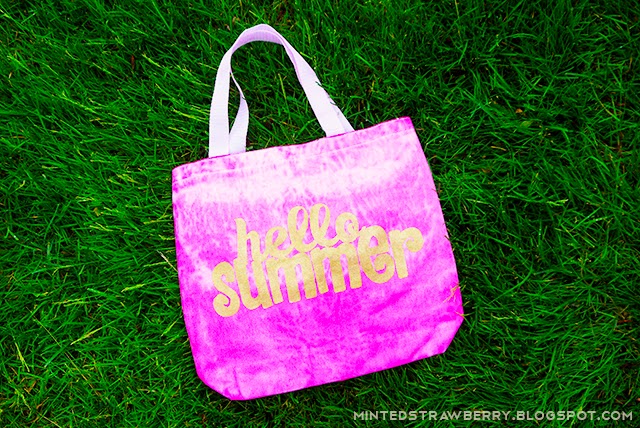
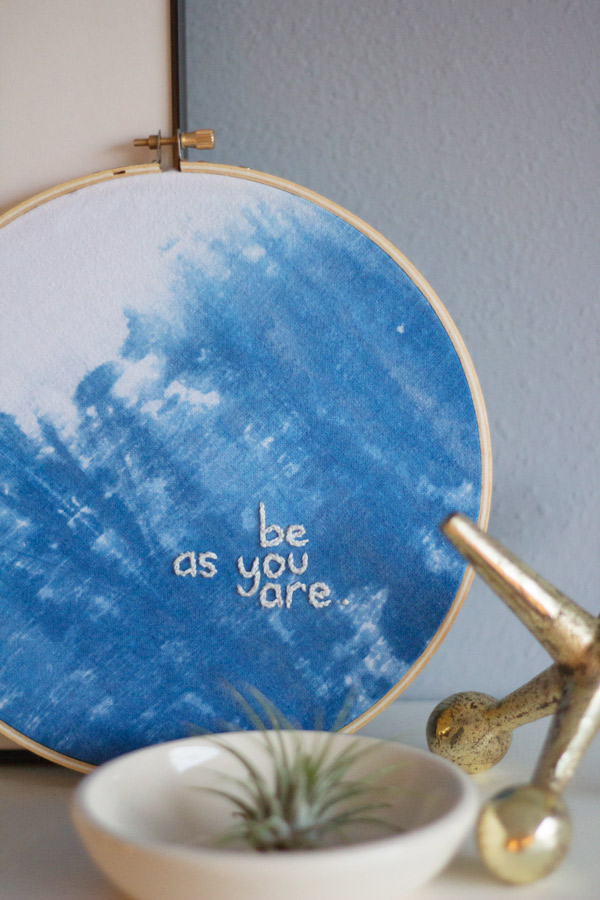 7. Whether you are filling in space on your walls, looking for that perfect gift or just in the mood to craft then these
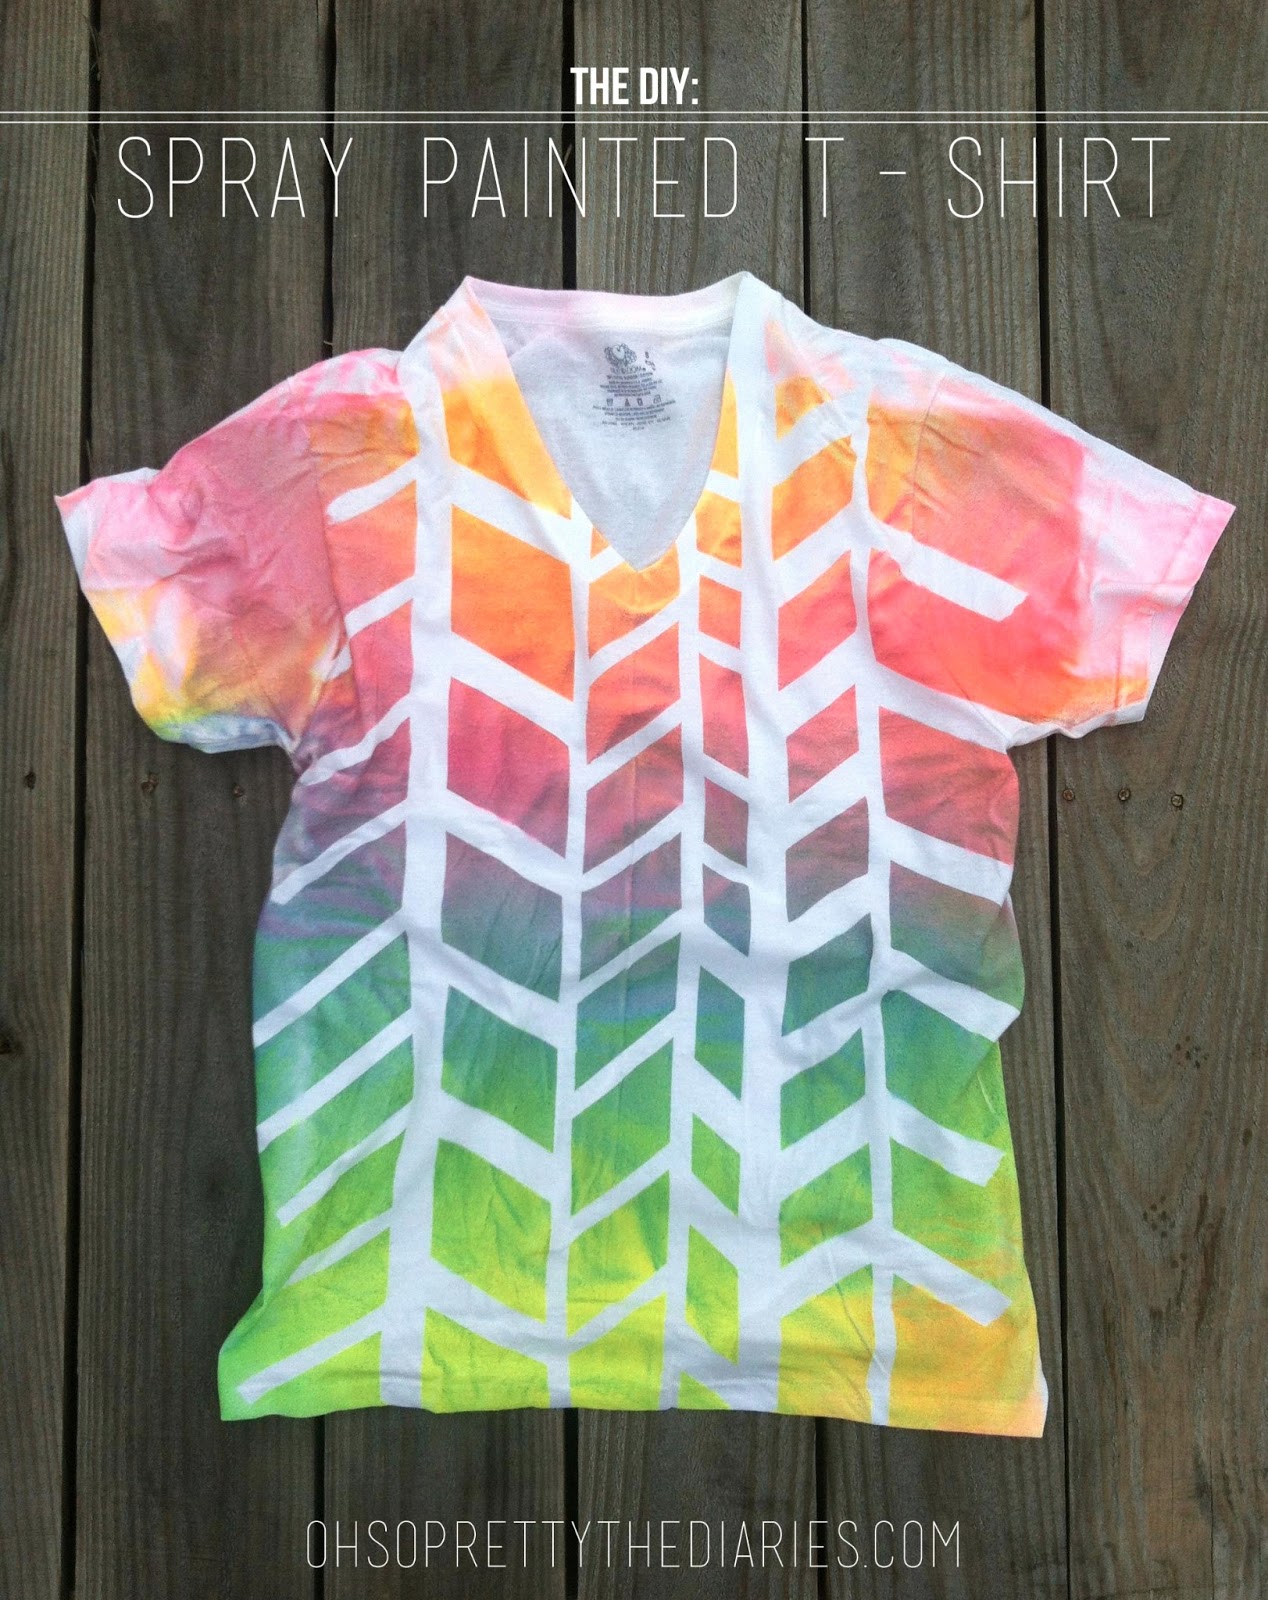
 9. Why shop in the store when you can make your own
 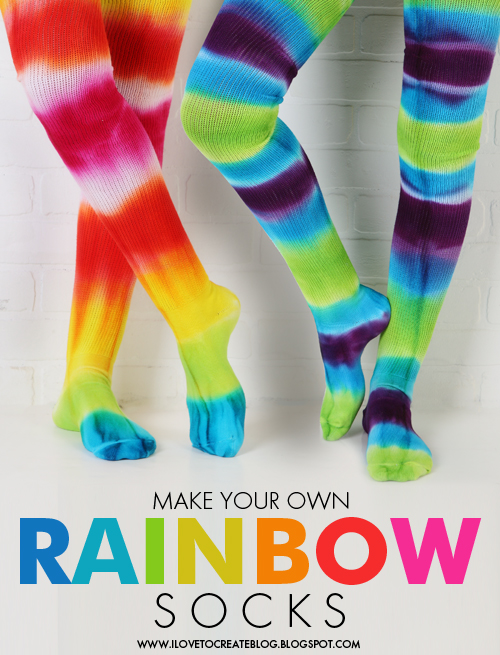 10.
10.  11. These
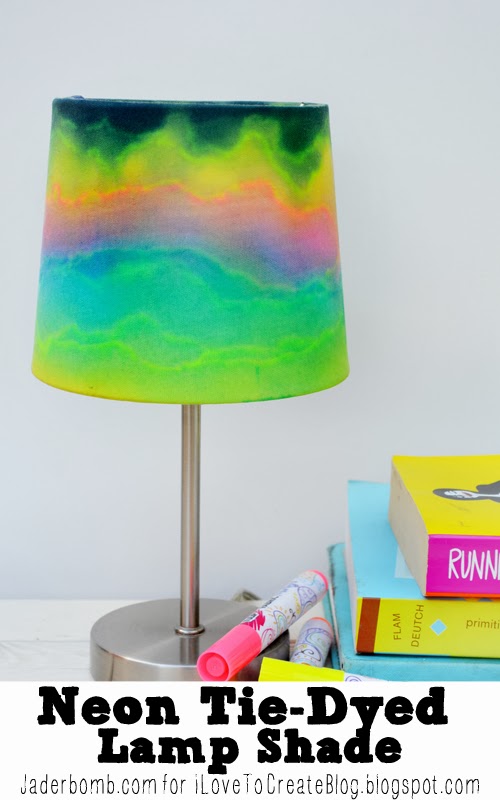
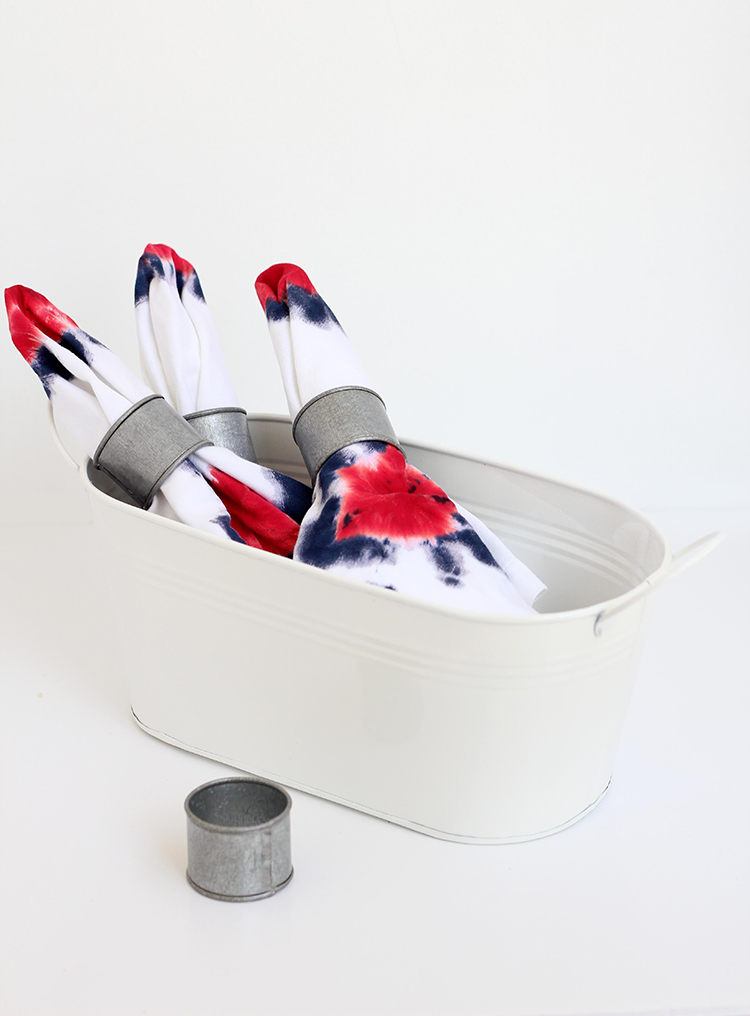
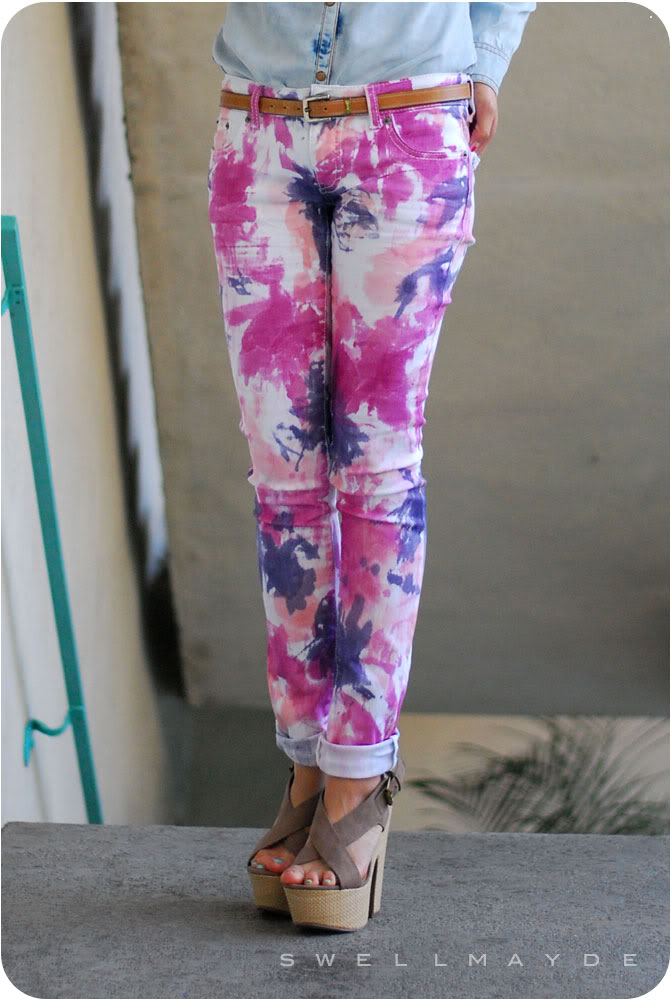
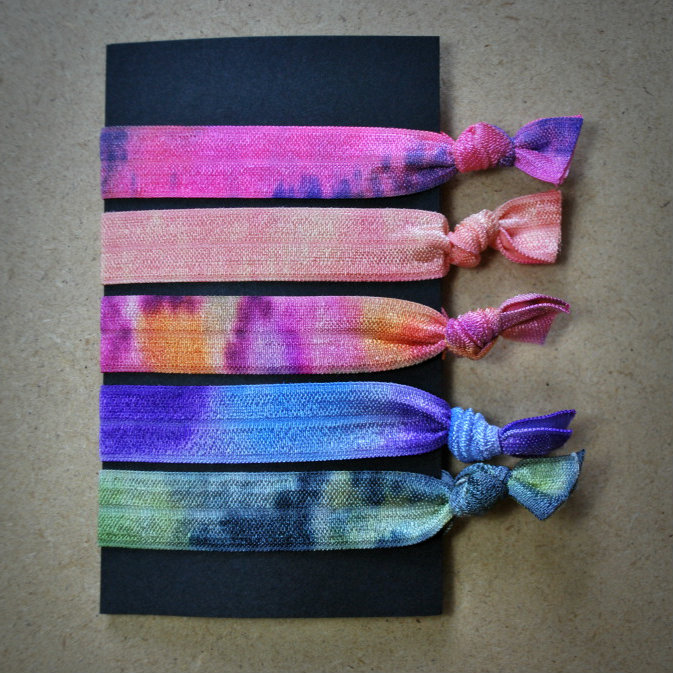 13. I love adding pops of color to my hair. These
 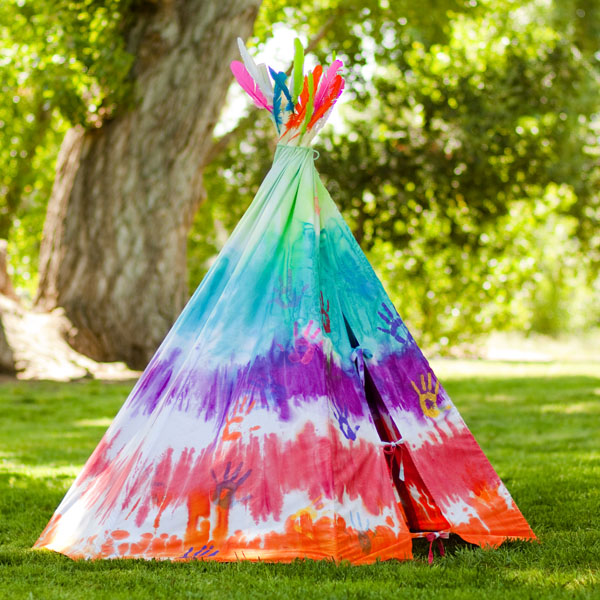 14. How amazing is this
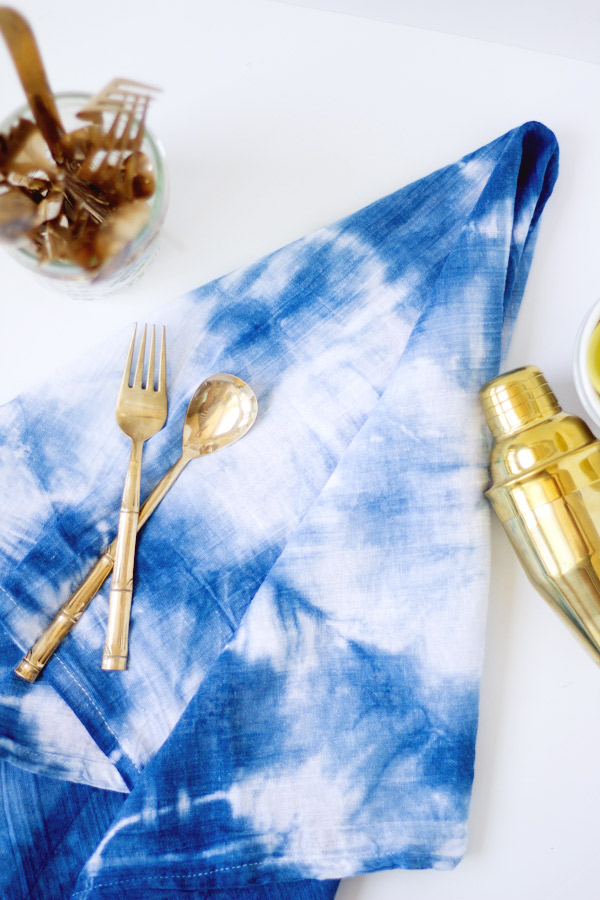
 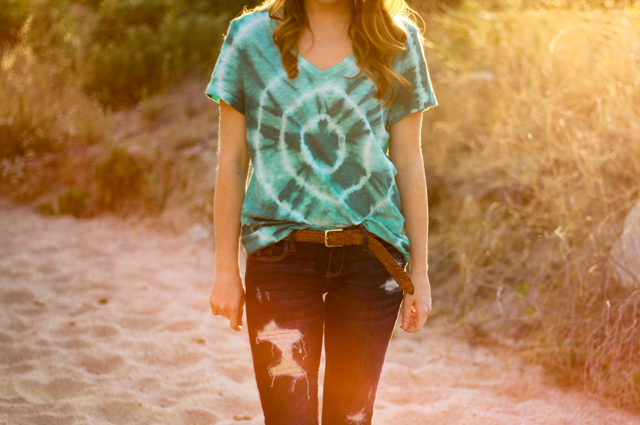 15. Learn how to make this
 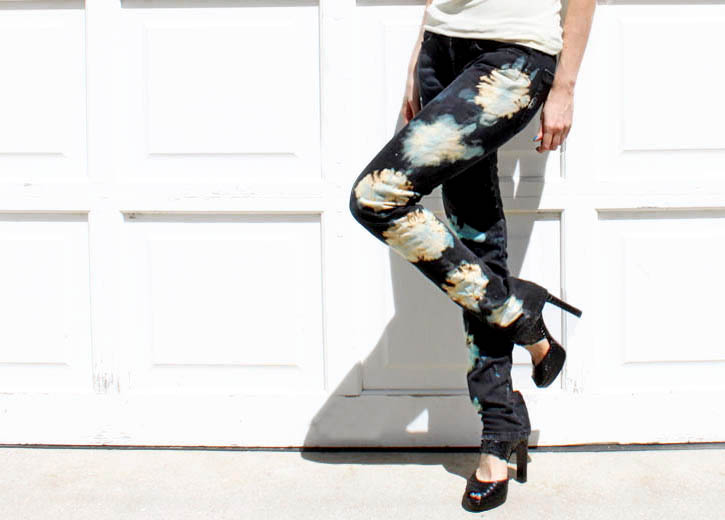 16.
16. 

 20.
20. 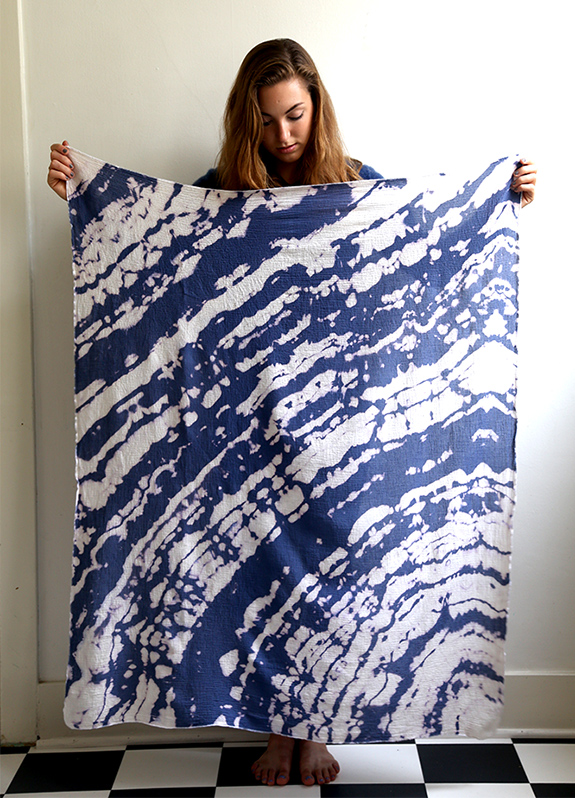 21. This
 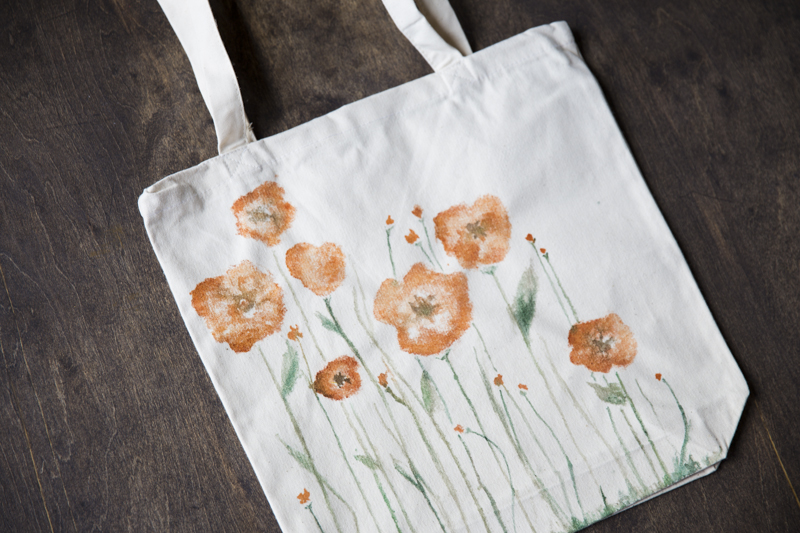 22. You will never walk around with a plain tote once you see how easy it is to make this
  23.
23.  24. What a bold fashion statement when wearing these
  25. I promise these
 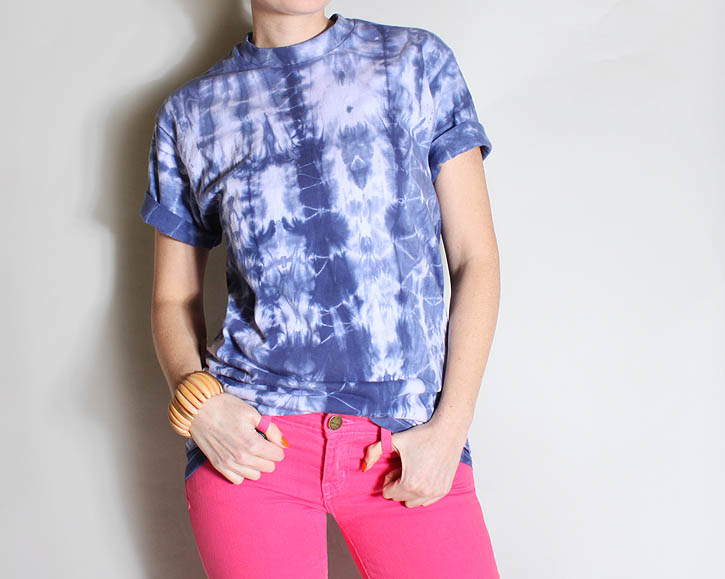 26.
26.  27.
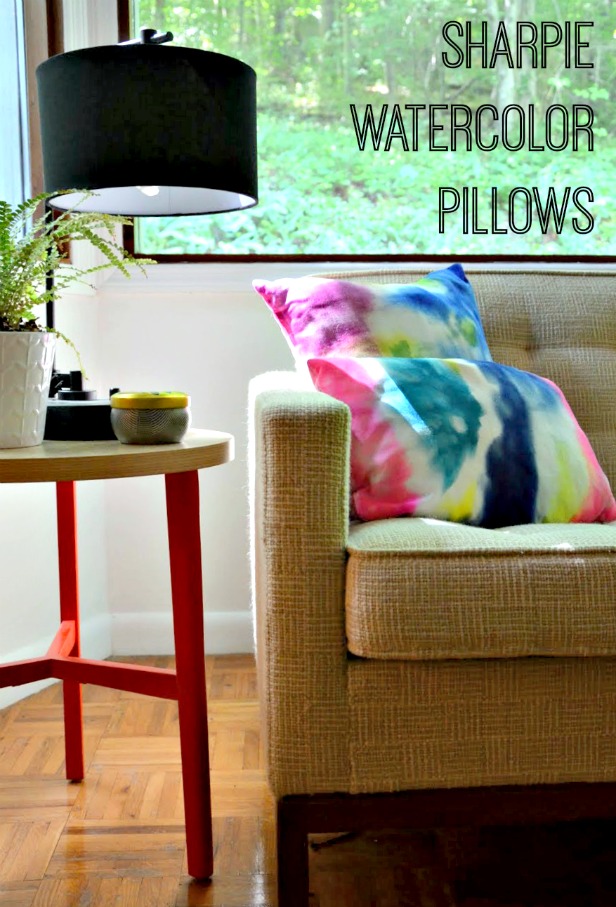
27.  28. I love that I can finally put all my sharpie markers to a good use while making a
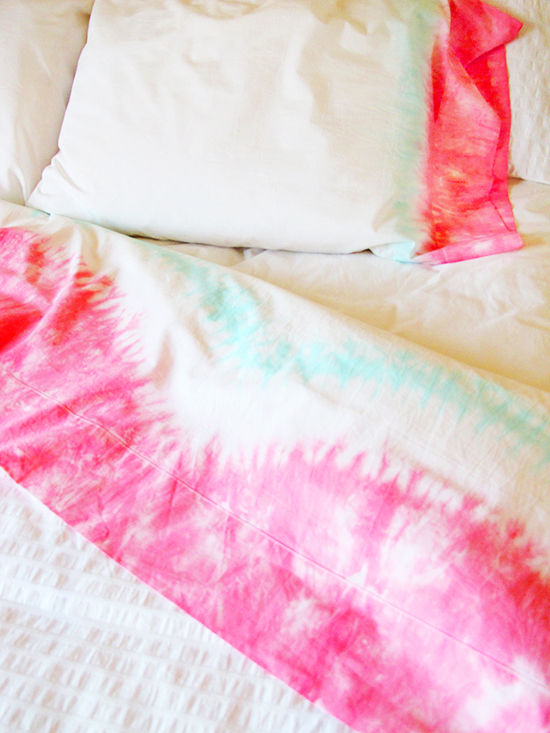
 30.
30.  31. Get creative and make a
  32. Make this
 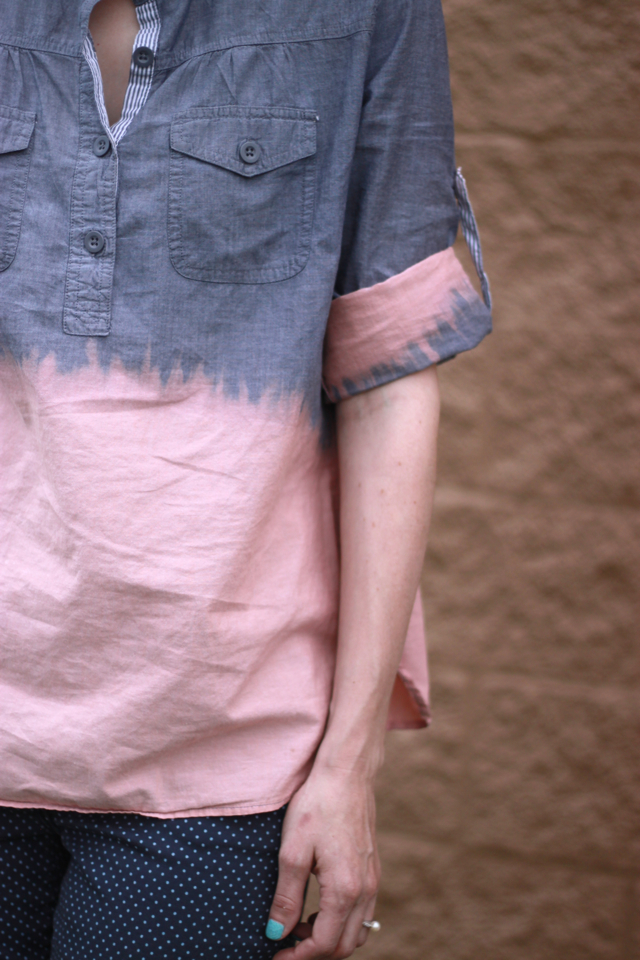 33. This
  34.
34.  35. Looking for an easy way to “


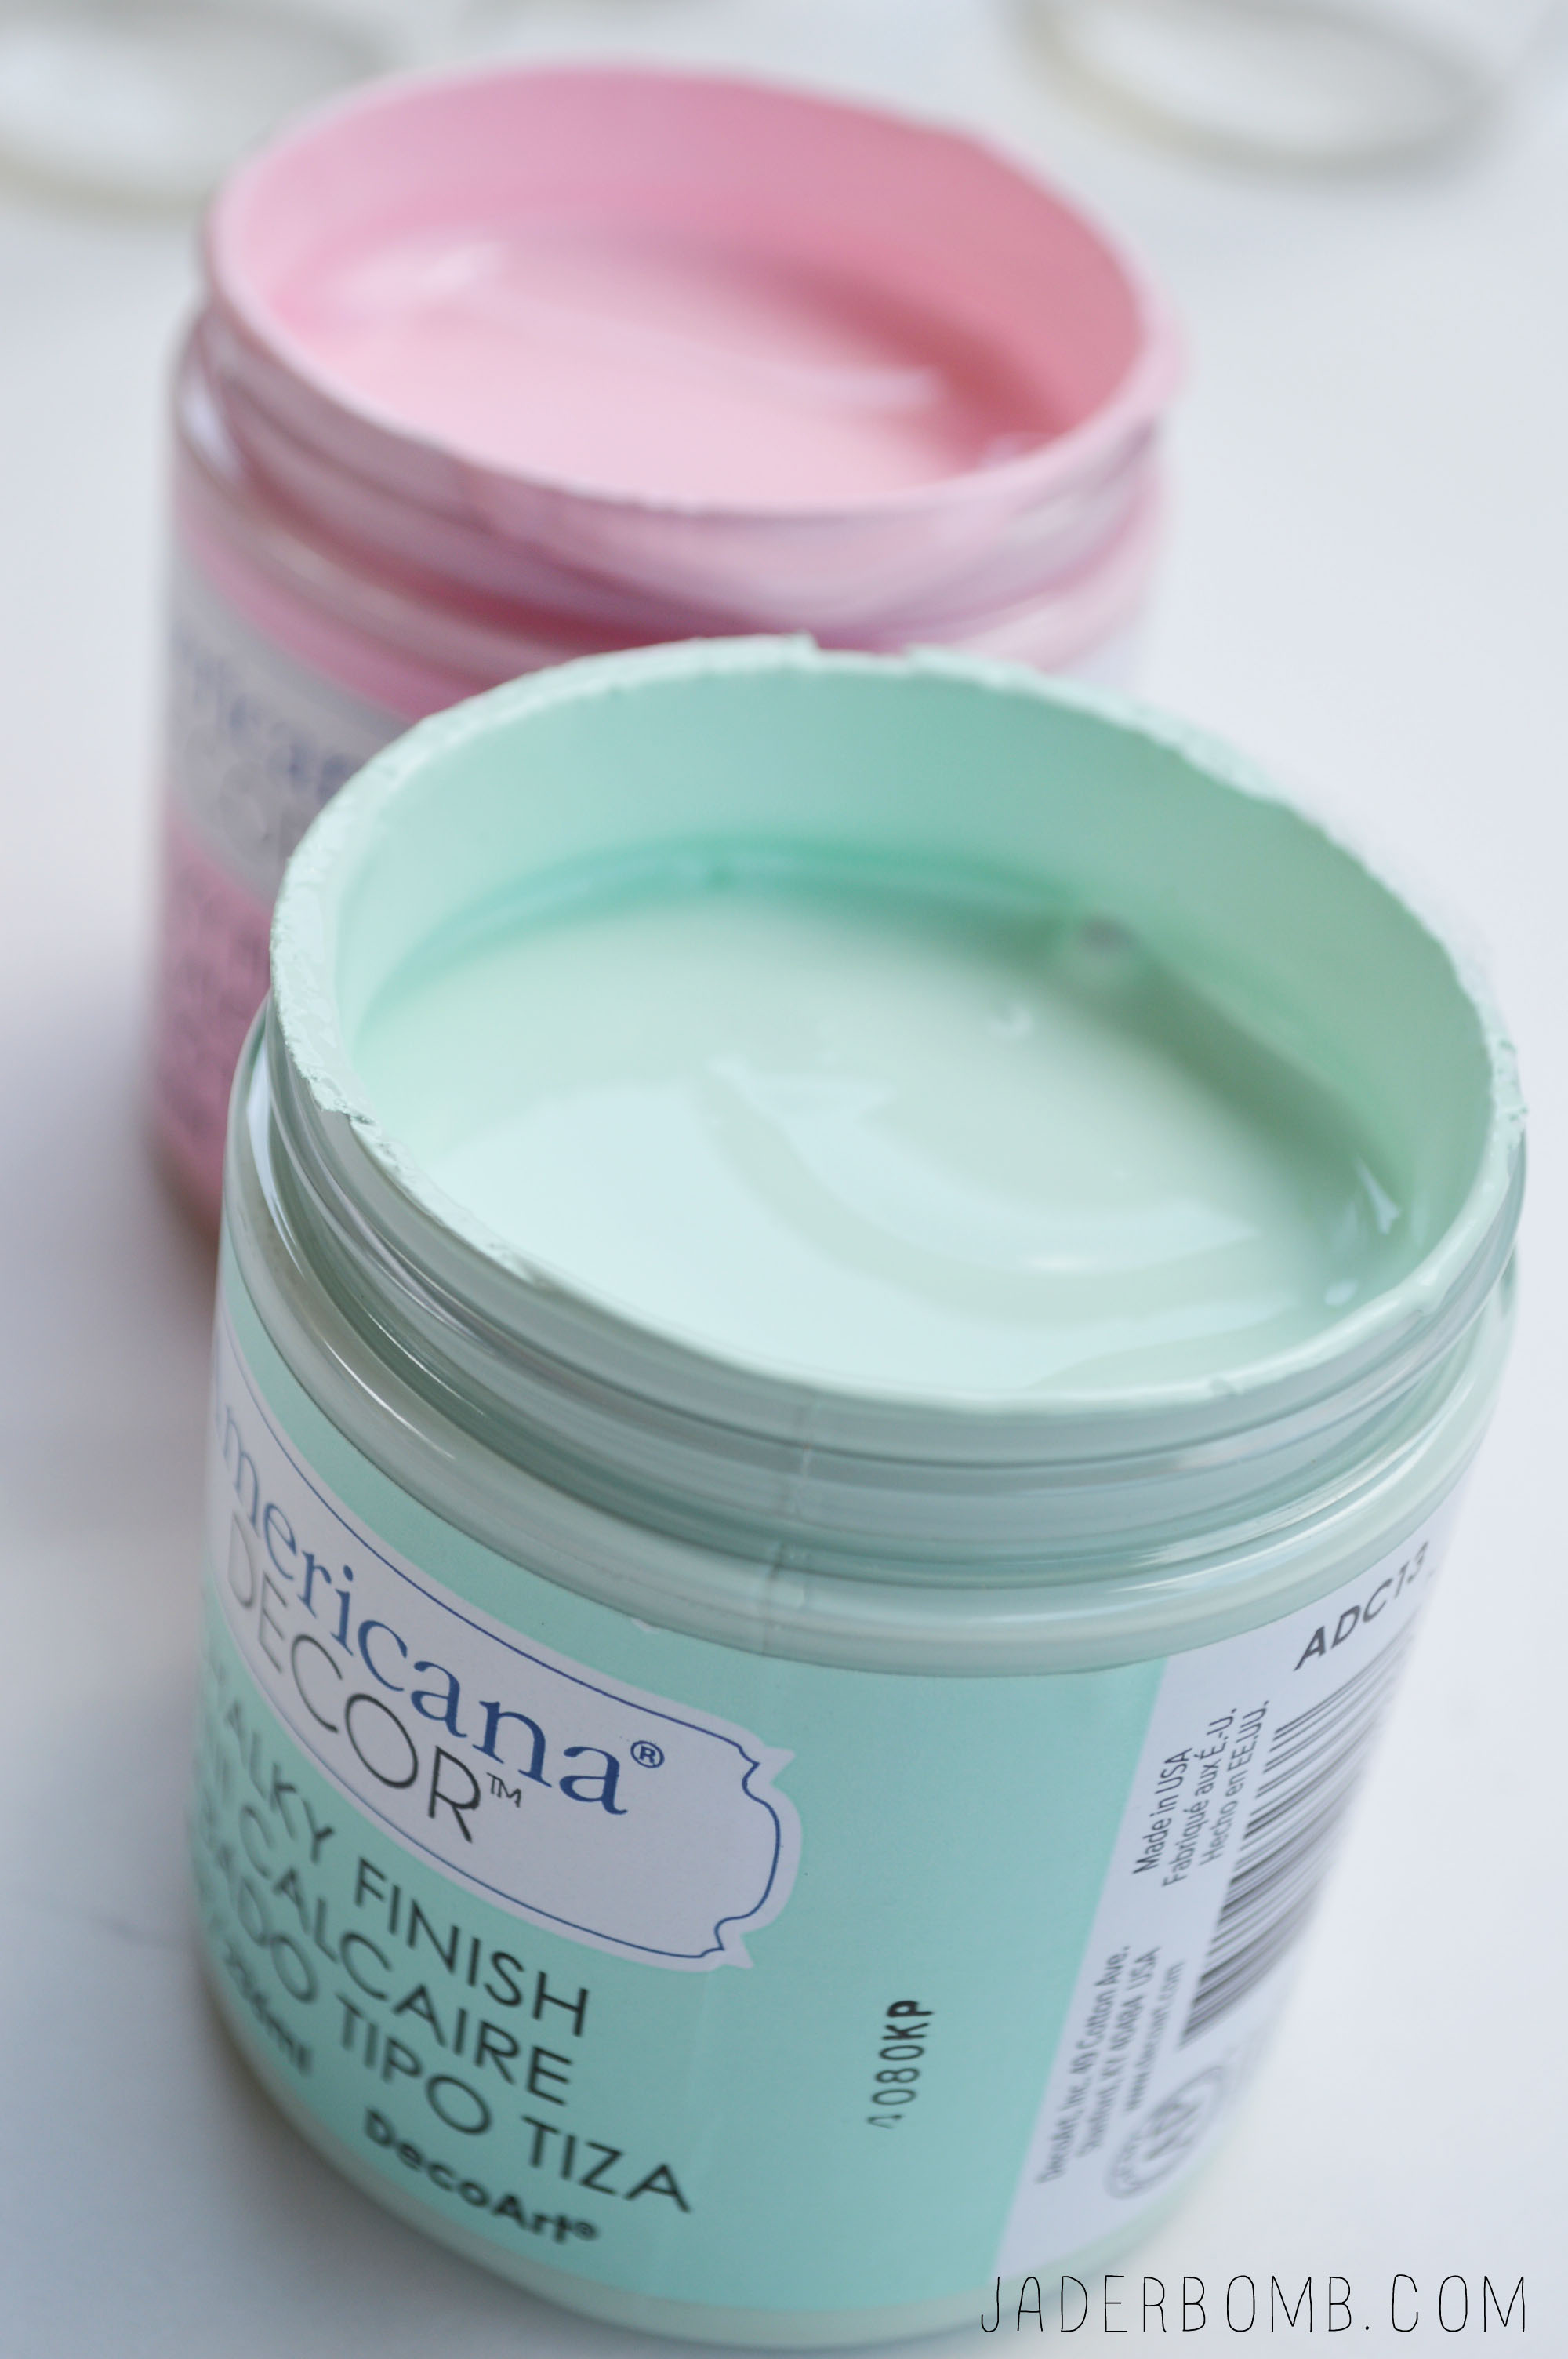
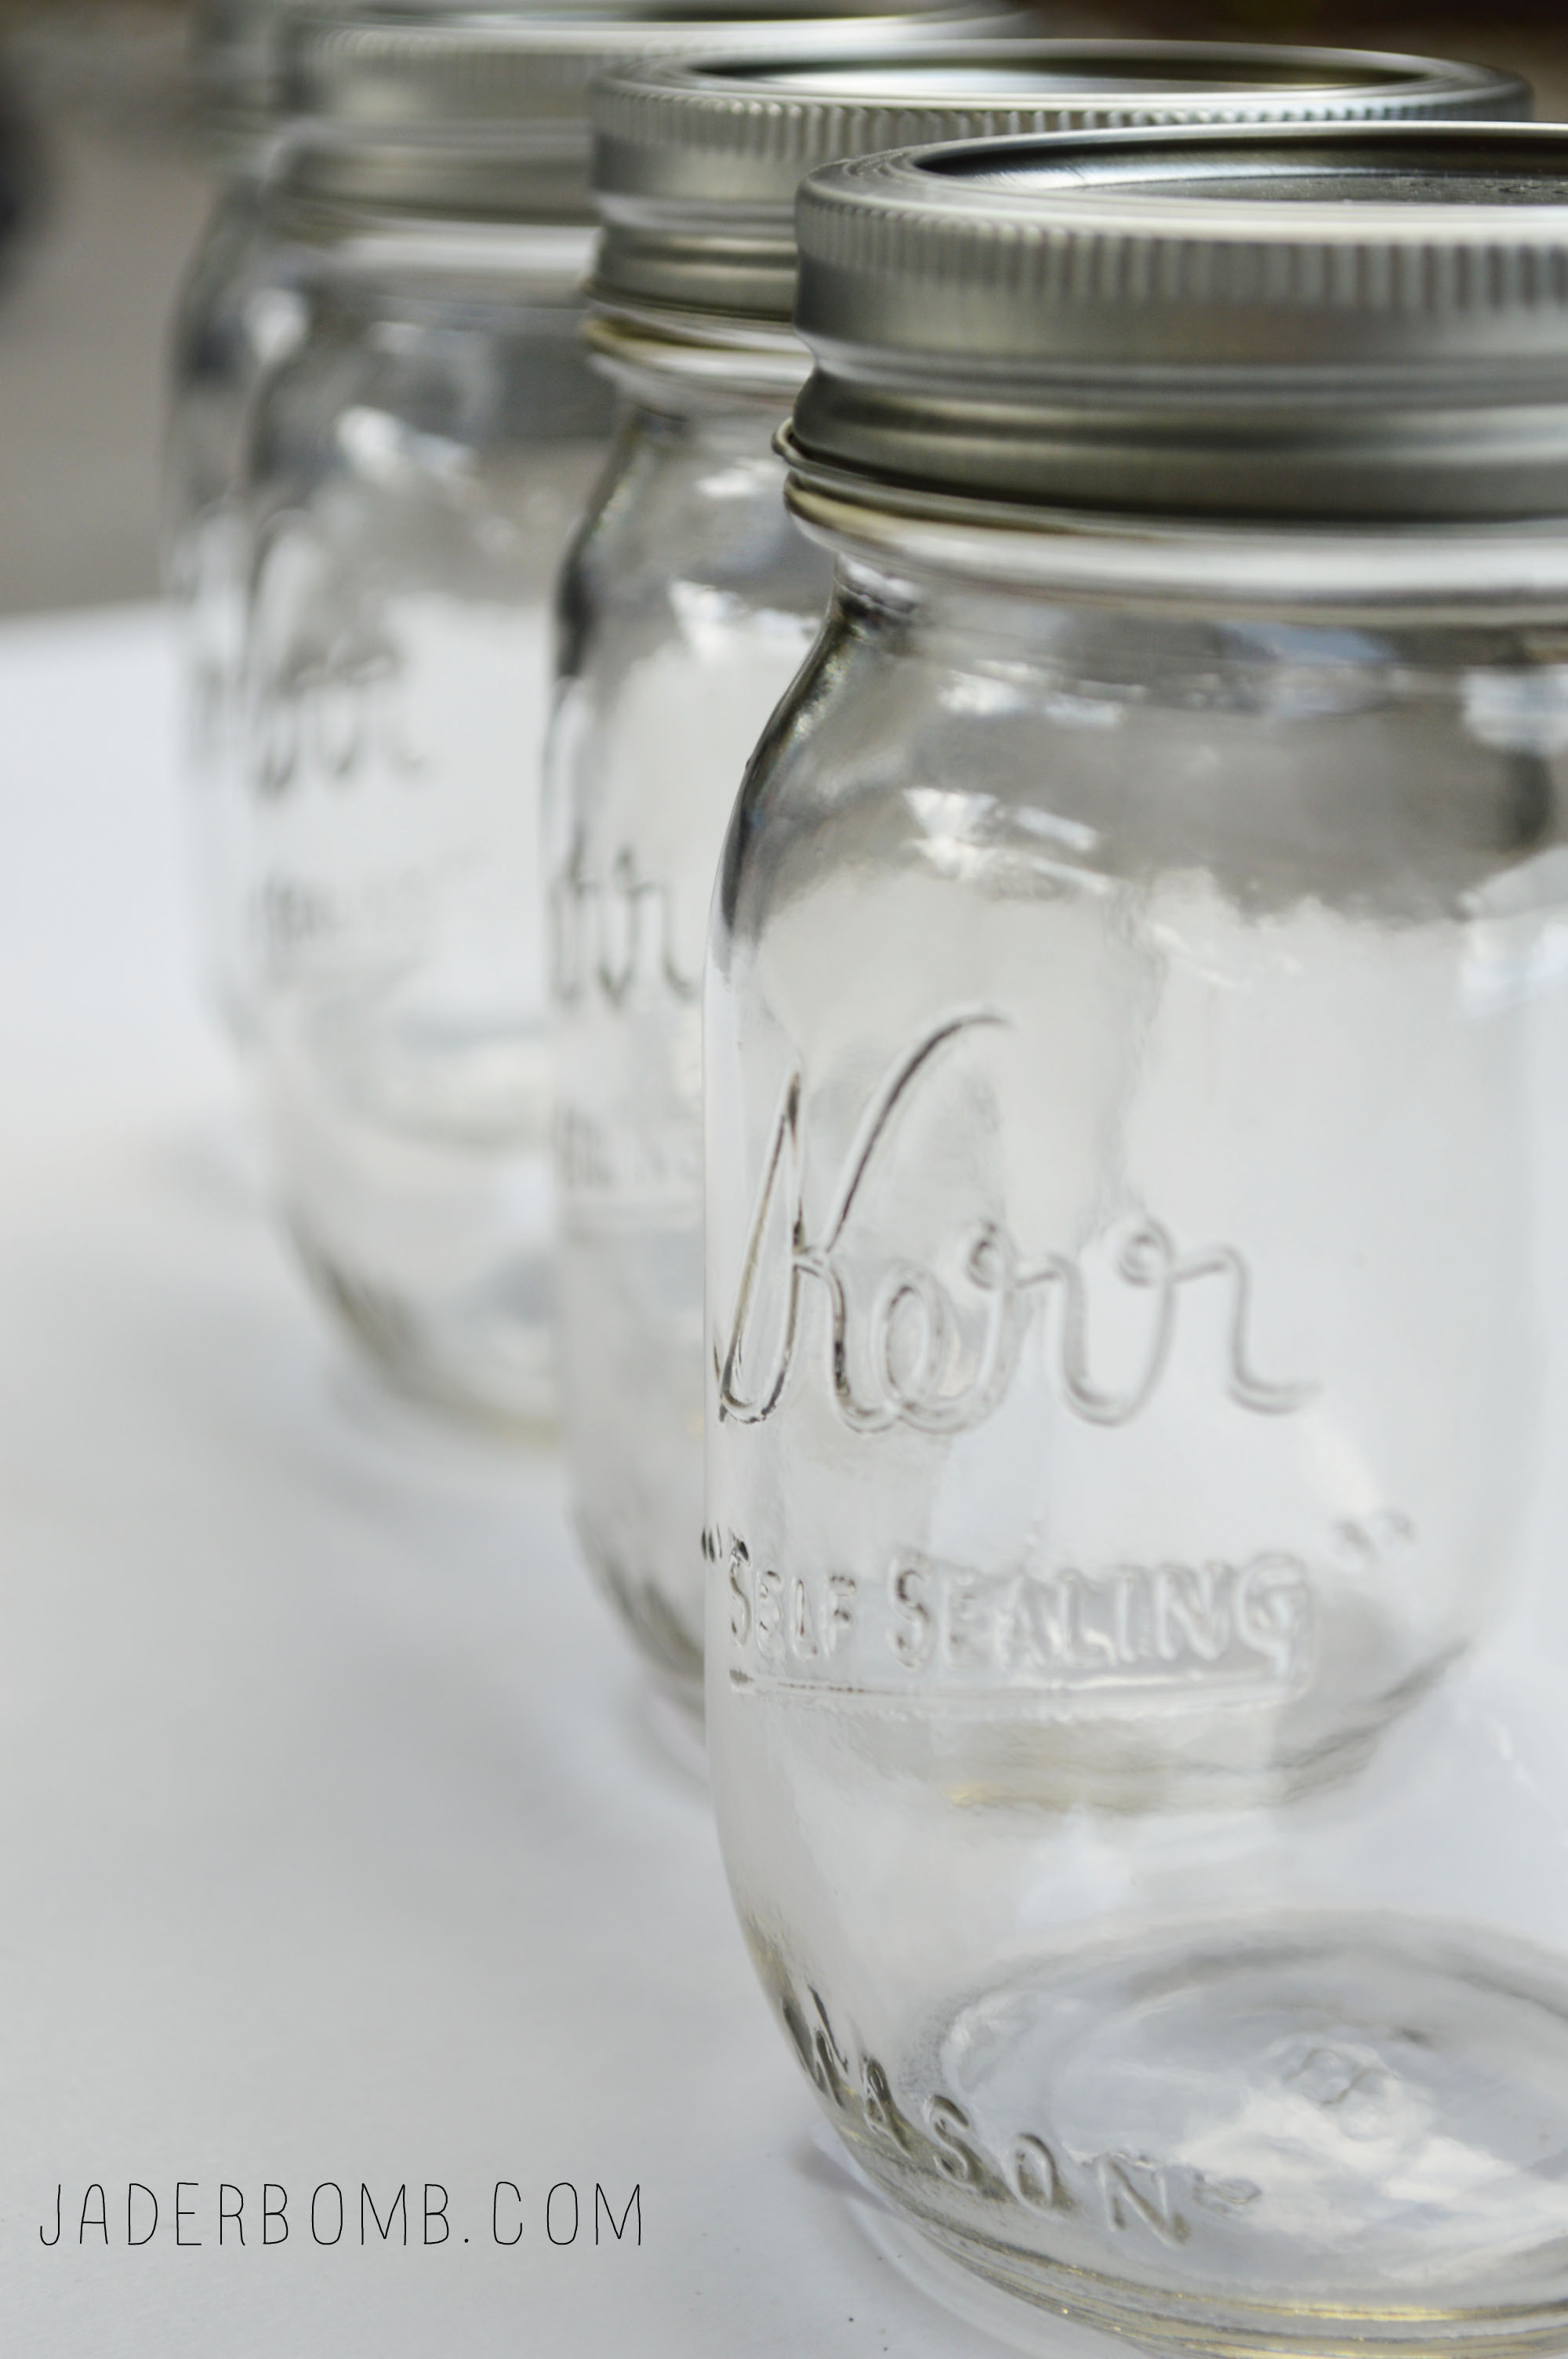
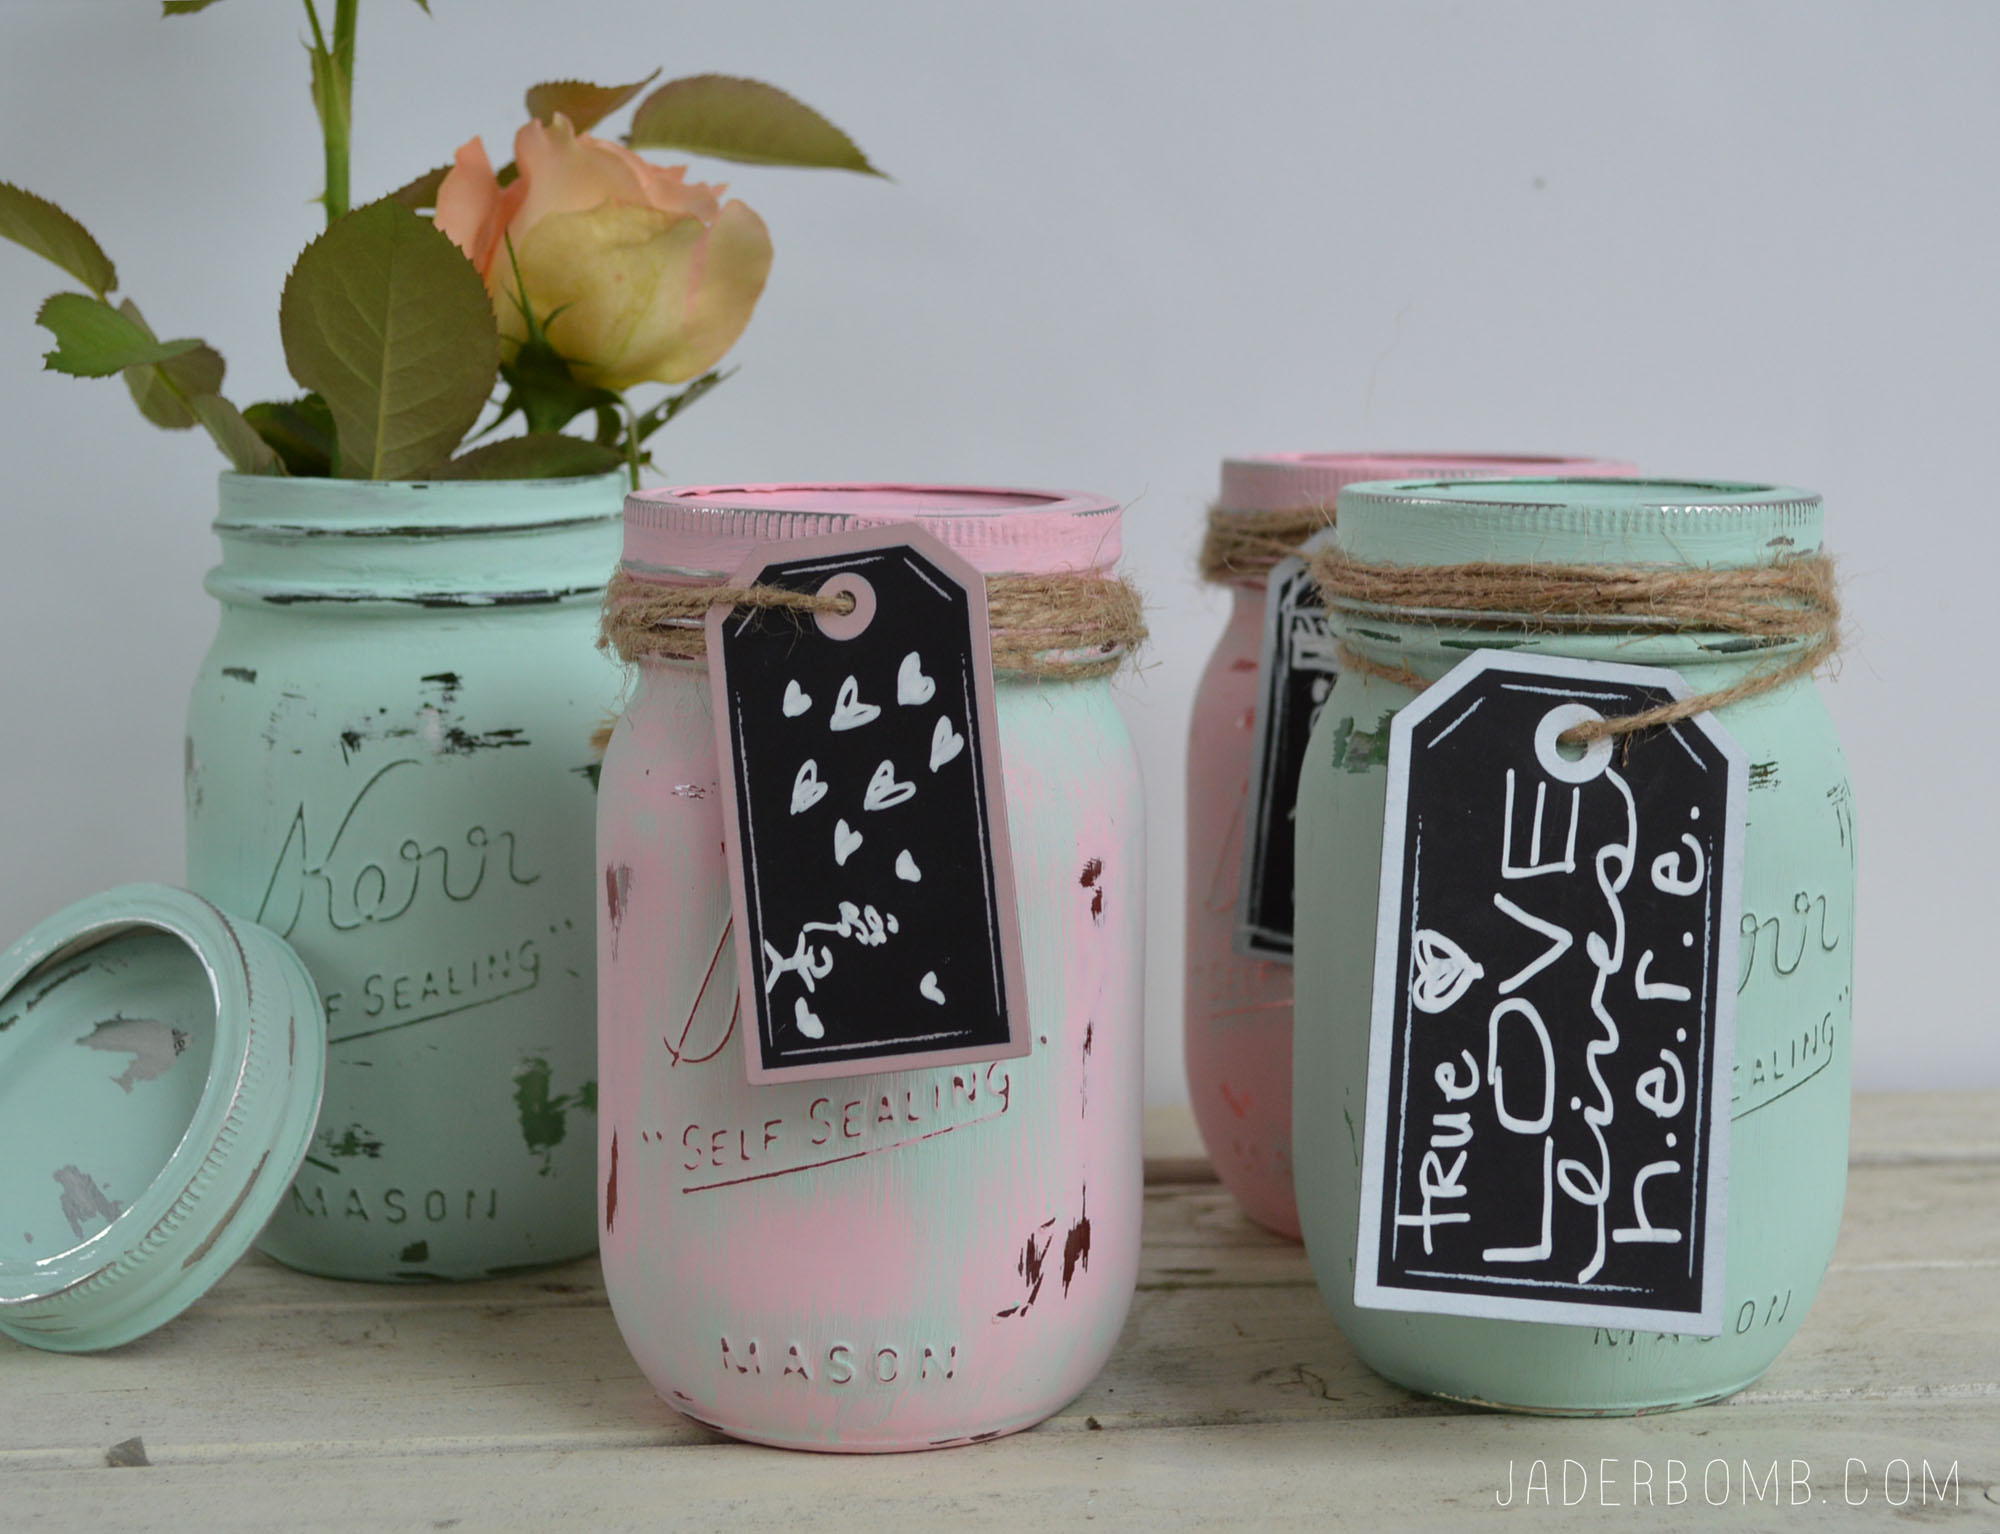
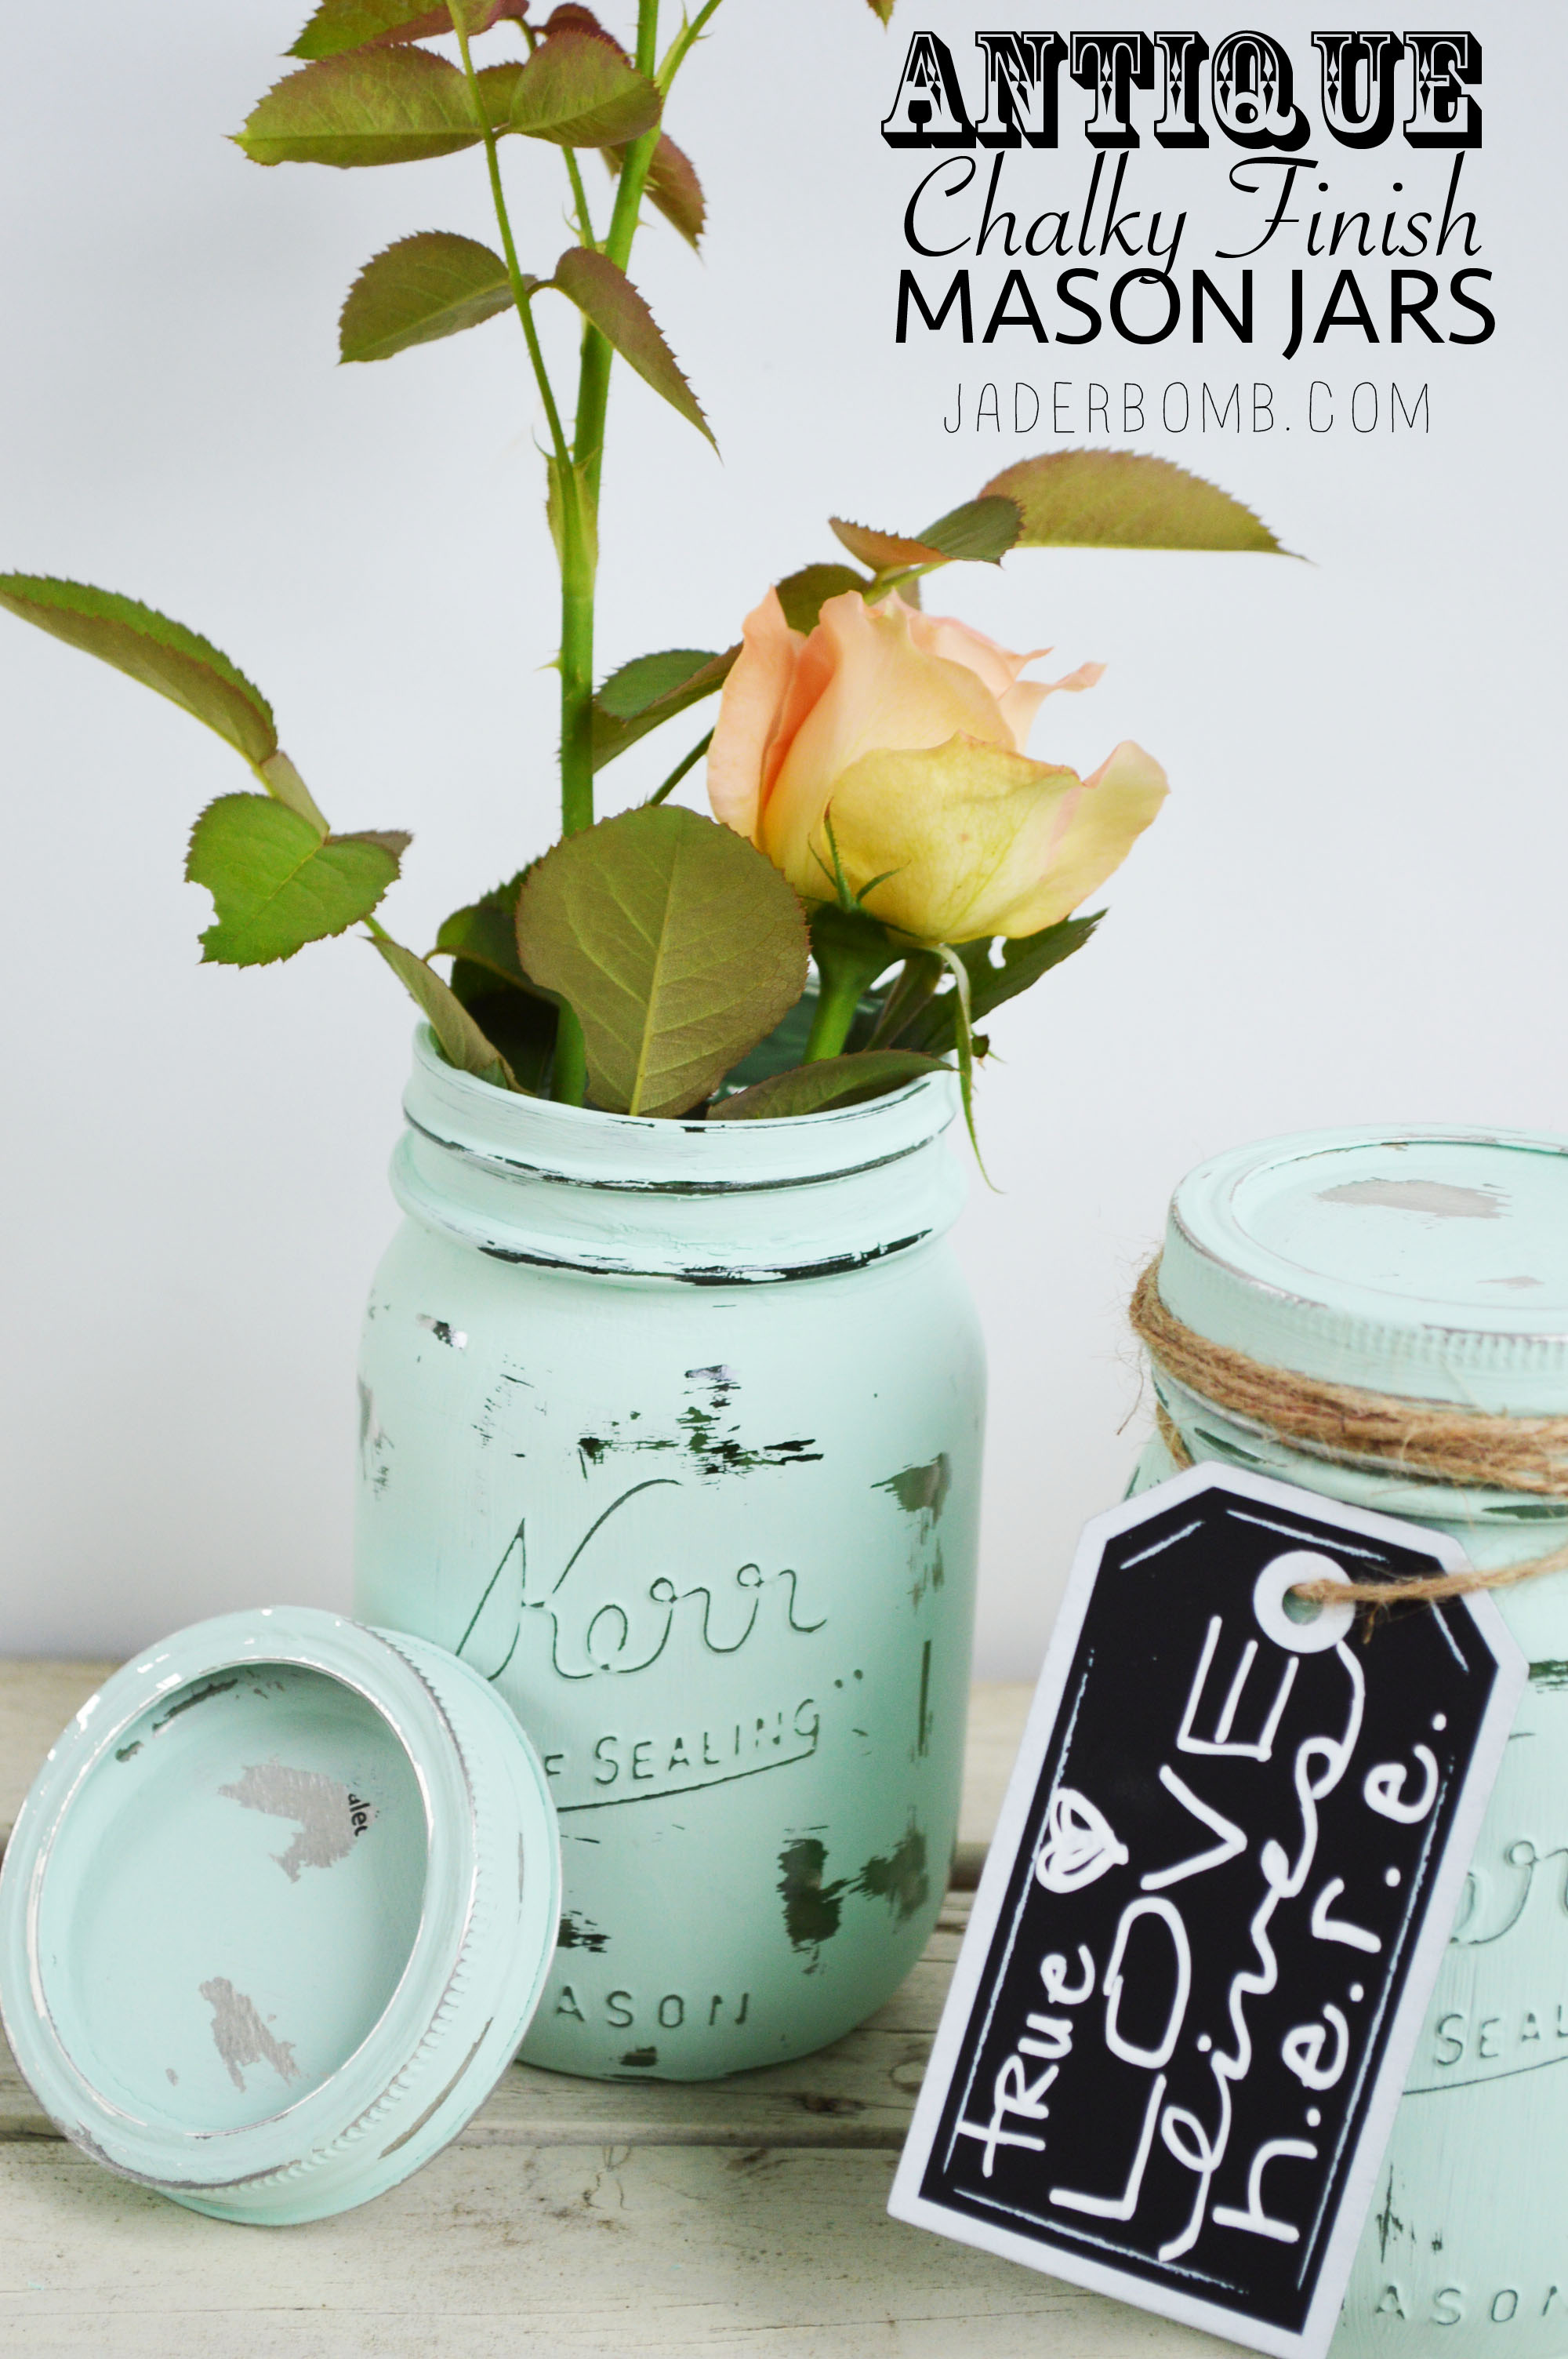
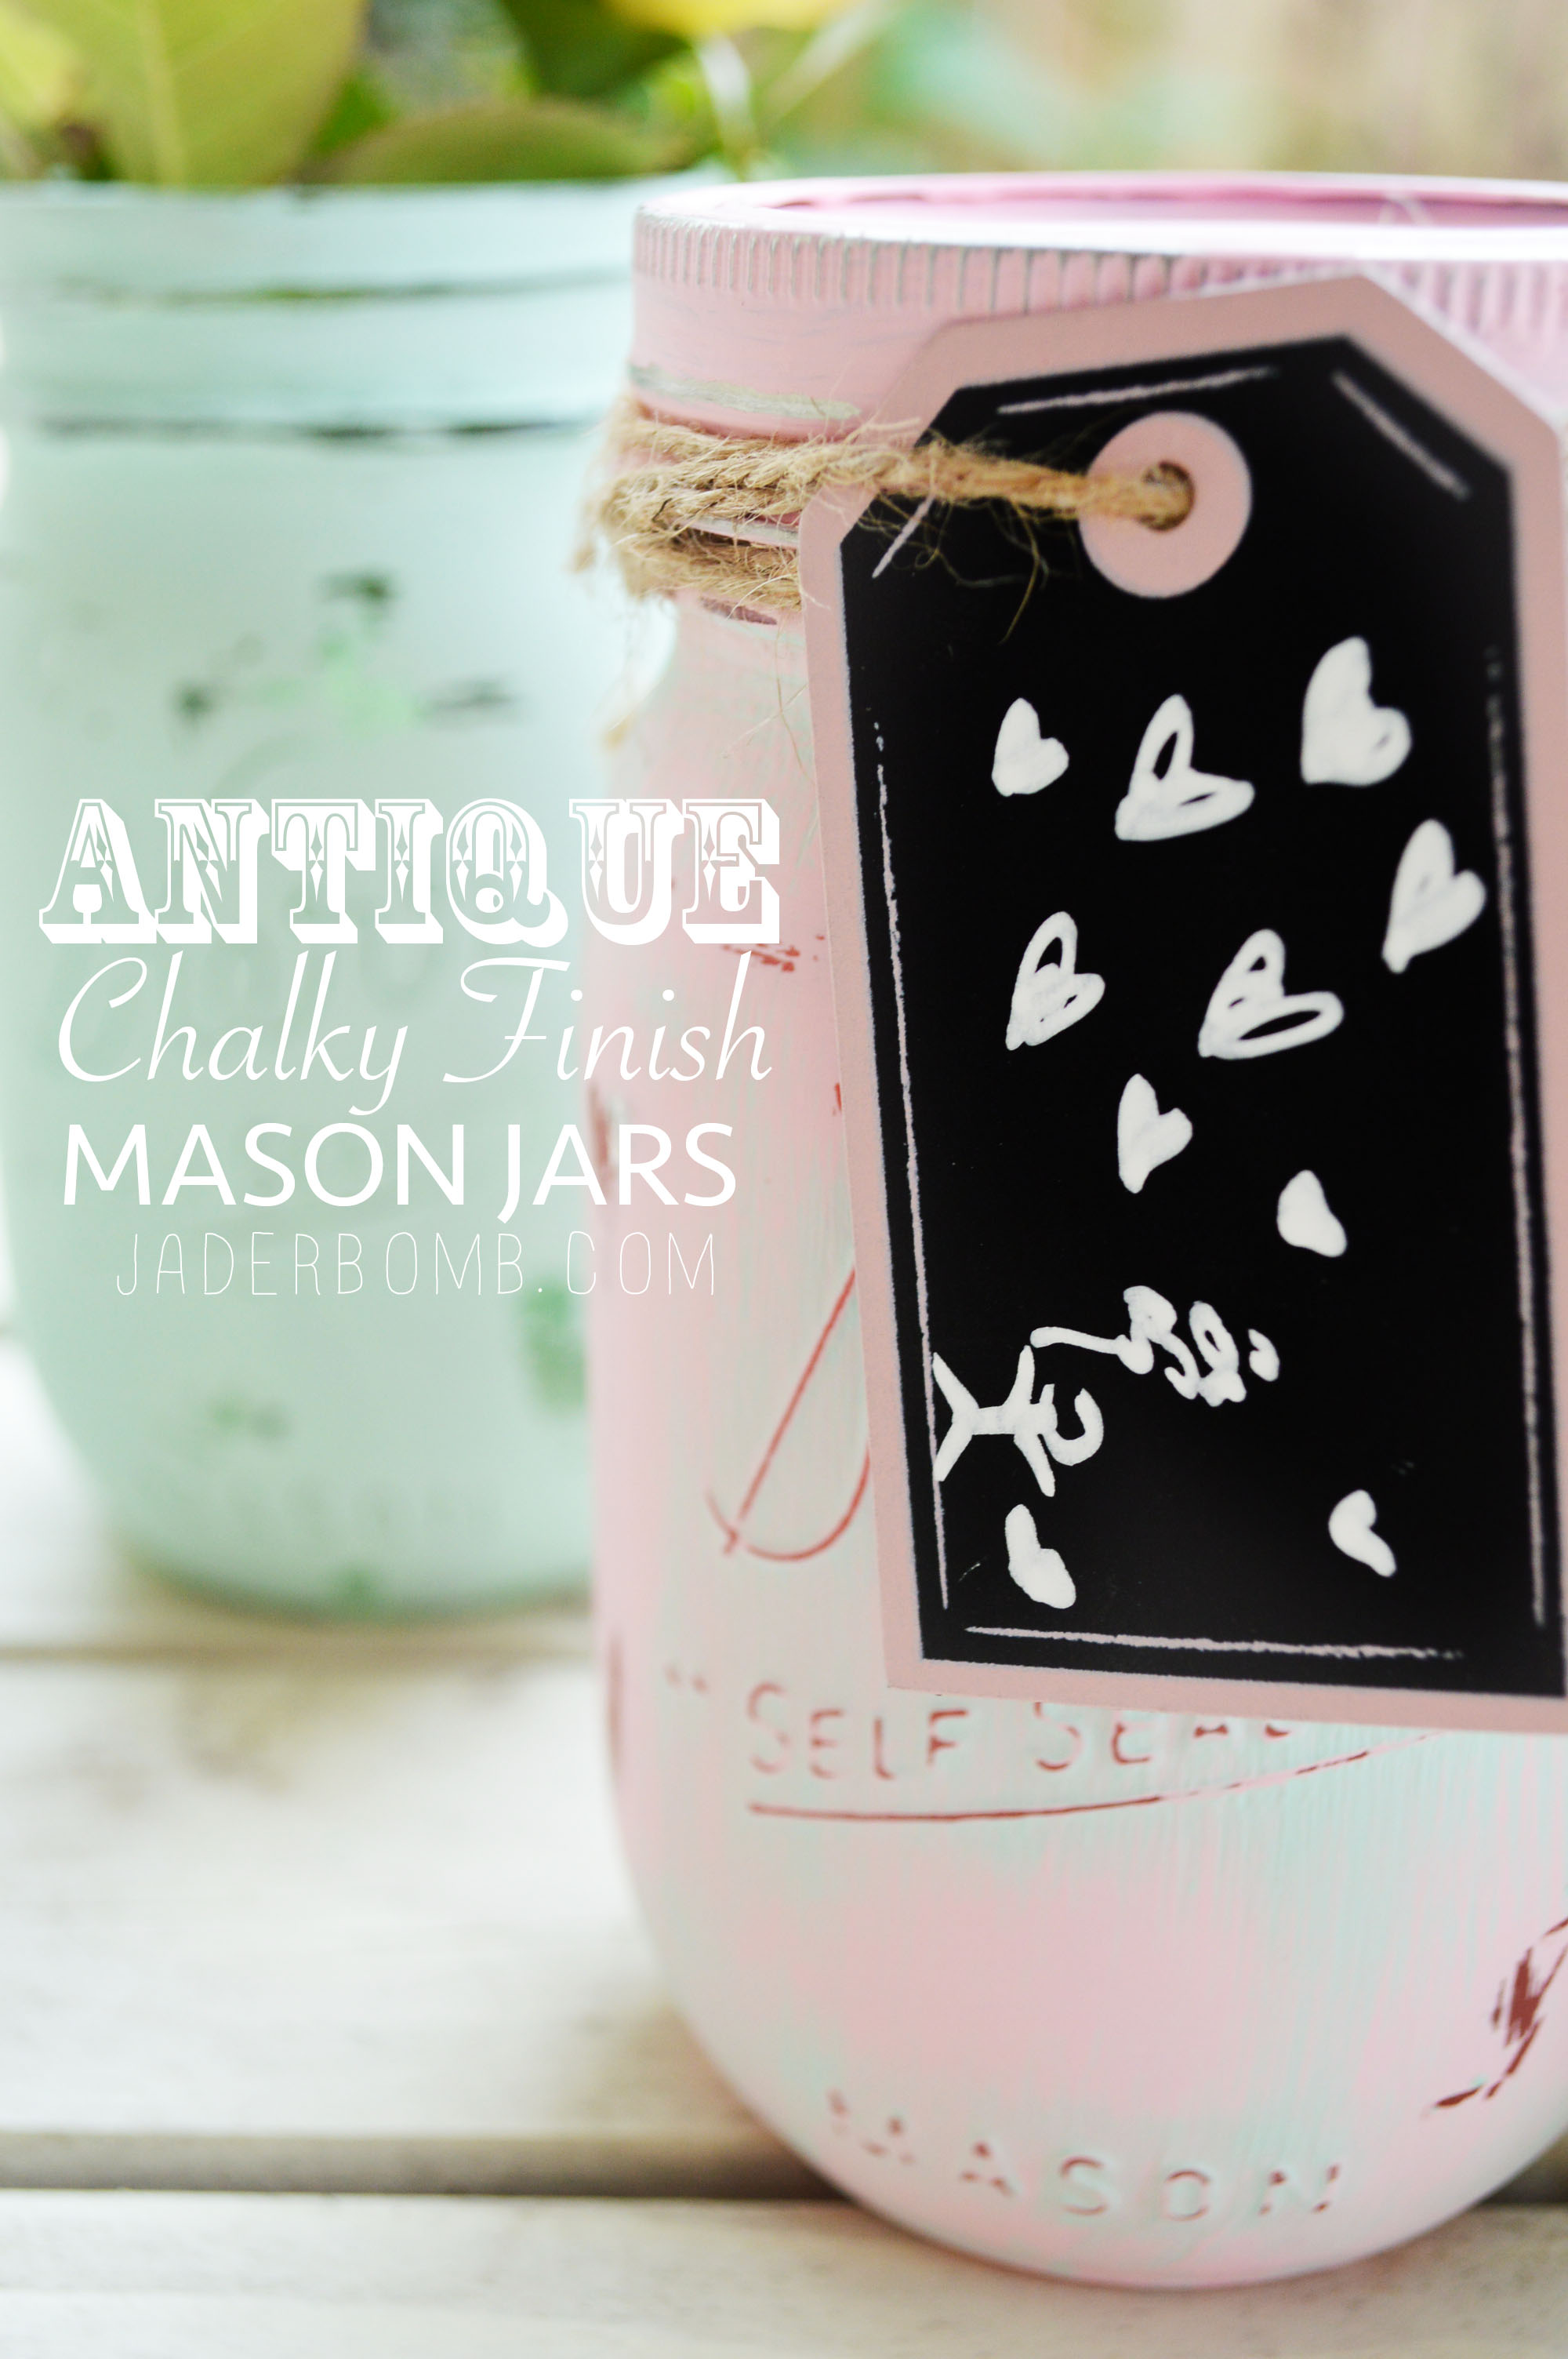 You will need: Mason Jars | Chalky Finish Paint | Chalk Markers | Twine | Chalk Board Tags | Foam Brushes | Sand Paper
 Take off all your lids and place them on a clean surface. We will be painting these as well.
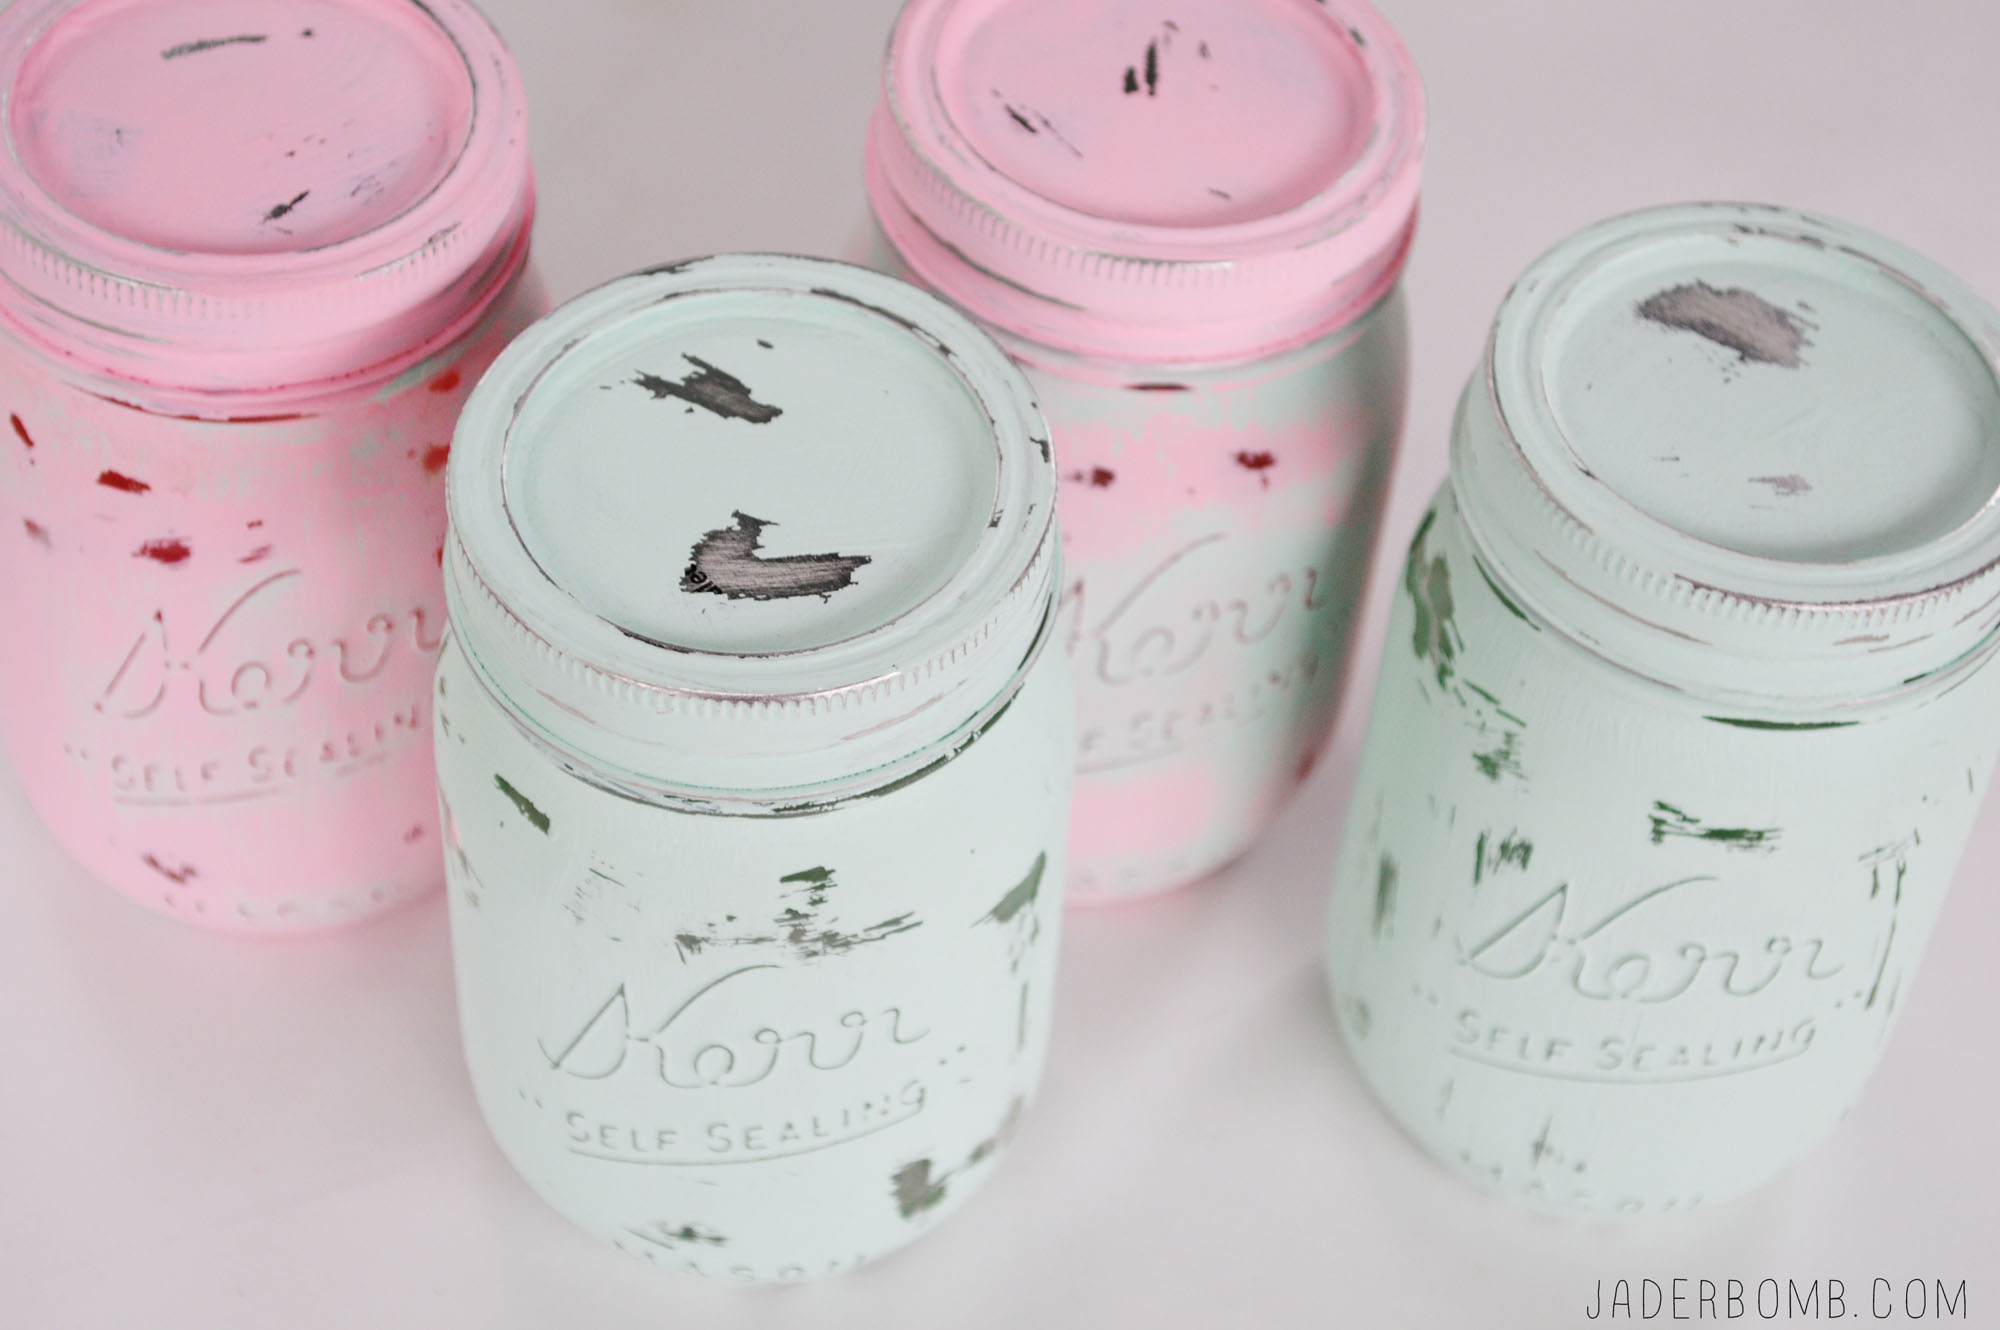
 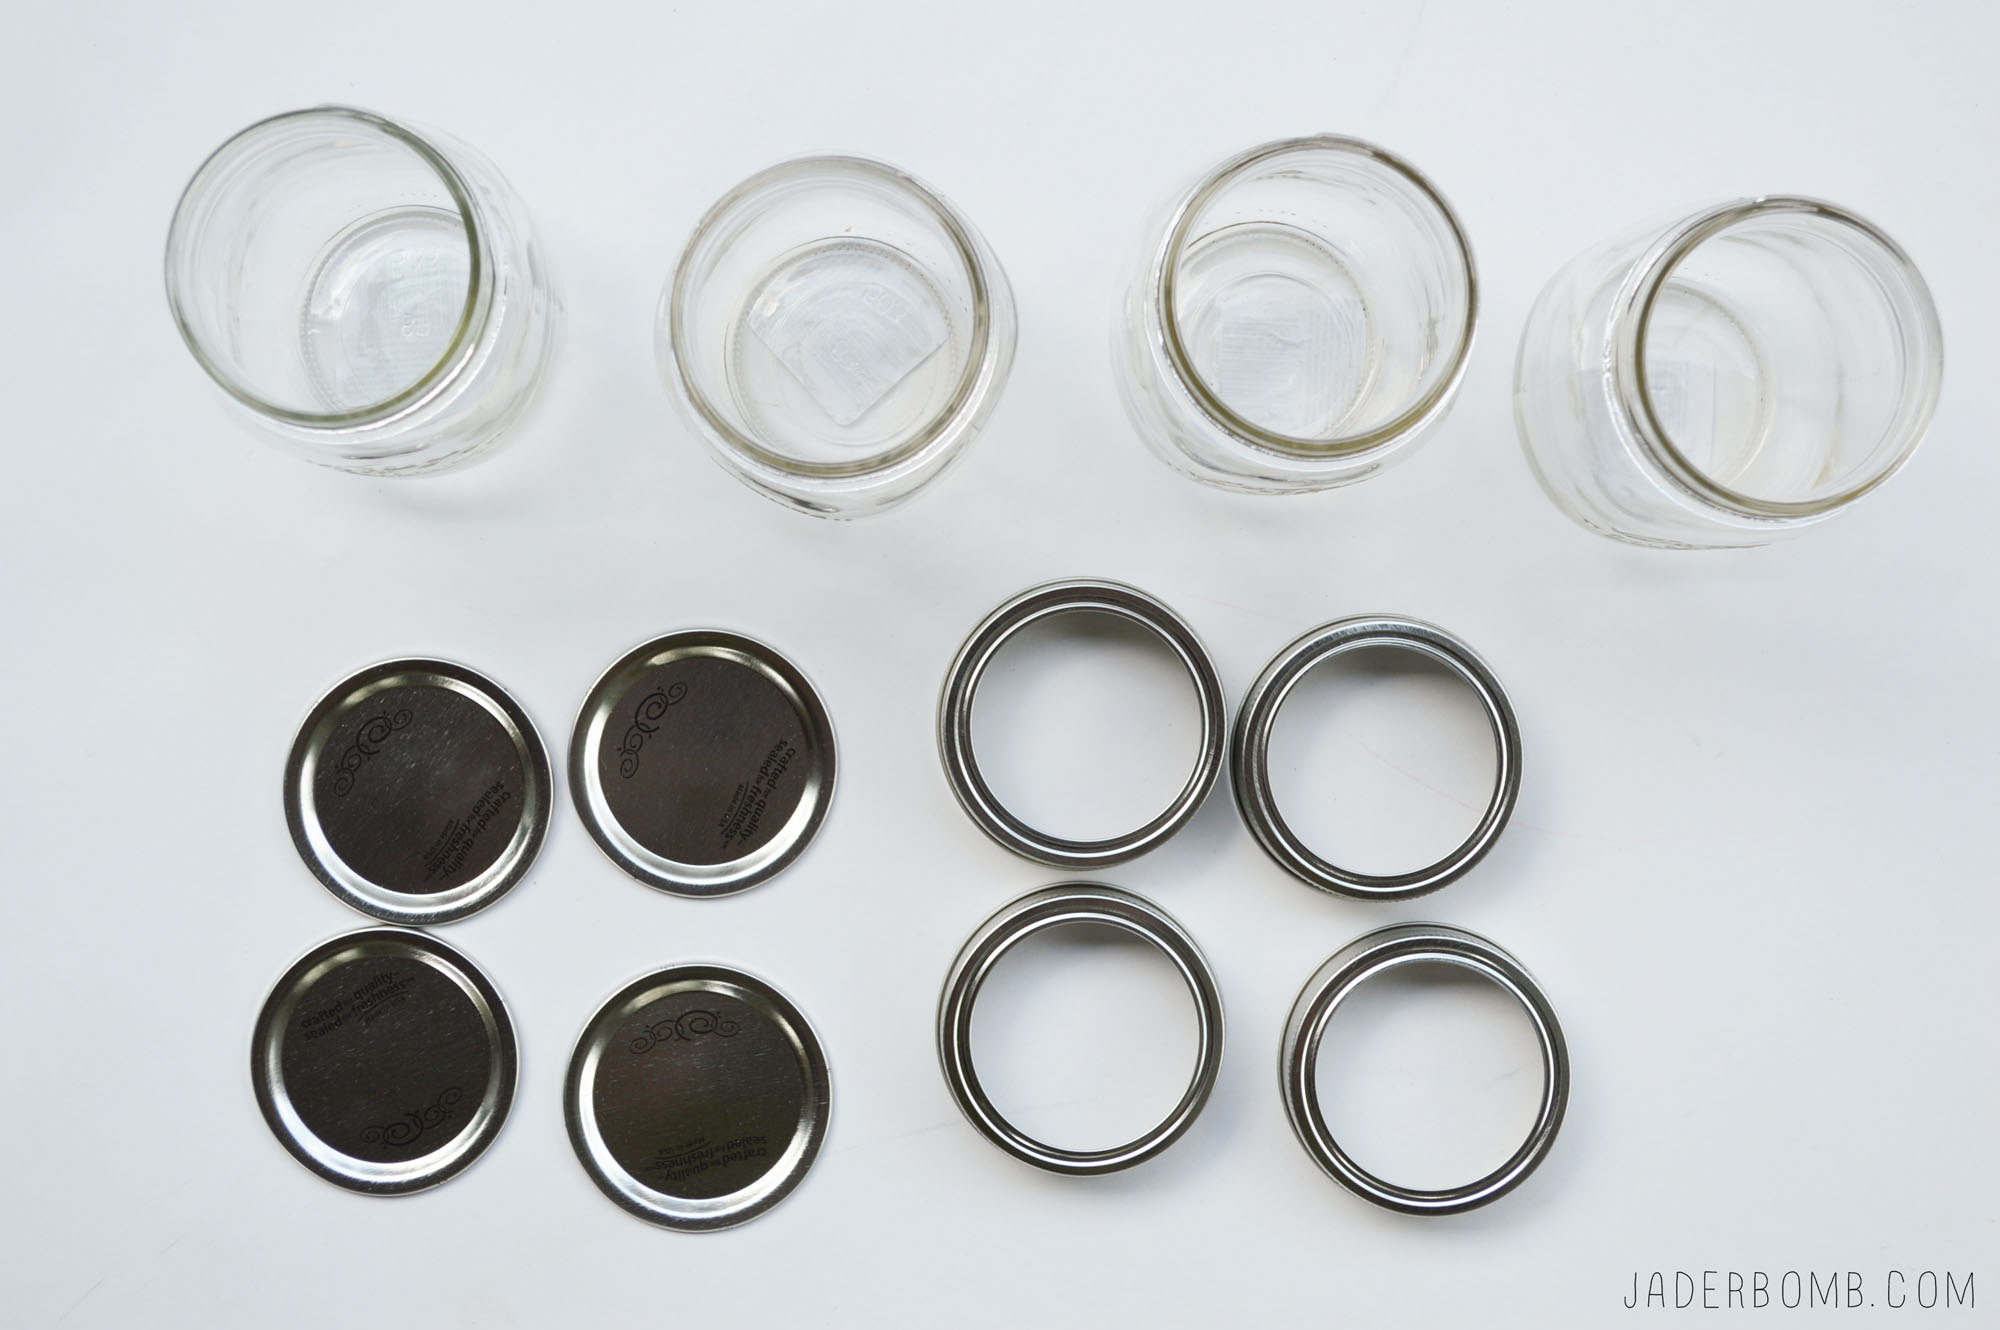 Start by painting your mason jar. You will add one coat but make sure it’s dry before adding another. Great news, this chalky finish dries super fast so by the time you get to your third jar your first one will be dry!
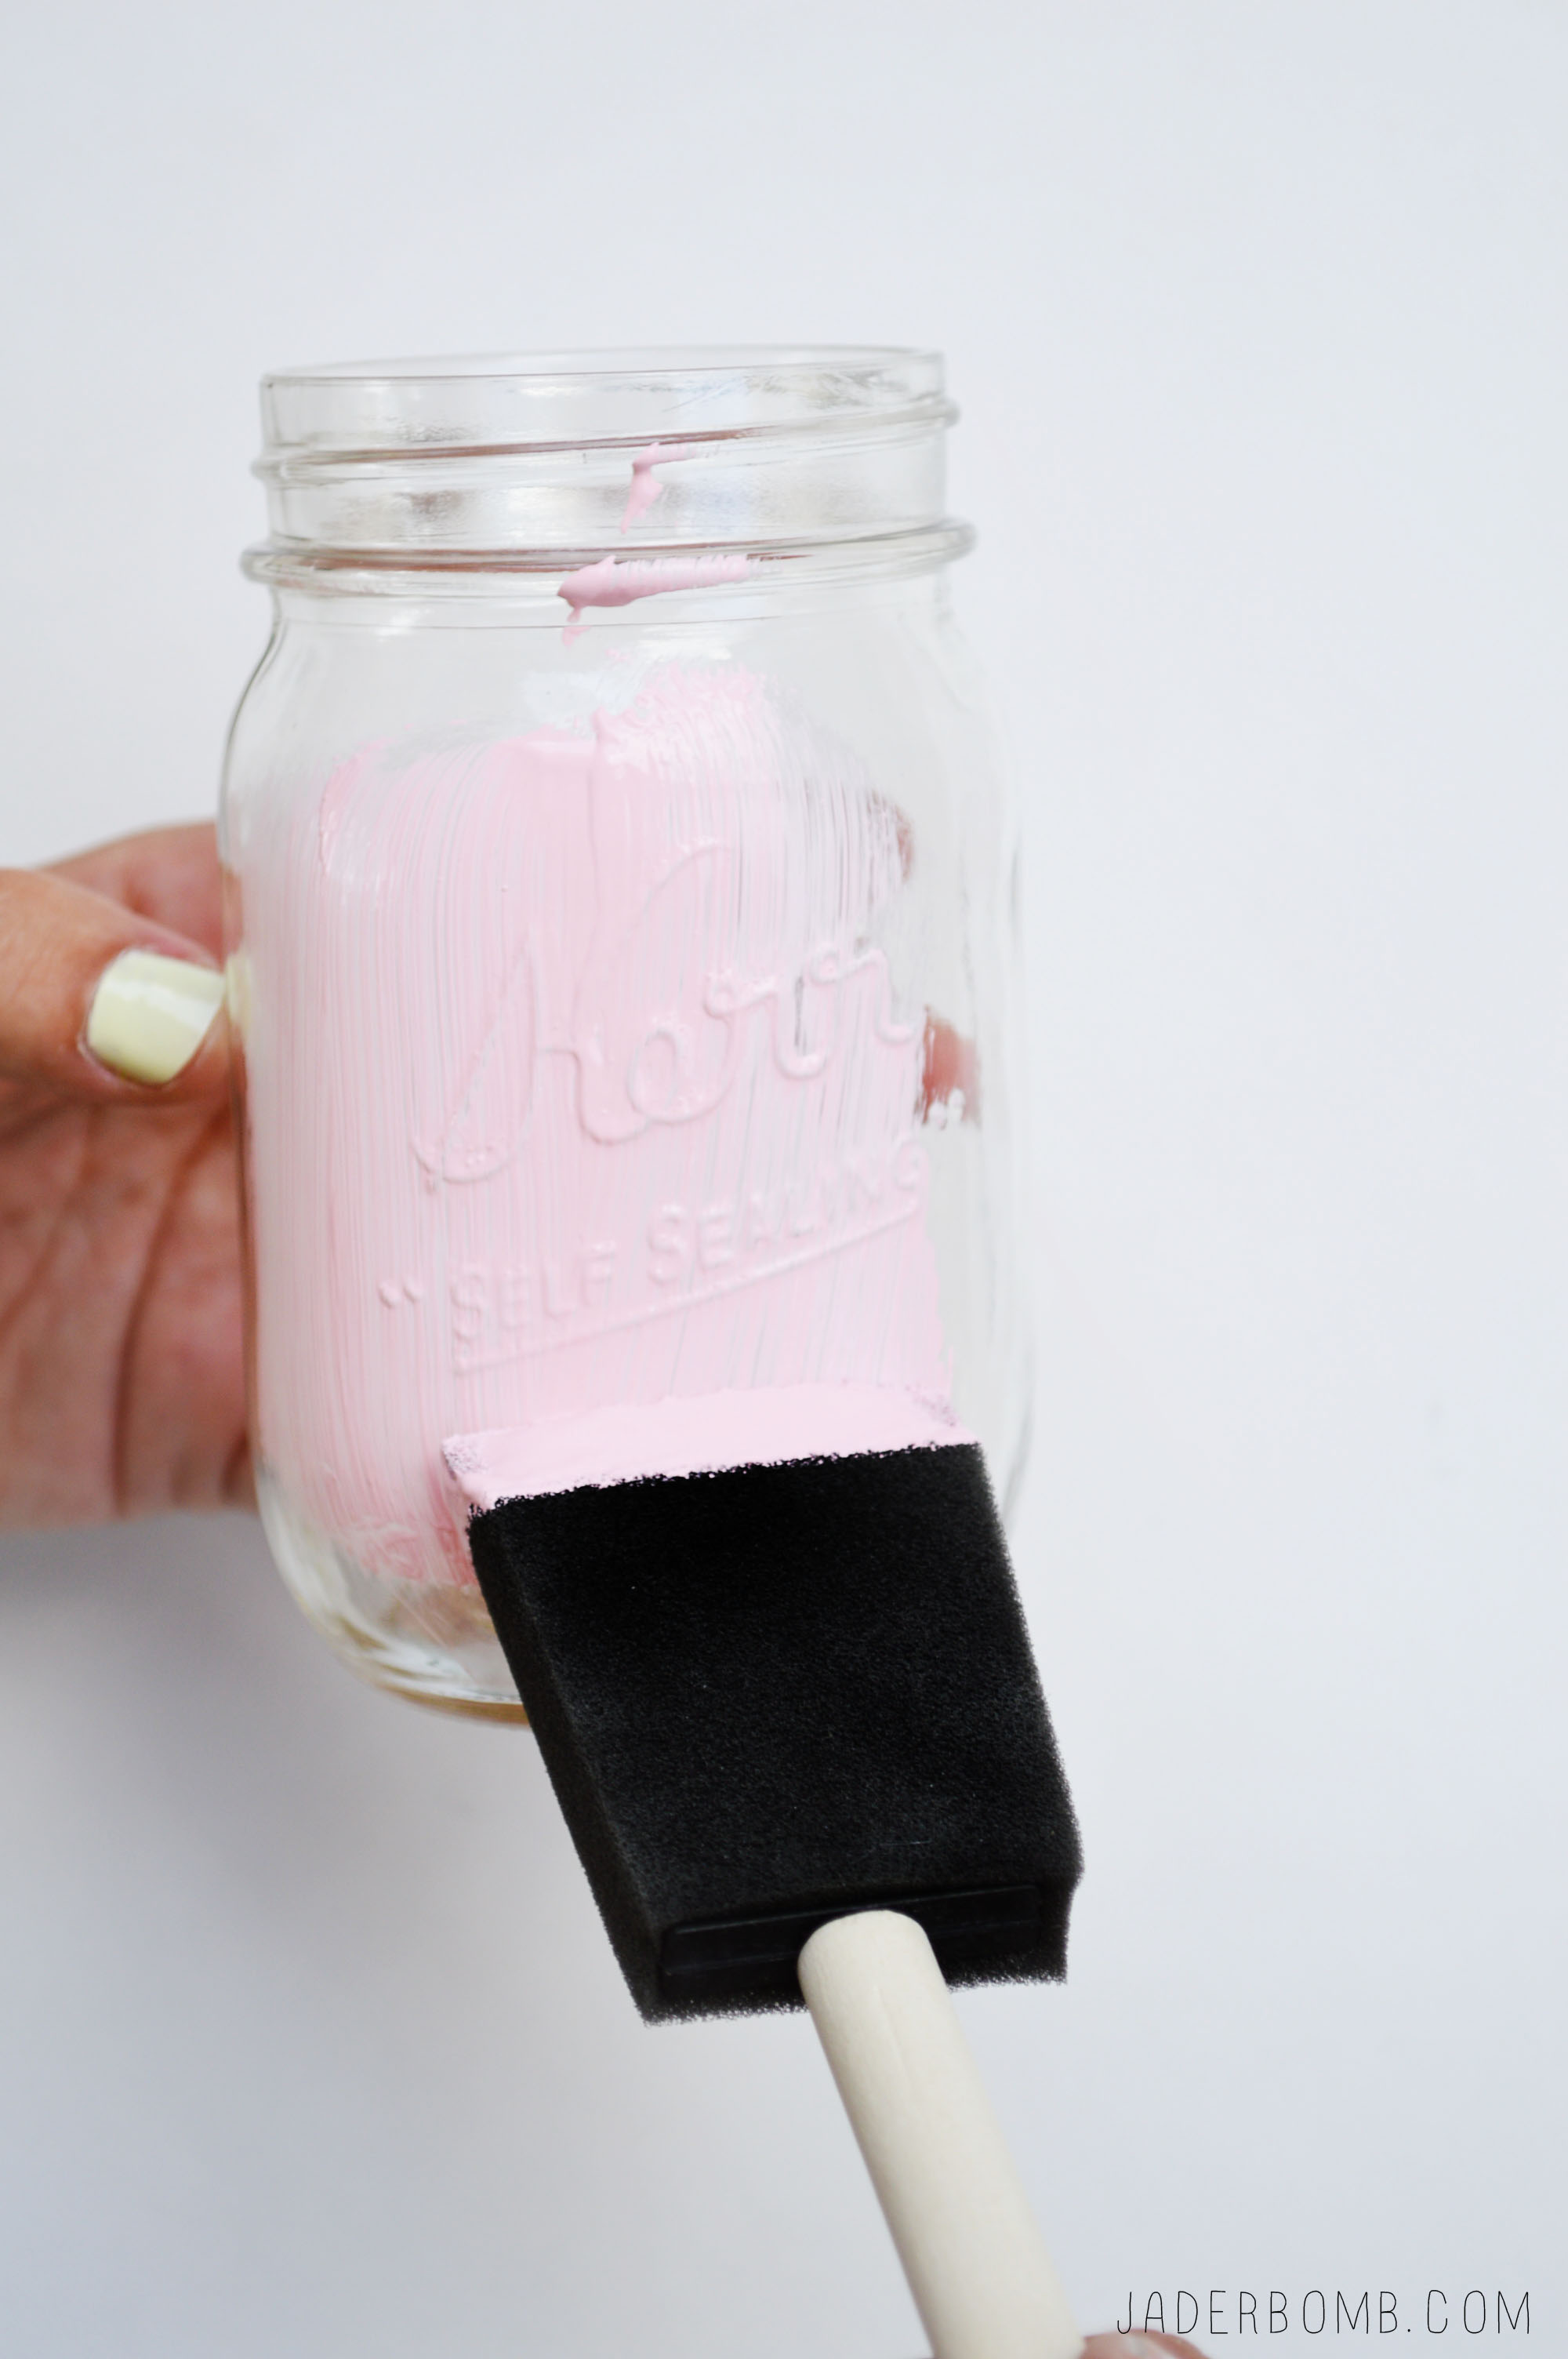 Have fun with your colors and mix them up if you want. Remember you will be sanding some of the paint away so having other colors show up a little will add to that vintage look you are going for.
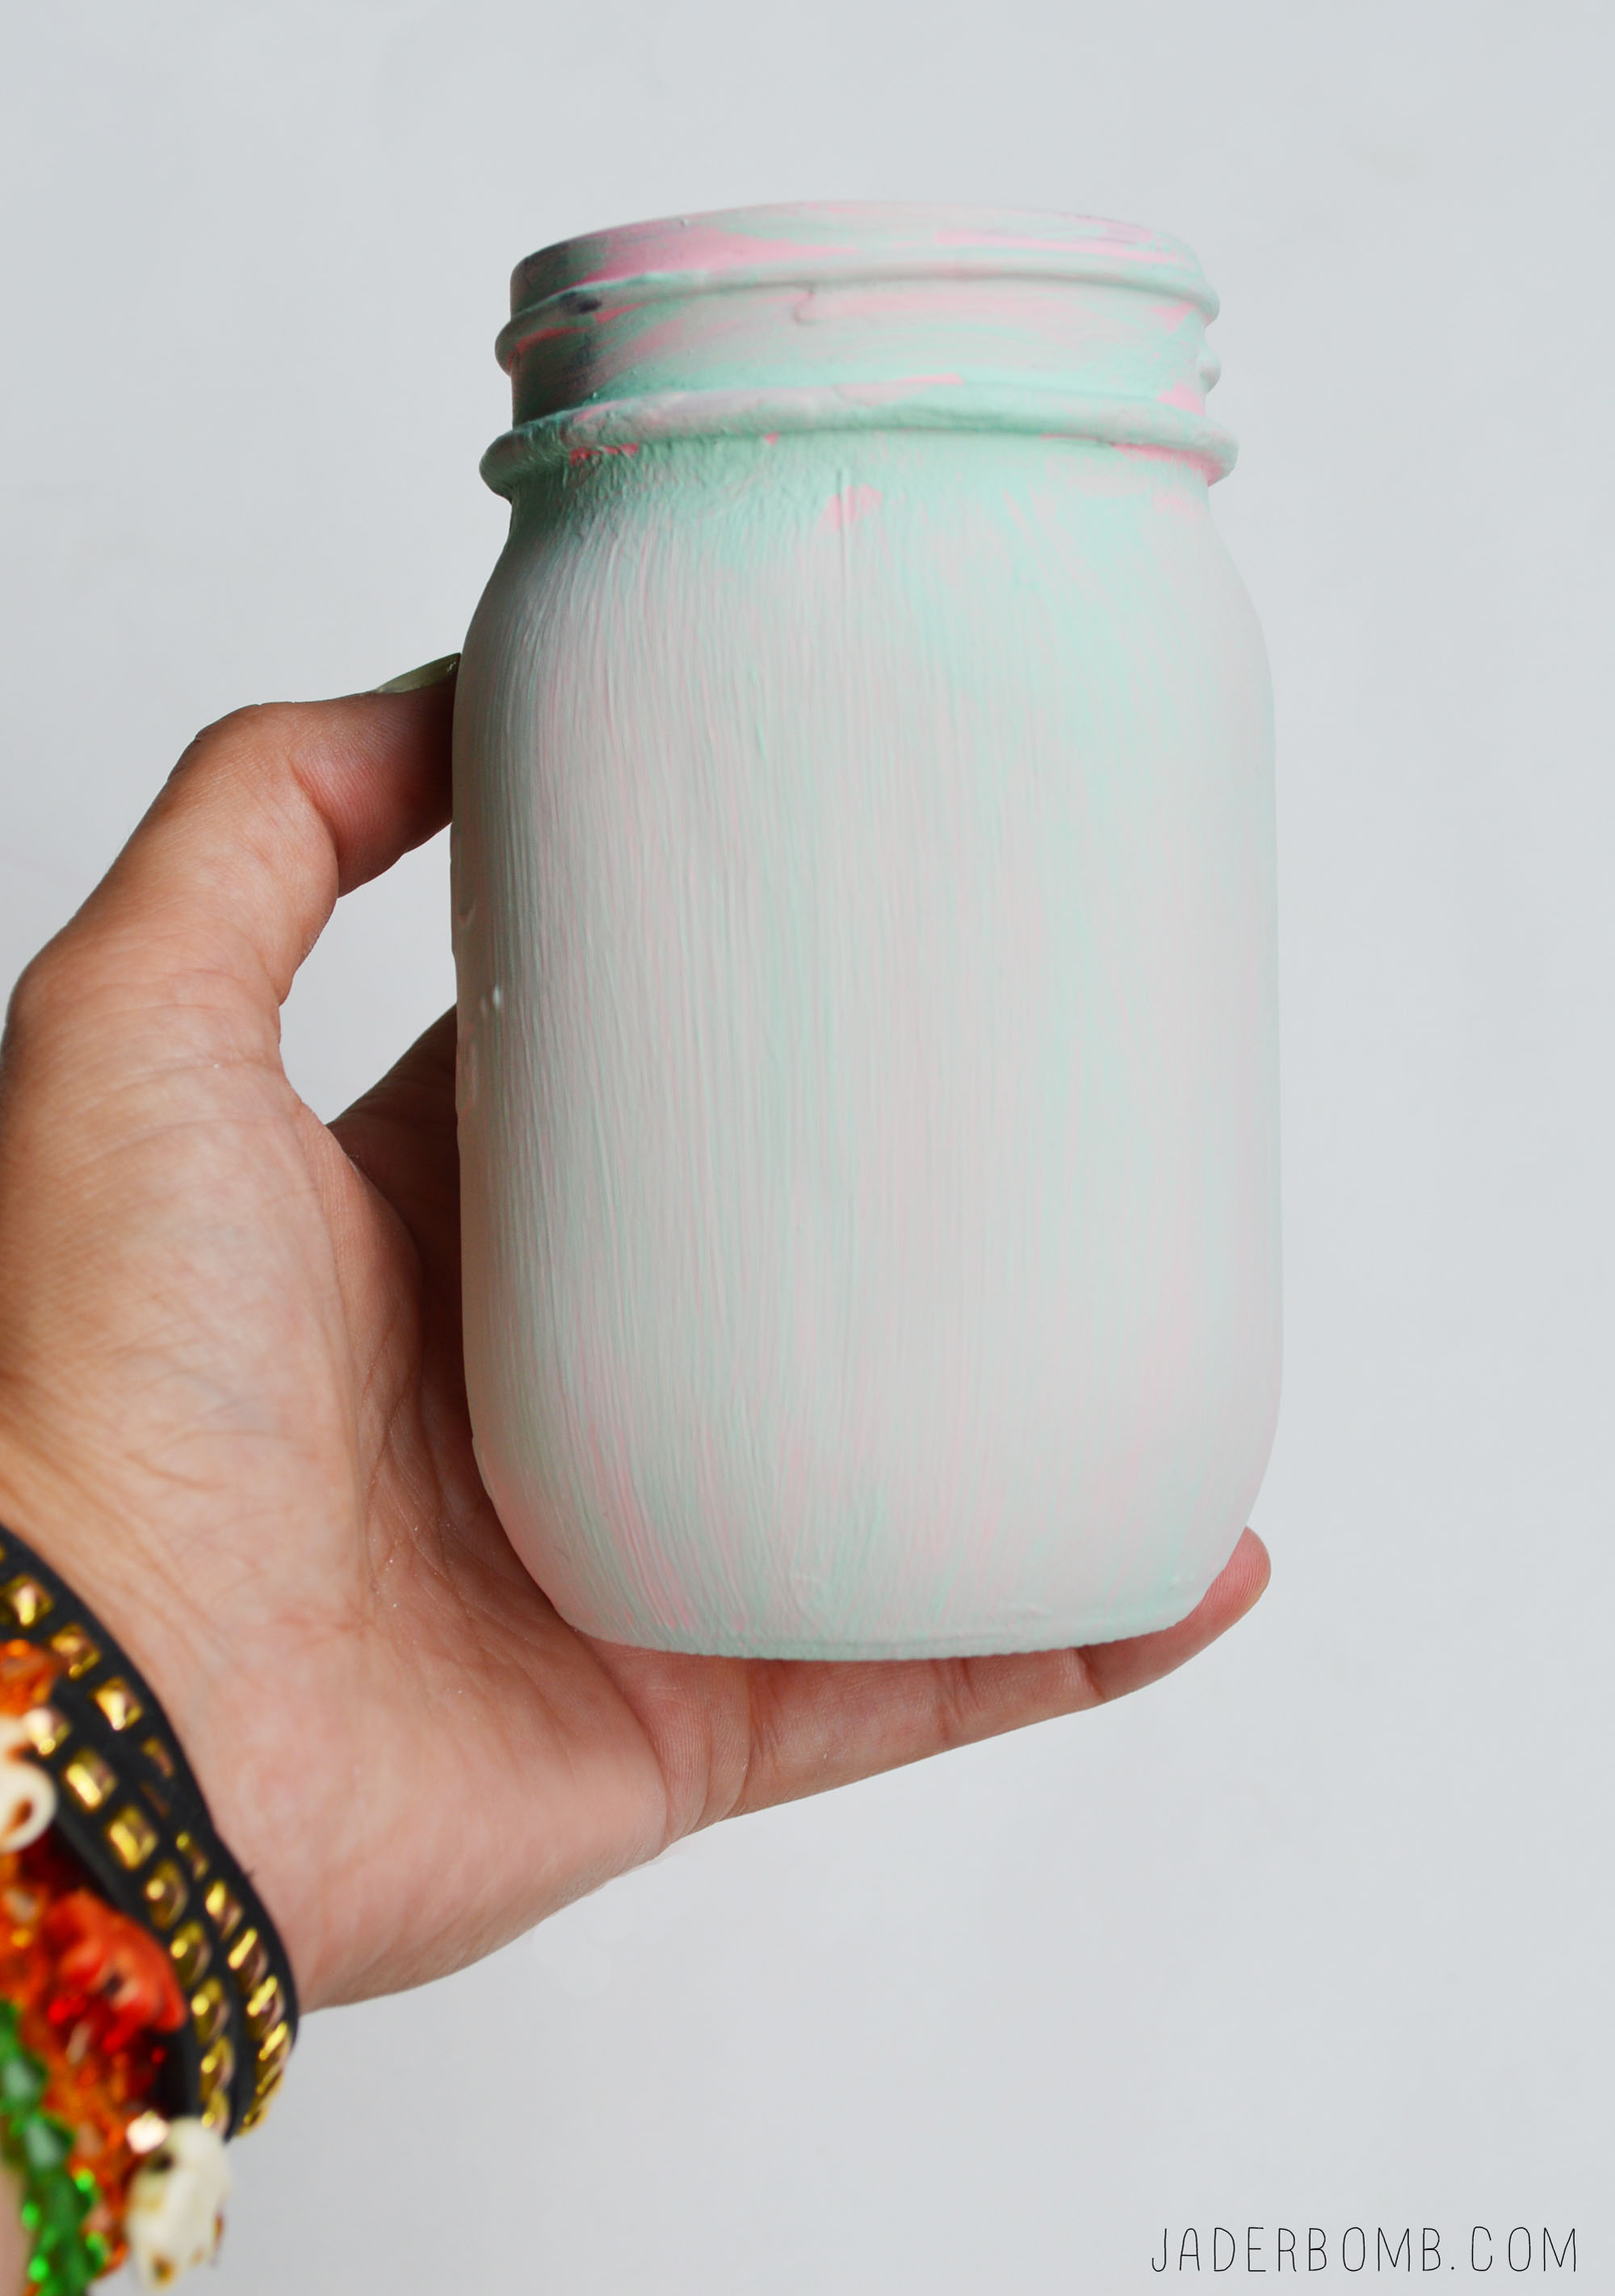 Get your sand paper and lightly sand your jars and lids. Don’t worry, if you sand off too much you can apply more chalky finish paint.
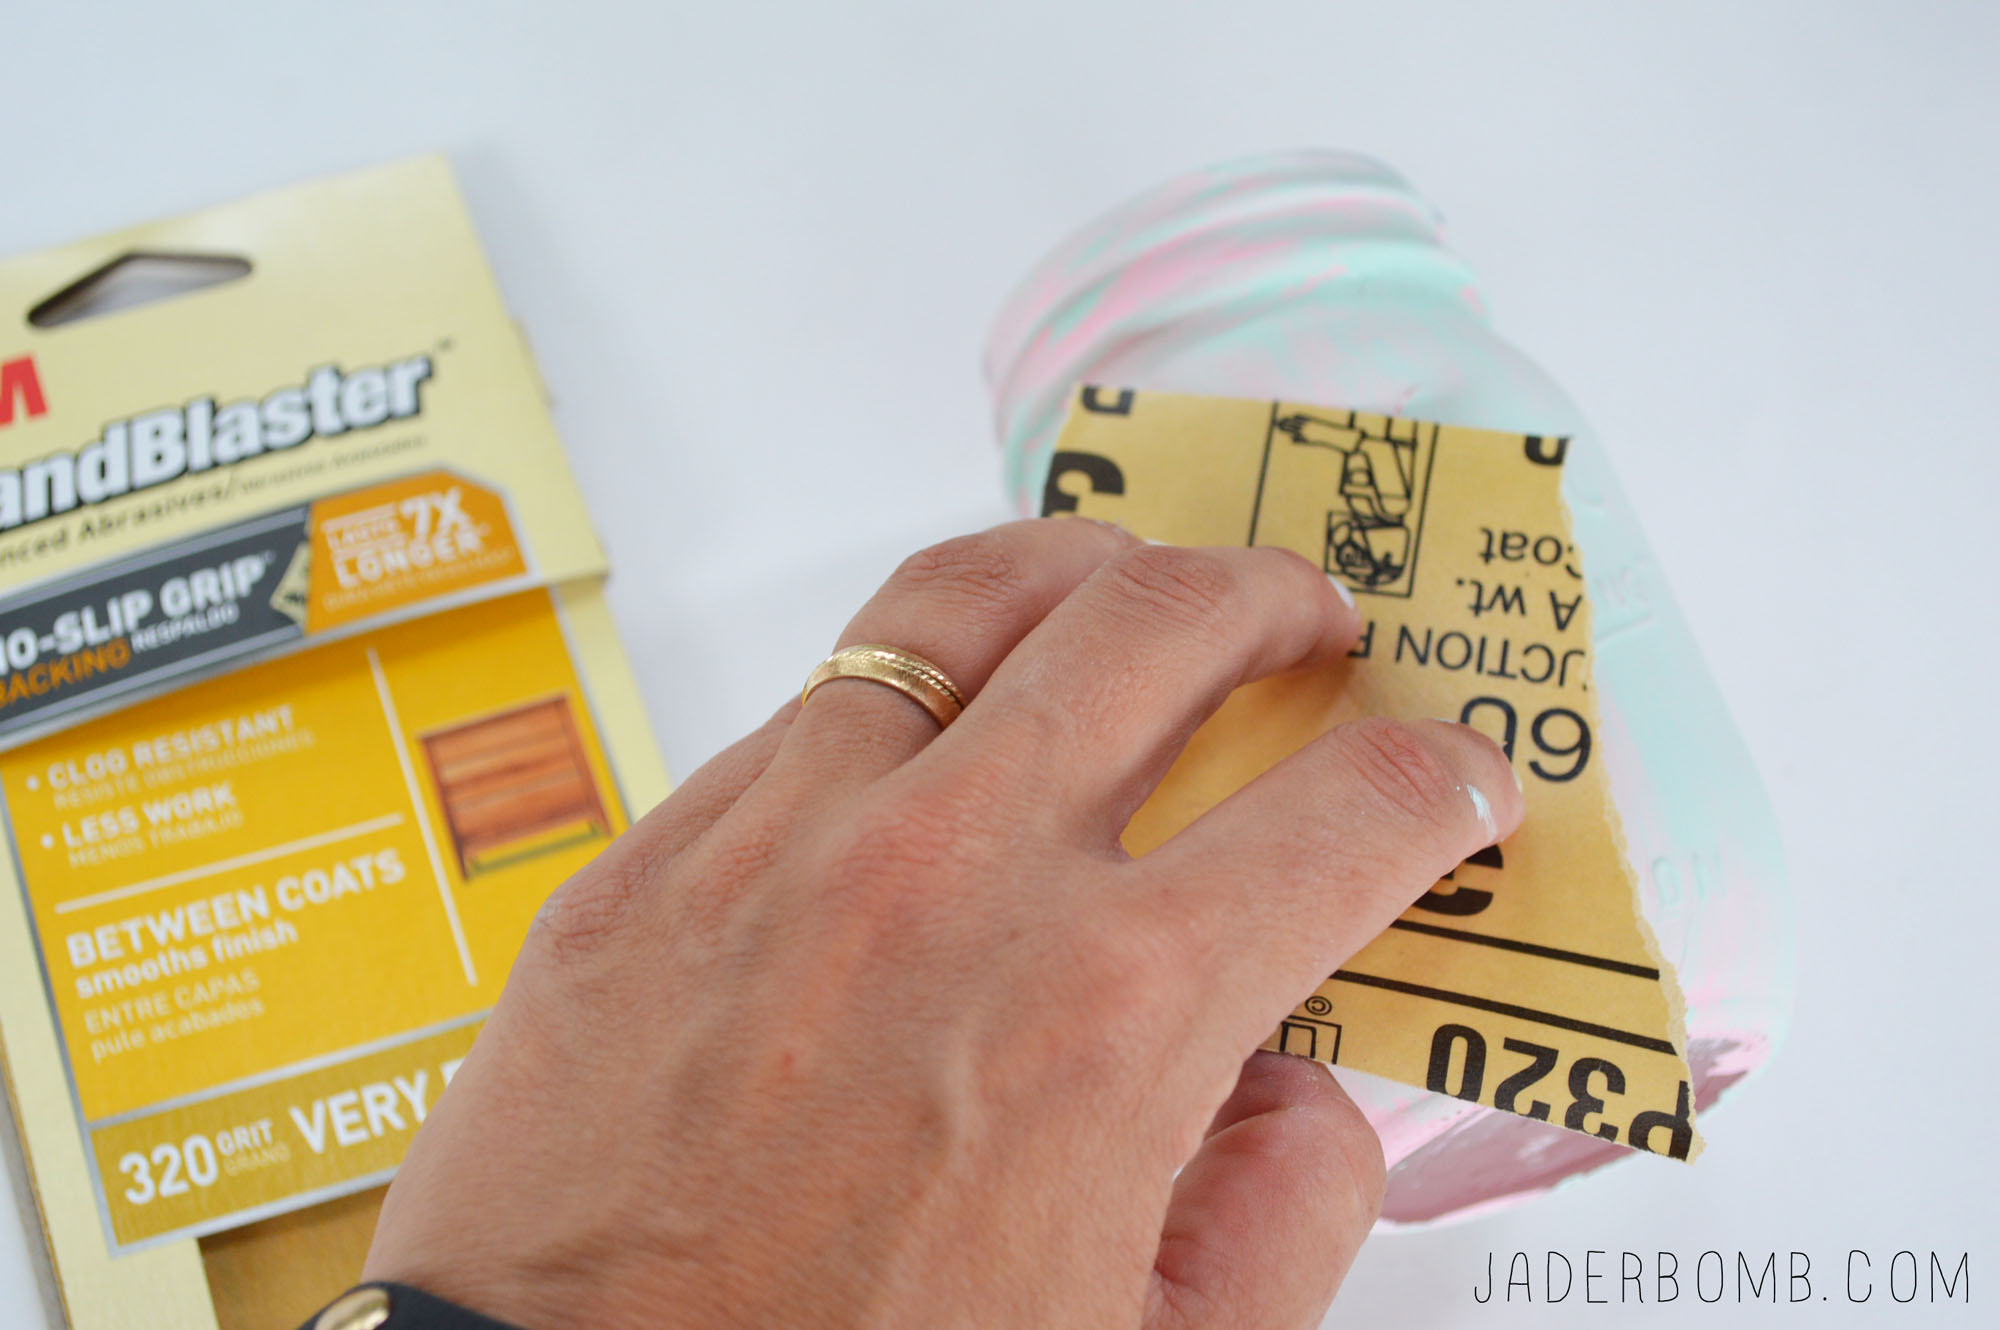
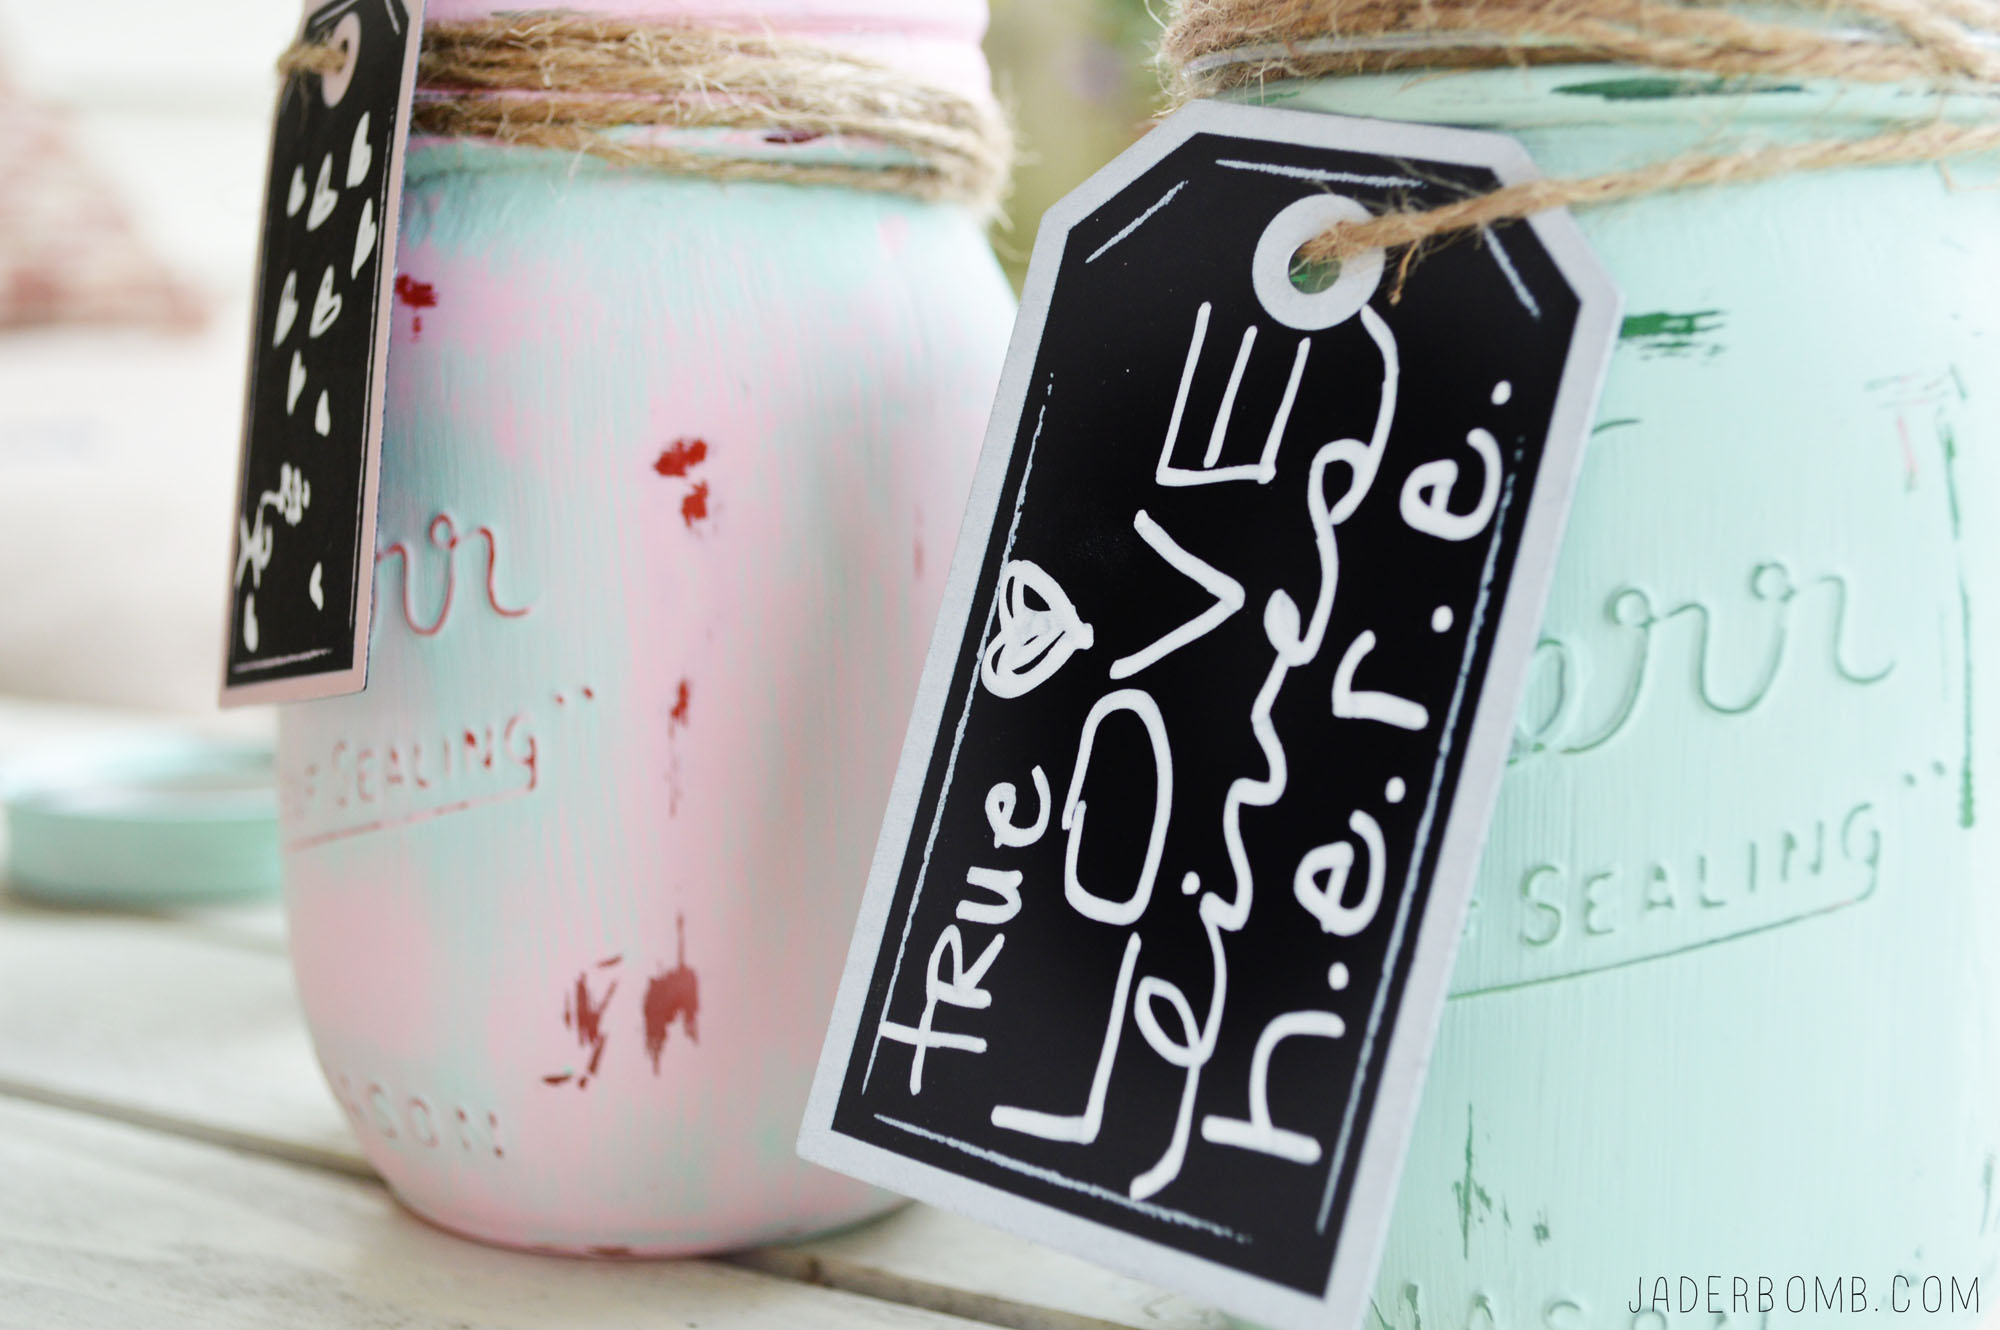
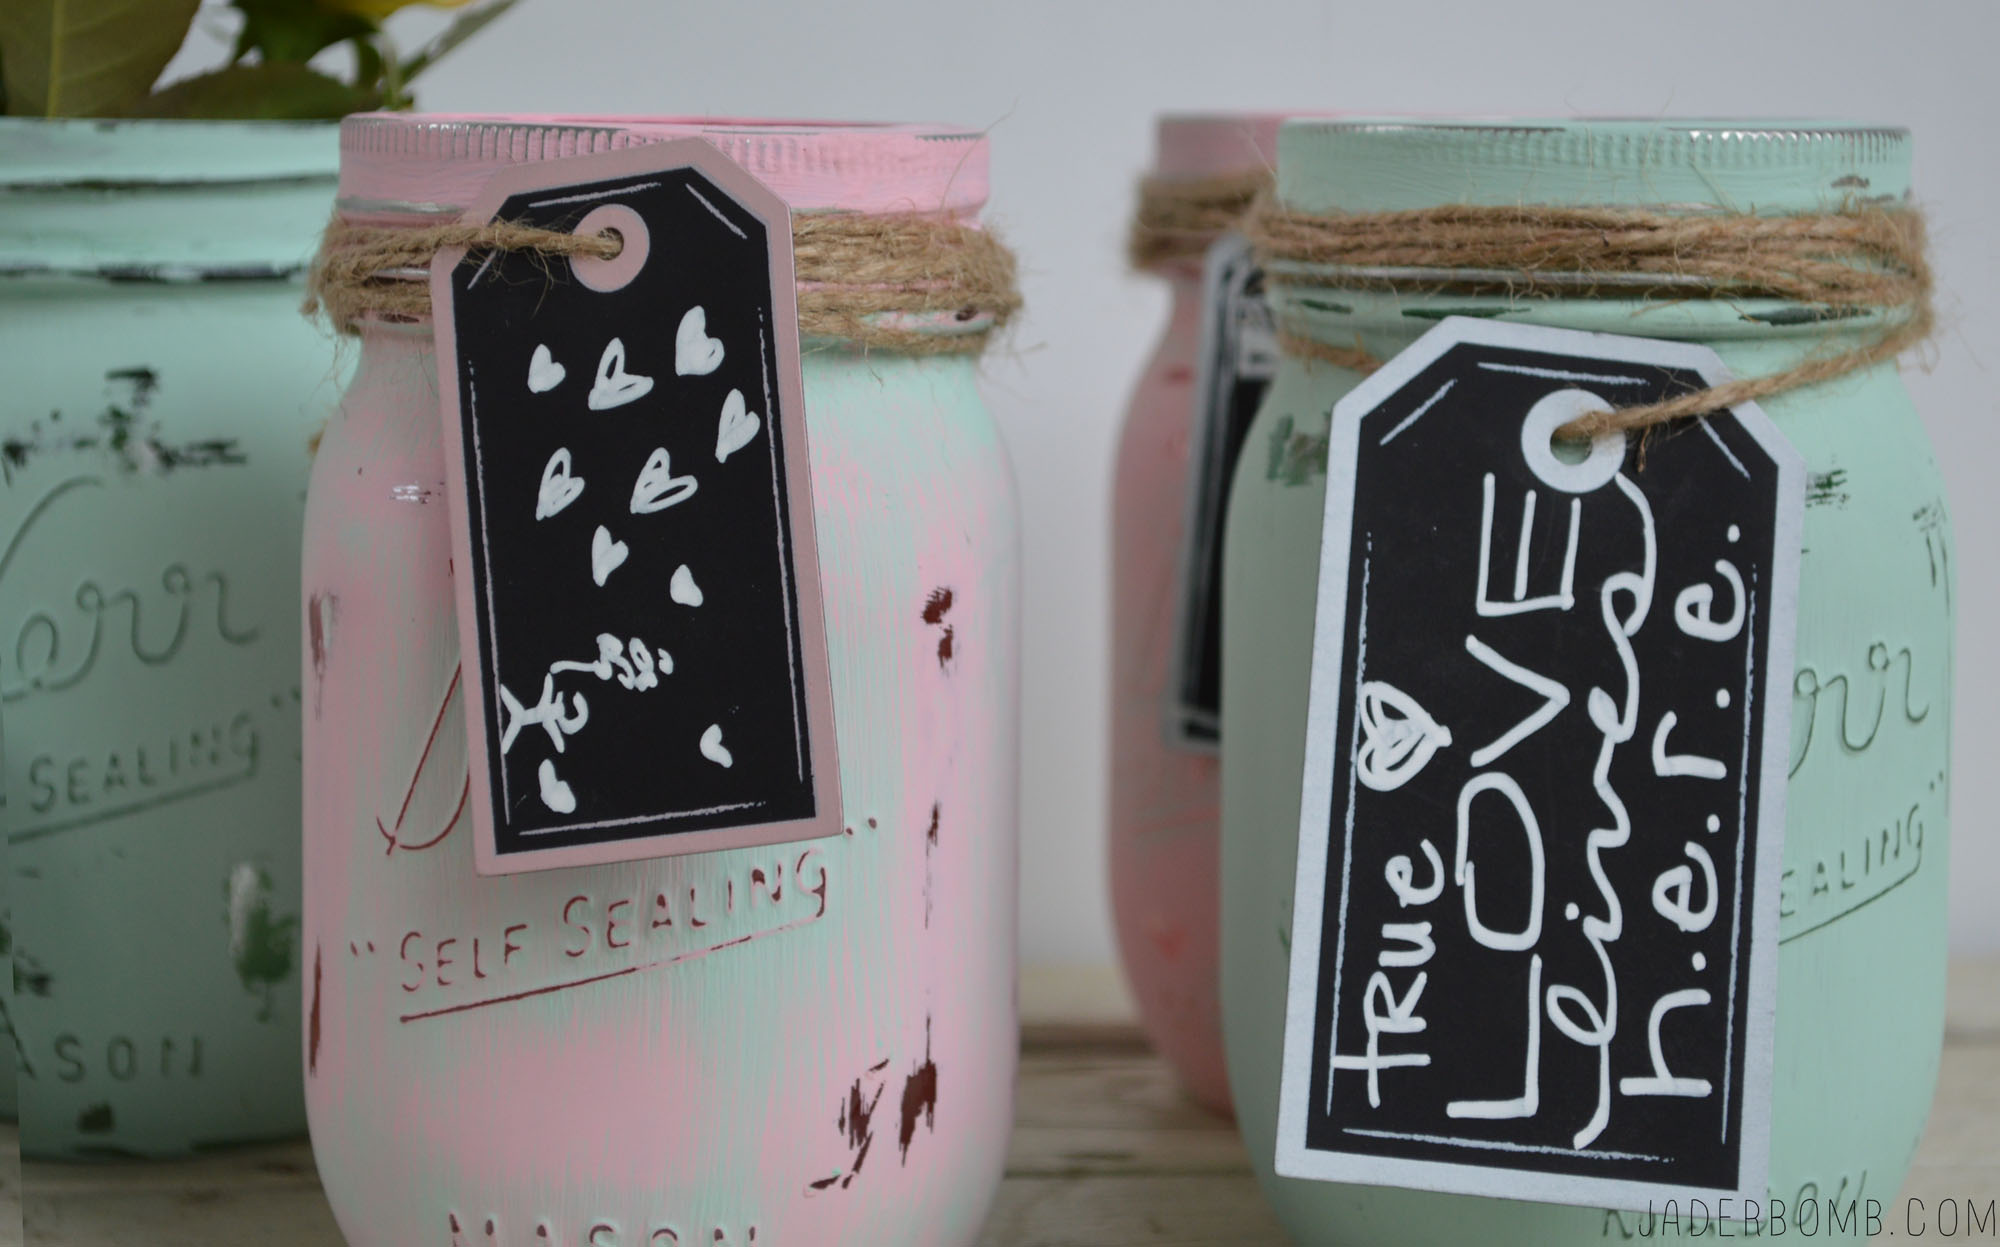
 Time to play with our chalkboard tags! Did I mention how much I am in love with these. I want to put them on everything. Remember they are already coated with a chalk finish so all you have to do is write on them with your chalk markers!
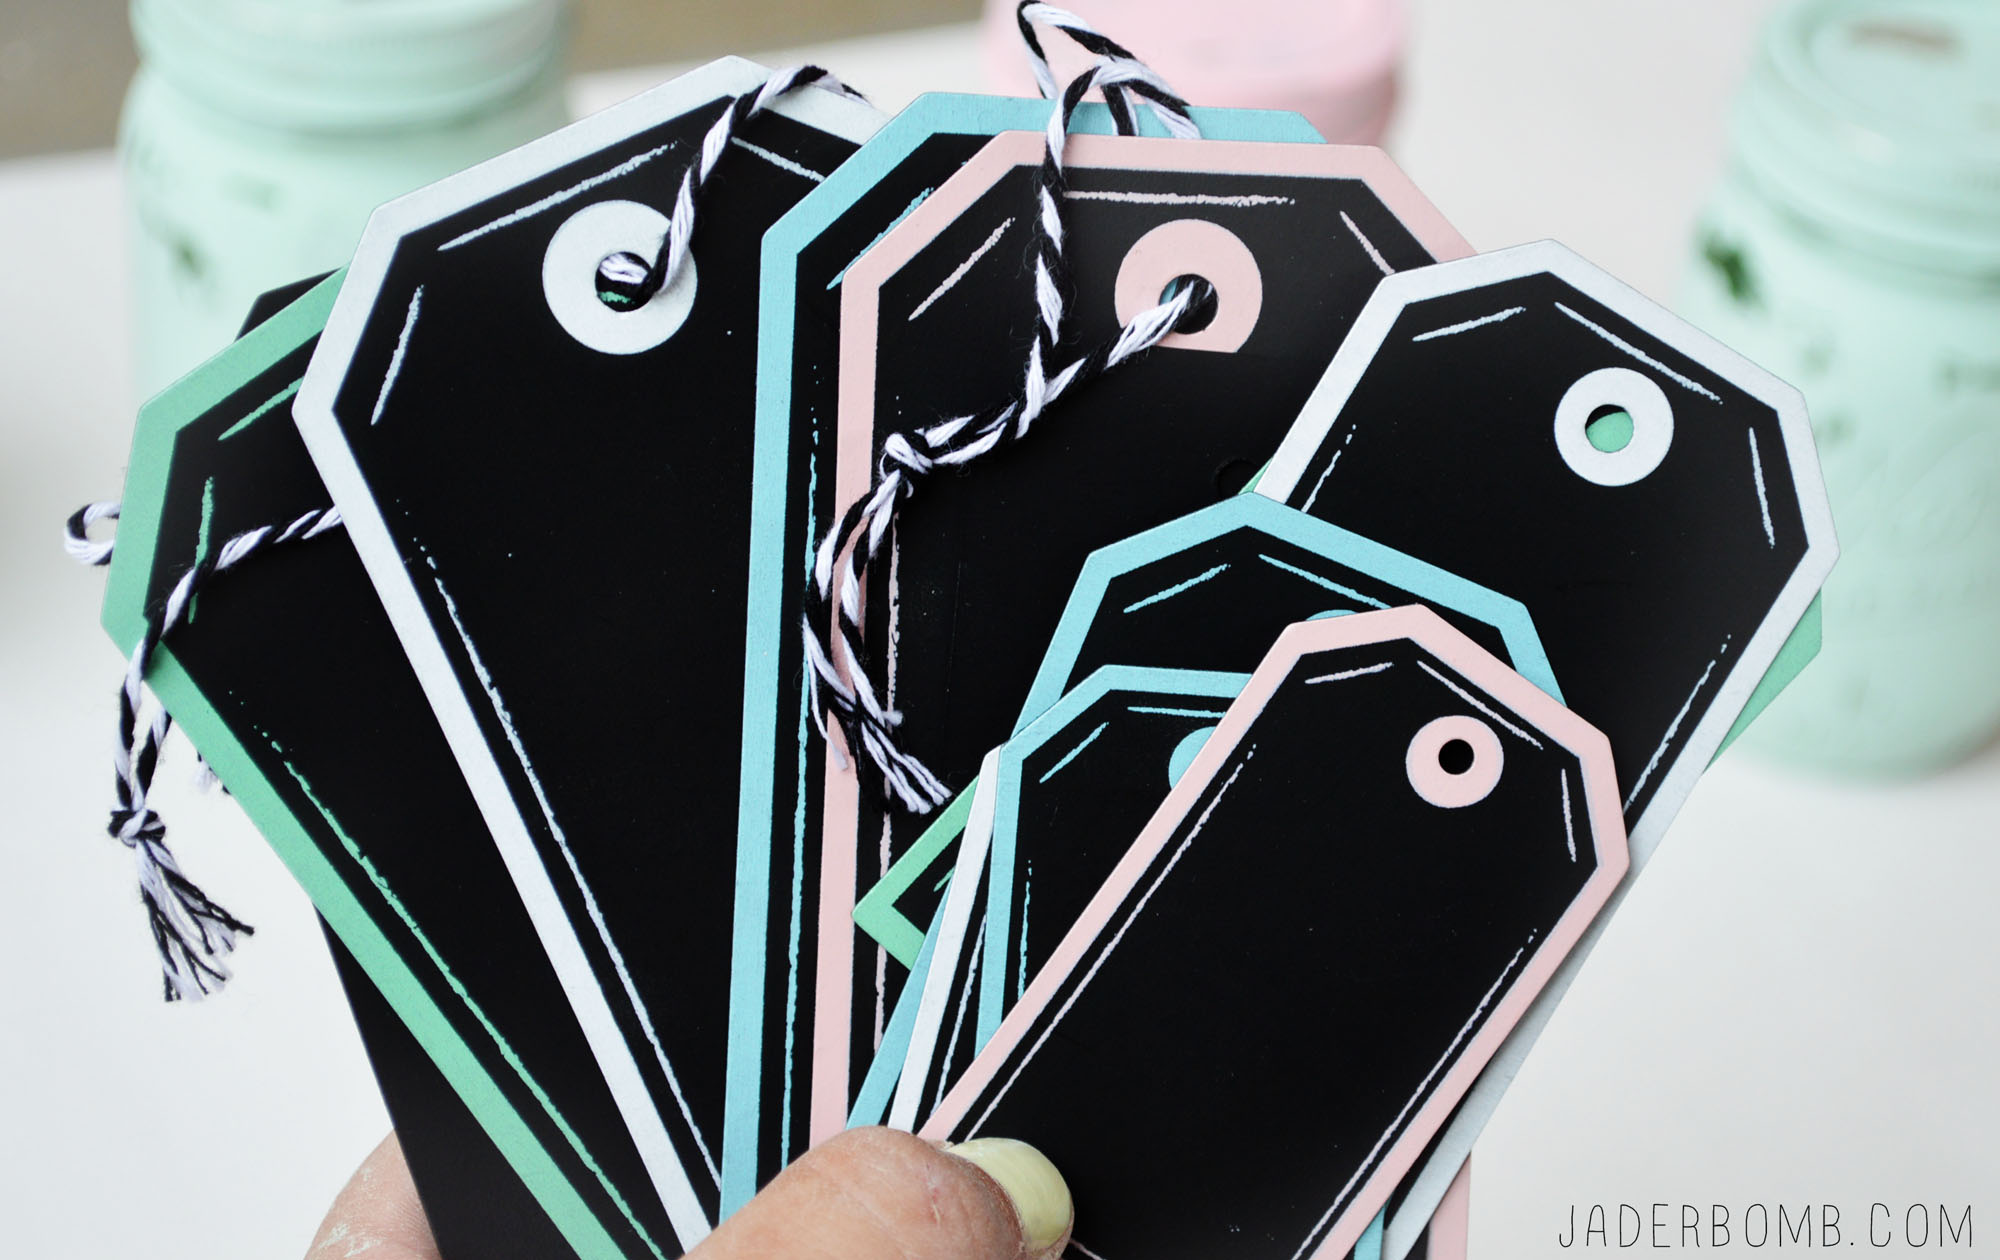 When you are finished putting the lids back on you can add your labels by wrapping the twine around the lid a few times then passing the twine through the tag then tie in the back. That simple, y’all!
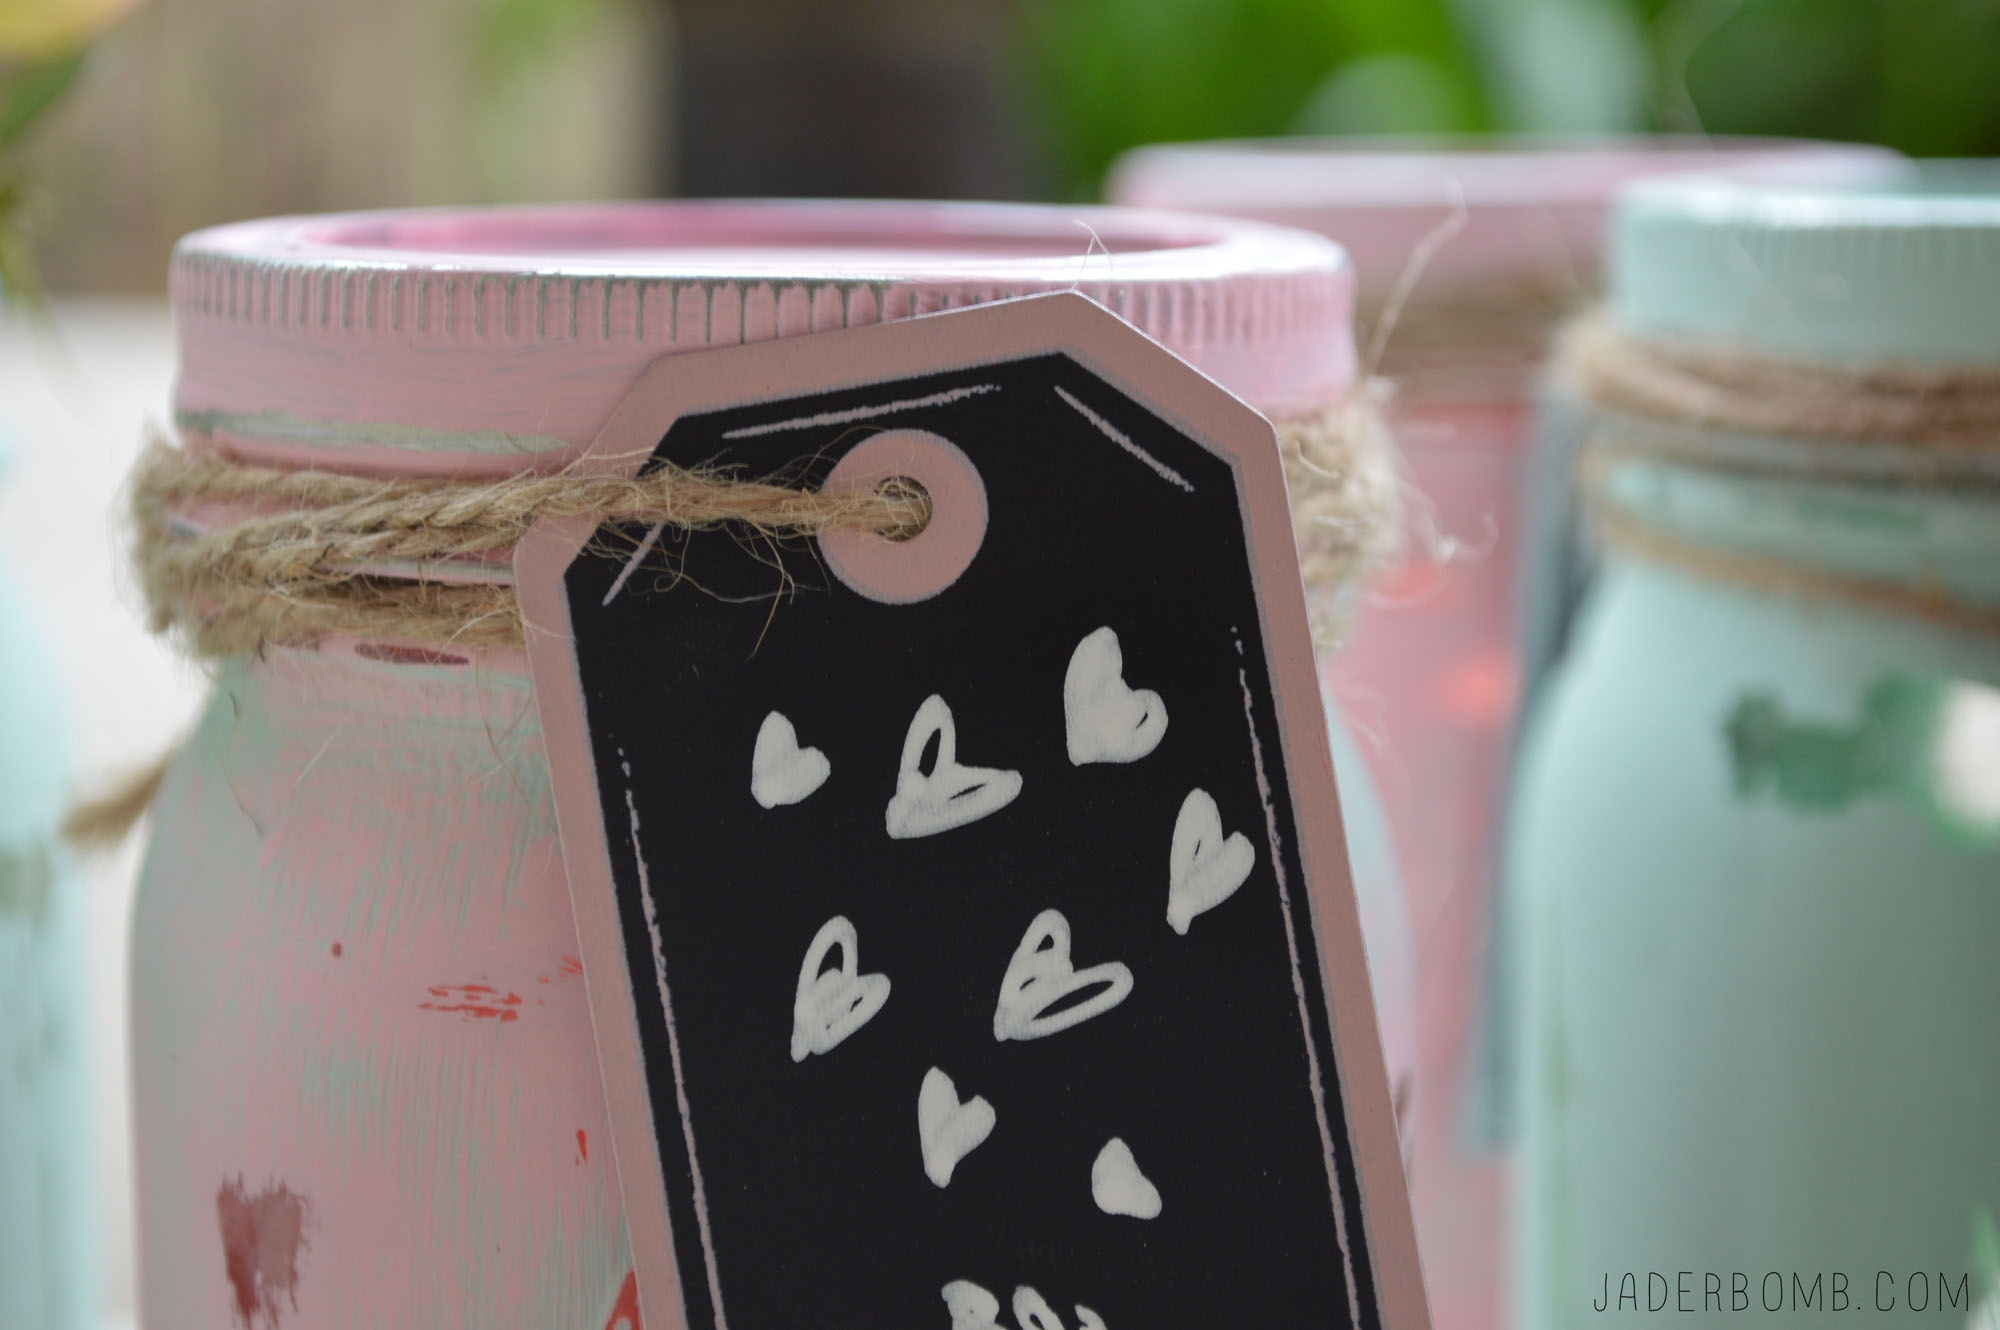

 I hope you enjoyed the craft tutorial I shared and the exciting news from