
Today I will be sharing how to create a DIY Painted Polka Dot Bag for the Michaels Create2Educate Sweepstakes. I always have so much fun creating back to school goodies! Go craft crazy on your classroom with the Create2Educate #sweepstakes! Post your classroom creations or DIY creations on Instagram with #Create2Educate and #Sweepstakes to enter OR enter HERE now! You have until August 15 the for a chance to win a $50 Michaels gift card and the great news is they will choose one winner each day until the 15th! Wahoo!!!!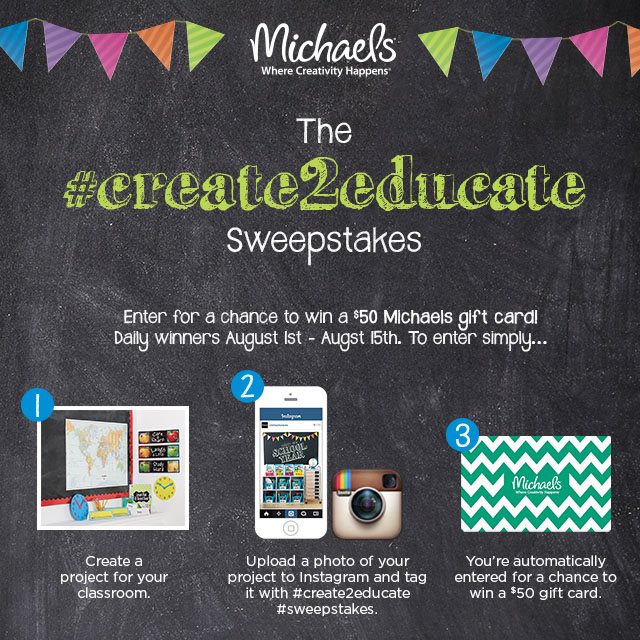
If you don’t have an Instagram you can submit your photo HERE. If you are on Instagram make sure to follow MEEEE and MICHAELS!
Let’s get started! Time to get crafty and create your very own back to school bag!

 Tulip Fabric Paint | Imagins Backpack or Drawstring Bag (got these from Michaels) | Gold Iron-ON Studs | Foam Pouncers | Heat Gun
If you don’t have any of the products I used in this project you can click on the links above and order them all from one spot! Yes, they are affiliate links so thank for helping me buy tons and tons of glitter to put more smiles on your face!
 I got these two white canvas bags from Michaels and I truly love them! I love that you can personalize them to match your own personality!
 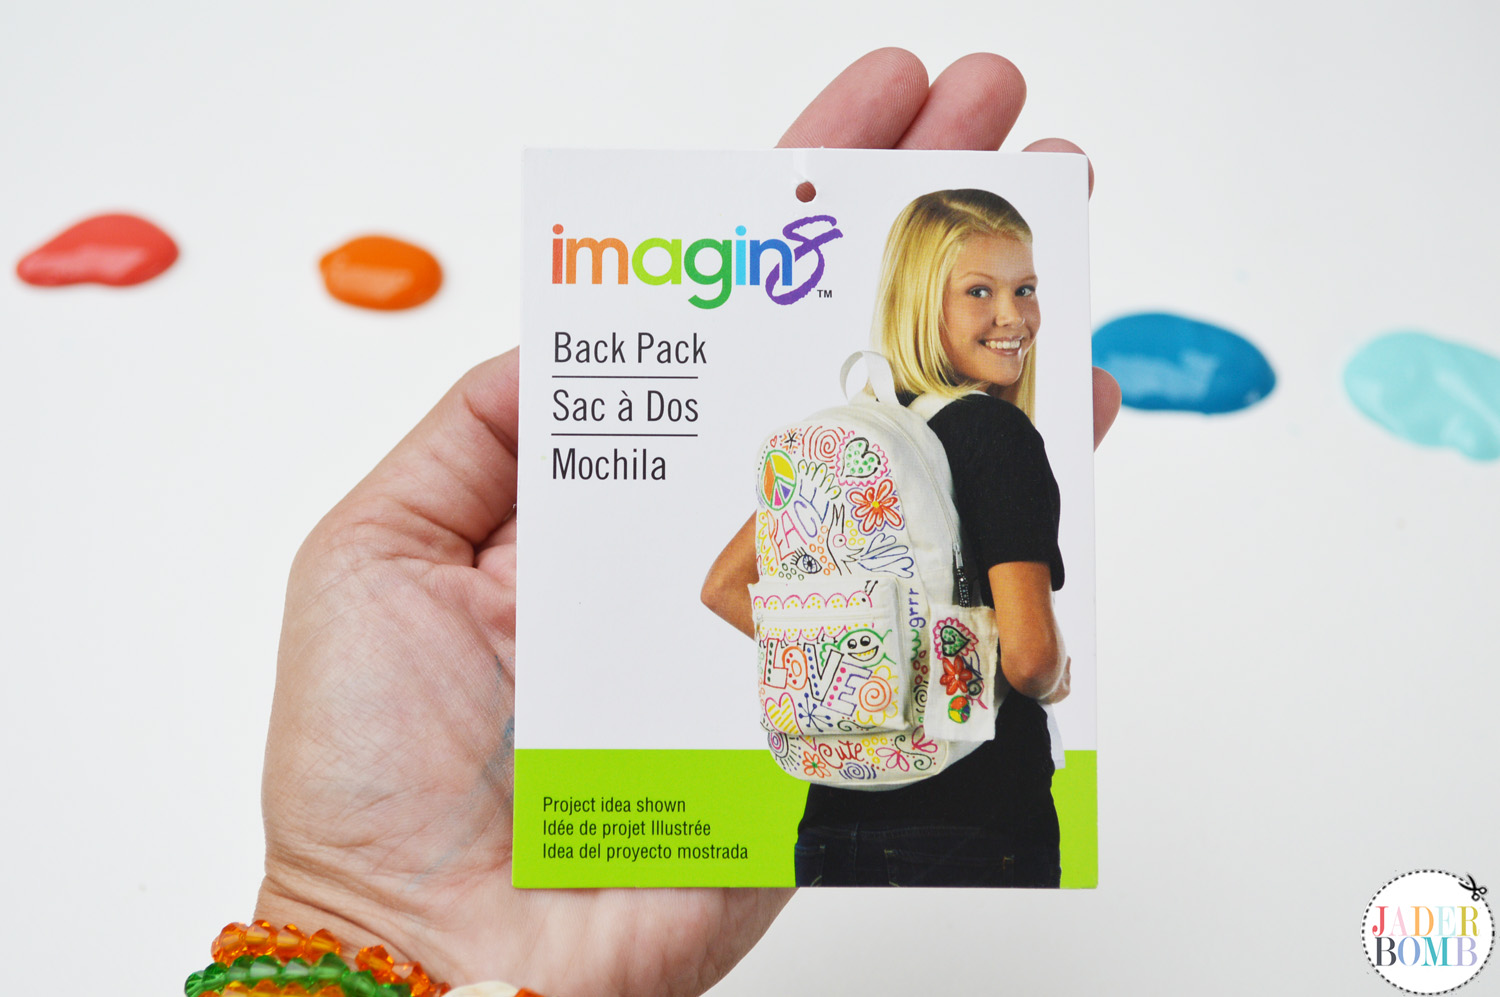 What product goes the best with fabric? Tulip Fabric Paint. This product owns my entire crafting heart. I use it on so much and it’s the most durable product I have come across for painting on fabric.

 The first thing I like to do is insert a piece of card stock or water color paper in the inside of the bag. This stops the paint from bleeding through the bag to the back side.
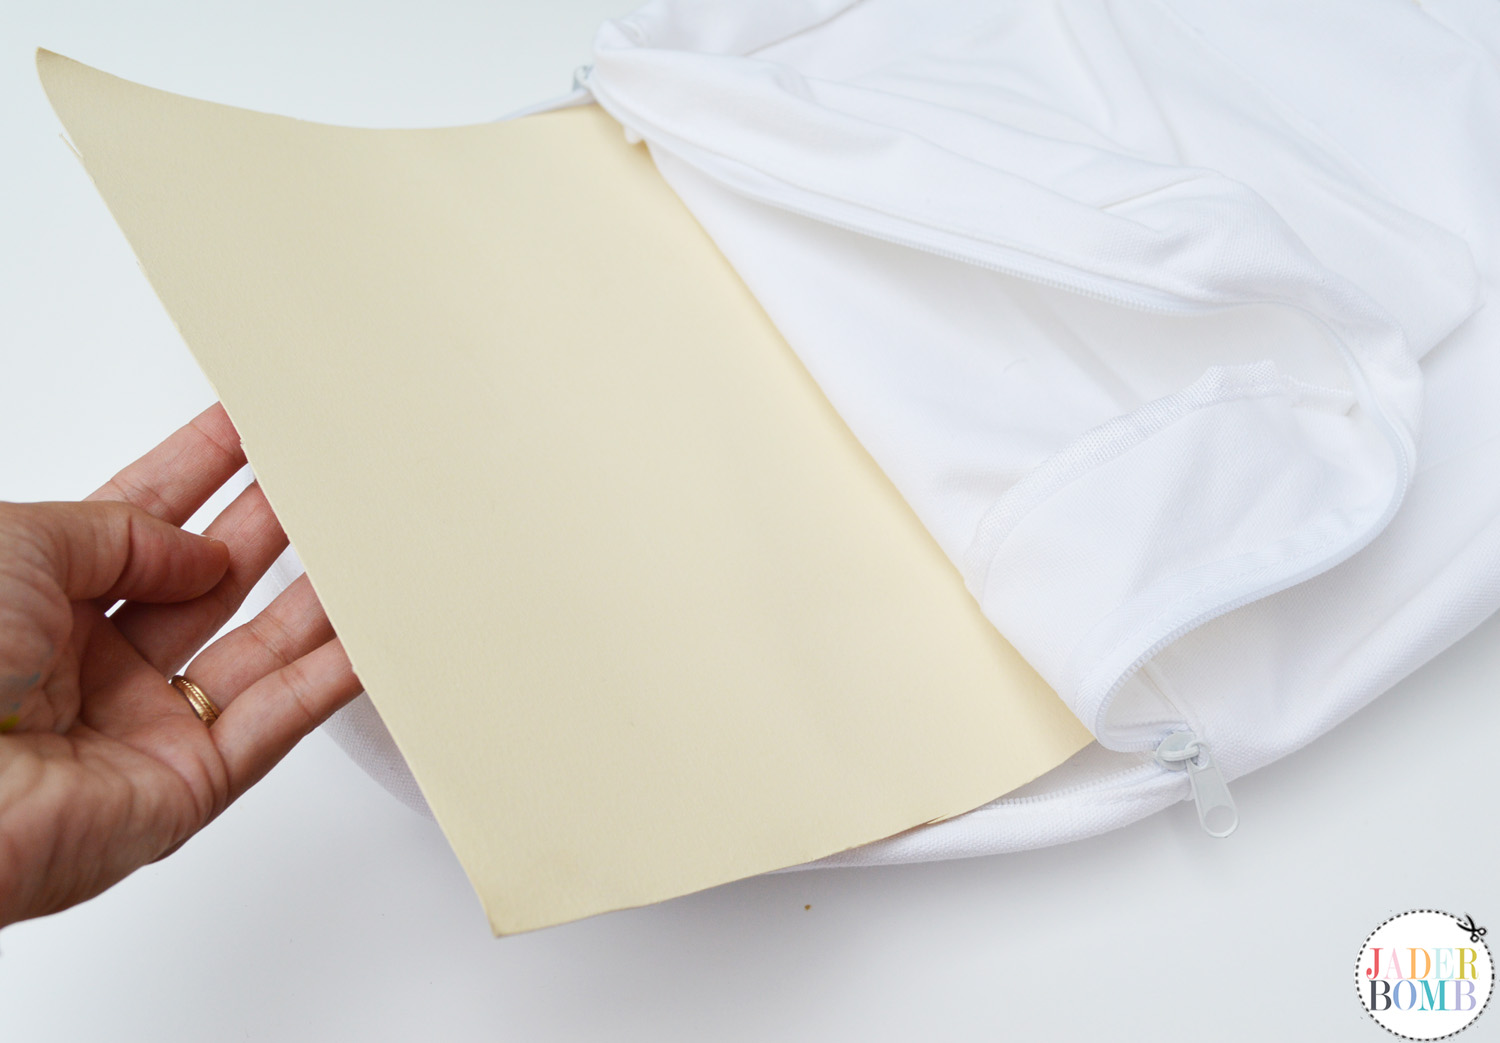
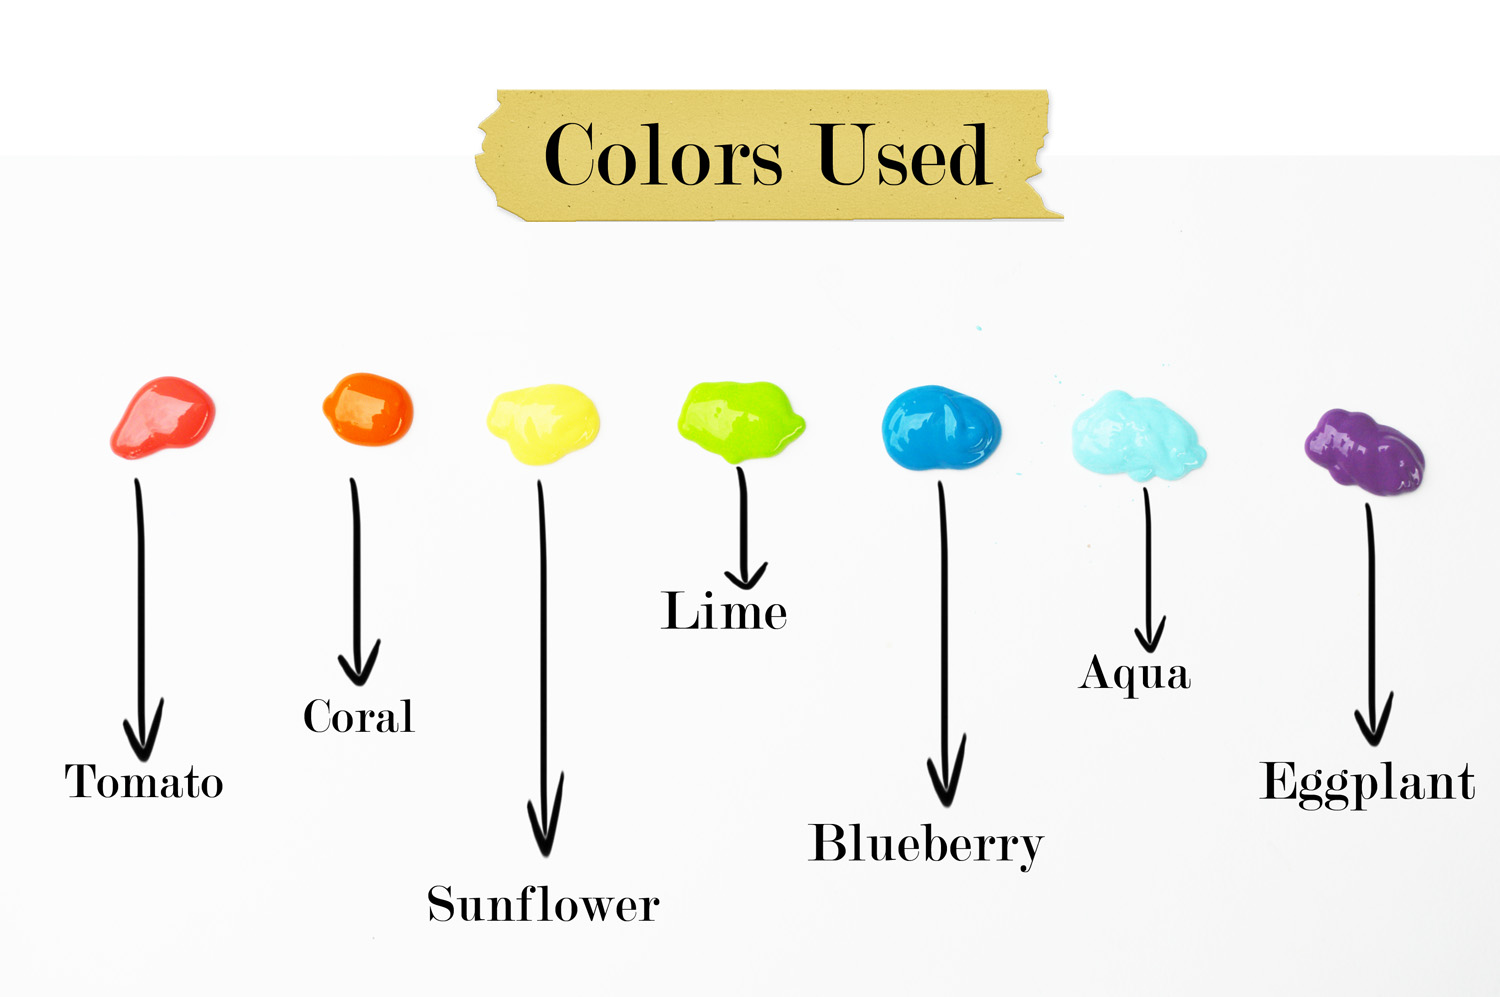
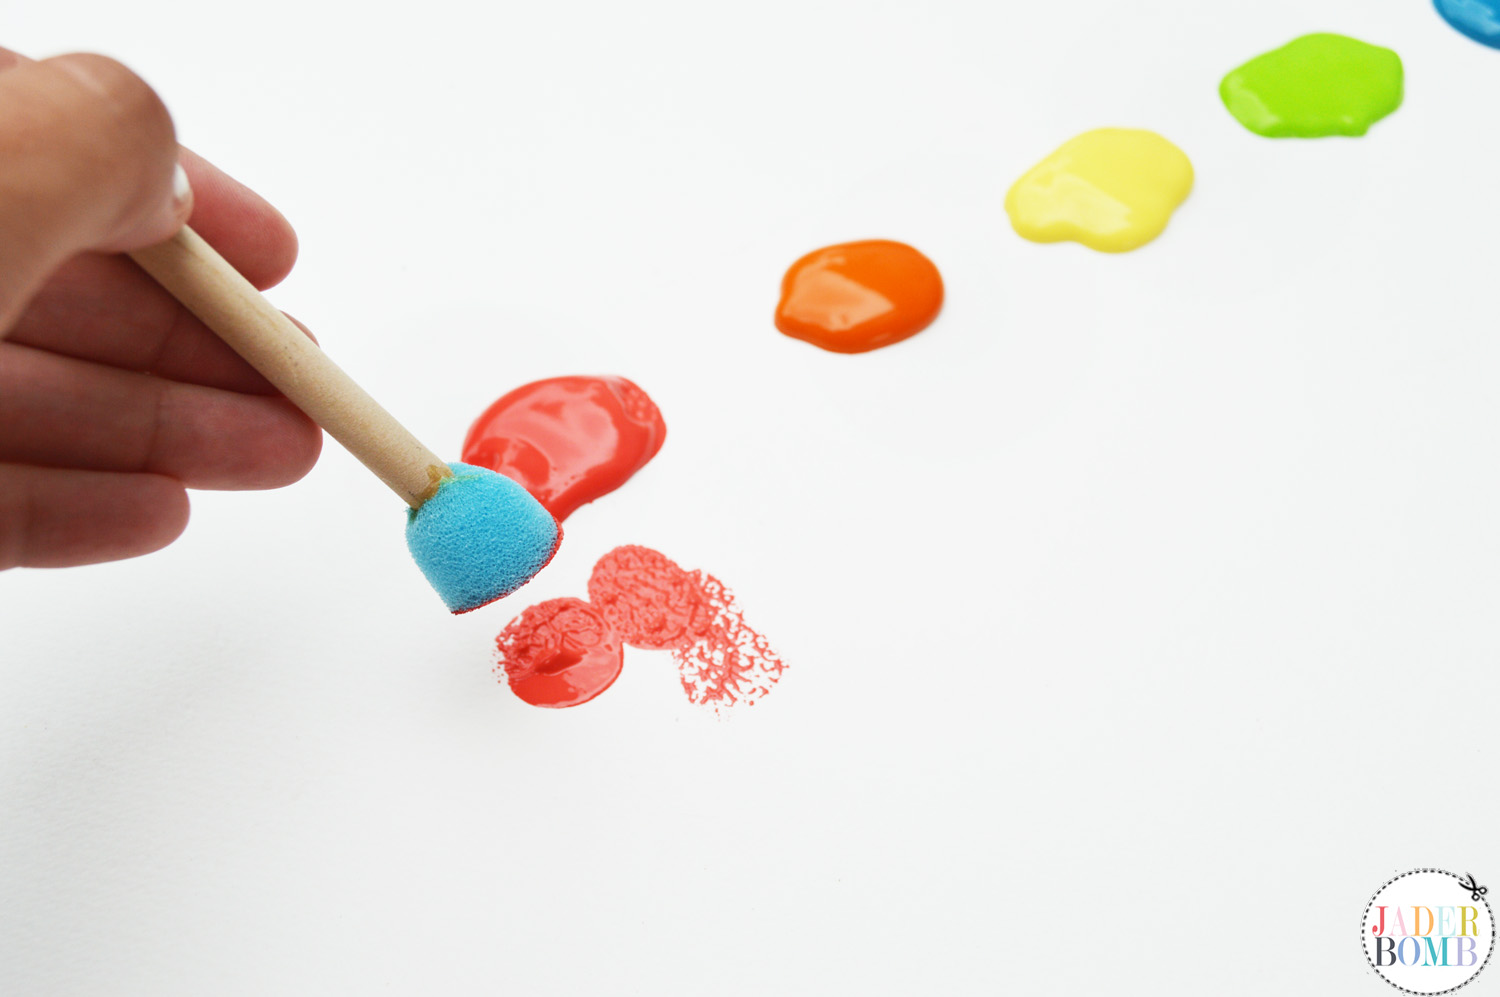
I prefer to have every color available on one big sheet before I start the project. Grab your foam pouncer and add enough paint to cover the bottom of the pouncer. If you have a big glob on it dab it on the side to get the excess off.
 Start adding the dots onto the bag in random places. I had to add a few dabs to get a perfect circle. What helped me is once my pouncer touched the bag I sorta applied a little pressure to the pouncer and this helped push the paint out of it.
 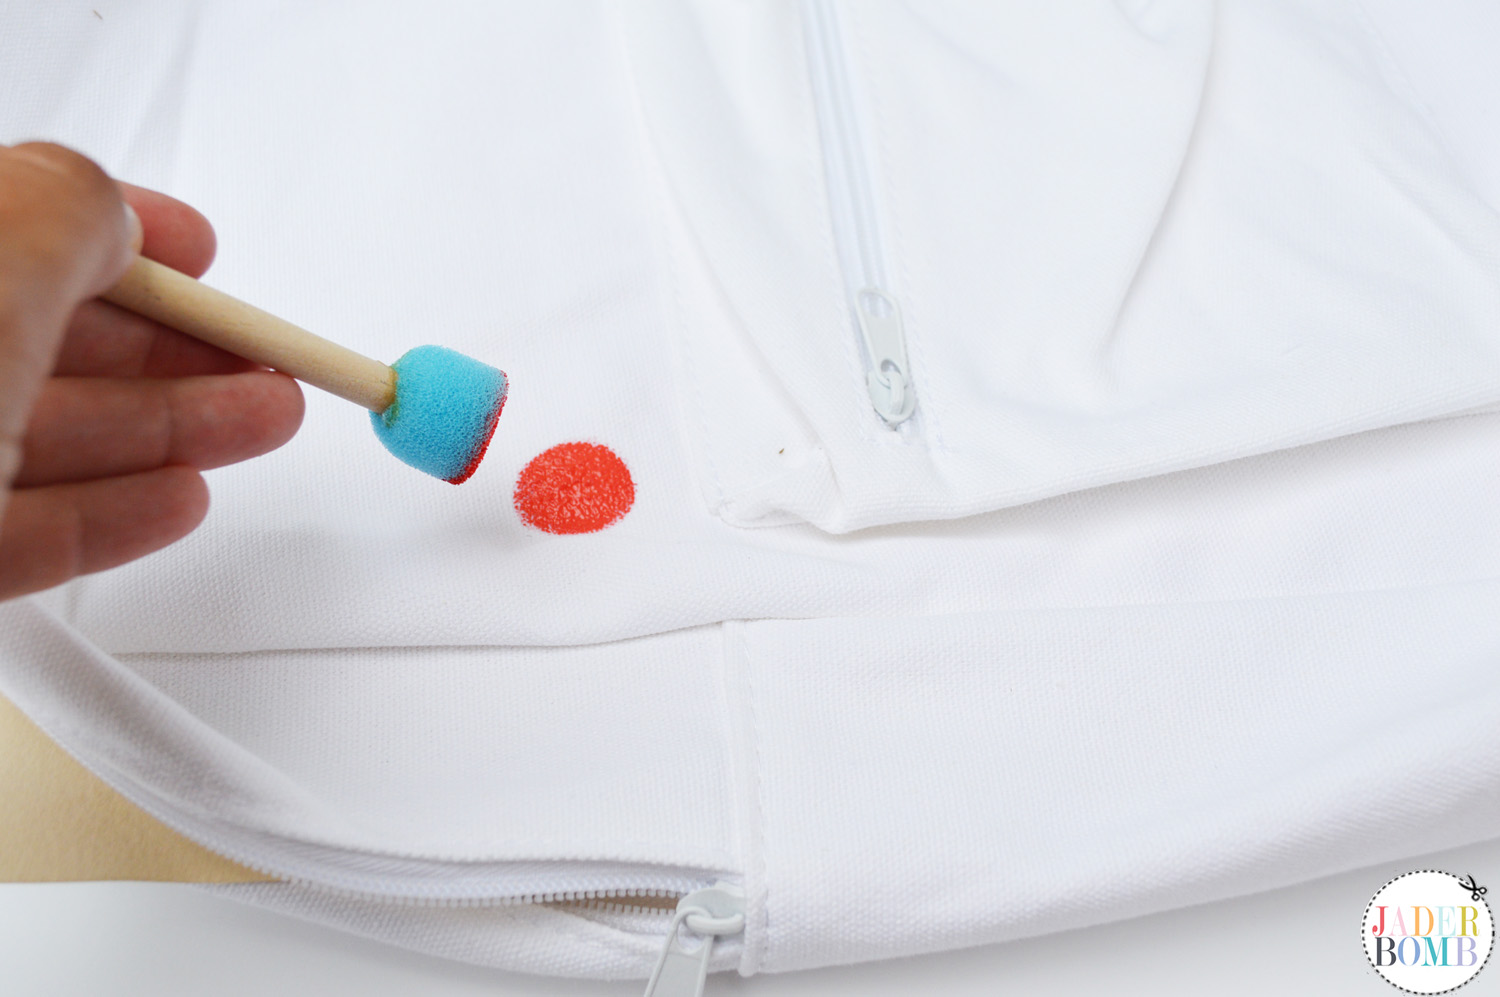 How pretty!
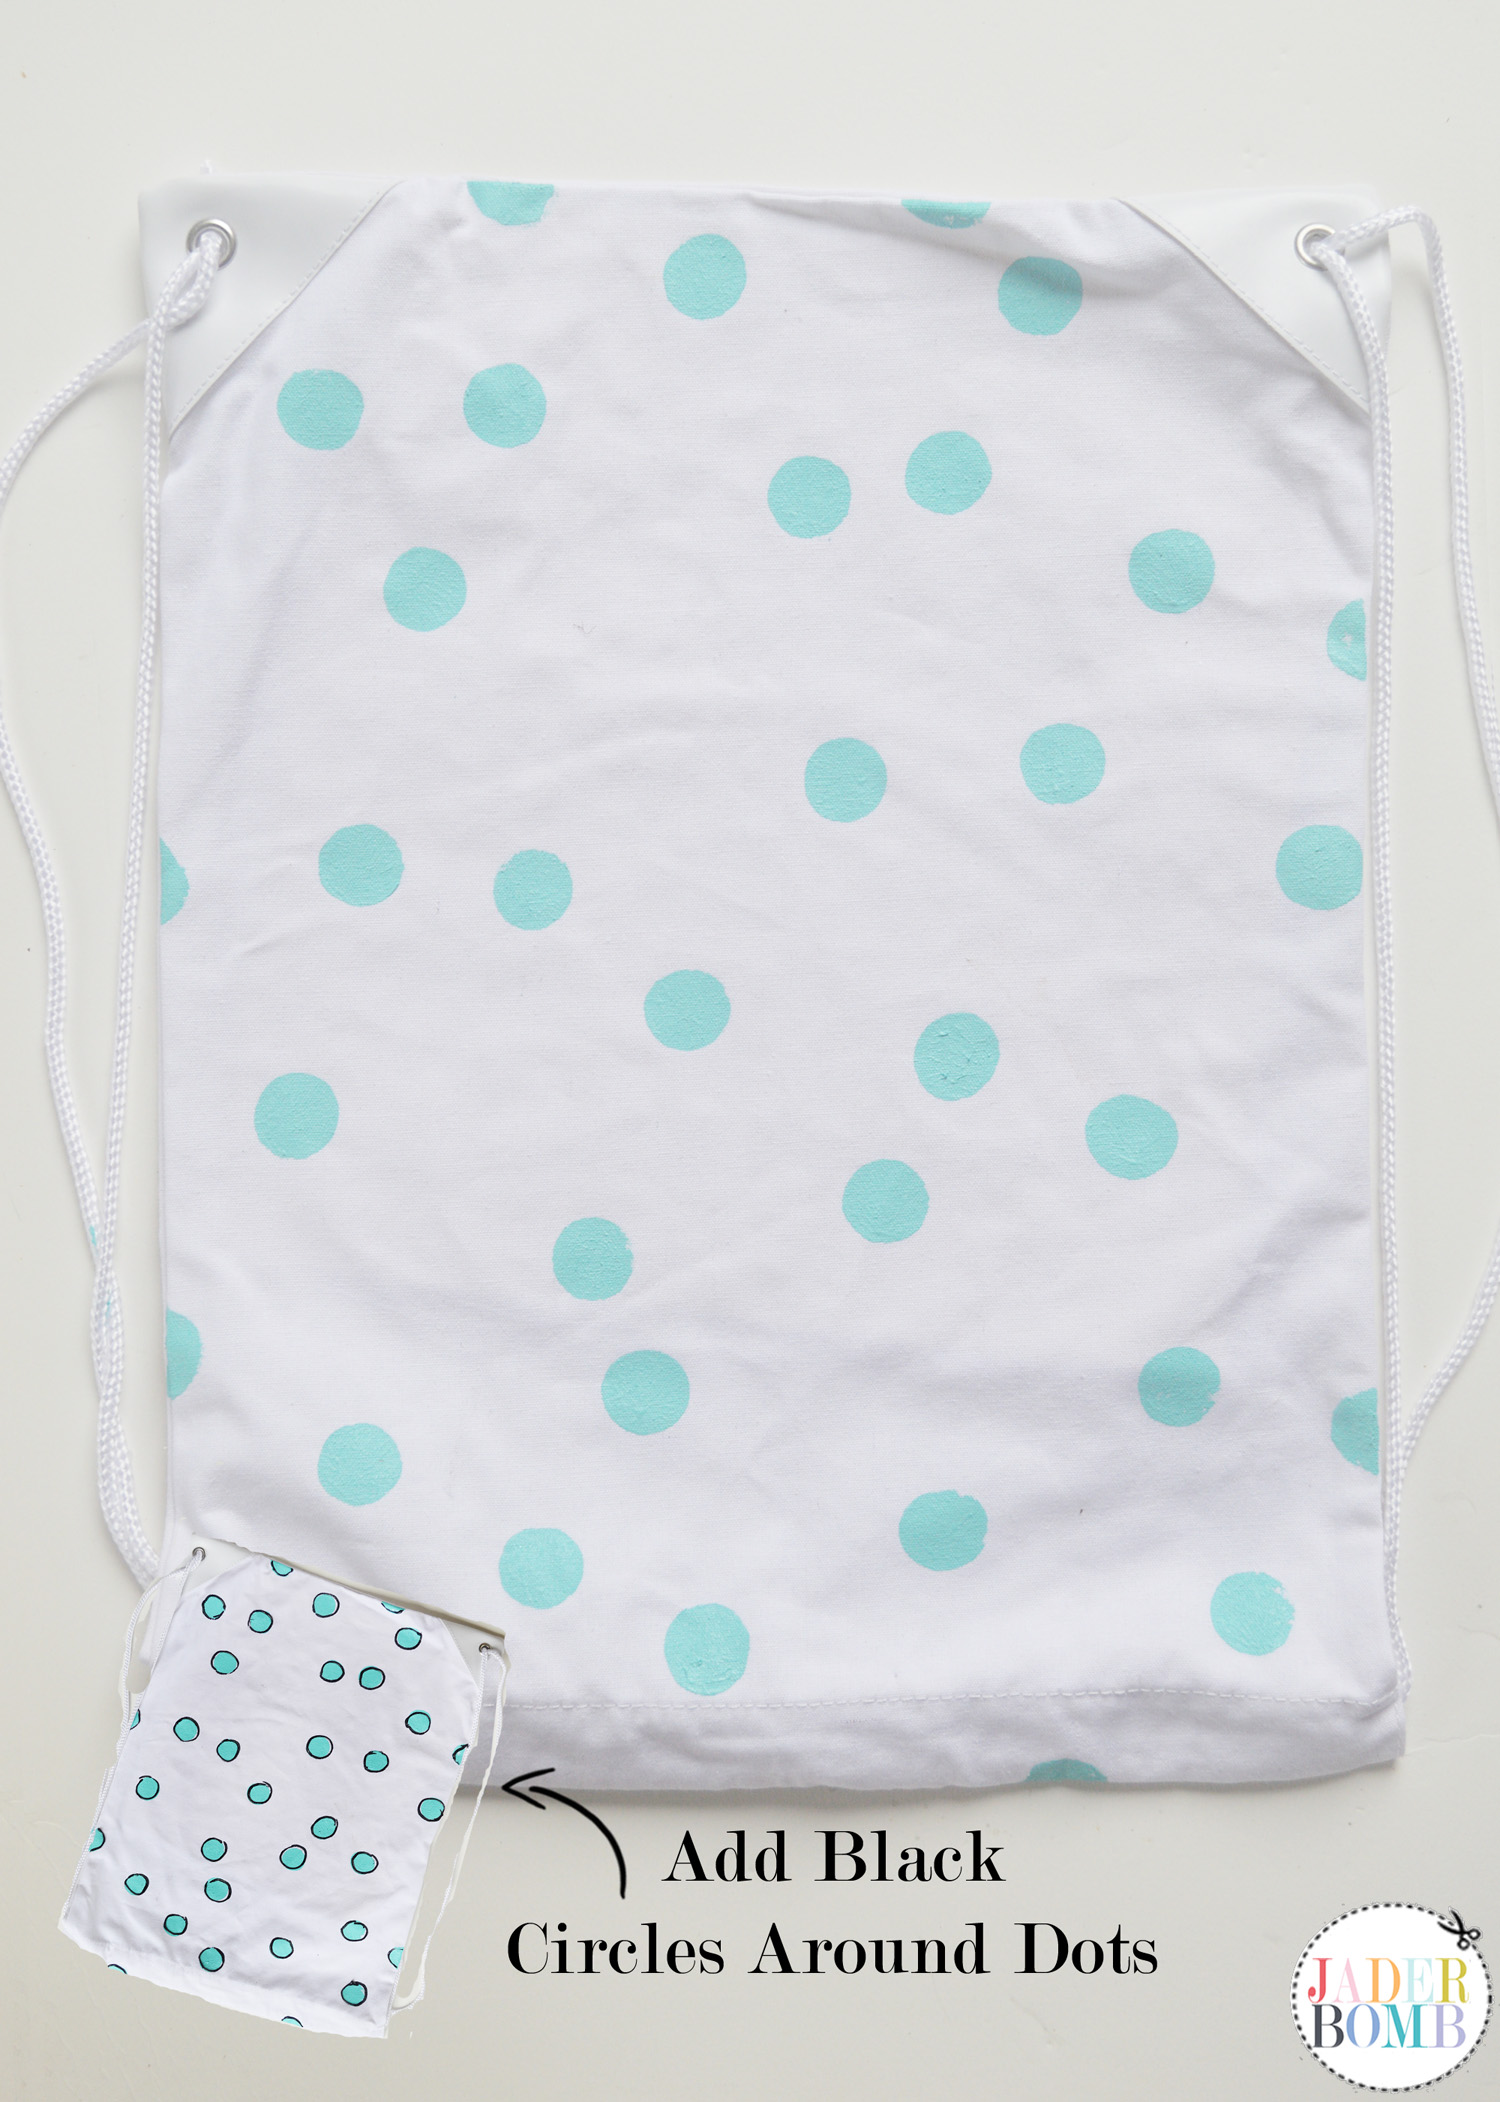
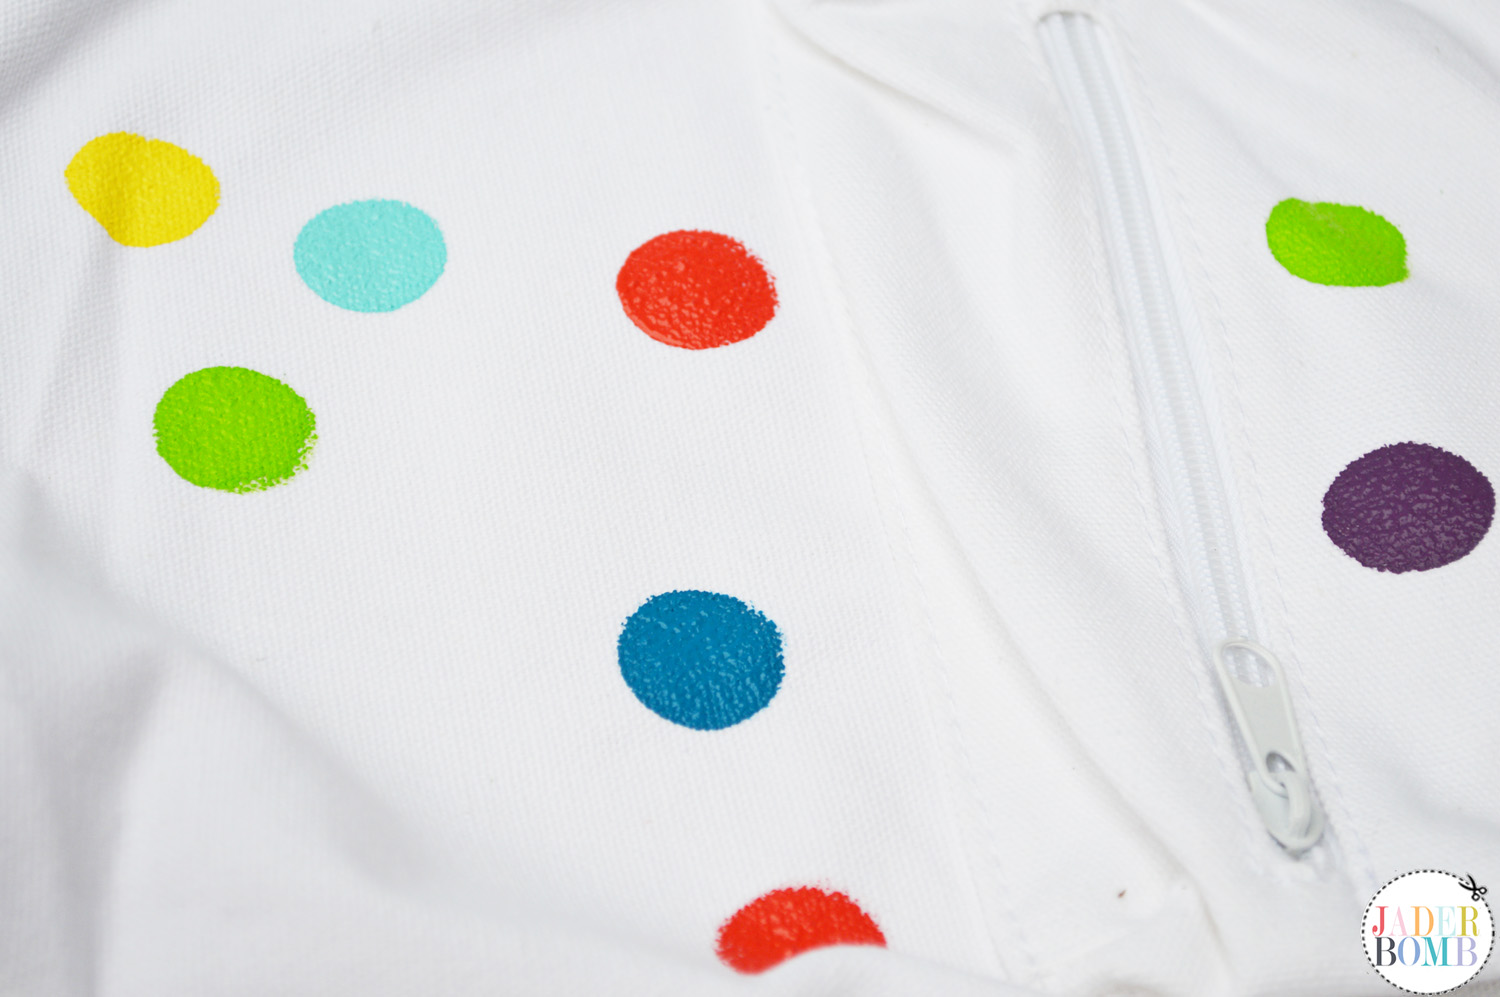 On the drawstring bag I wanted to use one color and how could I not use this Aqua color! It’s to die for. To add a little spice to the bag I added black whimsical circles around the dots. Don’t worry about these being perfect because they are supposed to be fun!
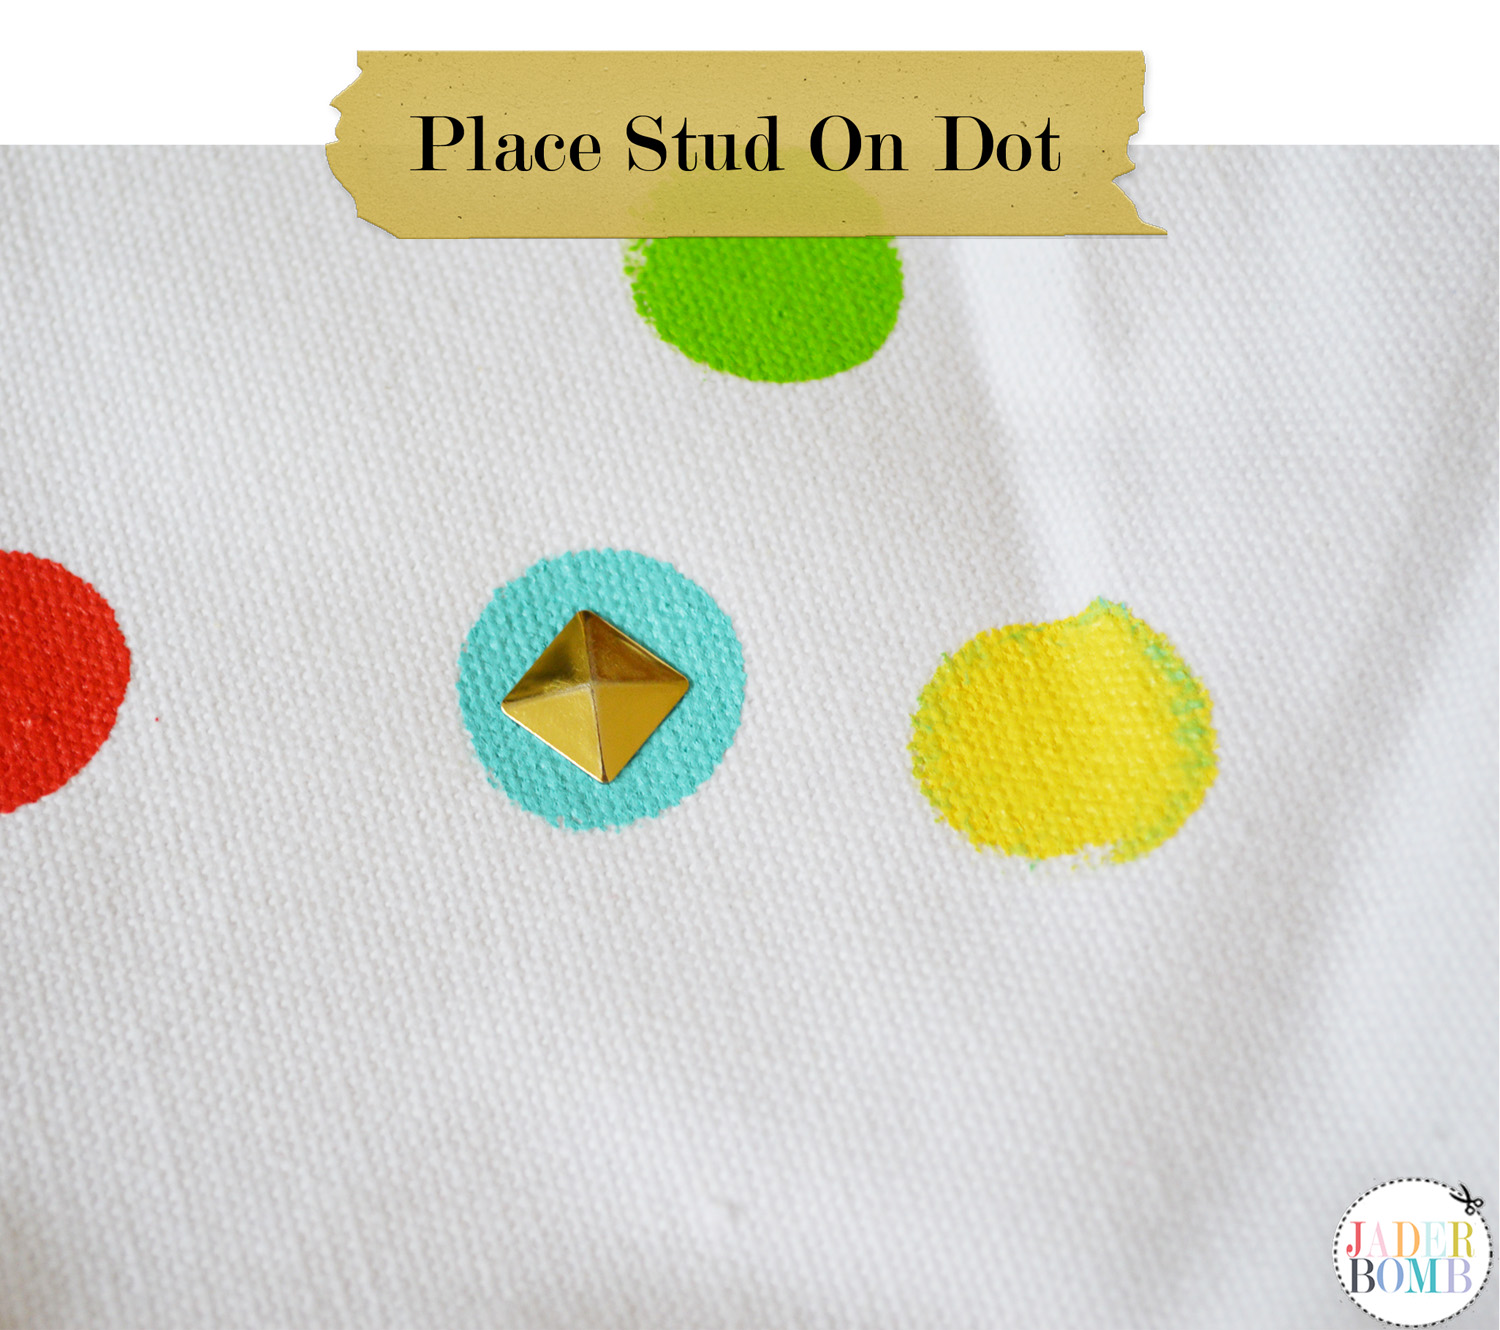
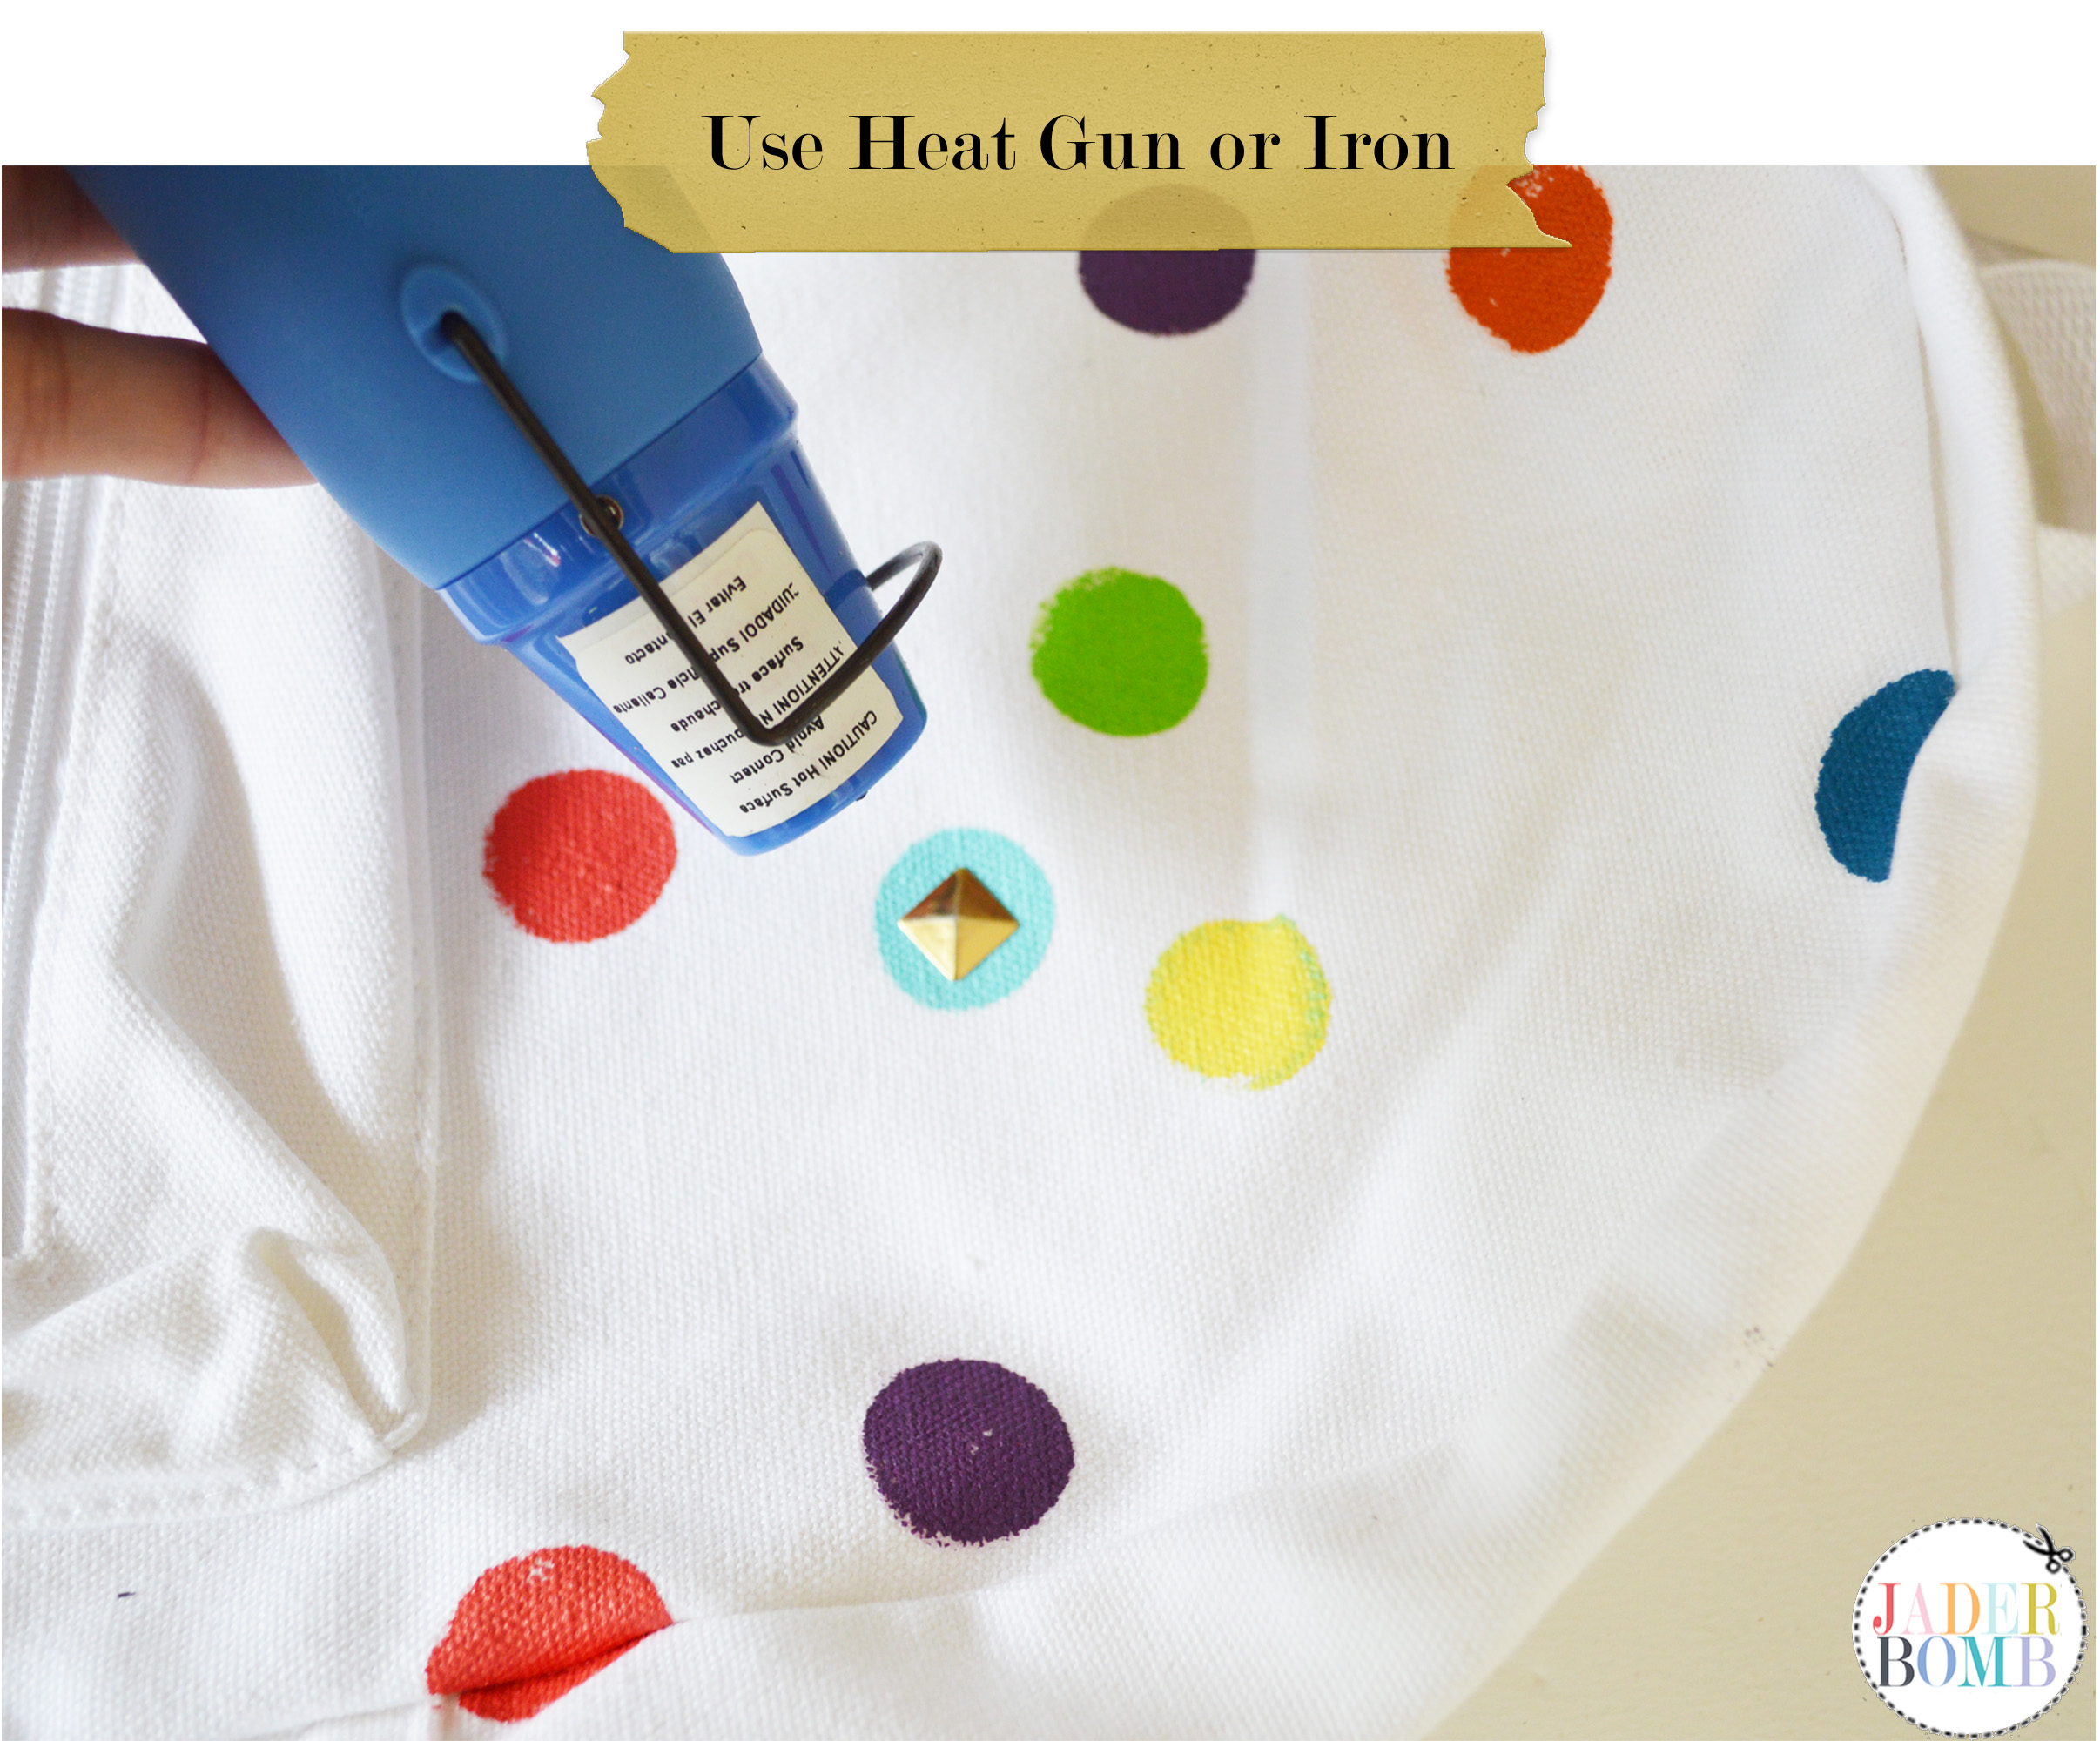 The instructions for the iron-on studs said to use an iron but I used my heat gun which I also purchased from Michaels. Place the gun a few inches away from the stud and while heating the stud I used a screw driver to hold it down to make sure the adhesive backing attached to the bag. I then opened the bag and applied heat to the stud from the back end. This is my favorite tool ever! Please do NOT touch the stud after you applied heat to it because it will indeed burn you. I have proof if you really want to see!
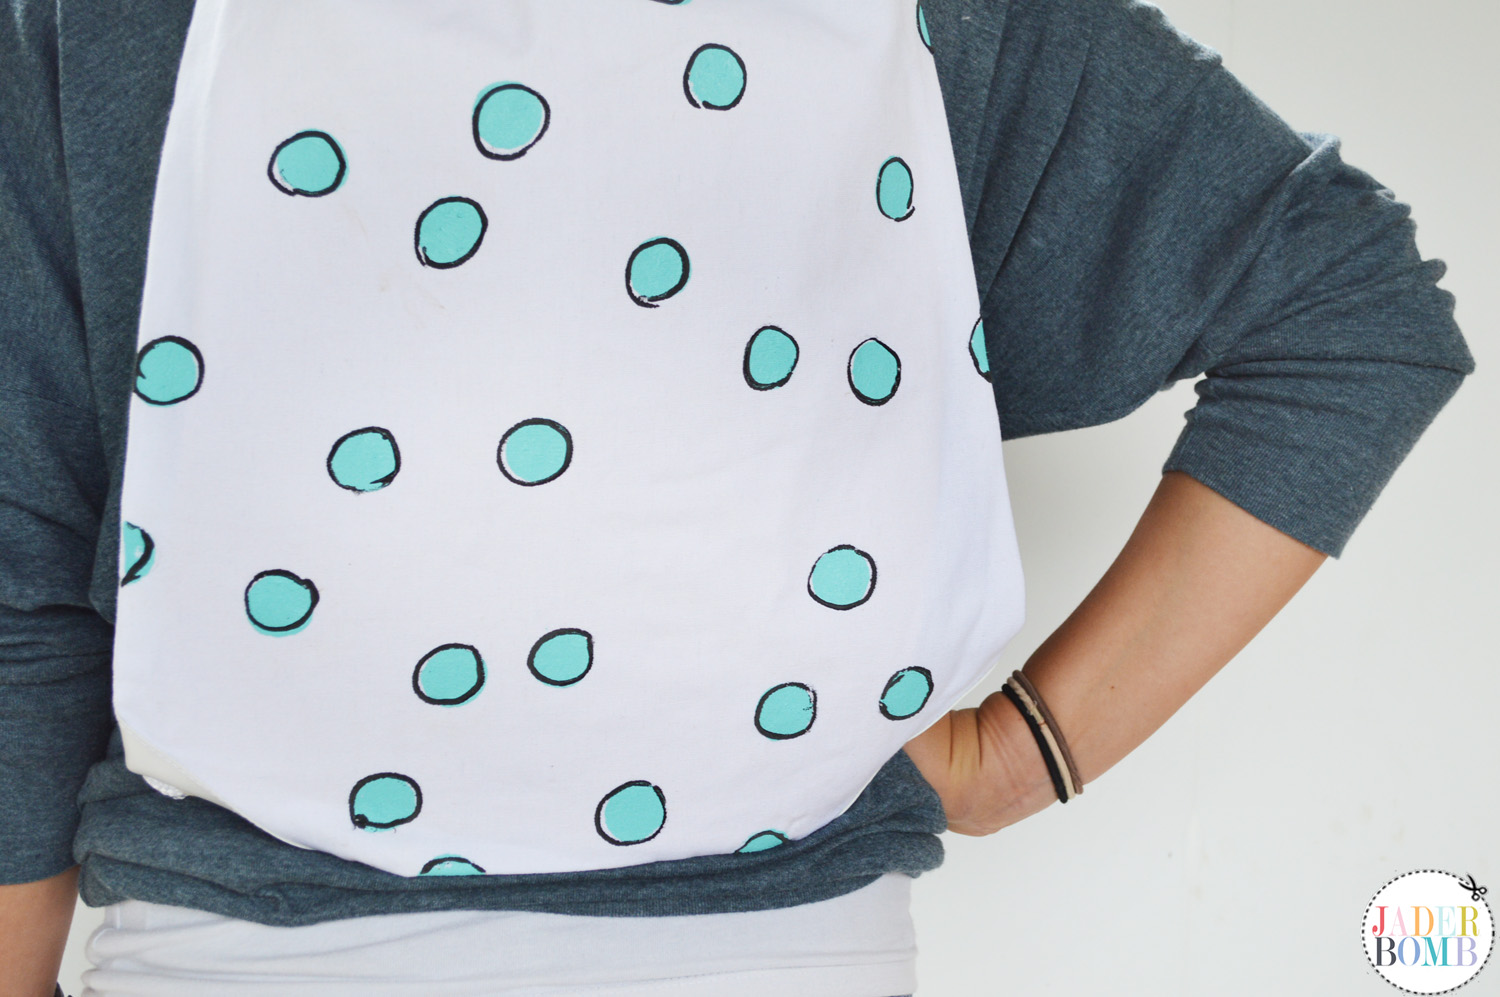
I am so pleased with the way both of the bags turned out! I hope you have fun creating your very own DIY back to school bag! Don’t forget to enter the sweepstakes! 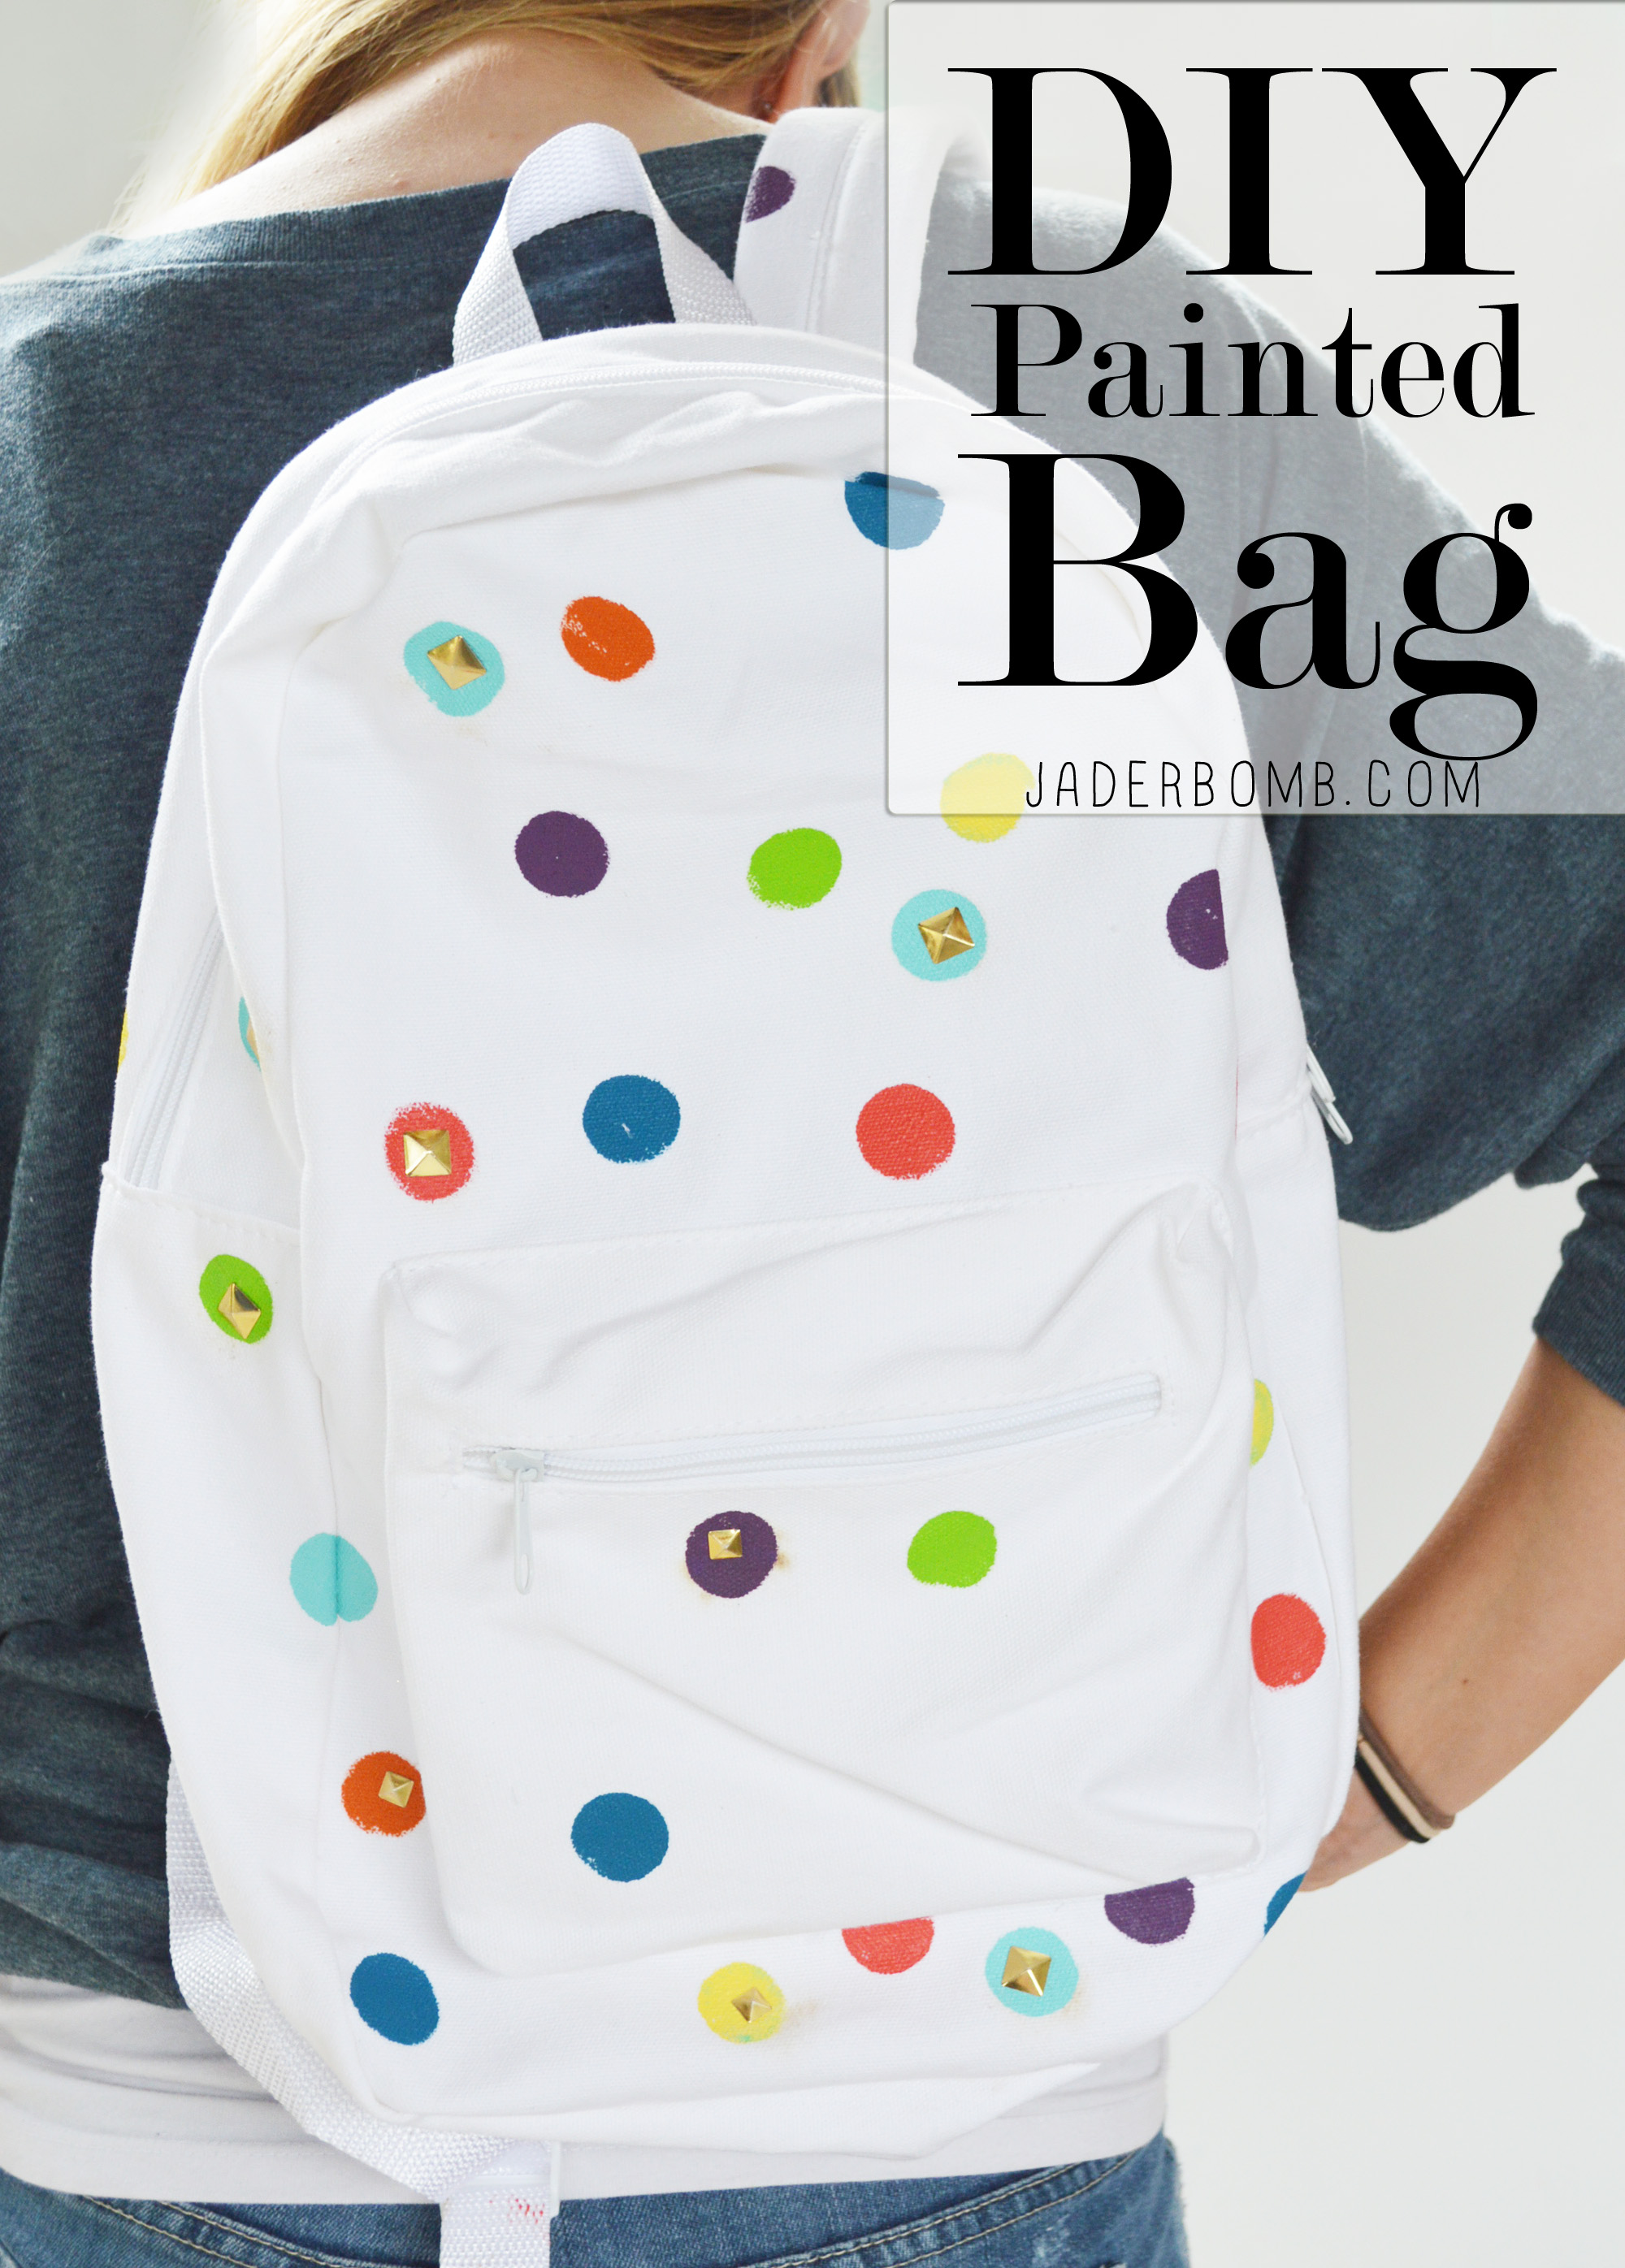
Don’t forget to connect on social media! Make sure to use use the hashtag #JADERBOMB on Instagram or Twitter or Facebook so I can keep track of all your awesome creations! HAVE A GLITTERY DAY! ♥, Jade
P.S. If you LOVE printables then check out my site where you can download hundreds of FREE printables!
 Photography: Jaderbomb // DIY tutorial by: Jaderbomb // White Canvas Bag : Michael’s // Fabric Paint: Michael’s // Iron-On Studs: Michael’s // Foam Pouncers: Michael’s // Affiliate Links: Amazon
![]()