Tag Archives: fall

Whoa Nelly! It’s almost Halloween already. Where does the time go? I know this sounds CRAY CRAY but I am already working on Christmas crafts!

SHAKING MY HEAD. I will tell you I have some wonderful things coming up and I can’t wait to share them with you!

HALLOWEEN CRAFTS

 I have some great Halloween Crafts to show you ! My friends rocked out glitter and glam this week.  

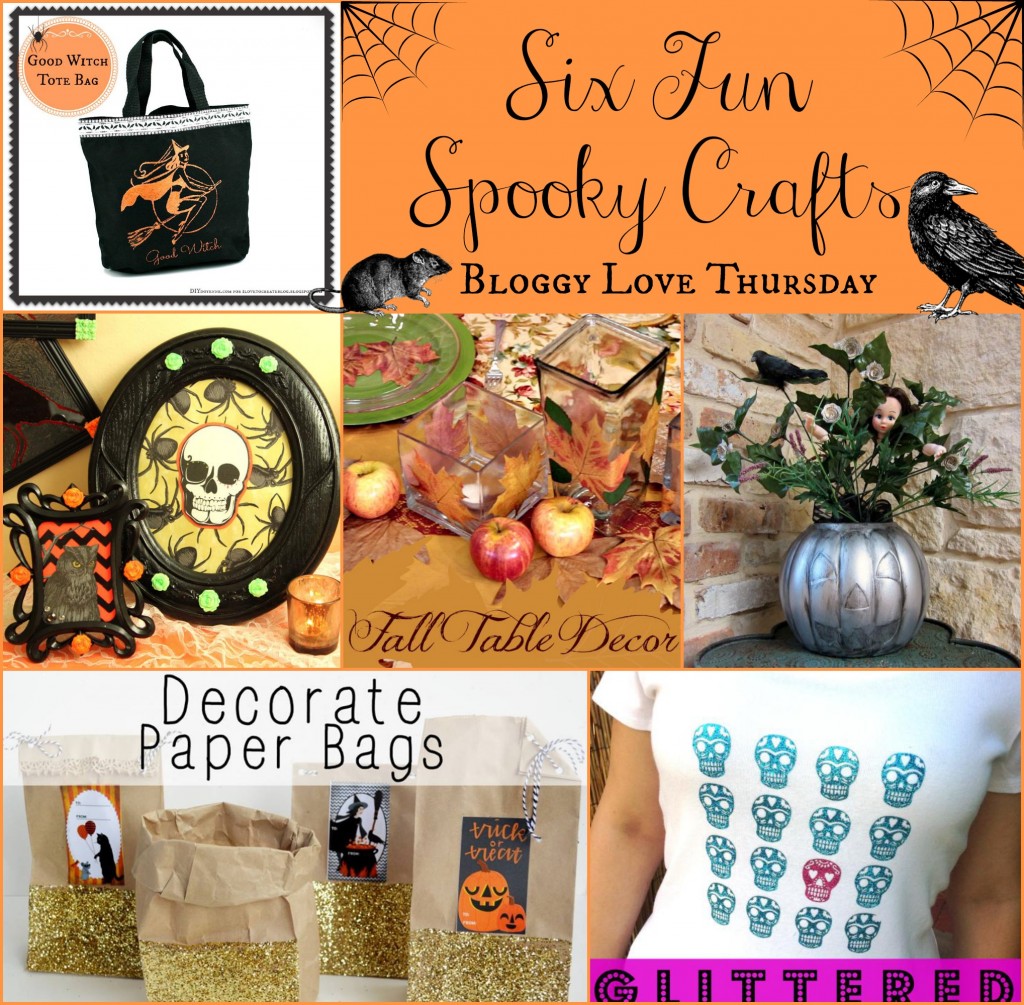
My, oh my Margot Potter is rocking my socks today with this silk screen witch tote bag. I wonder if I am a good witch or bad witch…

Cathie Filian and Steve Piacenza show us an easy way to decorate any mantle. Don’t worry if you don’t have a mantle, you can still use all these crafts somewhere else in your home!

Mark Montano takes our tables to a whole new level with his great fall table setting. Wait till you see what he did with LEAVES!

Heather Mann takes plastic pumpkins to pewter heaven this week. I love the head in this arrangement!

Kathy Cano-Murillo brings glitter and “sugar” together in this fun tutorial. I can’t wait to jazz up some shirts!

If you missed my tutorial on decorative paper bags check it out here!

Happy Crafting!ending

Today I will show you how to Decorate Paper Bags.

Well from what I gather it is almost Halloween around this joint. This means I get to display my favorite color everywhere in the house! Black that is.

I have to admit being the “DIY’ER” that I am sometimes crafts come to me and I just quickly make them. If they are good then they get posted. No lie, this was not planned but I just think it’s practical and can be used for many things in your life.

Sometimes I go through a period of doing fairly simple tutorials and then I do really complicated ones that require ton’s of pictures. Not sure why I do that but I do.

This one would surely fall under EASY!

Have you seen my Halloween Coffee Party yet?

What about my Vintage Crow Magazine Holder!

Decorate Paper Bags

 It is honestly a craft that you would add your own imagination too so have fun with it. I made a quick video for you also.

ending


12monthsofmarthaHALLOWEEN PARTY DECOR

Boo-Yah!  I don’t know about you but I love HALLOWEEN PARTY DECOR. What do I love about it? EVERYTHING.

It doesn’t always have to be bloody and dark, ya know. Even though that’s the real way to celebrate this holiday.

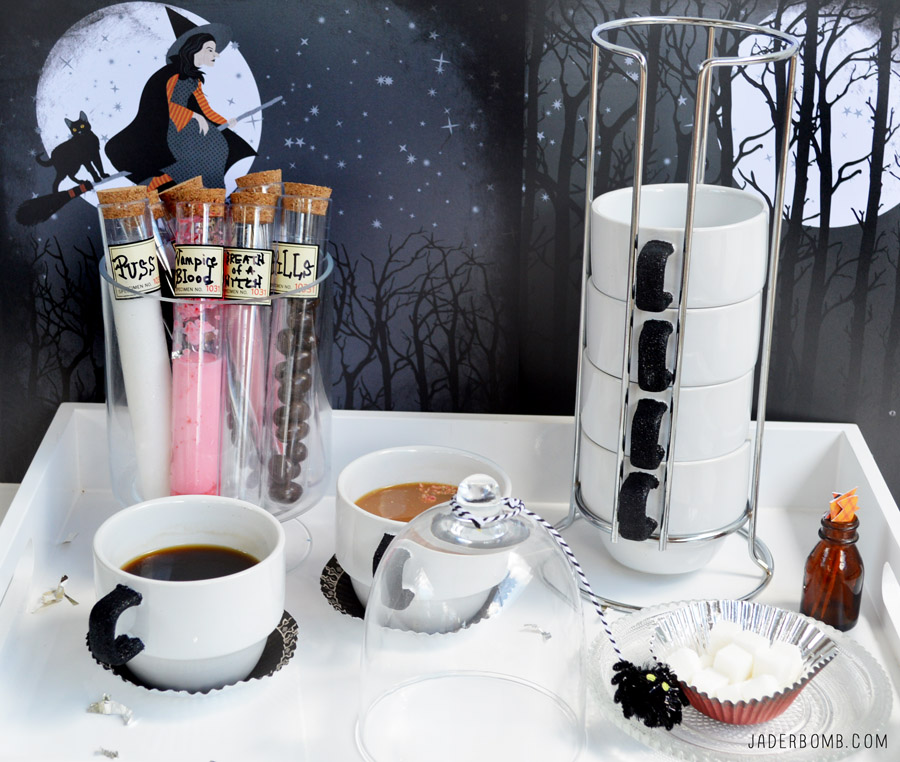
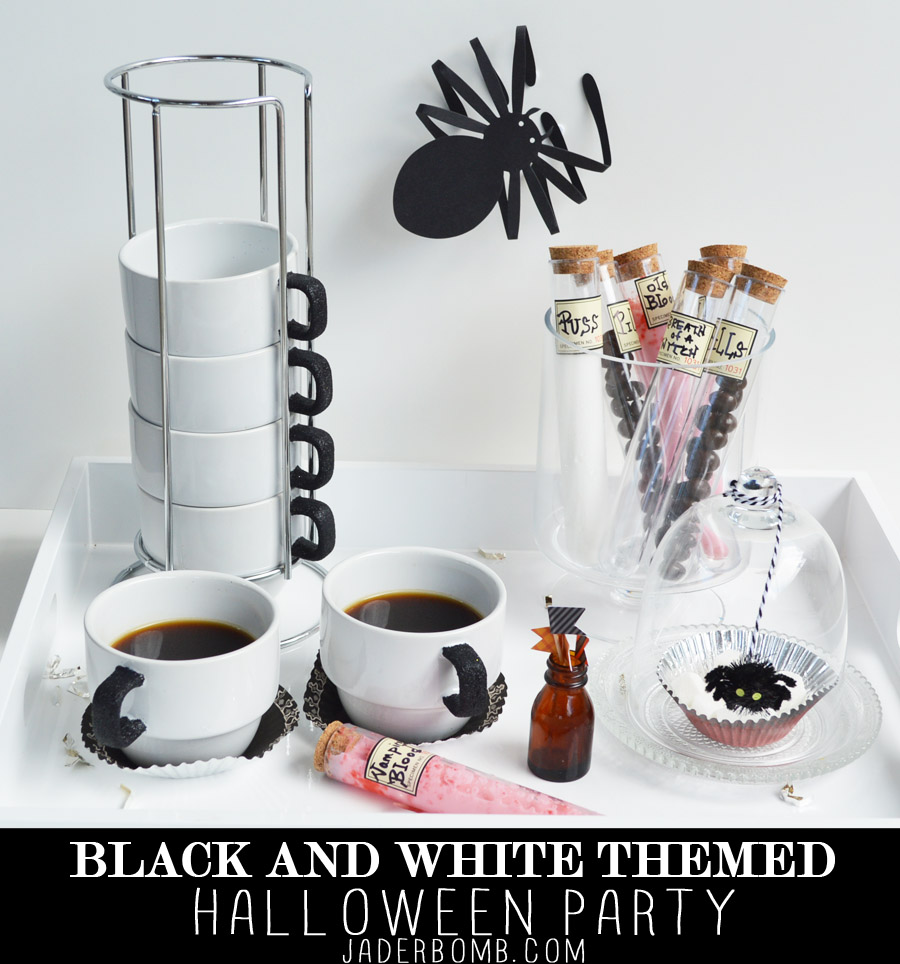
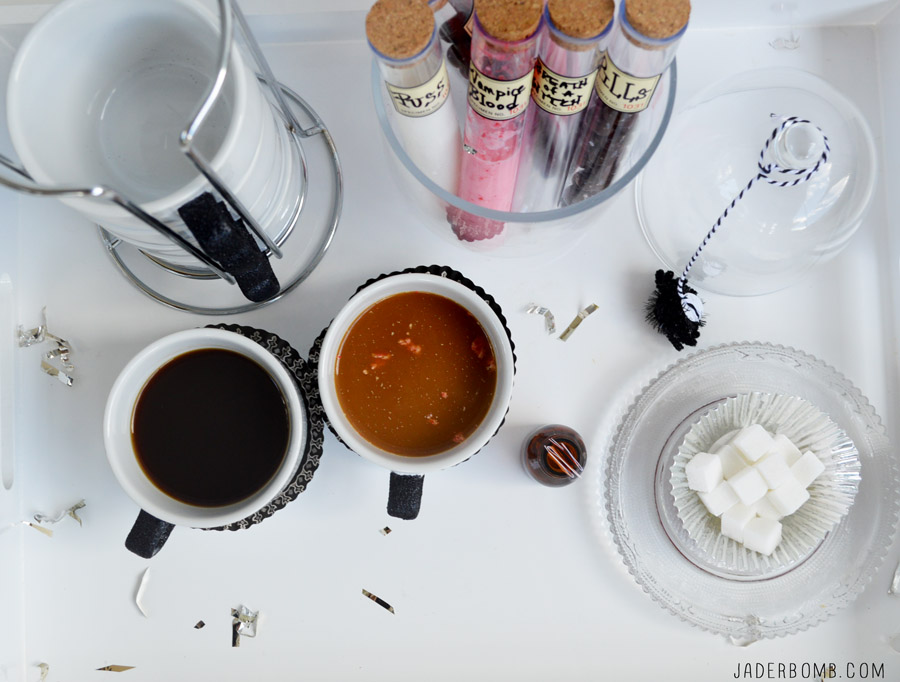
I wanted to throw a black and white themed coffee party and I know you will love all of the little details. Witches “brew” is what we will call it.

If you love Halloween as much as I do then you need to check out these houses I made. Wear these shoes while trick or treating with your kids. I am in love with these black and white kitchens.
BLACK AND WHITE HALLOWEEN PARTY DECOR

I know I would love to attend a spooky “brew” party, what about you? If you can’t find the items I used in this post you can click on ANY of the links below the pictures and order from one site! Hey, I am just trying to make your life easy.

I think everything looks clean and crisp. Kind of reminds me of a sterile hospital room.

Still want coffee?
HOW TO DIY YOUR HALLOWEEN PARTY DECOR

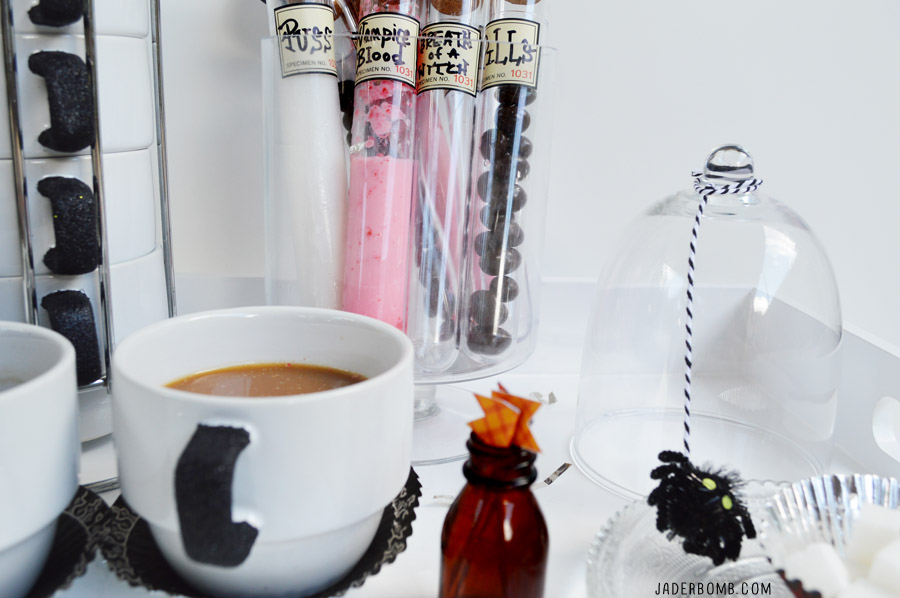
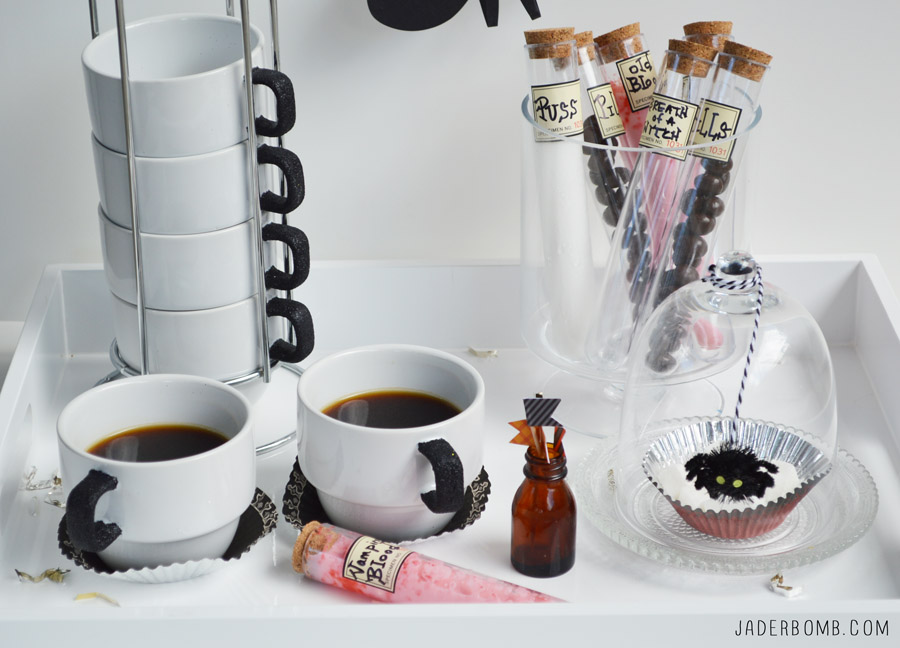
I purchased these mugs from World Market and dressed up the handle with glitter. Glitter will always make things better.
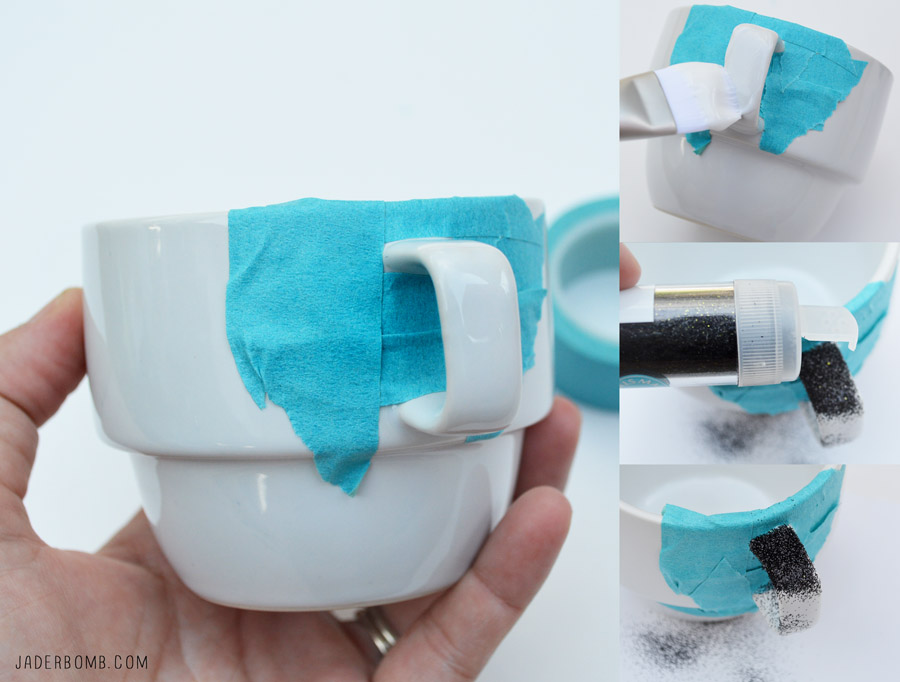
EASY DECOUPAGE ON GLASS TUTORIAL PARTY MUGS To start you will place stencil tape around your handle. Coat the handle with a nice coat of Martha Stewart’s new decoupage. Sprinkle your favorite shade of glitter on the wet decoupage.

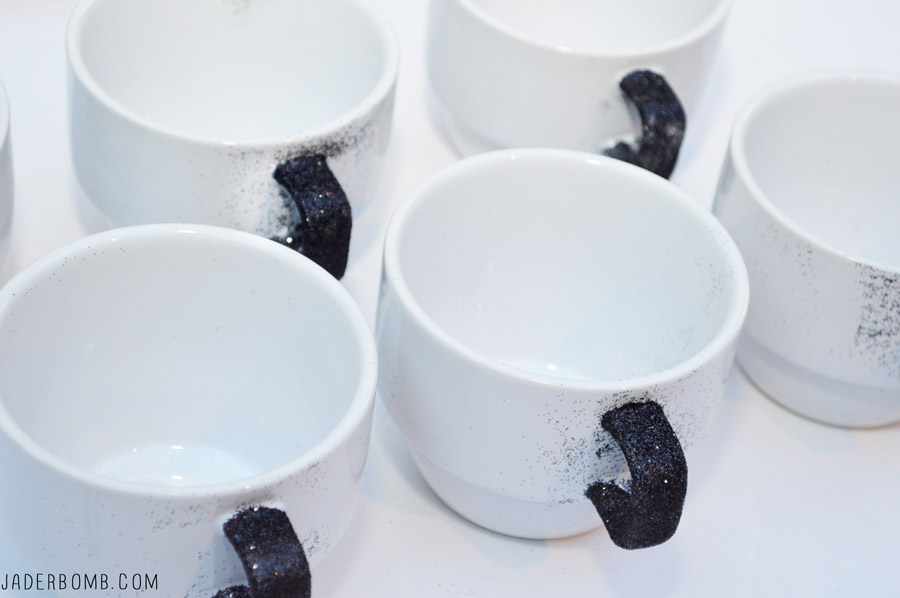
Of course I used classic black. Carefully peel the tape off before it dries. You can clean up your mug now easily. Check out what else I decoupaged.
HOW TO DECORATE FOR HALLOWEEN PARTY

Once I removed the tape I sprinkled some more glitter on them before they dried. When they are dry just dust them off with a brush. Remember to let these cure for about 28 days then you can wash them by hand or in the dish washer.

They will stay fully glittered if cured correctly. HOW TO DECOUPAGE ON GLASS
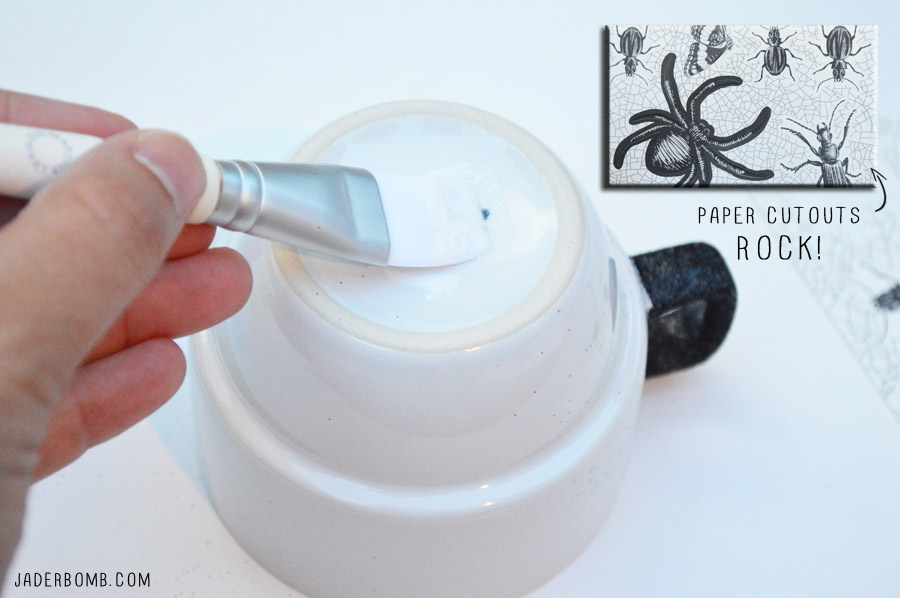
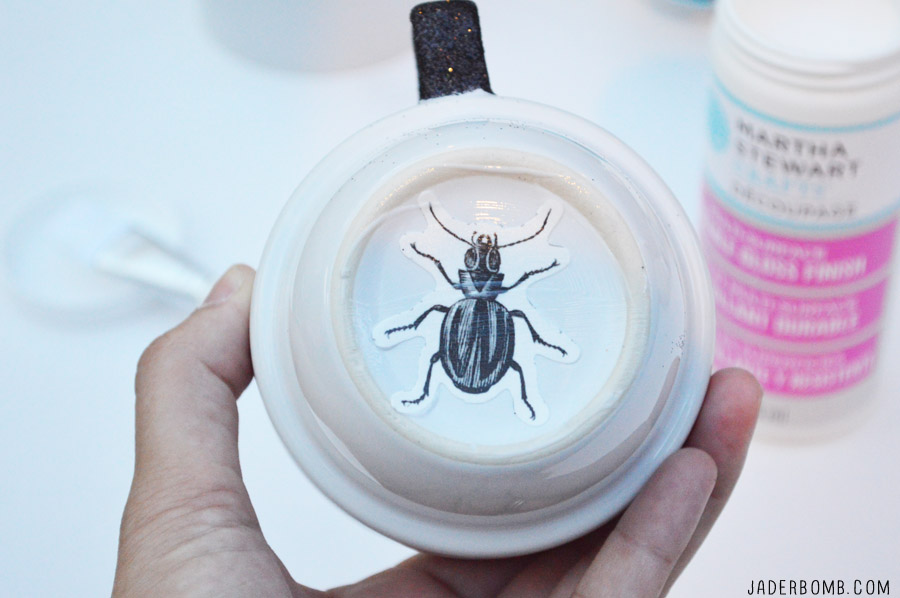
To add a little spark to the bottom of my mugs I decoupaged some insects to the bottom. When someone lifts their coffee mug a nice bug will be displayed on  the bottom! I think this is my favorite part of the party.
HALLOWEEN PARTY GLITTER MUGS DIY

HALLOWEEN PARTY DECOR

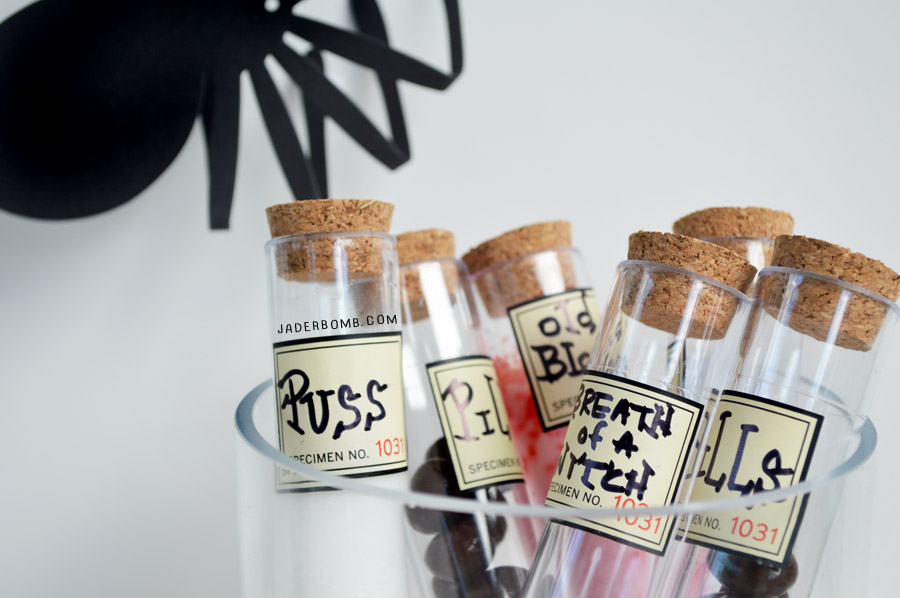
How clever are these test tubes! They come with sticky vintage labels that you can write on. I added a few different things inside of the tubes like chocolate covered coffee beans, strawberry milk and coffee cream. Anything that goes with a coffee party will work. HALLOWEEN PARTY DIY
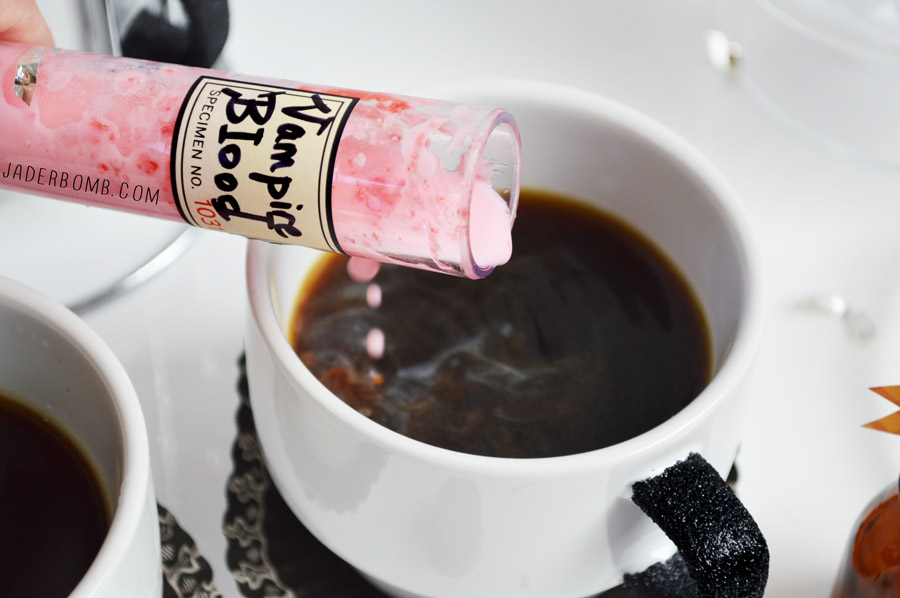
ORANGE AND BLACK HALLOWEEN PARTY DECOR DIY

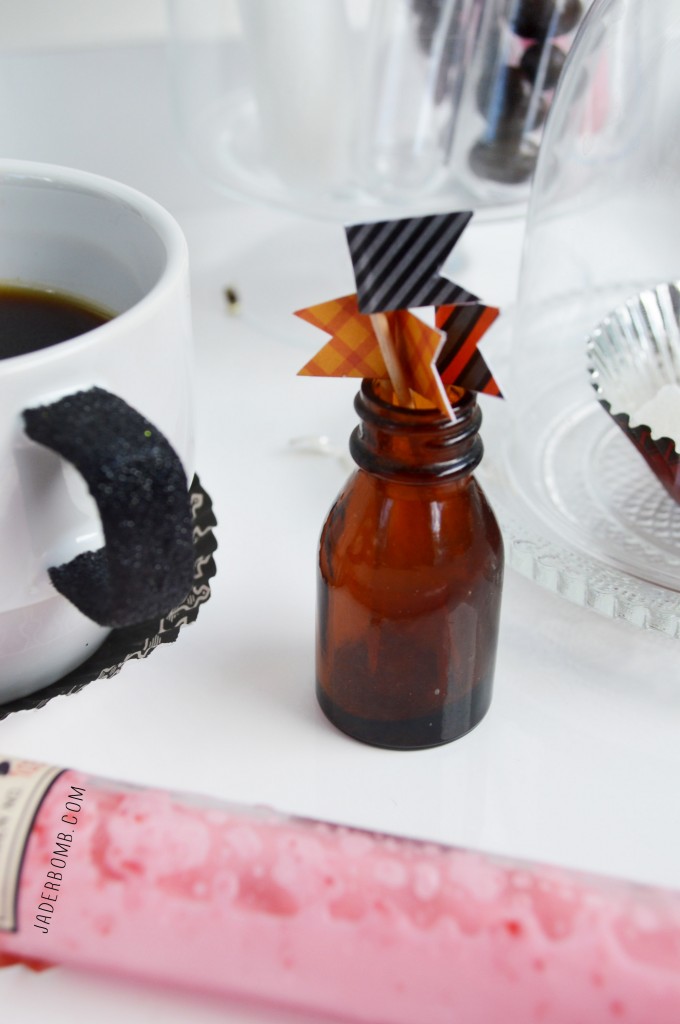
I used some halloween adhesive paper to make flags. I wrapped a piece around a toothpick then cut the paper on the end. These are what my guests’ will stir their coffee with.
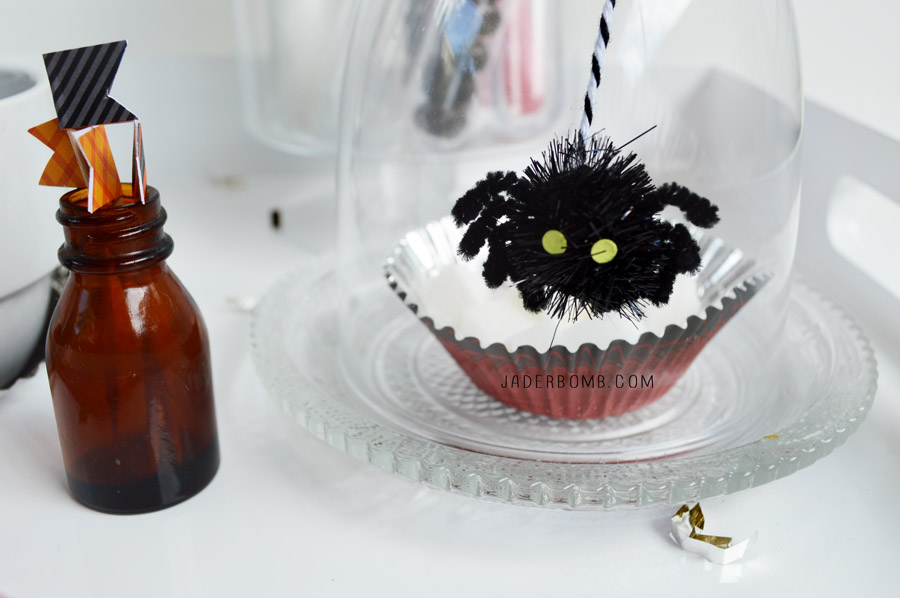
SPOOKY HALLOWEEN PARTY

I used some cupcake liners  to put my sugar cubes in. Smart right!SCARY HALLOWEEN PARTY DECORATIONS DIY

To create a coaster for you super chic mugs take a cupcake liner and fold it inside out.

Easy and fun. HALLOWEEN PARTY FUN INVITATIONS
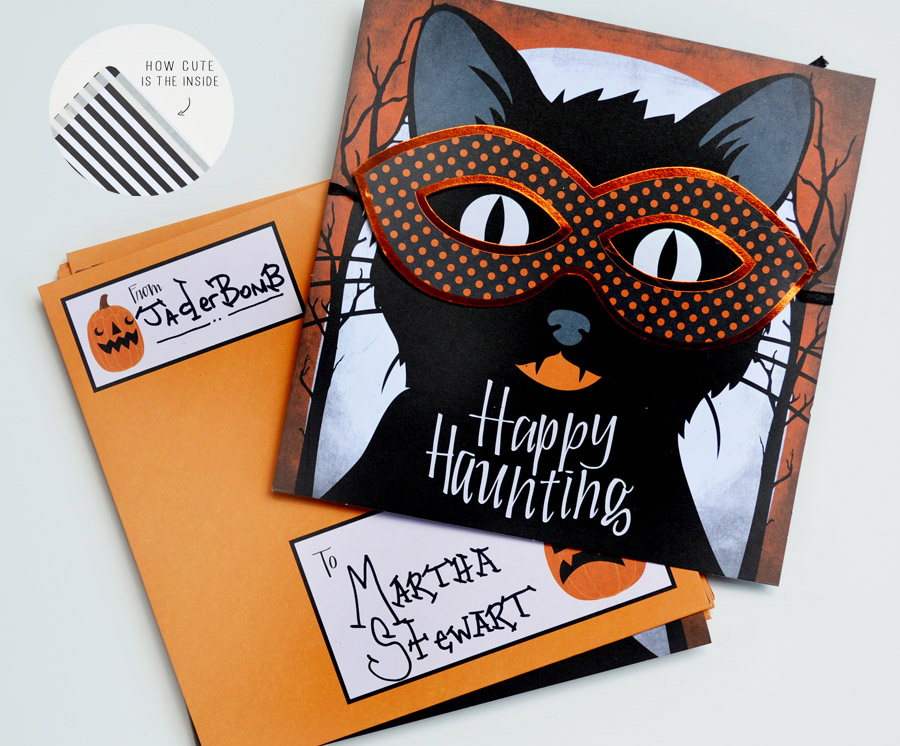
If you are like me then you send out invitations for everything. These animal masquerade invitations are the cutest thing since sliced bread.  Even the inside is decorated with black and white stripes. WITCH THEMED HALLOWEEN PARTY
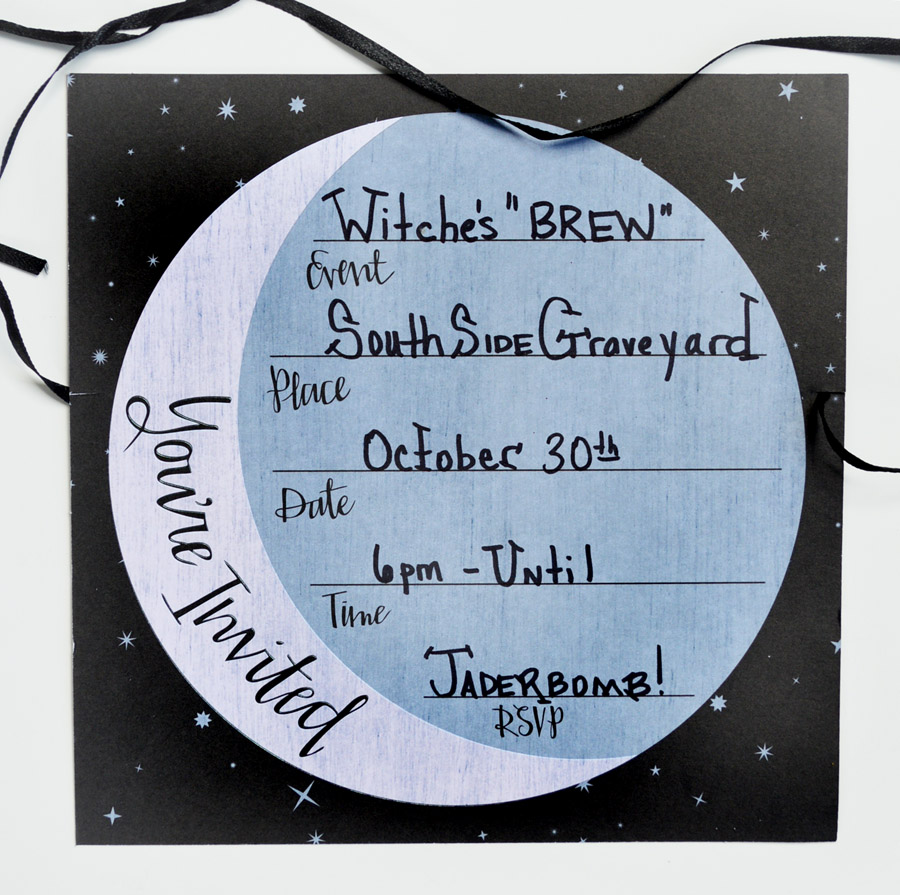
EASY HALLOWEEN SCARY COFFEE PARTY

Pull out a few sheets of scrapbook paper to dress up your coffee platter background. I got these from the animal masquerade pack.
5 WAYS TO DECORATE FOR A HALLOWEN PARTY

I hope you enjoyed this post and it gives you a push to throw your own coffee party. Check out all of my 12 months of Martha posts’ here.

FYI: Please go vote for my friend Kelly HERE! Voting end Friday and we ALL WANT HER TO WIN!

Huge glittery hugs—See you in the next post! Visit me on FacebookTwitter,Pinterest, or Instagram!

ending

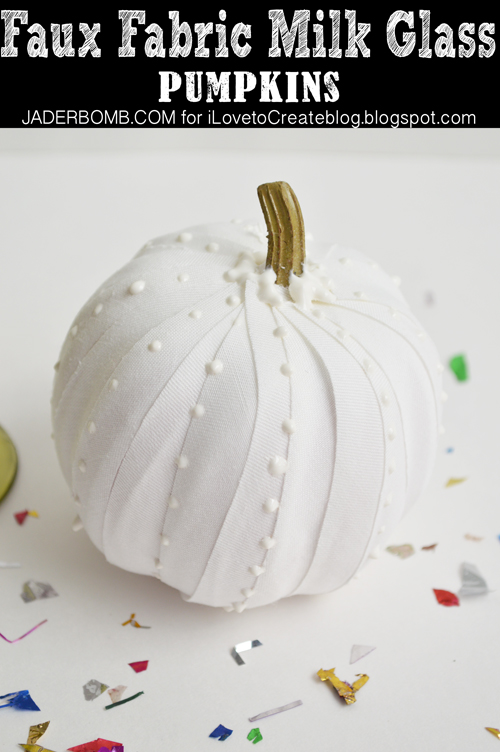
I am not quite sure what I love more white pumpkins, fake pumpkins or a good ole milk glass pumpkin. If you have never heard of a fake milk glass pumpkin then you are in for a real treat. I created some today and they are on the I Love to Create blog. It’s sorta like a “white Fall” instead of a “white Christmas”.

Let’s be real ok. I try my best to think logically when I craft. In other words I think about YOU then ME. 

I know me and Martha are pretty much best friends and all but I am NOT her. With that said I can’t afford to buy 27 real pumpkins and embellish each and every one of them. I have to eat ya know. Which is why I craft with FAKE ones. The kind that you can decorate, store in a huge tupperware then take them out the next year to use all over again. Please tell me I am not the only one who does this. What’s funny is I went in my attic today to look for things I made last year and I couldn’t seem to find anything.

Maybe last year when I was about to put them up I realized it was more work to take down the ladder, walk up the stairs and store them nicely so I just threw them all away. I tend to do cray-cray stuff like that anyways. I will more than likely find what I was looking for when I take down Christams decor.

Milk Glass Pumpkin

All Photos by Jade Harrington / Jaderbomb

Wanna see everything I have created for the I Love to Create blog? Check it out here!

I hope you enjoy this tutorial. Big huge glittery hugs from my fake pumpkins to yours!

Visit me on FacebookTwitter,Pinterest, or Instagram!

jaderbomb love


blog-love-jaderbomb.jpg

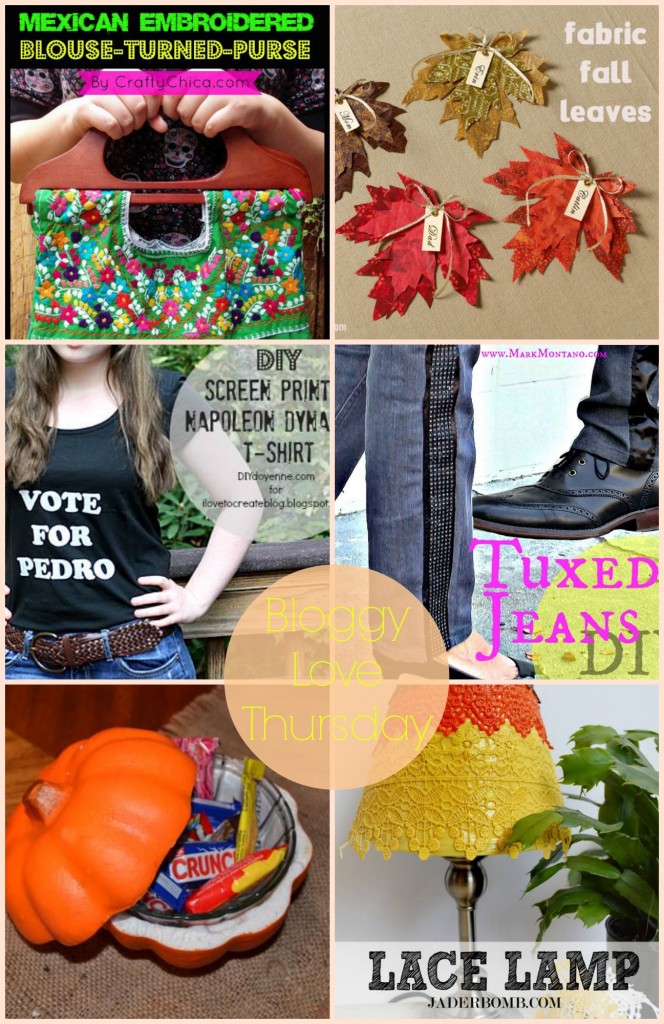
It’s Thursday and you know what that means! It’s all about BLOG LOVE today with my friends! Happens every thursday so come back next week♥ Today we have some fun fall crafts. I know you will enjoy them after all they are by the best bloggers in the CRAFTERVERSE. Ok, I just made that up.

Kathy Cano-Murillo the CraftyChica.com made this amazingly stylish purse from a Mexican embroidered blouse.

Cathie Filian made these stiffened FALL leaves. This will save me money, just wait till you see how easy they are.

Margot Potter made a chic screen printed Napoleon Dynamite T-shirt for www.ilovetocreate.com. This will be cute with a blue jean jacket over it!

Mark Montano flipping rocked my socks this week with his super stylish tuxedo pants. Good news they are for girls and boys!

Heather Mann for Dollar Store Crafts made a cute pumpkin candy dish. You can spruce up your pumpkin by painting it also! This is great for easy Fall decor.

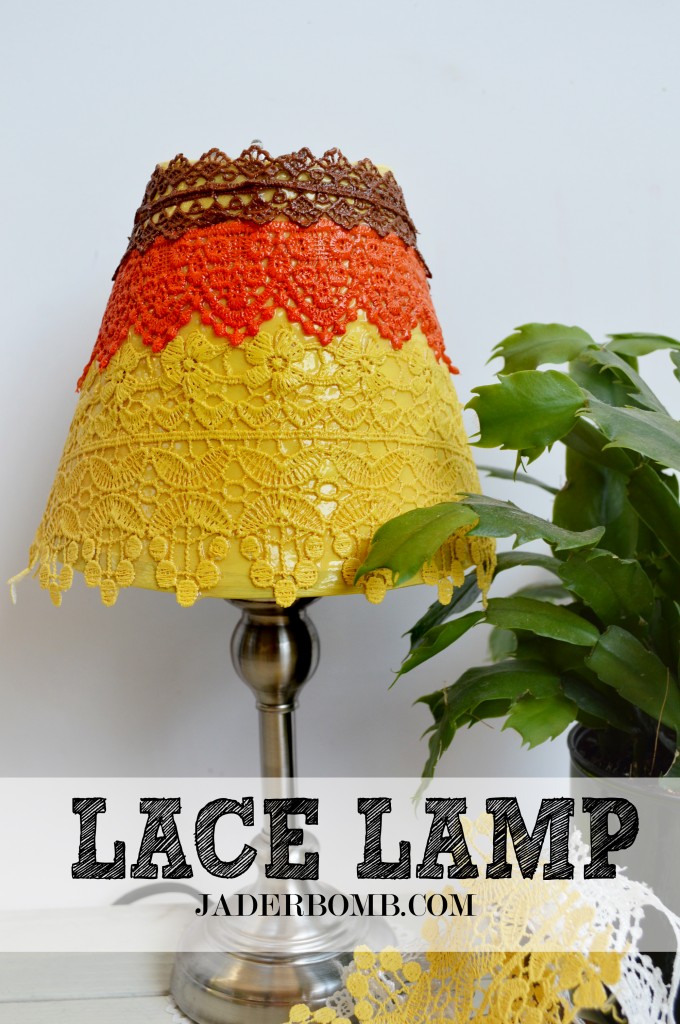
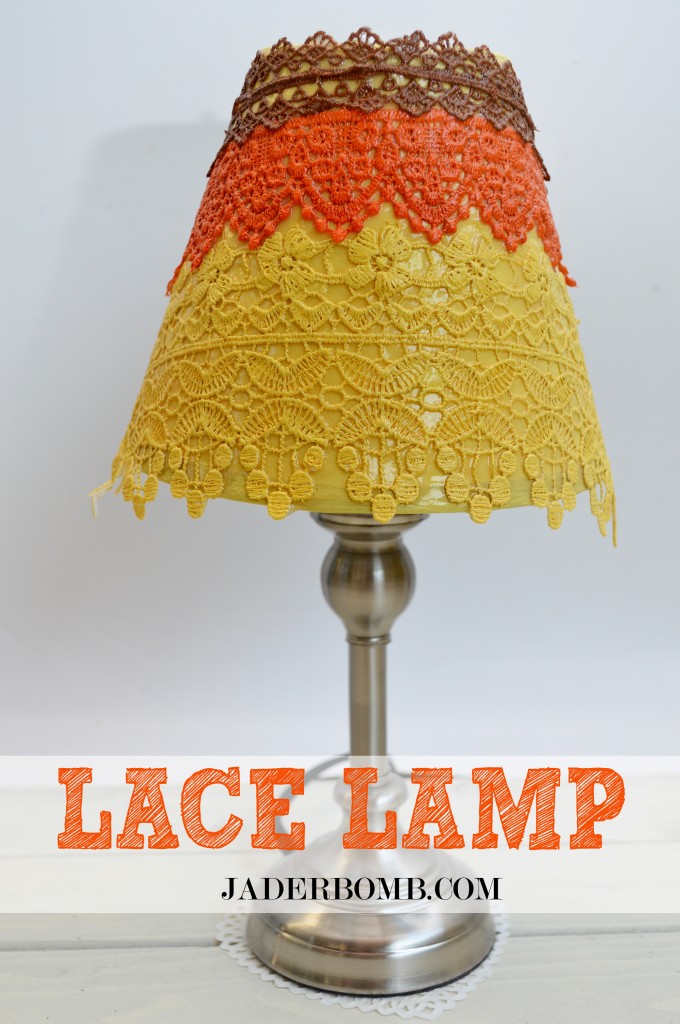
We can’t forget my latest tutorial for the JADERBOMB blog. I made a cute decoupaged lace lamp, and it looks like a big candy corn!

I hope you get ton’s of inspiration from this post! Come back next thursday to see our round up again!

jade

ST_12_months_of_Martha_Logo-1

How to make a Decoupaged Candy Corn Lace Lamp

Decoupaged Lace Lamp

Happy Monday! It’s all about Martha Stewart Crafts decoupage supplies today

When I think of decoupage I always go back to that day in 1st grade when I coated my entire hand with Elmer’s glue. What was I thinking?

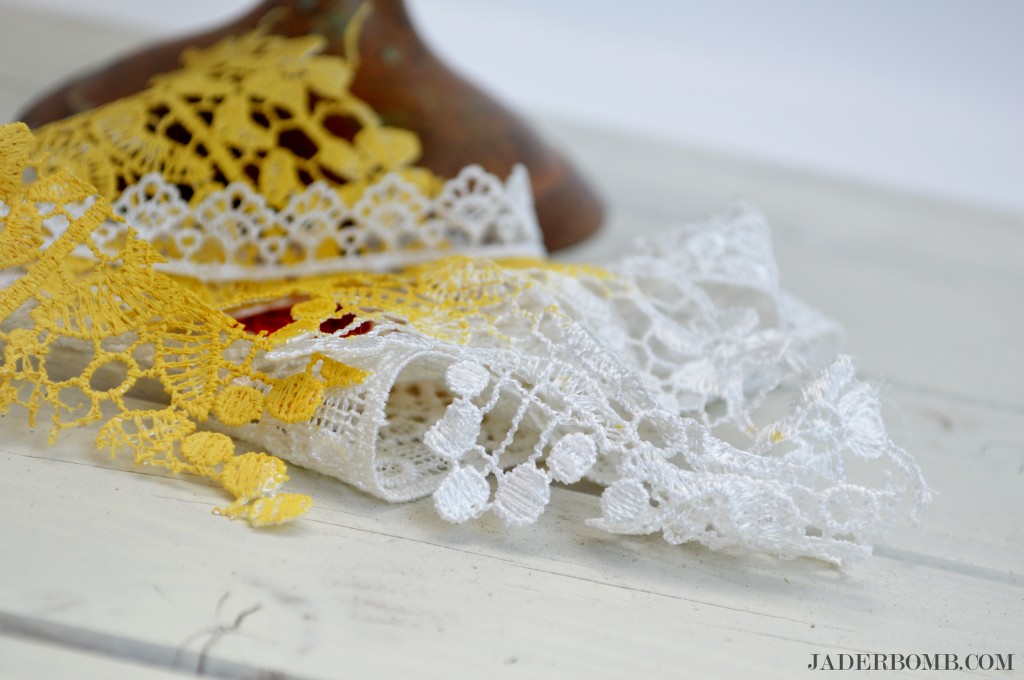
The only thing I was missing was painted lace which is why we are using some today for our lamp.

I mean, doesn’t anything look better with lace wrapped around it? Hopefully it won’t turn out like these tights I bought last year. Oh and incase you missed it check out this lace paper I made.

you will need jaderbomb

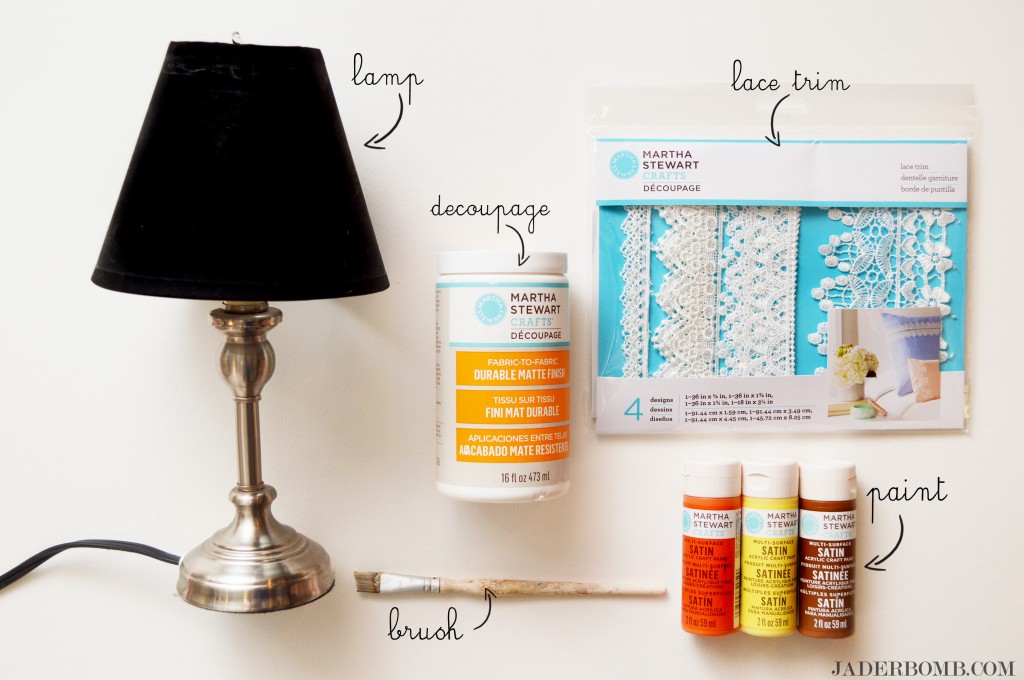
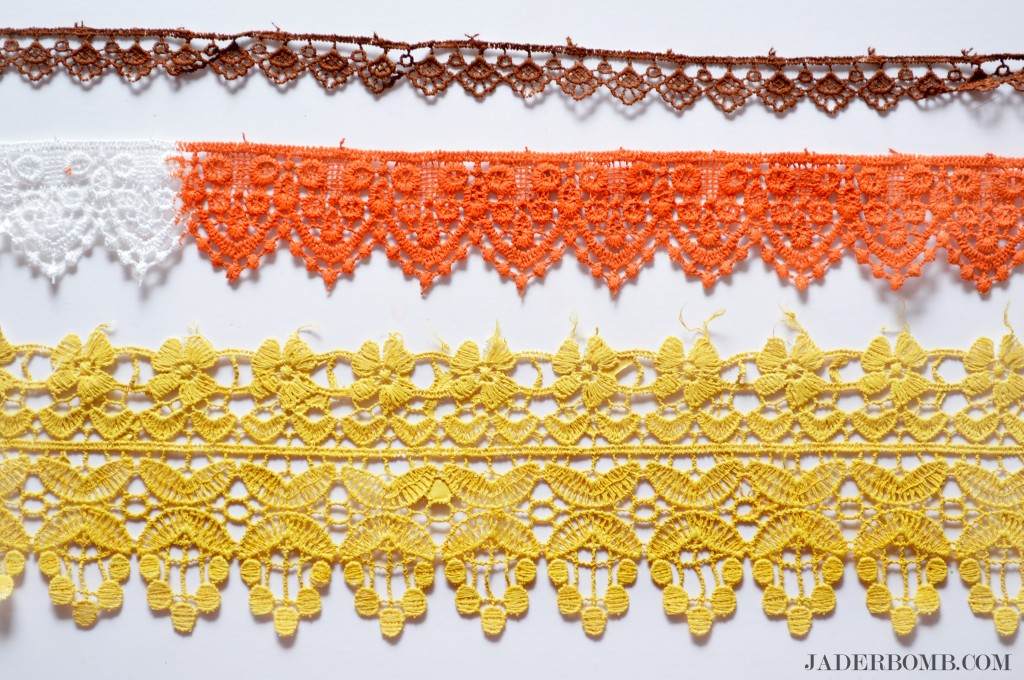
  Martha Stewart Crafts craft paint in JONQUIL, CARROT and CHESNUT BROWNMartha Stewart Crafts Decoupage White Floral Lace TrimMartha Stewart Crafts durable matte decoupage mediumPaint brush | Lamp | Decoupage brush 

See the entire decoupage line here. I don’t think I will have enough day’s in the week to use all of these awesome products.

lace-lamp-supplies

Today we will turn this boring lamp into an oversized lace candy corn. I know, I know that might seem hard but it’s easy with the materials we have.

You know I have not seen a lace candy corn inspired lamp floating around Pinterest lately so I figured I would give it a go.

lace-lamp-steps

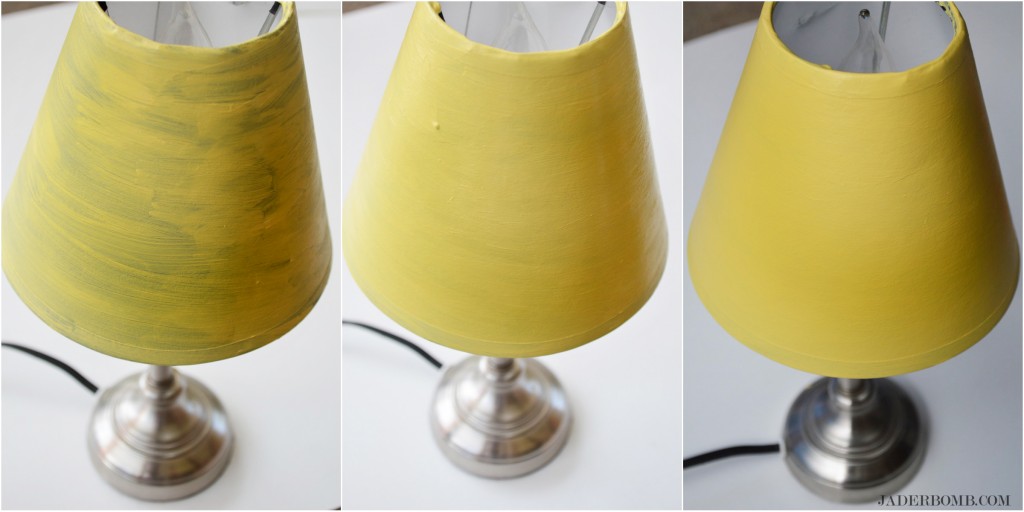
The first thing you want to do is paint your lamp a light background color. Keep it simple because you want the lace to pop and not the lamp shade behind the lace.

how-to-paint-lace

Since a candy corn is bigger on the bottom I tried to mimic that with the lace size. This pack of decoupage lace trim worked perfectly since there were multiple sizes in it.

lamp-lace-painted

how-to-decoupage-lamps

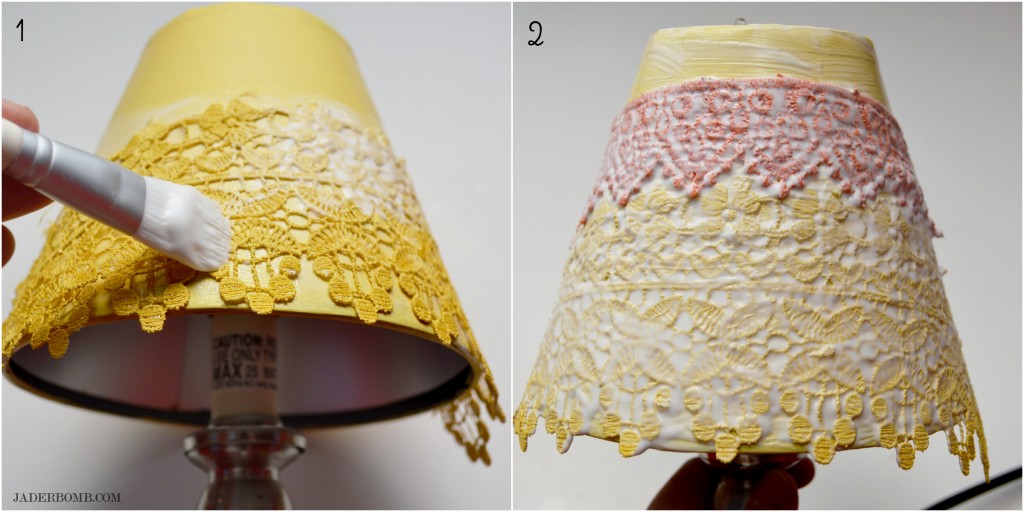
Once your lace is dry it’s time to start applying it to the lamp shade with the decoupage glue. This glue is super smooth and creamy and it’s easy to create a thin even coat with the decoupage brush.

decoupaged-lace-lamp-tutorial

I hope you enjoyed this tutorial and it gives you a ton of inspiration.  I am certain this will look yummy with all of my Fall decor. Maybe I will try to glue lace to my hand later!

Wanna see what else I have done for the 12 months of Martha, check it out here.

jade

marthastewartdisclaimer