Tag Archives: fashion

This is a sponsored post by Darby Smart. I was given a free kit to review and compensated but all opinions, as always, are 100% my own…Pinky Promise!

80's Throwback Bag

What is Darby Smart?

At Darby Smart, leading designers launch simple DIY projects based on the latest fashion and home trends.
We turn their projects into kits that include chic materials and simple instructions, and send them to you. Create a unique design and show off your style.

It’s like an online vacation for DIY addicts. You can visit the site, find a project kit that is interesting to you and voila. This is what makes this company stand out from others! When you visit this site you will notice that the layout is very user friendly and each project is up to date, trendy and ridiculously cute!

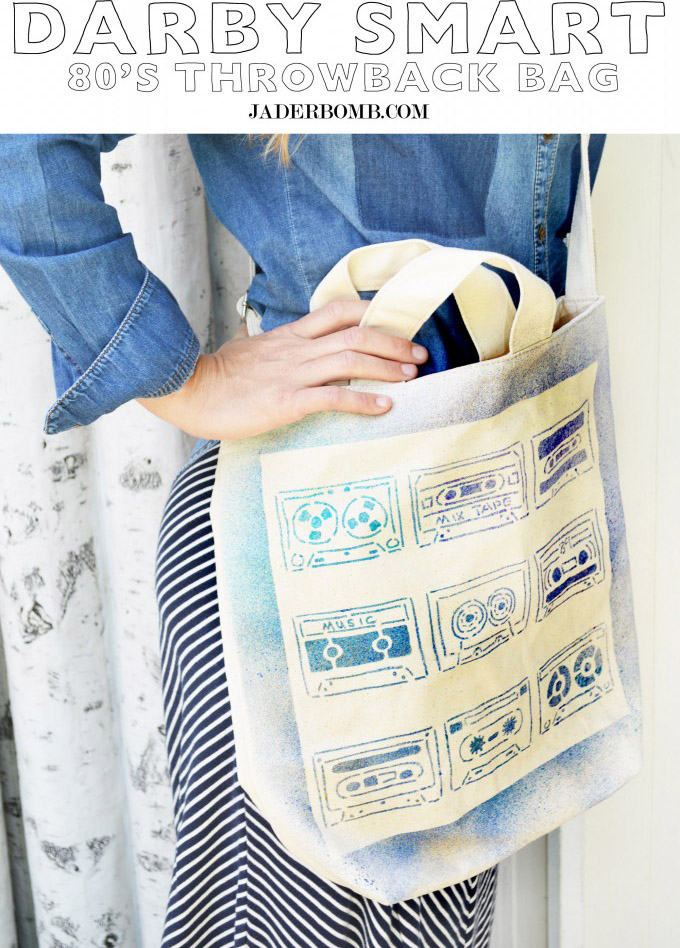
I was so stoked when I received my Darby Smart 80s Throwback Tote Bag kit in the mail the other day. The box was sitting at my front door and I instantly knew what it was. How did I know? Maybe it was the fact that the box was a bold teal shade and the sides were filled with white chevron stripes. Yes, I kept the box. You already know I am a box hoarder.

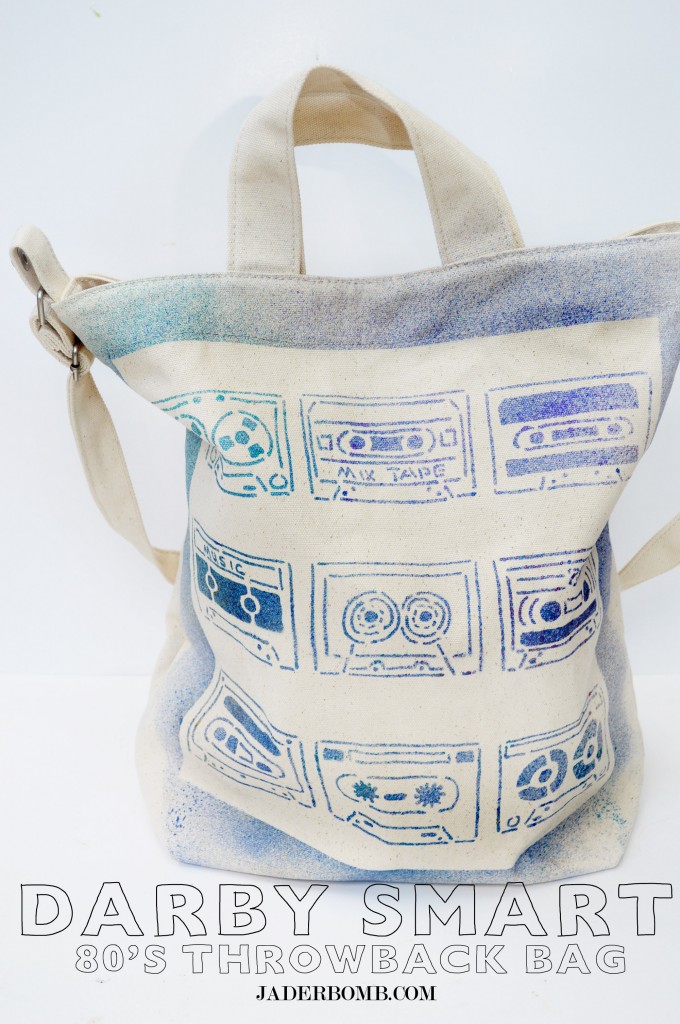
I have one goal in mind. To create a killer 80’s bag that I could pull off wearing with anything.

fdfd

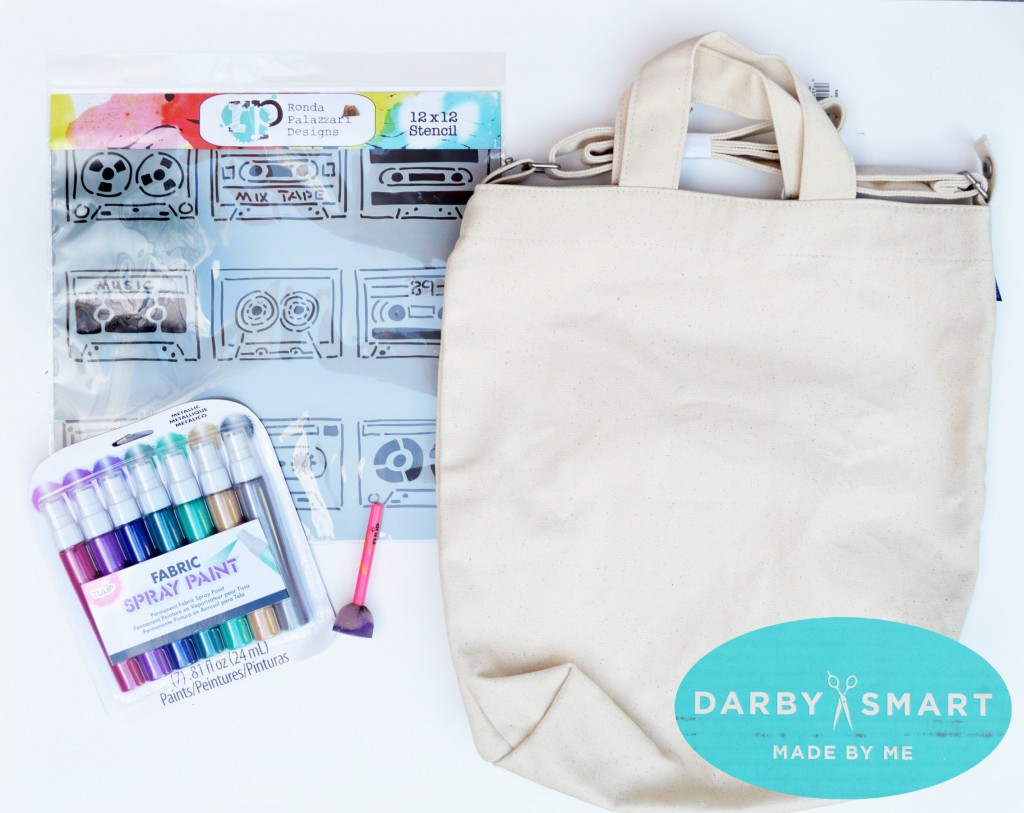
*Tulip Fabric Spray Paint (yes these colors are amazing and metallic)
*Baggu Tote Bag
(which is legit)
*Tulip Sponge Dauber
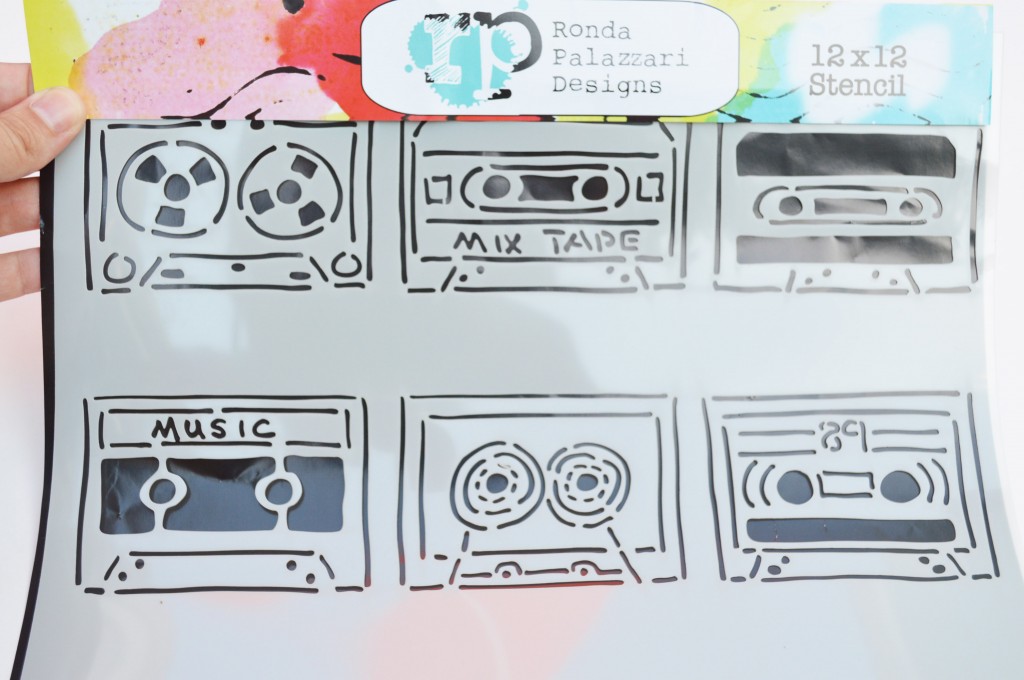
*Ronda Palazzari Cassette Tape Stencil
(this alone is an art piece)
*Aleene’s Tacky Adhesive Spray
(this was not in the kit but I use for all stencils)

Darby-Smart-Throwback-Bag-Supplies

I am in love with these stencils. They truly scream 80’s graffiti! The second I saw them my brain was going crazy. I can’t wait to play with them some more.

darby-smart-bag-stencil

If we are going to talk about falling in love with something else it’s Tulips fabric spray paint. When you use these once just consider it an addiction. I promise you will find anything and everything to spray paint.

darby-smart-tulip-spray-paint

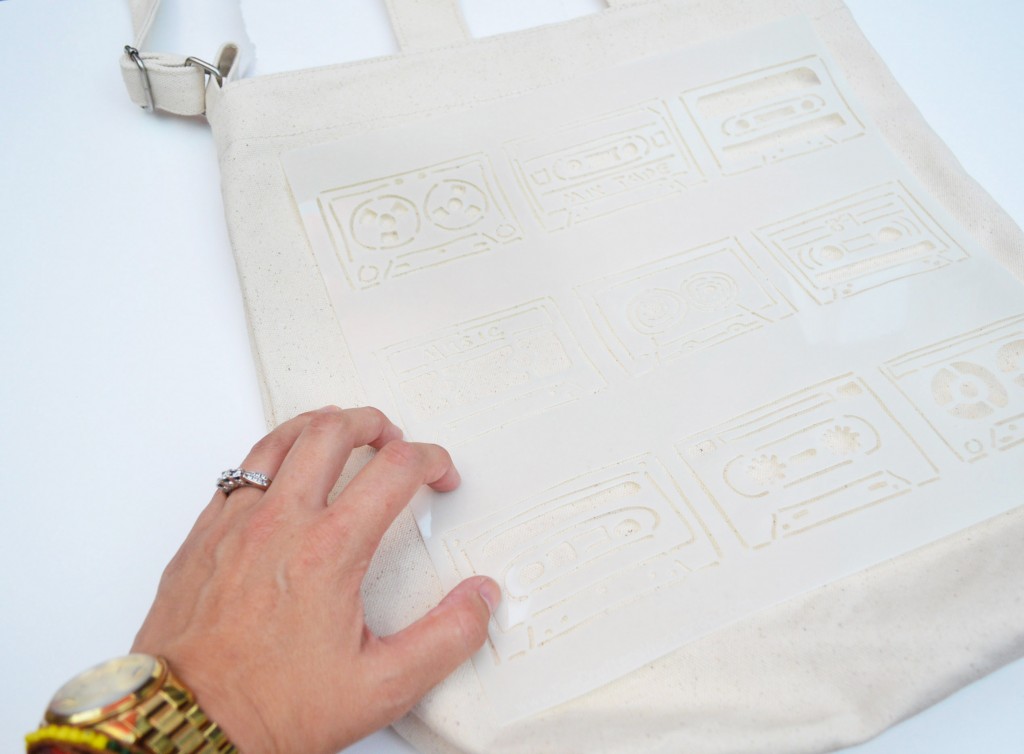
The first thing you want to do is place the stencil on the bag where you want it. I wanted to use the entire stencil since the each cassette was uniquely designed. I used a little tacky spray on the back of stencil to hold it in place. This really prevents it from moving while you are working with it.

I am going with a true 80’s graffiti styled bag.

DARBY-SMART-THROWBACK-BACK

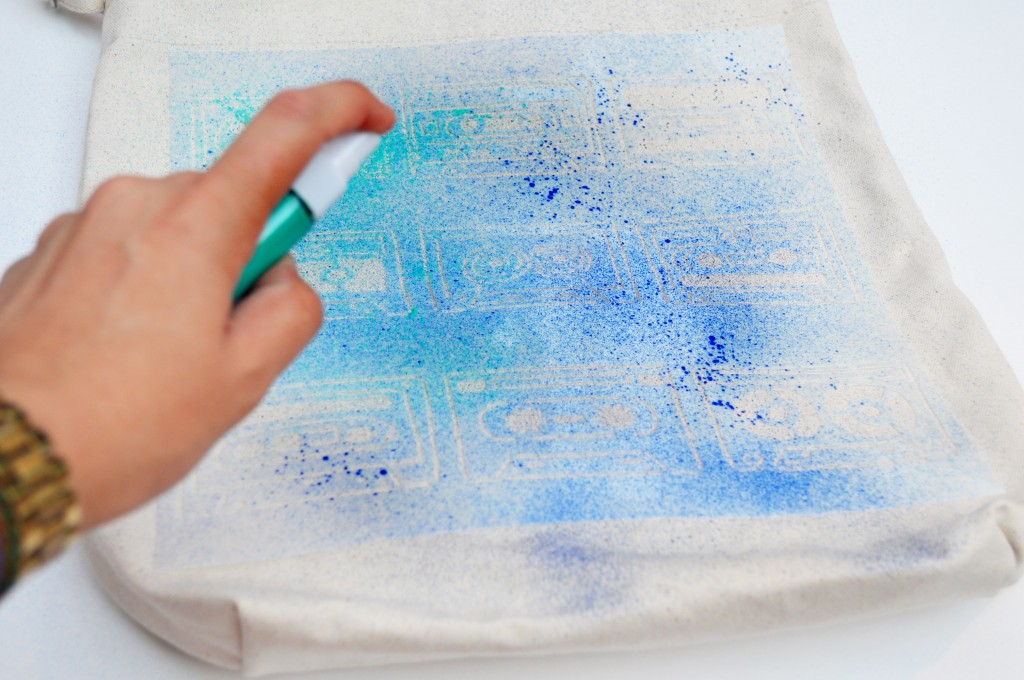
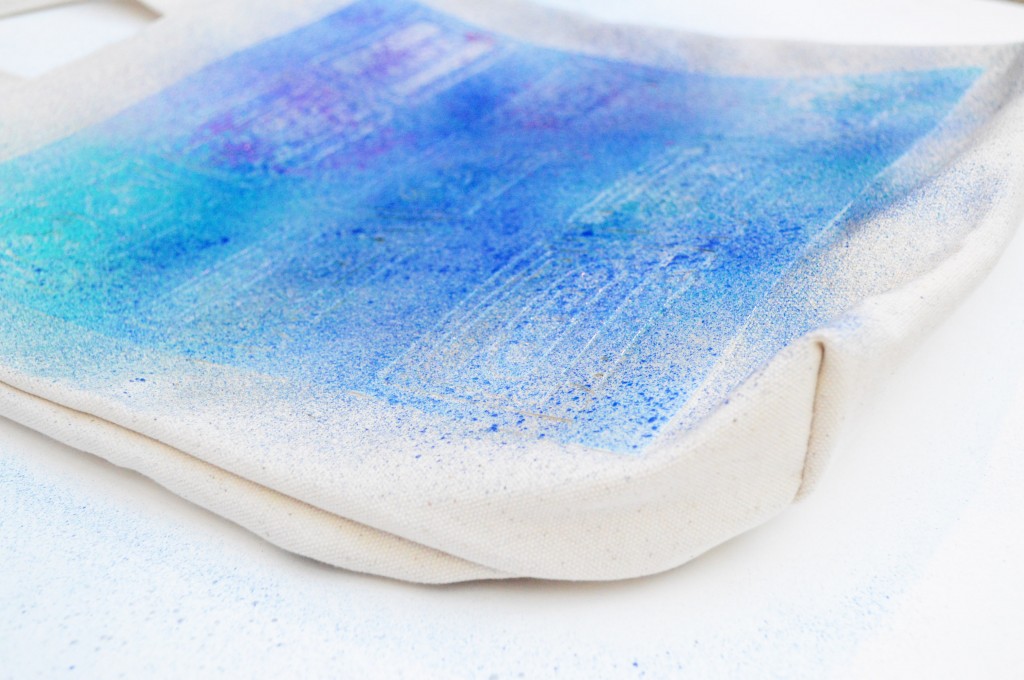
Once your stencil is in place start spraying away. Since each of the metallic sprays make my eyes sing with joy I decided to use all of them. Why not! These sprays are amazing and need to be seen! When you are done let the paint dry. I usually let it sit for 1 hour before I remove the stencil.

darby-smart-tulip-spray-paint-bag

darby-smart-80s-spray-paint-bag

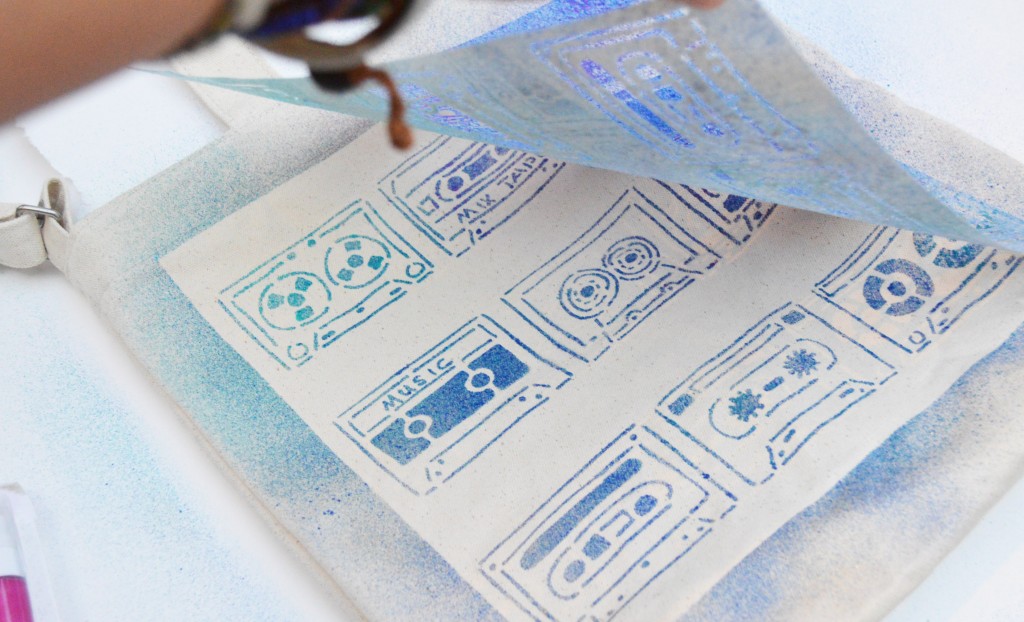
The best part is when you take the stencil off. It’s like magic, y’all!  I only designed one side of the bag but you can do it on both sides or wrap the image around the entire bag. If you only want to use one of the cassettes you can place it where you want then tape off the others. Don’t you worry, I made a shirt to go with the bag also!

80S-darby-smart-throwback-bag

Darby-Smart-80s-Throwback-Bag-Jaderbomb-680x1024

I hope you enjoyed this post and don’t forget to order it! If you want to see the other kits they offer check them out here and don’t forget to check out all of the fun things I Love to Create has going on right now.

HUGE GLITTERY HUGS FROM ME TO YOU,

jade

This is a sponsored post by Darby Smart. I was given a free kit to review and compensated but all opinions, as always, are 100% my own…Pinky Promise!

blog-love-jaderbomb.jpg

It’s Thursday and you know what that means! It’s all about BLOG LOVE today with my friends! Happens every thursday so come back next week♥ Today we have some fun fall crafts. I know you will enjoy them after all they are by the best bloggers in the CRAFTERVERSE. Ok, I just made that up.

Kathy Cano-Murillo the CraftyChica.com made this amazingly stylish purse from a Mexican embroidered blouse.

Cathie Filian made these stiffened FALL leaves. This will save me money, just wait till you see how easy they are.

Margot Potter made a chic screen printed Napoleon Dynamite T-shirt for www.ilovetocreate.com. This will be cute with a blue jean jacket over it!

Mark Montano flipping rocked my socks this week with his super stylish tuxedo pants. Good news they are for girls and boys!

Heather Mann for Dollar Store Crafts made a cute pumpkin candy dish. You can spruce up your pumpkin by painting it also! This is great for easy Fall decor.

We can’t forget my latest tutorial for the JADERBOMB blog. I made a cute decoupaged lace lamp, and it looks like a big candy corn!

I hope you get ton’s of inspiration from this post! Come back next thursday to see our round up again!

jade

Happy Monday Y’all! I am sitting at home with my coffee, listening to Enya and warming up my feet with a little floor heater at my desk. I am so pumped to share with you the tutorial I did on the I Love to Create Blog. I post every two weeks there incase you didn’t know. This leather cuff tutorial brings together two different looks that anyone can sport. A soft delicate flower with a rough biker edge to it. I am not quite sure if the two actually go together but I loved it. Once I made it I realized how cool it would be if I had a “collection” of leather cuffs. I mean one for each holiday, season etc. I think it’s a huge statement piece and you can never go wrong with a leather cuff. You could give these as Christmas presents, wedding favors, or just get a group of your friends together and make them!

This leather cuff tutorial is easy enough to whip out 5 in no time. Seriously when you see how easy it is you will be amazed. I hope you enjoy it.

VIEW TUTORIAL HERE


Leather Cuff Tutorial large2

jaderbomb love

Hooo Rahhhh Hooo Rahhh! All aboard on the crafty caboose y’all. It’s that day of the week where me and my friends will show you some fabulous SUMMER CRAFTS , sha-bang! I hope these projects encourage you to start crafting cause they are all super cuhyute. Don’t forget to give them all some LOVE, cause they give love back!

SUMMER CRAFTS1.  It’s like a two in one deal y’all! Mark Montano mixed two pretty cool ingredients together and BAM he, this came out!

2.  Like Modest Mouse once said and we ALL FLOAT ON. I have always wanted to be a “floater” so I guess I will make this and become one. Margot Potter makes the COOLEST projects so make sure and see just HOW she made this necklace

3.  Cawww Cawww (yes that is a bird noise) I love the way Cathie Filian‘s bird charm ring came out. Wait till you see just how easy it is to make.

4.   What!? Nautical HOME DECOR with plain ole party supplies. ARrrrrrrrrrr…. I am loving this and I know you will do thanks to Heather Mann.

5.  We all know you have fabric “scraps”. Or maybe you throw yours away. When you see what Crafty Chica does with her scraps you will surely save yours! These earring’s surely will be on my ears SOON!

6.  Last but not least, check out my latest “undies” tutorial. You can really see what my undies LOOK LIKE!

SUMMER CRAFTS are always fun especially when you have friends and family to share them with.  All of these crafts would be great things to bring on summer vacations. You could also give them as birthday presents!

I can’t think of anything else besides tie dyed undies today. I never in a million years thought I would ever do a tutorial on Tie-Dyed Undies but hold on to your crafty seat belts because I did! Tie-Dyed Undies may seem like something that is not that common but today we will change everyones perspective. Of course you can go to ton’s of expensive stores to buy fancy lil undies but get ready to spend 30 bucks on 4 pairs. See, I don’t roll like that. I like to “jaderbomb” everything in my life including my undies. I have to wear them so why not feel fashionable.

Incase you don’t know every two weeks I write for the I love to create blog. I actually look forward to this post every week. So the second and fourth Tuesday you can find me and a new craft up on the blog.

(P.S. I am actually blogging today wearing a new pair of Tie-Dyed undies)
||Don’t tell anyone||

how to tie dye undies

||Click on picture to see the FULL tutorial for Tie-Dyed Undies

Cute Tie Dyed Undies

I am super happy with the way they turned out and believe it or not it is my FIRST time crafting with undies. It was so much fun, so you can look forward more. I already have 2 different tutorials in mind dealing with undies. Phew!

I want to give a SHOUT OUT to the winner of Martha Stewart’s new book, Crafts for Kids. Wahhhh freaking Hooooo!

kids book winner martha stewart


Hope you have a glitter-full day ,

jaderbomb love

 Who would of thunk it! Paper Reinforcements make it so easy to get a perfect well polished DIY french manicure. I am loving this because I personally will not pay anyone for a manicure. Listen, this is so easy that I did it while I was actually working. Imagine that! I have tried using tape but the polish usually goes under it in some spots. Not good for me, hehe.  Check out my UP inspired nails, they are so cute. Here is a DIY craft you can do with polish also! How fun!

DIY french manicure

Let’s get started:

Step 1: Paint your base coat first. The most important thing is to make sure the base coat is completely DRY before moving on to step 2.

Step 2: Place your reinforcements directly onto the nail tips like the picture above. You can decide how thick you want your tip to be. If you mess up while applying it on your nail you can gently remove the reinforcement and re-apply it.

Step 3:  Paint the tips

Step 4: Remove the reinforcements as soon as you are done painting. If the paint dries before you peel it off, it can pull off some of the polish on the tip.

Step 5: ENJOY your beautiful new nails!

I hope you enjoyed this easy tutorial on getting a perfect manicure.

See ya in the next post

jaderbomb