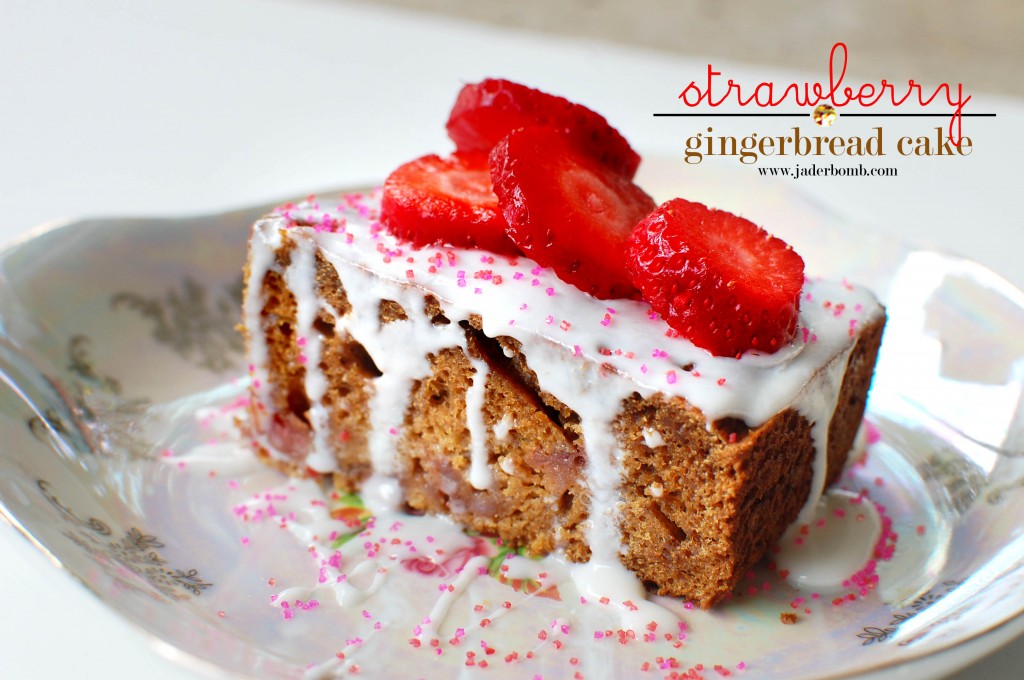
It’s almost Valentines day and sometimes the reality is we spend too much money on presentation. I wanted to show you a last minute idea that could save you a lot of money..plus it’s super fun. I always need last minute boxes and envelopes so I promise this will come in handy after Valentines day. Let’s get started!
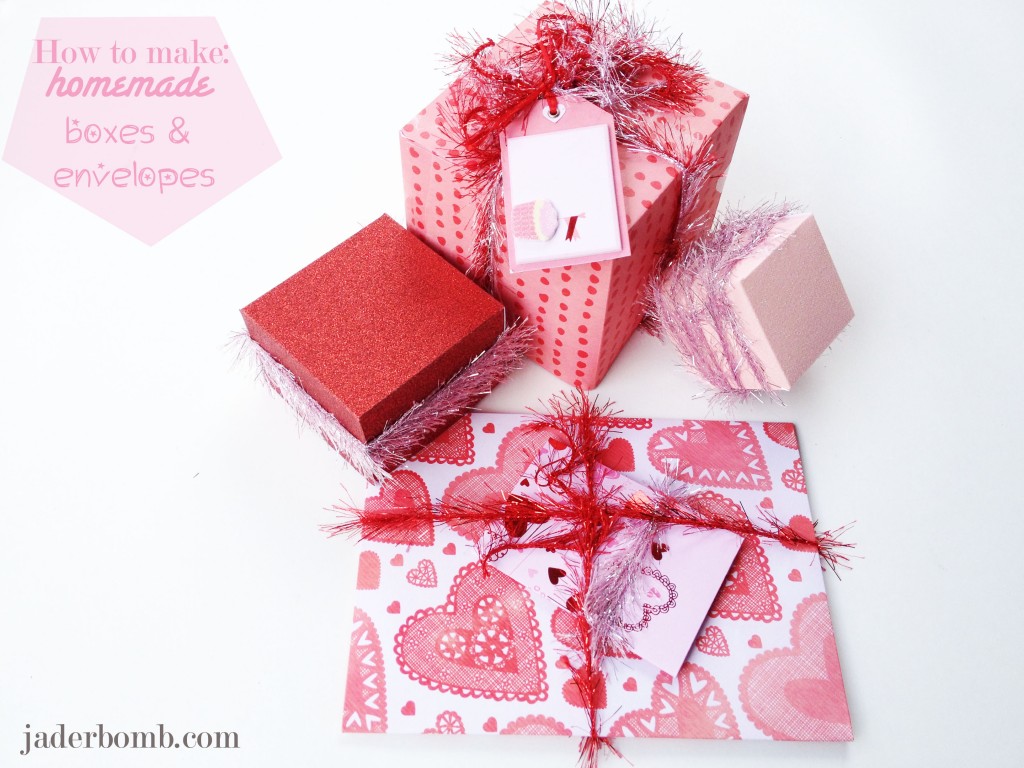
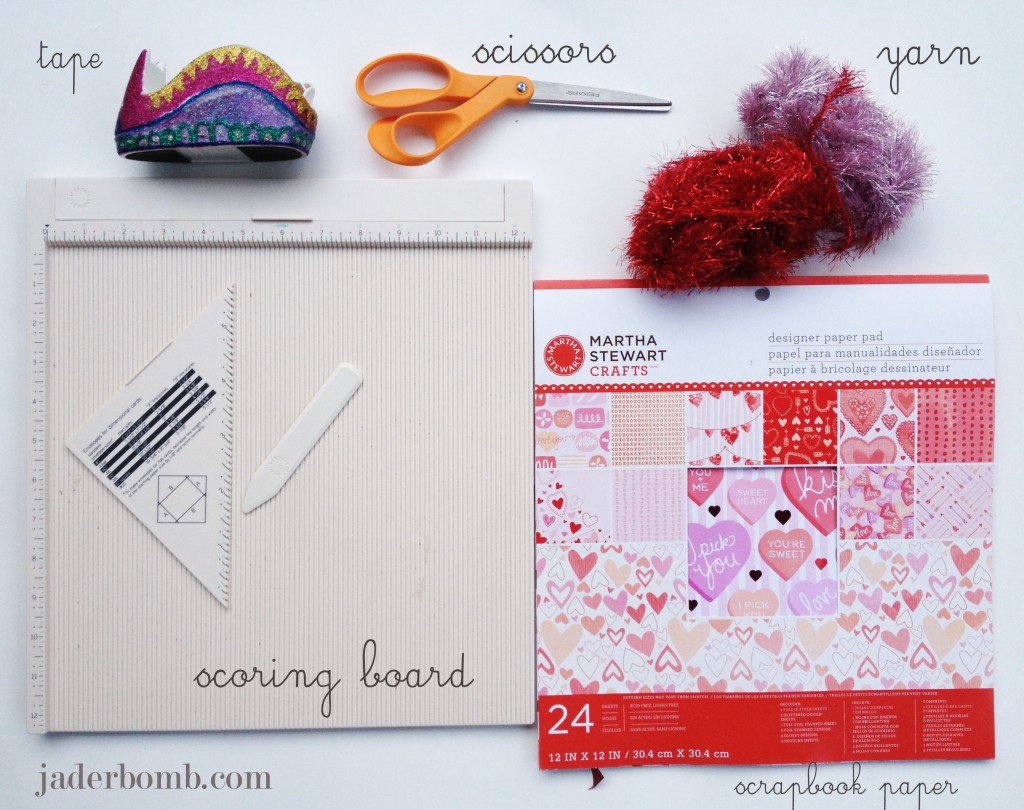
Keep in mind I will be showing you how to make a homemade box and an envelope with products from the MARTHA STEWART CRAFTS line.

*MARTHA STEWART SCORING BOARD
*TAPE
*SCISSORS
*MARTHA STEWART YARN
*MARTHA STEWART DESIGNER PAPER
*LOVE
(FYI: You can order all of the supplies I used in one place by clicking on the links)
Ready!

The first thing we will make is a simple envelope. The reason I am showing this is because sometimes you want to write a personal note to someone and you might not have an envelope on you. I personally love this because I can make an envelope with any paper I have in my studio. I want to point out when you purchase this scoring board it comes with a plastic template to make envelopes with different dimensions on it.
Start by choosing what size you want your final size envelope to be then follow the size directions that go with that particular envelope. It shows you what size A should be and B.
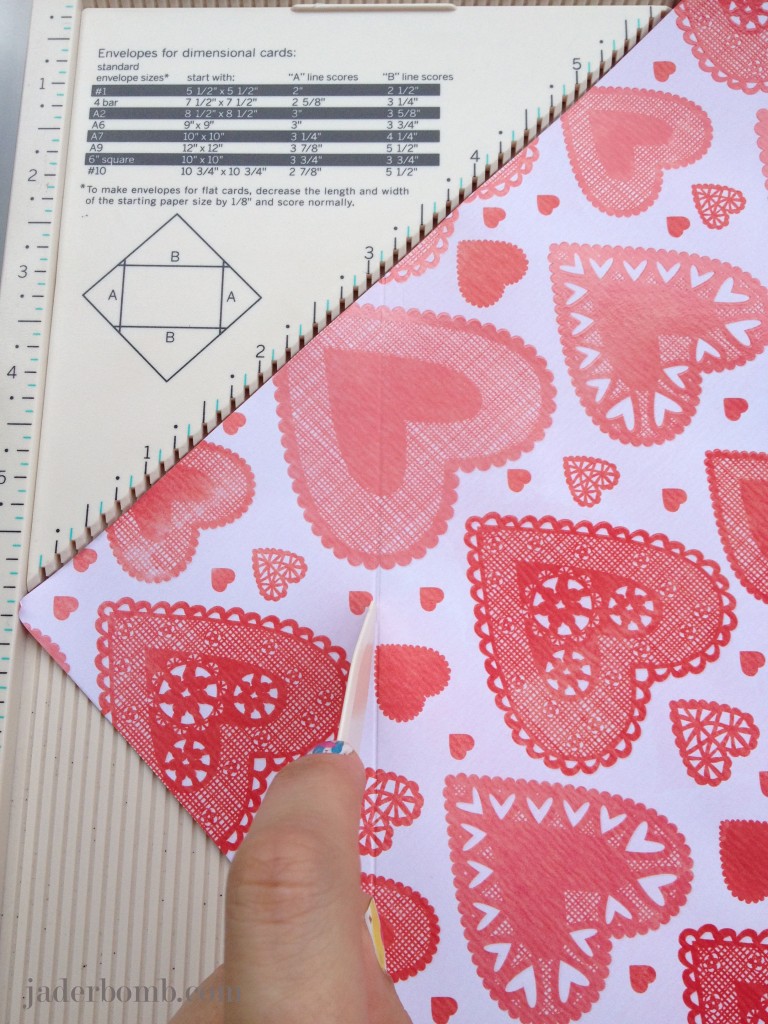
I always score my two sides first, which will be A. If you are using thick paper you can apply a decent amount of pressure. If you use thin paper make sure you don’t press too hard. It will absolutely cut right through the paper and we surely don’t want that!
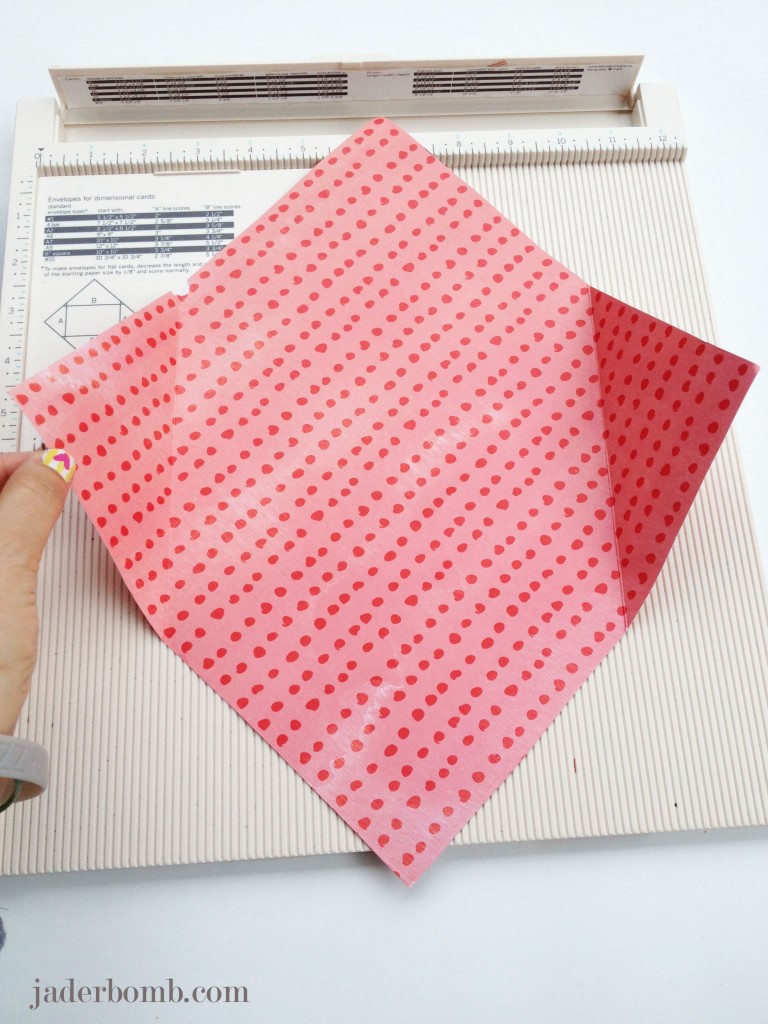
This is what it will look like when you finish your sides. Bend them a little in the crease.
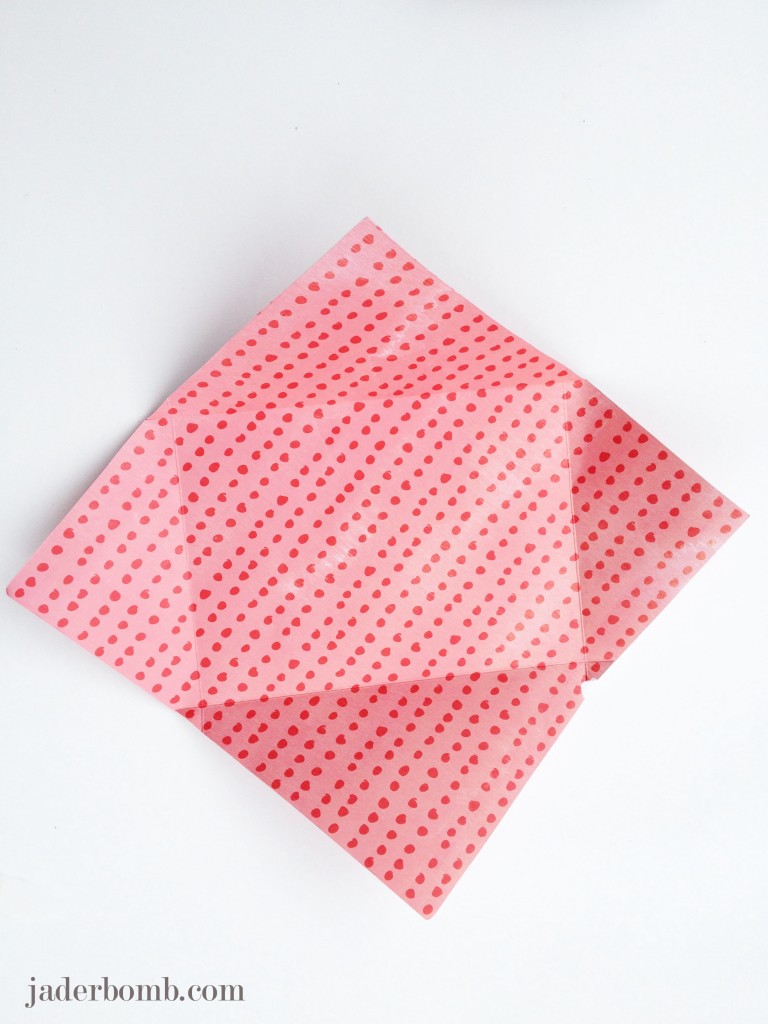
Continue to the other sides, which will be B. When done fold in the crease.

Take your “A” sides and fold them in, then fold your bottom “B” side on top of the two sides. Forgive my ugly tape I used. I didn’t have any more double sided tape but you get the idea! If you were to use double sided tape you would place the tape underneath the last fold.
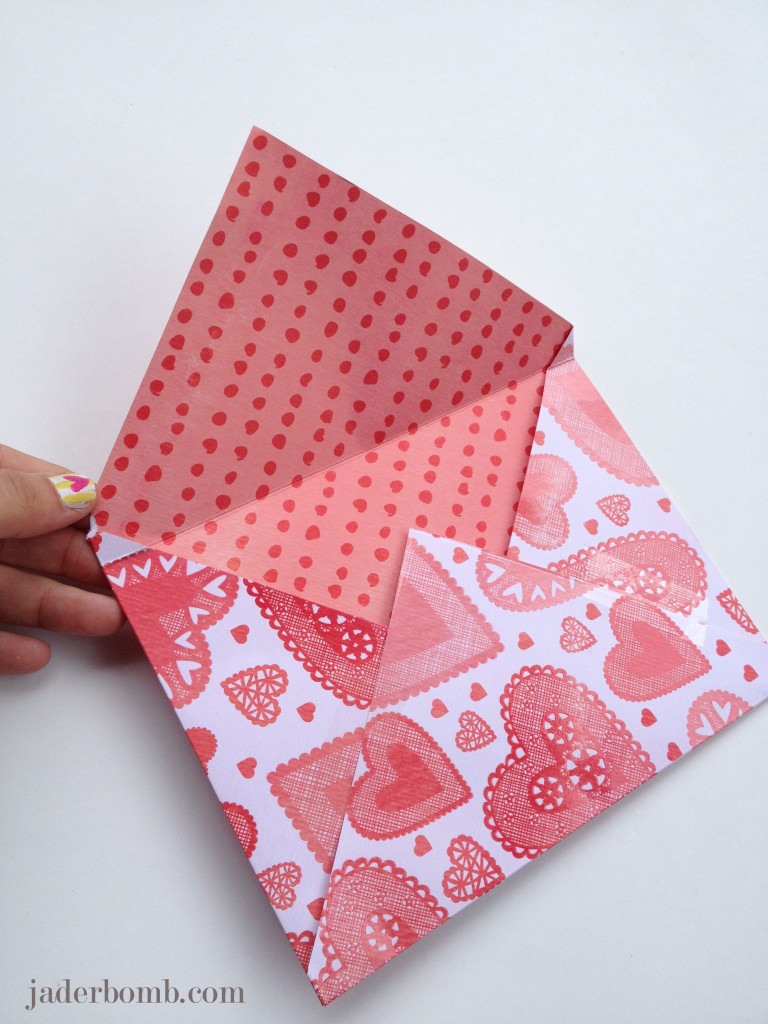
Tadahhh! Is it not the cutest thing ever! Now you can give someone you love (or don’t love) a special envelope… teeeehehehe
On to the box.

You will create the box the same way as you did the envelope. The only thing is that triangle template with the sizes for the envelopes will not be on the scoring board. I just didn’t take it off for the picture. If you look closely at the top of the picture you will see a sticker with the sizes for the boxes. So like the envelope you will choose your final size you want the box to be then follow the size directions for that box!
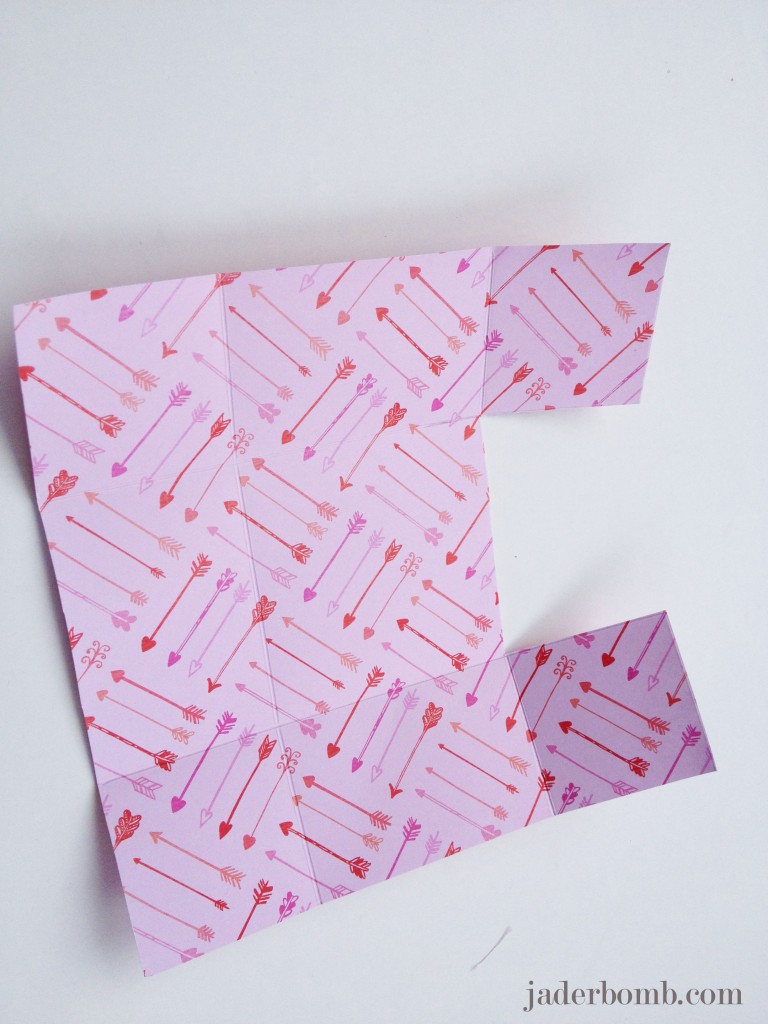
After you score your “bottom” part of the box you will cut the right middle square out. Don’t forget to cut the one on the opposite side, which would be the one all the way to the left in the middle. This is not something you have to do but it will make it easier to fold up the box in the end.
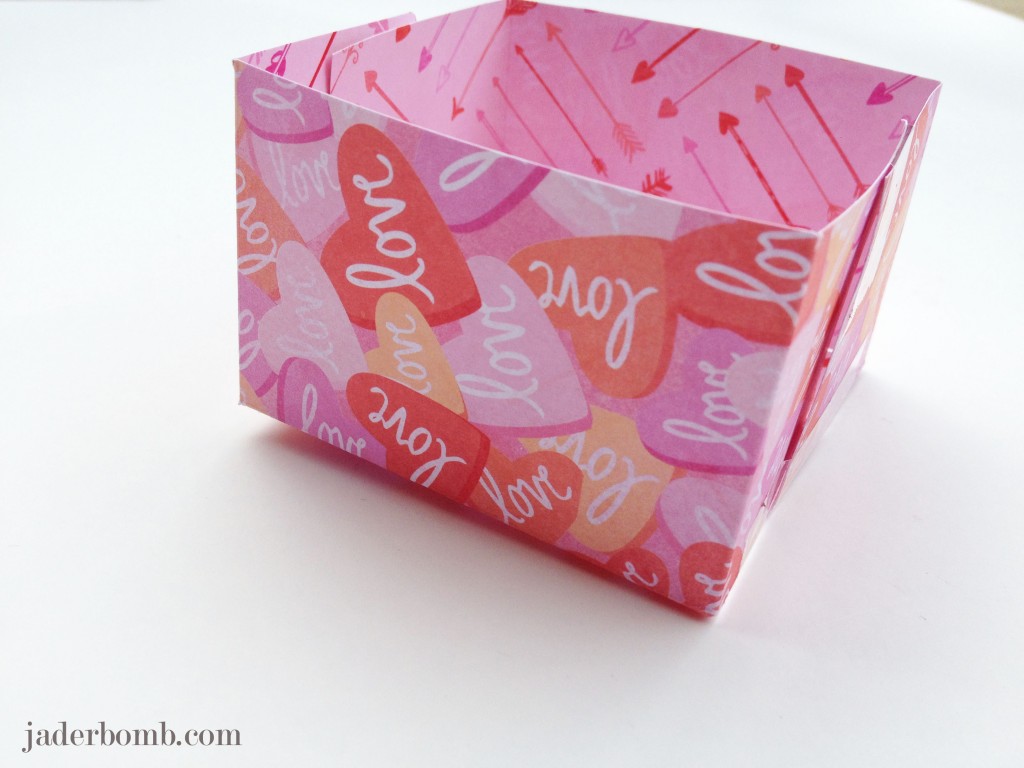
You will fold each side upward and you will notice they will naturally go in the correct position. Use some tape to secure the sides. Above is what it should look like. This is just the bottom part of the box but on the sticker it will tell you where to score the paper for the top and bottom of the box.
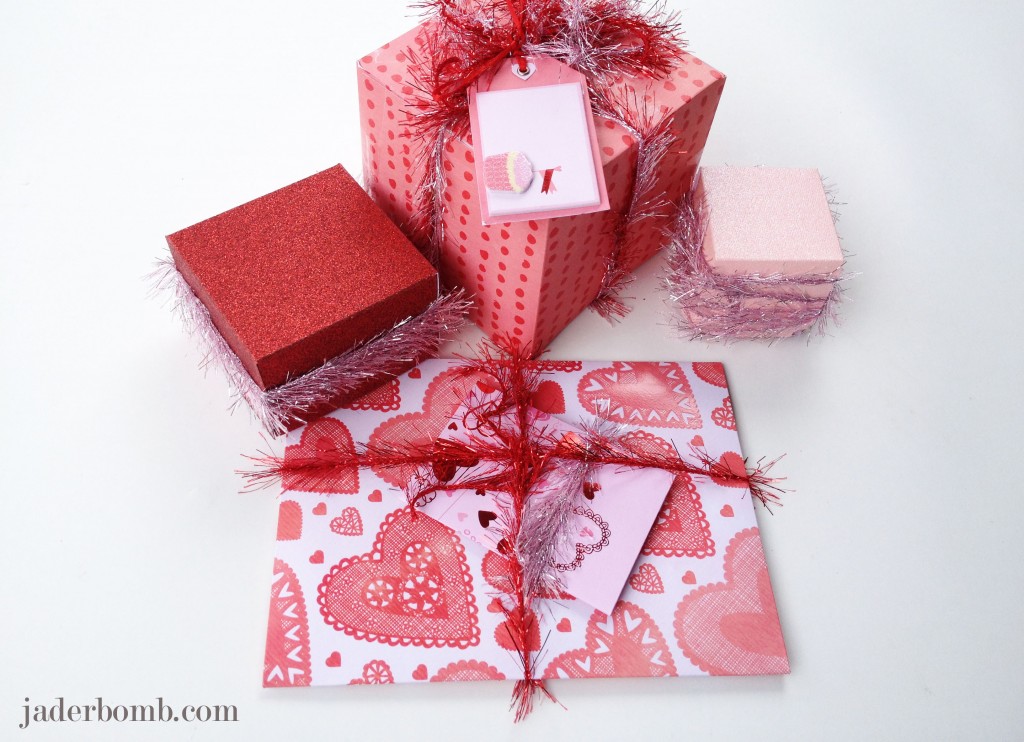
And this my dear is what it will look like. I embellished them with a little yarn and that’s it! Martha Stewart also has some pretty amazing labels which will dress them up also.
I hope you enjoyed learning how to make these as much as I enjoyed showing you. See ya in the next post.



 Flipping out in my seat right now after seeing these
 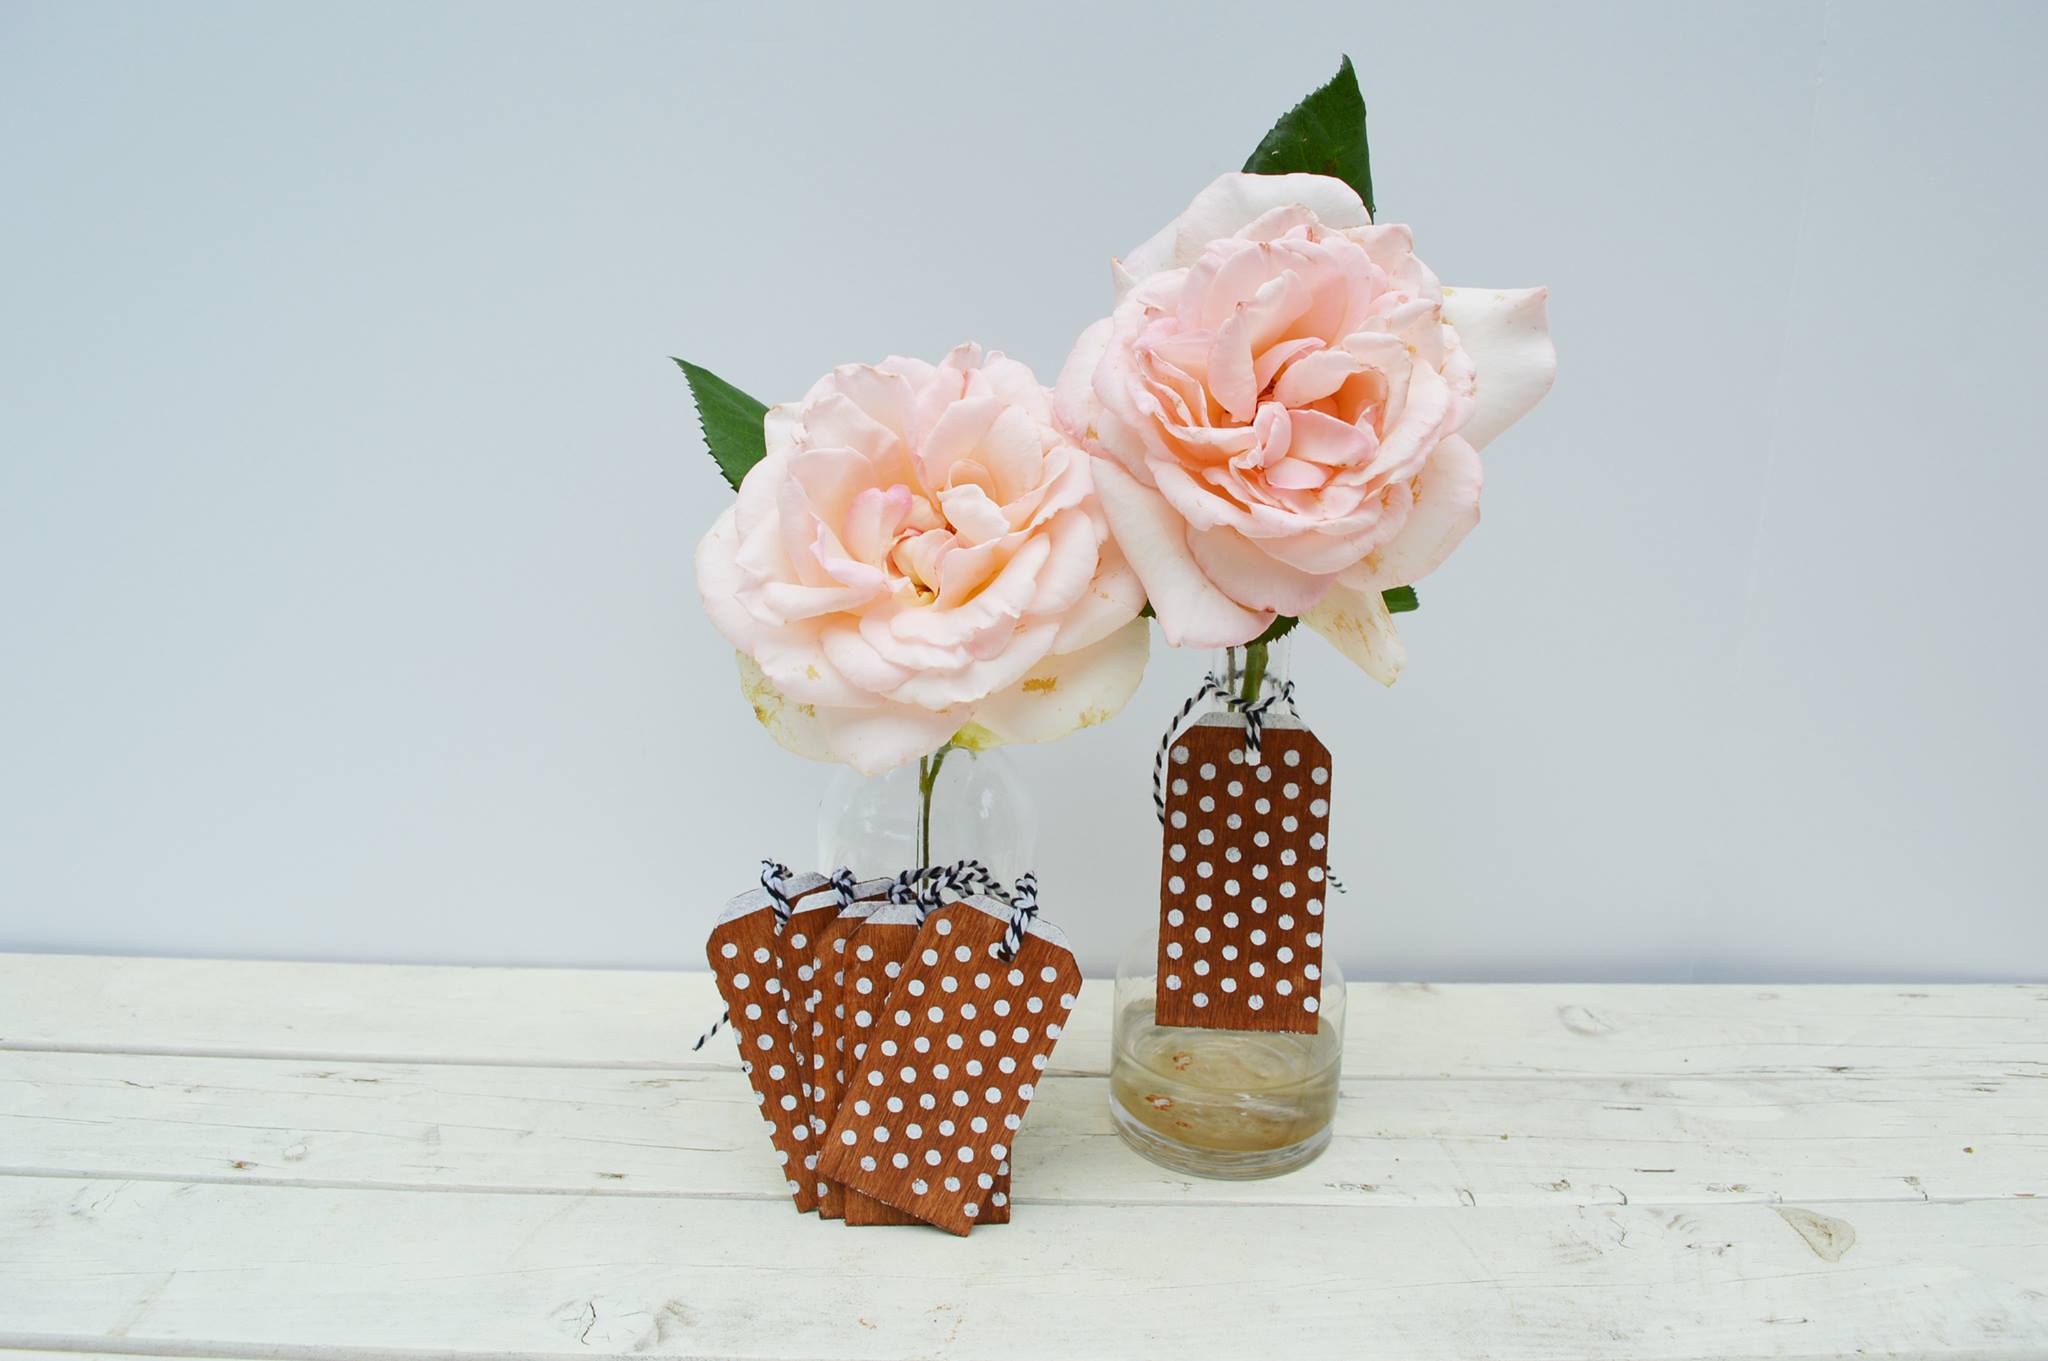 I am still swooning over these
 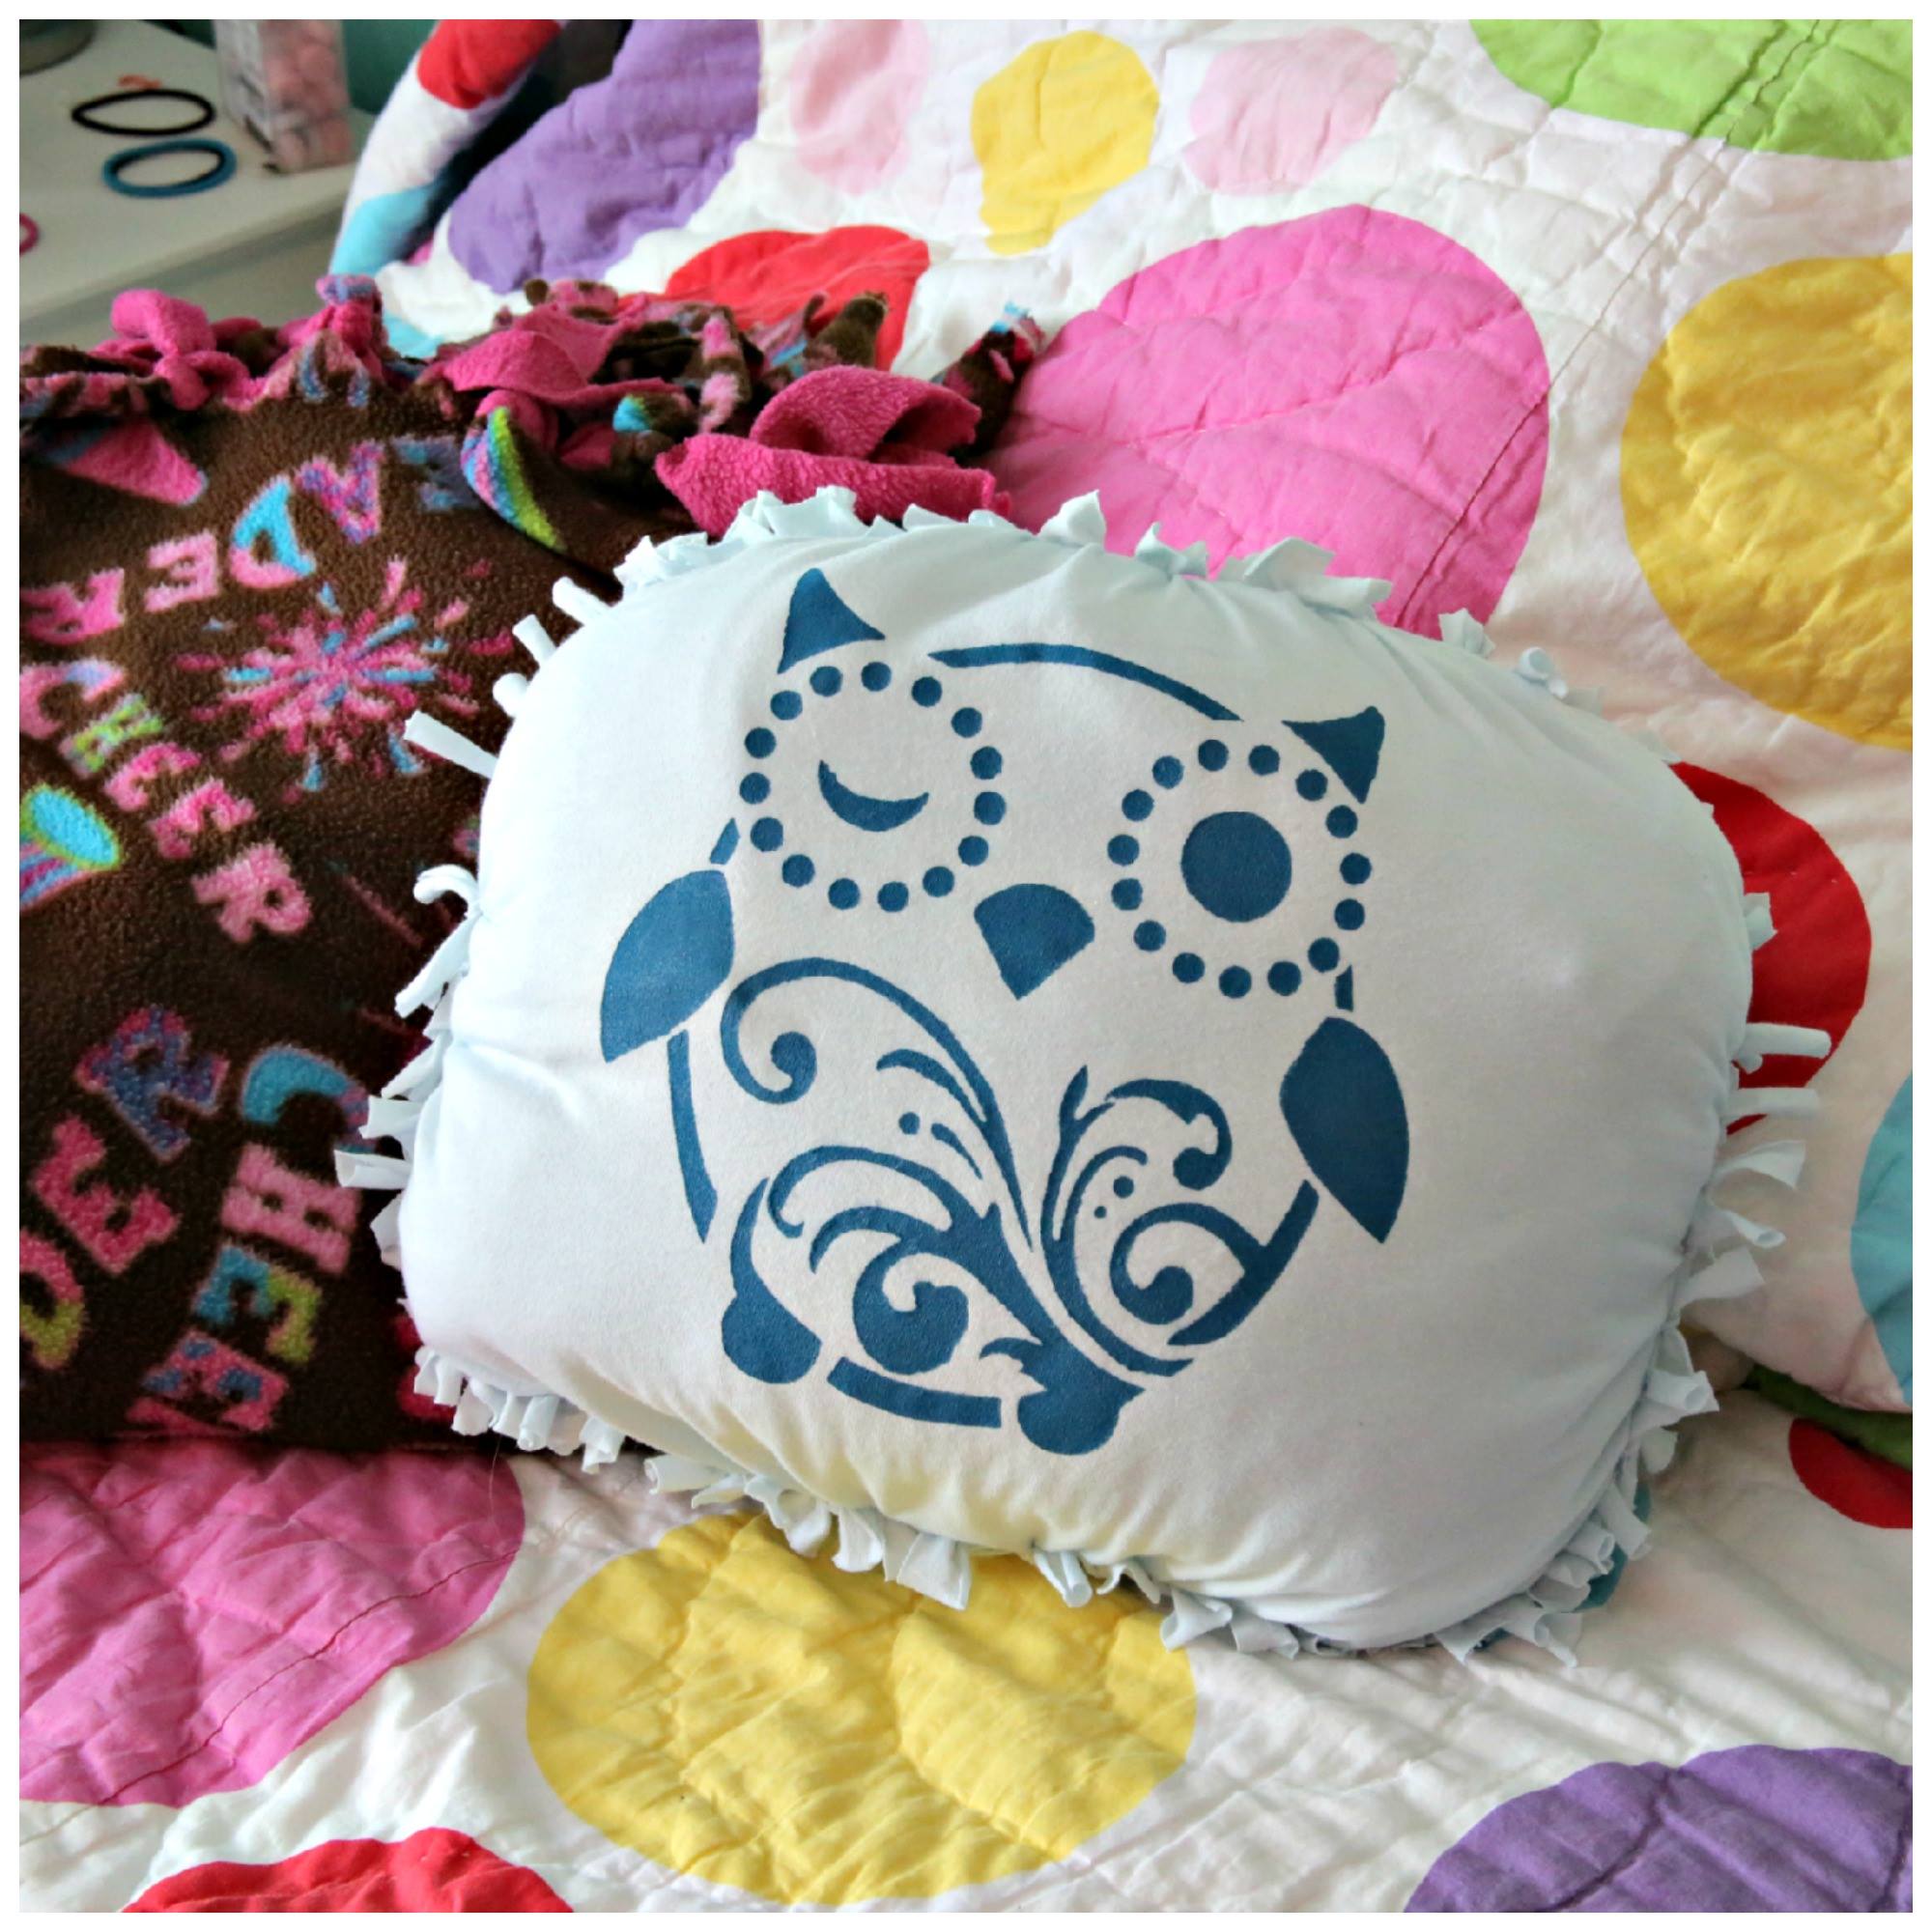 How great are these
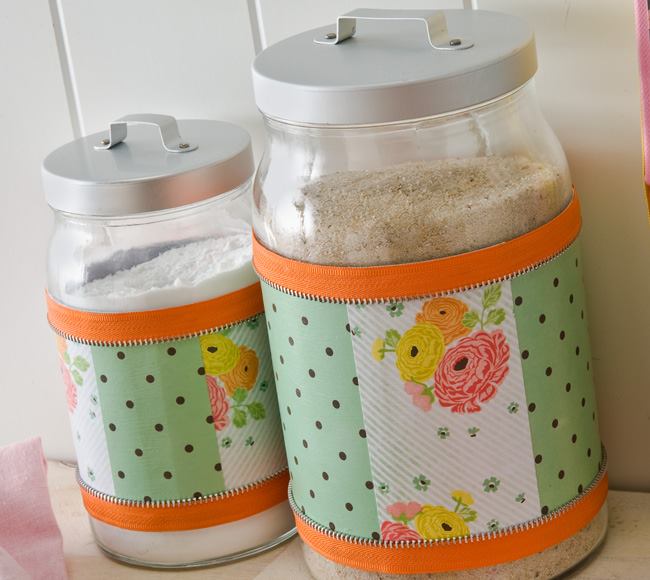
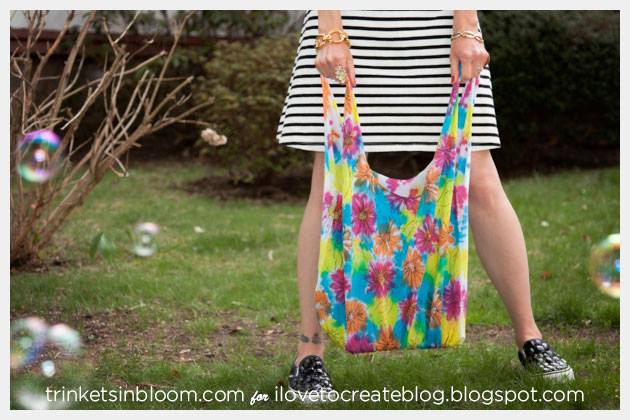
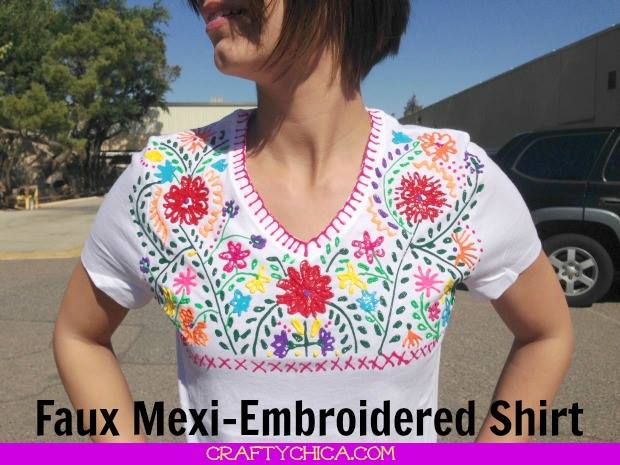 I After just coming back from Mexico and purchasing a handmade shirt like this I am SO excited about these

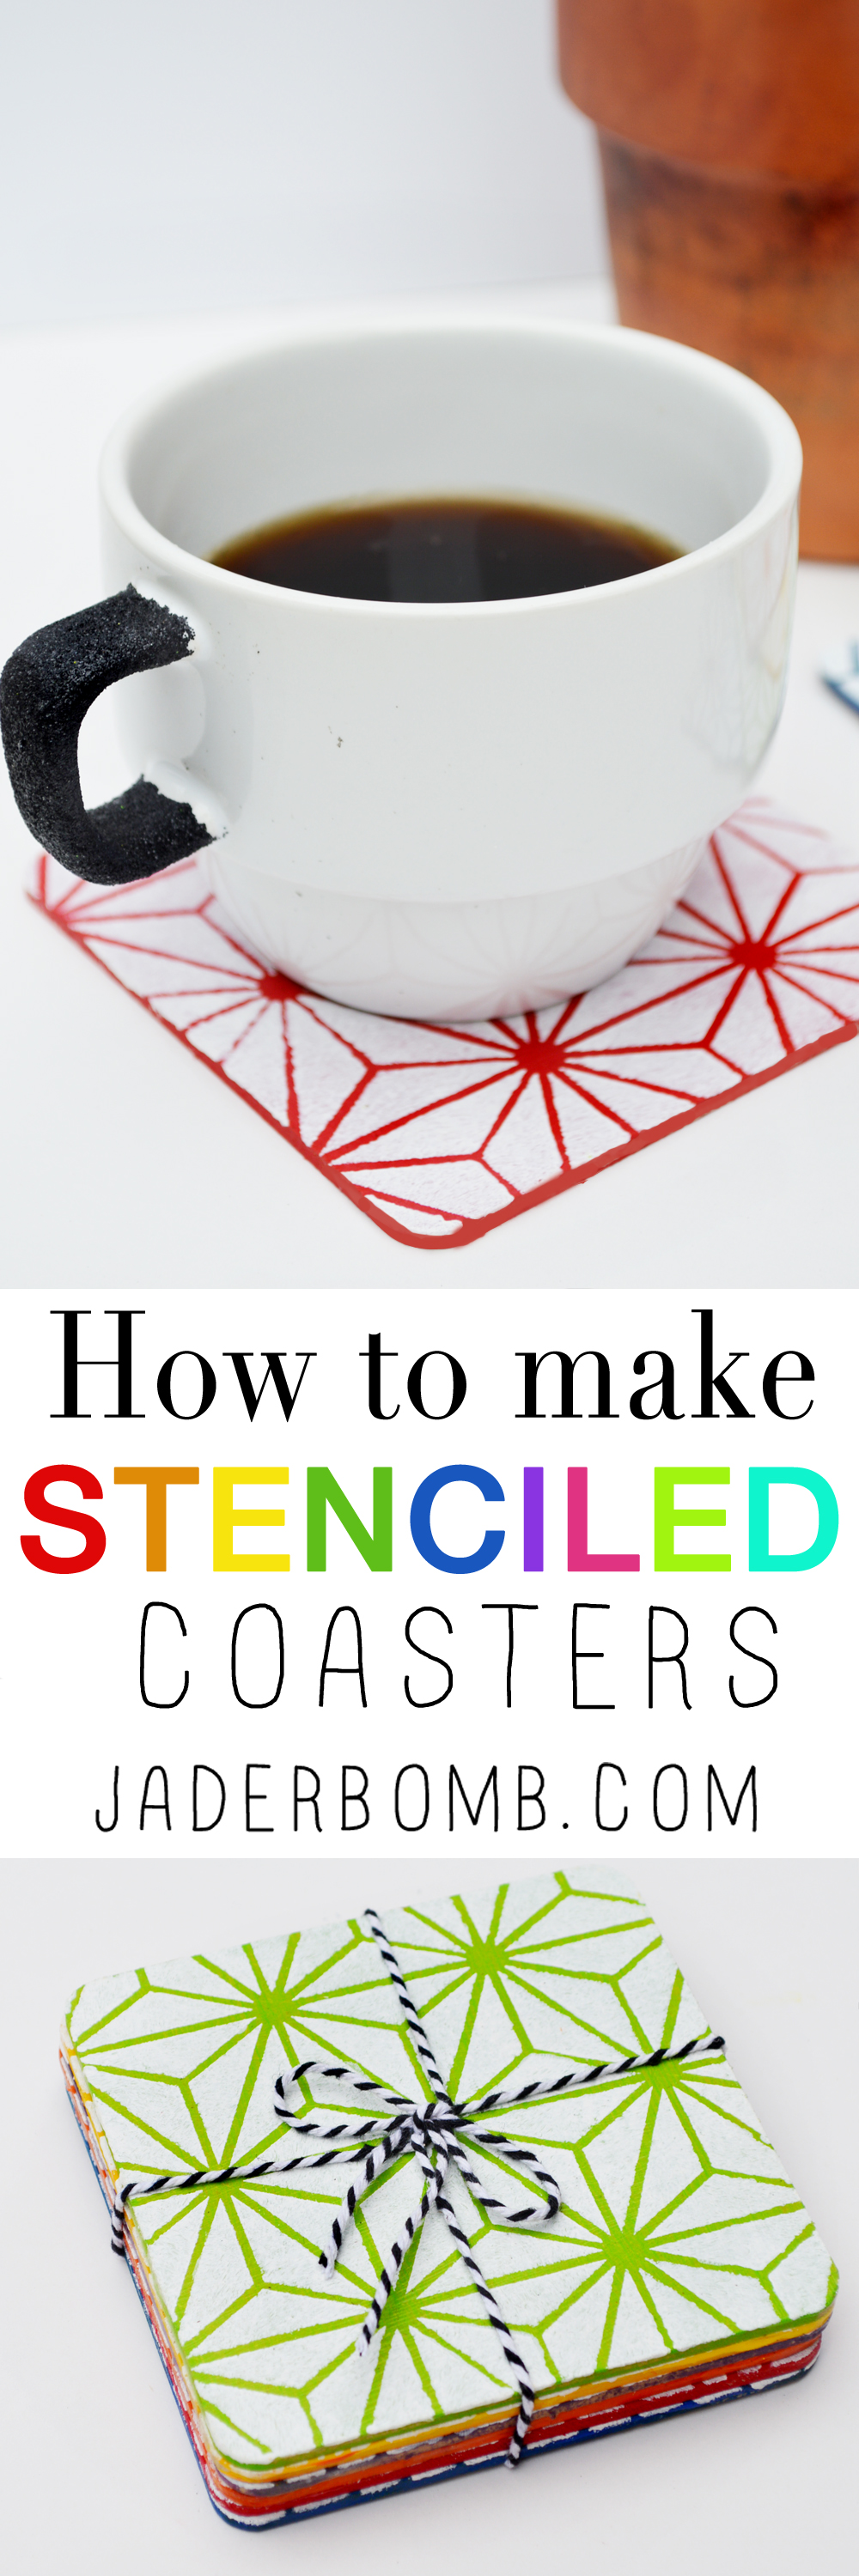
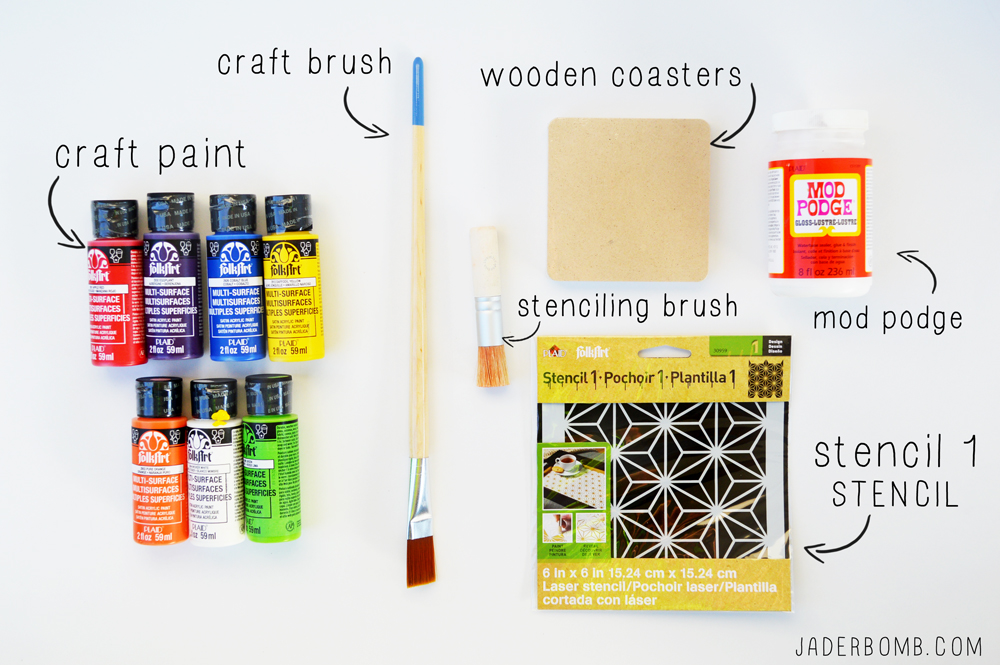
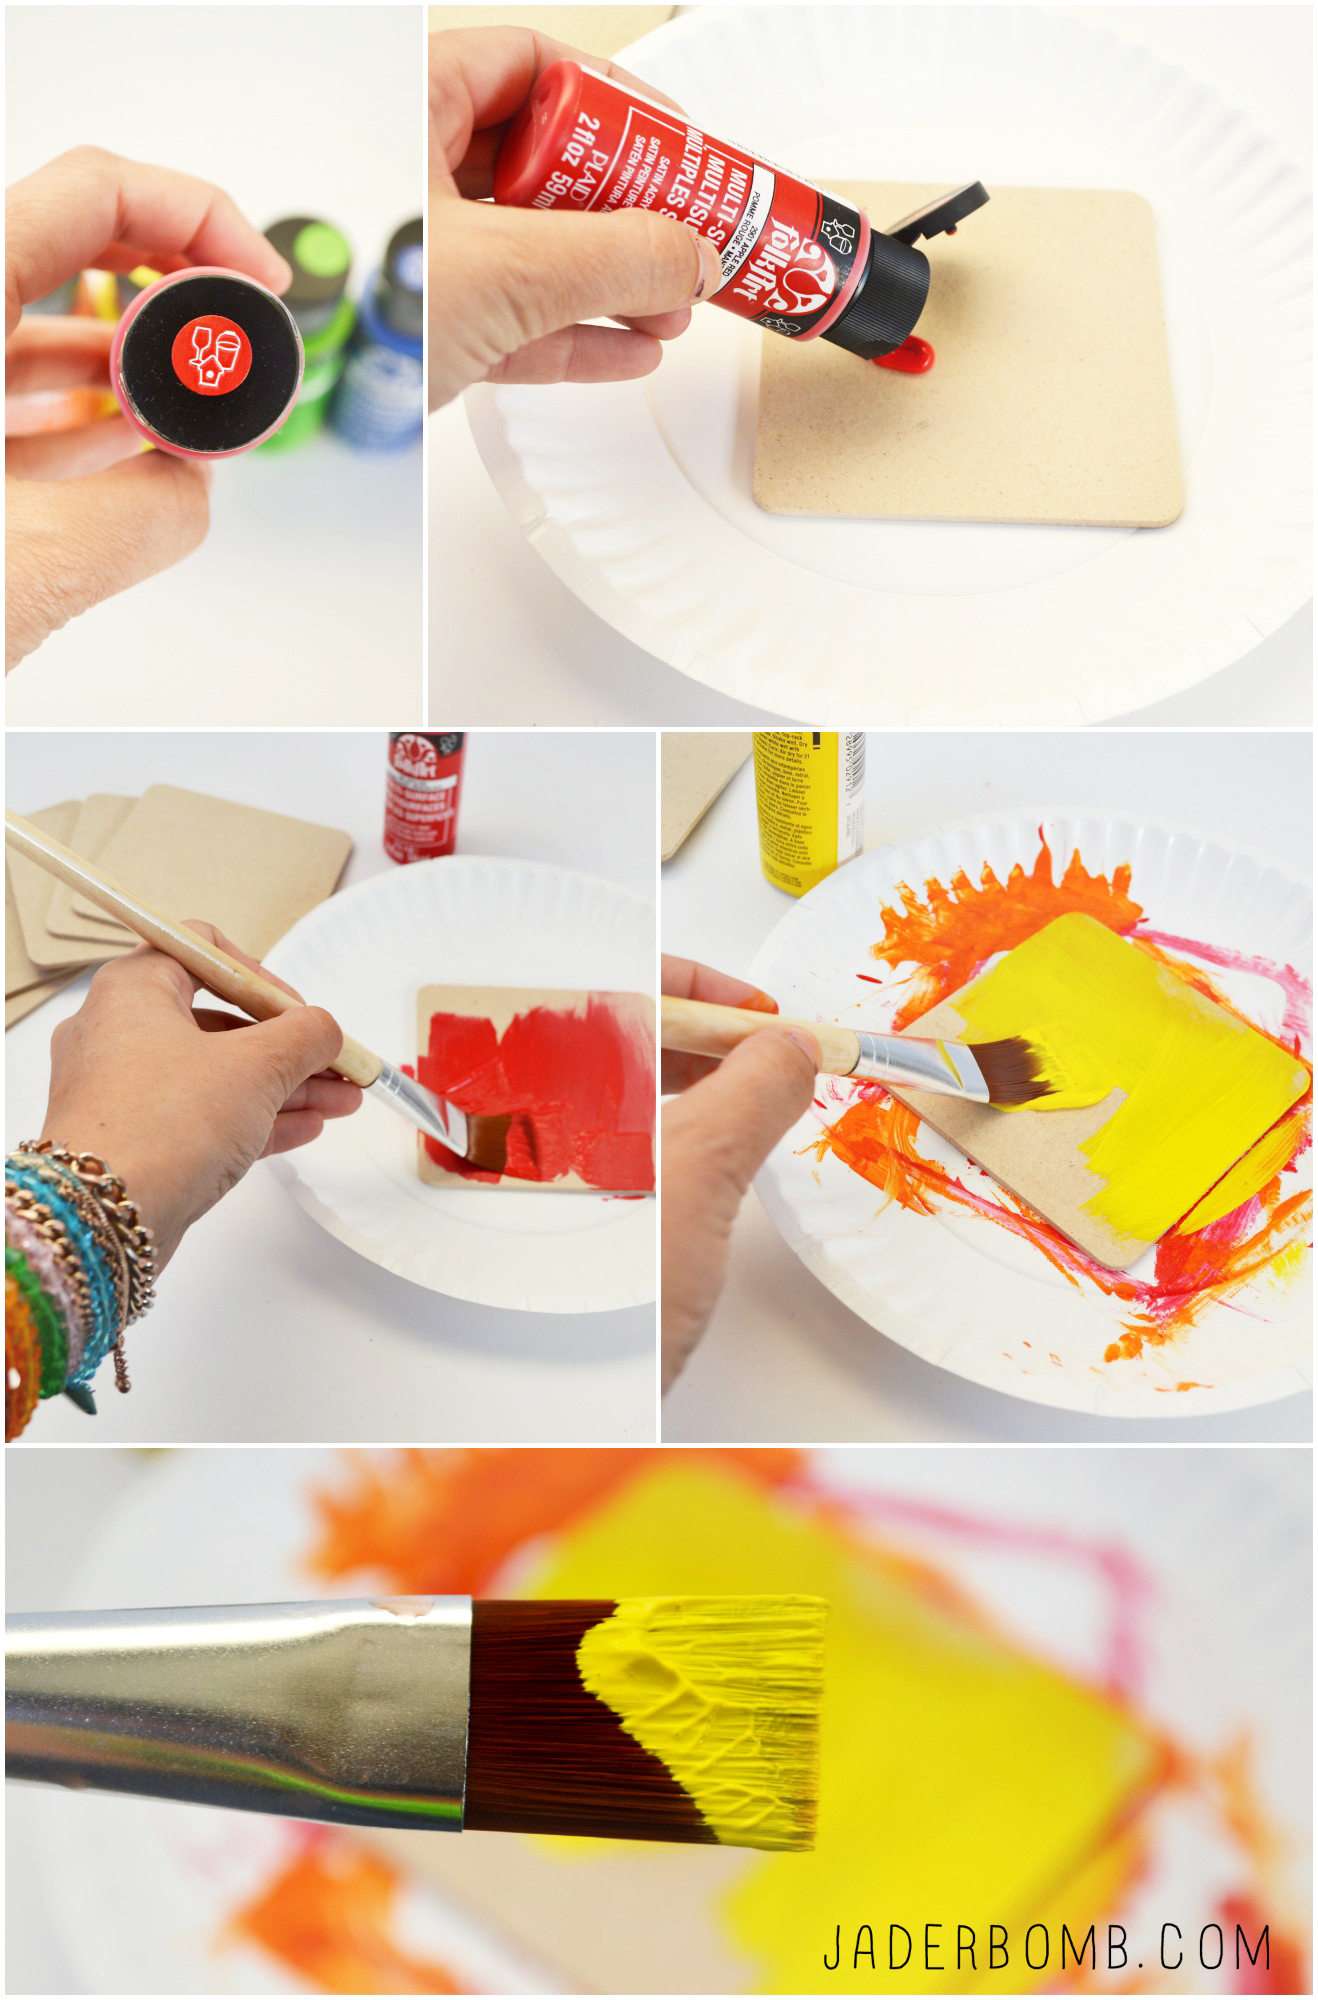
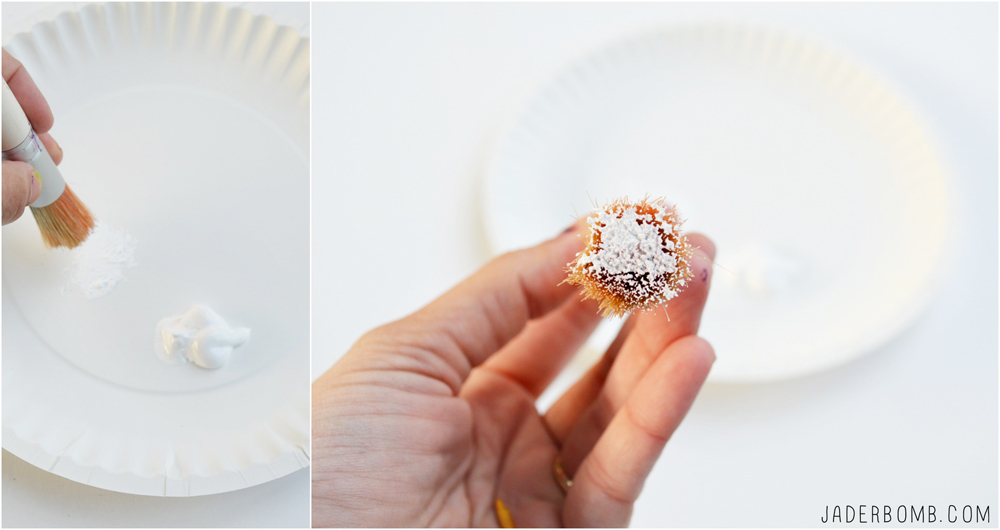
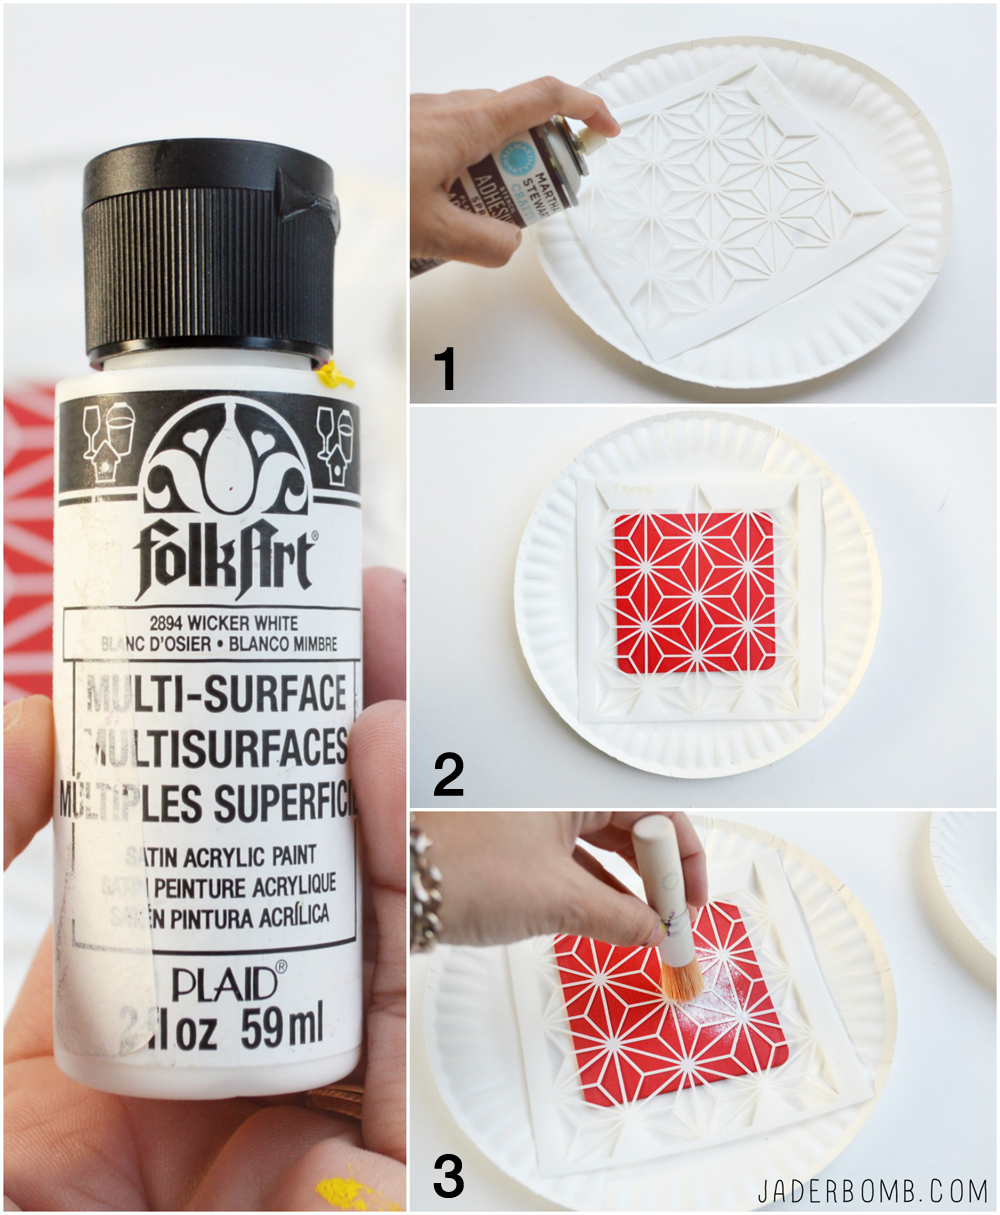
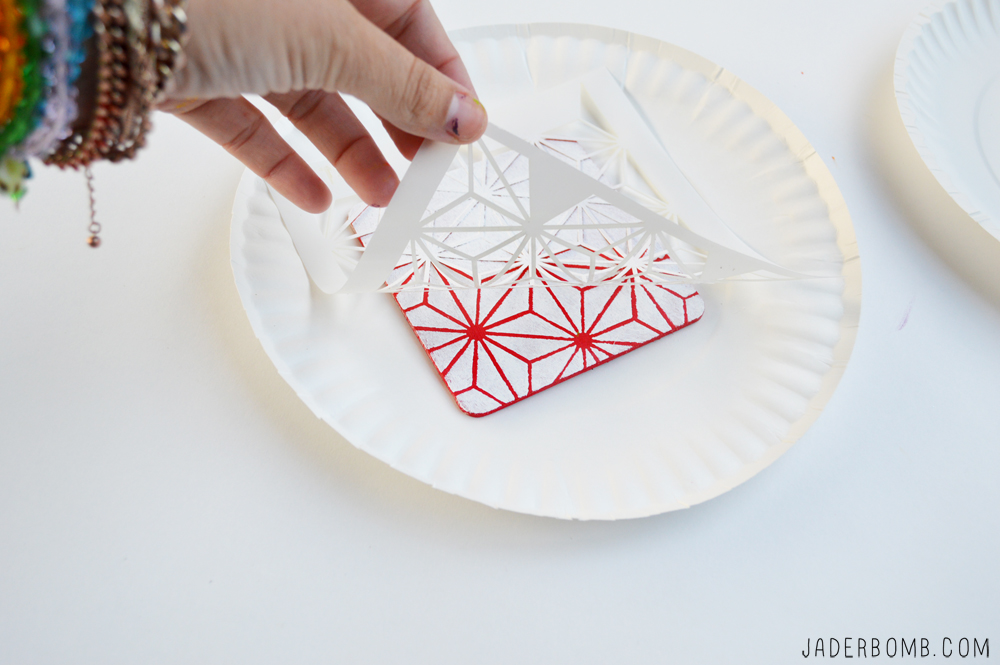
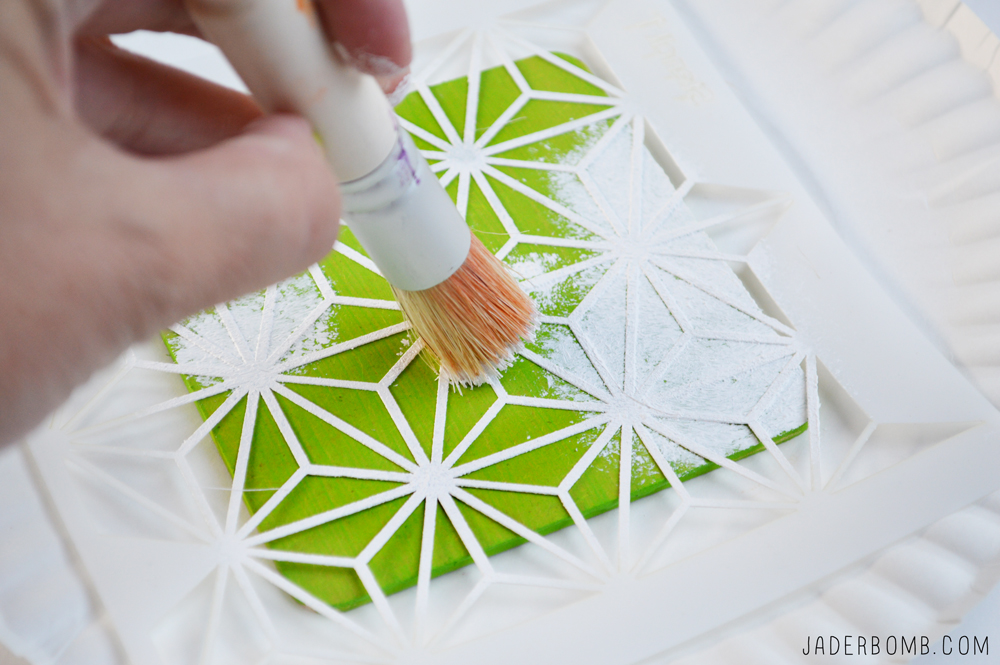
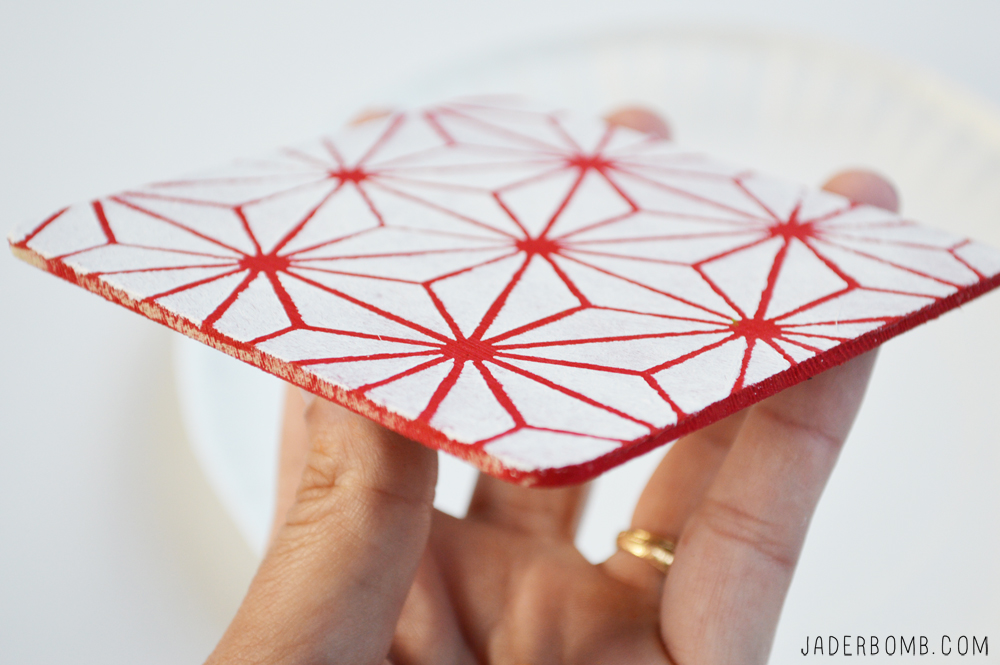
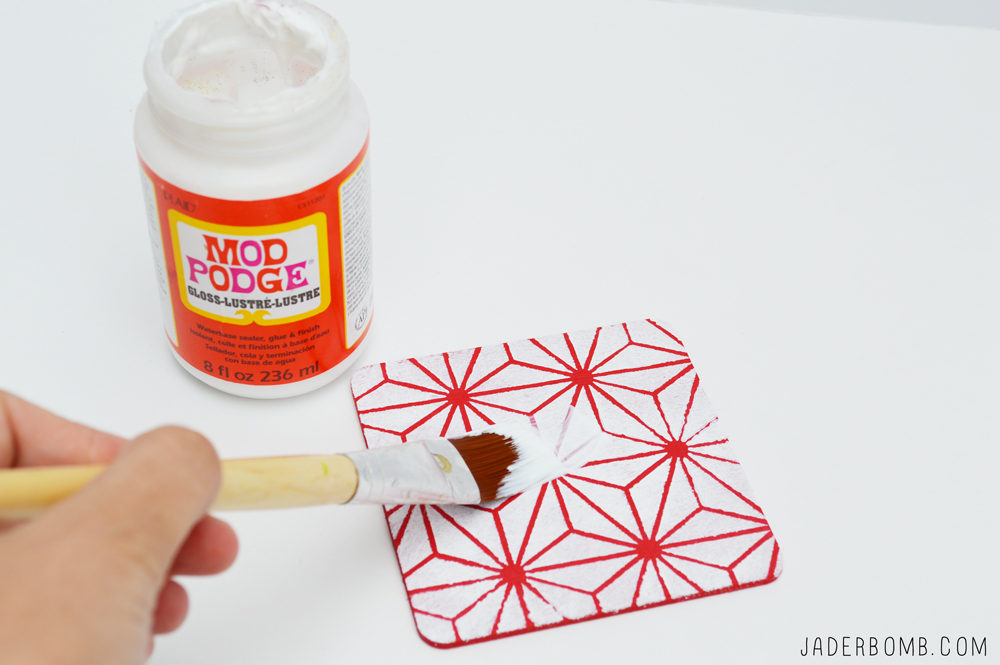 How beautiful are these coasters! I am so happy for my friend Ed and his creations!
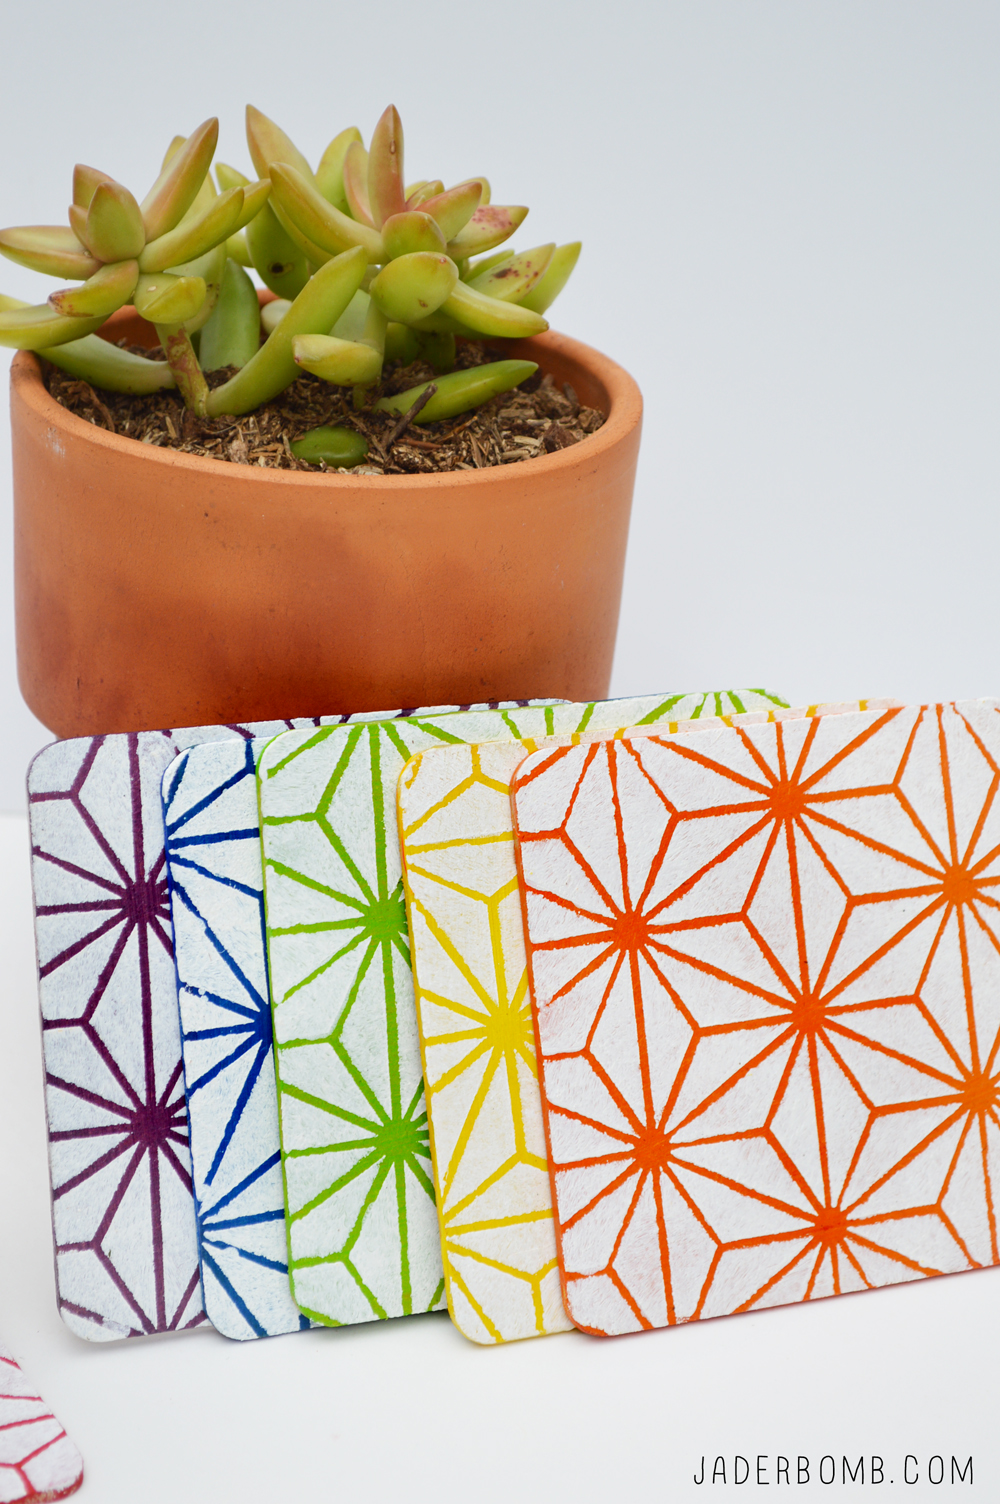
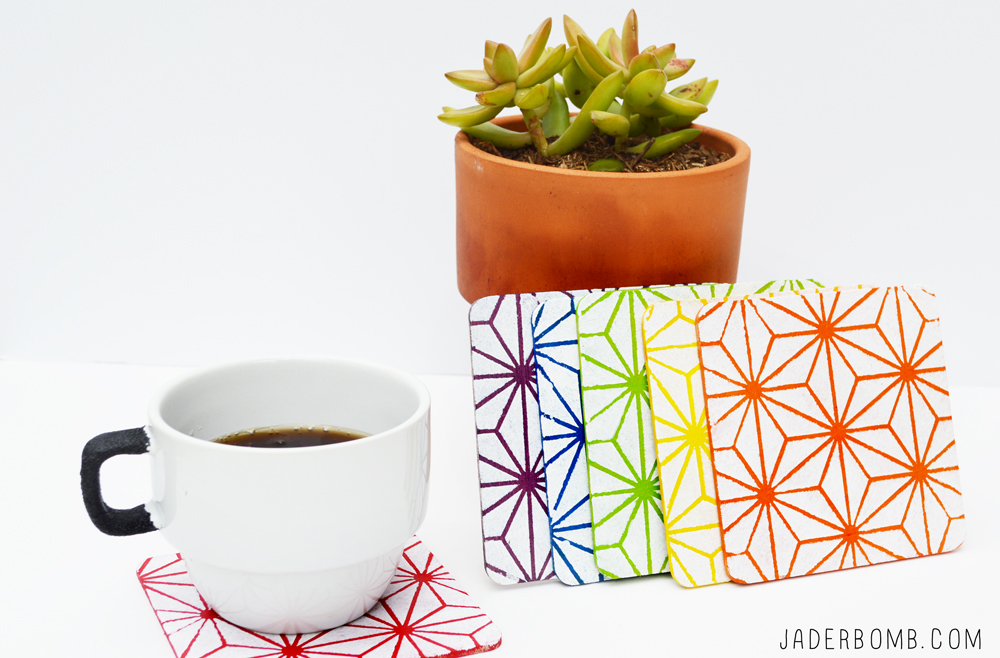
 Check out his video for an intro to these amazing stencils, and stay tuned for more details! You can find these stencils at Jo-Ann Fabric and Craft Stores. – See more at: http://www.plaidonline.com/blog/post/2014/03/13/Introducing-Ed-Roth-Stencil1-Collection1#sthash.MToMi0cT.dpuf