Tag Archives: homemade

Quote of the day:
” Happy is he who like Ulysses has made a glorious journey.” -Joachim Du Bellay 

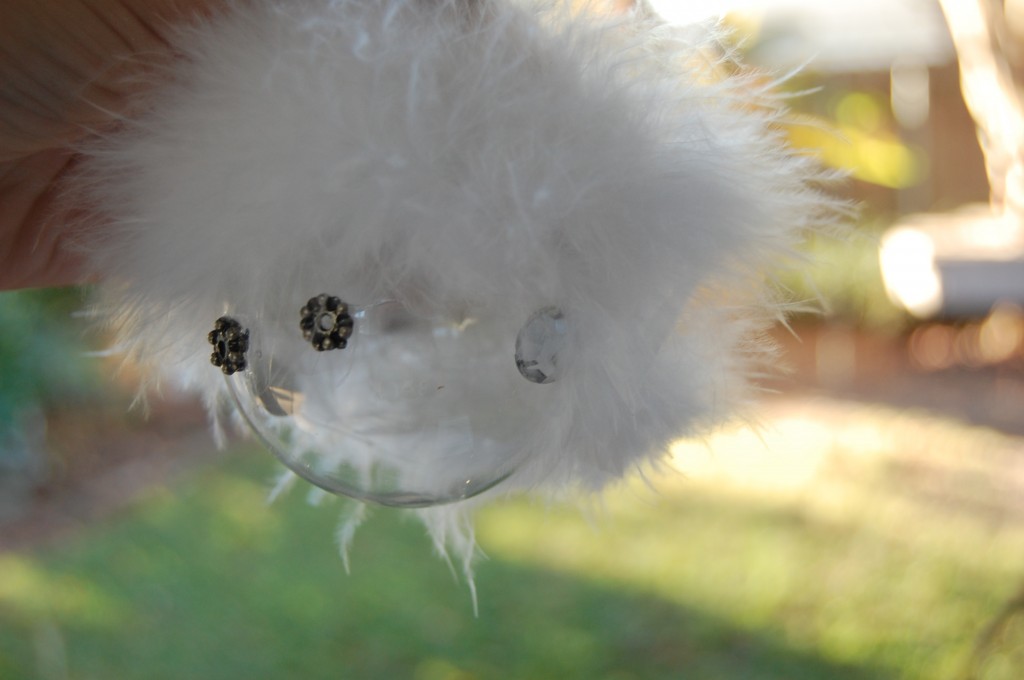
Happy {Happy} hump day Jaderbugs! I absolutely could not wait to share this tutorial with you. I know everyone is scrambling around getting things prepared just perfectly for Christmas and if you are like me then you like to give homemade gifts. Boy {or girl} do I have the easiest homemade ornament you could ever make today. See below, these cutsie patootsie little snowmen {or women} with their furry hats on, bedazzled ear muffs and a happy smile? Wait, there is not smile…. BUT, I know they are smiling because wouldn’t you if you looked this cute..

Let’s get started.

INGREDIENTS:

*Glass Ornaments
*Glue Gun
*Twine
*Fixings
*Jewels
*Feather Boa

The first thing you will do is put a lil hot glue on the top of the ornament like I did below.

Carefully start wrapping your feather boa around the ornament. You can go as low or as high as you can with feather boa. This is meant to look like furry little hat.
{Surely not the kind of hat you would wear in Louisiana at this time, ahah}

You can see the eyes are just some little jewelry beads. The good thing is you can decorate your eyes in any way! You can put any bead, jewel or just draw it on. Wait did I mention paint? Yeah, you can paint too… (saying that with my shoulders back 🙂
I used large inexpensive jewels for the ears, this will represent the “ear muffs.”

 It’s really that simple! How you think someone will feel getting this baby in a cute little box for Christmas!!!

Happy Tuesday Jaderbugs! I could not wait to post this because lately I have been noticing everyone’s amazing tree pictures. Earlier tonight I posted on my facebook page that I was doing a post on Christmas trees and I got ton’s of pictures sent to me. If for some reason you send me a picture after I post this don’t cha worry, I will add it in!

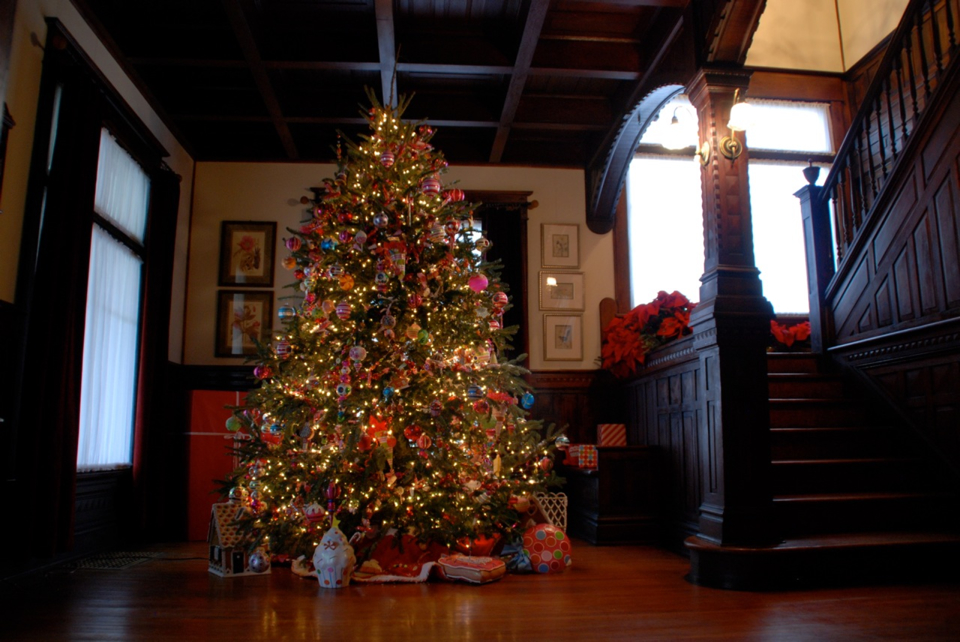
I am very pleased to start off my Christmas tree post with this amazing tree. My friend Stephen Brown (you might remember him from craft wars on TLC) sent me this and my mouth just stayed open for about 46 seconds. You see that little gingerbread house under the tree?  Yes, this is in his fabulous home. I am just going to pretend that is my house and I live IN his house, in this little bitty house… Did I loose you yet?  It’s okay because I lost myself, haha! Make sure you visit his website to order all of his “GLITTERVILLE” items. He has ton’s of Christmas ornaments that you will go crazy over.

I am loving my girl Meg Allan Cole’s tree! Is it not the best tree ever! It’s all about DIY and that is what I love the most! Check out her awesome blog HERE where you can see the full tutorial on how she made this retro tree.

I love the simplicity of this tree from Virginia at LiveLoveDIY. It looks like it came strait out of a magazine!

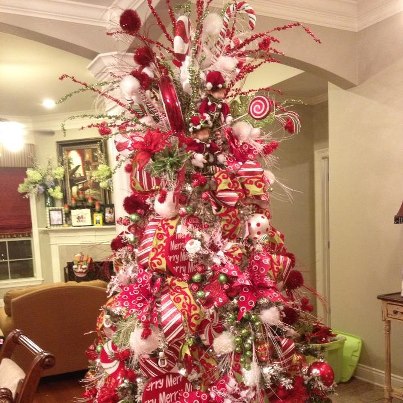
This amazing tree is from Lindsay Trahan Adams with Periwinkel Pink Gifts. I feel like I just stepped into a Gingerbread home… I love how it’s all red and white. Very festive!

 This is the tree of a friend of mine Ashley Matte. She is a really famous country singer!!! I love how she brings a little Louisiana with her everywhere she goes! I love the brown, green and red ornaments! Make sure and check out her site by clicking on her picture!

This is my friend Rosa Clifford’s tree. I met her through Martha Stewart and I am SOOO thankful for this! She is the sweetest person in the world and her tree is just as sweet! Check out her website HERE, she makes the BEST cards ever.

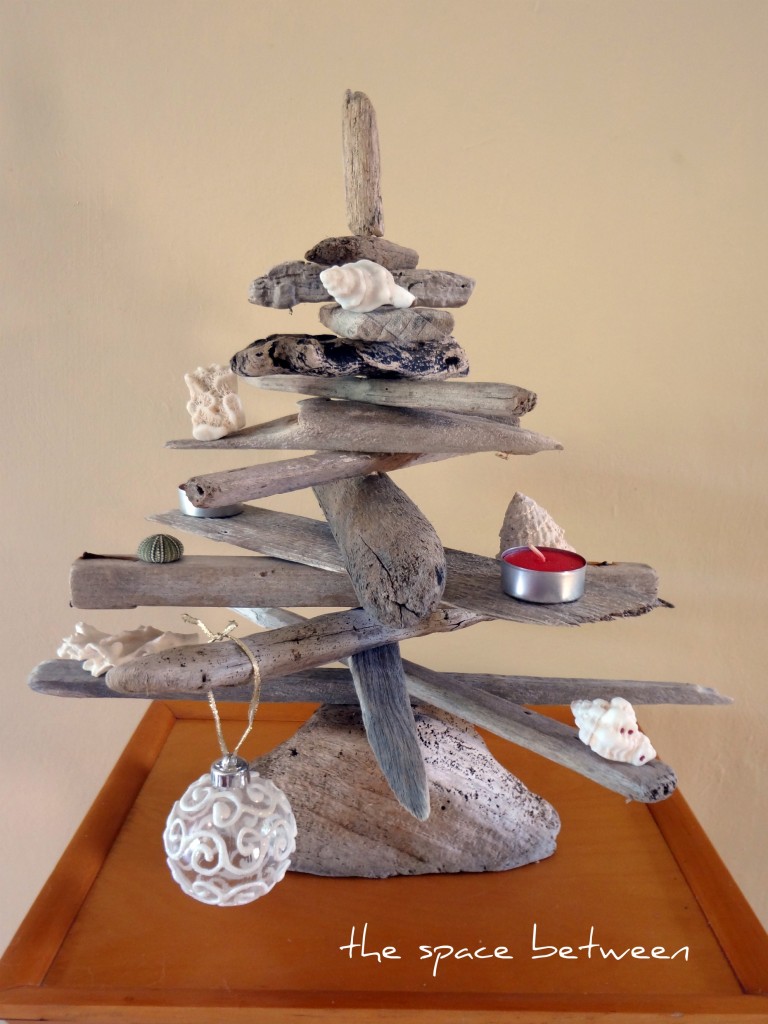
Seriously how cute is this tree. I love how she made this out of drift wood. Check out Karah’s blog The Space Between for more great ideas!

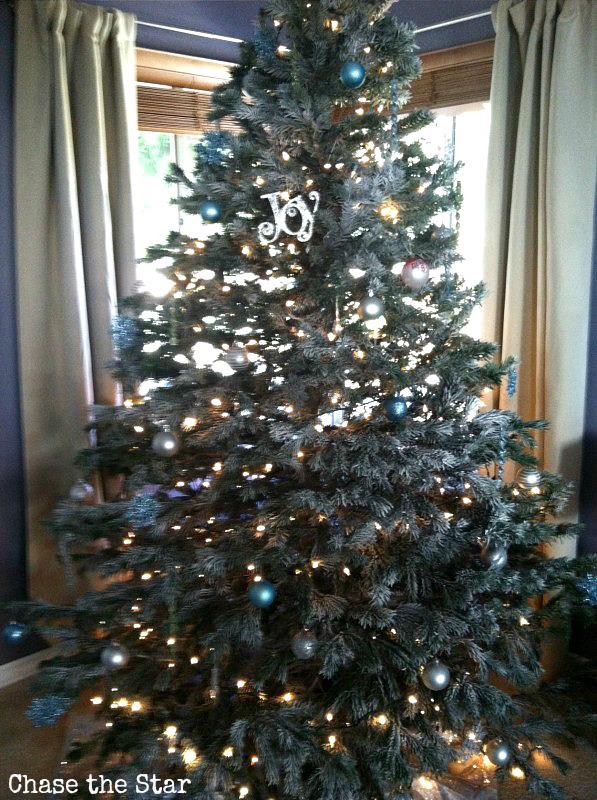
I have always loved shades of blue on a tree. It just looks magical! This is from Barbara at Chase the Star.

Roeshel from the DIY Show Off did it again! Can you guess what my favorite thing about this tree is? How she wrapped the base of the tree~ It looks like she went in the snowy forrest  cut it and wrapped it up to put in her house! Love the red flowers in it also!

Sue made me so happy when she told me she was putting up a tree this year. It had been 4 long years since she put a tree up! Check out her site here!
Courtesy of Sue Doyle

The first thing that I thought of when I saw this was WOW, that is HUGE! I am really into colored lights lately so I appreciate that she has red lights tied into her white ones! Check out Cheri’s blog, It’s So Very Cheri.

This is another room that I just can stare at. I love how clean and crisp everything is. This is Cynthia Weber’s tree, who is an amazing interior decorator! Check out her blog HERE!

I always love when I see red ornaments. Maybe it brings me back to that picture in my head of what Christmas is… You know, the red and green picture. Heather from Setting for Four completely brought me back! She has a great blog so I suggest checking her out!

All I will say is WHOVILLE. I want to move there and put this tree on the top of my house!
Courtesy of Lauren Rippon Michael

Another one of Lauren Rippon Michael’s trees! Yep, she has two in her house. Don’t we all strive to be like her!

What I love most about this tree is the stand it is in. It’s not a traditional stand and I actually love that you don’t need a skirt around it. Very creative!
Courtesy of Jenn from the blog
Rook No. 17  

If this tree doesn’t make you want to get UP and dance then I don’t know what will. I love how bright it is!
Courtesy of Gabe Andrews

I am really loving this silky ribbon around this tree. It’s a great way to add some depth to a tree. Good to fill spots on a real tree also.
Courtesy of Jordan Dehart

When I saw this tree my heart melted. I love anything black and white. I especially love the checkered wrapping paper!
Courtesy of Veronica Rebollo Broussard

The one thing that caught my attention here was the feathers hanging! What a great way to dress up a tree.
Courtesy of Ivy Wiltz

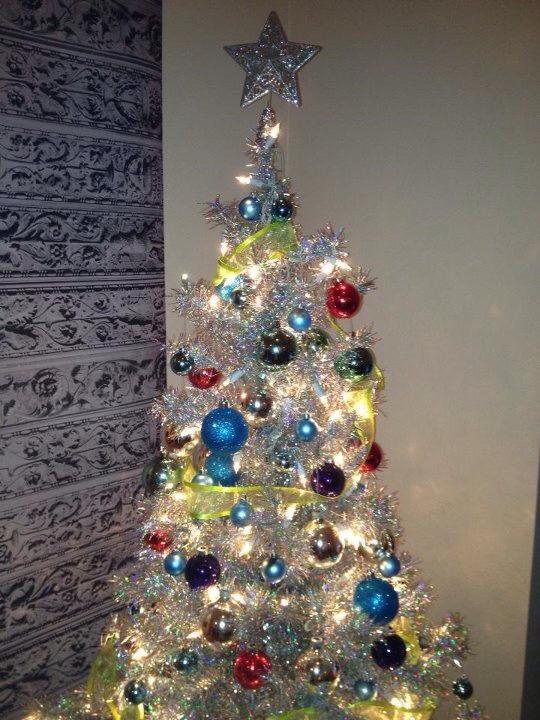
WOW! I have never seen a silver tree before. I might have to put this on my list to get for next year. I love how bright and whimsical this tree is!
Courtesy of David Little

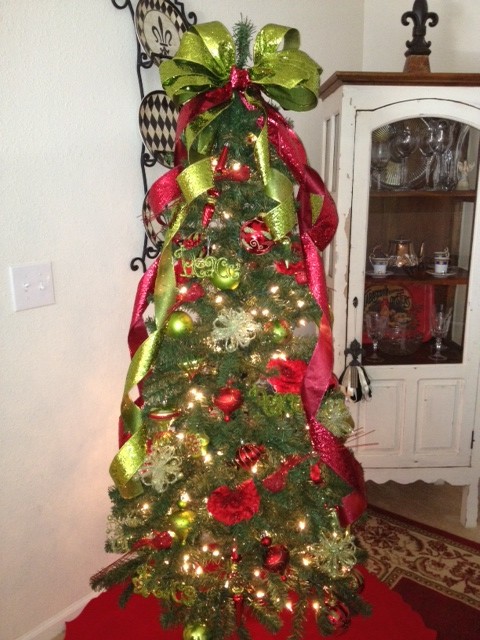
I love the red and green glittery ribbon on this mini tree!
Courtesy of Amy Hammond

I have to say I am very impresses by this tree! I love the ball garland all over it!
Courtesy of Rocky Roussell

My favorite thing on this tree is the letter’s that spell out LOVE! I also love the red cardinal at the top!
Courtesy of Nora Castaneda

My favorite thing on this tree is the RED BOOTS!
Courtesy of Clyde Valentine and Alix Tucker

I have always loved white trees. They really make all of your ornaments pop.
Courtesy of Crystal Lytle

I just love the tree in the picture and the entire setting. It looks like a picture perfect postcard!
Courtesy of Erin Prejean Benoit

This white garland reminds me of SNOW!
Courtesy of Cindy Spell

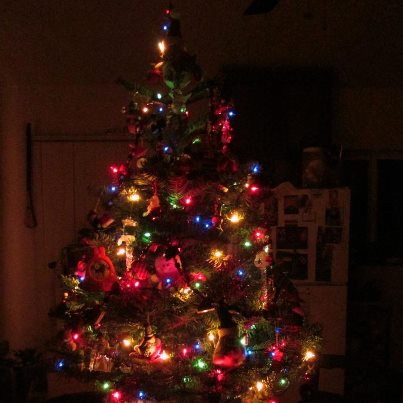
I love a good ole traditional red and green tree!
Courtesy of Amanda Toups

I love all of the Doves in this tree, plus the white ornaments.
Courtesy of Frances De Leon

I hope you enjoyed this post Jaderbugs!

Don’t forget to make it a DIY kinda day,

Facebook Twitter Gplus Pinterest YouTube E-mail RSS

Oh HAPPY day Jaderbugs! I have this post I am working on featuring 5-10 homemade crafts you can make to decorate your Christmas tree with. That will be coming up this week but I wanted to share a few of my favorite ones with you now. I love making things that fill those empty spots in my Christmas tree. You know? Those spots that are screaming for love and affection? This year is the FIRST year we ever got a real tree. It was so much fun going through the entire process. Lil one had fun picking it out. The one thing I didn’t realize is that you can’t BEND the branches like a fake tree.

HAHA.

Do you know what this means? HUGE spots that need love and affection. I tried sticking ornaments in those lonely spots but it was just not working. Our living room tree’s theme is GOLD, WHITE and a pop of red. I thought why not add a little bit’O candy in the tree and that is where this idea came from. I didn’t want to go out and buy candy ornaments because they are super duper expensive and I just don’t like throwing away money like that.  I hope you enjoy this craft because they turned out SO cute. Just think you can do silver ones and put bright fun paper around them. I love this because you can be creative and add paper on them that you personally love.

Stay tuned because I have THREE trees in the house this year so you will be seeing some fun ways to decorate a tree. Did I mention each room has a different theme? Eh…. I know. I have OCD.
Let’s get started:

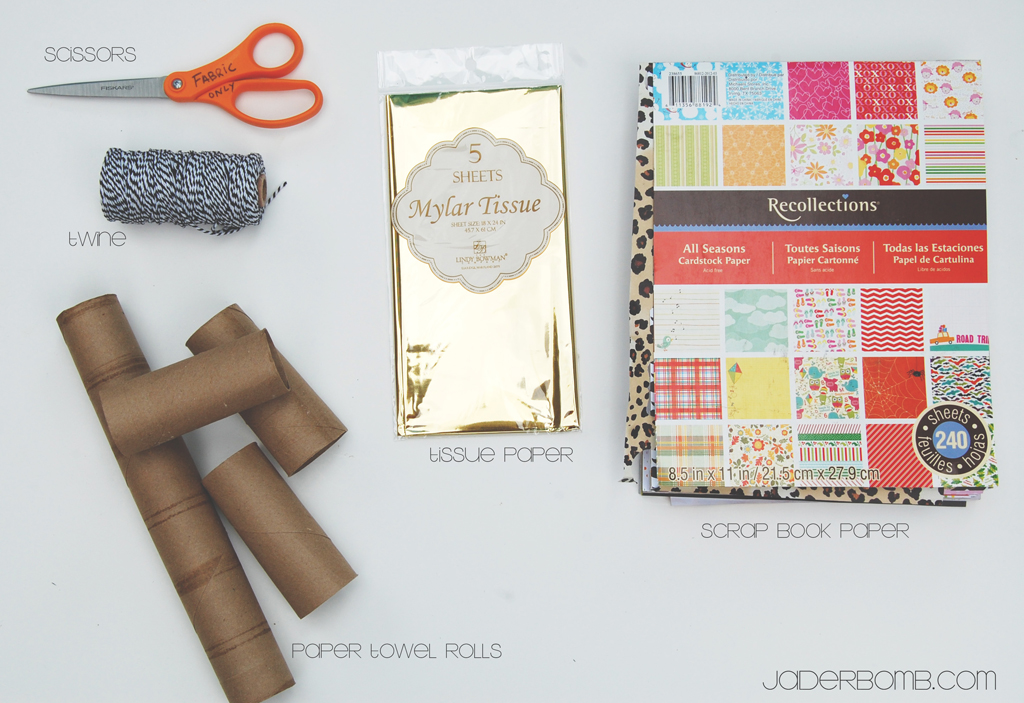
INGREDIENTS:

*Scissors
*Twine
*Mylar Tissue (purchased from Walgreens)
*Scrapbook paper
*Paper towel roll

You can click on any of the ingredient links to purchase these items in ONE spot.

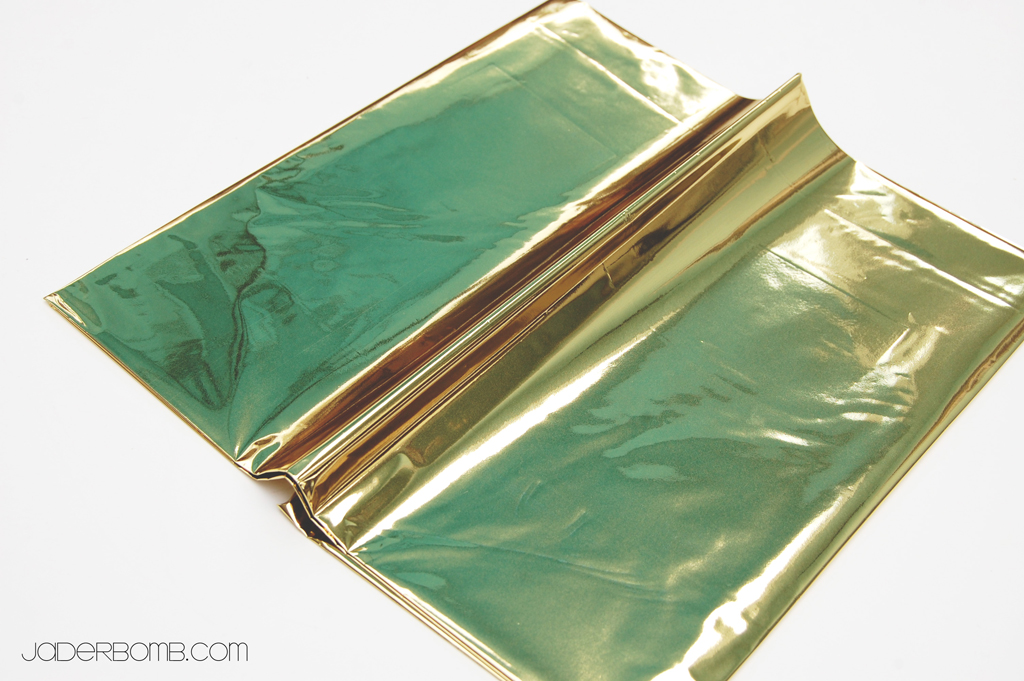
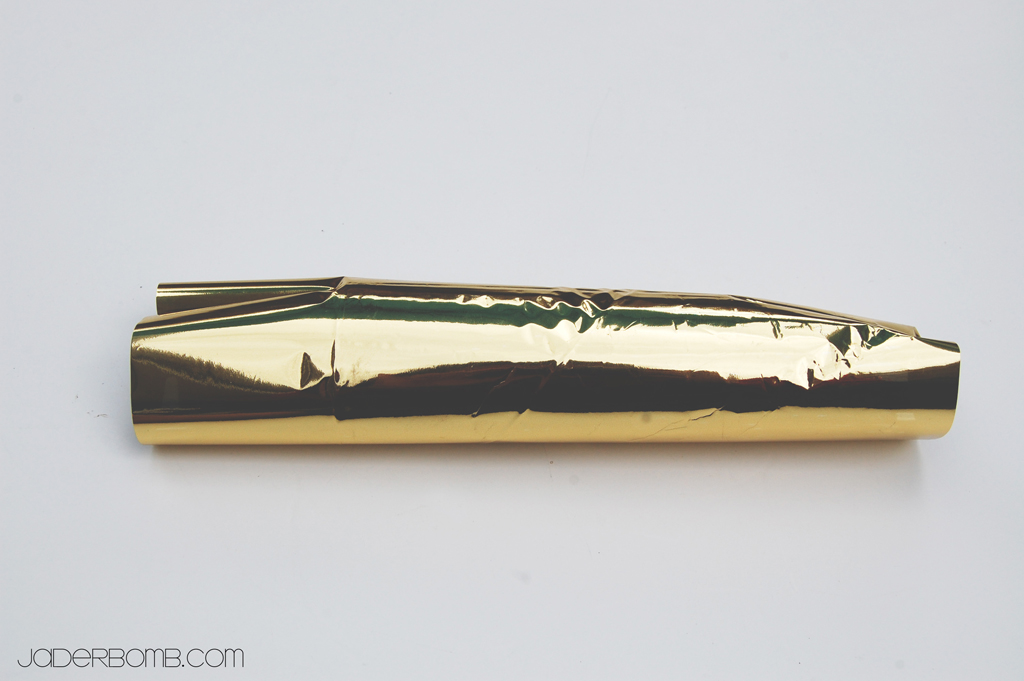
 The first thing I want to tell you is this Mylar Paper is GOLD and SILVER. This is what it looks like right from the package. You can see that there will be a crease from where it was folded.

If you flip the paper over it will be silver. I didn’t know this until I bought it. I think this is great because you can choose this side if you don’t want GOLD.

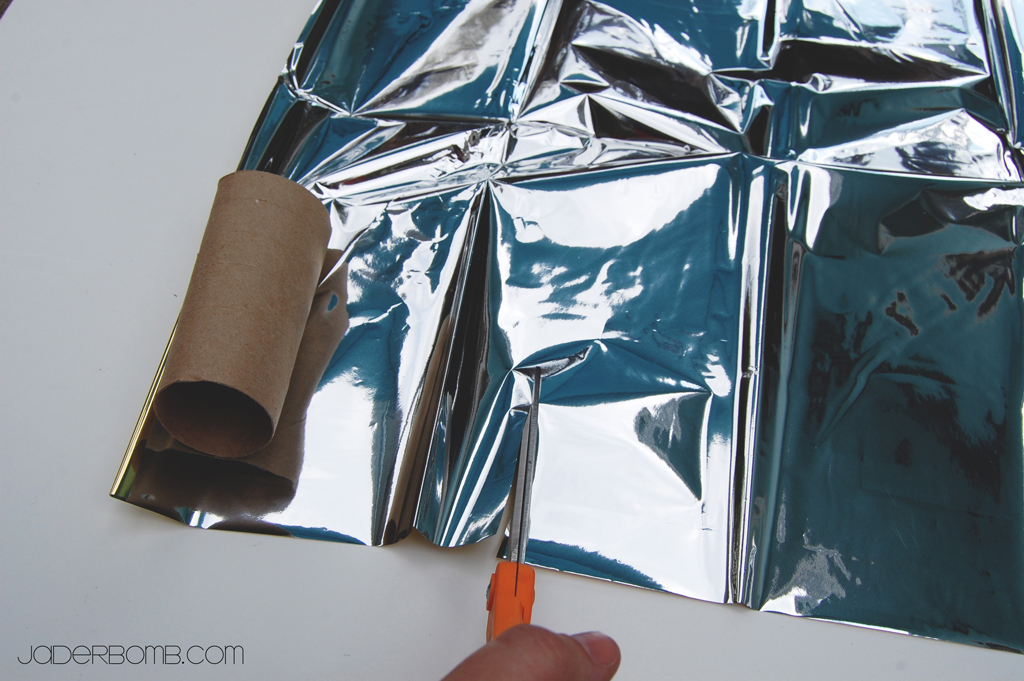
The first thing I did was lay my cardboard roll on the edge of tissue, roll it over so see where I need to cut.  The goal is to have no cardboard showing.

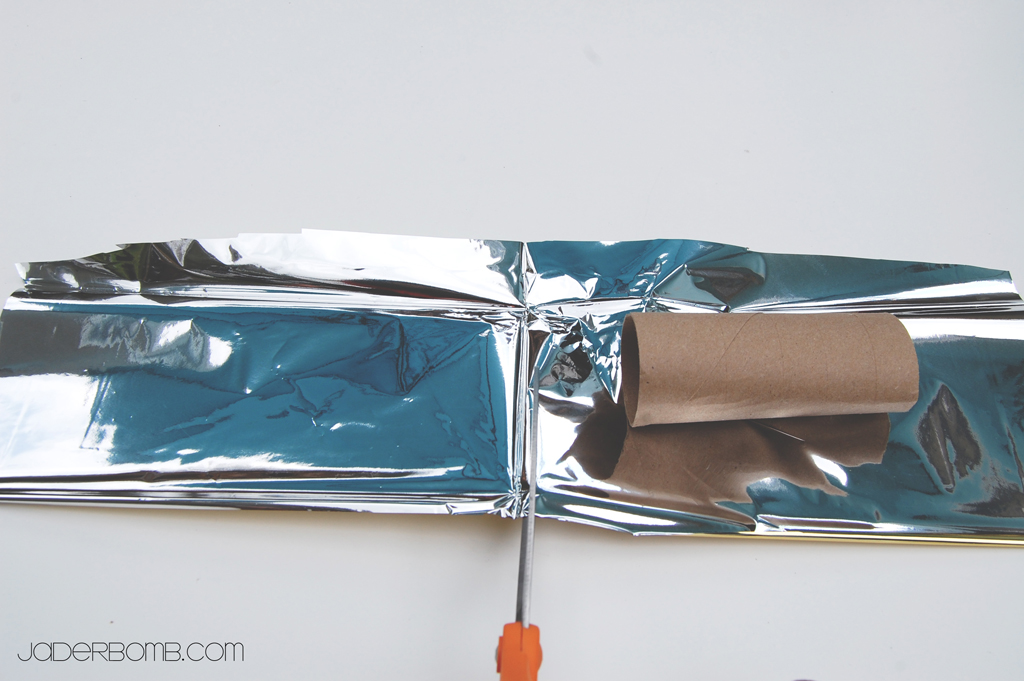
Once you cut it it will look like the picture below. It will be too “long” so you will need to cut the strip in half. I used the crease that was already showing as a guideline.

Once you cut it wrap your roll with the tissue paper and secure with tape. I like to use double stick tape so I can “hide” the tape from the human eye. It actually just looks a little better this way.

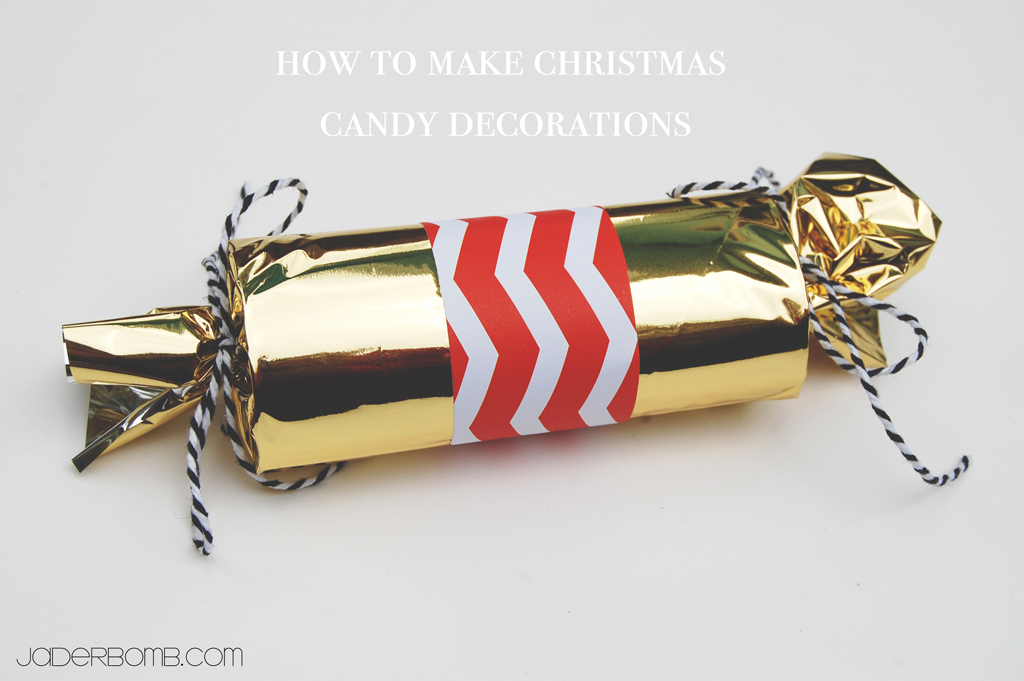
Get a piece of twine and tie it around the ends of the roll. This will give us that CANDY look. Are they not so cute? I planned on leaving them just like this but I really wanted them to pop.

Soooo. I added red and white chevron paper around them.

This is what they will look like once you are done! I hope you enjoyed this tutorial… Make sure and post yours on my facebook page so I can share with my readers. I love seeing your take on one of my crafts.

Don’t forget to make it a DIY kinda day,

Facebook Twitter Gplus Pinterest YouTube E-mail RSS


Quote of the day:
“Actually, I take it as a compliment. Diva is a derivative of divine. That’s quite a title to carry around.”
Calista Flockhart

Happy hump day Jaderbugs! I am kinda proud of myself. It’s not even midnight and I am getting around to tomorrows post. I usually start around midnight and finish in the morning. Way to go me!
So let’s talk about something. It’s almost Thanksgiving. Is it just me or is time flying by? I can’t lie the one thing I am most excited about besides Thanksgiving is BLACK FRIDAY! Do you ever tackle this crazy day/night? Let me just tell you what I do for this event.
I get in CUTE COMFY clothes, go to starbucks to get a coffee (even thought I can make a pot at home), get in my car and go from store to store people watching. Me and Ashy have so much fun doing this. I am sure you are wondering if we buy anything. Nah. That would take the fun out of everything.
I will say this about this event. It’s not that we “enjoy” watching people FIGHT over a blu ray DVD player, camera’s, T.V.’s or candy canes. OK, fine.
We do enjoy it, hehe.
Let’s get to the craft. Today I will show you how to make homemade room spray. I usually buy the ones from the store but I never really like the smells so I decided I would make  my own. Some people use oil’s to make room spray but I wanted to make something that you could actually spray on your bedding, furniture or just in the air. If you are not familiar with the namebrand TYLER then you will flip when you actually smell every scent from this line.
Diva is a really popular scent so that is the scent we are gonna use today.

INGREDIENTS

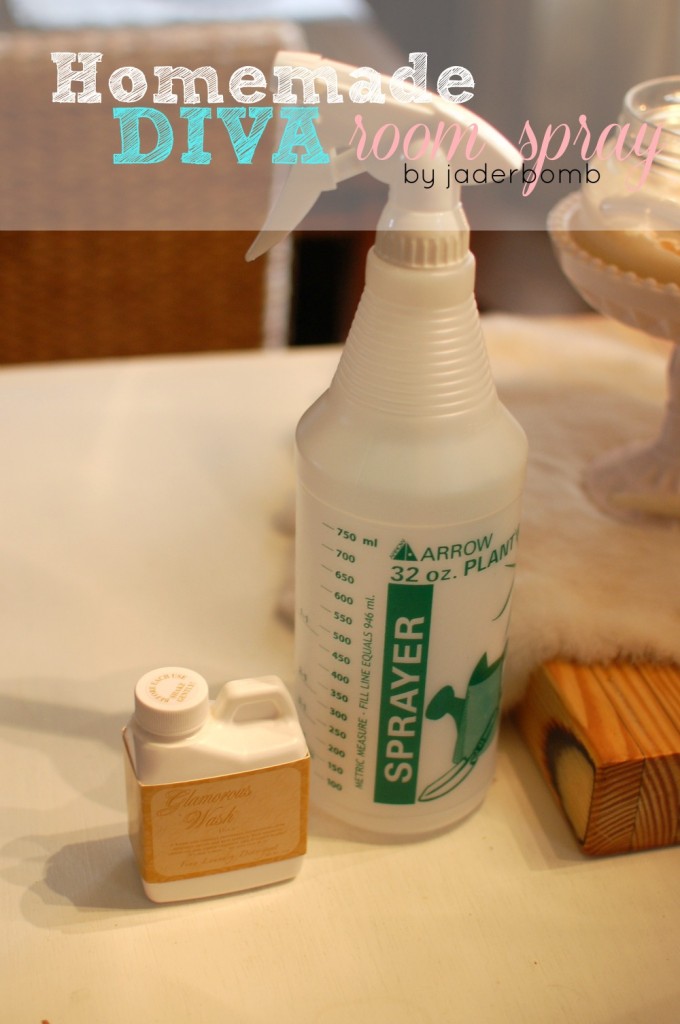
*Diva Wash
(If you don’t want to buy the big bottle you can always buy the small one for around 7 bucks)
*Spray bottle
*Water

If you don’t notice on the cap it says to “GENTLY” shake. You don’t want to make the mistake I did and REALLY shake it. HAHA

I poured about 2 teaspoons in my empty bottle. Some batches I make a little stronger than others but it’s up to you how strong you want it.

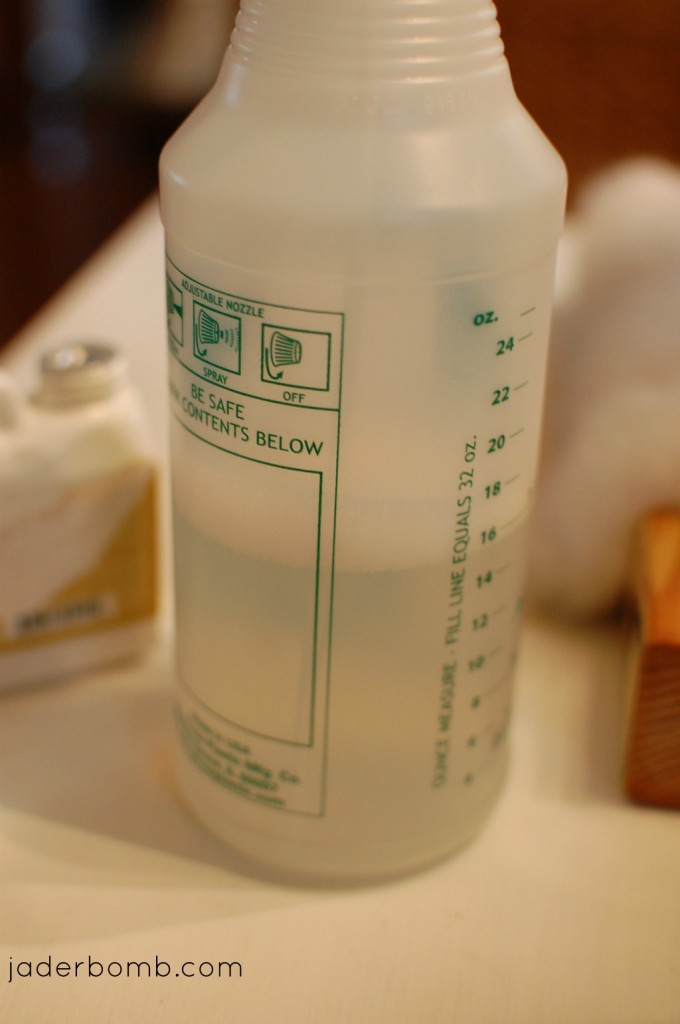
I then filled the bottle with 16 oz of water. When you are done with this step put the cap back on and lightly shake the bottle. I don’t actually shake it but I twirl it in a circle. This keeps it from forming ton’s of suds.


This is what the bottle looks like. I just love the design on it. This little bottle is around 7 bucks and I use it just for room spray. Trust me it lasts forever.


Now you can spray this in every room and get this amazing smell that lasts what seems like forever. A fun thing to do is spray this throughout your house if you know someone is stopping by. They will think you been cleaning for hours! Trust me it works (wink wink).

I really hope you enjoyed this tutorial and make sure to check out all of TYLER’S scents. If you are not sure where they are sold you can usually google it and you should find something. Most candle store and boutiques sell this line.

Come back tomorrow for your DAILY DOSE of DIY


I was given product for this post but all opinions are my own.

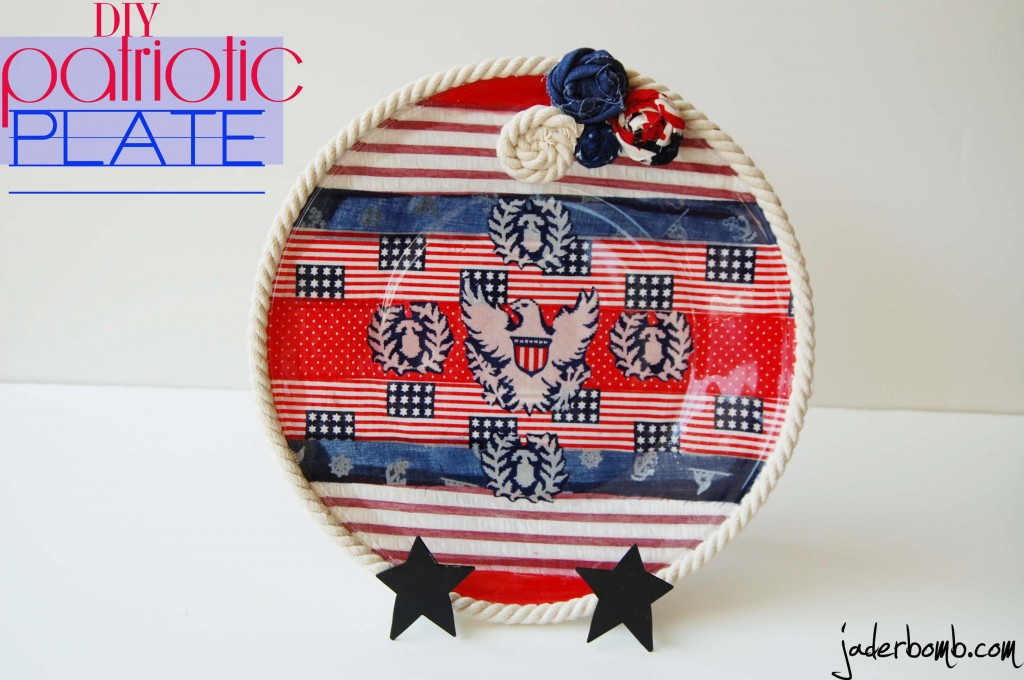
Happy almost Fourth of July!!! I know. It’s still June but it’s early enough to start putting out the RED,WHITE & BLUE! I have to admit, I am not really a Fourth of July fan. I mean. Let me clarify that. I am not a HUGE fan of decorating in RED, WHITE & BLUE. Maybe one or two things, or three. But that’s it.

I ran across these clear glass plates at Wal-Mart and could not pass them up! Did I know at the time what I was using them for? Of course not. You didn’t know that’s how it works with craft bloggers? After so long we sorta become mini hoarders. Why do you think when it’s time for a party everyone goes to the crafter. They know they will have whatever they are looking for. Chances are your crafter friends will just say this…“nah, go ahead and take that and that… and that..I have plenty more”

BAM. SCORE. (teeheheee)

Let’s get to crafting!

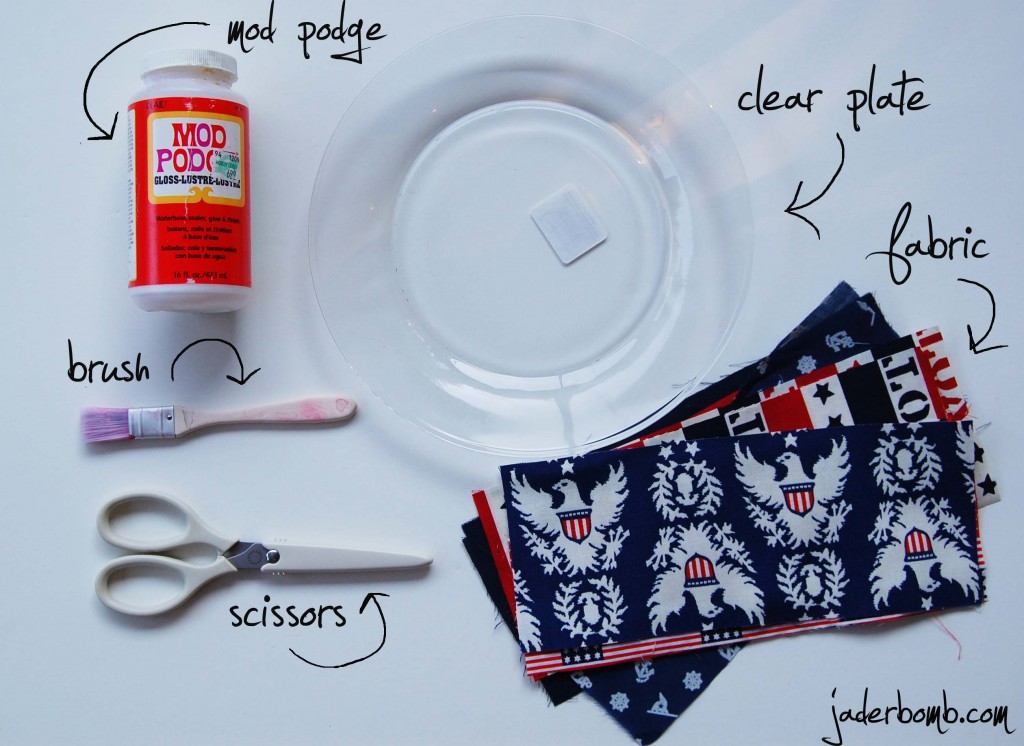
INGREDIENTS:

If you want to use other fabric you sure can! You can use the same in this tutorial and make your own awesome plate! You can make it match your room or give it as a gift!

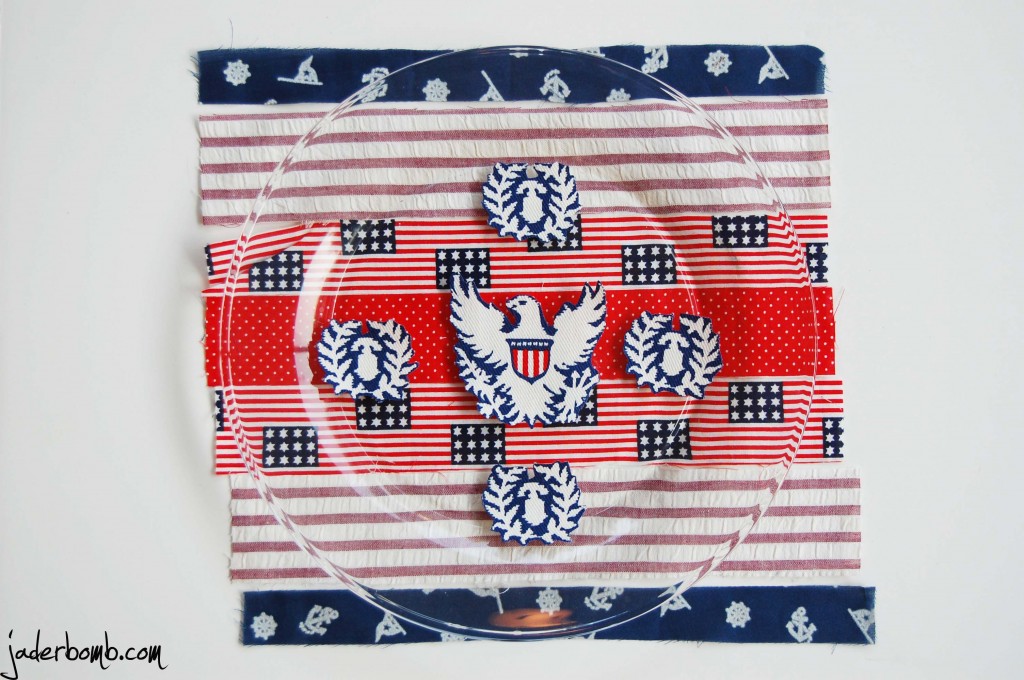
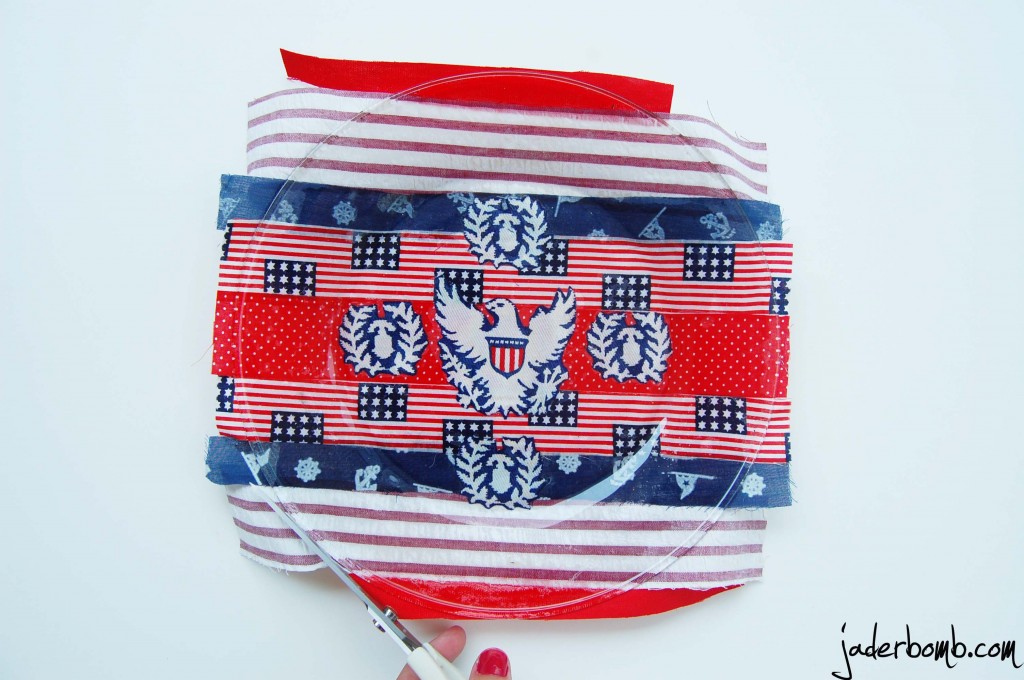
Start by cutting out your strips they way you want them and place them under the plate. You can arrange them as much as you like until you are happy with they way it looks. Those four little images on top of the plate I cut out of fabric. You can use anything for the center of the plate I just really liked the way this looked! I found a piece of fabric with these designs on them and fell in love!

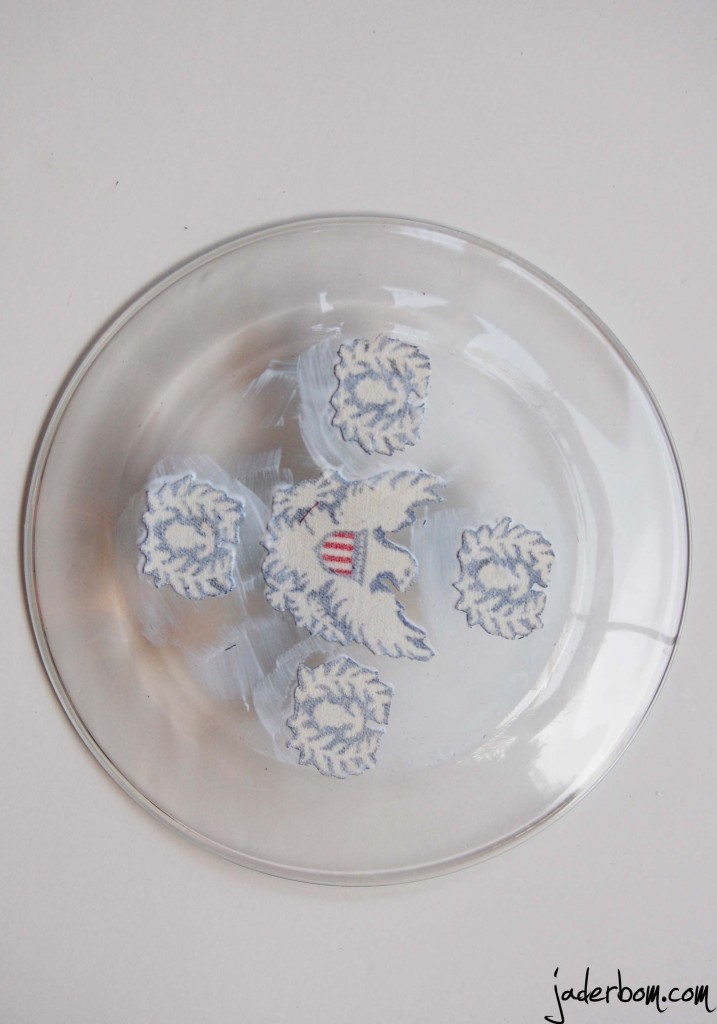
Apply a small amount of Mod Podge on the back of plate then stick down your images you want as your focal point. Make sure you put these face down, not face up! After you stick them on the plate apply another small amount of Mod Podge to the back of them. Fun EY! Oh, I will be doing a review this week of my friend Amy’s book MOD PODGE ROCKS! I will be doing a giveaway also!!! {insert a high pitch scream)

Apply all of your strips to the plate while it’s faced down. Remember you want to do all of your images face down if you are looking at the back of the plate. After you let it dry (about 3 hours) get some fabric scissors and cut the edges. I love my Martha Stewart all purpose scissors! They cut ANYTHING!!!!

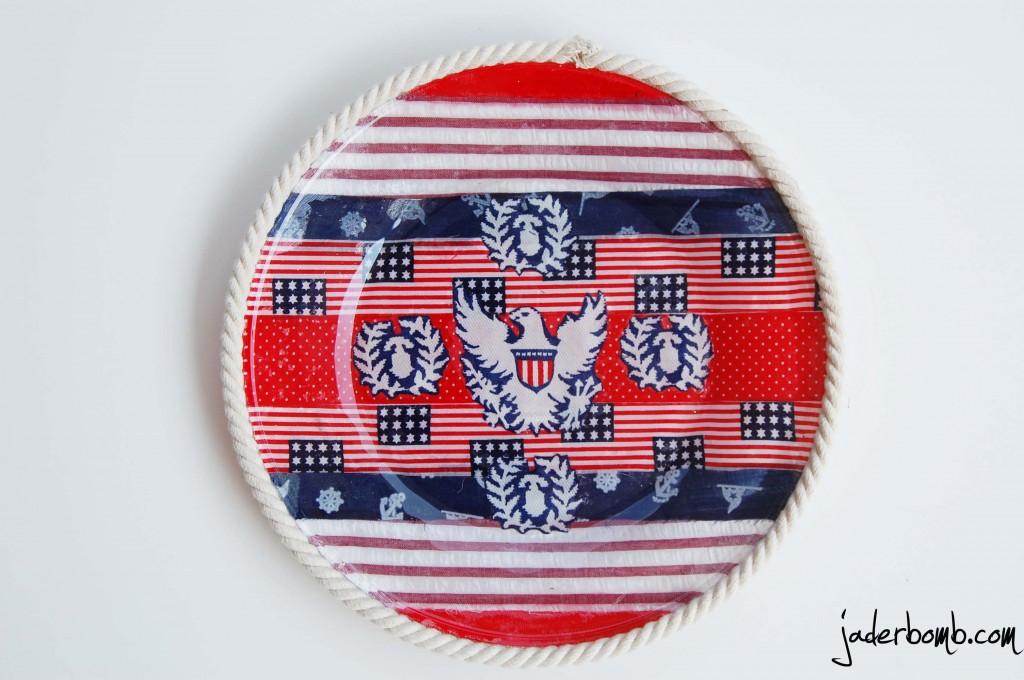
After you trim the edges you can dress it up by adding some fun things to the edge of the plate. I thought this fun rope would add a whimsical touch to my plate! I bought it from Michael’s craft store and it was NOT expensive!

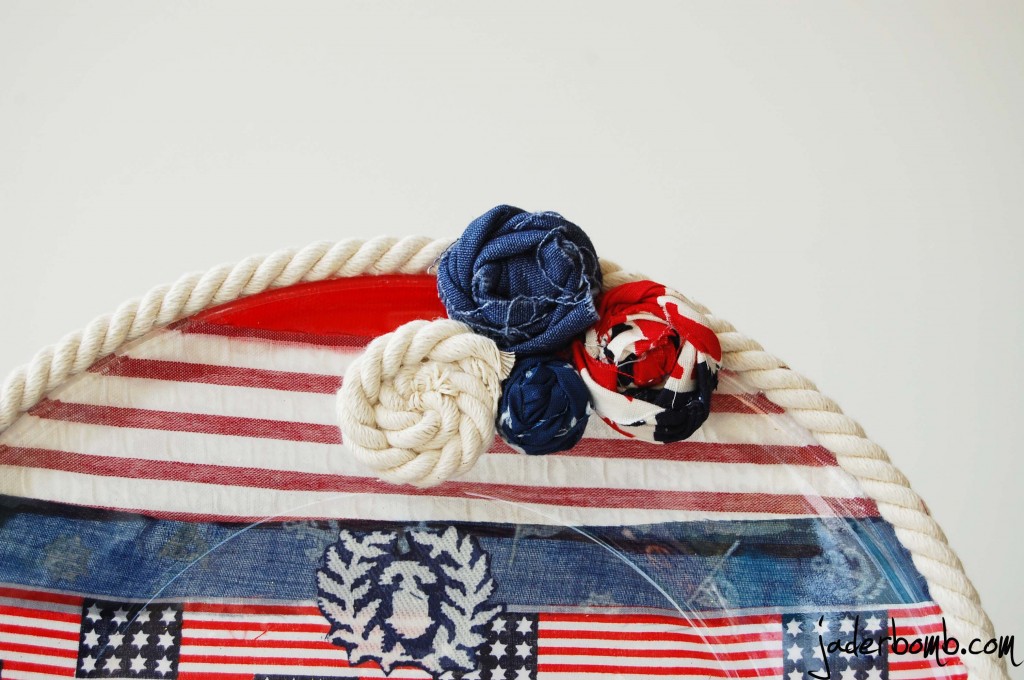
I made a few fabric Rosettes to also dress it up. If you want me to do a tutorial on how to make a Rosette please leave a comment below or let me know on facebook!!!! Seriously. This is CRAZY CUTE!
I hope this gives you loads and loads of inspiration that will be bursting out of your brain like fireworks! 
If you want to find more jaderbomb love check me out in these places!!!


Happy Happy Monday! Guess what tomorrow is?!?!? MY BIRTHDAY! It’s kinda crazy how the older you get time seems to fly by. I feel like I just had a birthday and it’s already here again! Guess I can’t complain when it’s time to open gifts! {{teehehehehe}}

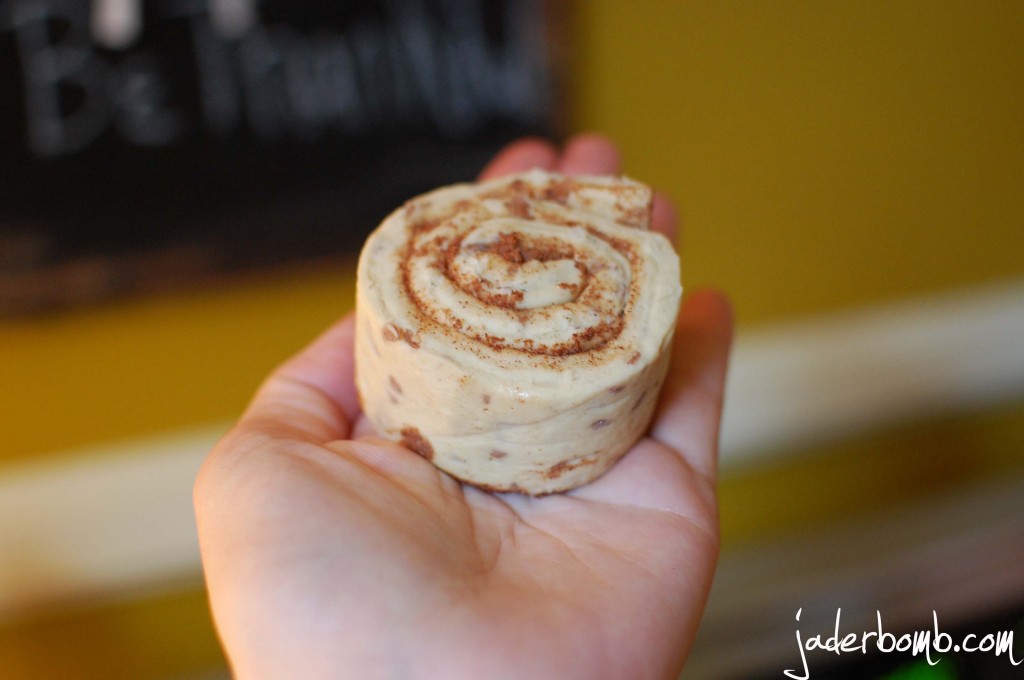
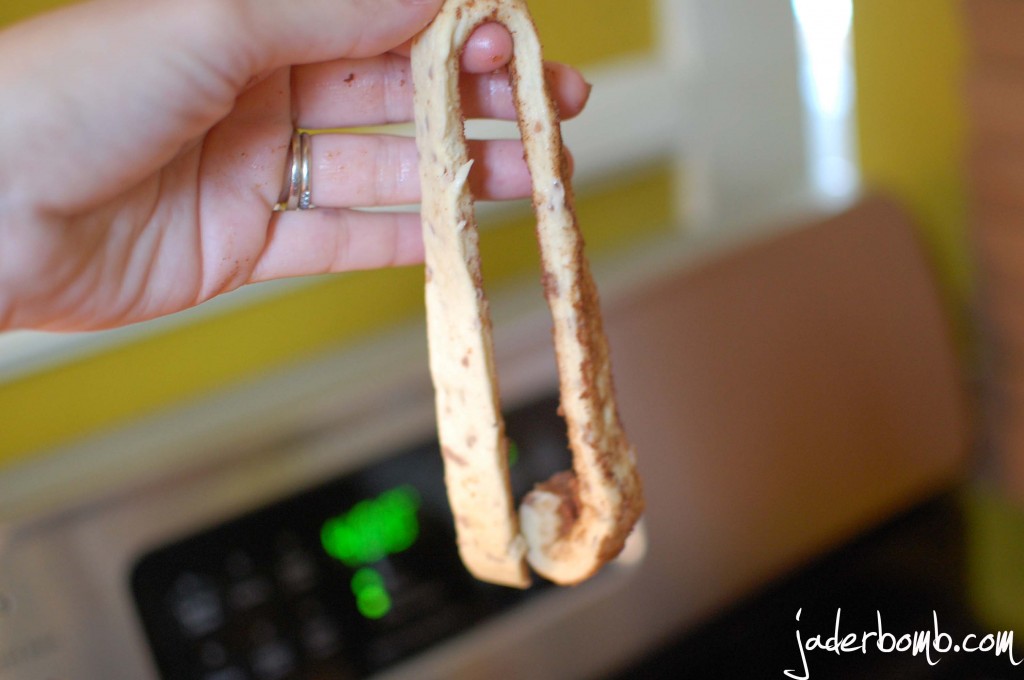
So, I am always baking cinnamon rolls and biscuits, go figure! The other day I was taking some out of a can (yes, I buy them in the cans) especially when they are on sale. While I was taking them out one got caught on the can and it unraveled.  I actually think I cussed at them as if they did it on purpose! Who does that! me.

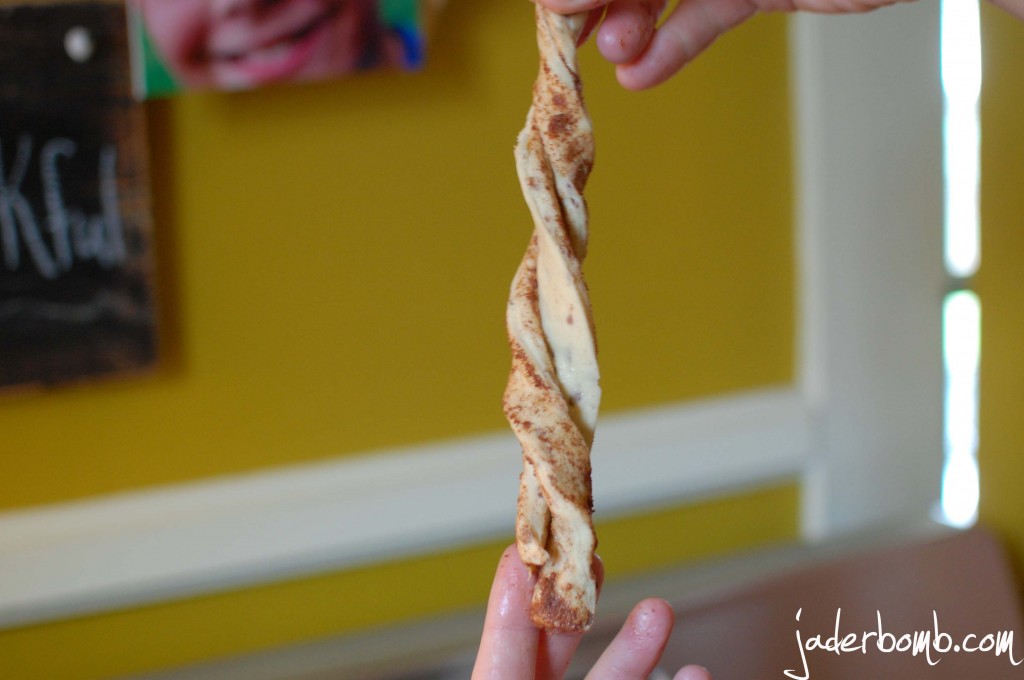
Ok, so while it’s just hanging there I decided to twist them. Hallelujah, right! How could I not think of this before? Let me show you how easy this is…

Before the twisting happened!

Un-roll it

Grab them on each end and twist!

How amazing is this!!

I know this is prolly not anything new to the world but it’s new to me and it totally made me happy and smile from ear to ear! Seriously, your kids will love you even more when you give them these babies!

Make sure you come back tom and see how to chalk up a wine glass! See ya in the next post!!!!