Tag Archives: jaderbomb.com

Quote of the day:
Everything’s intentional. It’s just filling in the dots.
David Byrne

Did you know polka dot’s are coming back like they never left? Just thought I would share that with ya!

Do you ever walk in the stores just staring at all of the UH mazing frames for sale. Then you look at the price and realize they are kidding. There is NO way I will spend 30 bucks on a frame when I can enjoy making one on my own. Well I lied, if it’s a really fancy one from an estate sell or antique shop then yes… I just sat in my office a minute ago and realized how close Valentines Day is. Well I know it’s not right around the corner but WHOA where did Christmas go? I kinda love Valentines day because I get to shower my honey’s with ton’s of yummy things!
Did I mention that I love pink?

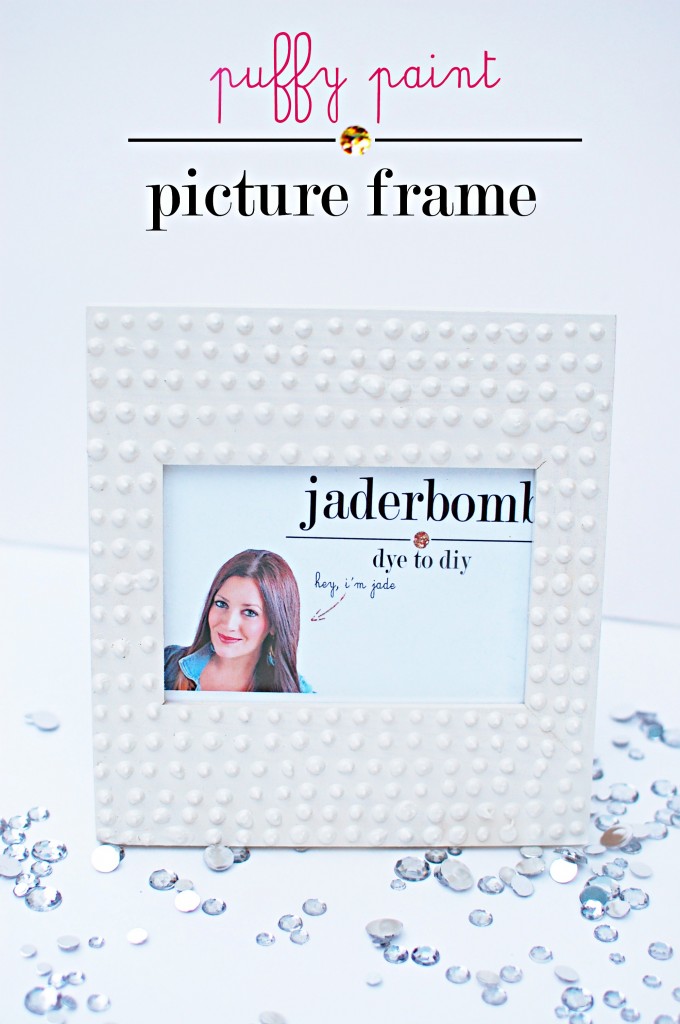
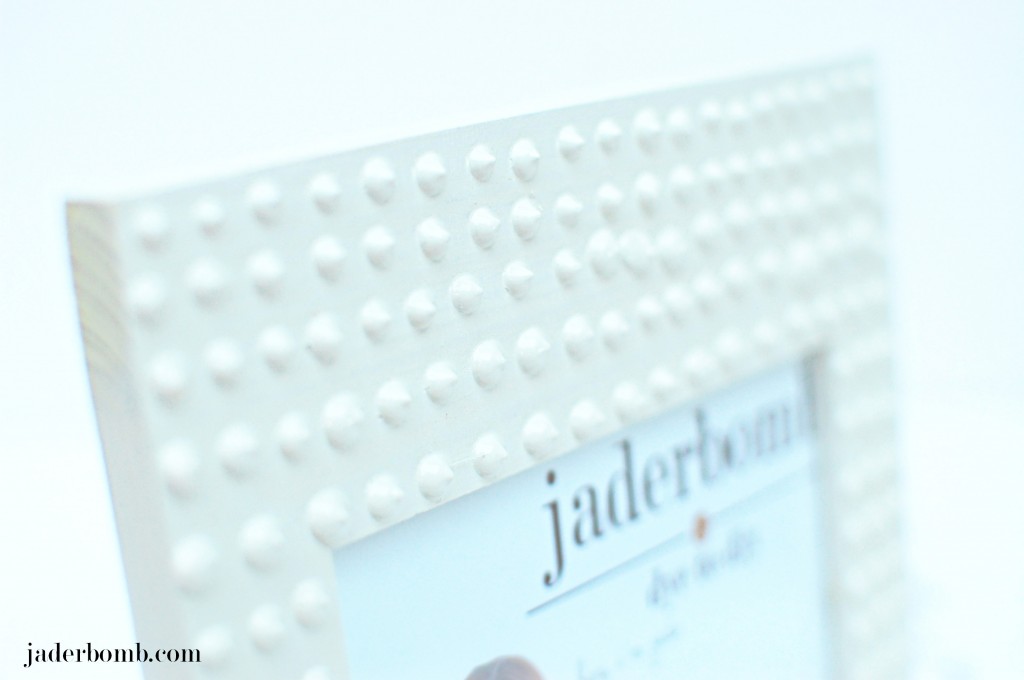
This tutorial is so much fun. You can design your frame any way you want which is so nice! It’s perfect for Valentines day also. It looks like little pearls when you finish it with a white or off white spray paint. Wanna see how I did it? Let’s check it out!

Puffy Paint Picture Frame

I think all of those jewels on the ground would look fab on a frame, what ya think?

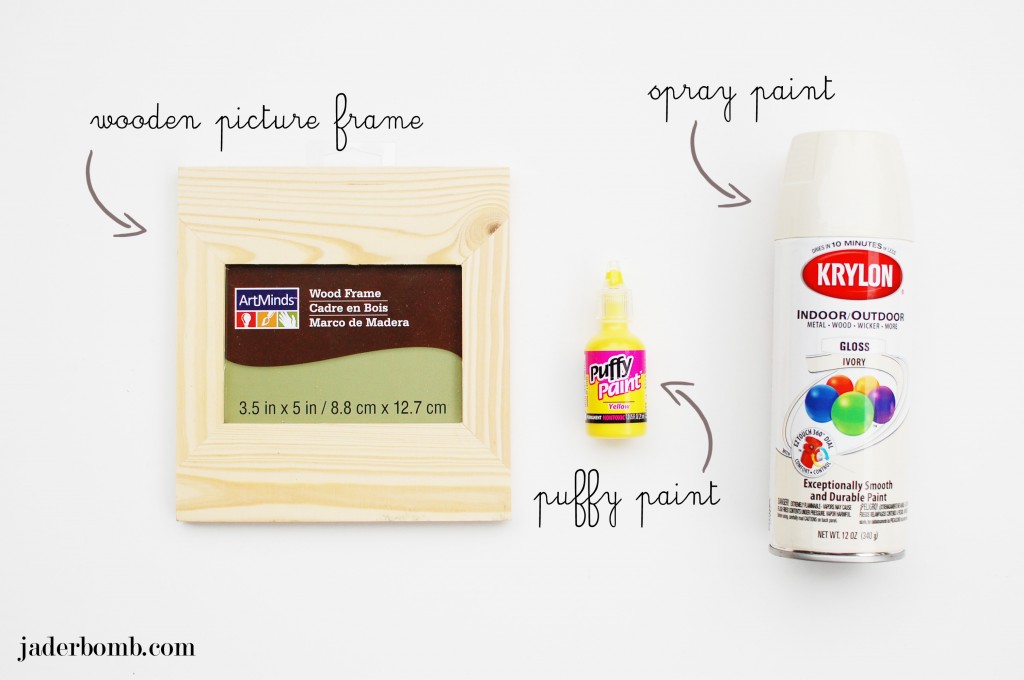
INGREDIENTS:

*Puffy Paint
 ( it does not matter what color you use because we will spray paint over it)
*Plain Wooden Frame
*
Spray Paint I used Ivory

BTW: you can click on any of the links above to order all the items in one spot.

Puffy_Paint_Picture_Frame_Jaderbomb

To start you will get grab a bottle of puffy paint, grab your hazmat suit and your ray bans.. JUST KIDDING!

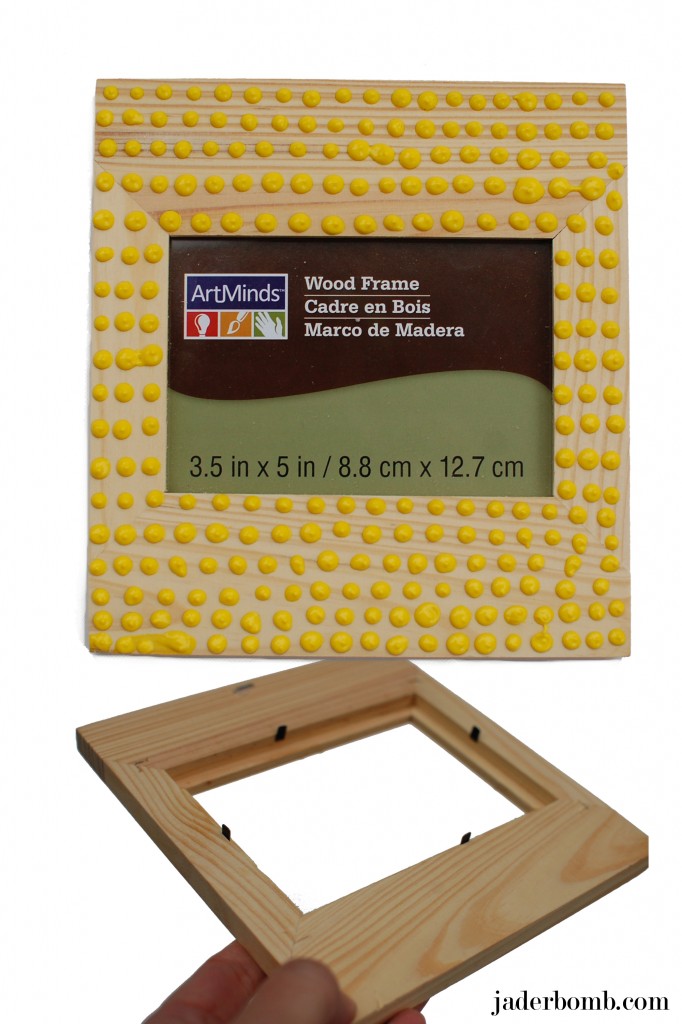
You won’t need a suit but it’s gonna be so cool you might need some shades when you are done! If you use a smalle frame like I did you will only need one bottle. I actually had a little left over. Start by making dots all over your frame. When you are done let it dry completely.

Puffy_Paint_Picture_Frame_Jaderbomb

Before you spray paint it take the back and mirror out of the frame then you ready to ROLLLL!

Puffy_Paint_Picture_Frame_Jaderbomb

Dont’ they look like little pearls? Pearls always remind me of Valentines day. Just think if you paint them pink or red. What is your favorite way to decorate for Valentines Day? I’d love to know, you can go to the bottom and share in the comment section. I love comments!

In other news:
*I will be doing a giveaway next week
*I will be posting NEW Mardi Gras tutorials
*I will start doing a VIDEO tutorial every week starting NEXT week so stay tuned for these fun little suckers!

See you in the next post Jaderbugs!

Quote of the day:
No matter how many times you may spray paint, change wheels , clean , or customize a car to look different . It will always be the same. Same goes for people. Our appearances , actions and age may change .. But we will always be the same

Well what a day it has been already! Wait, it’s only 8:39 in the morning. Pfft. Does that ever happen to you? You wake up early and you have done more in the wee hours of the morning than a FULL day’s work. I actually love mornings like that because it makes for a great afternoon nap, hehe.

I couldn’t wait to show you this post because it was so much fun to make it. I love to spray paint EVERYTHING in my life. Depending in my “phase” I am going through. This is a little different than your normal spray painting. It’s “glass spray painting”. When I was sent this from Martha Stewart Crafts I was like… ERR MY GERRDDD, really! Just like your normal spray painting, it can leak and leave spots… only if you don’t practice before. It only took me about a minute before I figured out the pressure and how much comes out in one spray. I have not tried to OMBRE anything yet but I will, don’t cha worry.
Let’s get started!

You can click on the pictures to make them bigger if you like!

spray paint glass

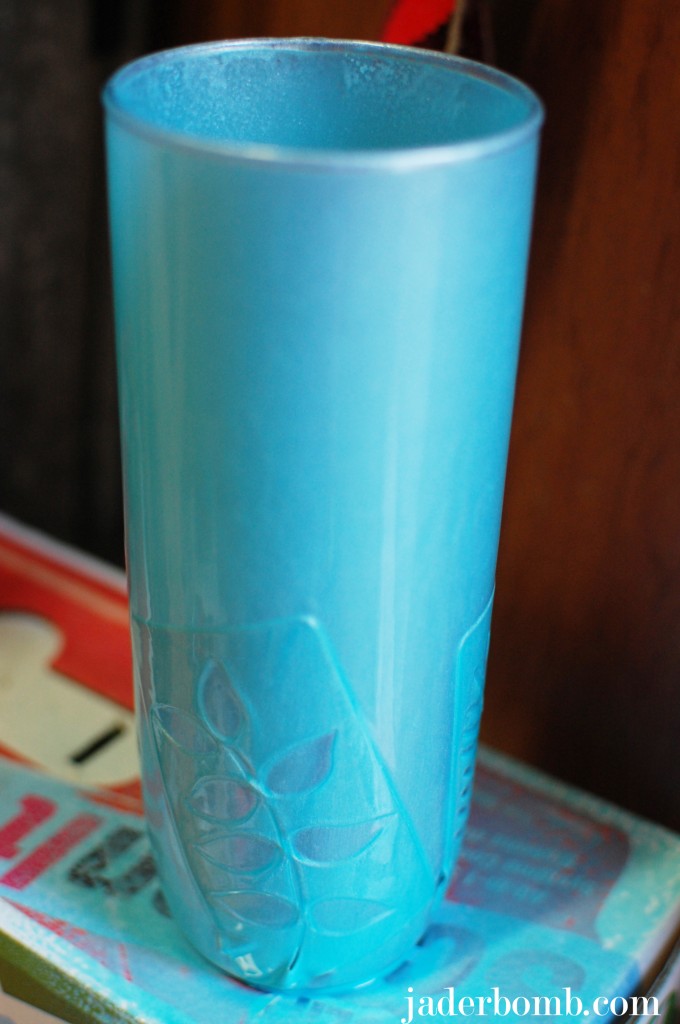
Up above is what we will be making today!

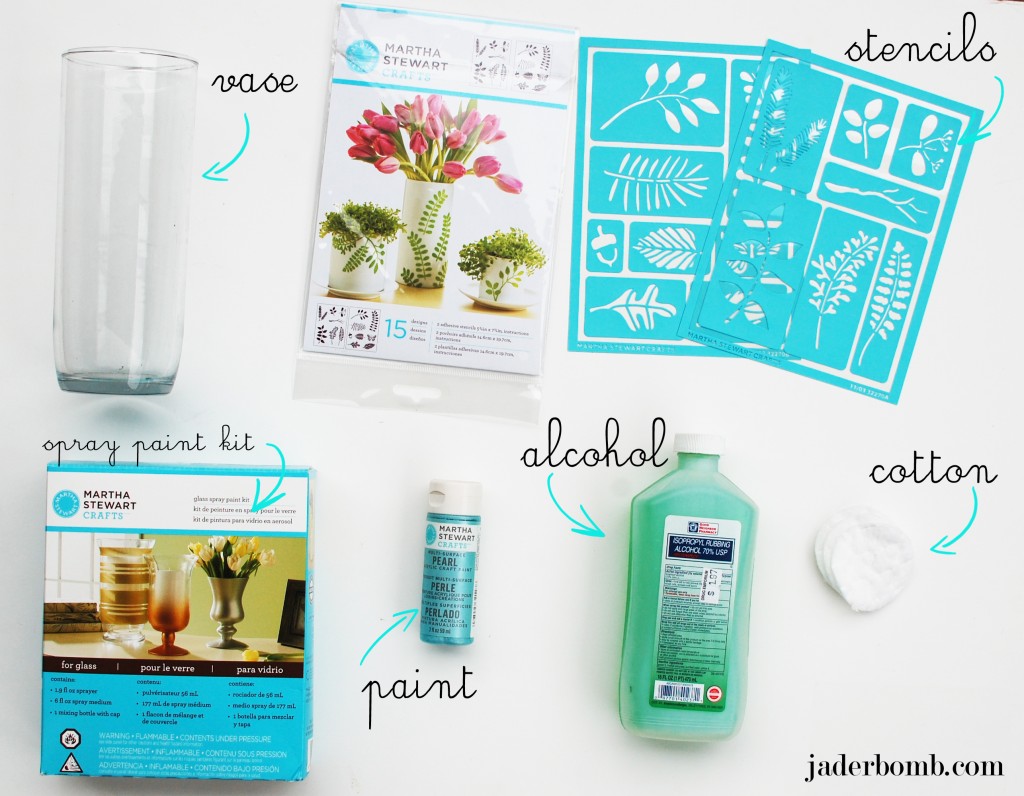
INGREDIENTS:

*Vase
*Martha Stewart Spray Paint Kit
* Alcohol
*Cotton
*Adhesive stencils from Martha Stewart, I used the one called LEAVES
*Martha Stewart Pearl Paint

FYI: You can purchase all of the materials from one spot by clicking on the links in the ingredients.  

spray_painted_vase_jaderbomb

If you are painting on glass it’s important to use a gloss, metallic, or pearl paint. It works the best. Most of the other ingredients you may have floating around your house. Let’s get it started, y’all.

spray_painted_vase_jaderbomb

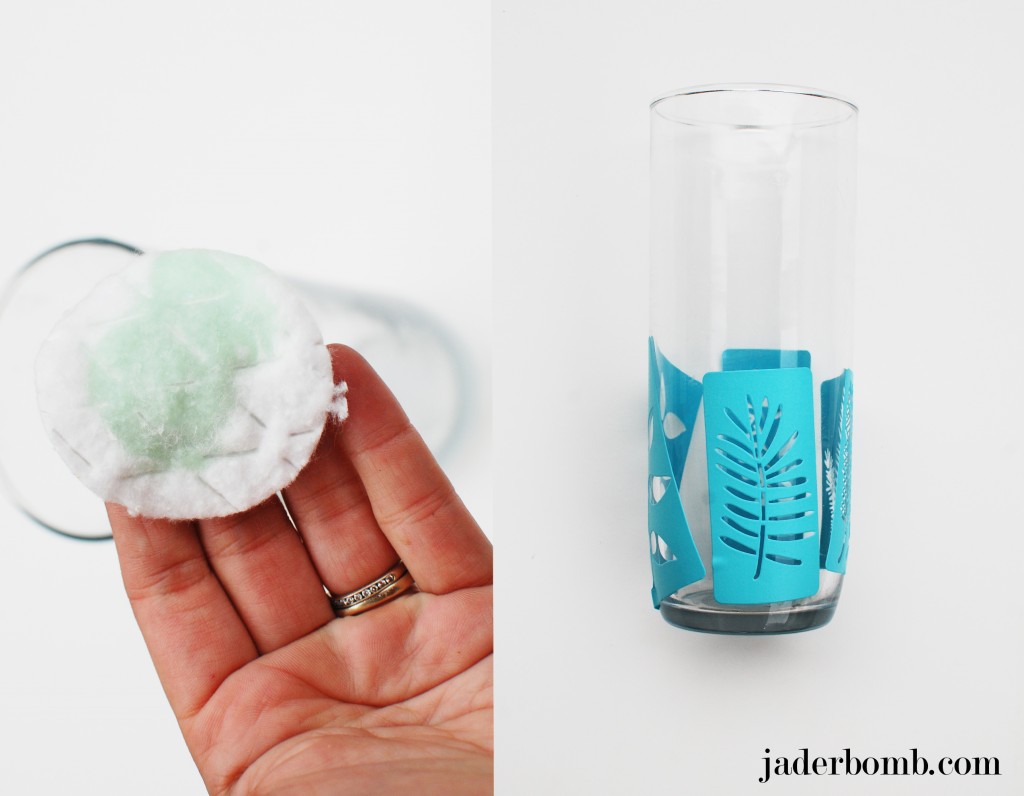
The first thing you will do is clean off your glass with alcohol and let it air dry. This will get off any oil residue that may be on the glass. Once it is completely dry stick your adhesive labels where you want them.

spray_painted_vase_jaderbomb

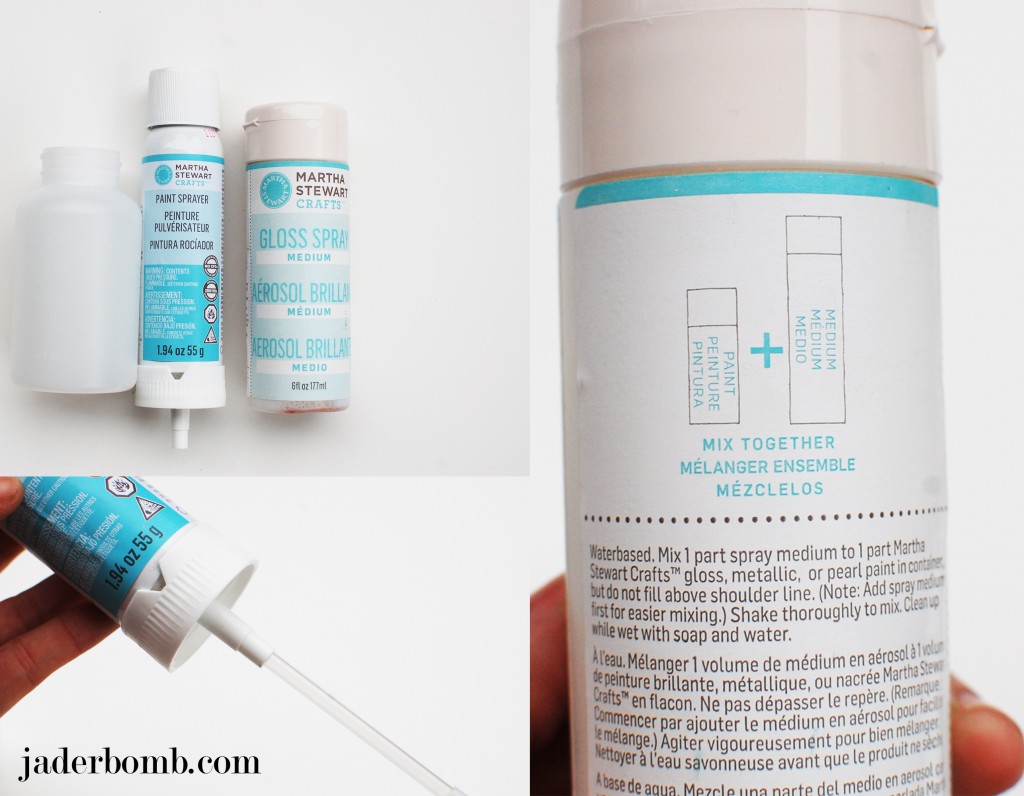
When you get your kit it will come with a few things. The first thing you will need to do is take the clear plastic tube and connect it to the bottom of the spray can. I put a picture above so you can visually see what I mean. Next we will mix our paint in the container. Notice on the back of the gloss spray medium it says to mix 1 part medium to 1 part gloss, metallic, or pearl paint. They have lines on the container so you can measure correctly. Lightly swirl the paint and medium (BEFORE) you attach but do NOT shake. You don’t want to create bubbles inside.

spray_painted_vase_jaderbomb

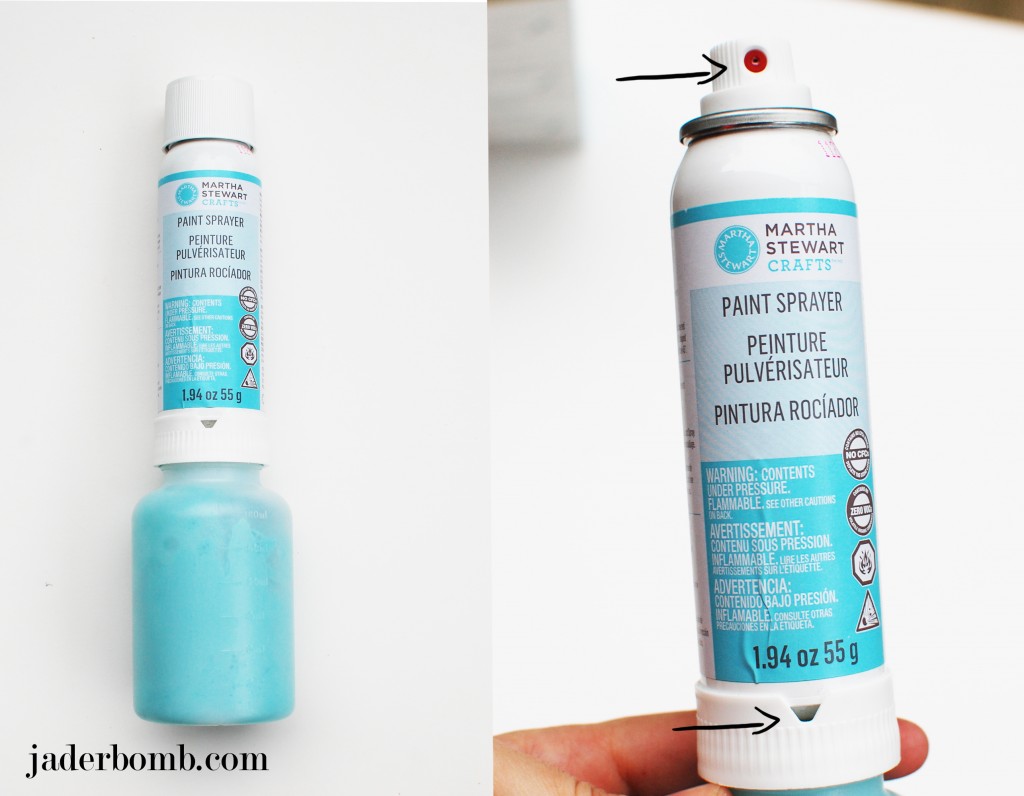
You will now just screw the container onto the spray can. The most IMPORTANT thing ever is to line up the  red nozzle with the little opening at the bottom of the can. If this is not lined up it will not spray.

spray_painted_vase_jaderbomb

Make sure you are in a well ventilated spot before you start spraying. You want to add a light coat and let it dry, repeat until you are happy with the look. I coated mine as much as I could. I didn’t want to see through the vase at all.  If you notice on my stencils they have the image that is cut out and around it it looks like a rectangle. The reason why I spray painted it this way is because I knew I wanted to see the water in some spots so I created a blocked print with the stencil.

spray_painted_vase_jaderbomb

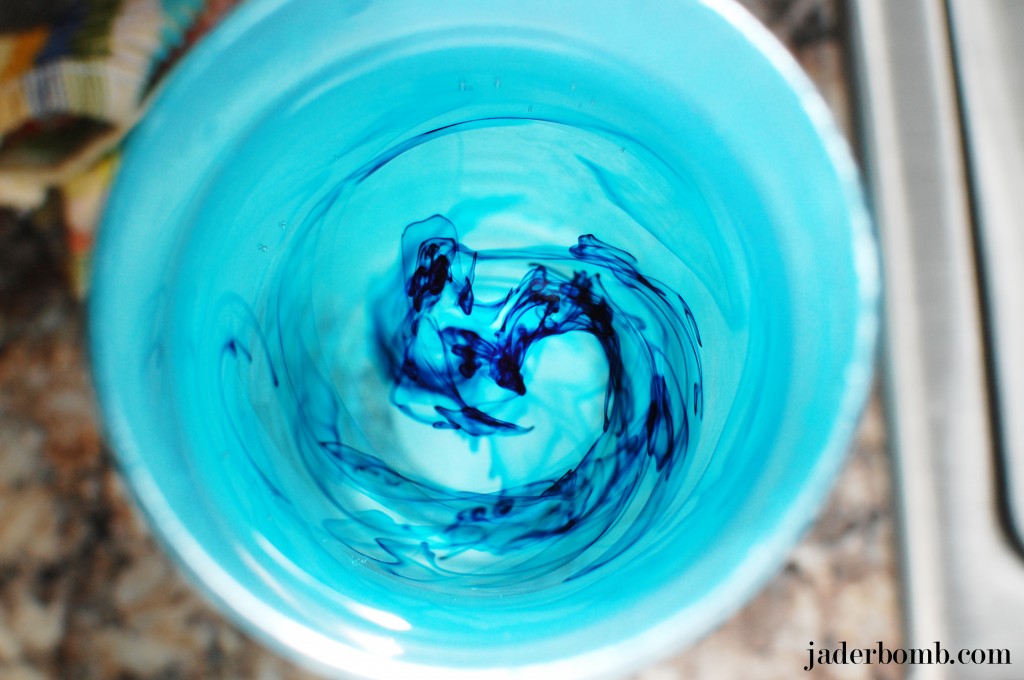
When I was done I added water, then a little food coloring ( to spice up my water) then added some pretty tulips. You can add any color you want which makes it super fun. If you stick this baby in a window you will just stare at it for about 16 minutes strait. Fa REEL!
Remember these tulips?

Well, I hope you enjoy this tutorial as much as I did! Huge glitterbomb hugs from me to you!

jaderbomb.com

Quote of the day: 
“Cheers to a new year and another chance for us to get it right”. -Oprah Winfrey

HAPPY NEW YEAR!
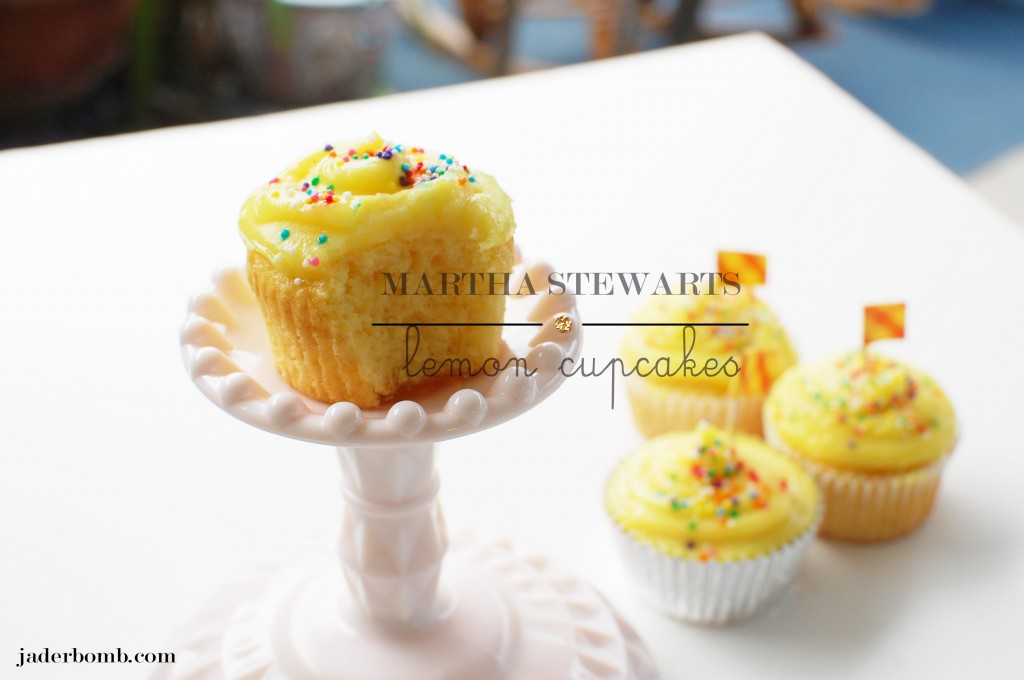
I am so grateful to be here to share the happiness that goes on in my life quite frequently. Today I am sharing a recipe that I got from Martha Stewart’s cupcakes which is her best selling cookbook.

Martha_Stewarts_Lemon_Cupcakes_Jaderbomb

Martha_Stewart_Cupcakes_Jaderbomb

It’s super delicious so I hope you make it ASAP. I swear when I took them out of the oven lil one already had 2 in his belly before I could even frost them. After I made them I saved some for us then I walked around my hood and delivered them to all of my wonderful neighbors. I thought about bringing some to “NEW” neighbors but then I thought they woud prolly say thanks, take it then throw it away (scared it might be laced with something).
{{{btw which is what I would do unless I “knew” them}}}
You never know these days! I have to say the elders love when I bring them baked goods, especially strait out of the oven.

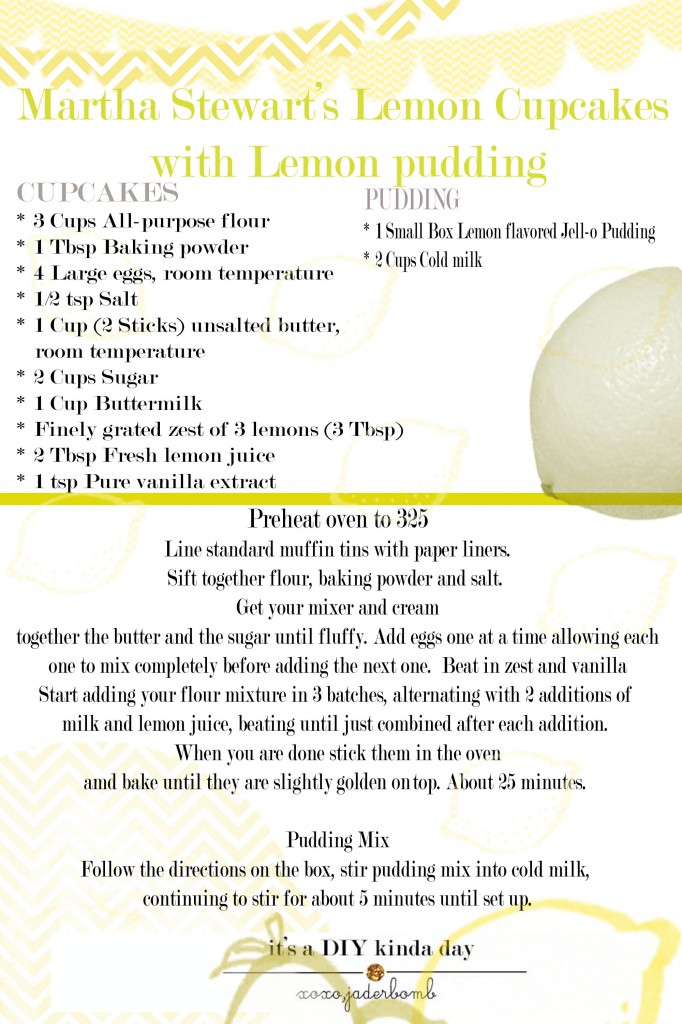
Let’s get started. I attached a free printable of the recipe that I made for you! Enjoy

Martha_Stewarts_Lemon_Cupcakes_Jaderbomb

If you want to print out this recipe click HERE to get the PDF file or you can just save the picture to your desktop!

Martha_Stewarts_Lemon_Cupcakes_Jaderbomb

Don’t they look so yummy! Trust me they are. I hope you are having a great NEW YEAR so far. We had a magnificent day and I wouldn’t change anything so far!

Sending you BIG hugs and glitterbomb’s,

jaderbomb.com

 
Quote of the day:
“We must go and see for ourselves.” -Jacques Cousteau
 
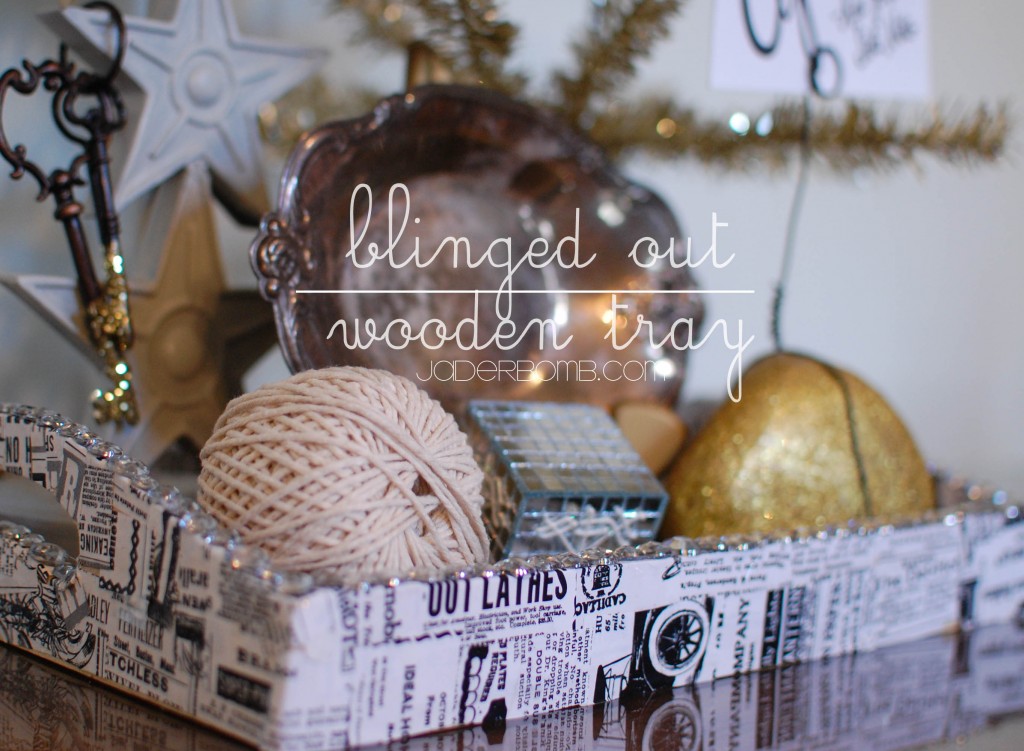
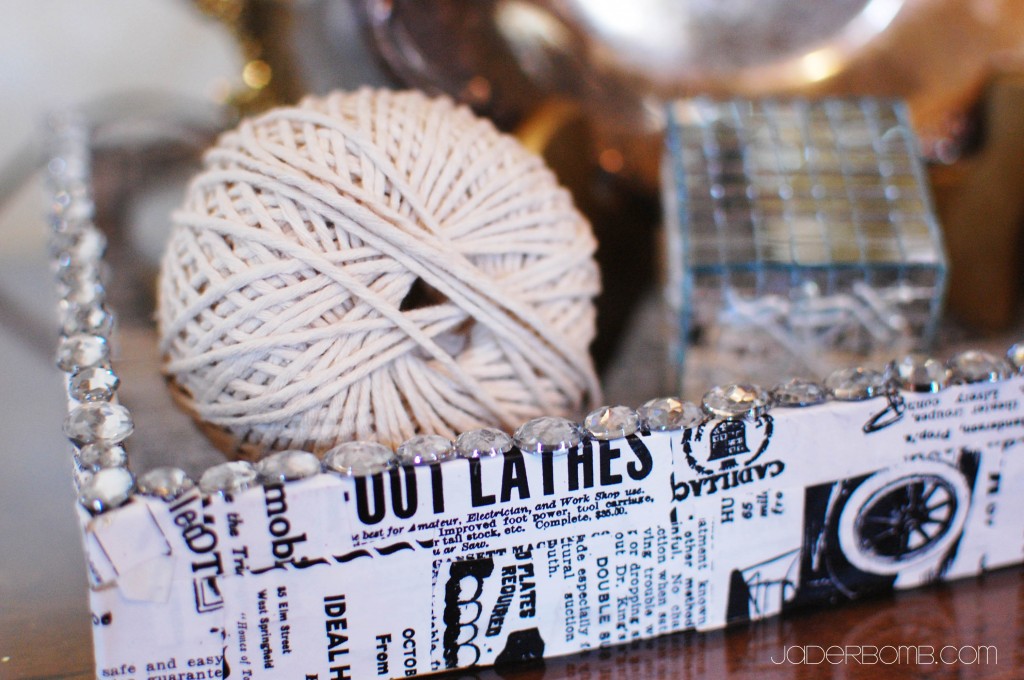
Wow! what an amazing year it has been. To start off the new year I have a cute last minute New Year’s treat for ya! I always love decorating around a holiday so New Year’s is full o’bling and I love that. Today I will show you how to turn a 3dollor wooden tray into pure bliss. Let’s get started!

How To Decoupage a Wooden Tray

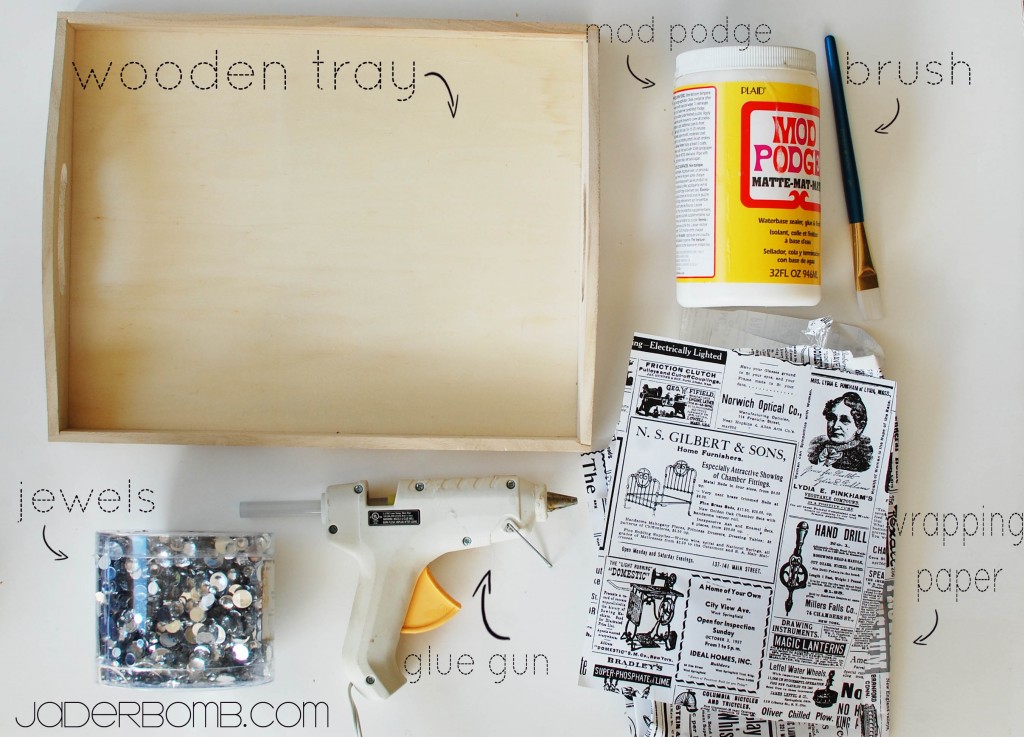
Ingredients:

*Wooden Tray
*Mod Podge
*Brush
*Jewels
*Wrapping Paper
*Glue Gun

How To Decoupage a Wooden Tray

How To Decoupage a Wooden Tray

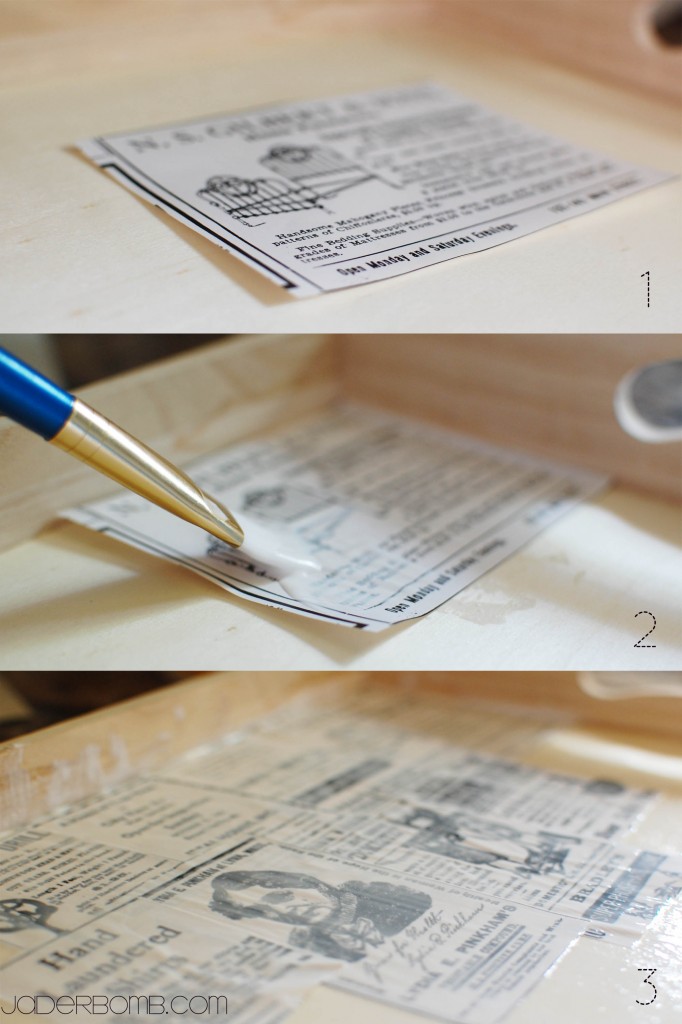
You will continue to Mod Podge until the entire tray is covered. Don’t worry if this is your first time using Mod Podge. It looks Matte when you paint it on but dries clear. Thanks goodness! This is why I use this on the “daily”.

How To Decoupage a Wooden Tray

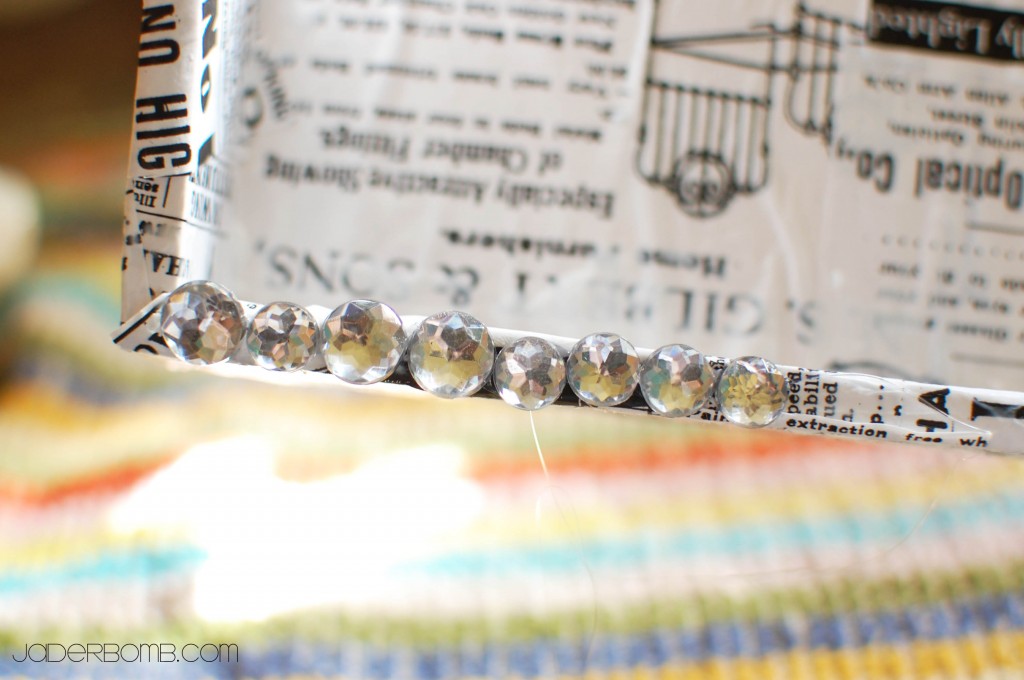
Once you have it all covered with your material you are using and it’s dry you can start gluing on your jewels.

I just make a line of hot glue then place my jewels down. Don’t do a super long line because it dries pretty fast.

How To Decoupage a Wooden Tray

This is what it will look like when you are done. I think it’s gorgeous and the good thing is it’s super affordable! You can make these for someone and give it to them as a gift! 
How To Decoupage a Wooden Tray

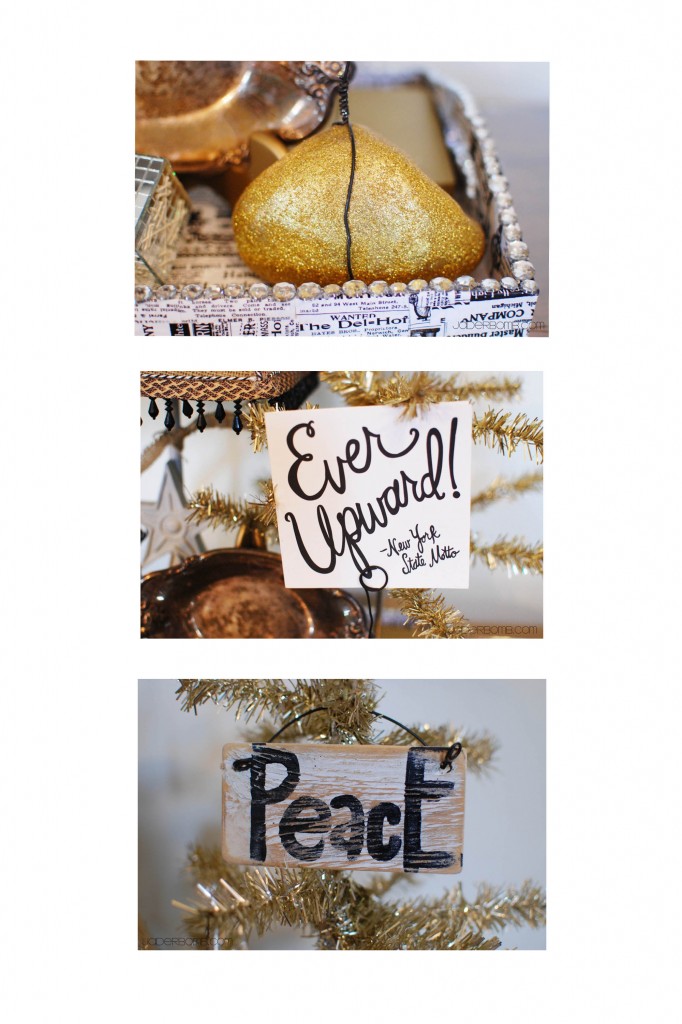
Here are a few ornaments I put in my tray. I hope you enjoyed this tutorial. Can’t wait to see ya in the next post!

Don’t forget to make it a DIY kinda day!


DSC_00028

I am still in shock that it’s “that” time already. Time to share my top 10 posts of 2012. Where did this year go? Am I the only one who feels like it FLEW away? Well let’s get it!

Top 10 post of 2012- jaderbomb

Happy Saturday Jaderbugs! I know I tell you often how much I love all of you but let me remind you again today. I LOVE YA and I mean it! Seriously, I wouldn’t be typing this today if it were not for you. My amazing readers who faithfully come back to see what is going on in my life! I am so excited for 2013 and I surely hope you are too. I have LOT’S of exciting things happening in 2013 and trust me I wish I could tell them all to you right now but don’t worry I will soon {fist pump}.

So here ya have it, thank’s to you these are my TOP 10!

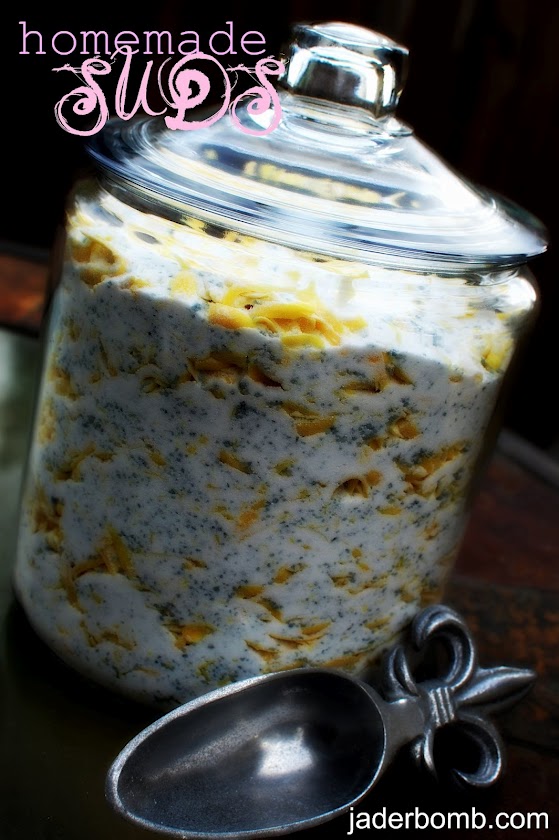
10. Homemade Laundry Soap Detergent

I love making my own detergent because I feel like I know what is going into my water, clothes and eventually touching my skin. It feels a litter better using ingredients that I can actually pronounce.

Homemade Laundry Soap Detergent

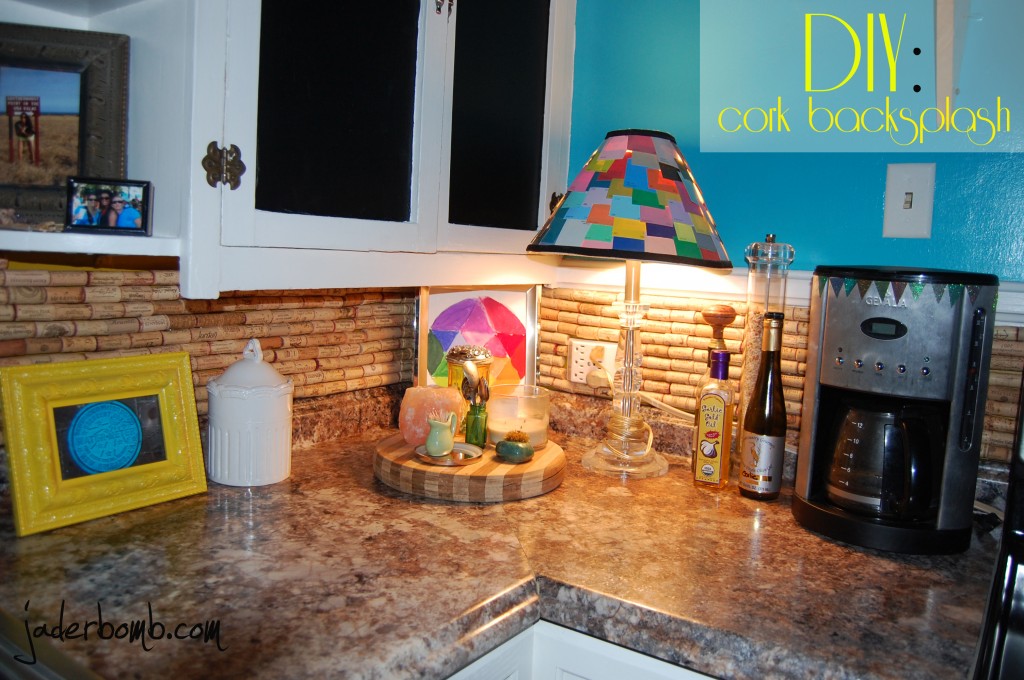
9.  How to make a cork backsplash for your kitchen: tutorial

Wow. What can I say about this. TIME CONSUMING but WORTH IT!

How to make a cork backsplash for your kitchen: jaderbomb

8.  Free Mason Jar Printable

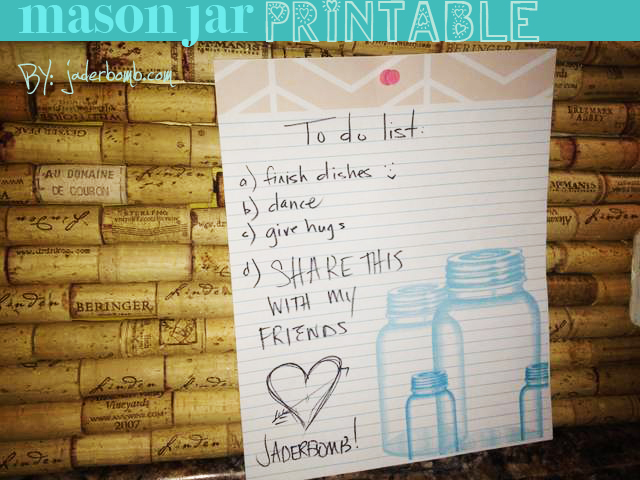
I am so happy that this free printable I made, made it into my top 10. I fell in love with this when I made it and I hope it brings joy to more people in the future.

Free Mason Jar Printable- jaderbomb

7. Anthropologie Coffee Cream Bottles Tutorial

I am happy this was in my top 10 but shocked a little. I think I did this about 2 years ago and I didn’t realize it was still going strong! But that makes me HAPPY! Oh and this made it into my top 10 from 2011.

https://jaderbomb.com/2011/02/08/diy-anthropologie-coffee-cream-bottles/

6. DIY: Homemade Reed Diffusers

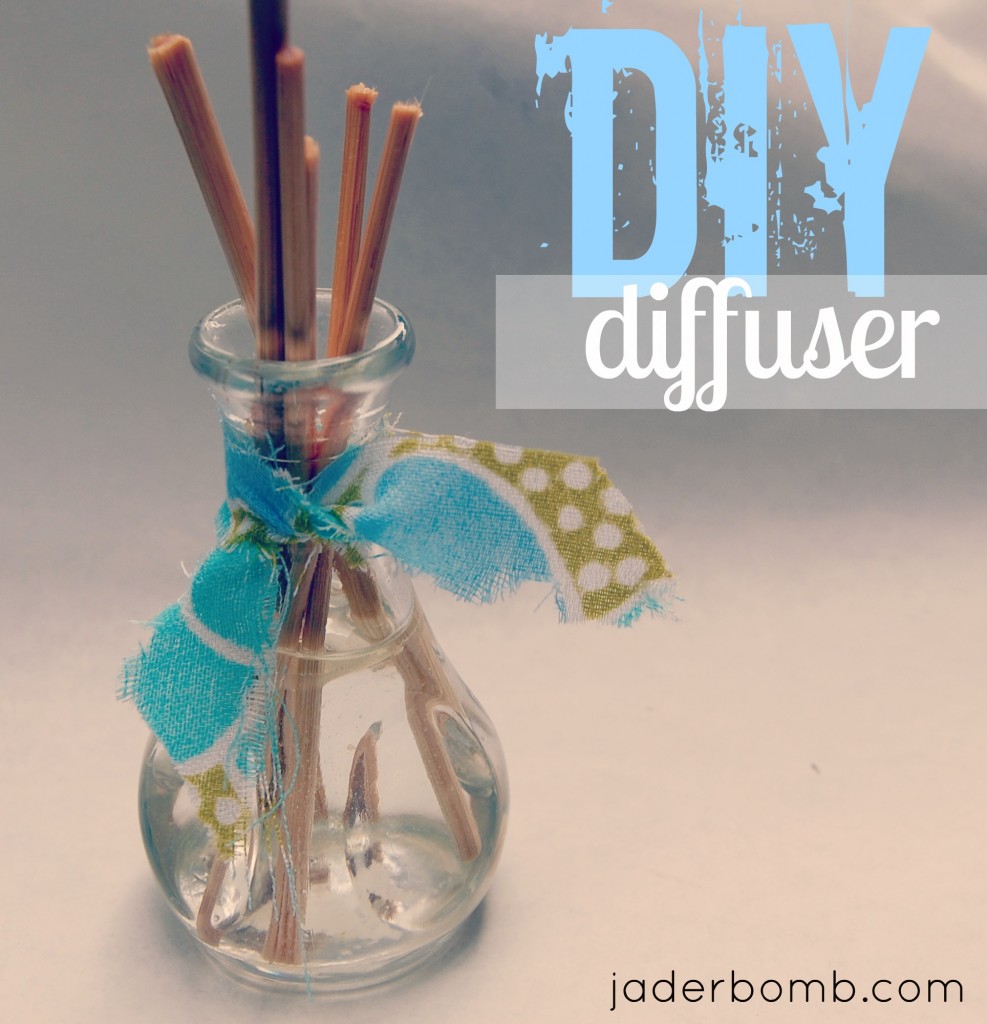
When I made this my intention was to save money. I have issues spending money on these in the stores so I figured I would make my own. Not only is it cheaper but completely affordable for anyone!

DIY: Homemade Reed Diffusers

5.  STRIPED SHABBY CHIC MIRROR

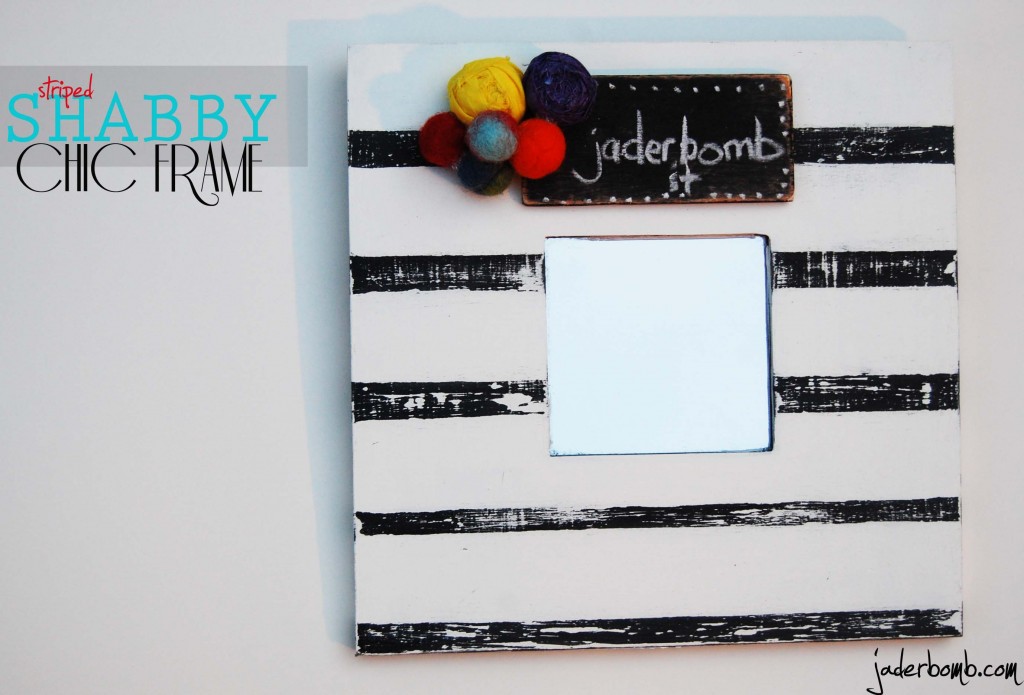
If there was one craft I did this year that I am STILL in love with it’s this one. I think it’s because anything that is black and white with a splash of color wins my heart.

STRIPED SHABBY CHIC MIRROR

4. Tutorial- Mexican Folk Art with Martha Stewart Crafts Glass Paint and Stencils

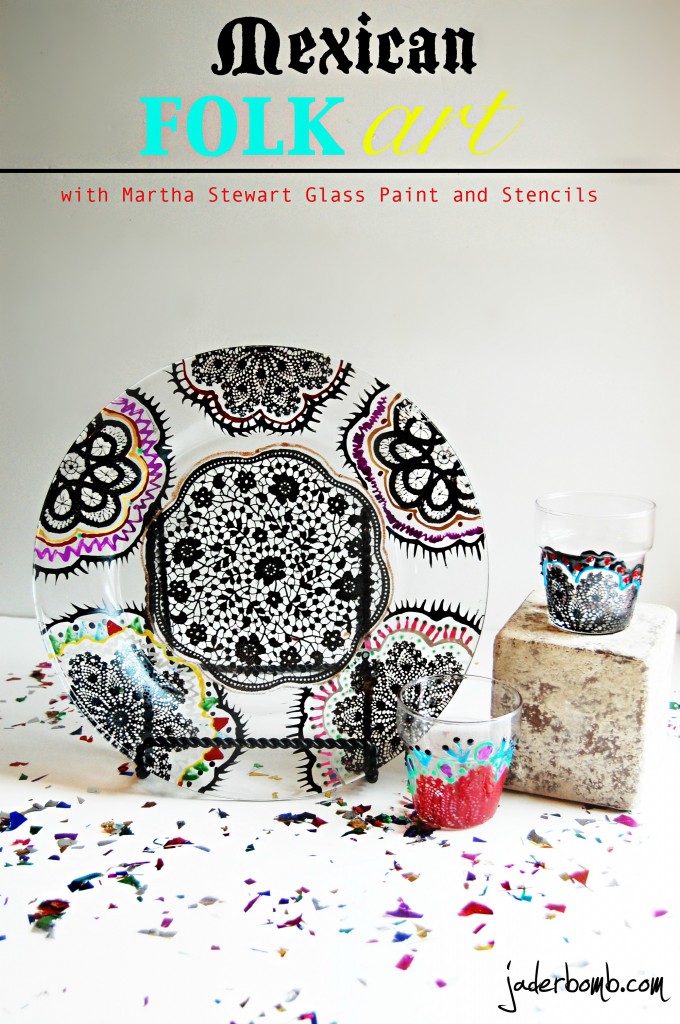
What better way to dress up a boring plain plate than to add a little silk screen to it. Make sure and check out this tutorial because it’s truly amazing!

Tutorial- Mexican Folk Art with Martha Stewart Crafts Glass Paint and Stencils

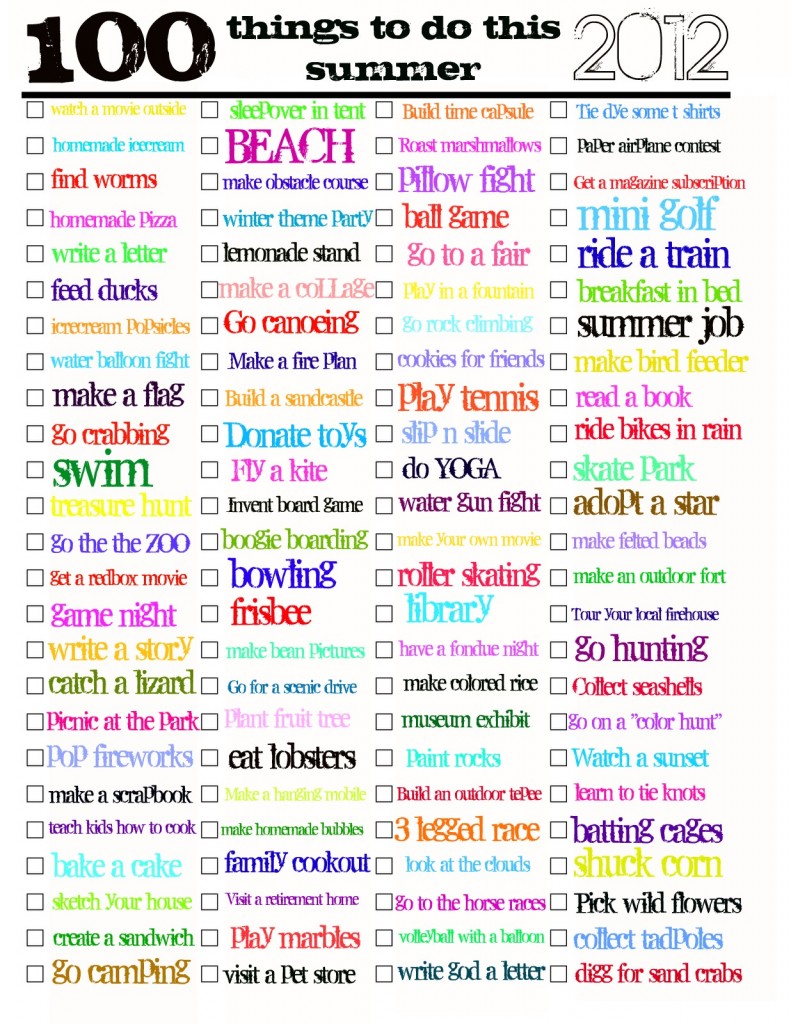
3. 100 things to do this SUMMER PDF

I had so much fun making this and I am already adding new things for Summer 2013. I had a lot of great feedback from this post. It’s kinda fun to see just how much you can actually get done!


100 things to do this SUMMER PDF

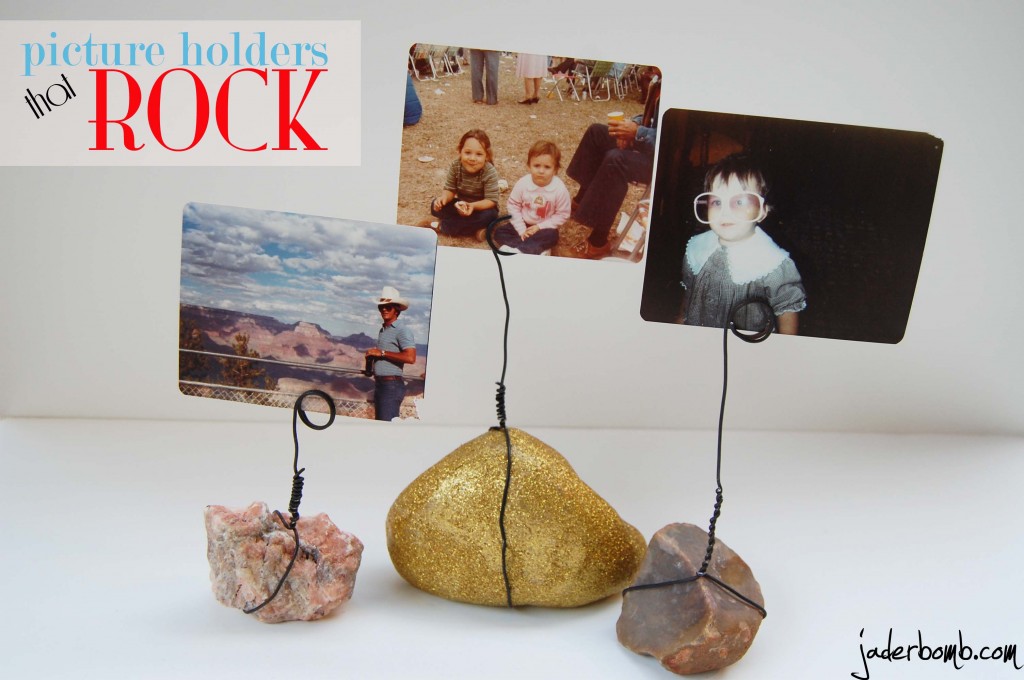
2. Picture Holders that ROCK

Yep, I reused some old dingy rocks and turned them into these magnificent beauties. Check out how I made them by clicking on the picture!

Picture holders that rock

AND THE NUMBER ONE POST OF 2012 is….

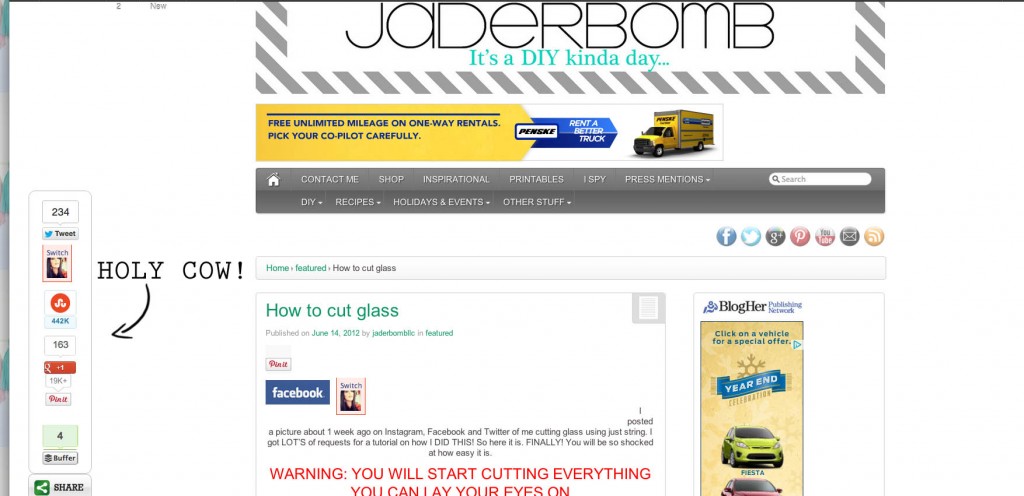
1. How to cut glass

PHEW! What can I say except WOW. I am still in shock at how many people viewed this, shared it, pinned it, and made it! Thanks YOU!

How to cut glass- jaderbomb

I am still in awe of the numbers from my #1 post of 2012!!

Twitter: 234 tweets

Facebook: 2.5 thousand likes

Stumble Upon: 442 thousand stumbles

Google Plus: 163 shares

Pinterest: 19+ thousand pins

jaderbomb top 10 post of 2012

I really hope you had a great time looking through my posts!

Some things to look forward to in 2013 from me:

*I really want to redu my studio so you can look forward to seeing that
*I want to start using more “vintage” items in my makeovers
* Working on a new site as we speak so stay tuned… only thing I will tell you is it will be “YUMMY”
*I want to makeover more furniture

Wanna see my Top 10 of 2011? Click HERE!

I am sure I can go on and on for day’s but that is a quick vision I have for you.

I hope you have a GREAT NEW YEAR, LOVE YA!


DSC_00028

Sharing with Southern Hospitality

This month I will be hosting the GOOGLE + party!

Google + is the place to be! It’s a real big deal in everyones life.  Everyone loves sites like Facebook, Pinterest, Twitter and ton’s of other sites because it’s an easy way to keep track of the pages we like, friends & family, and everything else. Google + is something fairy new but growing SO much daily!

I would say it’s gonna be the NEW Facebook… But that’s just my opinion. For ONE, it’s GOOGLE. Only the largest search engine in the WORLD!

One good thing is when you post in Google+ it helps your rankings and don’t we all love that! I’ve recently done a few Google hangouts and I am loving how easily you can feel connected to others.

I am always sharing tons of great projects and featuring things other’s make so come on over and check out my Google + page!

Who’s ready to attend the best ONLINE party in the entire world! Well WELCOME because you are in the right spot!
I am so excited to be a part of this fun linky party.

Wanna know why? I shall tell ya!
Well for once we will not be linking up our creations but we will link up our social media outlets.

Why is this good?

Because it’s a great way to let others know who you are , plus YOU get to meet a ton of new people.

Let me tell you a little more about Saturday Social

It’s the LAST Saturday of EVERY month. There are four members who will each host a different Social party.

The hostesses of the Saturday social will rotate social sites each month so that means you will get to meat TONS and TONS of great, amazing, creative, nice, unique and NEW people.
Are you getting all of this, because it’s gonna be TONS of fun.

The parties will start at 8am EST and close at 11:59 PST

Don’t forget to link up at the bottom of this post! After all it’s the most important thing to do today.

Wanna meet the team that put’s everything together?

I have the honor of working with a great group of ladies on the Saturday Social party.

The 4 hostesses will be:

Domestically Speaking
(Hosting Twitter Party)

Jader Bomb
(Hosting the Google+ Party)

Setting For Four
(Hosting Pinterest Party)

Its So Very Cheri
(Hosting Facebook Party)

Once you have entered my party, head over to the other parties and get SOCIAL.


I hope you enjoyed this tutorial, see ya in the next post! Make sure you come visit me in these places too! (look below this line, hehe)