Tag Archives: jaderbomb

Quote of the day:
Time you enjoy wasting isn’t wasted time”

————————————————————-

Here is my video inspiration for this post. Make sure you press play while you enjoy the post.

FYI: this is my FAVORITE movie EVA!

Check baby Check baby 1.2.3.4.
Check baby Check baby 1.2.3.

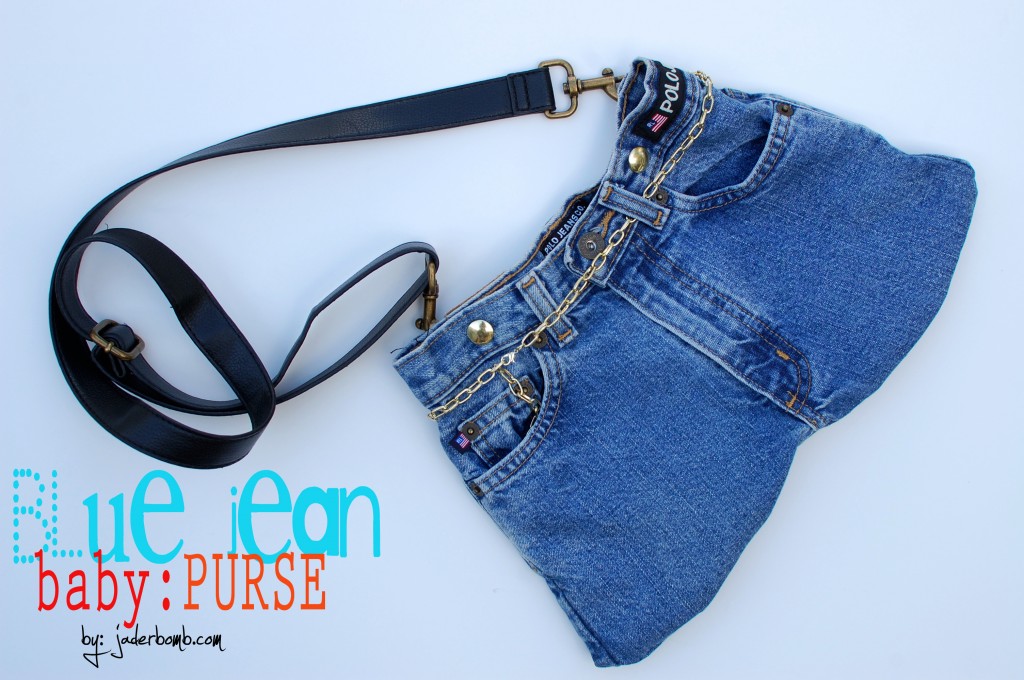
I had so much fun creating this project in my head. See I had these mini blue jeans from my son when he was LIL. I didn’t want to throw them away or stuff them into a box  so I decided to let my creative brain decide for me. I thought they best way to incorporate them into my daily life was to make them into a fashionable blue jean purse.

Let’s get started. I’m just warning you, this craft is super easy so put your crafty seat belt on.

I know, I know. You are prolly thinking “Hey Jaderbomb, where is your “ingredient” list”. If you don’t know what that means it’s the picture of things you will need to make this project. I will tell you why I don’t have one. Well, because I didn’t plan on posting this. I think I THOUGHT it wasn’t going to come out like it did in my head. I guess I fooled myself.

You will need:
*blue jeans
(whatever size you want)
Obviously the bigger the jeans, the bigger the purse
*an old purse strap
*snaps
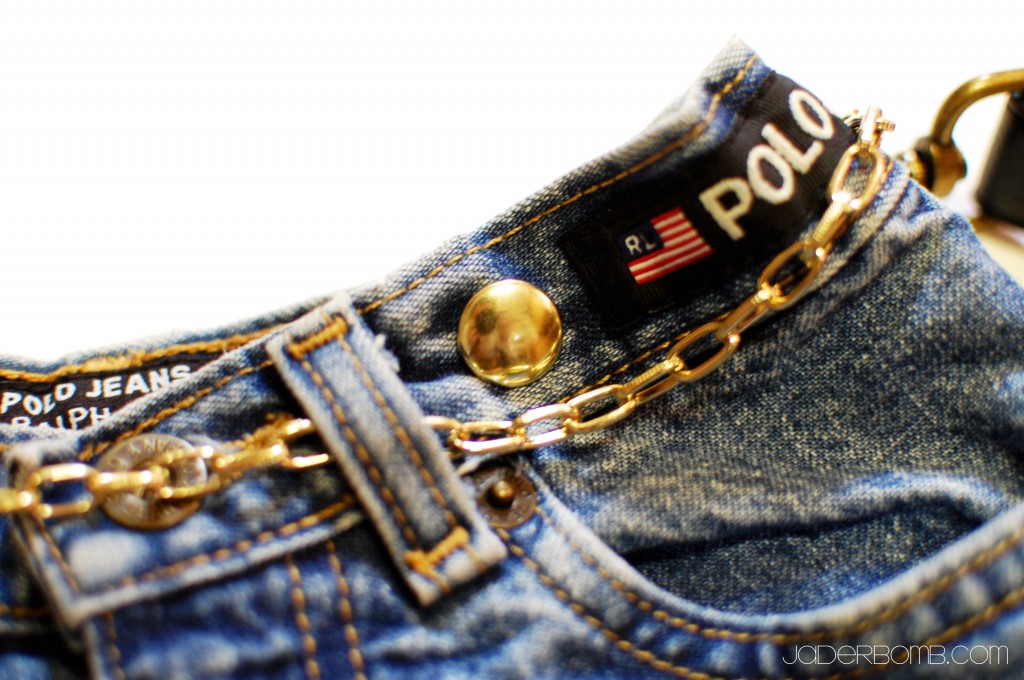
*gold chain
*needles
*thread
**sewing machine works the best**

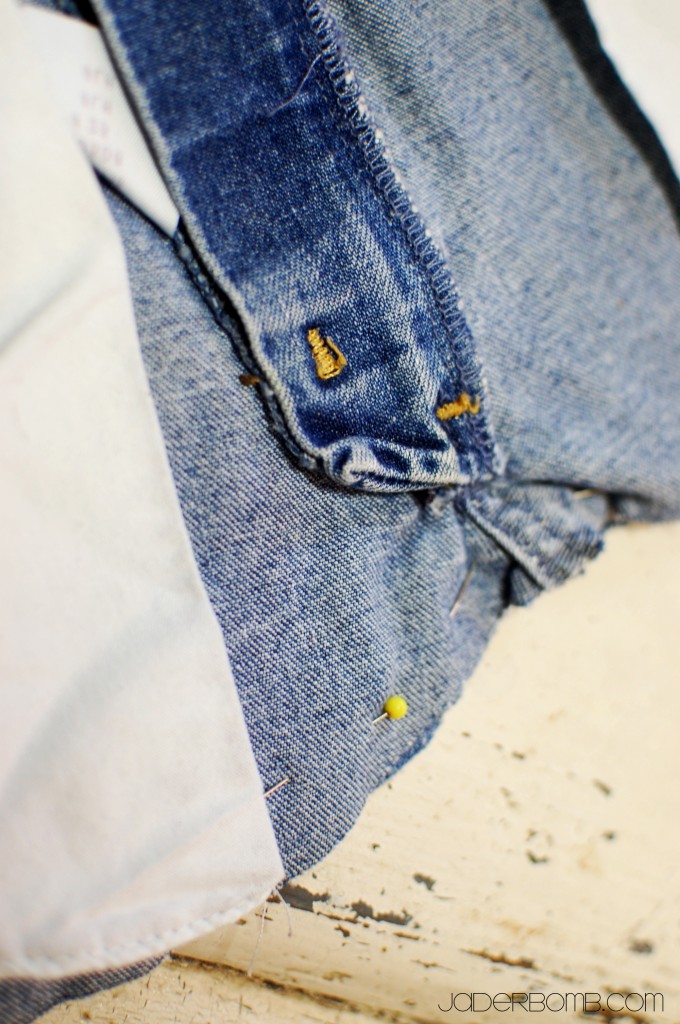
The first thing you will do is cut the pants where you want the bottom of the purse to end. When you are done cutting pin them like I did below. This will secure the material for you.

Remember, the longer you cut the deeper the inside of the purse. I am loving this project so much I think I will make a few HOBO bags (with new jeans of course cause we don’t want any honey boo boo smells) and sell them on my ETSY and STORE ENVY shop. What cha think! I think it will save you the time and it’s great Christmas gifts!

Just a little closer look at how I put the pin through the blue jeans.

Five years ago I would of totally hand sewed this, or found someone to do it for me…
Can you believe Ashy just taught me to sew last year! I mean let’s just say this. I always knew how to do basic things but now I can sew by myself like a big girl! haha

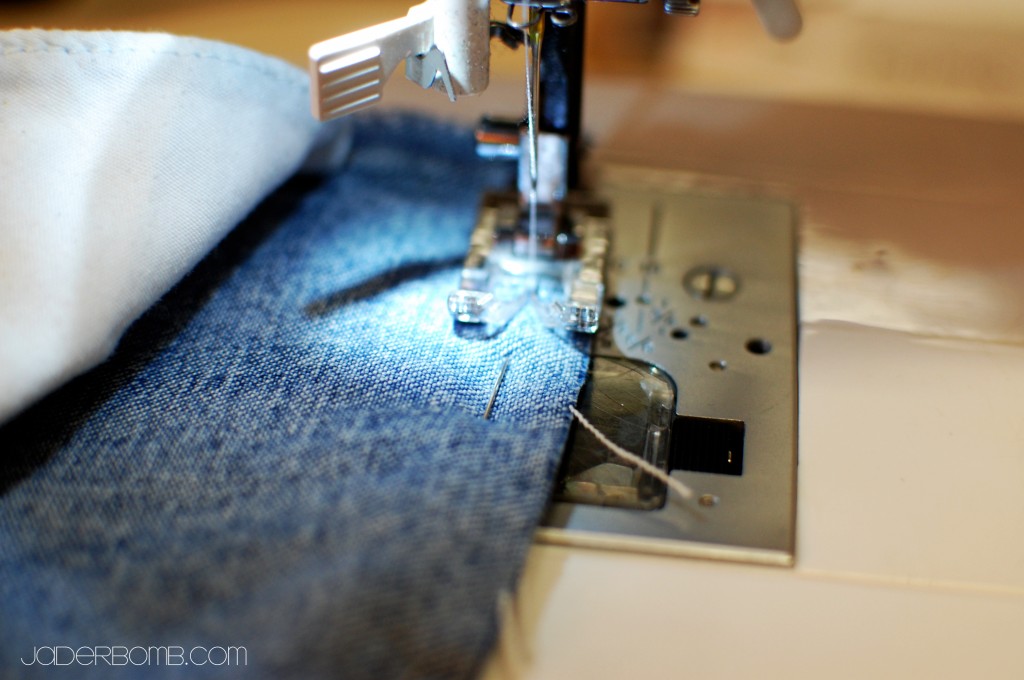
You want to sew the bottom of the blue jeans slowly. I made two passes just to make sure it was secure. Make sure if you are using a sewing machine for the first time that you take the pins out before you sew in that spot.  If you look at the picture below I wait until I am ABOUT to sew the pin until I take it out of my material.

When you are done with sewing you might need to take a lil break. You just did some major sewing. I am gonna take a break right now.

OK! I’m back!

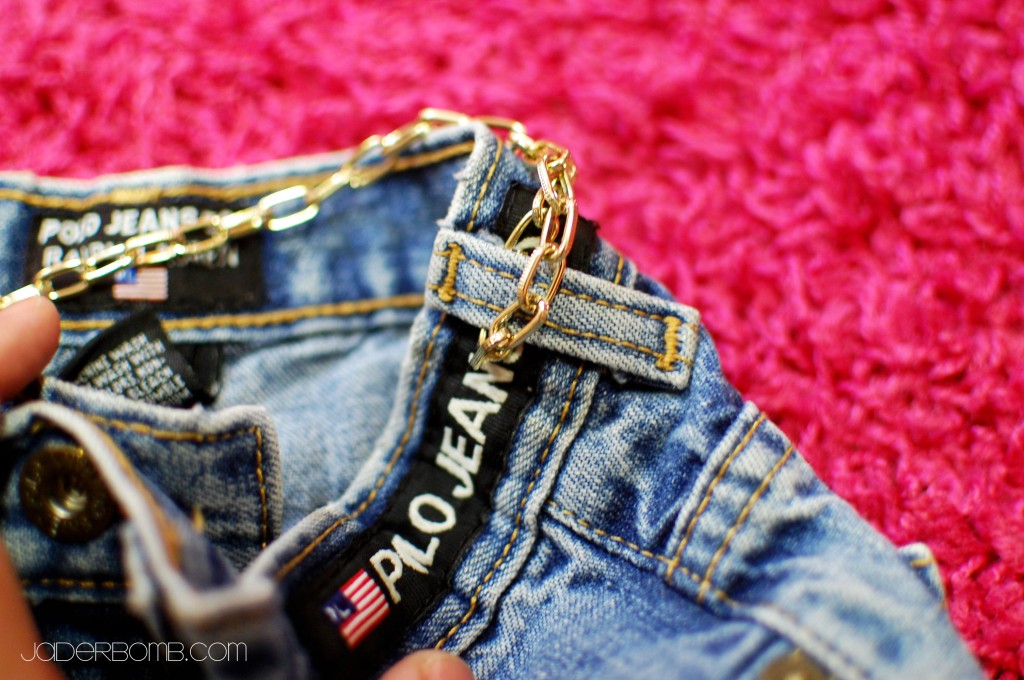
Now is the time to embellish your new purse. I started by passing a piece of gold chain through the belt loops.

If you don’t like chains, you can actually put a real belt (sheesh that would of been cute, why didn’t I think of that), some fabric or nothing at all.

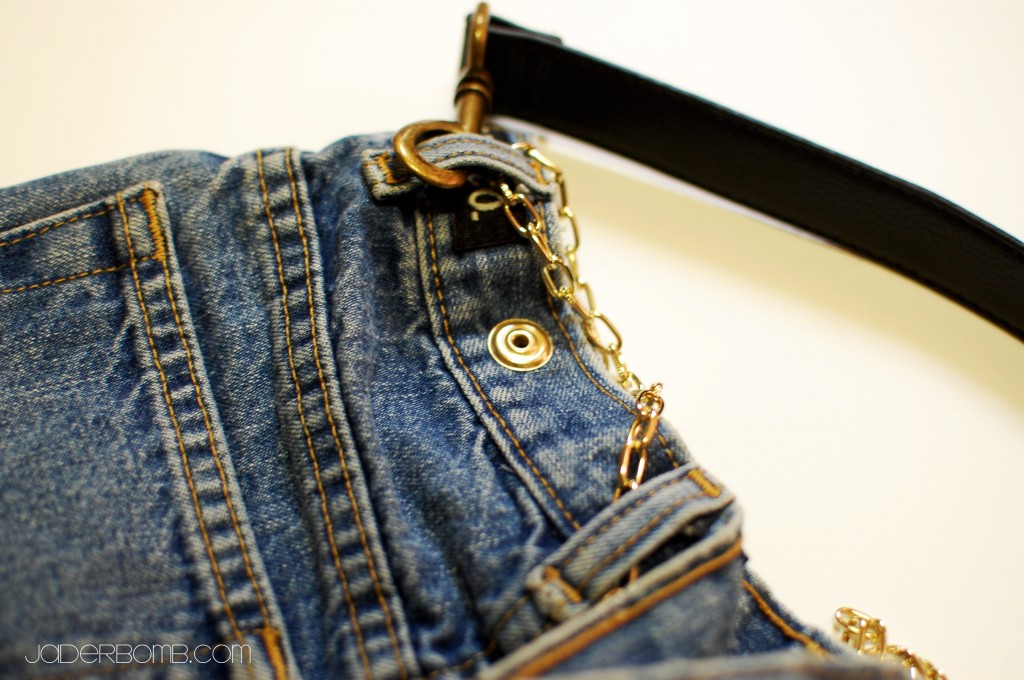
I have a ton of purses that have removable straps so I just stole one off of a purse and clipped it onto the belt loops. I am really loving the way the leather and blue jean look together.

In the picture below you will see those two gold snaps that I added. I found when I put things in the purse it kinda opened more  and I didn’t like that. I don’t want my goodies falling out now!
I used some SNAP FASTENERS for this. You can buy these at any craft store. I bought mine from Michaels Art’s and Crafts.

Another close up. This is what the snap looks like from the back. If you are not a fan of GOLD you can get SILVER snap fasteners also.

I hope you enjoyed this craft! It was so much fun. You could tie dye your purse, put tons of beads on it, make a strap with fabric, stencil it and so much more! I wanted a clean one, this time.

Stay tuned because I will be putting some in my Etsy shop for you to purchase! Can’t wait to see you in the next post!
Have you seen my BOOK PAGE CURTAINS? If not you have to check them out. So cuh-yute.

Find me here!

Quote of the day:

“Lose not courage, lose not faith, go forward.”

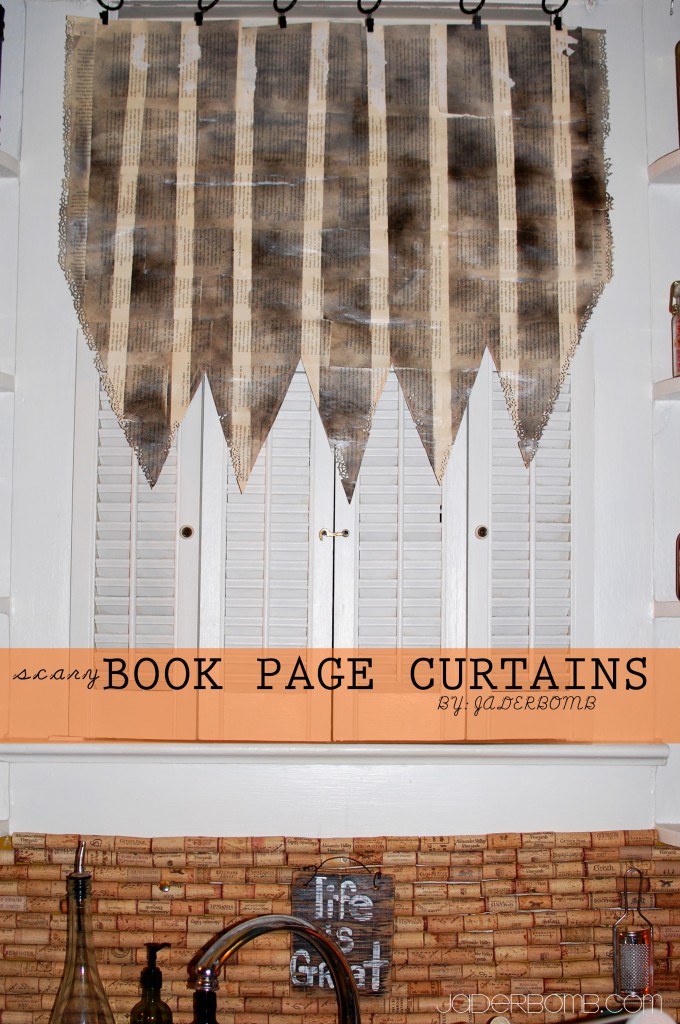
How much fun are these spooky book page curtains! I have to say I never every thought I would make curtains for my kitchen using pages from a book. But, why not?If it’s temporary until Halloween is over then we need to bring the spirit indoors!Let’s get going so I can show you how I made them!

INGREDIENTS:

*Book
*Adhesive Spray
(I love this one)
*Masking tape z
(Do you realize all that you can do with this tape?)
*Black spray paint
(you do NOT have to buy the most expense one either!
*Mod Podge
(I wish I could eat this stuff.)
*Brush
(not used a spoon for the Mod Podge)
*Martha Stewart Halloween Punch

The first thing you need to do is tear pages out of a book. I am using the FIRST twilight book because it will NEVER get old reading those pages. (I know I know I’m a sap)

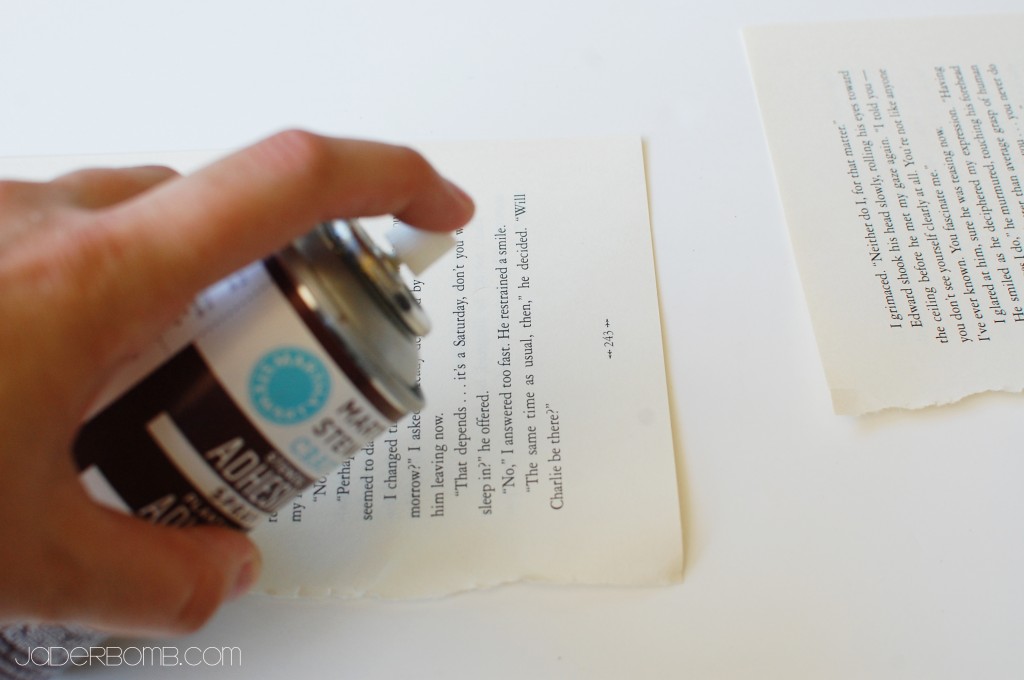
Spray the edge of your book pages with adhesive spray.

Then stick another book page on top. Just like this! (below, haha)

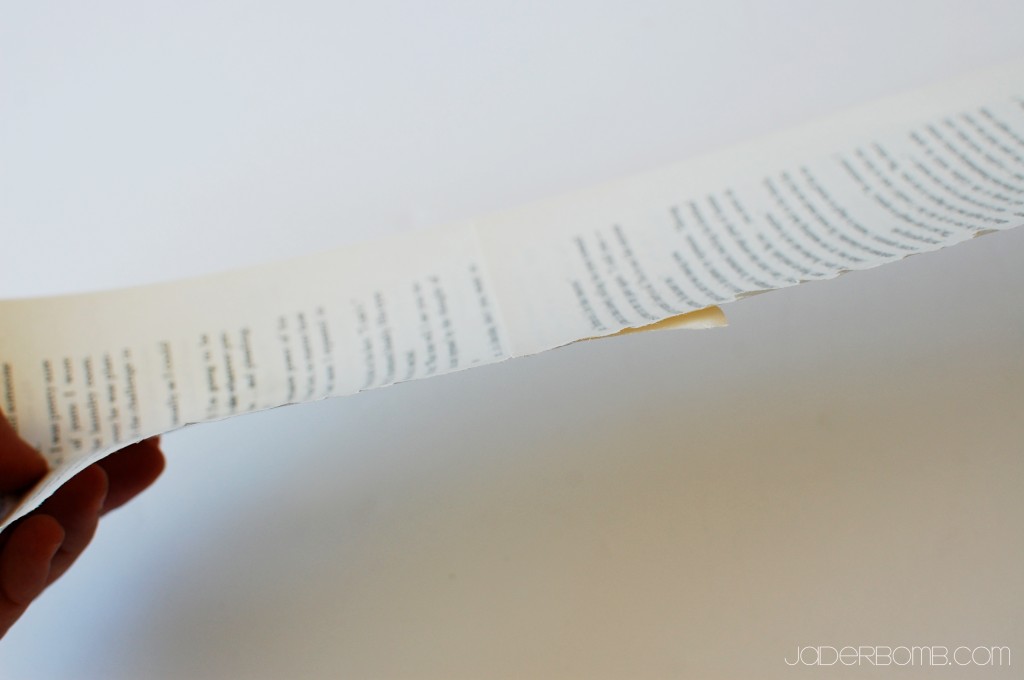
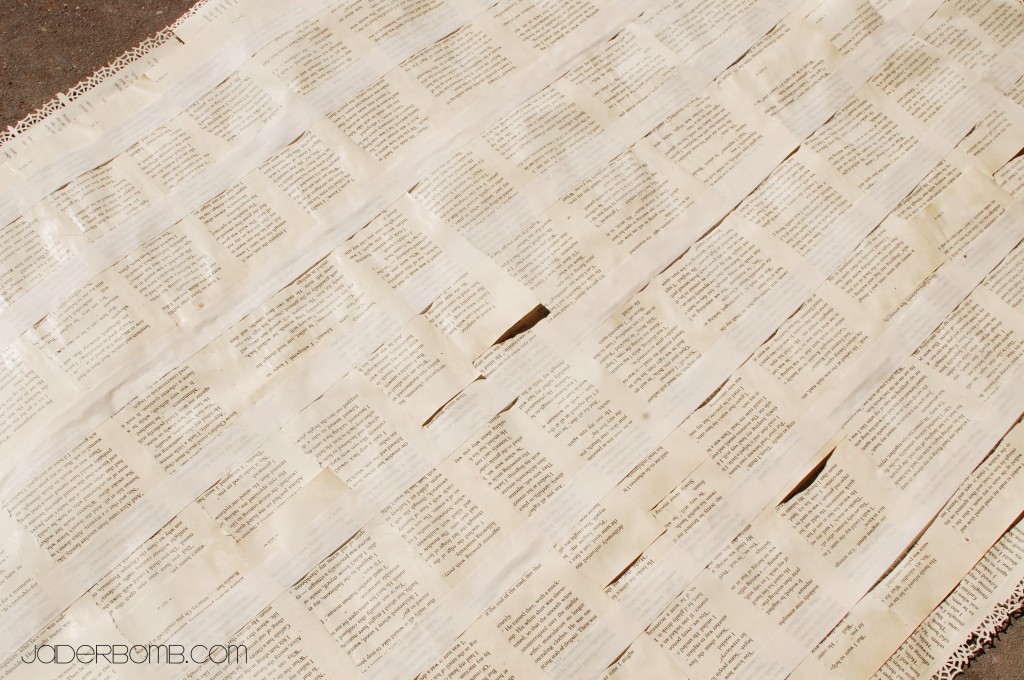
This is what it will start to look like once you get rolling! Hint: Once my sheet got large enough I would bring it in the house and place it on top of the window to see how much bigger it needed to be. I could of measured it and done it the “correct” way but that’s no fun! Notice the edges are punched with my Martha Stewart HALLOWEEN puncher!

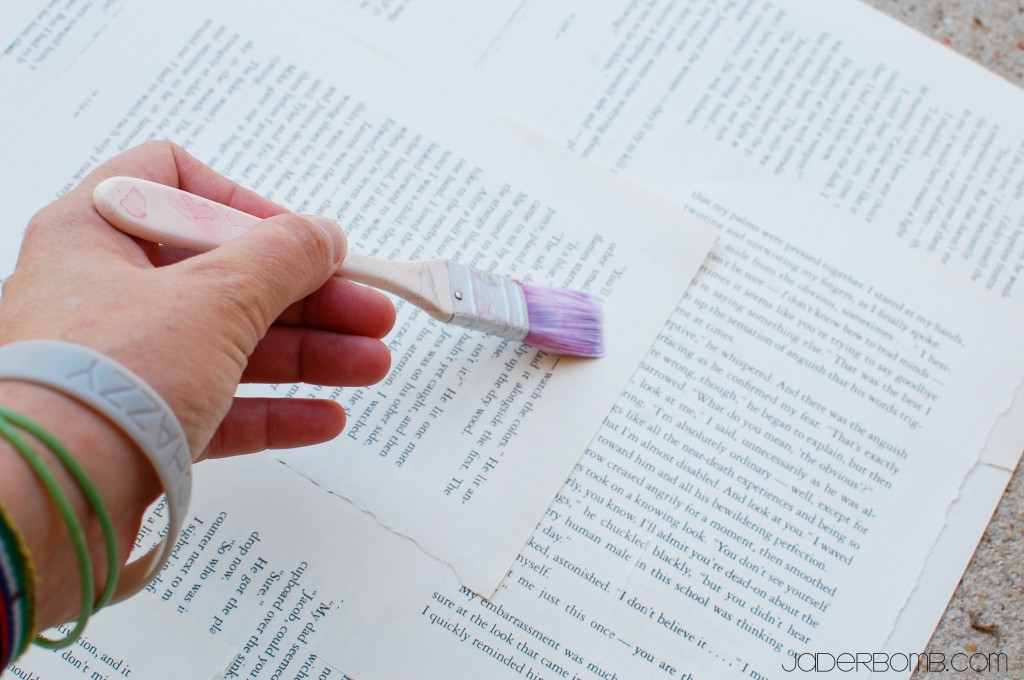
Once you have the correct size and you are done sticking pages together it’s time to break out the MOD PODGE! This is where you insert a BIG wahoooo.

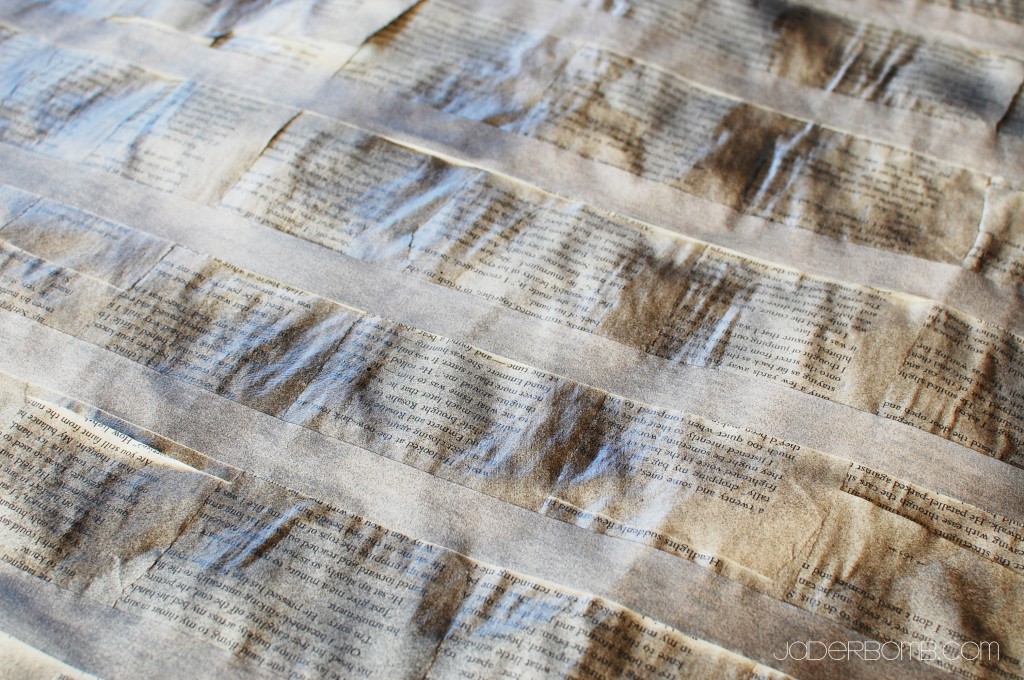
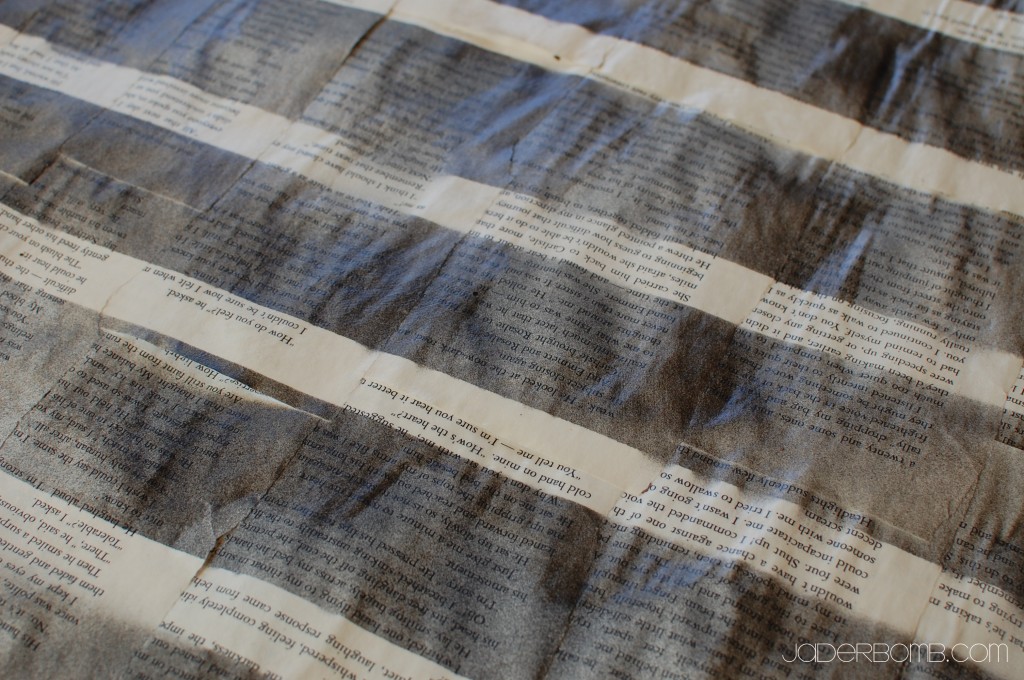
When your Mod Podge is completely dry lightly add strips of masking tape on top of your book pages. (see below)
You don’t want to press too hard because it will tear the pages when you peel if off. Spray your pages with black spray paint. I didn’t spray a super thick coat because I wanted a washed, vintage look. You could spray it till it’s completely black if you want that look.

Keep in mind you can spray with whatever color you like.

When the spray paint is dry peel off the tape~ Be careful. I ripped a couple of my pages because my tape was pressed really good to them. (craft fail)

Thank goodness this was a scary Halloween look otherwise I would have “tossed” this project into the trash.

When I was completely done with all of the steps I put it up in my kitchen like the picture below. I drew where I needed to cut with a piece of chalk.
I then took it down and VOILA! A spooky HALLOWEEN curtain! What I love the MOST about these curtains is how they look with light coming through them. It really makes our kitchen feel spooky.

The great thing about this project is it’s practically FREE. It’s easy for anyone do to AND when the spooky holiday is over you can toss it without feeling bad. Although I might just keep mine up and stencil letters on it for THANKSGIVING. Yes, I love them that much.

See ya in the next post Jaderbugs!

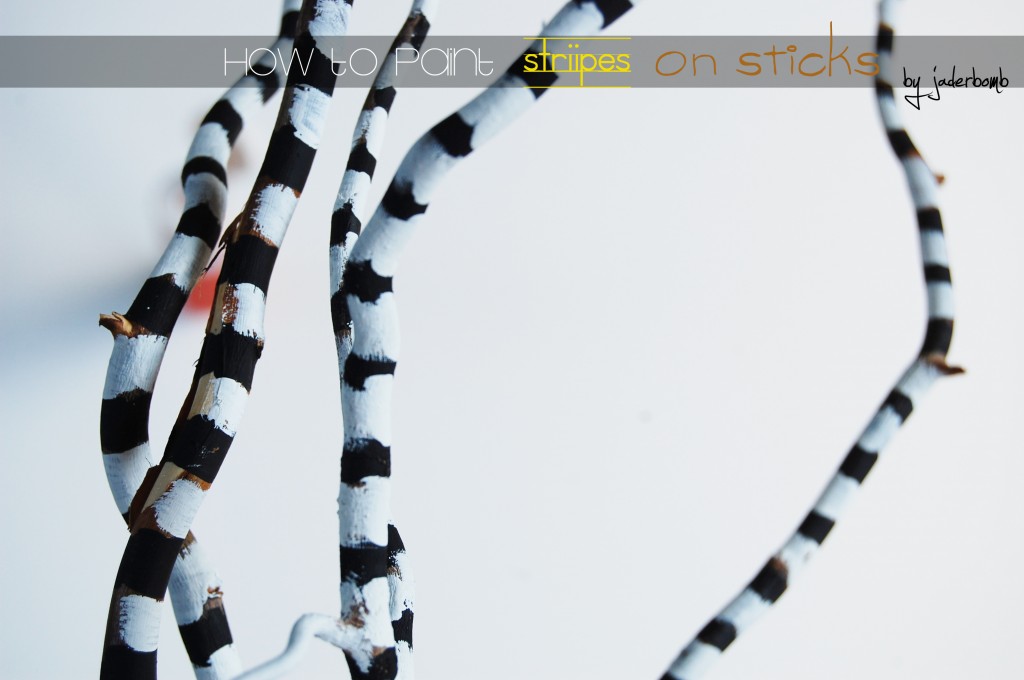
I am truly in love with this CHEAP stick painting craft.  My crafty buddy Stephen Brown has a lot of “black and white” stripes in his new book Glitterville’s Handmade Halloween: A glittered guide for whimsical crafting!

So, I figured I would do the same thing using sticks or branches. It really is so much cheaper than buying things in the store and it adds that whimsical touch to your home! Stick Painting can be very addictive so be careful, haha! I love to decorate my home or any space I visit with painted sticks. You can spray paint a ton of them one specific color and stick them in a gorgeous vase. That would fix any home decor problem and it is practically free. Unless you go steal the sticks from your neighbors yard because you can’t even keep your own trees alive.
Quote of the day: 

“I am BOLD enough to say, though not in a literal sense, that I almost prefer striving without success to success without striving.” 
-Georges Vanier

 stick painting

Let’s get started…

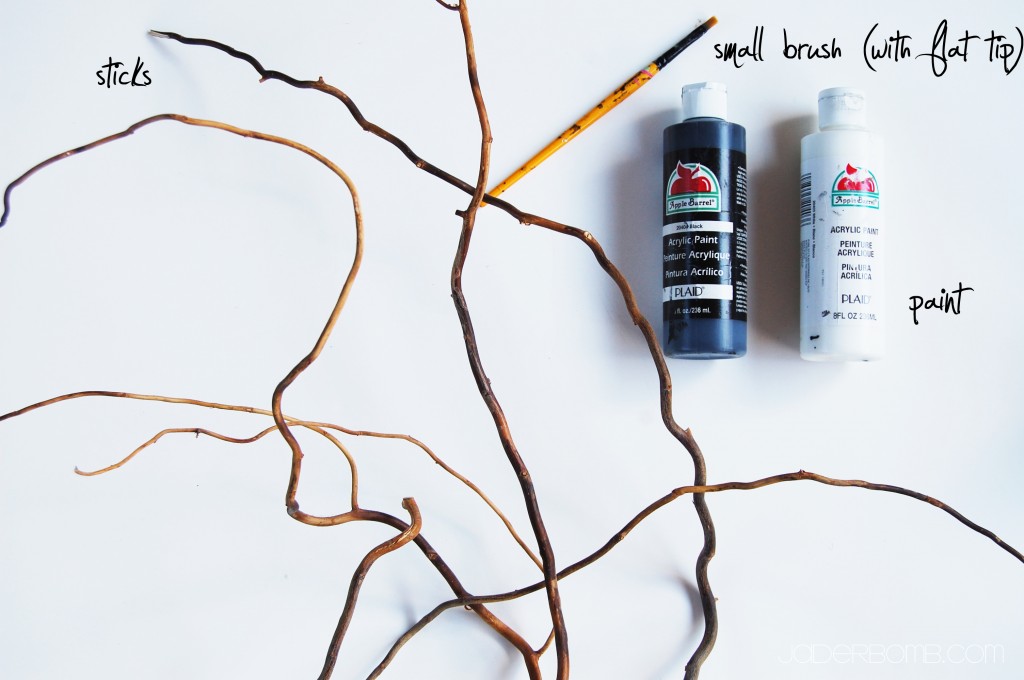
INGREDIENTS:

*PAINT

*BRANCHES or STICKS

*PAINT BRUSH

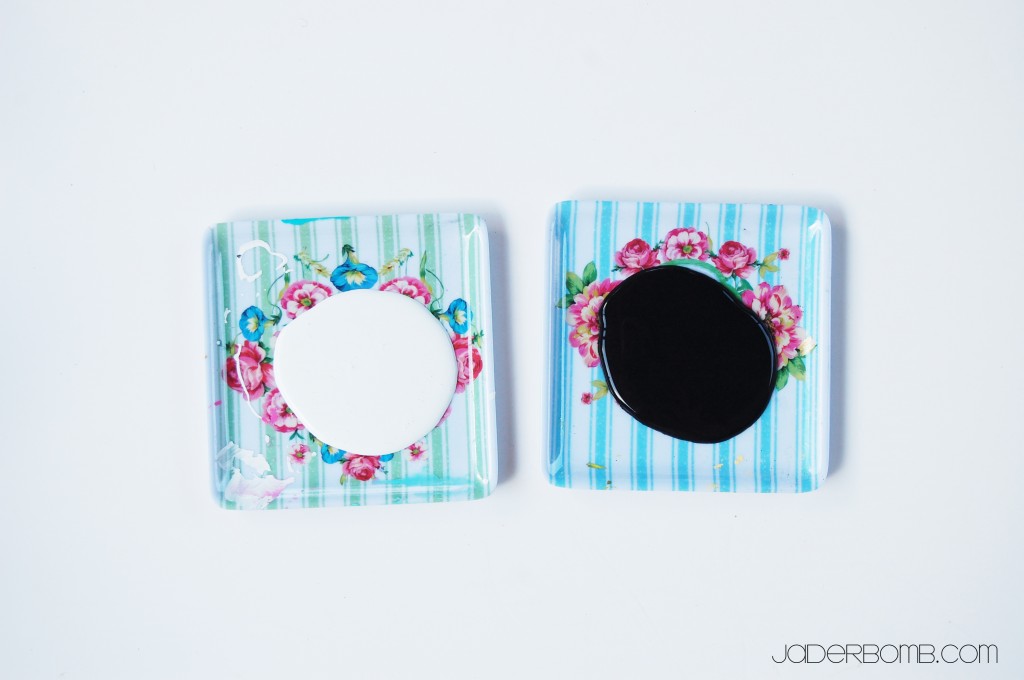
The first thing you need to do is squirt some paint on a saucer.

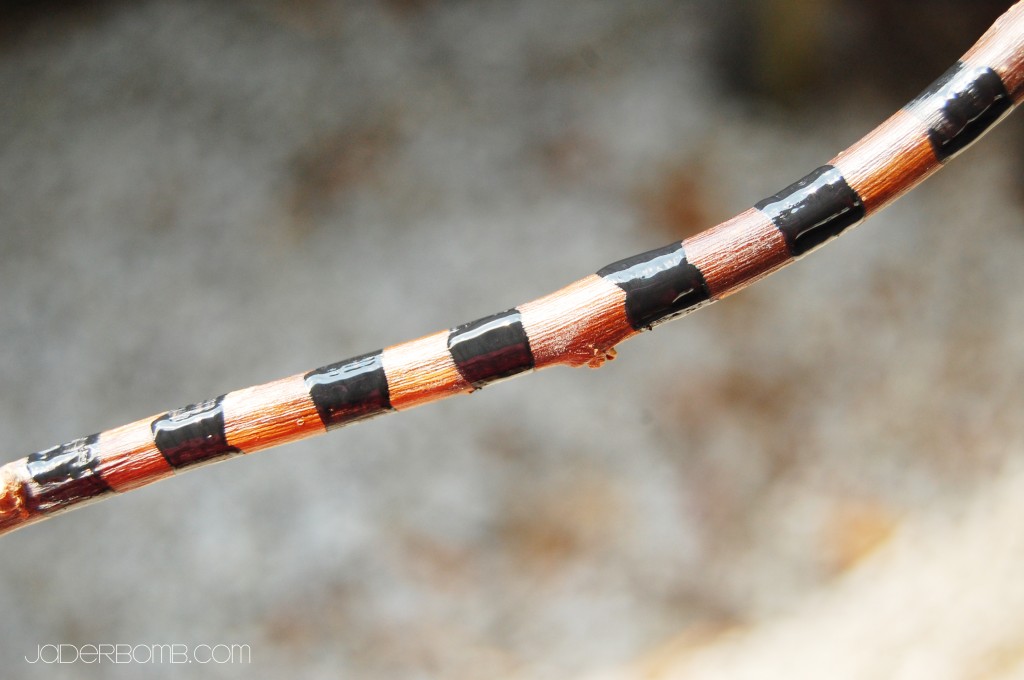
Next you will paint black stripes around your branches. I like to hold my brush on the branch and just slowly spin the branch.

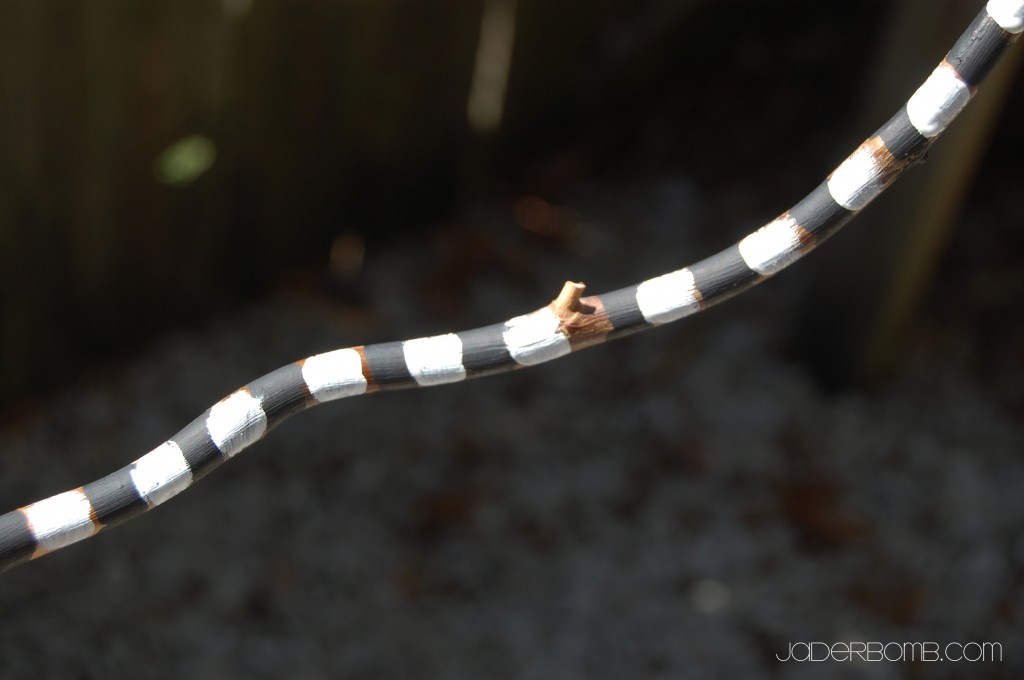
After you add your black add your white! It’s that simple.

Huge Glittery Hugs, Jade

Quote of the day: “Let us, then, be up and doing, with a heart for any fate.” -Henry Wadsworth Longfellow

[model:Kat King]

Happy Thursday Jaderbugs!
I am so excited that my UNI scarf is back! It’s been a while since I posted any online so get ready! Remember, if there are any colors you would like that are not up in my store just send me an email: jade@jaderbomb.com

They will be up in my online store no later than this weekend.  WHAT? You don’t know how to get to my store? It’s ok! I will take ya.

ONLINE STORE
(you wanna click on this) hehe. If you head that way you will notice I am also putting up TONS of new decorative clothespins. I will also have ALL of my new ones up by this weekend. You don’t want to miss the GLITTER ones!

 Quote of the day: “Do a common thing in an uncommon way.” -Booker T. Washington

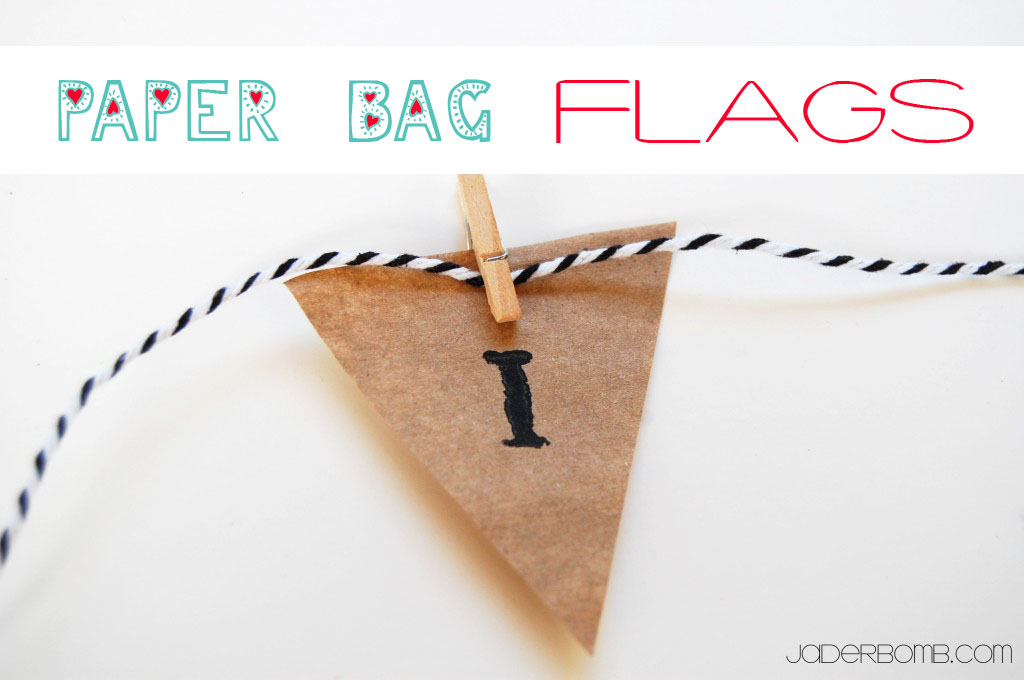
Today we will be making paper bag flags out of….. paper bags! I love finding things that can be re-purposed into something completely opposite of what it really is! The good thing about this tutorial is it’s easy and you can get as creative as you want by decorating them.

Let’s get started!

paperbagflags

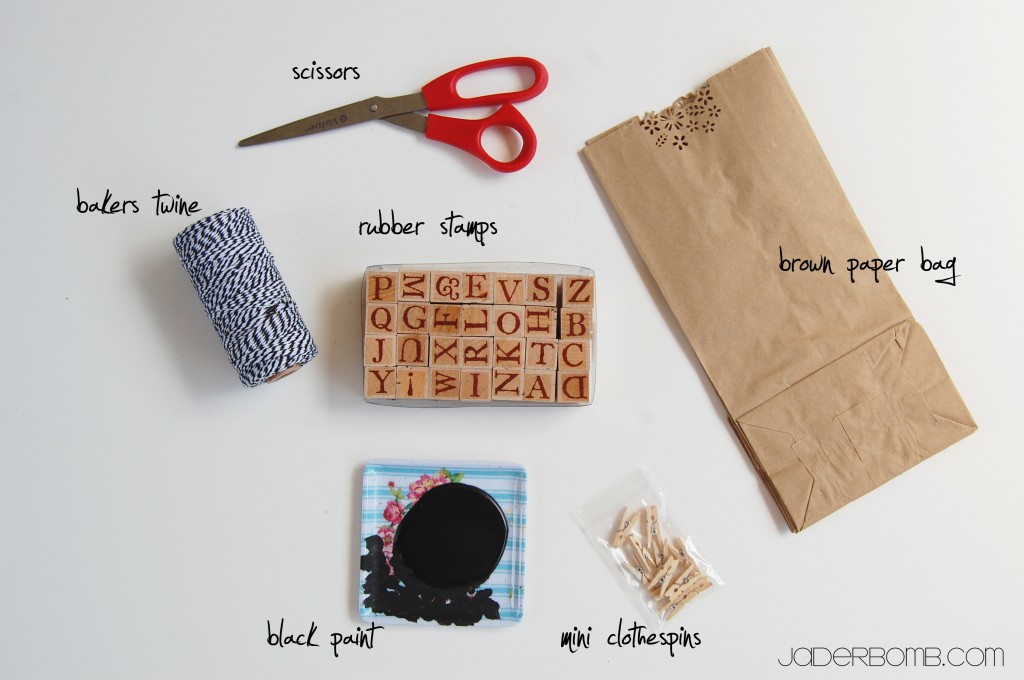
Ingredients:

*Scissors
*Brown Paper Bag
*Bakers Twine
*Rubber Stamps
*Black Paint
*Mini Clothespins

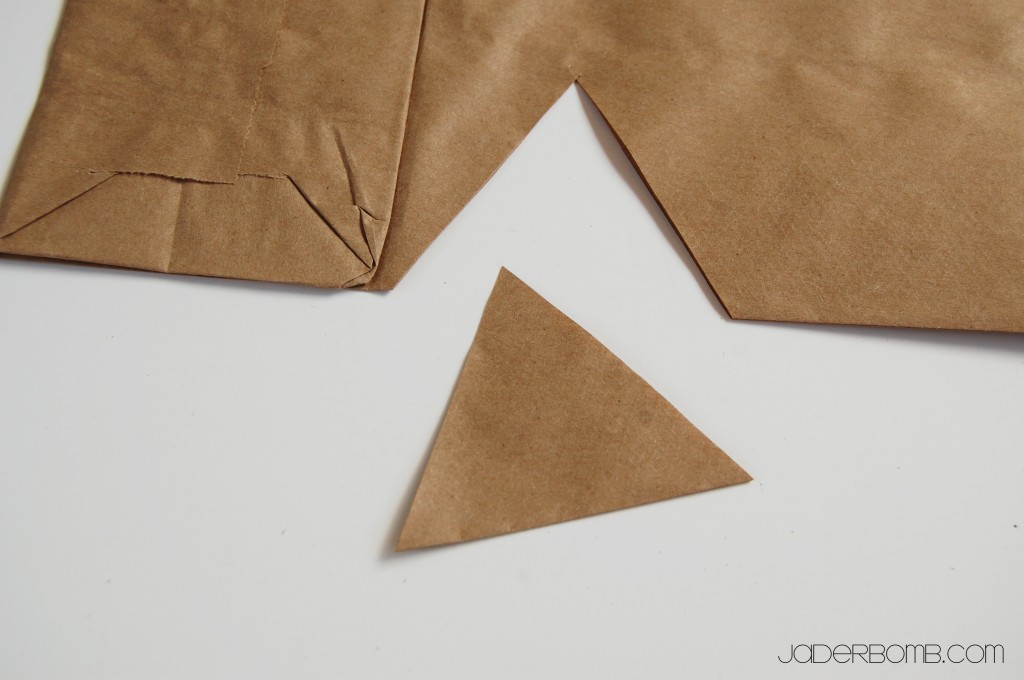
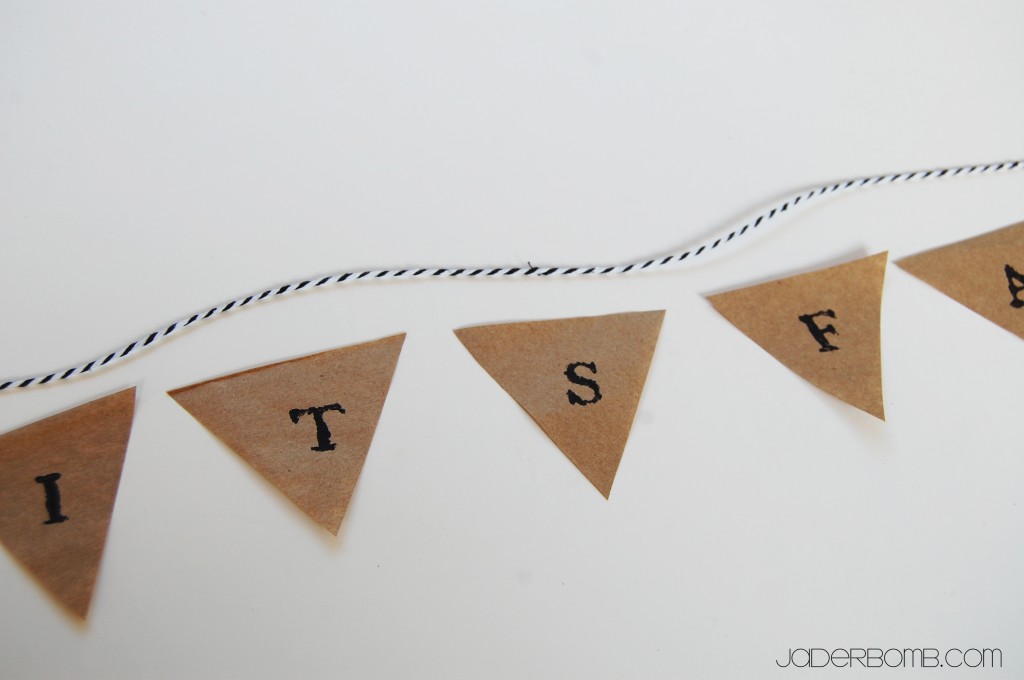
The first thing you will need to do is cut triangles out of the brown paper bag. (woop woop, this bag was fuh-ree)

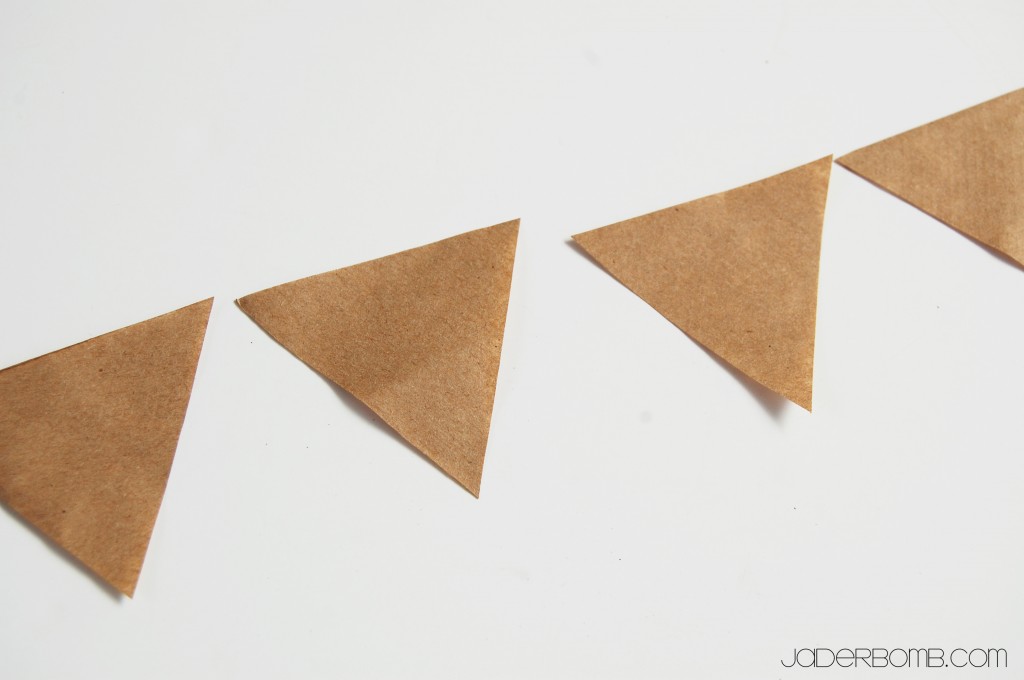
Tadahh! This is what mini triangles look like next to each other. I always get brown paper bags instead of plastic so you can imagine how many brown paper bags I own…

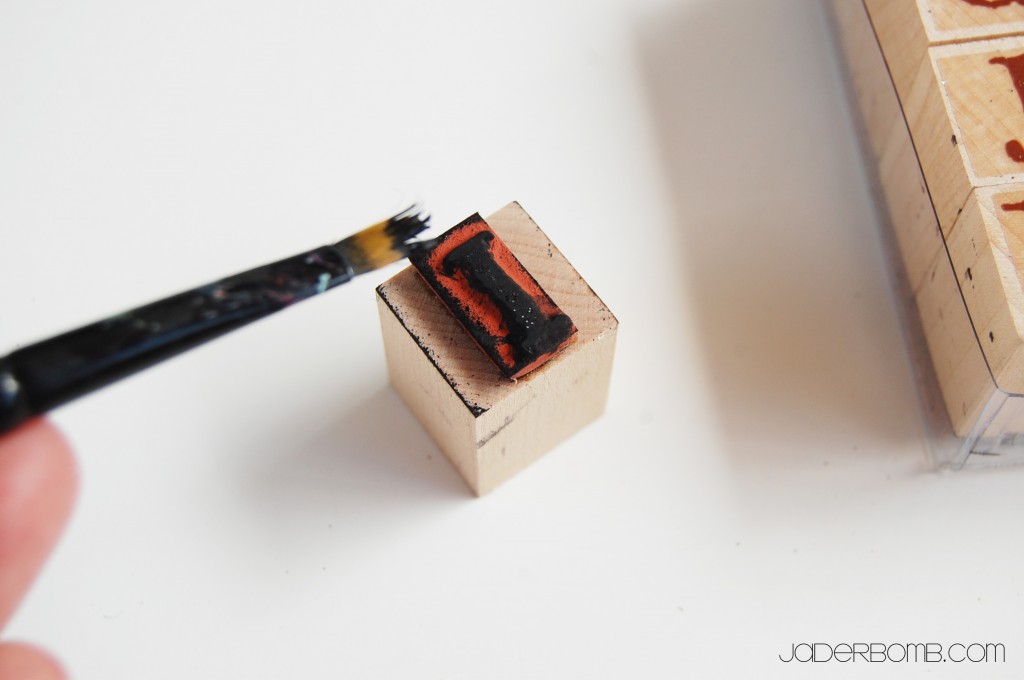
I like to use a paint brush on my rubber stamp because it has a different texture to it. Plus, it’s a little darker. Make sure you ONLY paint on the letter. You could also Mod Podge a smaller triangle in the middle using scrapbook paper. I buy my scrapbook paper here.

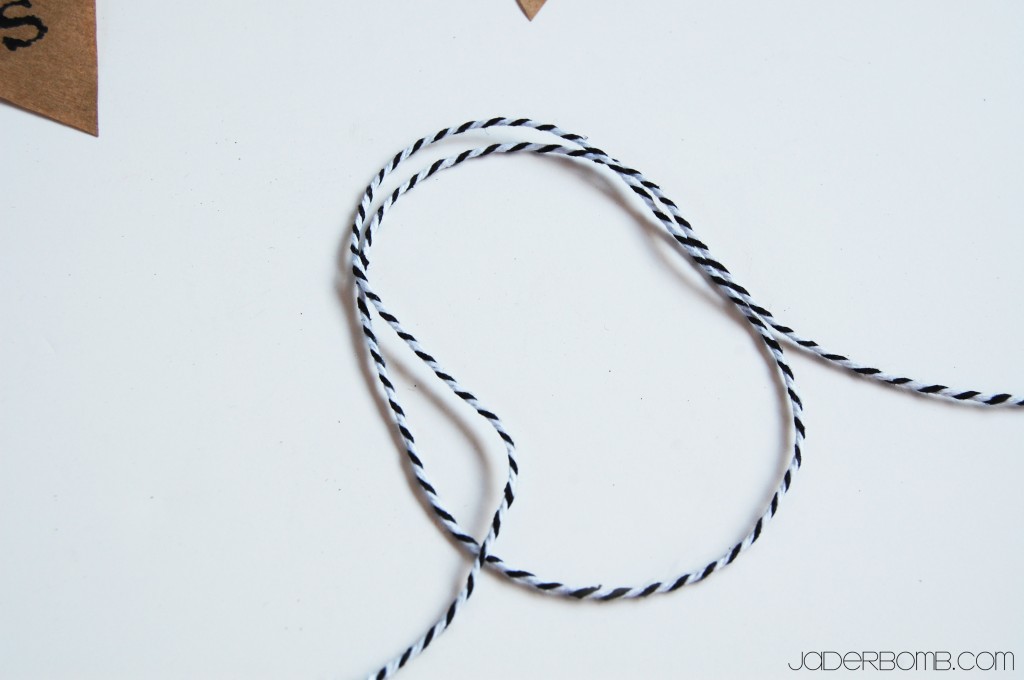
I think I am the only person that get’s {super duper} excited when I see bakers twine. Do you? What is your favorite color?

You can stamp whatever you want on your mini triangles. You can also cut them small or LARGE. It just depends on the space you are putting them in. When you are done with everything I like to lay everything out like this.

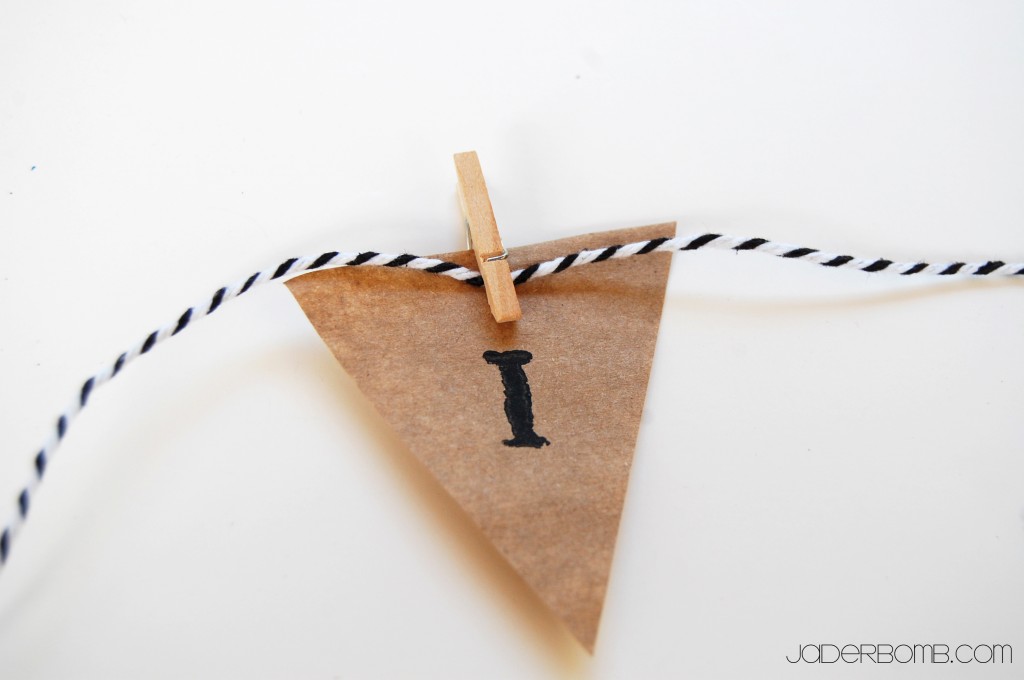
Last thing is to grab your mini clothespins {that you bought from my shop} and pin the twine to the mini triangle.

There you have it, Paper Bag Flags!

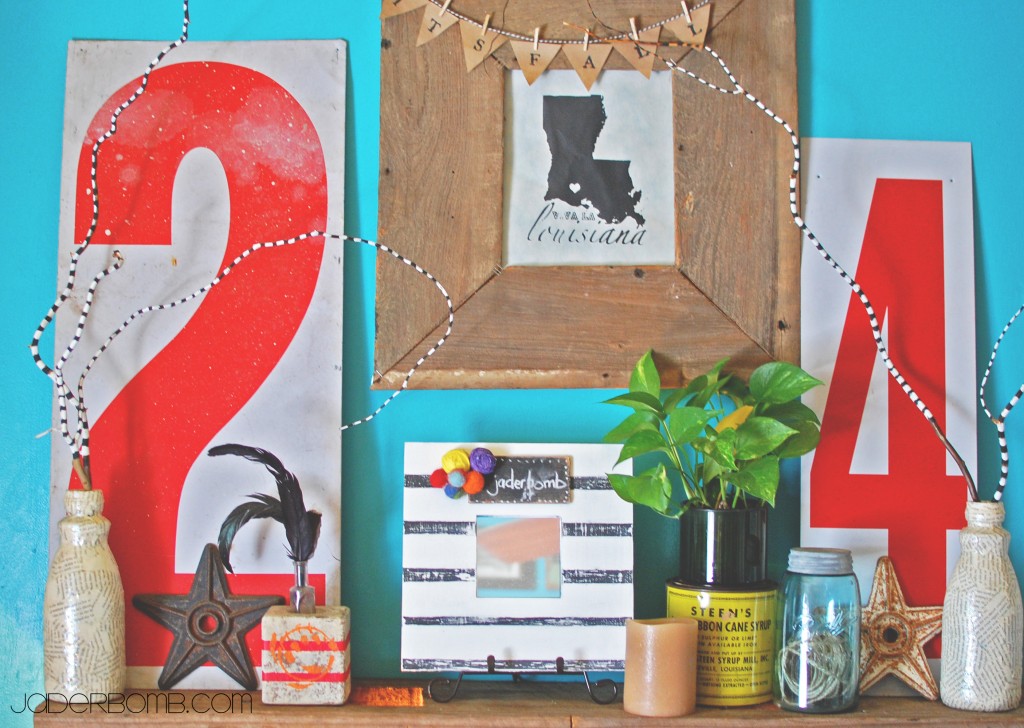
See how cute they look once you put them up. You can be completely creative with this and cut out fabric or scrapbook paper to do the same thing. This is a a great “COUNTDOWN” for kids. You could do this for the whole month of December and they could take down each number a day! How cute!

Huge Glittery Hugs, Jade

Who’s ready to attend the best ONLINE party in the entire world! Well WELCOME because you are at the right spot!
I am so excited to be a part of this fun linky party. Wanna know why? Well for once we will not be linking up our creations but we will link up our social media outlets.
Why is this good? Because it’s a great way to let others know who you are , plus YOU get to meet a ton of new people.

Let me tell you a little more about Social Saturday.

The LAST Saturday of EVERY month we will each host a different Social party.

The hostesses of this party will rotate social sites each month so that means you will get to meat TONS and TONS of great, amazing, creative, nice, unique and NEW people. Are you getting all of this, because it’s gonna be TONS of fun.

Don’t forget to link up at the bottom of this post! After all it’s the most important thing to do today.

Wanna meet the team that put’s everything together?

The 4 hostesses will be:

Domestically Speaking
(hosting PINTEREST party)

Jader Bomb
(hosting TWITTER party)

The Pennington Point
(hosting FACEBOOK party)

Its So Very Cheri
(hosting HOMETALK party)

I will be hosting the TWITTER party this month.

Twitter grows every single day and it’s a really good outlet. I love that you can get your message out instantly. I also think it’s good to stay active on twitter. It’s easy to add people but interacting with them is the key. Whatever your reason to join twitter I still encourage you to give your readers a reason to WANT to comment or keep in touch with you. Plus by linking up to this twitter party you have a perfect opportunity to meet new people on twitter.

I suggest you dive head first into twitter, if you have do not have an account let’s sign up and GET SOCIAL!

You will need to add the link to your twitter page so others will know how to follow you. The fun thing is when you link up you can add your blog button or your photo.
Don’t forget to follow others!

The parties will start at 8am EST and close at 11:59 PST

I am “totally” looking forward to meeting all of you!
Make sure you link your TWITTER account BELOW