Tag Archives: kid projects

The Simple Secret to Hand Painted Journals!

Happy Summertime y’all! Can’t believe it’s almost time for school to start! Is it just me or do you all feel like this summer has flew by like a bird chasing a worm, haha! Doesn’t the early bird get the worm?! I remember as a kid being so excited to start a new school year. Me and my mom would go to the local store and check everyday for the supply list to come out. Was I the only one excited about this little sheet of paper?

Now let’s fast forward a little because back when I was a little.  Lisa Frank was in style, you know the “good ole days”… These day’s things just feel so generic and don’t get me wrong I love basic colors and styles however this day and age DIY is the way to go… There is nothing more meaningful than creating something yourself and sporting your own unique style.

Today I will show you an easy way to turn a basic journal into a work of ART ♥  
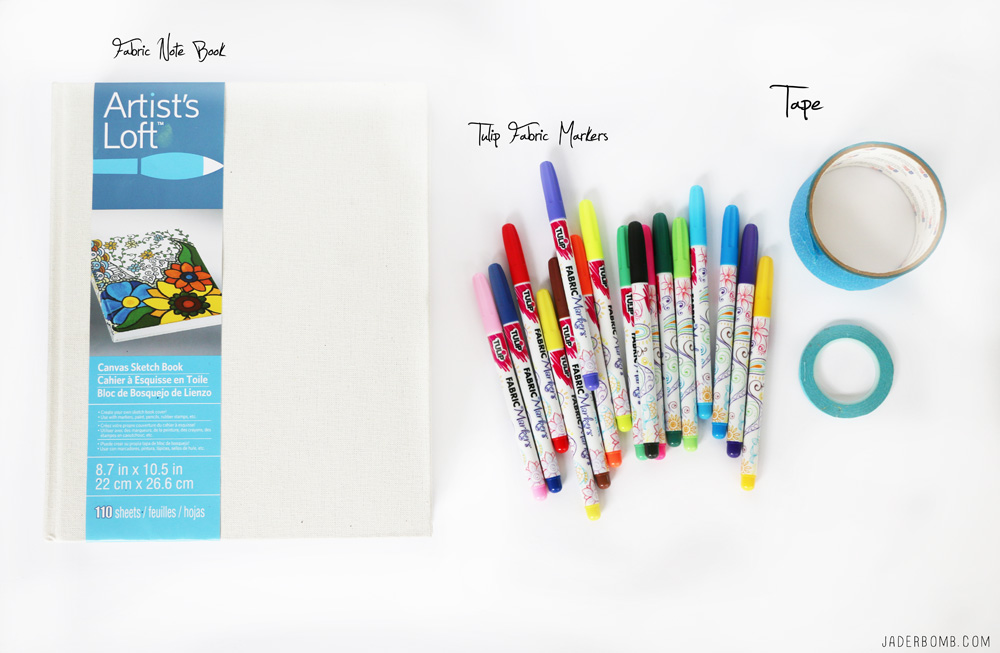
Blank Canvas Notebook | Tulip Fabric Markers | Painters Tape

You can order all of these products from Michaels by clicking on the links above!If you know anything about what I love then you already know how much I LOVE Tulip fabric markers. You can use these on so many different products and create amazing designs. Check out other things I created HERE. Let’s also talk about how wonderful the color selection is! I mean, there is like four different shades of each color! Swoon 101!
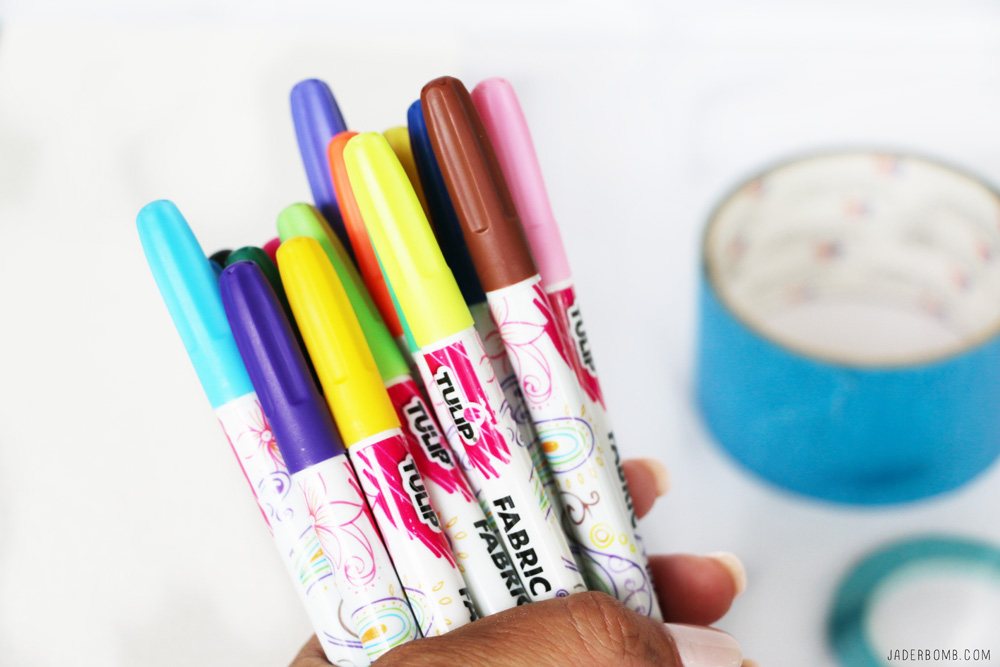
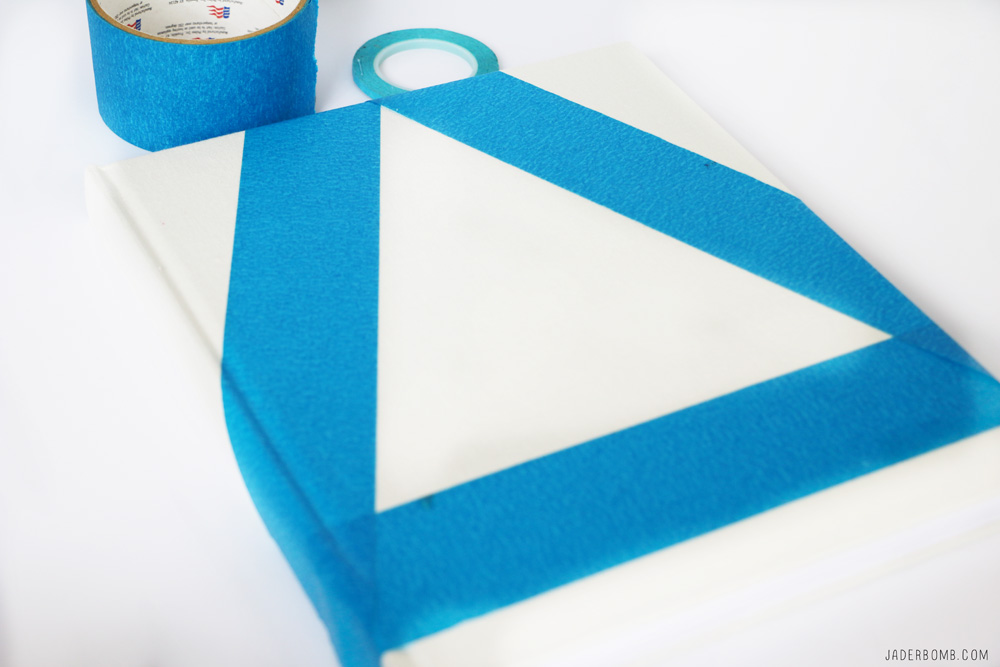
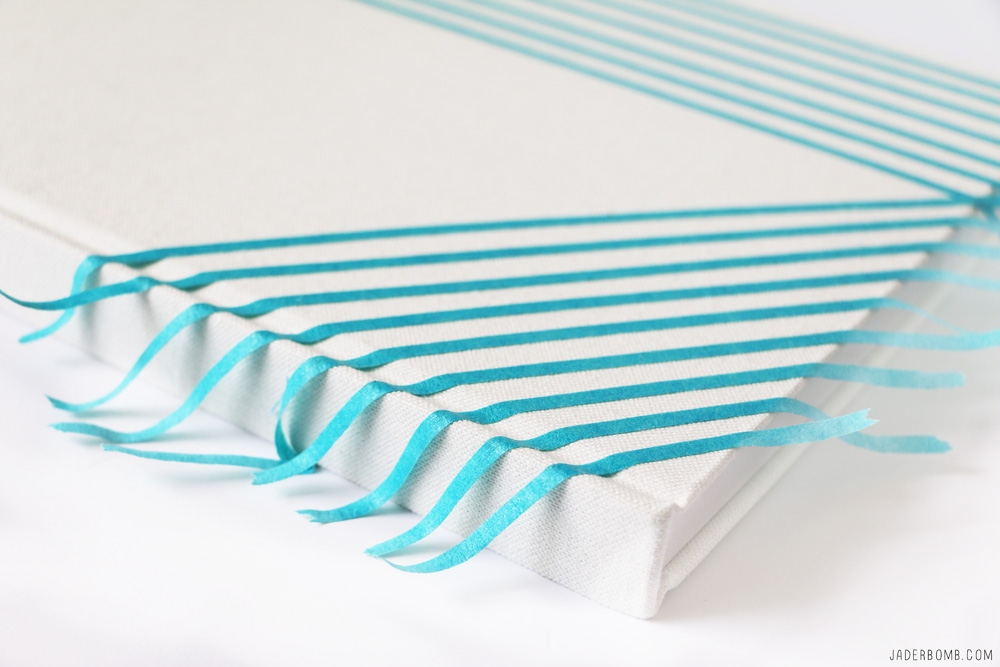
Step One: Make sure your canvas journal is completely clean then use the painters tape to create your design. I am sticking to geometric designs for this post. Sometimes less chaos is better believe it or not!
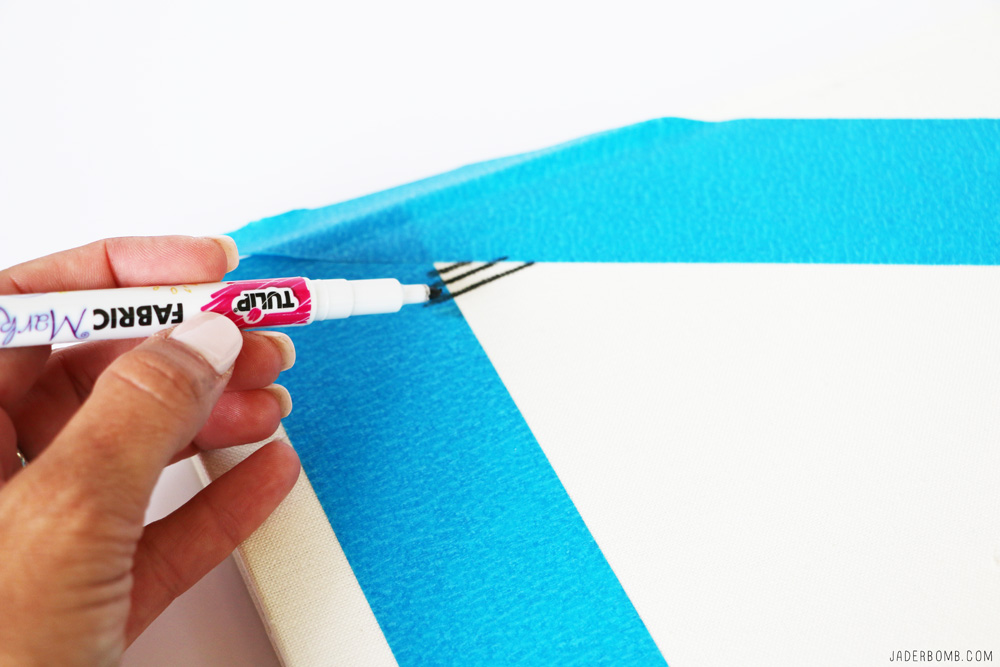
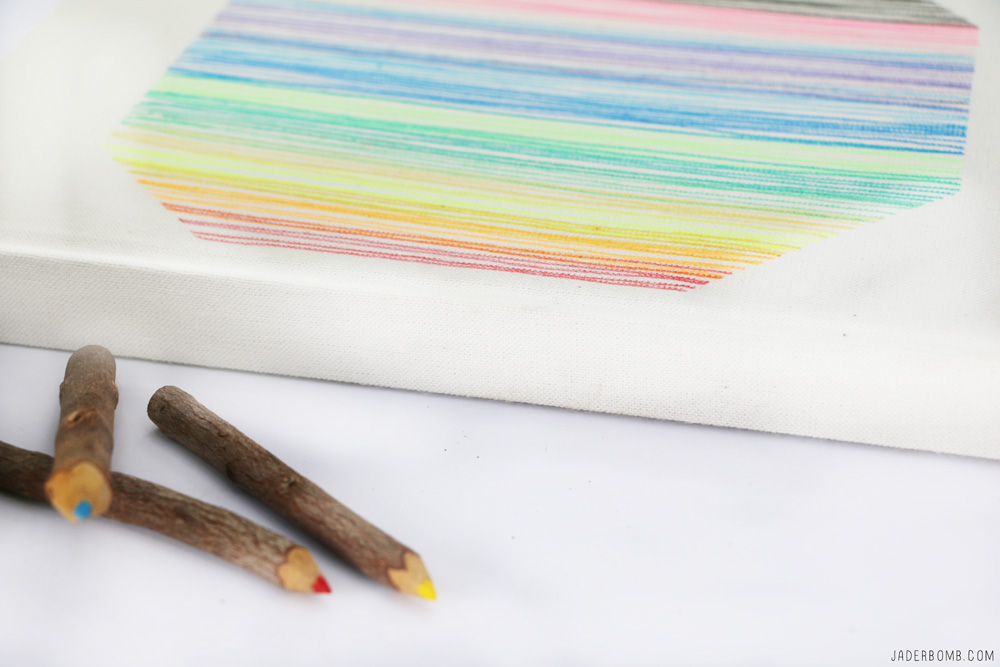
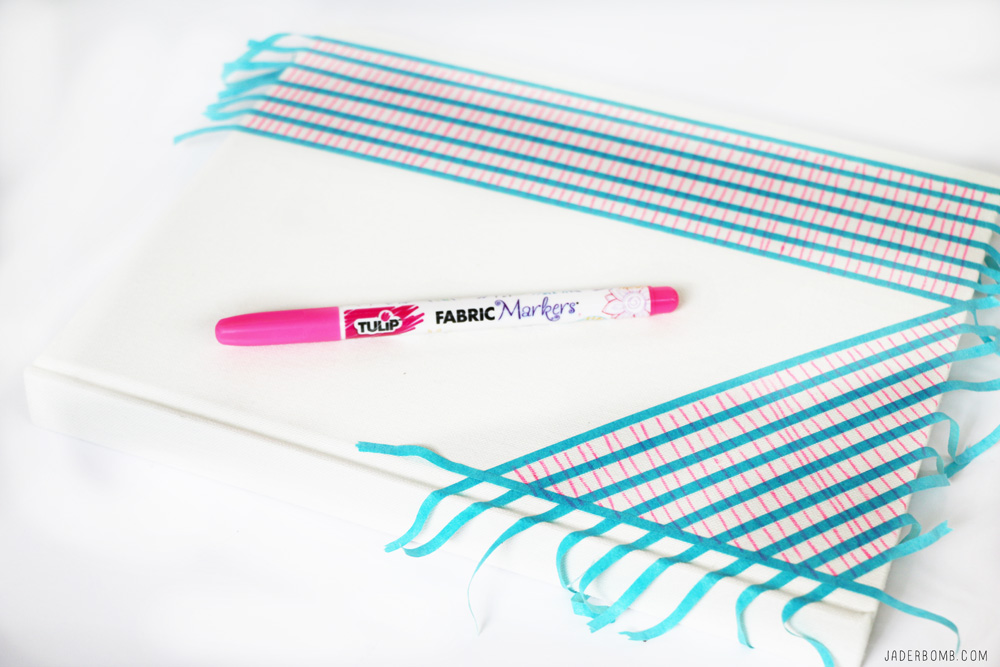
Step Two: Get the fabric marker color you want and go to town! I am doing lines for all of my journals because I think it’s very modern, clean and crisp. I love that these would also look amazing on your dining room table stacked with other books. 
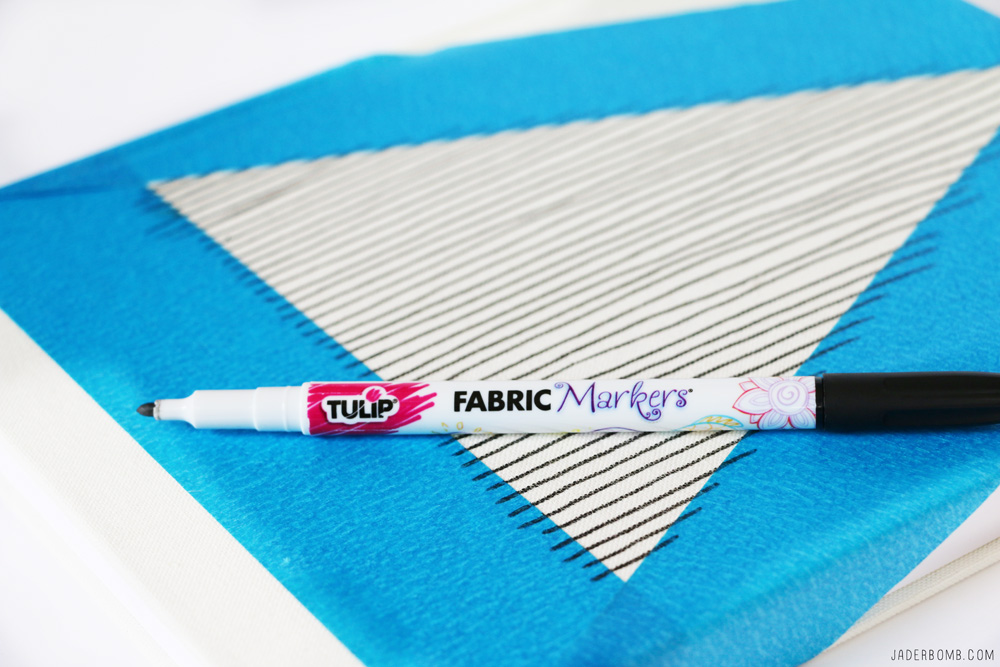
Step Three: Admire what you just created! Insert huge laugh right about now!
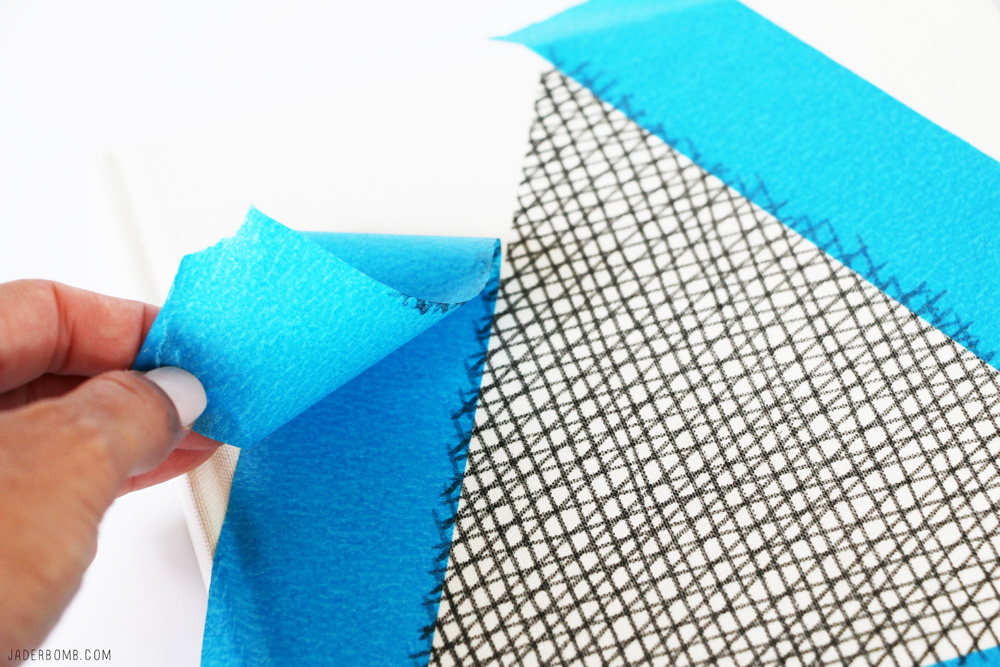
Step Four: After letting your markers dry into the canvas for about 10-15 minutes gently peel off your tape. If you are using painters tape it will peel off really easy! What are you left with? Well, beautiful crisp lines that will make your heart pound for days!

The great thing about this project is you can give a journal with a pack of fabric markers to someone as a gift and they can create something special that they will remember forever. 
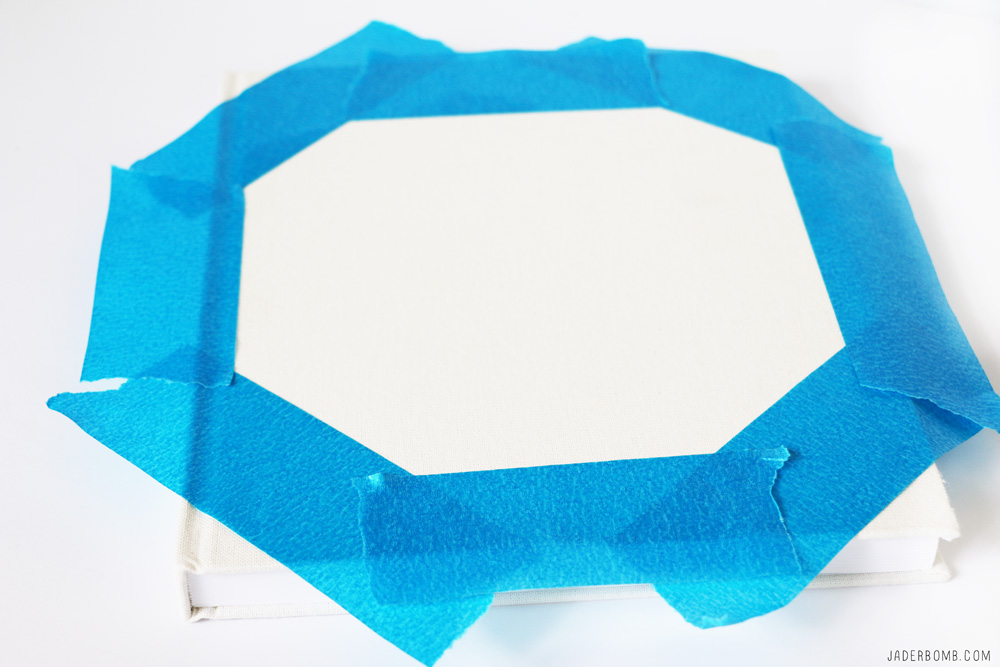
I am repeating the same steps but doing a different design! What’s great is you can even overlay designs with the tape. It’s the best project to show off your creativity. 
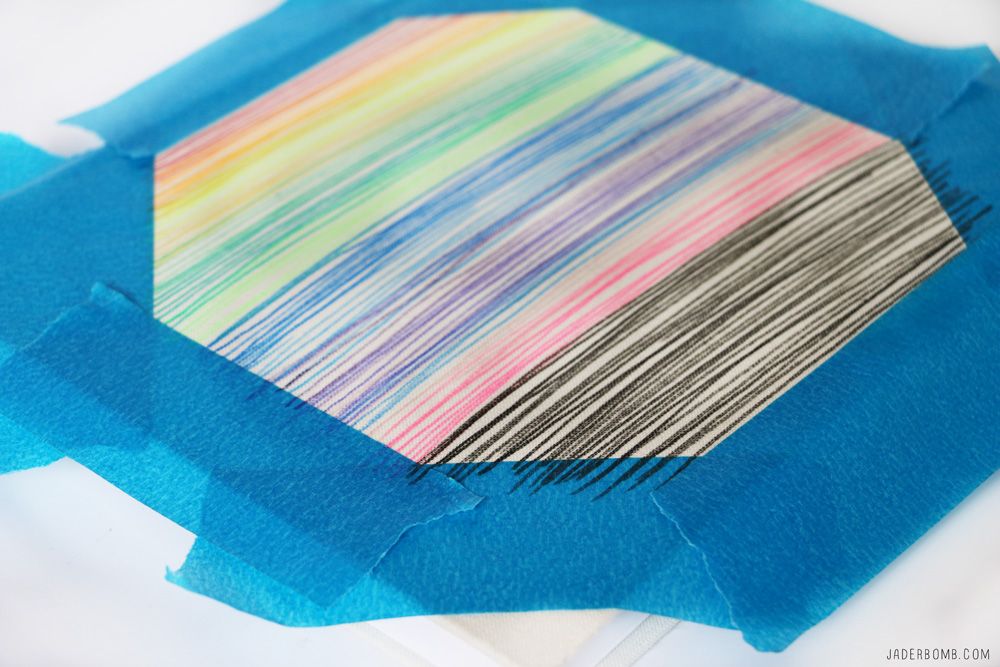
I am totally digging all of these wonderful colors! For me when I see bright colors it just instantly makes me feel better inside and I am sure it will do the same for you! 
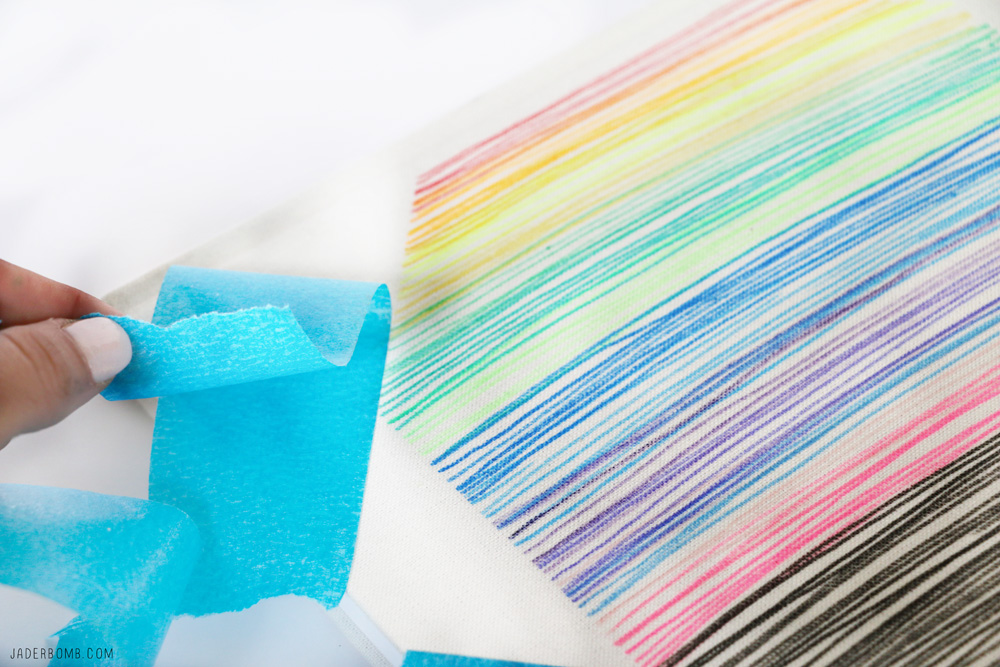
There are so many different things you can do with a blank canvas… If you want you can write your favorite quote on it or you can freehand a special drawing, the possibilities are endless!
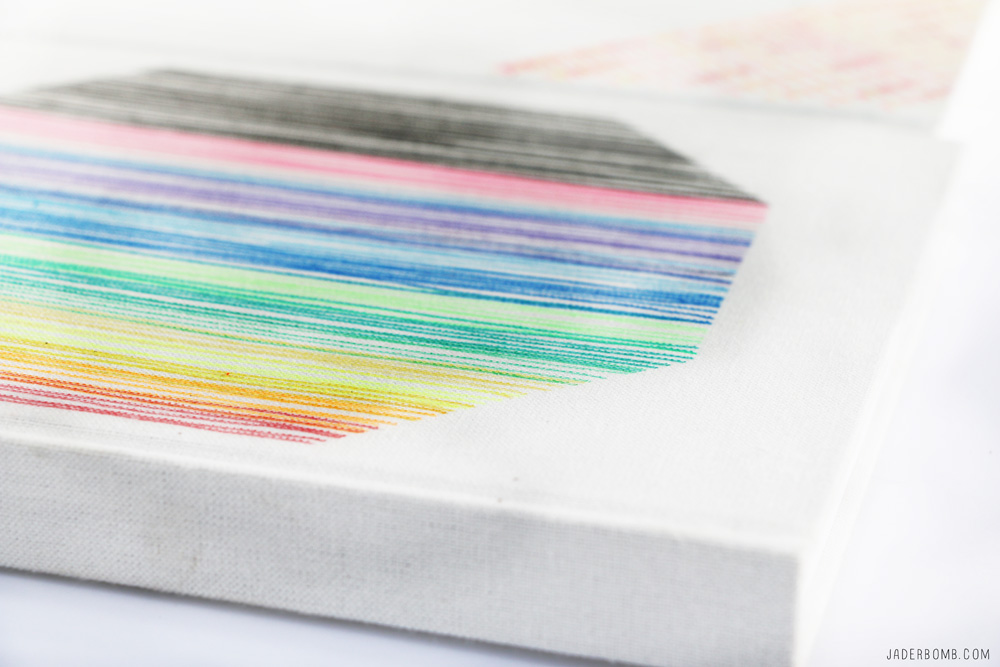
I even used some very thin tape to get a different look. Mix and match with thin tape and thick tape it’s all up to you!
If you notice below I drew lines completely over the tape to create one long line only because I know when I remove the tape I will have a white line where my tape is. 
Don’t forget to mix and match your colors because they blend really nicely together. 
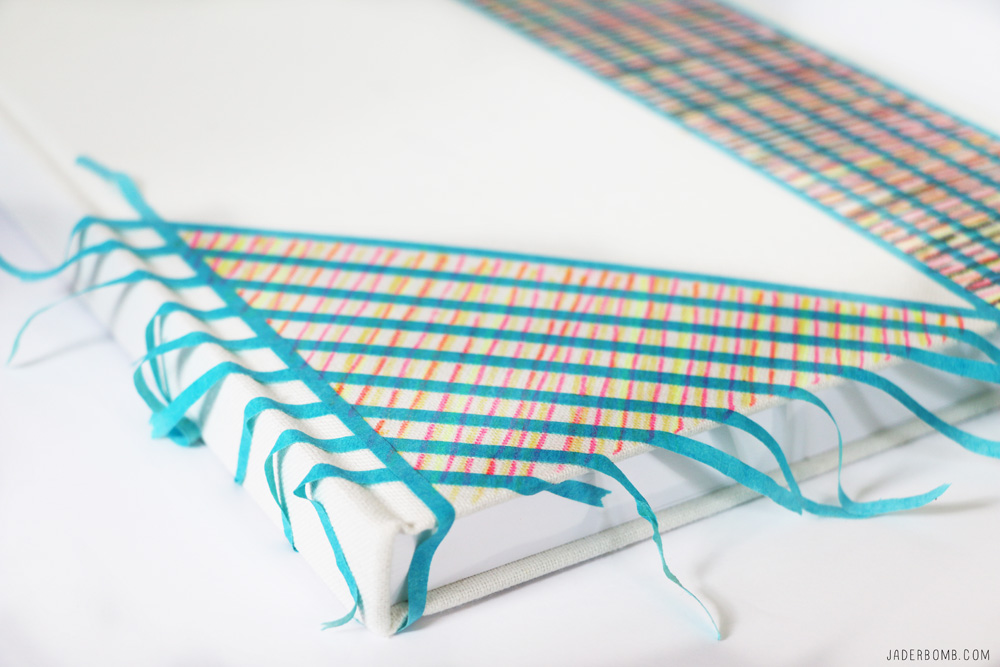
When I tell you pulling this tape off in the end is my favorite part… It’s like heaven to my fingers. Not even joking!
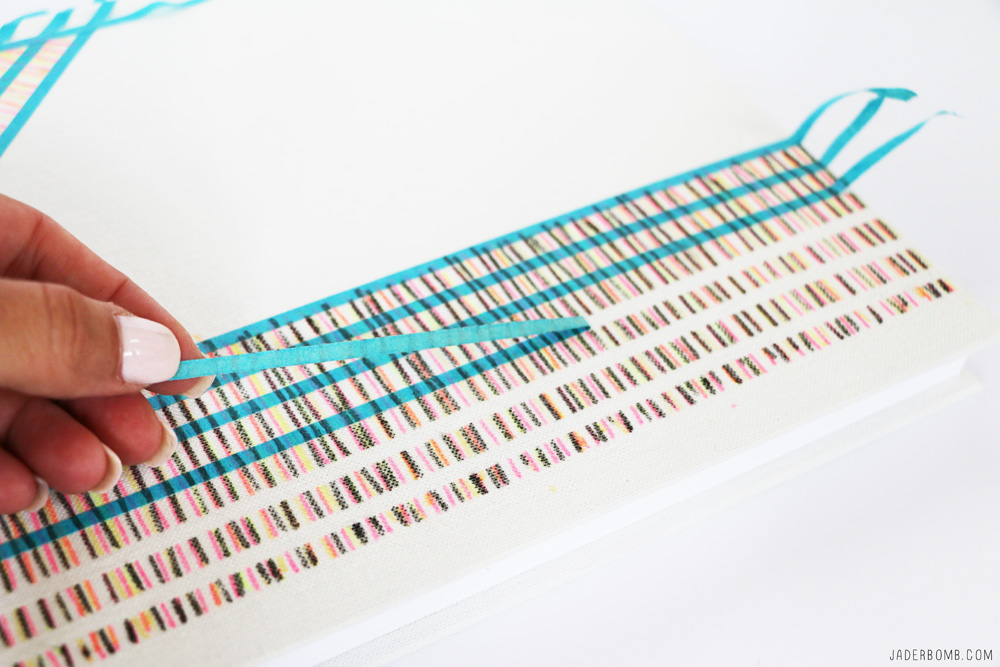
 l like to use black as a accent color! It just adds a little BANG to the colors. 
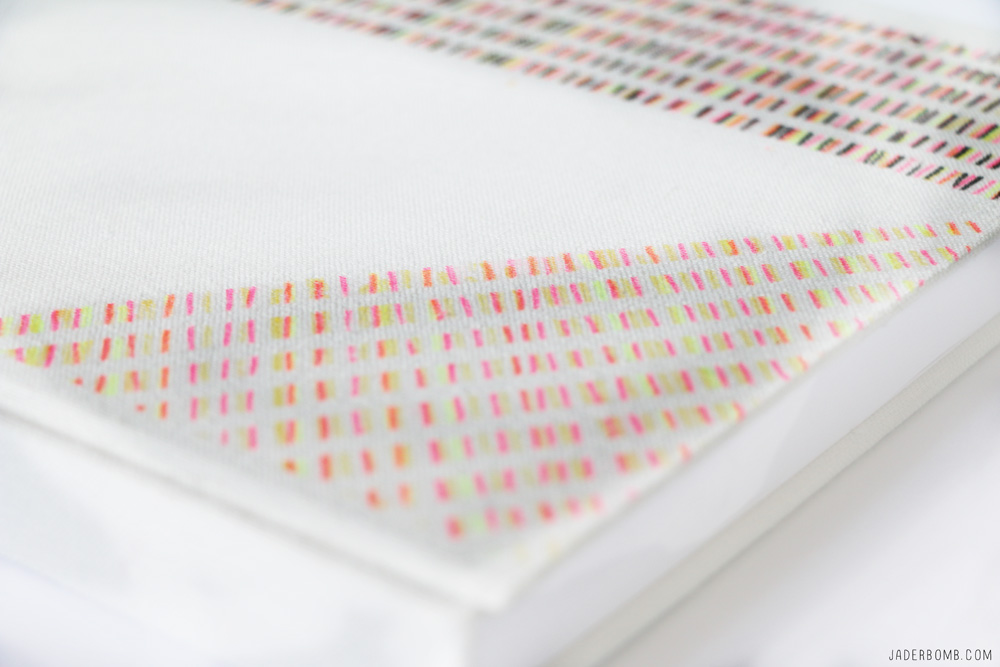
With over 800 new styles of craft paint, Michaels has more paints for more surfaces! Check out some of their new finishes including ultra-metallic & watercolor and get started on your next DIY!
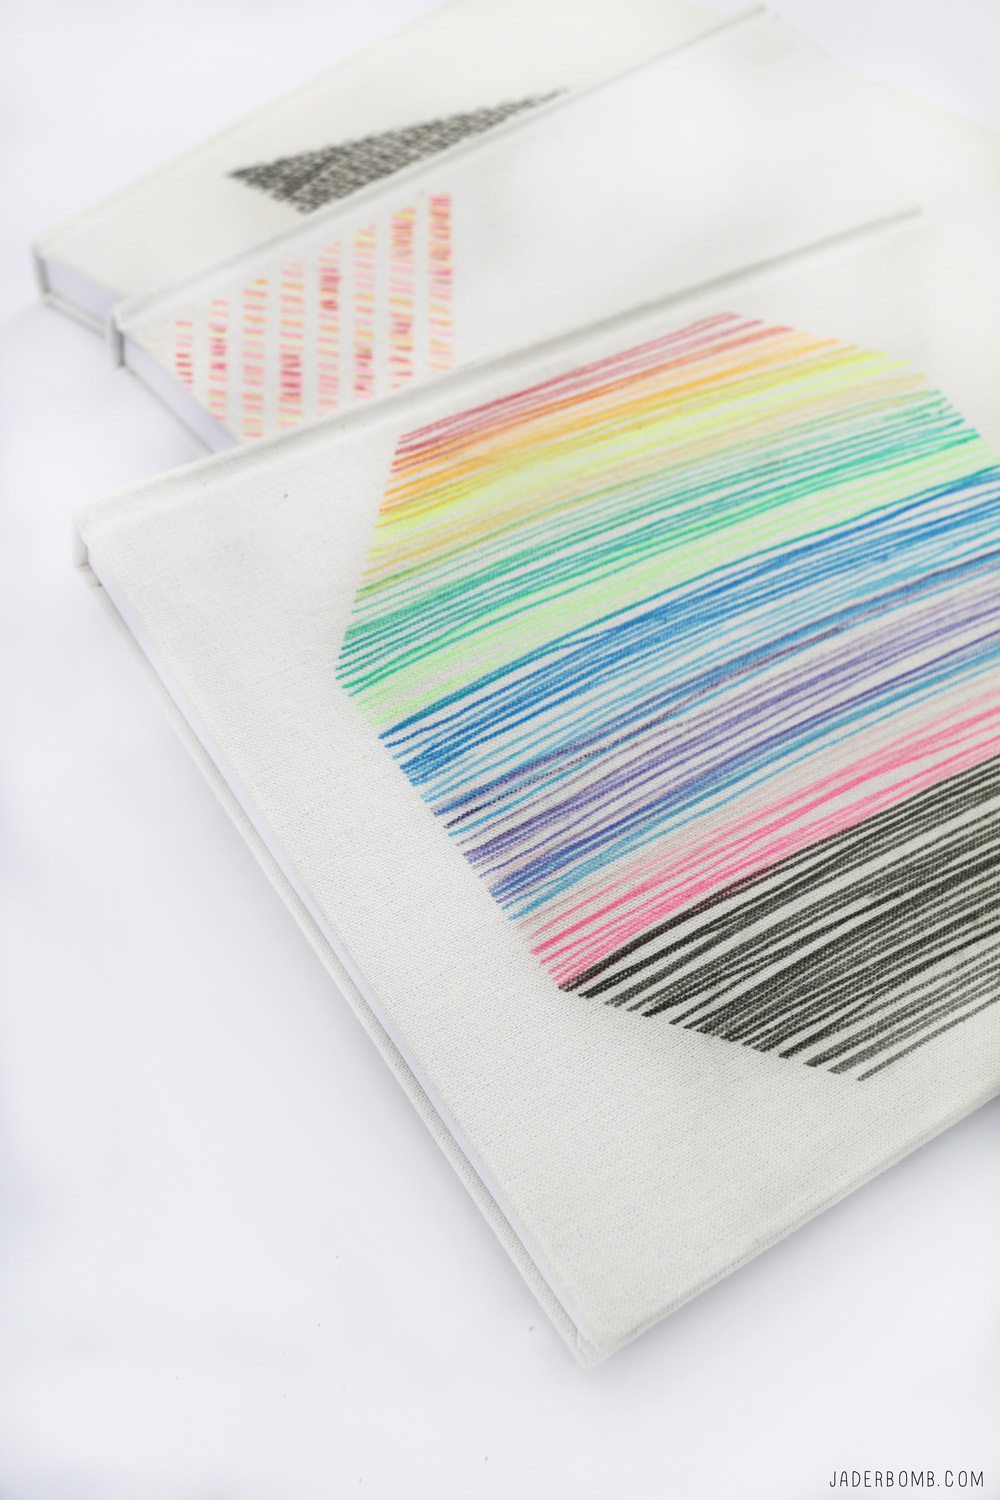
Remember my Fairy Gardens I made? Click HERE to see them, trust me you don’t want to miss them! I have these babies all over my house and they just bring me so much peace and happiness. 
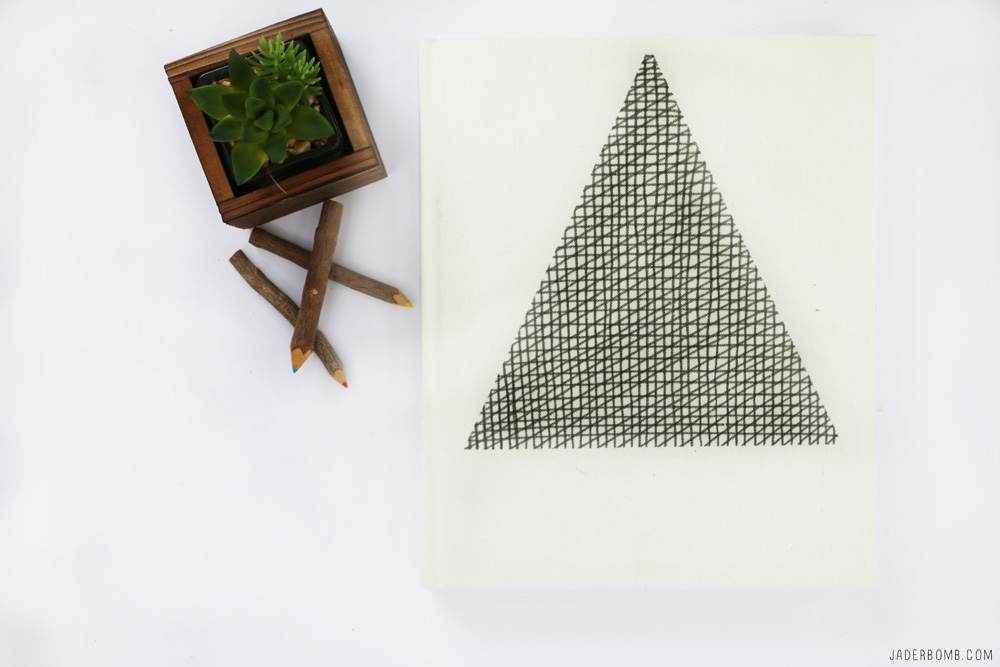
I hope you enjoyed this project because I sure had fun making it! Sheesh I already gave away two of my journals… Wonder what I should do with the last one! Maybe I will keep it for myself!  Hugs from my computer to yours, I LOVE YOU!

Looking for even more inspiration? Make sure you visit Michaels’ blog, The Glue String, to see the rest of the Michaels Makers’ DIY projects!

Don’t forget to follow me on all of my social media channels because I love all of you to pieces!!!! 

FACEBOOK | INSTAGRAM | TWITTER | PINTEREST 


You won’t believe what I did with Moss!

Hey Everyone! It’s been a HOT minute since I posted on the blog but I have to tell you LIFE has a crazy way of throwing so much at you at once…You will be so excited when you learn how to make Moss Covered Pumpkins today. I am always so excited to do this challenge for Michaels.

You all know I love color and even though these are more natural pumpkins I am totally in love. I love the thought that there are little creatures living in the moss in their own fairy land. Maybe I created these because subconsciously I want to be one of the creatures, haha! Who’s ready to get started! P.S. I am leaving tomorrow to go to Carmel California to our annual Michaels Makers Summit so I can’t wait to share with you this adventure! Check out what we did LAST year…You will see why I am so excited!

To kick off fall in your own home, visit Michaels.com and check out the variety of craft pumpkins available – there is every color, shape and size you could ever want! There are tons of ways to DIY your own craft pumpkin for your home, a party or even as a gift.

Moss Covered Pumpkins

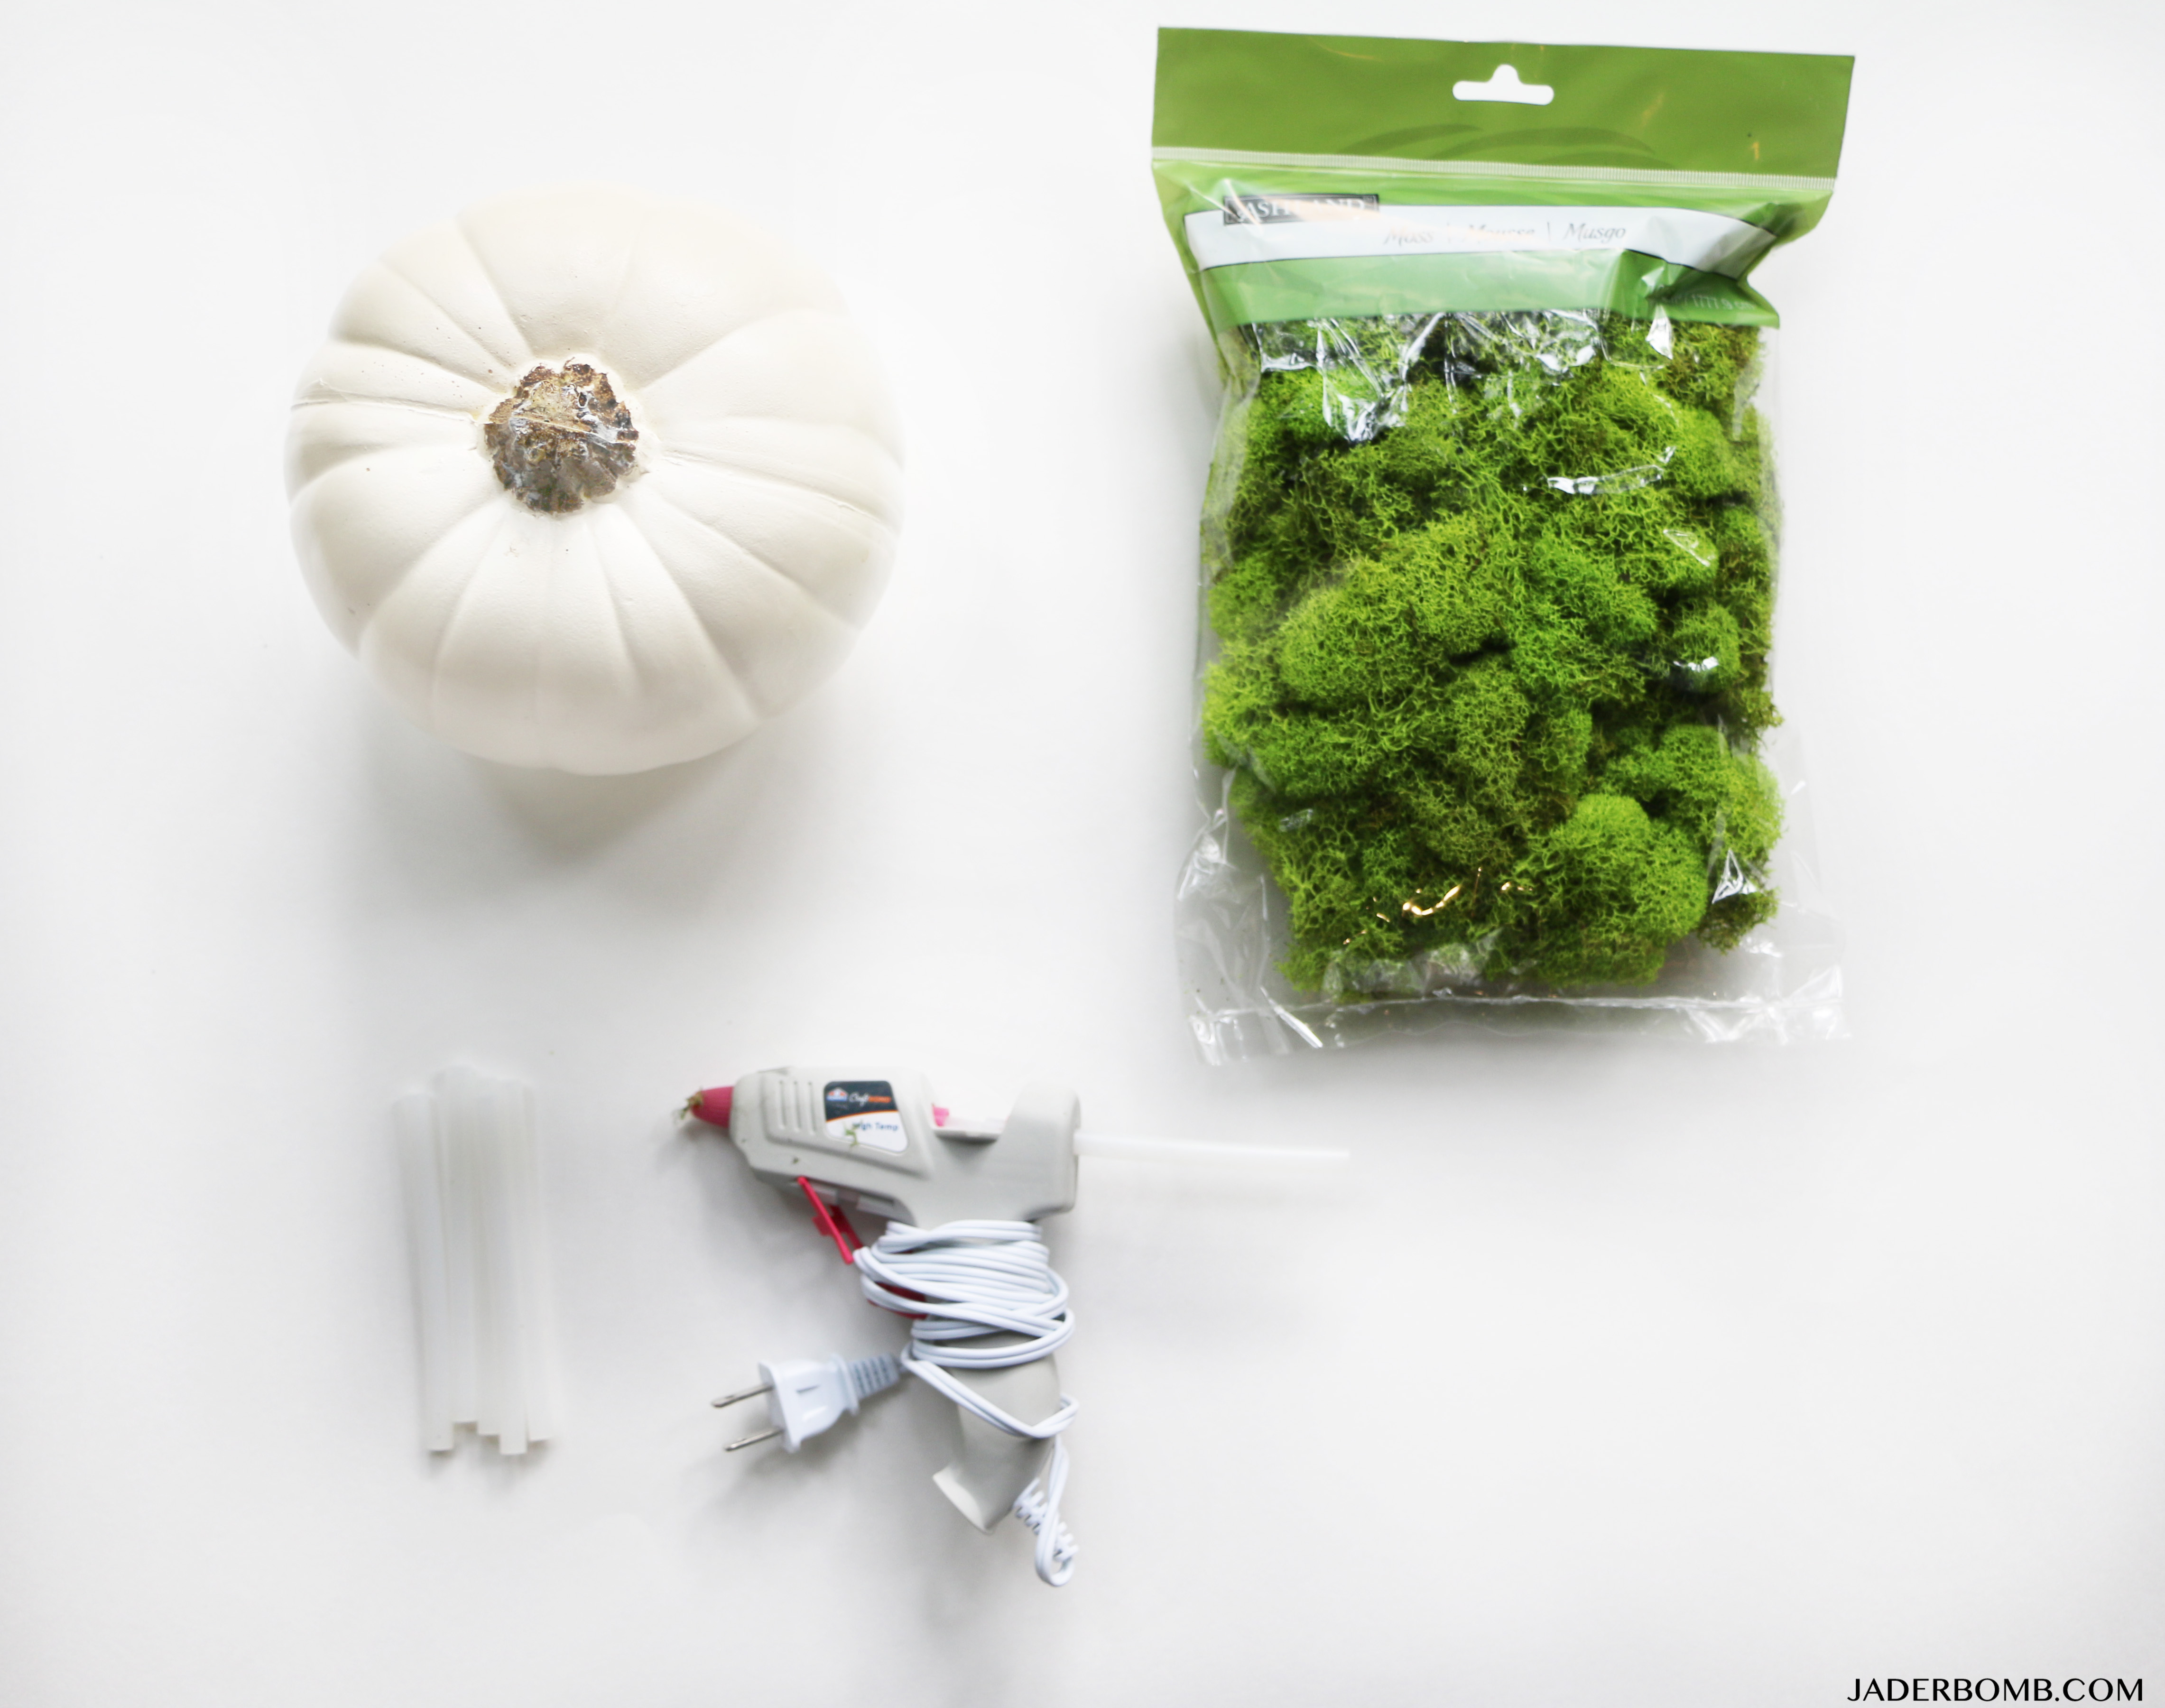
Supplies: Craft Pumpkin | Moss | Glue Gun | Glue Stickspumpkin project supplies

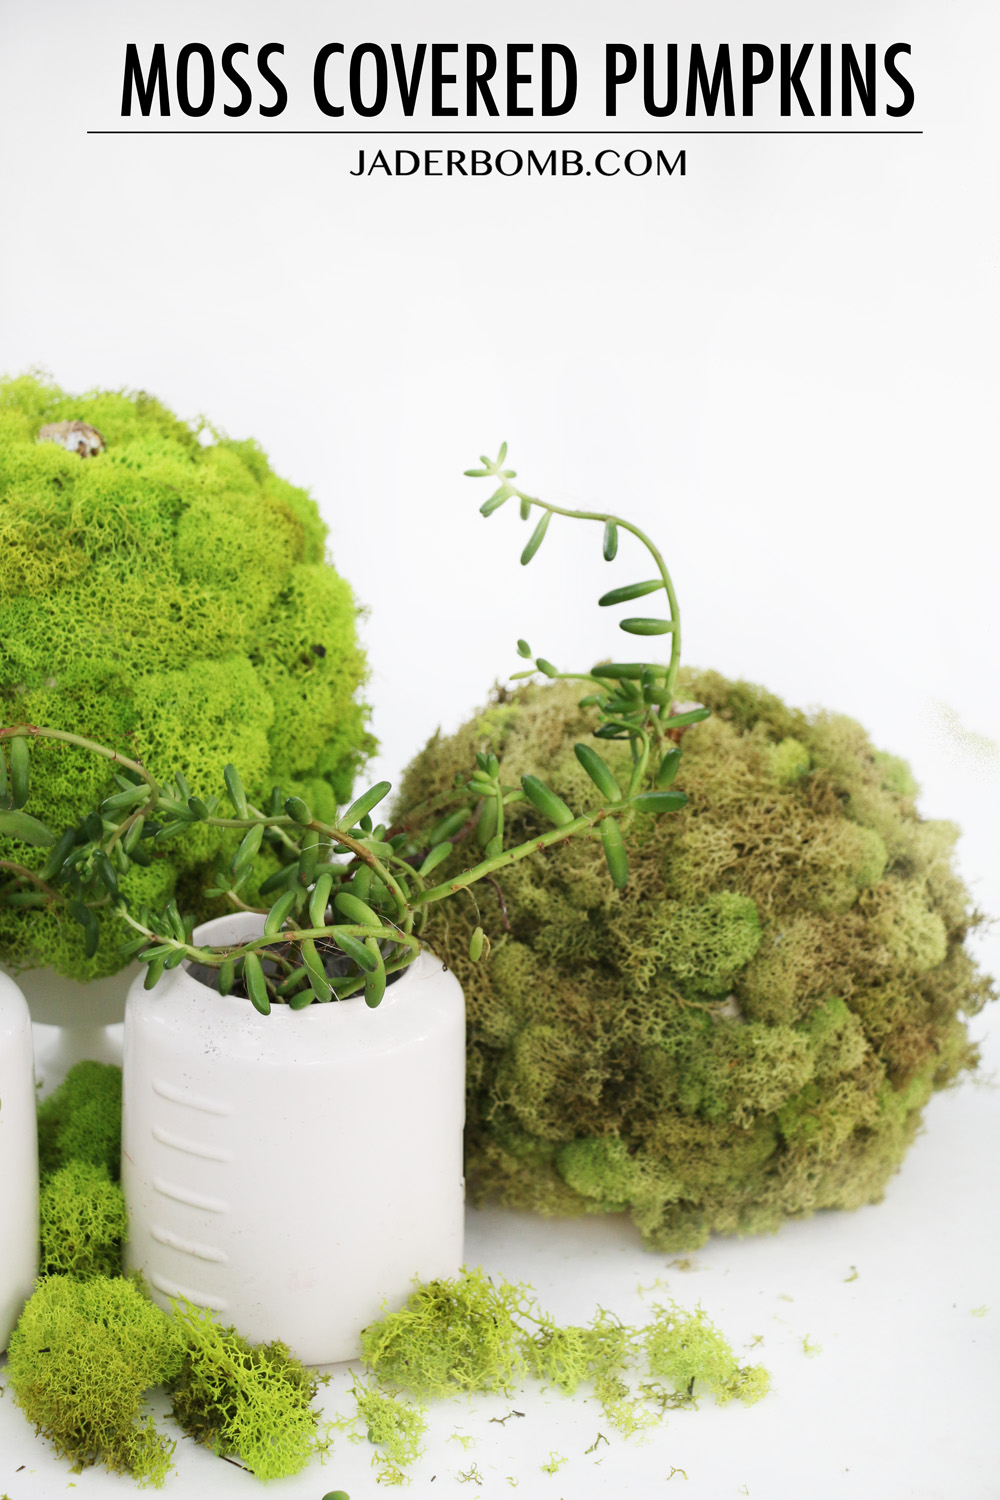
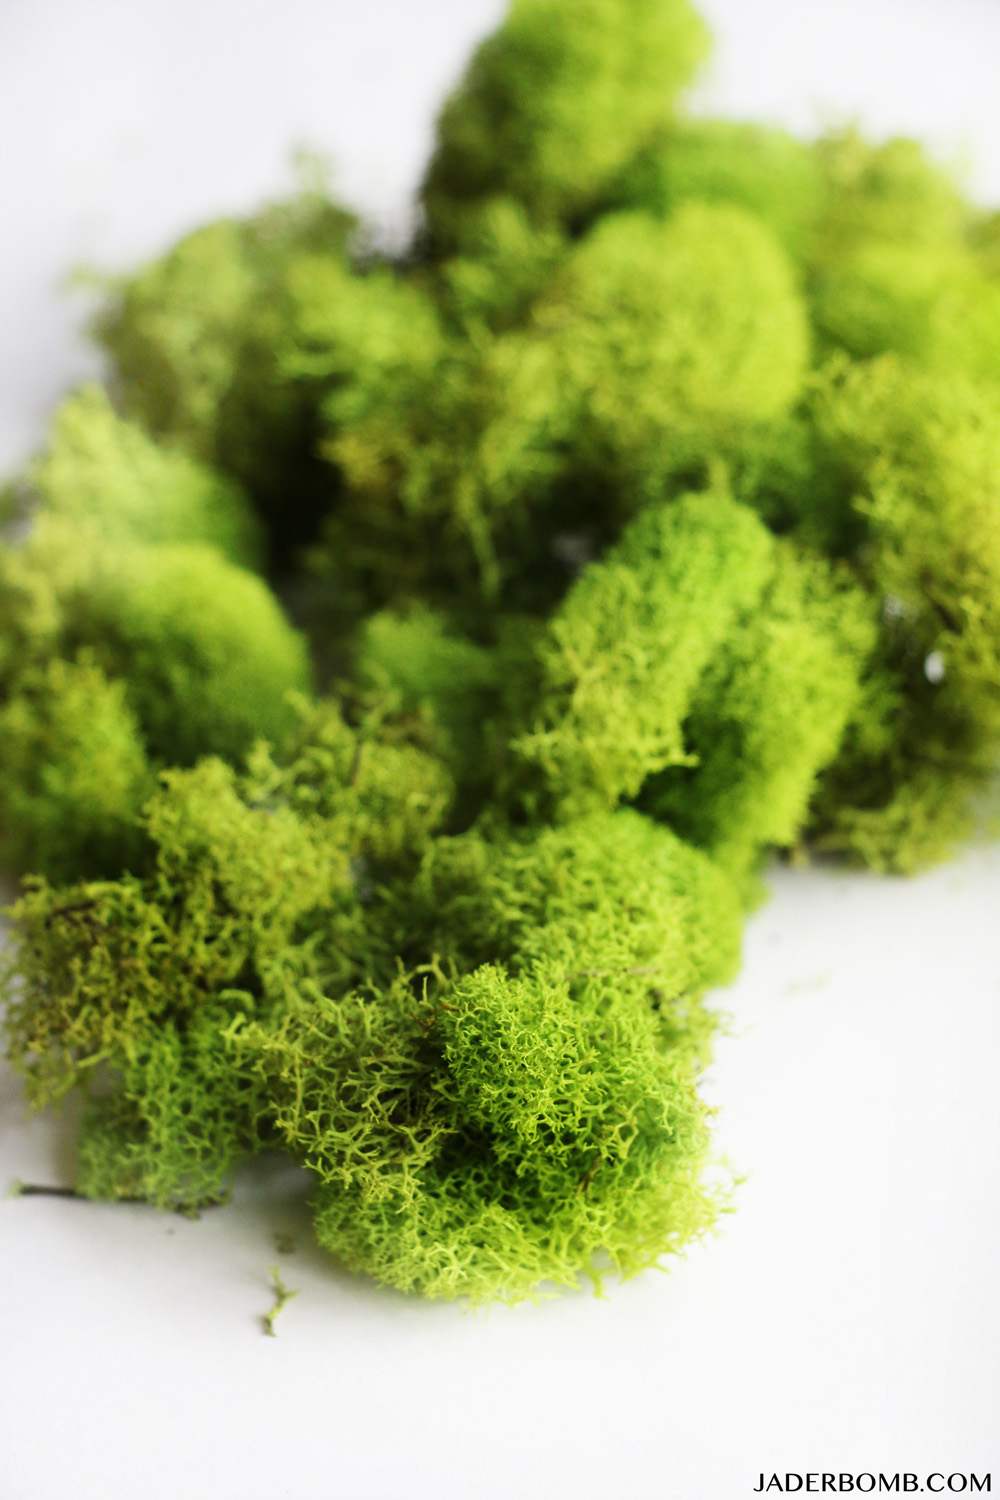
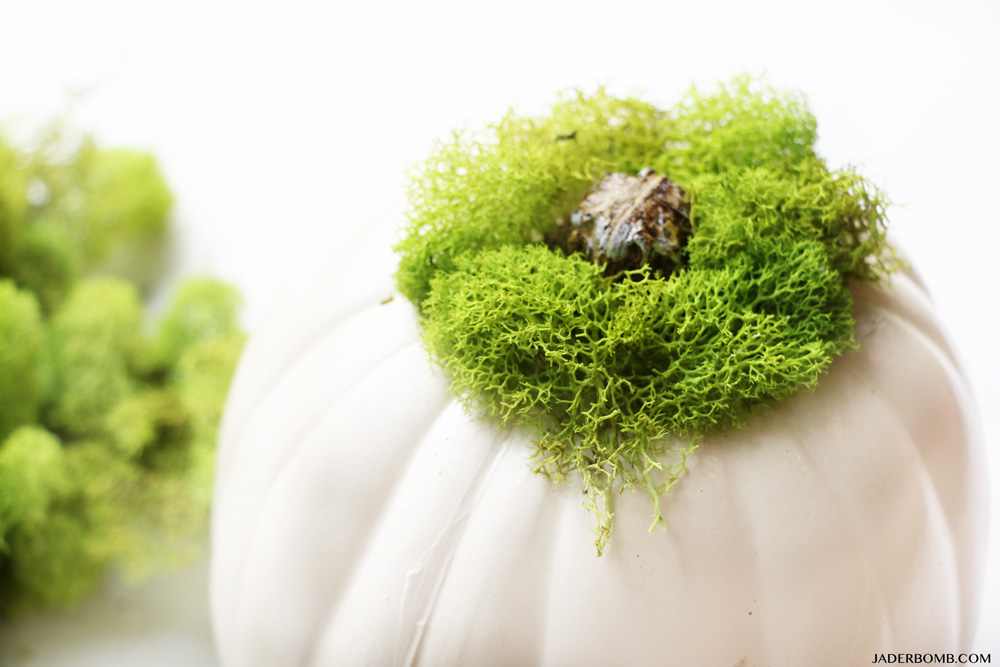
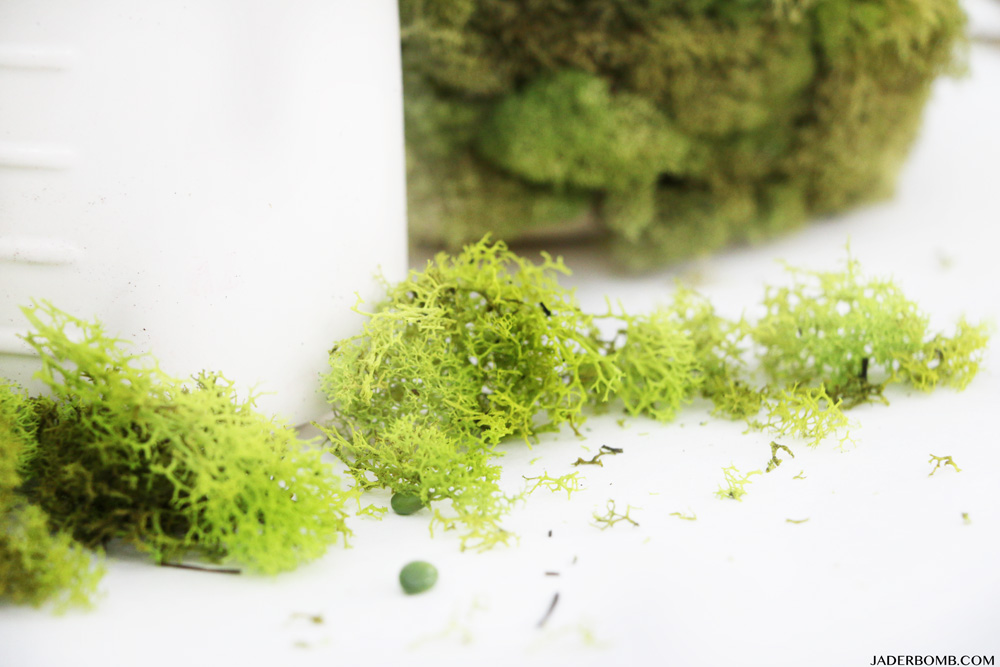
I don’t know about you but I am in LOVE with this beautiful picture of this MOSS! I won’t say what it looks like, haha! If you have never crafted with this Moss you will love it when you get some. It’s so soft and feels like it came strait of a forest. moss projects

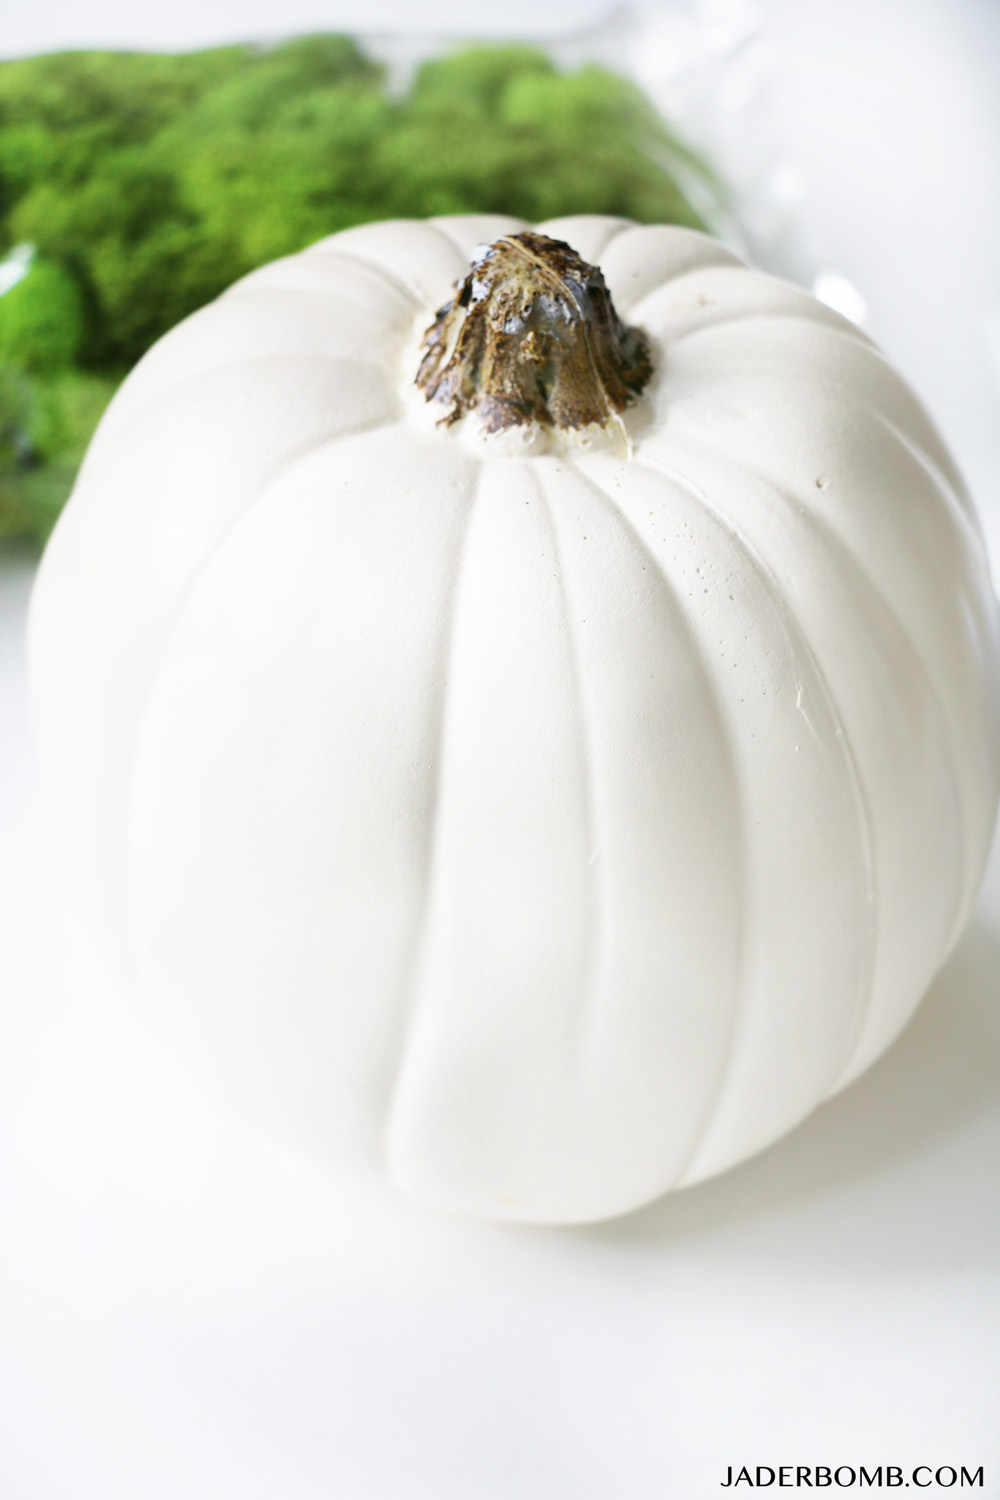
Michael’s has a wide variety of Pumpkins to choose from so I picked the white ones. I wasn’t sure if some of the pumpkin color would show through the moss so I chose white! Guess what… The Moss fills it up completely! None of the pumpkin color shows!craft pumpkin projects

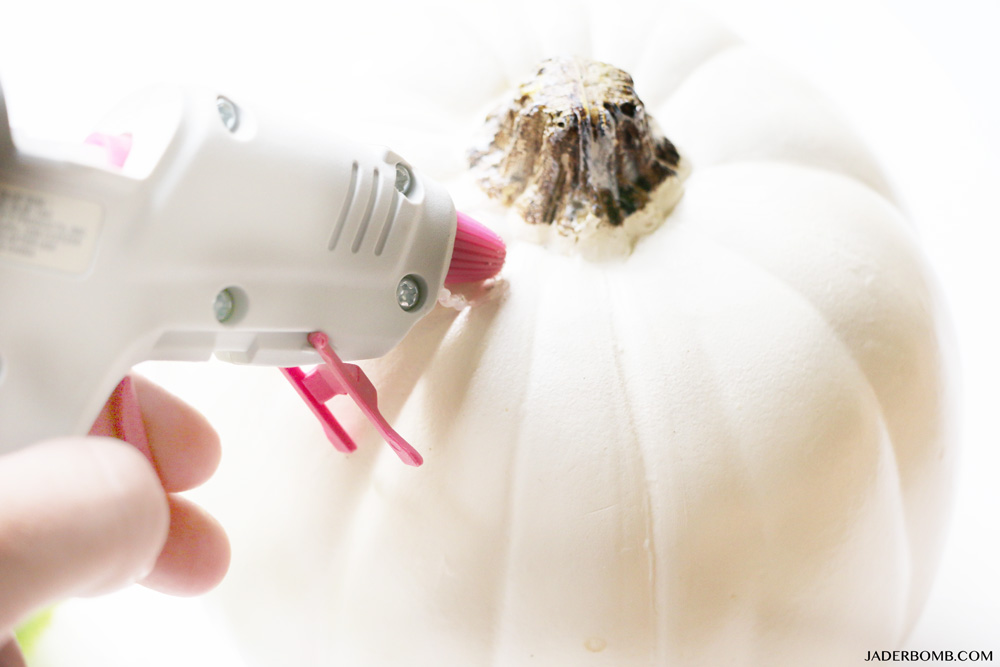
The first thing you will do is plug in your glue gun then when it’s ready add a few lines starting at the top of the pumpkin and carefully place a small piece of moss on top of the hot glue. craft pumpkins

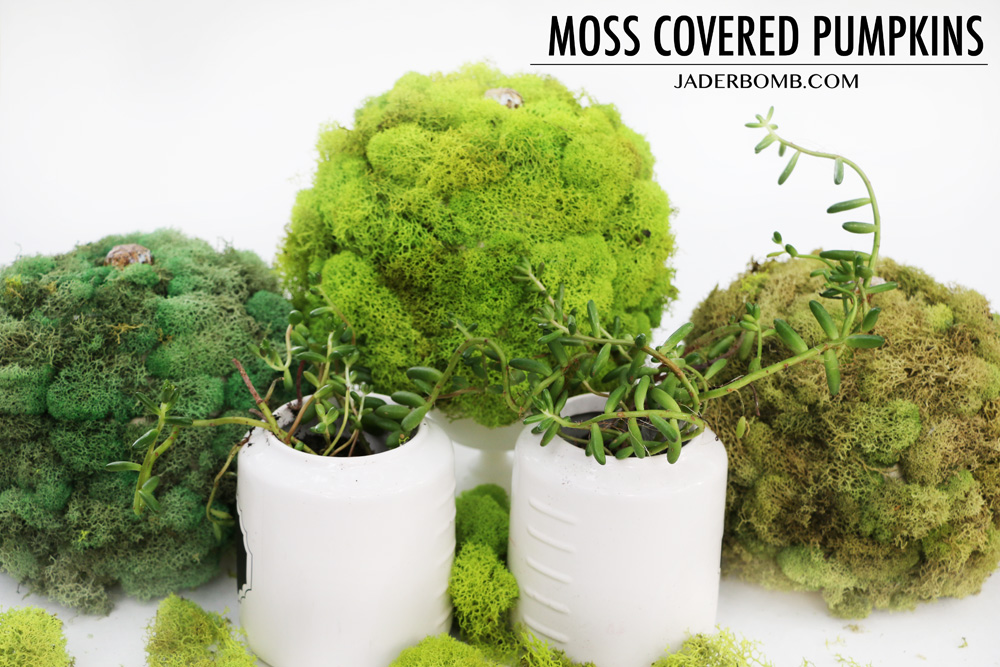
This is what it will start to look like once you start adding your moss. I did choose three different moss colors so I can have three different pumpkins. I wanted them to all look different and boy am I happy I did that!fall pumpkins

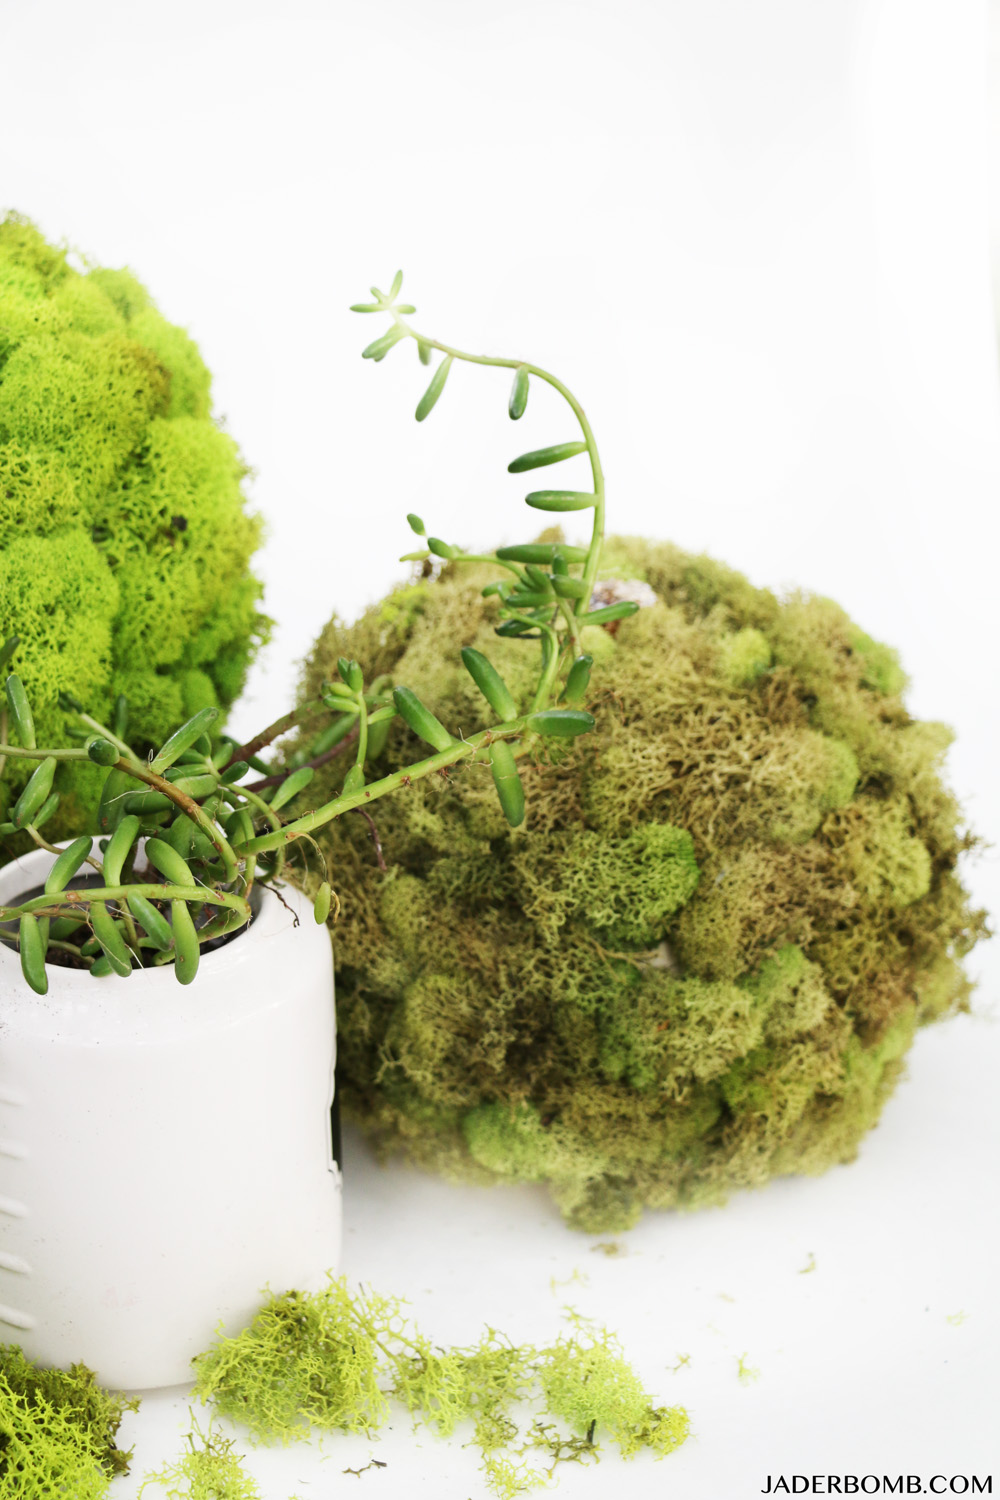
Look how beautiful! It’s like a cute little secret world… Imagine what’s living in this! diy fall pumpkins

I added a few wax plants in the mix to bring it to life. These would look great on a table top for the Fall holidays. michaels makers

how to decorate with moss

halloween kid projects

I hope you enjoyed this project! Stay tuned for the next one! Huge hugs from my computer to yours!


Be sure to check out all of the other Michaels Makers pumpkin ideas on the Michaels blog.


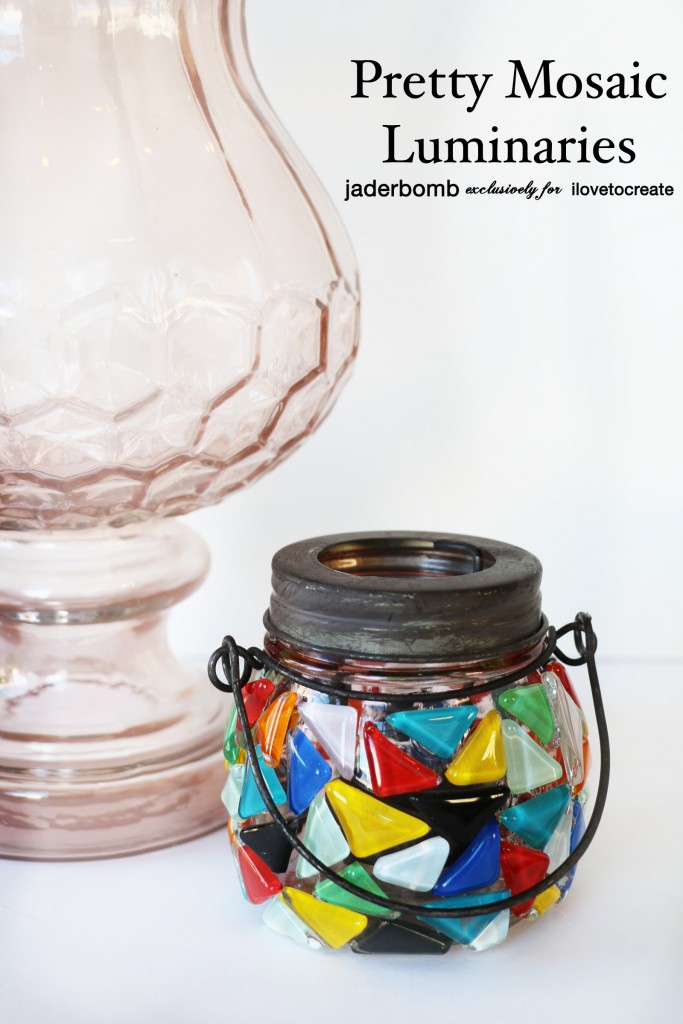
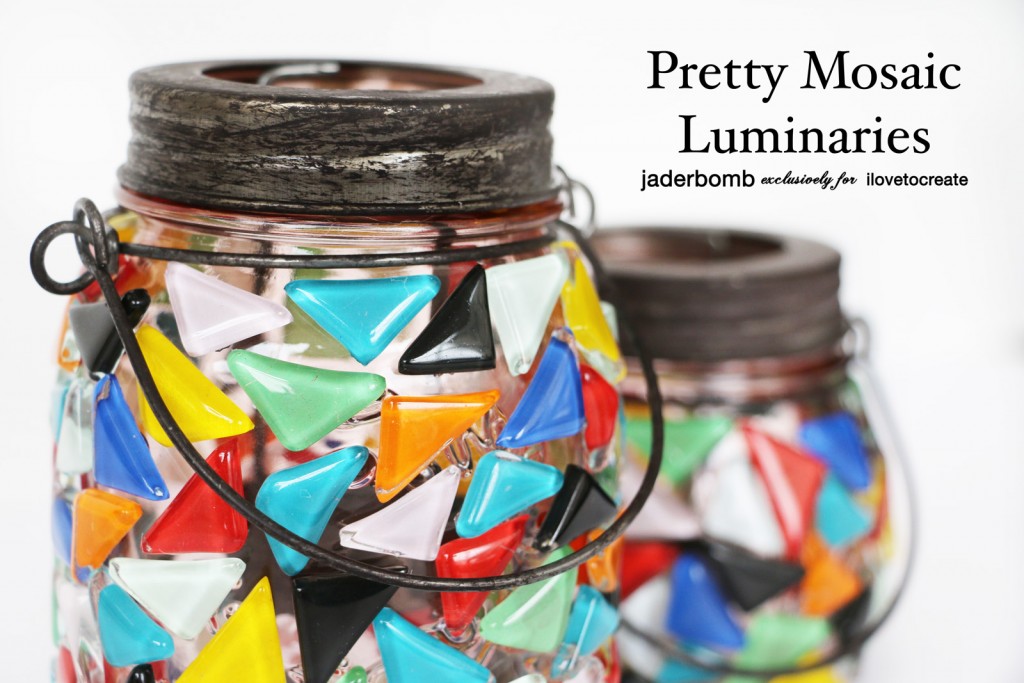
Mosaic 101! Well let me correct myself… It should be titled “Come see how easy it is to mosaic without using grout”… haha! Seriously if you are anything like me then you like to do things quick and fast. I tend to love instant gratification and this project will do the job. I created this project for I love to Create and it actually landed on television through the company! I will try to find the link and add it but in the meantime you can check out ALL of the projects I created for them HERE. The one thing I love about this project is the fact that it’s delicate yet still bold and full of of color. Color is the one thing in my life that brings true happiness to my soul. Make sure to scroll all the way to the bottom of this post to get to the FULL tutorial! If you want to see another cool project I created using grout check this out!

Btw frens, HAPPY FRIDAY NIGHT!9 13CLICK HERE FOR THE FULL TUTORIAL 

See you in the next post
XOXO Jade
Make sure to visit me in social media land… We can totally be online besties!

FACEBOOK | INSTAGRAM | PINTEREST | TWITTER | GOOGLEYOU TUBE
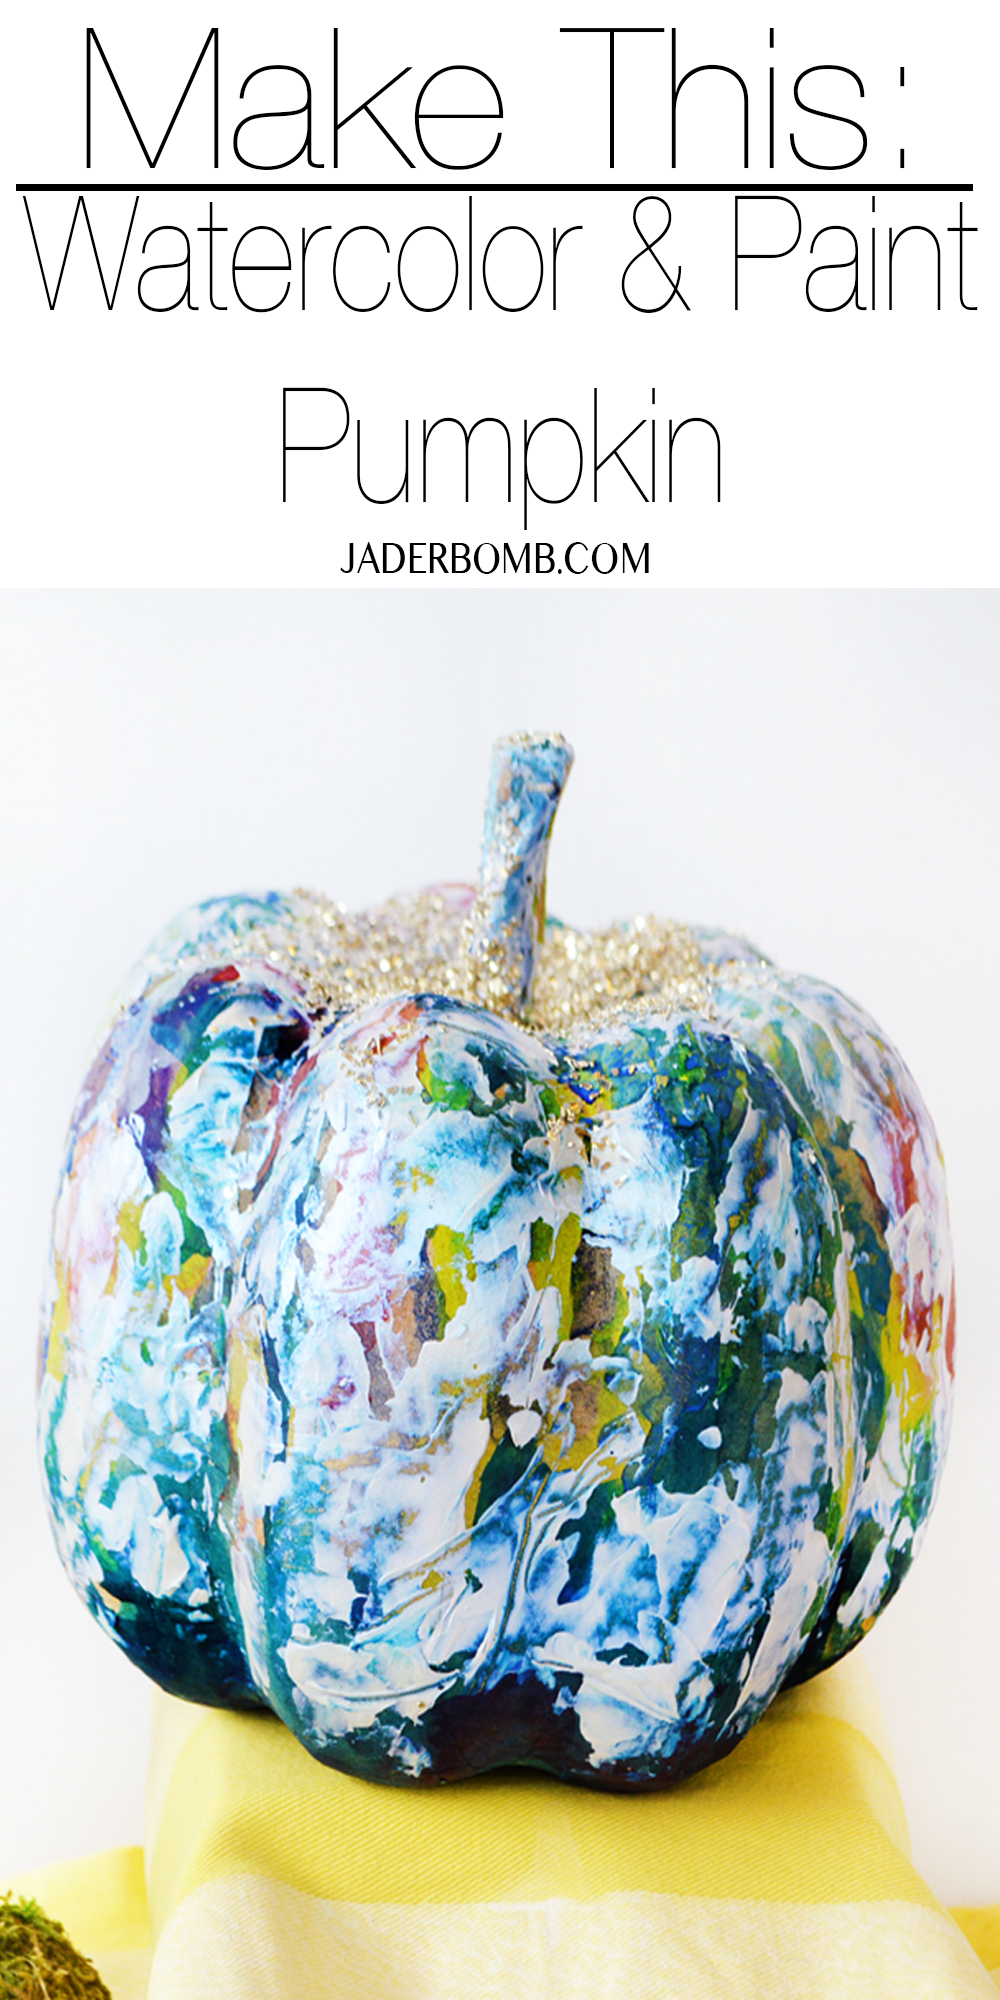
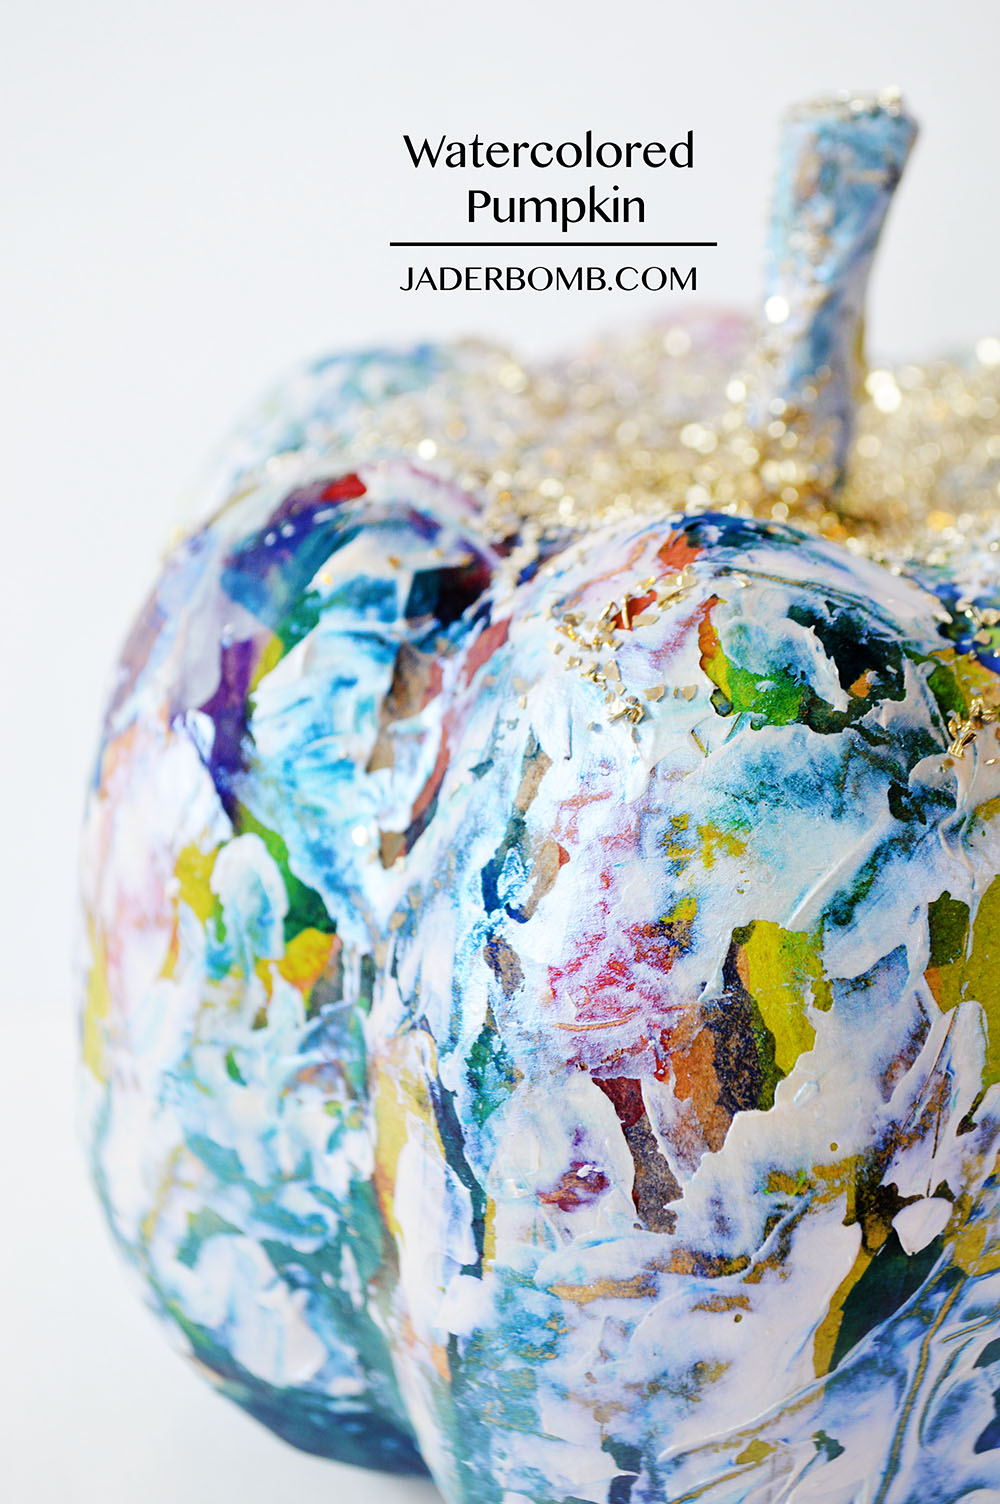
Howdy Jaderbugs! It’s hump day and I have something fun I want to share with you. I created this Watercolor and Paint Pumpkin the other night and I have a confession to make. Usually when I create a project for YOU I take step by step pictures of the process however today is different. The other night we were working late in the studio and I decided to “play” with a few craft pumpkins for shits and giggles. I honestly had no intention of doing a project I just felt like dressing up a boring pumpkin. Once it was complete I thought it was butt ugly. I know, can you believe I thought that!

When I finished the pumpkin I put in on a table in the studio and C passed by and said she loved it. I said, SURE you do (haha). After a few words I realized she ready did and that made me smile. It spent the night on the table and the next morning when we went back to the studio I passed by it and I truly fell in love. I think we all know that feeling looking at something the next day and realizing the beauty in it. I decided to share it with you but I don’t have any step out pictures. It was very easy to make so I will list all of the steps and hopefully that will work for you. Enjoy! Watercolor and Paint Pumpkin

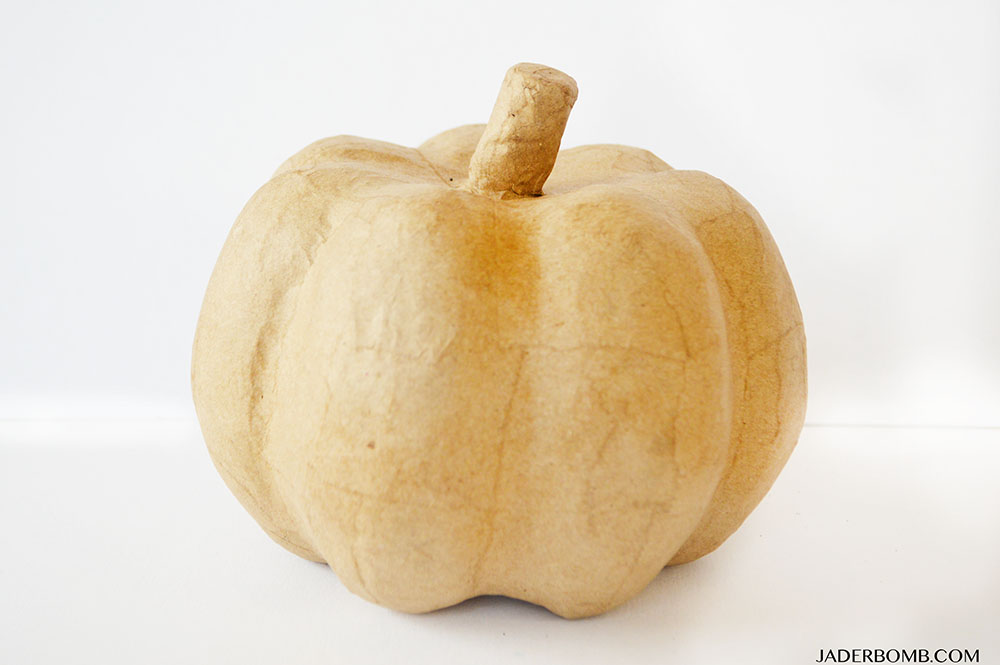
Grab a kraft pumpkin from the craft store. You want to get the “cardboard” pumpkin so the watercolor will absorb in it. A plastic pumpkin will not work as well.
craft pumpkin

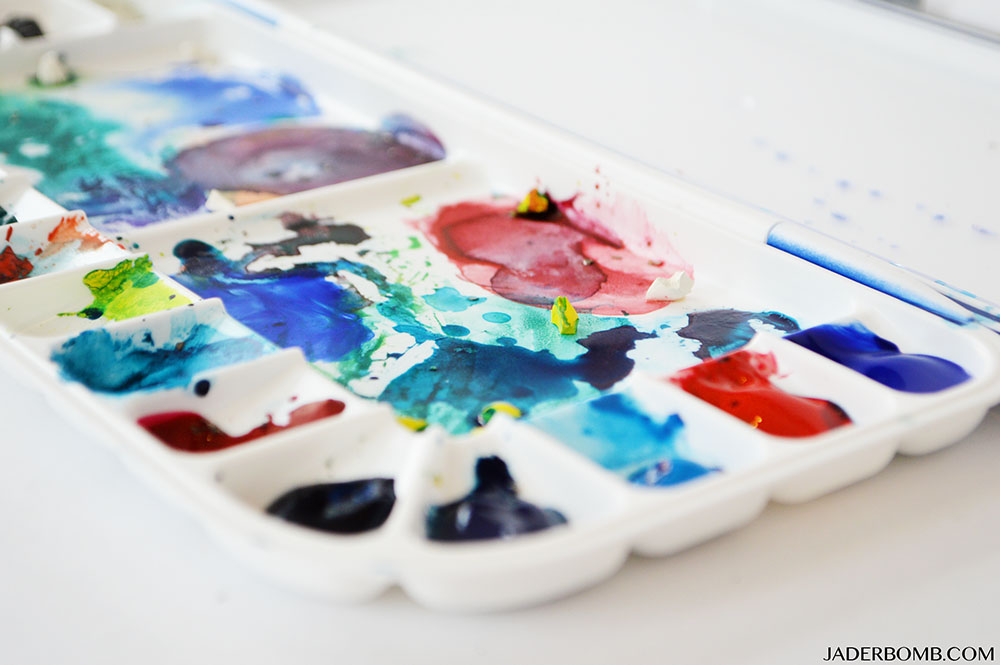
I used liquid water color, the pigment is much better. how to water color

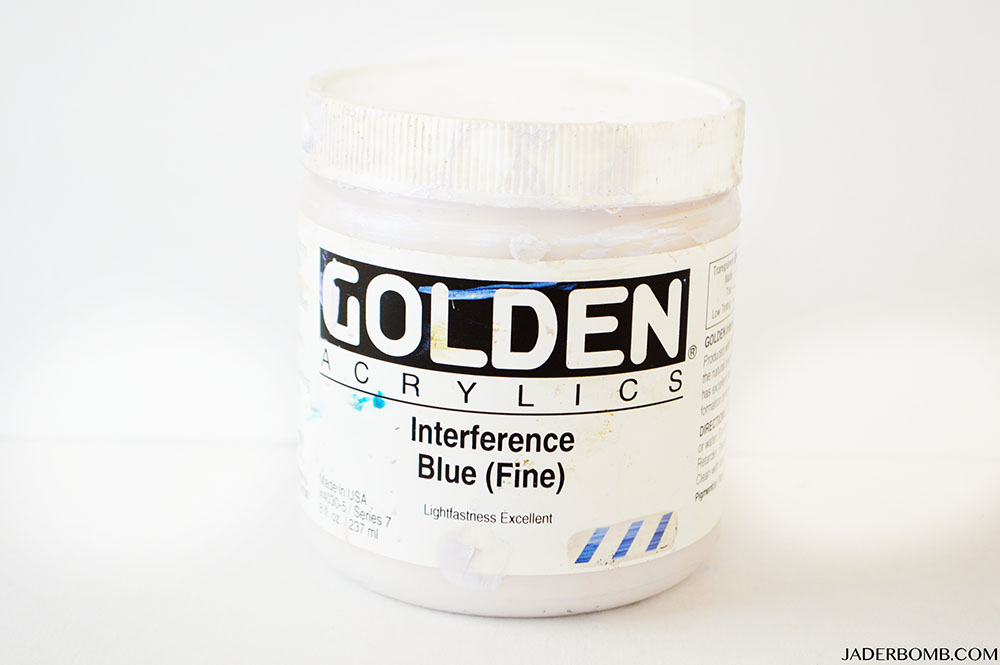
I also used this interference blue paint in the end. I will explain the steps below. neon paint

Step 1: Add watercolor all over your pumpkin. You can use as many colors as you want. I used every color known to man kind. When you are done with this step let your watercolor dry completely.

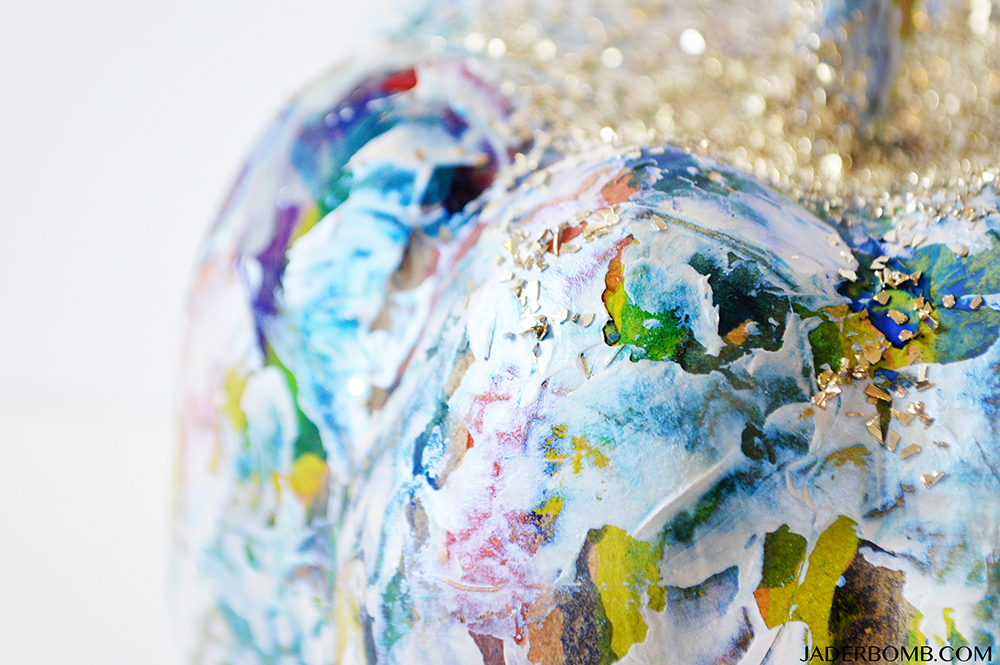
Step 2: Now that your pumpkin is dry we can add our interference blue paint. You can use any other paint just make sure it’s iredescent. I used a palette knife to spread the paint all over my pumpkin. I wanted it to look sorta messy and thick. A brush will not create the same look y’all, trust me.

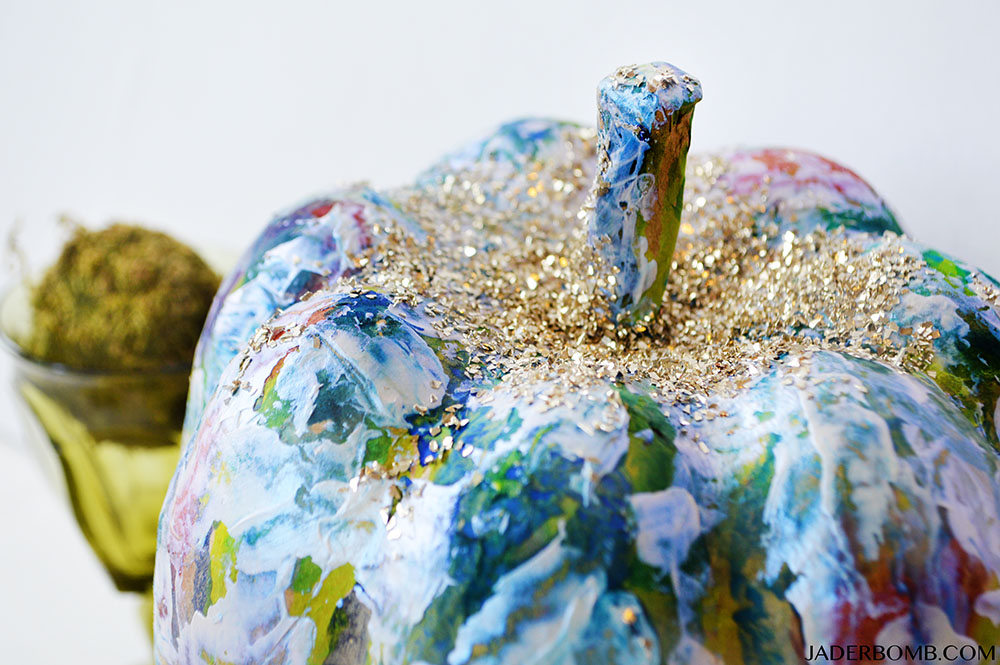
Step 3: I slathered (yes slathered) paint at the top of my pumpkin and sprinkled gold glass glitter all over it. Now if you don’t have glass glitter you can use any glitter you want but I will tell you if you have never used glass glitter then you are totally missing out.

Step 4: Sit back and stare at it. Seriously. Grab a drink and stare.
textured pumpkin

I am super pleased with this baby! I usually give my pumpkins away to friends but this sucker is staying with me. Let me know if you need any help or questions in the comment section! painted pumpkin

Don’t forget to SHARE because the WORLD needs to see this beauty, fa real!painted pumpkin project

Make sure to check out my awesome Halloween dog costume I made for Michaels!

HASHTAG LOGO

Don’t forget to connect on social media! Make sure to use use the hashtag #JADERBOMB on Instagram or Twitter or Facebook so I can keep track of all your awesome creations! HAVE A GLITTERY DAY! ♥, Jade


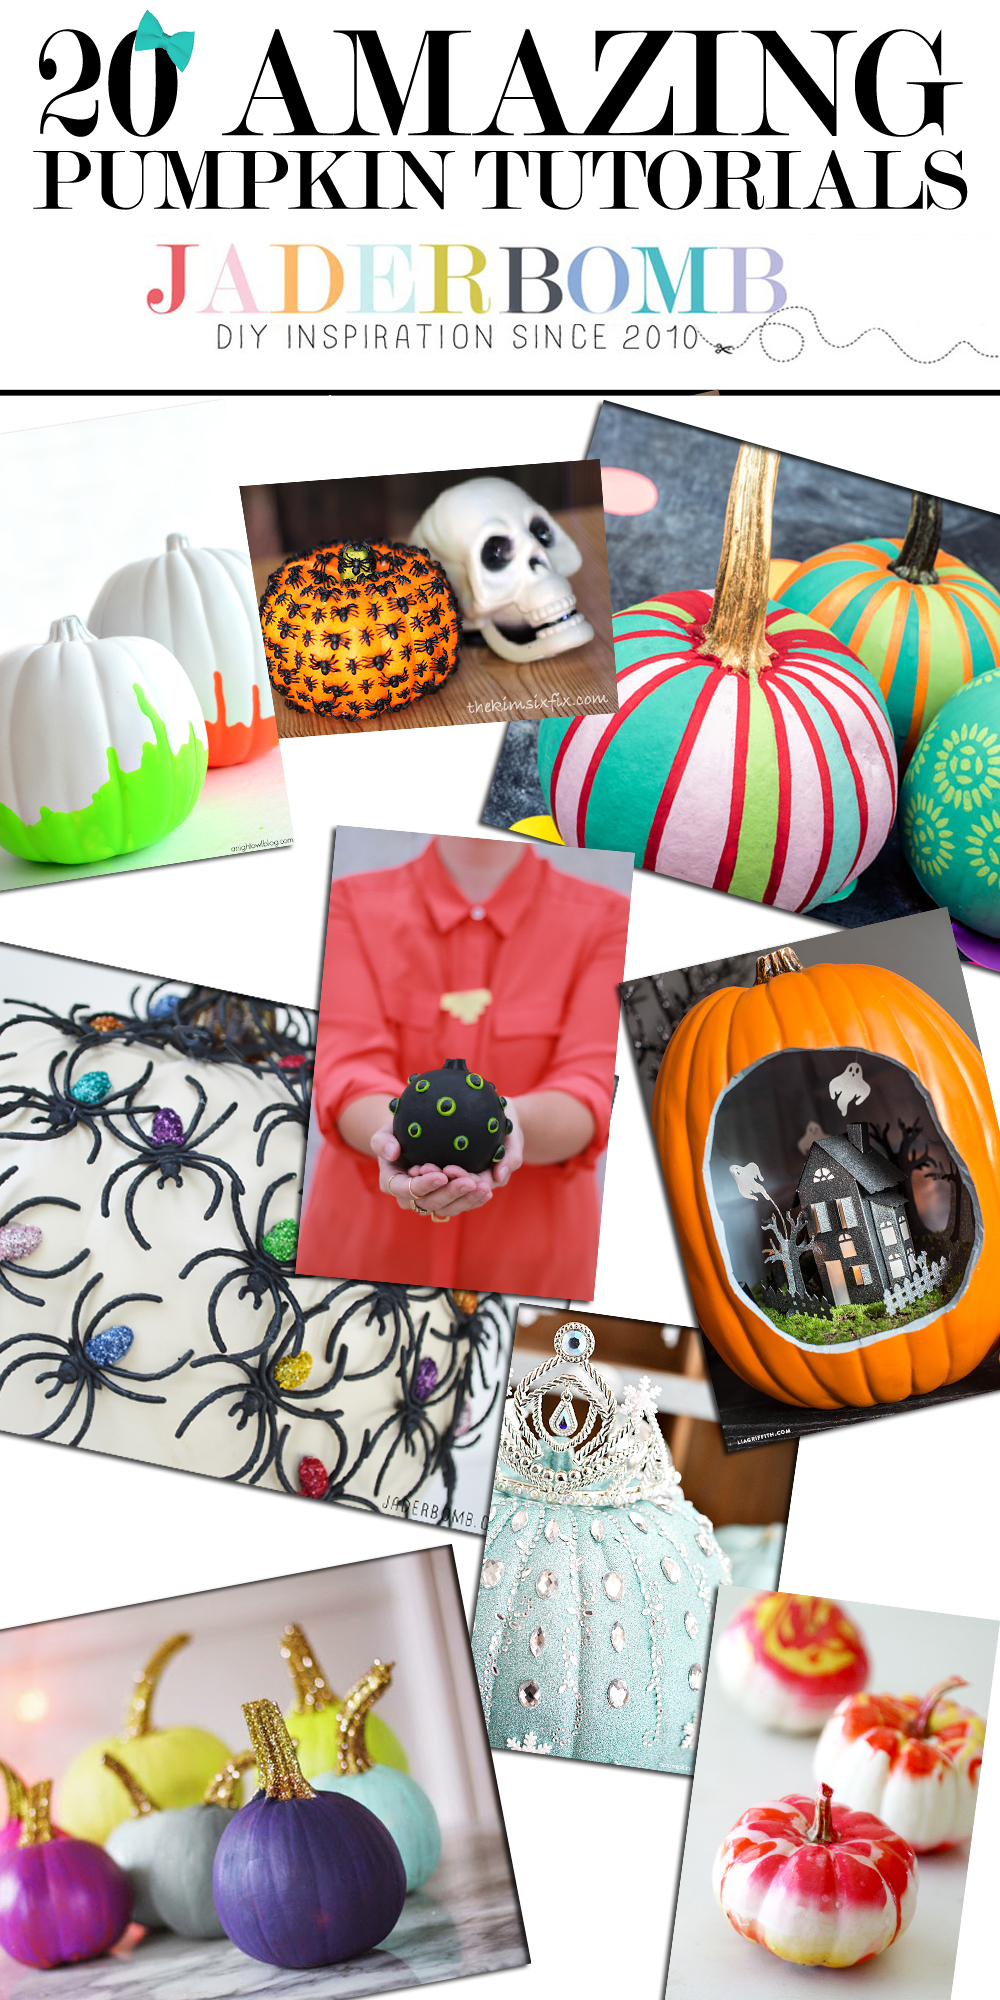
Holy Pumpkin Balls is time for me to share this year’s 20 DIY PUMPKIN TUTORIALS ! Is it really that time of the year and when did it creep into my life ever so effortlessly? Don’t get me wrong the smell of pumpkin/apple candles, nutmeg, freshly cut grass and pumpkin spiced coffee sends goose pimples down my legs but I am really concerned I will not get to enjoy it long enough…..Insert a big laugh here. It’s true because let’s face it as soon as we will get cozy with our Fall decor Santa will shoot rays of his presence right before our eyes. For now I will temporarily sink my soul in the thoughts of how many different pumpkin designs I can create, while I sip on a sweet crown and coke.

Remember my amazing roundup of pumpkins I did last year, if not check them out here!20 DIY PUMPKIN TUTORIALS

Enjoy the roundup Jaderbugs! I hope you try each and every project out and don’t forget to SHARE this post with your friends and family!diy-pumpkins

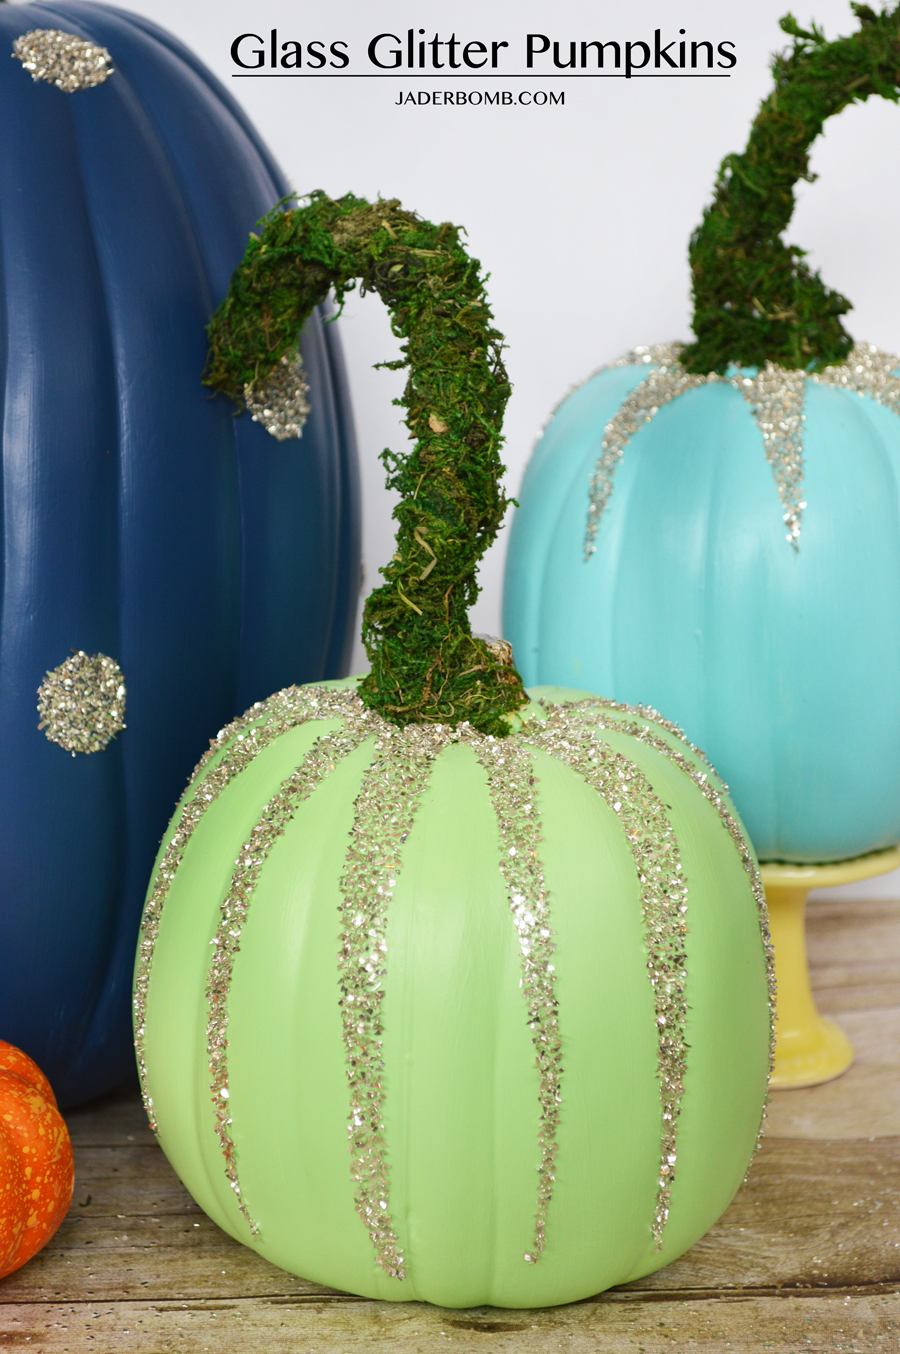
1. How cute are these elegant GLASS GLITTER PUMPKINS
VIA JADERBOMB

Mason_Jar_Vintage_Farmhouse_Pumpkin_0166wm

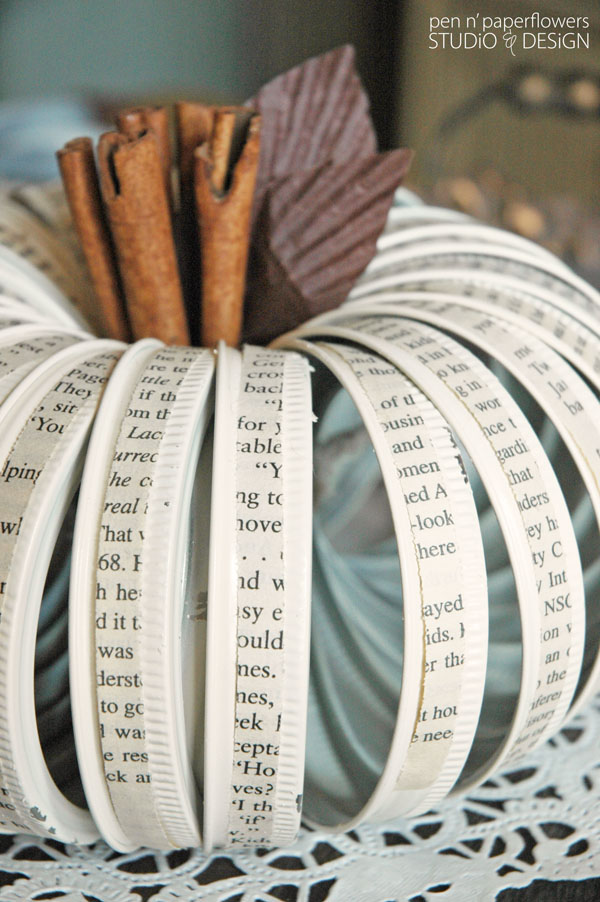
2. I am simply in love with this VINTAGE FARM HOUSE PUMPKIN
VIA PEN AND PAPER FLOWERS

bluepumpkin640

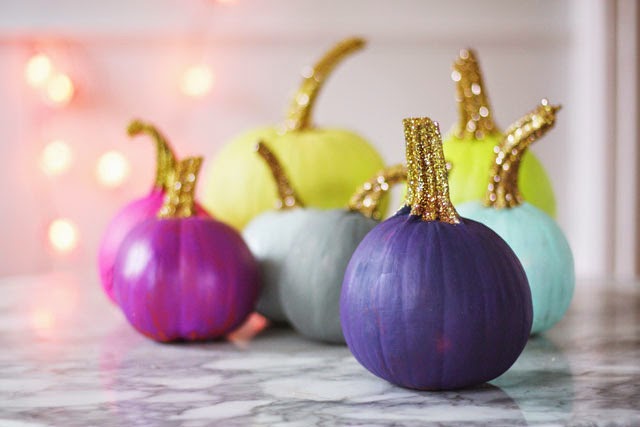
3.Love the colors of these PAINTED PUMPKINS WITH GLITTERED STEMS VIA AUNTPEACHES

Haunted_House_Diorama

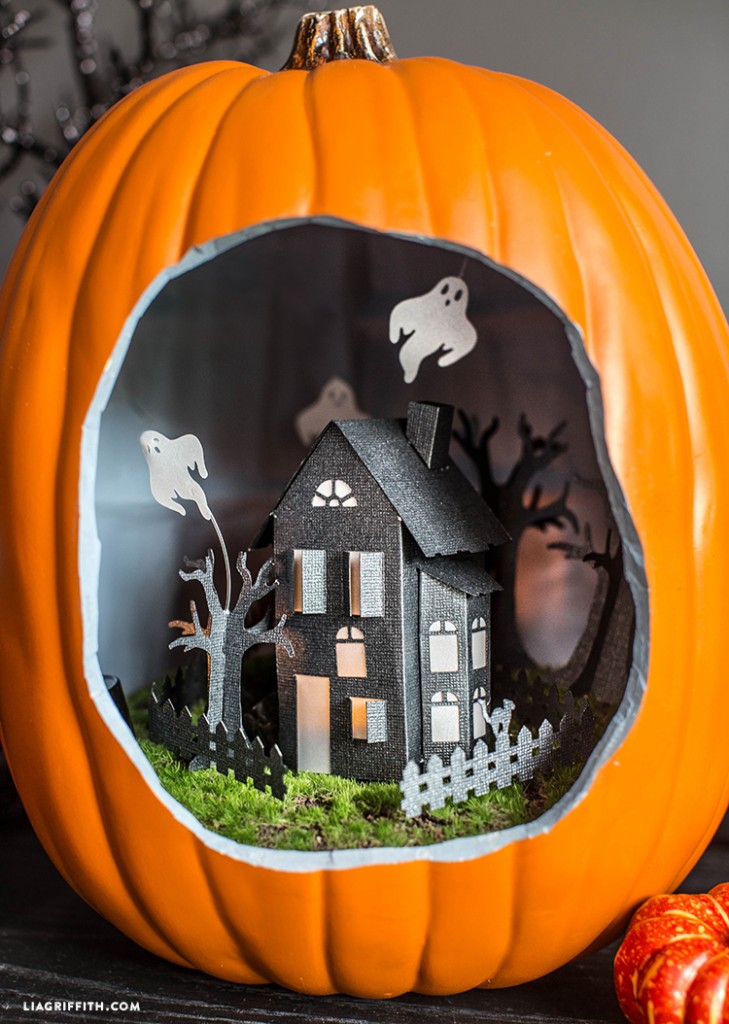
4. I am “dying” to live in this HALLOWEEN PUMPKIN DIORAMA
VIA LIA GRIFFITH

HOW-TO-PAINT-RAINBOW-PUMPKINS-1024x636-1

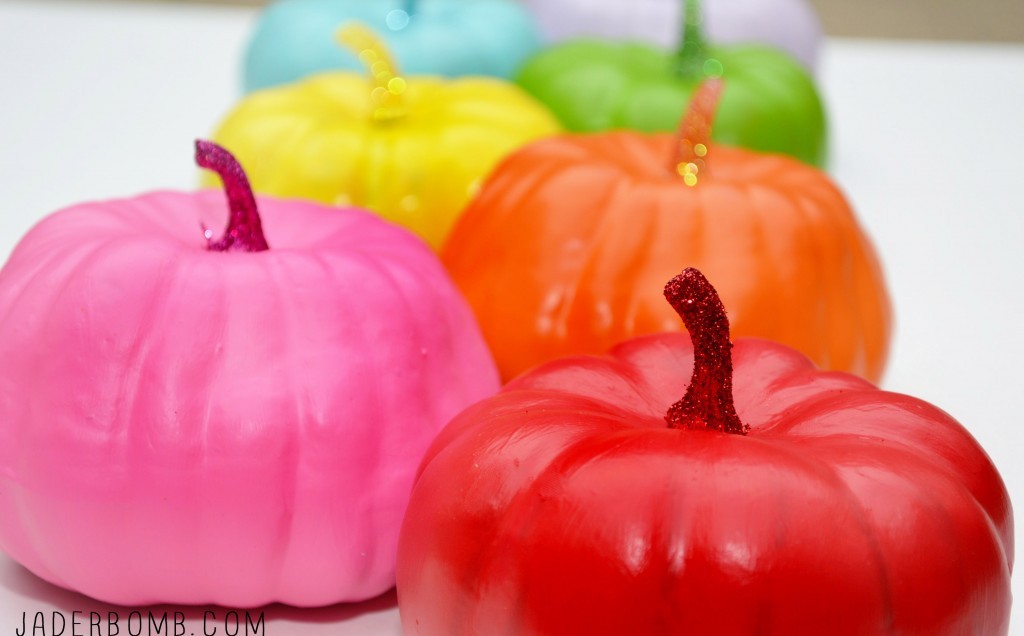
5. Bring lot’s of COLOR into your world with these RAINBOW PUMPKINS
VIA JADERBOMB

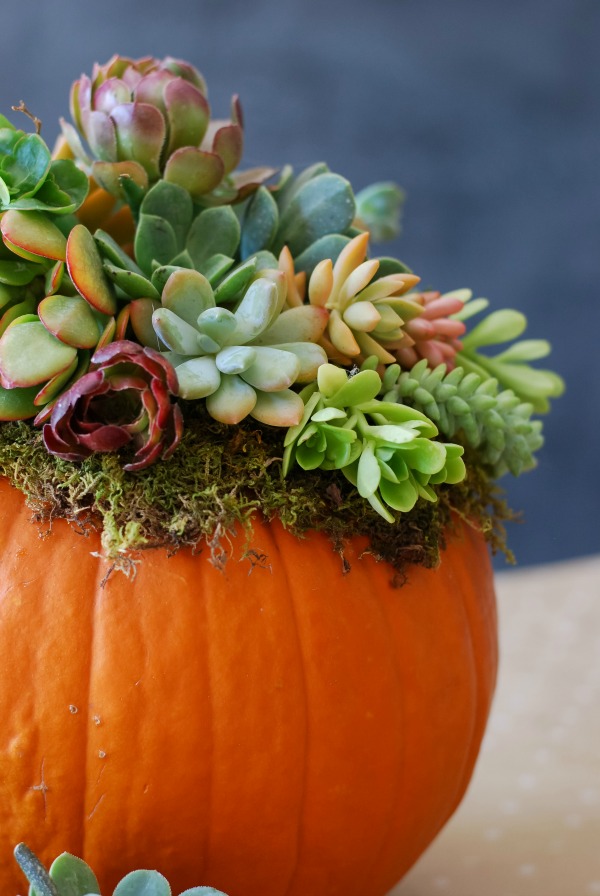
Pumpkin-Succulent-Arrangement-simplyhappenstance.com-136

6. If you ever wanted to bring elegance into your life then you must make this PUMPKIN SUCCULENT
VIA SIMPLY HAPPEN STANCE

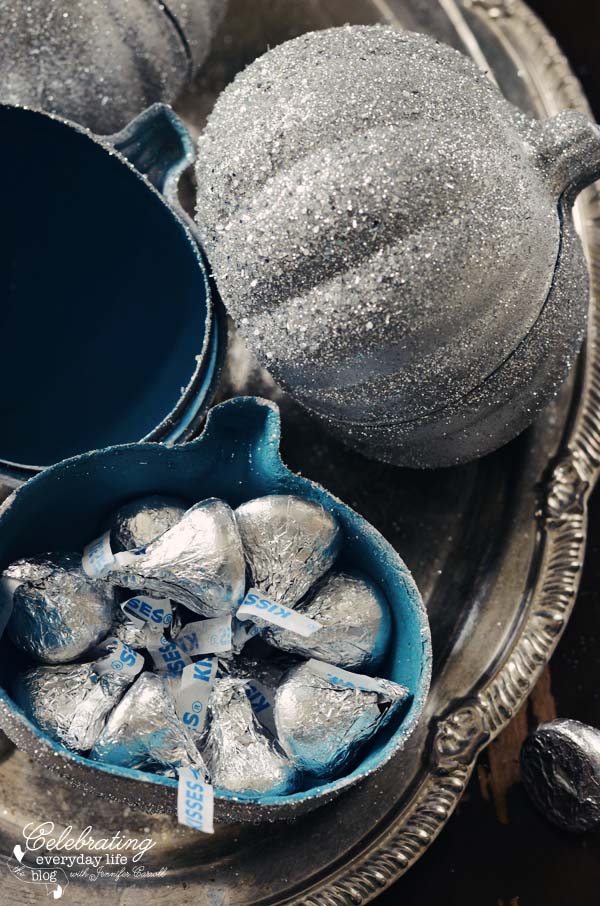
HersheyKisses

7. I need these GLITTERED PUMPKIN TREAT BOXES in my life now!
VIA CELEBRATING LIFE EVERYDAY

PhotoPumpkin2

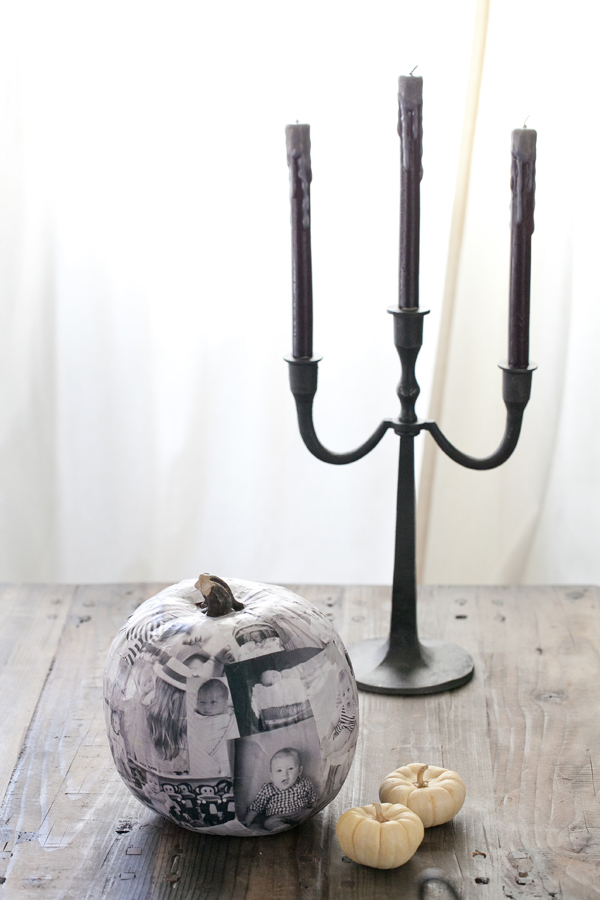
8. Capture memories forever with this DECOUPAGE PHOTO PUMPKIN
VIA SUGAR AND CHARM

fall-decorating1

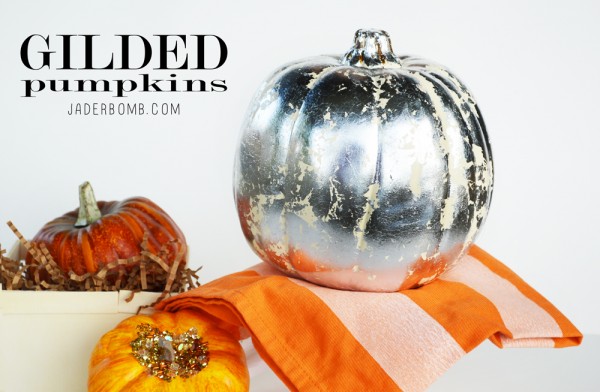
9. Make these GILDED PUMPKINS and keep them up all year long
VIA JADERBOMB

DSC0017

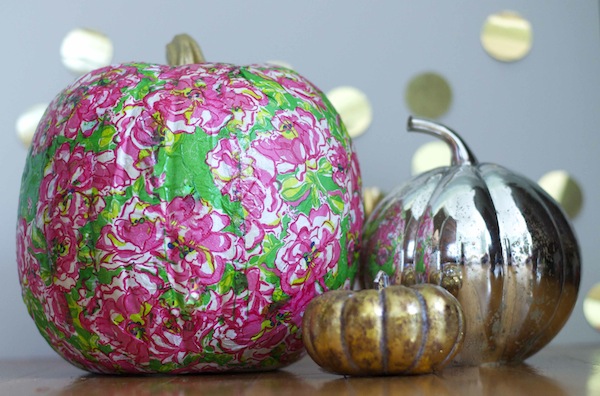
10. This LILY PULITZER PUMPKIN will add happiness to your teen’s bedroom
VIA POP COSMO

Elsa-Rhinestone-Pumpkin-

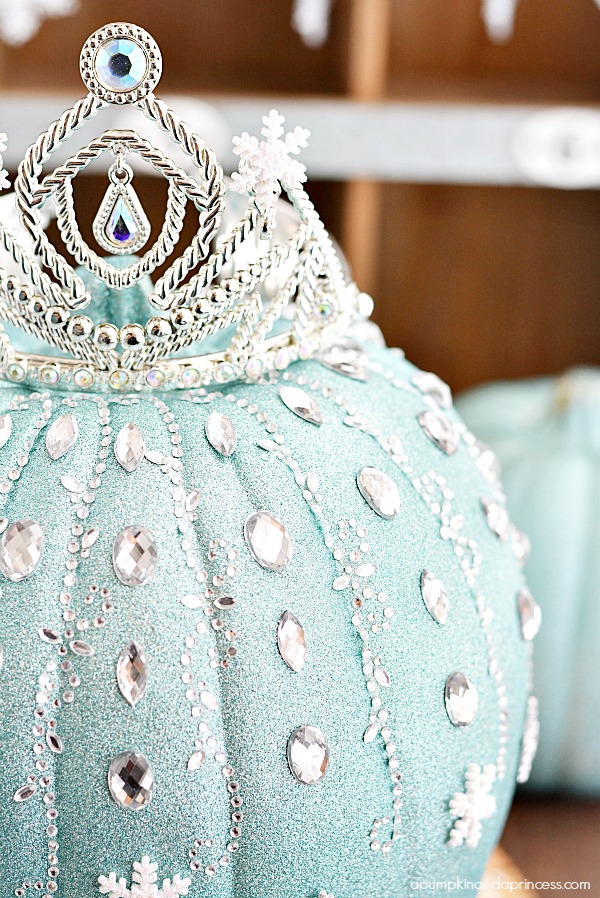
11. What kid wouldn’t love a FROZEN ELSA PUMPKINS
VIA A PUMPKIN AND A PRINCESS

6-painted-mini-pumpkins

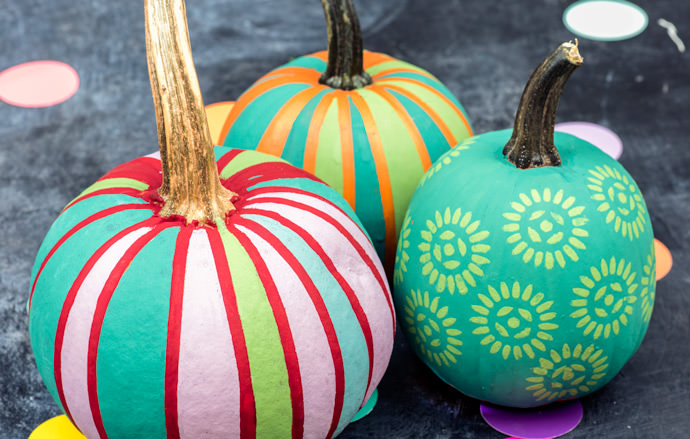
12. A PAINTED MINI PUMPKIN PATCH is exactly what the Dr. ordered
VIA HANDMADE CHARLOTTE

Cute-halloween-pumpkin-6

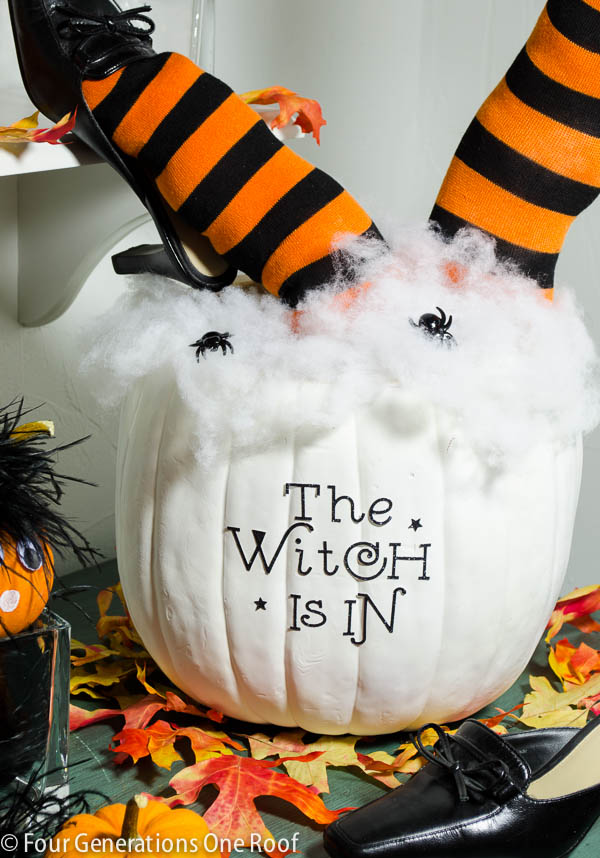
13.  THE WITCH IS IN PUMPKIN will surely give your visitors a fright
VIA FOUR GENERATIONS ONE ROOF

DSC_05651

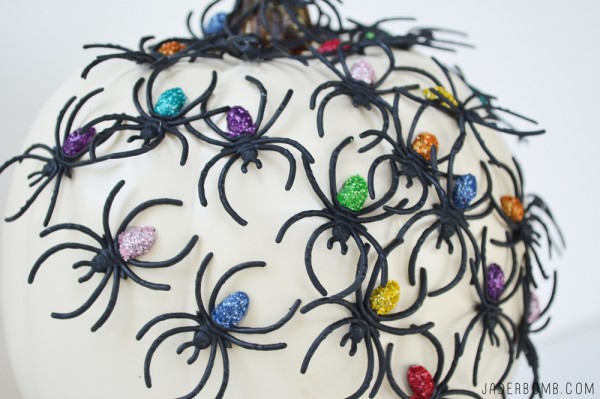
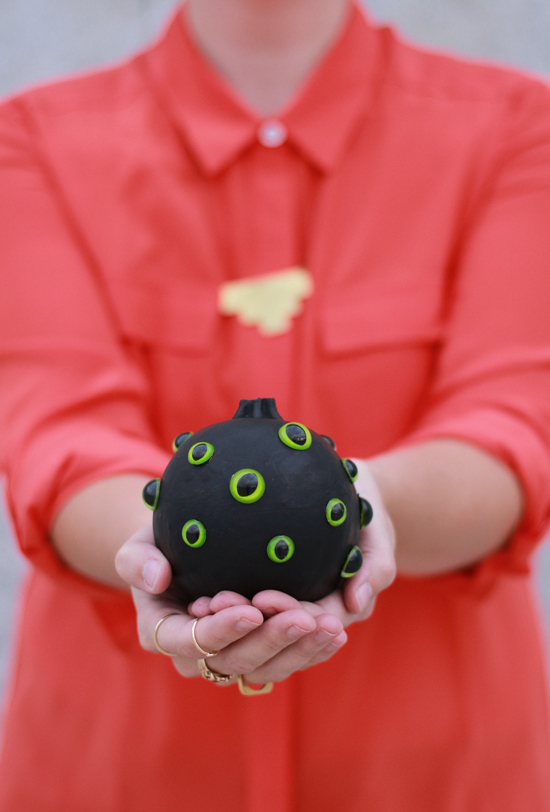
14. Every kid in the world needs to make this DIY SPIDER PUMPKIN
VIA JADERBOMB

final3

15. These NO CARVE TYPOGRAPHY PUMPKINS make my heart flutter
VIA FAIRGOODS

Neon-Paint-Dipped-Pumpkins-6

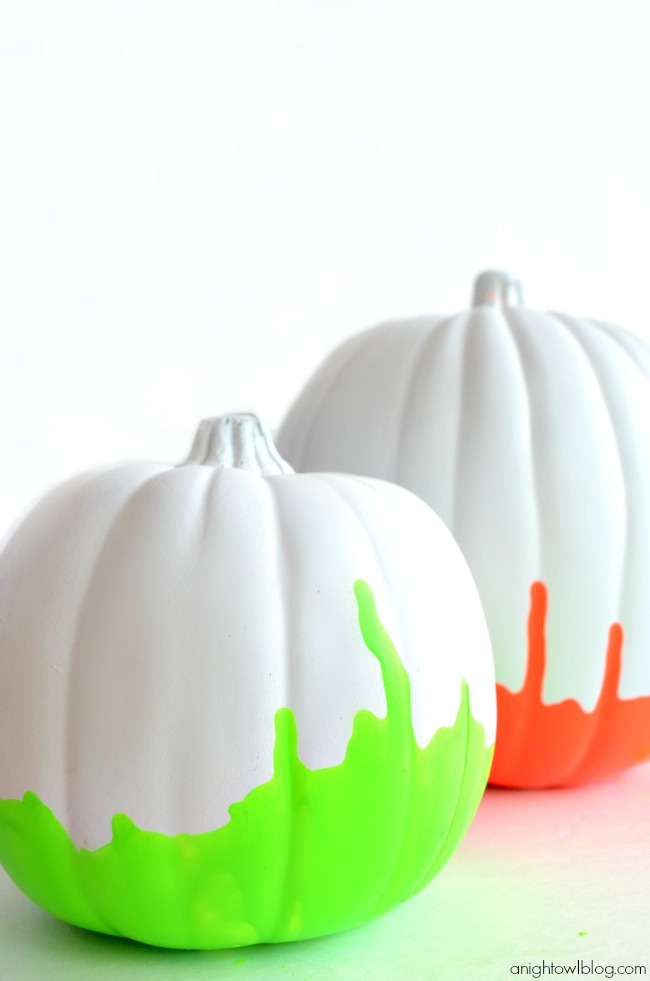
16. Bring a little graffitti into your world with these NEON DIPPED PUMPKINS VIA A NIGHT OWL BLOG

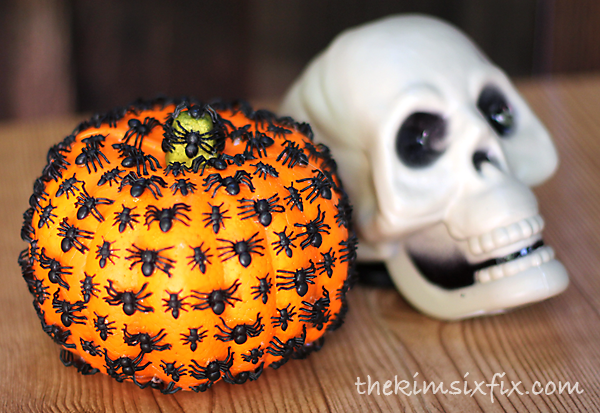
bug-covered-pumpkin

17. This CREEPY CRAWLY SPIDER PUMPKIN makes my back itch, literally
VIA THE KIM SIX FIX

Pumpkins-1-Main

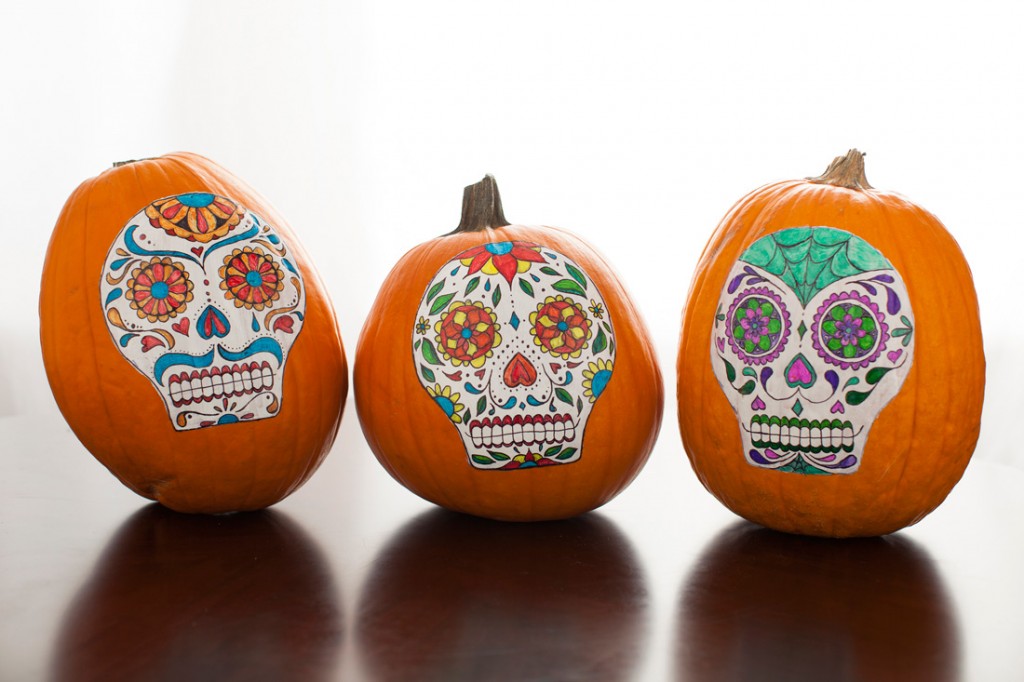
18. NO CARVE SUGAR SKULL PUMPKINS will be a hit at any party
VIA BRIT & CO

creepy-no-carve-pumpkin-diy-craft-project-13

19. I would keep this CREEPY CAT EYE NO CARVE PUMPKIN out all year long
VIA PAPER N STITCH BLOGmarble-DIY-pumpkins

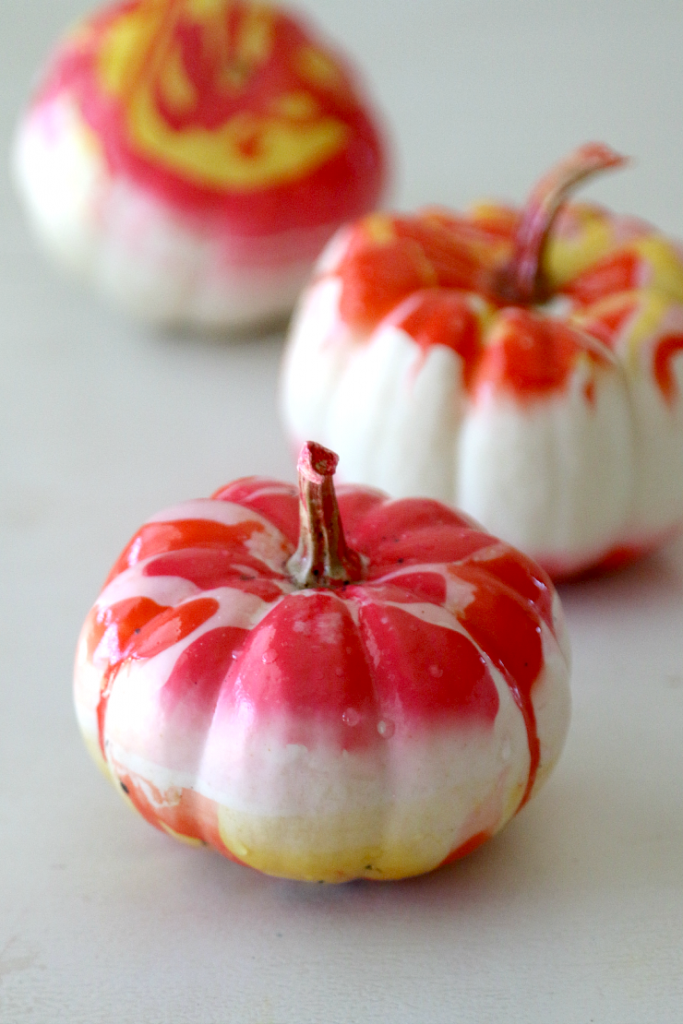
20. Bring the fun indoors by MARBLING A PUMPKIN VIA MOM DOT.COM

I hope you enjoyed this pumpkin roundup, don’t forget to share!

HASHTAG LOGO

Follow me on all of my social media sites fa real!
FACEBOOK | INSTAGRAM | PINTEREST | TWITTER | GOOGLE+ | YOU TUBE


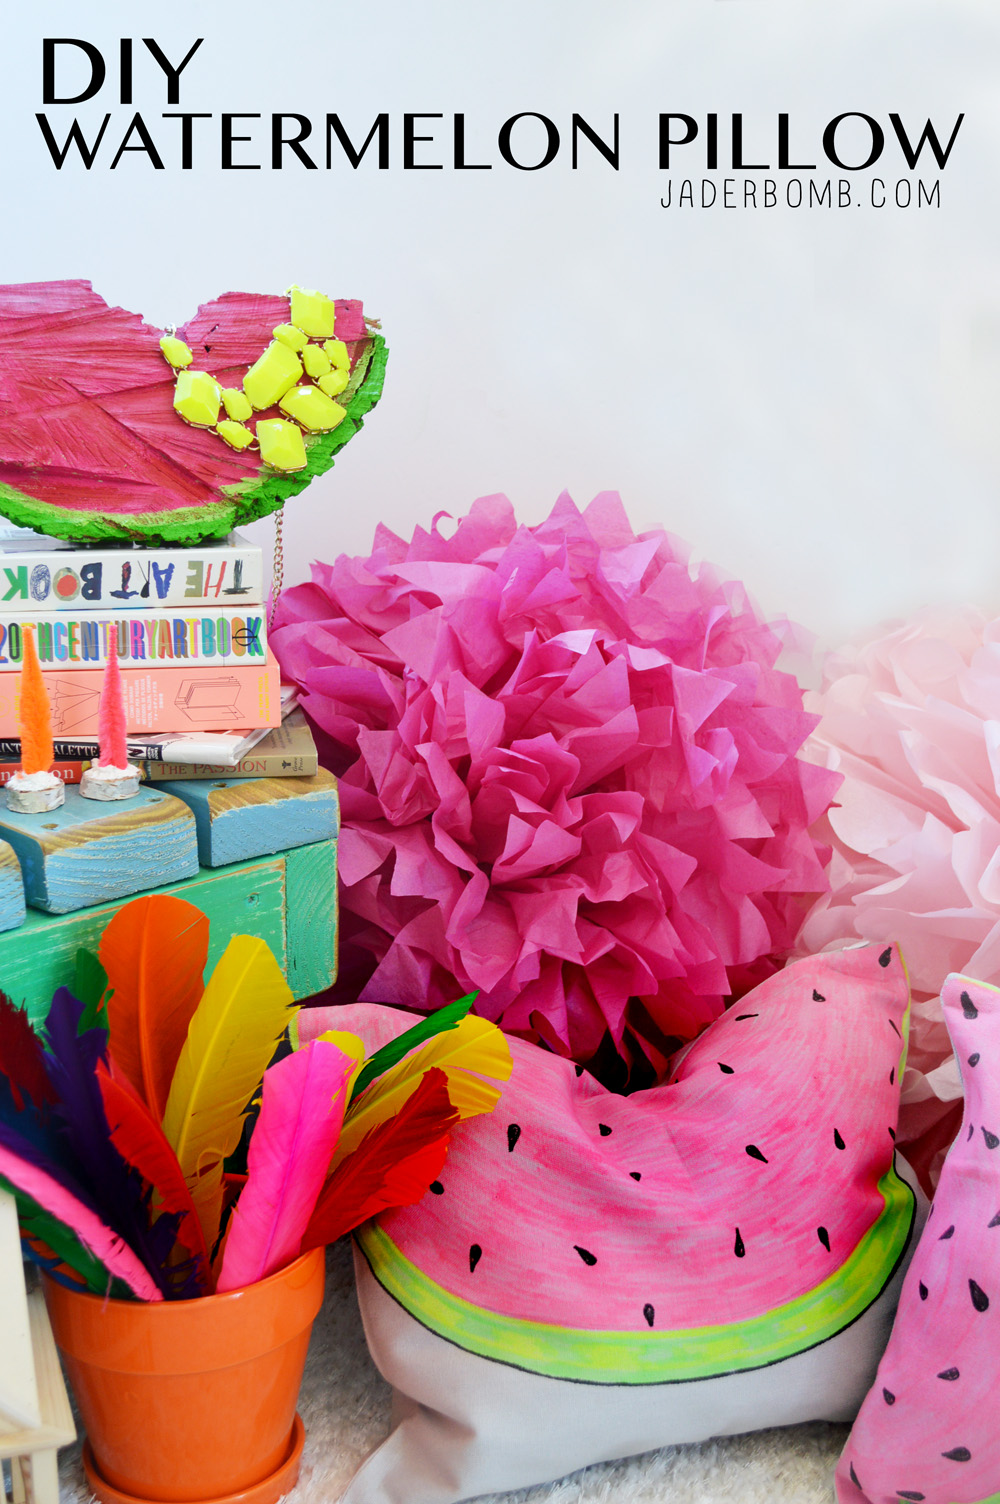
Today it’s all about the infamous Watermelon. Not actually a real one, but one much better! One that will last for a few years if given lot’s of love and attention!

The other day I decided to go for a walk around the neighborhood and I stumbled across random pieces of wood (see below). One resembled a watermelon. It’s like the fruit gods sent it directly to me. My friend had a painted watermelon at her house a few years ago and I fell in love. All this wood needed was a little paint and then it would be complete. I know I have not added the seeds yet but that’s because I am still trying to decide if I want real seeds or painted seeds. What do you think I should do???

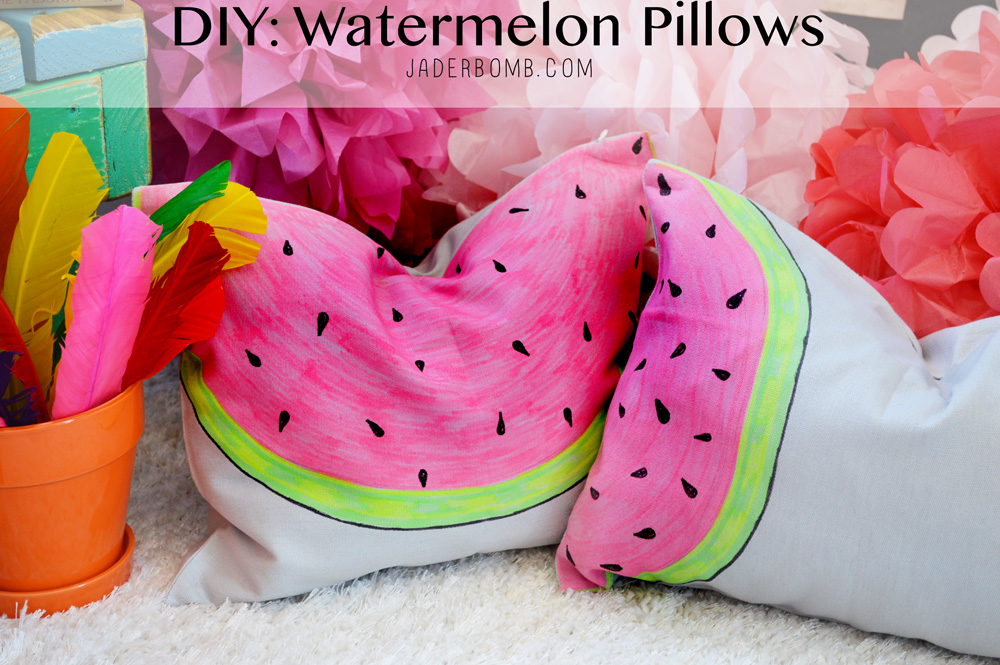
After I painted this lovely piece of wood it gave me an idea. Why not make Watermelon Pillows to dress up my outdoor space. There you have it folks. Needless to say I am now sorta addicted to watermelon’s and I want and need more of them, hehehe.

Scroll to the bottom of this post to get the link to see the FULL tutorial that I did on the I love to Create blog! Click HERE to see all of my projects I created for I love to create!
Watermelon

watermelon pillow

CLICK HERE TO SEE FULL TUTORIAL
Enjoy and have a GREAT weekend!HASHTAG LOGO
Don’t forget to connect on social media! Make sure to use use the hashtag #JADERBOMB on Instagram or Twitter or Facebook so I can keep track of all your awesome creations! HAVE A GLITTERY DAY! ♥, Jade