
Howdy Jaderbugs! It’s hump day and I have something fun I want to share with you. I created this Watercolor and Paint Pumpkin the other night and I have a confession to make. Usually when I create a project for YOU I take step by step pictures of the process however today is different. The other night we were working late in the studio and I decided to “play” with a few craft pumpkins for shits and giggles. I honestly had no intention of doing a project I just felt like dressing up a boring pumpkin. Once it was complete I thought it was butt ugly. I know, can you believe I thought that!
When I finished the pumpkin I put in on a table in the studio and C passed by and said she loved it. I said, SURE you do (haha). After a few words I realized she ready did and that made me smile. It spent the night on the table and the next morning when we went back to the studio I passed by it and I truly fell in love. I think we all know that feeling looking at something the next day and realizing the beauty in it. I decided to share it with you but I don’t have any step out pictures. It was very easy to make so I will list all of the steps and hopefully that will work for you. Enjoy! 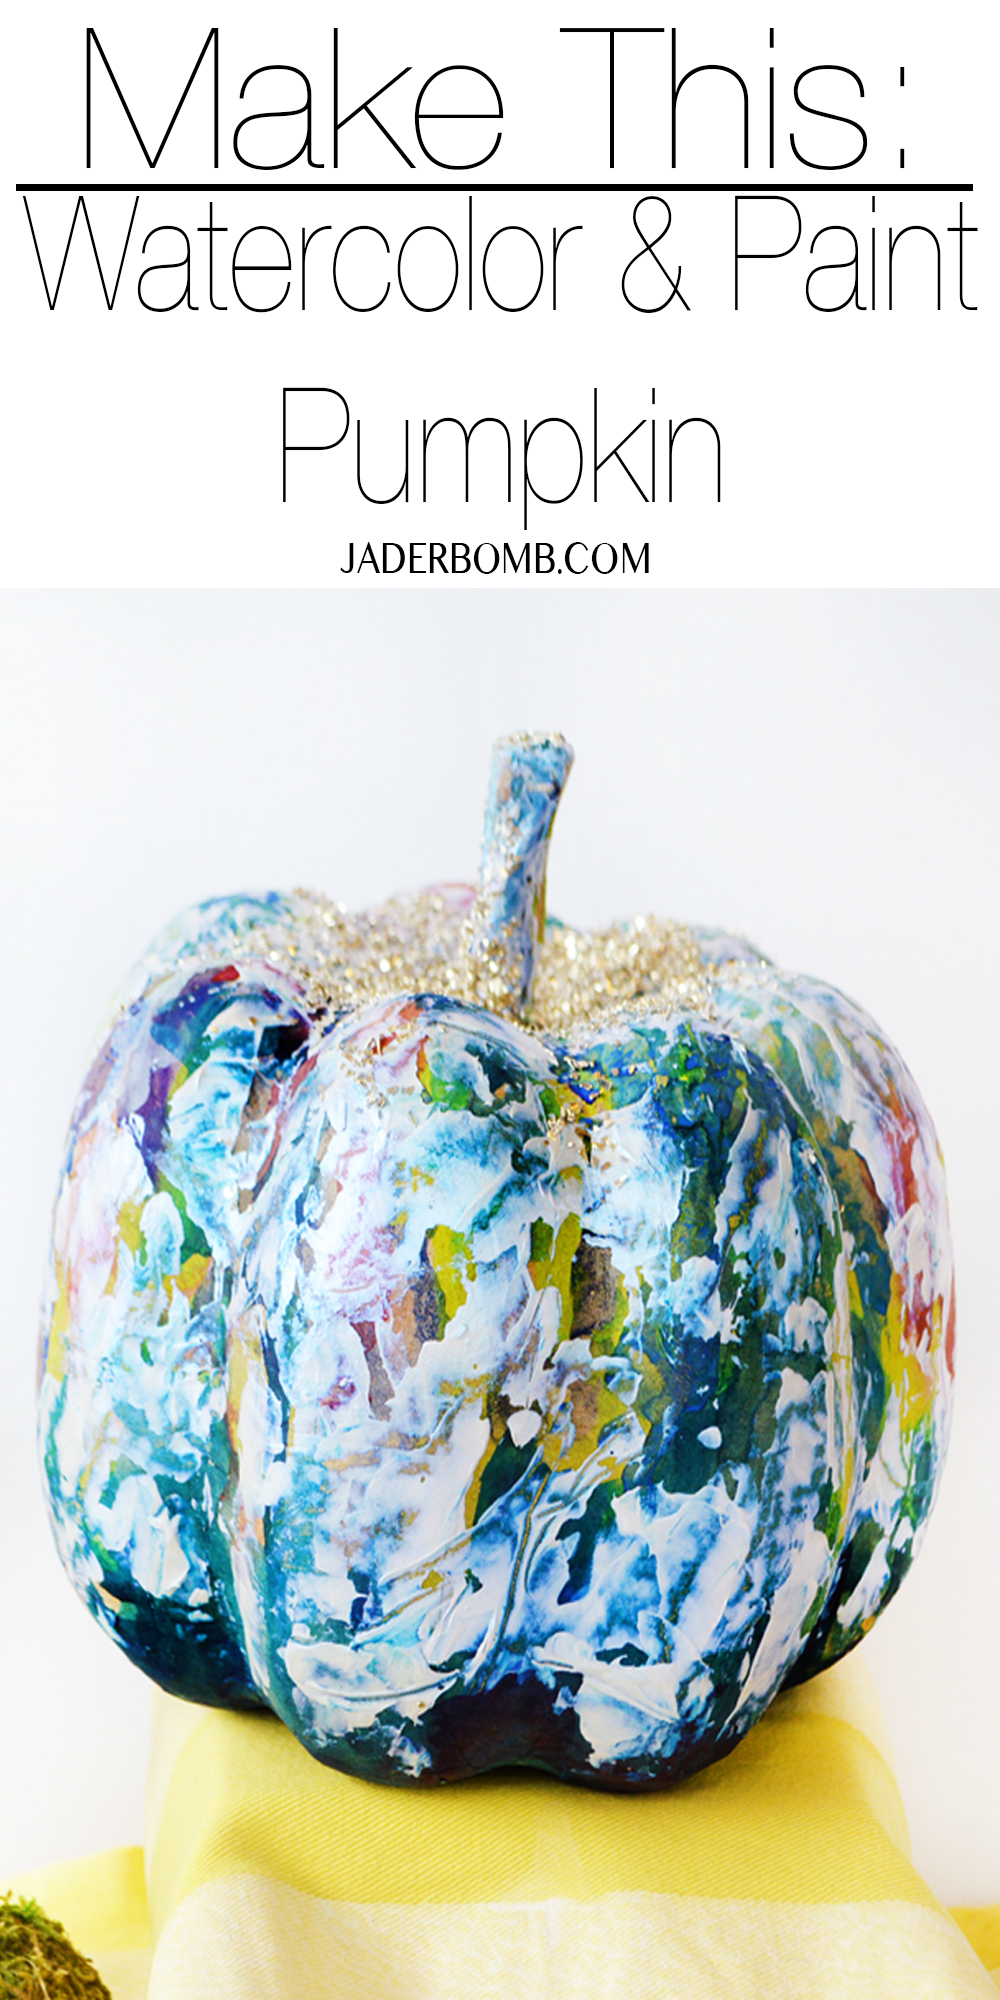
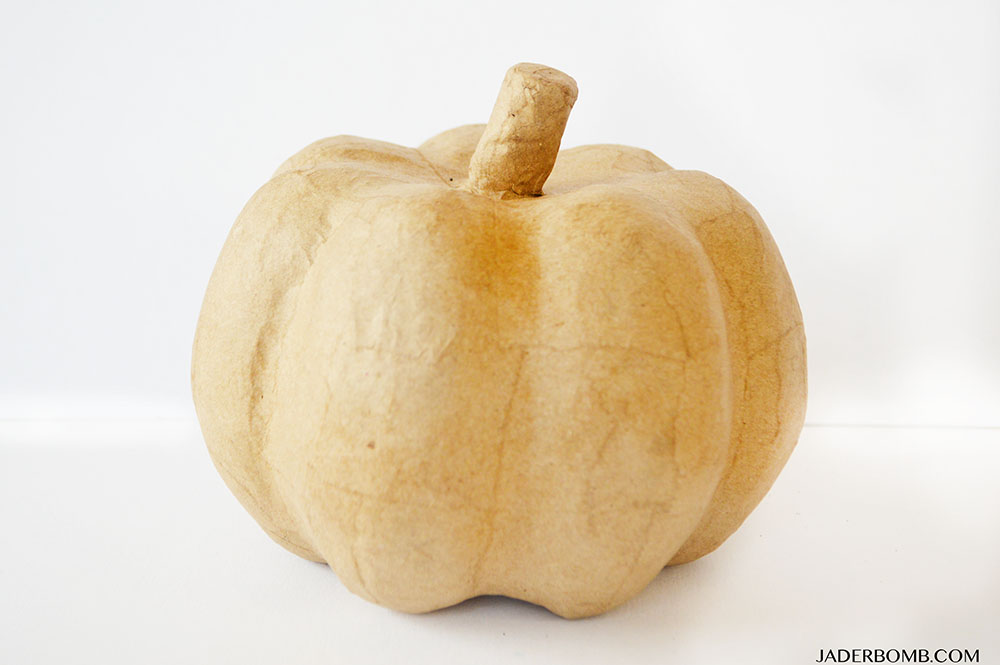
Grab a kraft pumpkin from the craft store. You want to get the “cardboard” pumpkin so the watercolor will absorb in it. A plastic pumpkin will not work as well.
I used liquid water color, the pigment is much better. 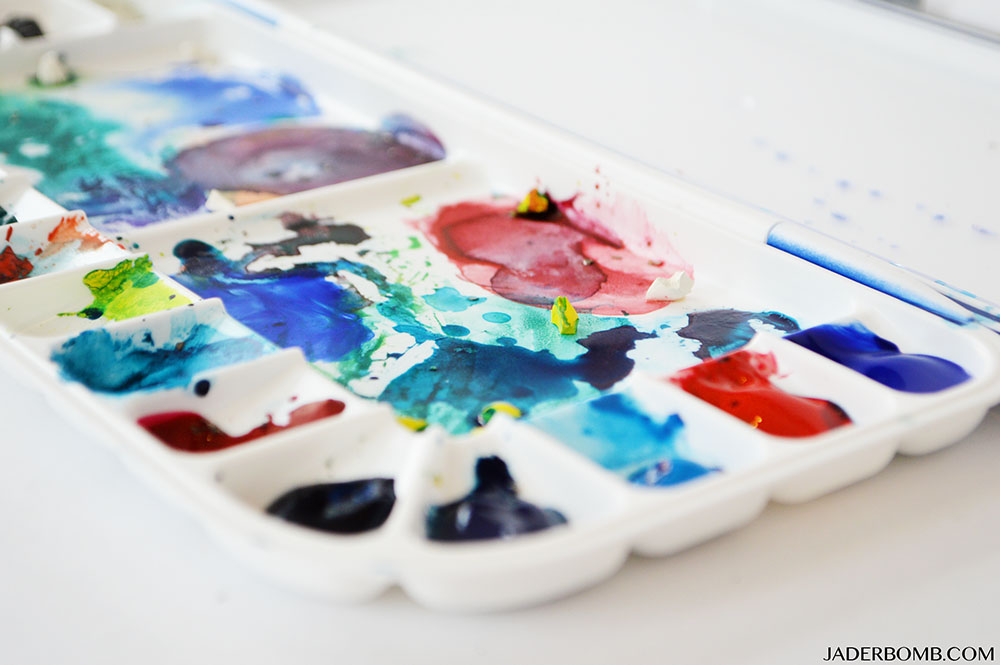
I also used this interference blue paint in the end. I will explain the steps below. 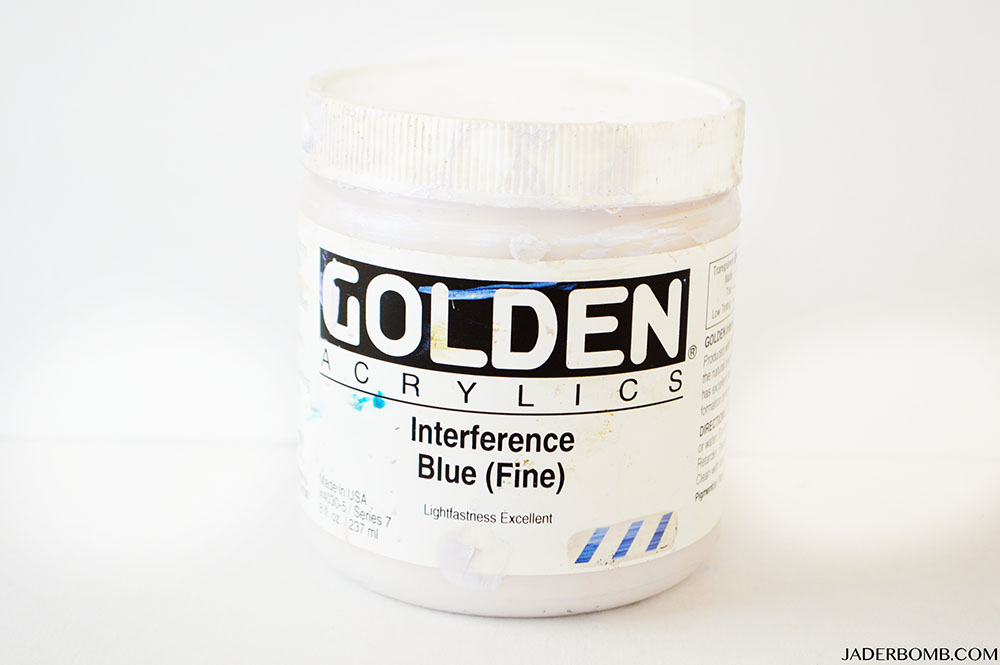
Step 1: Add watercolor all over your pumpkin. You can use as many colors as you want. I used every color known to man kind. When you are done with this step let your watercolor dry completely.
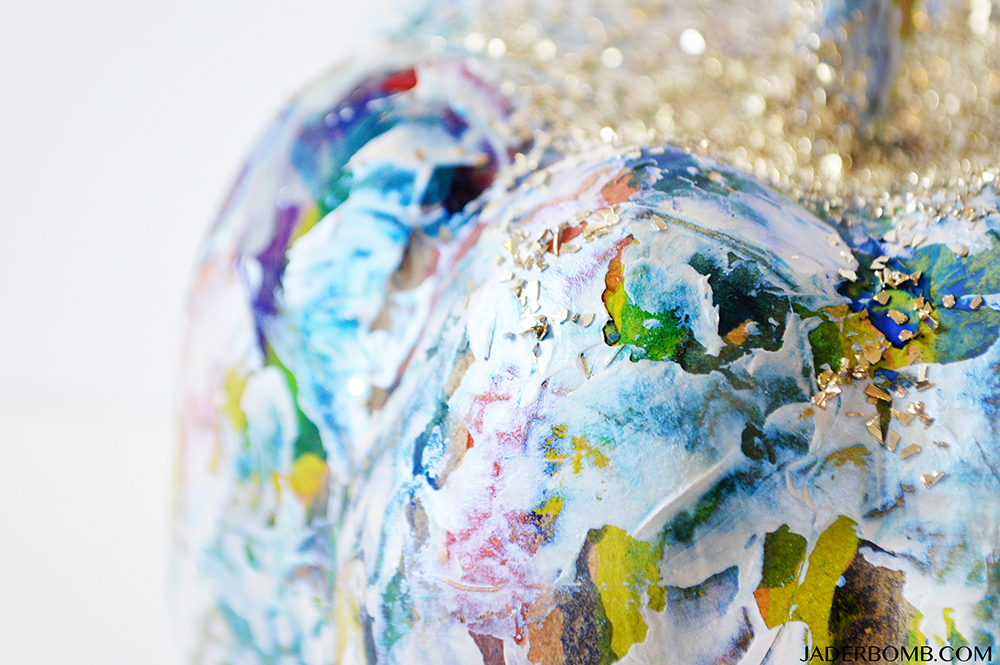
Step 2: Now that your pumpkin is dry we can add our interference blue paint. You can use any other paint just make sure it’s iredescent. I used a palette knife to spread the paint all over my pumpkin. I wanted it to look sorta messy and thick. A brush will not create the same look y’all, trust me.
Step 3: I slathered (yes slathered) paint at the top of my pumpkin and sprinkled gold glass glitter all over it. Now if you don’t have glass glitter you can use any glitter you want but I will tell you if you have never used glass glitter then you are totally missing out.
Step 4: Sit back and stare at it. Seriously. Grab a drink and stare.
I am super pleased with this baby! I usually give my pumpkins away to friends but this sucker is staying with me. Let me know if you need any help or questions in the comment section! 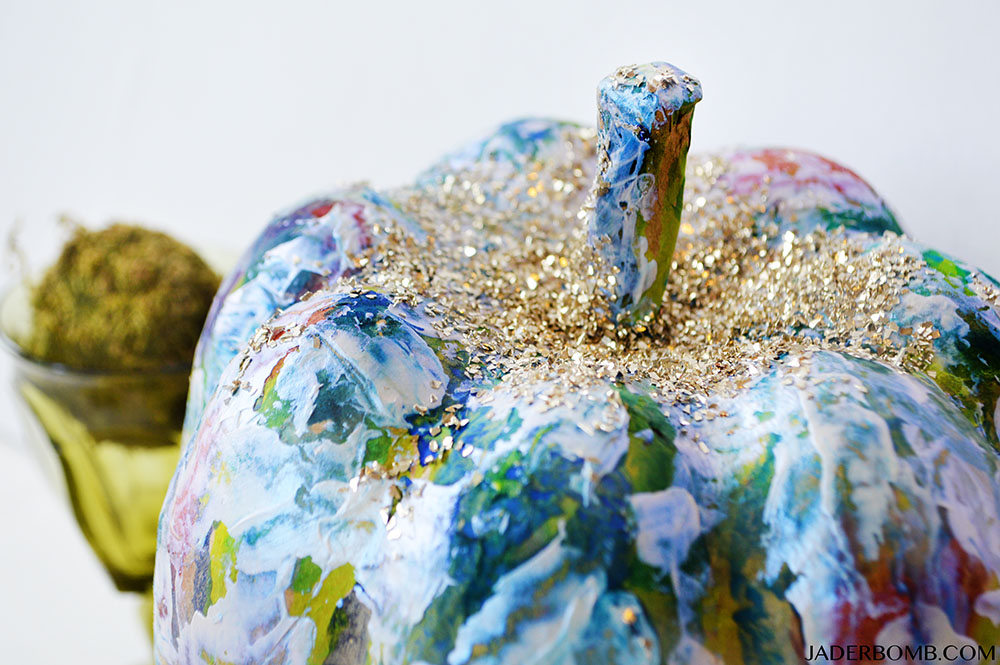
Don’t forget to SHARE because the WORLD needs to see this beauty, fa real!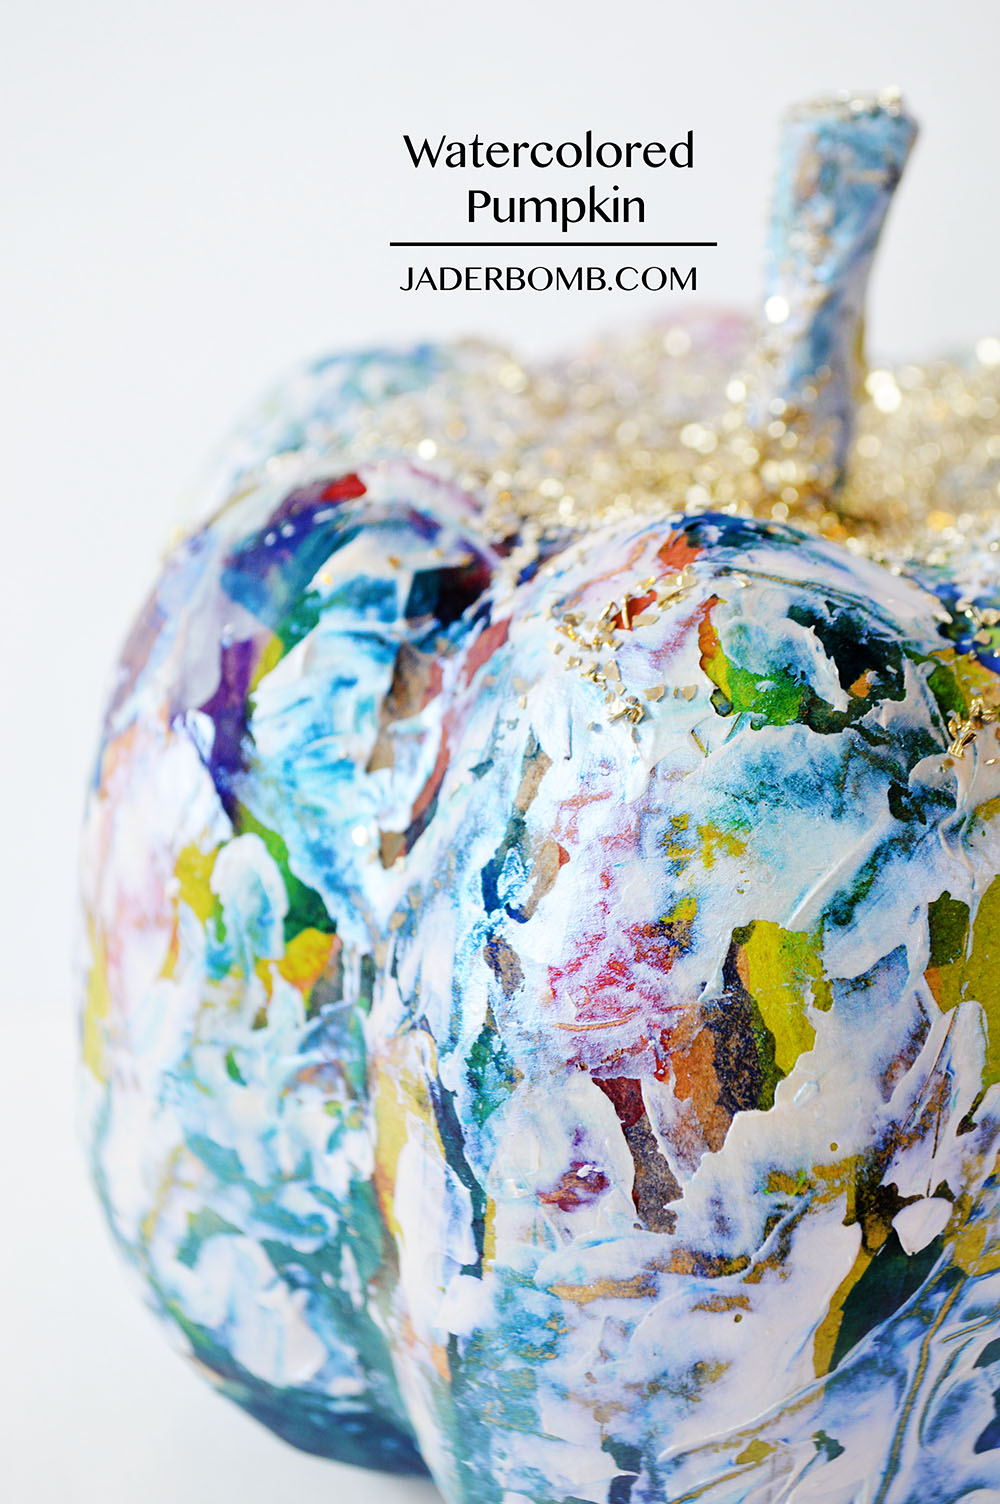
Make sure to check out my awesome Halloween dog costume I made for Michaels!
![]()
Don’t forget to connect on social media! Make sure to use use the hashtag #JADERBOMB on Instagram or Twitter or Facebook so I can keep track of all your awesome creations! HAVE A GLITTERY DAY! ♥, Jade
© Copyright jaderbombllc, All rights Reserved. Written For: JADERBOMB