Tag Archives: black and white

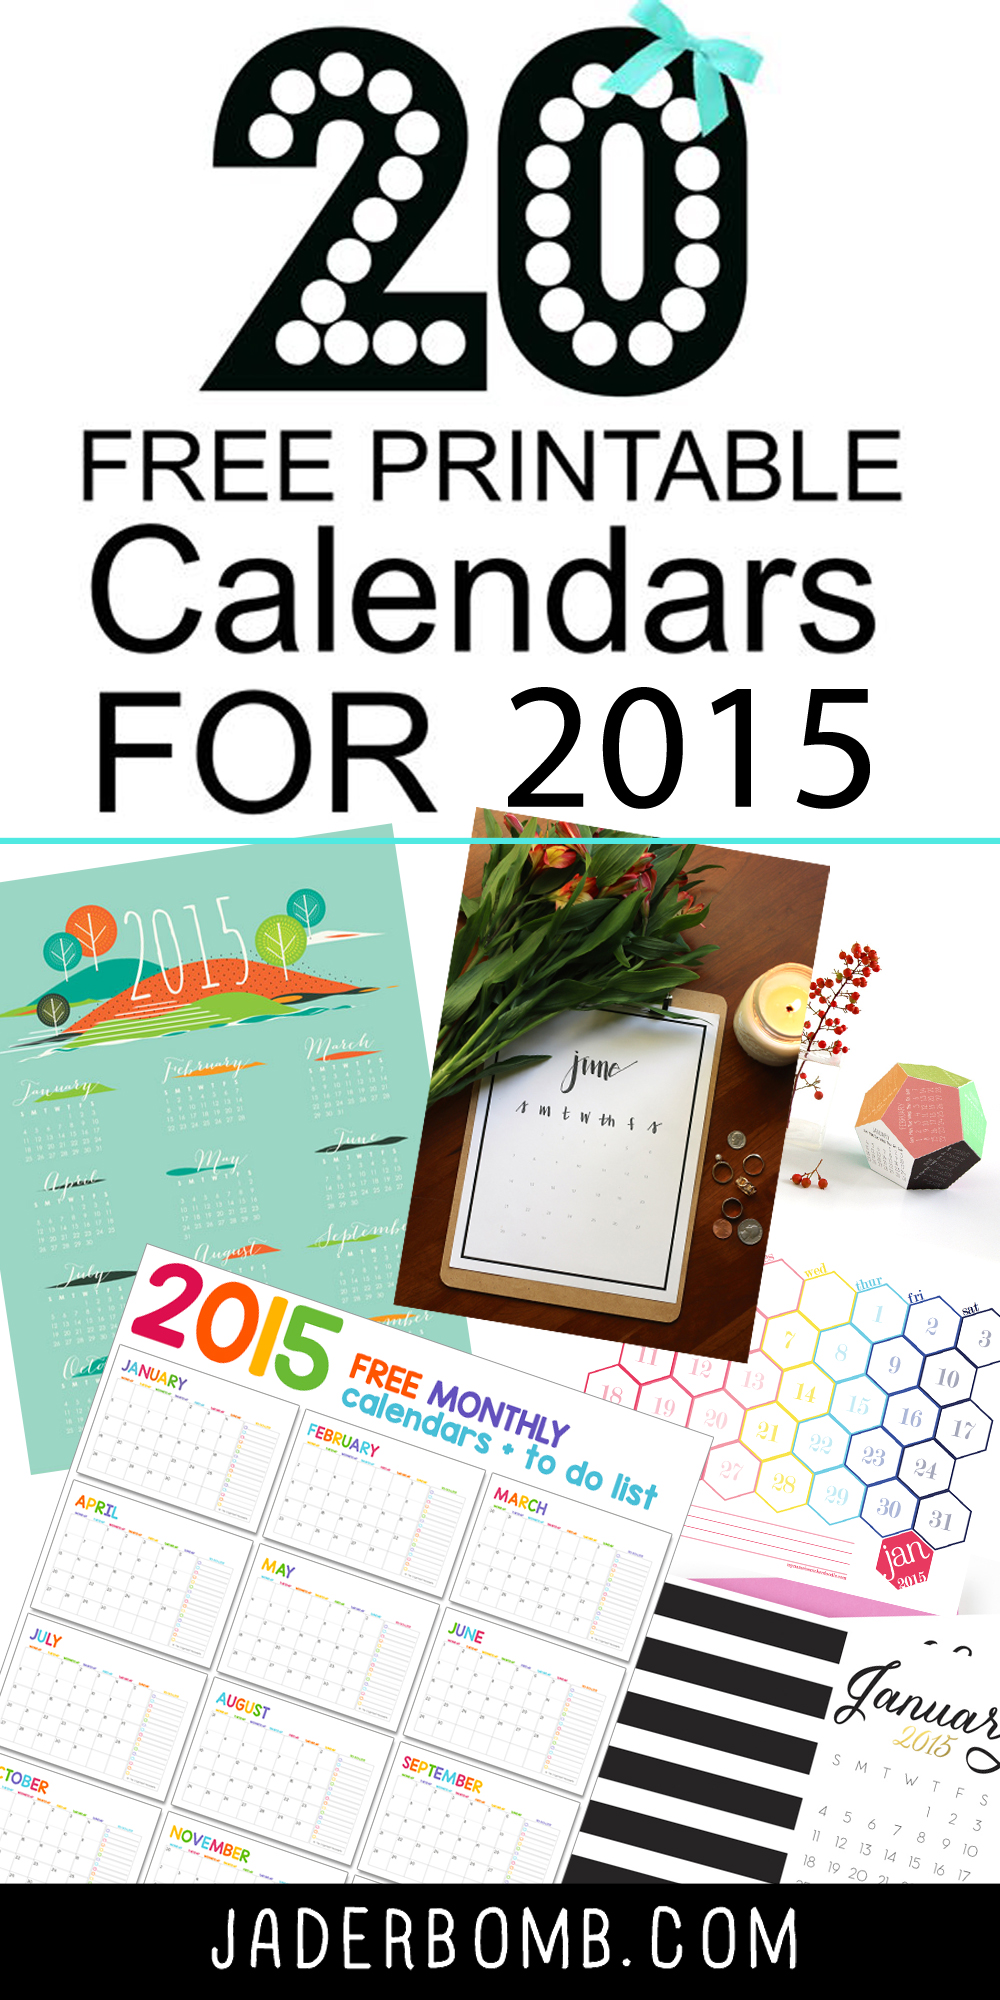
Today is the day before the NEW YEAR! I am all about being organized and aren’t we all a little unorganized around this time of the year. I gathered up my top 20 Free Printable Calendars – 2015 and put them in one hot spot, my blog. The best part is you can print them from any computer and dress up your space while organizing your life. All you have to do is click on the highlighted link below the picture and BAM, it’s all in YO hands at that point.

My favorite thing to do is download one month from each set and really have fun with your year. ENJOY and SHARE! Another fun thing you can do is print a set out and give to a friend or family member. Super fun and much better than a store bought calendar. Also keep in mind someone special created these for us to have so if you choose a calendar make sure to follow that blogger and give them some love! HAPPY NEW YEAR!

20 Free Printable Calendars - 2015

2015calendar

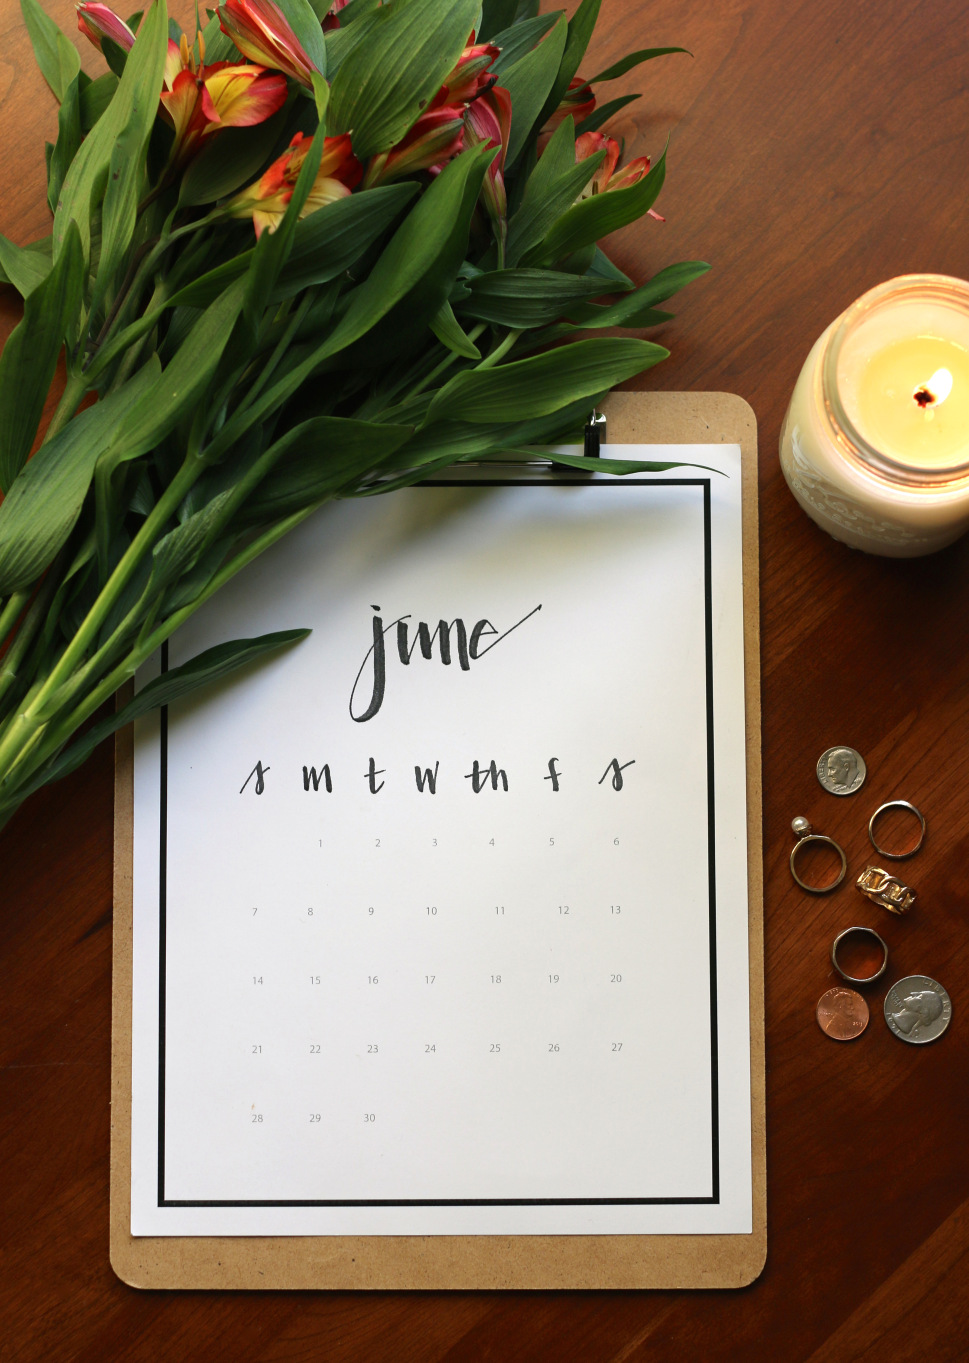
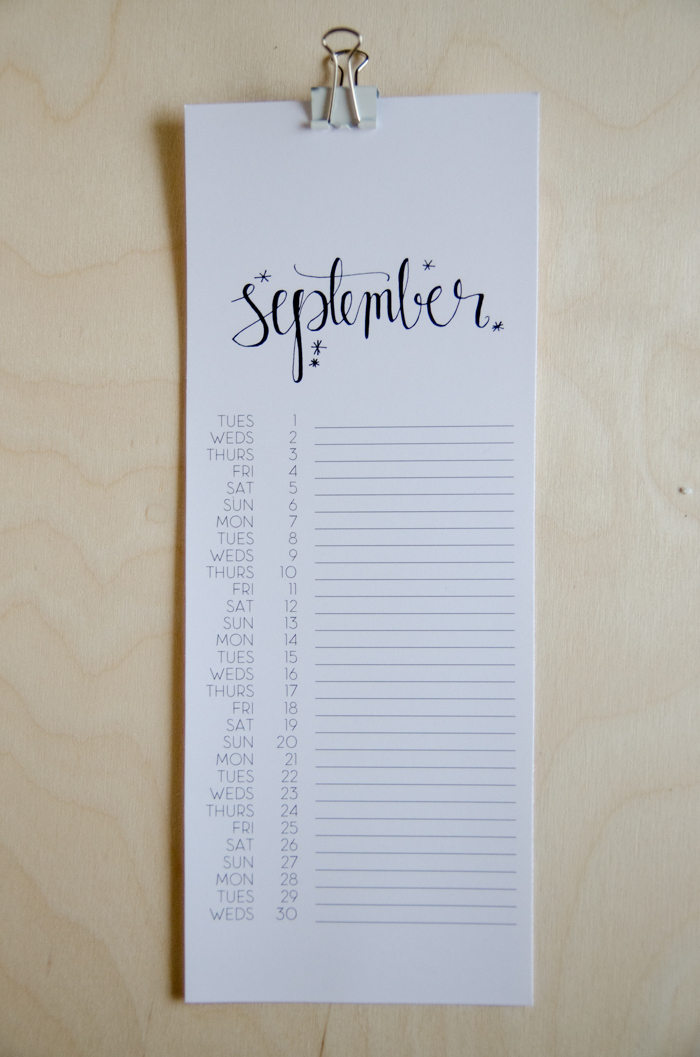
Hand Lettered Calendar by Chantelemma

Enchanted-Prints-2015-Calendars-Motivational

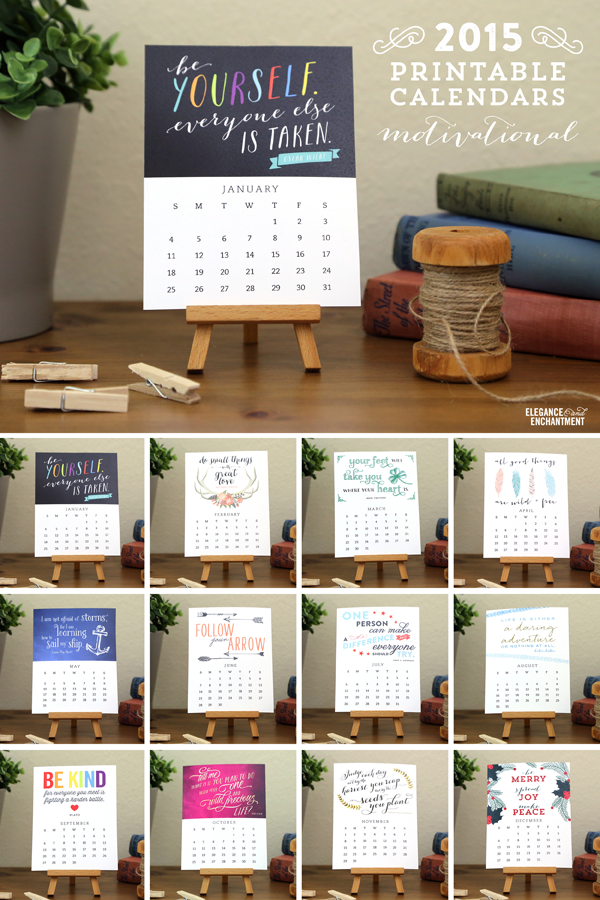
Inspirational Quotes Calendar by Elegance Enchantment

Hexagon Calendar

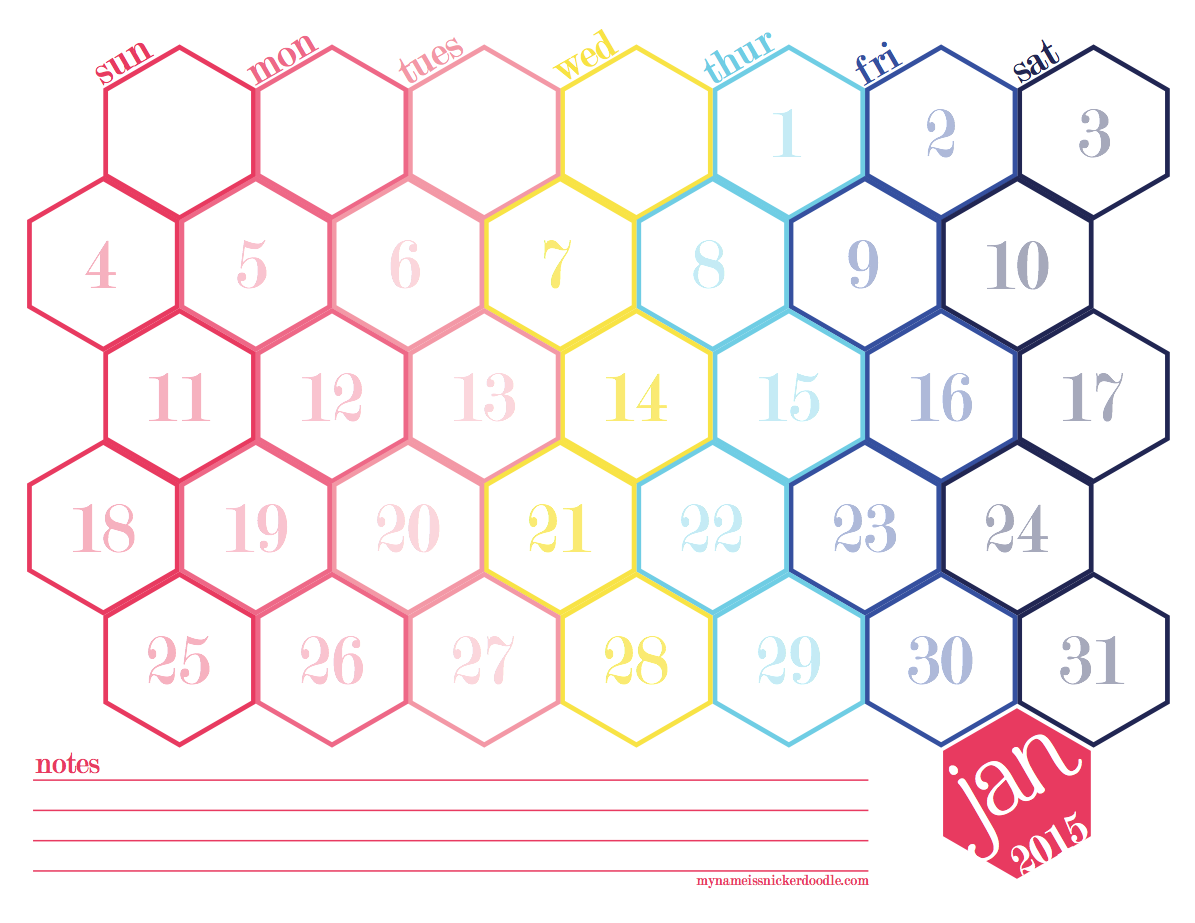
Hexagon 2015 Calendar by My Name Is Snicker Doodle

Free-Printable-2015-Calendar

Mini Printable Calendar by Clean and Scentsible

2015_Printable_Calendar

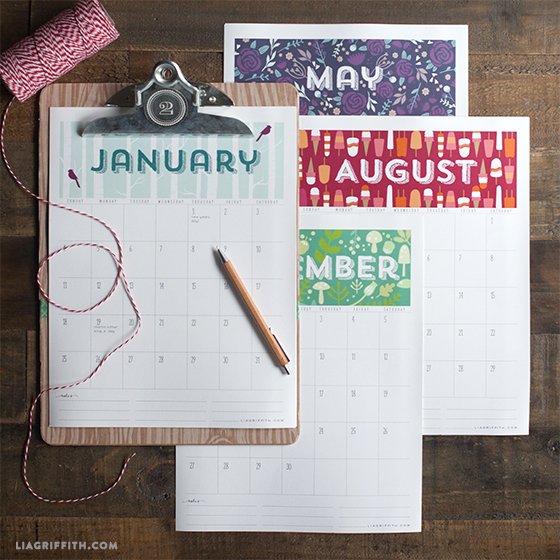
Full Year Printable Calendar by Lia Griffith

2015printcalendar-5

Whimsical Black and White Free Calendar by Lemon Thistle

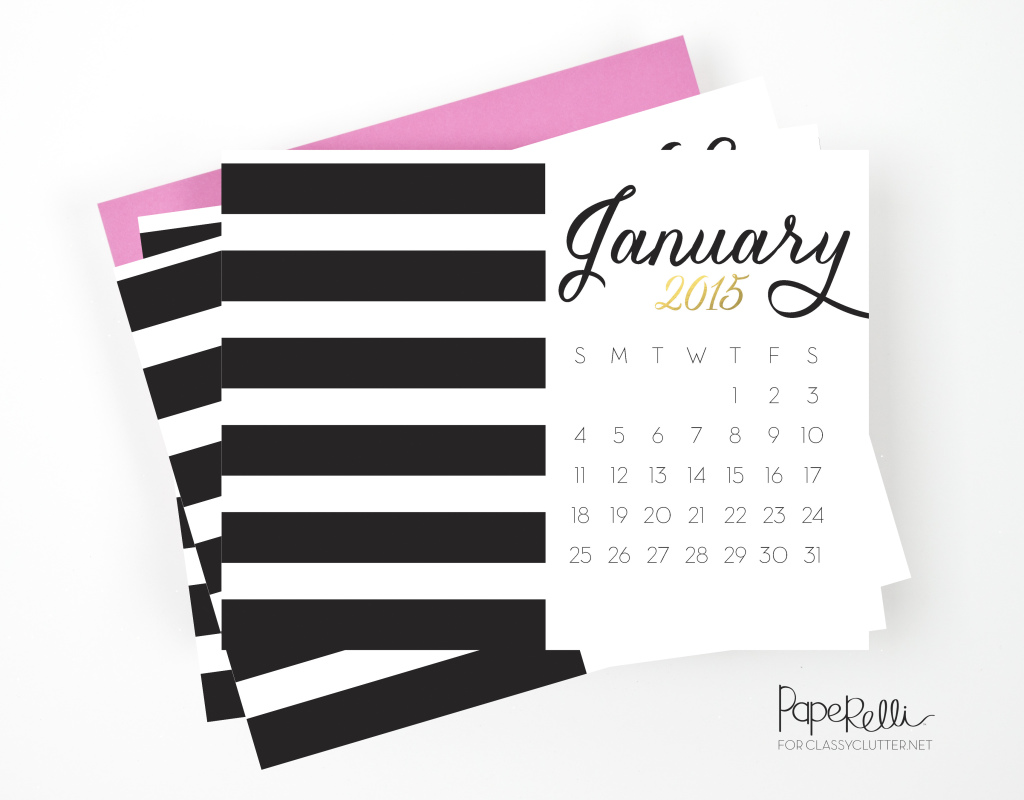
Black-and-Gold-Calendars-by-Paperelli-1024x800

Black and White Striped Calendar by PapeRelli

cal2

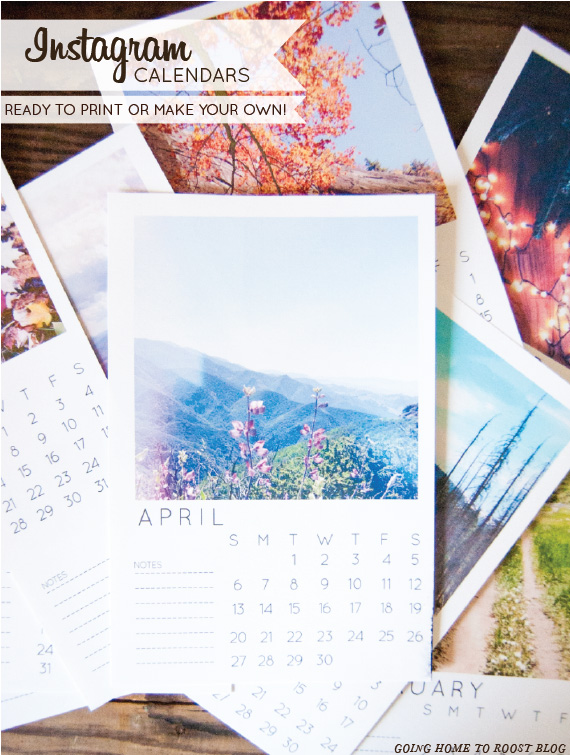
Customizable Instagram Calendar by Going Home to Roost

214

Flower Sketches Calendar by Linda Jacoby

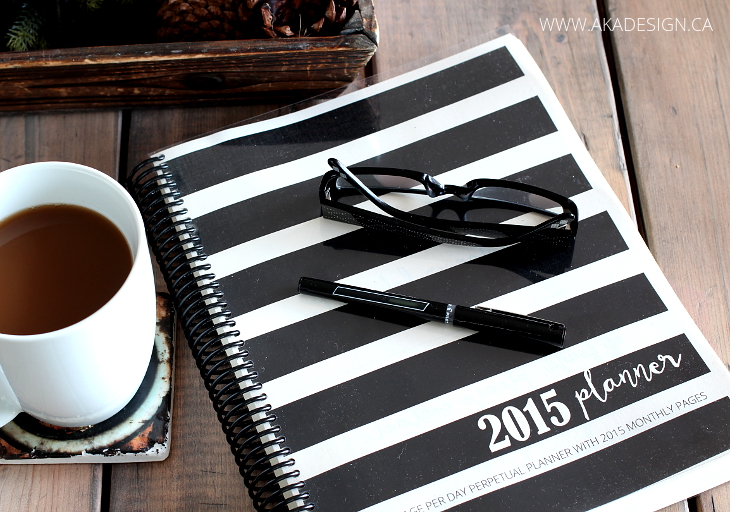
AKA-DESIGN-2015-PLANNER

Blog Planner and Editorial Calendar by AKA Design

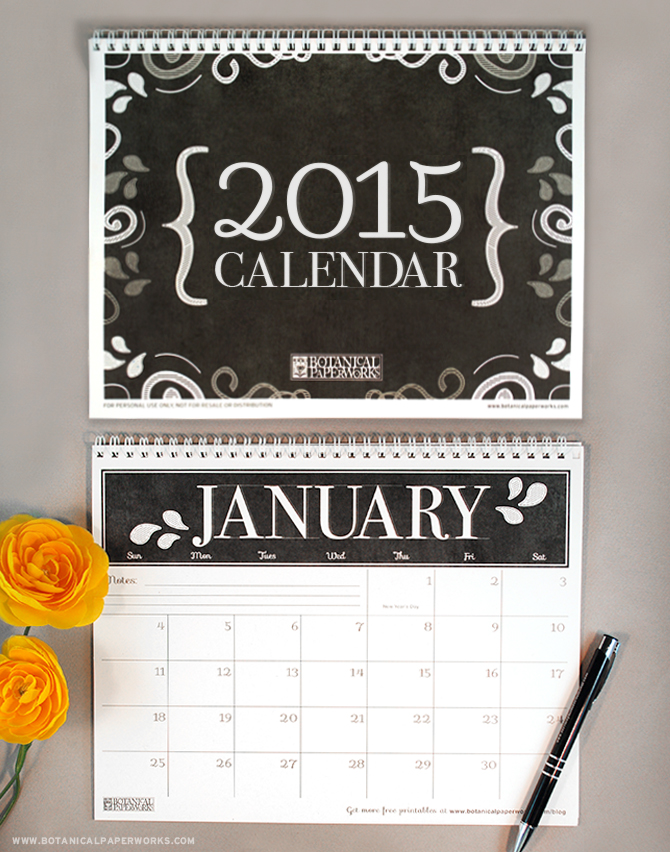
Free_Printable_Calendar_2015_Long(2)

Chalkboard Calender by Botanical Paper Works

dodec-2015-calendar-apieceofrainbow-21

3-D Calendar by A Piece of Rainbow

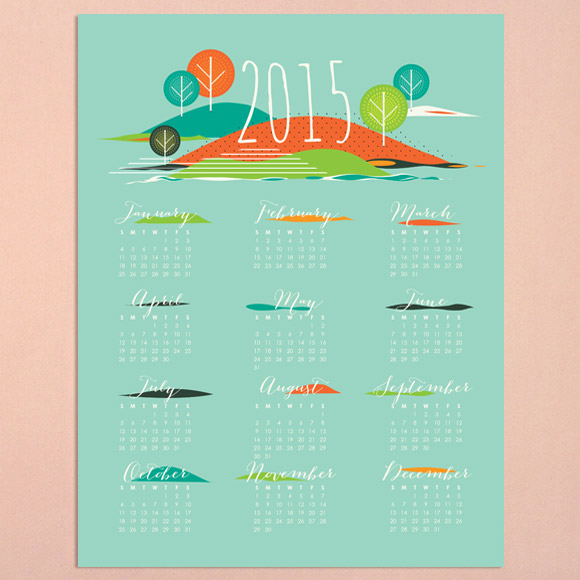
printtemp-seasonscalendar-big

Seasonal Printable Calendar by Love v/s Design

Free-printable-2015-calendar-downloads

Gray and White Striped Calendar by I Heart Naptime

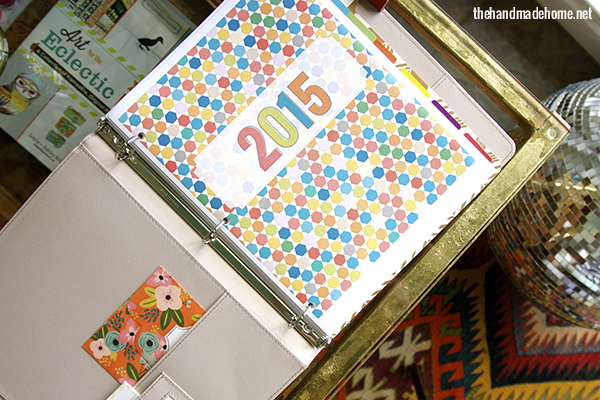
2015_planner

Free Calendar and Planner by the Handmade Home

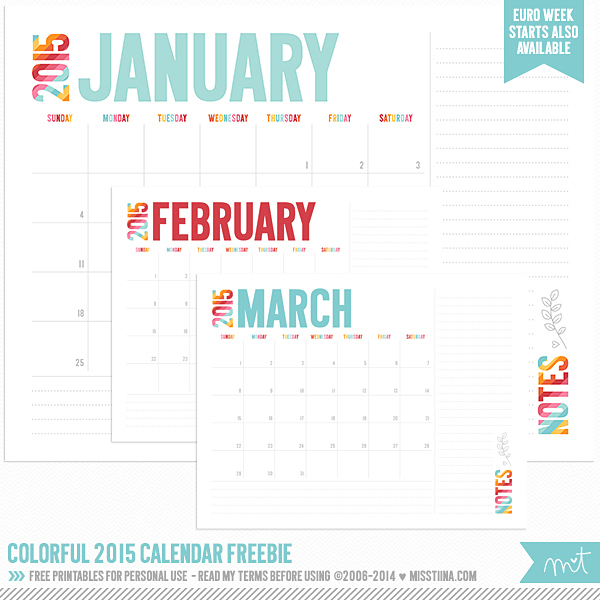
MissTiina-Colorful-2015-Calendar

Colorful Free Printable Calendar by Miss Tina

january-2015-calendar-printable

Fun Free Calendar by Shining Mom

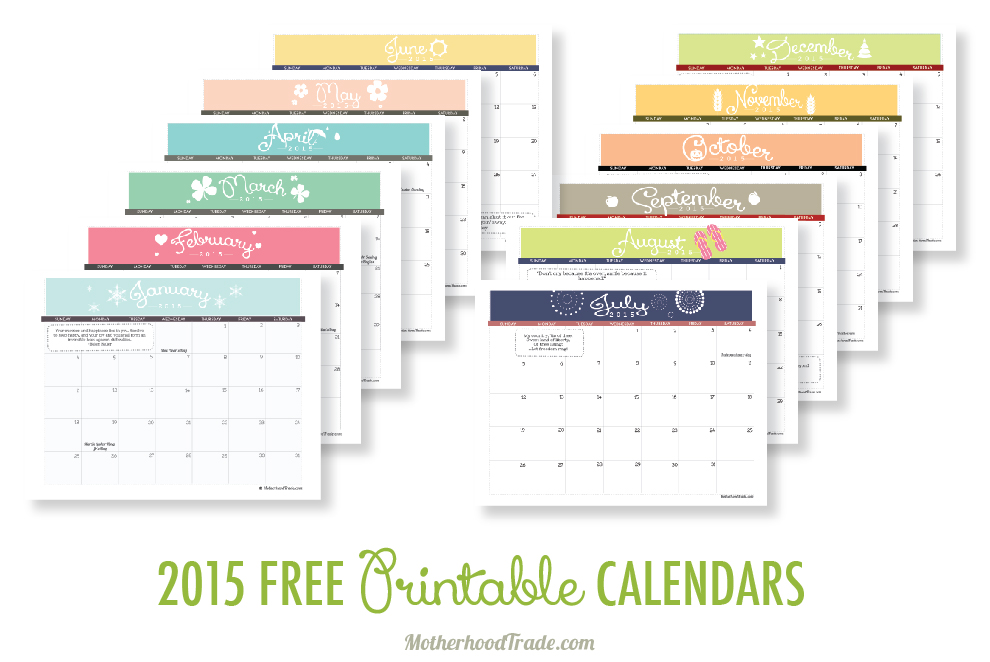
2015-free-printable-calendars-01

Seasonal Calendar by Motherhood Trade

FREE-2015-Calendars-from-The-Organised-Housewife

Monthly Calendar with To-Do List by The Organised Housewife

il_570xN.667888556_dvgw

Printable Daily Calendar by Every Day Enchanting

Big huge hugs from my house to yours!!!!! XOXO, Jade

*You can connect with me on all my social media sites!
PINTEREST | FACEBOOK | GOOGLE + | TWITTER | INSTAGRAM

in other news

*You can find my crazy self at CHA next week! I am super excited to see all ofmy crafty friends!!!

*Make sure to come back later this week to find out where I went a few weeks ago. Trust me you don’t want to miss this one!

This post is brought to you by the Duck Brand

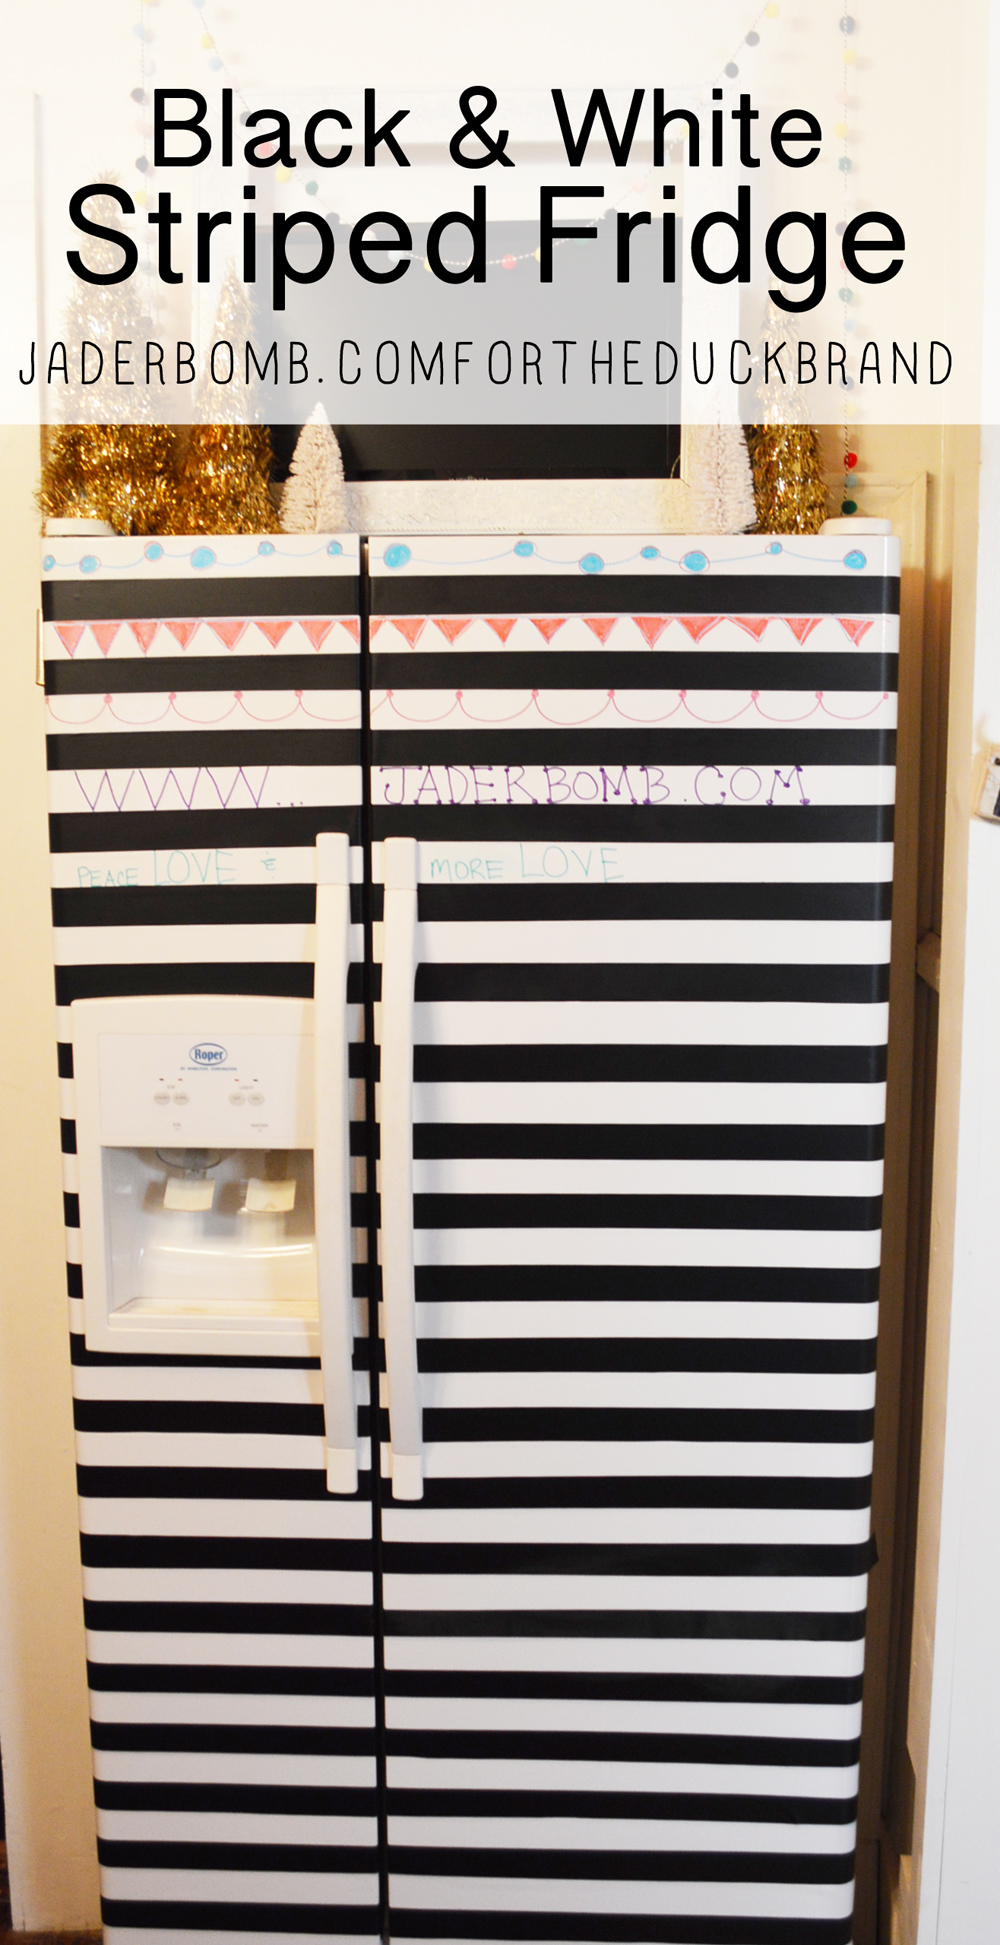
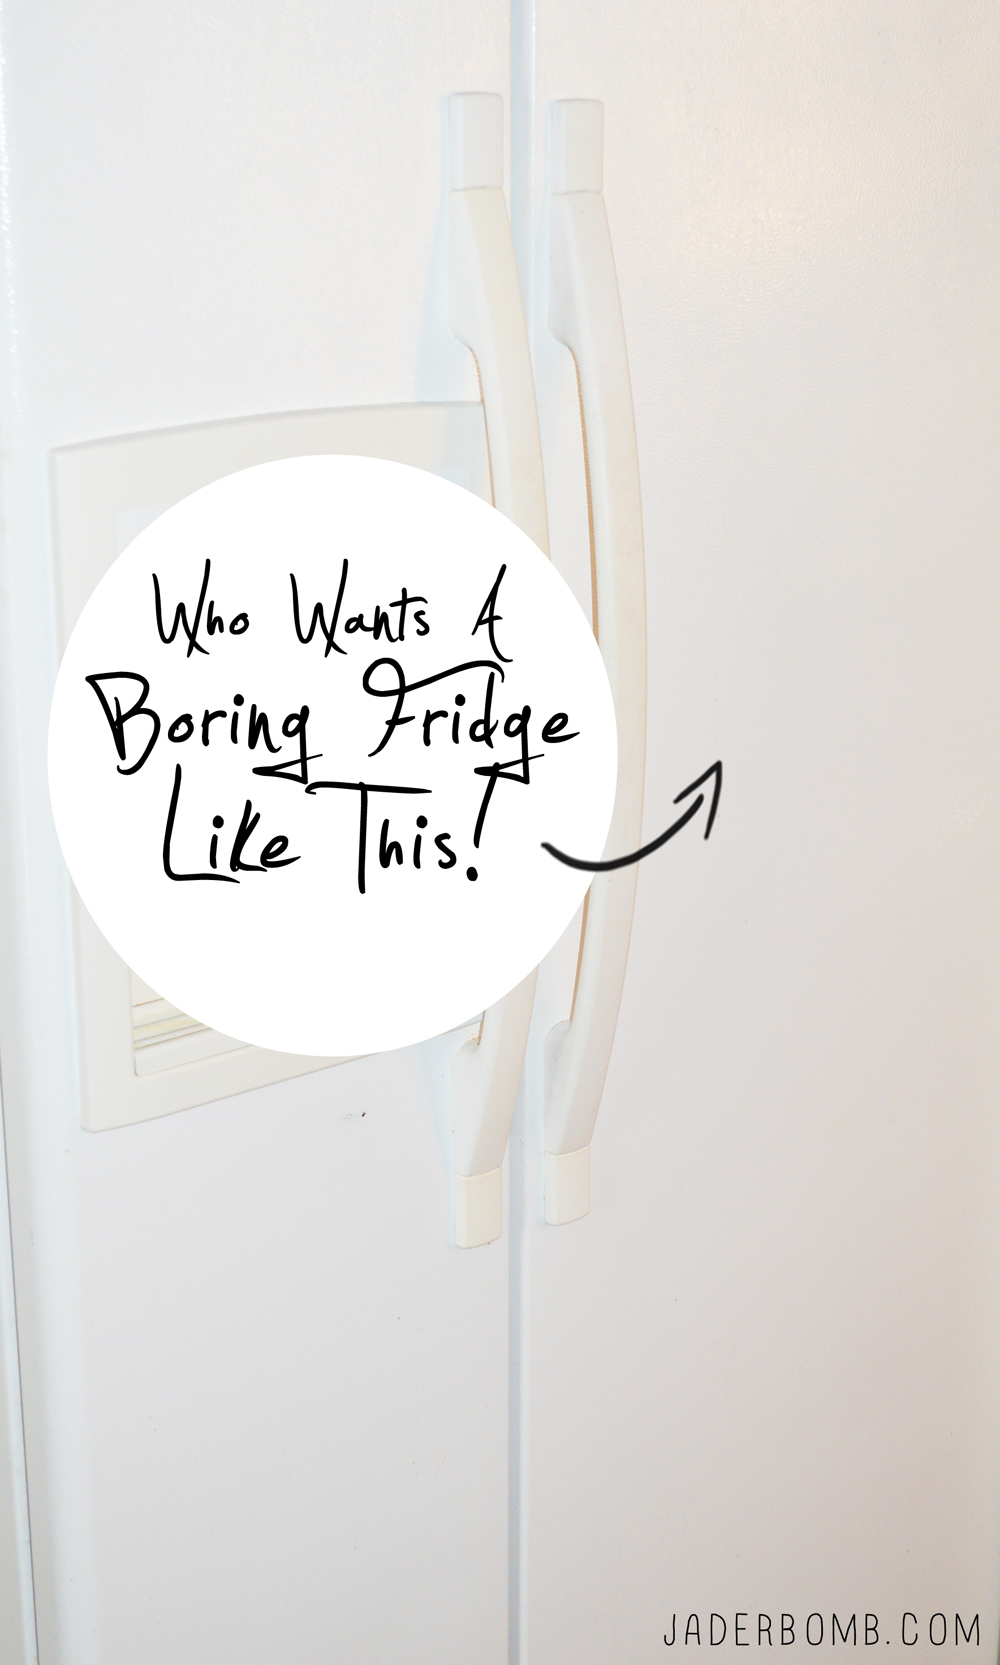
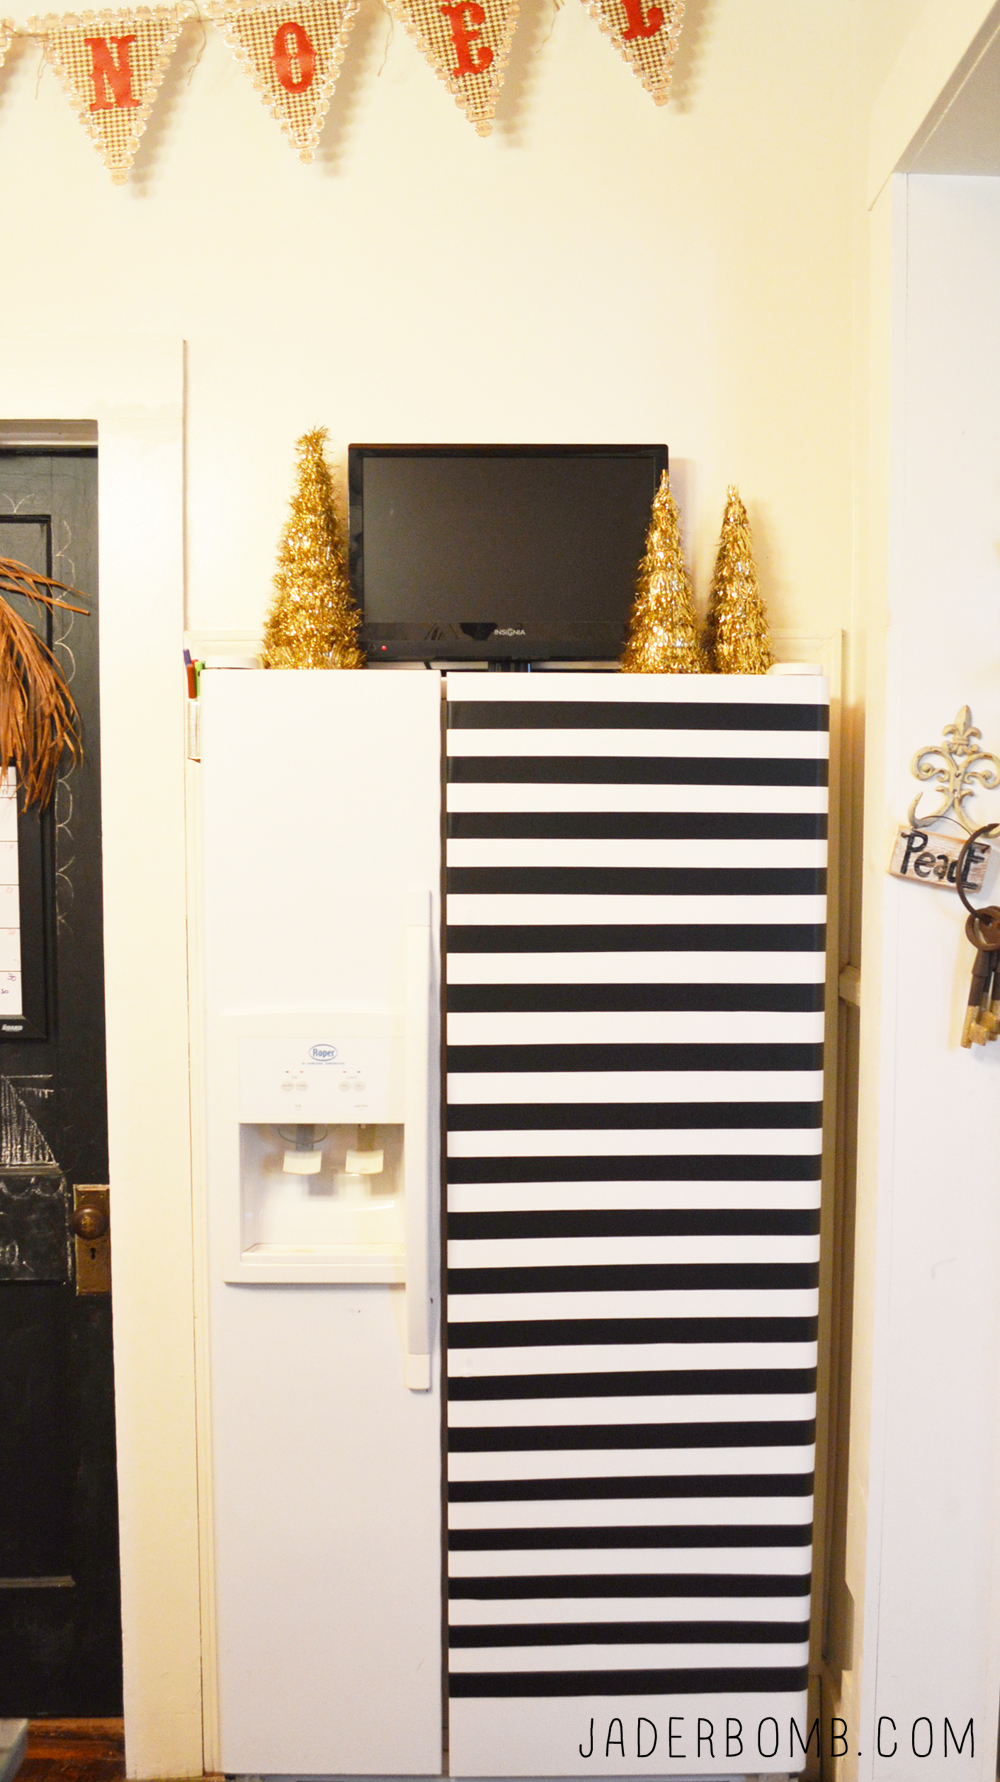
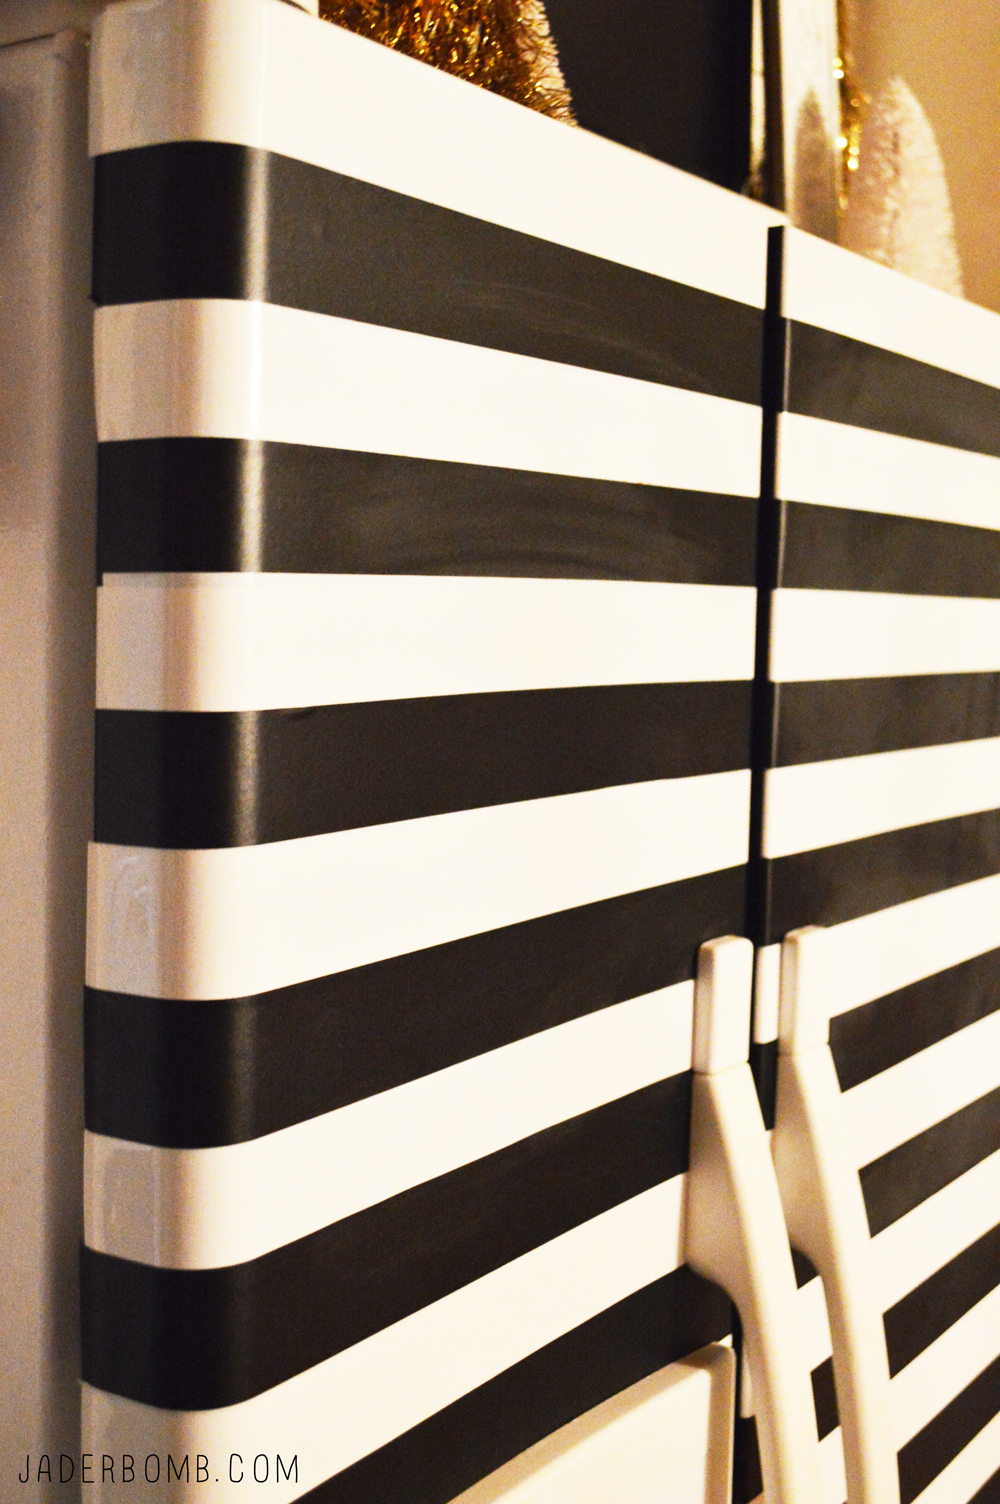
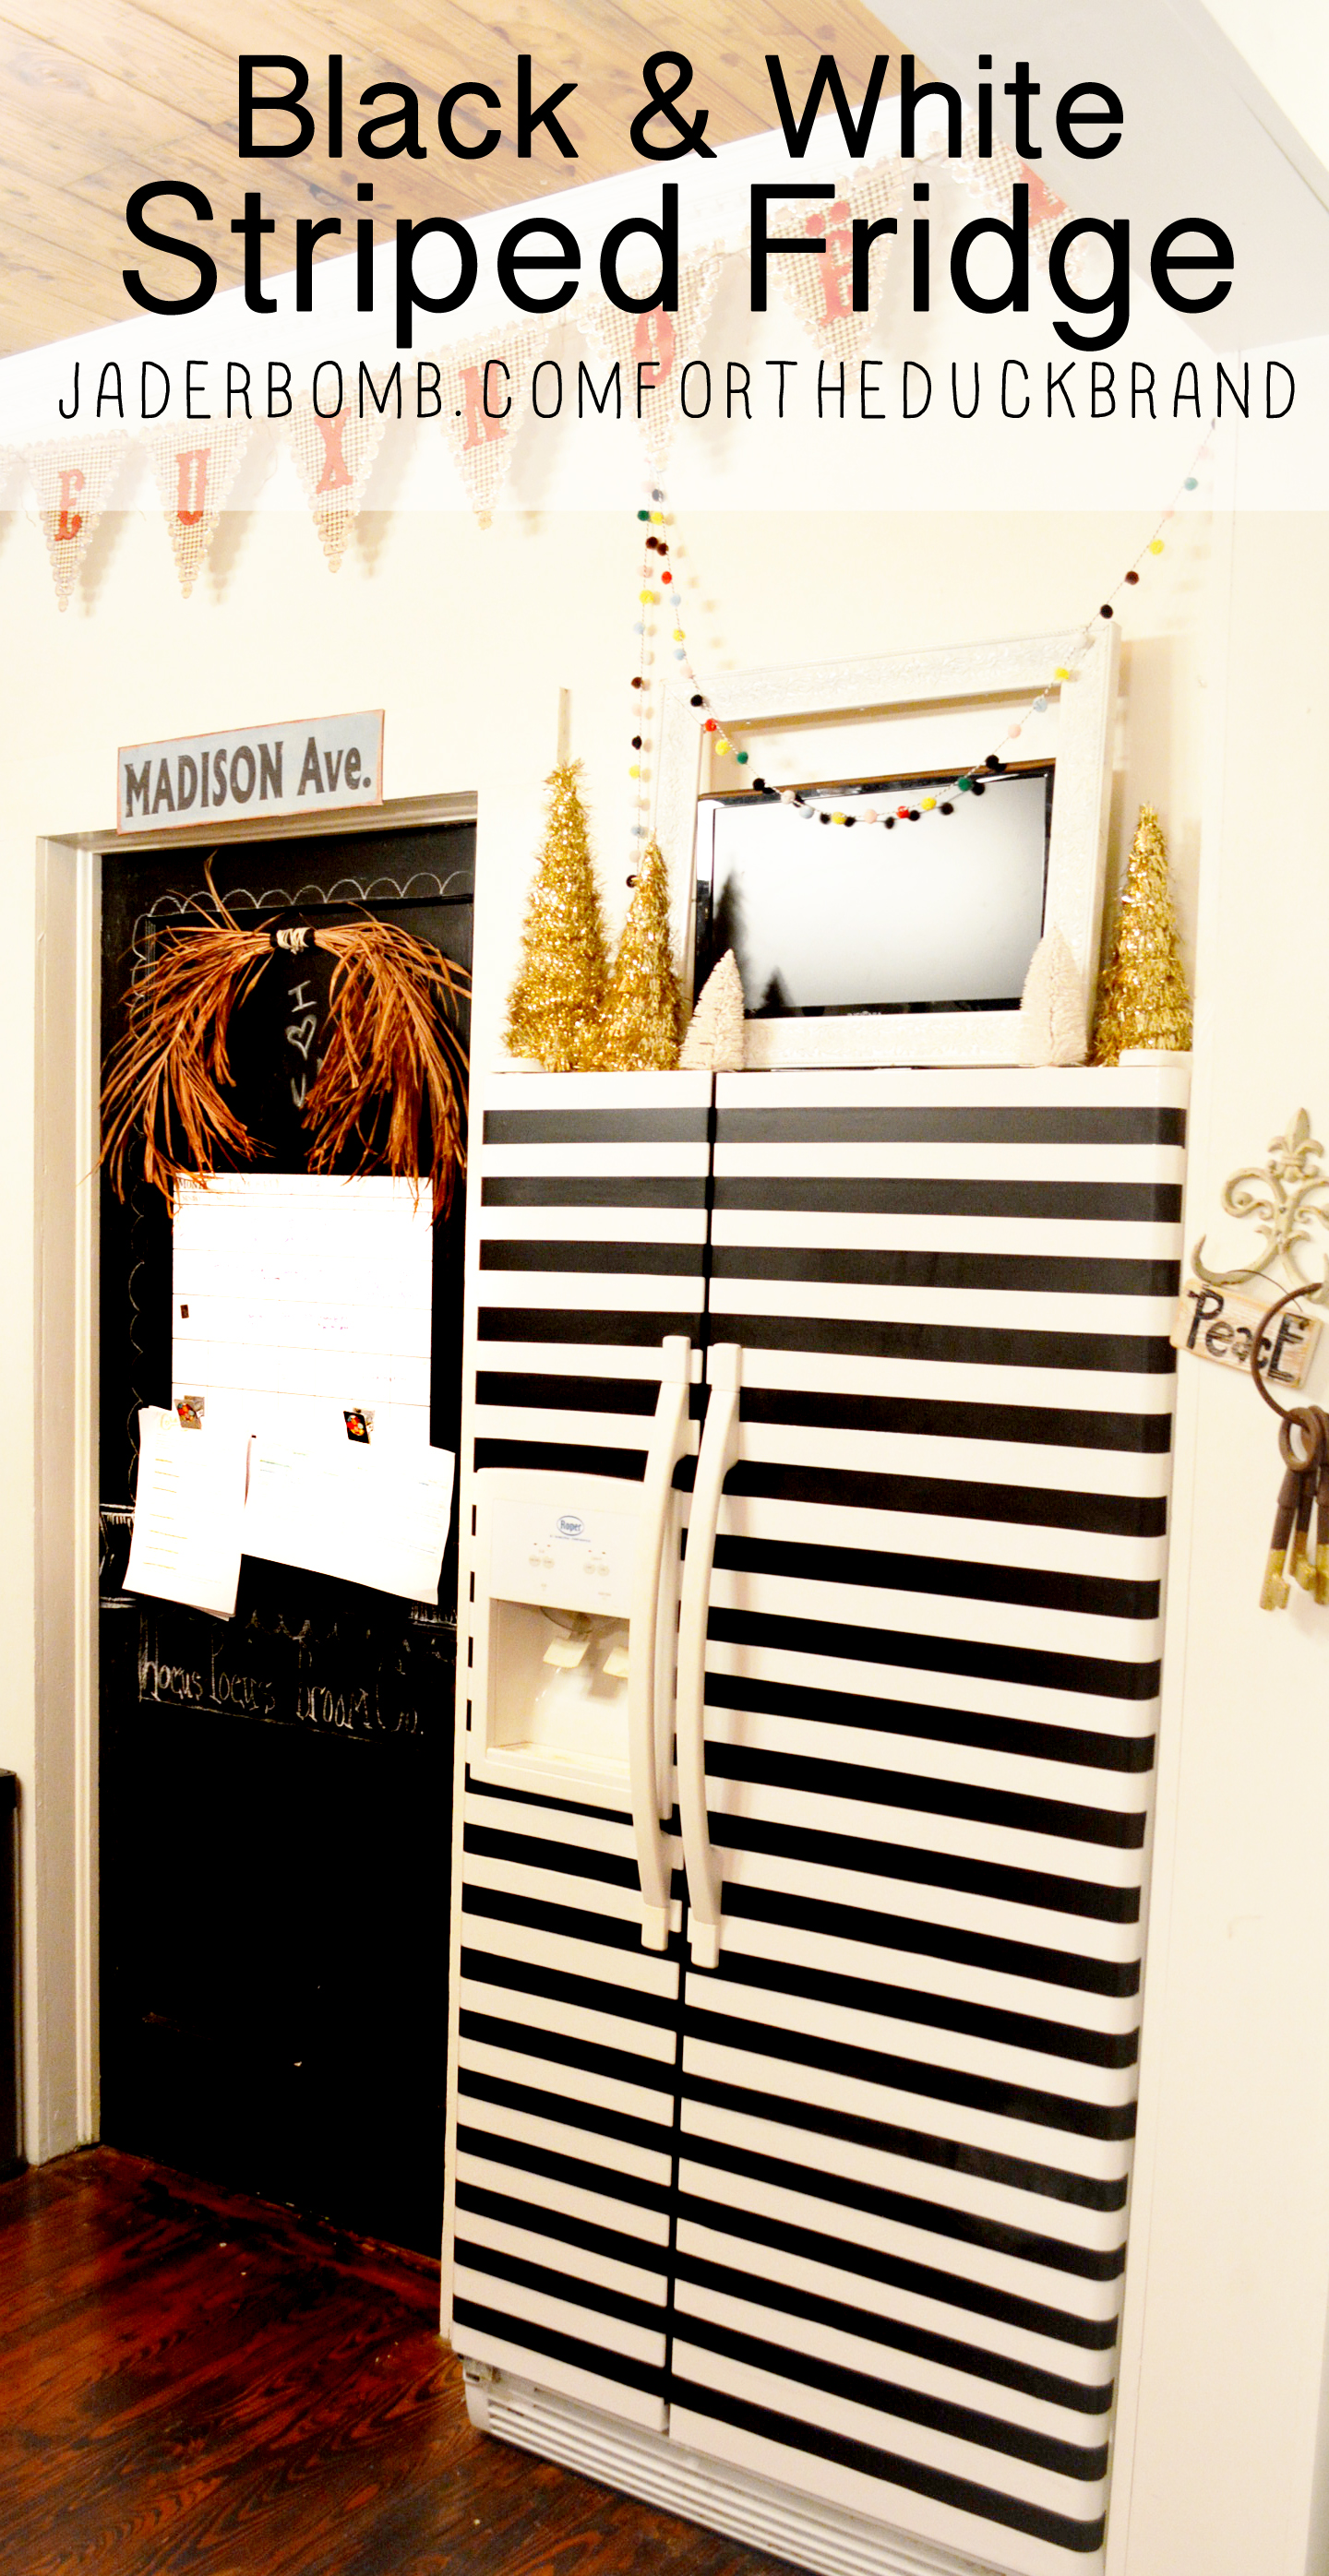
Well hello you cute little Black and White Striped Fridge!

I was wondering why I keet going back to the fridge lately but maybe i’t’s the stripes! I’ve never been more excited to get eggs and milk than I am now!

Oh and stripes makes all the food inside taste better, hehe. Let’s get started!BLACKANDWHITEICEBOX

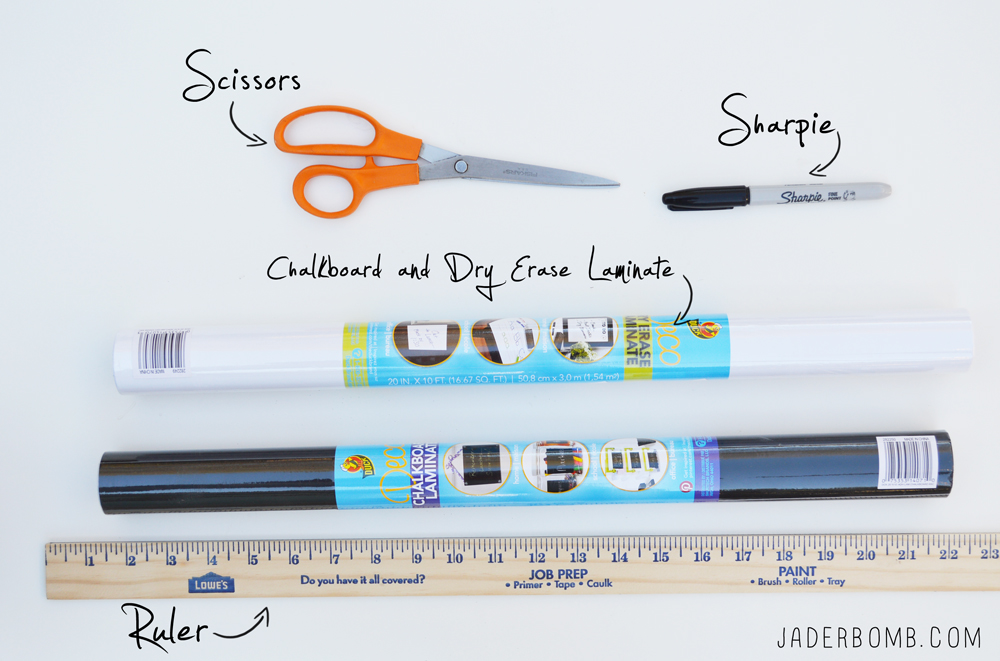
YOUWILLNEED*Scissors * Sharpie * Ruler * Dry Erase Laminate *Chalkboard Laminate 
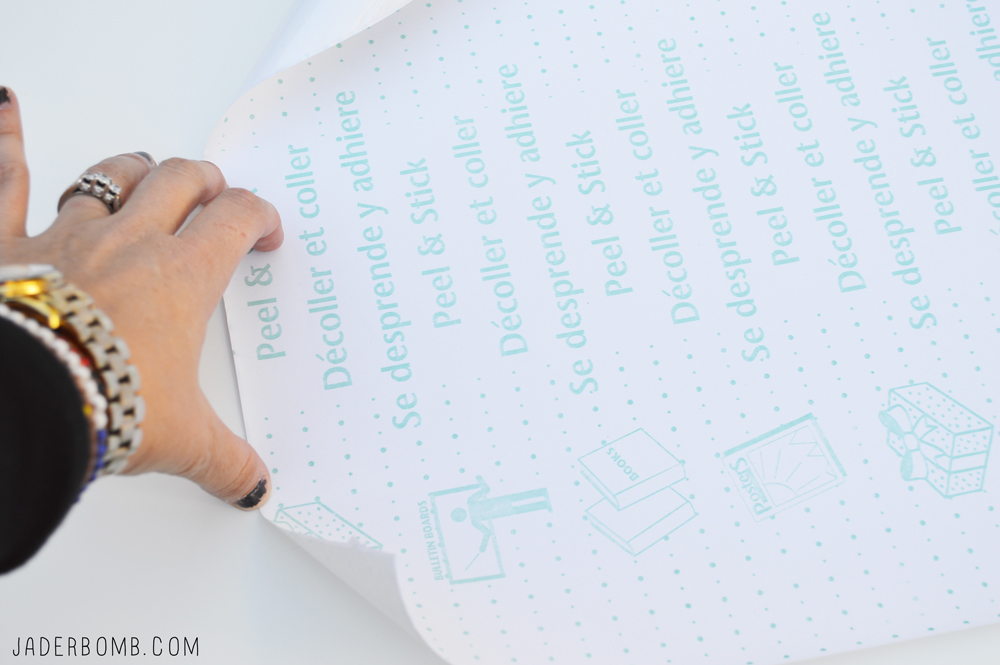
dryeraseandchalkboardlaminateThe first thing you want to do is layout your adhesive paper. I love this paper because you can simply peel the back off and voila! duckbranddryerasefilm

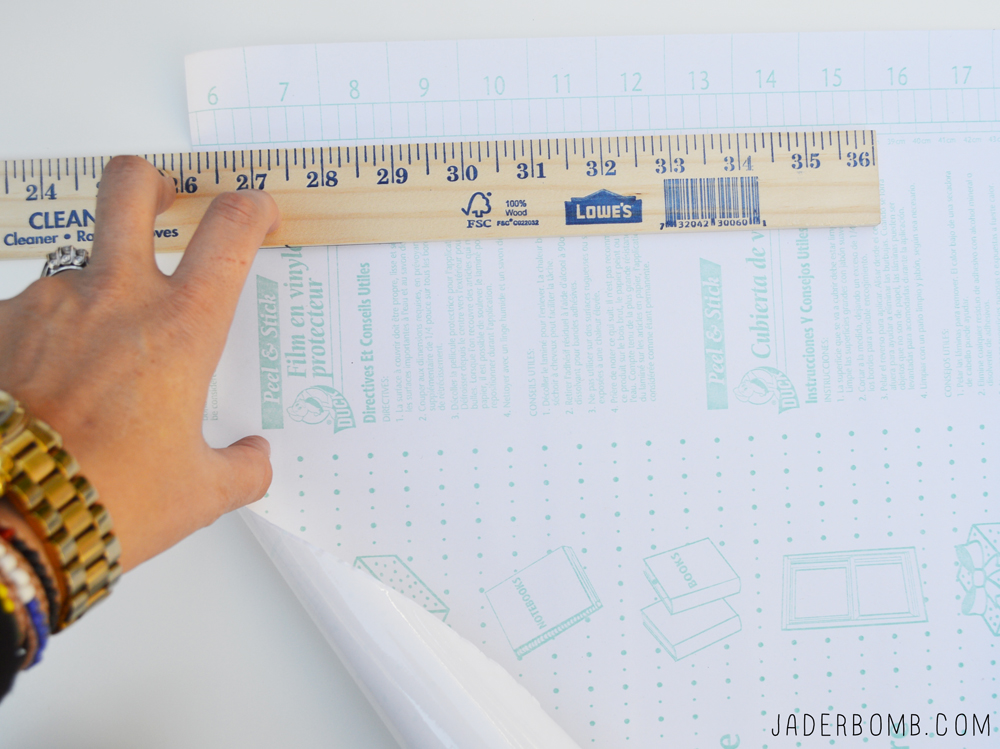
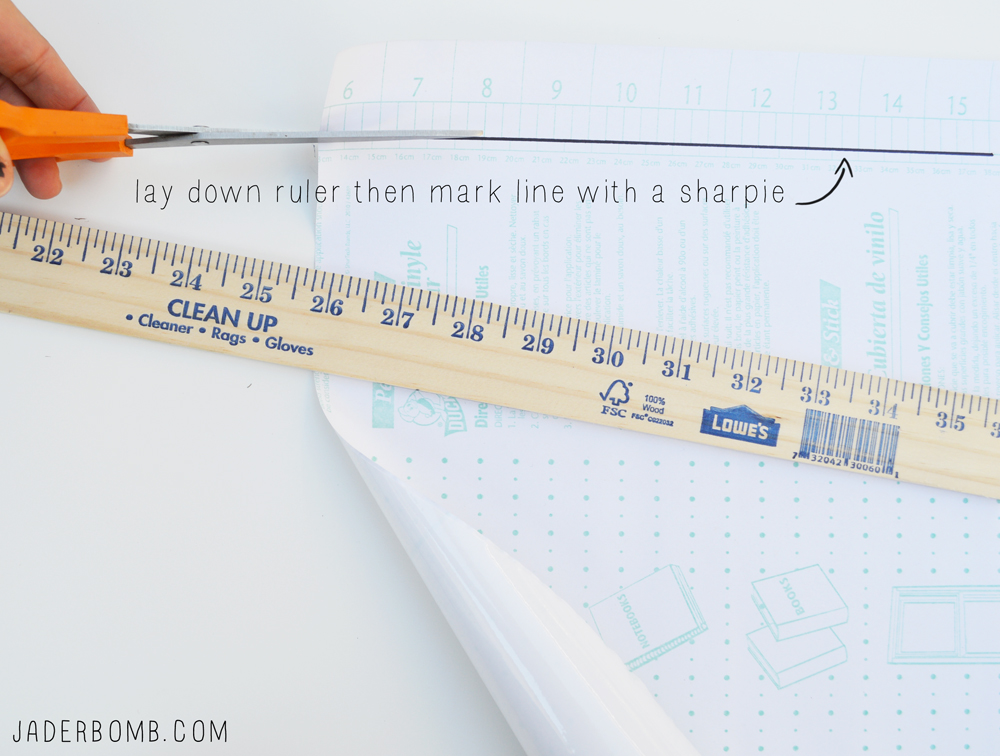
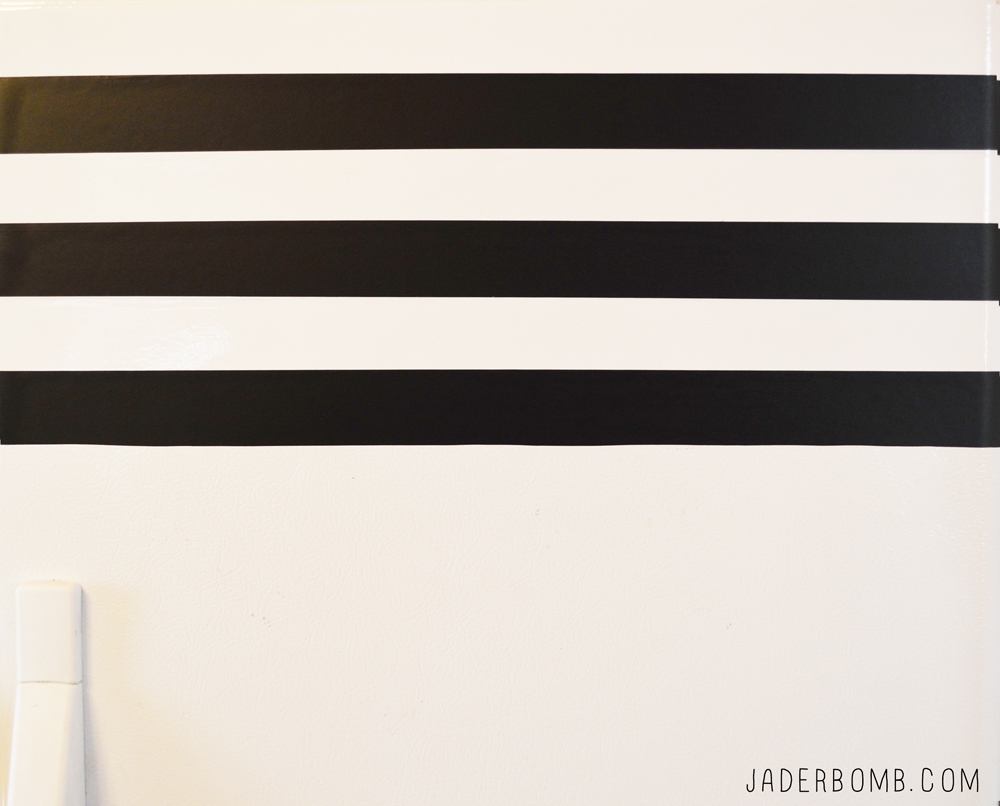
Once your paper is flat on a table grab a ruler and place it on the side of sheet. You will see on the sides of the paper (on the back) that there are lines already there for you. I placed the ruler on the second main line. It made my lines about 2 inches wide. dryeraseducktapeWhile your ruler is down grab your sharpie and trace over the line. This will just make it easier to cut. If you feel secure cutting the line that is already there then you don’t need to use sharpie.
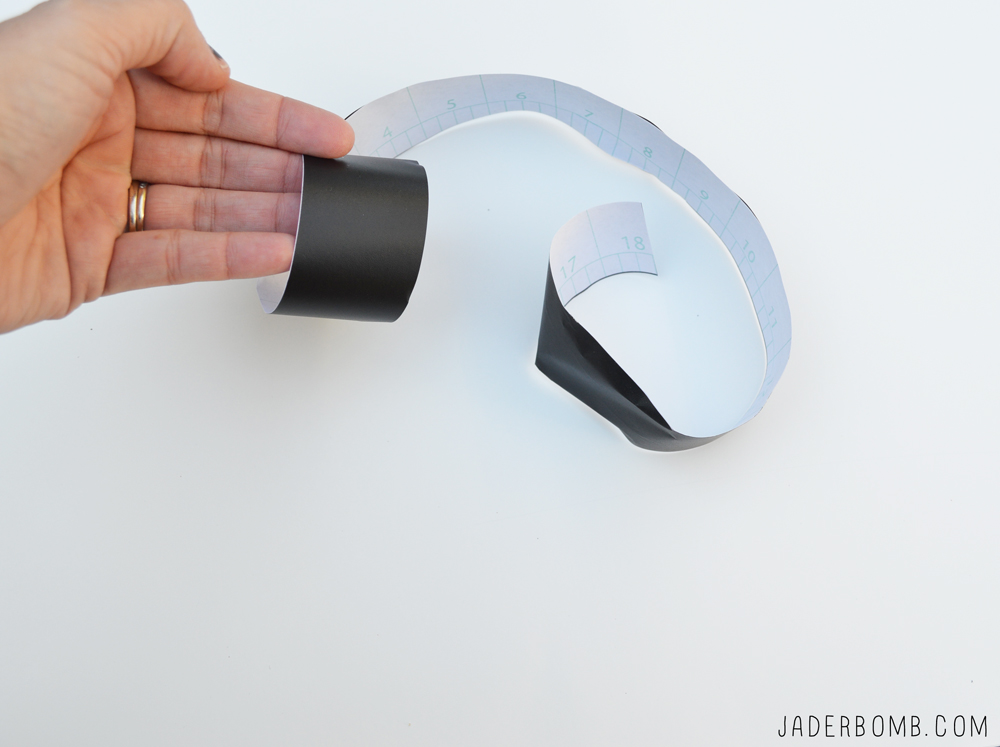
ducktapechalkboardOnce you cut your paper this is what it will look like. selfadhesivechalkboardducktapeTime to move on to the fridge. Your boring fridge is about to get a complete face lift.
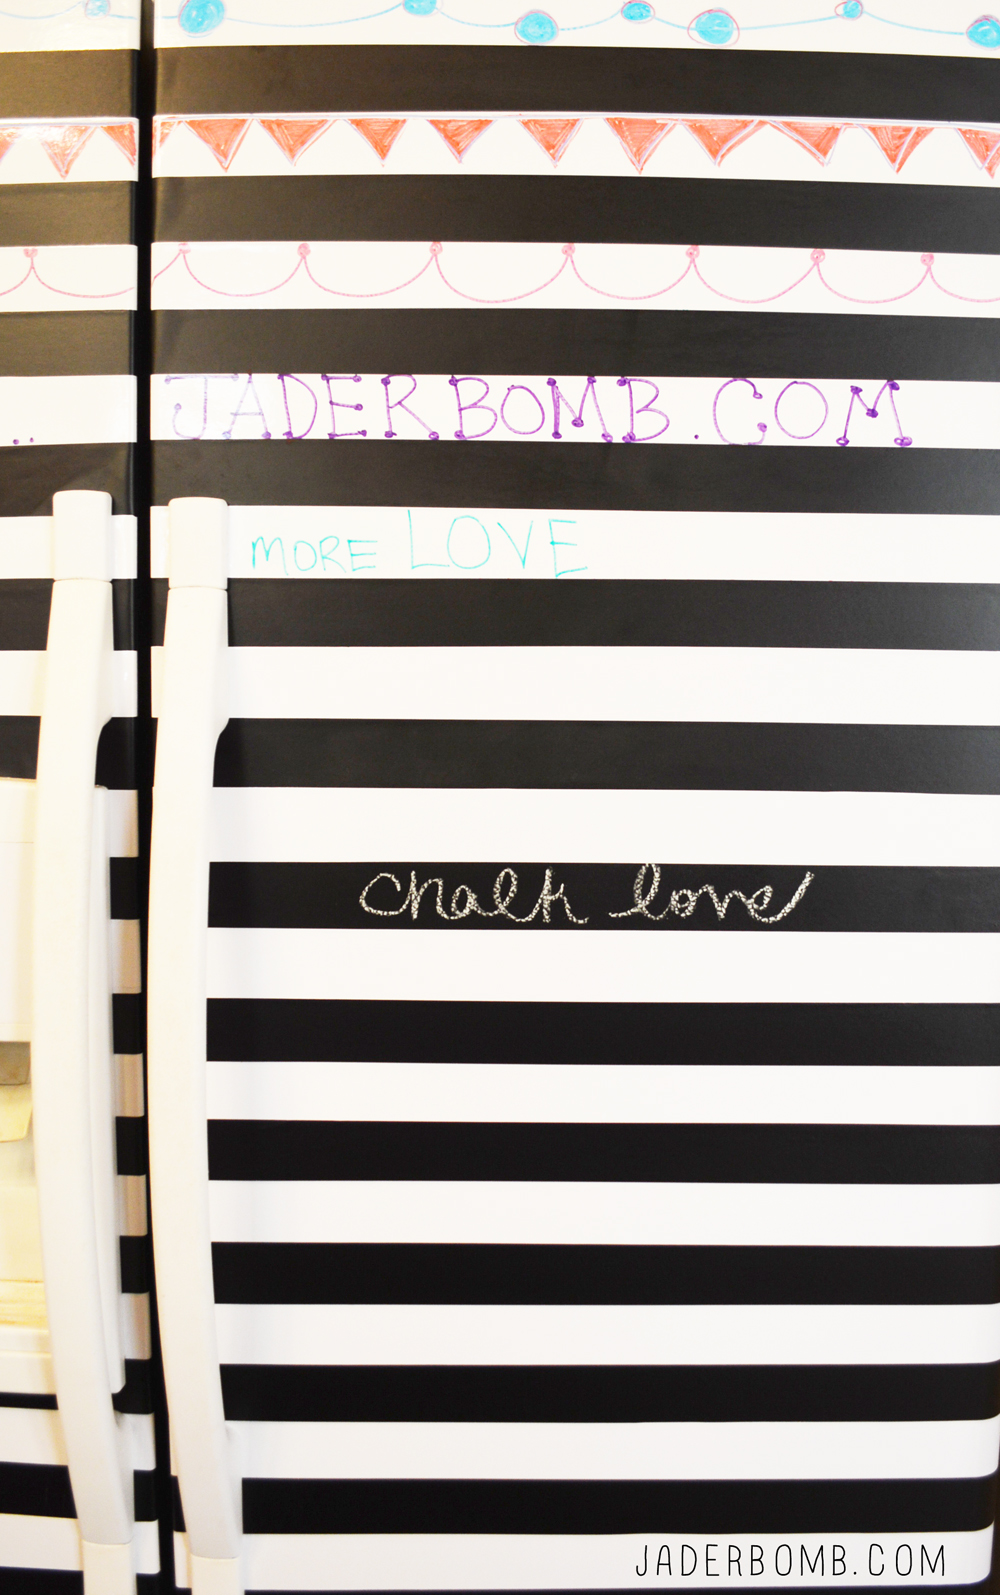
fridgestickersJust start alternating from chalkboard adhesive to dry erase adhesive! It’s that simple. DucktapeFridgeThis is what it will start to look like. Are you in love yet? stripedfridgeI love drawing on each line. The great thing is this will not damage your fridge at all! You can peel it all off whenever you want. The white is dry erase and the black is chalk board!blackandwhitestripesfridgeblackandwhitefridgeHOWTODECORATEAFRIDGE

I hope you enjoyed this fun tutorial brought to you by Jaderbomb and Duck Brand!
What will you do with your laminate!

ending1

This is a sponsored post however all ideas and opinions are my own!

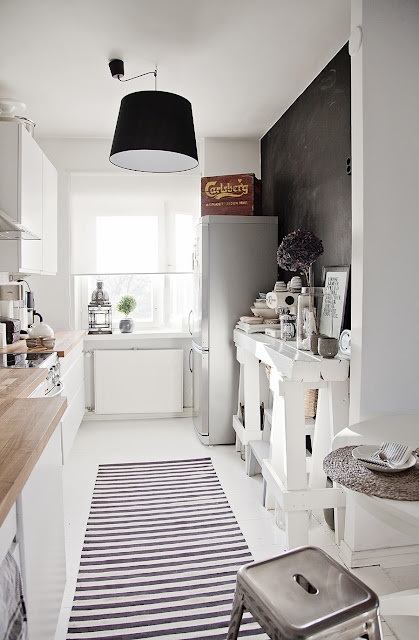
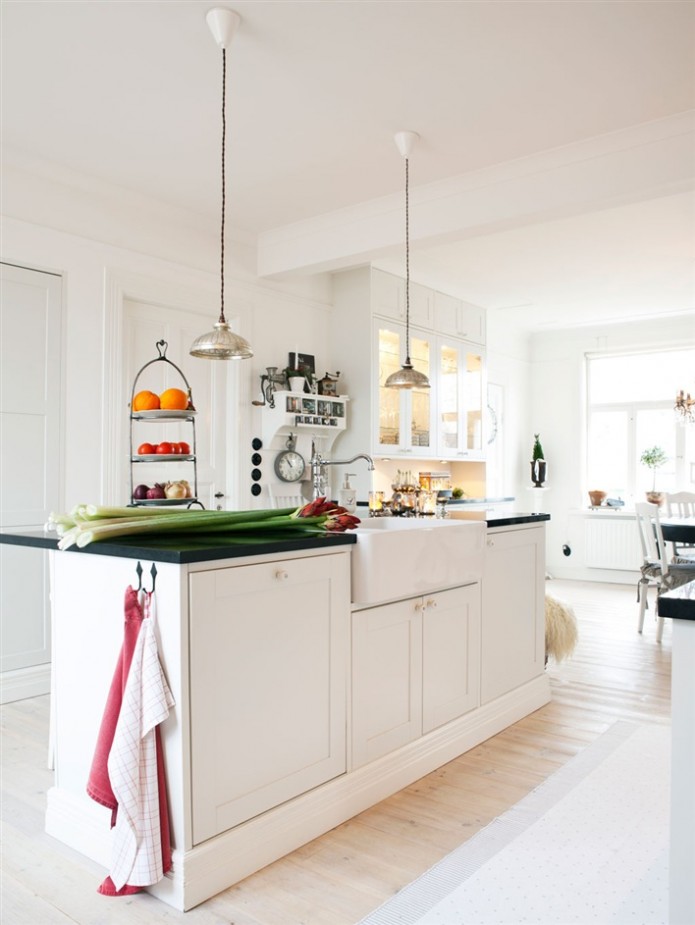
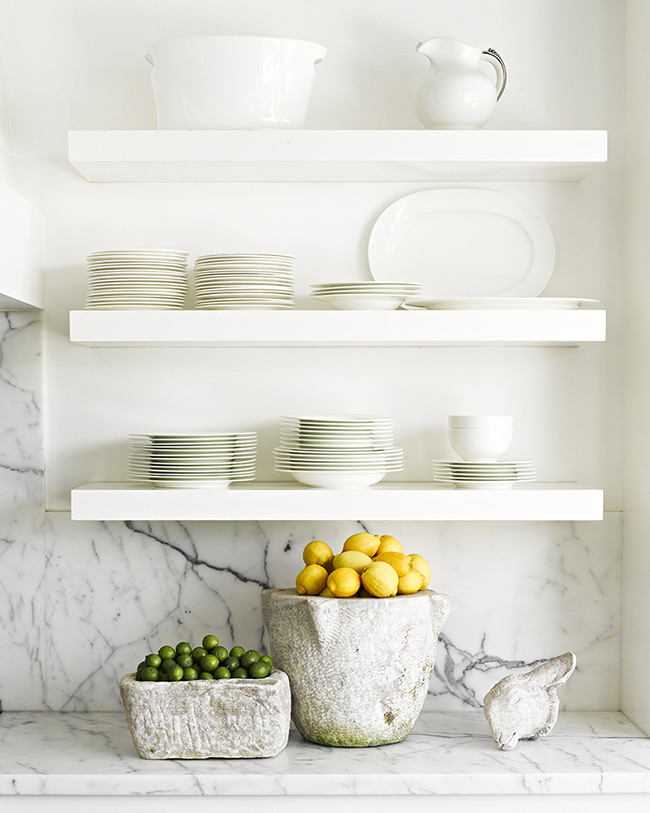
Enjoy this round up of Black and White Kitchens . Don’t worry if you feel like these pictures are unattainable because the fact is you can take one or two things from each picture and that will make your space feel completely different! I never look at a picture and try to replicate it because that would not represent me and my style! Make an inspiration board on pinterest and document small things you like about each room. You will always have that to go back to. Make sure to follow my black and white board or follow all of my amazing boards!

Lately I have been loosing my mind and making everyone around me crazy. If you know me then you KNOW how much I love color. I am a bright & eclectic person and my house typically reflects that. Until a few months ago. I got really tired of seeing color. Maybe it’s because my new studio space is filled with loads of color and I practically live in there. So slowly I have been transforming every room in our house to black & white. It’s clean and crisp and I can still add pops of color here and there without having to paint a wall. You know how they say your taste buds change every 7 years, well maybe mine are changing. Yes I am referring to taste as in style! We are also doing lot’s of renovations in our home so stay tuned!

Black and White Kitchens

Bright and Clean Space
Source | Mrs. Jones

black and white kitchens

Nice Open Floor Plan | Great for Entertaining
Source | Damask & Dentelle

black and white kitchens 1

Shelves v/s Cabinets
Source | Jeffery Alan Marks 

black and white kitchen

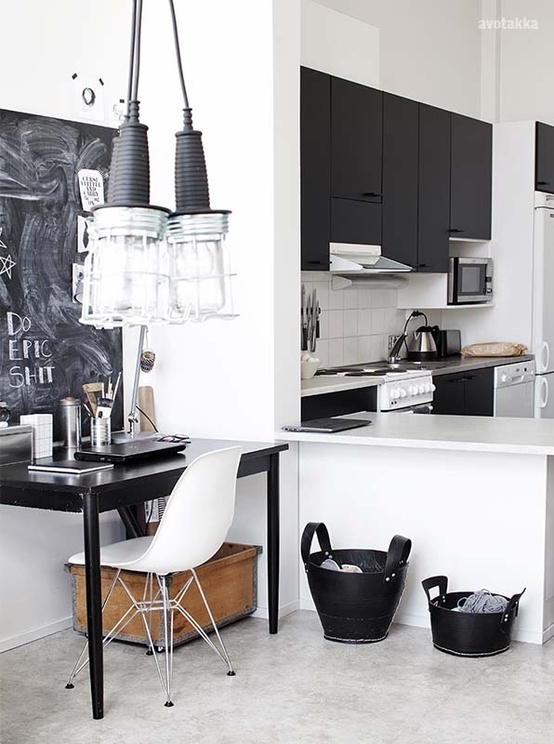
Modern and Simple
Source | Avotakka 

Black & White Kitchens

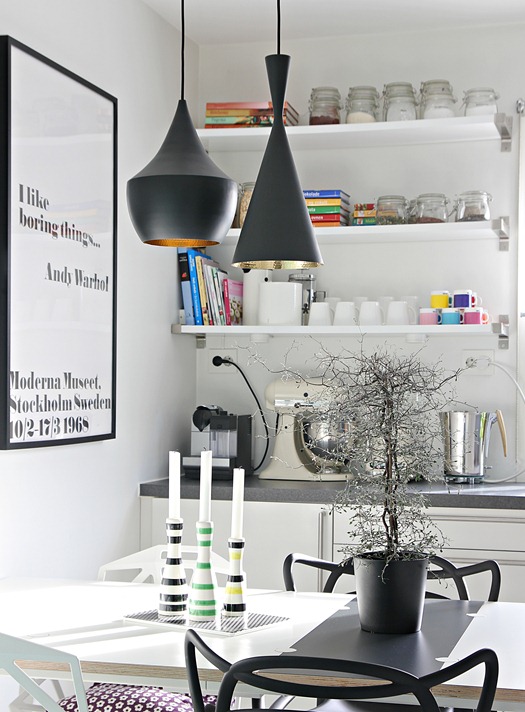
Black and White with a POP of Color
Source | Nordic Leaves

Huge glittery hugs—See you in the next post! Visit me on FacebookTwitter,Pinterest, or Instagram!

ending

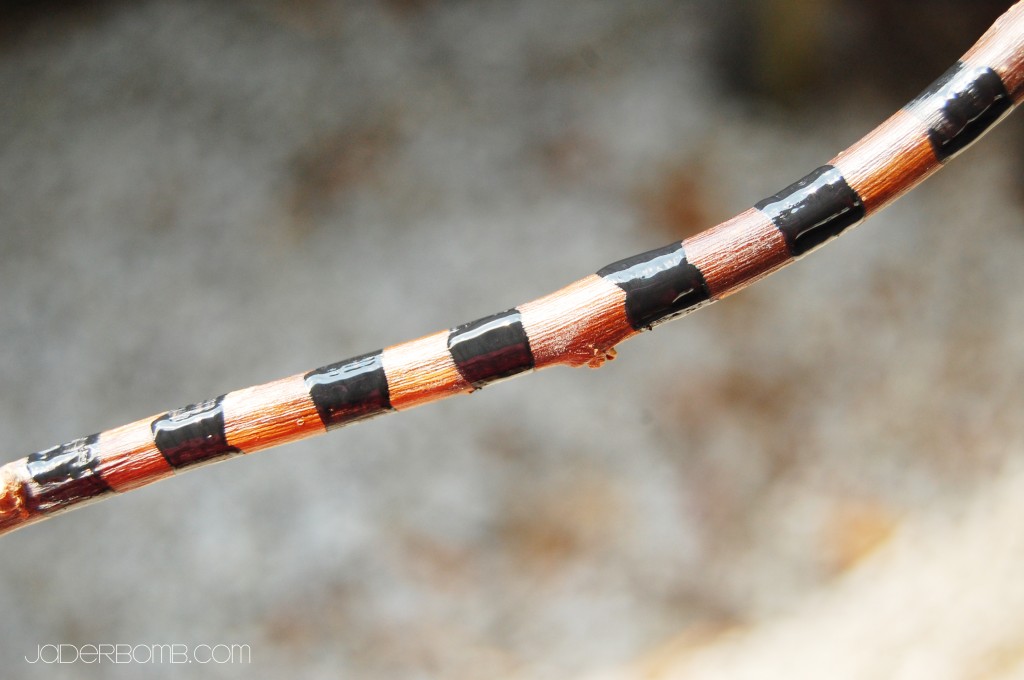
I am truly in love with this CHEAP stick painting craft.  My crafty buddy Stephen Brown has a lot of “black and white” stripes in his new book Glitterville’s Handmade Halloween: A glittered guide for whimsical crafting!

So, I figured I would do the same thing using sticks or branches. It really is so much cheaper than buying things in the store and it adds that whimsical touch to your home! Stick Painting can be very addictive so be careful, haha! I love to decorate my home or any space I visit with painted sticks. You can spray paint a ton of them one specific color and stick them in a gorgeous vase. That would fix any home decor problem and it is practically free. Unless you go steal the sticks from your neighbors yard because you can’t even keep your own trees alive.

Quote of the day: 

“I am BOLD enough to say, though not in a literal sense, that I almost prefer striving without success to success without striving.” 
-Georges Vanier

 stick painting

Let’s get started…

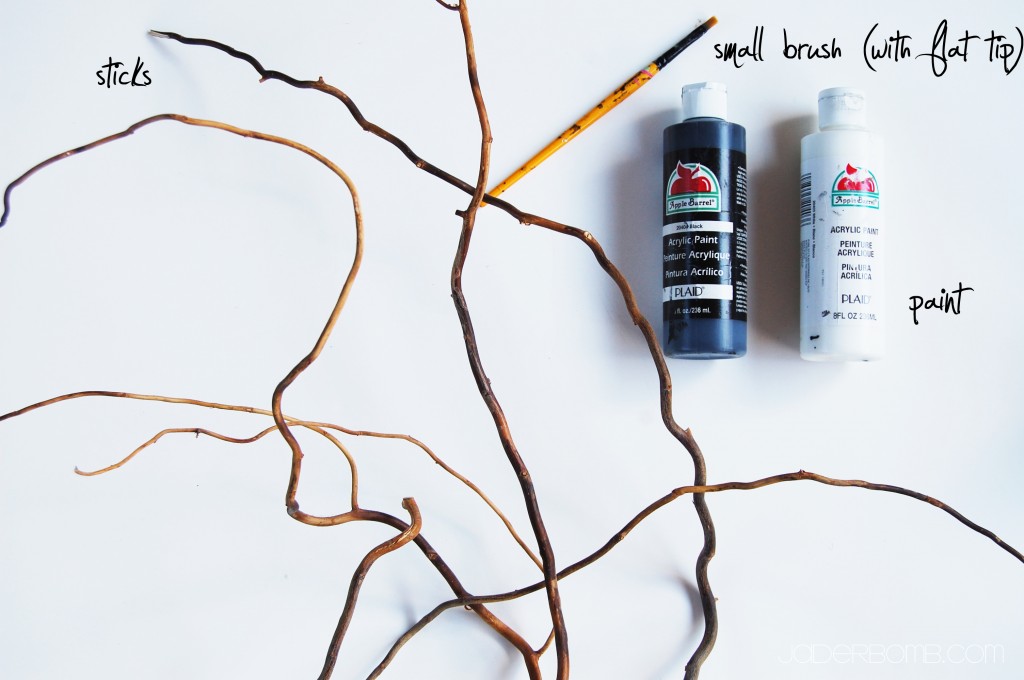
INGREDIENTS:

*PAINT

*BRANCHES or STICKS

*PAINT BRUSH

The first thing you need to do is squirt some paint on a saucer.

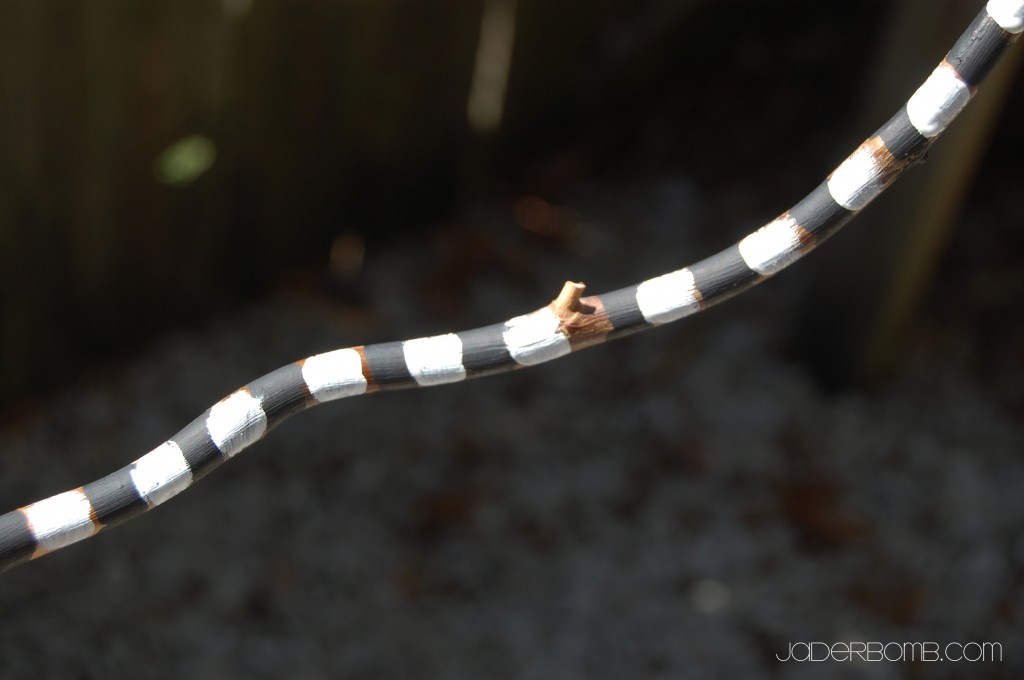
Next you will paint black stripes around your branches. I like to hold my brush on the branch and just slowly spin the branch.

After you add your black add your white! It’s that simple.

Huge Glittery Hugs, Jade

Happy I can’t believe it’s almost Halloween/Labor day. I know, they don’t really go together too much but I found it pretty ironic that I am working on Halloween printable’s on Labor day. I guess I am defining “labor” in a good way, right! I also can’t wait to show you the craft that I did today. It is the most precious thing ever and it will be up tomorrow on The Graphics Fairy-Crafts website. I am not sure if I mentioned to you that I am now a contributing editor for her site. I am super excited because maybe I will become a mini fairy. I will always let you know when to head over her way to see my post. Don’t you worry, I will always post a final result picture on my blog the day of or the day before it goes live on her site!

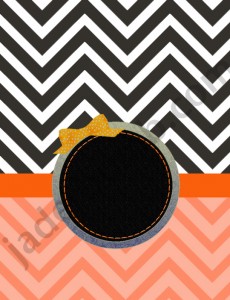
I started working on some fun Halloween printable’s today and I think you will love them.

What I love most about them is how versatile they are. You can do so much with them. I left the black circle frame empty so you can personalize it any way you choose.  If you don’t have photoshop I suggest using a program like PicMonkey that is free for anyone to use.

I like to put initials in the center, print it out and glue on the top of a journal. It’s an easy way to dress up a boring notebook.
+hint: my post tomorrow is all about dressing up notebooks, and you don’t want to miss it.

FREE FOR NON COMMERCIAL USE ONLY. FOR PERSONAL USE ONLY
Prints up to a 8×10. [watermark is not on download]

Click below to download your free PDF
orange and black chevron cover printable jaderbomb

 FREE FOR NON COMMERCIAL USE ONLY. FOR PERSONAL USE ONLY
Prints up to a 8×10. [watermark is not on download]

Click below to download your free PDF
orange chevron cover printable jaderbomb

FREE FOR NON COMMERCIAL USE ONLY. FOR PERSONAL USE ONLY
Prints up to a 8×10. [watermark is not on download]

Click below to download your free PDF
black chevron cover printable jaderbomb 

 I hope you enjoyed these free printable’s because I had so much fun making them! If you have ANY requests leave them in the comment section below and I can possibly get it done for you! Come back Wednesday for a fun fall fleur de lis printable!

[ My free printables are for jaderbomb readers only ]
Don’t forget to sign up for my RSS feed ! 

See ya in the next post

Happy Monday Funday Jaderbugs! I know. You are probably wondering how is it even possible to be so excited at the beginning of each blog post. Is it real? Am I REALLY that excited to write this post for you. YES! There are a few things in life that actually make me instantly smile, this is one!

I could not wait to post this today because I have been talking about doing this for so long now! I’ve tweeted about it, researched it and it’s finally going down.

I know we all see these amazing pictures on pinterest of the “perfect” stripes and the “perfect” decorations. Shoot’s I have even overheard people talking about doing this but they want to wait until they have all the right furniture and decorations to go with this look. My question to you is…

WHY WAIT!

Enjoy your black and white stripes now! After all, you might “think” your walls are not ready for it but I am sure they are screaming inside for them. After hearing my walls scream for a few months I figured it was finally their moment to shine.

You will need :
 Paint
 Painter's tape
 Laser Level
 Pencil
 Ladder
 Painting Brush
 Lot's of Love
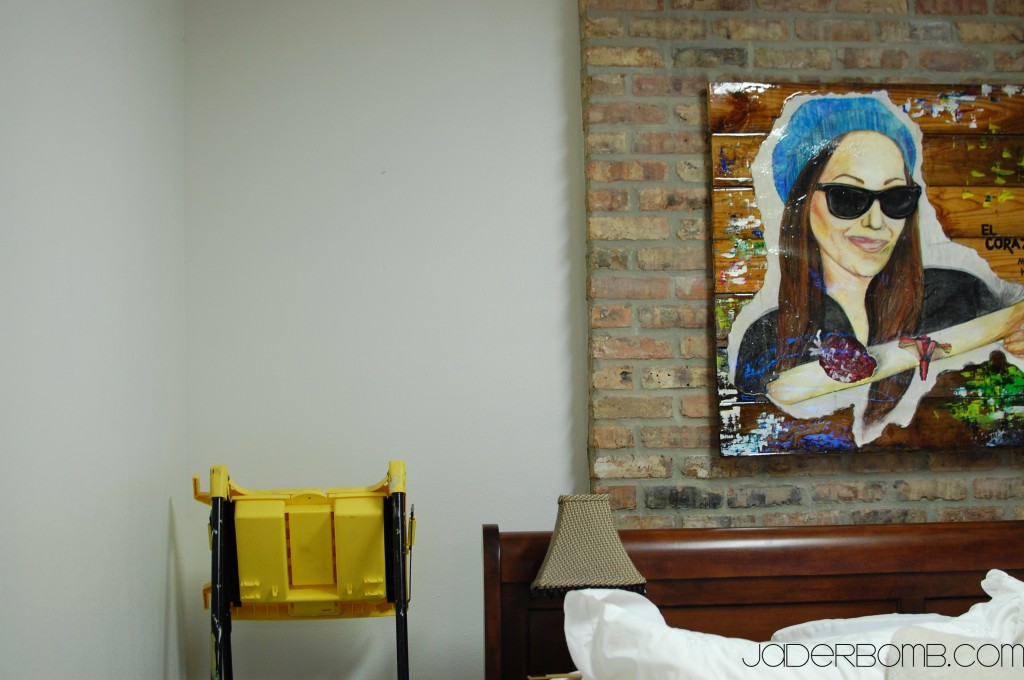
See how bare our walls are! In case you are wondering about that picture over our bed. Yes. It’s a picture of ME! A really big one. I wish you could see it up close because I drew it with pastels, laminated it, built the wood background, painted a little bit on the wood, wrote a little bit on it and then coated it with RESIN. Did I mention Ashy helped with the building the wood background? Let’s just say she did that part.

Amazing right.

Plus, Ashy insisted on putting it over the bed. She said it looked beautiful, how sweet. I can’t lie it is weird looking at myself over the bed. Now that I am thinking of it, I have a few self portraits in our room. (haha)
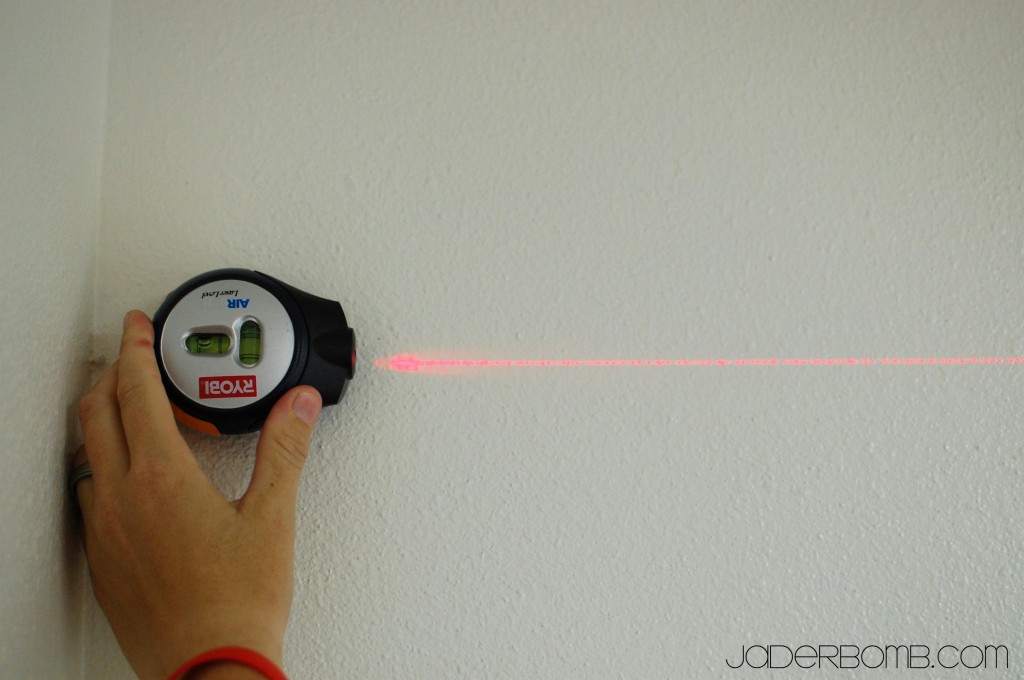
Ashy started by using this laser level to draw the lines onto the walls.
Bestie’s mom got her this and she is in love with it. So far my best piece of advice is to get one of these. Especially if you want strait lines. I don’t think they are expensive.
The cool thing is you can see if it’s level and it suctions onto the wall so you can actually draw or tape up the line (incase you are doing alone).  I’m not one for power tools but HELLOOO suction cup baby!

Now, this is the tricky part. The tape. You want to measure the wall you are painting from top to bottom. K. Then you can start playing around with numbers. You will divide the width of the stripes by the total length of the wall. The number you get when you do this will be the amount of stripes you will have on that wall.  Remember, your stripes might be smaller or bigger than mine. It just depends on how many stripes you want. If you want a lot of stripes then the width of them will be very small. I like chunky ones, they make me smile…

 For example my wall was 105″. My stripes were 10.5″. So I divided that and it gave me the number 10. This is including the white and black stripes. It’s actually pretty easy once you start playing with the numbers!

Oh and when you first put your tape up, it will look visually cray cray to to you! Your gonna be like. whoa!
Which one is which? Where do I paint? I’m confused! These are not right! If you see the picture above with the arrows pointing to the tape, this is what I mean. I just looks smaller but the width is from the edges I put the arrow on. Got it?

If you need help or have questions just email me and I can help ya, jade@jaderbomb.com.
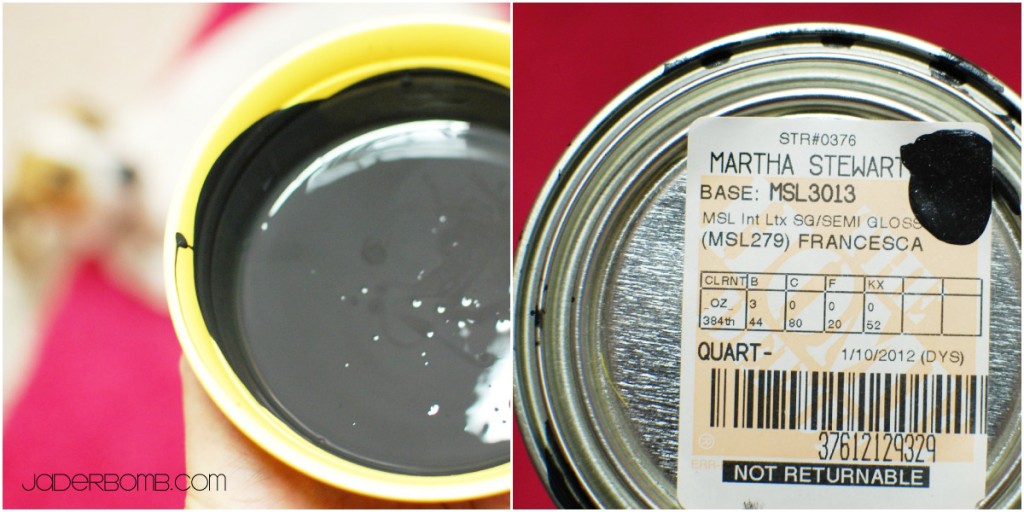
You know I am using Martha Stewart paint. This line is discontinued but I still have some that they sent me! What can I say. It’s a product I trust.
Don’t you just love the name of this color. Francesca.
That’s one of her dog’s incase you didn’t know. Check our Francesca’s blog here.
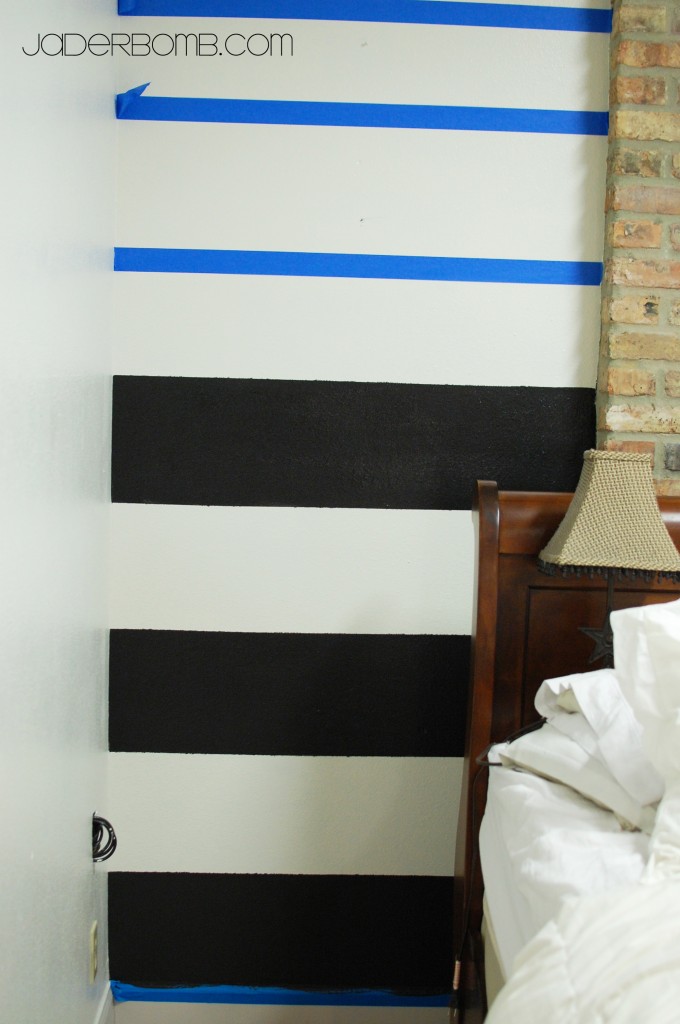
 I took this picture just so you can get a visual of what it will look like when you peel the tape off. If you have some paint that sneaks out under the tape just touch it up when it’s dry.   Are you in love yet!
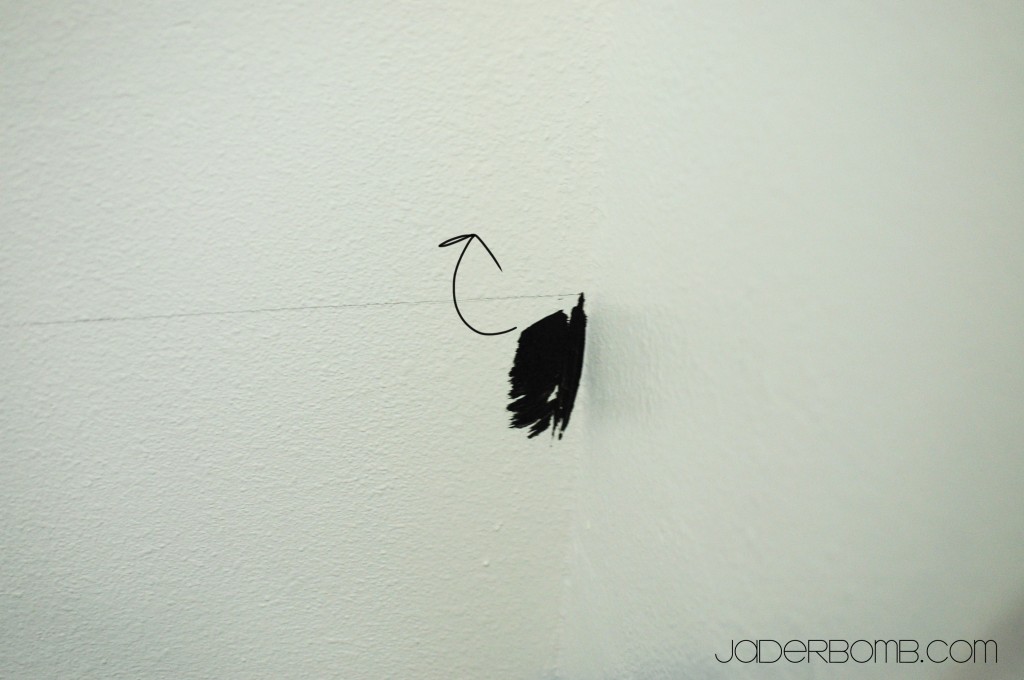
If you are like me then you will get super excited at some point. I did this boo boo. I was so excited to see the end result I just started painting. Thanks ADD for doing this! HAHA

 I want to put “STRIPES” on every wall now! I told Ashy this and she just looked at me. But she did say it came out good and she loved it. Just think about it. You don’t need dark stripes all of the time.

Dark grey wall+Shade lighter gray stripes
Pretty pink wall+lighter pink stripes

You getting my drift Jaderbugs! I really look’s classy… If you do this project please post pictures on my Facebook wall so I can check it out! You never know! I might just feature ya on the Jaderbomb blog.

Before I sign out I wanted to quickly share with you this amazing book coming out August 21, 2010. I will be doing a review this week on it so stay tuned! You know who’s book this is right…

STEPHEN BROWN

He is s judge on Craft Wars!  You have to check out his website because it’s AMAZING!

See ya in the next post!