Tag Archives: decor

Happy New Year! This is officially my 1st post of 2016 and this will be my year to organize my life and hopefully everyone else’s, haha! Michaels has the perfect items to choose from to help your life stay organized and that is the hard part! This #MichaelsMakers challenge really put me in the perfect mood to get a few new items for my studio and I can’t wait to show you what I decided to get!

Inspired to organize your own space? Start the year off right! Michaels has tons of products and storage supplies that can be used to decorate and inspire creativity in any room of your house or office.

XXXXX_SO_0101_Jan_Michaels_Makers_m

I especially love this time of the year. It is the perfect time for us to do a fresh cleansing of our spaces we spend a lot of time in plus it’s aways fun to get new things to help us organize our chaos! Remember last year when I showed you my WHOLE studio and how I stay organized?

organize your craft room

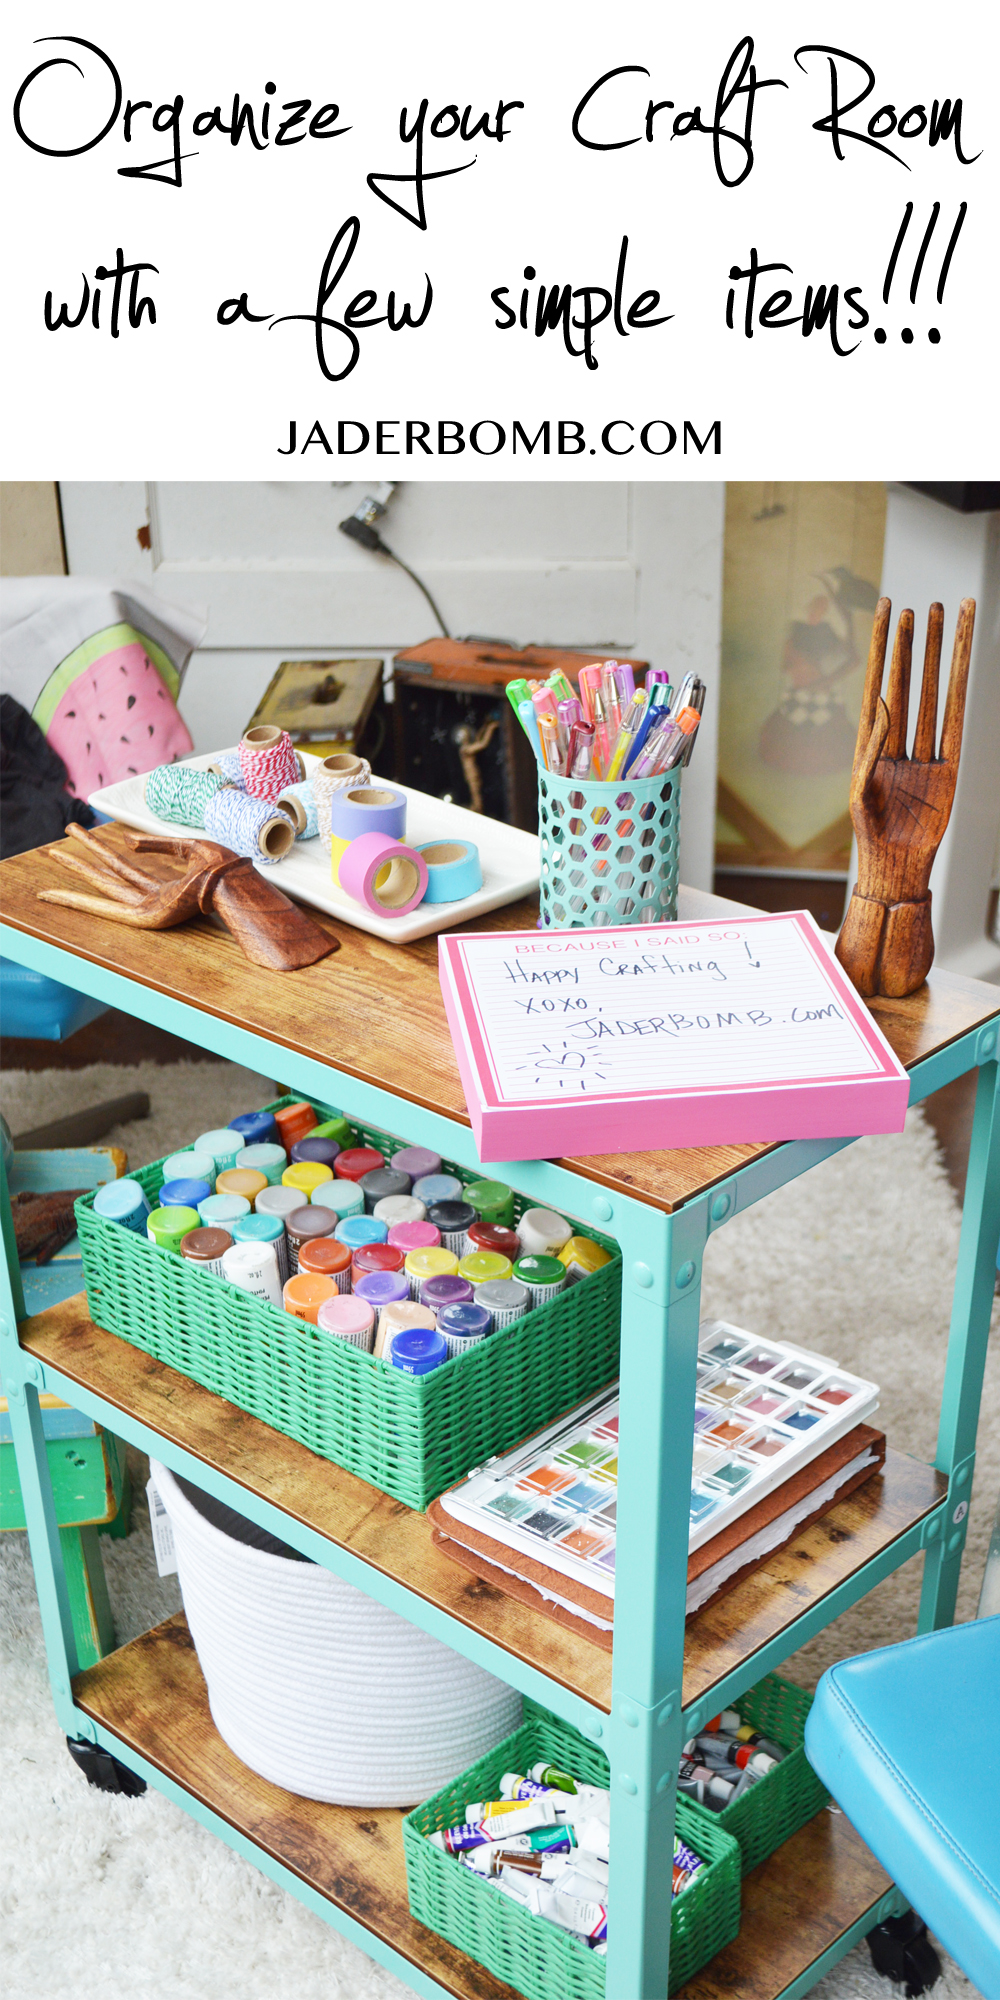
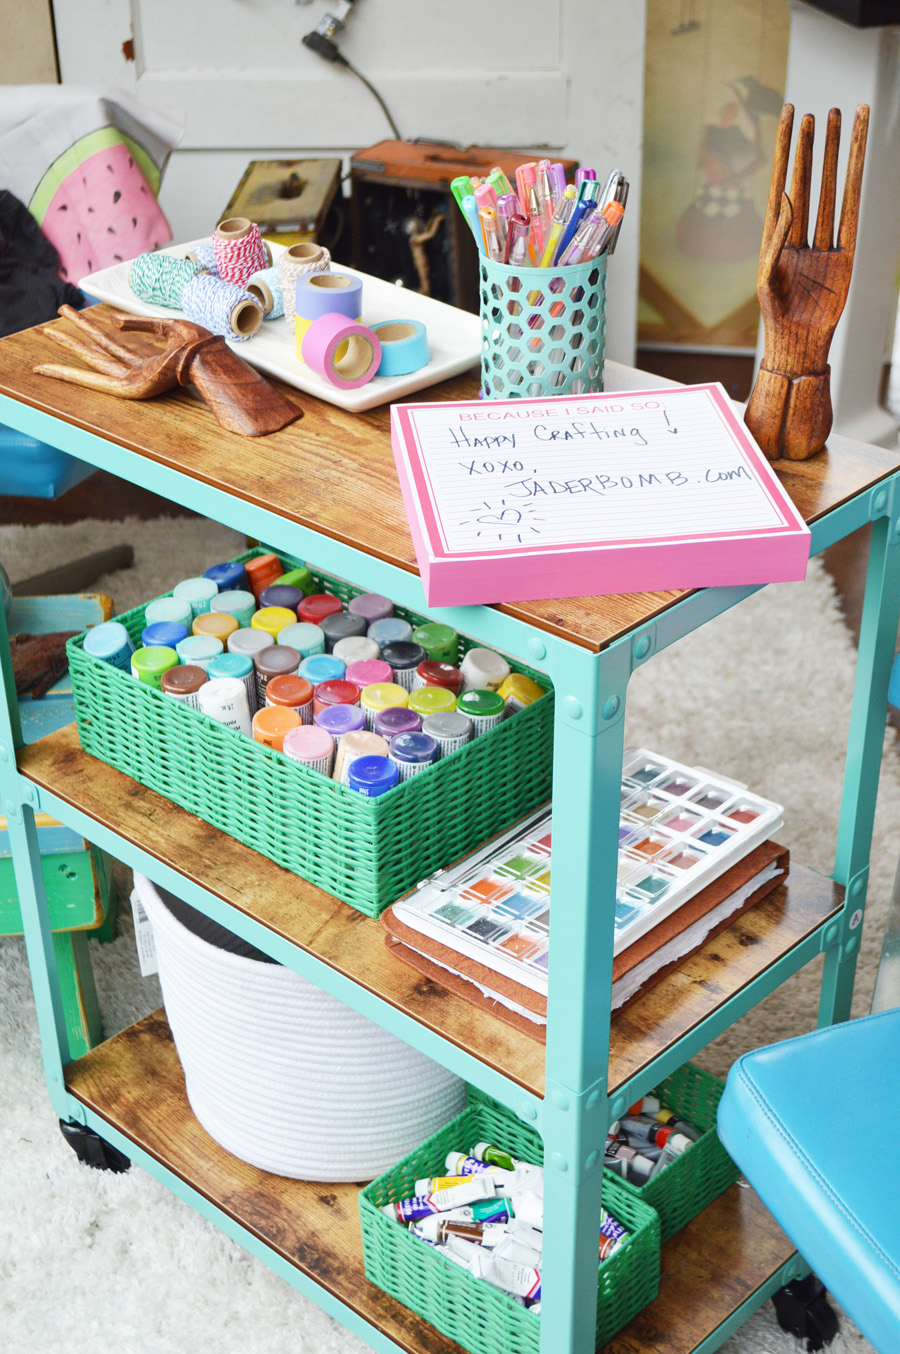
I was stoked when I found out about the new line of organizational products from Michaels! Cre8ted spaces has bright and whimsical products that will freshen up any space you are in! Did I mention that this line is now 50% off right now!!!! I literally started screaming inside when I saw this cute teal cart and I knew I just had to have it!

I just loved the idea of having a mobile cart of art supplies to bring back and forth from one room to another!

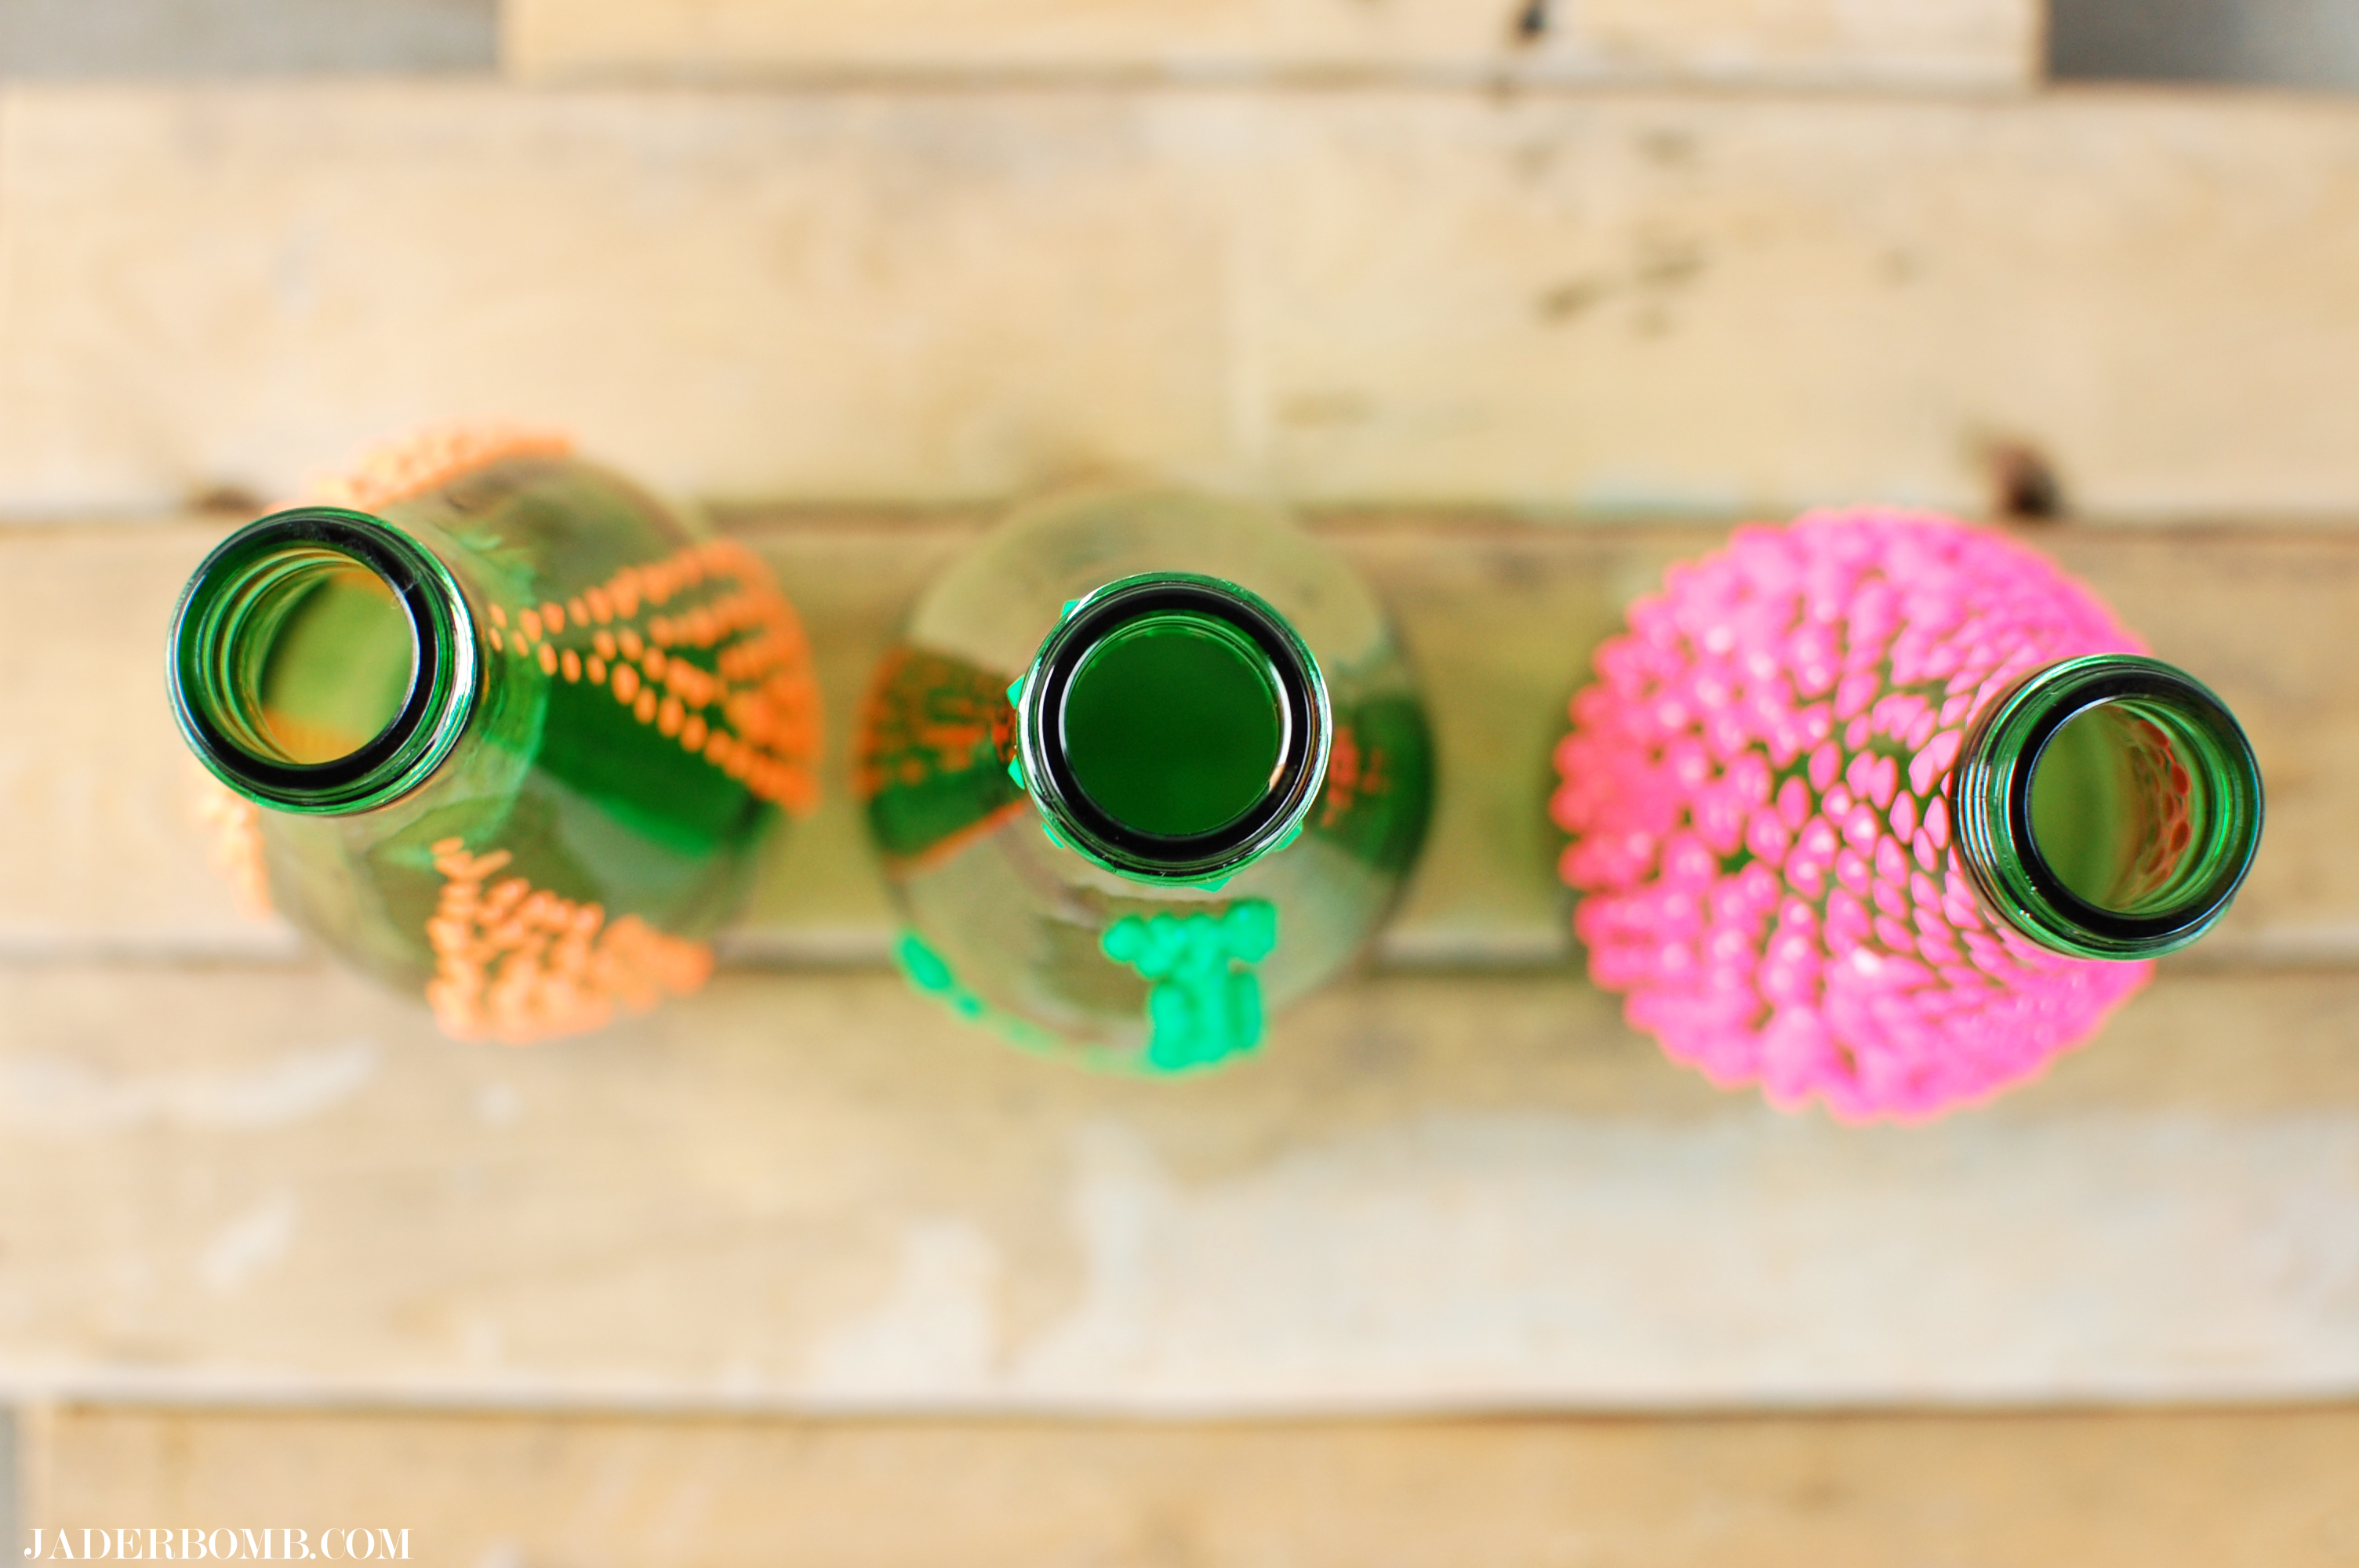
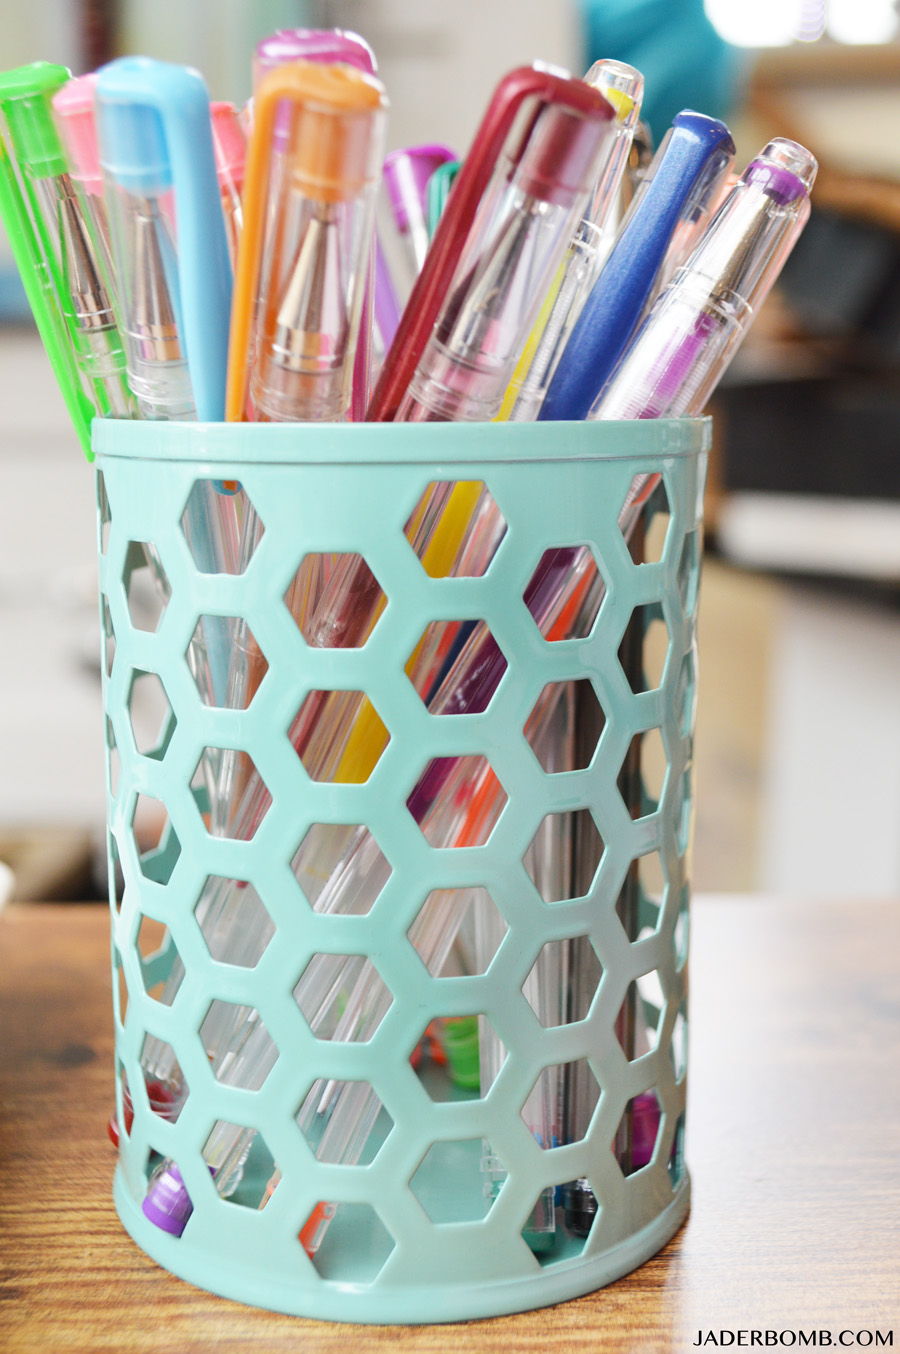
For starters why not clean out those cardboard boxes filled with tubes of paint and throw them in these cute green boxes. I can’t even express how much I love this color, it totally fits my personality. easy organization tips
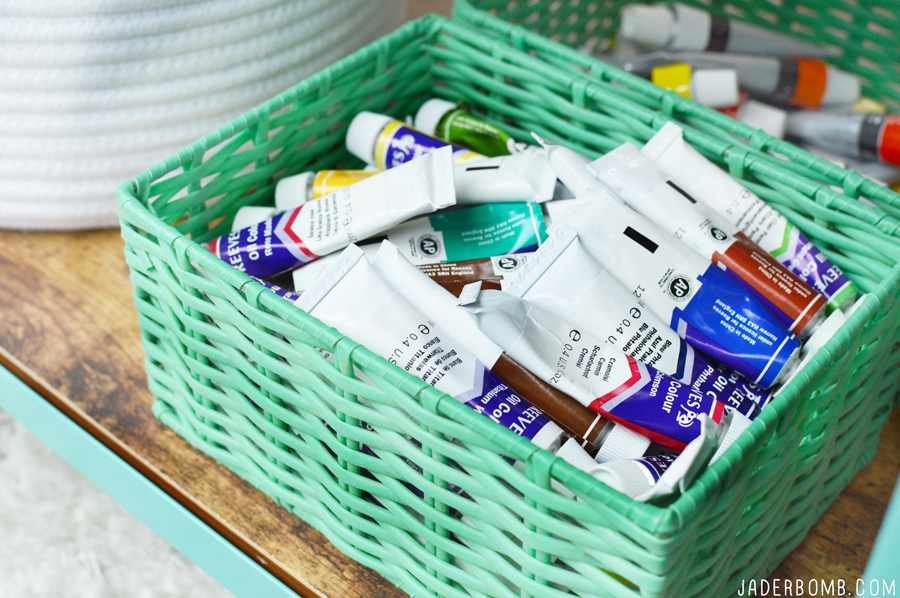
Now I love having ton’s of containers for pens, pencils and paint brushes. I bought about 6 of these cute patterned ones and scattered them all over my studio.
how to organize pens

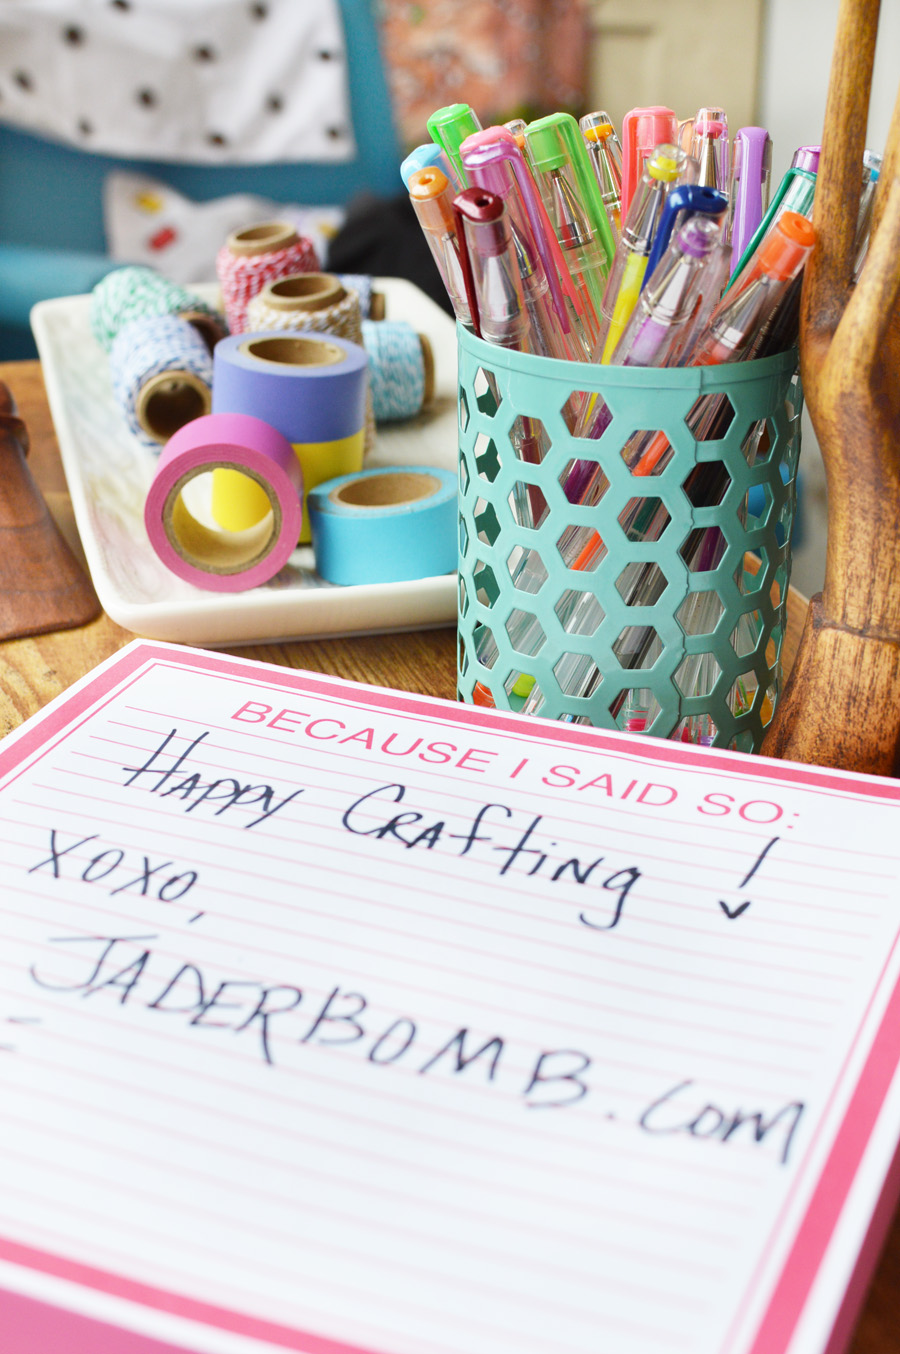
Why not clean out your bathroom and place those items you use daily in cute containers or baskets so they actually look nice sitting out!

basket organization

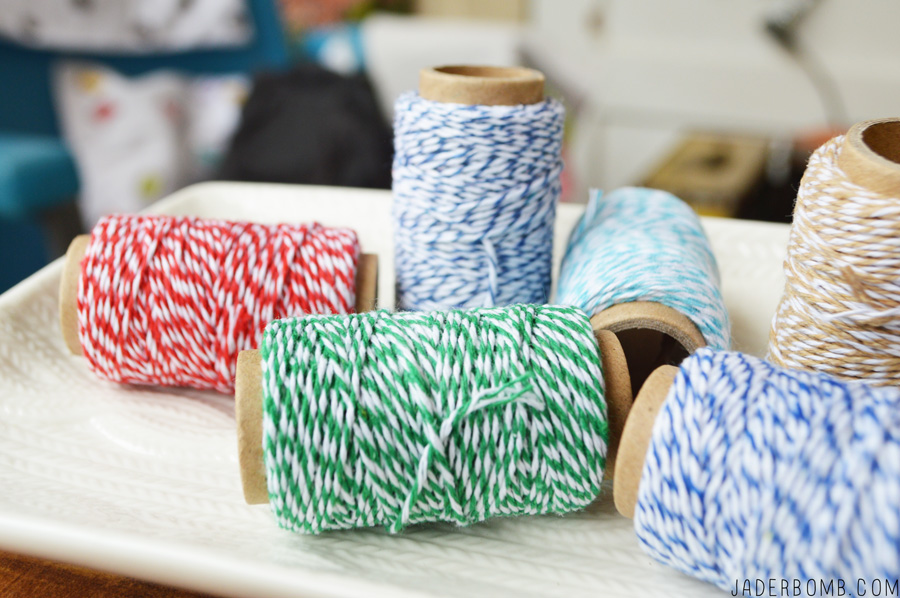
Honestly I could go on for days because you can literally organize every single corner of your life with these containers. I did however run across this Christmas tray at Michaels for 65% off!! It has a sweater pattern on the top and I will keep this out all year long. I love using twine for all of my project pictures so I figured this would be the best way to display them.

twine projects

I also bought these containers to store different brands of products in. I love staying this organized!STORE-PAINT-IN-A-CRAFT-SPACE

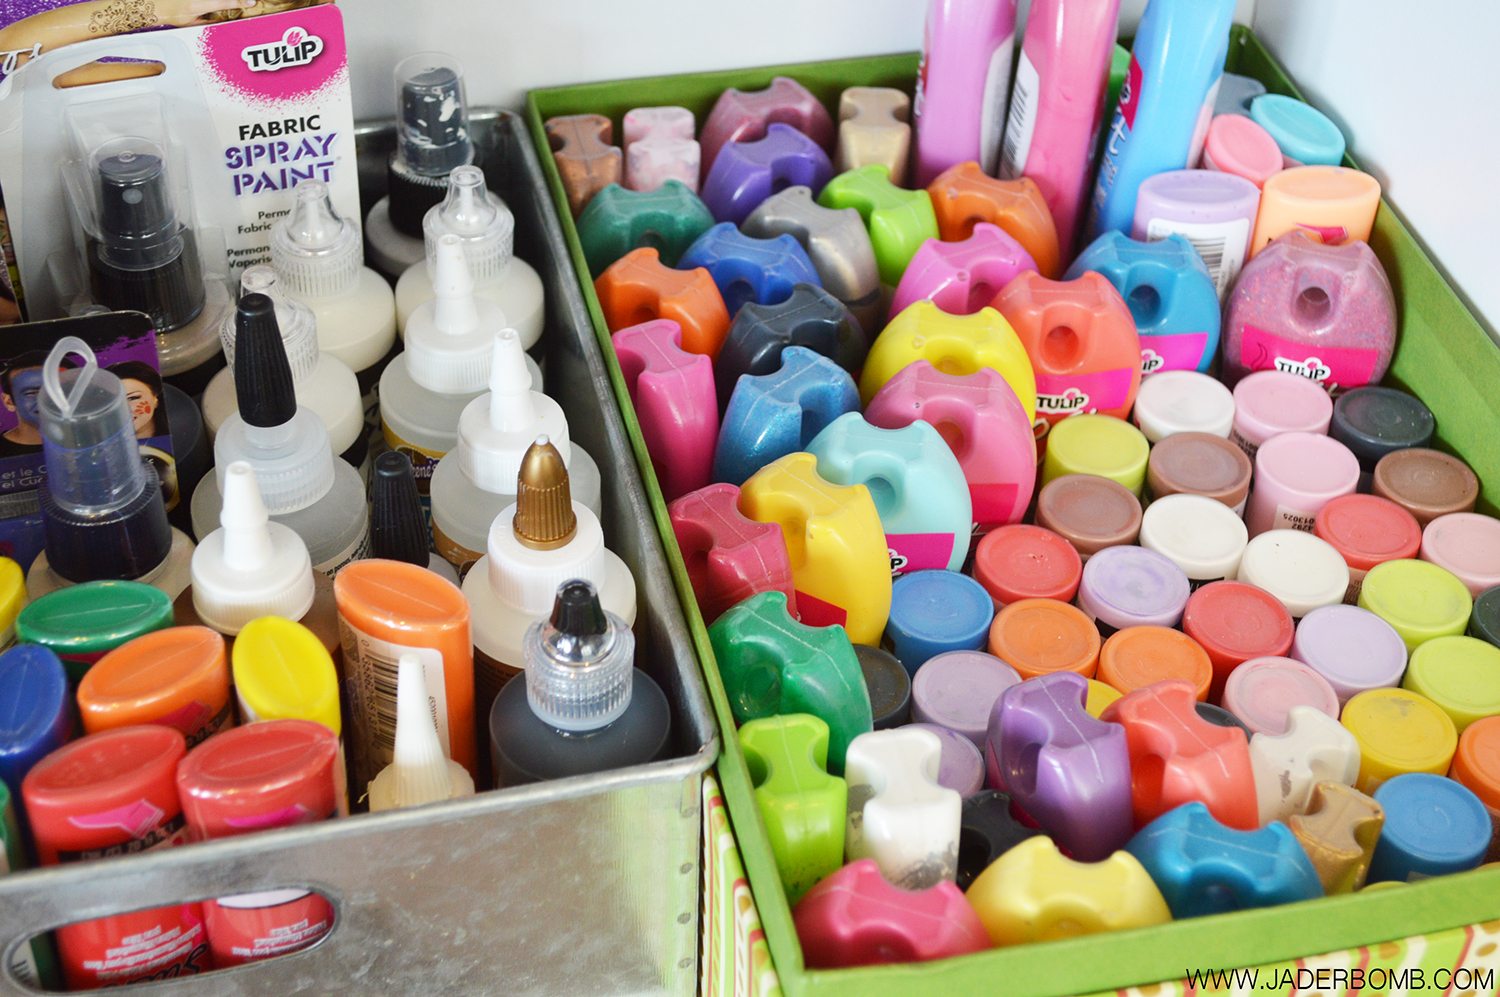
This cart holds all of the things I use daily and I love it. I think I might just have to get a cart for my house as well. organize paint

how to organize washi tape

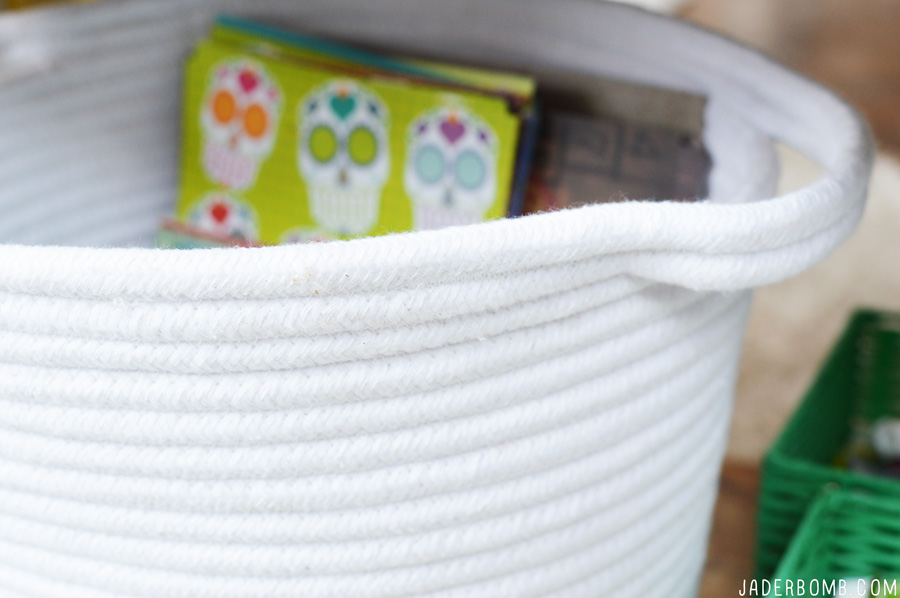
How nice is this basket for paints! You will never have a problem looking for that perfect color. basket organization tips

craft tray

happy crafting

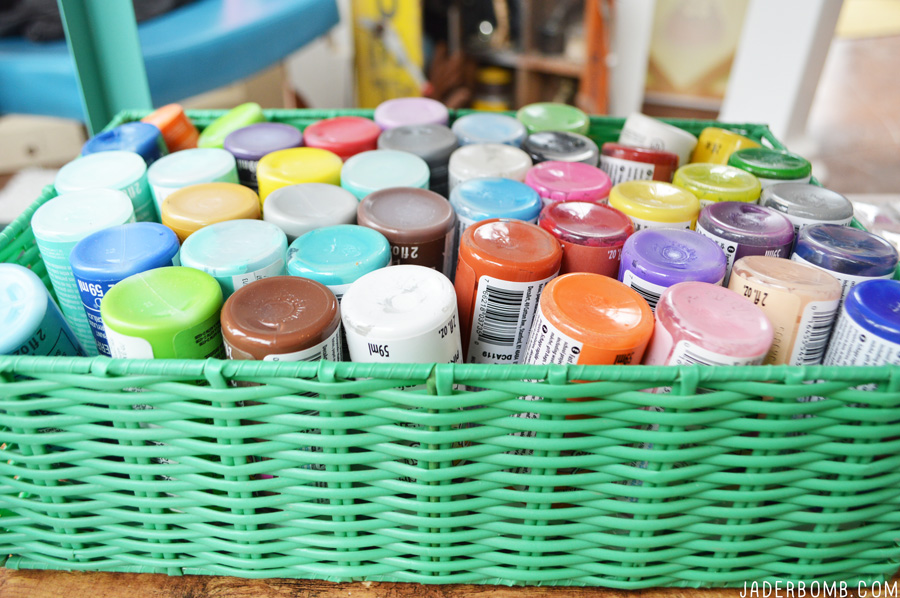
Michaels just launched a new line of storage and organization product called Cre8ted Spaces available in stores now and it has tons of different colors, bins and office supplies – with more than 300 new items in 4 coordinating colors, you have to check it out!


I hope you enjoyed this post and until the next one, HUGS!!! XOXO, Jade

If you don’t know where to begin, you can always take a look at some of the fun storage projects on Michaels.com or the other 49 makers’ ideas on The Glue String for tips on designing, organizing and decorating their favorite places!


When I think of LOVE I imagine everything white, fluffy and full of Christmas lights. Whuhh? You don’t think that’s love? FINE, LOVE is fried chicken, cozy pj’s and a ice cold coca cola. Better! (teeeheee)

Seriously yesterday morning I woke up around 3am because this cough decided it wanted to get up and drink coffee, craft and watch tv. I can’t get rid of this darn cough y’all. If you have any home remedies please leave me a comment cause I need something that’s gonna work. So, I am up aimlessly walking around trying to figure out what I could do. I really didn’t care as long as it had to do with an upward position. It seems the “cough” only likes to act nice when I am not laying down.
I went to my studio and the first thing I saw was puffy paint. YES! I had some bottles soaking in water for another craft I was going to do but who cares, I just grabbed them.

Off to crafting I went. 6 am I was done with craft and already shot pictures. Wahooo let’s get started on these puffy paint vases.

puffy-paint-vases-jaderbomb
Puffy Paint Vases

Are you flipping out. Cause I am. I think I am  a little 7 year old inside because anything that is bright still makes me super giddy all inside.

supply listpuffy paint | glass vases
(the ones I used were sparkling water)

puffy-paint-vases-jaderbomb

puffy-paint-vases-jaderbomb

Soak your bottles in ice cold water. I don’t know why but this makes the paper come right off. I usually put them in the water for about 2 hours.

puffy-paint-vases-jaderbomb

See! It just peels off. I don’t put anything in the water btw.

puffy-paint-vases-jaderbomb

Look how purdy! You would never know these once were just sparkling water bottles.

puffy-paint-vases-jaderbomb

Choose your puffy paint colors and start puffing. (teehehe)
All you need to do is put dot’s in any pattern that you want. I just winged it and put dot’s down. I mean dont’ get me wrong, I had an idea of what I wanted before I started but I didn’t use a template.

puffy-paint-vases-jaderbomb

puffy-paint-vases-jaderbomb

How stinking cute are these. I kid you not, they were dry in 1 hour. Perfect last minute gift, right!

I hope you have a great Saturday and you enjoy puffing your paint. See ya in the next post Jaderbugs!

jade


Have you ever wanted to put up wood ceilings but don’t want to spend the money or you don’t know how t0 do it?  It’s quite simple, especially when they have always been there and you just didn’t know it. {SMH} So, we bought our house about 9 year’s ago and it was an older home. Beautiful and full of detailed pieces. I will admit I never knew it would turn into a fun, memorable 9 year project. I am always the one changing things up and thinking of new ways to improve what we have while saving money. Thankfully with our fathers’ knowledge we have been able to do that. I have to quickly share with you something that just “happened” Monday around 2 pm. I started painting because our kitchen which is usually painted every 7 months, I know I am a creature that appreciated change. We painted over our “beach” blue and made the walls a little less chaotic by applying linen white. Of course our ceiling was painted a golden color and when it was against the linen white it sorta looked like someone had been smoking in the house for 40 years, urghhh. I guess if we smoked I could of left it, haha!

Wanna see what happened NEXT?

How-put-wood-ceilings-in-your-home

I put a picture for you to see the before and after of the wall color. This was the first coat of linen, add 1 more and you get the picture. The picture to the far right is the ceiling. See. Kinda like baby food. We decided to paint the ceiling also which meant we had to remove the big vent over our stove. People, when we did this I guess all of the moisture from cooking everyday stayed in our sheetrock. It looked like a bad stain around it. The good thing is we never saw it thanks to the vent.

Ok. on the the good stuff.

How-put-wood-ceilings-in-your-home

Once we removed the vent we saw a “lil” bit of wood. Did I mention this was a MONDAY afternoon? After struggling with the thought of “I wonder if the wood is in good shape”, and ” What if we run across problems”…..we decided to do it.
I did ask my angel deck TWICE and they gave me the ok. It was pretty cool how easy it was to take the sheetrock off. These pictures look a little “hazy” because it was so dusty in the kitchen.

150897_535897039777796_1095986984_n

How gorgeous is this! I am so happy we went through with it because it was FREE. Thanks to the original owners. I bet they are happy looking down on us. Knowing that we can appreciate all of their hard work they did. My dad loved it so much. He used to be a carpenter many years ago and he said “Baby, they don’t make houses like this anymore.”

I think I responded with “Oh, I know honey boo boo child.”


314283_536032593097574_373172467_n

Obviously we are not nearly finished even though it looks like it. We still have a lot more to do and don’t you worry, I will share every step with you. Stay tuned this week to see the post on my Moen sink.

Have you ever started a project when it was not planned at all?

jaderbomb

Quote of the day:
“Climb the mountains and get their good tidings.”-John Muir

Oh HAPPY day! It’s gloomy outside and we have not had sun for a few day’s. Most of the time this weather makes me feel just like it looks! However, since it’s Christmas time I couldn’t even imagine the sun beaming through my windows right now. It actually feel’s like what you would imagine “Christmas” would look like here in Louisiana. Well…minus the snow, cold weather and fire places burning. Good news is we are supposed to get a cold front tonight.
{{insert a loud YAYYYYY}}

The other day I got home and found a NICE brown box sitting at my front door. I got super excited and couldn’t wait to see what it was. When I finally got to it I was pleased to see it was from my friends at Martha Stewart.

As I started to open it I realized it was all great things to use for the Holiday’s and GREAT last minute items to pick up for your holiday decor.  I will post some now and some later today so make sure to come back. Let’s get started!

The first thing are these babies!

Martha-Stewart-Christmas-Decor

Martha Stewart Crafts™Wonderland Christmas Light Window Clings
Easily add a festive decoration to windows and mirrors with these Martha Stewart Crafts™
Wonderland Christmas Light clings. Glittered bulbs stick without adhesive and peel off for use year after year. Includes 12 pieces, each approx. 4in long.

(you can get these where Martha Stewart craft products are sold)

Martha-Stewart-Christmas-Decor

I absolutely love the way they look on our window. I put them above our kitchen sink so I can feel happy every time I look out of the window. What I love about them is they will not stick to your windows like stickers do,  which makes it super easy to take off. Since they are window clings you can store them in a bag for the next year and use them all over. You can even put them in your vehicle to add some Holiday spirit. At night when I light all of the candles on the window seal they look so pretty!

Click HERE to see how I made my Monogram candles.

———————————-

Martha-Stewart-Christmas-Decor

The next thing that was sent to me were these beautiful Martha Stewart Crafts Snowflake Hanging Rosette’s.
You can purchase them HERE.

*Makes 3 decorations: one 19.5-inch and two 13.5-inch
*Coordinates with other holiday party decorations
*Perfect for winter parties and holiday celebrations

Martha-Stewart-Christmas-Decor

Martha-Stewart-Christmas-Decor

The color palette for them are soft and delicate. I love the jewel in the middle of them.

Martha-Stewart-Christmas-Decor

I put them outside on one of our sheds. It added a little “Holiday-ness” to it and I love them!
They are so easy to make which is why you could go grab some and put them up in 10 minutes!

See ya in the next post! Don’t forget to make it a DIY kinda day!

Facebook Twitter Gplus Pinterest YouTube E-mail RSS

jaderbomb

Disclosure: I received products from  Martha Stewart Crafts ,however all of the opinions in this post are my own.

Heller and {Happy} Tuesday Jaderbugs!

Today I will show you how to make an affordable dry erase board!

Yes you are right. Buying a dry erase board in the store is sorta ridiculous. I mean, it won’t break your pocket book but they do jack up the prices on those babies. Try buying the ones with the “nice” frames around them. When I say nice I mean a little black frame around it.

What would you say if I told you that you could make your own for less than 4 bucks?!?!?!

That’s exactly what I thought when I accidentally ran across a dry erase poster board in WALGREENS! Now, maybe you have seen these but I haven’t and I am so excited! I actually almost bought the dry erase paint at Home Depot the other day until I saw how over priced it was. I was like “girl please”….

INGREDIENTS:
*Dry erase poster board
*Frame 

The reason why I love this is because you can make so many things with it. You could put a little 8×10 dry erase board anywhere. Other things you could use this for are:

*To write recipes on
*Love letters
*Chore list
*Rules
*What’s for dinner
*To do list
*Quotes and Poems
*Reminders

You could even measure out boxes with decorative tape and make your own dry erase calendar.

The sheet you buy is 22in by 28 in. I think it was around $3.99.

When I first saw the HUGE sheet I knew exactly what I wanted to do with it. I bought this HUGE frame a couple of years ago at Hobby Lobby for around 50 bucks (the glass broke and they knocked 75% off, wahoooo) and I knew this dry erase board would be perfect! I only had to cut a “little” bit off for it to fit in my frame. Don’t cha love it. We have it on a wall in our living room and we all write fun and happy things on it. If someone passes by it they can pick up the dry erase marker and write whatever they are feeling.

I hope you enjoyed this tutorial! See you in the next post.

What would you make with this dry erase board? 

IN OTHER NEWS:

This Friday I will be Co-Hosting a twitter chat with MOEN. If you are not following them on Twitter hurry and follow them HERE. Follow me on twitter HERE.
So don’t forget to put it in your calendar!

This coming Saturday is going to be a fun one! It’s Saturday Social! It’s a linky party that I will be Co-Hosting and you will be able to link up your social media outlets.  I will be hosting a Twitter party so see ya there! (more info on this later this week)

There is nothing better than a fun fall mantle to dazzle up your home. I personally love taking advantage (badly) of every single holiday or special occasion. Check out what I made with things I already had laying around the house!

Happy FALL YALL! I am finally showing you my shelf that I decorated in the kitchen for the Fall holidays. I’ve been showing little tid bits of different projects on Facebook and Instagram so I am excited to be done with this shelf. Fun part will be getting in the attic and decorating the rest of our house!

Monday is almost over and guess what? That means we are are closer to the weekend! Sometimes I find myself counting down the day’s till the weekend. I mean what’s so bad about the week? I think it’s because of work. (haahaa)

I’ve been seeing a lot of Fall decor lately so I figured I would follow the trend. I mean it is FALL YALL! There is only ONE problem with Fall. I am not a huge fan of all the “traditional” Fall colors. EEEK. Did I just say that? When I was growing up our house was always decorated, especially for the holidays. For some reason I only remember my mom decorating in the “traditional” Fall colors, which was really pretty but a little boring to a bright and whimsical girl like me. I swoon over FALL colors every time I see them but I just can’t do it. I mean, look at my kitchen wall color. It’s turquoise. I also added some rustic stars, vintage jars, a vintage “yellow” can and some vintage gas station numbers to my  kitchen decor.

Let take a look at what FALL look’s like in my head…

I am loving red and orange together lately! Check out the candle holder here.

I was totally inspired by my [friend] Stephen with this. Stephen is one of the judges on TLC’S craft wars and he does ton’s of this in his new book “Glitterville’s Handmade Halloween”. Trust me you NEED this book! Buy it here.  I think the black and white make everything else in my kitchen POP. I painted on real wood so it feels warm and cozy when I look at them. (tutorial coming this week)

I love my homemade vases because you can actually add water in them! I will be posting a tutorial this week on how I made them.  I can’t even express how inexpensive this craft is. When I think of Fall I think of natural things. Paper feels natural to me and that is why I used this on my shelf.

What else SCREAM’S FALL like mini flags with mini clothespins! Again I went with natural colors here since I have ton’s of other things bursting with color. I used black and white bakers twine to go along with my black and white FALL theme. You can order mini clothespins in my ETSY shop.

I am loving this print I made the other day. Yes it’s a silk screen. Yes I made it at my house. Yes you can too. Stay tuned for this tutorial because all I will say is you will be purchasing the machine I made it with!

This is a mirror I made a while back but I thought the black and white went with my theme. See the tutorial here.  If you follow my blog then you already know my LOVE for black and white. I think I love it because it allows me to add POP’S of color all over! Remember my bedroom walls and my napkin flags?

How could a live plant not feel like FALL! The fresh green just makes me smile plus it adds good energy in the house!

The rest of the week I will show you tutorial’s on everything I made for my kitchen decor so make sure and come back!

Huge Glittery Hugs, Jade