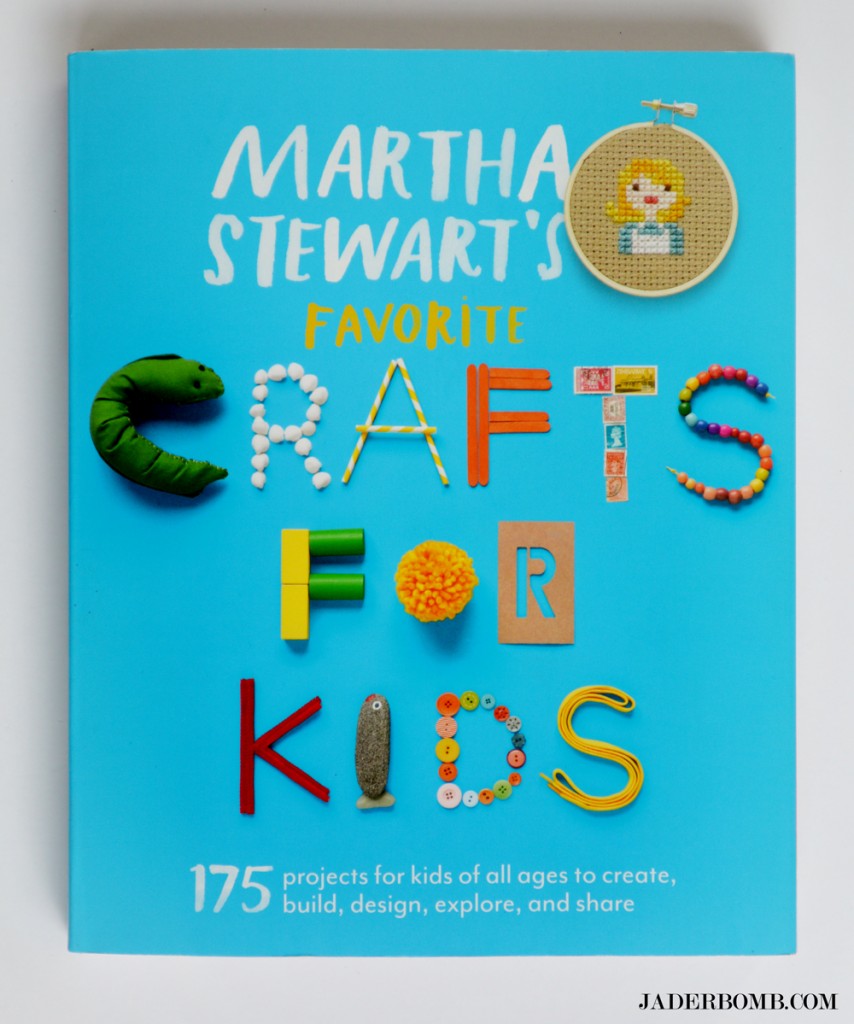
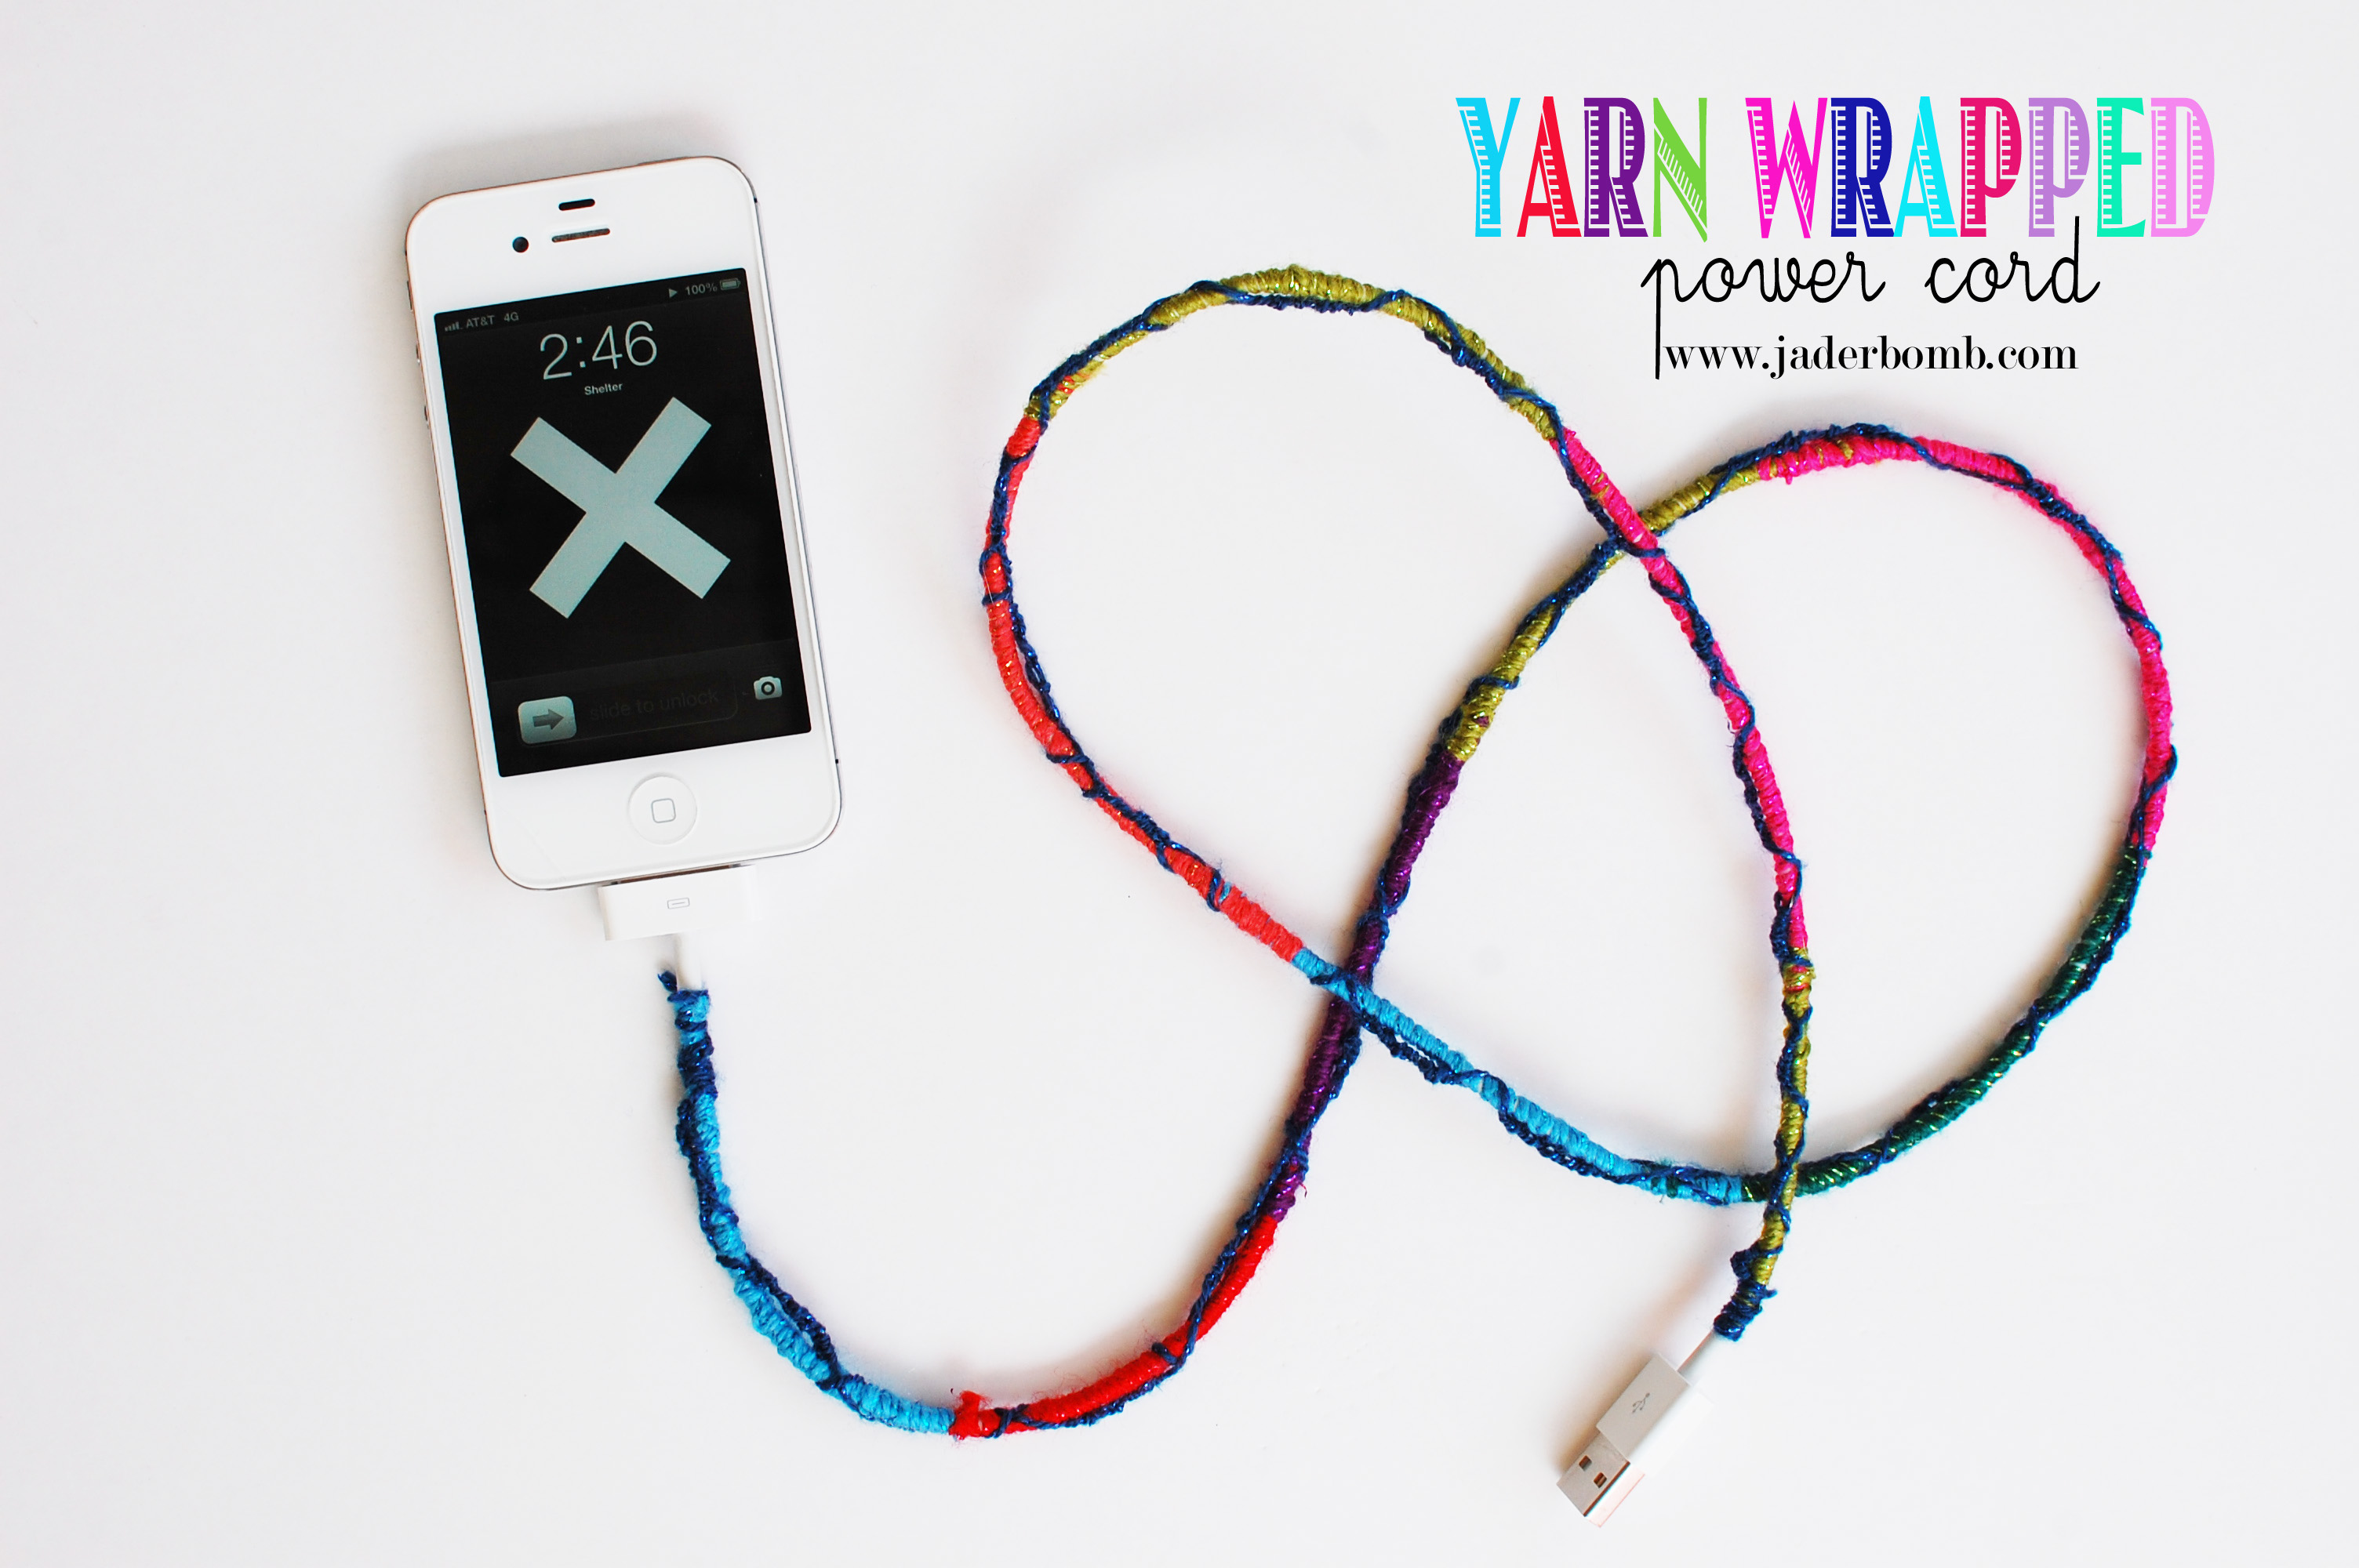
Happy Tuesday Jaderbugs today we will be making a paper bead bracelet.The big suprise will be at the bottom of this post so make sure you read till you get to the end. This month’s box of goodies was a little different than normal. If you are not familiar with the #12monthsofmartha let me tell ya. Each month Martha (well maybe it’s not exactly her but I will pretend it is) sends me a box of goodies for me to review and share on the blog. I also make something fascinating with the goodies. This month she sent her new book. Read more about it here.

Martha Stewart’s Favorite Crafts for Kids: 175 Projects for Kids of All Ages to Create, Build, Design, Explore, and Share
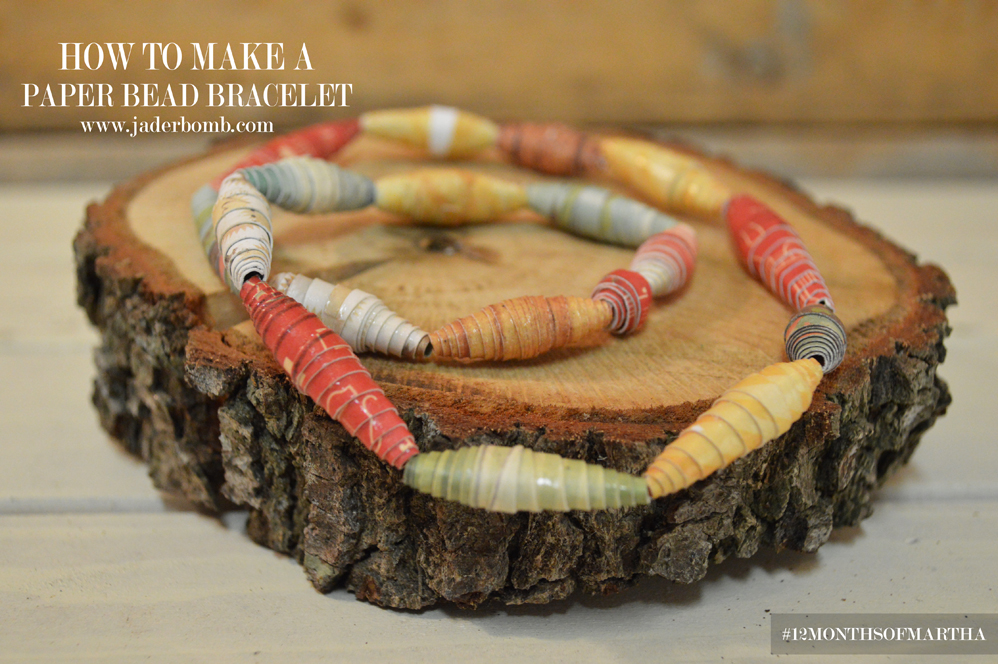
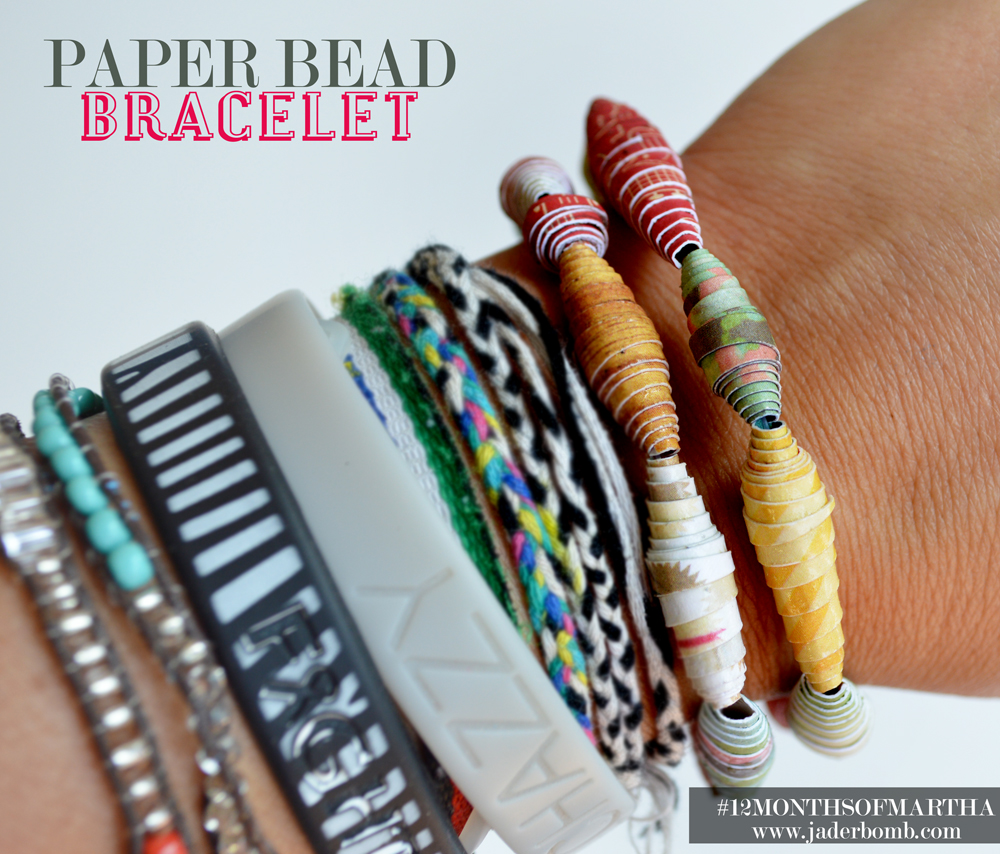
I had to re-create a craft in the book so I chose the paper bead necklace except I made a Paper Bead Bracelet instead. I will admit right away that making jewelry is not the one thing I am really good at. You know the fancy kind, with beads and clasps and all those little things involved. I will shock you now and say that today’s tutorial was FUN and EASY. Did I mention “wearable”.
Martha, if you are reading this… YOU ROCK
{{ok, this is asking a lot but if you do read this just shoot me a comment and let me know what you think or just text me, hehe}}
“Fashion is not something that exists in dresses only. Fashion is in the sky, in the street, fashion has to do with ideas, the way we live, what is happening.”
― Coco Chanel
I am so pleased with the outcome!
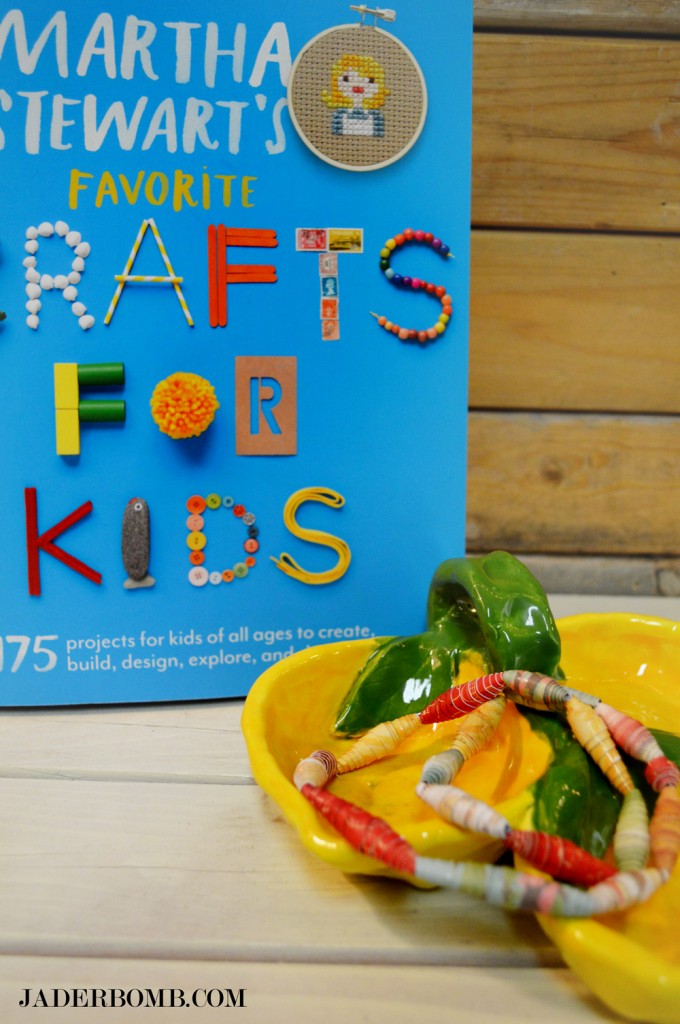
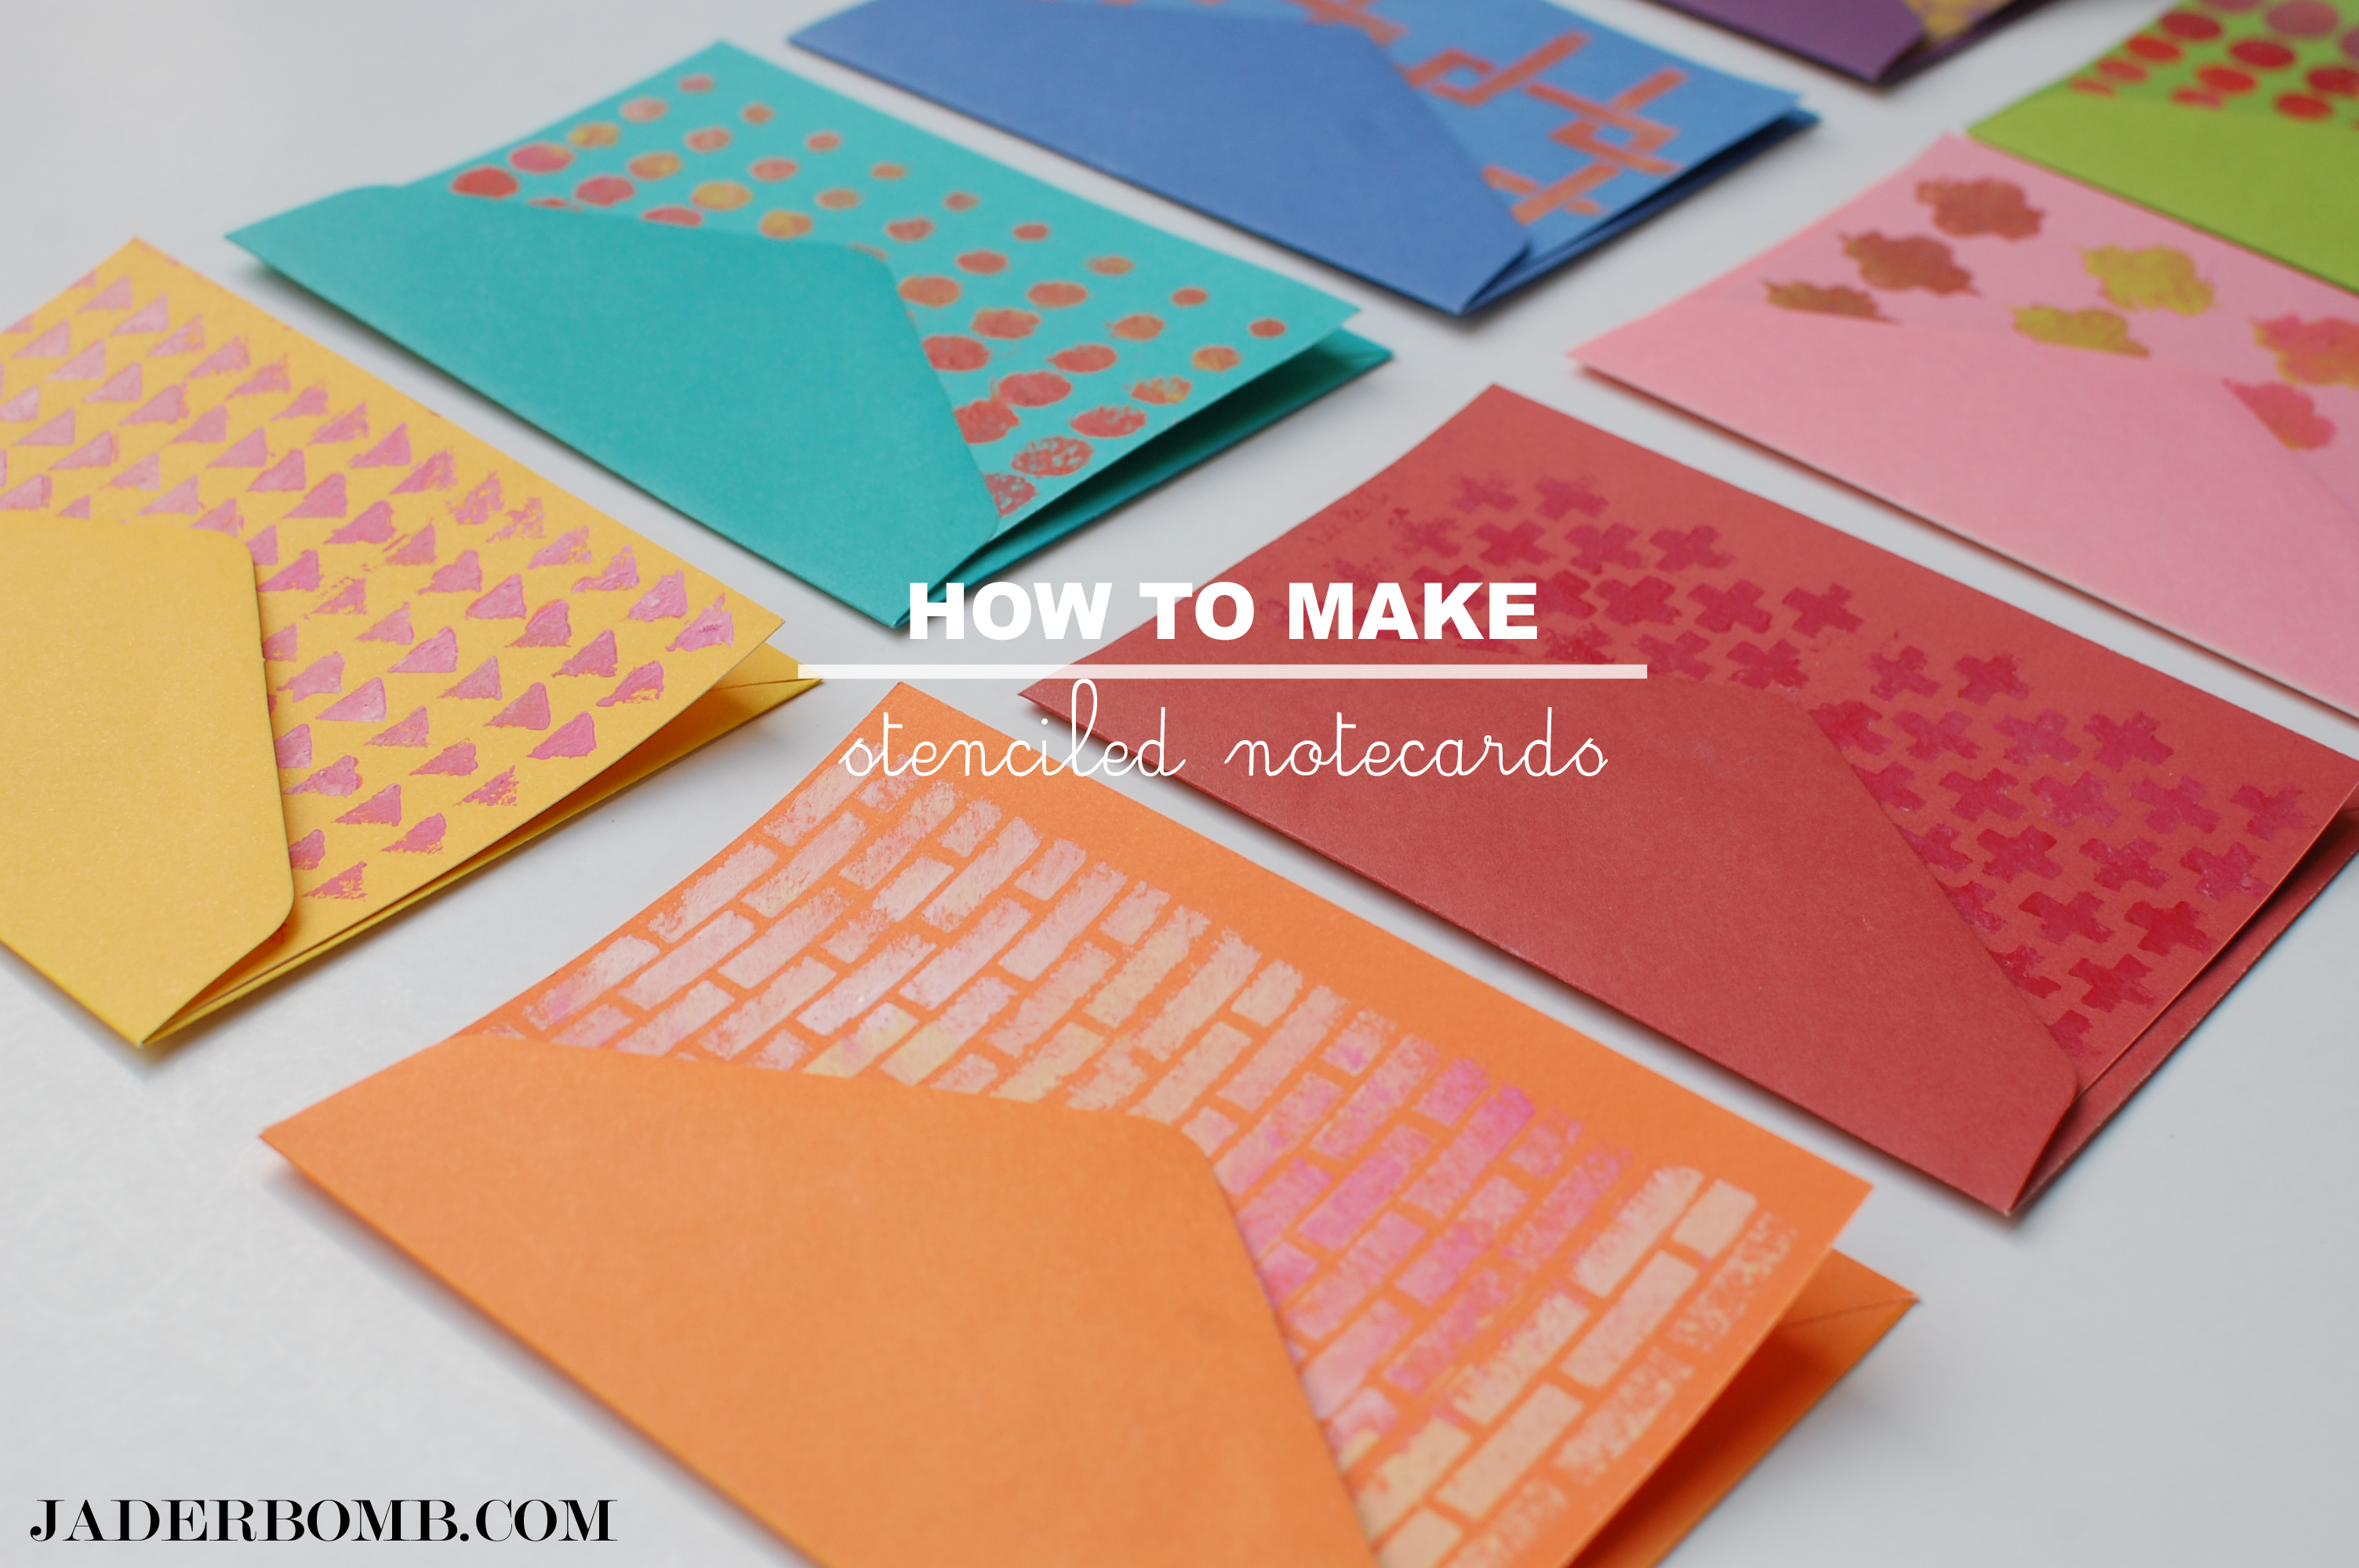
This is the cover of the book and the bracelet I re-created. Let’s get started!

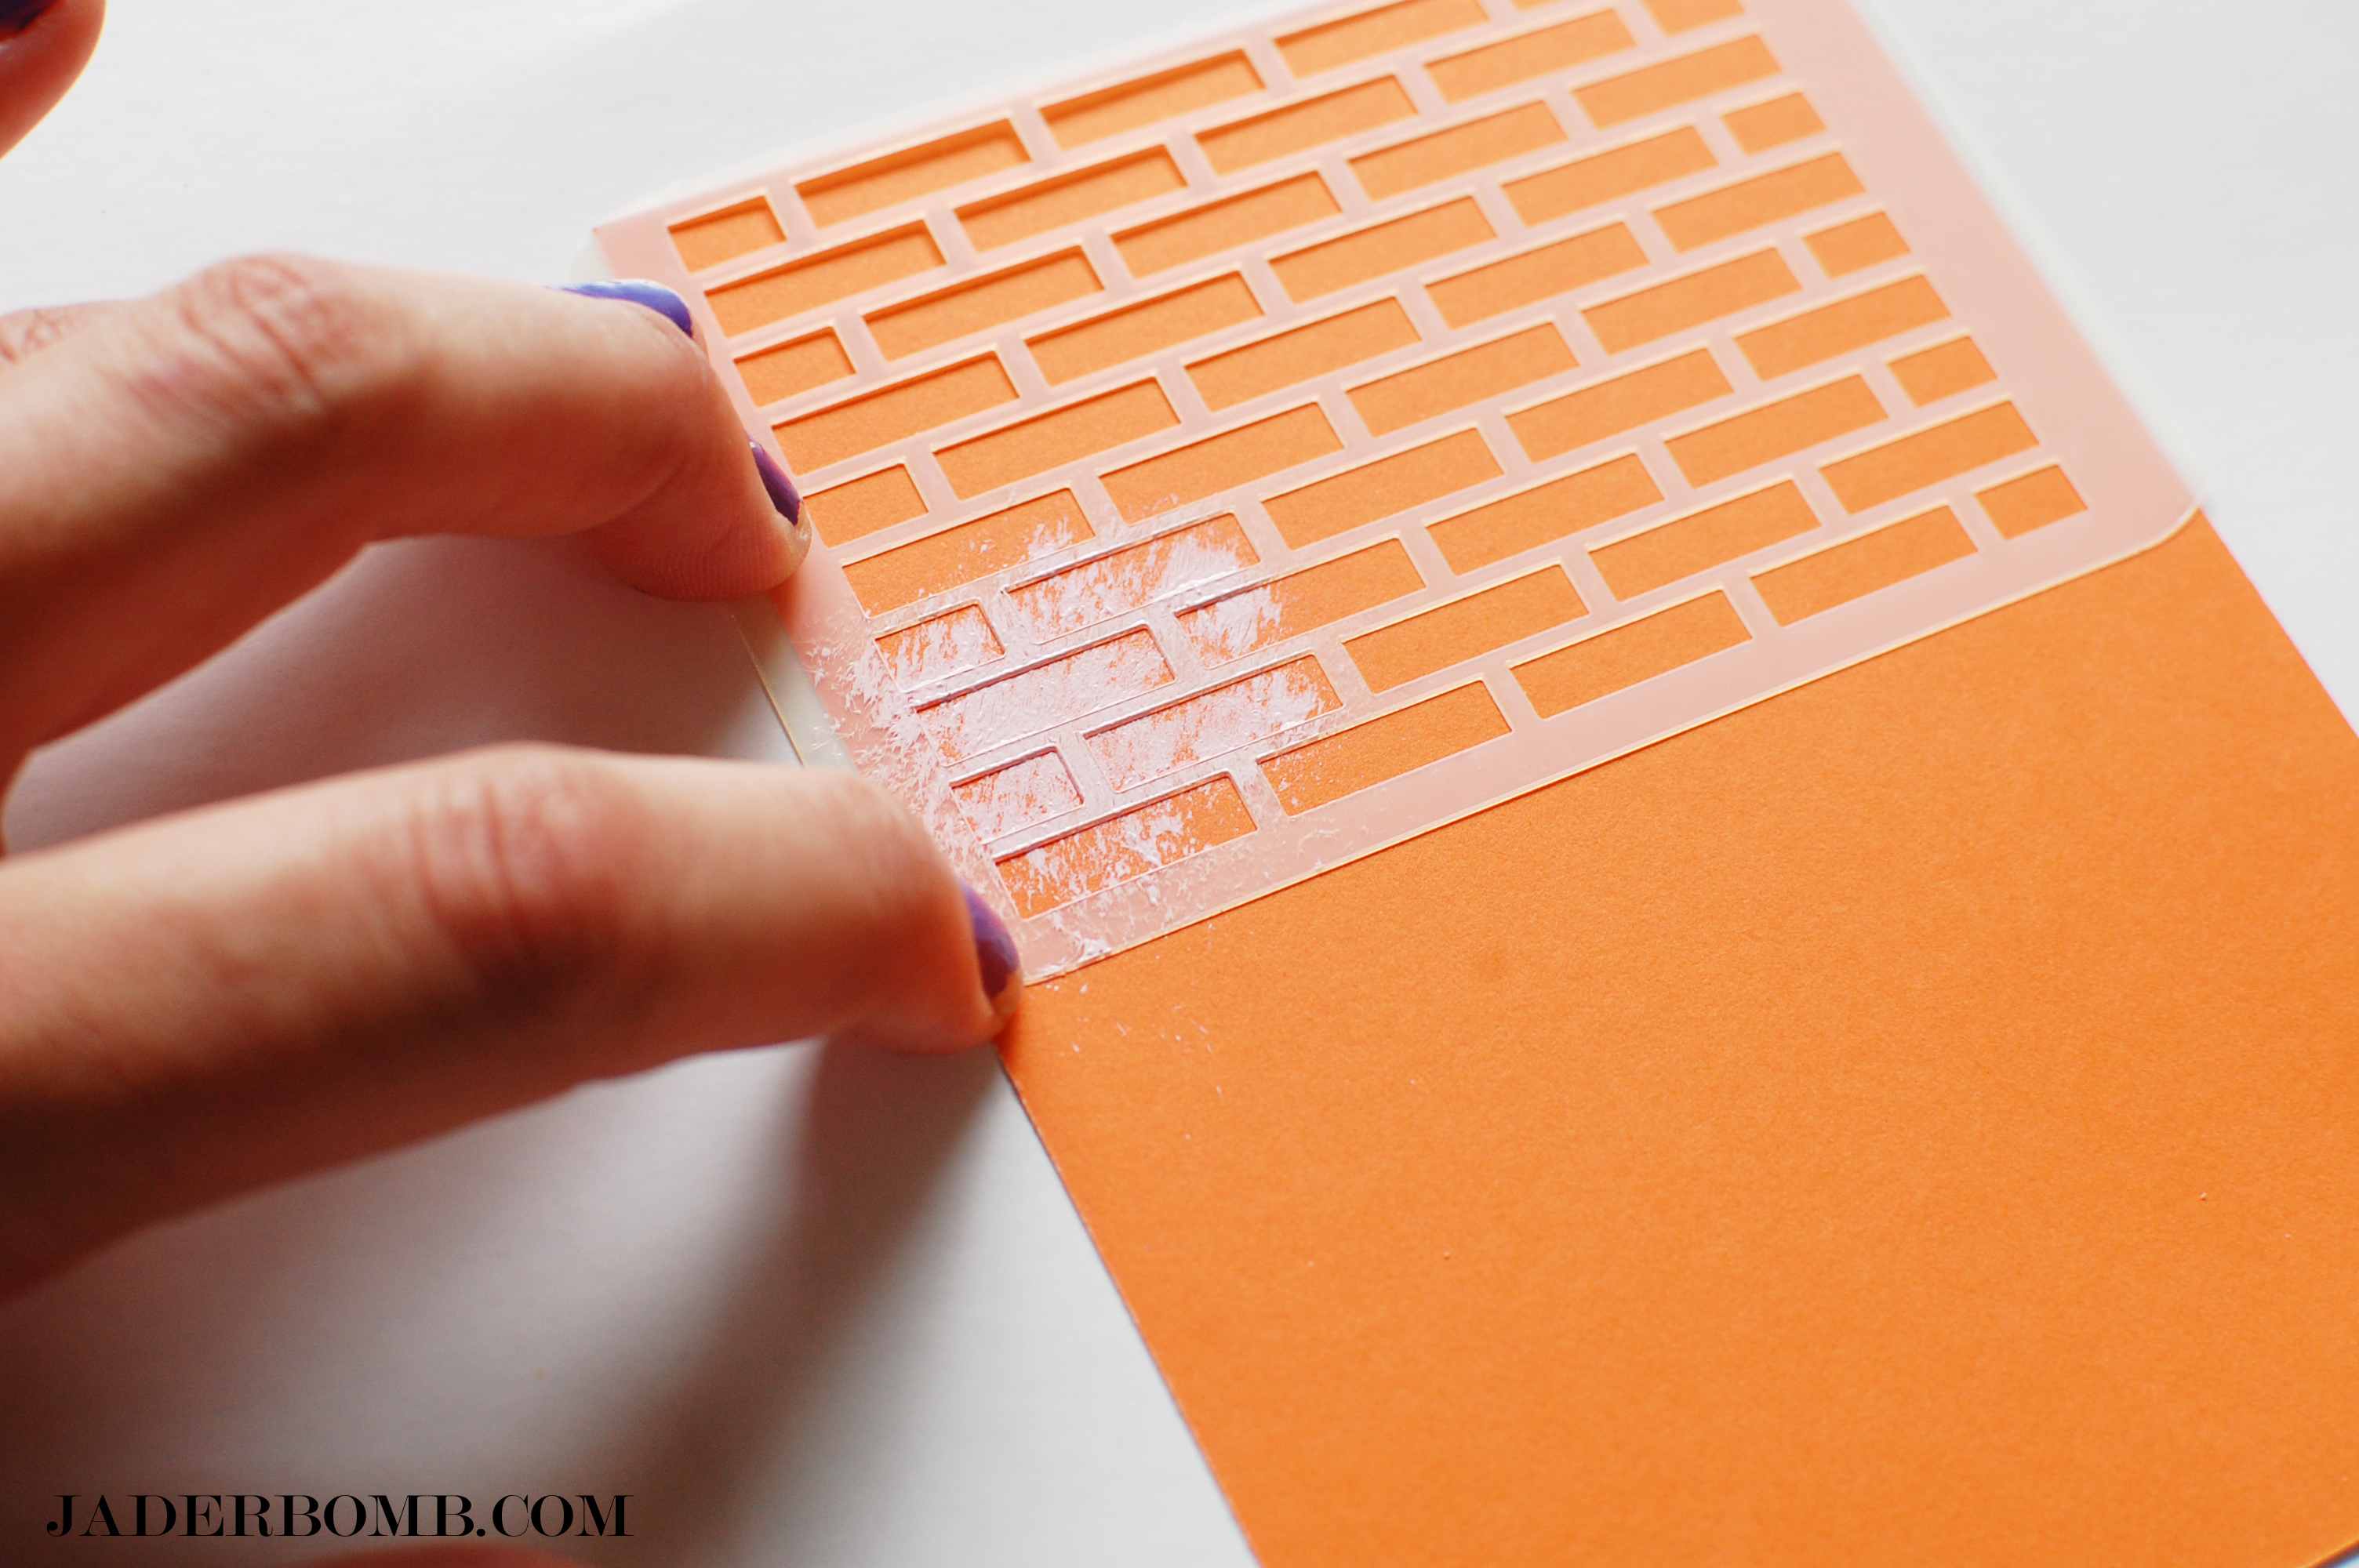
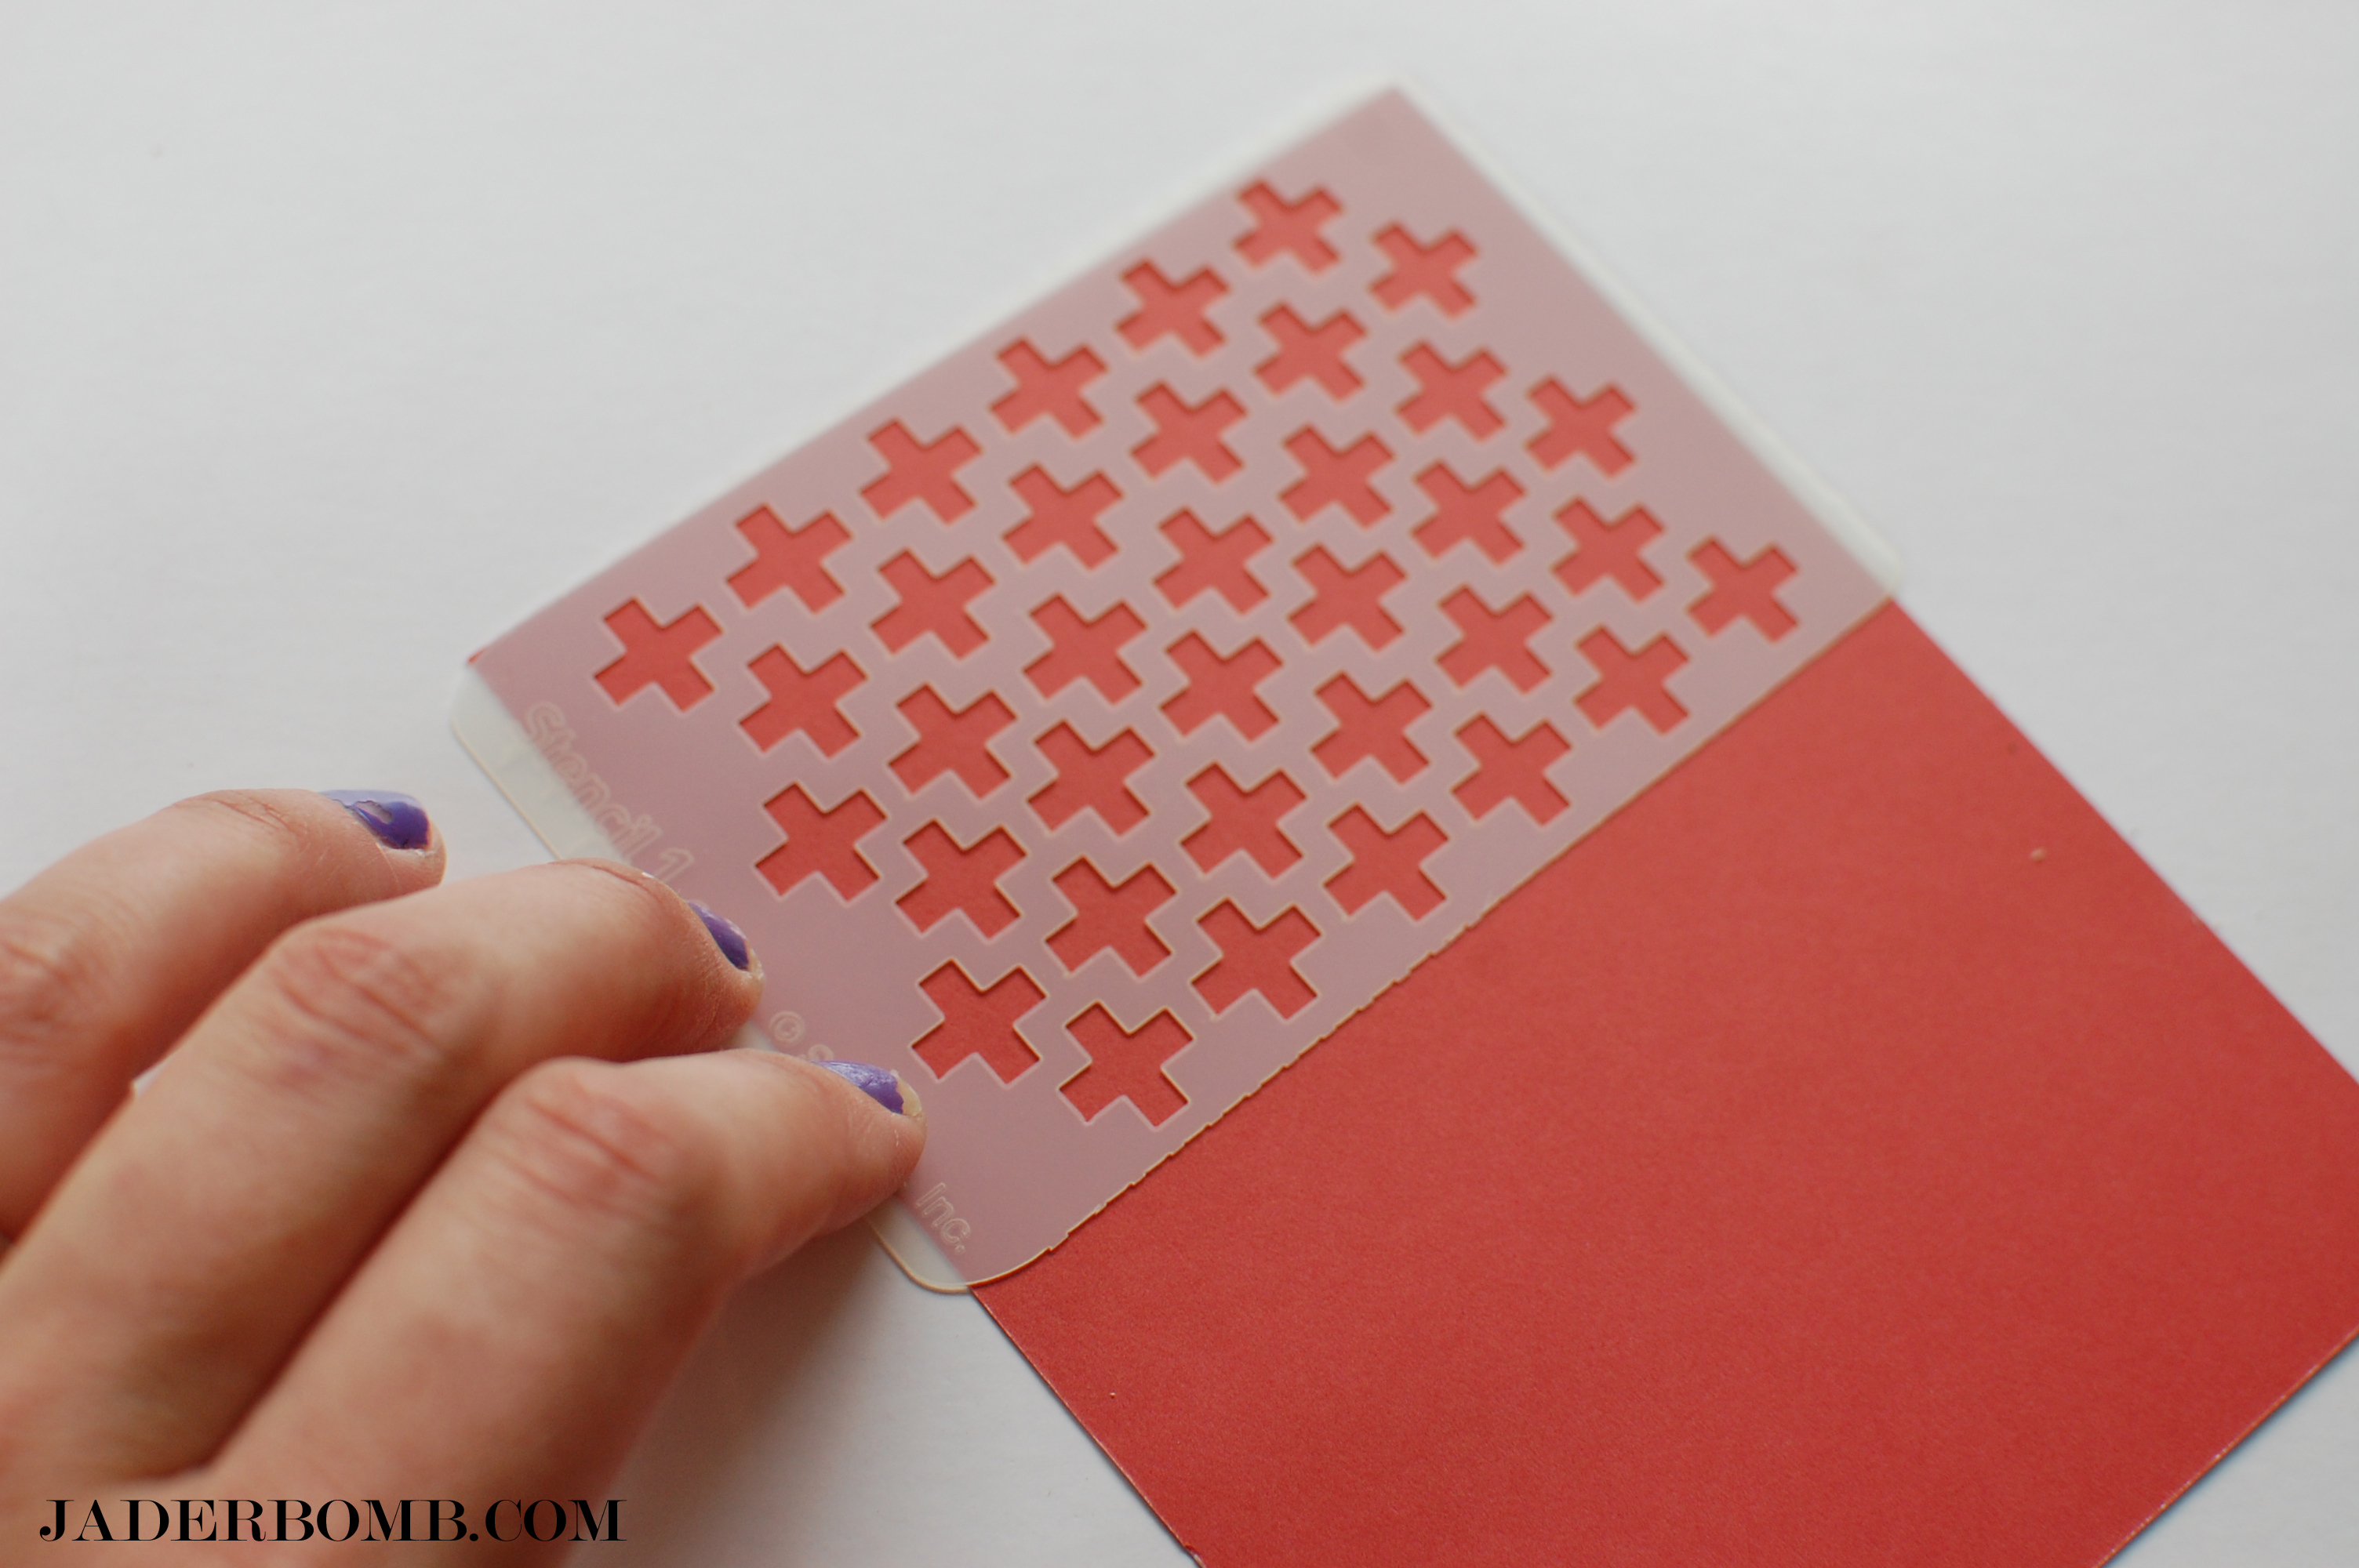
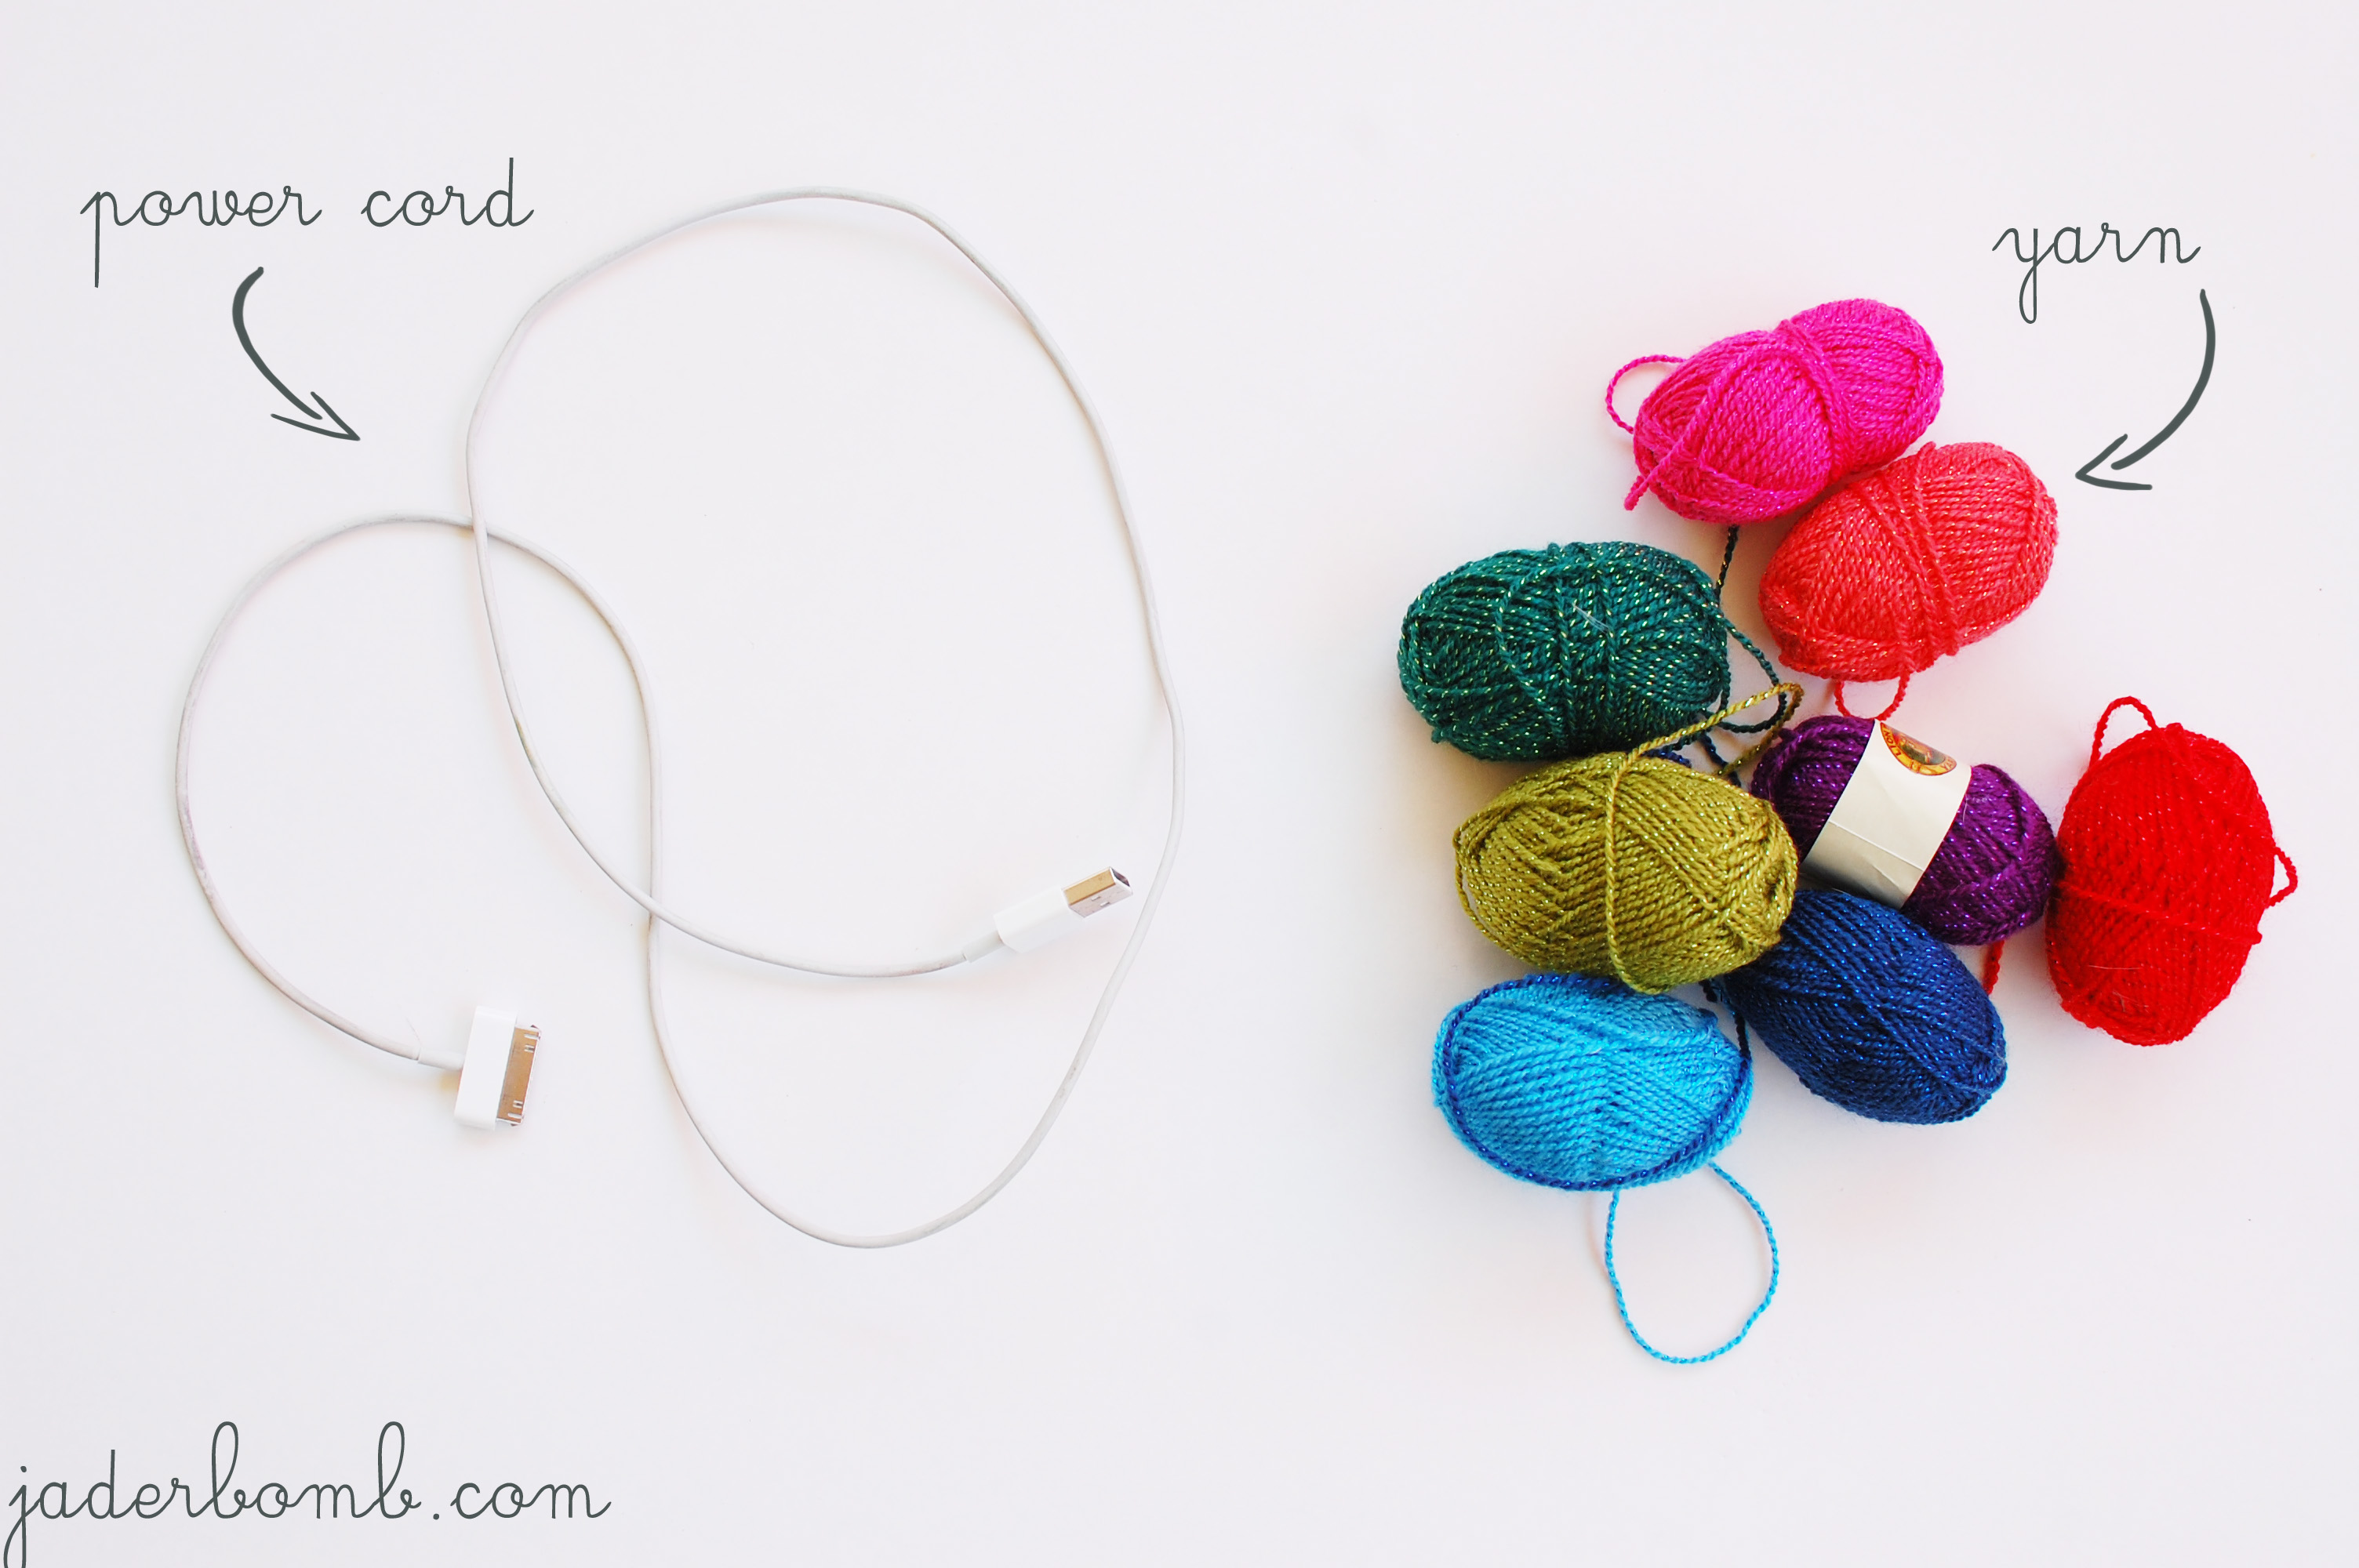
paper trimmer|mod podge|decorative paper|toothpicks|elastic string|pencil
//P.S. You can purchase all of the items I used by clicking on the above links. These are affiliate links so if you click and buy you will help feed me more eggs and grits! Just saying, it’s my favorite.
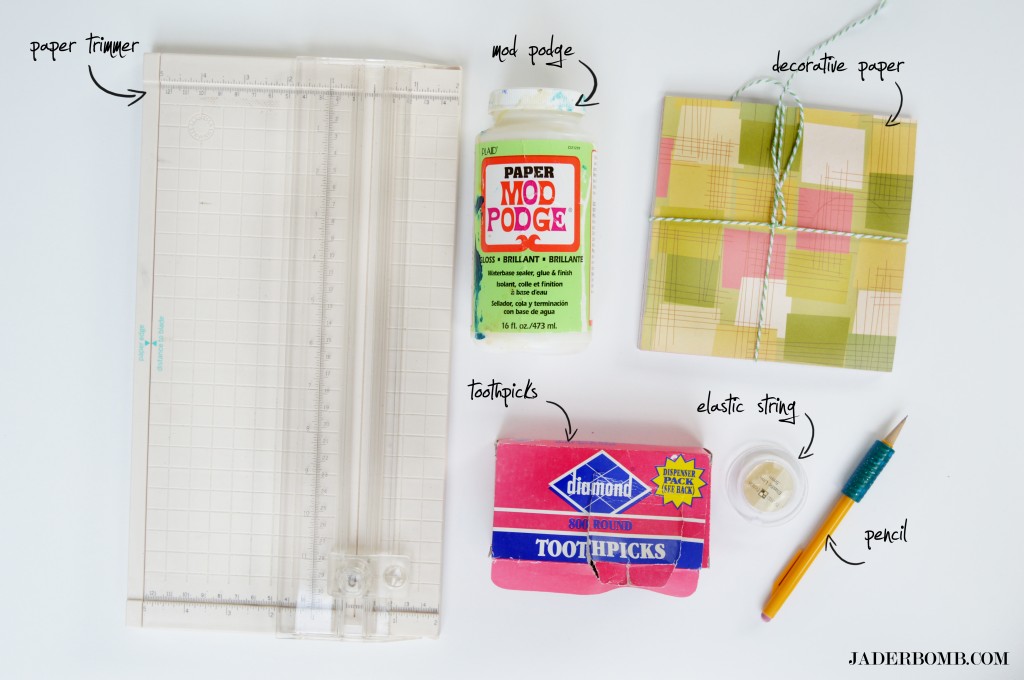
Some of the items I used you might have already so take advantage of that. Oh, I used decorative paper to make my beads but another alternative is using magazine pages. I actually started one and can’t wait to show you.
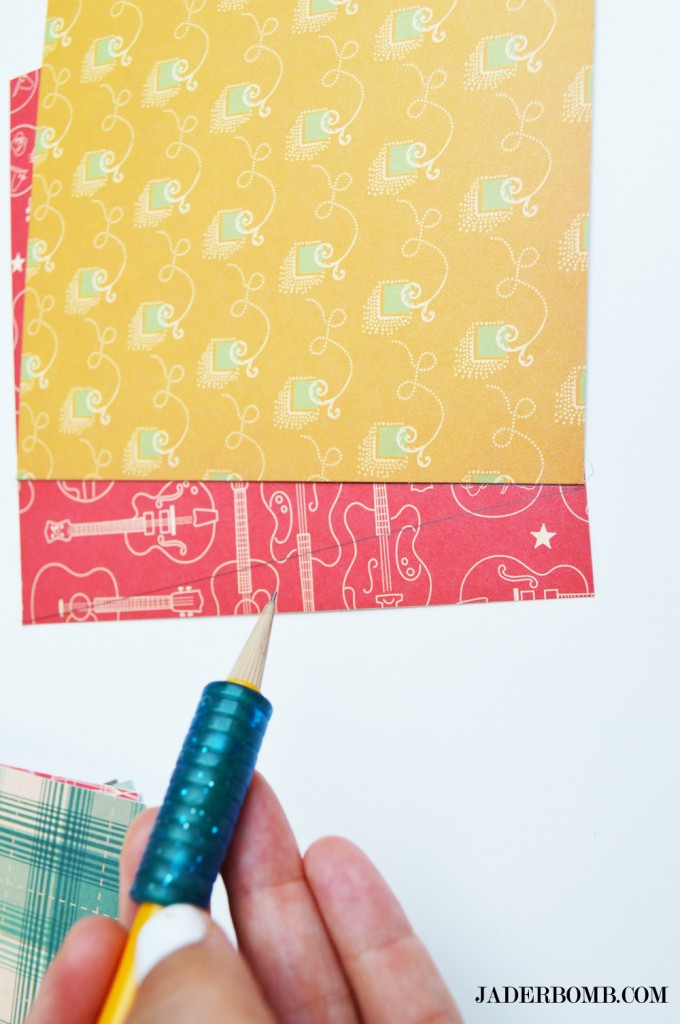
The first thing you will do is take a sheet of decorative paper and place it on top of another one. Use the edge of the one on to to draw your lines, or you can use a ruler. You will be drawing triangles and the bigger the triangle the bigger the bead. Keep that in mind. I like to make around 5 different sizes so it’s a little more unique.
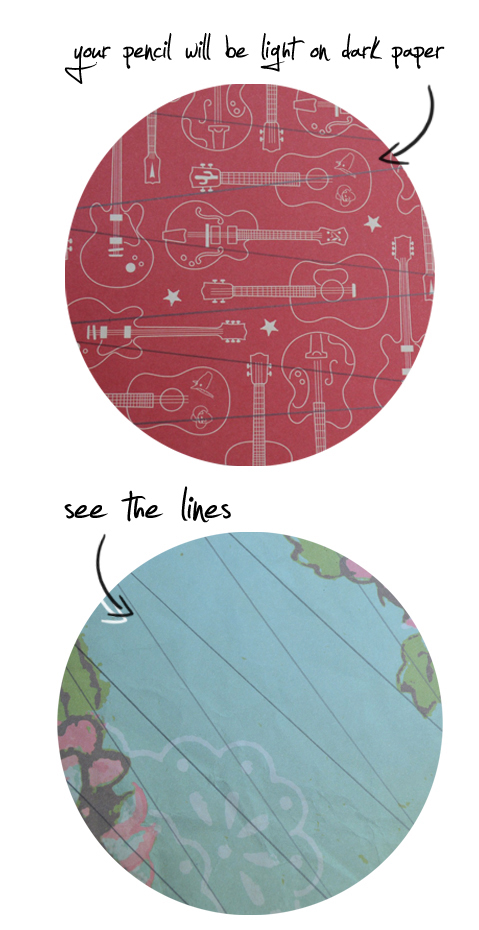
This is what the lines will look like on the paper. Depending on the paper some lines may appear lighter or darker.
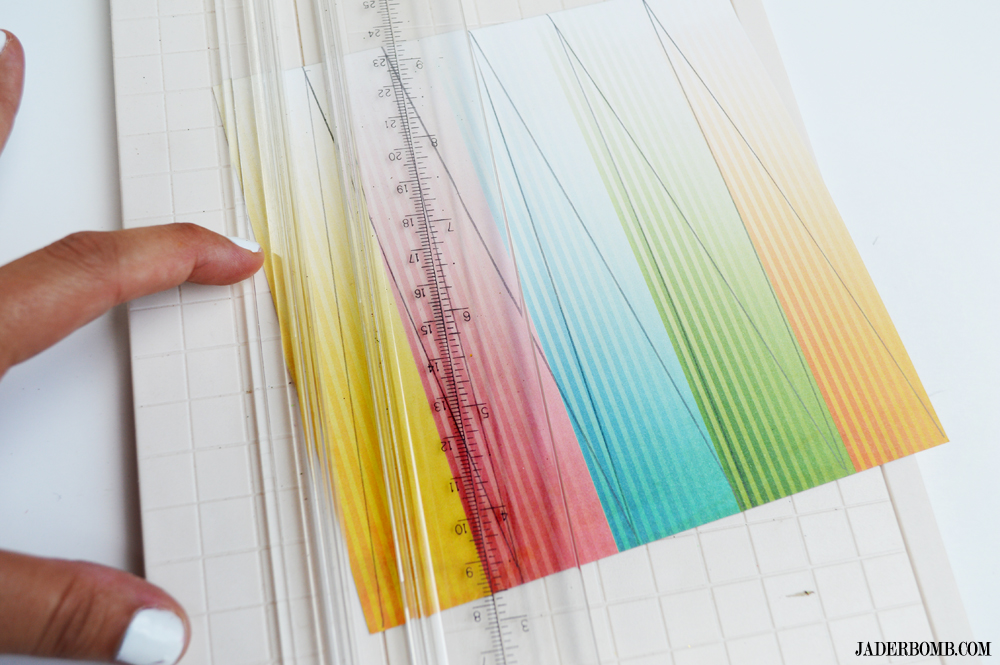
Once you draw your lines then you can cut them. If you don’t have a paper cutter you can use scissors.
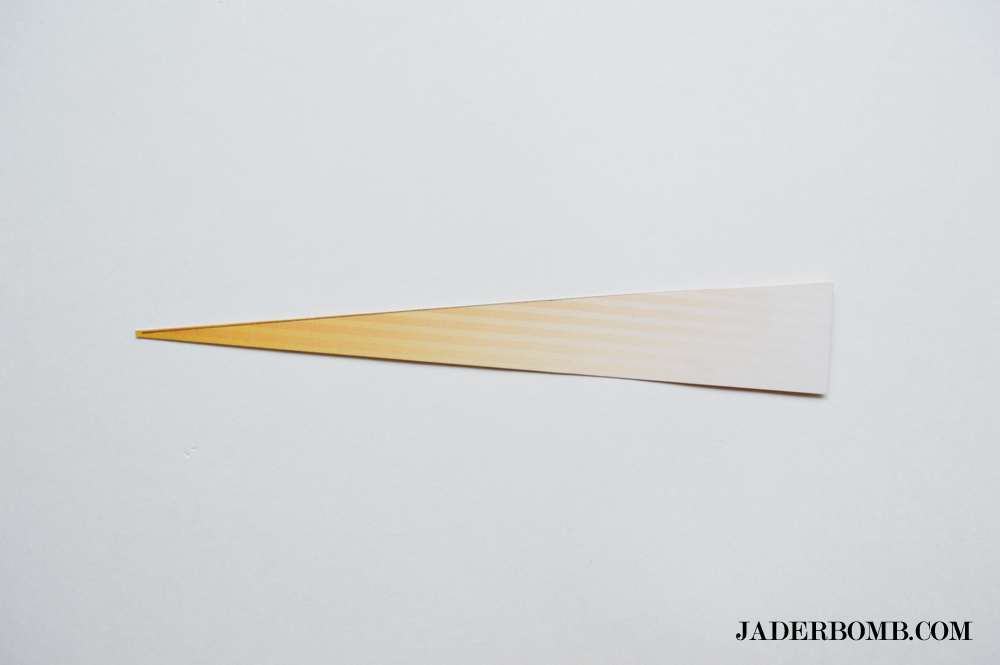
Your triangles should look like this. Unless you have a shaky hand, haha! Which is why I don’t use scissors to get a strait line!
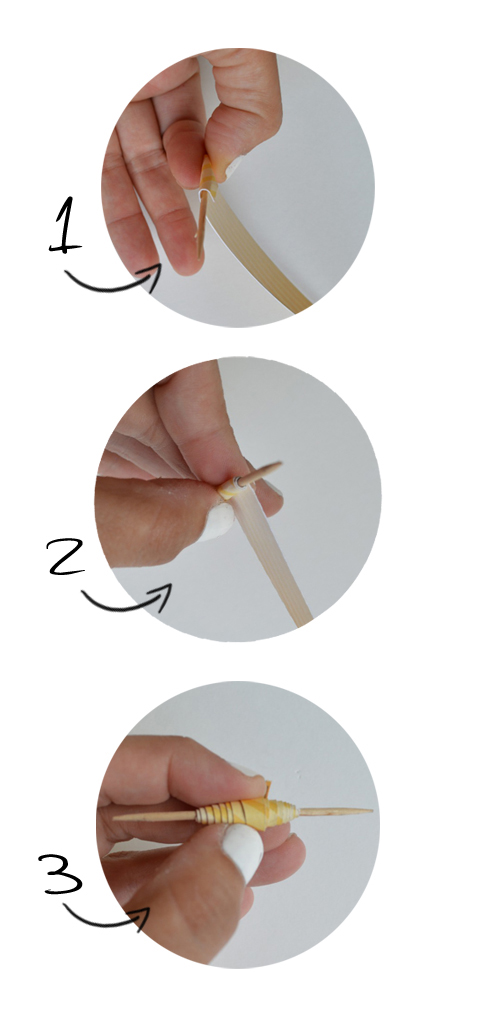
1. Grab a toothpick and place the paper on the bottom of it.
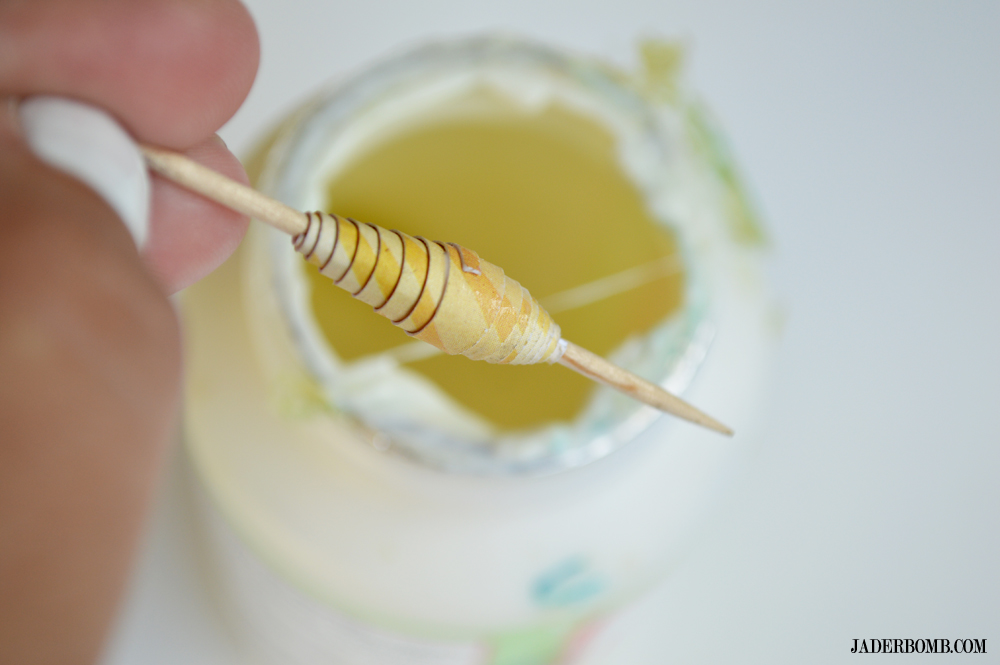
2. Start wrapping the paper around the toothpick.
3. This is what your paper bead should look like once it’s all rolled.
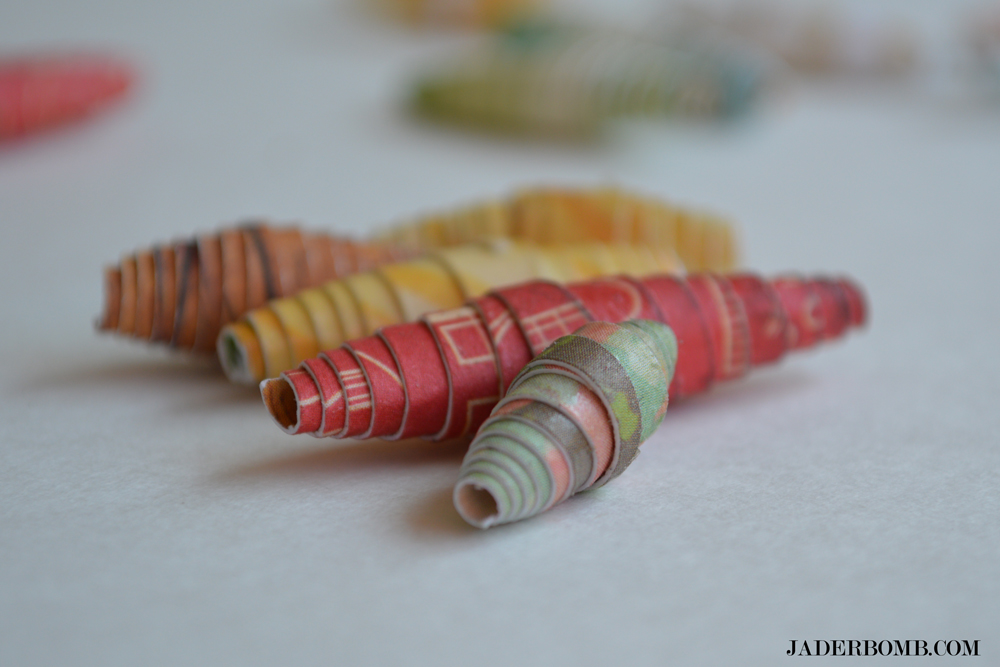
Mod Podge the end so it all stays together. You can even coat the entire bead with mod podge to make sure it is all secure.

Your bead should look like this when you are done. As soon as the mod podge is applied take the bead off of the toothpick. You don’t want to leave it because it could dry on the toothpick and we surely don’t want that!
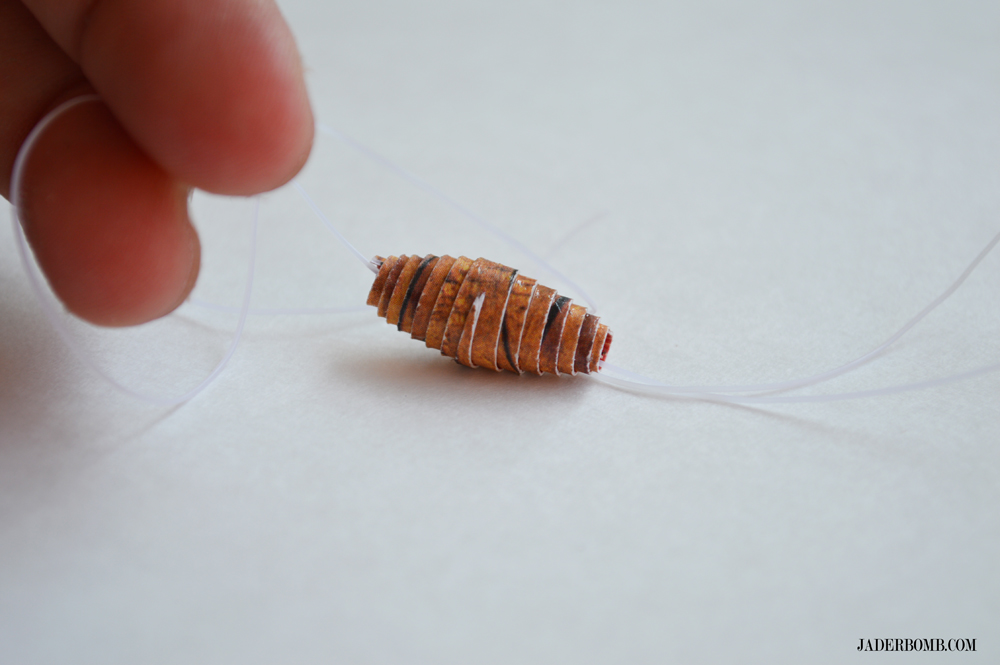
Start stringing your beads with the elastic string. The good thing about this is you can put as many beads as you want!
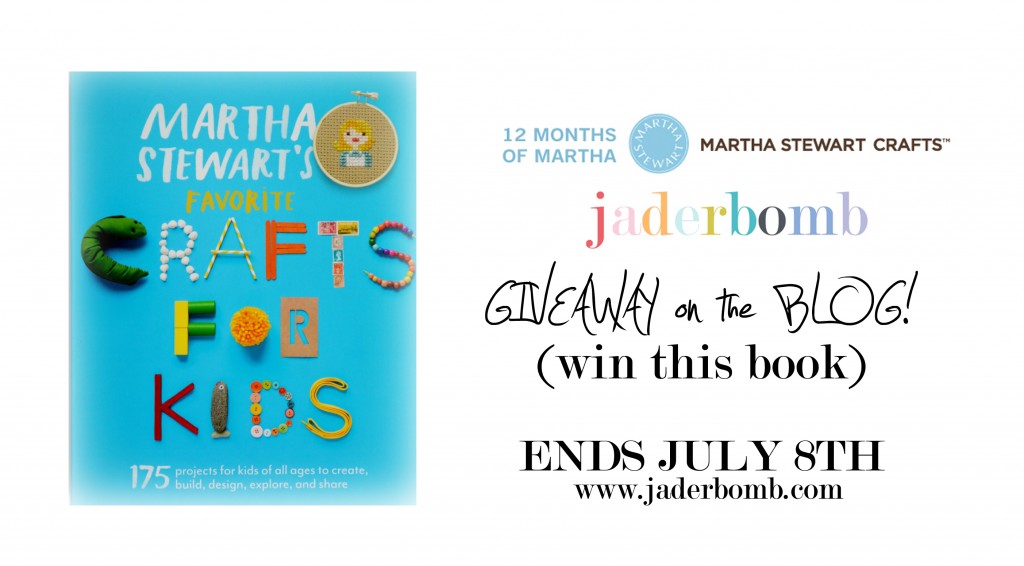
Now onto the BIG news! I am giving away a copy of the book. WAHOO!

*JANUARY craft HERE
* FEBRUARY craft HERE and HERE
*MARCH craft HERE
*APRIL craft HERE
*MAY craft HERE
Check out some of my other crafty friends doing the 12 months of Martha also!
A LITTLE TIPSY
A NIGHT OWL
DIY DREAMER
DOLLAR STORE CRAFTS
ECLECTICALLY VINTAGE
YOU ARE MY FAVE
FIREFLIES AND JELLYBEANS
DAMASK LOVE
MODERN DAY MOMS
SEW WOODSY
SOMETHING TURQUOISE
STUDIO DIY
SUGAR AND CLOTH
THE ALISON SHOW


 Black and White Pumpkins via Jaderbomb
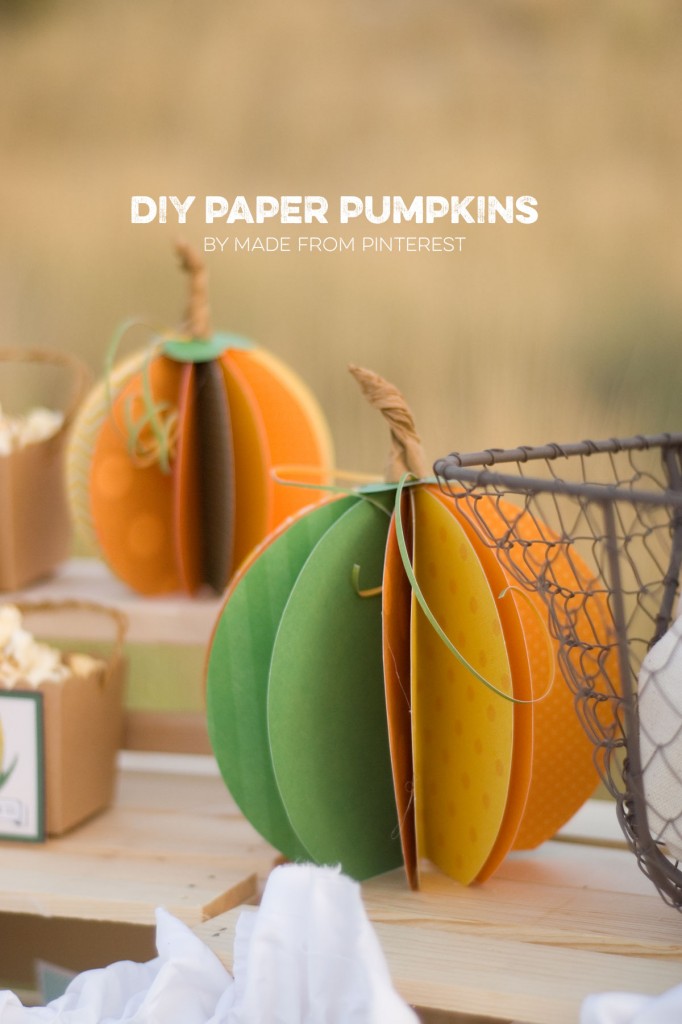 Paper Pumpkins via MadefromPinterest
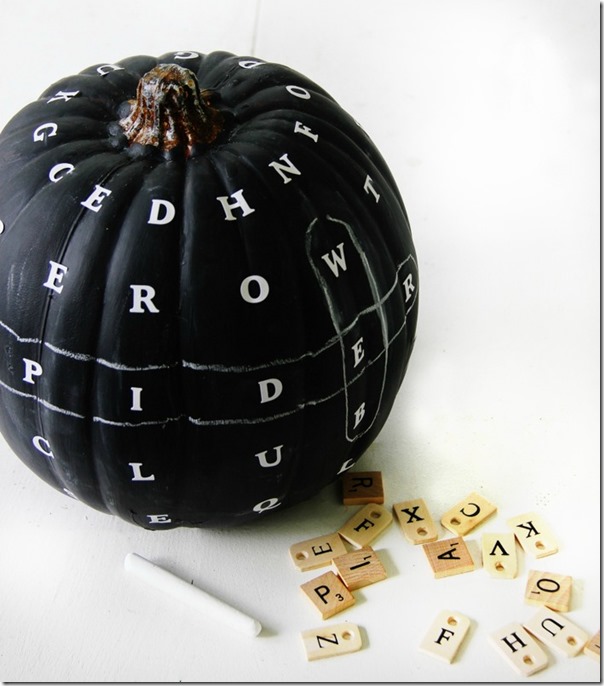
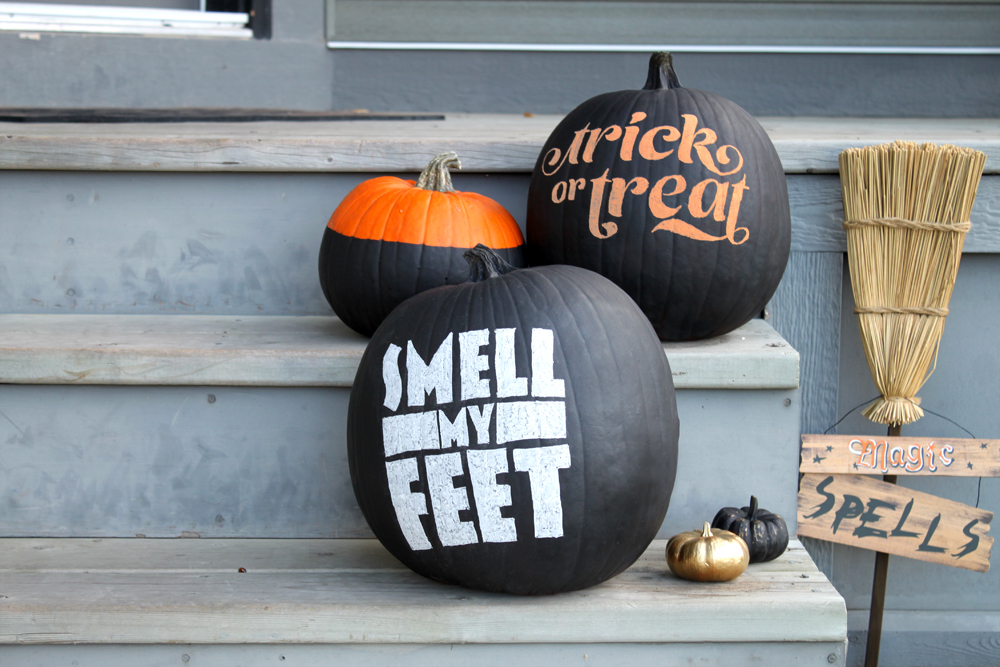 Chalkboard Pumpkins via FairGoods


