Tag Archives: krylon

Quote of the day:
“Radical Chic, after all, is only radical in Style; in its heart it is part of Society and its traditions – Politics, like Rock, Pop, and Camp, has its uses.”
 Tom Wolfe

Happy hump day Jaderbugs! I am seriously in shock that Christmas is already here. I mean, it’s not “here” but it’s HERE! Have you done all of your last minute things to get ready? I still have a little left to do but for the most part what is done is done and what needs to get done…well we will see!

Today I will be showing you how to turn a boring piece of furniture into Shabby Chic’ness. Yeah, I know most things “Shabby Chic” are soft, white, frosty, light blue/green, clean and crisp. Things go a little different in our house. Shabby Chic to me is something that look’s vintage and worn. Let’s get started, I can’t wait to show you my Shabby Chic Furniture.


Shabby Chic Furniture

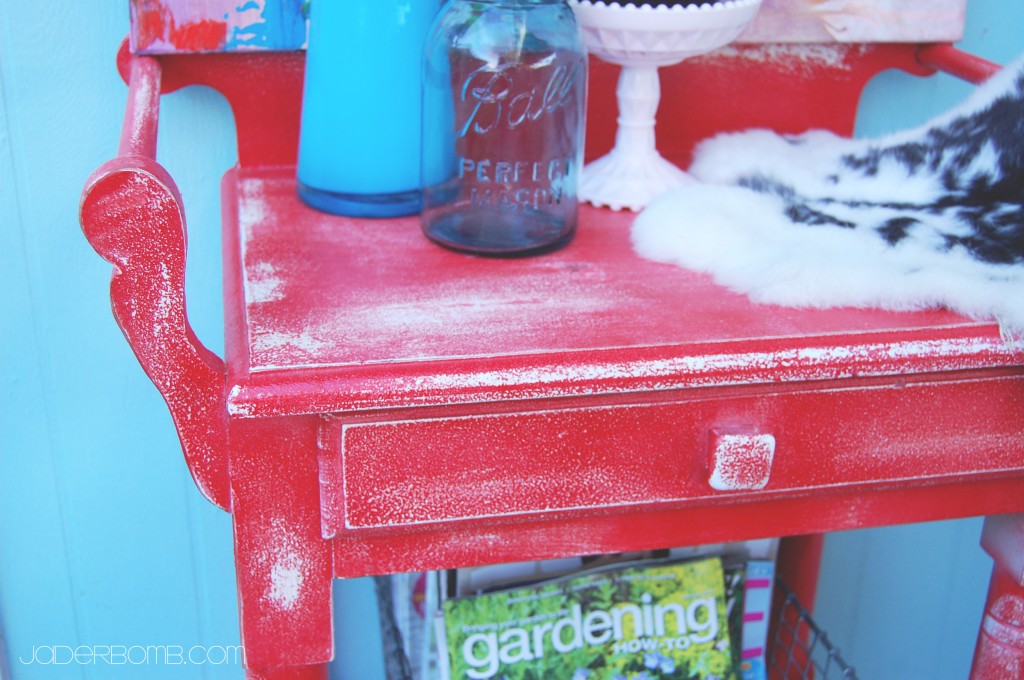
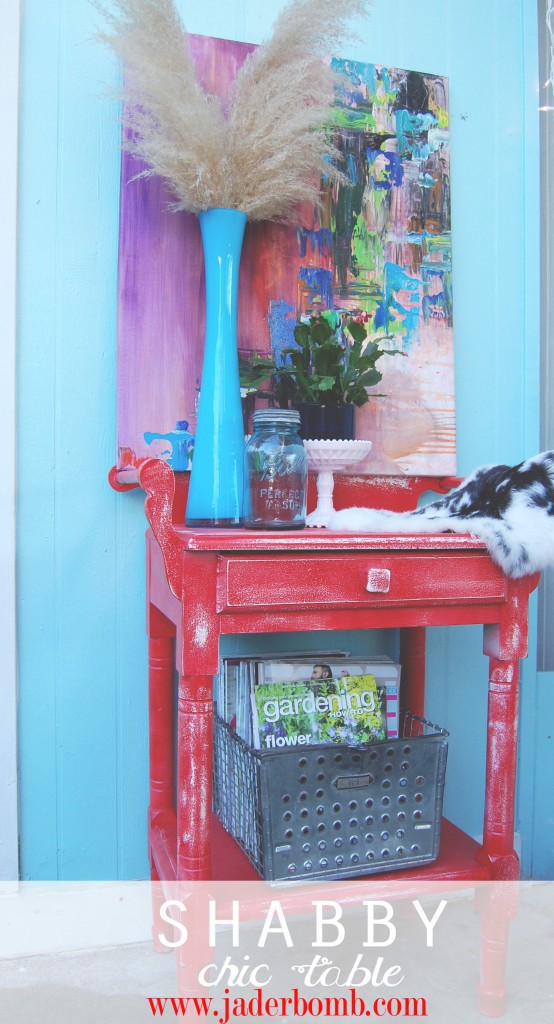
Here is a preview of what I made. I figured it was Christmas and this would look great with our decor. The good thing about making over a small piece like this is you can change the color anytime you want!

Shabby Chic Furniture

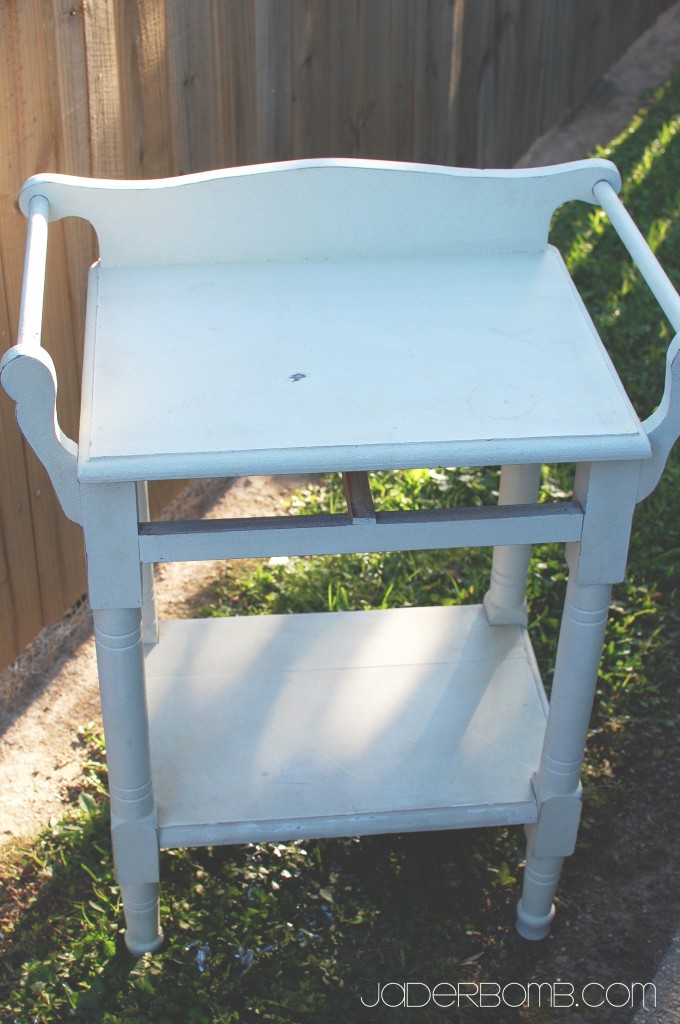
The first thing you will need is the piece of furniture you are making over. I put it in a spot that is out of the way and open so when I start spraying it with spray paint it won’t choke anyone.
Shabby Chic Furniture

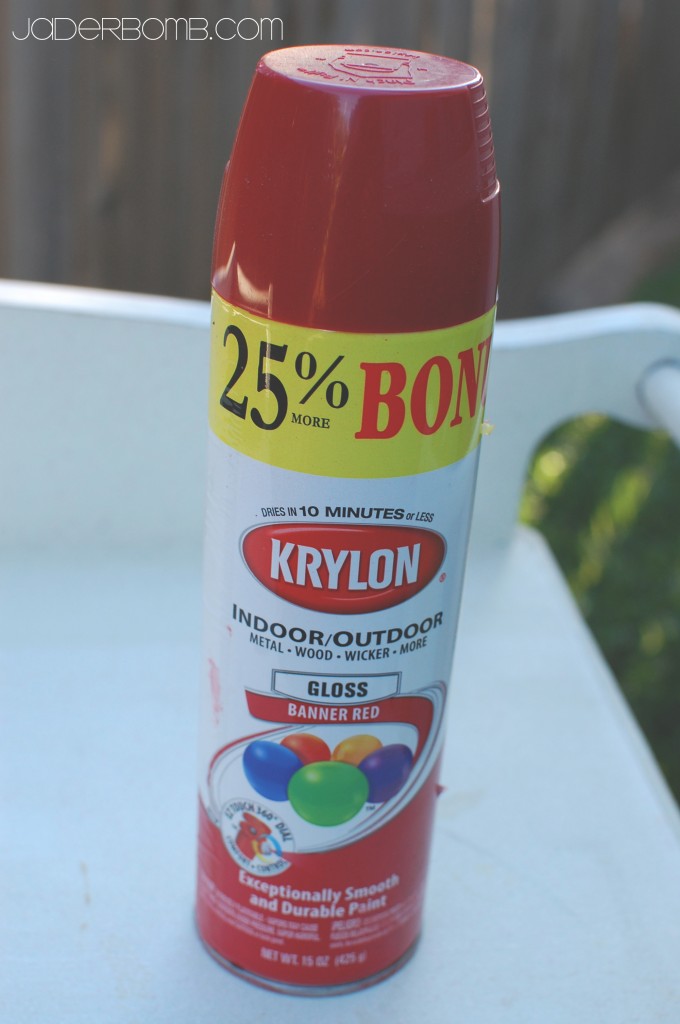
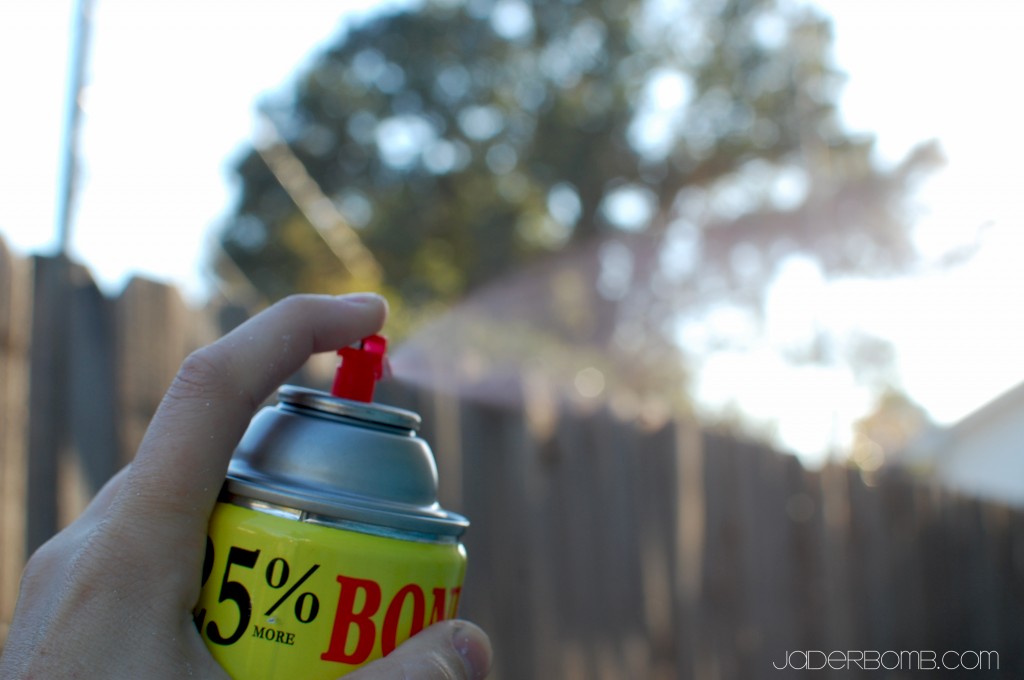
Get your spray paint ready. I LOVE Krylon spray paint. It’s smooth and doesn’t leak at at all. The other thing I love about this line are the colors! Have you seen them? Krylon has the BEST colors to choose from. I used the indoor/outdoor gloss color in Banner Red.
how to make shabby chic

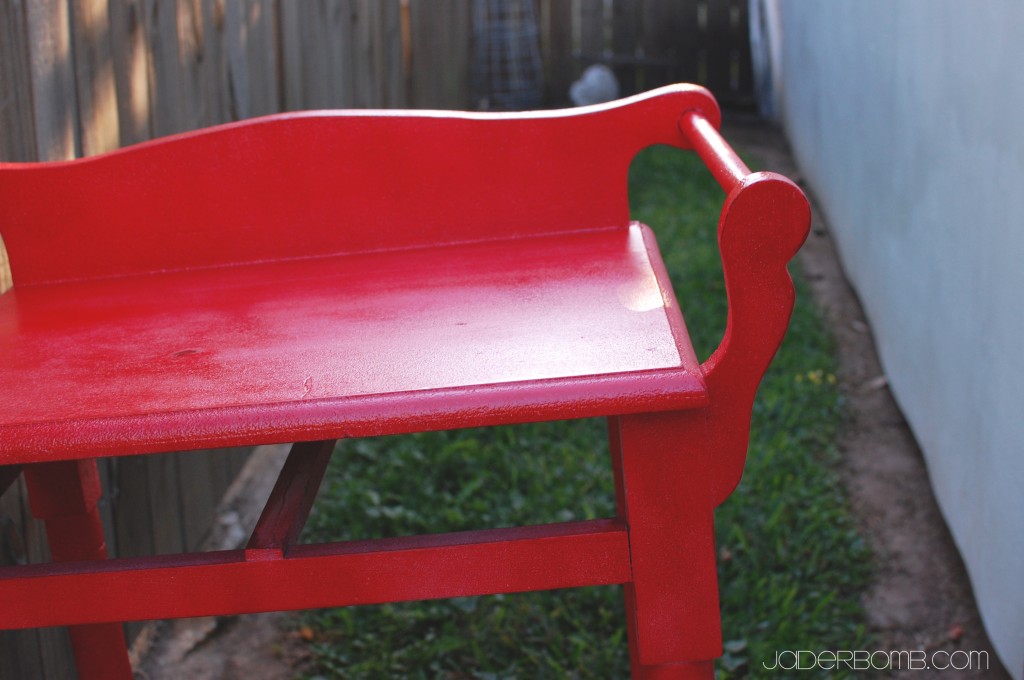
Look how smooth it is! I thought this was so pretty.
red shabby chic

This is what it will look like when you spray it with about 2 coats. I wouldn’t worry too much about getting it FULLY coated because we will be sanding it in just a few minutes. Let it dry for about 3 hours before you start sanding.
diy shabby chic

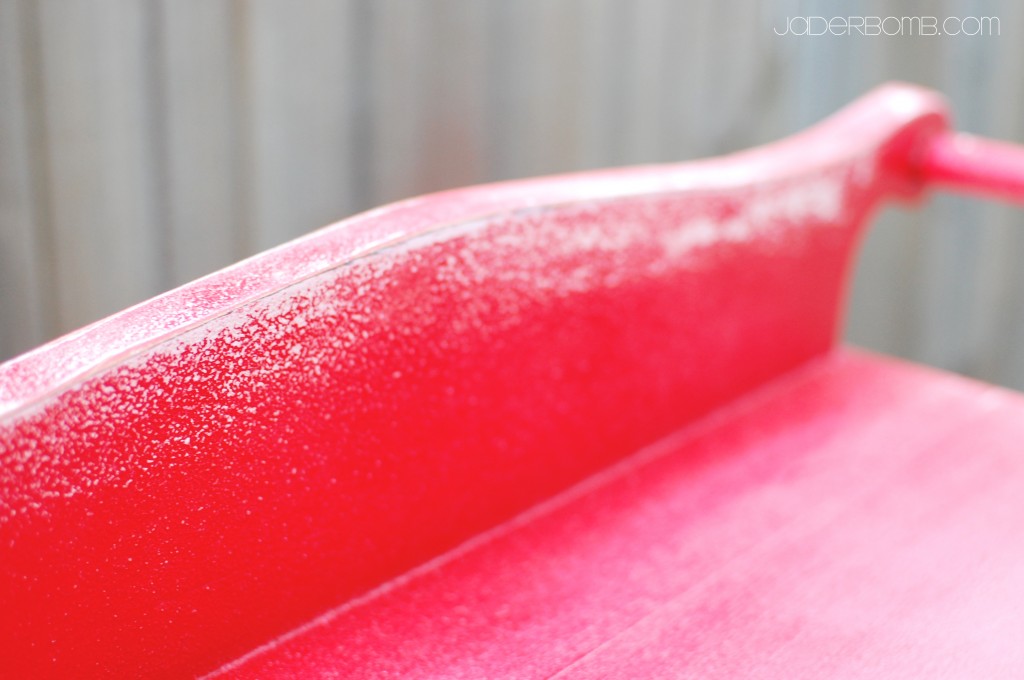
When it’s dry, grab a piece of sand paper and start sanding. You can see that I sand around the edges the most. The fun thing is you can sand wherever you want. Make it your own masterpiece.

shabby chic furniture

Here is the end result. I love how bright it is. Remember you can get this look with any color. Use a color that makes you happy when you look at it. I promise you will love it so much more if you do that. Well gotta run! See ya in the next post.

Don’t forget to make it a DIY kinda day! GlitterBOMB hugs,

jaderbomb

Facebook Twitter Gplus Pinterest YouTube E-mail RSS

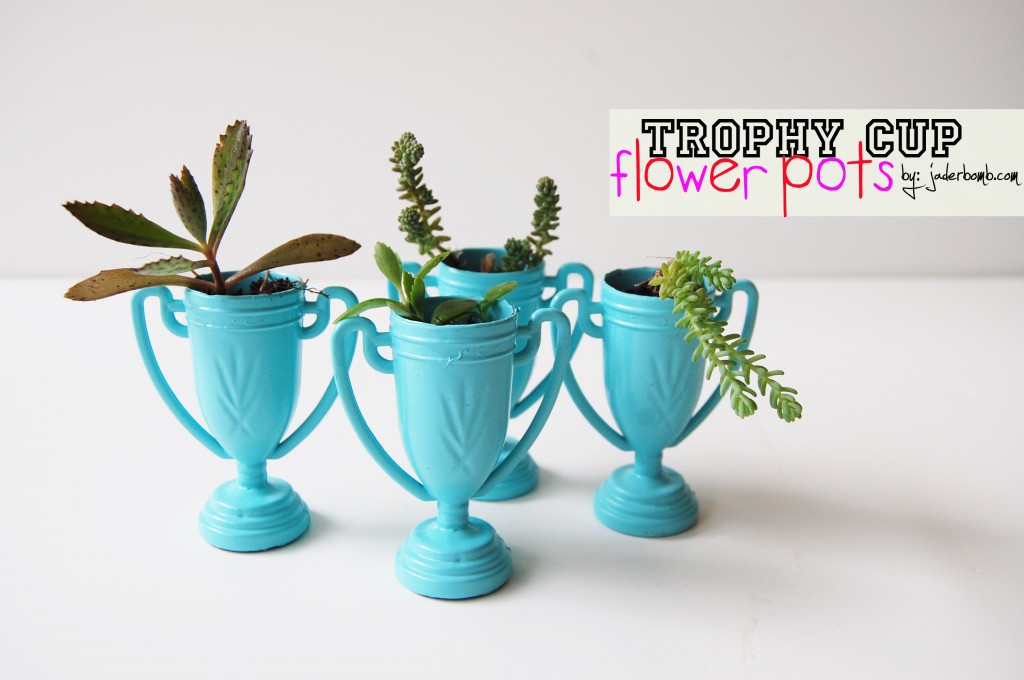
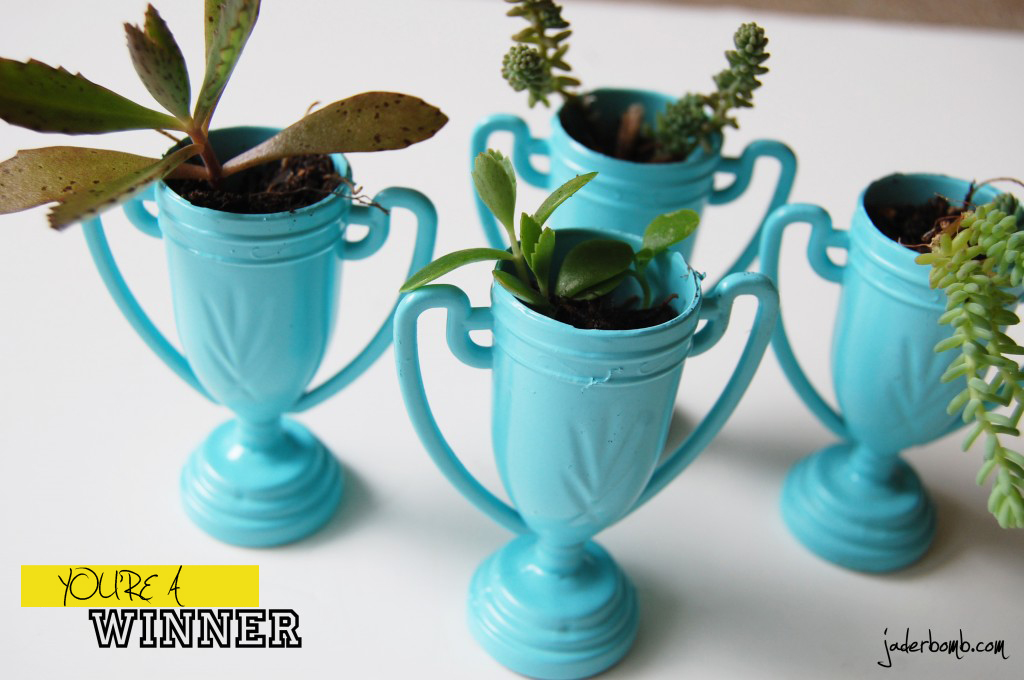
I know exactly what you are thinking right now. You want your own set of trophies. Right? I didn’t realize how much I needed these babies in my life until I saw them all standing next to each other. The other day I went to the Dollar Store and my eyes saw these beauties. Well, they were not this “beautiful” on the shelf (they were actually kinda ugly) but my brain knew exactly what they WERE going to look like.  There are so many days I wish my brain would chill out for about 19 minutes and then there are days when I am saying, “thank you brain, thank you“. I wonder if my brain knows that I am proud of it?

Quote of the day: "If fate means you to lose, give um a good fight anyhow." -William McFee, British writer
 INGREDIENTS:

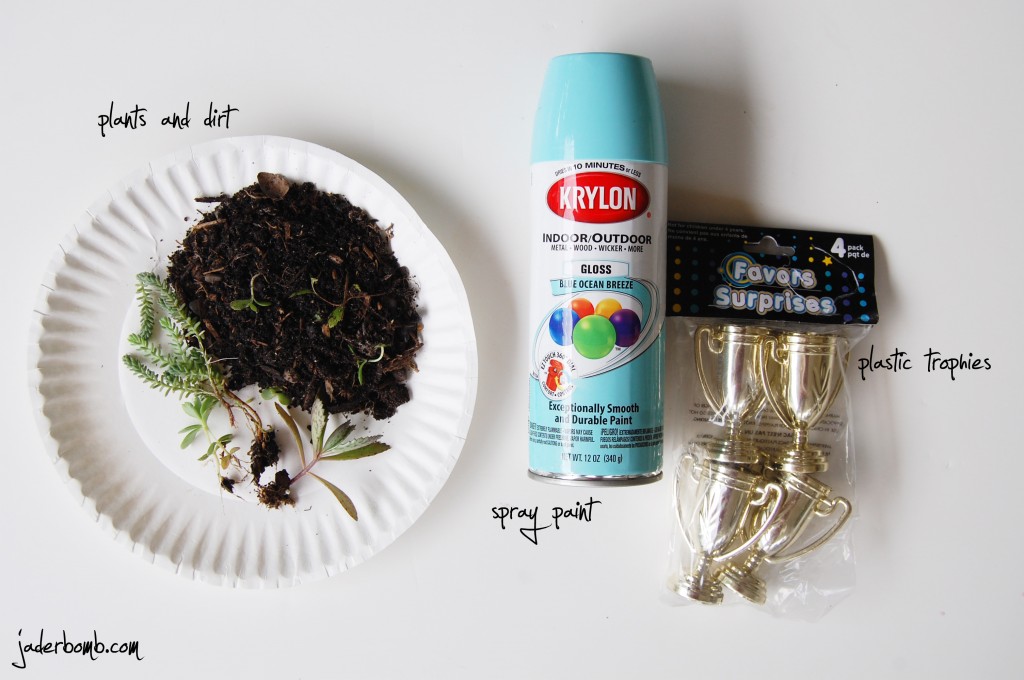
I like to use wax plants for a project like this because they are very easy to manage. I get my wax plants from Wal-Mart but I am sure any nursery will have them.  Another option is getting an air plant. Seriously. ANYONE can grow this. I mean, if you kill it then maybe you should inbox me.. hahah

You can also get all of the ingredients I used below, just click on the link and you can order everything from one spot: Air Plants  Potting Mix Krylon Spray Paint (use whatever color you want) I used BLUE OCEAN BREEZE GLOSS  Plastic Trophies (these are a little different but they will work the same way)

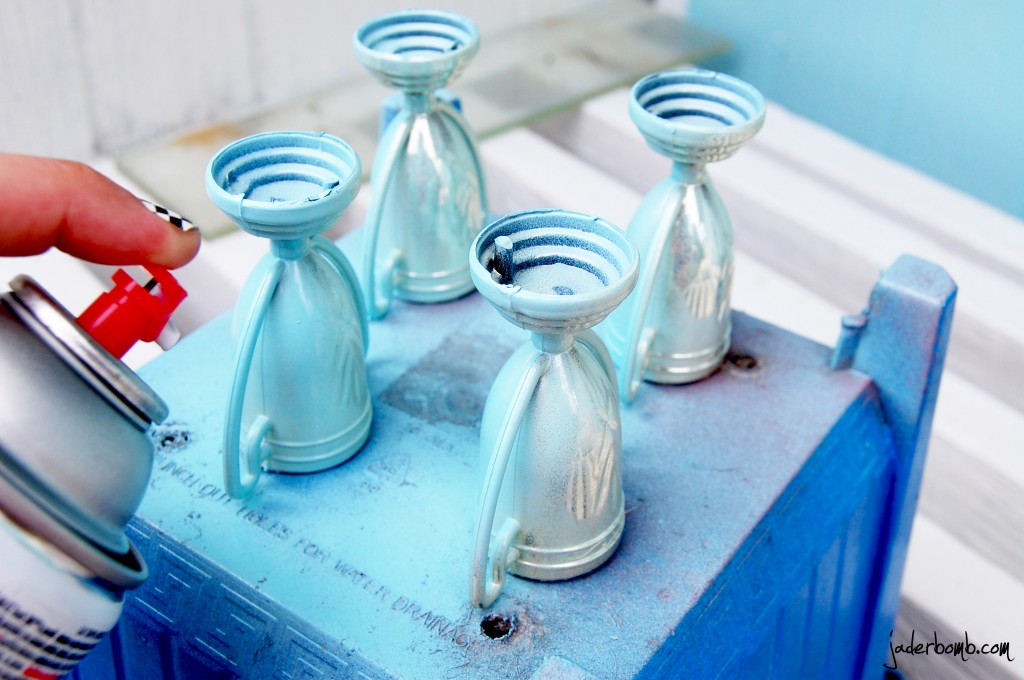
 Go outside where you have room to breathe and spray away. Make sure you don’t spray next to people, vehicles, or your house. The overspray can really mess up some stuff. (yes, I truly experienced this many times)
I flipped over an old plastic pot that I had and sprayed these suckers. It’s easy using something like a pot because I was able to turn it around and spray other parts of the trophies.

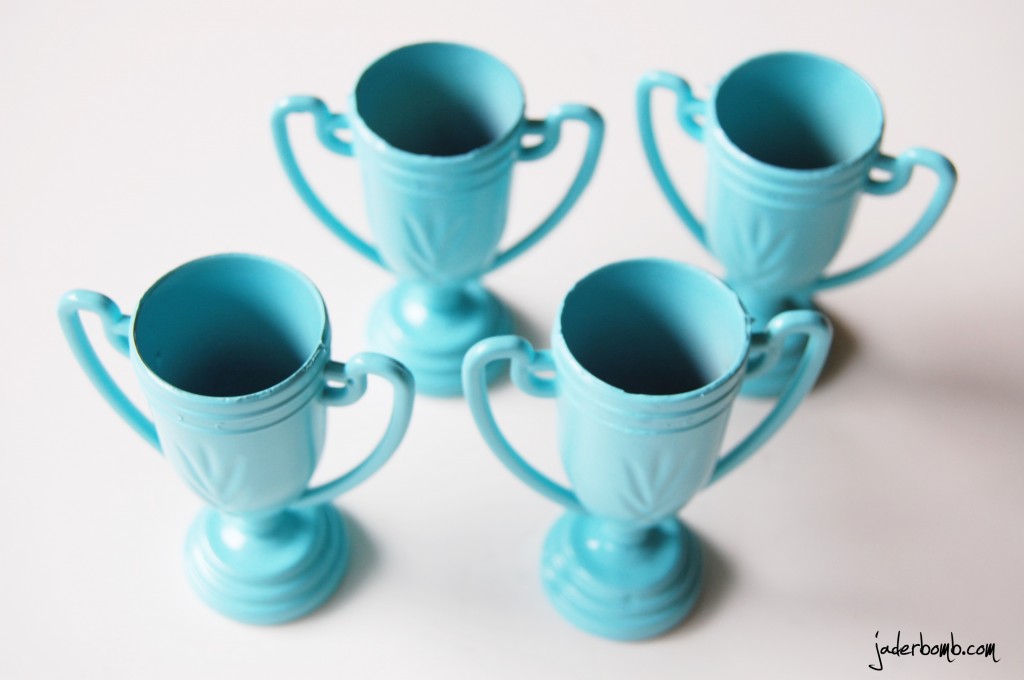
This is what they will look like once you spray them and they are FULLY coated. make sure when you flip them back to the right side that you spray from the top. You want the inside to look coated as much as possible.  Yay, we are almost done!

 Halliluuuyerrrr we made it to the finish line. Boy, I’m pooped (hehe)


At least I won first place in the finger pushing contest! I think these are so precious and you can use them for so many things like: Weddings Birthdays Dinner parties A gift Graduation decor

You get it right? They are just amazing. Did you ever get a trophy? What was it for?

See you in the next post Jaderbugs


So, I am not sure if I should say “good night” or “good morning” to ya. It’s 1 in the morning and I am up wide the scrap awake. Really Jade, scrap?  I think it might have a little to do with the fact that I went to bed around 8:30 last night. Well who can we thank for that?

My good friend Ricky Mic  earache…  Sometimes we don’t agree on the timing of this crap happening but it won last night. So I figured I would finish this amazing post for ya since Ricky Mic Earache didn’t let me yesterday.

Quote of the day: “One isn’t necessarily born with courage, but one is born with potential.” -Maya Angelou

INGREDIENTS

Jumbo Straws
Ribbon
Glass cup (you can use any glass cup you have)
Glass beads (you can get these at Wal-Mart also)
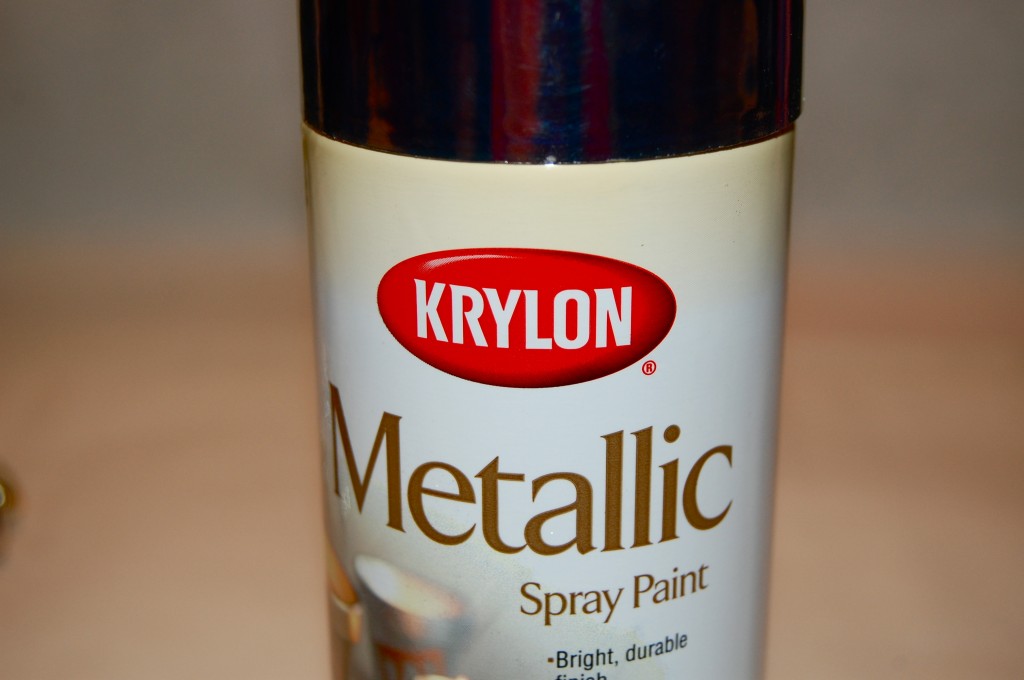
Metallic Spray Paint
Glue Gun 

Make sure to check your home supply before buying any of these materials. You might just have most of them already!

Lay out your straws.

Start spraying them with the Metallic Spray. You might notice once you start spraying the air from the can will push some of the straws around. You can even glue the straws onto the glass and then spray paint. Again, just whatever you feel most comfortable doing!

This is what they will look like once you spray them.

I found it easiest to put a line of hot glue down on the glass first.

Then quickly place your straw on top of the hot glue. Be careful not to touch the glue because this could burn you.

It’s starting to come together!

When you are done with all of the straws get your ribbon and place it on top of the straws.

Put hot glue down on one end of the ribbon.

Quickly wrap the ribbon to the other side sticks to the glue. You want to make sure your ribbon is pretty tight.

Can you believe how simple this is so far?

I had some fun ribbon laying around so I decided to embellished with it. You can use anything you personally like to “decorate” the outside with.Put different color ribbon around it, tulle or anything FUN! I glued the glass beads around my ribbon to dress it up a little. Once you finish decorating, voila!

It’s really that simple. I like crafts like this because it’s an easy way to get creative and decorate any space really quick. Keep in mind if you don’t have Metallic sprays, you can spray the straws ANY color!

Here is a picture of the printable I made last week. I told you it’s cute in a frame. If you want it click HERE.

I hope you had fun in Jaderbomb land today! If you have a minute say a prayer for the Gulf Coast. We are about to get slammed by Hurricane Isaac.

See ya in the next post!


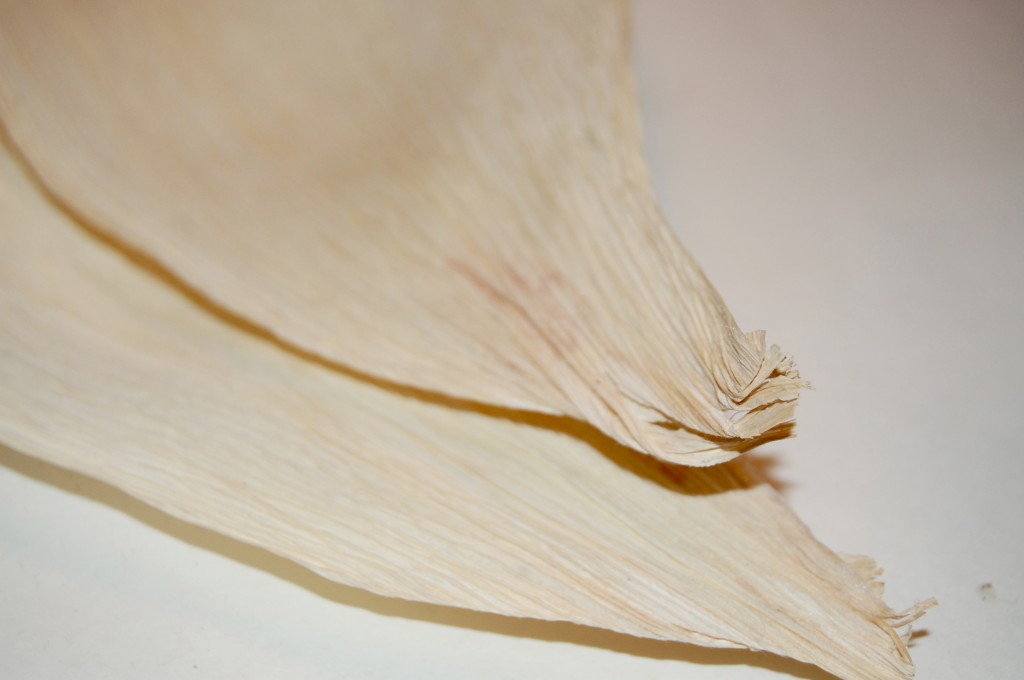
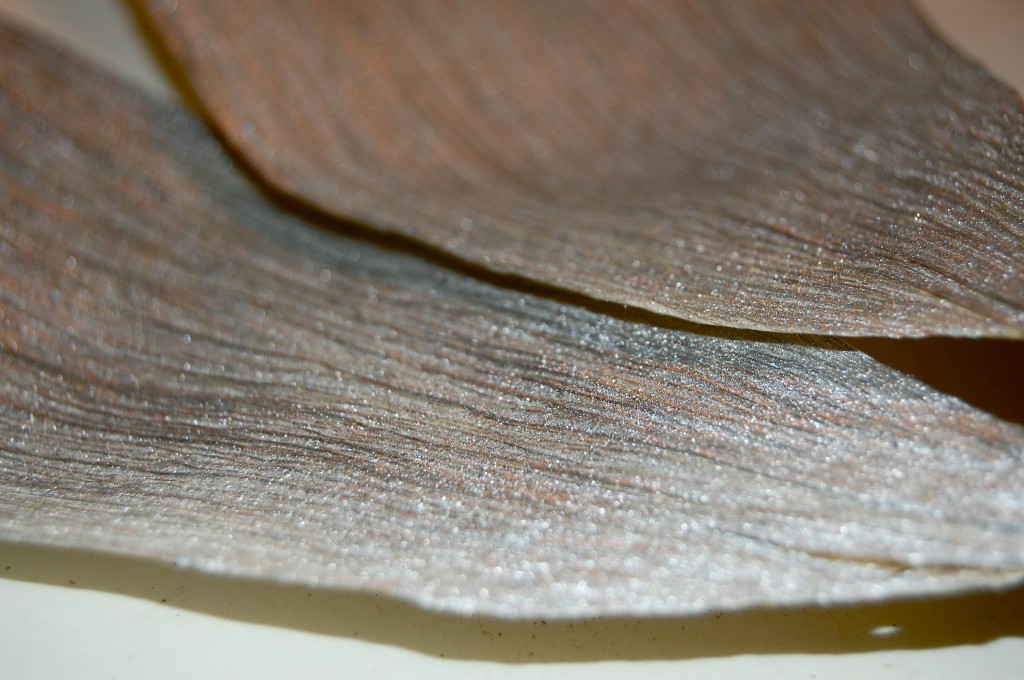
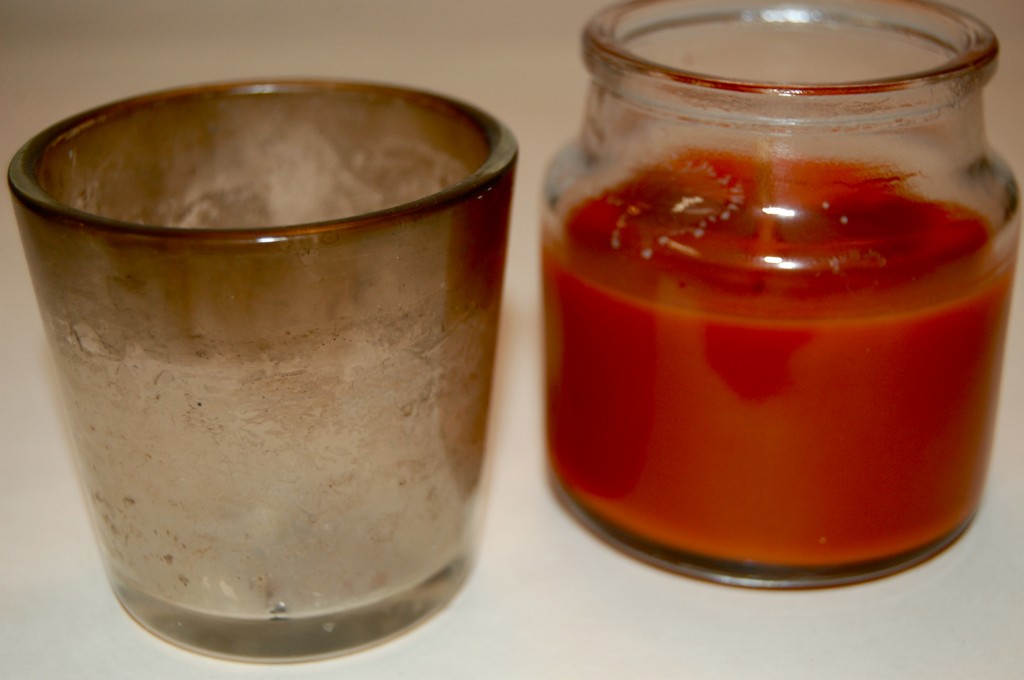
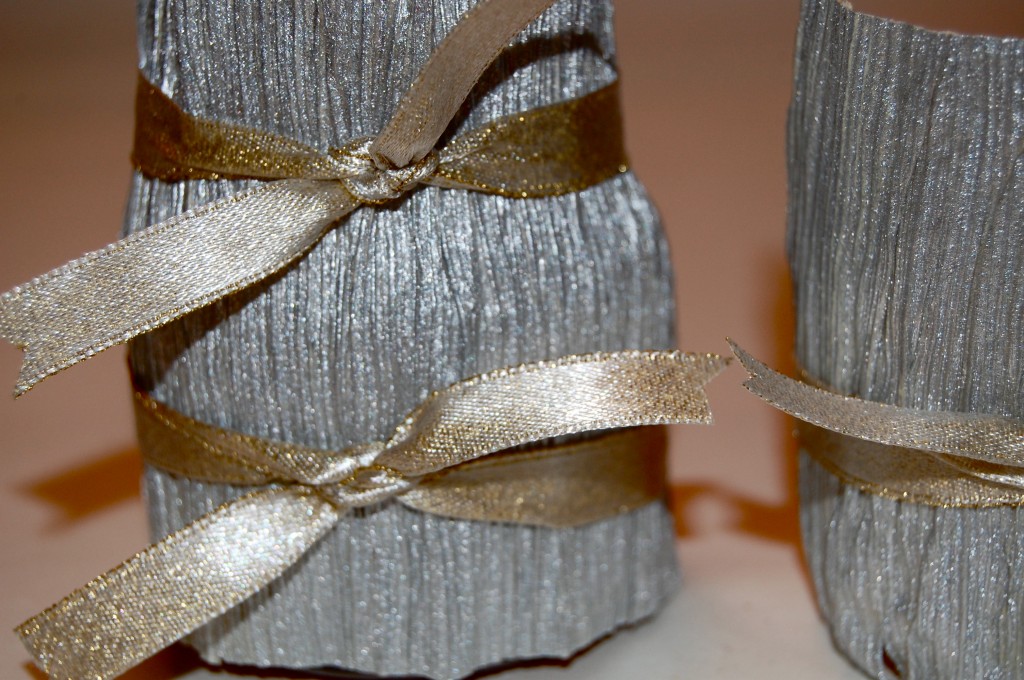
Cornhusk Votives


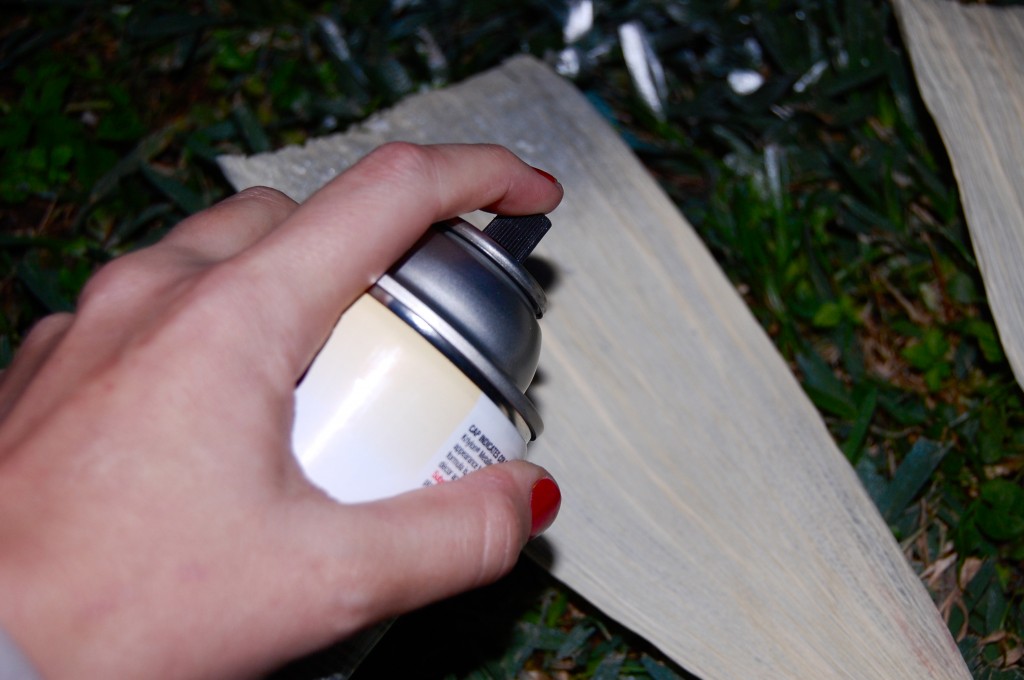
OK. What’s better than a good ole corn husk and metallic silver paint? You tell me!

I am so ready to show you this craft.

Wising my head was on my feather pillow and my down comforter was to my neck, 

Check out Martha’s original craft HERE and you can purchase Martha Stewart’s Encyclopedia of Crafts here!

CLICK HERE TO WATCH VIDEO

(me on the show!)

Click HERE to read all about it!!!

 IF YOU DECIDE TO DO ANY OF THE CRAFTS, SHOOT ME AN EMAIL AND I WILL ATTACH  IT TO THE POST WITH A LINK THAT GOES STRAIT TO YOUR BLOG!  IF YOU DON’T HAVE A BLOG JUST EMAIL IT TO ME AND I WILL PUT IT UP!!!!

JADE@JADERBOMB.COM
Thanks to Martha Stewart crafts for sponsoring me with craft supplies!