Tag Archives: teal

Jewelry takes people’s minds off your wrinkles – Sonja Henie

Hey everyone! I am just getting back from the most amazing trip ever and I wanted to share this tutorial with you on making Color Blocked Gold Bracelets . I will be sharing more about the my trip later this week so make sure to come back and check it out!

If you are like me then you can sometimes be cheap! Very cheap!

I personally call it being “smart”, right. I found a set of gold bracelets a while back at Old Navy and bought them. Check out what I was REALLY doing there when I found them.  I wasn’t sure exactly what I would do with them but I knew I would figure it out and it would be RAD. If you like gold check out this cute gold flag banner I made for a cake.

I finally decided I wanted to add a splash of color to them. Finger nail polish is the best thing to apply to metal because it stays on for a LONG time. Let’s get started.Color Blocked Gold Bracelets How beautiful are these bracelets. I knew they would be a hit on my vacation and now I am madly in love with them. I think I need about 10 more on my wrist.
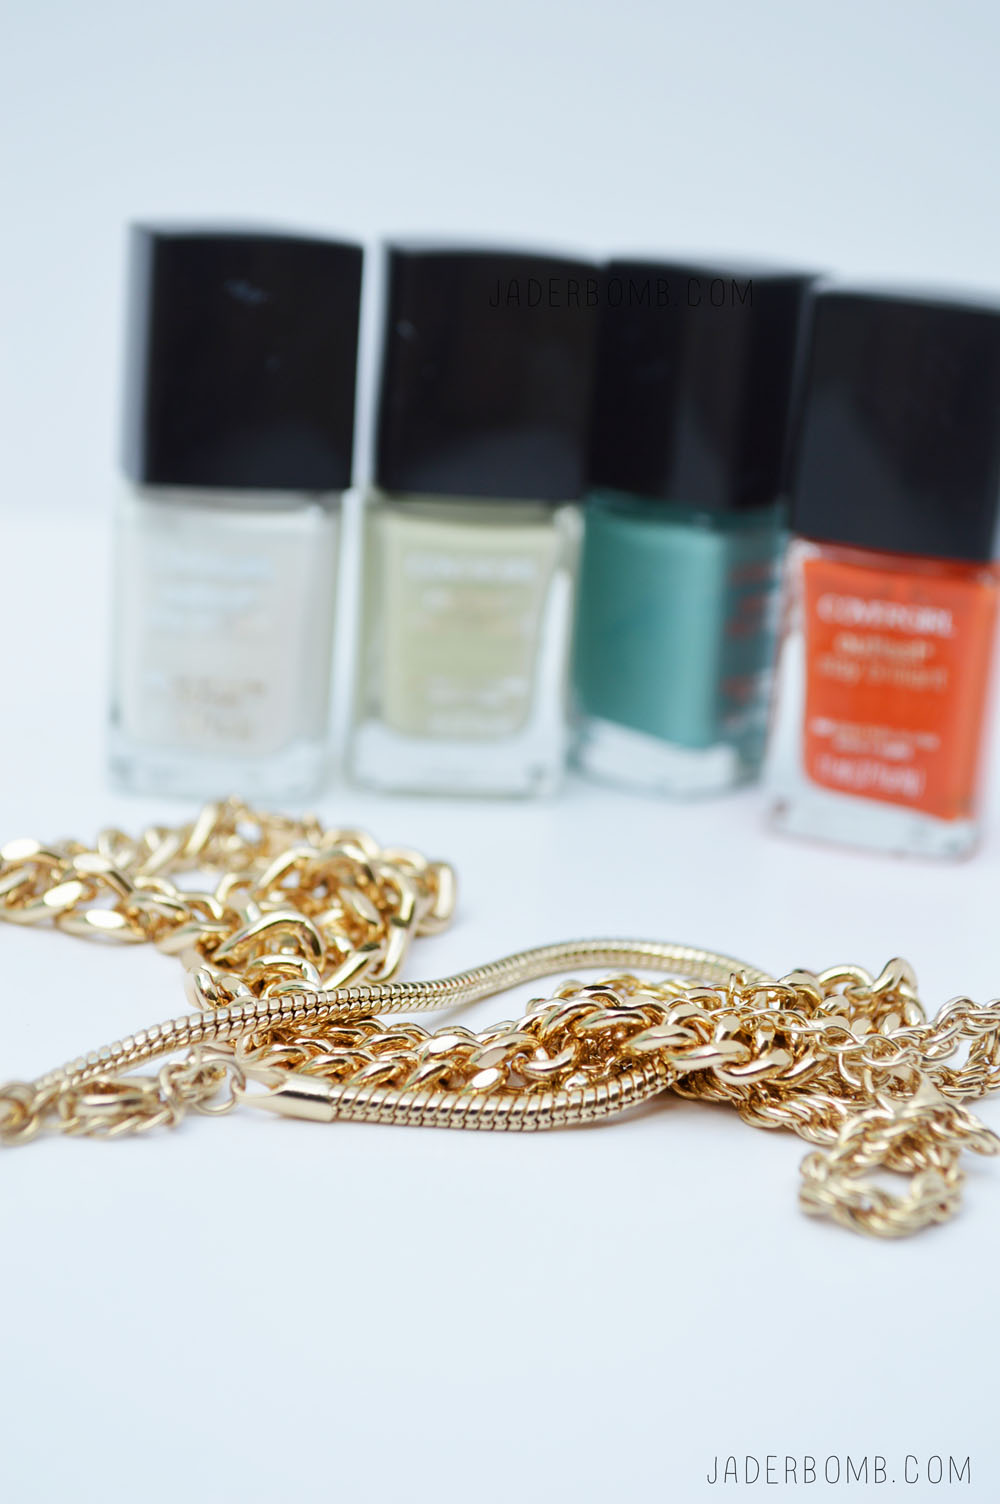
You will need:
1. Nail Polish
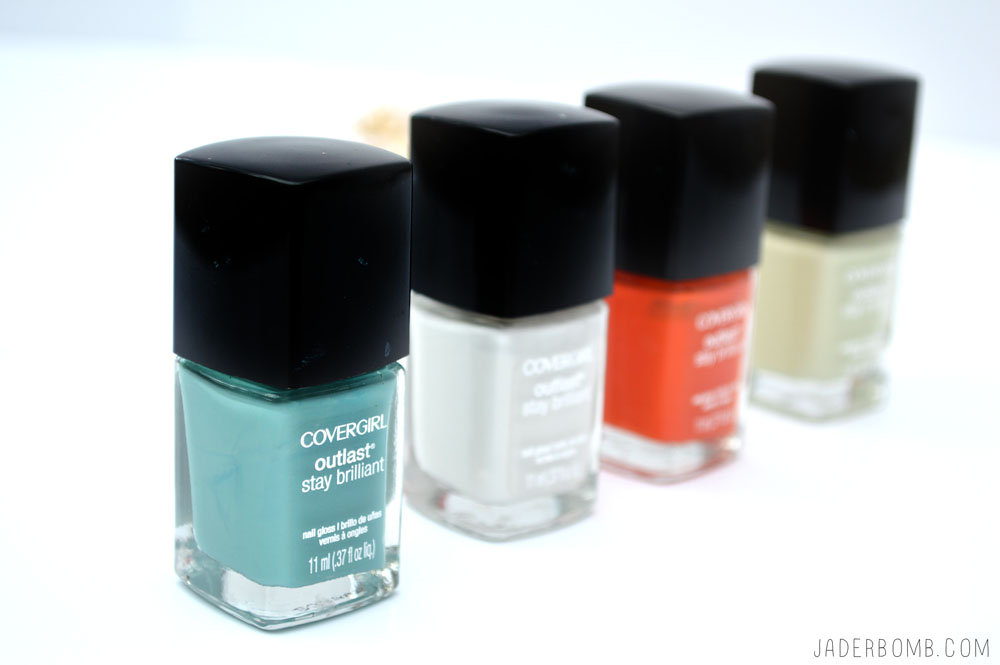
2. Gold Bracelets or Gold ChainHOW TO PAINT METAL JADERBOMB
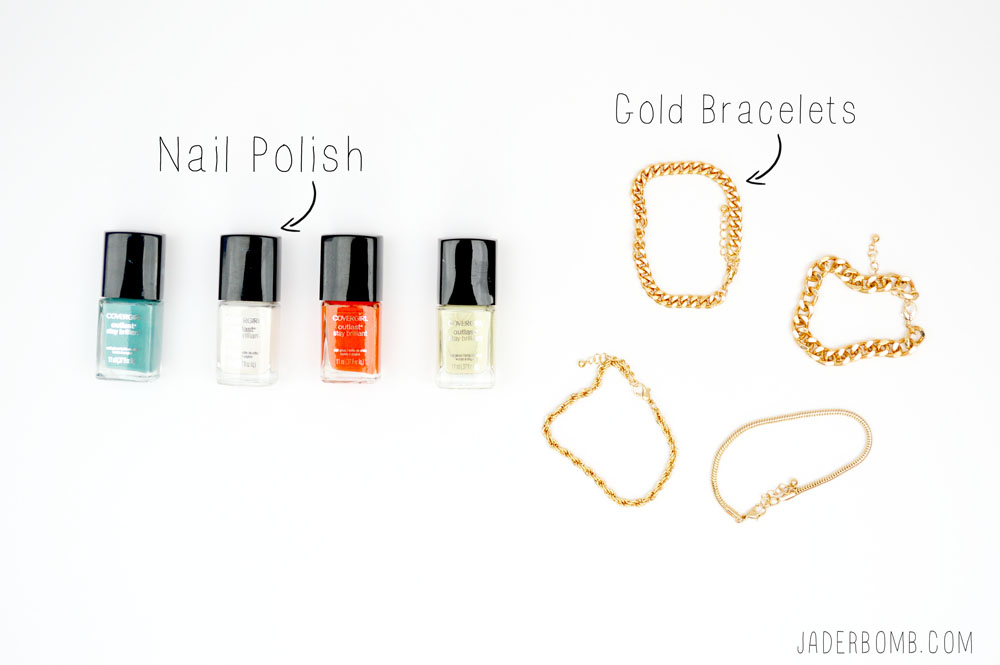
I am using Covergirl outlast stay brilliant nail polish. I am in love with all of their colors and they fit perfectly with my smile!

If you want to purchase all of the colors from one spot make sure to click my affiliate links below! The colors I am using in this post are:
1. Mint Mojito 285
2. Snow Storm 110
3. Go-Go Mango 245
4. Salt Water Taffy (not sure of number)FINGERNAIL POLISHED JEWELERY

COVERGIRL NAIL POLISH DIY

15 gold diy's
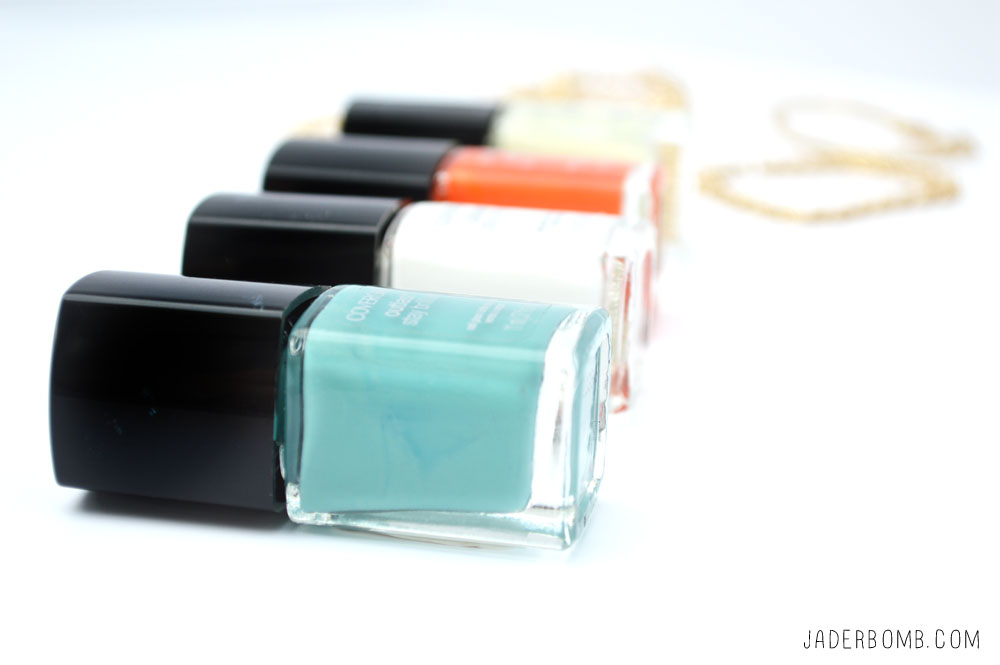
Step 1:  Lay out your gold bracelet on a clean surface and coat one side with nail polish.painting gold bracelts
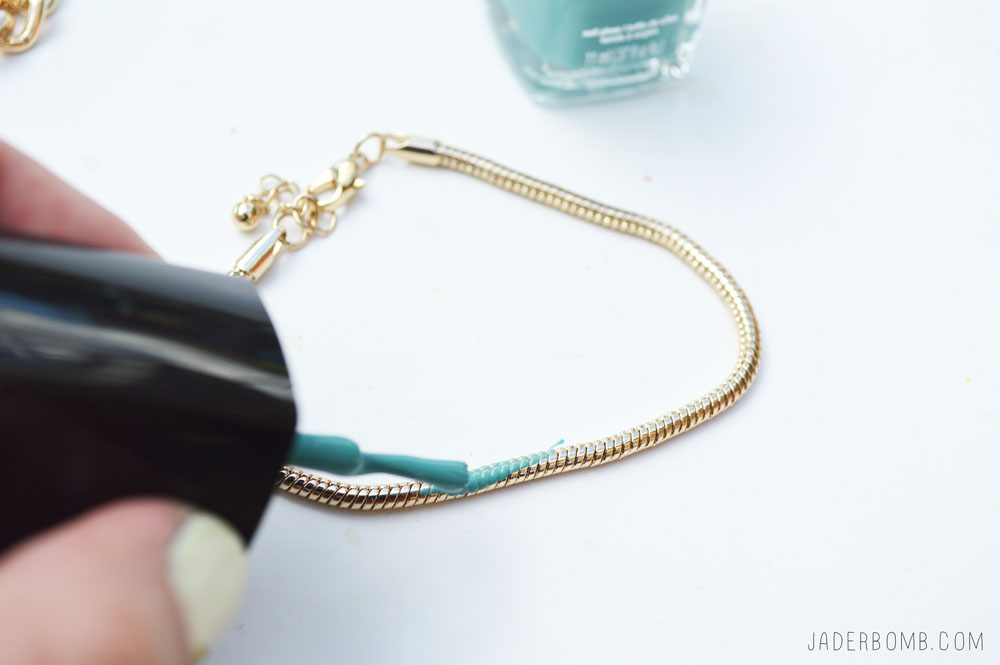
Move on to the next one and remember to coat one side at a time. It doesn’t take too long for the polish to dry. In 10 minutes you can flip it over and do the other side. I like to do about 2 good coats  of each color. My goal is to give it a matte finish. how to paintYou can see below how it will look if you only do one side of the bracelet. Depending on the links I would decide if I wanted to do both sides on some of them. diy bracelets
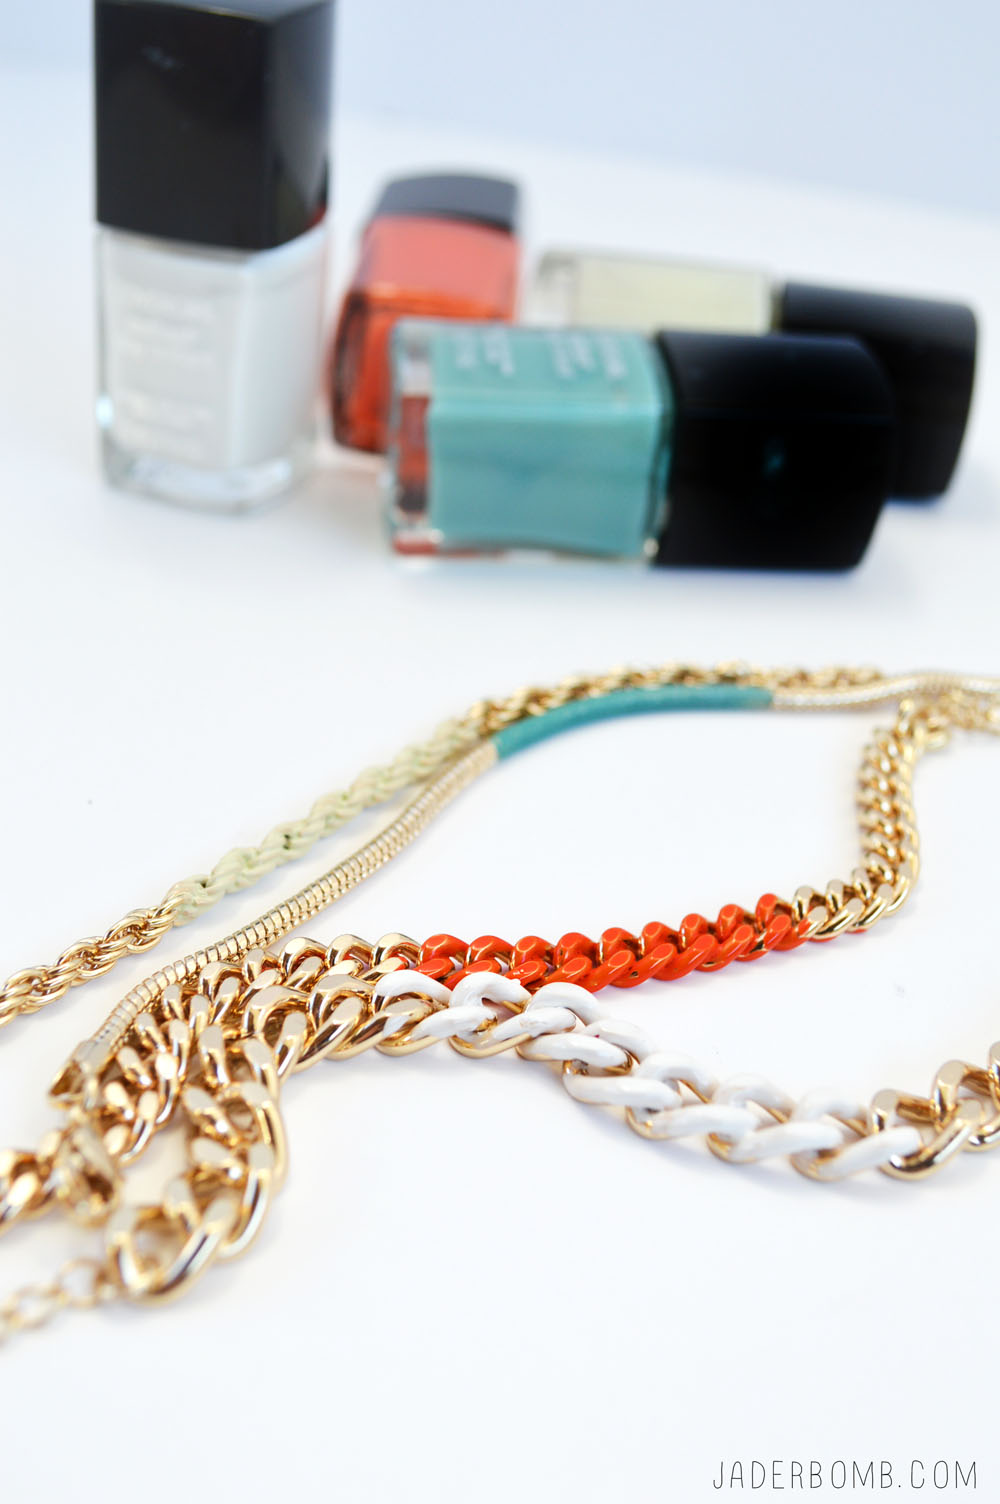
One tip I have when storing bracelets is to sling them over the top of a really cool jar. You can find these at garage sales or vintage stores. Plus it looks really pretty. EASY KIDS CRAFTS
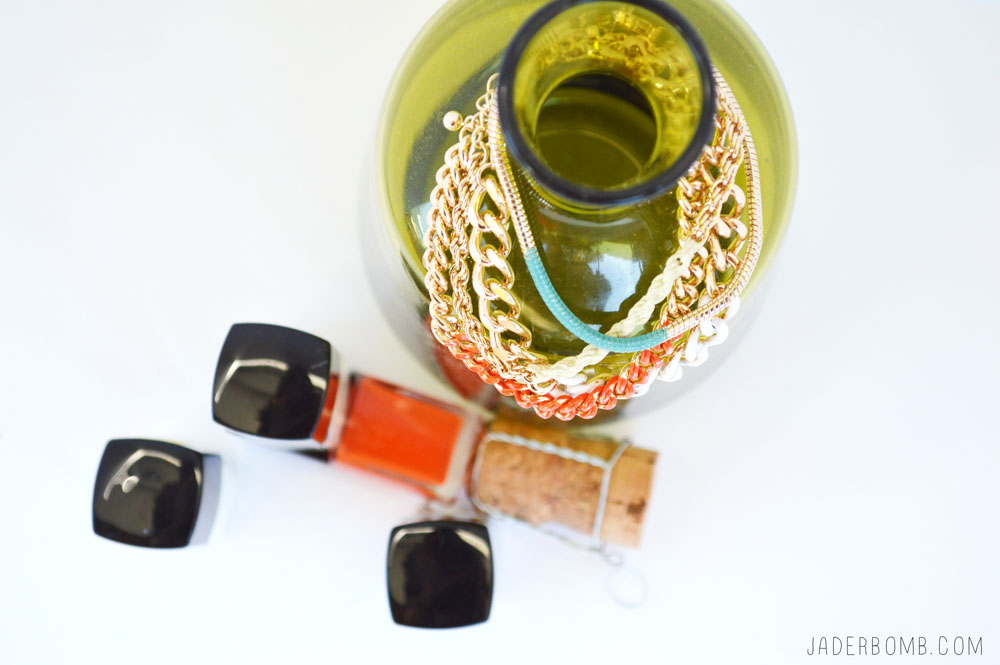
I hope you enjoyed this tutorial and you tell all of your friends about it…. NOW GO COLOR BLOCK!EASY COLOR BLOCKED JEWELERY
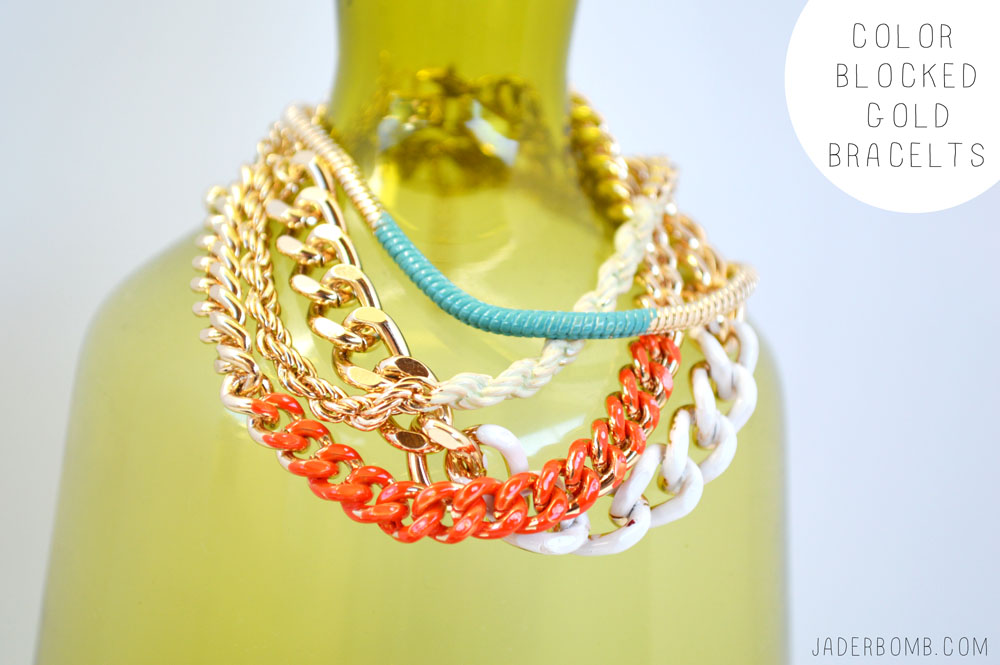
HEY! Easter is coming up and if you like to dye eggs then you have to see what I did with some HERE.  If you like to give gifts for Easter then check out THIS! Everyone will love these babies. 

Don’t forget to follow me on ALL of my SOCIAL MEDIA sites to see all the juicy and fun stuff I post! Just click on the links below and they will take you strait to them!

FACEBOOK | INSTAGRAM | TWITTER | PINTEREST

BIG HUGS TO ALL OF YOU GLITTERY CRAFTERS! XOXO, JADE

Happy 12 month’s of MARTHA! I am so glad you are here and I know you will love the tutorial I am sharing and the giveaway I am doing!  This month’s box of goodies made me smile from ear to ear. I especially loved the floral paisley adhesive silk screens.  Trust me when you use them you will become addicted. I made some fancy apothecary jars using them. Martha always knows what I love.
Let’s get started. 

Oh, if you are not familiar with the 12 months of Martha let me tell you about it.

I will be sharing a new project each month using Martha Stewart Crafts.
#12monthsofmartha & #marthastewartcrafts <——(this is the hashtag you can use if you repin this or want to see other’s who are a part of this project)

I am super giddy about it and I think you will too. Each month you will get to see new items from the Martha Stewart crafts line that is brand spanking new~

So yes! You will be seeing things that are not yet in the stores…

You can find all of her products at Michael’s Arts and Crafts, Jo-Anns Fabrics & Crafts and Amazon.com.

I’ll be giving away Martha swag monthly – so be sure to subscribe to my email updates… —–> LOOK AT THE TOP RIGHT!

Martha-Stewart-Giveaway-APOTHECARY-jars-jaderbomb

 How simple, cute and elegant are these apothecary jars?! Seriously, these would look great in any room. I made them for my kitchen and I filled them with coffee, tea and pomegranate powder for my water.

Martha-Stewart-Giveaway-APOTHECARY-jars-jaderbomb

 You will need:

*APOTHECARY JARS
*MARTHA STEWART SATIN CRAFT PAINT
*MARTHA STEWART SQUEEGEE
*MARTHA STEWART FLORAL PAISLEY SILK SCREENS
*LOTSA LOVE

You can purchase all of the above supplies by clicking on the links.

Martha-Stewart-Giveaway-APOTHECARY-jars-jaderbomb

 Don’t you just love these great colors. Someday’s when I feel down I just go in my studio and look through my tubes of paint. They are filled with happiness I tell ya.  For this project I used Geranium and Pool.
(colors of paint)

 Martha-Stewart-Giveaway-APOTHECARY-jars-jaderbomb

 When you open your pack of silk screens they will look like the picture above, all connected on one sheet.

Martha-Stewart-Giveaway-APOTHECARY-jars-jaderbomb

If you notice they have white lines separating each design. You should cut along the line to separate them.

Martha-Stewart-Giveaway-APOTHECARY-jars-jaderbomb

 This is how they will look once you cut them.

Martha-Stewart-Giveaway-APOTHECARY-jars-jaderbomb

 Find the image you want to use and gently peel the silk screen off of the paper. I like to start on a corner. Plus if it get’s crinkled it will not mess up the actual image. Once you remove the silk screen place it where you want on the glass.

Martha-Stewart-Giveaway-APOTHECARY-jars-jaderbomb

Once you apply your silk screen to the glass add a bead of paint right above the image.


Martha-Stewart-Giveaway-APOTHECARY-jars-jaderbomb

 Get your squeegee and pull the paint down over the image. I suggest going from the top to the bottom in one stroke. It will make the paint consistent and even. Repeat the step if you have to do it in two layers.

Martha-Stewart-Giveaway-APOTHECARY-jars-jaderbomb

 As soon as you finish, peel the silk screen off of the glass. Very important that you wash it immediately.  If you let the paint dry on the silk screen it will not work properly again. Once you wash it lay it out on a towel to dry.

Martha-Stewart-Giveaway-APOTHECARY-jars-jaderbomb

 Move on to your next jar.

Martha-Stewart-Giveaway-APOTHECARY-jars-jaderbomb

It’s really that simple. I hope you enjoyed this tutorial!  I have some great news… I am doing a GIVEAWAY featuring the supplies I used today… HOW AMAZING.  Please enter by putting your information in the Rafflecopter box below. I am excited to see who will win all of these products. Don’t forget to share this fun giveaway with your friends.

THIS GIVEAWAY WILL END APRIL 12, 2013.

Martha-Stewart-Giveaway-APOTHECARY-jars-jaderbomb

a Rafflecopter giveaway

jaderbomb *JANUARY craft HERE
* FEBRUARY craft HERE and HERE

ST_Martha_Stewart_Crafts_Coupon
*Click HERE (US) and HERE (CANADA) for a 30% off coupon for any Martha Stewart Craft paint, tools and accessories

Want JADERBOMB delivered right to your inbox?
Just enter your e-mail in the box below!

Enter your email address:

Delivered by FeedBurner

MarthaStewartPost


Quote of the day:
“Climb the mountains and get their good tidings.”-John Muir

Oh HAPPY day! It’s gloomy outside and we have not had sun for a few day’s. Most of the time this weather makes me feel just like it looks! However, since it’s Christmas time I couldn’t even imagine the sun beaming through my windows right now. It actually feel’s like what you would imagine “Christmas” would look like here in Louisiana. Well…minus the snow, cold weather and fire places burning. Good news is we are supposed to get a cold front tonight.
{{insert a loud YAYYYYY}}

The other day I got home and found a NICE brown box sitting at my front door. I got super excited and couldn’t wait to see what it was. When I finally got to it I was pleased to see it was from my friends at Martha Stewart.

As I started to open it I realized it was all great things to use for the Holiday’s and GREAT last minute items to pick up for your holiday decor.  I will post some now and some later today so make sure to come back. Let’s get started!

The first thing are these babies!

Martha-Stewart-Christmas-Decor

Martha Stewart Crafts™Wonderland Christmas Light Window Clings
Easily add a festive decoration to windows and mirrors with these Martha Stewart Crafts™
Wonderland Christmas Light clings. Glittered bulbs stick without adhesive and peel off for use year after year. Includes 12 pieces, each approx. 4in long.

(you can get these where Martha Stewart craft products are sold)

Martha-Stewart-Christmas-Decor

I absolutely love the way they look on our window. I put them above our kitchen sink so I can feel happy every time I look out of the window. What I love about them is they will not stick to your windows like stickers do,  which makes it super easy to take off. Since they are window clings you can store them in a bag for the next year and use them all over. You can even put them in your vehicle to add some Holiday spirit. At night when I light all of the candles on the window seal they look so pretty!

Click HERE to see how I made my Monogram candles.

———————————-

Martha-Stewart-Christmas-Decor

The next thing that was sent to me were these beautiful Martha Stewart Crafts Snowflake Hanging Rosette’s.
You can purchase them HERE.

*Makes 3 decorations: one 19.5-inch and two 13.5-inch
*Coordinates with other holiday party decorations
*Perfect for winter parties and holiday celebrations

Martha-Stewart-Christmas-Decor

Martha-Stewart-Christmas-Decor

The color palette for them are soft and delicate. I love the jewel in the middle of them.

Martha-Stewart-Christmas-Decor

I put them outside on one of our sheds. It added a little “Holiday-ness” to it and I love them!
They are so easy to make which is why you could go grab some and put them up in 10 minutes!

See ya in the next post! Don’t forget to make it a DIY kinda day!

Facebook Twitter Gplus Pinterest YouTube E-mail RSS

jaderbomb

Disclosure: I received products from  Martha Stewart Crafts ,however all of the opinions in this post are my own.