Monthly Archives: October 2012

Quote of the day:

“Lose not courage, lose not faith, go forward.”

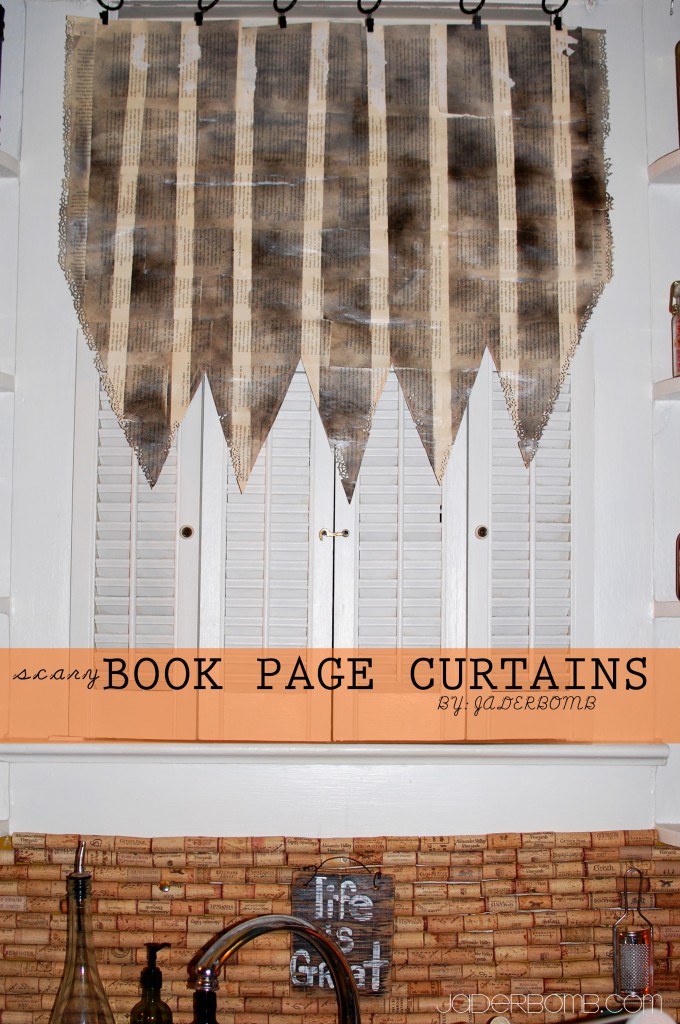
How much fun are these spooky book page curtains! I have to say I never every thought I would make curtains for my kitchen using pages from a book. But, why not?If it’s temporary until Halloween is over then we need to bring the spirit indoors!Let’s get going so I can show you how I made them!

INGREDIENTS:

*Book
*Adhesive Spray
(I love this one)
*Masking tape z
(Do you realize all that you can do with this tape?)
*Black spray paint
(you do NOT have to buy the most expense one either!
*Mod Podge
(I wish I could eat this stuff.)
*Brush
(not used a spoon for the Mod Podge)
*Martha Stewart Halloween Punch

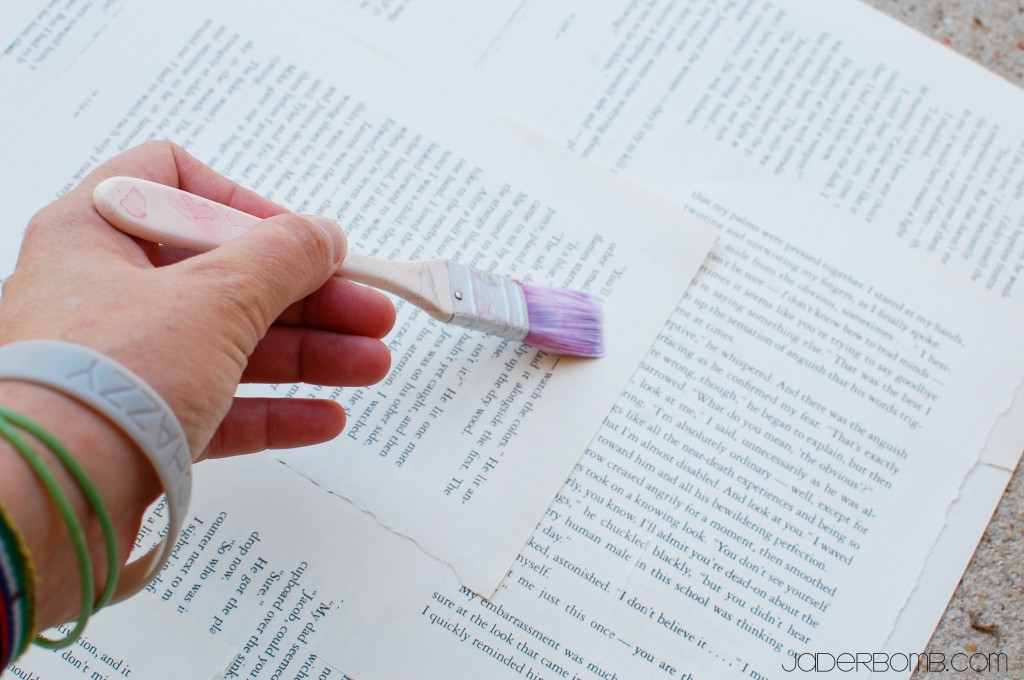
The first thing you need to do is tear pages out of a book. I am using the FIRST twilight book because it will NEVER get old reading those pages. (I know I know I’m a sap)

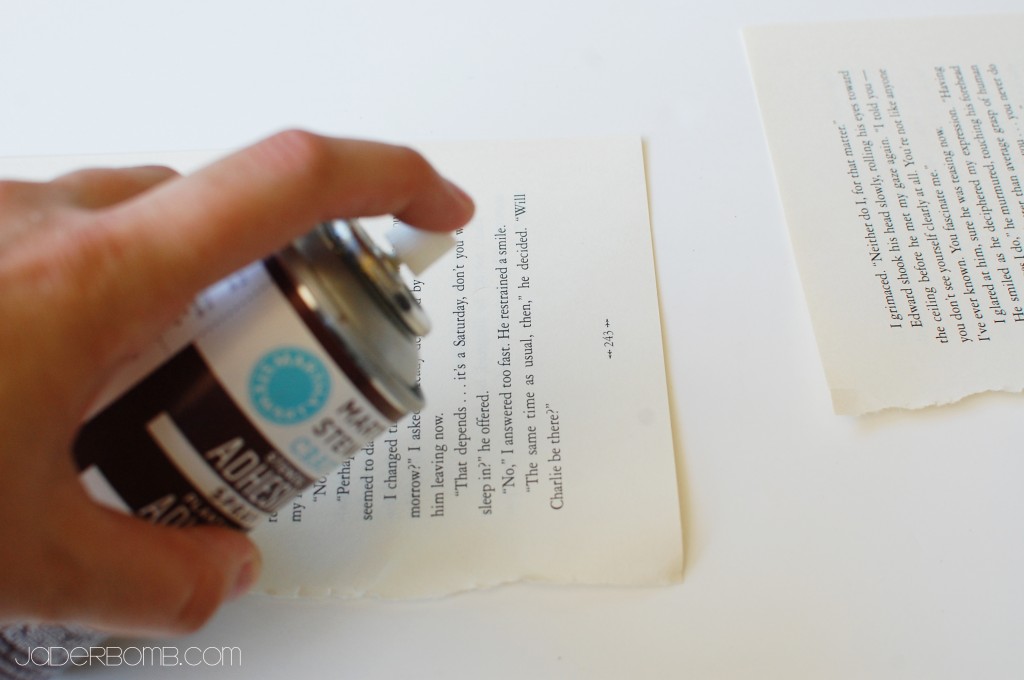
Spray the edge of your book pages with adhesive spray.

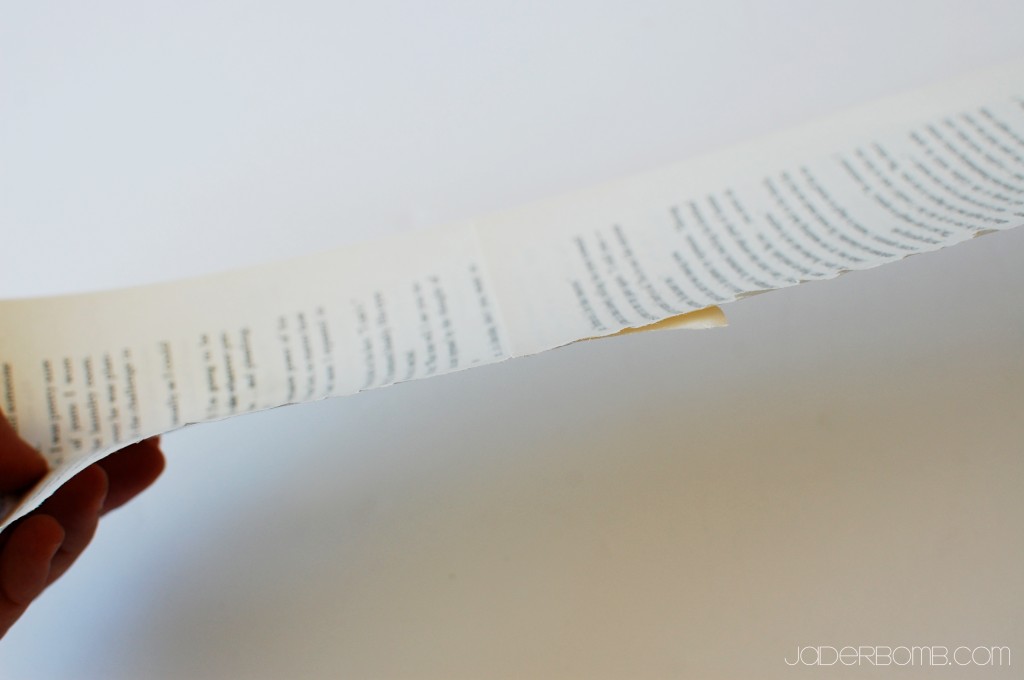
Then stick another book page on top. Just like this! (below, haha)

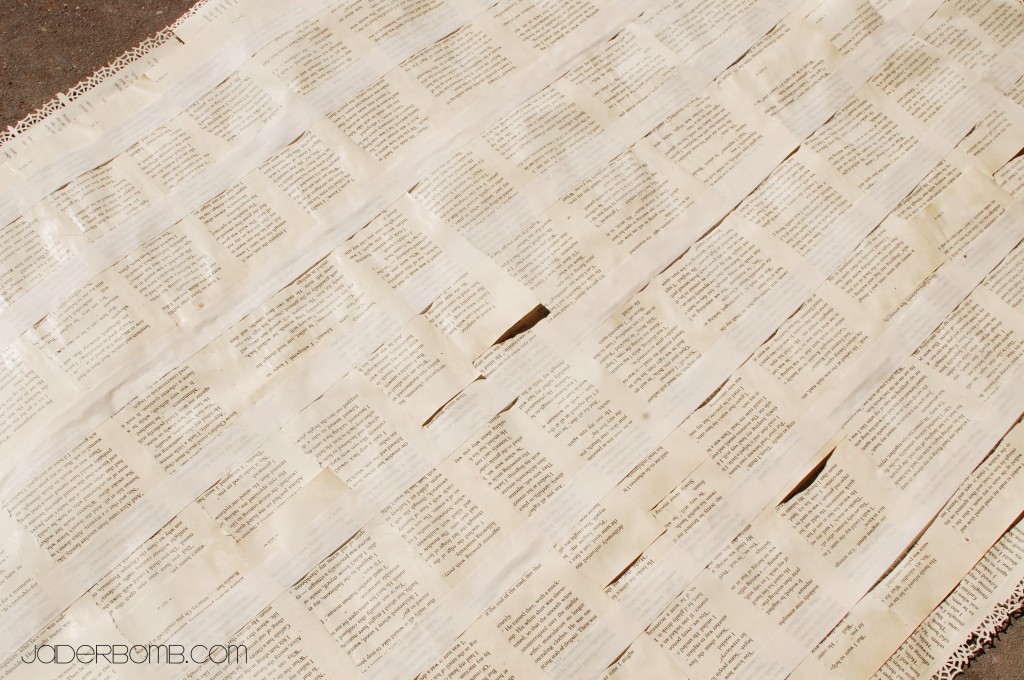
This is what it will start to look like once you get rolling! Hint: Once my sheet got large enough I would bring it in the house and place it on top of the window to see how much bigger it needed to be. I could of measured it and done it the “correct” way but that’s no fun! Notice the edges are punched with my Martha Stewart HALLOWEEN puncher!

Once you have the correct size and you are done sticking pages together it’s time to break out the MOD PODGE! This is where you insert a BIG wahoooo.

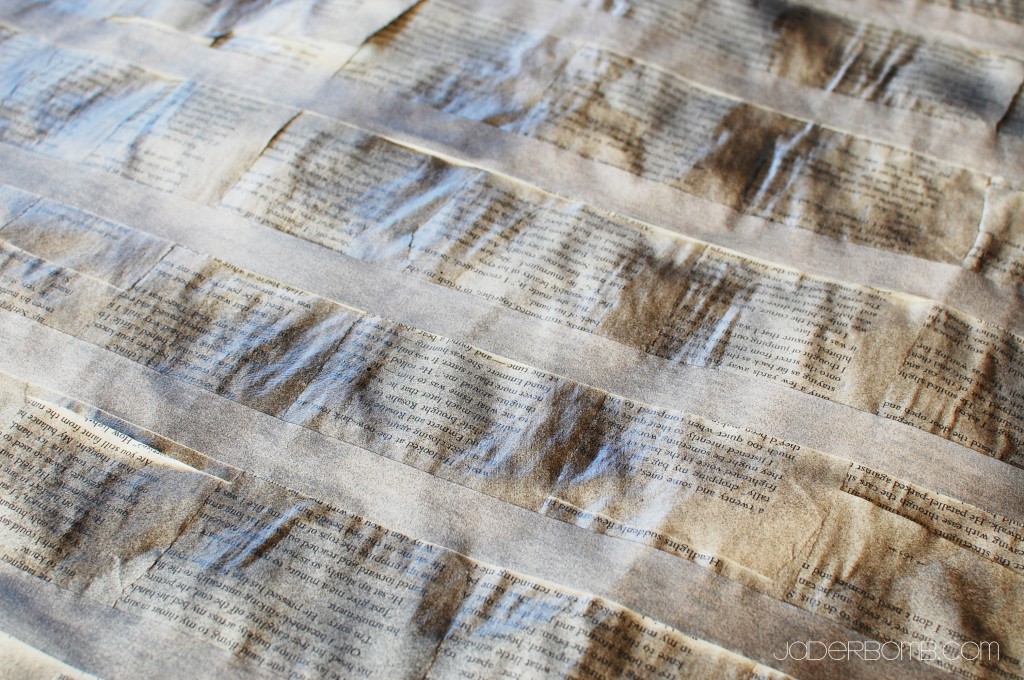
When your Mod Podge is completely dry lightly add strips of masking tape on top of your book pages. (see below)
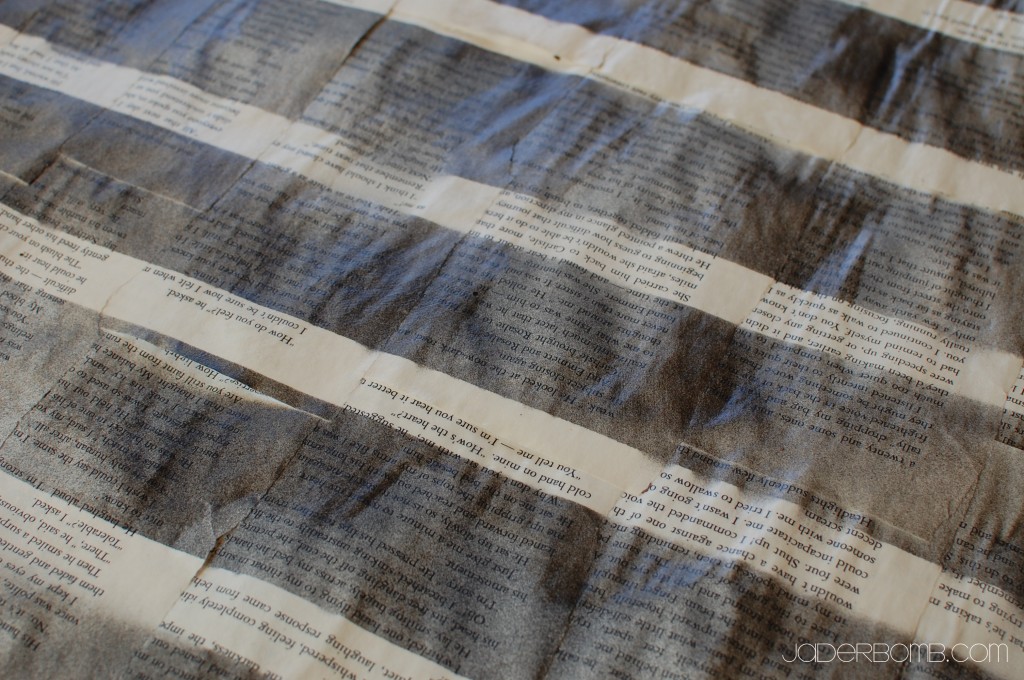
You don’t want to press too hard because it will tear the pages when you peel if off. Spray your pages with black spray paint. I didn’t spray a super thick coat because I wanted a washed, vintage look. You could spray it till it’s completely black if you want that look.

Keep in mind you can spray with whatever color you like.

When the spray paint is dry peel off the tape~ Be careful. I ripped a couple of my pages because my tape was pressed really good to them. (craft fail)

Thank goodness this was a scary Halloween look otherwise I would have “tossed” this project into the trash.

When I was completely done with all of the steps I put it up in my kitchen like the picture below. I drew where I needed to cut with a piece of chalk.
I then took it down and VOILA! A spooky HALLOWEEN curtain! What I love the MOST about these curtains is how they look with light coming through them. It really makes our kitchen feel spooky.

The great thing about this project is it’s practically FREE. It’s easy for anyone do to AND when the spooky holiday is over you can toss it without feeling bad. Although I might just keep mine up and stencil letters on it for THANKSGIVING. Yes, I love them that much.

See ya in the next post Jaderbugs!

I am truly in love with this CHEAP stick painting craft.  My crafty buddy Stephen Brown has a lot of “black and white” stripes in his new book Glitterville’s Handmade Halloween: A glittered guide for whimsical crafting!

So, I figured I would do the same thing using sticks or branches. It really is so much cheaper than buying things in the store and it adds that whimsical touch to your home! Stick Painting can be very addictive so be careful, haha! I love to decorate my home or any space I visit with painted sticks. You can spray paint a ton of them one specific color and stick them in a gorgeous vase. That would fix any home decor problem and it is practically free. Unless you go steal the sticks from your neighbors yard because you can’t even keep your own trees alive.

Quote of the day: 

“I am BOLD enough to say, though not in a literal sense, that I almost prefer striving without success to success without striving.” 
-Georges Vanier

 stick painting

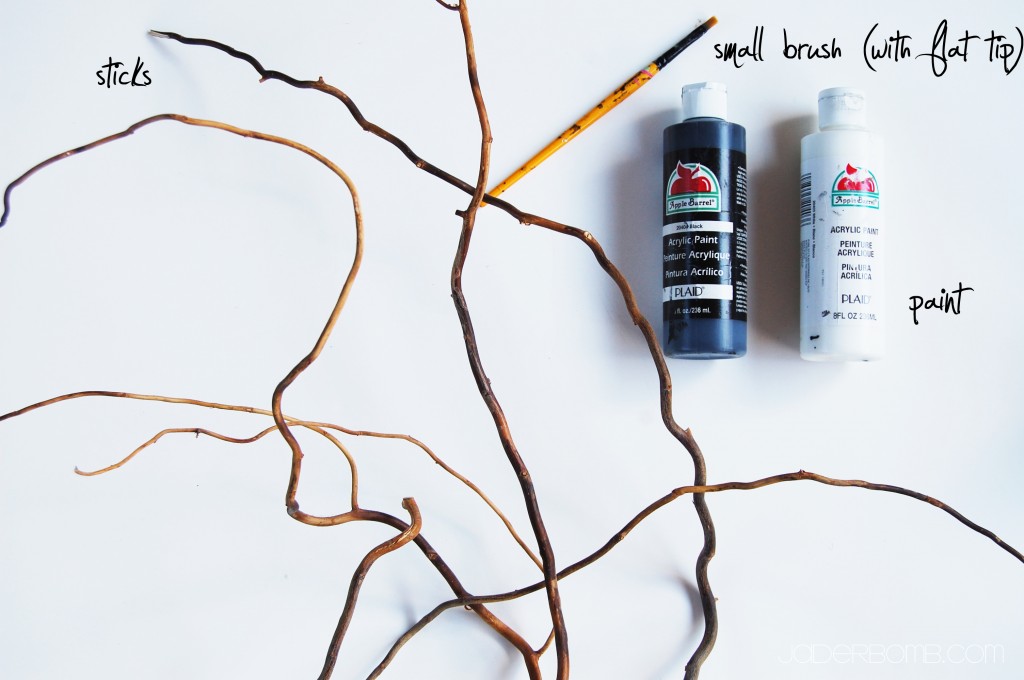
Let’s get started…

INGREDIENTS:

*PAINT

*BRANCHES or STICKS

*PAINT BRUSH

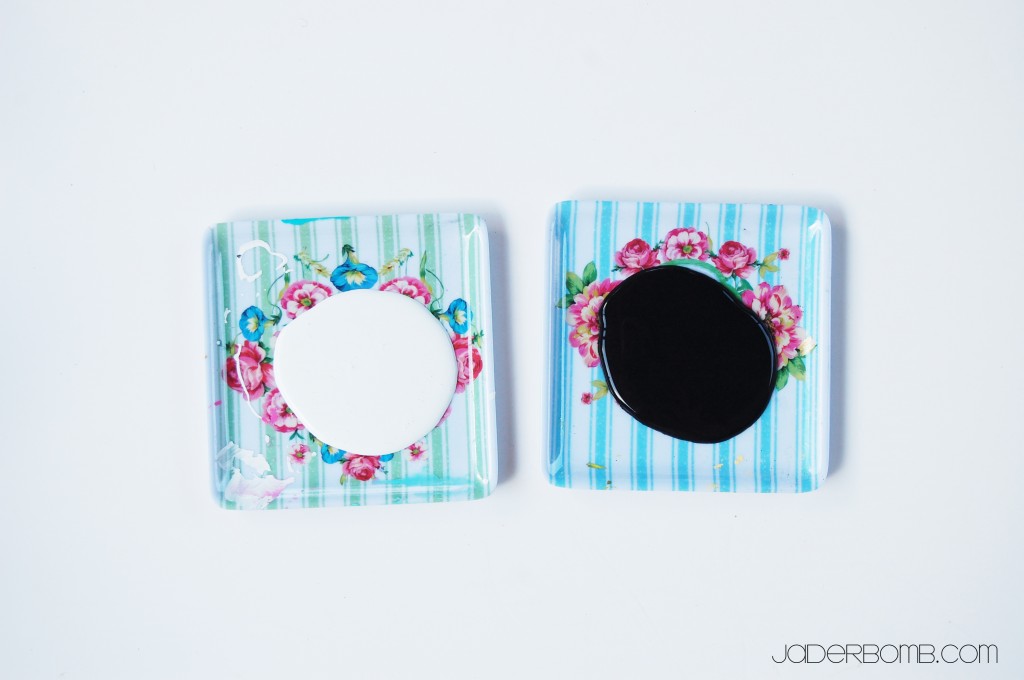
The first thing you need to do is squirt some paint on a saucer.

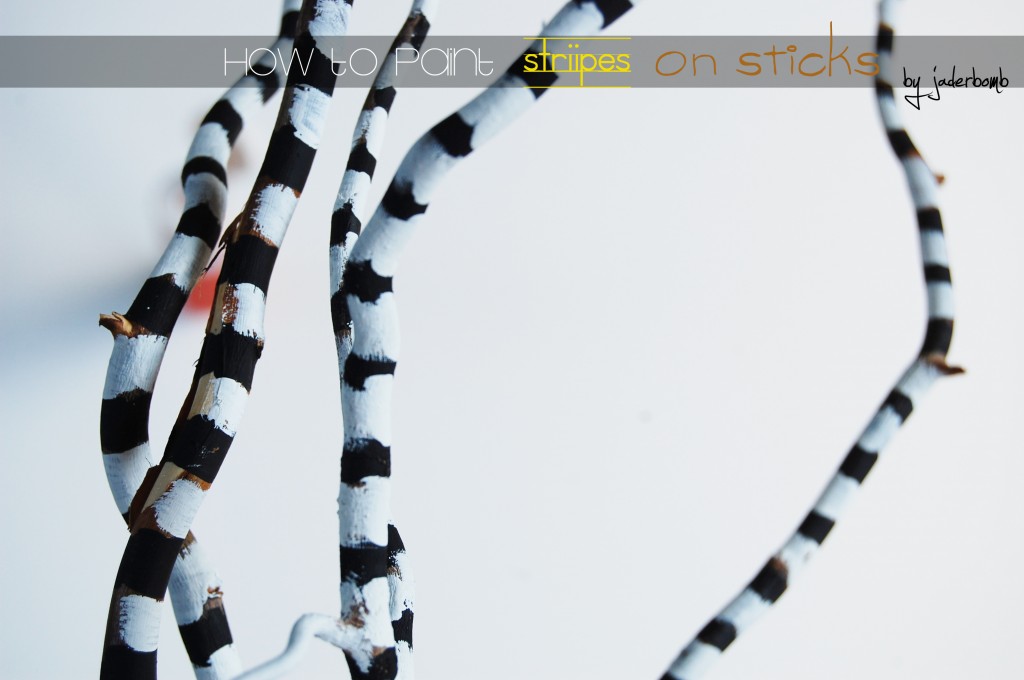
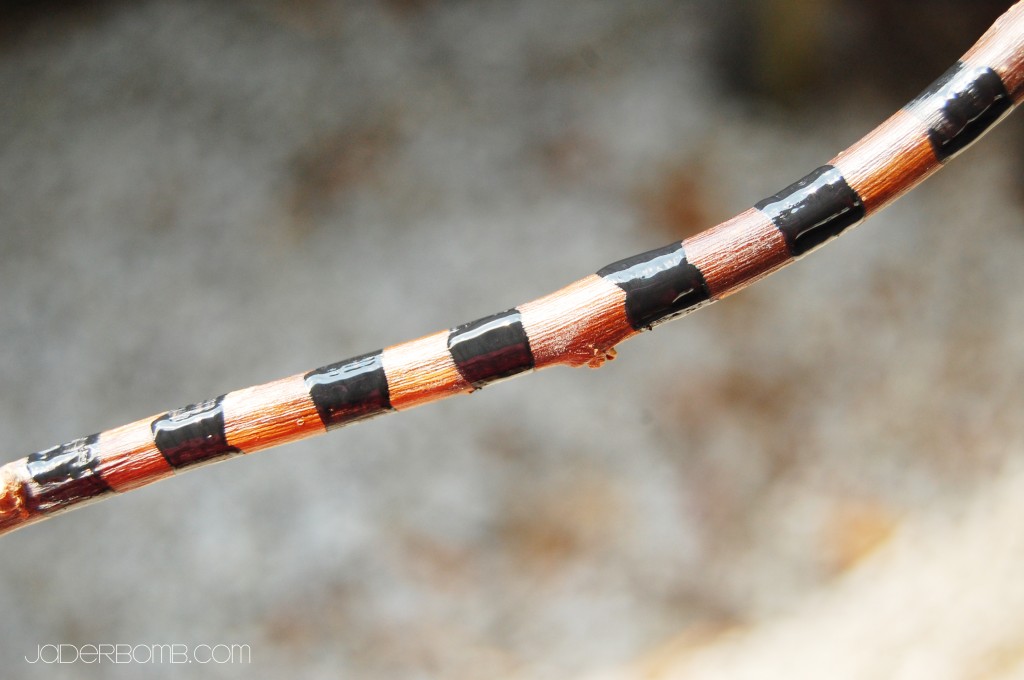
Next you will paint black stripes around your branches. I like to hold my brush on the branch and just slowly spin the branch.

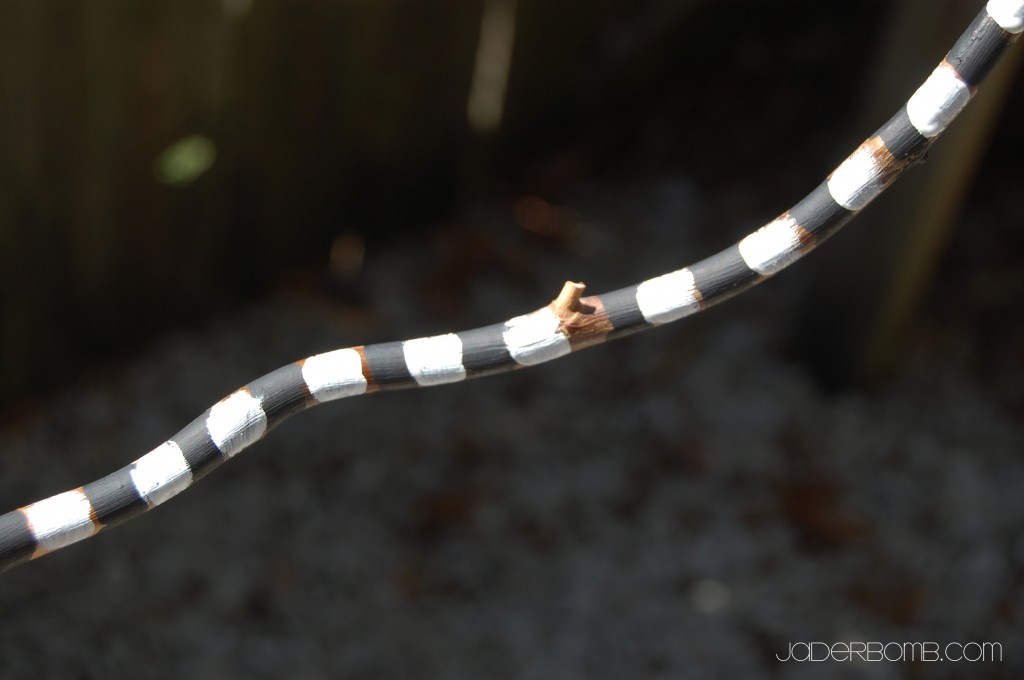
After you add your black add your white! It’s that simple.

Huge Glittery Hugs, Jade

Quote of the day: “Let us, then, be up and doing, with a heart for any fate.” -Henry Wadsworth Longfellow

[model:Kat King]

Happy Thursday Jaderbugs!
I am so excited that my UNI scarf is back! It’s been a while since I posted any online so get ready! Remember, if there are any colors you would like that are not up in my store just send me an email: jade@jaderbomb.com

They will be up in my online store no later than this weekend.  WHAT? You don’t know how to get to my store? It’s ok! I will take ya.

ONLINE STORE
(you wanna click on this) hehe. If you head that way you will notice I am also putting up TONS of new decorative clothespins. I will also have ALL of my new ones up by this weekend. You don’t want to miss the GLITTER ones!

 Quote of the day: “Do a common thing in an uncommon way.” -Booker T. Washington

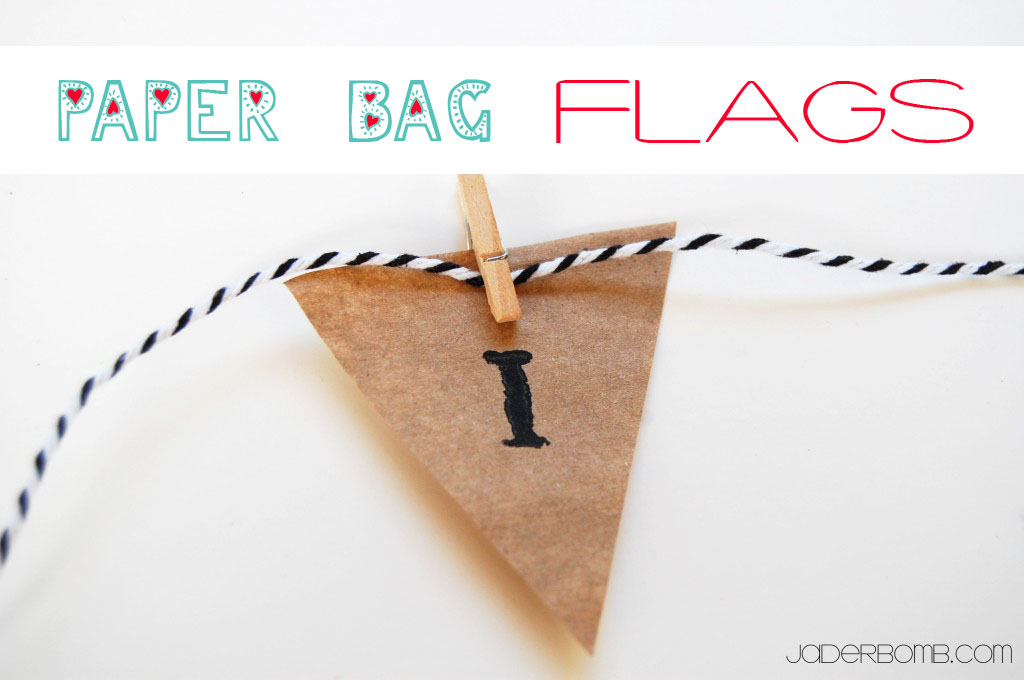
Today we will be making paper bag flags out of….. paper bags! I love finding things that can be re-purposed into something completely opposite of what it really is! The good thing about this tutorial is it’s easy and you can get as creative as you want by decorating them.

Let’s get started!

paperbagflags

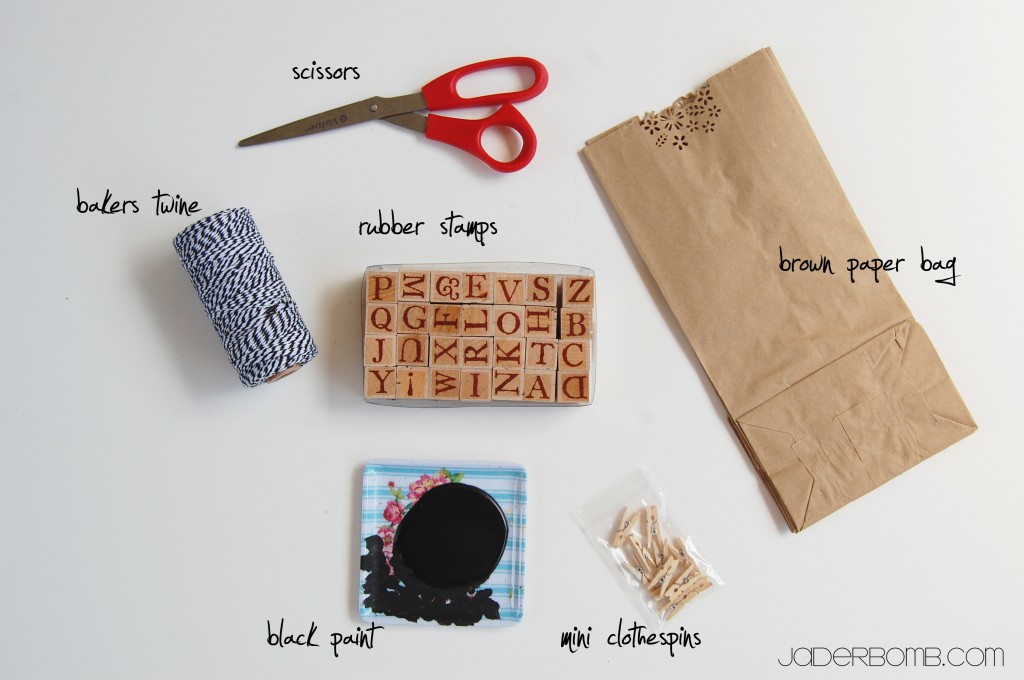
Ingredients:

*Scissors
*Brown Paper Bag
*Bakers Twine
*Rubber Stamps
*Black Paint
*Mini Clothespins

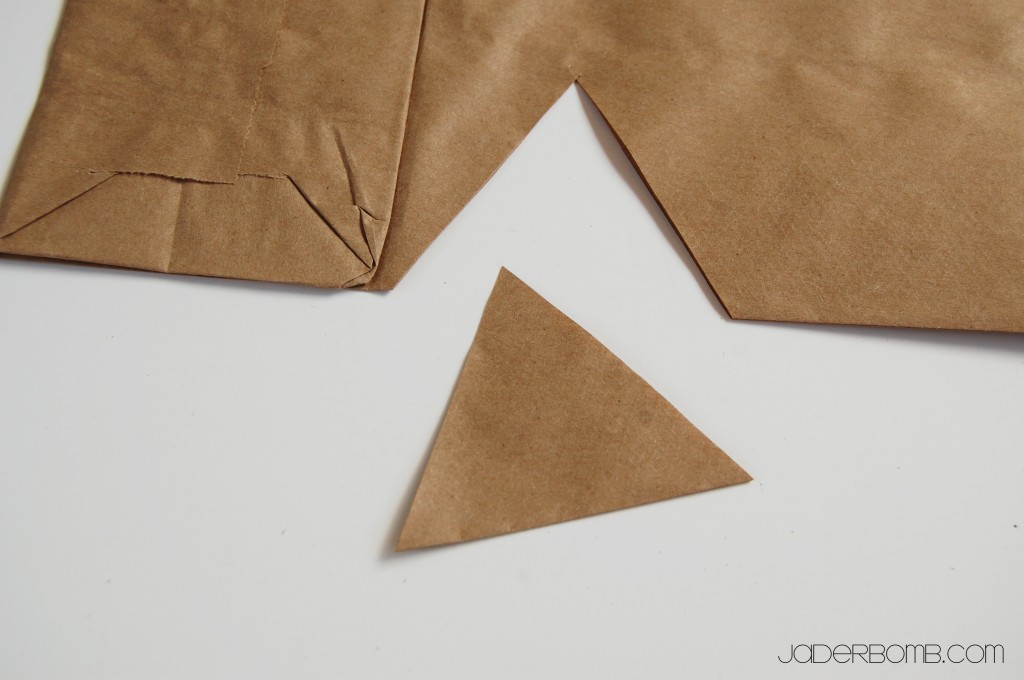
The first thing you will need to do is cut triangles out of the brown paper bag. (woop woop, this bag was fuh-ree)

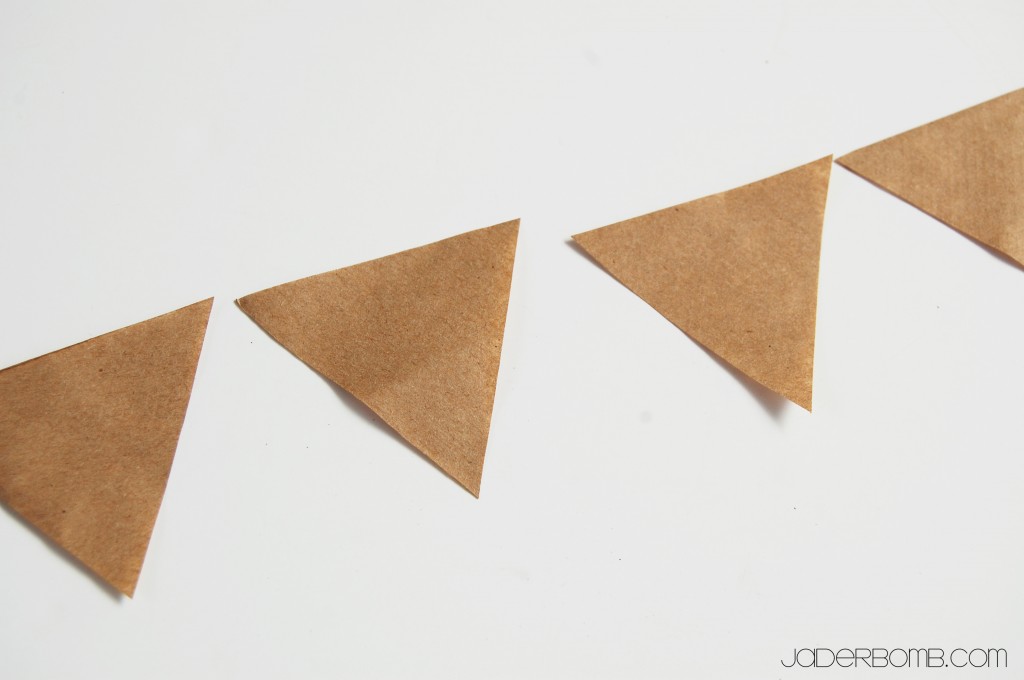
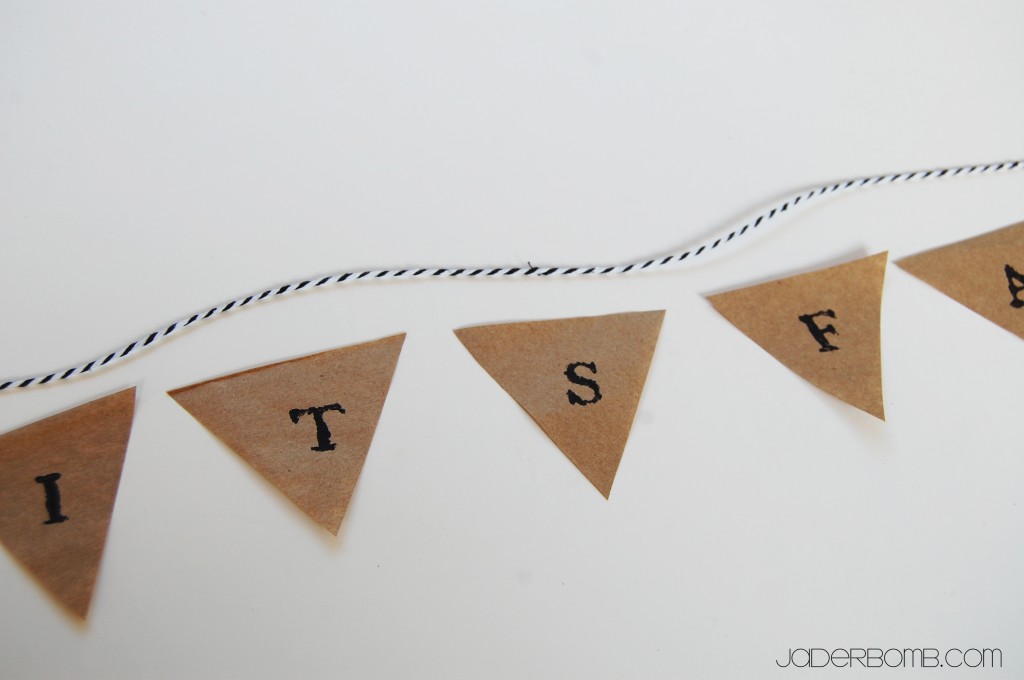
Tadahh! This is what mini triangles look like next to each other. I always get brown paper bags instead of plastic so you can imagine how many brown paper bags I own…

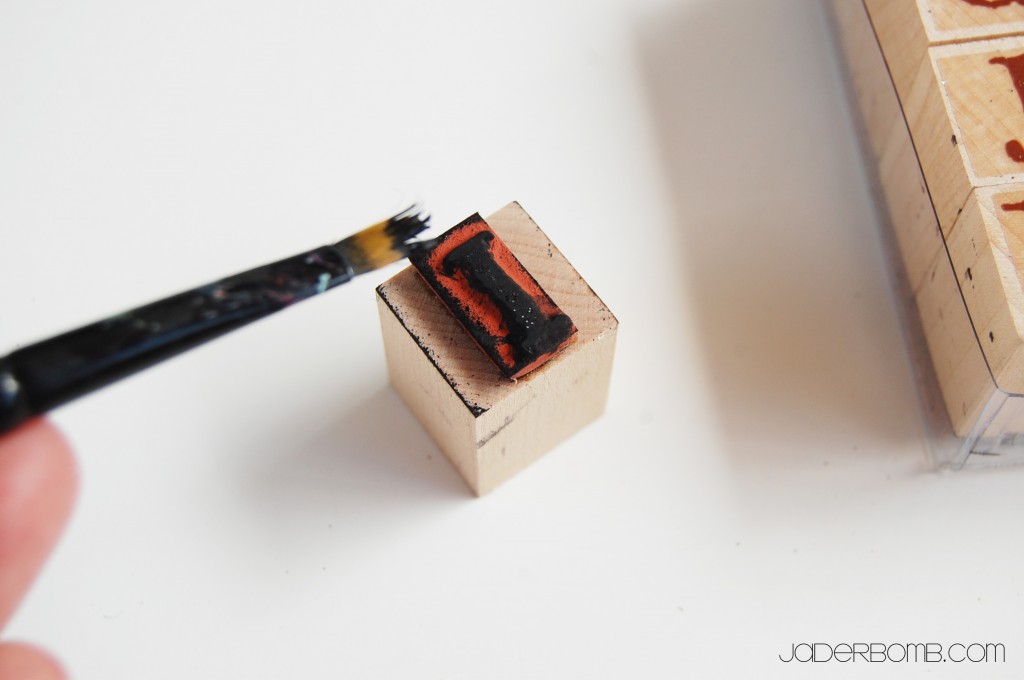
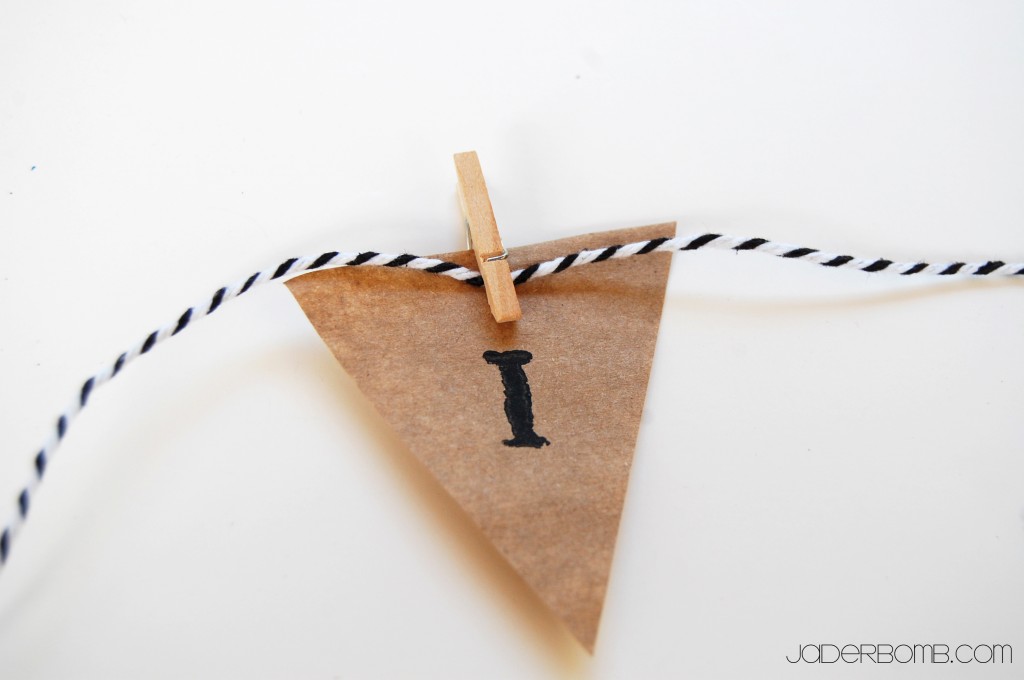
I like to use a paint brush on my rubber stamp because it has a different texture to it. Plus, it’s a little darker. Make sure you ONLY paint on the letter. You could also Mod Podge a smaller triangle in the middle using scrapbook paper. I buy my scrapbook paper here.

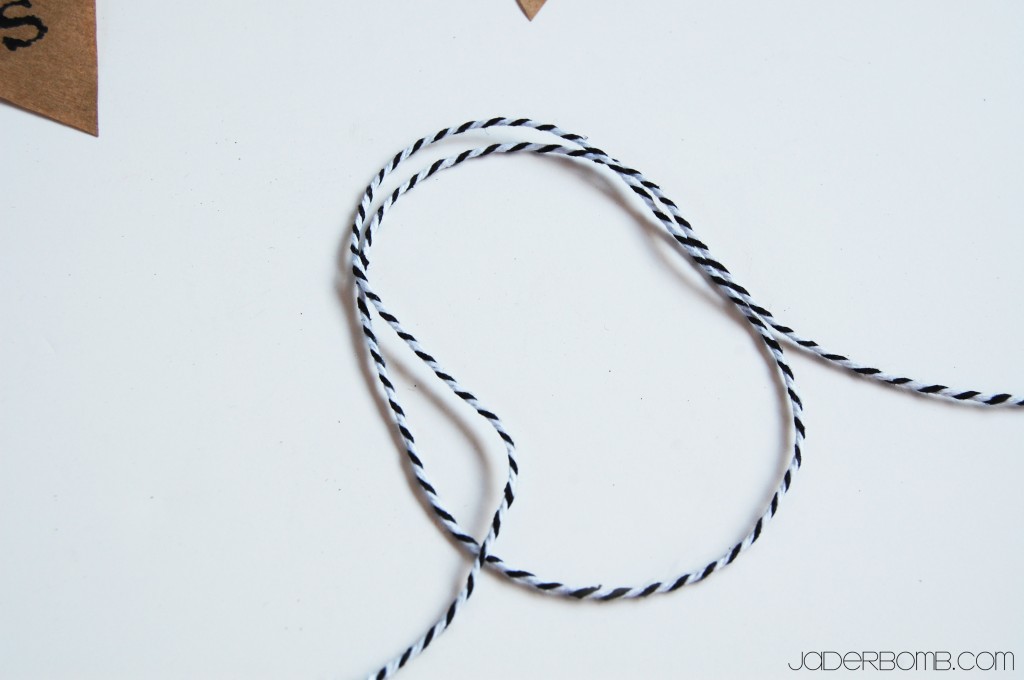
I think I am the only person that get’s {super duper} excited when I see bakers twine. Do you? What is your favorite color?

You can stamp whatever you want on your mini triangles. You can also cut them small or LARGE. It just depends on the space you are putting them in. When you are done with everything I like to lay everything out like this.

Last thing is to grab your mini clothespins {that you bought from my shop} and pin the twine to the mini triangle.

There you have it, Paper Bag Flags!

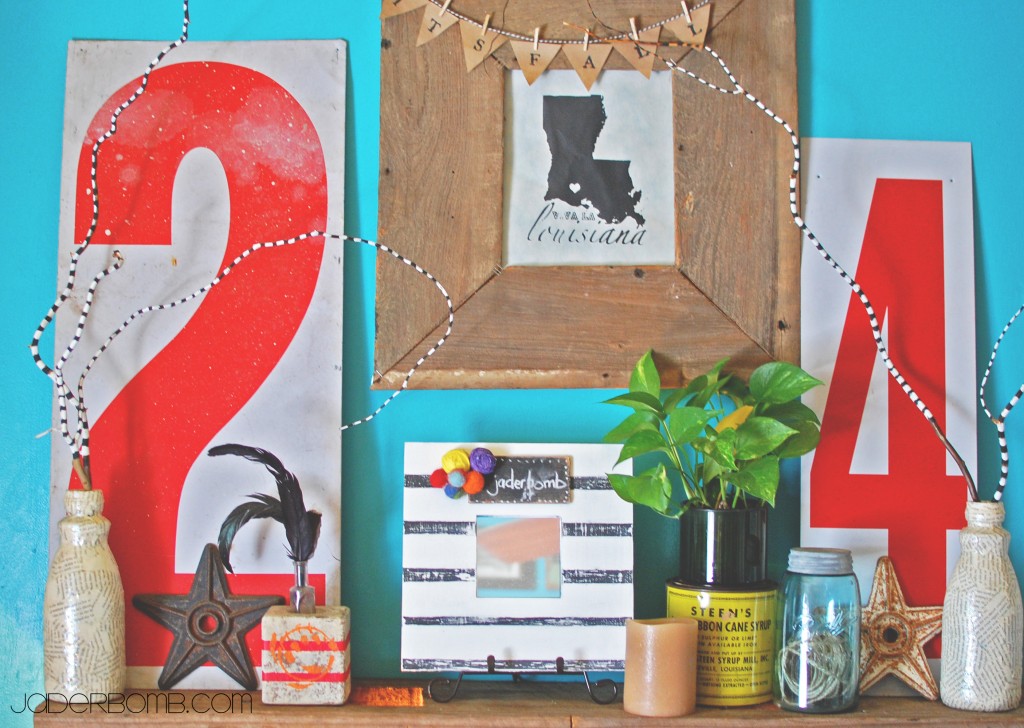
See how cute they look once you put them up. You can be completely creative with this and cut out fabric or scrapbook paper to do the same thing. This is a a great “COUNTDOWN” for kids. You could do this for the whole month of December and they could take down each number a day! How cute!

Huge Glittery Hugs, Jade

Quote of the day: “Elbow grease is the best polish”

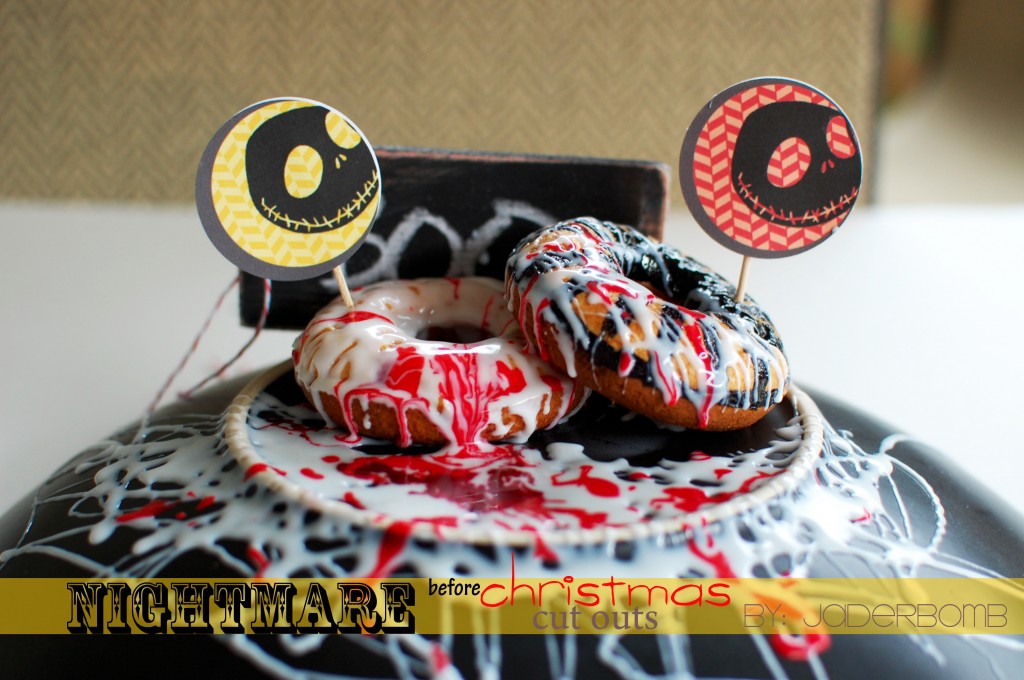
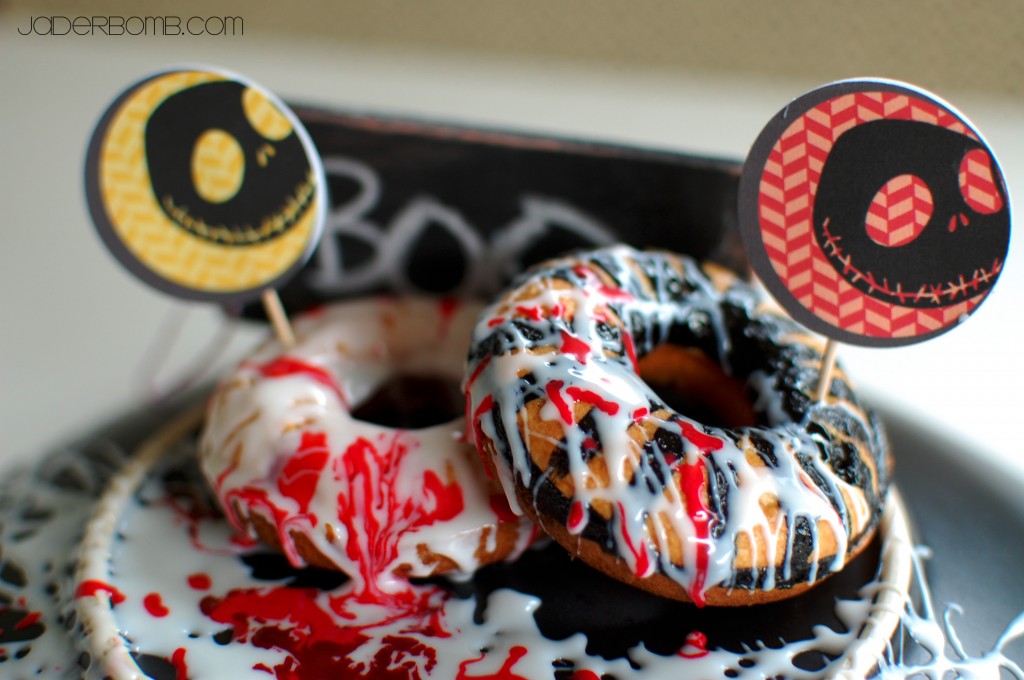
Happy Monday Jaderbugs!  I made these  SCARY {halloween} treats this weekend and everyone loved them! Our friends said the icing on the plate looked like a SPIDER WEB and I agreed!
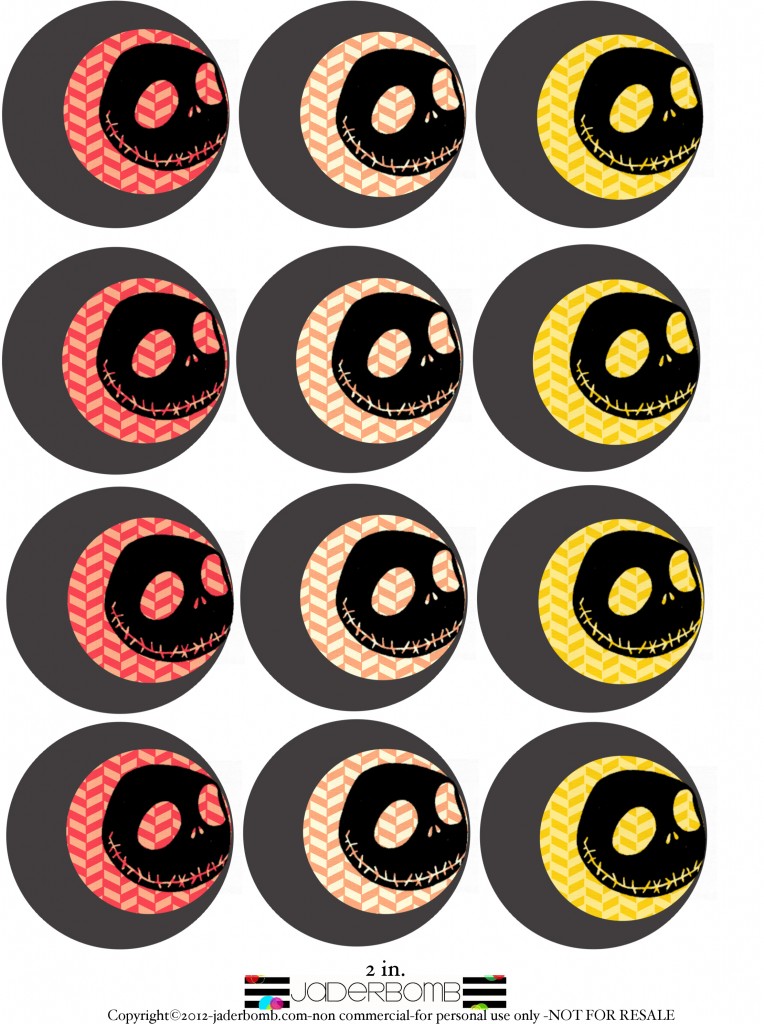
Today’s FREE printable is inspired by The Nightmare before Christmas. I love that movie and I think it adds a whimsical touch to Halloween, even though “Christmas” is in the title.

All you need is a circle puncher for these babies. They are made for a 2 inch circle punch but I used a 1 3/4 circle punch. I didn’t want them that big for my treats. You can get a circle punch at any craft store or Wal-Mart.

Do you see the gray MOON in the cut outs? Cute huh!

Don’t forget to print out this other free printable I made to MATCH. I always recommend printing on card stock.

DOWNLOAD THE FREE PDF FILE BELOW:

Nightmare before Christmas cake toppers