HAPPY TUESDAY!!! I am so stoked about finally showing you my Valentines Day tree I did for Treetopia! Don’t forget to hippity hop on over to Treetopia’s Blog for a chance to enter the #xotretopia giveaway!

On to more glittery things. Today I will be showing you how to make unique, fast and kid friendly ornaments. You won’t believe how much fun this project is and I am sure you will use this technique for many other holidays! Let’s get started.

Also make sure to check out my interview on Treetopia’s site!

These are the trees I used!

EASY GLUE GUN HEARTS

YOU WILL NEED: Parchment Paper | Glue Gun | Glittervalentine diy

Carefully draw a heart on your parchment paper with your glue gun. HOT GLUE GUN PROJECTS

Sprinkle your glitter or confetti as soon as you are done. You do not want your glue to dry for this step!RAINBOW GLITTER CRAFTS

Let it sit for a minute or two and VOILA! Your one of a kind glitter heart! HEART PROJECTS

YOU WILL NEED: Tulle | Scissors TULLE BOWS

Wrap the glittery tulle 4 times around your 4 fingers. Carefully pull off fingers. TULLE PROJECTS

Tie a knot directly in the middle. TULLE DIY

Pass your scissors through each end and CUT! HAHATULLE POM POM

Use your fingers to FLUFF it UP and here you have your very own tulle pom pom.
PINK PROJECTS

Now you can add all your beautiful ornaments to your tree!DECORATE FOR VALENTINES DAY

I made these X’s and O’s the same way I did the Hearts! XOXO PROJECTS

HEART CRAFTS

HEART DAY

GLUE GUN HEARTS

VALETINE DAY PROJECTS

Head over to Treetopia and enter the #xoTreetopia giveaway today. I’m just the first stop on a really awesome week long blog hop of amazingly talented ladies.

***This post was sponsored by Treetopia however all opinions are completely my own***

Hope everyone has a great Valentines Day! See you in the next post!

Jade

Happy Tuesday Jaderbugs! I could not wait to post this because lately I have been noticing everyone’s amazing tree pictures. Earlier tonight I posted on my facebook page that I was doing a post on Christmas trees and I got ton’s of pictures sent to me. If for some reason you send me a picture after I post this don’t cha worry, I will add it in!

I am very pleased to start off my Christmas tree post with this amazing tree. My friend Stephen Brown (you might remember him from craft wars on TLC) sent me this and my mouth just stayed open for about 46 seconds. You see that little gingerbread house under the tree?  Yes, this is in his fabulous home. I am just going to pretend that is my house and I live IN his house, in this little bitty house… Did I loose you yet?  It’s okay because I lost myself, haha! Make sure you visit his website to order all of his “GLITTERVILLE” items. He has ton’s of Christmas ornaments that you will go crazy over.

I am loving my girl Meg Allan Cole’s tree! Is it not the best tree ever! It’s all about DIY and that is what I love the most! Check out her awesome blog HERE where you can see the full tutorial on how she made this retro tree.

I love the simplicity of this tree from Virginia at LiveLoveDIY. It looks like it came strait out of a magazine!

This amazing tree is from Lindsay Trahan Adams with Periwinkel Pink Gifts. I feel like I just stepped into a Gingerbread home… I love how it’s all red and white. Very festive!

 This is the tree of a friend of mine Ashley Matte. She is a really famous country singer!!! I love how she brings a little Louisiana with her everywhere she goes! I love the brown, green and red ornaments! Make sure and check out her site by clicking on her picture!

This is my friend Rosa Clifford’s tree. I met her through Martha Stewart and I am SOOO thankful for this! She is the sweetest person in the world and her tree is just as sweet! Check out her website HERE, she makes the BEST cards ever.

Seriously how cute is this tree. I love how she made this out of drift wood. Check out Karah’s blog The Space Between for more great ideas!

I have always loved shades of blue on a tree. It just looks magical! This is from Barbara at Chase the Star.

Roeshel from the DIY Show Off did it again! Can you guess what my favorite thing about this tree is? How she wrapped the base of the tree~ It looks like she went in the snowy forrest  cut it and wrapped it up to put in her house! Love the red flowers in it also!

Sue made me so happy when she told me she was putting up a tree this year. It had been 4 long years since she put a tree up! Check out her site here!
Courtesy of Sue Doyle

The first thing that I thought of when I saw this was WOW, that is HUGE! I am really into colored lights lately so I appreciate that she has red lights tied into her white ones! Check out Cheri’s blog, It’s So Very Cheri.

This is another room that I just can stare at. I love how clean and crisp everything is. This is Cynthia Weber’s tree, who is an amazing interior decorator! Check out her blog HERE!

I always love when I see red ornaments. Maybe it brings me back to that picture in my head of what Christmas is… You know, the red and green picture. Heather from Setting for Four completely brought me back! She has a great blog so I suggest checking her out!

All I will say is WHOVILLE. I want to move there and put this tree on the top of my house!
Courtesy of Lauren Rippon Michael

Another one of Lauren Rippon Michael’s trees! Yep, she has two in her house. Don’t we all strive to be like her!

What I love most about this tree is the stand it is in. It’s not a traditional stand and I actually love that you don’t need a skirt around it. Very creative!
Courtesy of Jenn from the blog
Rook No. 17  

If this tree doesn’t make you want to get UP and dance then I don’t know what will. I love how bright it is!
Courtesy of Gabe Andrews

I am really loving this silky ribbon around this tree. It’s a great way to add some depth to a tree. Good to fill spots on a real tree also.
Courtesy of Jordan Dehart

When I saw this tree my heart melted. I love anything black and white. I especially love the checkered wrapping paper!
Courtesy of Veronica Rebollo Broussard

The one thing that caught my attention here was the feathers hanging! What a great way to dress up a tree.
Courtesy of Ivy Wiltz

WOW! I have never seen a silver tree before. I might have to put this on my list to get for next year. I love how bright and whimsical this tree is!
Courtesy of David Little

I love the red and green glittery ribbon on this mini tree!
Courtesy of Amy Hammond

I have to say I am very impresses by this tree! I love the ball garland all over it!
Courtesy of Rocky Roussell

My favorite thing on this tree is the letter’s that spell out LOVE! I also love the red cardinal at the top!
Courtesy of Nora Castaneda

My favorite thing on this tree is the RED BOOTS!
Courtesy of Clyde Valentine and Alix Tucker

I have always loved white trees. They really make all of your ornaments pop.
Courtesy of Crystal Lytle

I just love the tree in the picture and the entire setting. It looks like a picture perfect postcard!
Courtesy of Erin Prejean Benoit

This white garland reminds me of SNOW!
Courtesy of Cindy Spell

I love a good ole traditional red and green tree!
Courtesy of Amanda Toups

I love all of the Doves in this tree, plus the white ornaments.
Courtesy of Frances De Leon

I hope you enjoyed this post Jaderbugs!

Don’t forget to make it a DIY kinda day,

Facebook Twitter Gplus Pinterest YouTube E-mail RSS

Happy Tuesday Jaderbugs today we will be making a paper bead bracelet.The big suprise will be at the bottom of this post so make sure you read till you get to the end. This month’s box of goodies was a little different than normal. If you are not familiar with the #12monthsofmartha let me tell ya. Each month Martha (well maybe it’s not exactly her but I will pretend it is) sends me a box of goodies for me to review and share on the blog. I also make something fascinating with the goodies. This month she sent her new book. Read more about it here.

12monthsofmartha

martha-stewart-giveaway-jaderbomb

Martha Stewart’s Favorite Crafts for Kids: 175 Projects for Kids of All Ages to Create, Build, Design, Explore, and Share

I had to re-create a craft in the book so I chose the paper bead necklace except I made a Paper Bead Bracelet instead. I will admit right away that making jewelry is not the one thing I am really good at. You know the fancy kind, with beads and clasps and all those little things involved. I will shock you now and say that today’s tutorial was FUN and EASY. Did I mention “wearable”.

Martha, if you are reading this… YOU ROCK
{{ok, this is asking a lot but if you do read this just shoot me a comment and let me know what you think or just text me, hehe}}

diy-paper-bead-bracelet

“Fashion is not something that exists in dresses only. Fashion is in the sky, in the street, fashion has to do with ideas, the way we live, what is happening.”
― Coco Chanel

I am so pleased with the outcome!

diy-paper-bead-bracelet

This is the cover of the book and the bracelet I re-created. Let’s get started!

you will need

 paper trimmer|mod podge|decorative paper|toothpicks|elastic string|pencil

//P.S. You can purchase all of the items I used by clicking on the above links. These are affiliate links so if you click and buy you will help feed me more eggs and grits! Just saying, it’s my favorite.

diy-paper-bead-bracelet

Some of the items I used you might have already so take advantage of that. Oh, I used decorative paper to make my beads but another alternative is using magazine pages. I actually started one and can’t wait to show you.

diy-paper-bead-bracelet

The first thing you will do is take a sheet of decorative paper and place it on top of another one. Use the edge of the one on to to draw your lines, or you can use a ruler. You will be drawing triangles and the bigger the triangle the bigger the bead. Keep that in mind. I like to make around 5 different sizes so it’s a little more unique.

265

This is what the lines will look like on the paper. Depending on the paper some lines may appear lighter or darker.

diy-paper-bead-bracelet

Once you draw your lines then you can cut them. If you don’t have a paper cutter you can use scissors.

diy-paper-bead-bracelet

Your triangles should look like this. Unless you have a shaky hand, haha! Which is why I don’t use scissors to get a strait line!

diy-paper-bead-bracelet

1. Grab a toothpick and place the paper on the bottom of it.
2. Start wrapping the paper around the toothpick.
3. This is what your paper bead should look like once it’s all rolled.

diy-paper-bead-bracelet

Mod Podge the end so it all stays together.  You can even coat the entire bead with mod podge to make sure it is all secure.

diy-paper-bead-bracelet

Your bead should look like this when you are done. As soon as the mod podge is applied take the bead off of the toothpick. You don’t want to leave it because it could dry on the toothpick and we surely don’t want that!

diy-paper-bead-bracelet

diy-paper-bead-bracelet

Start stringing your beads with the elastic string. The good thing about this is you can put as many beads as you want!

diy-paper-bead-bracelet

Now onto the BIG news! I am giving away a copy of the book. WAHOO!

kids-craft-book-including-diy-paper-bead-bracelet

kids book winner martha stewart

 *JANUARY craft HERE
* FEBRUARY craft HERE and HERE
*MARCH craft HERE
*APRIL craft HERE
*MAY craft HERE

Check out some of my other crafty friends doing the 12 months of Martha also!

A  LITTLE TIPSY
A NIGHT OWL
DIY DREAMER
DOLLAR STORE CRAFTS
ECLECTICALLY VINTAGE
YOU ARE MY FAVE
FIREFLIES AND JELLYBEANS
DAMASK LOVE
MODERN DAY MOMS
SEW WOODSY
SOMETHING TURQUOISE
STUDIO DIY
SUGAR AND CLOTH
THE ALISON SHOW

marthastewartdisclaimer


Quote of the Day:
“I like the blood screaming through my veins. I don’t like it just pumping politely.” – Corin Fields 

Well I am so excited to share some pics I shared on Instagram this week! If you are not following me just look me up: my user name is JADERBOMB.
How was your weekend? Is anyone else having trouble getting back into the swing of things with the kids being off for so long, I know I am!

(click on picture to enlarge it)

jaderbombinstagramrecap

1.  I love this picture because it never fails. I always find glitter or confetti either in my hair or on the floor. I took some photos this week and there was confetti involved! Hour’s later I found a few hidden in the nest.

2. Our water machine. I had to take this picture because I completely gave up my favorite thing in the world which is Dr. Pepper! Wuhhh! I gave it up 100%. I feel so much better which I already knew I would but Dr. Pepper is my weakness. Working from home can be hard at times because you are in your comfort zone, it’s easy to just grab a Dr and sit at your computer for hours. So this water jug was put in Friday at 12pm, this picture was taken Friday at 8pm. I drank that much water in ONE day! Our water man came this morning and I usually get one jug but I got 3 today. Eeekk, he just looked at me and I laughed. I know all that sugar is bad for me and I don’t want to do that to my body anymore. Did you give up anything for the New Year that you miss SO much already? Let me know in the comment section below, I would love to know.

3. Ceaux Ceaux laughing at me when I told her I am not drinking Dr.P anymore. No, just joking she just smiles when I put the camera in her grill. What? You don’t know Ceaux Ceaux (co-co).. Check out her blog HERE and her Facebook HERE.

4.  Our new piece of technology in the house. Jaderbugs, you have to get one. It is so amazing! You can monitor it from your phone which means if you are cold in bed you can turn the heat up FROM BED. Lazy, yes. Smart, yes. Check it out HERE.

5.  The other morning I was sitting in my car about to get out when all of a sudden something flew up and hit me on my neck. I immediately looked like I was
a: dancing to some hip hop song on the radio
b: dancing to some cray cray song in my head
or
c: freaking out because I felt something fly on me
When I realized it was a lady bug I instantly smiled and made sure I didn’t kill the lil sucker. I mean you don’t just fly on me and expect my instant dance moves to not to splatter you. Not smart lady bug, not smart. Good news is she lived and made it on my instagram.

6.  We collect vintage signs. I love these two from Pop Stew. He used to work at a gas station and these were the signs they put up at the tanks. Cool ey!

7.  Remember earlier when I said I don’t drink Dr. P anymore? Well I forgot to tell you I gave up eating babies too. Here is my yummy egg whites that I ate while drinking WATER.

8.  Me and Ceaux on our bike ride through our lovely city. It is so much fun to ride bikes when it’s FREEZING outside, right! (SMH)

9.  Yep, I rode around just like this. I kept wondering why everyone was staring at me but I guess they thought I looked dangerous. Ya know, me and my dog with a decorative leash. Rarwwwww

10.  Sorry Bill. This is my cute Dr. Not Dr. Pepper tho! He prolly wouldn’t like if I drank him. He texted me and said “guh you better not post those pics on your site”. I said OK. Bill if you are reading this, it’s because I love ya! Ladies, he is single and can crack a back like nobody in this world.

11. Oh, Co. Yeah any room we go in the door get’s shut. Somehow this extraordinary nose can open every single door. The thing is, she pops her nose in just like this and does not make a noise. She will stay like this for 15 minutes strait. Half of the time you think you are alone, but you are not. I think she holds her breath too, haha!

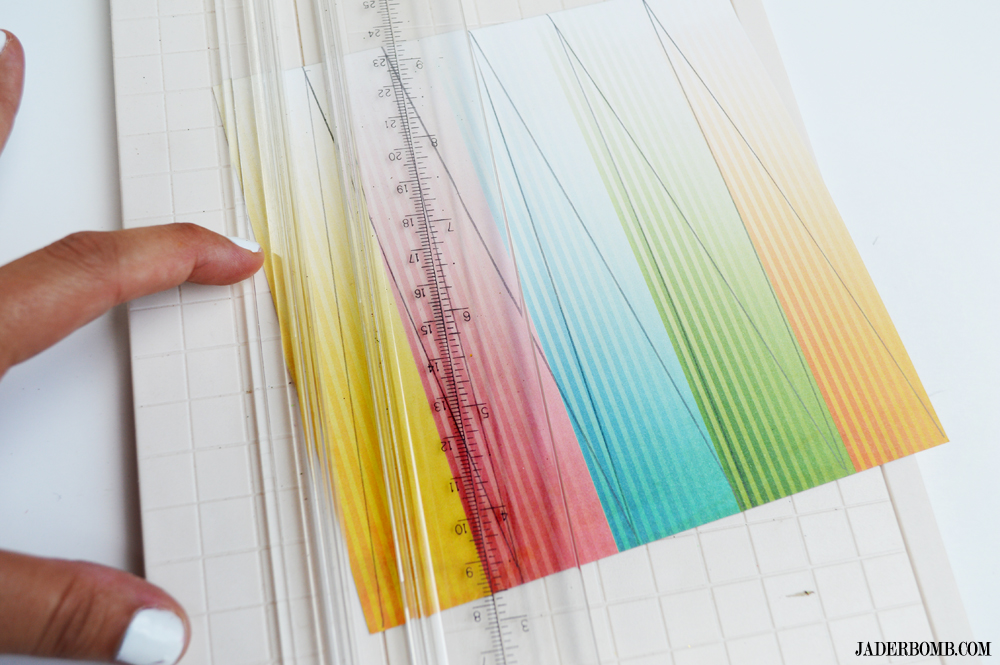
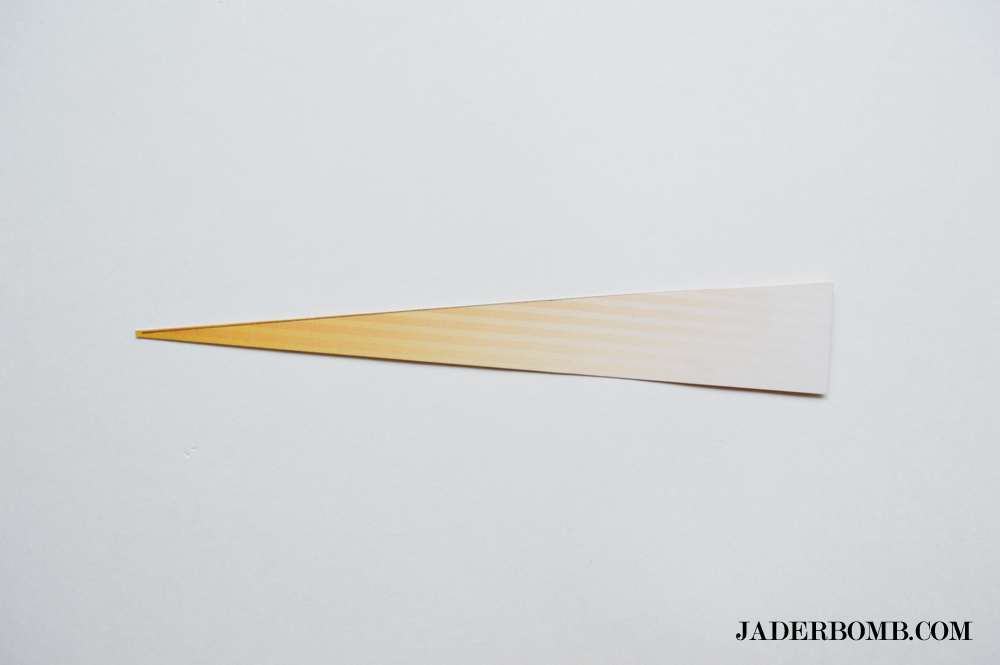
12. My friend Sue introduced me to water color crayons. I know I thought the same thing. How could I be an Artist for so long and not know these suckers exist. I love water color and now I love water color crayons. Check them out HERE.

13. A preview of a recipe that will be on the blog this week! It’s a yummy one!

14. Yep, our tree trimmings are up in flames. Lil one loves to burn leaves because they make a cool crackling sound.

15. Is it weird that I wish I still had this awesome pleated skirt. I think it’s so cute. #tbt

16. My little man that greets me every time I wash dishes. I usually put soap on here but I had to change it up a little.

17.  I love posting quotes on here and my facebook. I think you can tell. Quotes just make me happy. They give me inspiration daily.  I know they are words but I promise if you put quotes up everywhere will make you feel great.

18.  I am happy to end my instagram recap with this one. It’s free and easy to do. Sometimes you don’t realize what a smile can do to a person. You never know what is going on in a person’s life or that day. Your smile could make them feel noticed and all mushy inside. I usually smile at myself when I pass in front of a mirror. Who said smiling at myself won’t make me feel better. Trust me it works.

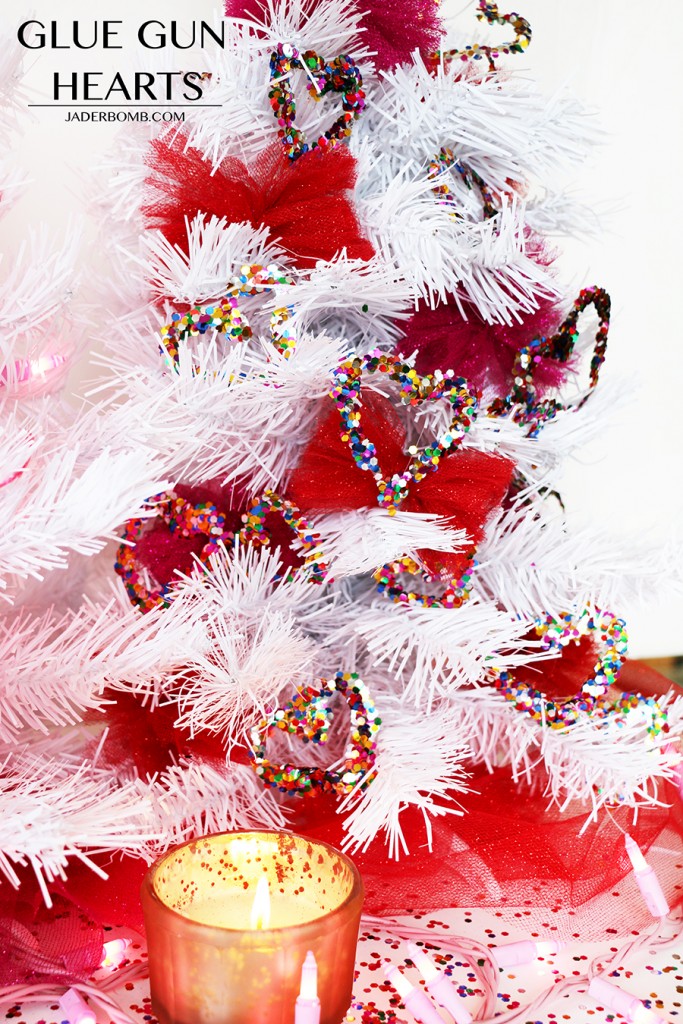
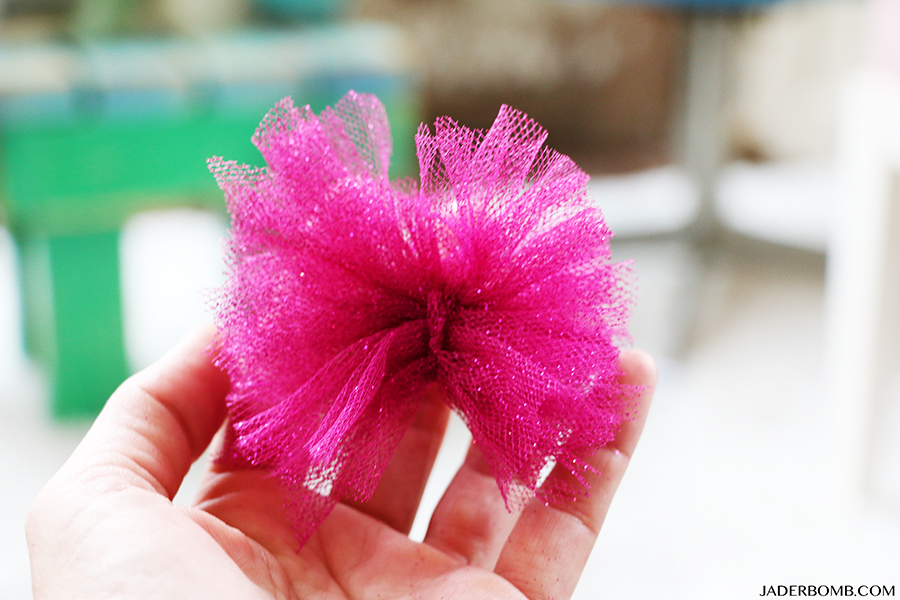
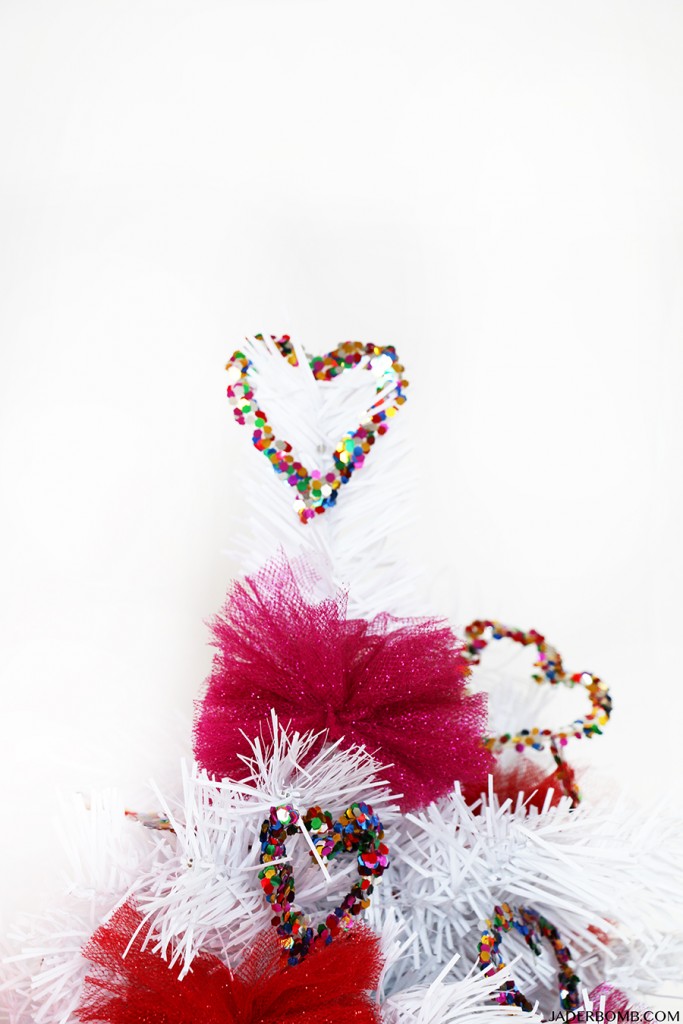
Well Jaderbug’s I hope you enjoyed seeing my week through the eyes of Instagram. Stay tuned this week I have some NEW VALENTINE crafts going up and they are cuh-yute.
See ya in the next post,

jaderbomb.com

Wanna follow me: find me in these places

Facebook * Twitter * Tumblr * Pinterest * Google+

Featured on:

TV: Martha Stewart: DIY Ombre Photo Matte KPLC News : Pumpkin Projects KPLC News: Christmas Projects MAGAZINES: Woman’s Day: May Issue Kids Crafts 123 Rachael Ray Everyday June/July 2016 PUBLISHED: Woman’s Day Magazine  Kids Crafts 1.2.3. Issue 6 Green Craft

Read More →

If you are planning a Valentines surprise for your love one’s tonight well you still have time to make this! It is cheap and super easy.
If you want to decorate that steak you are cooking, “stake” it in that meat!! {{hahaha}}

Ingredients you will need are:

* Skewers which I bought from walmart and pom poms from Hobby Lobby. The name brand I bought is called “tree house studio”.

They come with 18 pom poms that are cute and shiny.

The bakers twine I used is from Martha Stewart’s line at Michael’s Arts and Crafts.


First thing you want to do is add some hot glue to your pom pom. I am using a dual temperature hot glue gun from Martha Stewart’s line of crafts.

After you add your hot glue to the pom pom you want to immediately put your bamboo skewer into it. I broke my skewers to make them a lot shorter!


When you are done tie a little piece of bakers twine to the skewer and voila! Your little nugget of food decor…

I wonder if anyone will really stick this into meat! HAHA

Sending you lot’s of steak love for your nice night, 

This post is brought to you Plaid’s Martha Stewart line. I received product for this post. All opinions expressed are 100% mine. You can check out Plaid’s fullMartha Stewart product line here.