 Howdy Hoo my crafty peeps and non crafty peeps! I am kinda stoked about today’s post and you will see why in a hot minute. I am warning you this post is pretty long but it’s all good because I have so much to show you. First of all I love to create whether it’s with crystals, pom poms, glitter, glue, paper, junk, more glitter, lights, candles, cardboard boxes, clothes and anything else you can think of. I finally get to show you my CRAFT SPACE! Now, I know I could of done this a long time ago but I guess I never thought anyone would like to see “where the magic happens”. Apparently Michaels thinks I’m so cool that they asked me to share where I create all of my DIY’S with YOU, YES YOU!
So put on your seatbelt (hopefully it has glitter) because I am about to show you how I stay organized, things I like about my space, ways to stay creative and so much more! Let’s get started!!
P.S. I believe everything surrounding us should make us happy. If you like peaches and lace well make your craft room pretty and delicate. If you like pom pom’s and fake dolls (that would be me) well rock it! You get it? Your craft space should be filled with TON’S of things that make YOU happy and from there your creative juices will continuously flow!
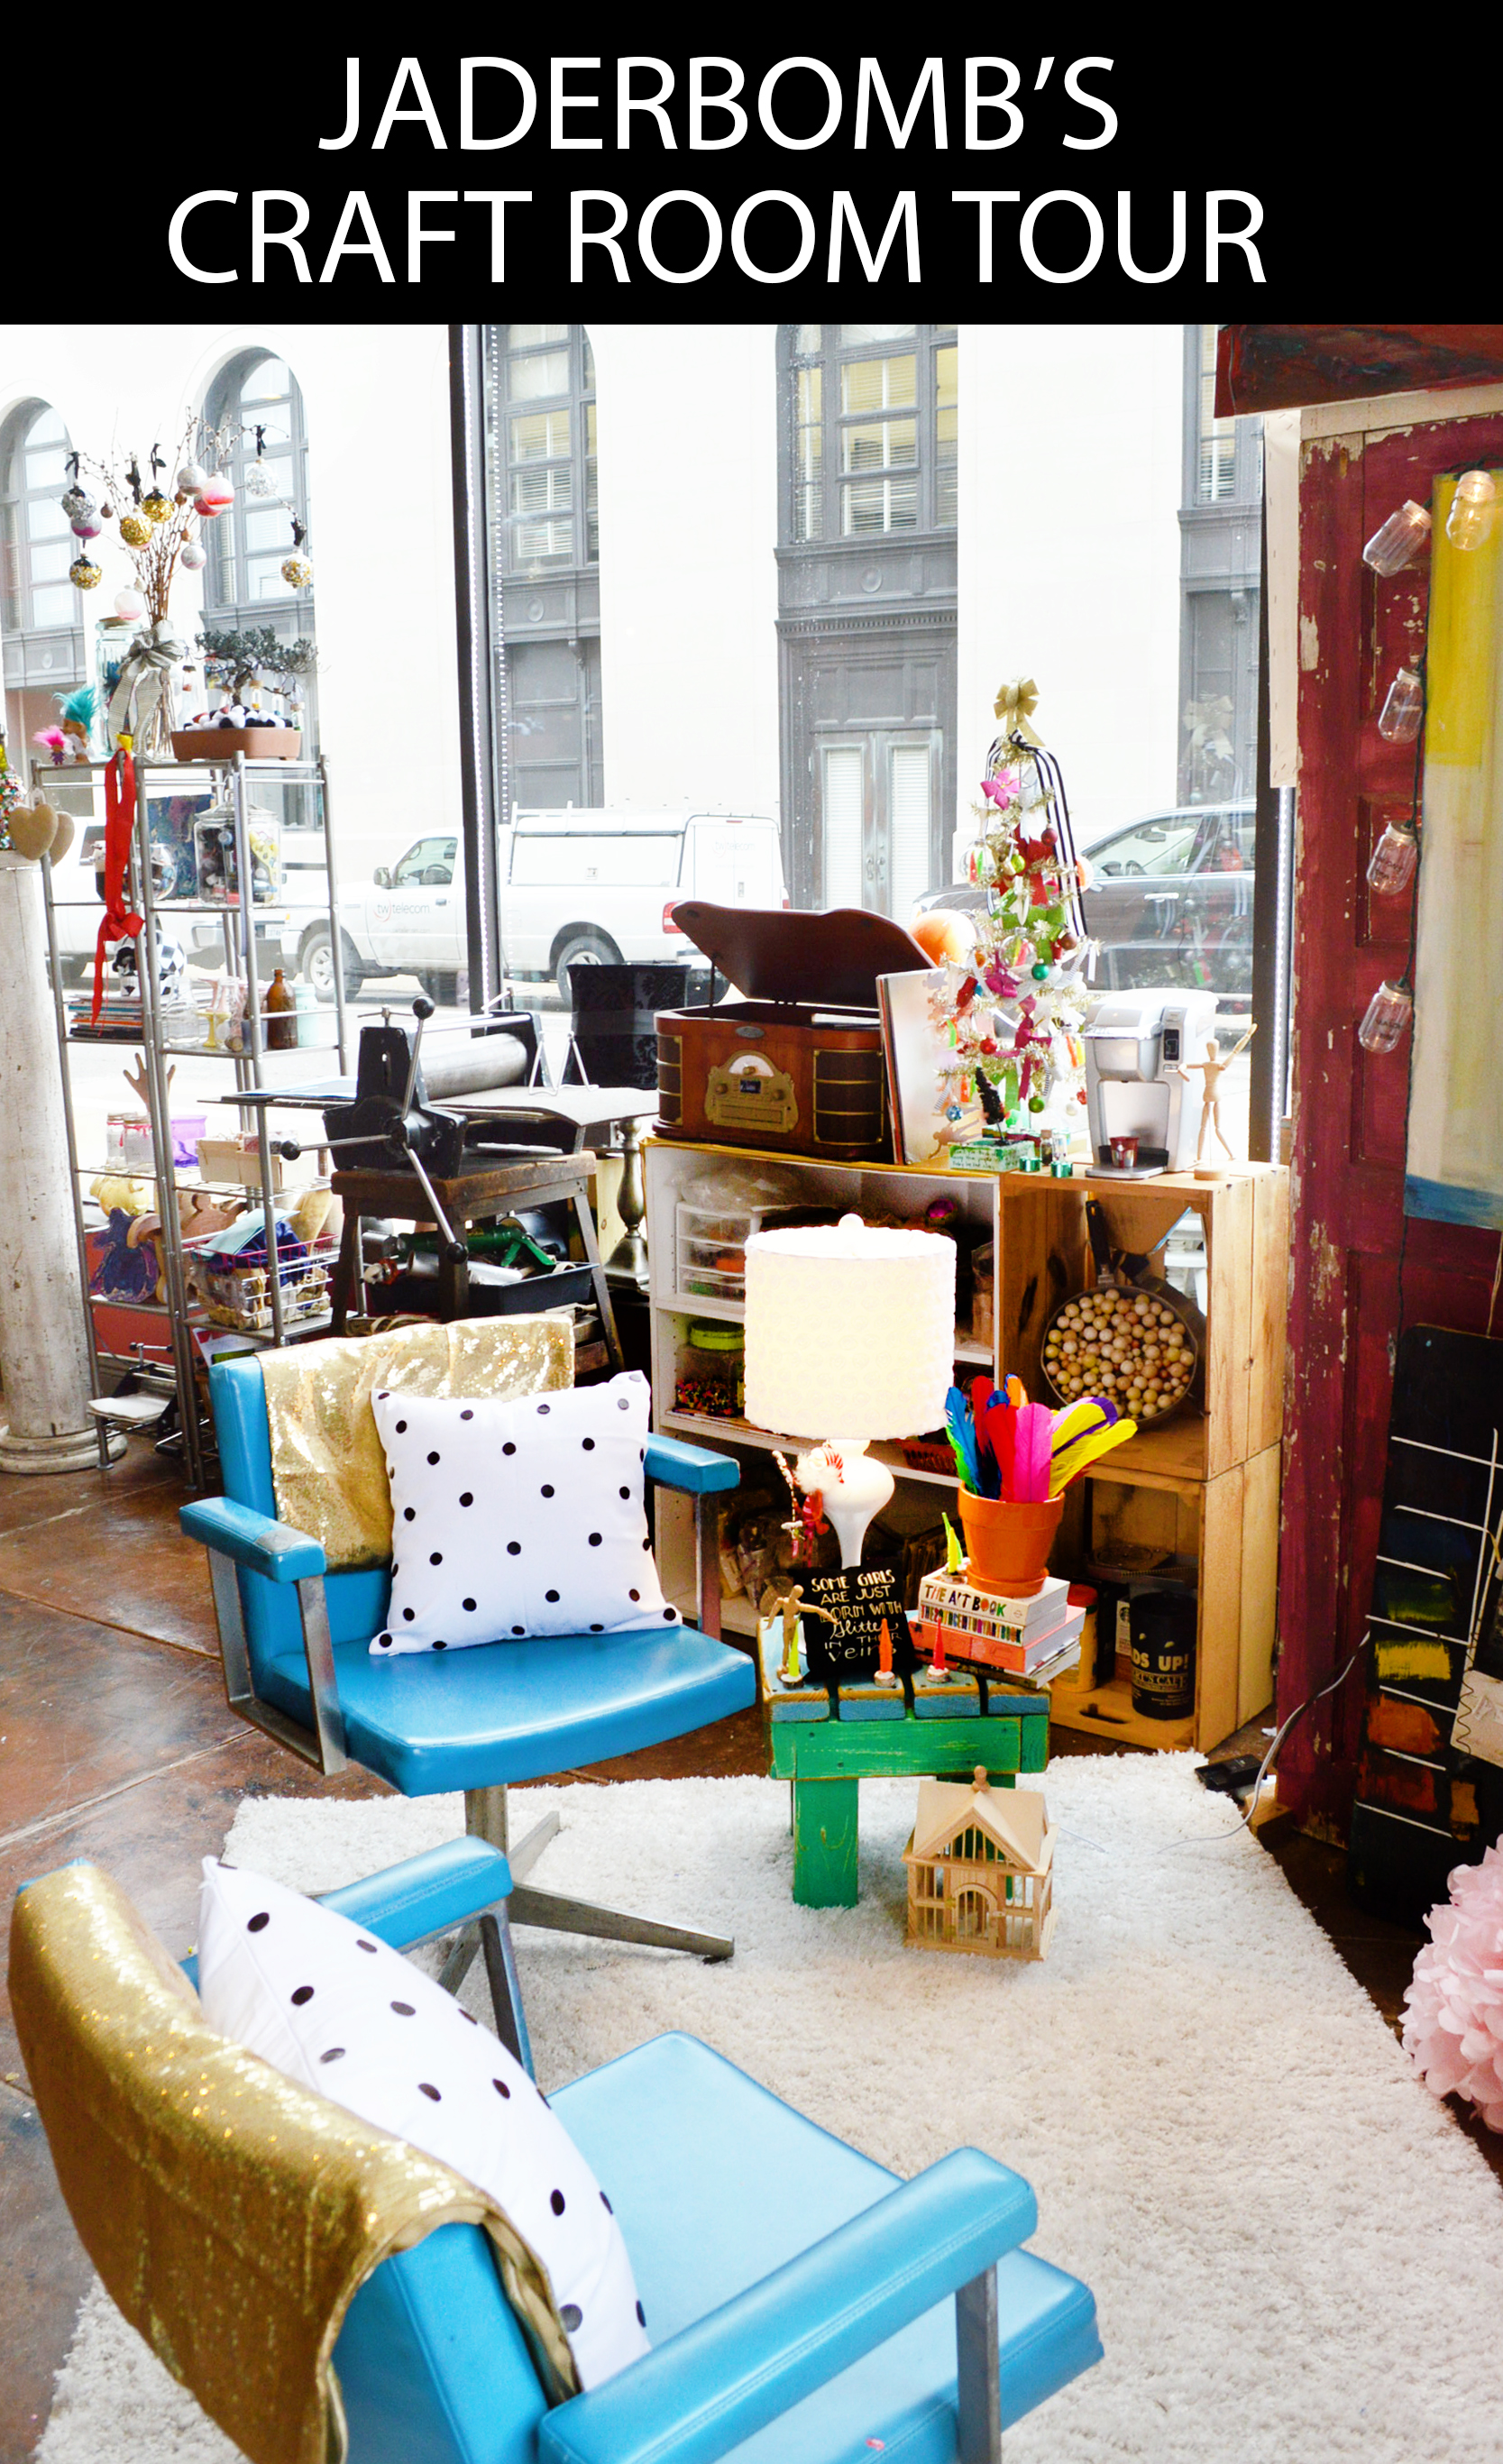
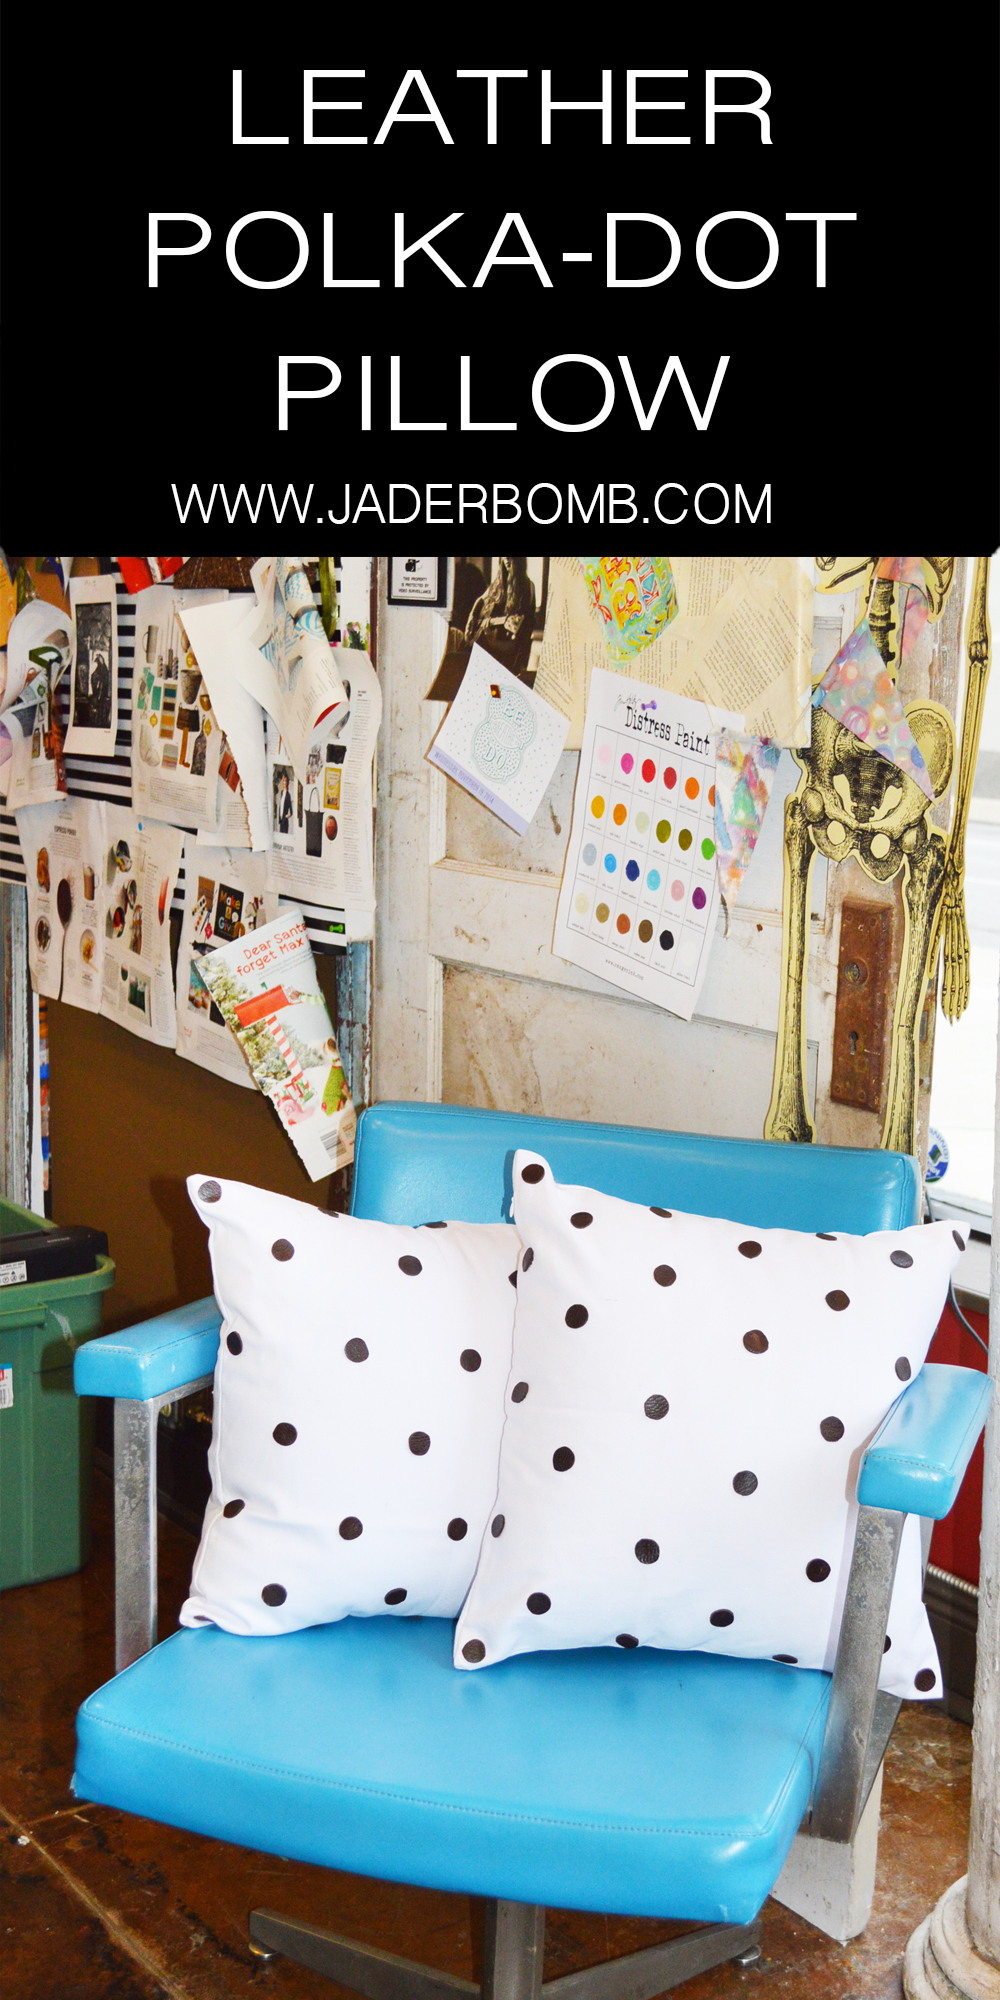
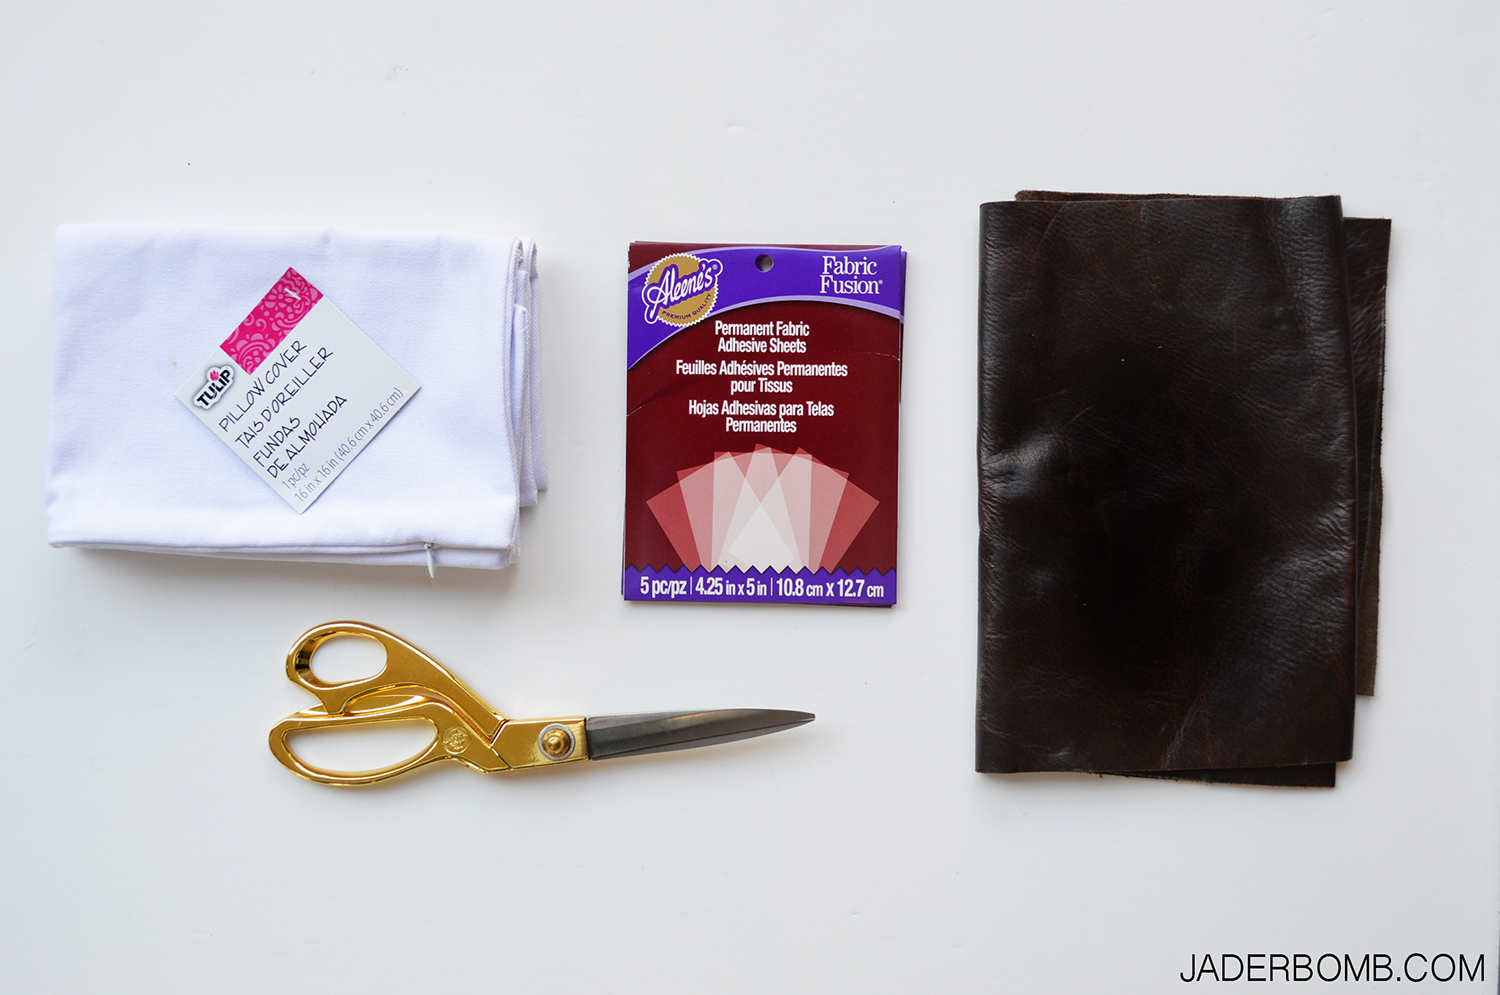
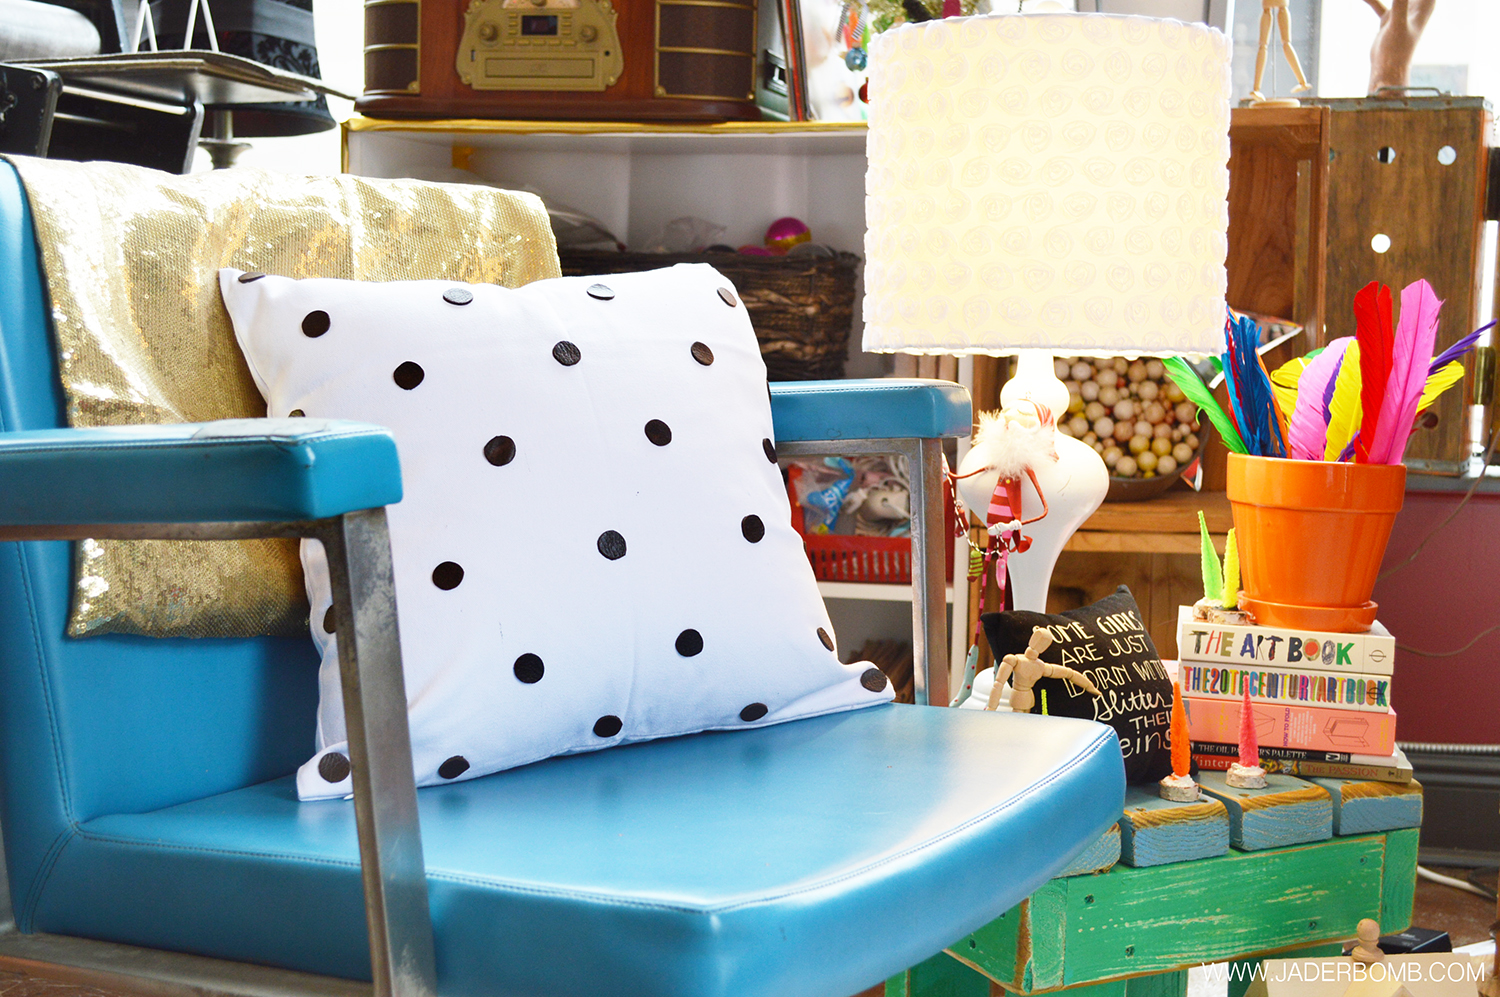
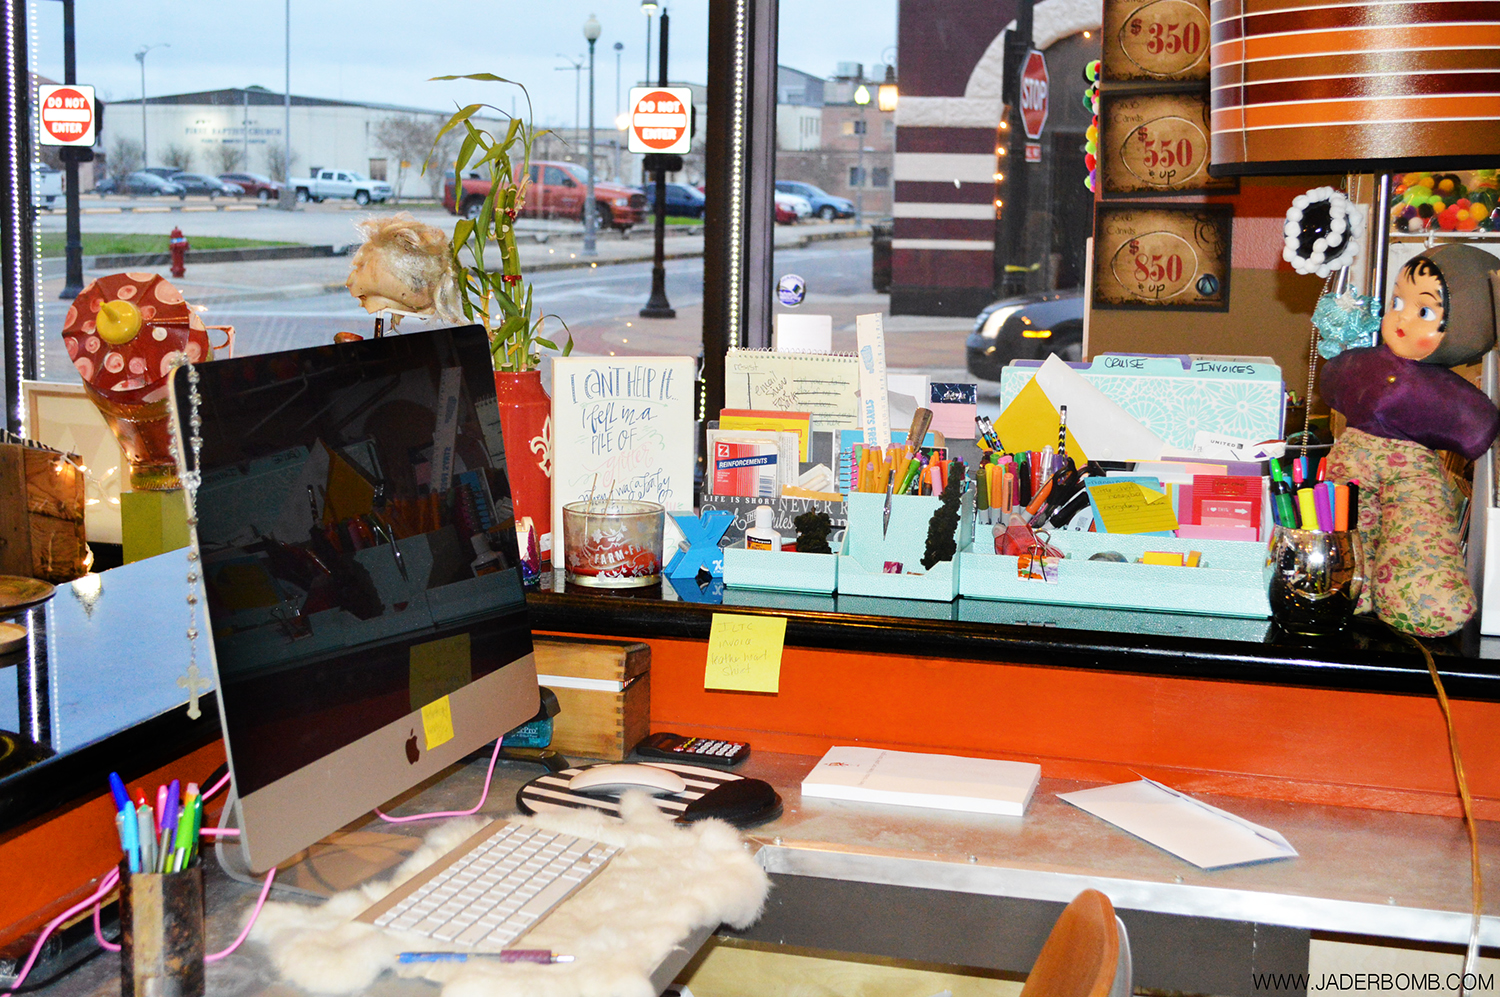
When you walk in my studio I have a chilled out sitting spot. Yes, I did tidy it up for this picture but not as much as you think! These chairs are my favorite and can you believe they were FREE. I know they are vintage but not quite sure how vintage. I always wanted a spot where I can go sit or lay down to think, relax or sleep (teehehe) which is why this is here. I have my record player, coffee, and NEW 2015 inspiration board all located in this zone of the room. My dogs love this carpet by the way! I finally had a chance to make these awesome pillows since the holiday’s are over. The full tutorial will be up on the blog tomorrow!  I like to put things on my desk that make me really giddy inside. Now this doll might not make you giddy but believe it or not she is my FAVORITE thing in my studio. My boo made it and it inspires me daily. I think every studio should have a spot where you can put nik naks and cute little things. This friends, is my spot.
 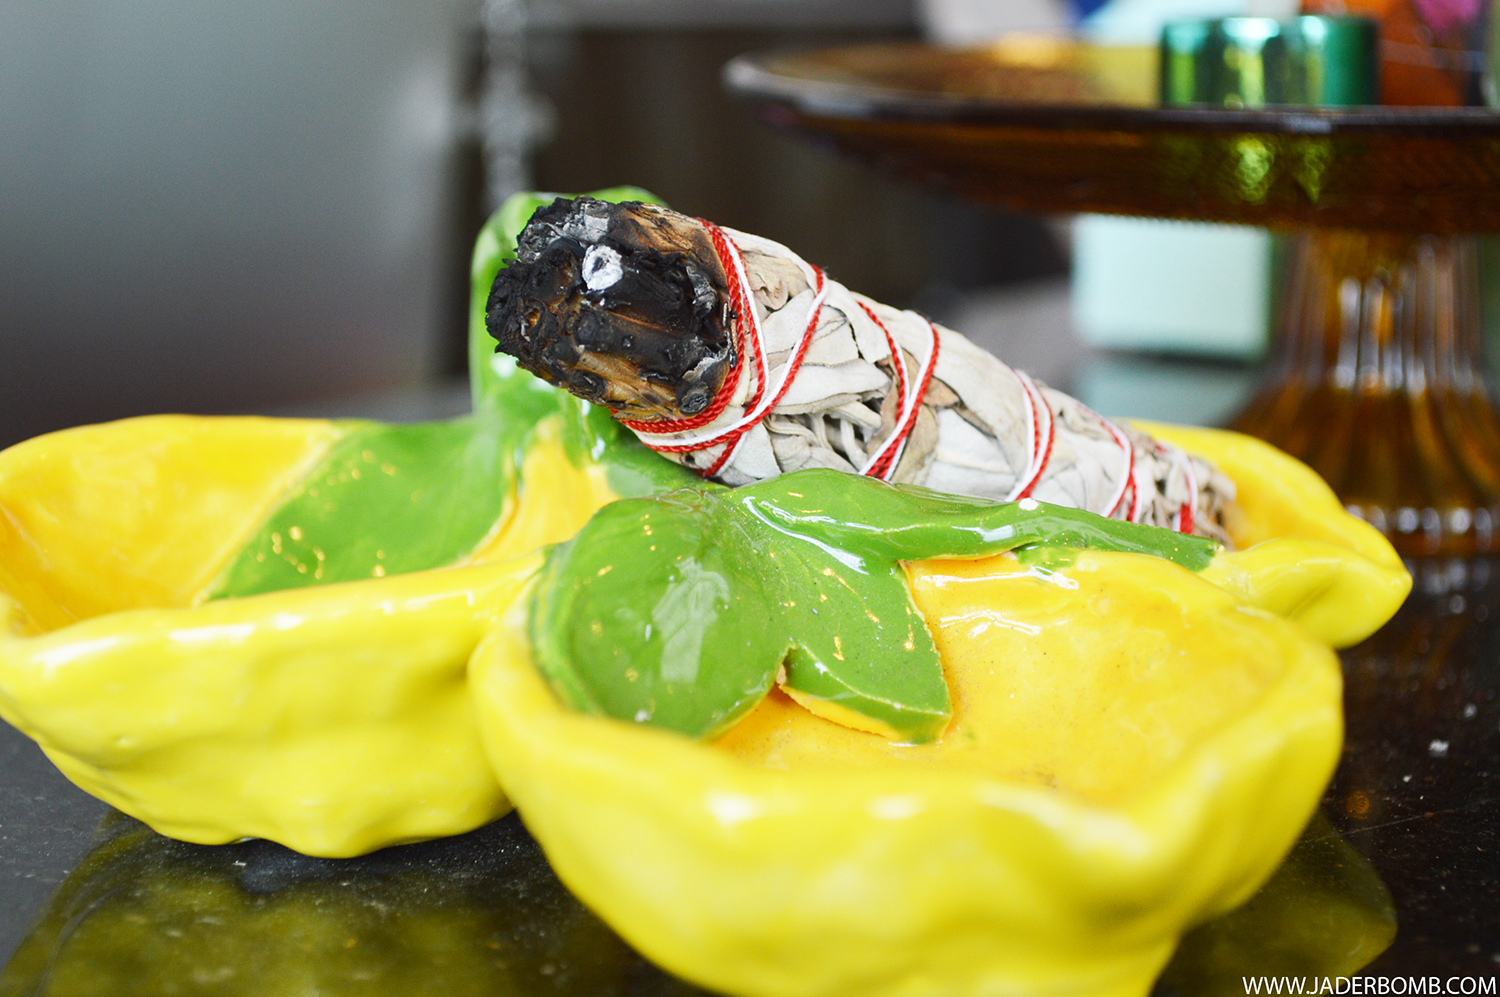 Sage is a necessity. Not only do I LOVE the smell but it clears the energy in your space and I think we all need this.
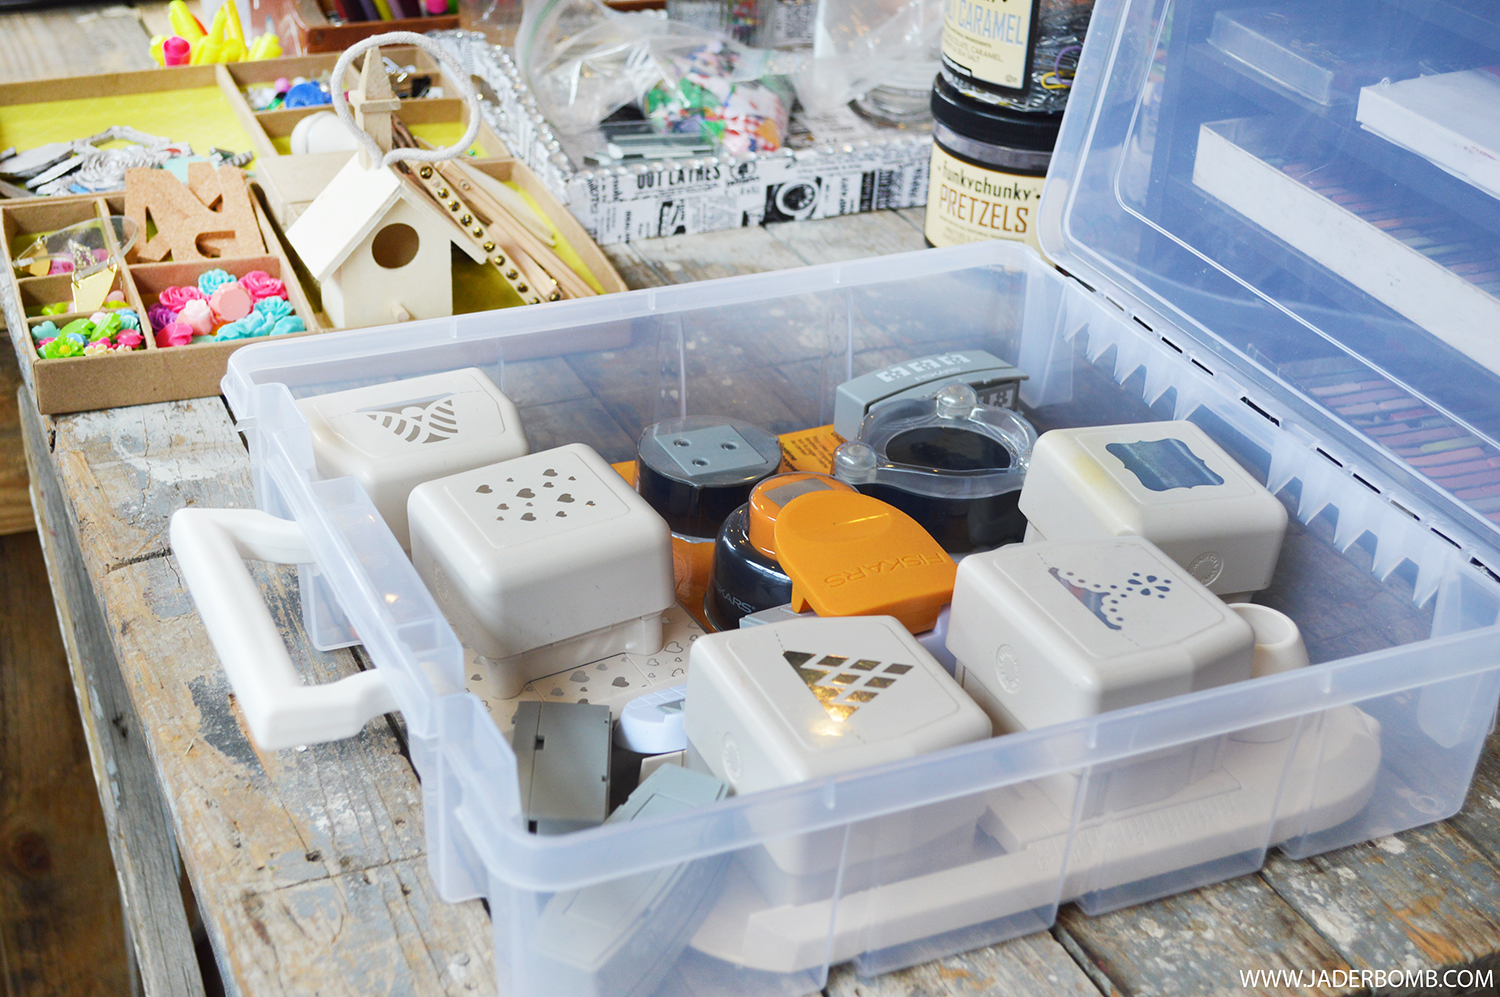 As a professional crafter my biggest task is to STAY ORGANIZED. Yes, sometimes my studio looks like a hot mess ( as is should ) but when things have a place it makes life a lot smoother. I love these clear carrying boxes from Michaels. I have ton’s of them and they are super handy. I like to put all of my stamps in these containers.
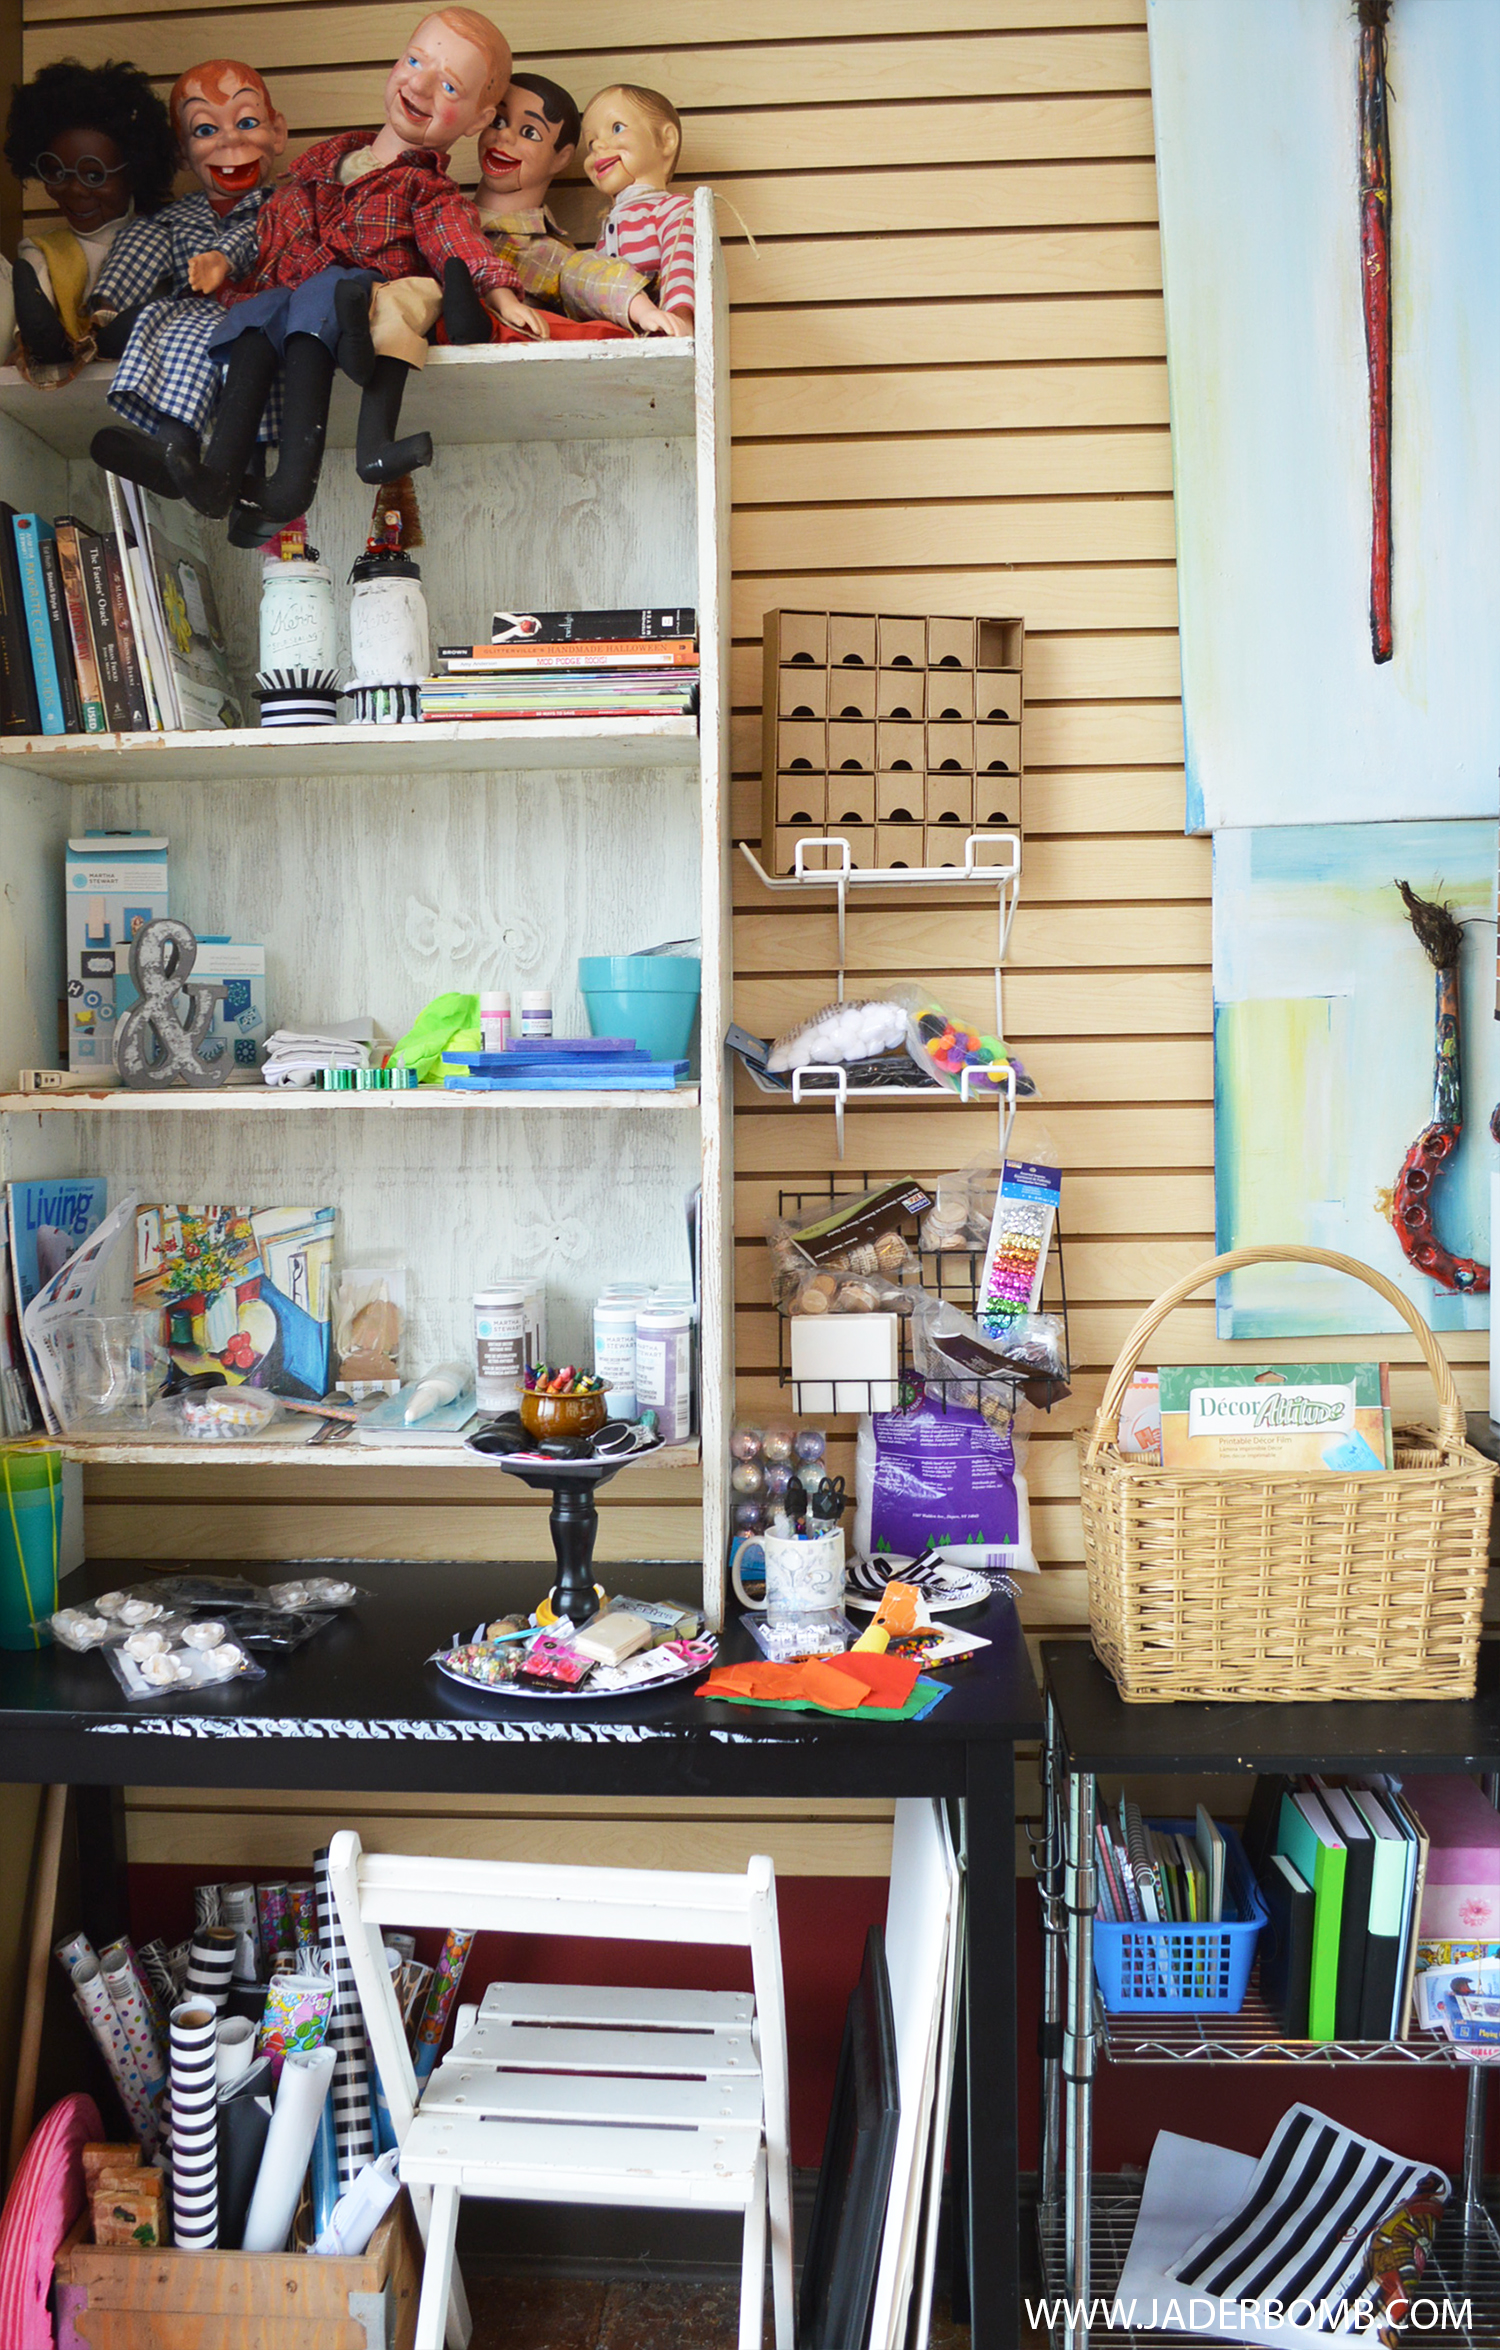
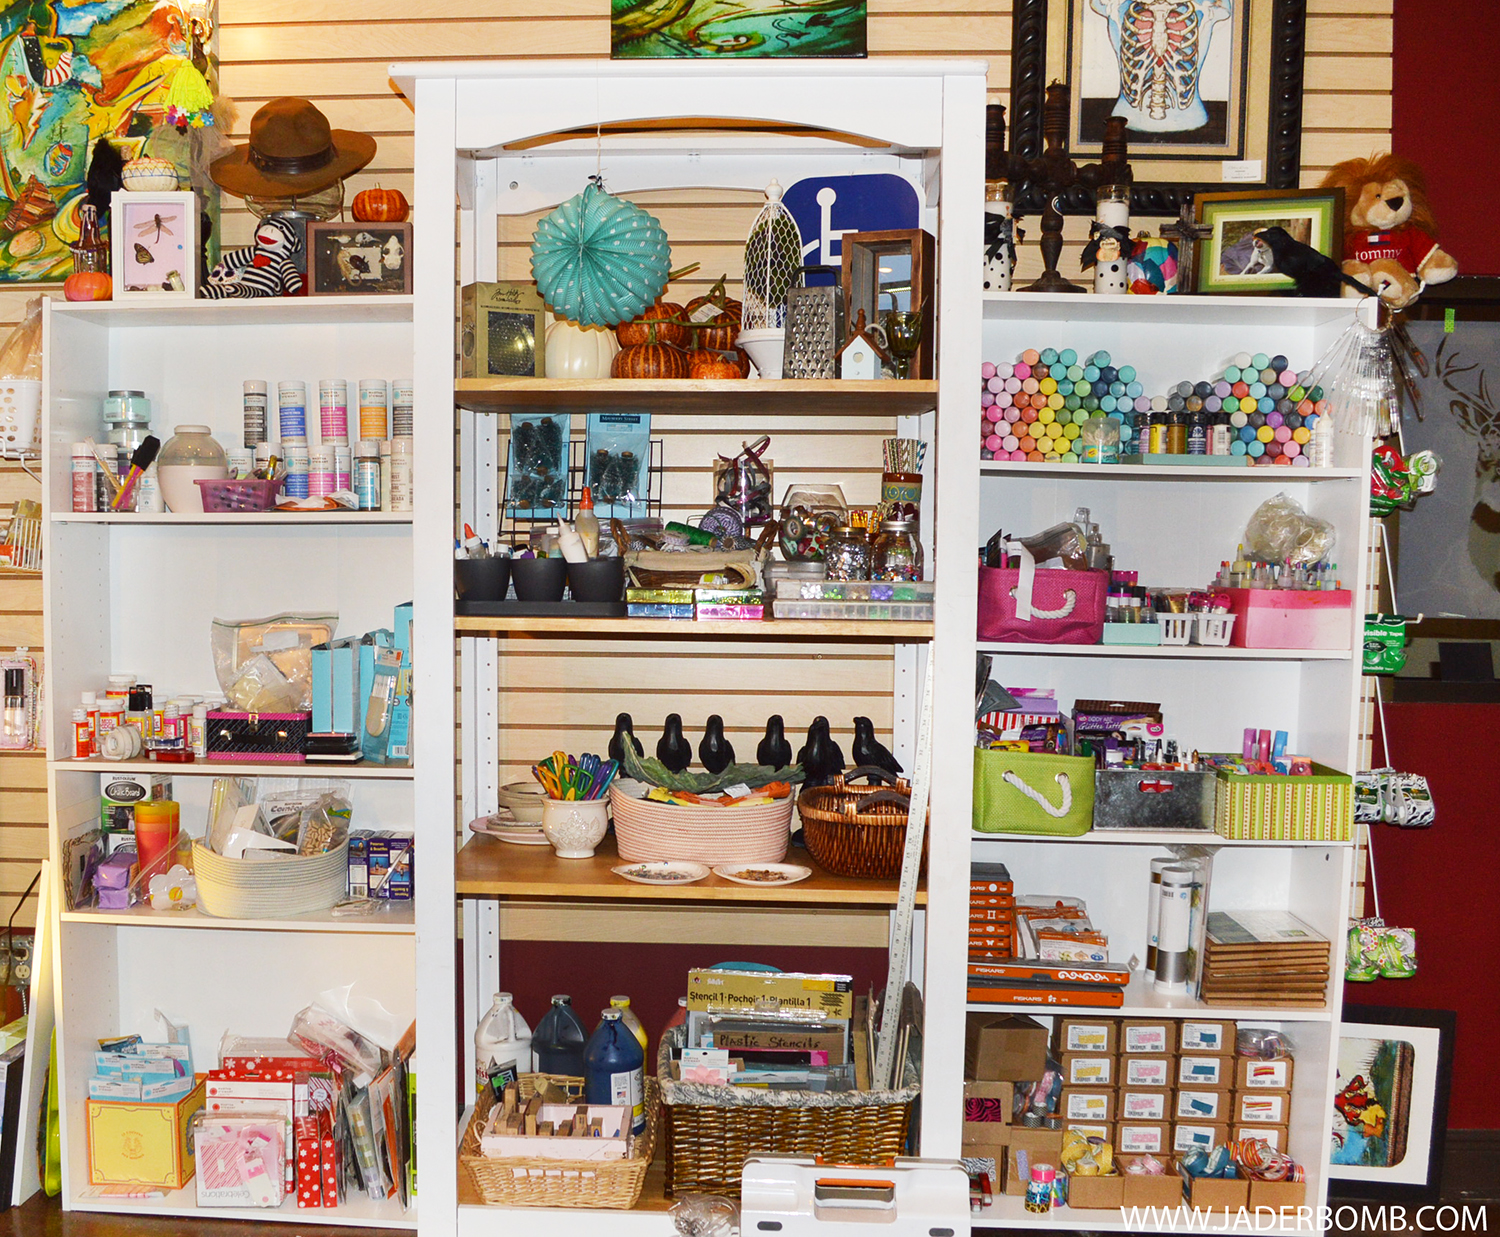 I have this thing with “white shelves”. I think it’s because when you store things on them they POP and you can see everything better. These two shelves on the sides are super cheap! I think I got them from target for 40 bucks. You can put four of these together and BAM a whole wall of easy storage.
I love buying baskets and tins from Michaels because I can put these on the shelves and keep certain things organized by color or brand. I am kinda OCD when it comes to my products. I like all of my things to have a HOME. It just works for me and it makes it nice when I have to go get something. 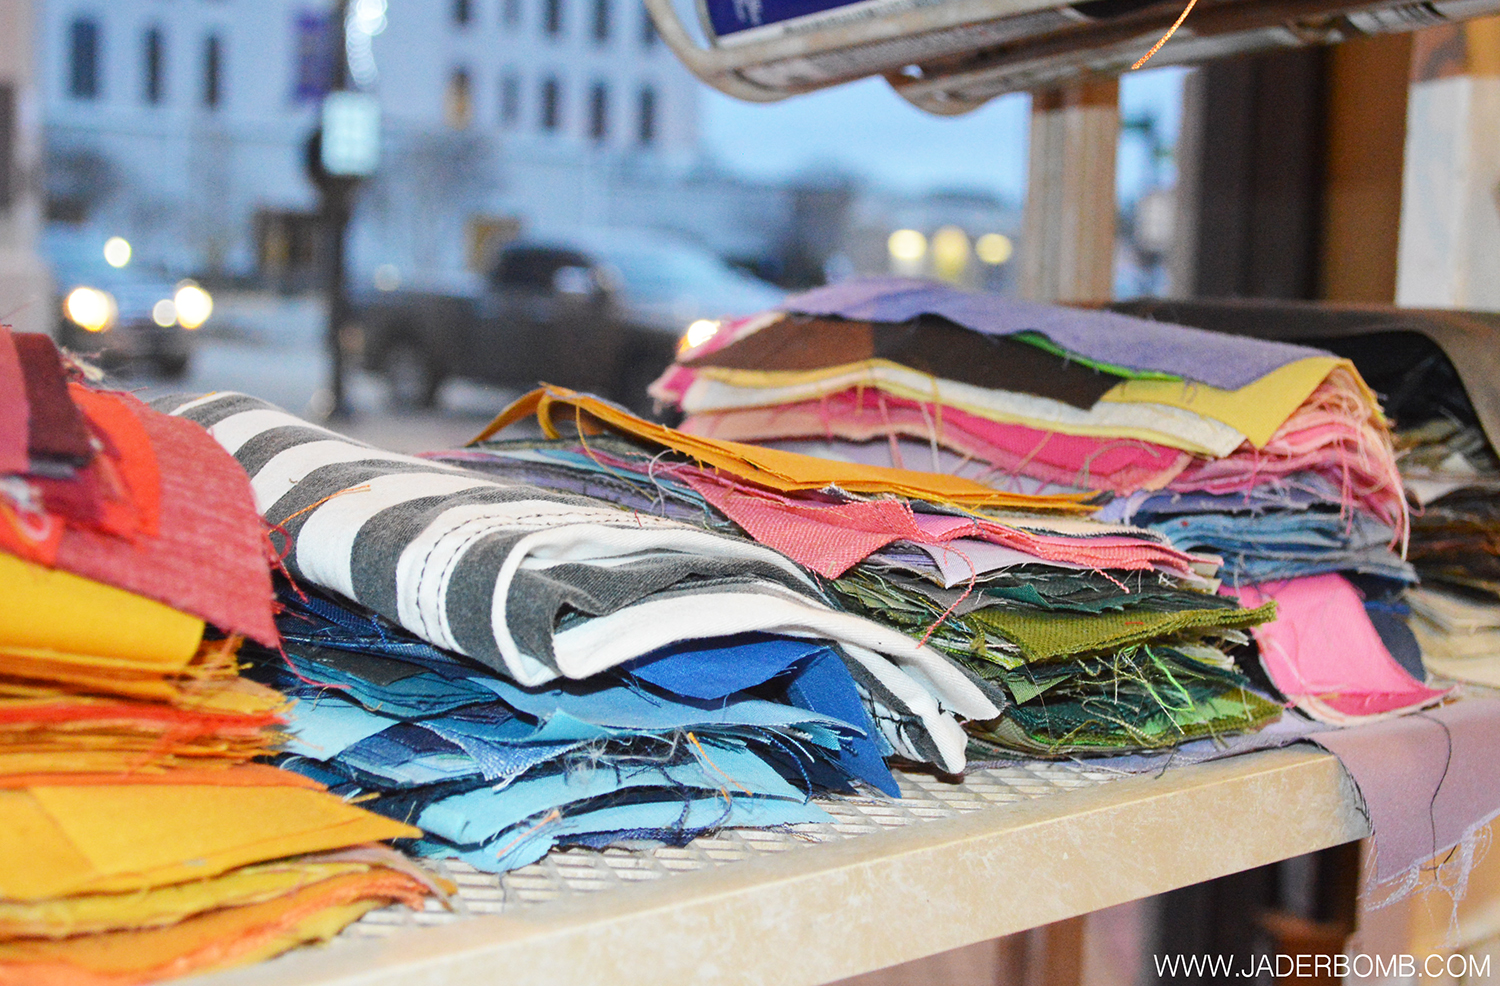 I love fabric. I keep all of my strips organized by color and they live on a cute little shelf ready for me to play with them!
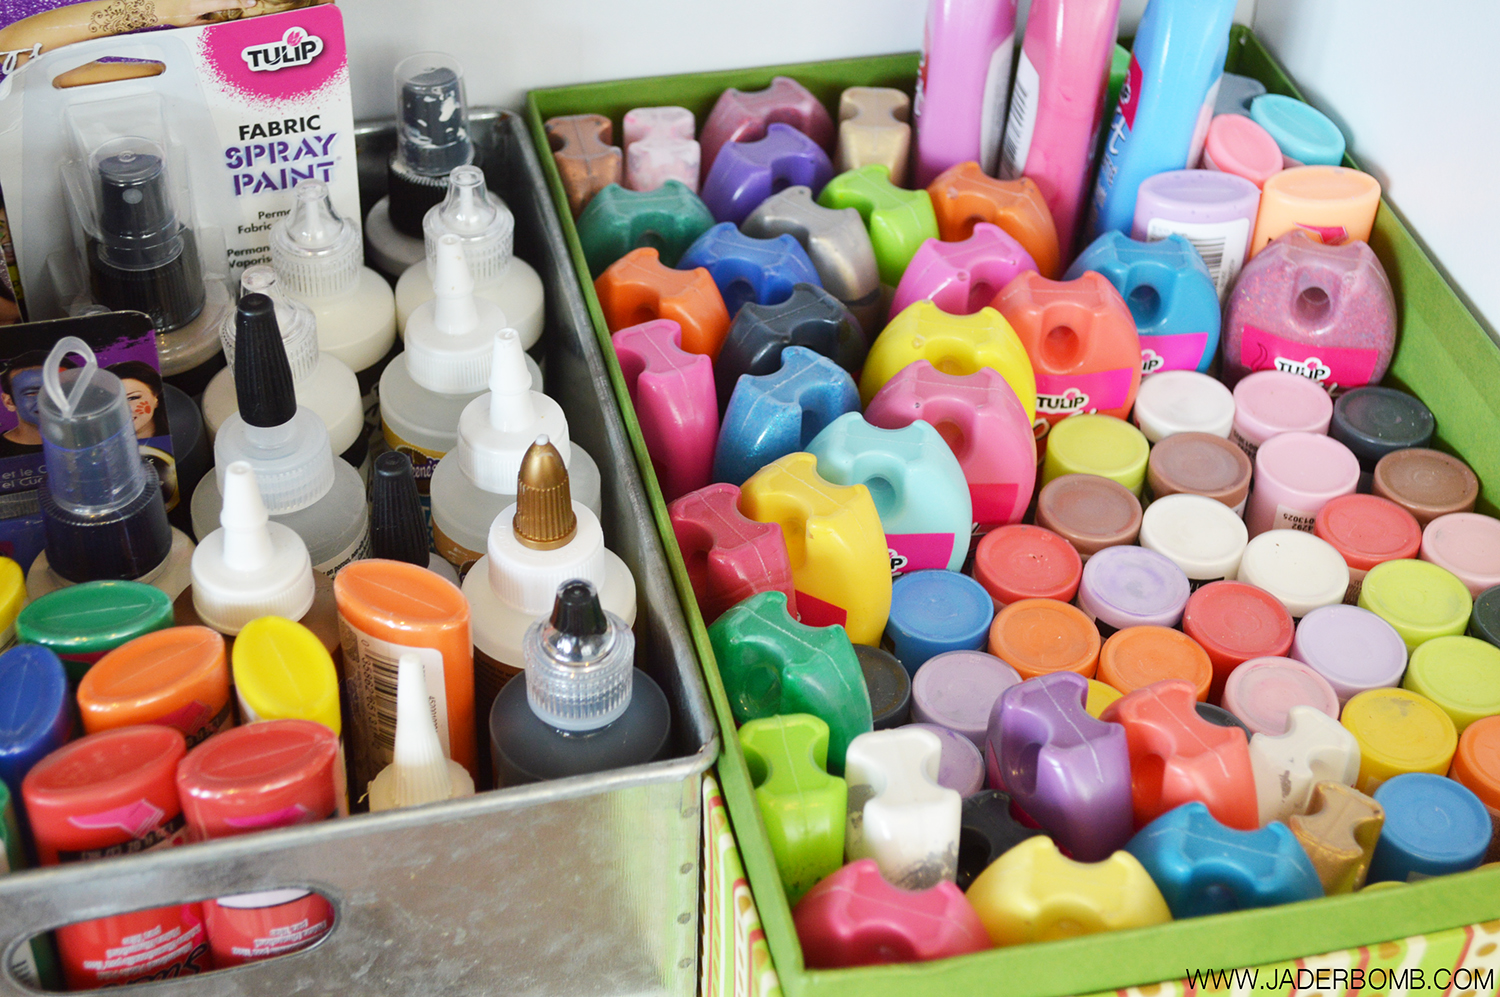
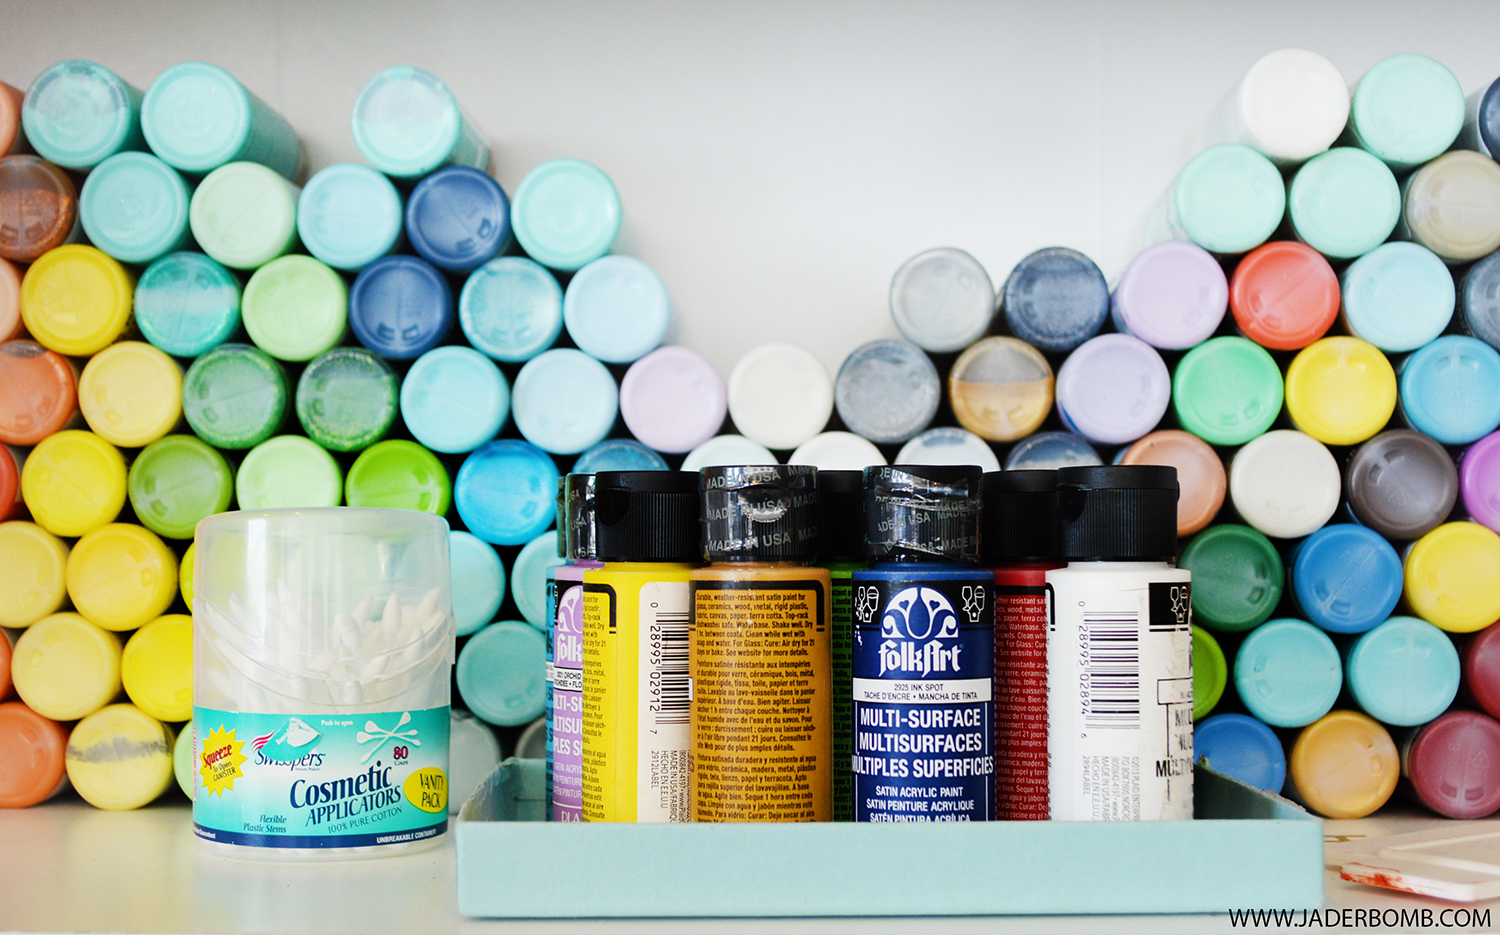 I have tried numerous ways to keep my paints neat and easy to get to. Stacking them like this has been the best thing so far. Again, these are on those cheap shelves!!!
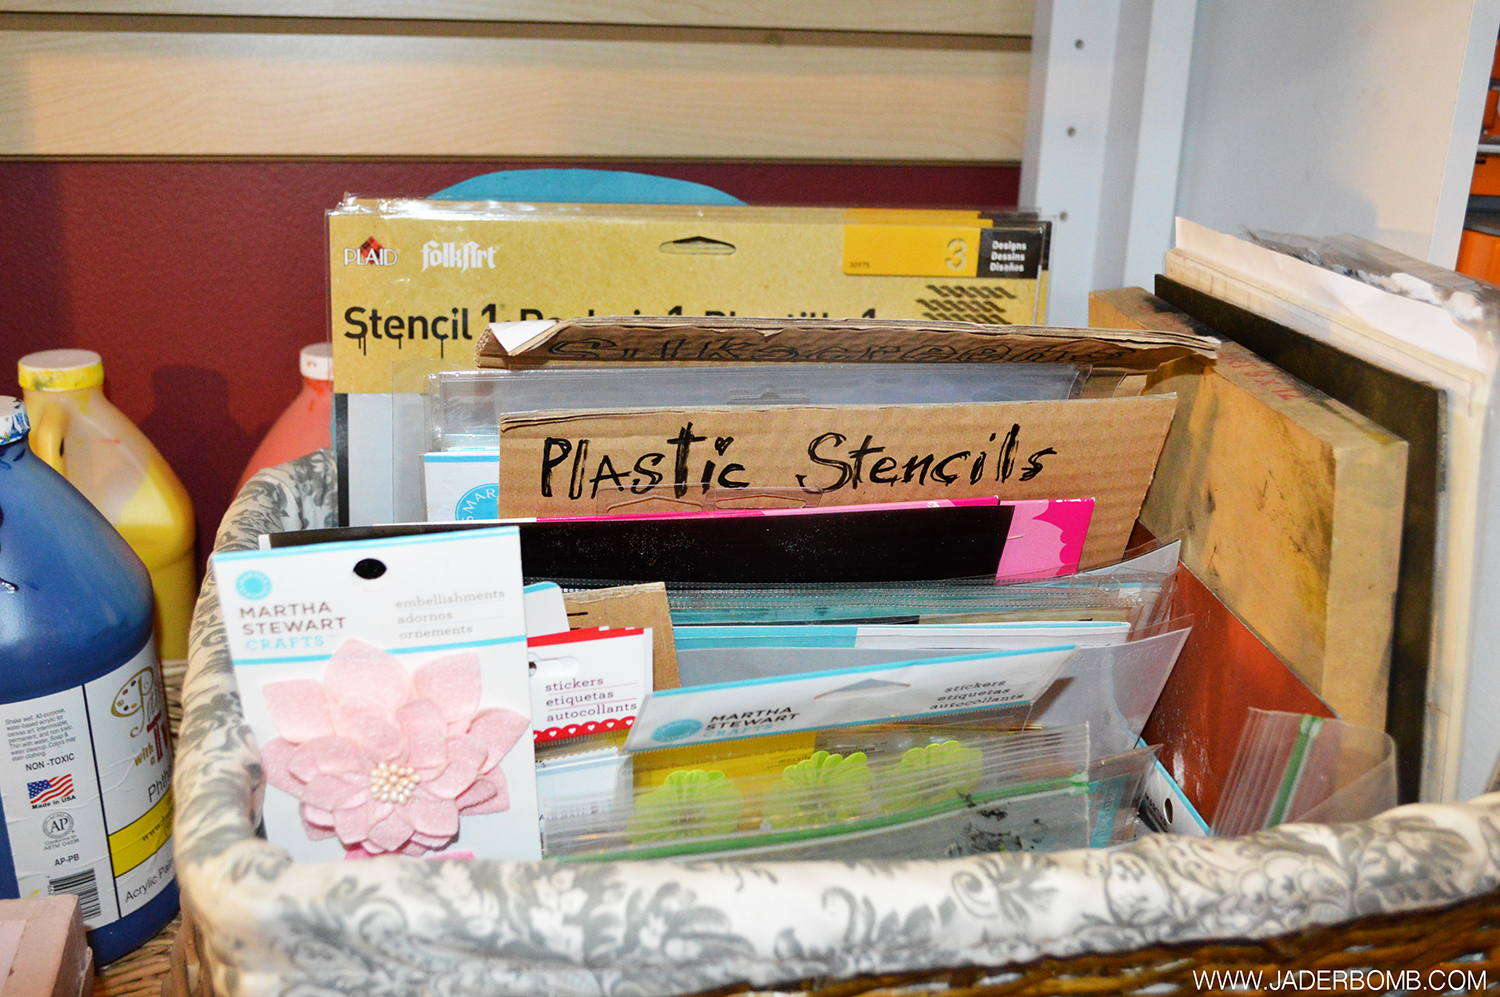 I bought this huge basket from Michaels and I use it to keep my stencils all together. I keep them organized by separating them with cardboard pieces. I have sections which make it easy to find a certain stencil like plastic stencils, paper stencils, silk screens, adhesive stencils and stickers. I truly love this!
 Now this hot mess section is exactly what I just said. A HOT MESS. I know it doesn’t look like it right now but typically it is. I have ONE designated spot in my studio to put crafts that are in the “line up” to get made. Once they leave this section they greet the BIG OLE table in the center of the room then they make their way to your homes on your computer screens. Having a spot like this can help if you are ADD and have a lot on your mind. Great way to keep you on track. I have a few pom poms left from this craft I finally had a chance to make!
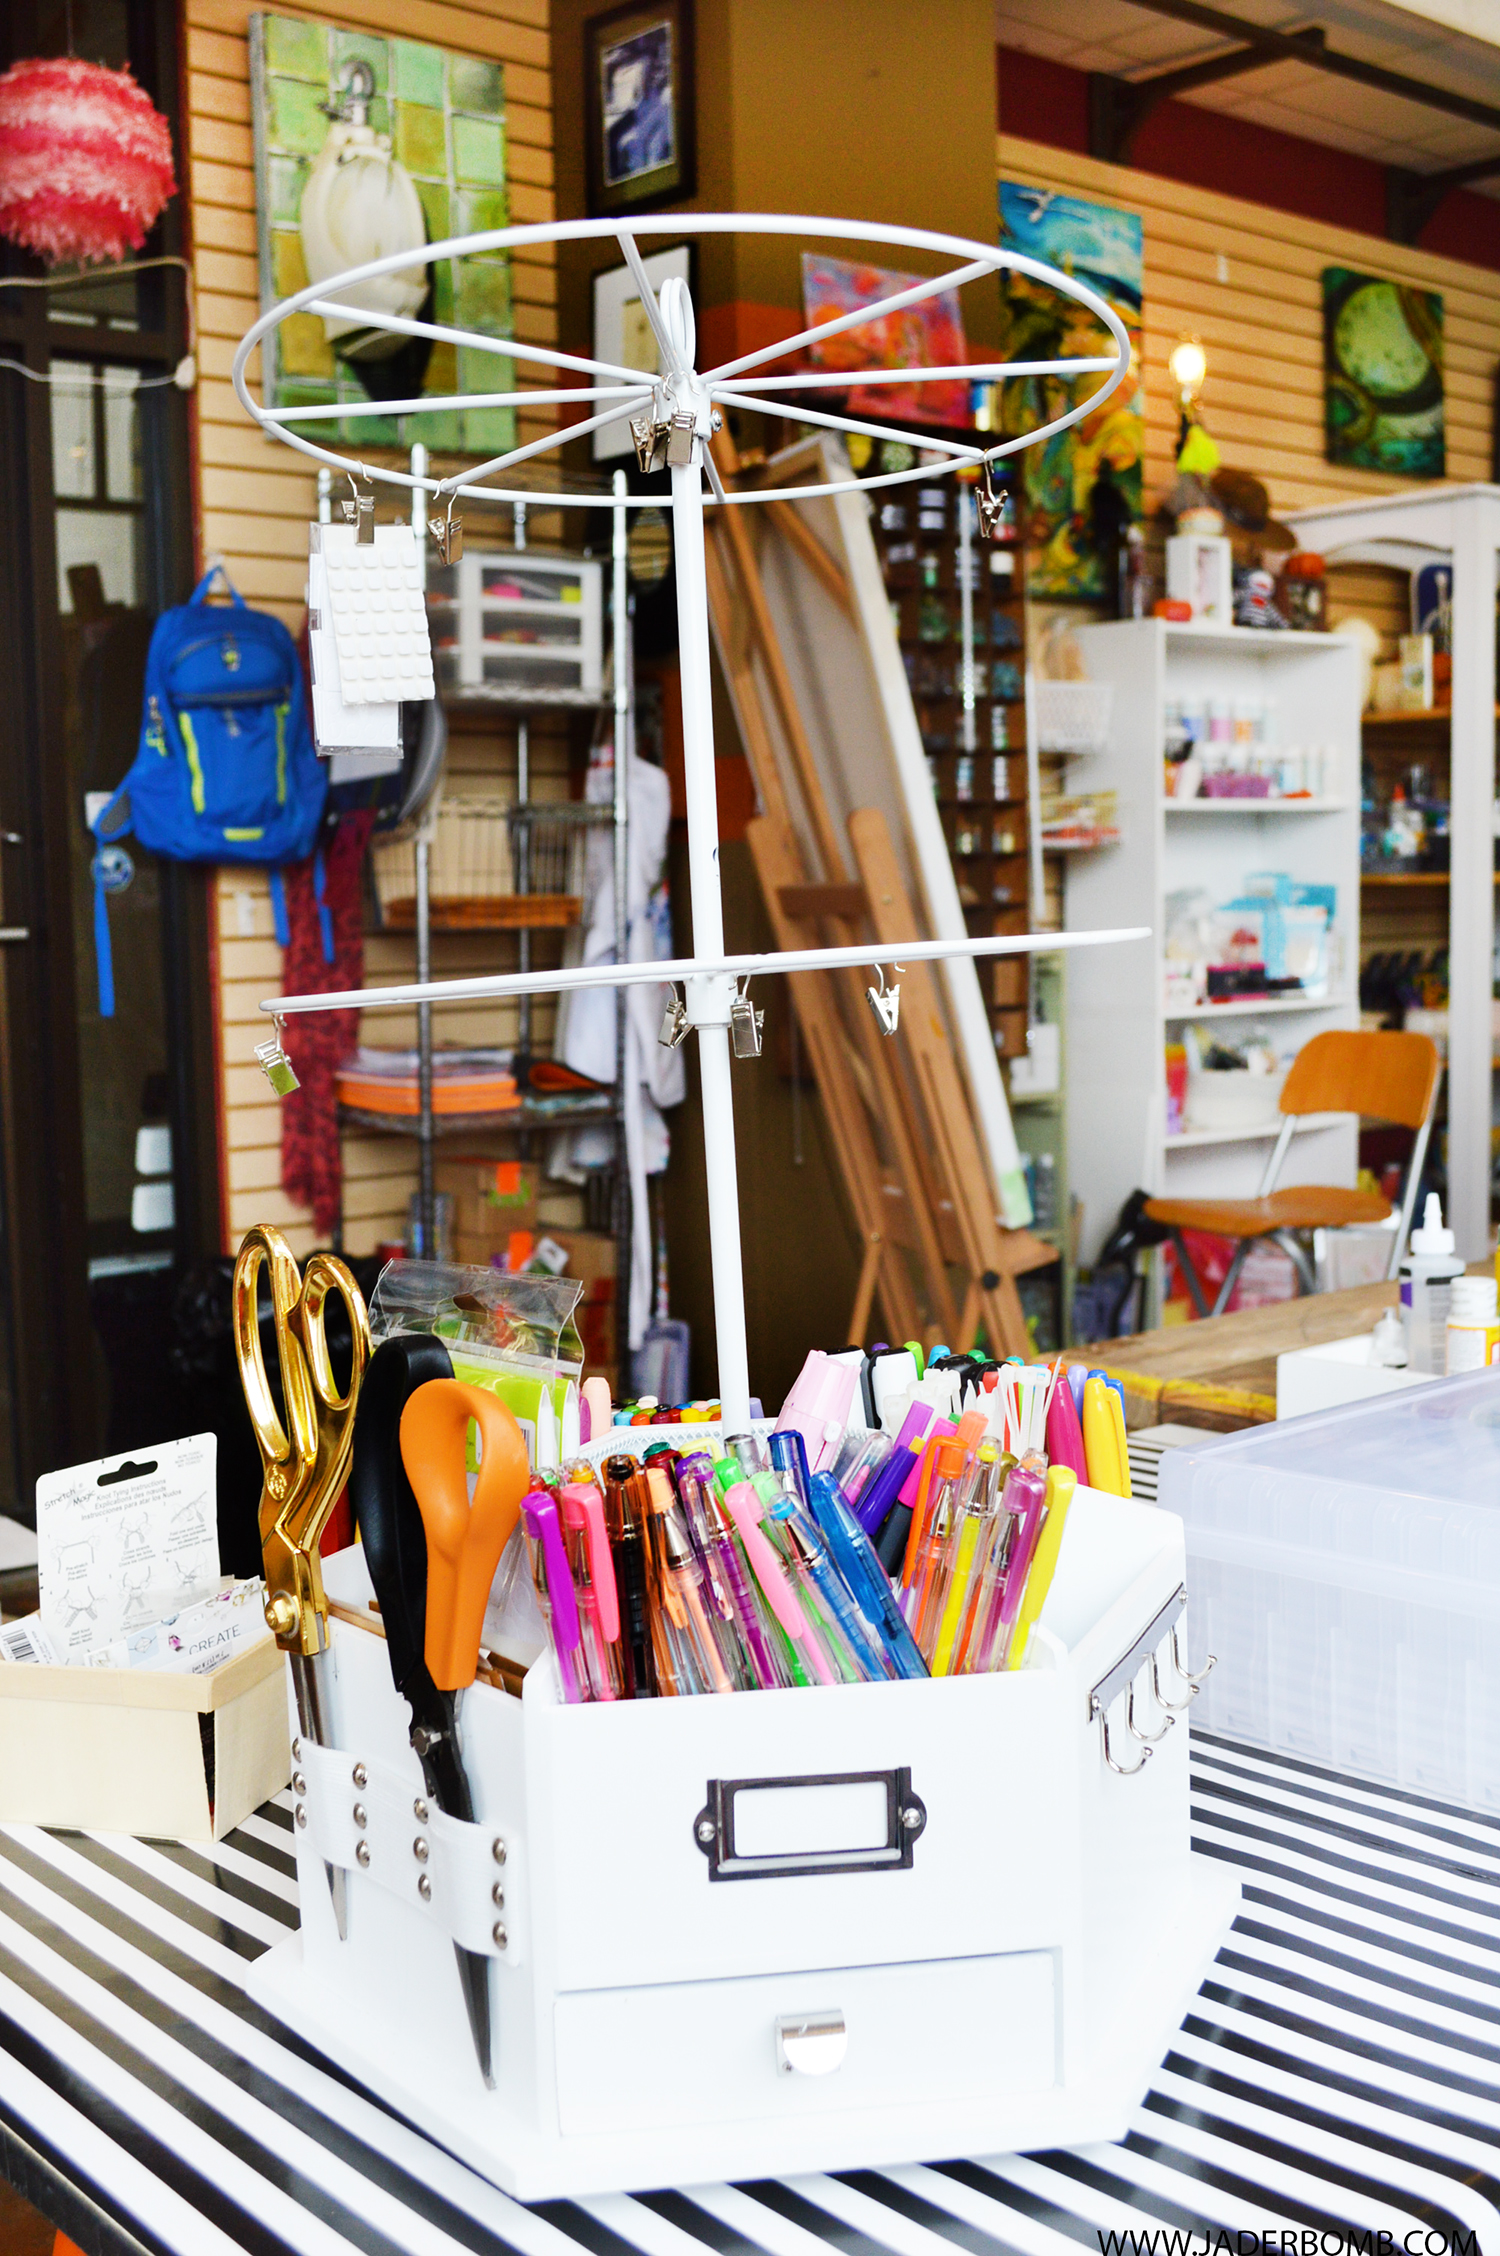 This is my second favorite thing in my studio. I love this collection from Michaels. I like to journal daily and this turns making it easy to access all of my favorite markers and pens. I use the top rack to hang little things that need to dry or inspirational art! I am BIG on that!
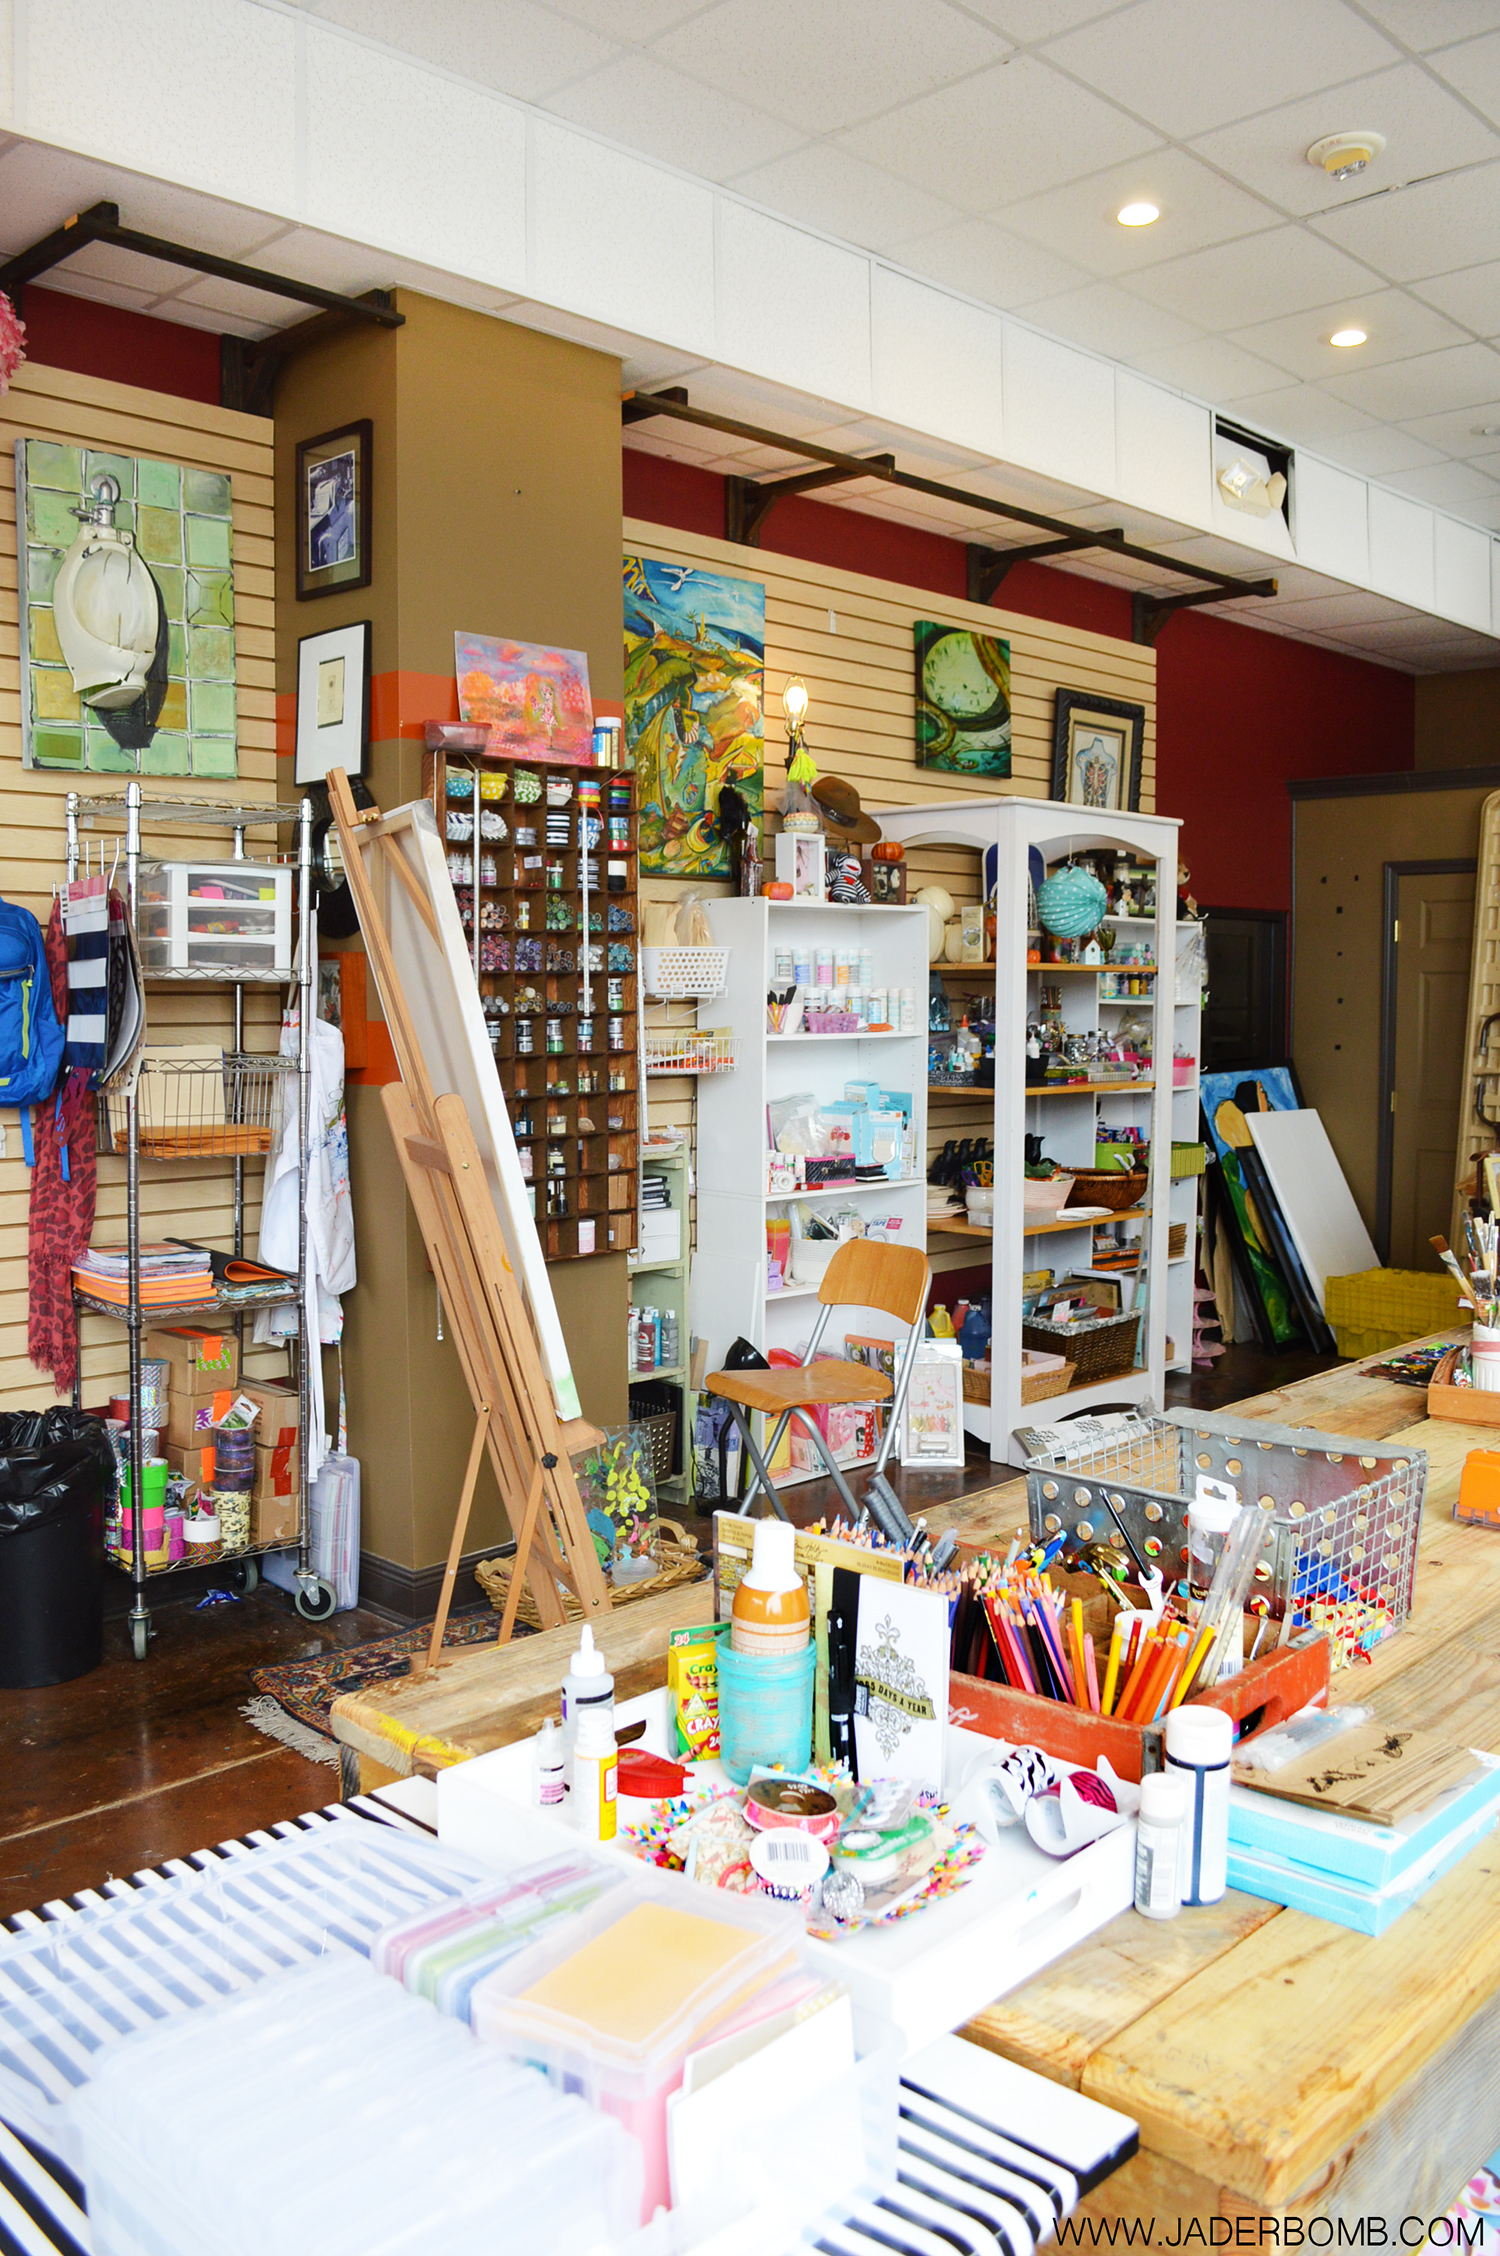 This section below is my wall of happiness. I love to pin things from shows, stuff I get from friends and readers in the mail and ideas to create.
What I use instead of bulletin boards is canvases covered with decorative paper. It’s cheap and fun! Plus when you stick a thumbtack in them you won’t damage your walls! 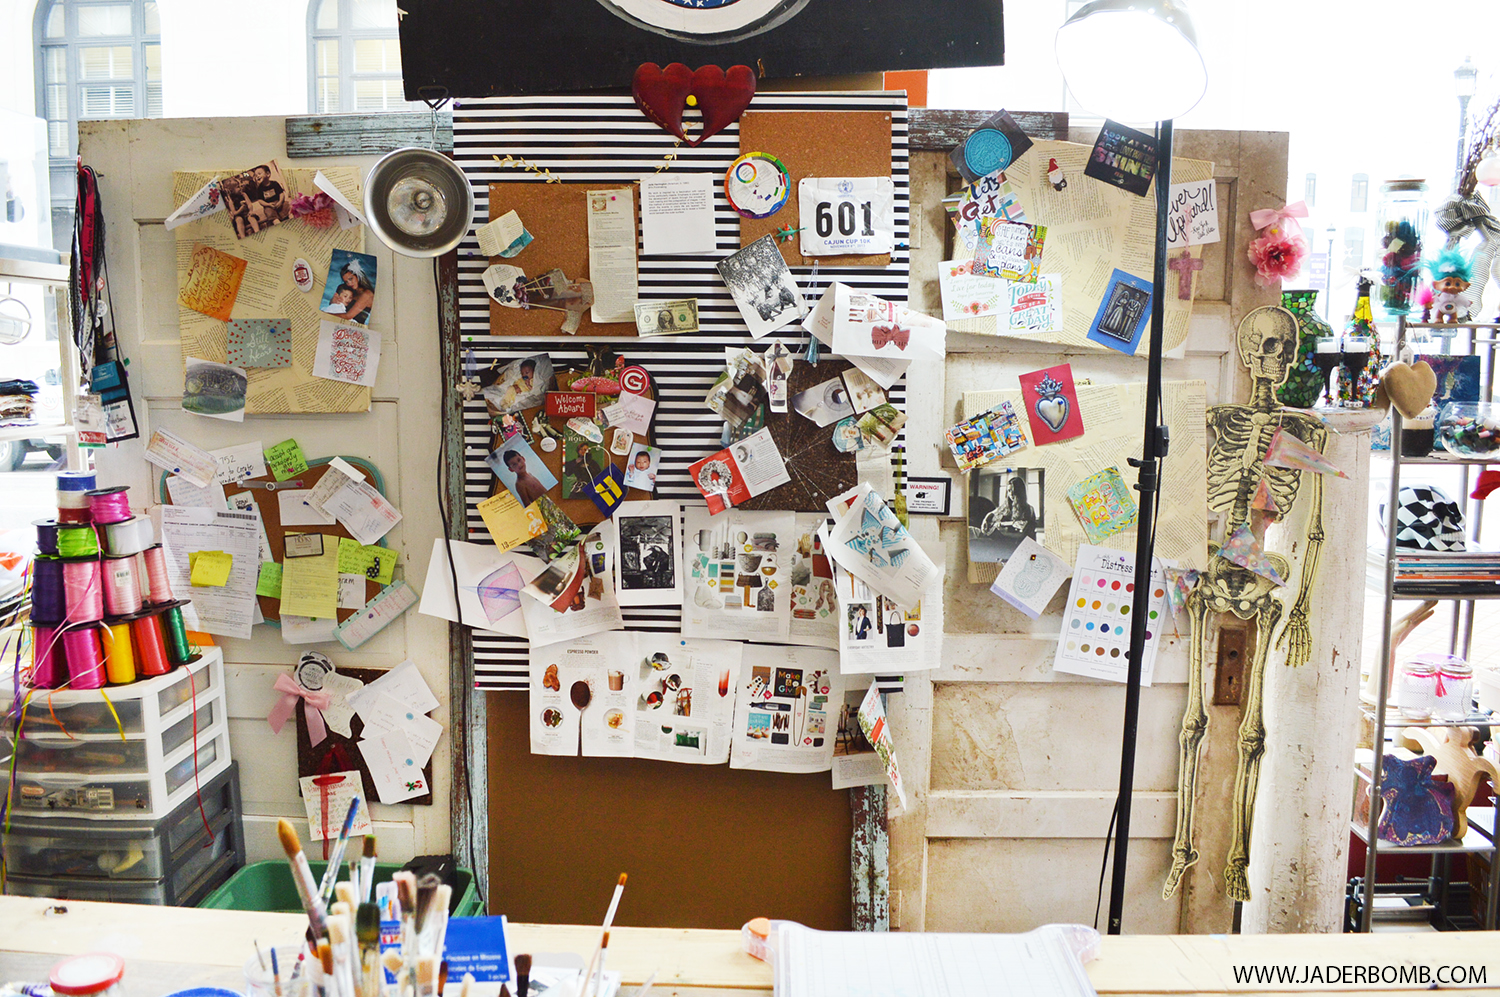
 This my dear is where the real magic happens!
 Why not grab an old coke crate to store pens and junk in! I do!!!
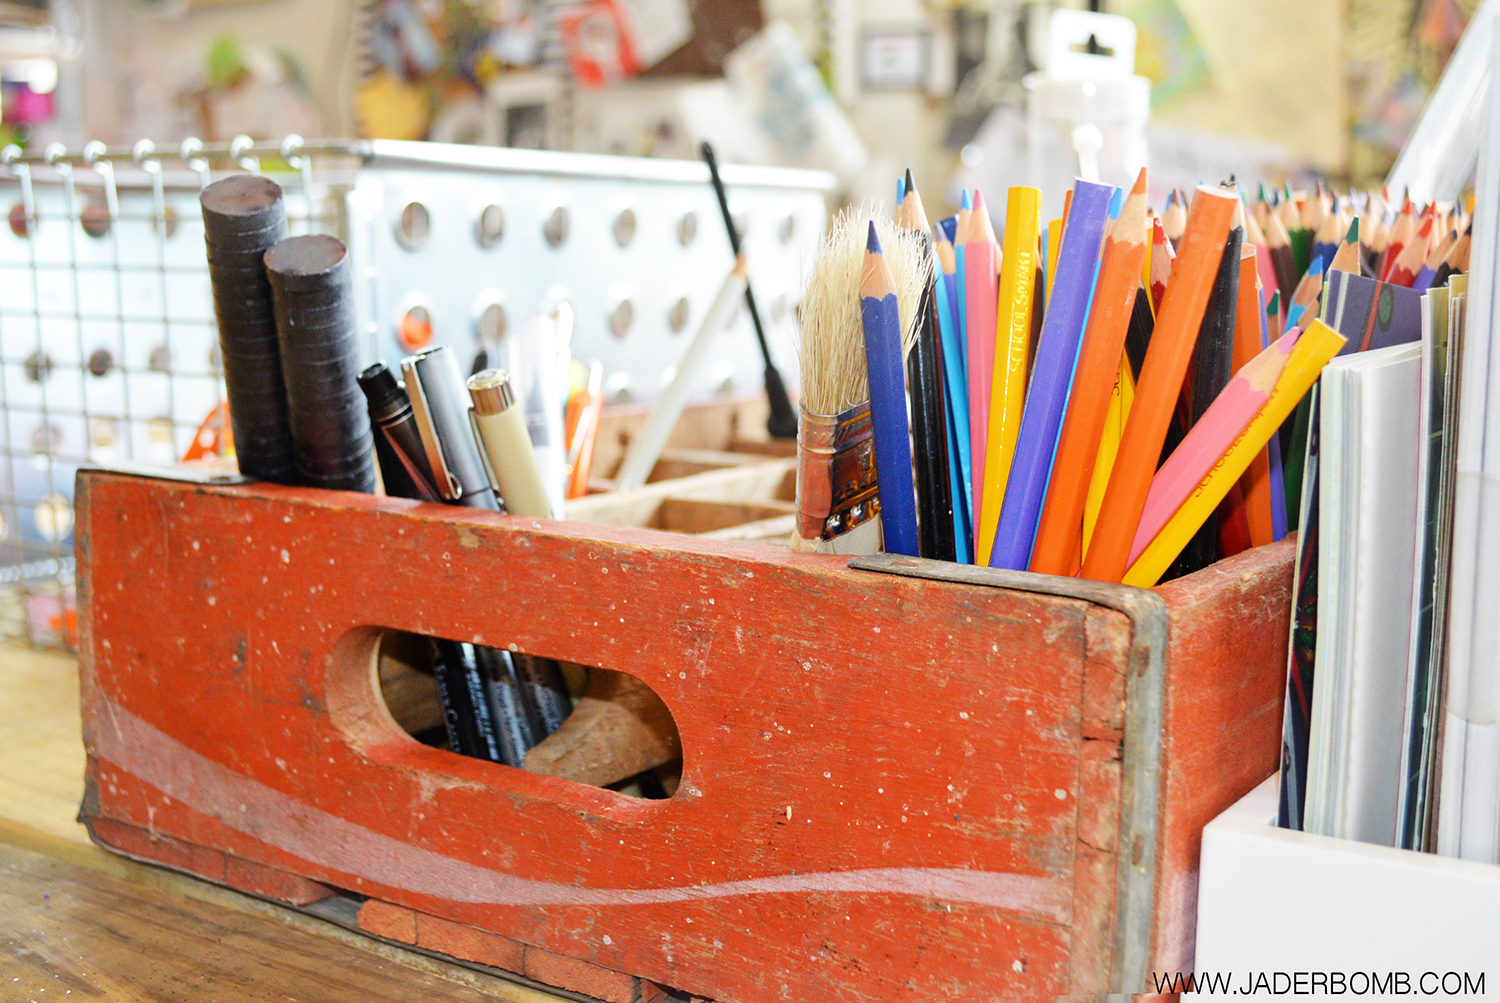 Like I said I love all of the tins and boxes from Michaels. They keep everything nice and neat for me. Just the way I llike it.
 I hope you enjoyed my tour!!! If you have any other ideas that you think would work for me to stay more organized please leave comments below!!! XOXO, Jade
Stop by Michaels’ blog The Glue String for inspiration from all 30 of the Michaels Makers.
If one of your New Year’s resolutions is to clean out your closet, your office or even your bedroom, but you’re sick of the typical containers and boxes – here are some cool and creative DIY storage ideas that might help!
- For those of us that just need a place to store our craft materials and organize our scrapbook paper, paint, markers and yarn, you must check out these nifty craft storage systems.

 I had to start off first with these Jambalaya Boxes from Aunt Peaches. Considering I live in the dirty South and we eat Jambalaya all the time! REPRESENTTTTT. HEHE
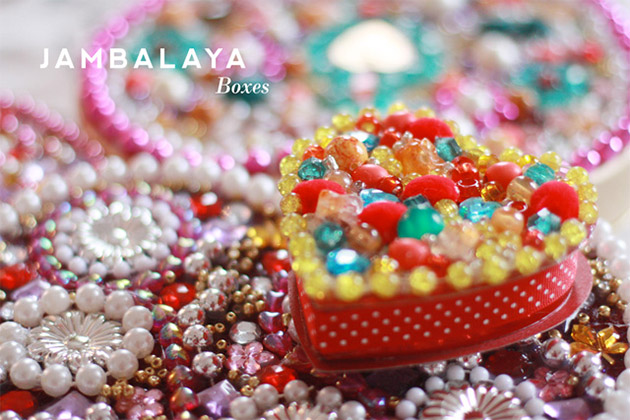
 Learn how to make your own earring wires? Madge has the tutorial you’ve been looking for!
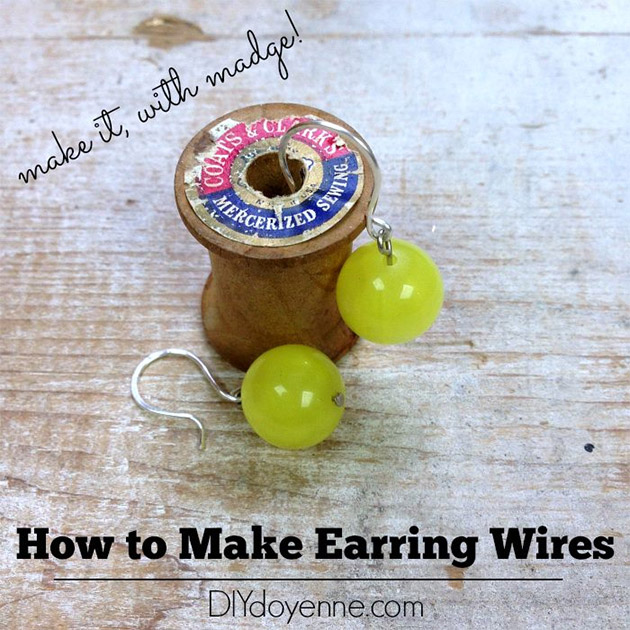 Margot Potter takes an old ruler and spices it up with some metal love! The special charm takes this Easy DIY Valentine’s Bracelet to the next level!
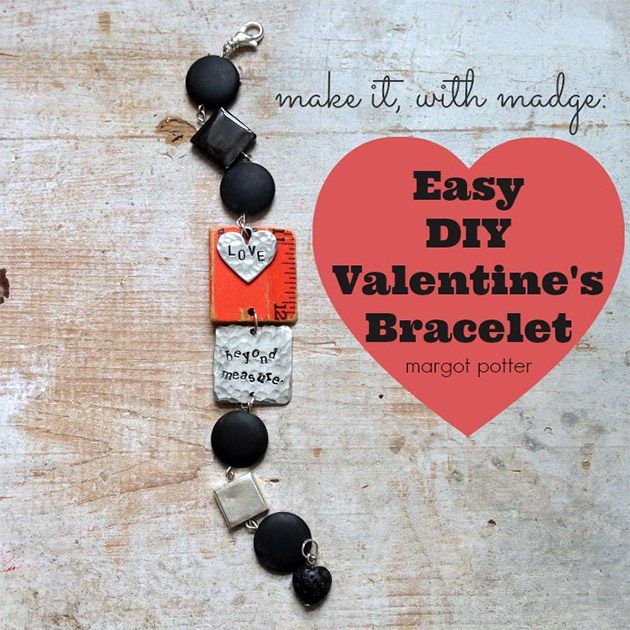 Mark Montano shows us how to make fabulous heart jewelry using perler beads! Warning this will be addicting.
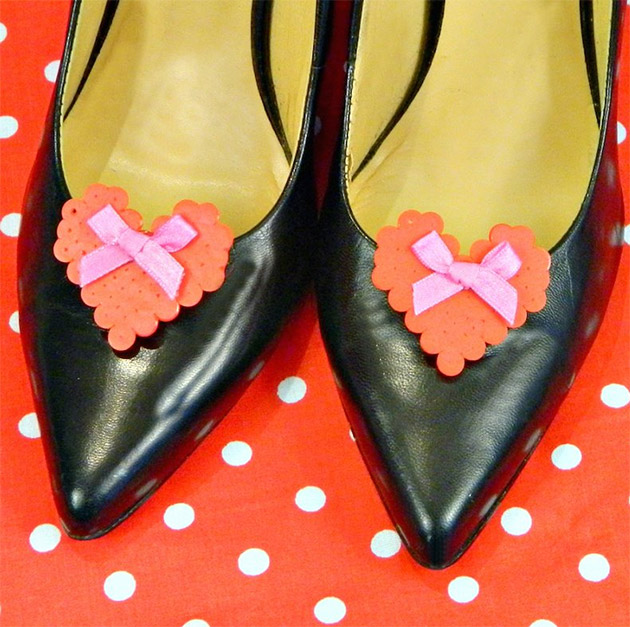
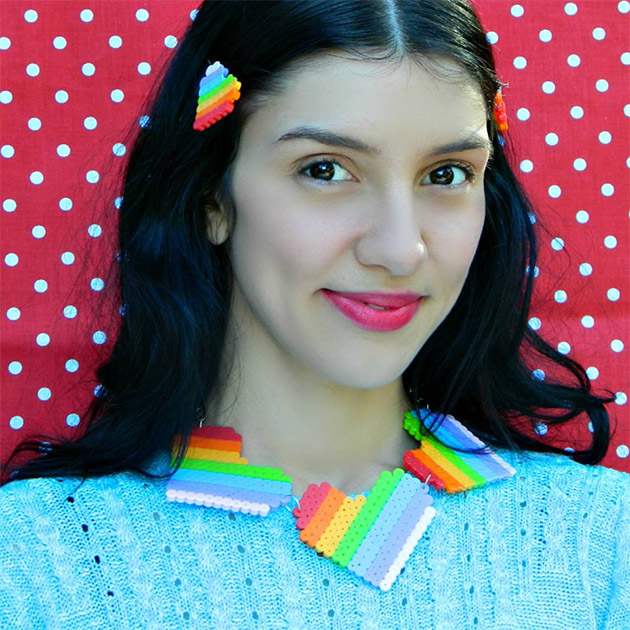
 These Valentine’s Day Candles from Mark Montano will make someone happy on this loving holiday!
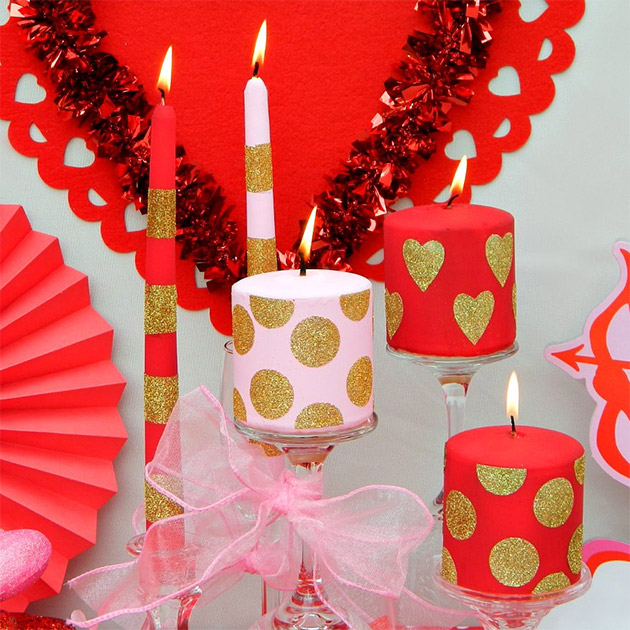 Have fun and create your own fun DIY Valentine’s Box for you or the kiddos with this tutorial. I think glittery paper would be a hit also!
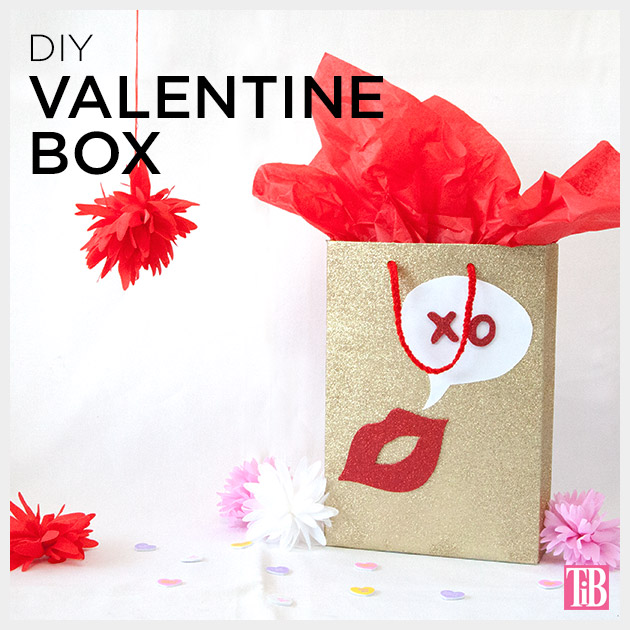
 Check out


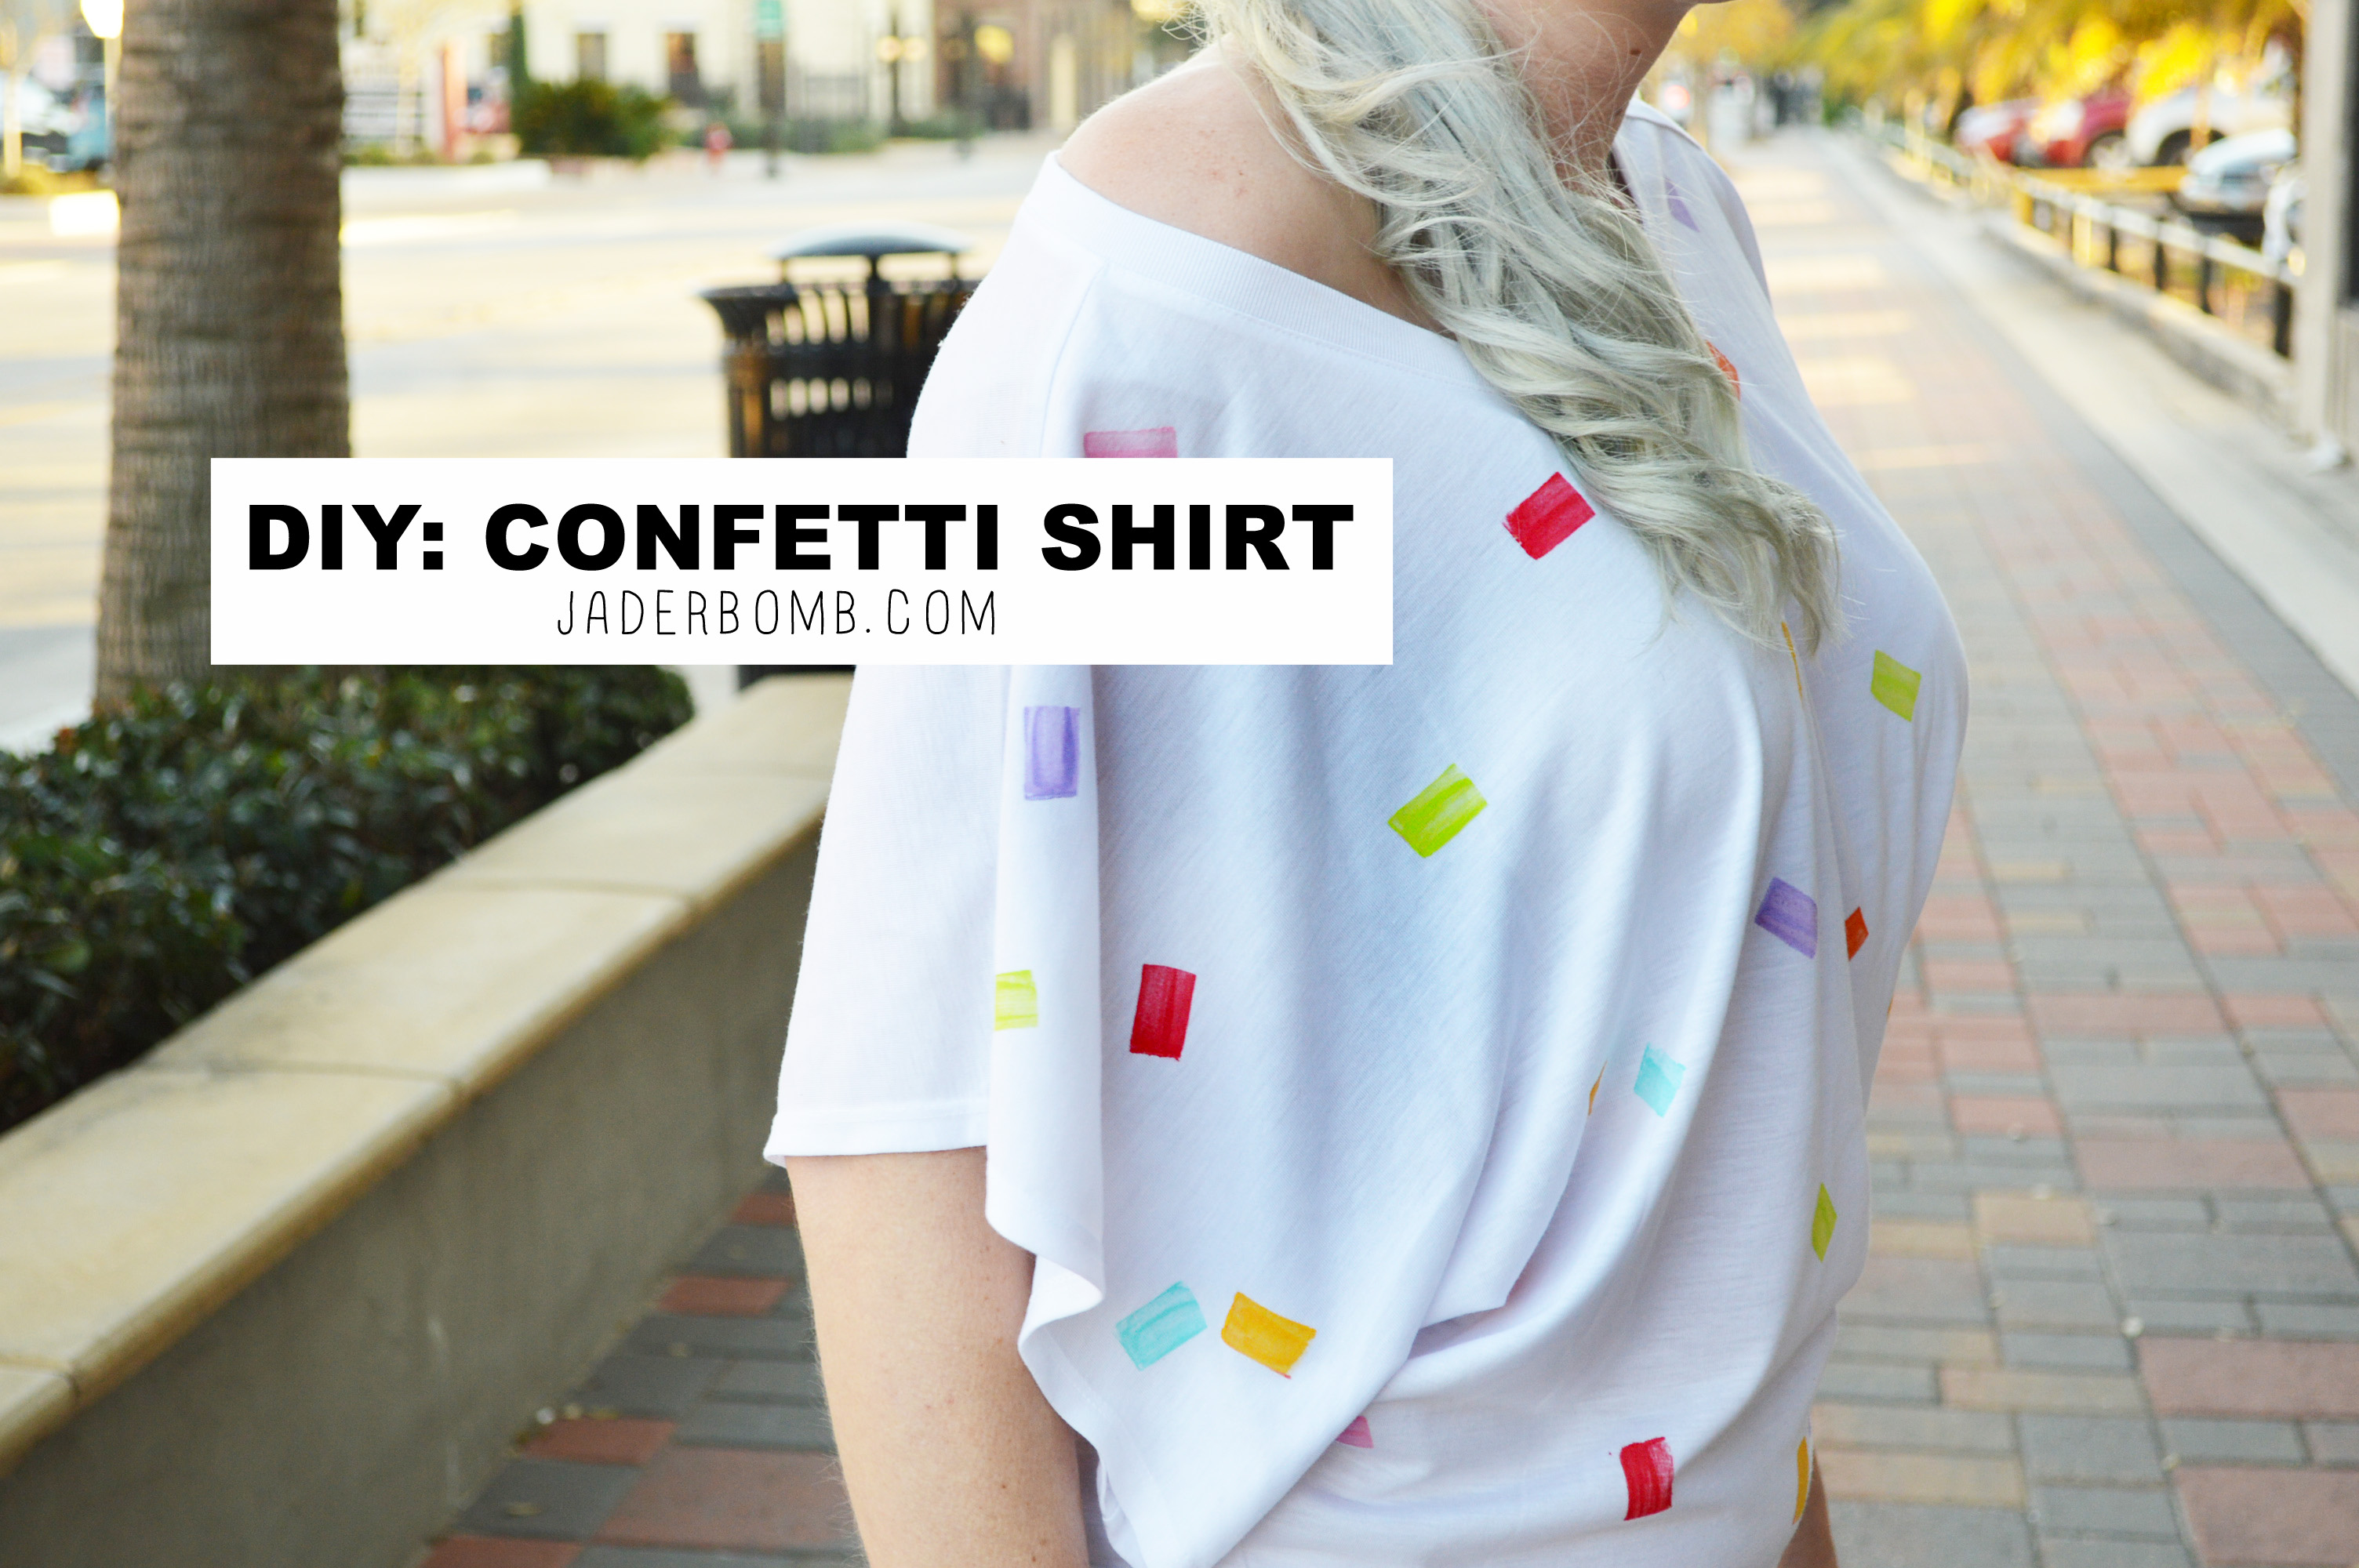
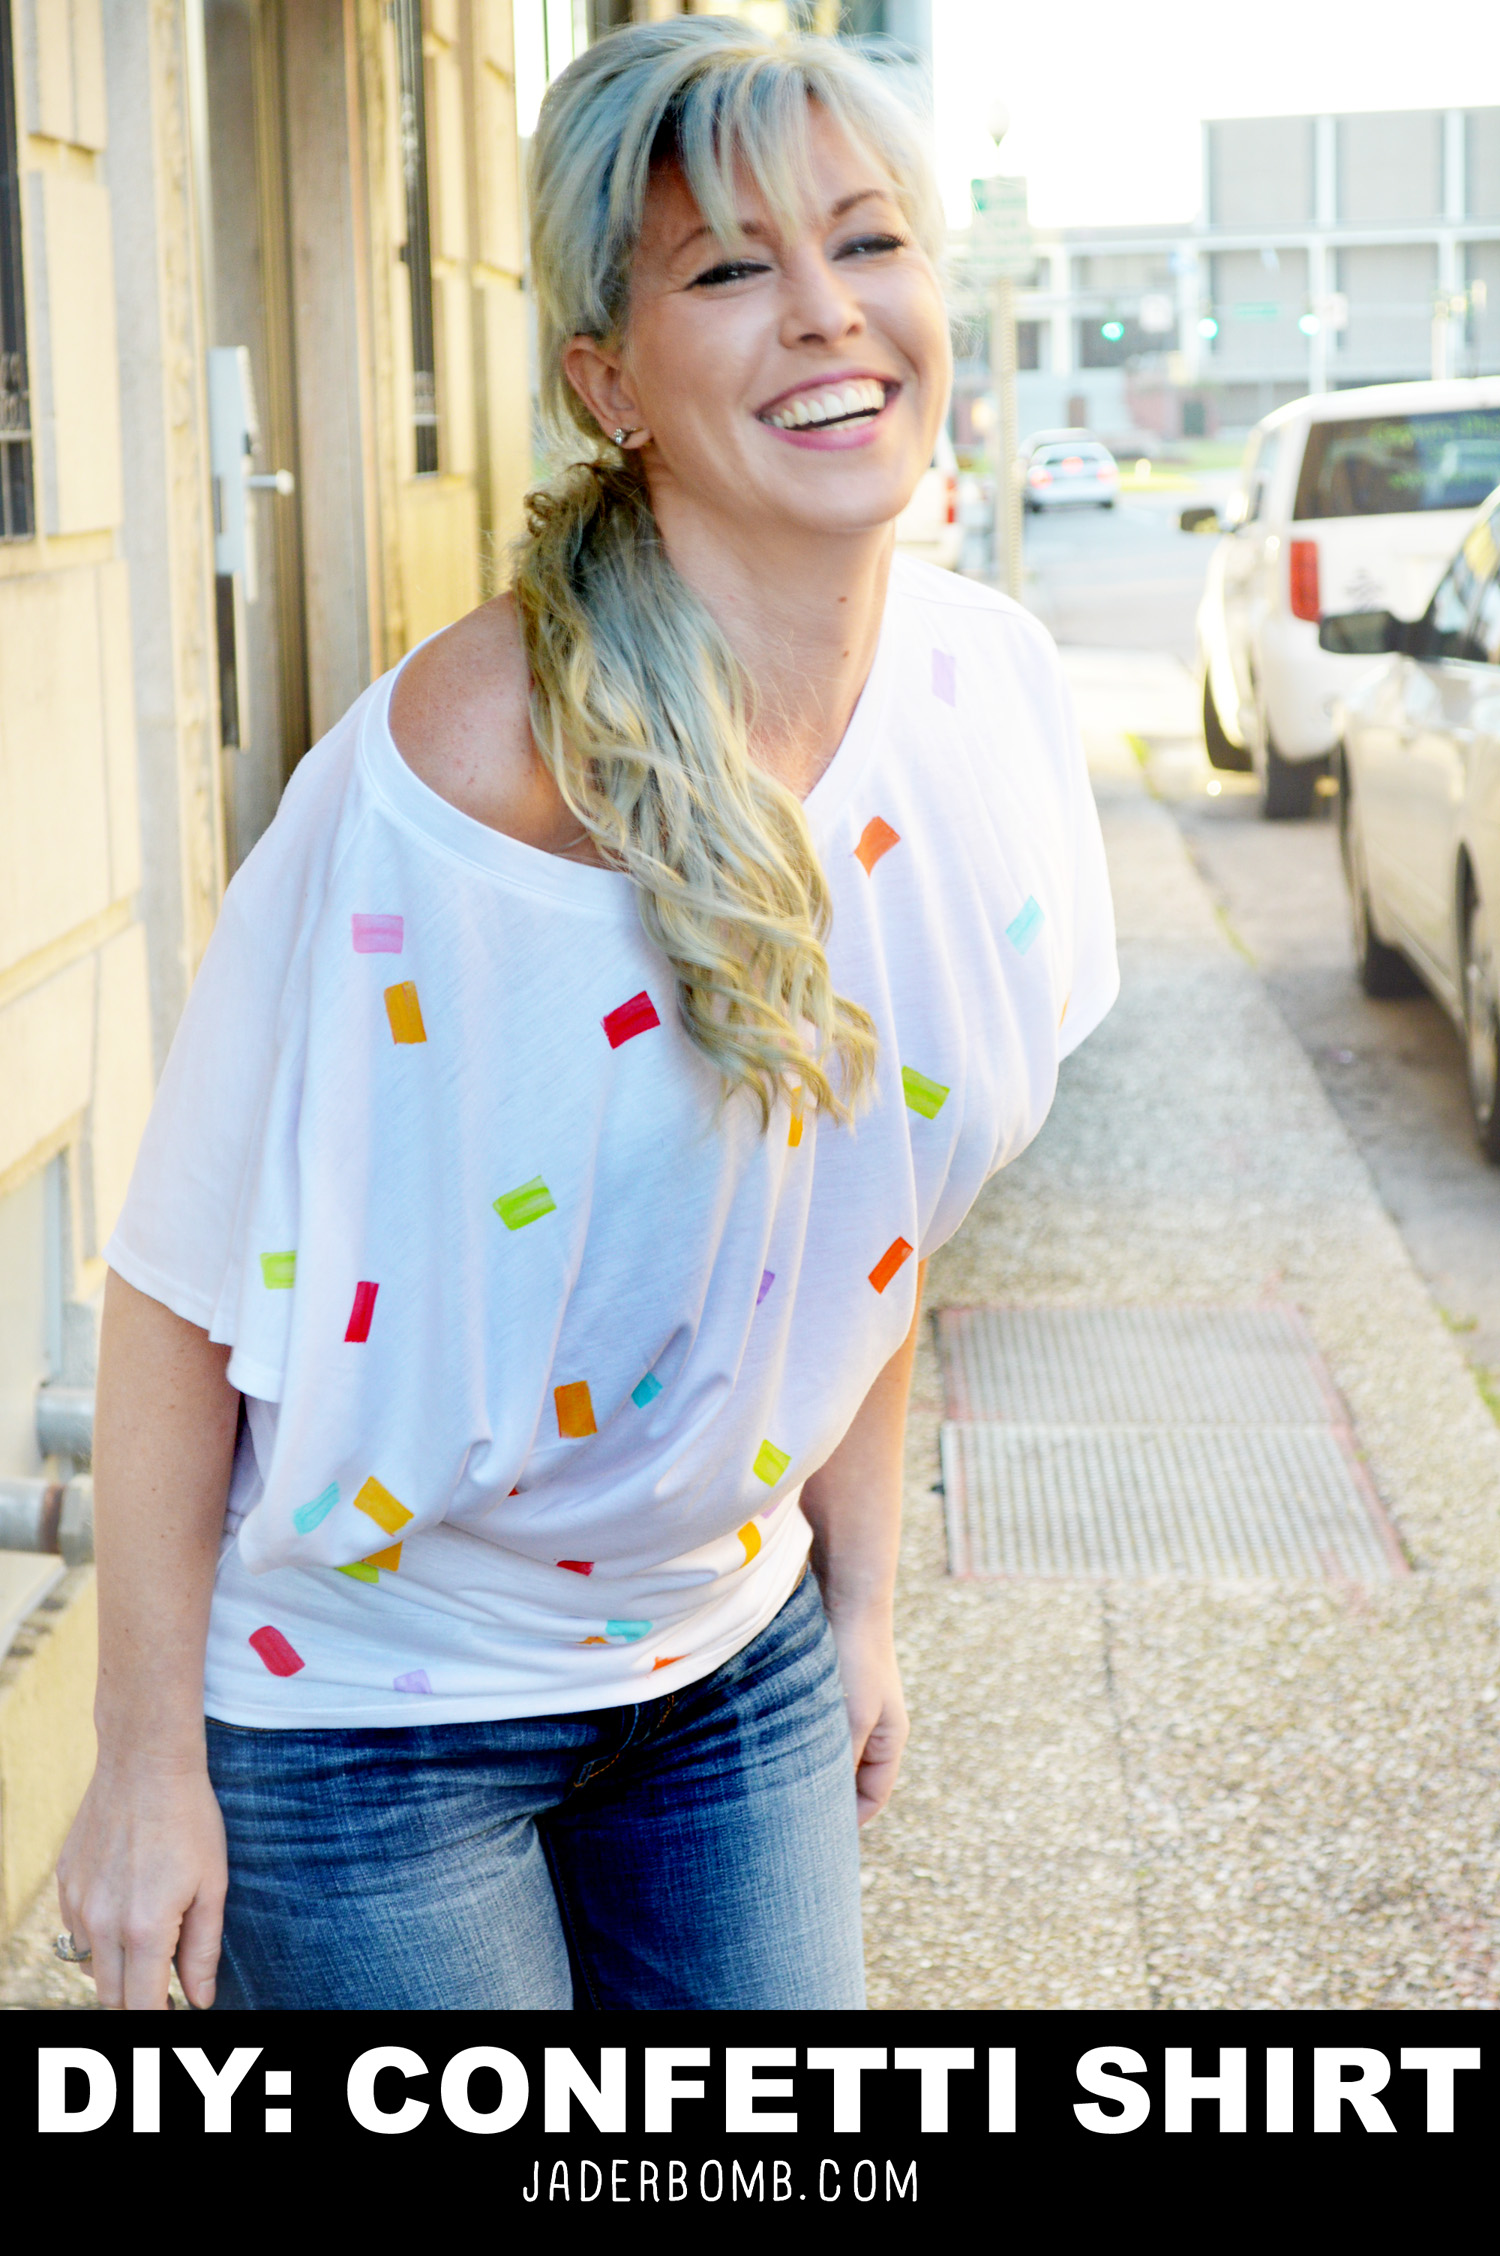
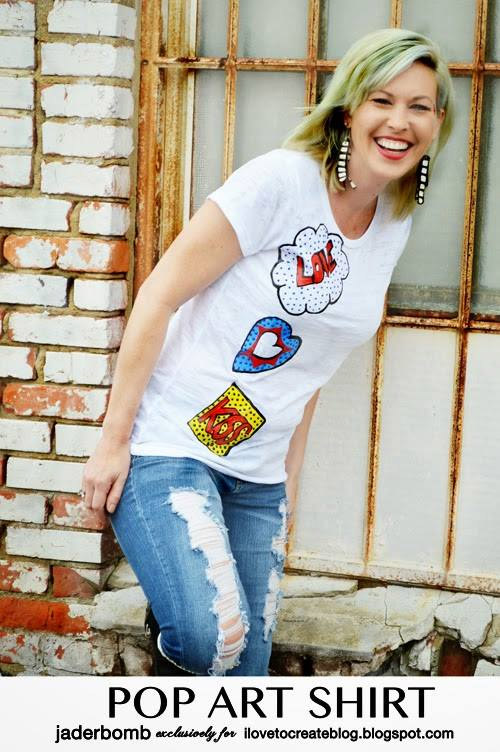
 I couldn’t wait to share with you my latest DIY tutorial that I created for the “I Love to Create Blog” – It’s a ball of fun! Plus, you won’t believe what I used to make the faux confetti marks!