Author Archives: jaderbombllc

About jaderbombllc

I am a Southern DIY blogger and Designer known for fearlessly conquering anything and everything do-it-yourself. I aim to create unique designs by working through my thoughts, dreams, emotions, and tons of glitter! I believe in doing things that make my heart flutter and smile, and I live by my motto, “Life is simple and so should your style.” To learn more about me, visit jaderbomb.com or email me at [email protected]. You can also visit my Etsy shop at jaderbomb.etsy.com. Make sure to check out my FREE PRINTABLES site www.freeprettyprintables.com My biggest accomplishment thus far is being a guest on the Martha Stewart show, yes she smells good. I love my dog Ceaux Ceaux, pens,the smell of Christmas, GOLD, Dr. Pepper and blogging. BTW: I bleed glitter, all shades.

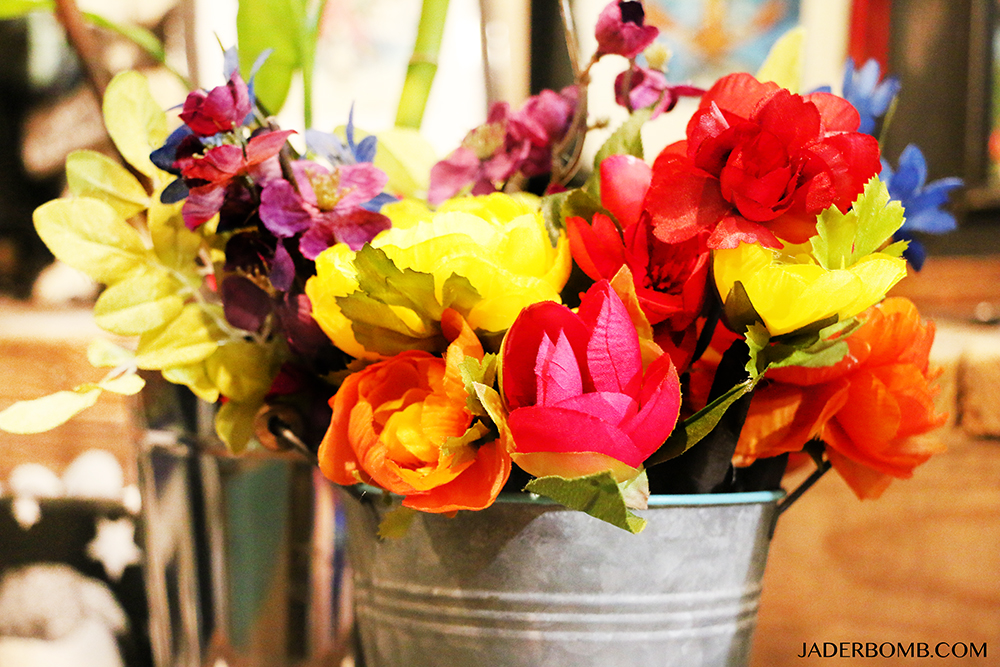
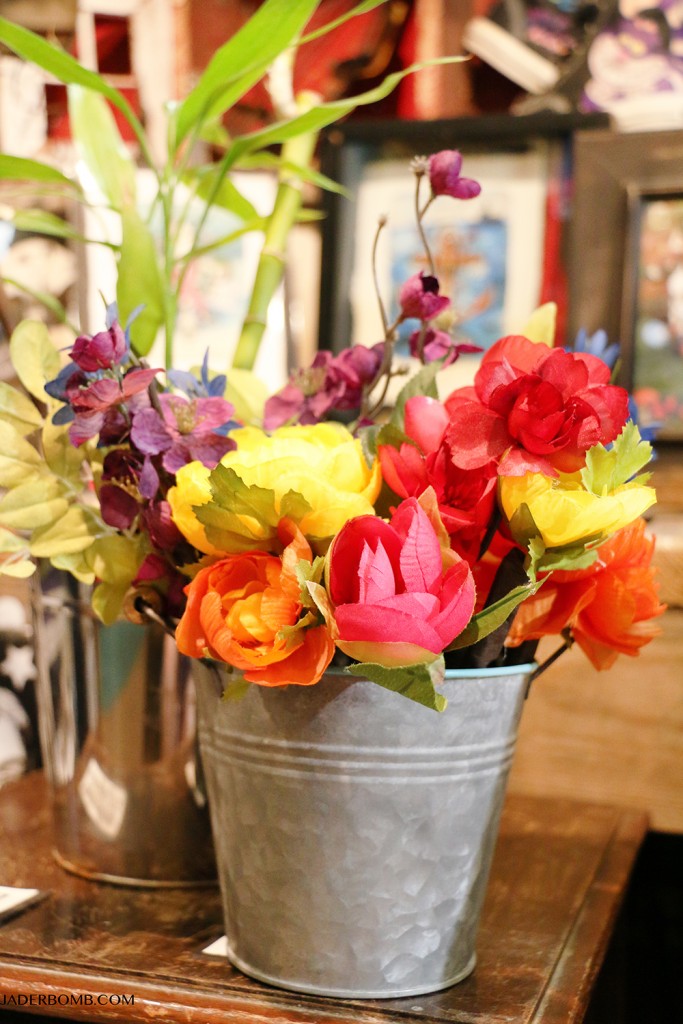
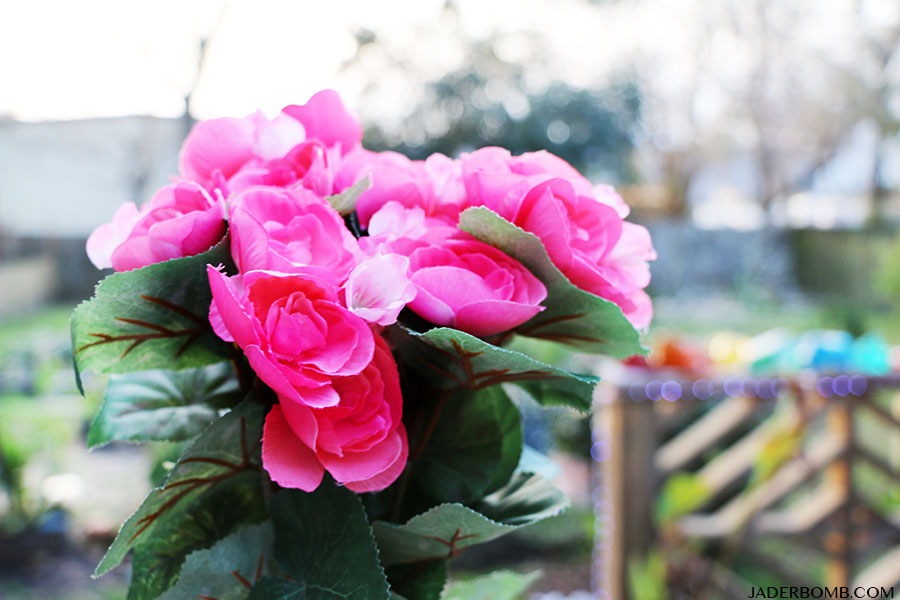
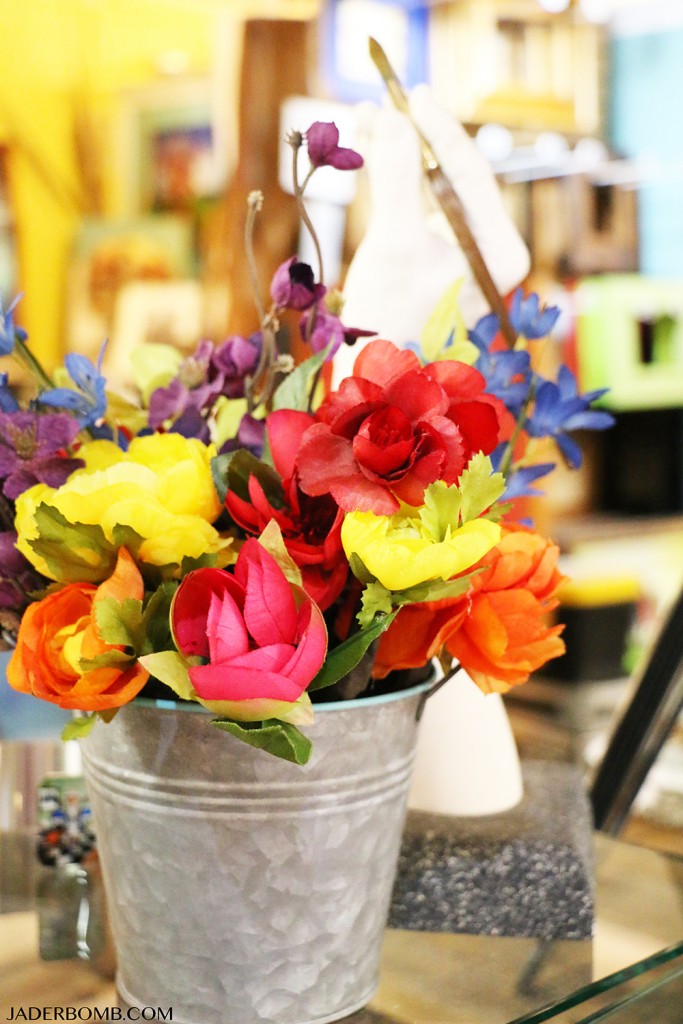
Happy almost Spring Y’all! I don’t know about you but I am super ready for warm weather and ton’s of sunshine. My office space literally has NO windows (insert a confused/sad look) so I wanted to bring a little “CHEER” into this space. Now before you shake your head I already know you probably have seen these flower pens in the past pop up all over the inter-webs! But what I have NEVER seen was a full spring bouquet of them. So pull up your overalls because today we are working in the garden!

I will say I am not a total fan of fake flowers but once I finished this bouquet I have a new found love for these suckers!

  • Michaels new Floral Market has over 500 new blooms and freshly picked projects make this the prettiest spring ever.
  • Just by swapping out a few décor pieces or adding a lovely floral arrangement can completely transform your home for the fresh, new season.
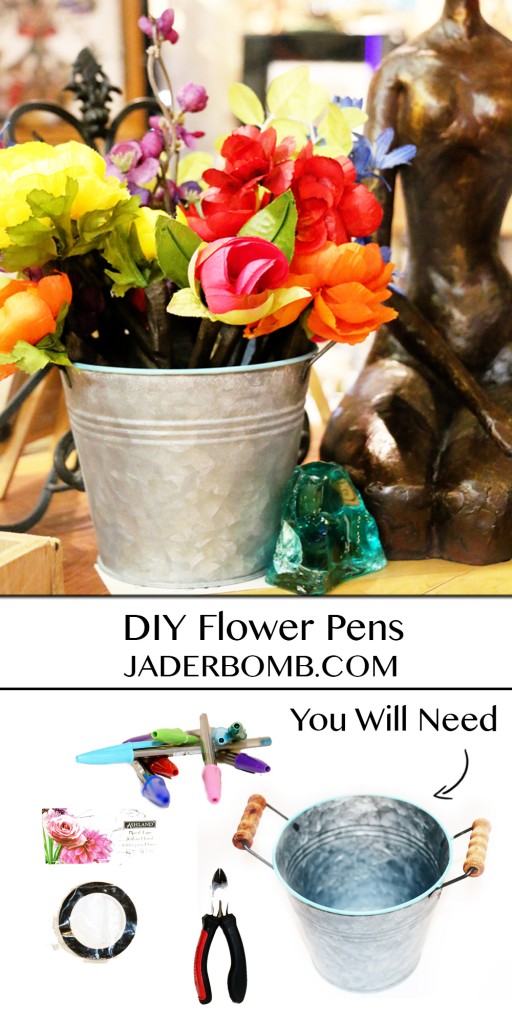
DIY FLOWER PEN TUTORIAL MICHAELS MAKERS

For this project the items I used to make it were really easy to find and of course very affordable!

YOU WILL NEED: Wire Cutters | Silk Flowers | Planters Bucket | Pens | Floral Tape (I used brown) | Hot Glue Gun

I should also stress that this project took about 30 minutes from start to finish!

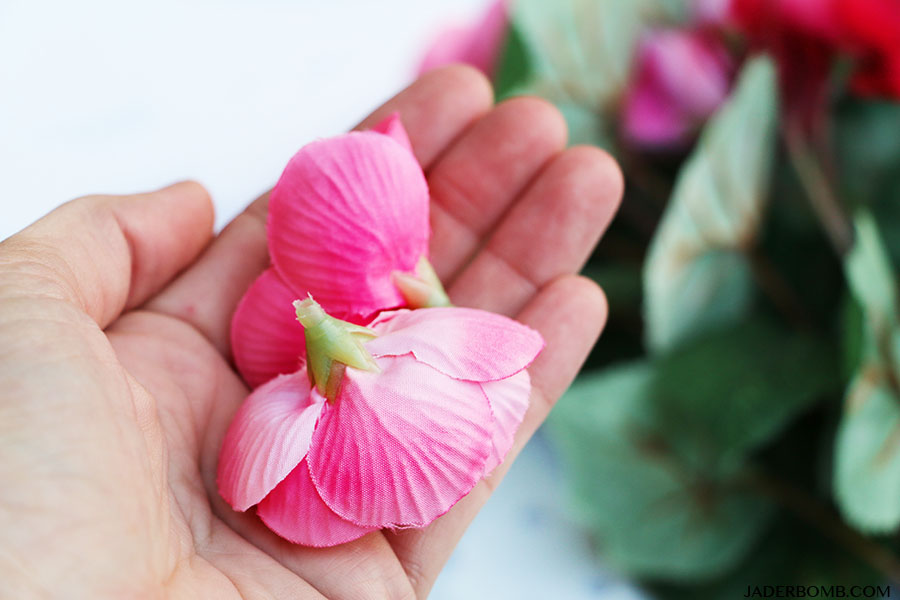
STEP ONE: Cut your flower stems and hot glut them to the top portion of the pen. 
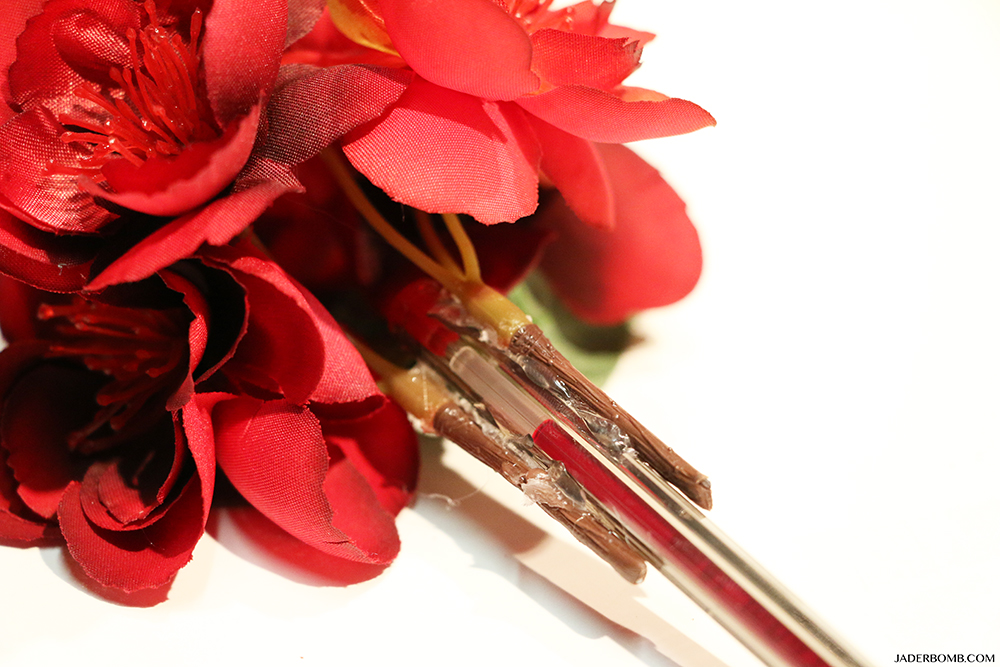
ROSE FLOWERSSTEP TWO: Wrap your floral tape around the entire pen. I started from the bottom and worked my way up to the top. If you have never used floral tape before make sure to give the piece you are working with a little tug to activate the glue in it. It’s that simple! 
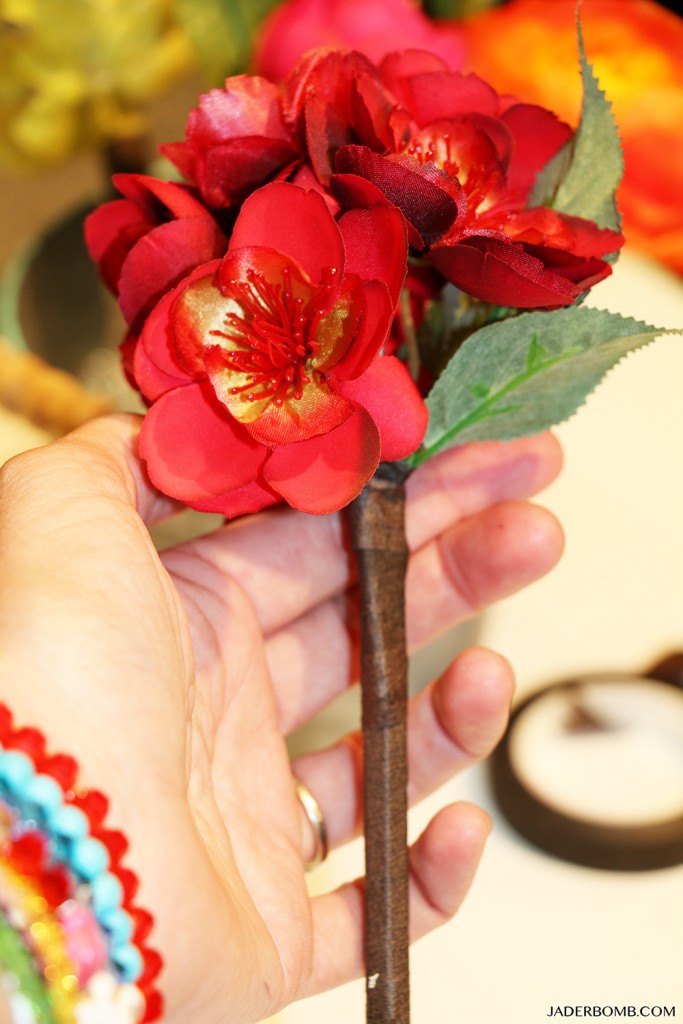
FLOWER GIFTS

This is what they will look like when they are done. I don’t know about you but I have a feeling I will be writing more since I have these beauties sitting on my desk!
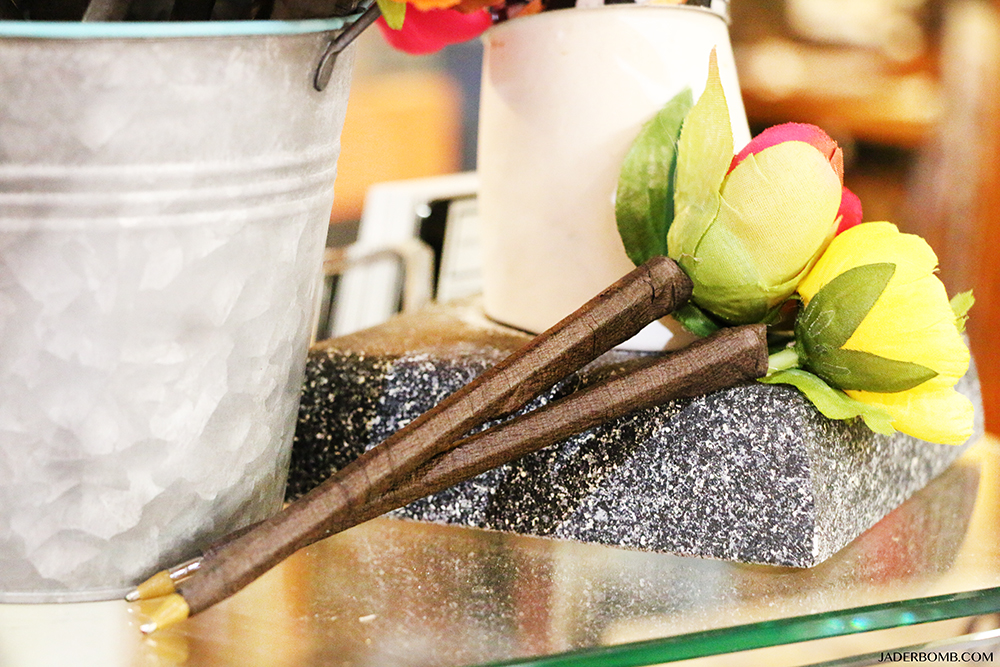
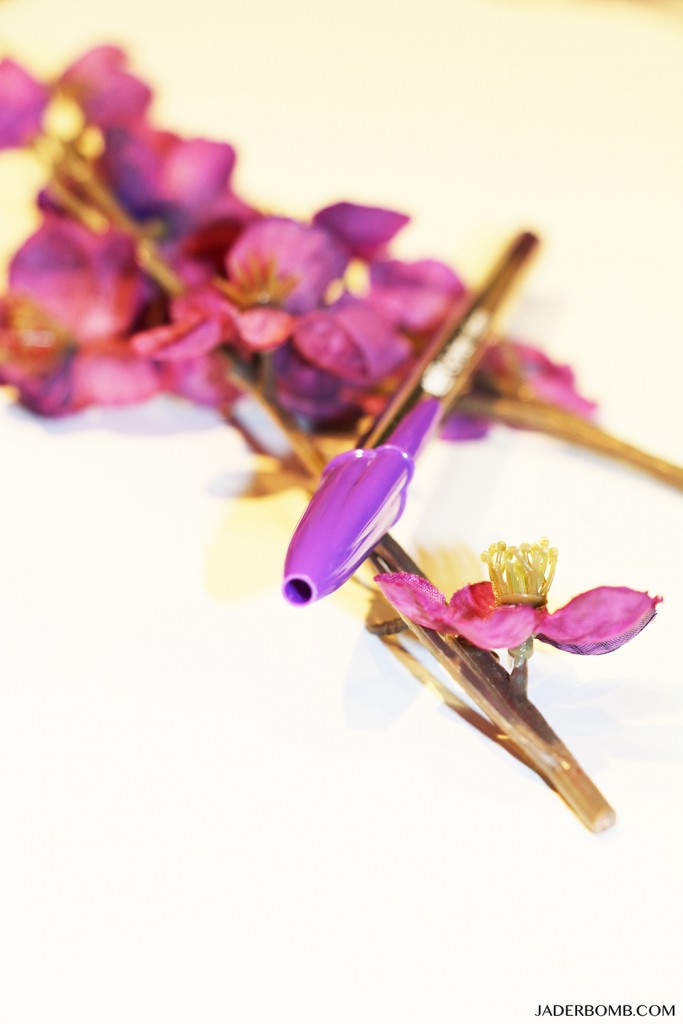
WEDDING GIFTSAnother fun thing that I did was match the flowers up to the color of the pen. This might be a little OCD if you ask me but I always use colored pens and I figured this would make it easy when wanting a certain color! You can’t lie that is pretty snazzy, hehe!
LILAC FLOWERS

flower roses

colored flowers

DIY FLOWERS MICHAELS MAKERS

  • If you don’t know where to begin, you can always take a look at some of the fun projects on Michaels.com or the other 49 Makers’ ideas on The Glue String for to see how they personalized their crafts!

Hope you enjoyed this fun project!!! XOXO Jade
29016_SO_MakersSummit_SocialDon’t forget that the Win a Trip to the Makers Summit Contest! iIs now live and we would love for you to enter. Just visit Michaels.com/madewithmichaels and upload a photo of your personalized project. I’ve attached creative for you to use for that as well! GOOD LUCK!


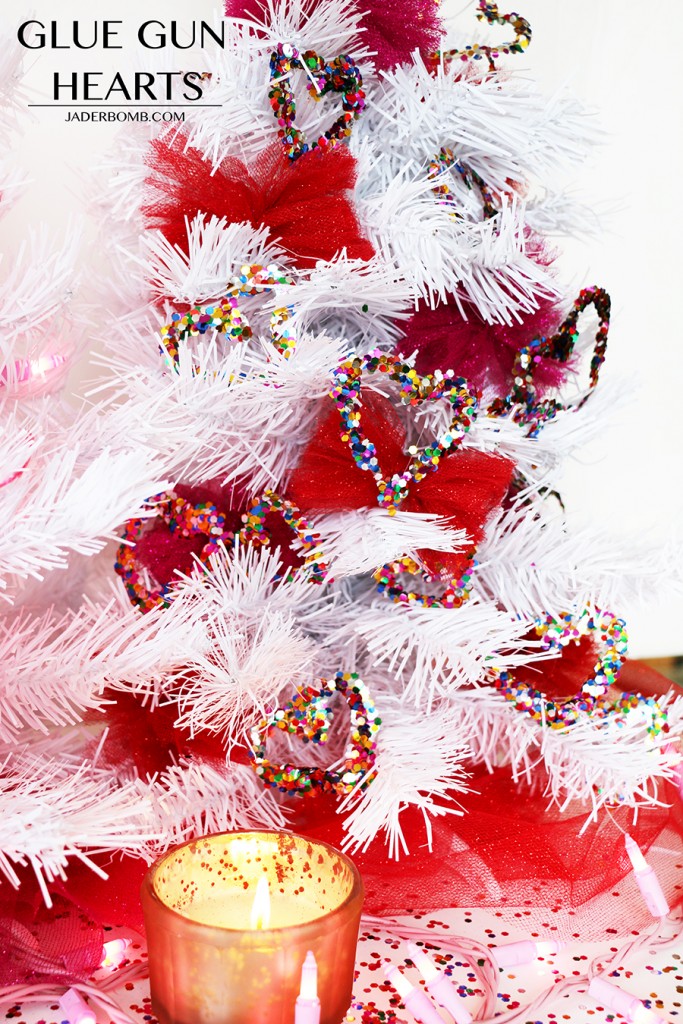
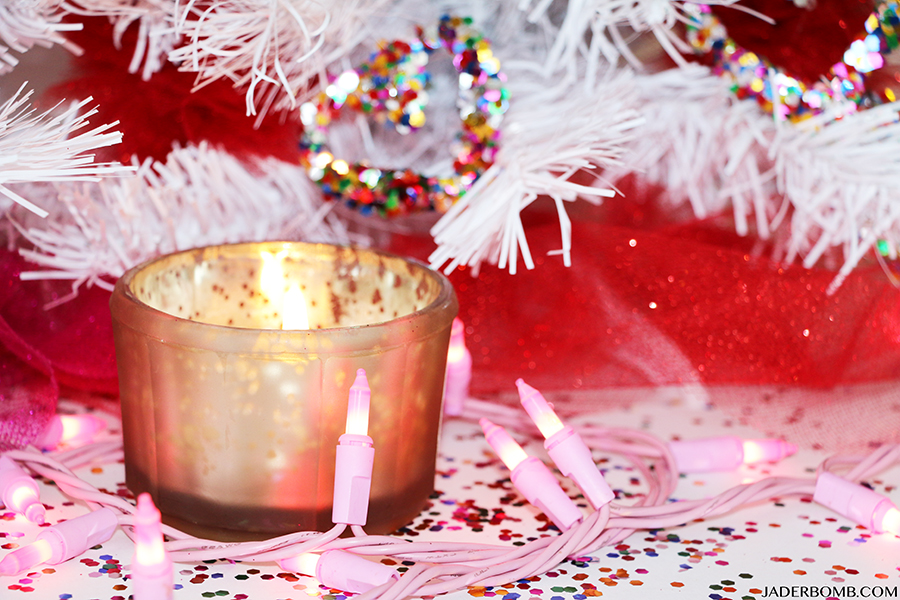
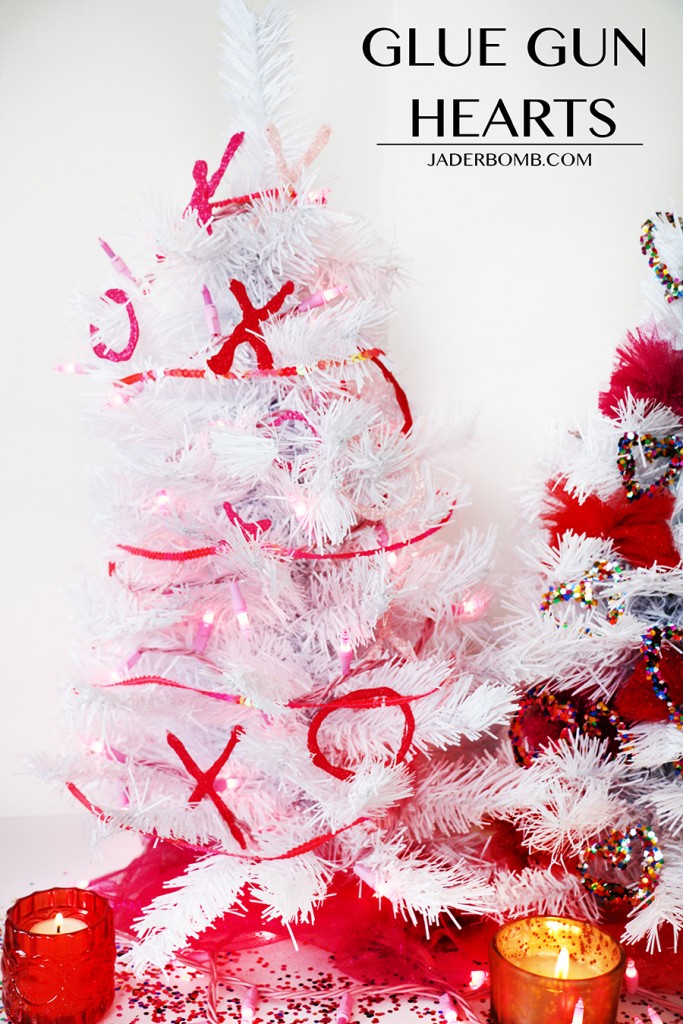
HAPPY TUESDAY!!! I am so stoked about finally showing you my Valentines Day tree I did for Treetopia! Don’t forget to hippity hop on over to Treetopia’s Blog for a chance to enter the #xotretopia giveaway!
On to more glittery things. Today I will be showing you how to make unique, fast and kid friendly ornaments. You won’t believe how much fun this project is and I am sure you will use this technique for many other holidays! Let’s get started.

Also make sure to check out my interview on Treetopia’s site!

These are the trees I used!

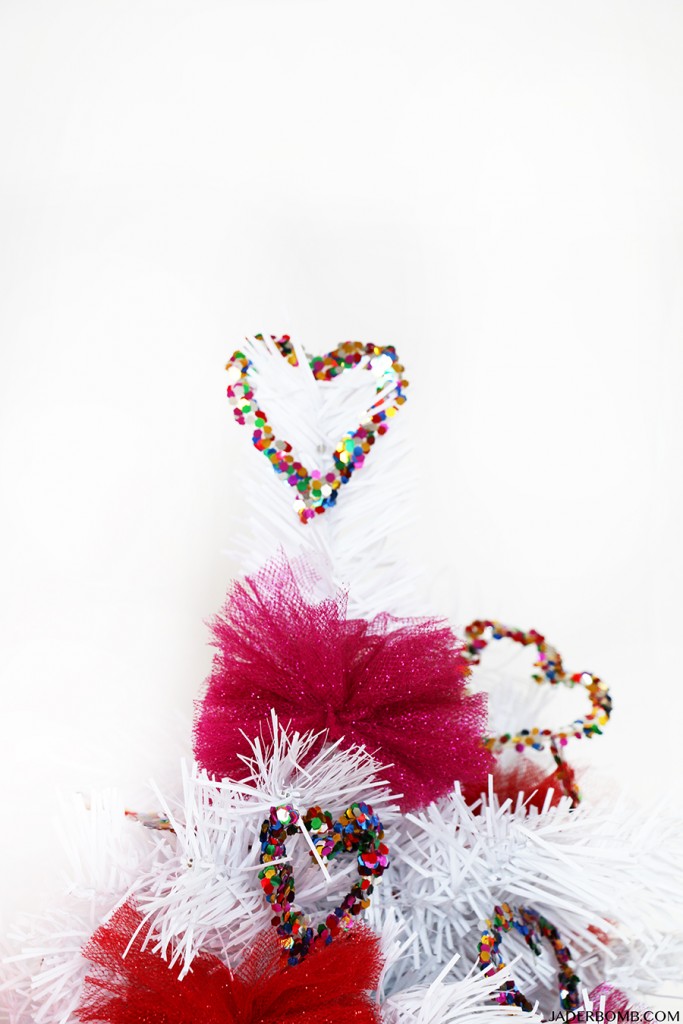
EASY GLUE GUN HEARTS

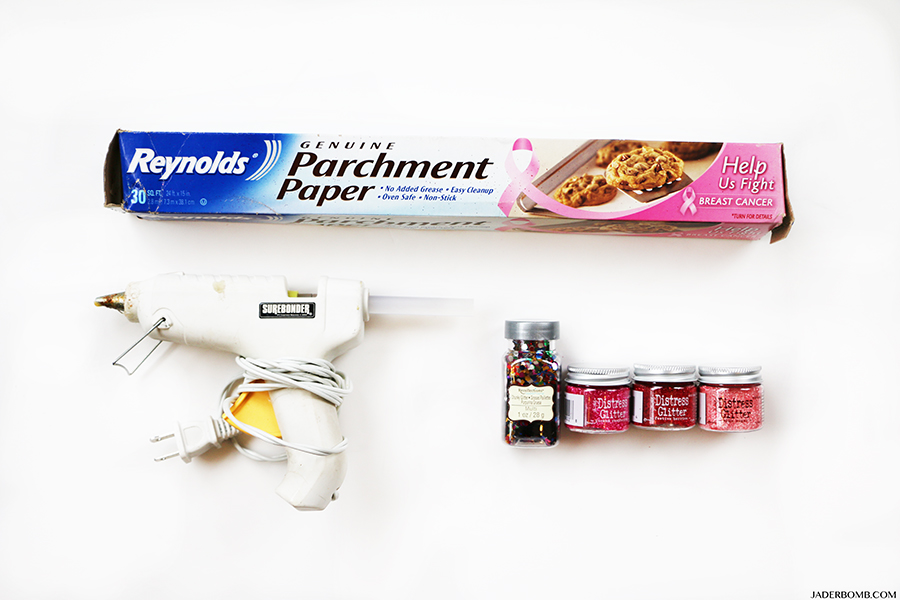
YOU WILL NEED: Parchment Paper | Glue Gun | Glittervalentine diy

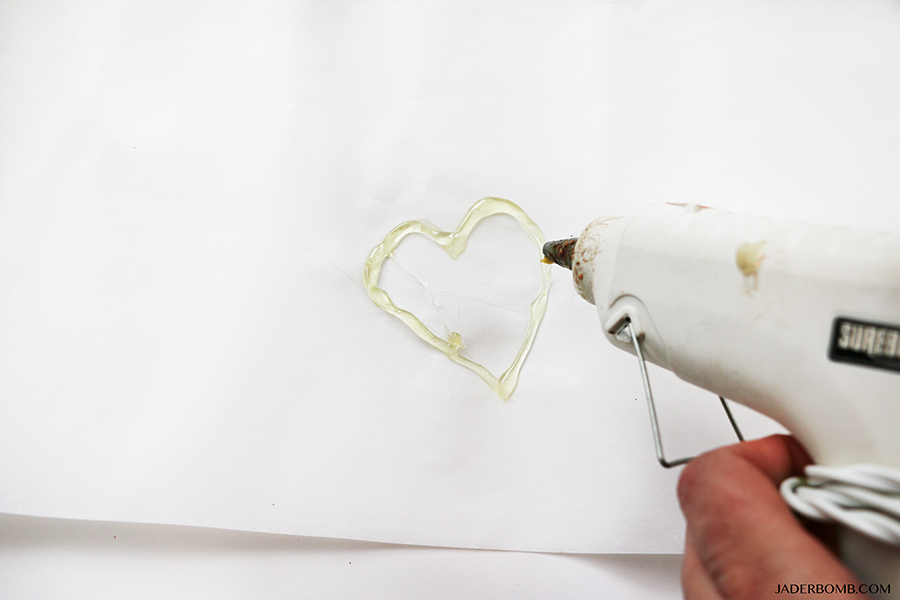
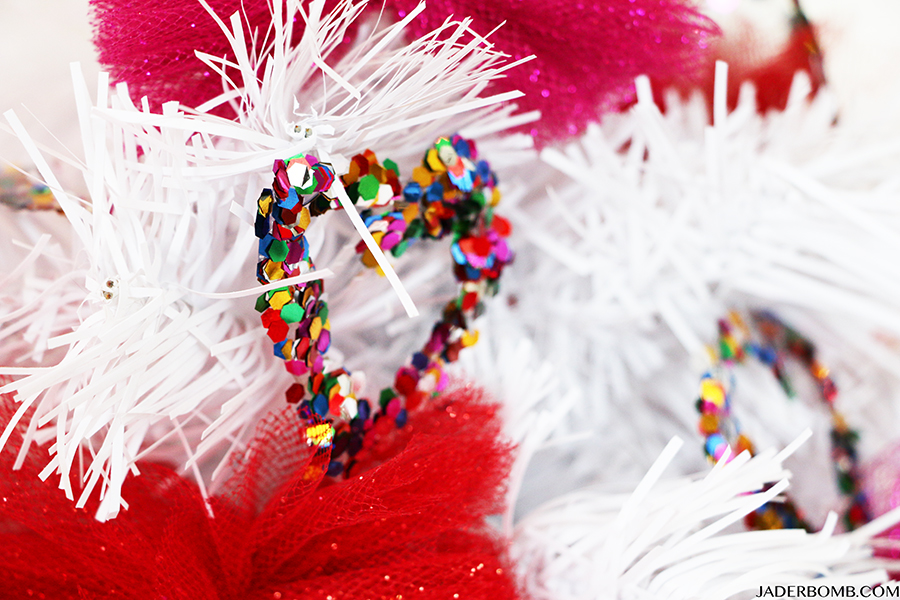
Carefully draw a heart on your parchment paper with your glue gun. HOT GLUE GUN PROJECTS

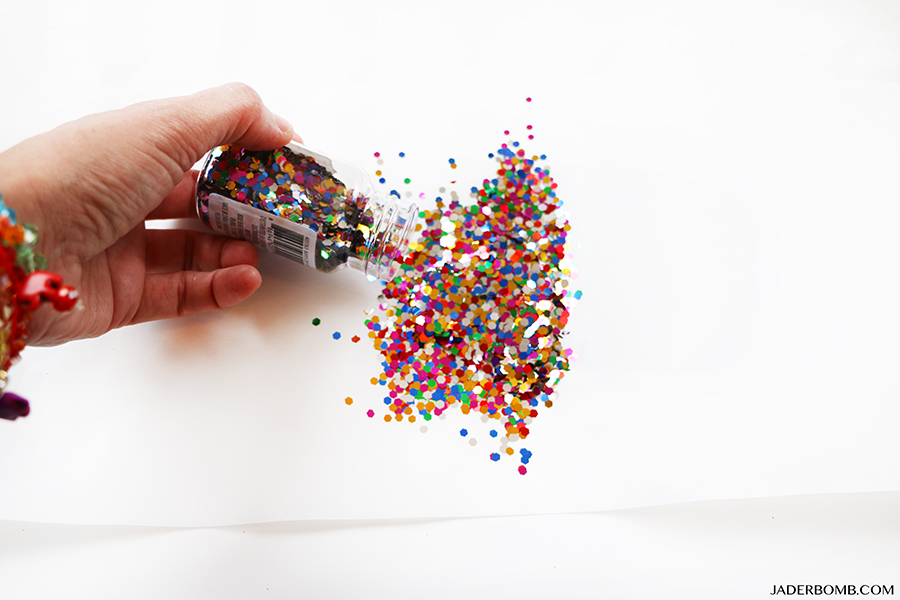
Sprinkle your glitter or confetti as soon as you are done. You do not want your glue to dry for this step!RAINBOW GLITTER CRAFTS

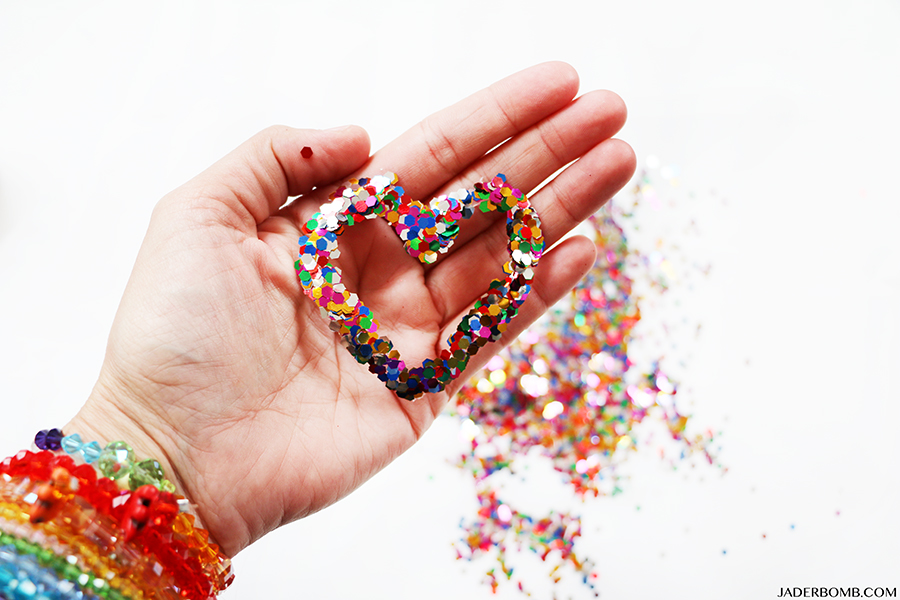
Let it sit for a minute or two and VOILA! Your one of a kind glitter heart! HEART PROJECTS

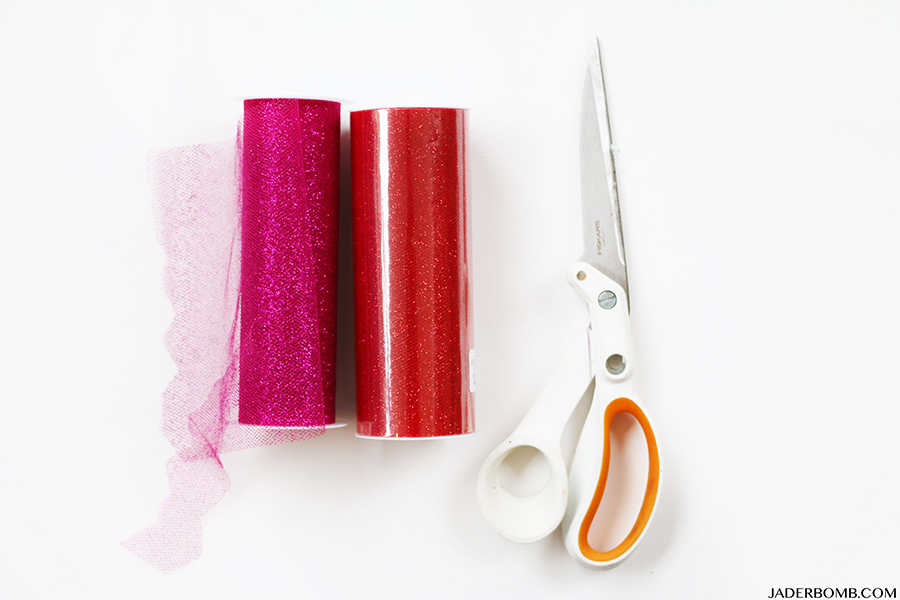
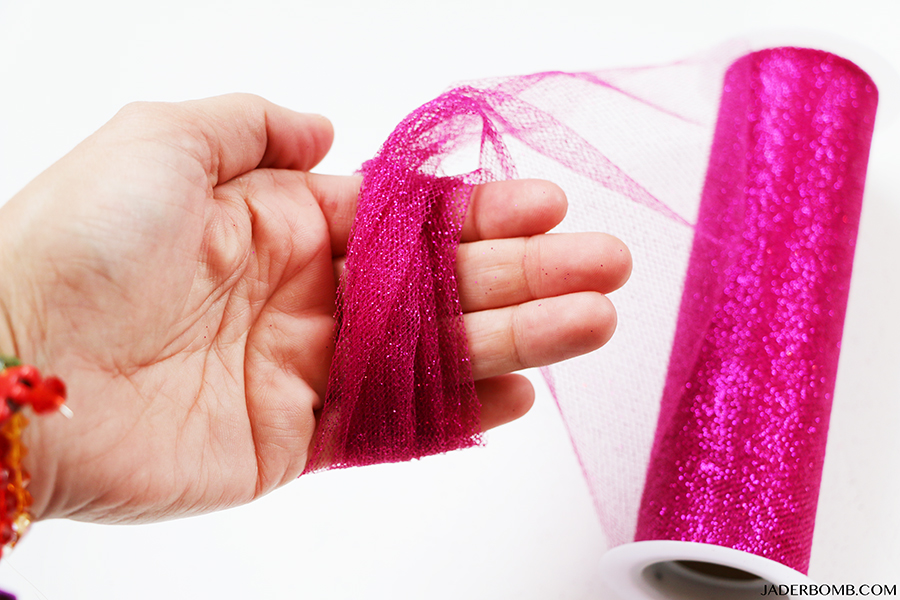
YOU WILL NEED: Tulle | Scissors TULLE BOWS

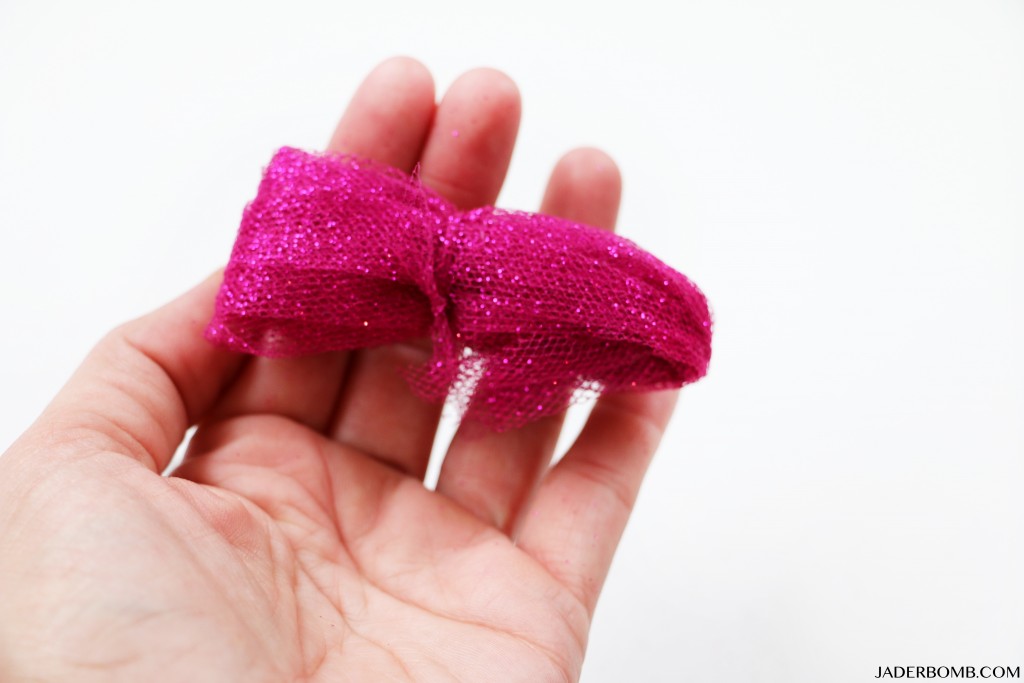
Wrap the glittery tulle 4 times around your 4 fingers. Carefully pull off fingers. TULLE PROJECTS

Tie a knot directly in the middle. TULLE DIY

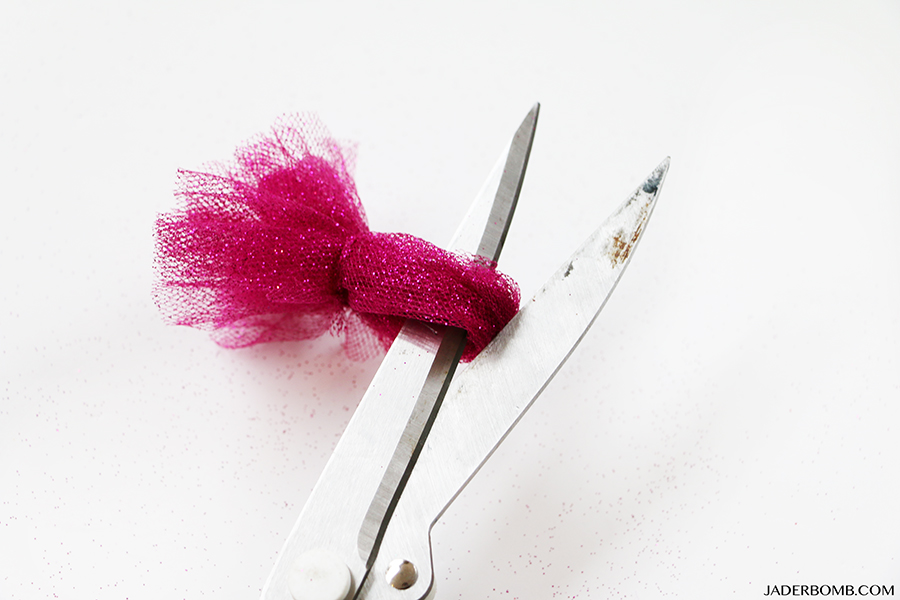
Pass your scissors through each end and CUT! HAHATULLE POM POM

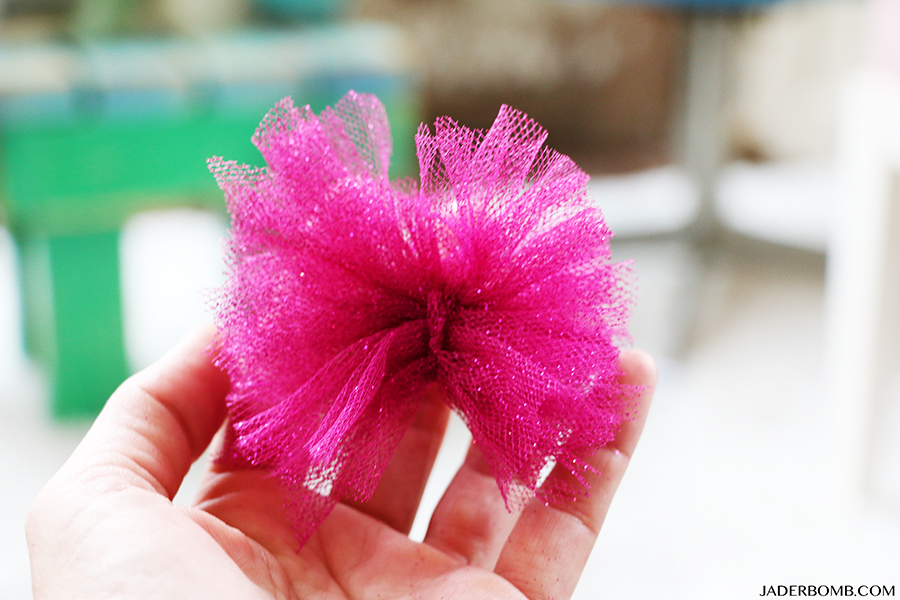
Use your fingers to FLUFF it UP and here you have your very own tulle pom pom.
PINK PROJECTS

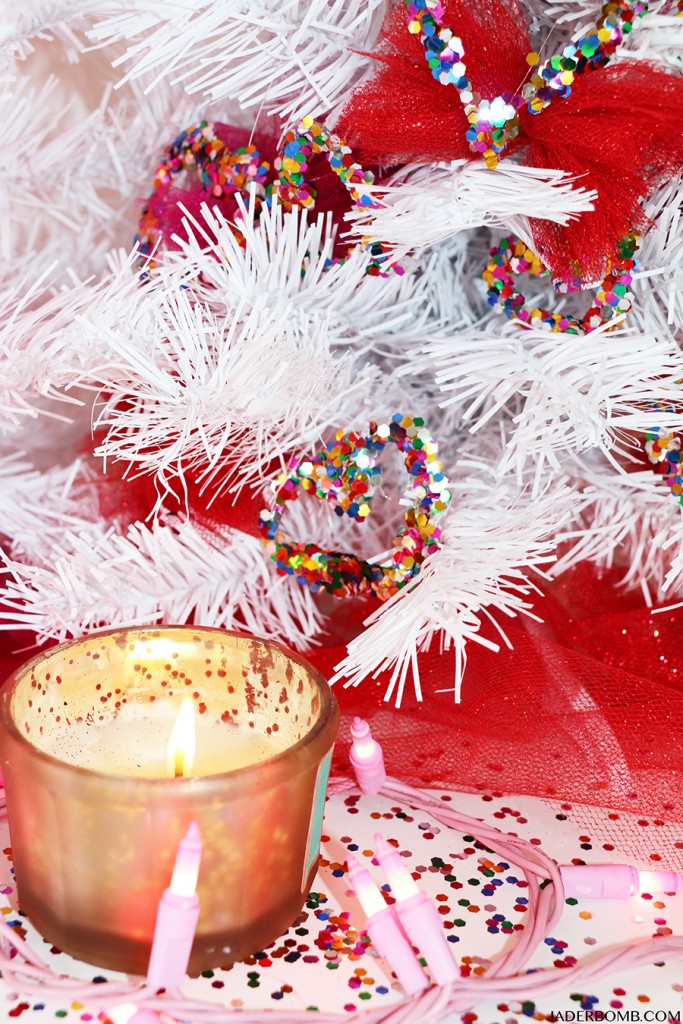
Now you can add all your beautiful ornaments to your tree!DECORATE FOR VALENTINES DAY

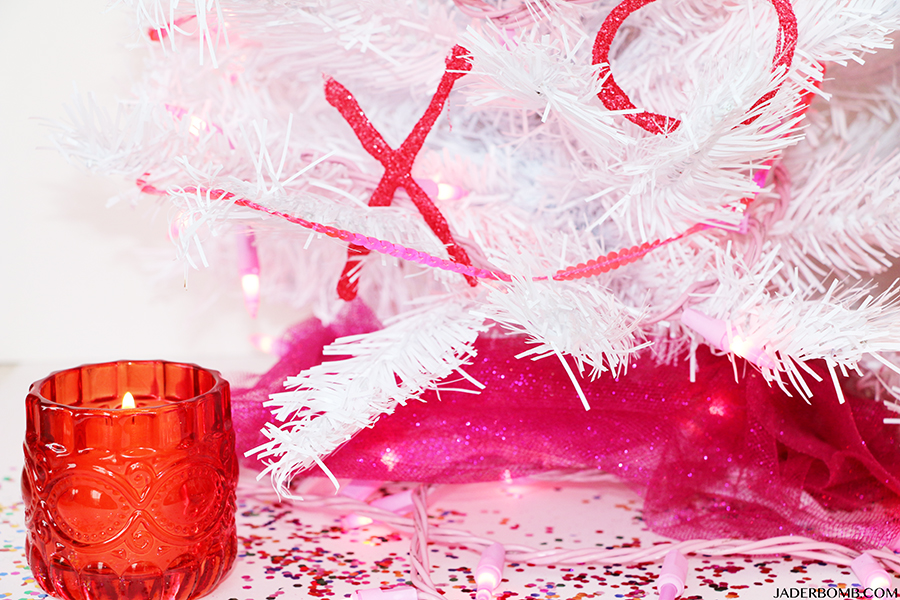
I made these X’s and O’s the same way I did the Hearts! XOXO PROJECTS

HEART CRAFTS

HEART DAY

GLUE GUN HEARTS

VALETINE DAY PROJECTS

Head over to Treetopia and enter the #xoTreetopia giveaway today. I’m just the first stop on a really awesome week long blog hop of amazingly talented ladies.

***This post was sponsored by Treetopia however all opinions are completely my own***

Hope everyone has a great Valentines Day! See you in the next post!

Jade

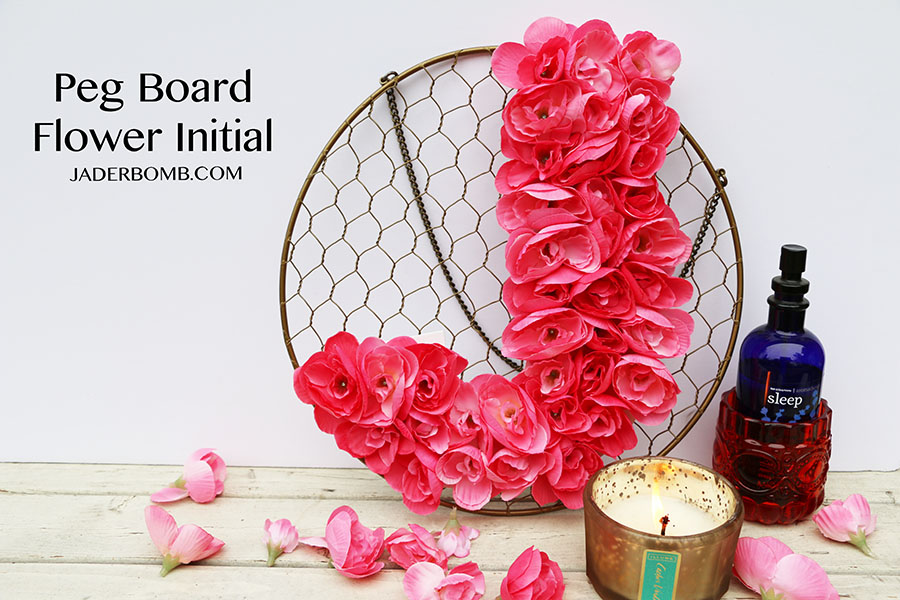
Happy Monday Y’all!!! Today is the day I show you what I created with the new Make Market line from Michaels! Yes my friends at Michaels just knew I would create some rad project and I am super excited to share with you what I came up with!

Let’s be real. You can’t go wrong with flowers and a glue gun, hehe!

peg board flower initial

BOHO CRAFTS

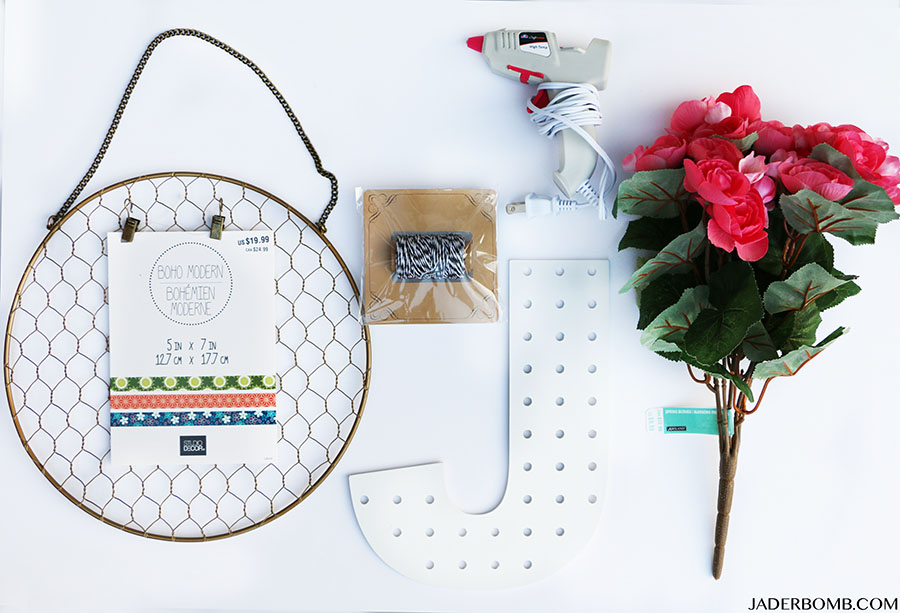
YOU WILL NEED: Peg Board Letter | Artificial Flowers | Glue Gun | BoHo Decorative Screen | Twine (optional)

  • The best part about crafting is putting your own spin on a project. Whether it’s decorating with marquee lights or crafting an initial that represents your family name, Michaels has made it easy with their new Alphabet Soup by Make Market™ line of products.

flower diy

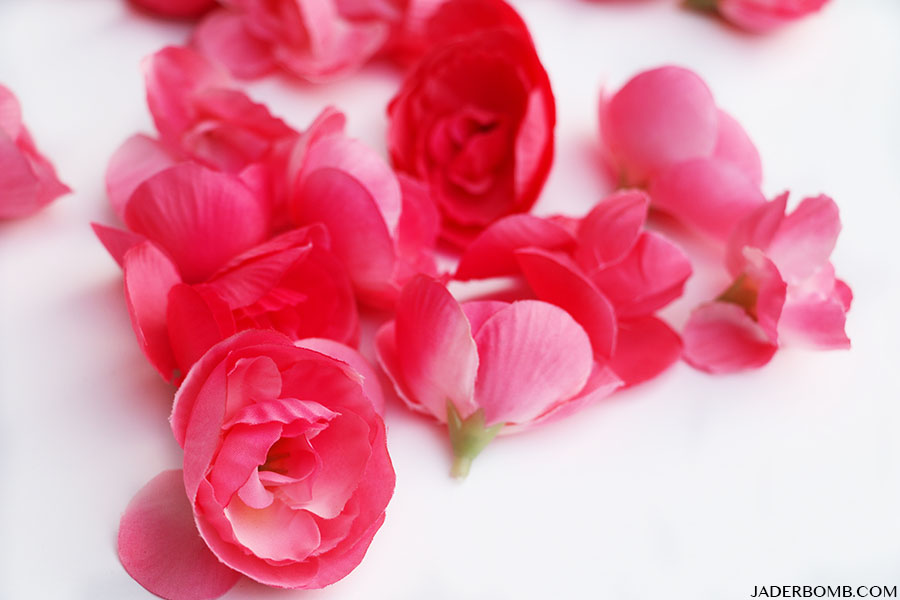
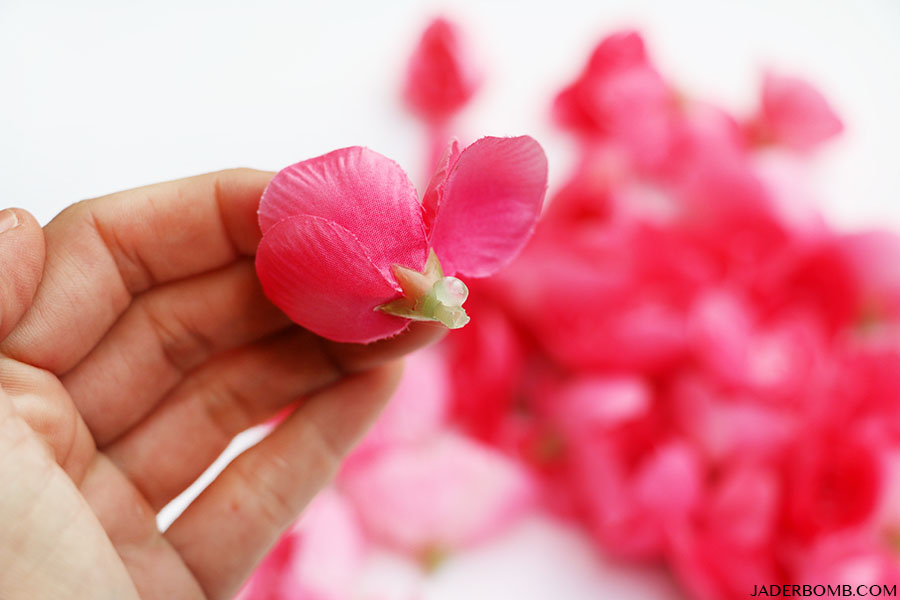
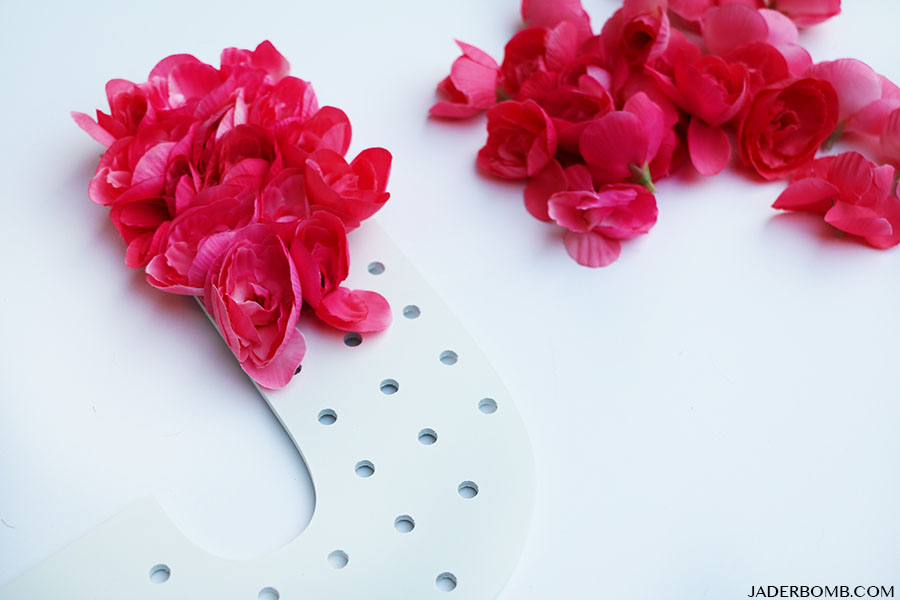
Step One: Pull flowers off of stem.michaels makers projects

flower projects

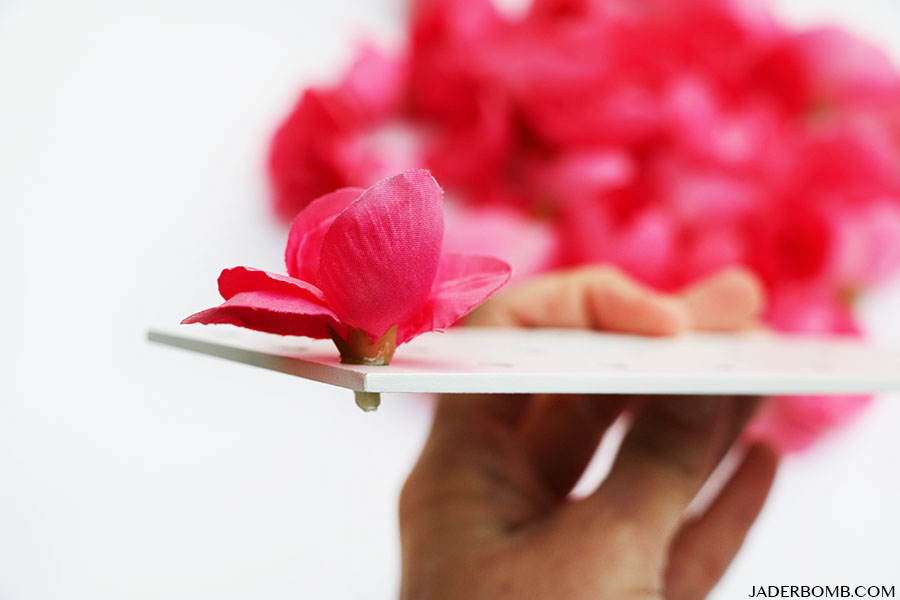
Step Two: Add a drop of hot glue around the bottom of flower. love diy

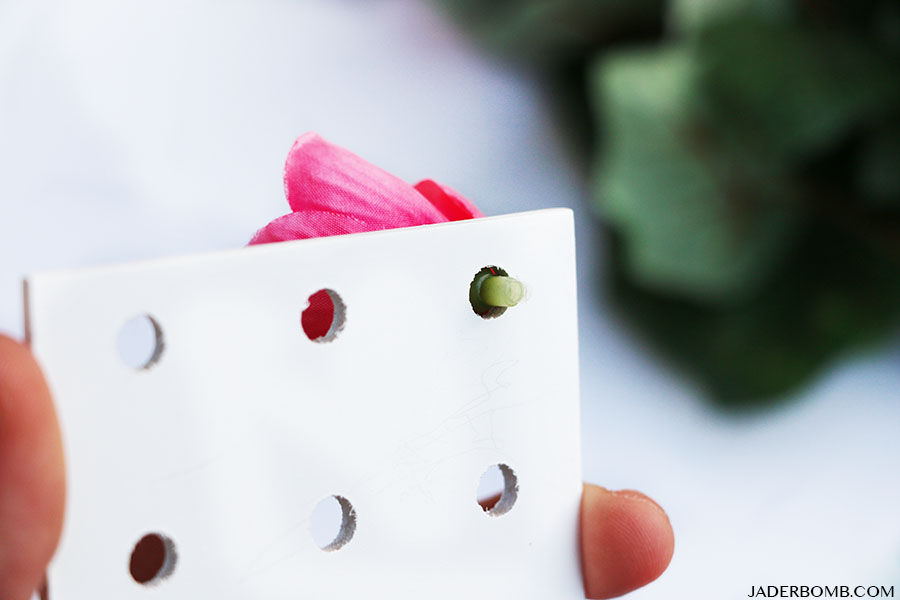
Step Three: Place flower in peg board hole. valentines day diy

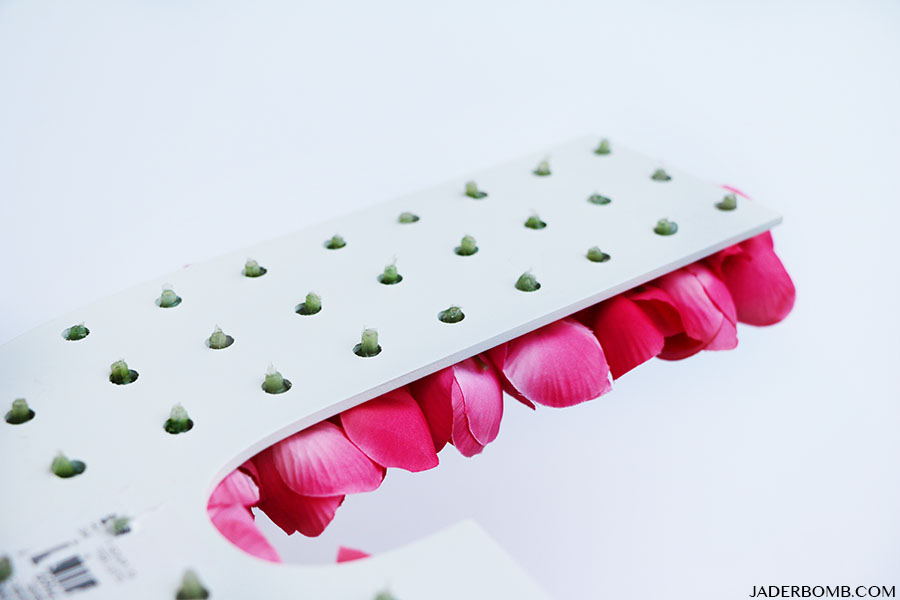
The back will look like this. If you plan on putting this on a wall when you are finished with all of the flowers you can trim the backs so it fits flush against the wall.
pink crafts

I am so in love with this letter already. How cool would a the entire alphabet look on a wall!
valentines day gifts

I am putting my letter on top of a screen so I am not worried about cutting the backs of the flowers. valentines day projects

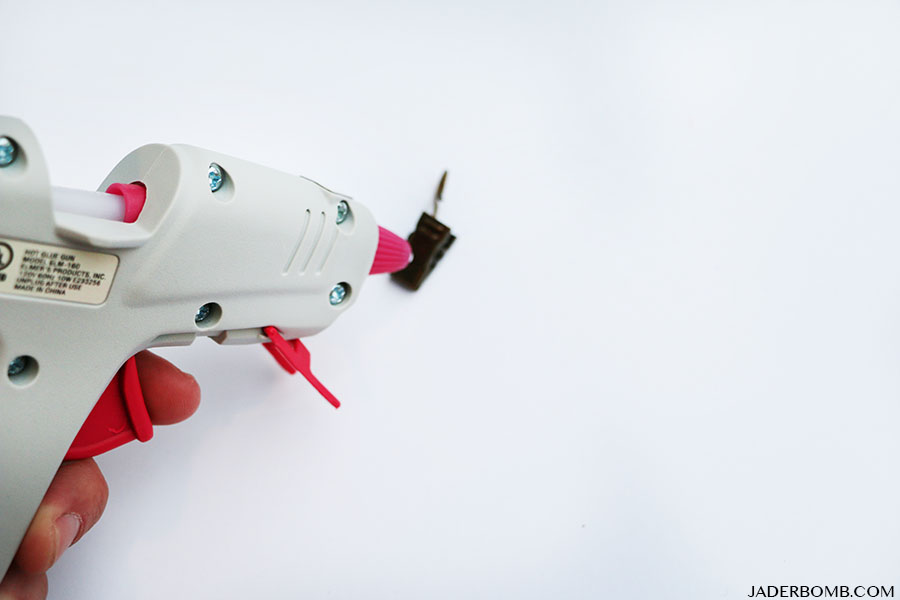
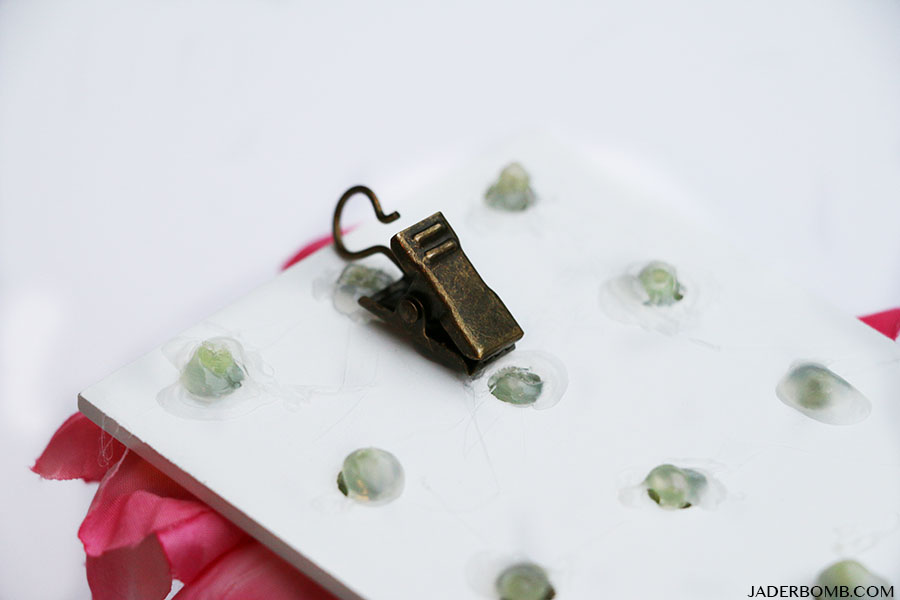
Grab a little hook (btw this came on my boho screen that I got from Michaels as well) and add hot glue to one side of it. glue gun projects

Step Four: Stick hook on back of letter. Leave it be for a hot minute to dry completely. easy flower projects

  • This collection of surfaces, letters, frames and more come in modern, eclectic or rustic styles. From natural and finished woods, to a variety of metals, resin and patterned styles, the possibilities are endless.

valentines ideas

michaels make marketFebruary Challenge Creative

I hope you enjoyed this project! Make sure to click HERE to check out all of my Michaels posts!

  • If you don’t know where to begin, you can always take a look at some of the fun projects on Michaels.com or the other 49 Makers’ ideas on The Glue String for to see how they personalized their crafts


Who’s ready to make a Recycled Planter! Yo Jaderbugs it’s been a hot minute since I posted something here but like always sometimes life takes over and our priorities get shifted a little. I am sure some of you can relate to that. I have some exciting projects I am starting this week and I can’t wait to share them with you! How have you been???? How’s life treating ya?!?!

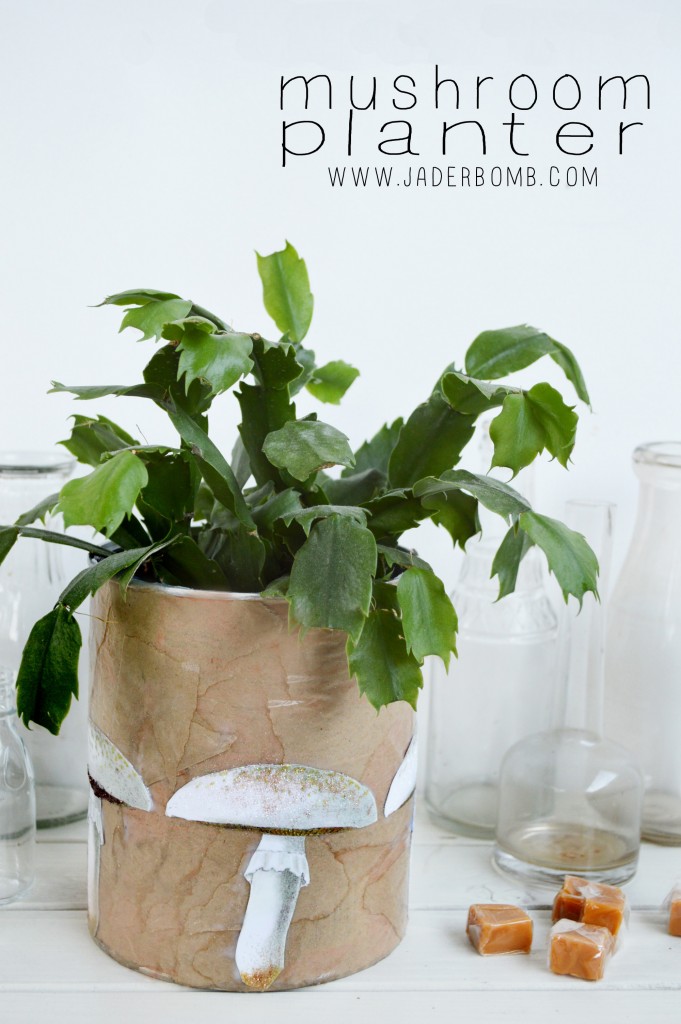
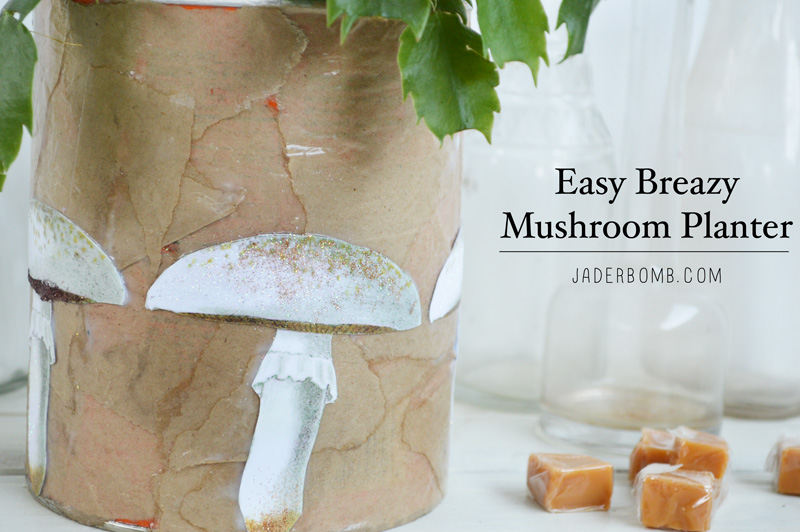
I am excited to show you this Mushroom Planter I did a few years ago for the Graphics Fairy. It’s really easy and practically anyone can do this project. Now if you like planters then you have to see this one I made with Cupcake Liners!

I wonder if everyone out there eats mushrooms…I personally never could get my mouth to adjust to the taste and texture but then again I used to hate pickles and somehow the universe changed my tastebuds and now I can’t eat enough of them. No, I am not preggers, haha! We have this little bistro in the lobby of our building and usually everyday around 3 I walk over to get my daily pickle from them. I prolly should just go buy a big gallon bucket of them and keep in the fridge at the studio but for some reason I think they taste better from them. Plus I like supporting the bistro so a pickle here a pickle there adds up, hehe!

Now for this project you can do so many things with it. You can put a plant in it like I did or use the tub to hold anything your heart desires. It’s practically free to make (((sorta))) so in the end you an make tons of them! I don’t know about you but I am ready to started!
Recycled Planter

you will need

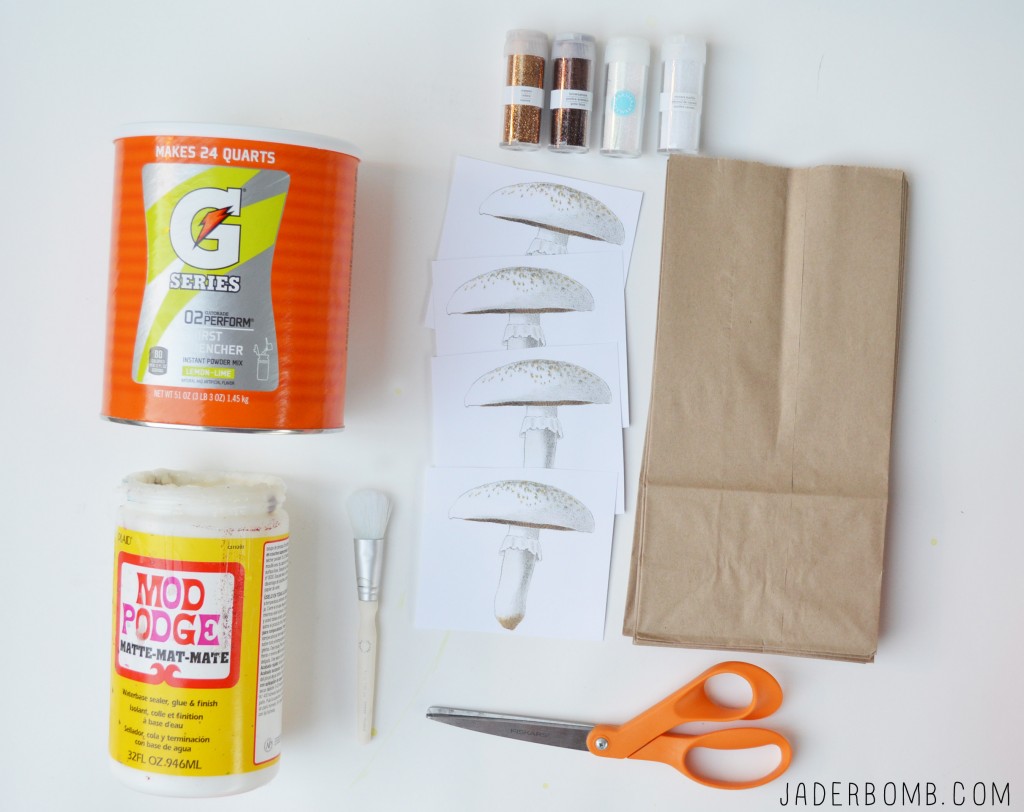
Empty Tub | Glitter | Brown Paper Bag | Mod Podge | Craft Brush | Scissors | Mushroom Printable

YO! You can seriously order all of the products I used in ONE hot spot by clicking on the links (above)….Yeppers these are affiliate links so by shopping from here you helping a sista out! 6

The first thing you will do is download this rad mushroom printable. Now look, if you are not into mushrooms you can find any image on this site that makes your heart happy! I simply like the look of mushrooms, just not in my mouth!

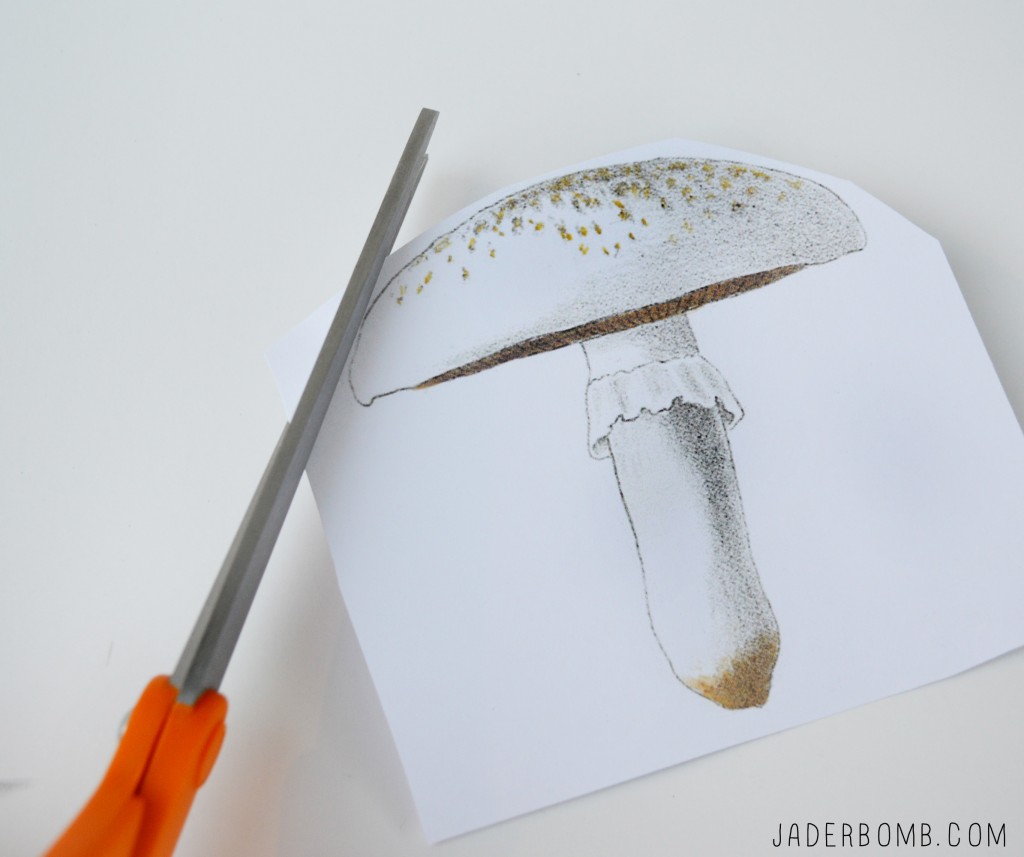
Once you print it out on durable paper (like card stock) carefully cut it out. You can use any scissors that you have but craft scissors work the best.1

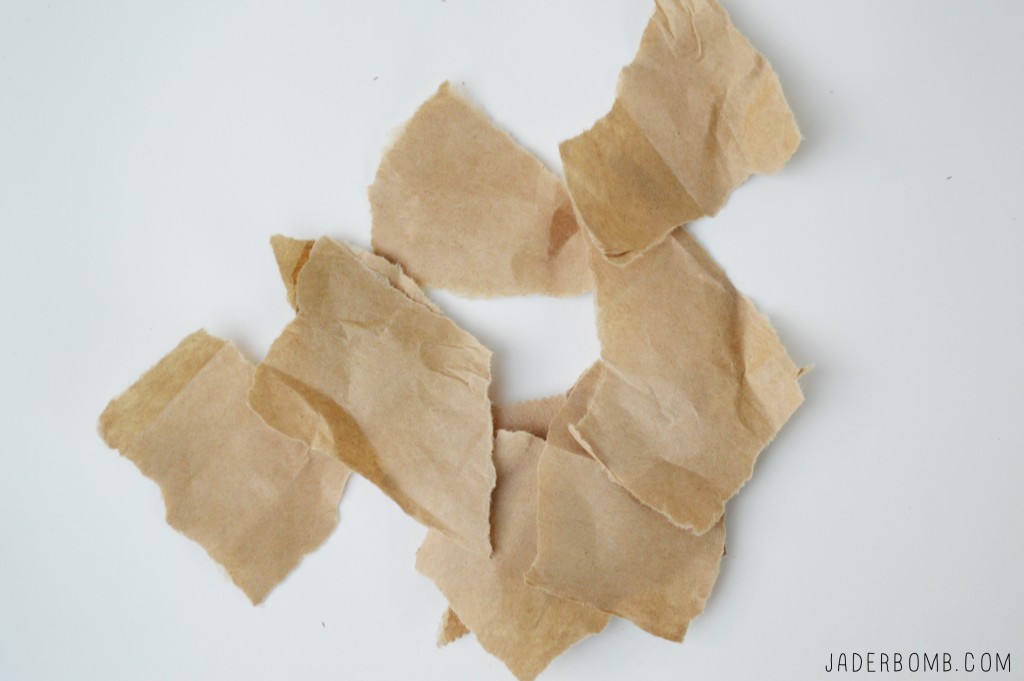
Next thing you will do is tear pieces of brown paper bags with your hands. You do not want to cut these pieces with scissors because we want the edges to look “torn”. Got it, great! 3

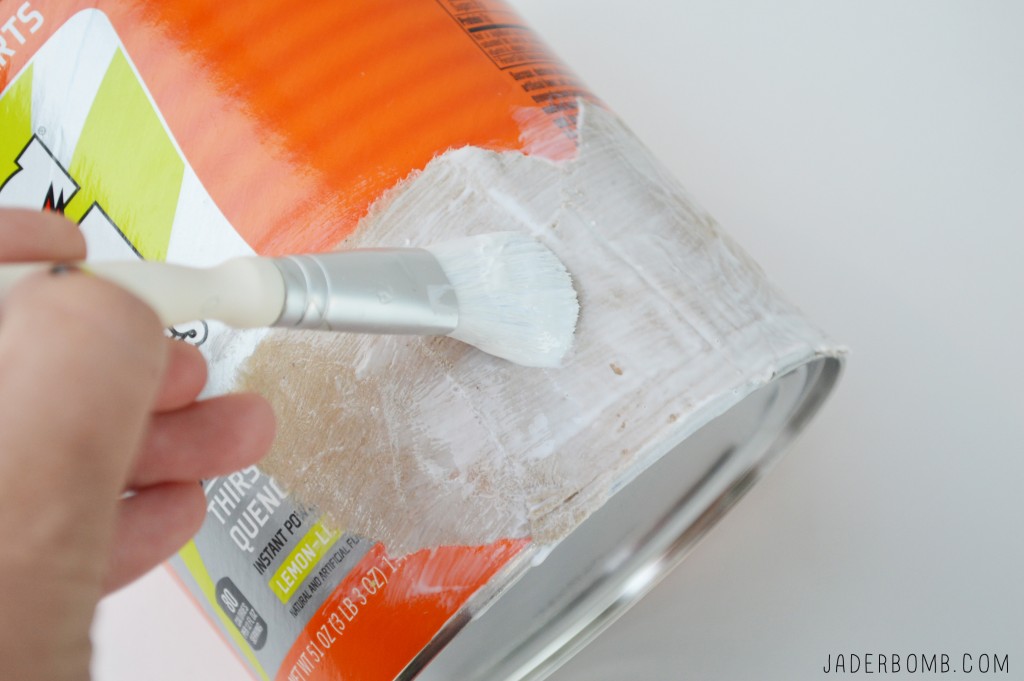
Once you have way too many pieces of brown torn paper bag pieces it’s time to glue these babies onto our hideous tub. Now, I used a gatorade tub but by all means you can use anything you want! If you plan on putting a plant in it just make sure the inside is durable and that you can puncture a few holes on the bottom so the water can drain.

Dip that brush in the Mod Podge, brush some on the tub, put paper bag tear out on top of glue then seal with another coat of Mod Podge. Wham Bam that’s it!

If you have never used Mod Podge I’ll tell you that it will look super white when applying initially. Don’t you worry little ones this stuff will dry clear and win over your heart in 20 minutes. Yep, this little container of white glue is majorly addicting. There is your warning. Bam.
4

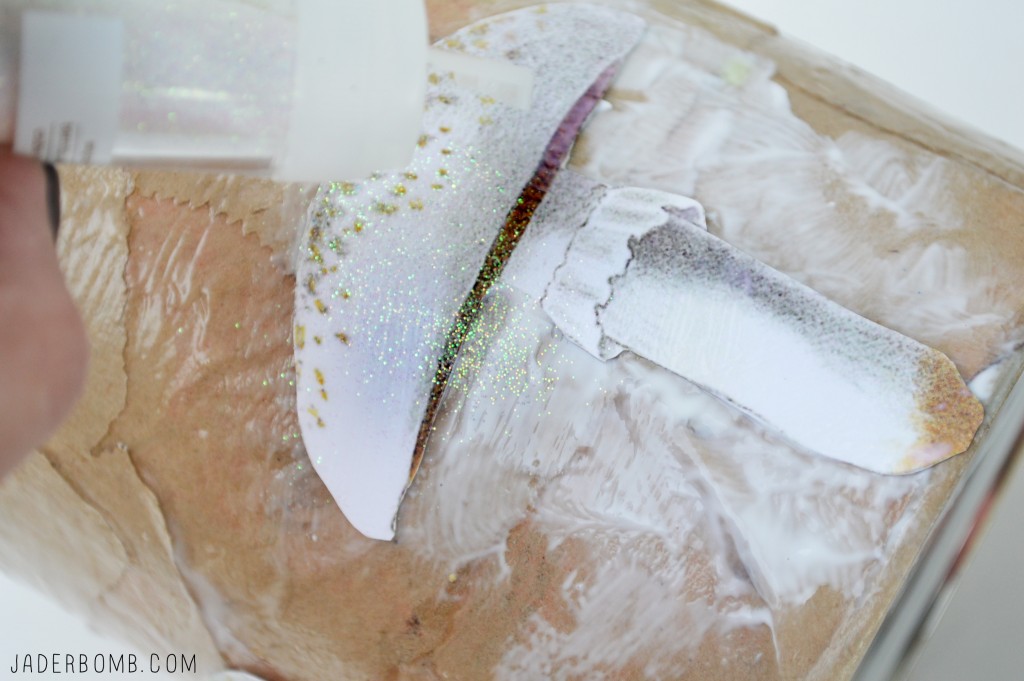
When you are finished with your brown paper bag layer then it’s time to glue our Mushroom onto the container. You will use the same process as the paper bags. Don’t forget to sprinkle the glitter of your choice onto the mushroom while the glue is still wet. Heller, we always need some sparkle in our lives. I used an iridescent glitter so the colors will change depending on the angle you are looking.
5

Let this ball of beauty sit for a few hours and then you are ready to stuff it with whatever you want. Now if you don’t want some orange showing through then just add more brown paper bags but I kinda like the hint of color coming through in some spots. Another option is painting the tub the color of your choice before applying the paper bag.

I planted a Christmas Cactus in mine and I LOVE IT! This also makes a great gift to give someone, right! Thanks for hanging out with me on this wonderful Monday morning! See ya on the flip side Jaderbugs! mushroom planter

*You can connect with me on all my social media sites!
PINTEREST | FACEBOOK | GOOGLE  | TWITTER | INSTAGRAM

in other news

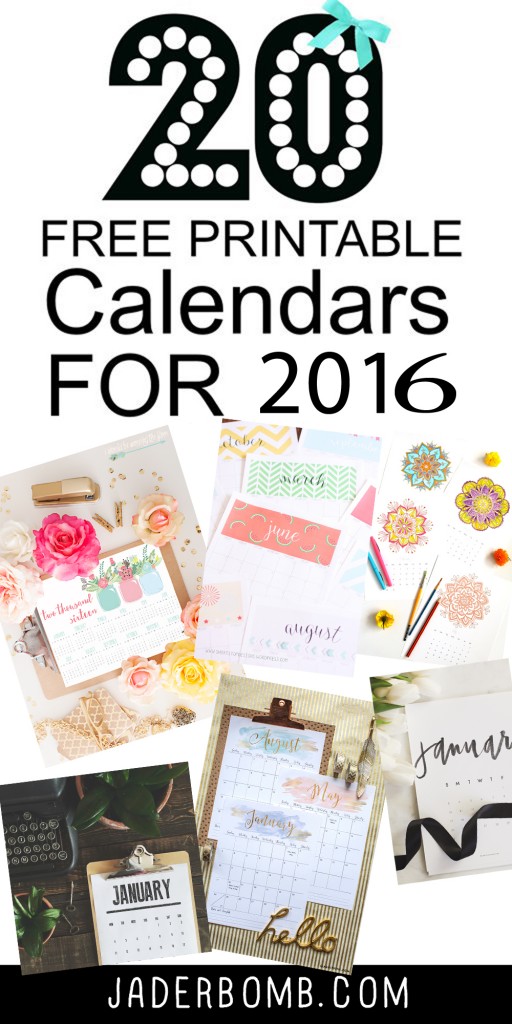
*Check out my 20 FREE printable Calendars for 2016
*I started a new painting and I know you will LOVE it
*Learn how to paint your own mugs at HOME


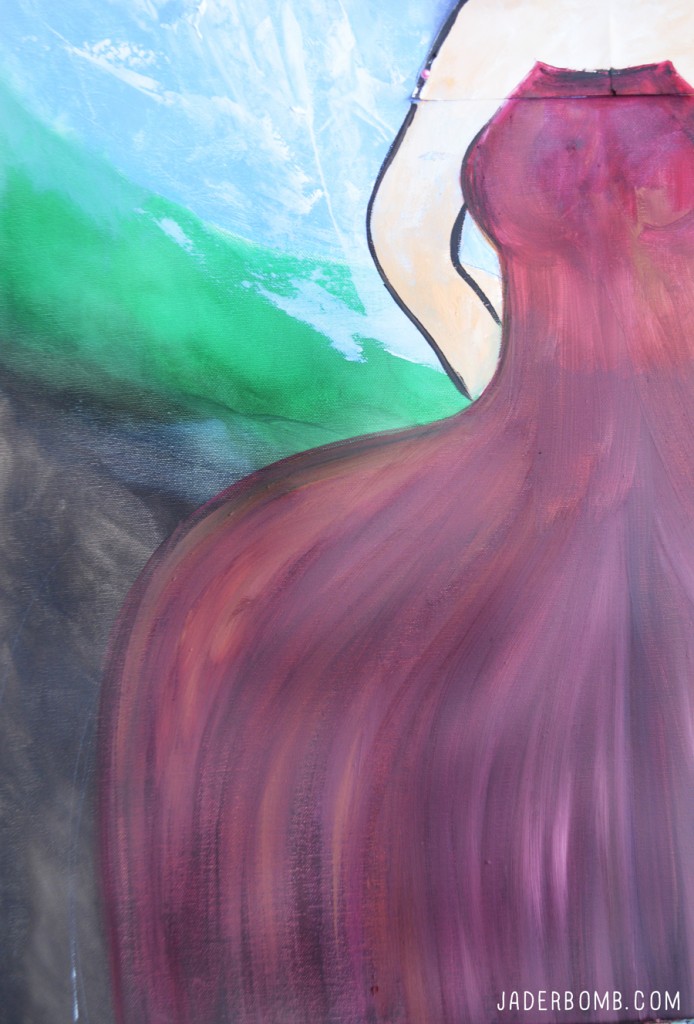
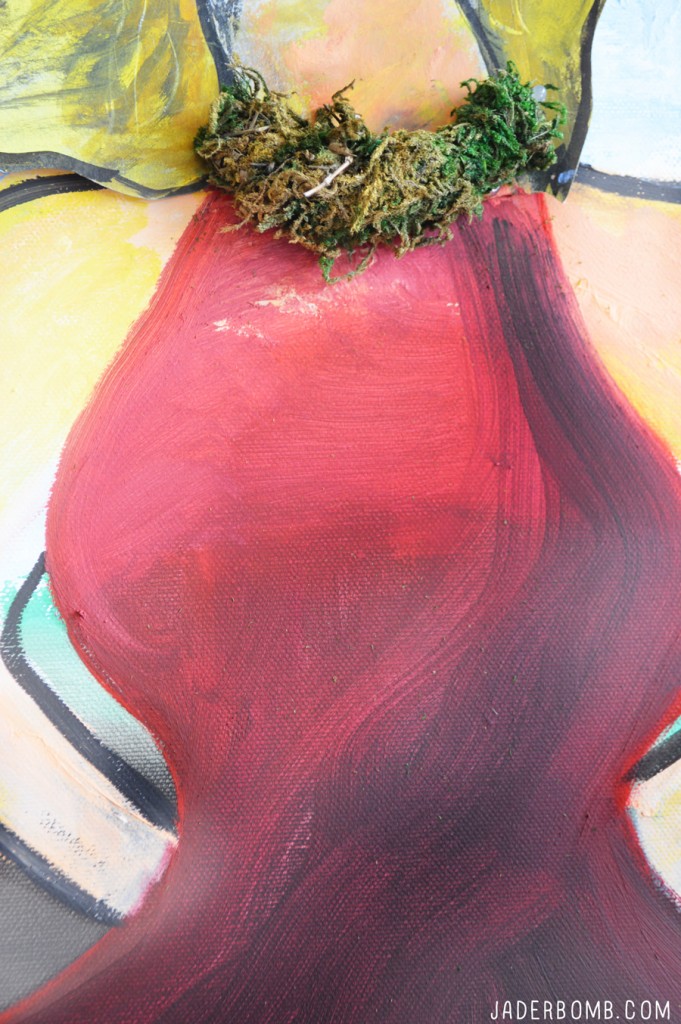
I have a SNEAK PEAK OF A NEW PAINTING and BIG NEWS to share with you today! I am quite ashamed that I have not posted more of my paintings on here lately and maybe it’s because I haven’t been in the mood to share with the world, until today. I have been working on a series for about a year now and boy it’s the slowest dam series I have ever encountered in my LIFE. That is not a joke. I just started this one about a week ago and it’s not quite done but I wanted to share some details of it that I am in love with. I have to say I always get super connected to my work to the point of not wanting to sell it BUT if someone feels they NEED something I created then I am cool with that. Keep in mind these are FAR from finished.

This series is bases off of myself (sorta like a reflection of me) over the last year and a half. The only thing is, I have not shared with you the other paintings that go with this one. I think I am finally ready and I won’t lie they are just devine, to me. Don’t worry I will try to explain each picture and why I used certain materials and objects to help you understand my story. Incase you are wondering I only use OIL paint. I love how I can go in and out of it days later. What is your favorite medium to paint with? 

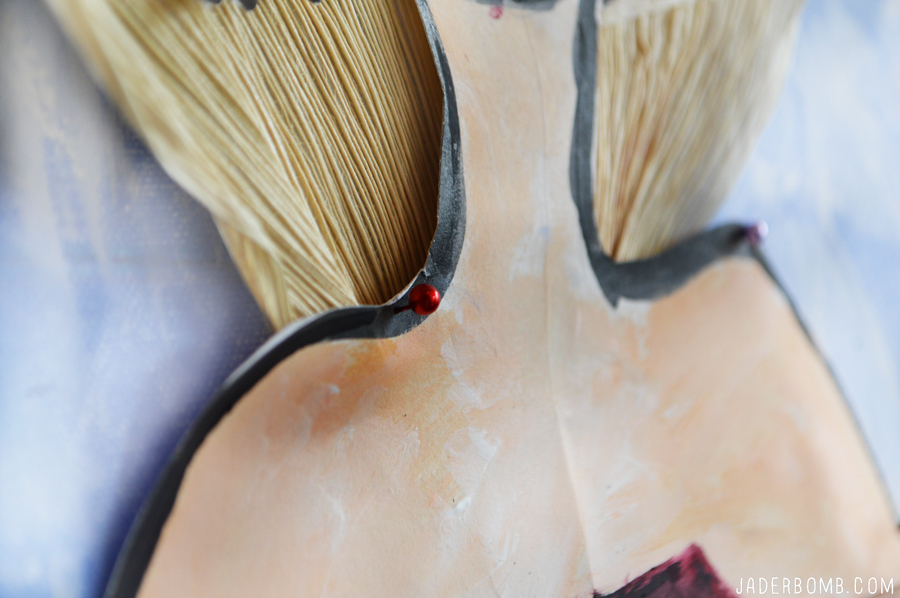
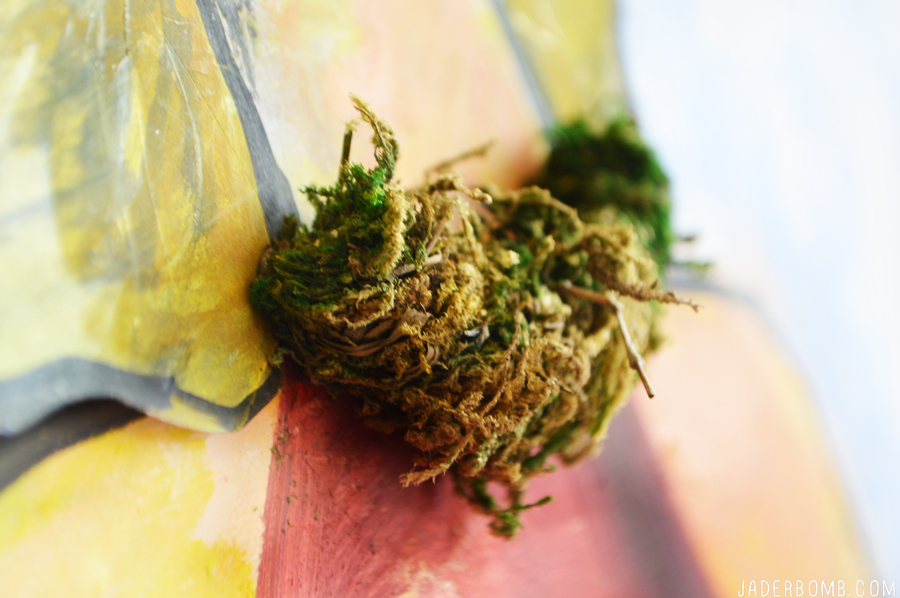
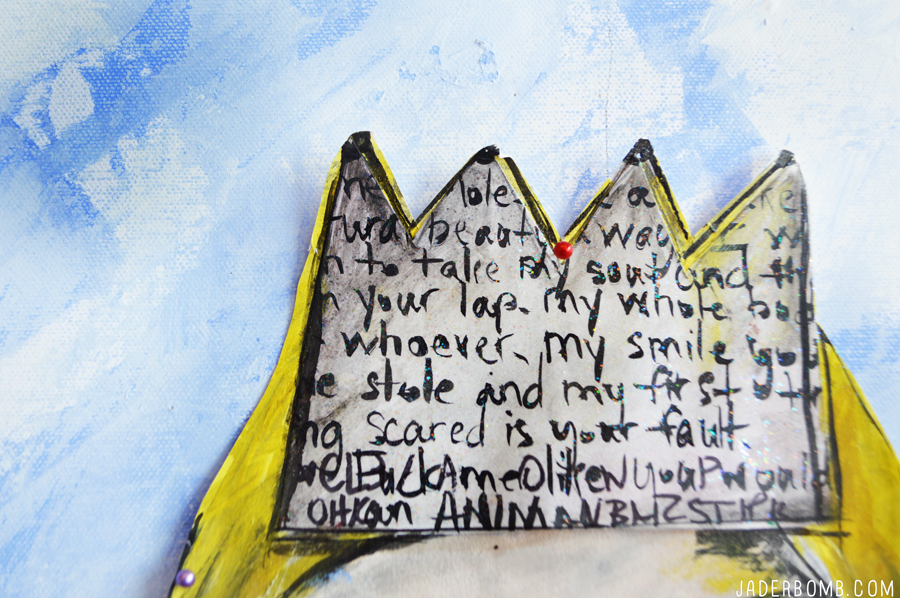
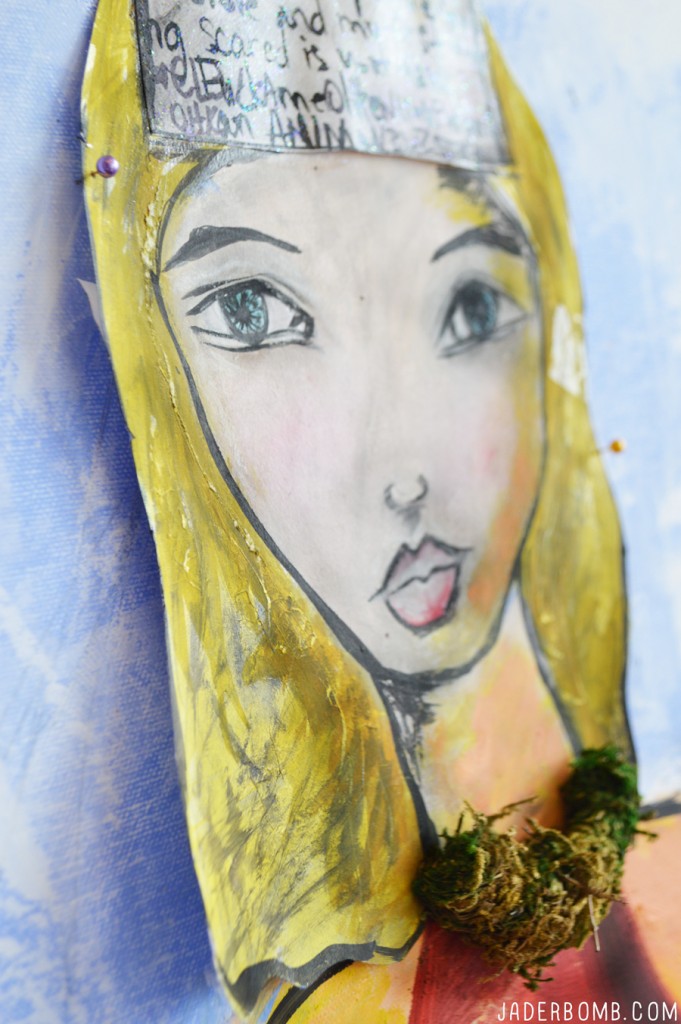
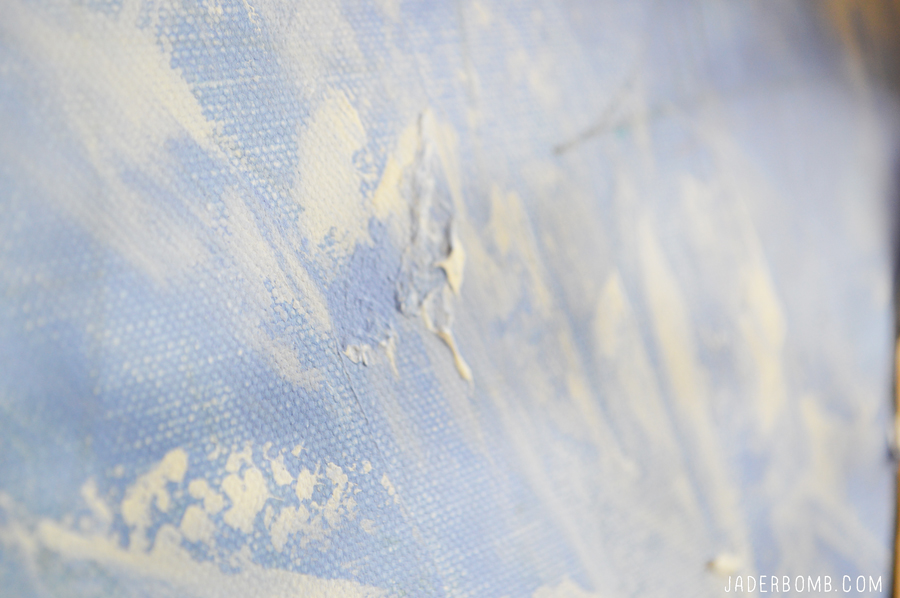
Don’t forget to check out my 20 favorite FREE PRINTABLE CALENDARS OF 2016!!!3 d artIn this series you will find push pins in the paintings. I prefer to use RED which symbolizes blood to me. Not in a bad way but geared towards the blood running through my veins. Deep huh, haha!  This piece has different elements in it that I think you will really love! 3-d Mixed Media PaintingsI used rolled moss around one of the girls’ neck to symbolize growth. Don’t we all grow? Earth, grass, dirt… Anyways I thought it looked cool as well!  how to do mixed media artAbout while back I created these girls and painted them to reflect how I felt at the time. I have quite a few of them but these two were my most powerful ones and the I related to them 100%. You really can’t read the words I wrote and I like it that way. After all I have to leave something to your imagination… YES, the words mean something to me and that is all that matters. art journalHere is one of my beautiful girls. Now I mentioned earlier that they are reflections of ME so don’t get confused when you see the blonde hair. Clearly I am not a blonde but this girl needed to be. I had fun creating the head separately then adding it to the flat body on the canvas. I believe it adds another dimension to the entire piece. how to paint with oilBoth of my girls have red/burgundy dresses on and again this symbolizes LOVE, BLOOD, PASSION to me. mixed media art I plan on adding much more texture to the dresses. I am thinking of adding lace to one of them….Stay tuned you never know what I might end up using. painting with gessoI do love my background especially with all the texture I added. I can’t wait to show you the finished product! YES, this baby will be for sale and I will have prints of it for sale as well… Also I have exciting news! I am in the process of building a new SITE for you and I know you will love it. It should go LIVE in a week or two – so stay tuned! Sign up to get my emails so you don’t miss it! Trust me this site will be good for your “soul”… Love you all!
Until next time Jaderbugs!

*You can connect with me on all my social media sites!
PINTEREST | FACEBOOK | GOOGLE + | TWITTER | INSTAGRAM


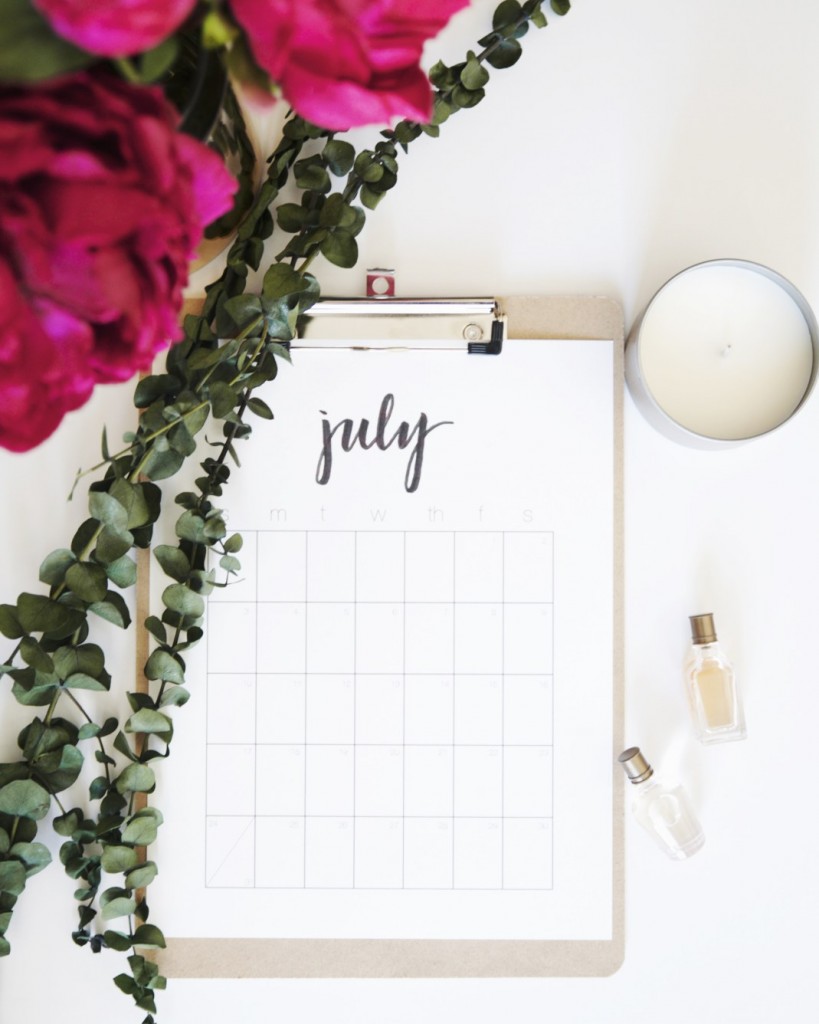
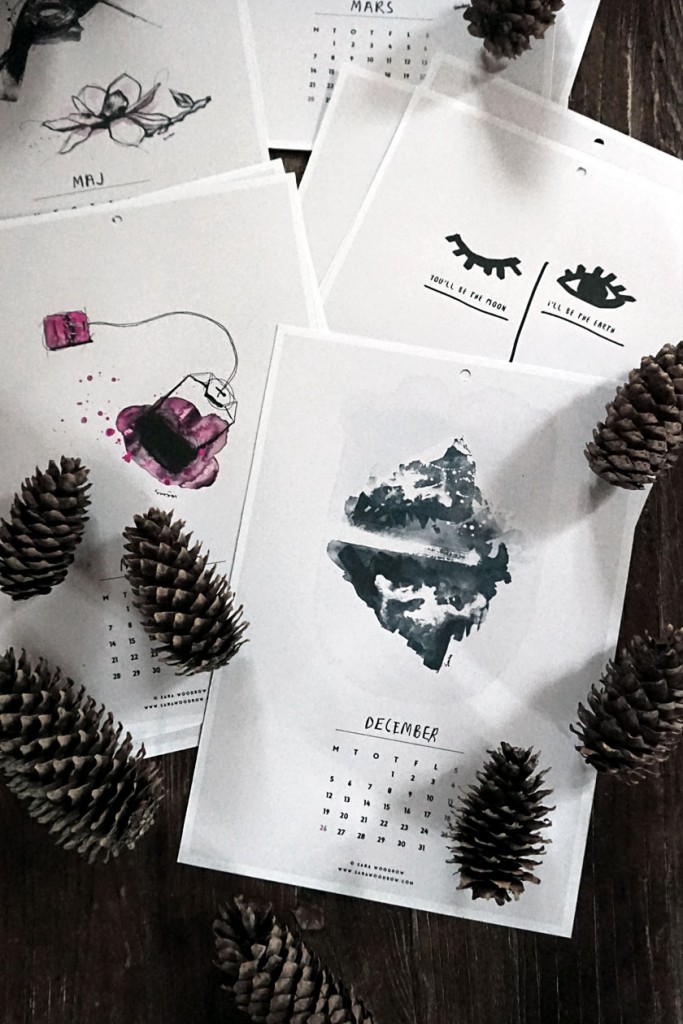
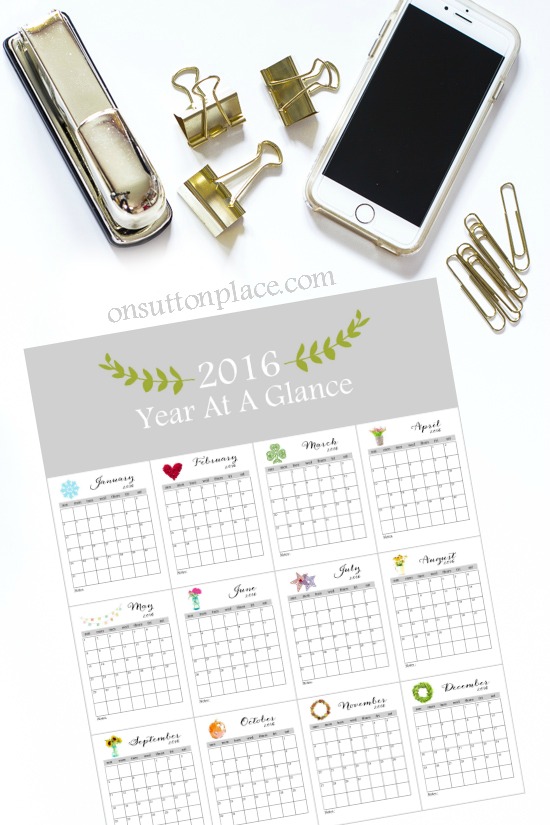
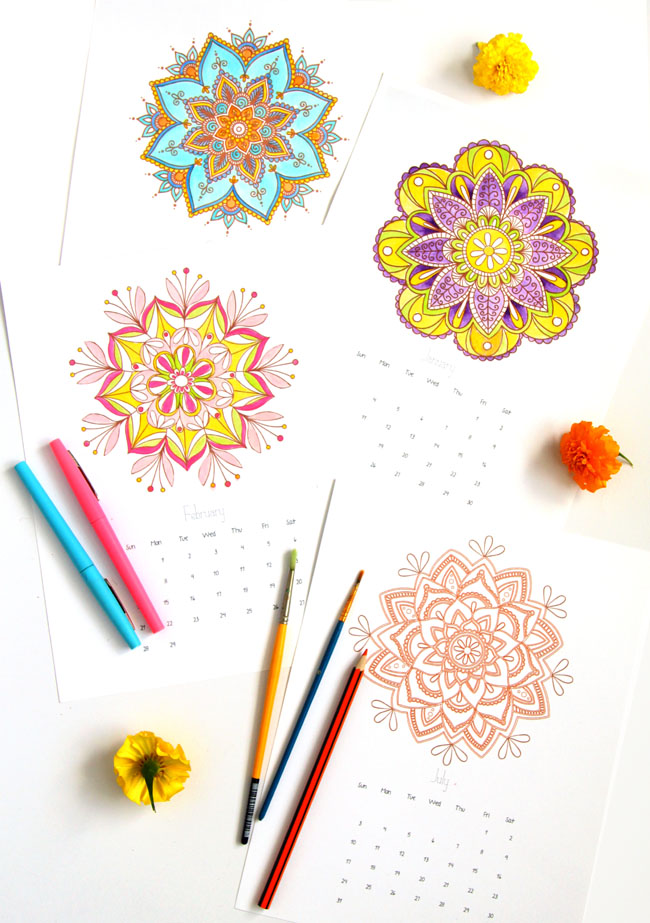
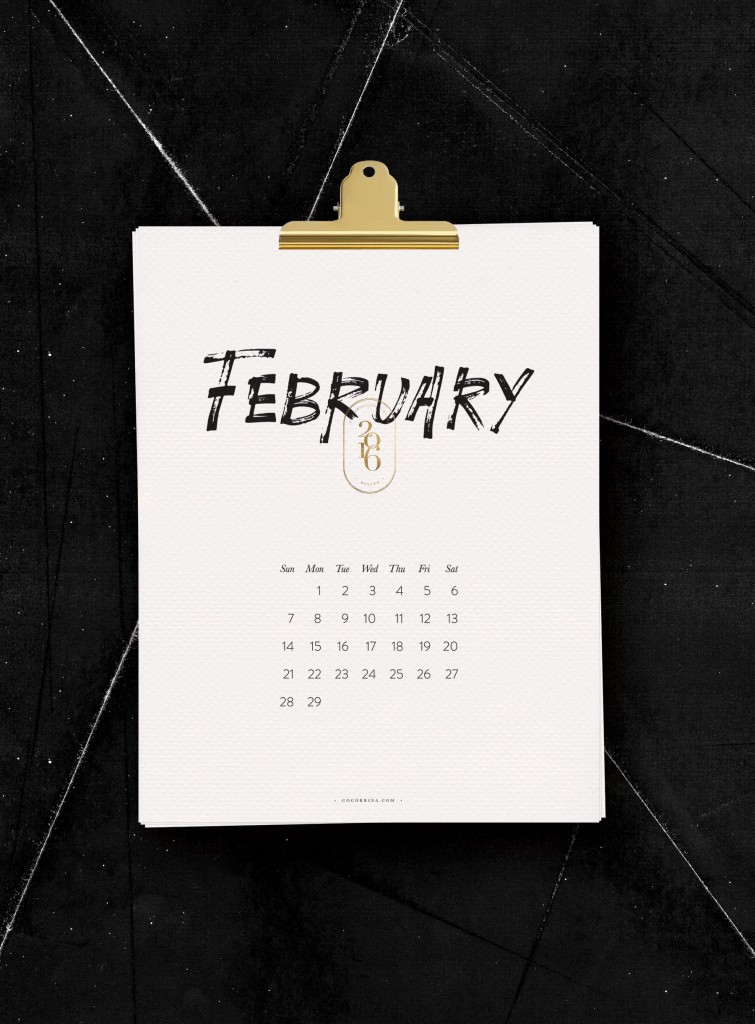
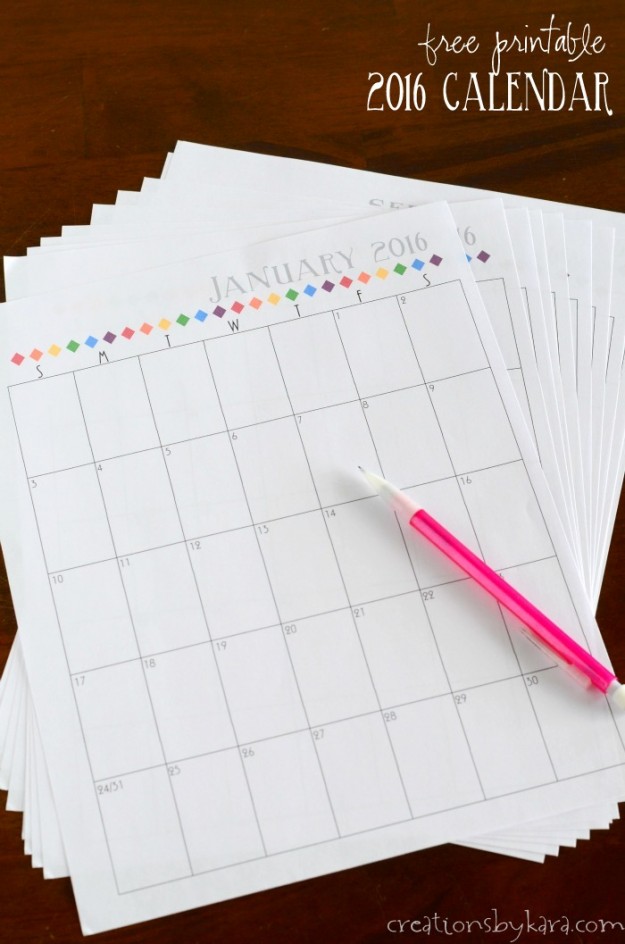
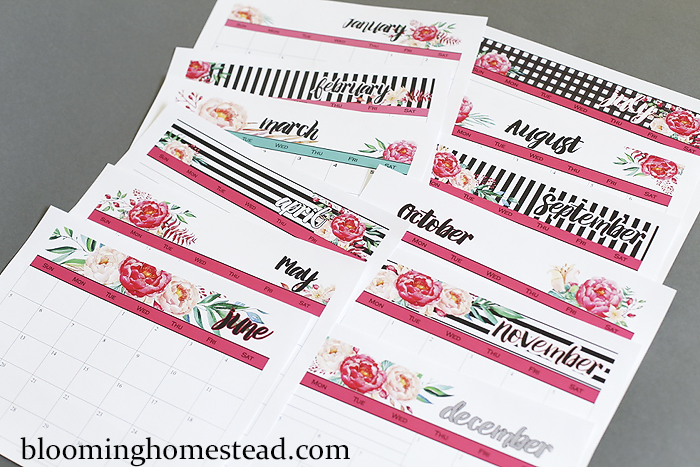
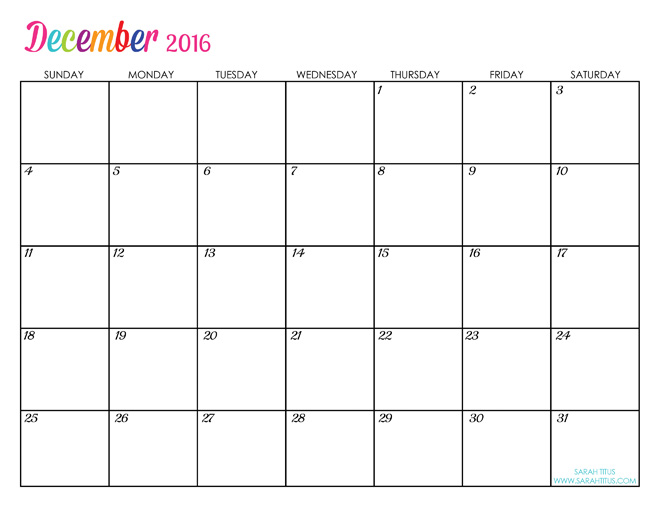
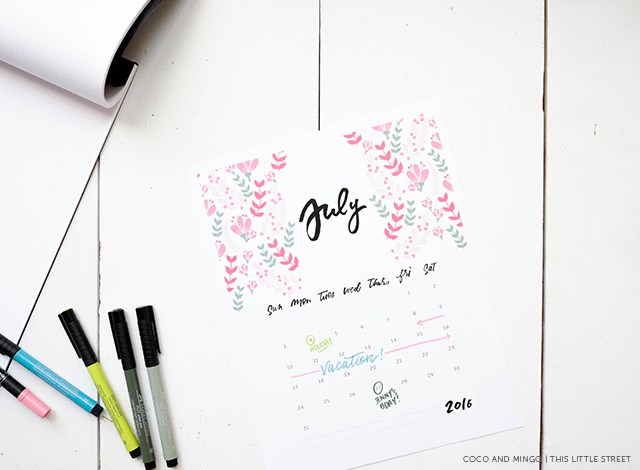
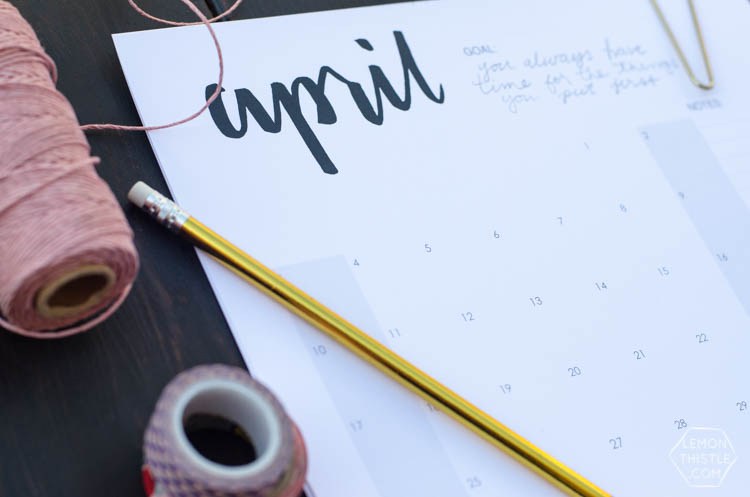
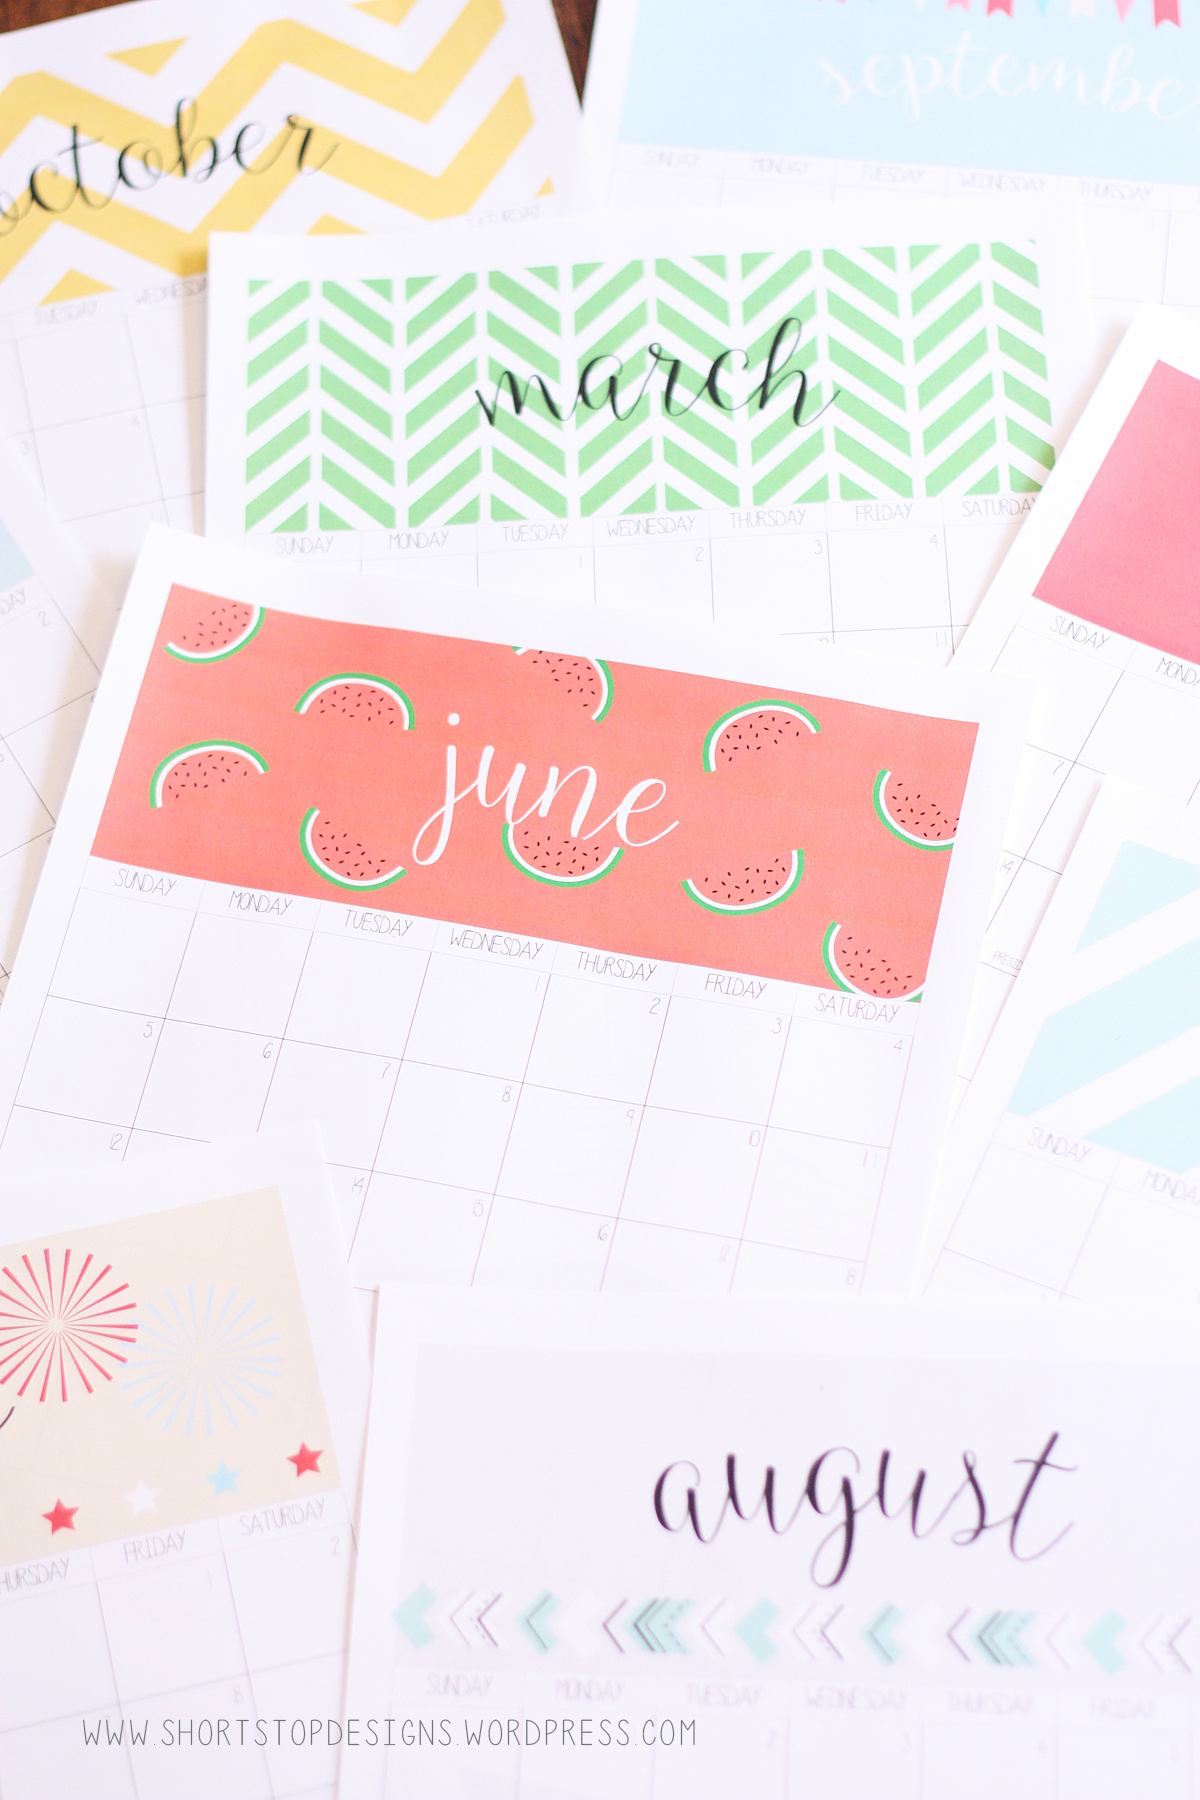
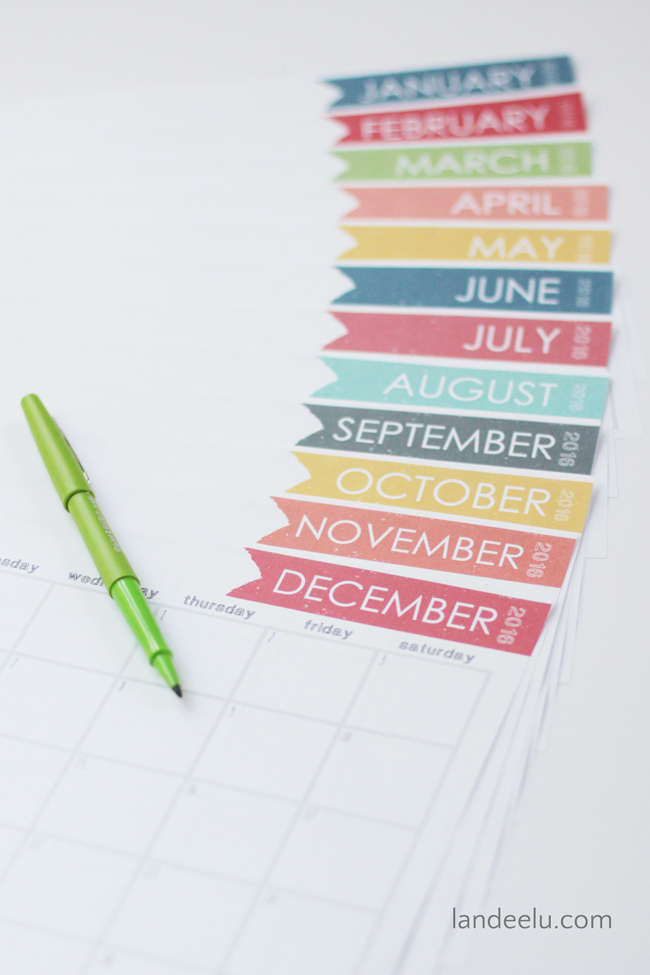
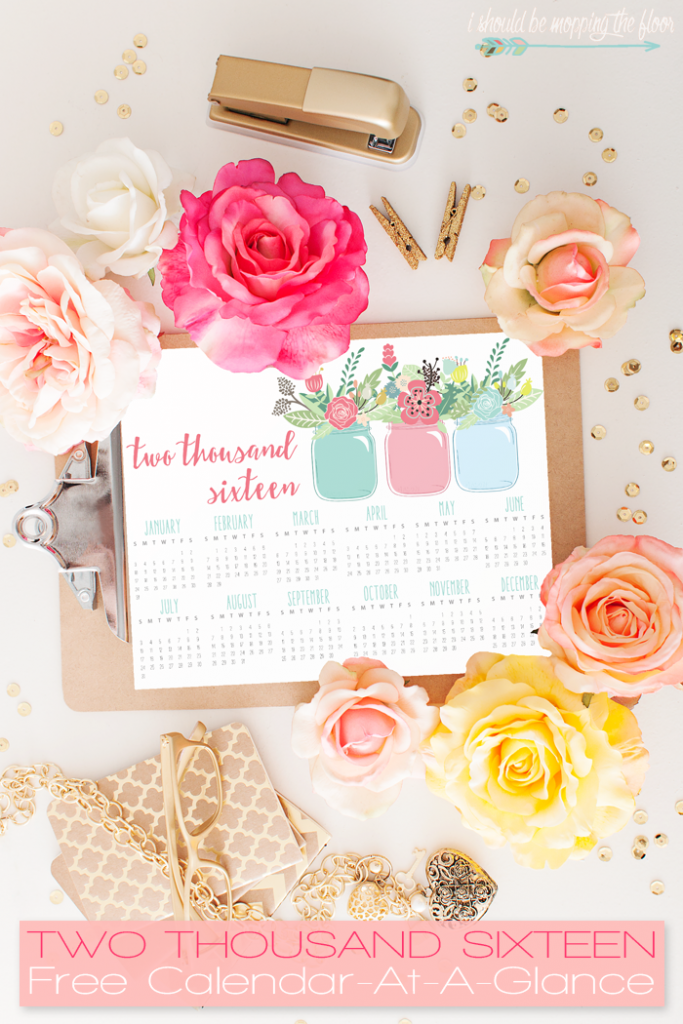
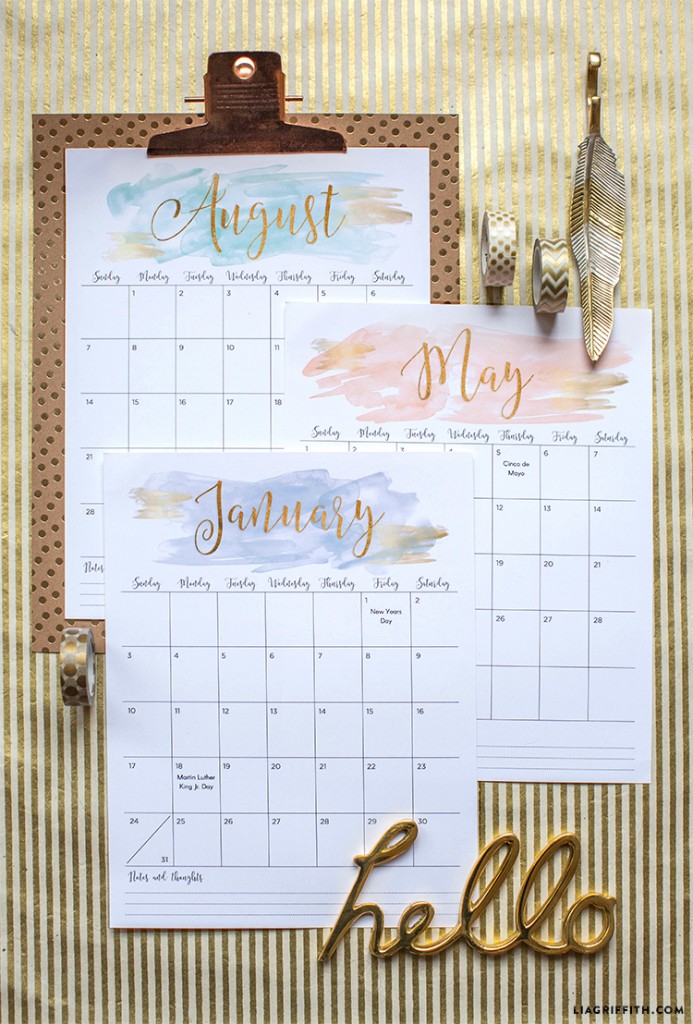
Happy New Year Jaderbugs! Today I am sharing 20 Free Printable Calendars for 2016I don’t know about you but I feel like this year crept up on my ass real quick, seriously. There is just something about a new year that makes everyone in the UNIVERSE want to get “organized”, the problem is staying organized all year long. I can say I am pretty organized. I do have some off days but for the most part I keep a calendar always on me and I write everything in it just so I don’t forget. Because let’s face it – the older we get the more we forget!

I gathered up my top 20 Free Printable Calendars for 2016 and put them in one hot spot, my blog. The best part is you can print them from any computer and dress up your space while organizing your life. All you have to do is click on the highlighted link below the picture and BAM, it’s all in YO hands at that point.

My favorite thing to do is download one month from each set and really have fun with your year. ENJOY and SHARE! Another fun thing you can do is print a set out and give to a friend or family member, cause after all they are FREE! Super fun and much better than a store bought calendar. Also keep in mind someone special created these for us to have so if you choose a calendar make sure to follow that blogger and give them some love! HAPPY NEW YEAR!

20 free printable calendars 20162016 free calendar printablesIshouldbemoppingthefloor

Printable_2016_Calendar-1Liagriffith

Free-Printable-2016-CalenderCleanandscentsible

free2016calendardownloadChantelemma

2016_Free_Calendar_02Sarawoodrow2016-yearly-calendar-printables-year-at-a-glance-freeOnsuttonplacemandala-coloring-pages-apieceofrainbowblog-1Apieceofrainbow

16Calendar_Cocorrina_CoverCocorrinaFree-printable-2016-calendar-010-2-625x944Justagirlandherblog

Processed with VSCOcam with t1 presetTheanastasiaco

2016-Calendar-by-Blooming-Homestead-floral-and-stripes

BloominghomesteadFree-printable-2016-calendar-010-2-625x944Creationsbykaracat-calendar_23-2147526276Freepik

2016-calendar-decemberSarahtitus2016-Calendar_TLS_CM_11Cocoandmingo2016-calendar-1509302LemonThistlecalendar-2016-1Short Stop DesignsPrintable-Free-Calendar-2016
Landeeseelandeedophoto-calendar-free-customizable-printable-2016-DIY-Christmas-gift-idea-how-to-make-5It’s Always Autumn

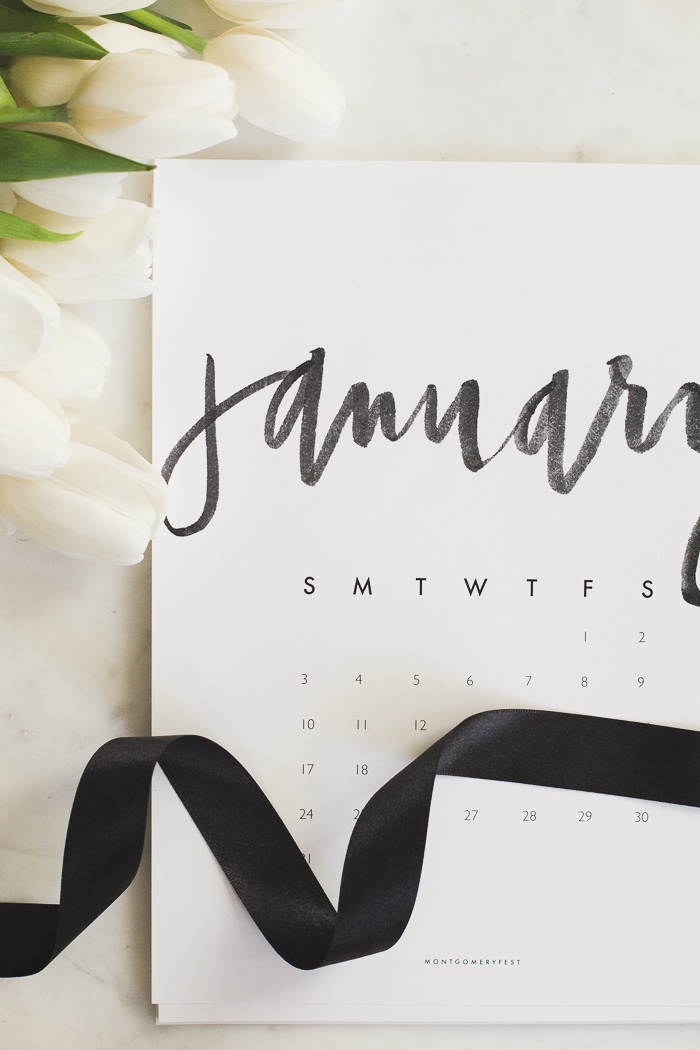
2016-calendar-printable-4Montgomeryfest

I hope you enjoyed my 20 Free Printable Calendars for 2016! Big huge hugs from my house to yours!!!!! XOXO, Jade

*You can connect with me on all my social media sites!
PINTEREST | FACEBOOK | GOOGLE + | TWITTER | INSTAGRAM