

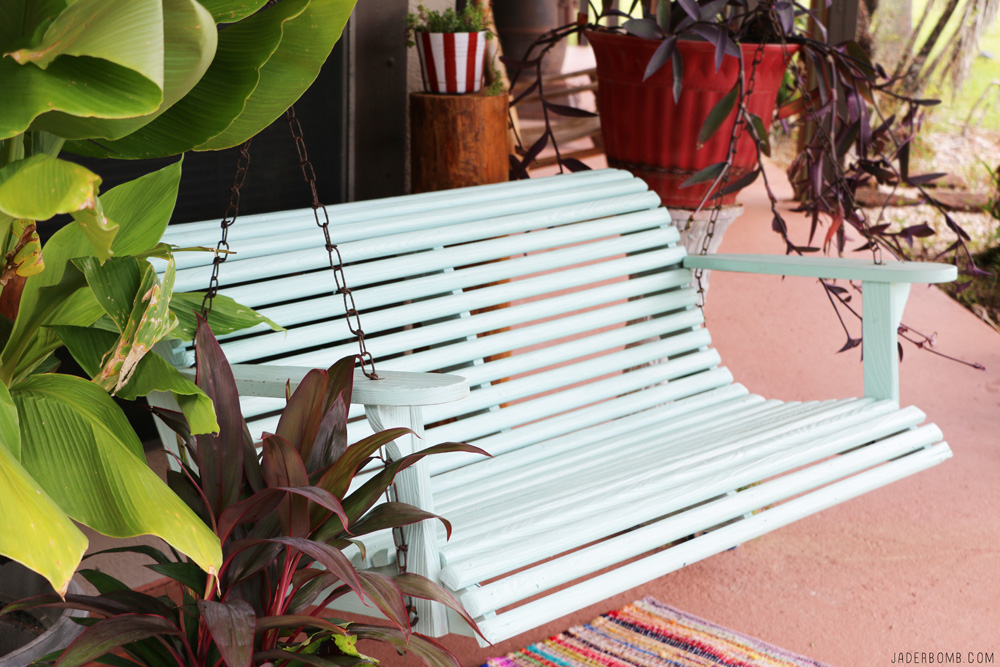
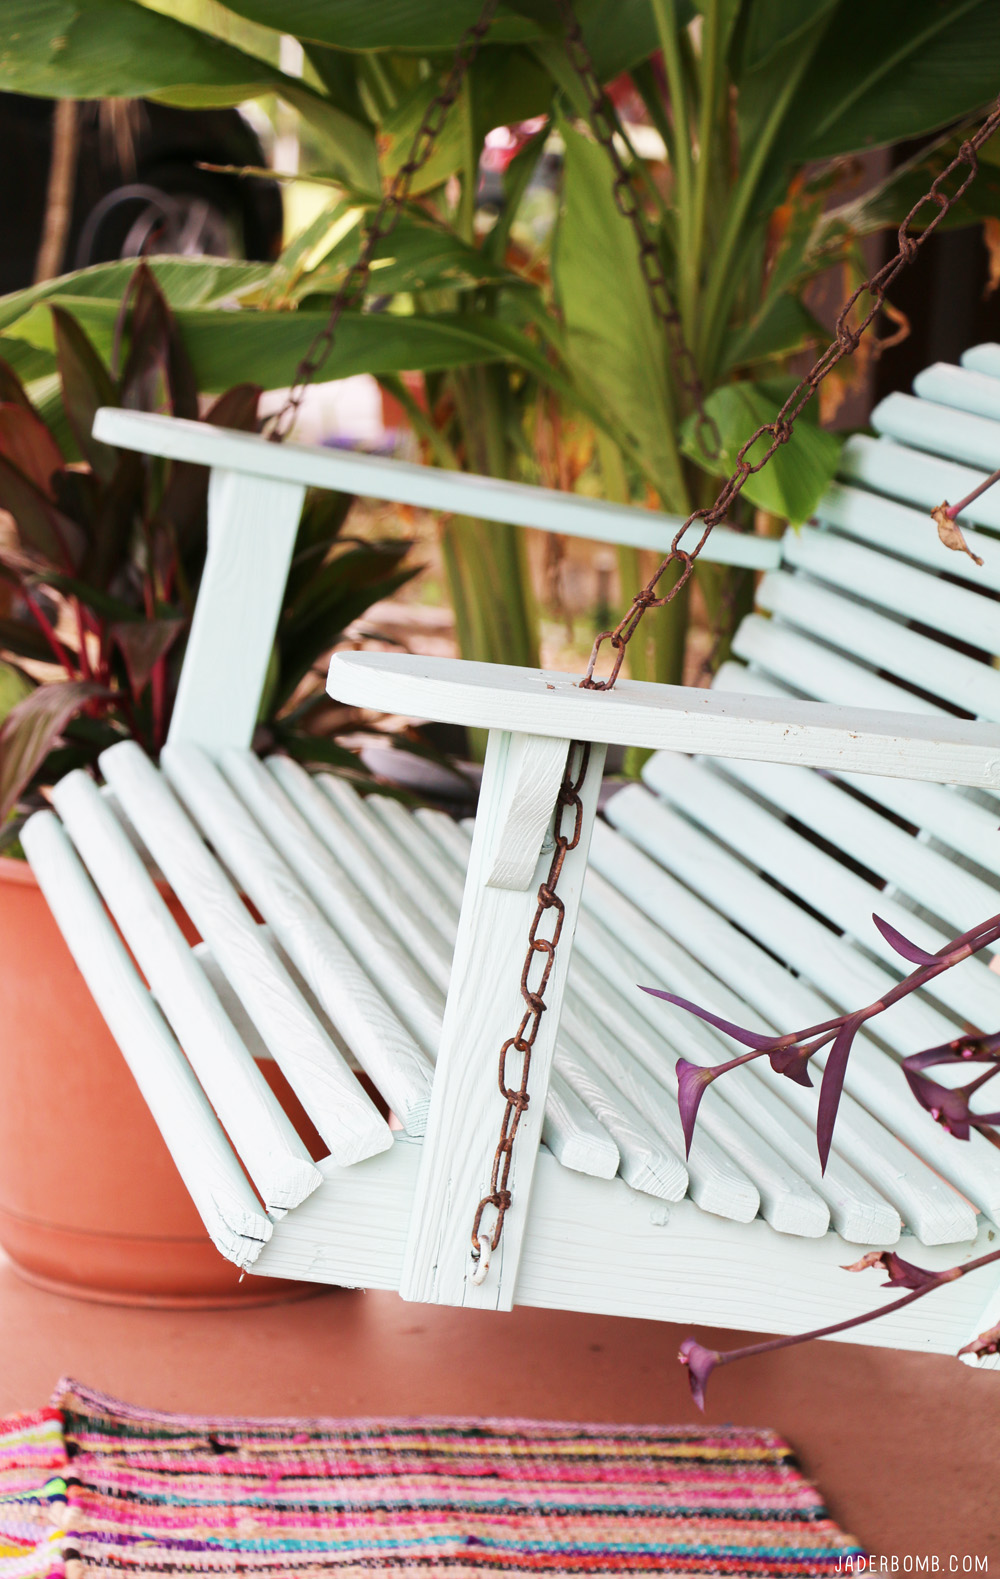
Today it’s all about a DIY Porch Swing Makeover.

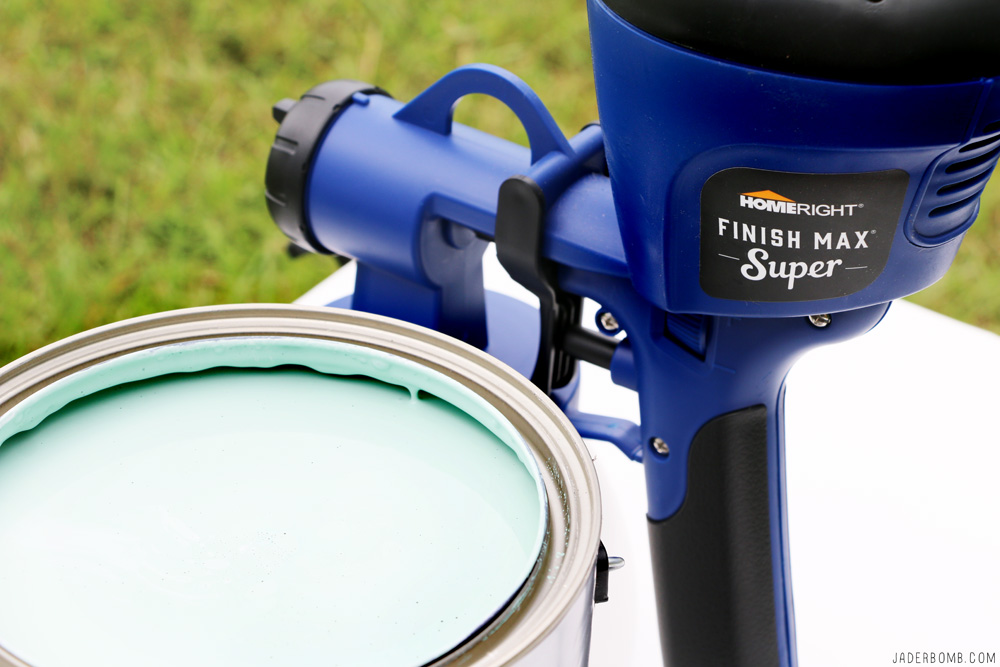
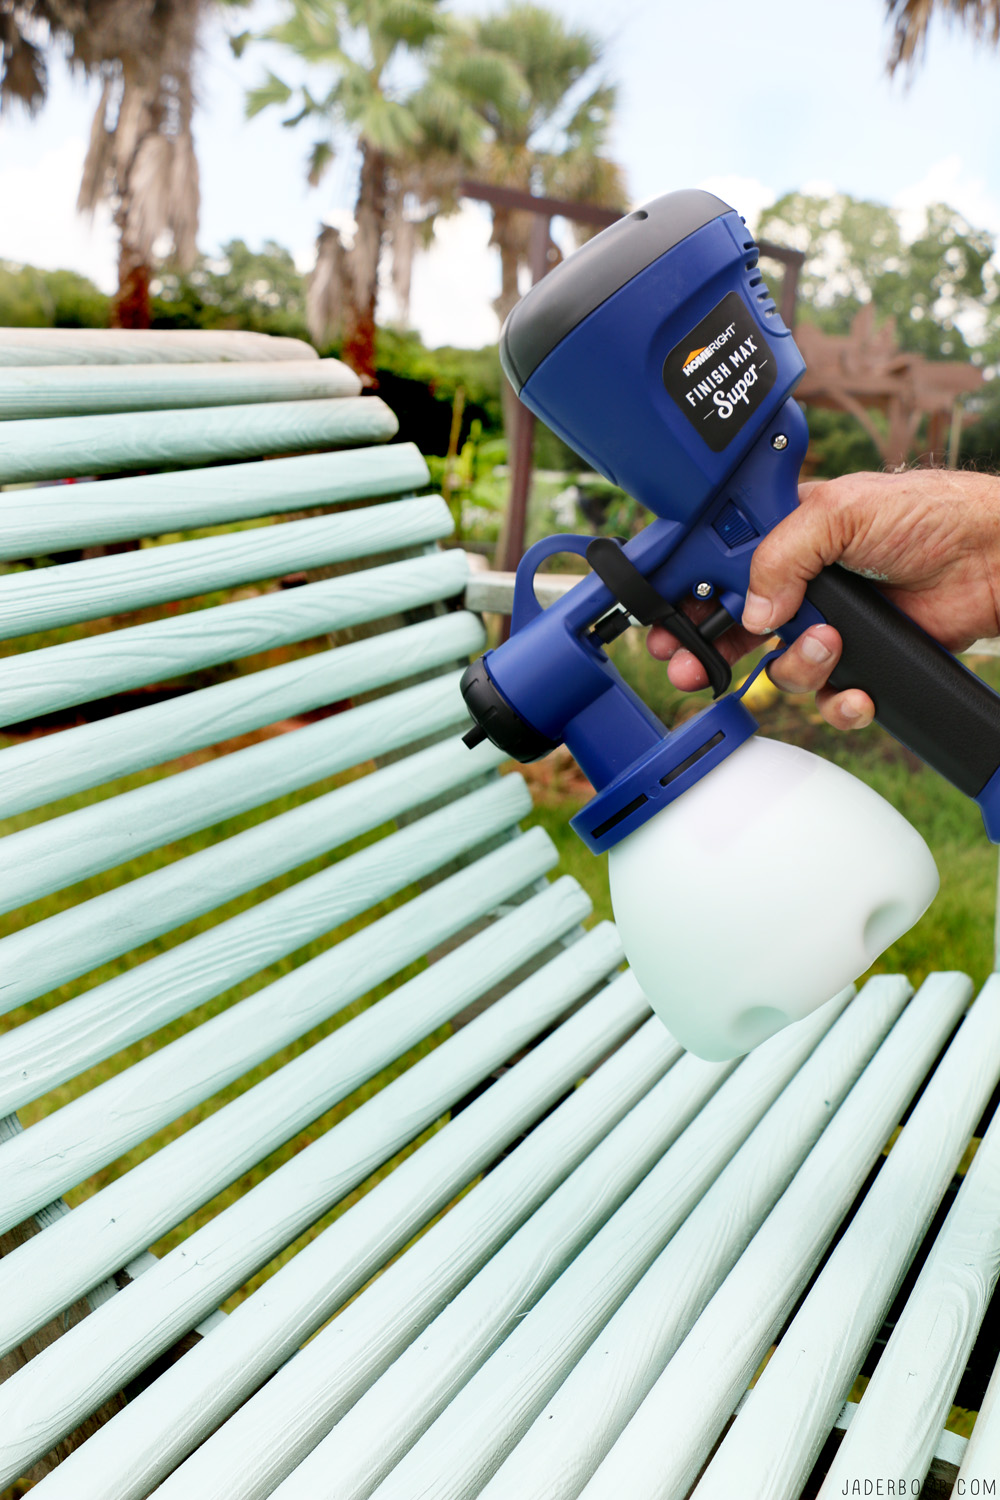
I absolutely love sitting on a swing and just chilling. My dad lives on a large amount of land and has swings everywhere. Now, let me just tell you after years of being outside there has been some natural wear and tear to some of them. HomeRight sent me a Super Finish Max Extra HVLP Paint Sprayer and I couldn’t think of a better project than sprucing up some dingy old swings!

I won’t lie I was initially scared to try this product because let’s face it, it looks like it would require a lot of tiny pieces and could possibly be confusing. It was the total opposite y’all! I did watch this video prior to using it to have a better understanding about the sprayer and it helped! Who’s ready to get started, I know I am!
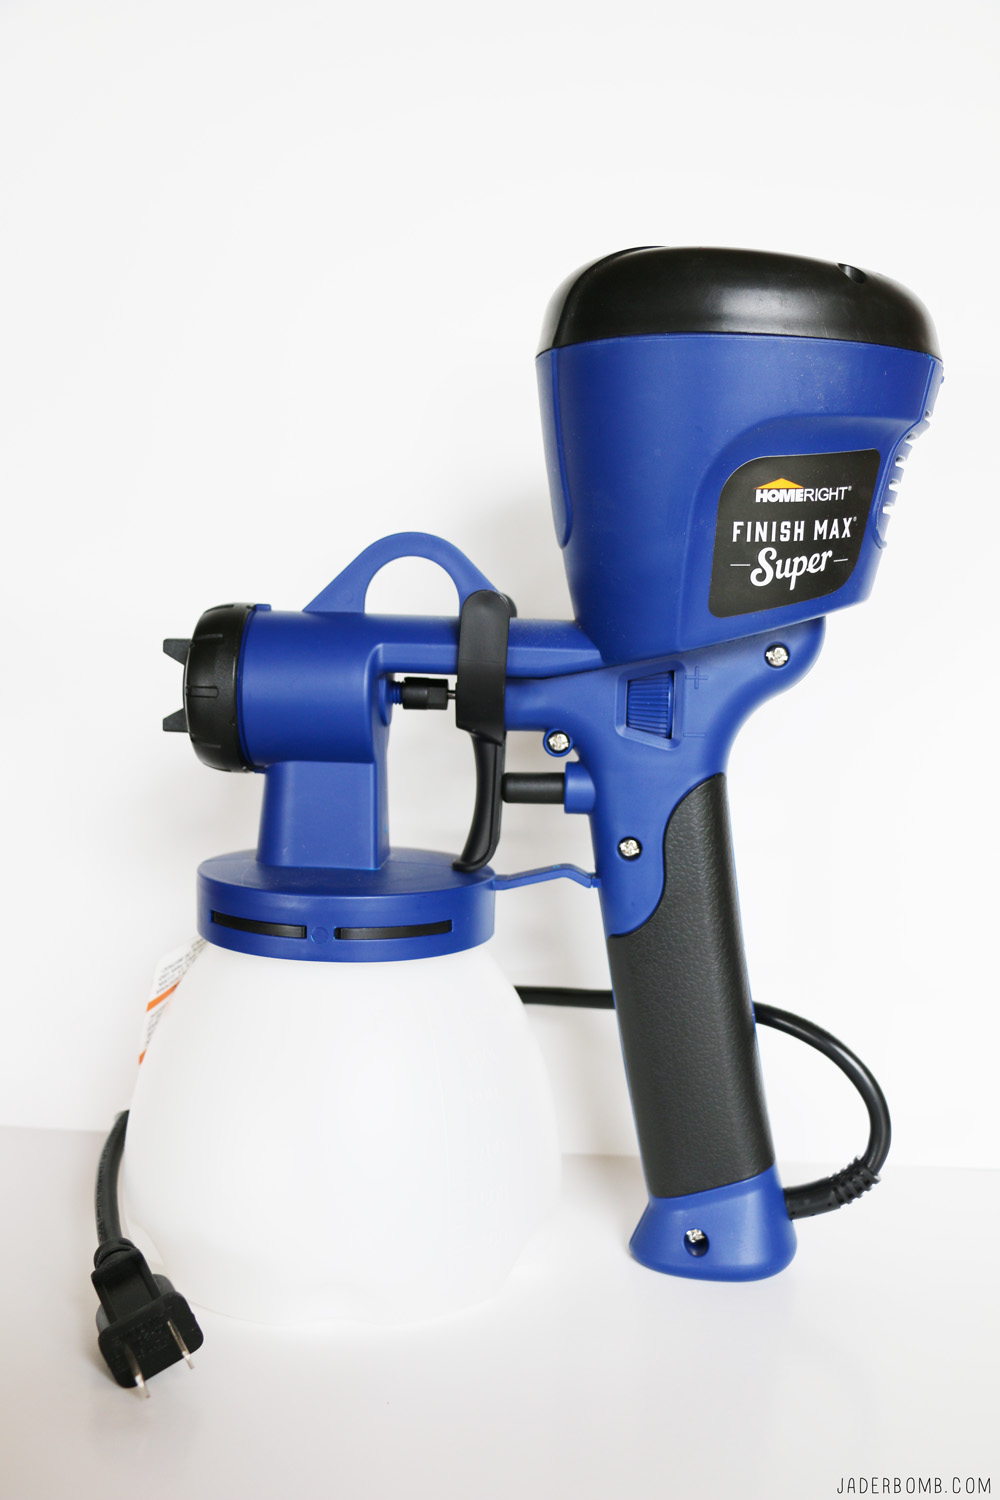
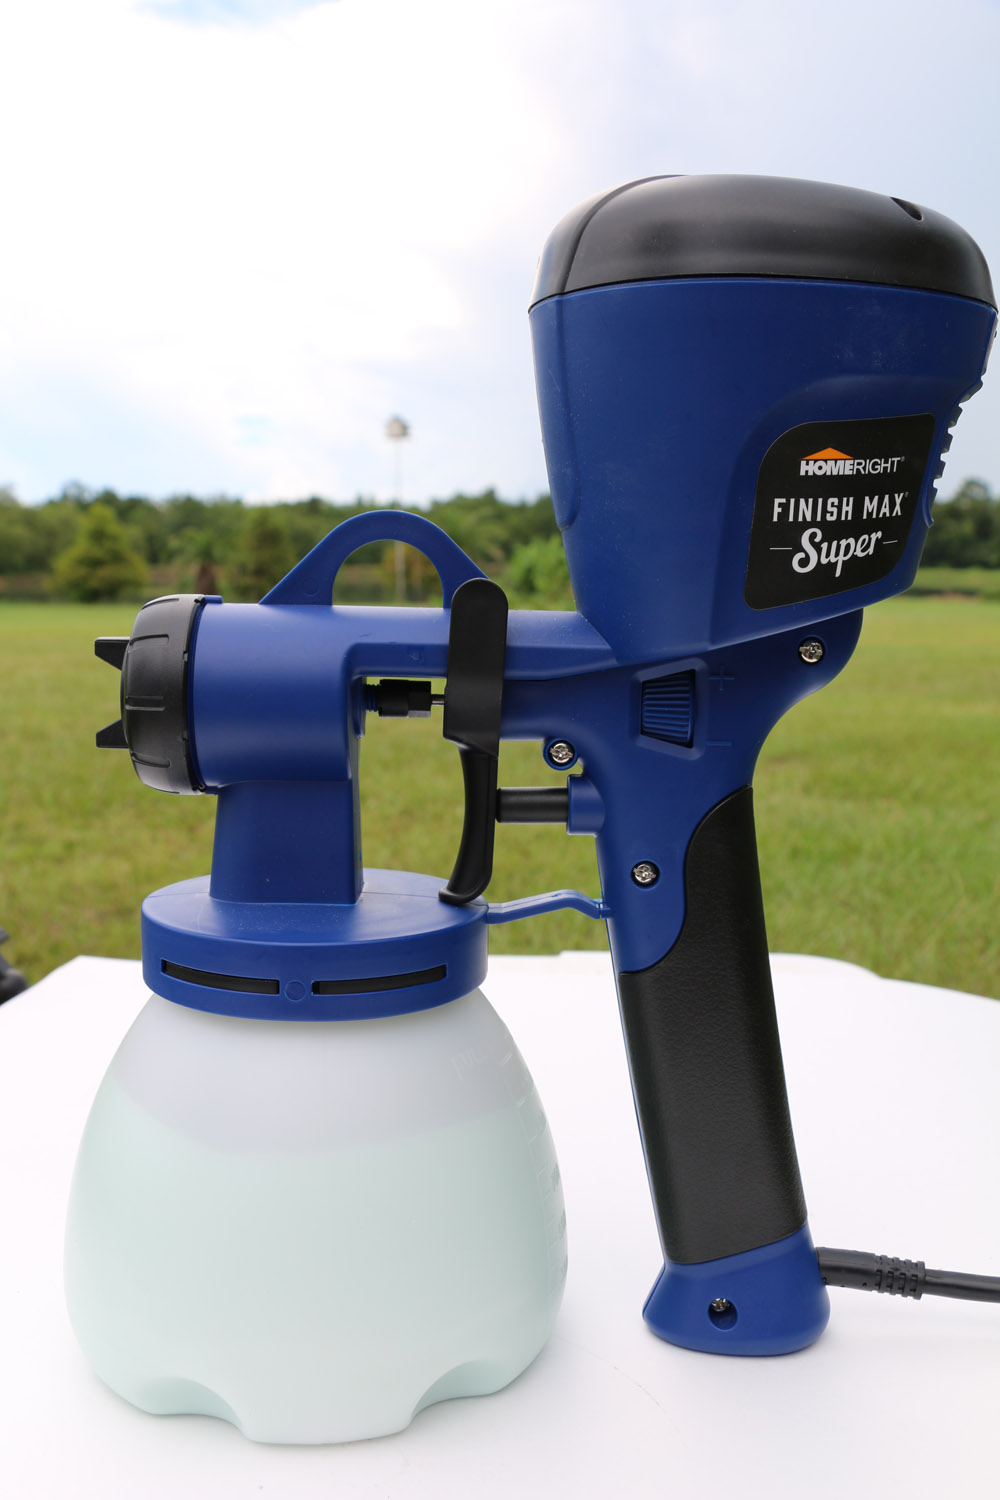
The first thing I want to do to is talk about is this amazing sprayer.
-
Less Thinning RequiredWith 450 watts of power, the Super Finish Max Paint Sprayer can handle thicker paints and varnishes which means less thinning.
-
More VersatileWith 6 available spray tips (3 included), you can tackle a wide variety of projects such as furniture and cabinets, but also take on fences, decks, and walls, which are uses typically outside the capability of an HVLP sprayer.
-
Larger CapacityThe 40 fluid ounce container enables you to spray larger projects without having to refill as often, which is a huge time saver!
-
How it WorksHVLP sprayers use a high volume of air at low pressure to atomize the material your applying, producing a factory-like finish and greatly reducing overspray. Its internal air turbine provides a continuous flow to spray materials.
Let’s get started! The first thing you want to do is take all of the chains off of the swing, this will make things a lot easier when painting.
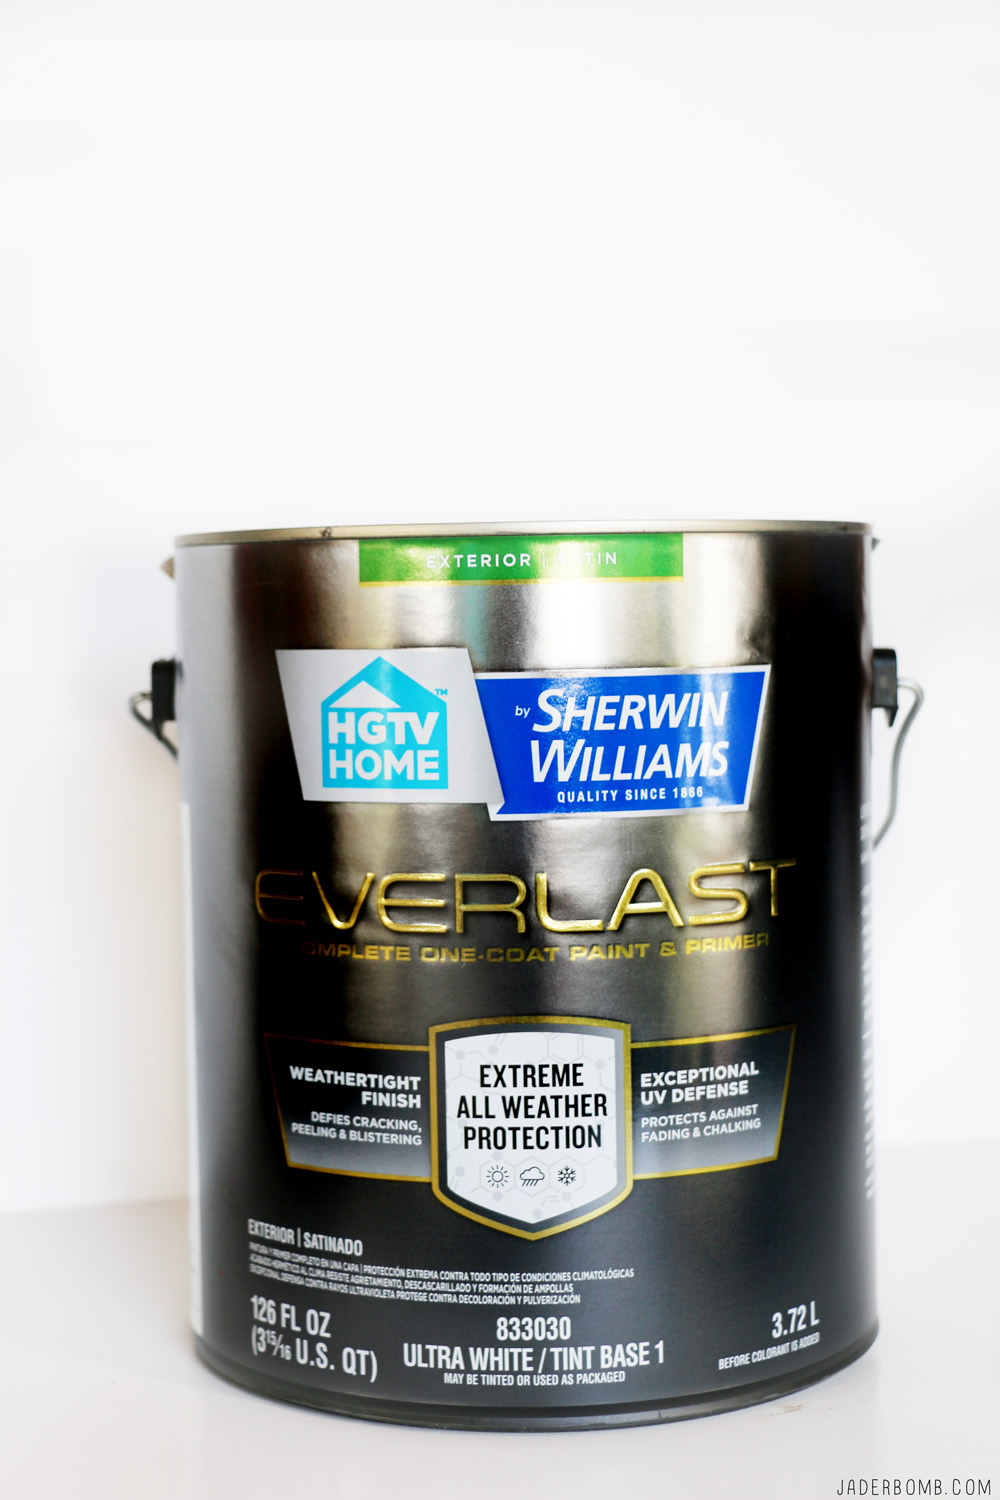
You want to make sure to use an exterior paint to ensure that the paint lasts for a long time on the wood. You can use this paint sprayer to spray oil or water based materials such as: chalk type paint, milk paint, latex paints, enamels, primers, clear sealer, polyurethane, stain and varnish.
I live in the country so I am able to paint things in a open space without worrying about any over spray. However, if you don’t have this option I fully recommend HomeRight’s spray shelters. I actually used the small spray shelter to re-purpose some pots for plants. They came out so cute!!!
Once I decided on my spot to spray the swing I placed them on two saw horses to make sure the swing was secure and would not move. If you use a spray shelter I still recommend using saw horses to place the swing on. Trust me it just makes life so much easier!
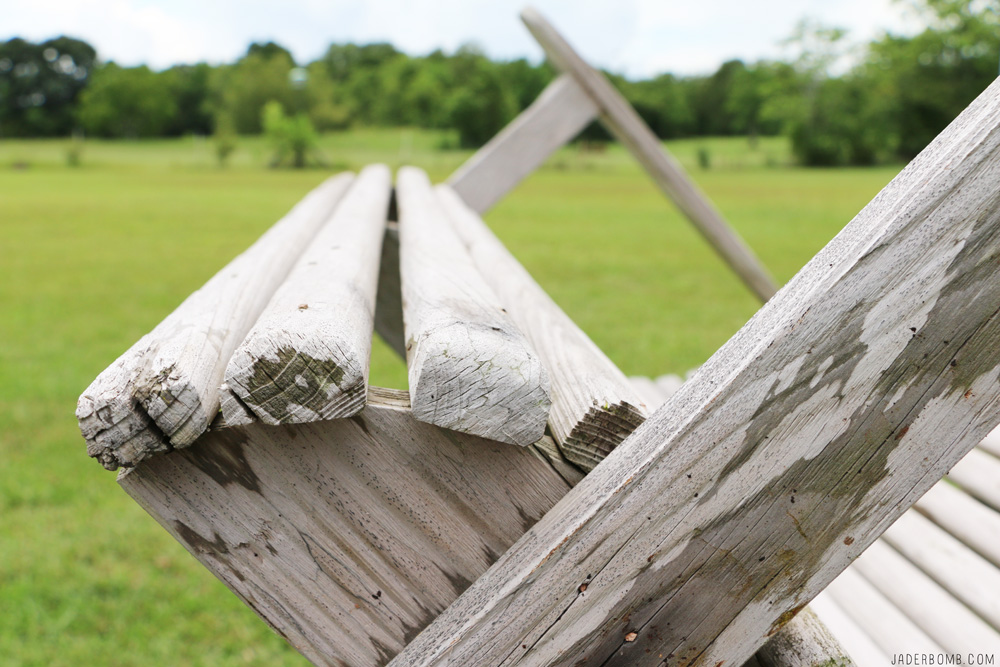 Since the swing I decided to paint had some wear and tear I thought it would be a good idea to sand it down before I painted it. The goal is to have a fresh, clean surface before you spray the wood. This is not mandatory but the wood will look brand new and hello, that is what we want! (haha)

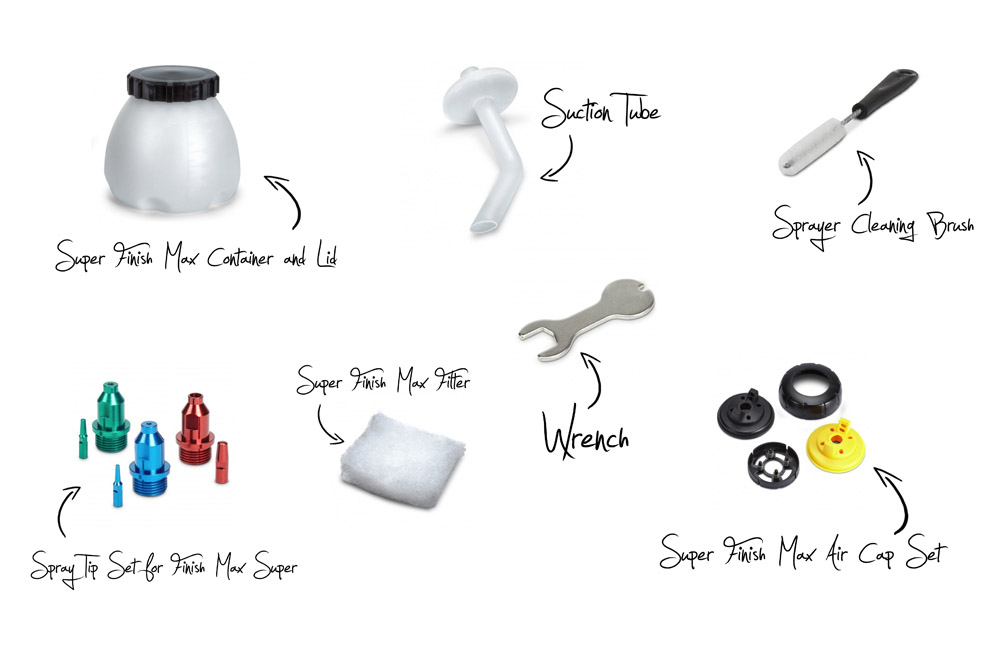
Accessories & Parts
These are all of the parts involved with the Super Finish Max Extra HVLP Paint Sprayer.
Now like I said earlier this spray gun is so easy to use and you can always purchase replacement parts individually if by any chance you loose one. That right there my friend is a win/win in my book! When you purchase your spray gun the instructions are very clearly written out. Nothing confusing about this baby! If I can use it, YOU CAN!!!
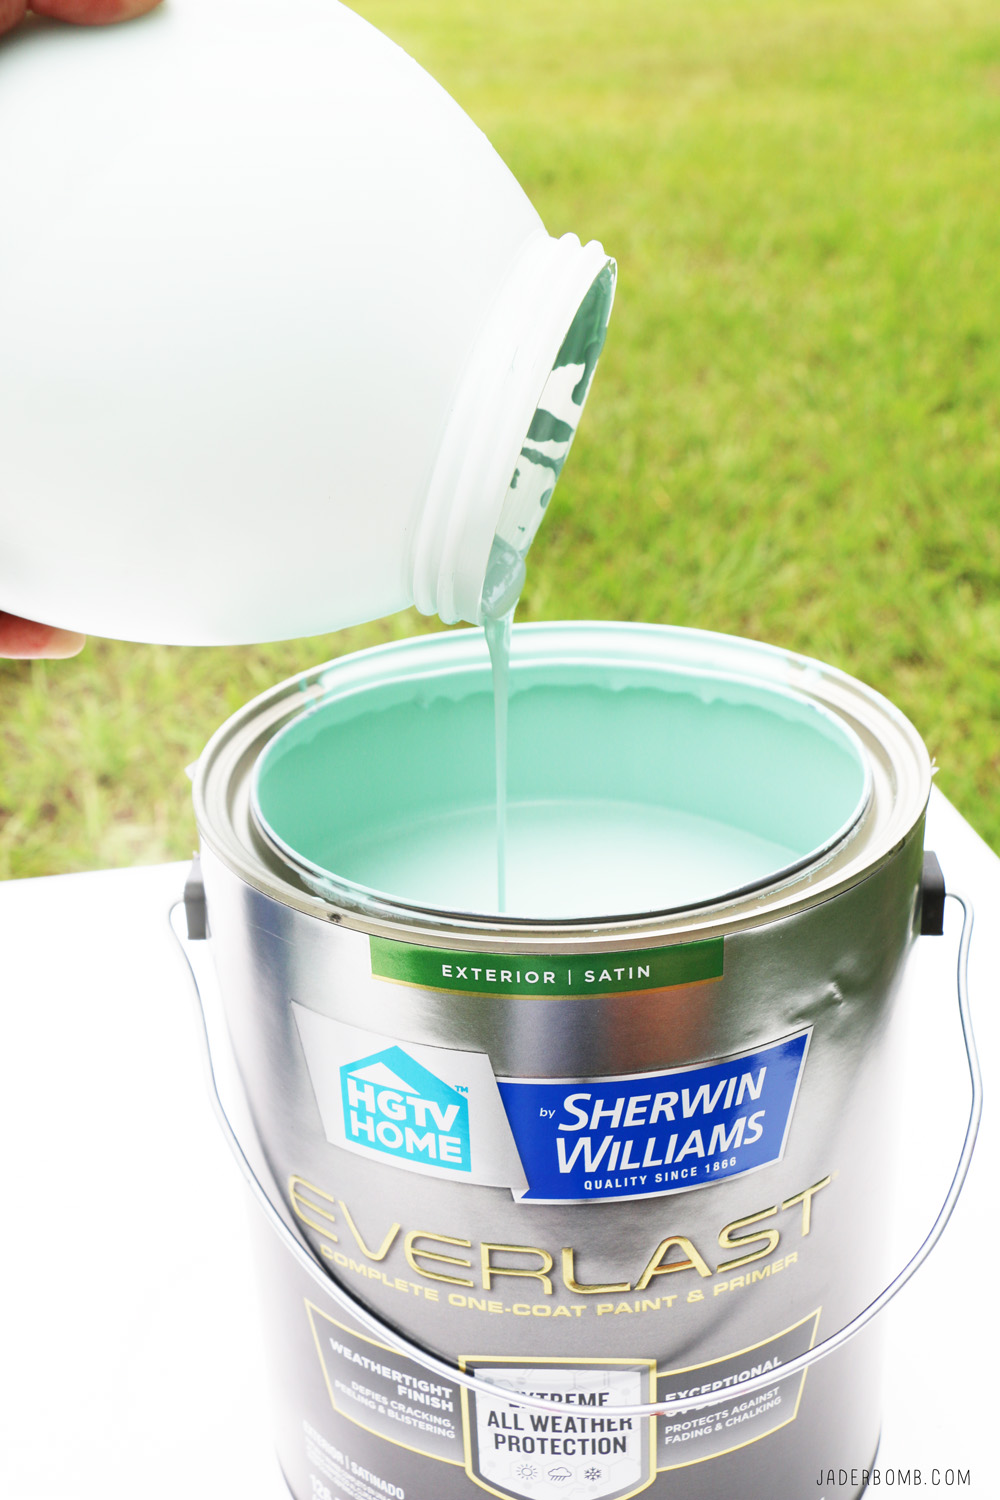
I wanted to use a color that I truly loved and could see myself using on other projects so I picked a beautiful color called “ALOE”, it looks a lot like tiffany blue… Let’s be real y’all, you can never go wrong with this color!
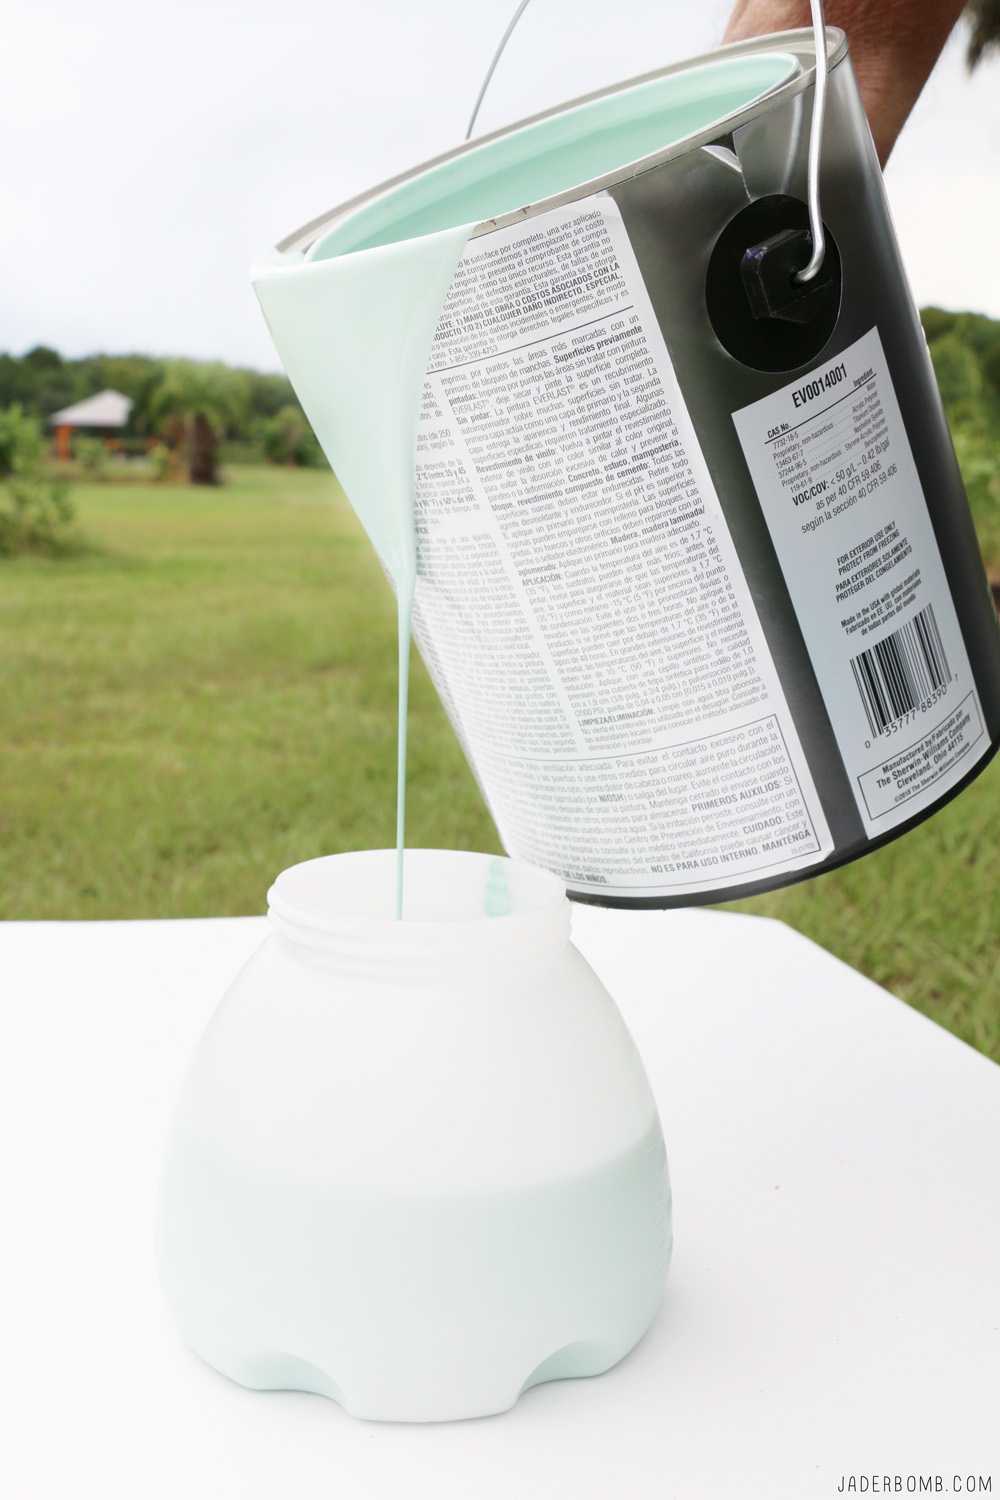
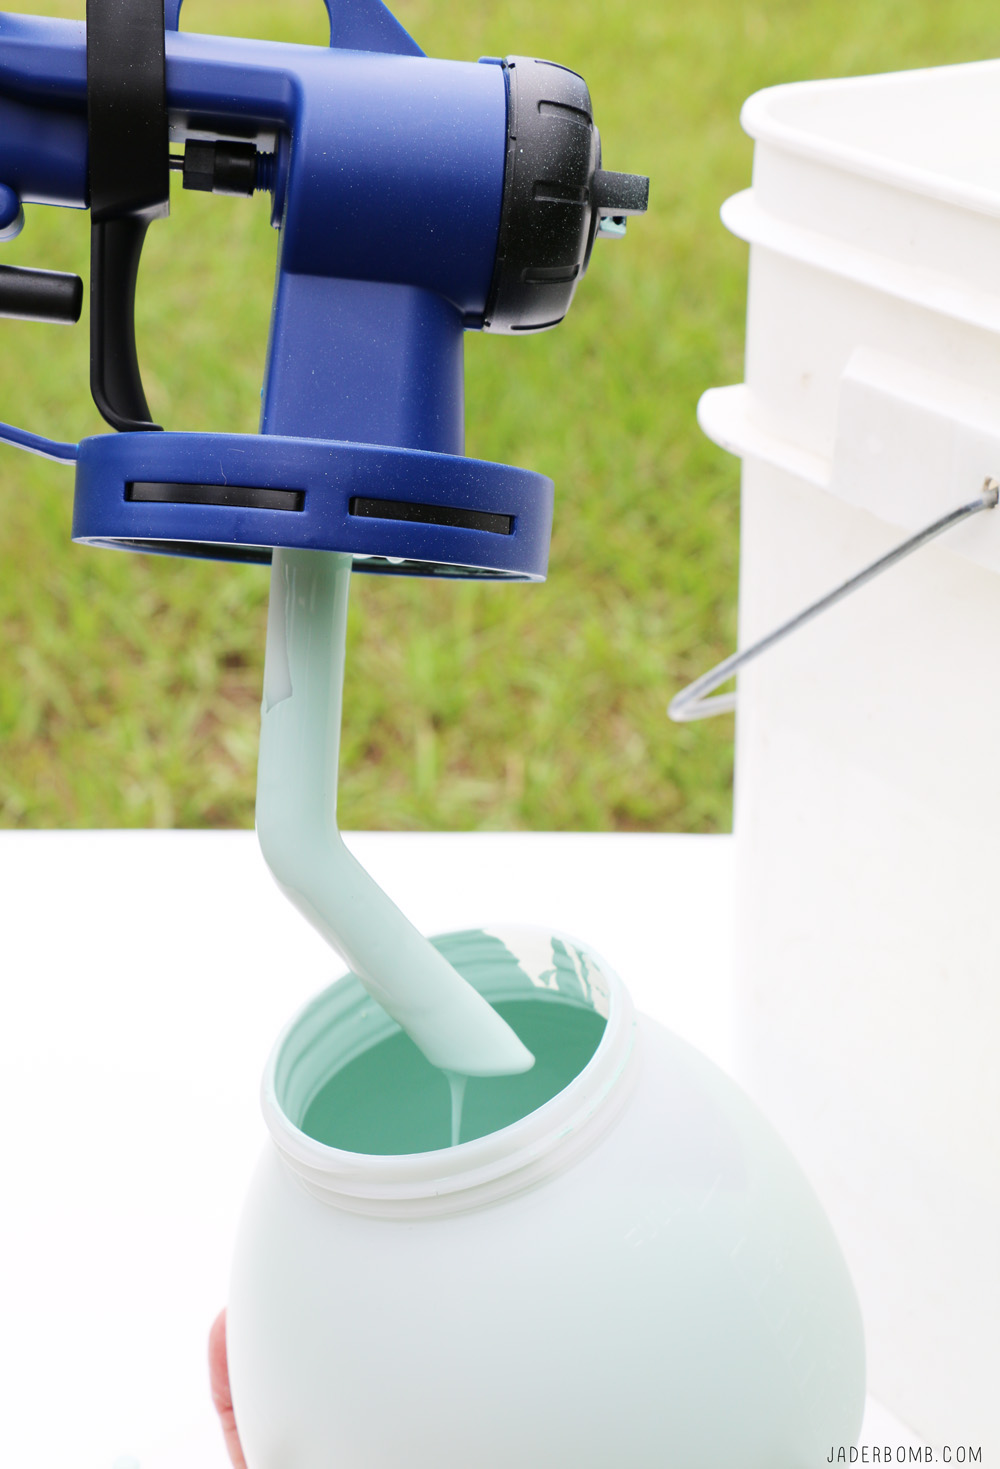
Now that you are ready the first thing you will do is unscrew the container from the gun.
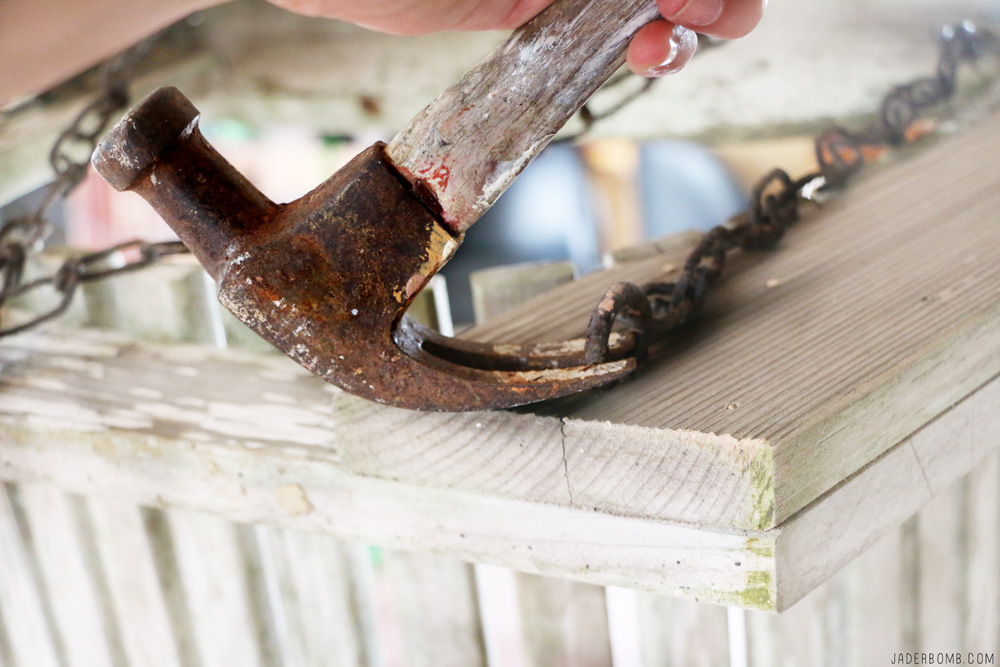
 My dad taught me a trick years ago when pouring paint. Take a nail and hammer a few holes on one side like the picture below. This will make the flow a lot slower so it doesn’t start gushing out. Plus this helps with not making a mess everywhere! See pop’s, you taught me something!!!

If you poke holes in the can you want to make sure to pour your paint where the holes are. Place your container on a surface that you are not worried about paint getting on then slowly fill the container with the paint. For this project I filled the container 3/4 full and after 6-7 coats on the swing I still had a little extra that I poured back into the can! Impressed, YES!
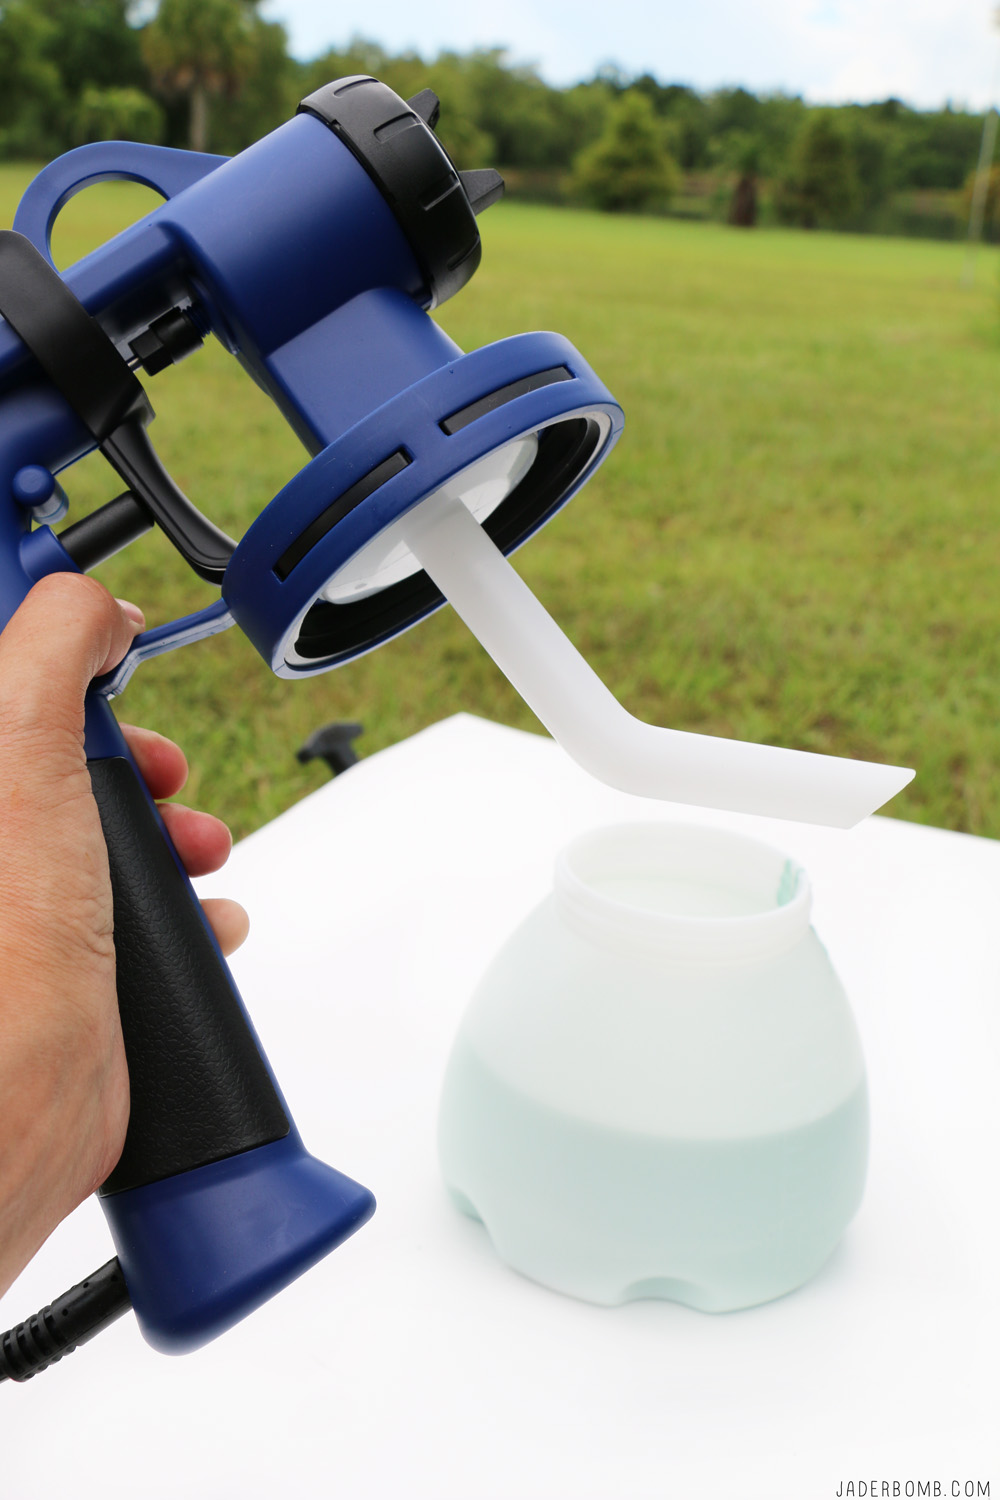
Did I mention one really cool feature with this spray gun…You do NOT have to dilute the paint once it’s in the container. I mean take me to the cleaners and wring me out this is my favorite part about the gun!
Screw the paint filled container back to the spray gun.
 Now it’s time for business!
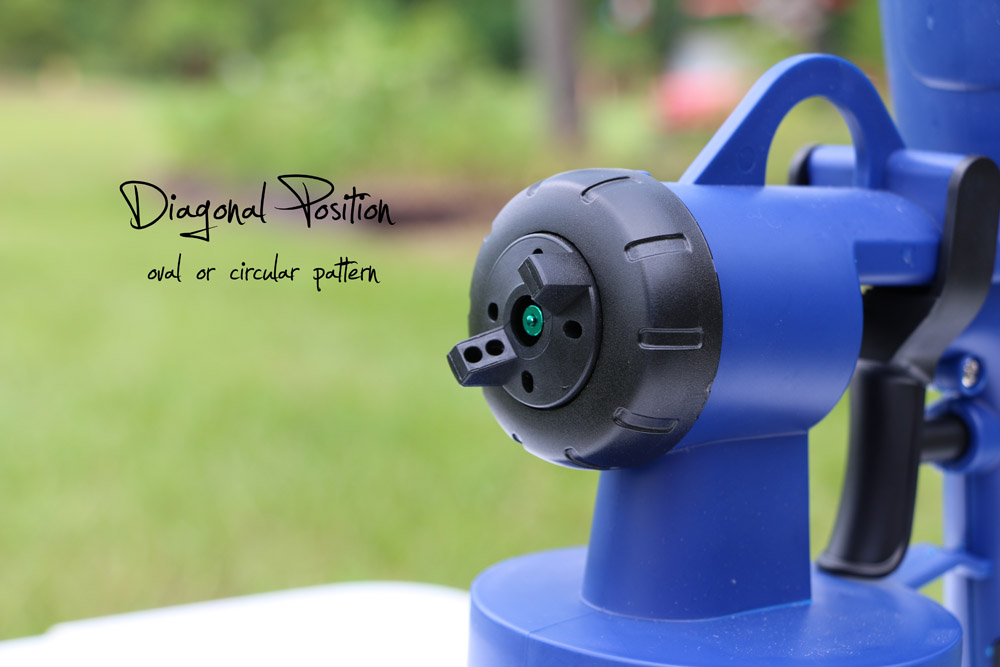
 You can set the spray pattern multiple ways with this handy little device.
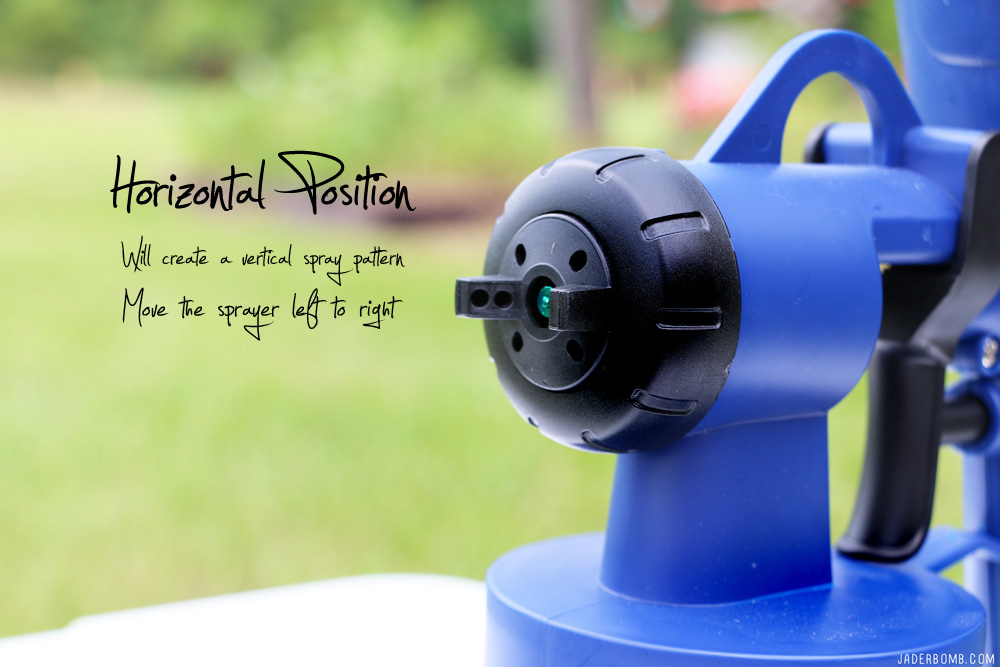

Basically you want to set it in the direction you want to paint. For this project I used the “Horizontal” position. Well with the lovely help of my dad! Hey, I can’t take pictures and paint (haha).
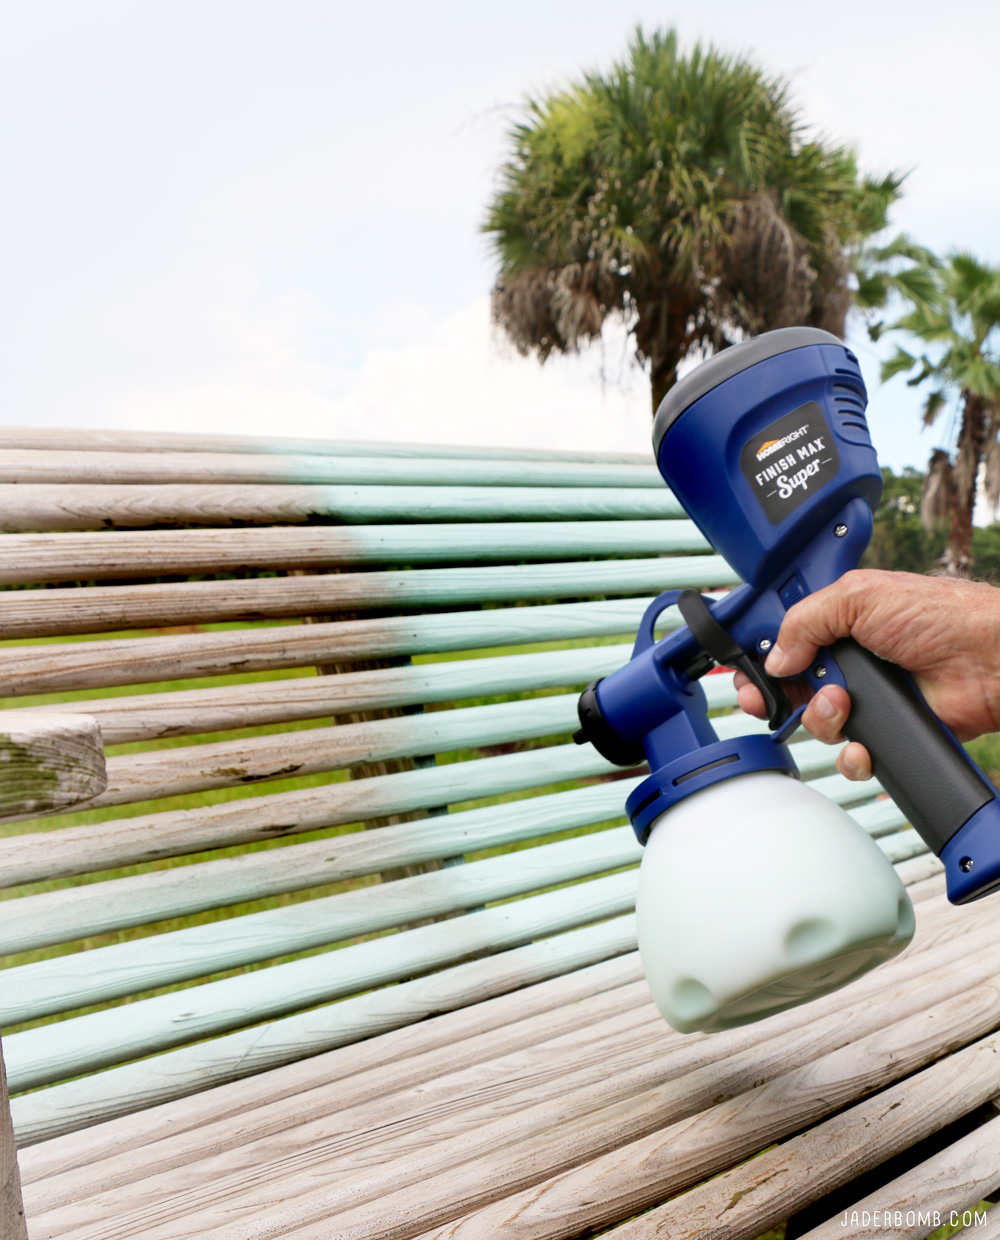 Once you are ready all you will do is plug in your sprayer and get to spraying. I did test the flow and angle of paint before I started on a scrap piece of wood. I do suggest doing this first. Once you have everything lined up just slowly start from one end and go to the other. I was seriously amazed at how great this covered the wood with the first layer.

This is about 3-4 layers and I am just in awe of how easy it was to use.
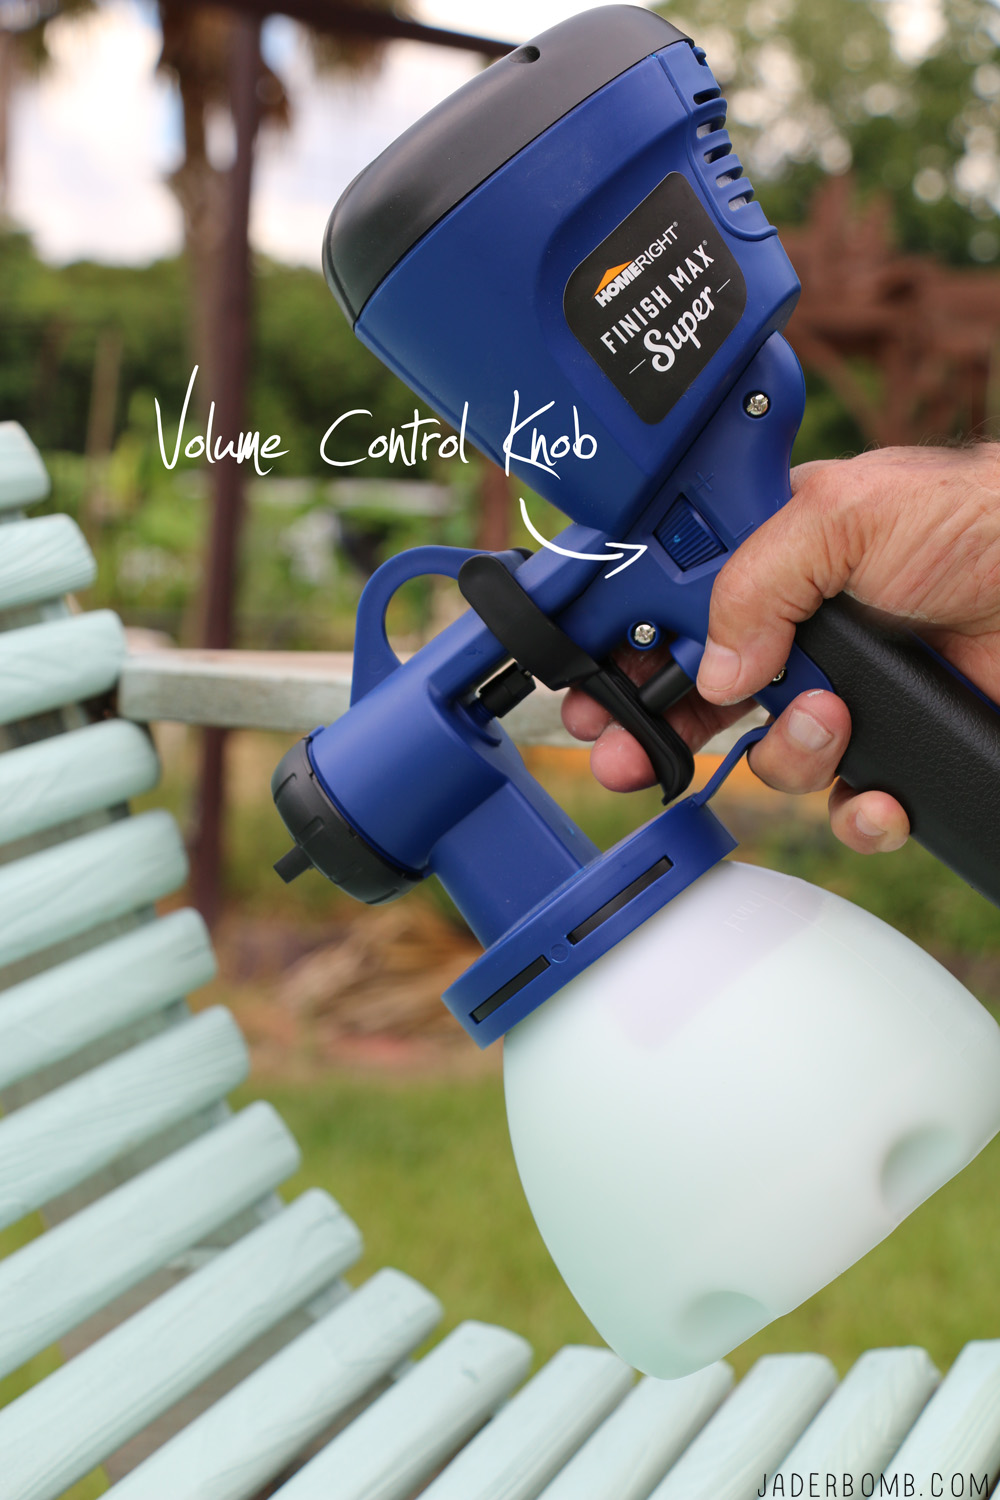 This gives you full control over the amount of paint that is flowing. Once you are done spraying the entire swing it’s time to clean up. Let me tell you ahead of time cleaning this device is easier than using it!
Unscrew the container from the spray gun.
 If you have paint left over in the container make sure to pour it back into your paint can. No need we waste any paint especially if you got the good kind!
Next you will rinse the container a few times with water to get most of the paint out then fill it completely up with water. Re-Attach the container to the gun then spray until the water turns clear. It’s really that simple!
DIY Porch Swing Makeover is the way to go these days! Just think of all the new memories you will make on this new and improved swing!

Take off the air cap set (where paint comes out of) and toss everything into a bucket of soapy water. Toss in the container and suction tube. All of these pieces come off really easy. For the tiny spray tip (colored one) you will use the wrench to get it off. Let all of these pieces sit in the water for a while then hand clean them.
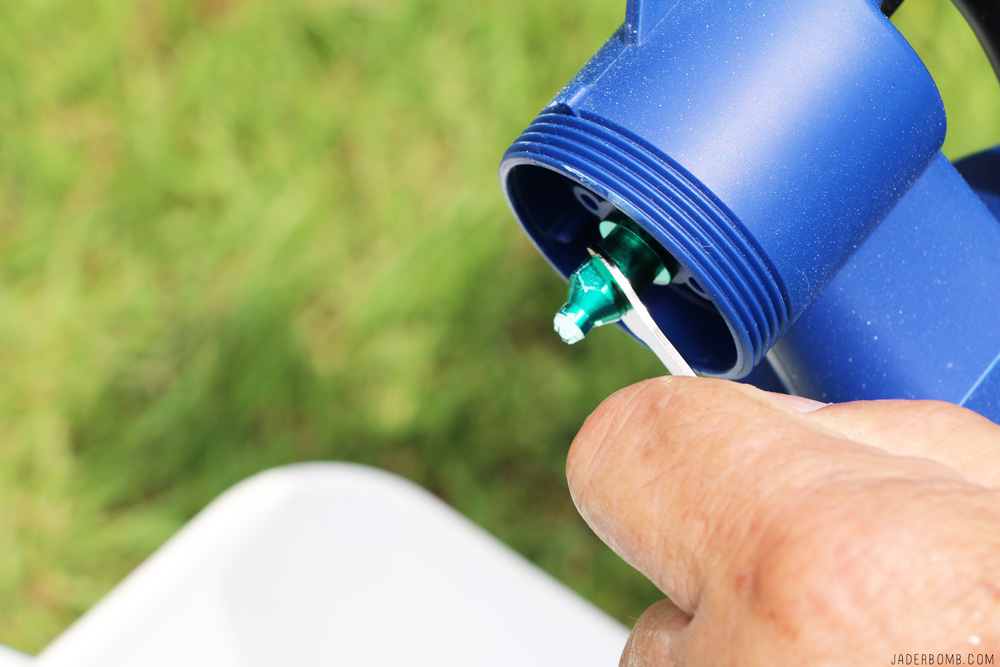
Make sure you use the cleaning brush to clean the inside! Once your parts are cleaned set them out to dry then re-attach everything and it’s ready for the next project!

I am super pleased with the outcome of this swing and I can’t wait to use my sprayer on another project! 
I hope you enjoyed this post! Make sure to hop on over to the Home Right website so check out all of their products and projects! You can also find them here on Facebook, Twitter, Instagram, and Pinterest.
Make sure to check out how I painted flower pots and how I grilled pineapples.
Don’t forget to follow me on all of my social media channels because I love all of you to pieces!!!!
FACEBOOK | INSTAGRAM| TWITTER | PINTEREST
© Copyright jaderbombllc, All rights Reserved. Written For: JADERBOMB
Great post (spray painting the swing). It’s giving me the inspiration and the confidence to try this! I’m gonna buy the sprayer. Thanks!!
Awe that is Awesome!!! I am in LOVE with the sprayer! You will absolutely LOVE IT!!! Make sure to let me know what you create with yours and I will share with my readers! XOXO, Jade
What a great post and article you write up! This idea looks great and amazing. Thank you so much for sharing this post. loved this.
Thanks so much!! I am loving the color so much I am just trying to think of other things I can use it on haha! XOXO, Jade
This would be so perfect for repainting my kids’ school!
Yes!!! You can do so many projects with this sprayer!!
Love, love, love the color of the swing.
Wish we had this when we painted our fence.
Need this for our next project – yard furniture.
Awe thanks!!!! I love the color too! It is surely the perfect thing to paint a fence with! XOXO, Jade
I would use this to repaint our shed!
OH yassss girl! So quick and easy to use!!! Good LUCK!! xoxo, JADE
Pingback: Giveaway List 9/29
I have a couple of pieces of furniture I want to paint
Well this is surely the product you will need to get that done! It’s super easy to use!!! Good LUCK!!! xoxo, Jade
i have two large wooden cabinets that need painted so this would be perfext
OH yes! For sure!!! It’s an amazing product! XOXO, Jade
This would be perfect for painting my wrought iron table and chair patio set
Yes it is amazing especially with things brushes can’t get in!!! GOOD LUCK!
We are buying a house and this would be perfect for the room we need painted and some projects I want to complete!!
Yes, this makes painting so much more easier and QUICK!!! GOOD LUCK!!!
This would be amazing to have to refinish my outdoor chairs and table with. They are so worn and I keep putting off hand painting them with a brush because of the detail on them.
Yes, this product makes it SO easy to paint hard to get pieces of furniture XOXO!!!! Hand painting takes foreverrrrr, this sprayer will make it happen in legit 10 min!! GOOD LUCK!!!
This would be great for our outdoor furniture.
Absolutely great for outdoor furniture XOXO!!!
I am always painting something outside. My cast iron bench need a new coat and the house really needs a new paint job too. This would make that so much easier and faster.
OMG cast iron benches are the hardest thing to paint, haha!!! This product is legit a gift from the god’s haha!!! Good Luck, xoxo Jade
i would use this to paint a tall bookcase i have and also my sons bunkbeds
Yes! This would be PERFECT for that project!!!!
I would use it for painting my old dressers first.
We need to repaint the garage and deck. Thanks
I would use this to paint my small garage.