

You know you want some Fabric Band-Aids! I am sitting on my sofa watching Diners, Drive – In’s and Dives eating left over Veggie Soup and my Cat Hanna just pooted right. near. my. face. She is just lucky her cute face makes up for the nastiness seeping out of her you know what. I know it’s time for Christmas but today I just realized that I have not posted any Thanksgiving projects on my blog this year. I am not sure how I should feel about this situation. I mean, I complain to no ends about corporate stores setting up Christmas stuff in October and skipping right over the day of giving thanks! Now, I know some of you are crying your little eyes out waiting for me to post some weird object in my house that has been transformed into a turkey neck or a chicken leg but that will not happen, however I do have a FREE Thanksgiving printable for YOU! Right now I am giving thanks to my brain for thinking of this project the other day when I cut myself in my studio.
I was literally sitting on my floor creating THIS project and I cut my finger. I hopped on over to my handy dandy first aid kit that BTW needs to be bedazzled and grabbed a bandaid. I slapped it on my finger and wished I had some cute Kate Spade or Hello Kitty band-aid. Heller, Xyron + Fabric + Boring Band-aids = Gangsta Baids. I know my fabric is not a lick of “gangsta” but if a gangsta wore it you would think it was. Let’s get started! 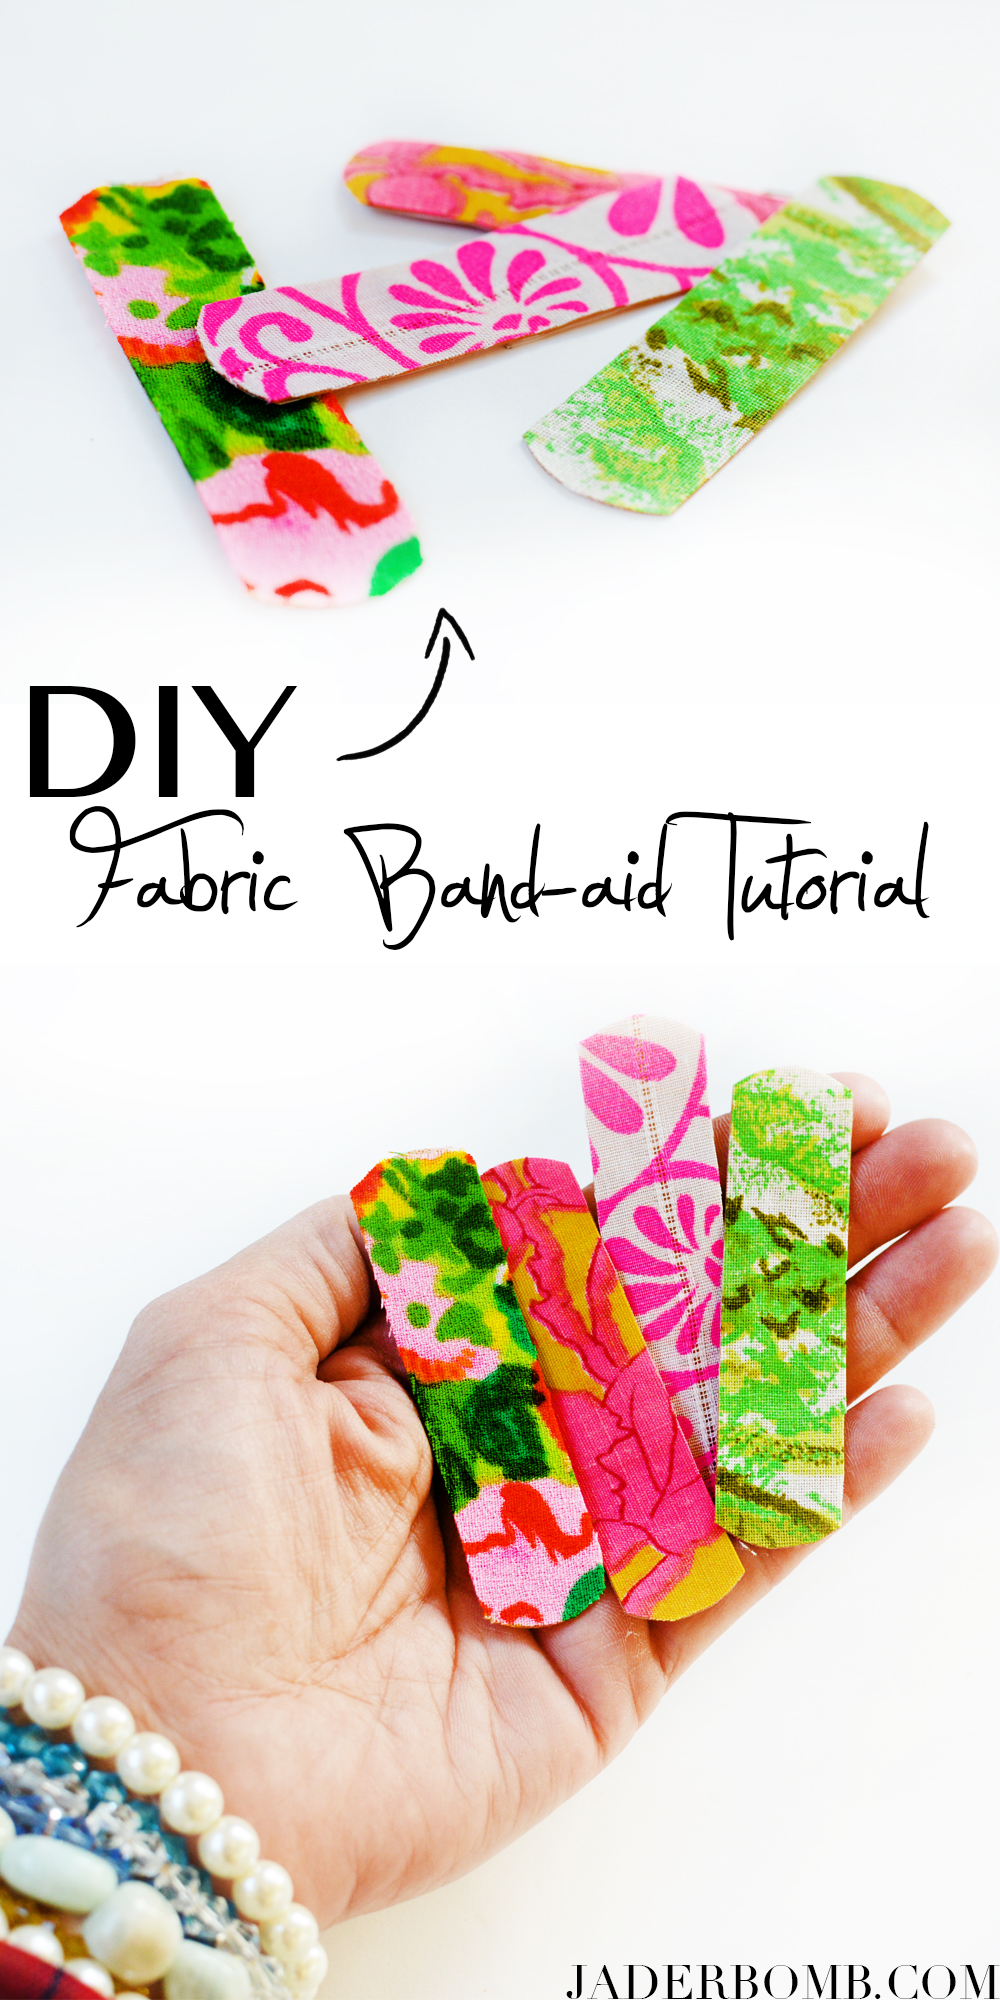
I can’t lie I was hoping I would cut myself just so I could put one of these babies on me. You know you could make a batch of these and give them to someone as a Christmas gift and I pinky promise they will love them.

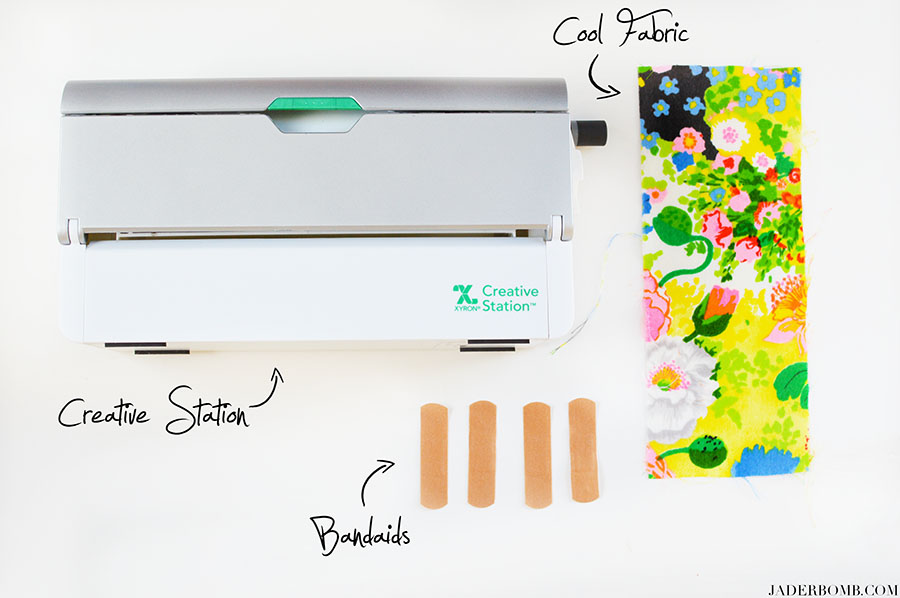
♥Xyron Creative Station
♥Band-Aids
♥Cool Vintage Fabric
♥ Step 1: Place a small piece of fabric on the pull out tray in the back of your creative station.
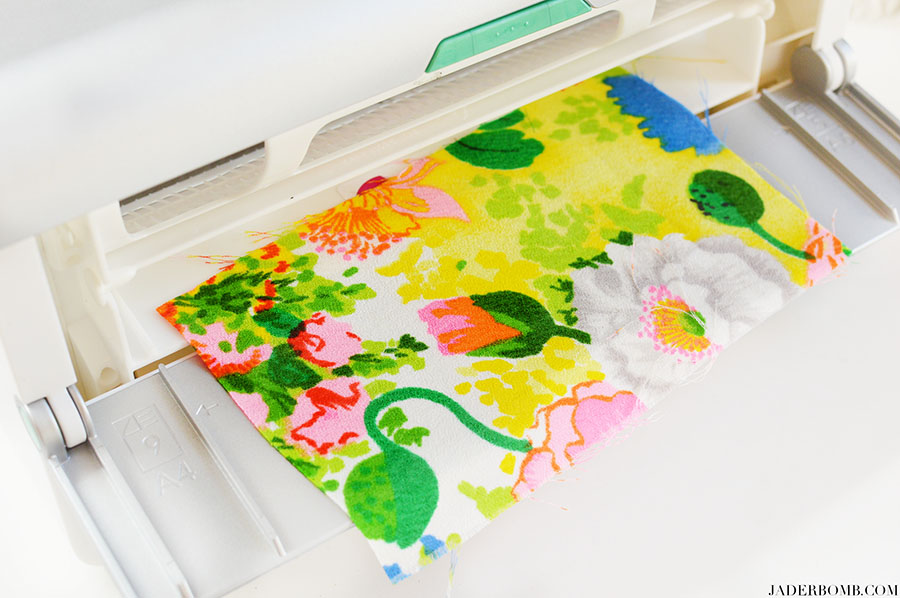
♥ Step 2: Add more (((hehe))) 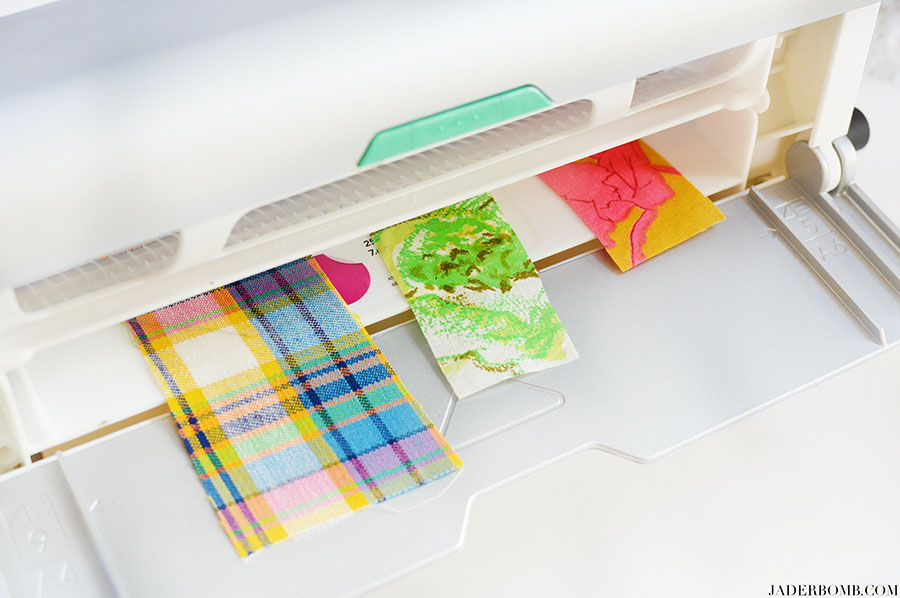
♥ Step 3: Crank it through the machine with the handle and it will come out the other end looking like this. 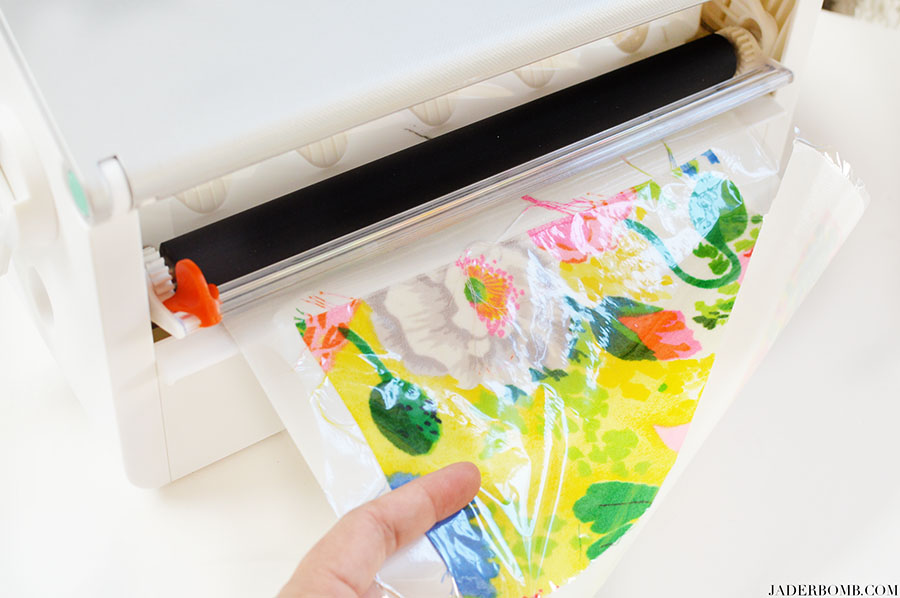
♥ Step 4: Peel off the plastic film on the top of the fabric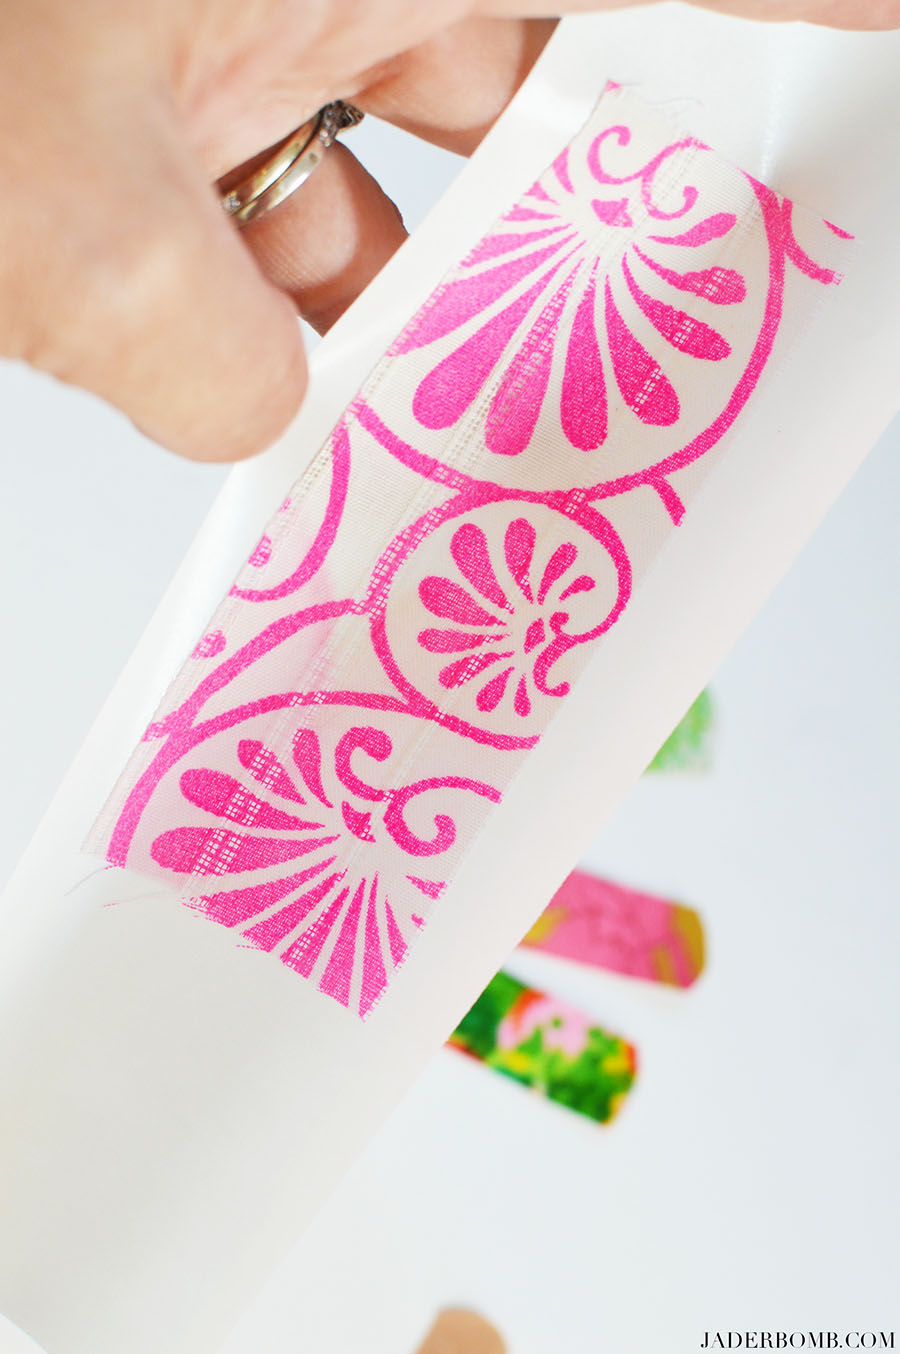
♥ Step 5: Carefully peel off your fabric and make sure not to let the sticky side stick to anything, like itself! 
♥ Step 6: Stick your bandaid onto the sticky side of fabric. Make sure to leave the side of band-aid that you peel facing up towards the sky!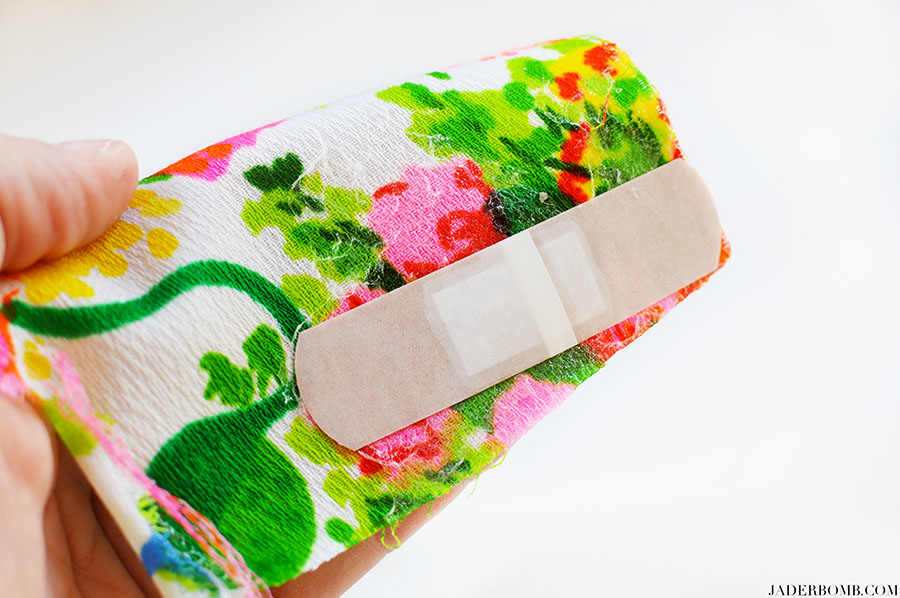
♥ Step 7: Grab a pair of scissors and carefully cut around the band-aid. Yes, gold scissors cut better than black ones. 
♥ Step 8: Stare at it for 7 minutes. 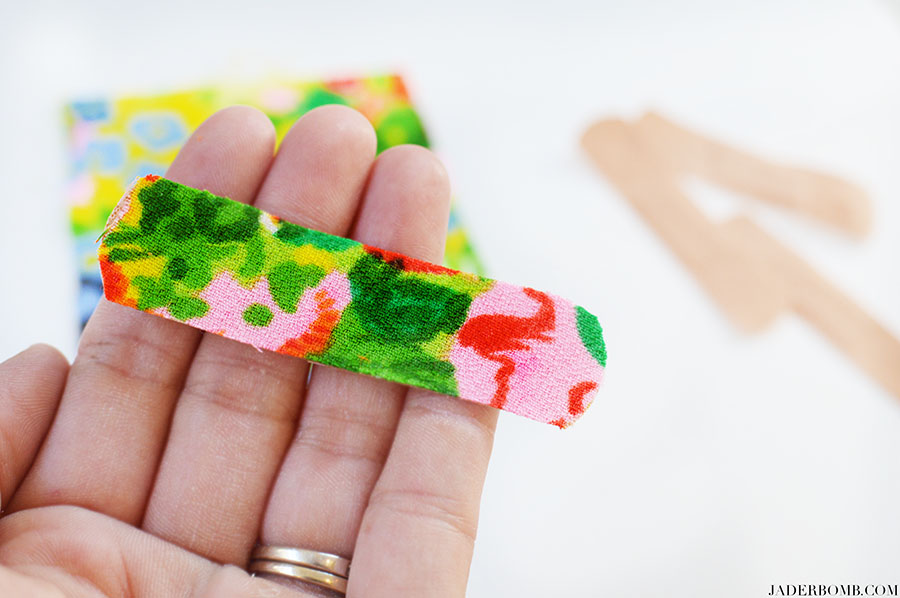
BOOM CHAKA LOCCA “Tha’s all Folks” I hope you enjoyed this non Christmas/Thanksgiving tutorial. You could keep these in your kitchen so if you cut yourself slaving in over the stove you can at least look cute. 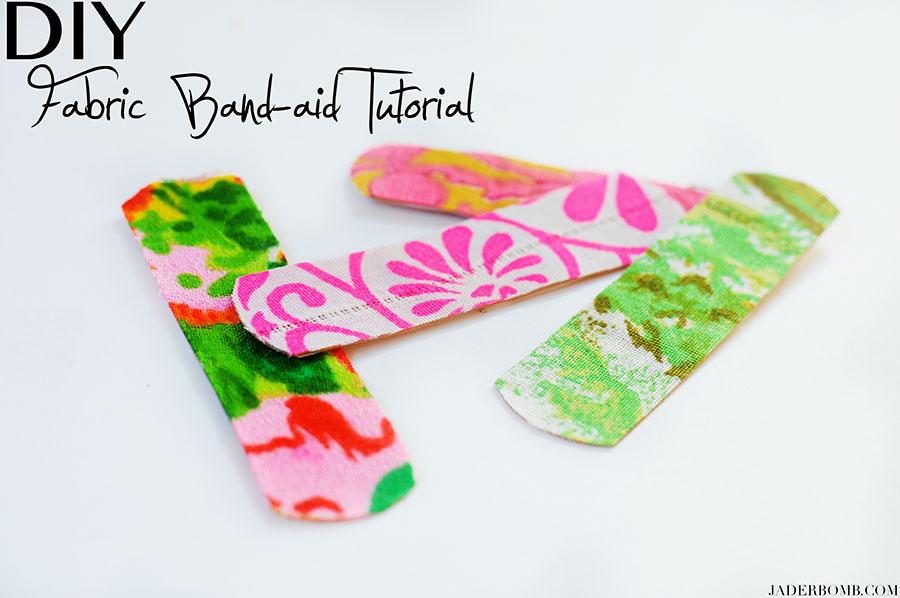
Sending HUGE hugs from my computer straight to yours! XOXO Jade
Come visit me on all my social media sites! Just search JADERBOMB on all of them!
FACEBOOK | INSTAGRAM | PINTEREST | TWITTER | GOOGLE| YOU TUBE
I think this counts as a Thanksgiving post. Do you know how many people end up in the ER because they cut themselves cooking Thanksgiving dinner? Lots!
Right! I think so too, hehe!
I find I don’t get a bad reaction to the fabric-type bandages. Usually I get store brand, but this time found these Band Aid brand for a good price. Sadly, threads start to come loose from the edge of the band aids almost immediately and they look very messy.
OH now! Sorry to hear that!