The Simple Secret: How to Spray Paint like a Pro!
Disclosure: This post is sponsored by HomeRight and contains affiliate links. All opinions are my own.
Hey y’all! It’s been a hot minute and I am so happy to hang out with y’all online today and show you how to spray paint like a pro! How many of you are in awe that Summer is already here? I woke up the other morning and freaked out when I realized it was May! Now let’s be real, I write dates down daily and I have been writing May down for some time now, but it REALLY hit me that it’s almost Summertime. I just pray I am not the only one who has these “realizations”, haha! How many of you are ready to see a spray paint shelter for small paint projects!
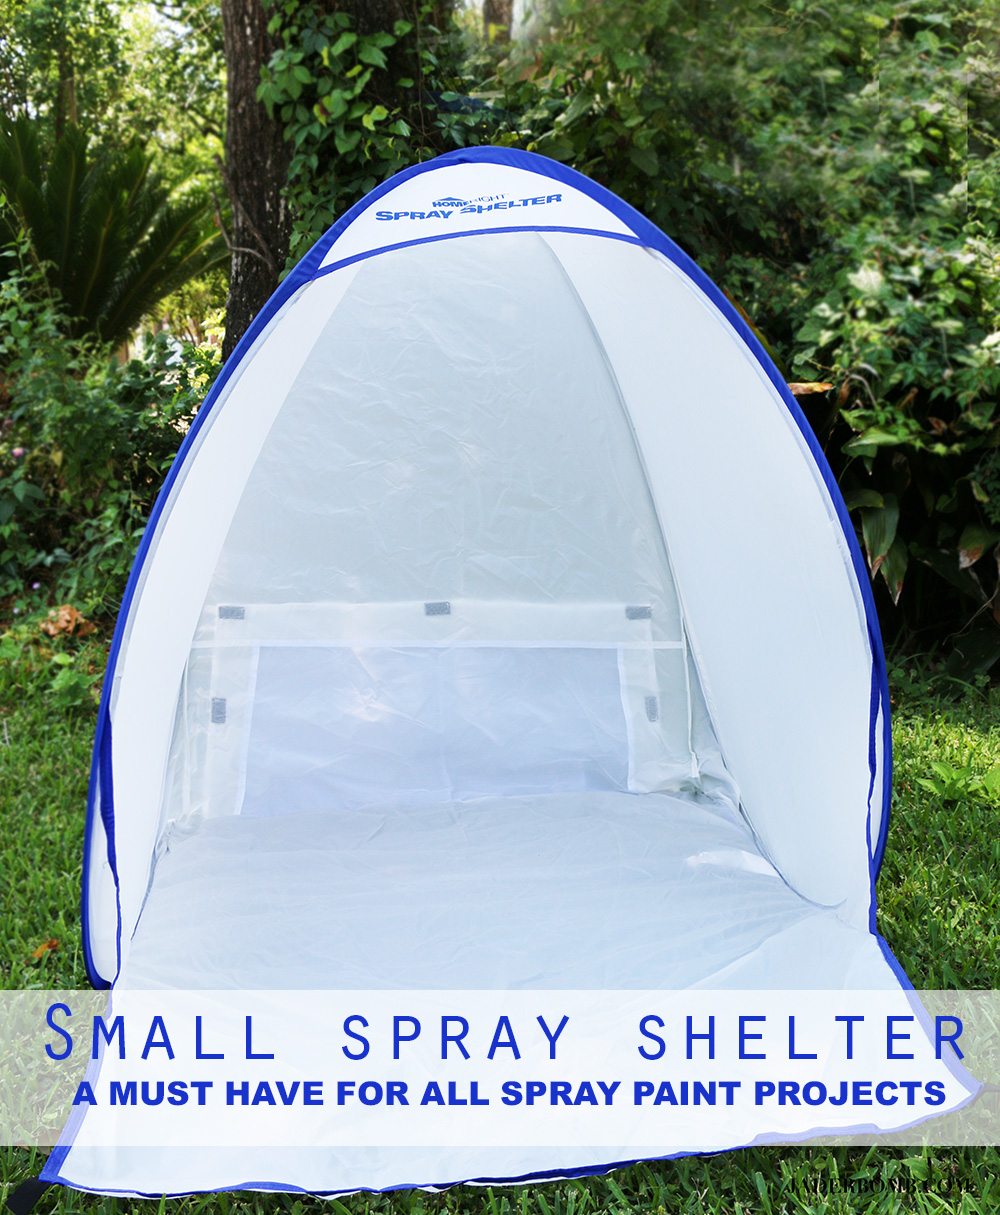 Don’t get me wrong I love Summer, said no one ever! Incase you didn’t know I live in the hottest place in the world. LOUISIANA. Who doesn’t love walking out of your house at 7 am and within 2 minutes your back is sweating and mosquitos are eating you alive. It’s ok because now I have a small spray shelter I can turn into a magical getaway with watermelon and fans, or I can just paint small projects in it! Let’s get started!
If you are anything like me then you love to transform lot’s of things with spray paint. I am super stoked to share this product with you! I usually grab something, plop it in the grass then spray away with my spray paint. Yep, overspray is all over the place when I am doing this. I won’t mention the time I spray painted too close to my car (insert eye roll).
This Small Spray Shelter from HomeRight is seriously the best thing to ensure that you won’t get overspray on anything! Did I mention how easy this baby is to set up? You just unzip the small package it comes in and magically watch it open up.
-
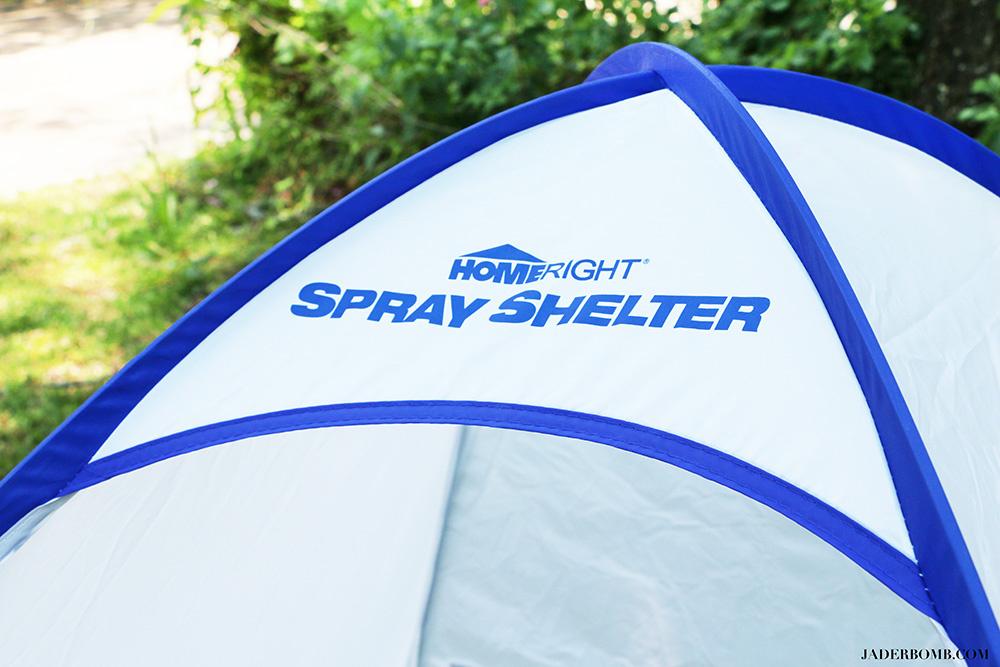
Set Up AnywhereThis portable, lightweight Spray Shelter makes it easy to position on a tabletop, floor or workbench. It naturally pops up into position to be used almost instantly.
-
Spray Paint the Right WayThe Small Spray Shelter is a tent-like structure that provides a safe area to spray paint or stain, and protects your surrounding area from overspray drift. It can be used with aerosol cans, airless paint sprayers, or HVLP sprayers like the Finish Max or Super Finish Max.
-
Sets Up QuicklyIn just a few simple steps, the Small Spray Shelter can be set up in your working area. That means there’s more time for painting!
-
Great for Small to Medium ProjectsThis small, temporary Spray Shelter is perfect for spraying lamps, wood crates, home decor, and other accessories!
-
Contains Overspray DriftDesigned to contain overspray by directing airflow away from your project. This provides greater protection for your piece and breathing area.
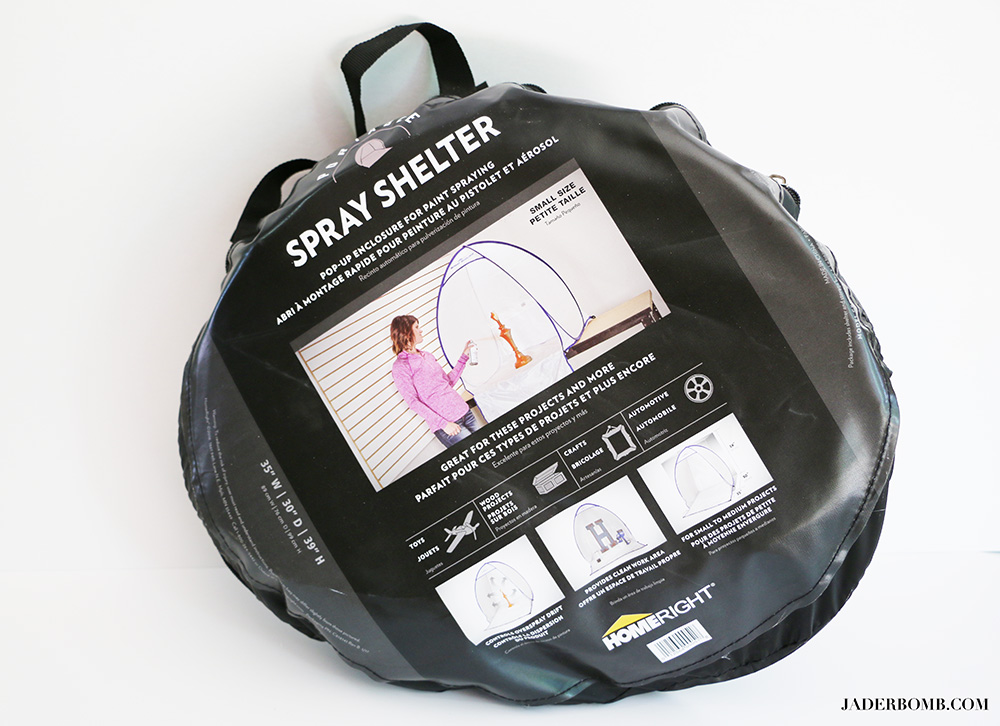 I was really impressed with the packaging and how easy it is to put back in the bag. It comes with two handles at the top making it easy to carry around from one spot to another. I won’t lie the first time I had to fold it back up I probably sacred my neighbor. If I had to guess I may have looked like a flamingo that was just learning to walk while stepping on and off a few balloons. Yes, I know sometimes this DIY life turns us into things we never knew we could be!
I thought I would be nice and save yourself from this embarrassment so you can click below to see this easy video showing you how to put it away when you are done with it!
Today I will be showing you how to make some chic and cute Summertime flower pots that will look great on your front porch. Of course we will be using the spray shelter so let’s get started.
You will need:
Home Right Spray Shelter
Ceramic or Plastic Pots
Spray Paint
Painters Tape
Glitter (Optional)
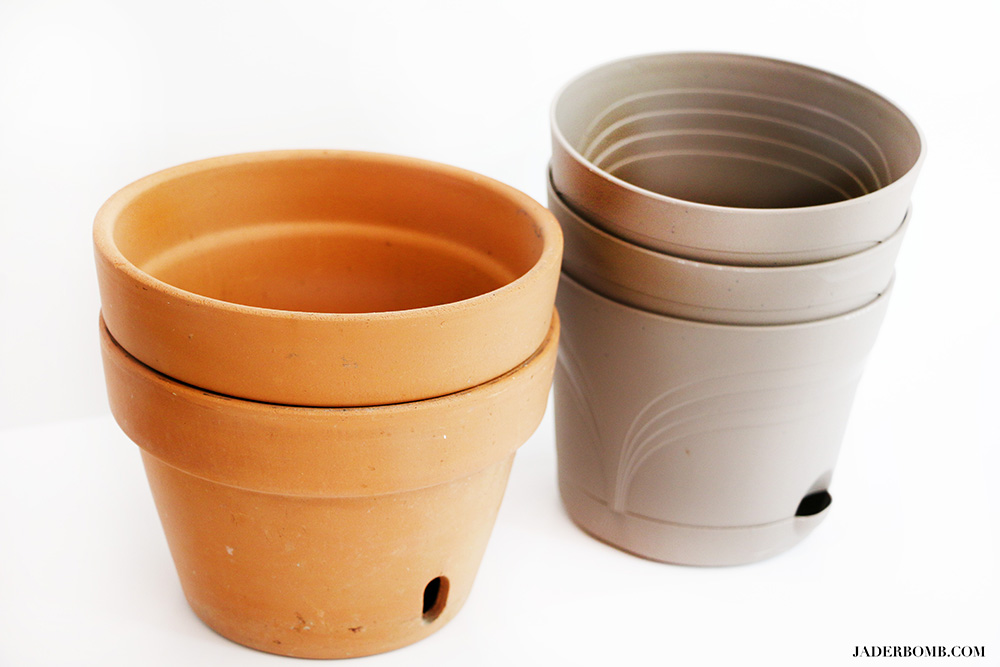
I wanted to mix up my pots by using some terra cotta and some plastic. It really doesn’t matter which ones you choose to use what’s important is to make sure you use the right spray paint. Your project will come out better if you use spray paint designed for plastic, so be aware of this before you start your project. 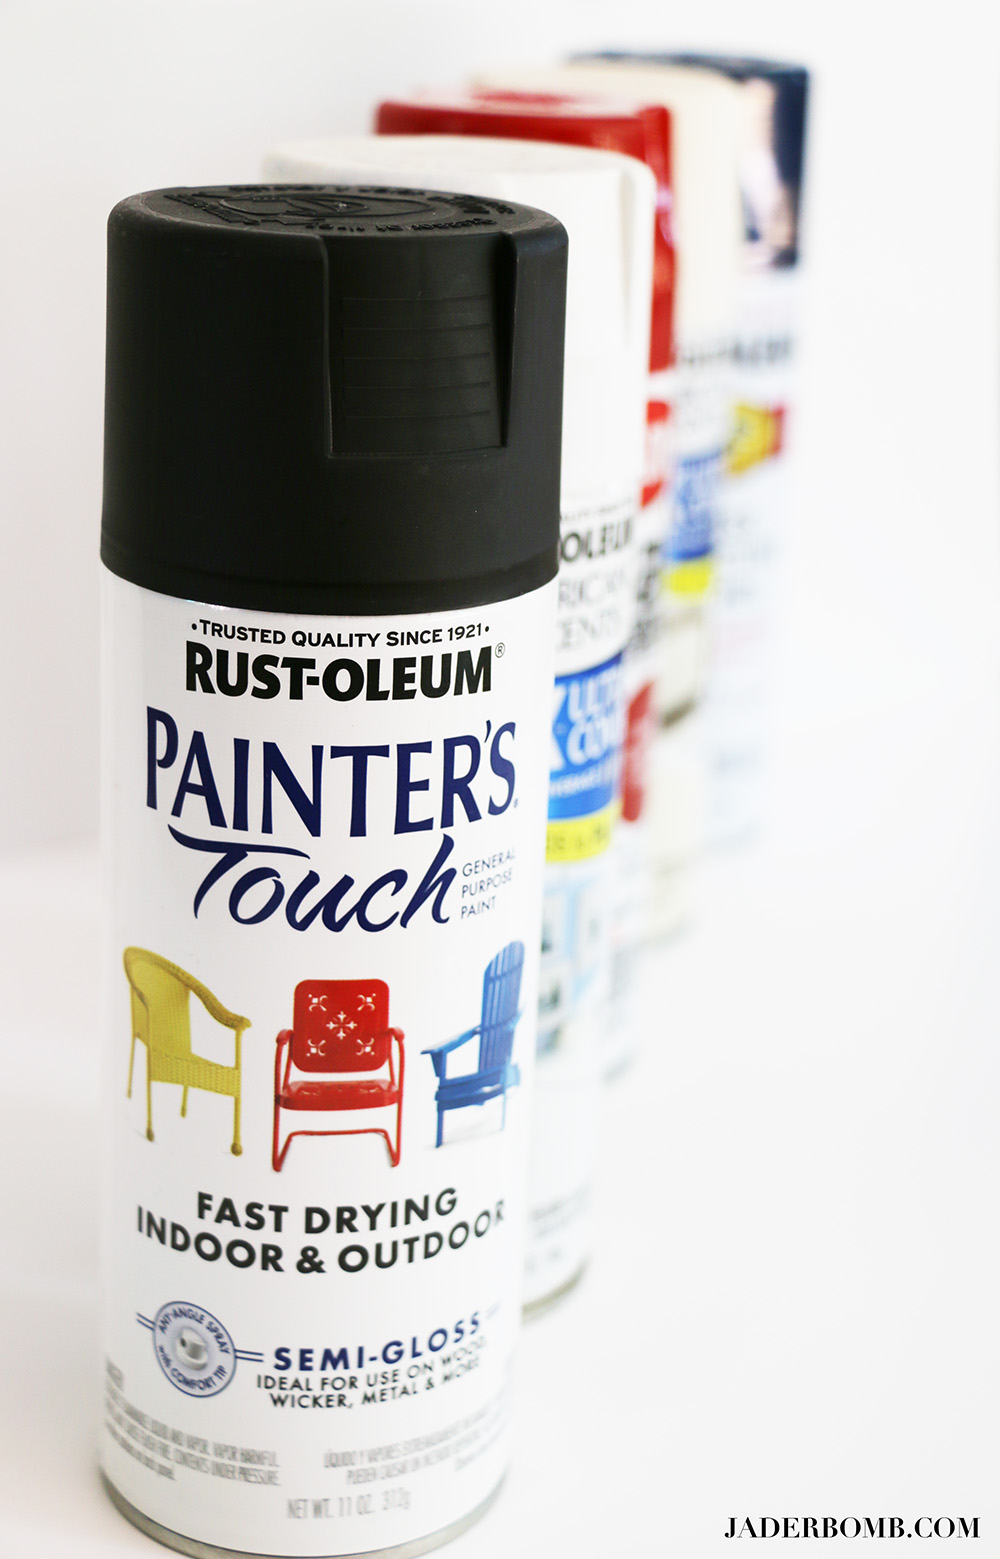
Now it’s time to have fun with your project. Get out all the colors you want to use because we will be doing some striping on our pots, which means we will use more than one color on a pot. I am officially ready to teach you how to spray paint like a pro? Who’s ready?
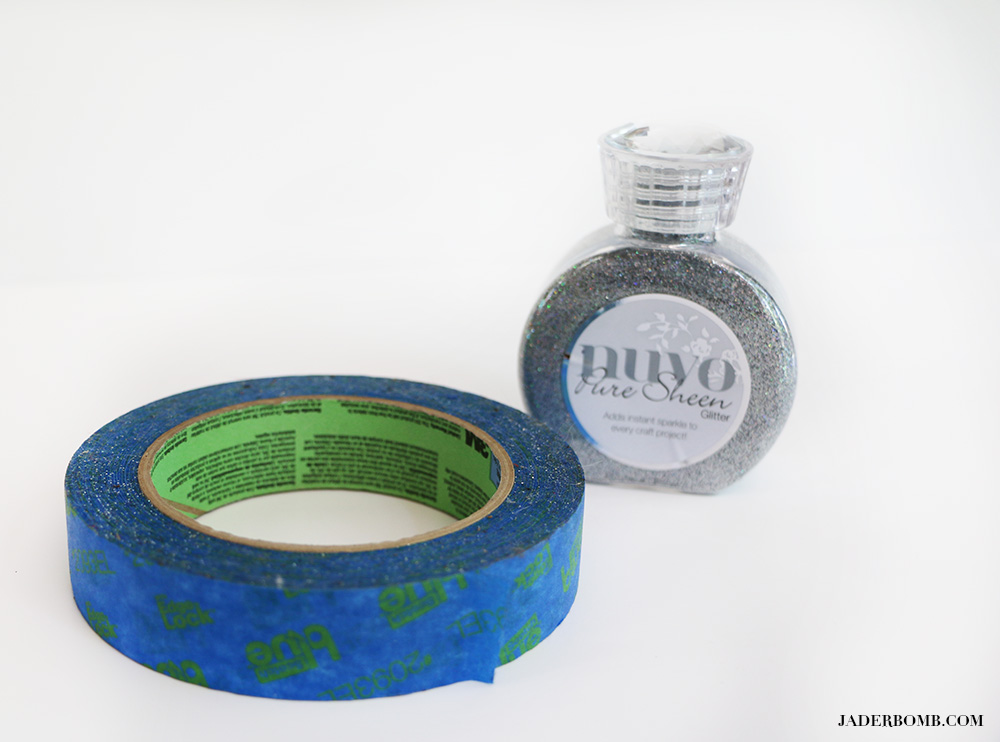
I suggest always using painters tape because it sticks nicely on the pots and is easy to peel off. I am going to be using a little glitter on some of my pots because, why not! Glitter makes everyone smile so I figured it could possibly make my plants smile too!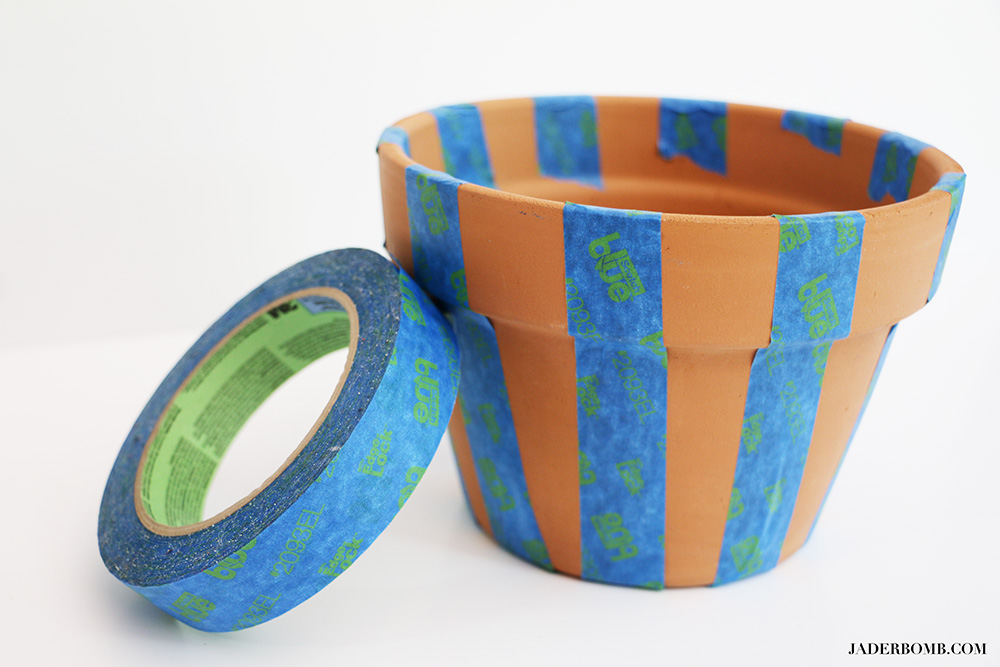
Step ONE: Clean off the outside of the pots to get off dirt and prep for spraying. Start by adding one strip of tape from top to bottom along the pot. Don’t be too hard on yourself, these tape lines do not have to be perfect. Once they are fully painted the lines look great!
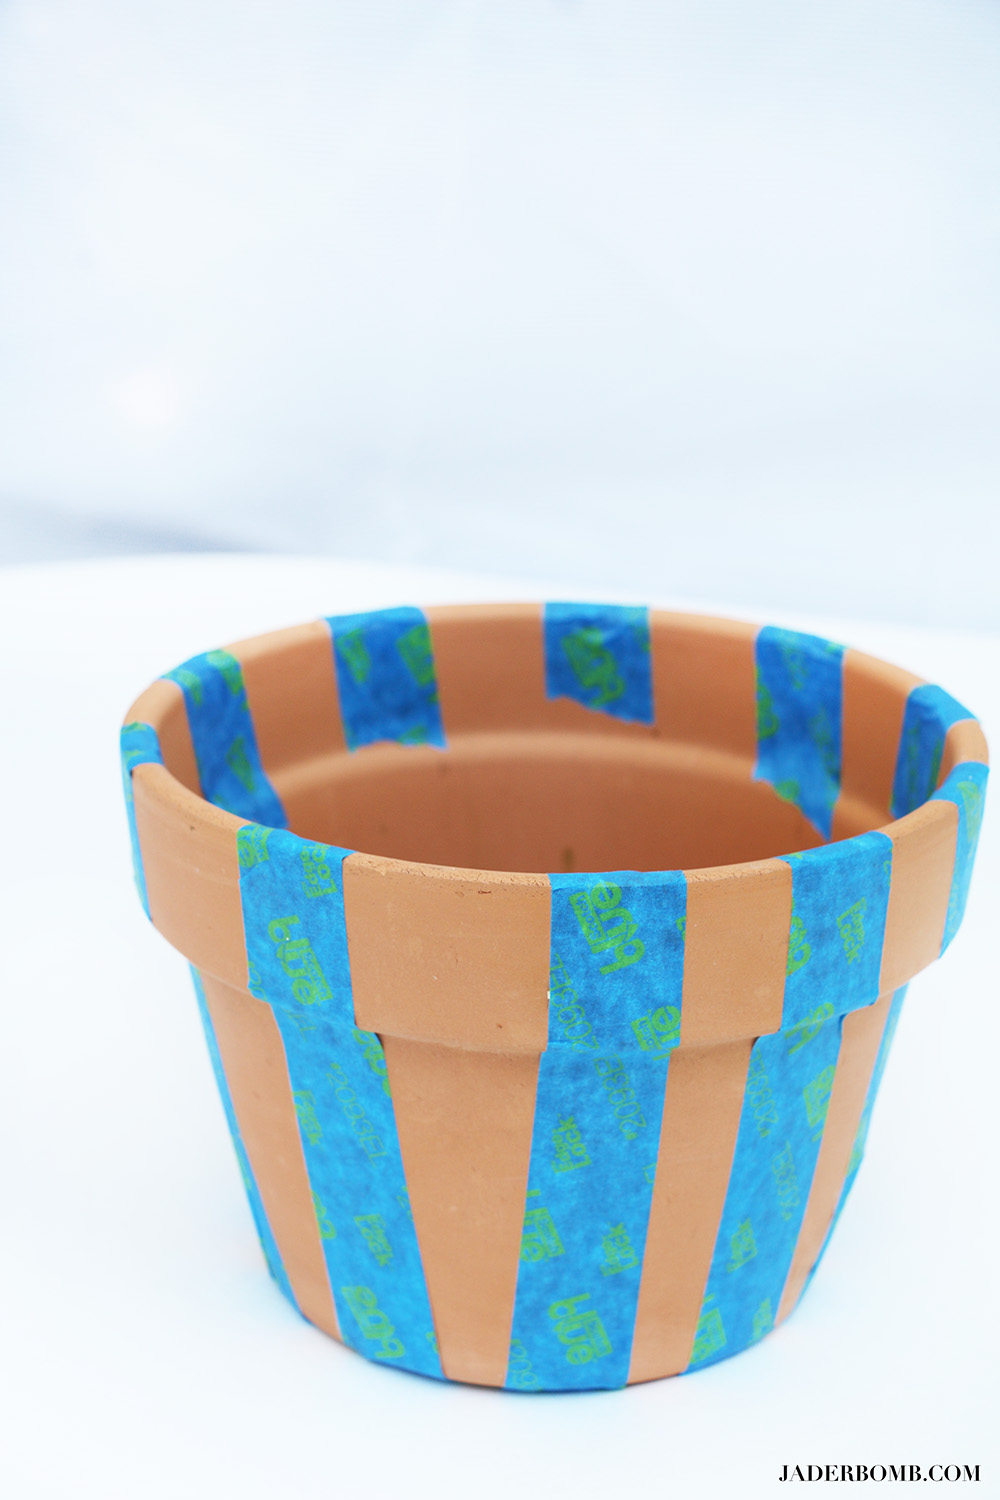
Step TWO: Once your pots are all taped up it’s time to paint them with your spray paint. I suggest placing a piece of cardboard or foam board on the base of the spray shelter so your pot is on a hard surface. It will prevent it from tipping over. Spray multiple light layers of spray paint until its fully coated. 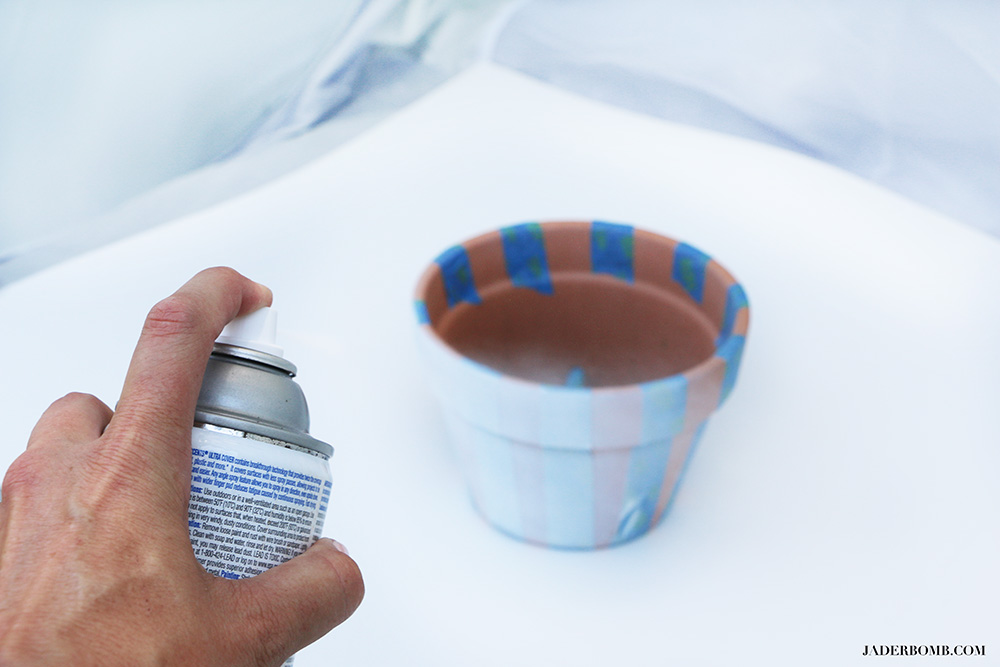
You can see below how the first layer of spray paint will look. Here is a good example of the size of the paint shelter. This is a medium sized pot and there is still an ample amount of room left! I placed a lamp in here and it barely took up half of the space.
Here are a few projects I used spray paint for and boy I wish I had this spray shelter!
Check out this paper towel holder and this glass vase!
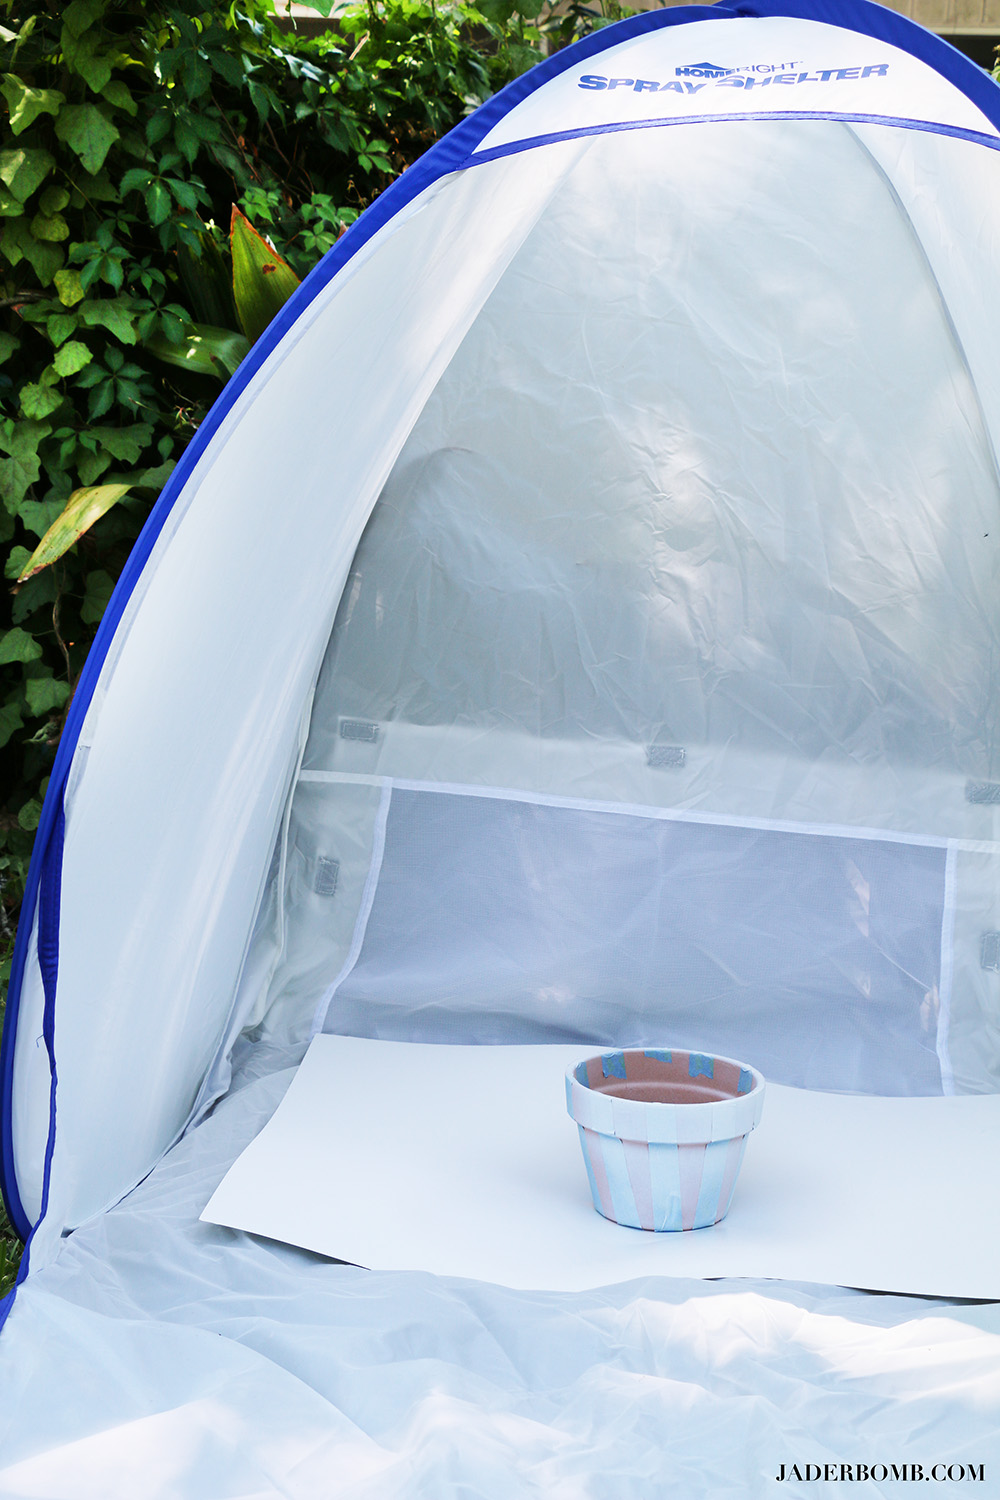
Step THREE: Let it sit for a hot minute until it’s fully dry.
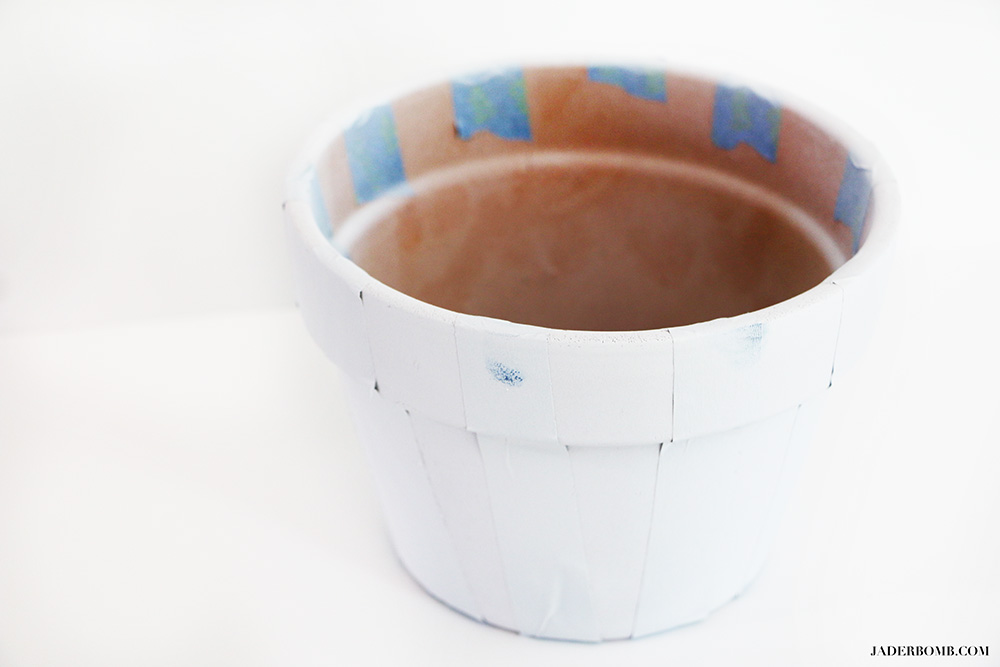
You can see below how the white looks once you put spray about 4 coats of spray paint on it.
 Step FOUR: Once it’s dry carefully peel off the tape. Don’t fret if some of the white bled under the tape. In the end it will look very vintage when you add your plants.
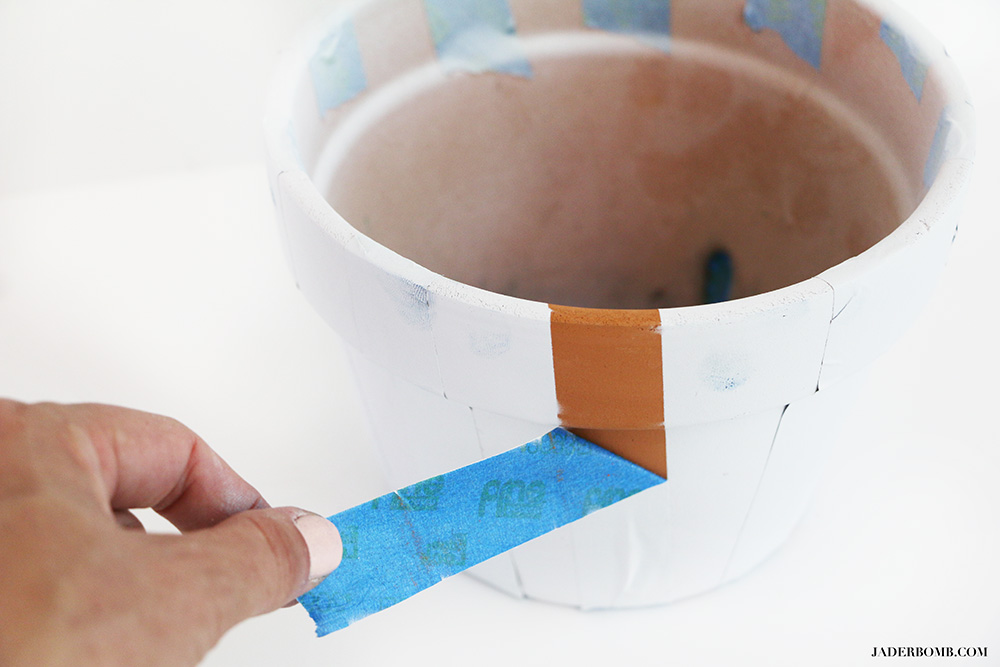
Now that you know how to make these pots you can get busy with tons of other colored pots. I am seriously loving the look of the natural terra cotta and white! 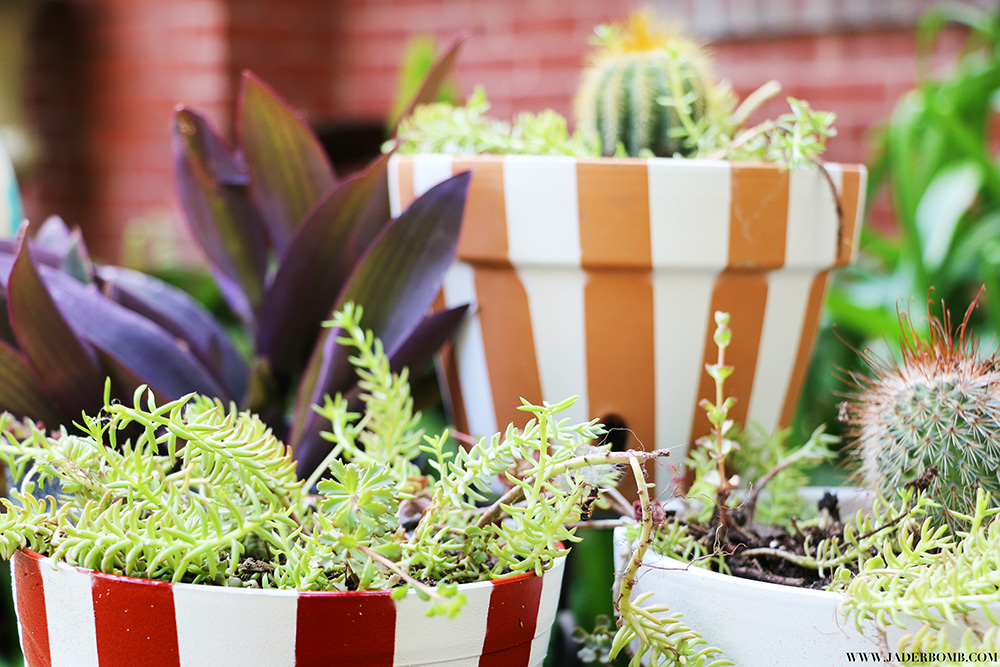
For the red and white ones I painted the pots all red, let them dry then applied tape to them and painted them white. When you peel off this paint it’s like circus heaven! I find these all look sorta like 4th of July pots!
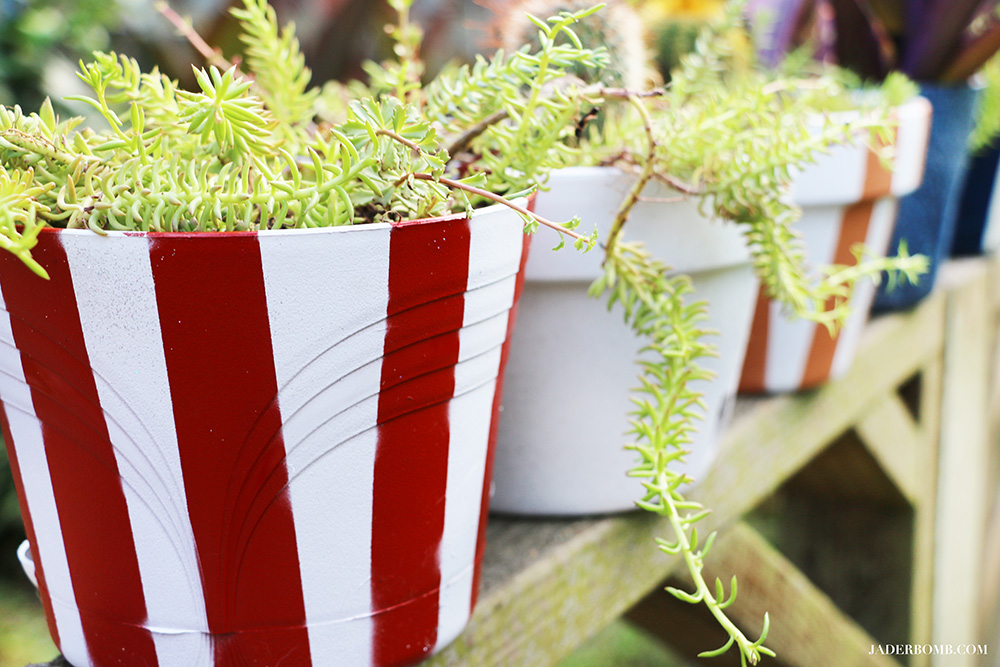
I decided to plant cacti and wax plants so they could last a while. For some strange reason I can’t seem to keep anything alive except plants that require low maintenance, go figure. 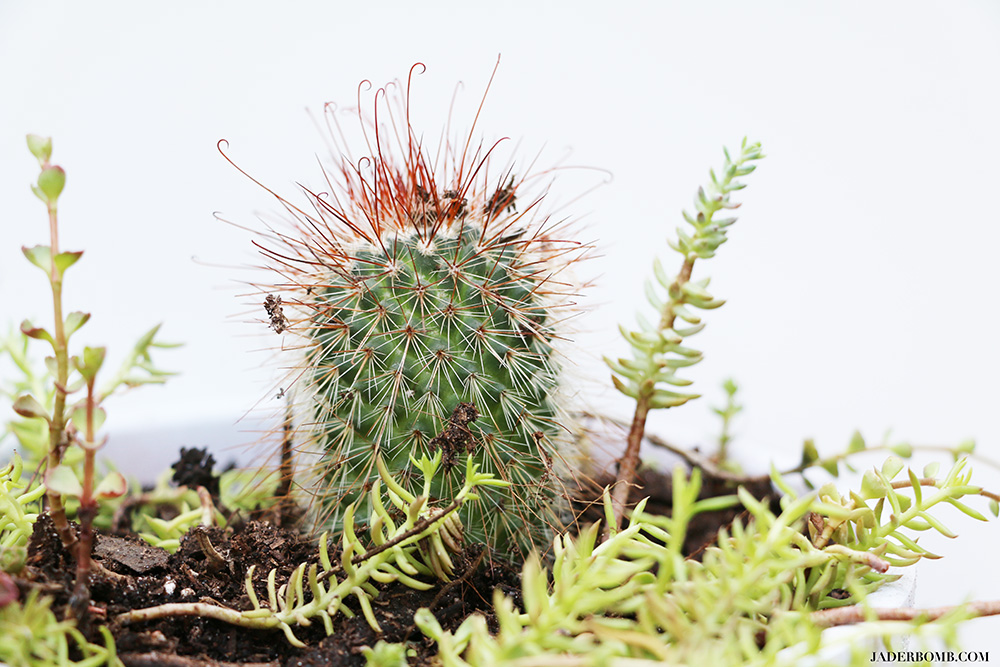
I wanted the blue and white to look a little distressed so I put the painters tape on the pot before the white was completely dry then peeled it off before the blue was completely dry. Kinda reminds me of denim!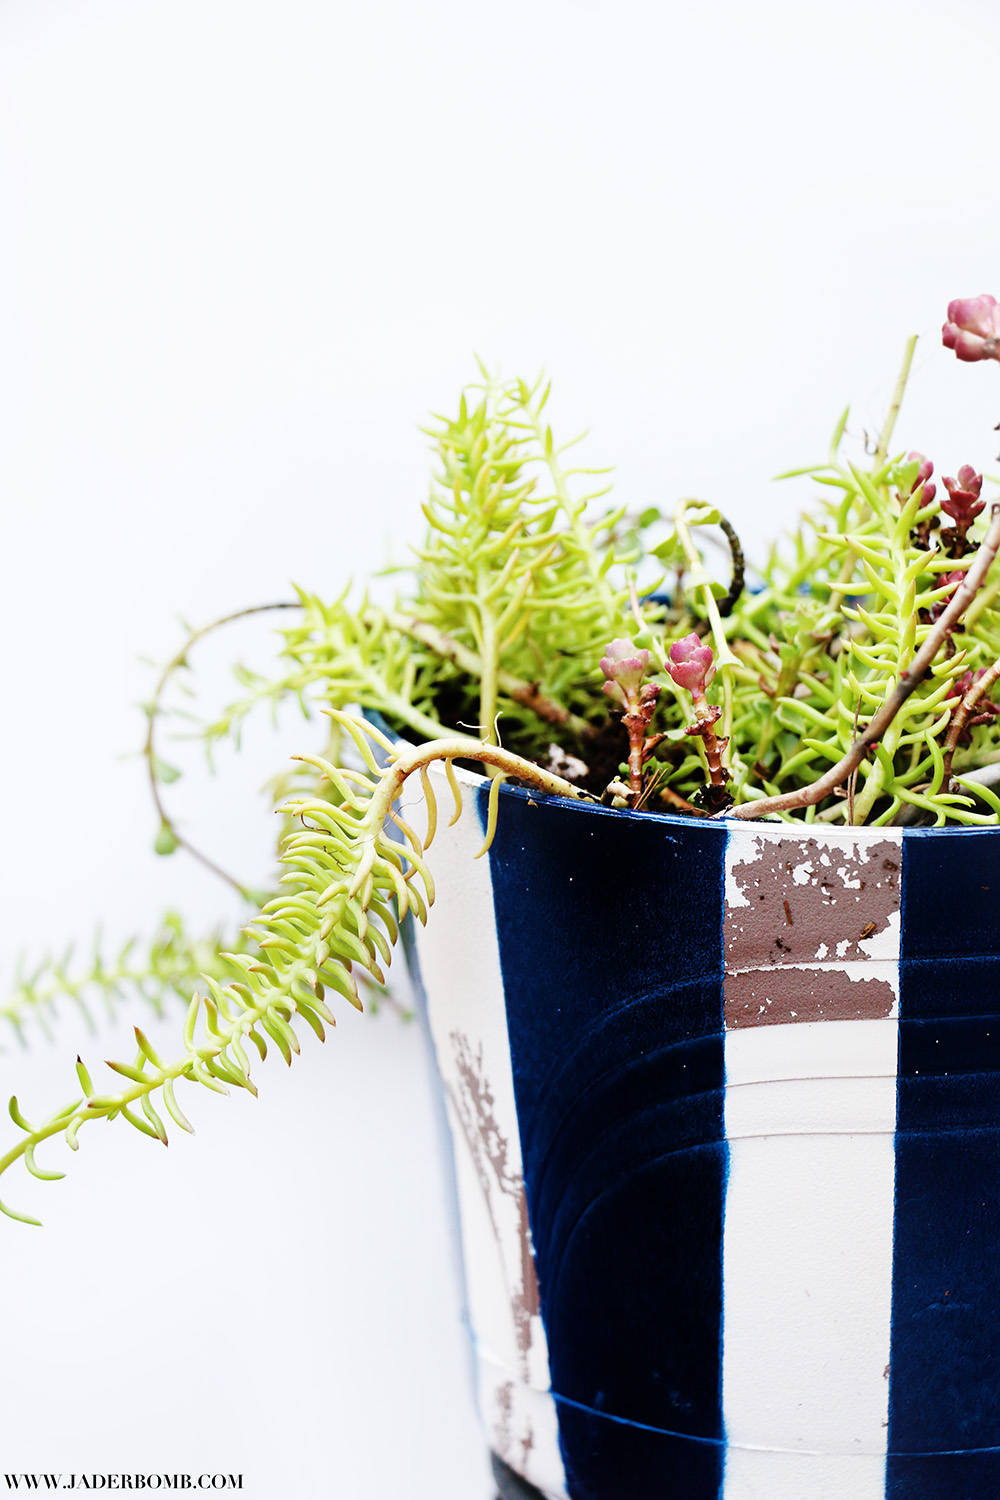
How darling are these babies! This spray paint shelter for small projects is the perfect thing to have on hand, trust me! If you have enough room in your garage or covered spot you can keep it up year round! Maybe put a cat bed in it for a mini house when you are not using it, haha!!! 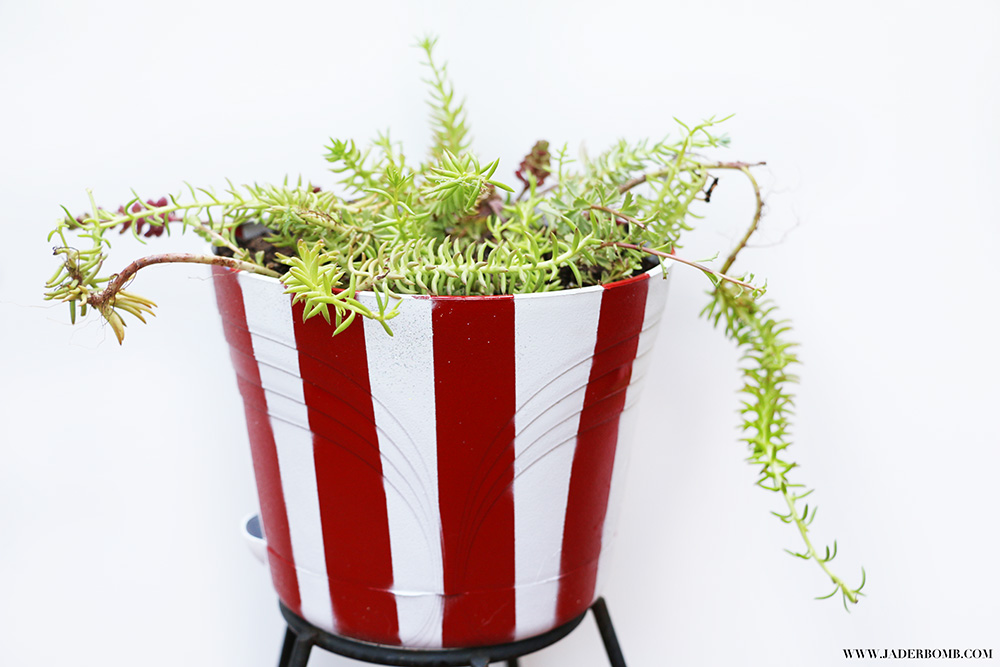
I say one is my favorite until I look at another one then I go back to square one, confused! HAHA! 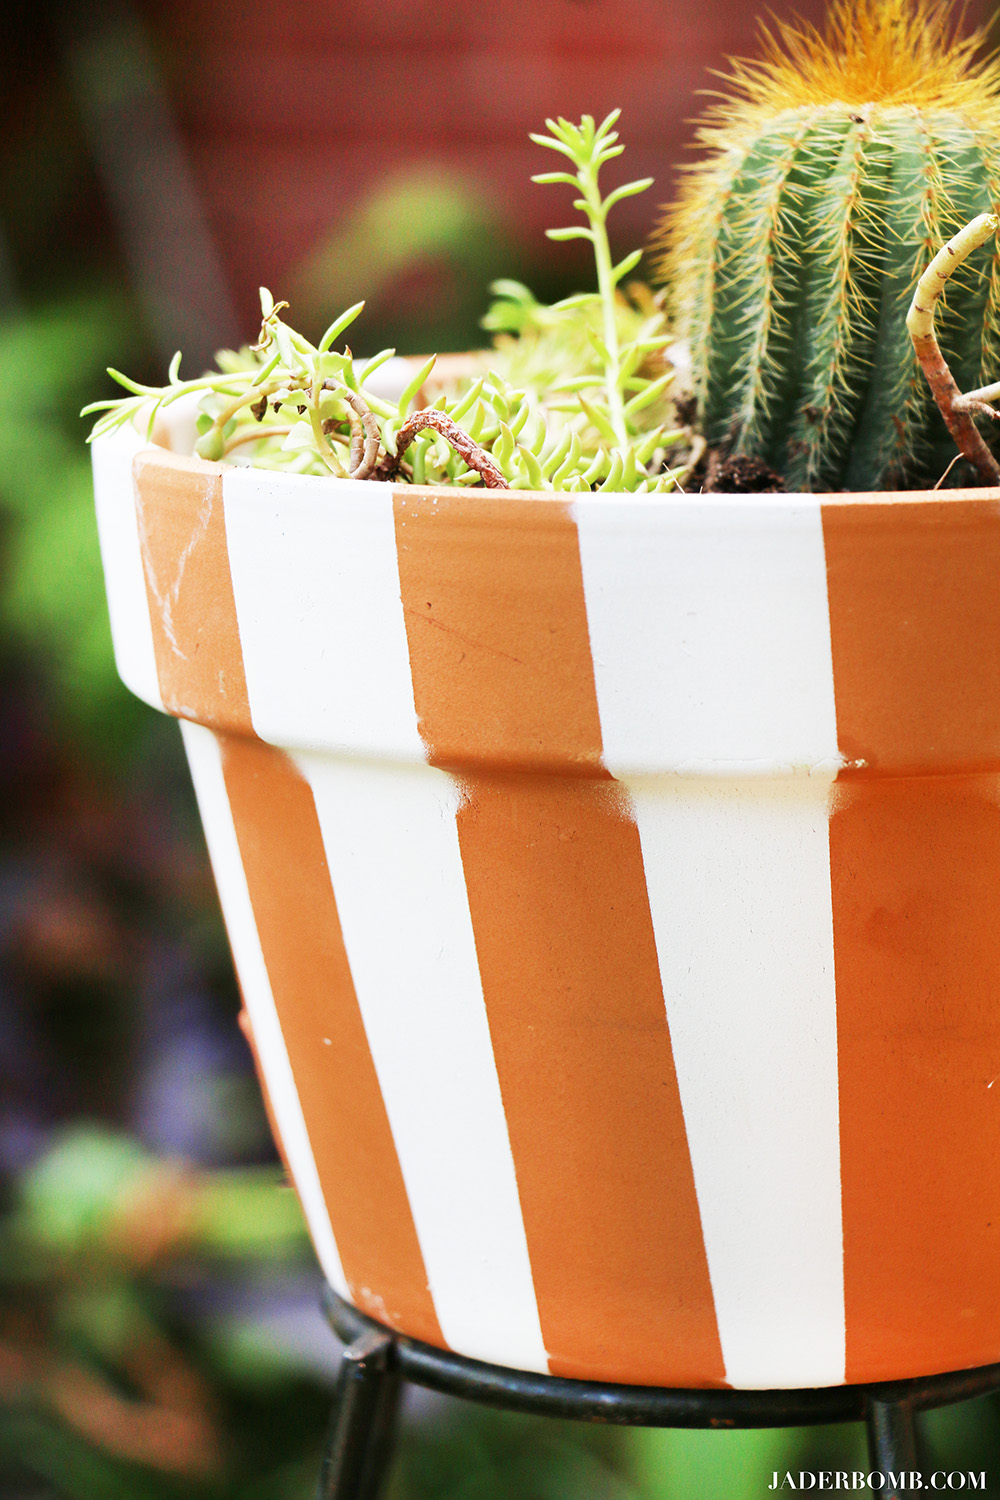 I have officially showed you How to Spray Paint like a Pro, and I can’t wait to see what you create using your spray shelter!
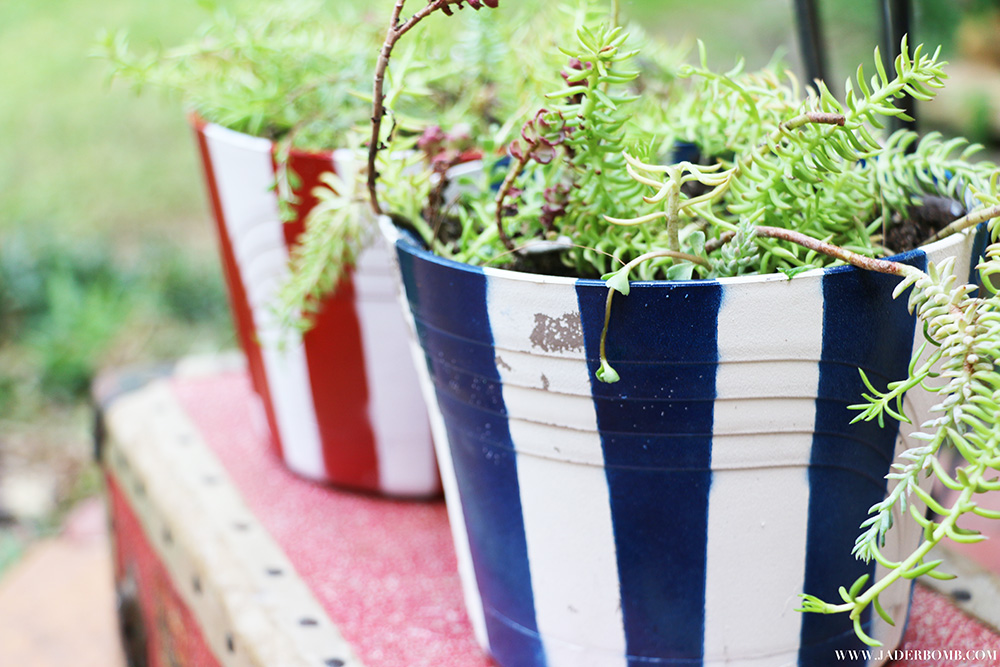
I hope you enjoyed this post! Can you imagine what a bunch of rainbow ones would look like all together with stripes. Make sure to hop on over to the Home Right website so check out all of their products and projects! You can also find them here on Facebook, Twitter, Instagram, and Pinterest.
Don’t forget to follow me on all of my social media channels because I love all of you to pieces!!!!
FACEBOOK | INSTAGRAM| TWITTER | PINTEREST
© Copyright jaderbombllc, All rights Reserved. Written For: JADERBOMB


OMG!! These are so cute!! I love the white and terracotta together! JaderBomb, another awesome doable project for us crafty plant people!! This is right on time too, I just went to Wally World for some new plants and dirt! And I was on a mission to spruce up the pots I already own! Thank you for the inspiration and tips!!
Thanks girl!!!! I am loving the white and terra cotta together as well! I can’t wait to see yours, make sure to send me a picture so I can see them!! xoxo, Jade