
This is a sponsored post. All opinions are 100% mine.
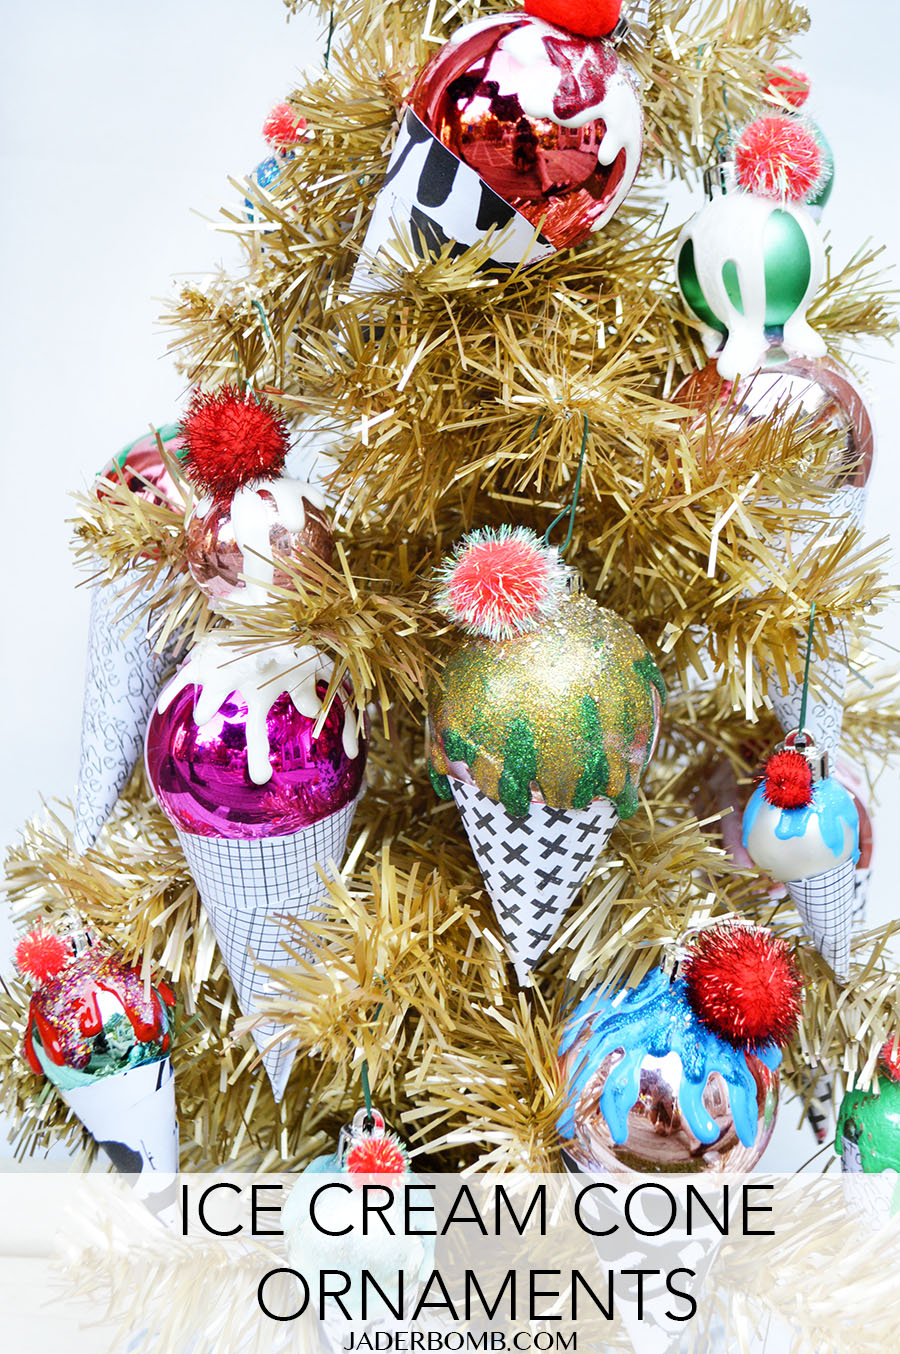
Howdy Hoo Jaderbugs, today I will be showing you how to make your very own Ice Cream Cone Christmas Ornaments. I don’t know if you remember last year when I made my CupCake Ornaments but let me tell you they were such a hit! I wanted to do something different this year. I have so much fun making festive ornaments for my tree and I love that they are so easy anyone can do them. Sometimes I make things that I want to eat, literally! You know those things you create and you walk by them and always stop to admire them. Yeah, that is how I feel about these suckers. I won’t lie to you the products I used in this project were key. So don’t make them without the awesome glitter dimensional paint.
Worried Santa will fill your stocking with your brother’s stuff because you left your stockings nameless this year? Scared to walk into an ugly Christmas sweater party and see someone else wearing the same thrift store sweater? From personalized Christmas decor to sparkly ornaments and ugly sweaters, avoid disaster and make this holiday season uniquely yours with Tulip Dimensional Fabric Paint.
Make sure to check out all my projects I have made for I Love to Create HERE. Are you drooling yet? I have this old aluminum tree and I am thinking about making more and filling the tree with them. Wanna come to my house and help me make them??? Come on, it will be fun. We can sit at my table, drink coffee and make non edible ice cream cones.

*Tulip Dimensional Paint
*Glue Gun
*Scissors
*Scrapbook Paper
*Christmas Ornaments
*Lotsa Love 
You can purchase all of the dimensional products I used in today’s post HERE.
Tulip Dimensional Fabric Paint is available at Walmart, Jo-Ann Fabric & Craft Stores, Hobby Lobby, Michaels, AC Moore, Amazon and most other major craft supply stores.
I literally keep this stuff stocked in my studio. You will be so surprised how much this stuff comes in handy for the most random projects. They have this new Confetti Glitter that is so beautiful. It looks matte when you first squeeze it out but when it dries it’s like a glittery heaven. 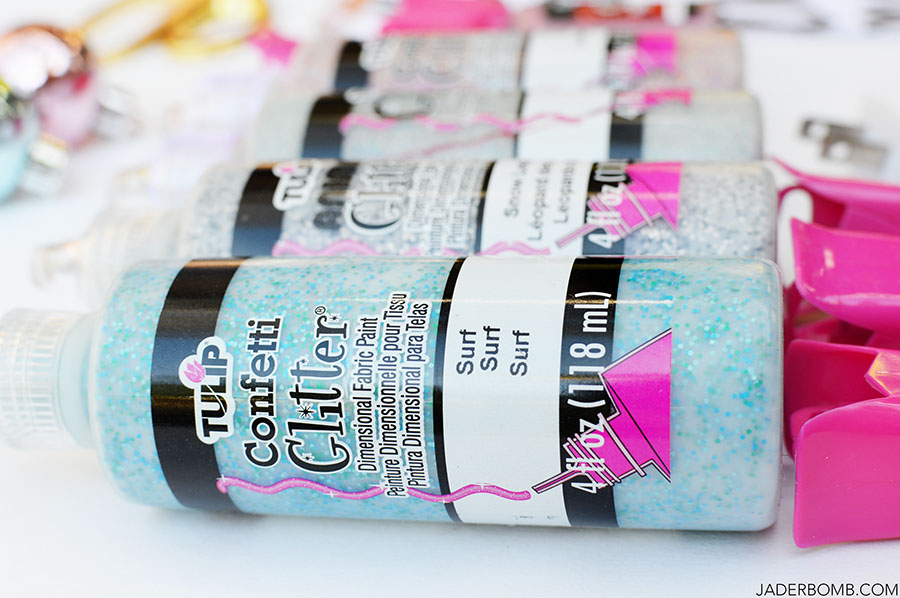
Check out these amazing Christmas colors. Tulip has a great Christmas pack that is totally necessary in your life.  STEP ONE – Get a sheet of scrapbook paper and lay it on a flat surface then fold it in half.
I wanted to do all black and white designs for my cones so my color would POP!
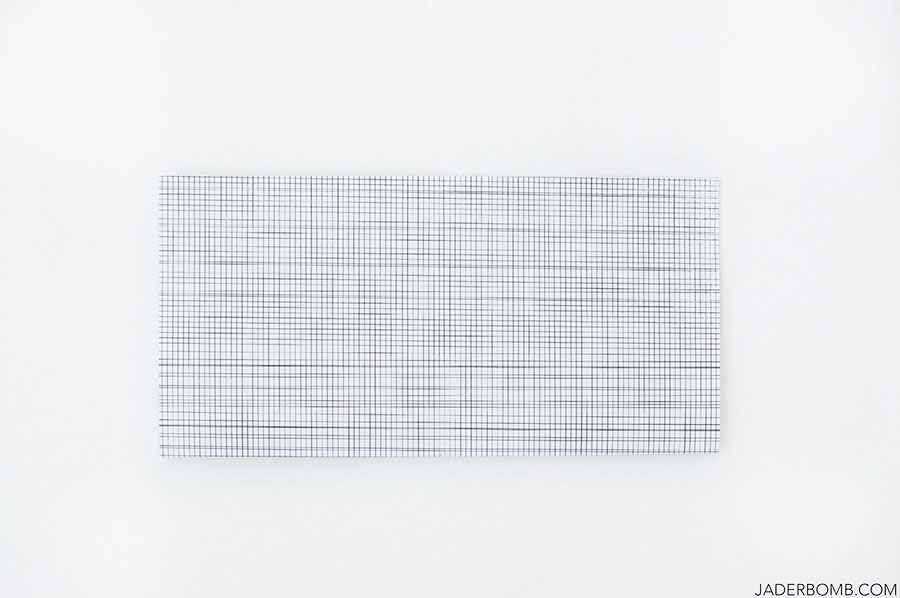
This is what it should look like once you fold it in half. Easy right!
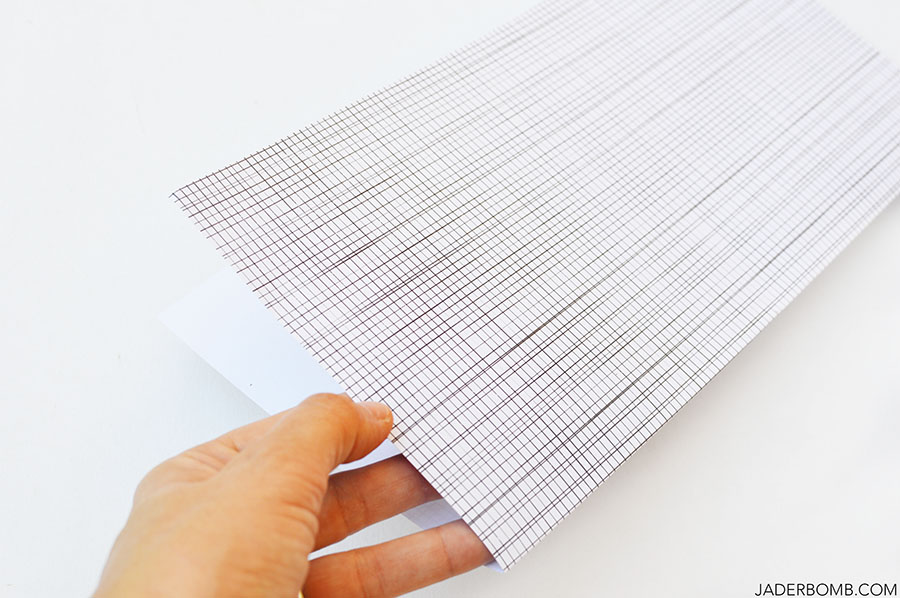
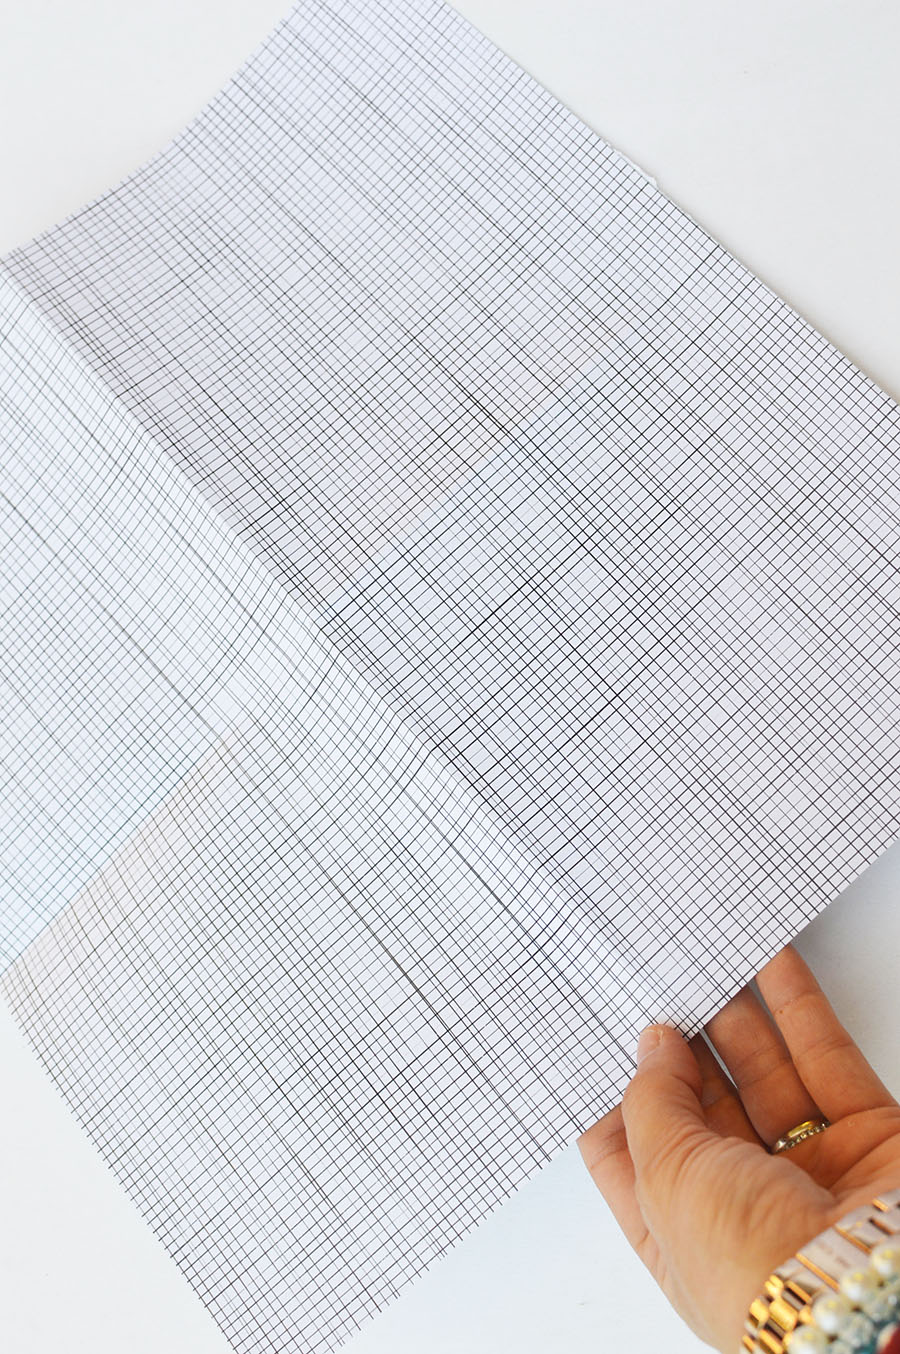
STEP TWO – Fold that half in another half. It will look like the size of a greeting card at this point. 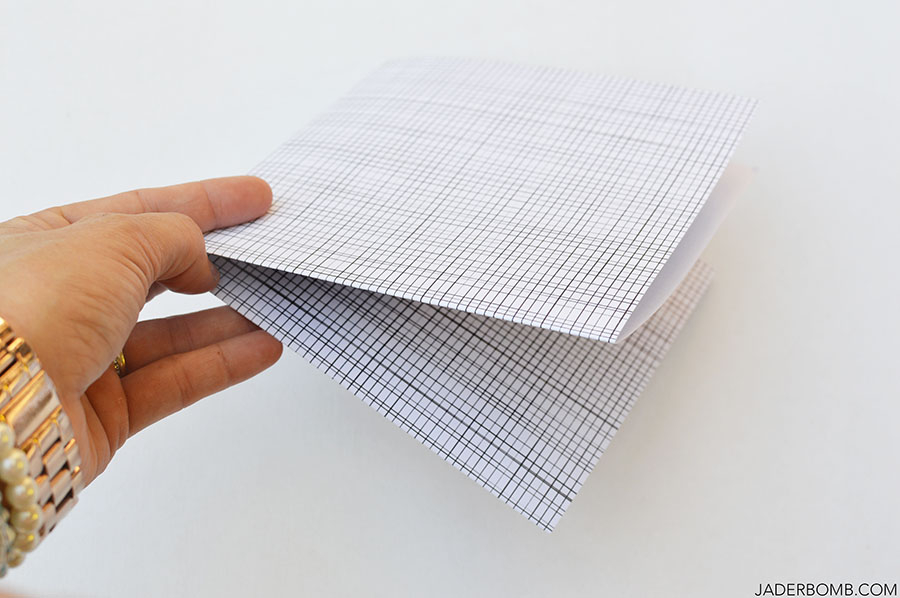 STEP THREE – unfold your sheet and it will look like it has four squares. Now you can grab those handy dandy scissors and cut along all the lines.
You will have four squares ready to get folded into baby cones. 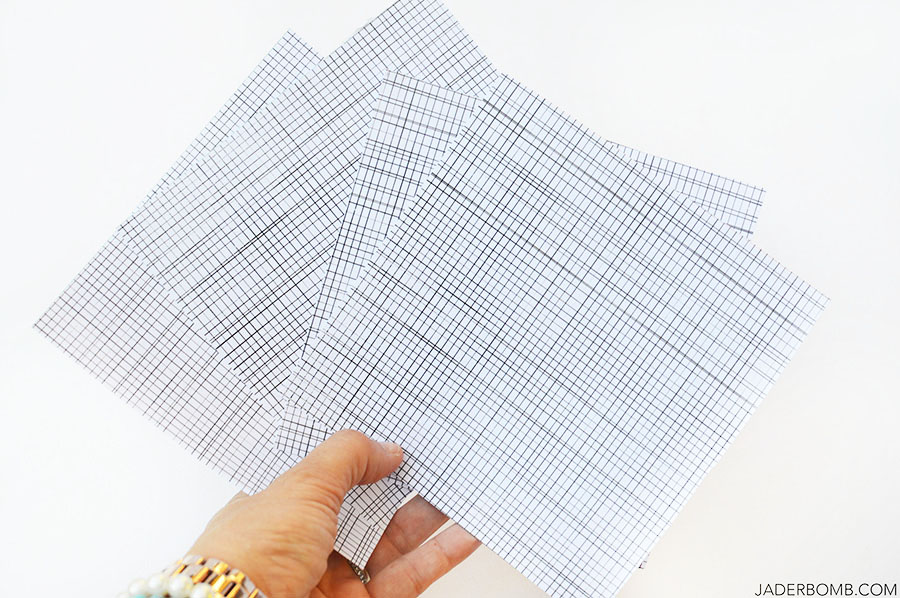
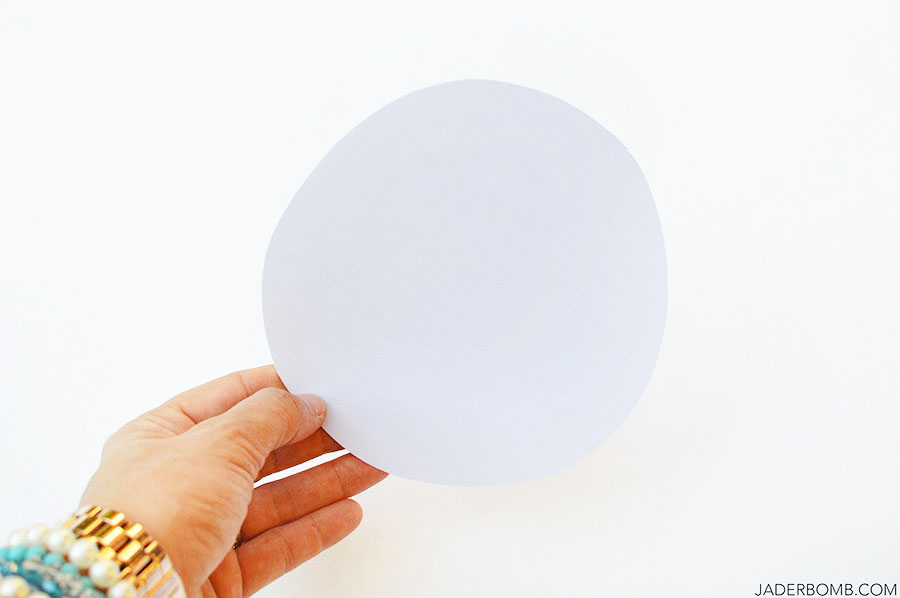
STEP FOUR – Cut out a circle in each small square. I free handed my circle because honestly in the end it will not matter if it’s perfect. However if you are a perfectionist you are more than welcome to place something down and trace a circle. The bigger the circle the bigger the cone.
These four small squares will give you smaller cones. If you want to do a bigger cone you can use one whole sheet of paper for one large cone.
Once you start making your circles you will get a feel for what size you prefer. I like to have a variety of small and large cones.
STEP FIVE – cut out a piece of pie from that circle. Again, it does not matter if it’s exactly perfect. 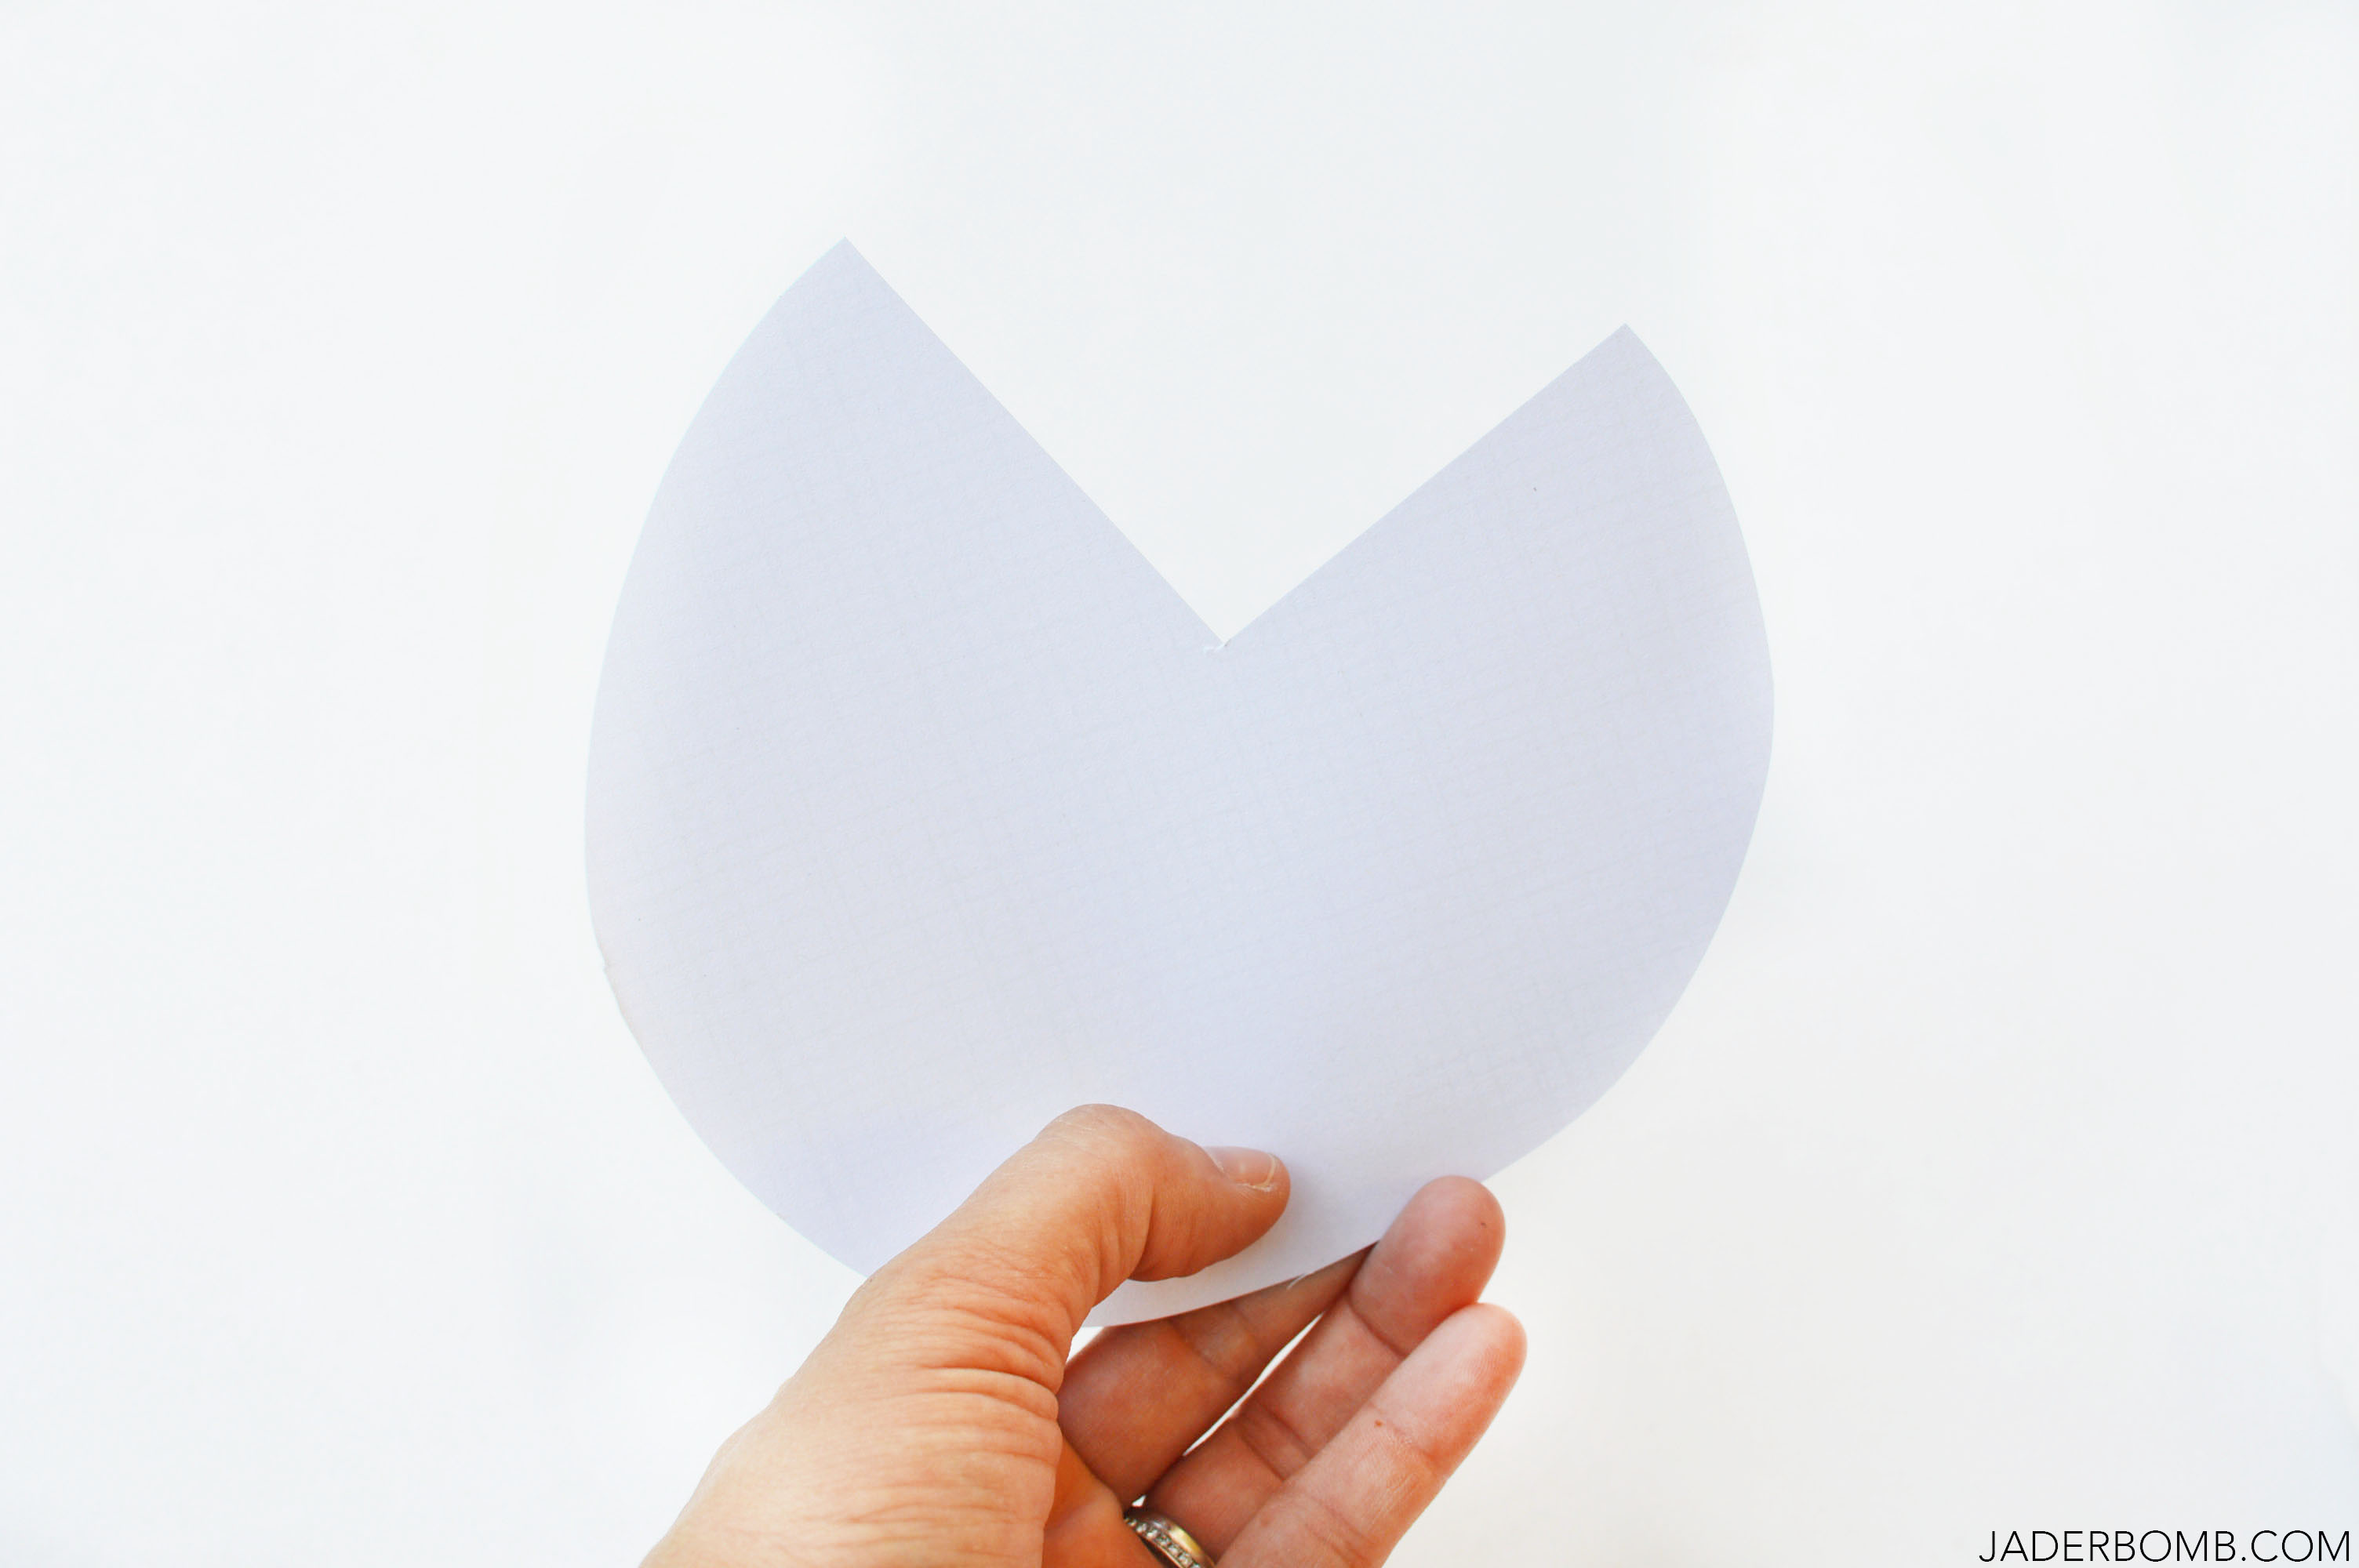
STEP SIX – Take one end of the pie and fold it over continuously folding into the cone shape. It’s almost like twisting the paper and after a few times you will understand what I mean. I will be honest and tell you it’s SUPER EASY, can we hug now? 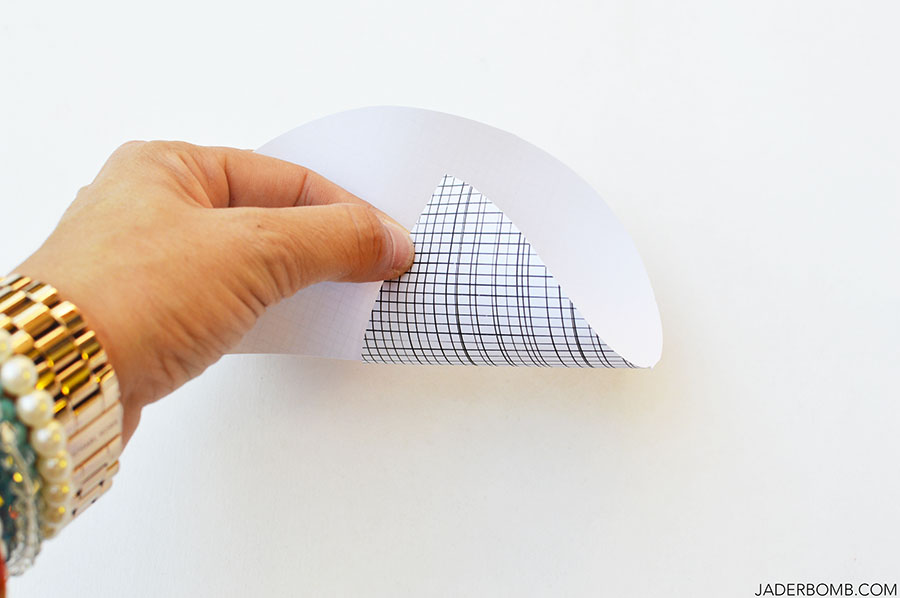
Tadahhhhhh! We now have our very own paper cone. I seriously love this pattern! Once you are done rolling the cone you can add a drop of hot glue to the end to secure the paper in place. 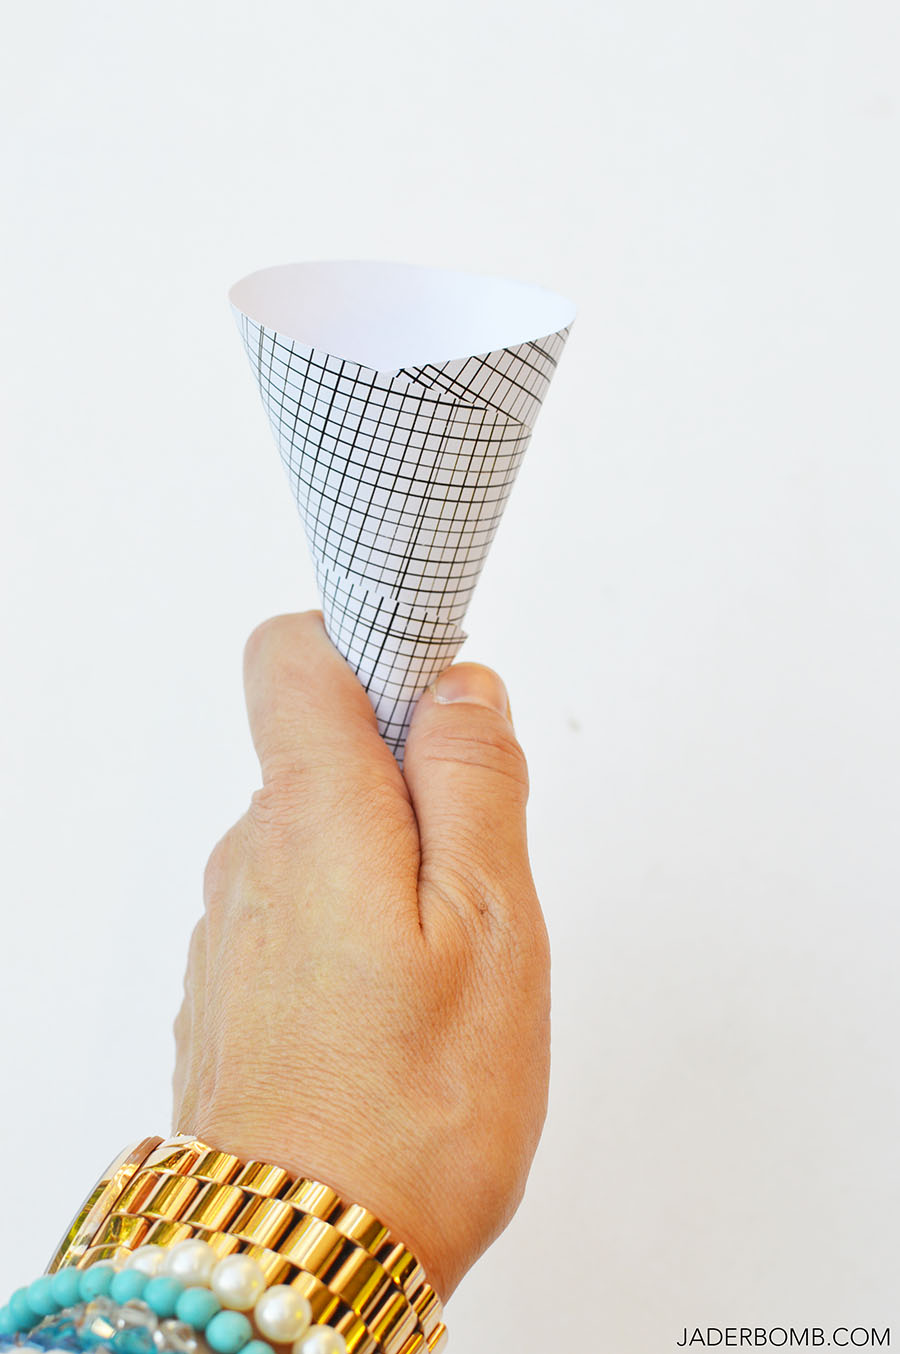
STEP SEVEN – Once your cone is all rolled up you will line the inside of the cone with hot glue. I will warn you to work a little fast at this point because you don’t want the glue to dry before you put the ornament inside. 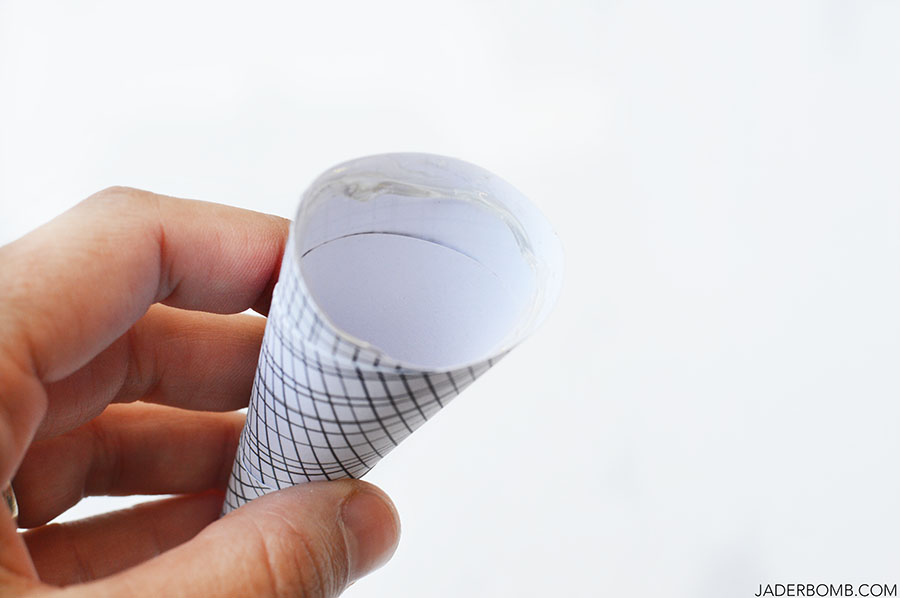
STEP EIGHT – Quickly place your ornament inside of the cone. Make sure to leave the part that you put the hanger in at the top. This is also where we will be putting out cherry! Wait, do ice cream cones have cherries on top? If not then mine do, hehe!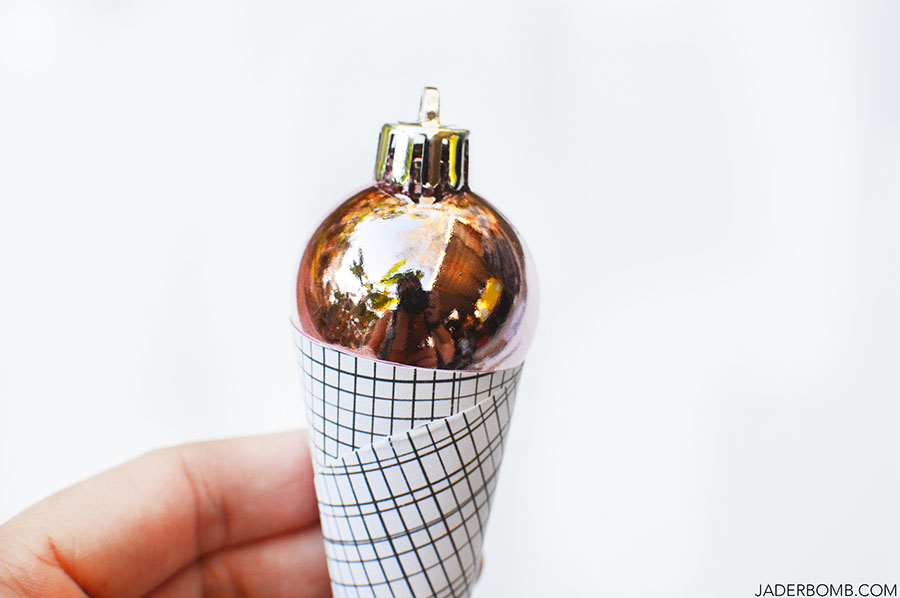
Once you are done making all of your ice cream cones we will add the dimensional paint to look like they are dripping off the ornament. Now I know most ice cream cones are not colorful but mine are and I like it that way. Just a tip, if you want you can use ornaments that reflect real flavors of ice cream.
How long does it take to dry?
Depending on application thickness, Tulip Dimensional Fabric Paint has a dry time from 2-8 hours. I recommend letting your project dry overnight; it is washable after the paint has fully dried. 
NON TOXIC
Tulip Dimensional Fabric Paint is nontoxic. However, we discourage the use of the product around the rim of any dinnerware or stemware. Tulip Dimensional Fabric Paint is for fun with friends, not food.
You can add one solid color then come back on top with the dimensional glitter paint. Remember, this stuff dries clear so it will look completely different once they are dry.
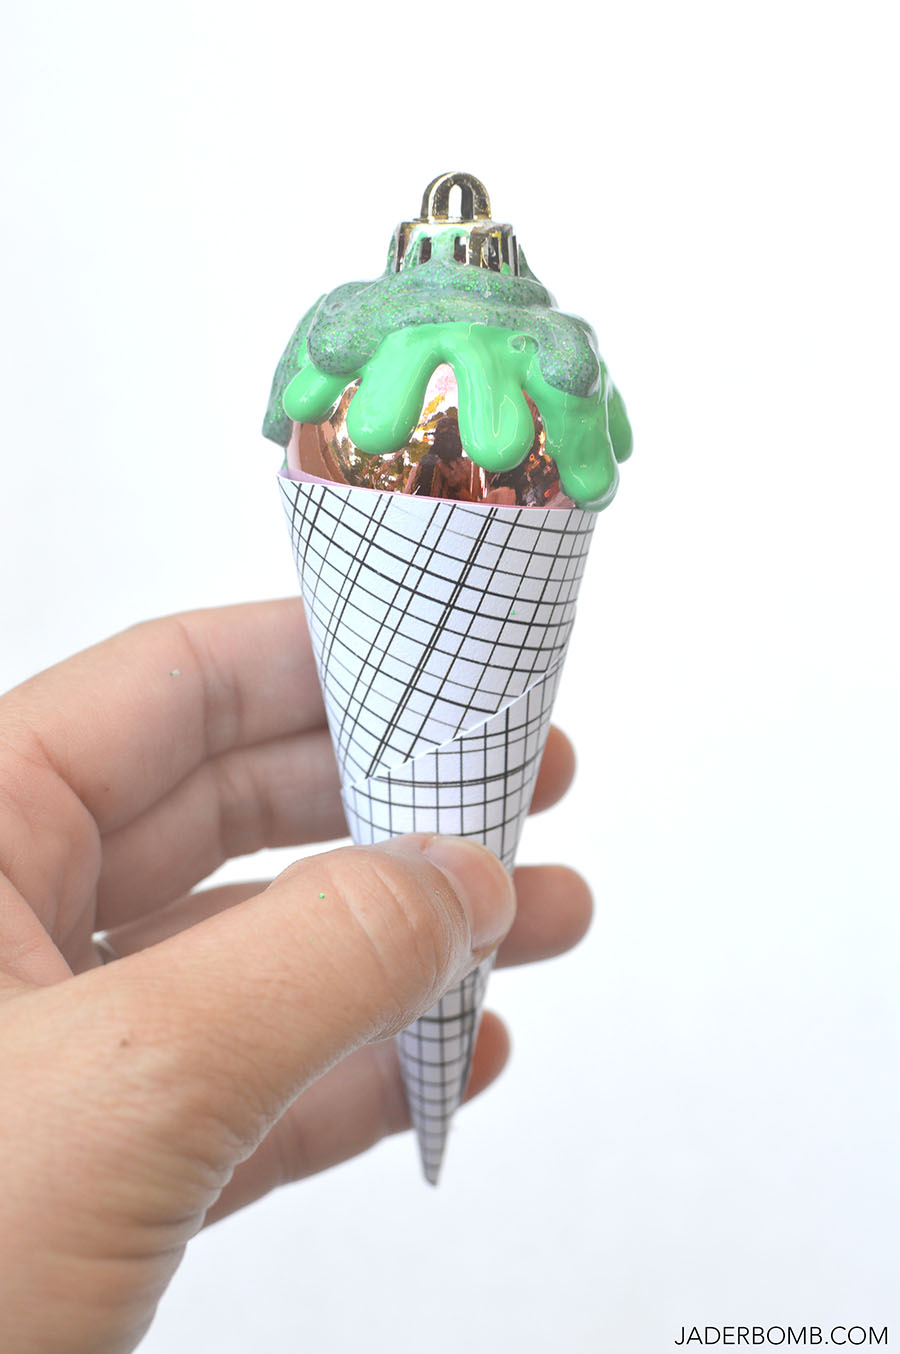
I added some glittery red paint to the top to mimic a cherry however you can also glue red pom poms on top. 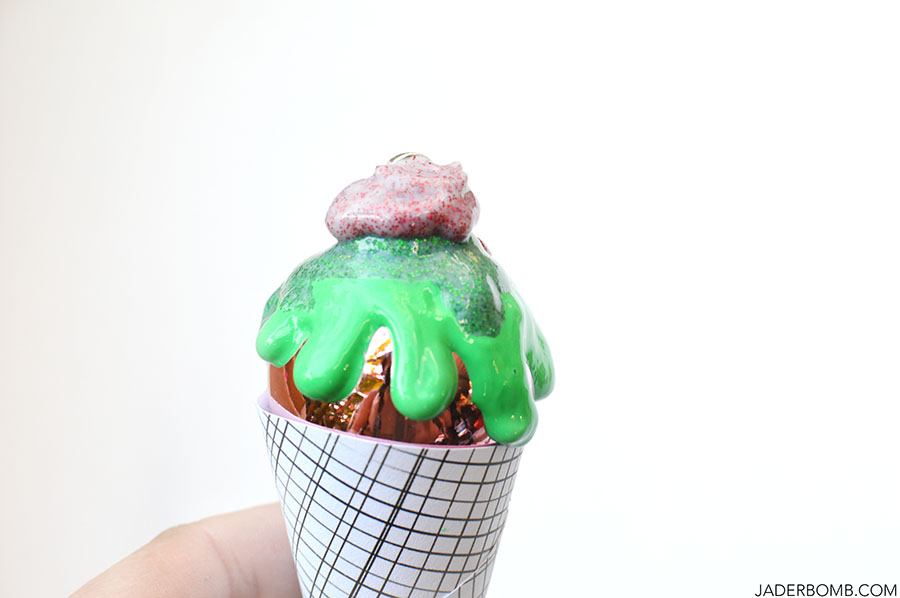
How stinking CUTE! I love that these are so precious you can literally keep them up all year long. Yes. I am that person that has a hard time putting things away that look like this. You could also add them to packages to add some spice. 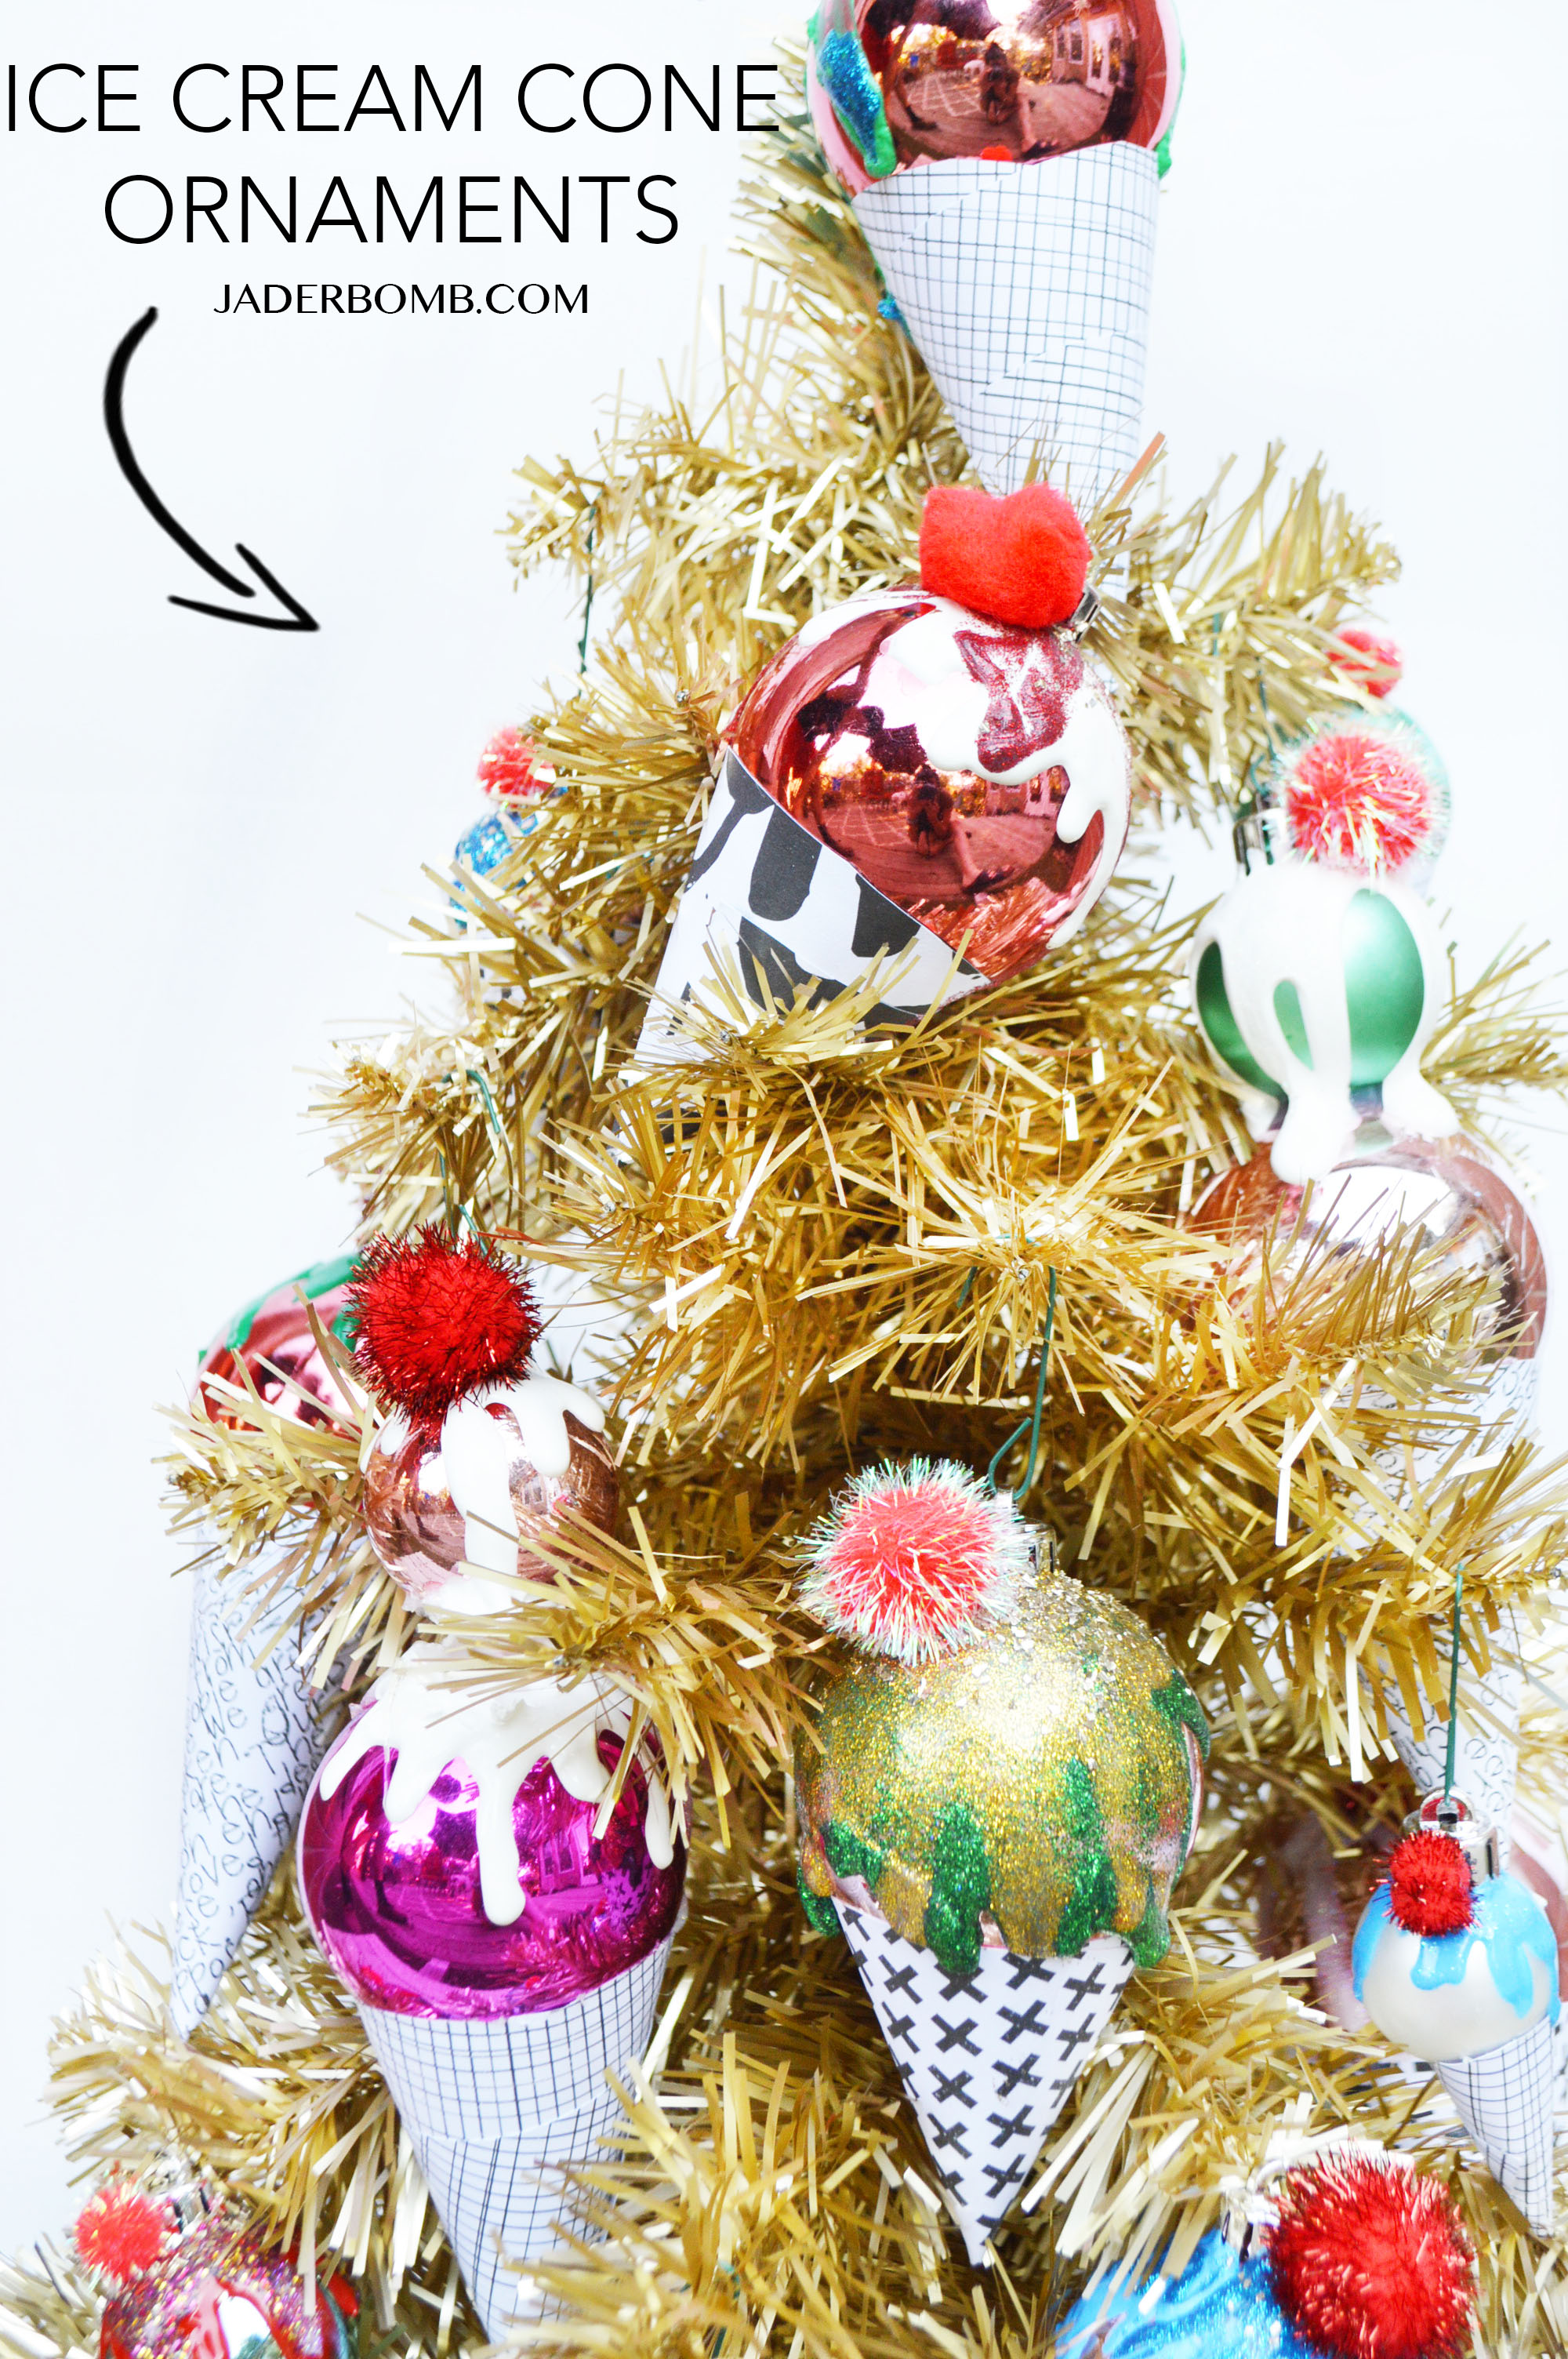
I hope you enjoyed this project and you share it with the WORLD! Let’s face it we all need ice cream ornaments in our life.
Come visit me on all my social media sites! Just search JADERBOMB on all of them!
FACEBOOK | INSTAGRAM | PINTEREST | TWITTER | GOOGLE| YOU TUBE
If you share this project on your social media make sure to use these hashtags so we can all see what you make.
#puffypaint #diychristmas
Pineapple Ice Cream Recipe