

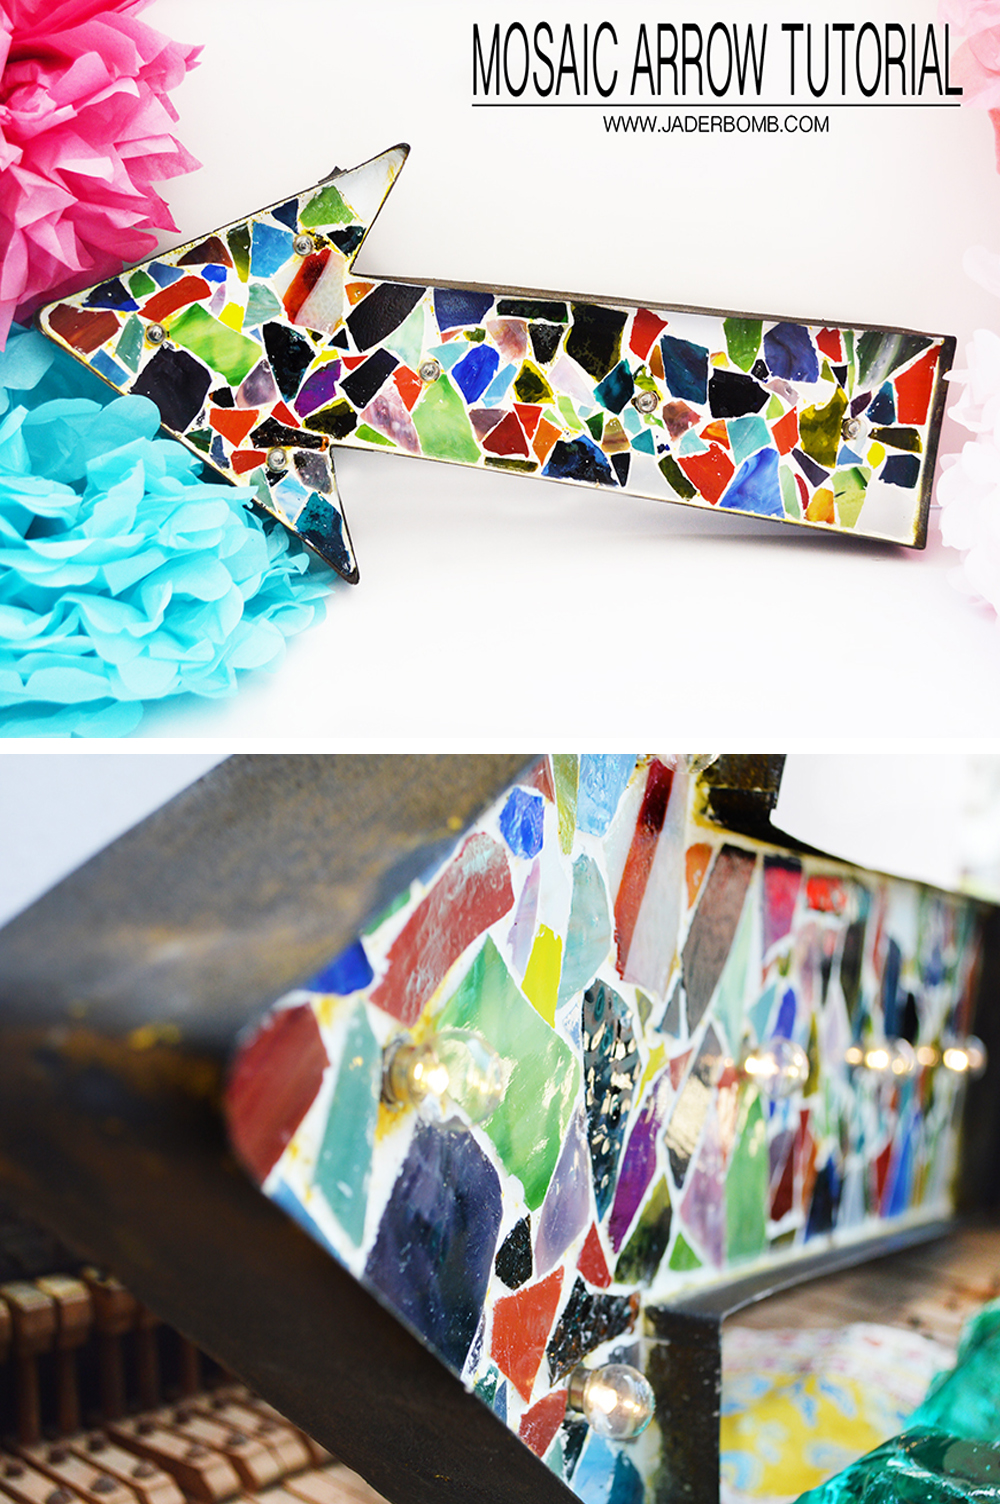
Today I will show you how to make a MOSAIC METAL ARROW!
Lately I have been experimenting with different mediums but I can honestly say I have never really entered the world of “Mosaic’s”… I had mixed feelings about the actual process however I was stunned by the way it came out. Did I know it would look so beautiful in the end – ehhhh I had an idea but I think I shocked myself a little!
I am so used to creating whimsical projects that literally go off of my emotions. This one was a little different. I actually had to think it out and process exactly how I was going to get it done. I think that is called a “Plan of Action”, haha!
Michael’s asked me to do something rad with something from the Studio Décor line, one of their favorite brands and now mine as well! So here you have the infamous Mosaic Arrow Tutorial by Jaderbomb!

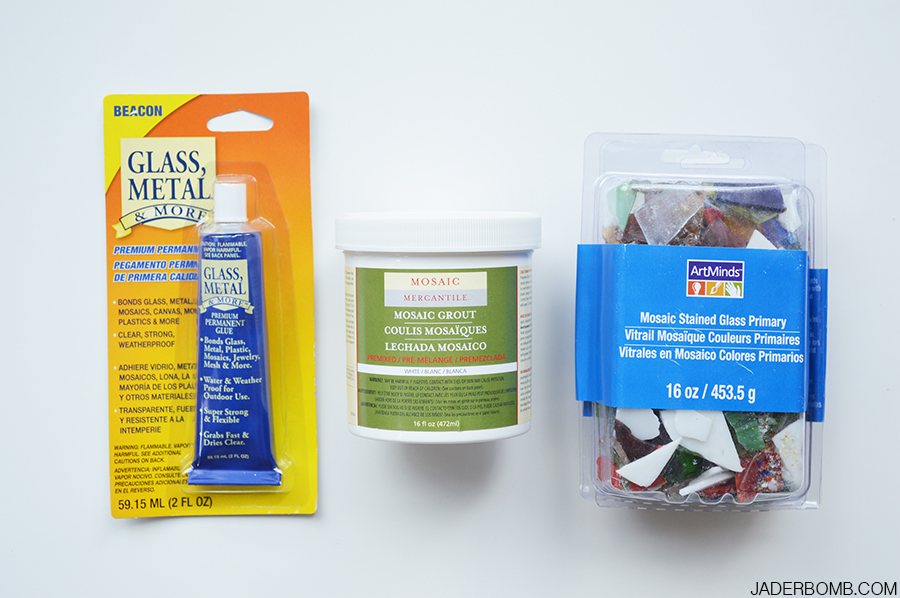
♥ Studio Decor Metal Arrow
♥ Glass Metal Glue
♥ Mosaic Grout
♥ Mosaic Stained Glass
I simply love the way this rustic arrow looks with nothing on the inside however we all know I have to have color in my life so let’s go mosaic!![]()
Step One: Carefully take out the mini light bulbs inside of the arrow. One thing I noticed when I went to Michaels is they have tons of replacement bulbs for all of the items from Studio Decor. You don’t have to loose sleep over where to get the bulbs if they go out or break! 
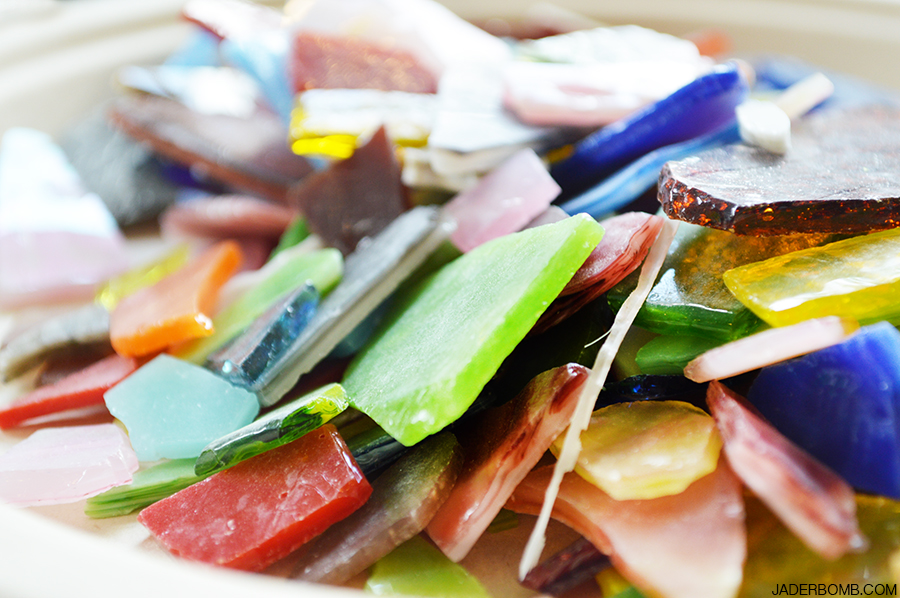
Step Two: Lay out the box of broken glass on a tray to sift through the colors. This will make it easy to pick out the colors you specifically want.
P.S. Michaels has boxes of solid colored stained glass if you are not into the multi colored look.
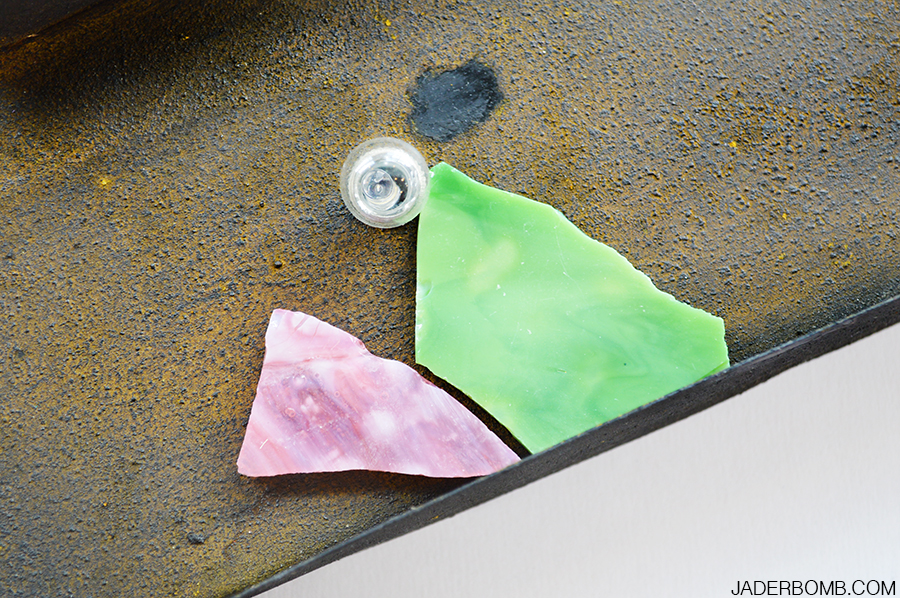
Step Three: Before you start I found it smart to just place a few piece of glass on the arrow to figure out a good starting point.
If you are quick with your eye you will notice I told you earlier to take the bulbs out but in the picture below I still have the bulb!! LOL
It’s a learning process okkkk!
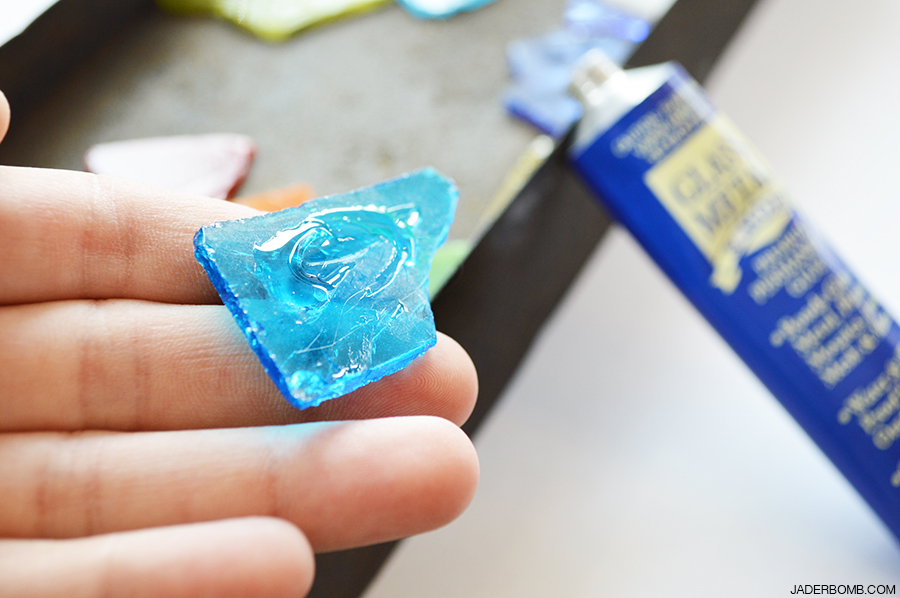
Step Four: Open your glass glue and place some on one side of the glass. There isn’t a wrong or right side. Something I learned was you do NOT need a lot! The first few I put way too much glue and when I placed it on the arrow and applied a little pressure it just came out the sides…Not good!
I applied my glue strait from the tube but you can use a toothpick if it’s easier.
This is what it will start to look like one you begin putting more pieces of glass. I will tell you that I wished I would of taken out my glass bulbs like I instructed you in the beginning. One little piece of glass can crack that bulb in these stages.
At least I will know what to do next time!
![]()
Step Five: Once you are done with applying all of your glass let it dry over night. I wanted to make sure it was completely dry before I added grout to it.
![]()
I love it without the grout, right! How I haven’t done this before is beyond me. I feel like I am going to be mosaic’ing the you know what out of everything soon!
The really cool thing is you can break porcelain or glass that you like and use that instead of getting store bought glass.
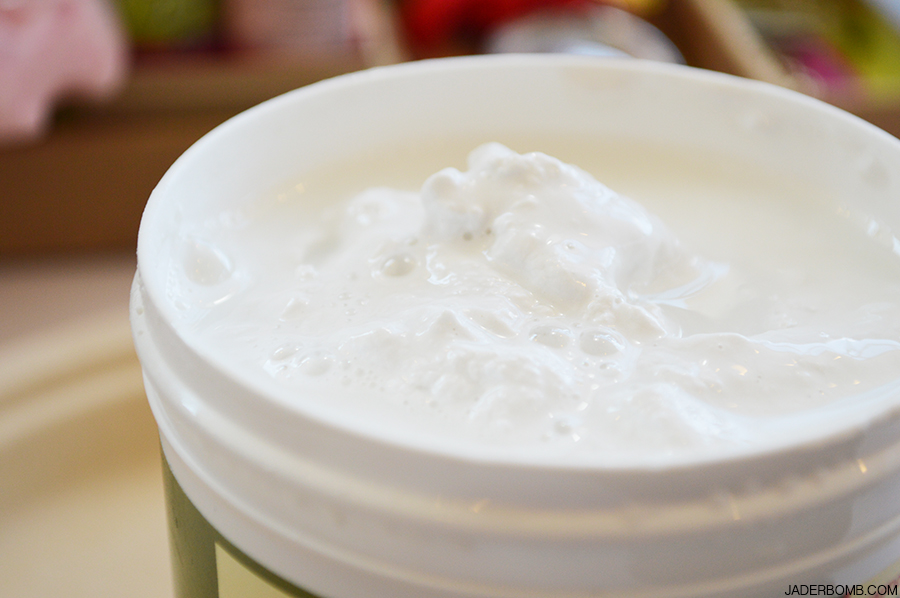
When you open the grout it will look a little wet and gooey. You do not have to mix it too much. I just used a paint stick and mixed the water that was sitting on the top but that was it.
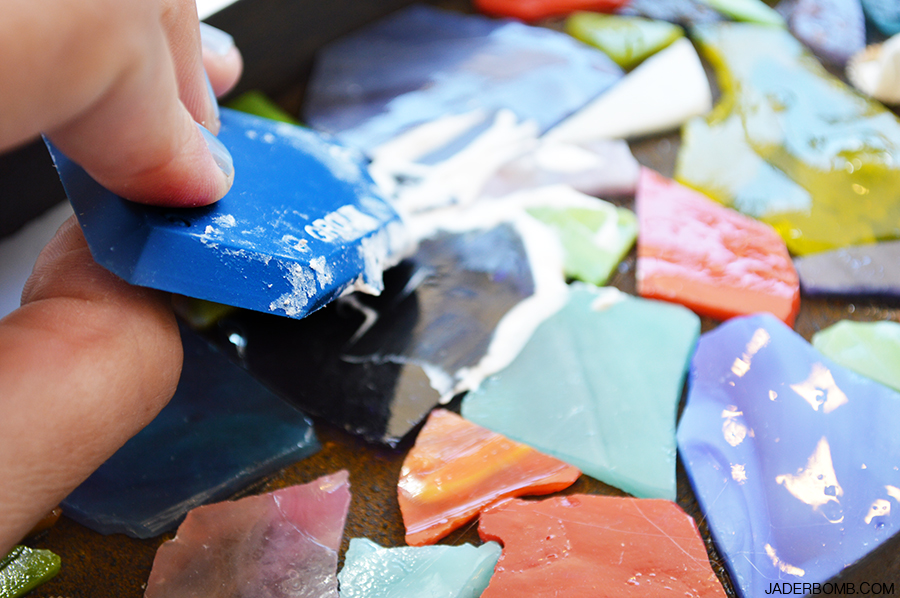
Step Six: Get a plaster scraper or something flat and start spreading grout throughout the pieces of glass.
Warning: I thought this process was going to be easy and fast but…it turns out it takes a lot of grout to fill those tiny spaces.
When you are completely done with the arrow let it dry for about an hour.
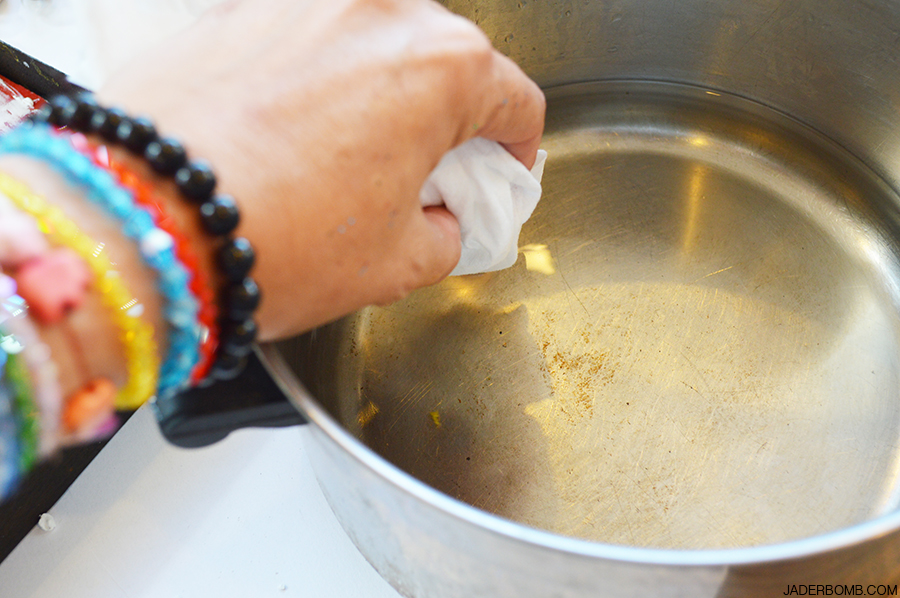
Step Seven: Wet a paper towel (durable one) and start rubbing off the grout that is sitting on top of the glass.
Step Eight: Put tiny pieces of paper inside the slots where the light bulbs go. We don’t want any grout or water to get in there.
This step is…. let’s just say you will have plenty of time to think about things. I think I may have let mine dry a little too long so follow the directions!
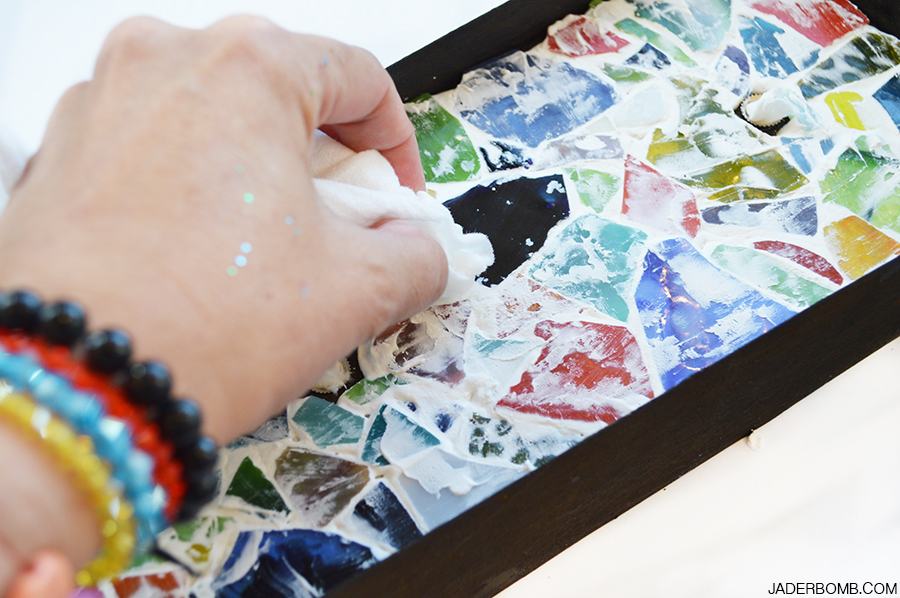
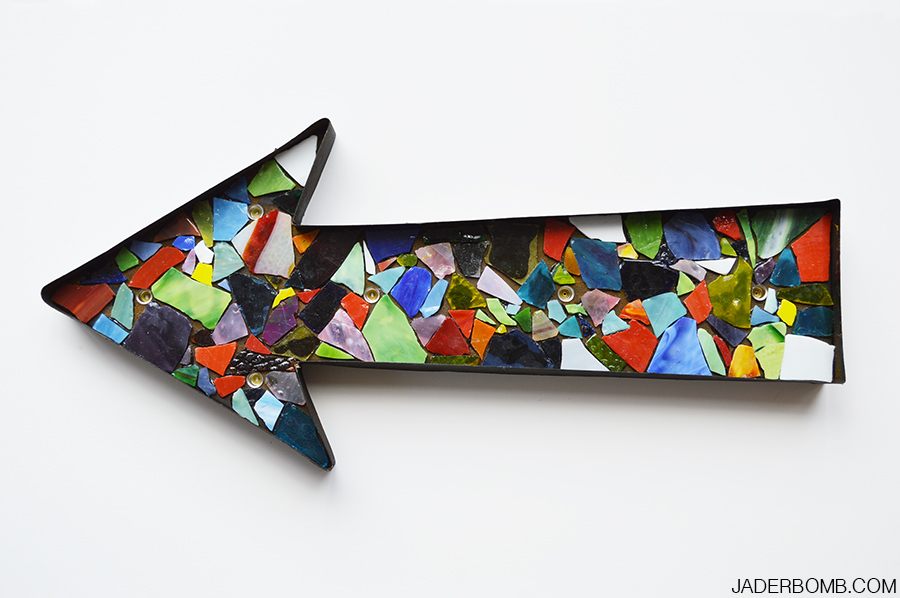
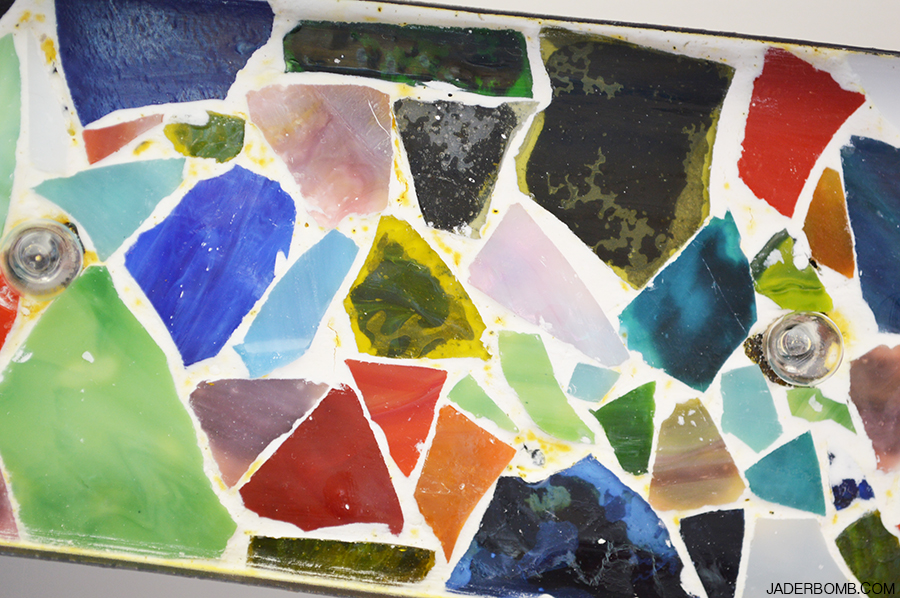
This is what it will look like when you are done. I noticed some of my grout had rust stains pop in and out throughout the arrow. Not really sure how to prevent that however I sorta like it.

I hope you enjoyed this fabulous tutorial! Make sure to head to Michaels while the AMAZING sale is going on! Don’t forget the sale starts Sunday!
♥It was so fun helping Michaels celebrate their Big Brand Sale, which launches next week, and getting to create a project using one of my favorite brands,Studio Décor!
♥Studio Décor offers so many timeless and beautiful framing choices from marquee letters and signs, to classic tabletop and wall frames, and is only available at Michaels.
♥And the best part? Poster frames are on sale from 8/2-8/8! Just check out the Big Brand Sale landing page for more details.
Come visit me on all my social media sites! Just search JADERBOMB on all of them!
FACEBOOK| INSTAGRAM| PINTEREST| TWITTER | GOOGLE+ | YOU TUBE

© Copyright jaderbombllc, All rights Reserved. Written For: JADERBOMB
I found mosaic earlier in the year – I bought a kit (you get a bit of everything you need for a small outlay) to see if it was something I would enjoy ….. well from one little bird I seem to have formed an addiction. Six more slightly larger birds, a bistro table (this has tiles called rainbow fire glitter mix and I blame you for that as glitter seems to be catching‽),a family of four ladybirds, a couple of vases and there is a large pot in progress and a bird bath after that.
Be warned – black grout may look good when its done but what a mess – and when you wipe up the dust with a damp cloth you get black streaks everywhere, but once it’s under control it looks fab.
Jill x
ps would add photos but I don’t know on the comments page :o(
That is awesome Jill! I would love to see your project! I had a little trouble with just the white, I can’t imagine black! I won’t lie I am slightly obsessed with it now!