
Yes my dear, I went into an enchanted forrest and came out with a golden pumpkin. Today’s post is all about pumpkin decorating ideas. Golly, this is a good one!
Now I know what you are thinking. The only thing I am familiar with is a golden egg. You know for Easter that one golden egg that everyone is dying to find. I don’t think I ever found it. Maybe my brothers cheated and saw where our parents put it.
Sheesh now that I am thinking about it. Maybe they jipped us and never even put out a golden egg. If you like GOLD then you will love these gold glittered paper bags I made. You could use the bags for your Halloween party.
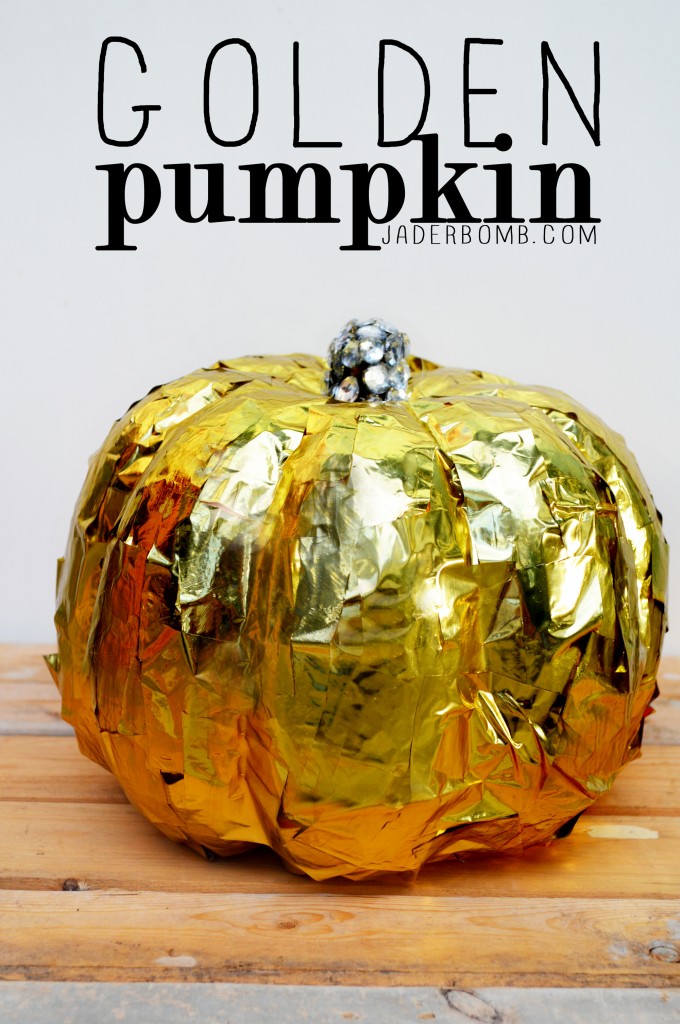
Who cares because today I will show you how to make a super fancy golden pumpkin that will be all yours.
Don’t forget to enter your dog in the Martha Stewart pet contest, they could be FAMOUS!

Funkin Pumpkin | Mod Podge | Gold Tissue Paper | Jewels | Glue Gun | Scissors | Craft Brush
If you can’t find any of these products you can click on the links to order them. These are affiliate links so if you buy something you will only help me buy more vienna sausage. <—– not really.
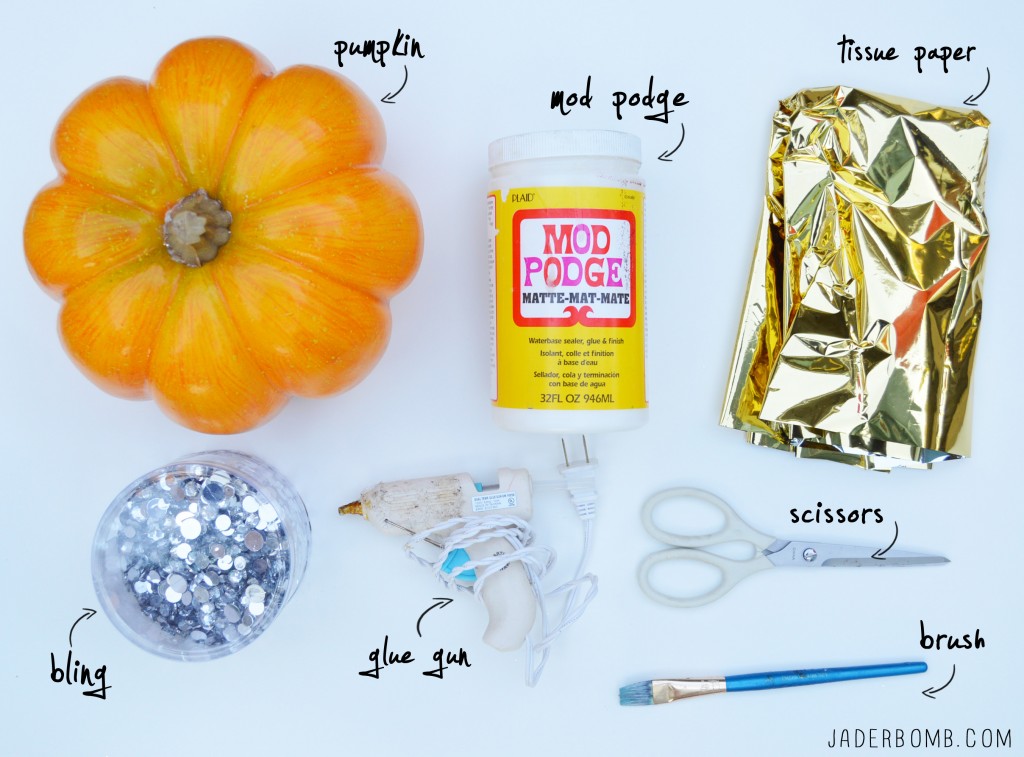
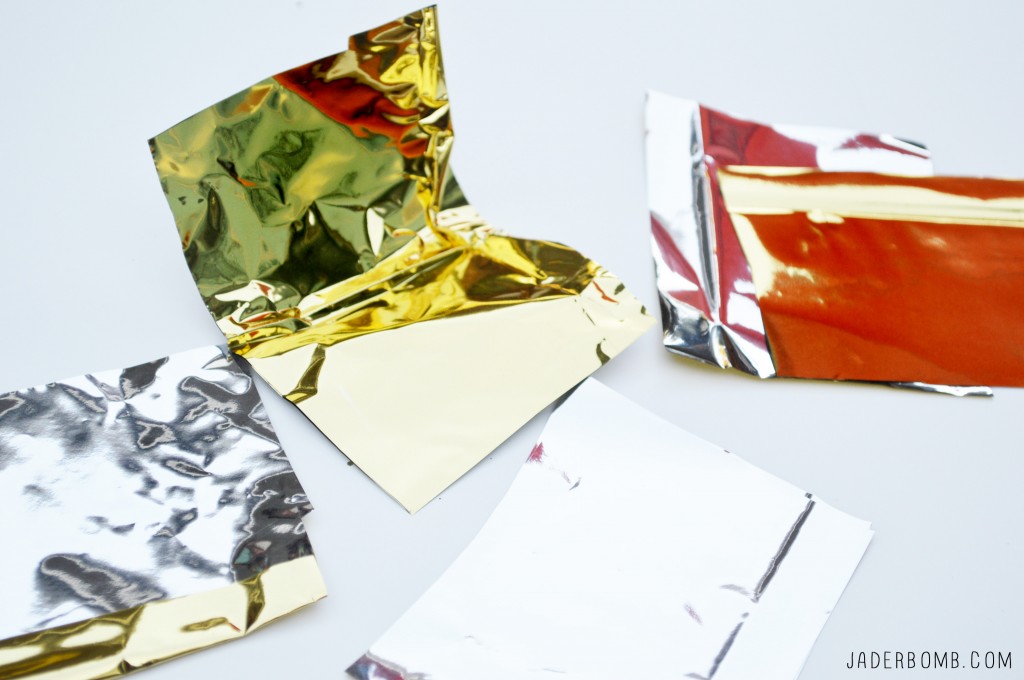
The paper I am using for this project was pretty easy to find. I think I got it from Walgreens. It’s with all of the tissue paper (near cards) but it’s not like normal tissue paper. It’s like a shiny metallic film. The coolest part is one side is shiny gold and the other side is shiny silver.
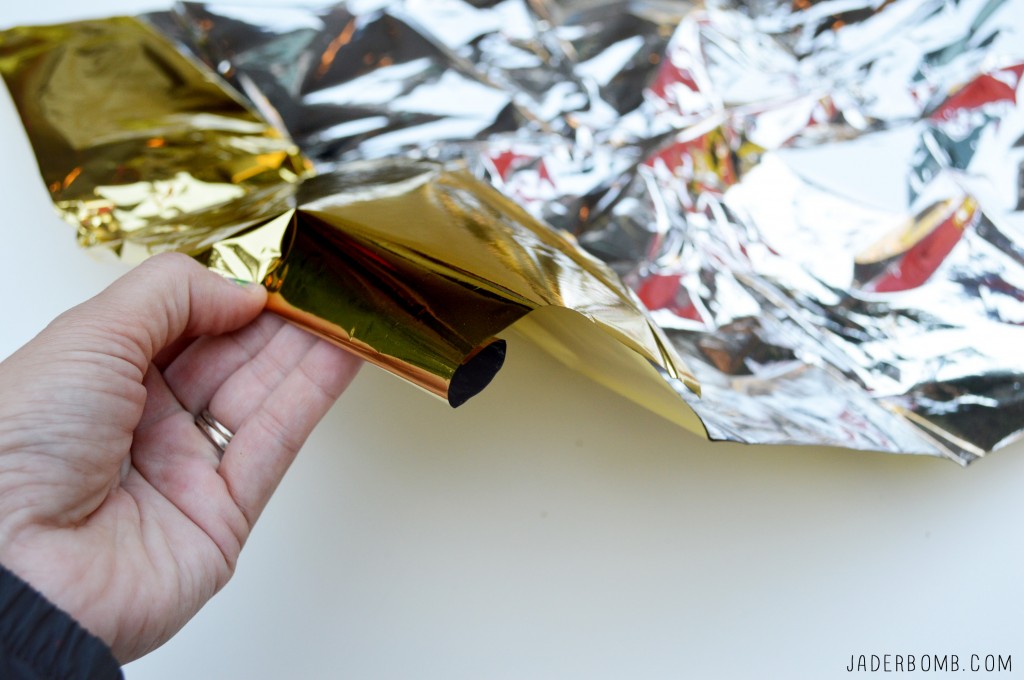
You will start by cutting a sheet into squares. The size of the squares does not matter. I actually recommend cutting them in different sizes.
Grab your brush and mod podge and start applying the tissue to the pumpkin. I started from the top/center and worked my way down to the bottom. Make sure you overlap the squares so it doesn’t look too “perfect.”
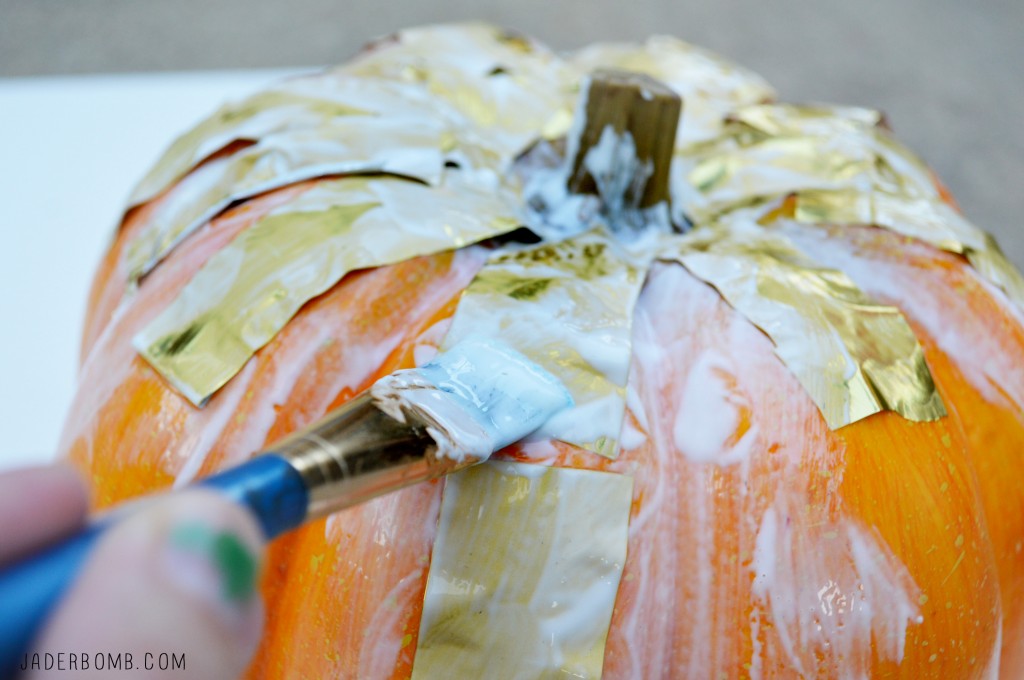
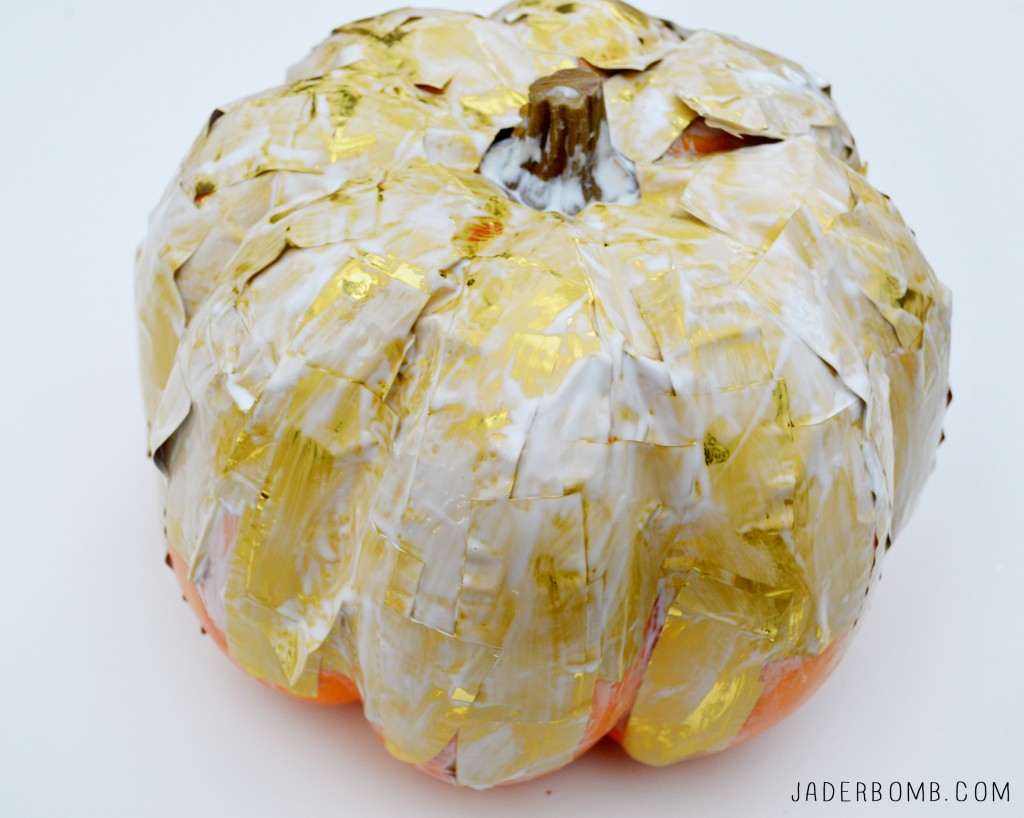
This is what it will start to look like once you work your way down. Now I will warn you that this paper is thick so in the beginning you might have to apply Mod Podge with a brush but rub your fingers over each strip to make sure they stick to the pumpkin good. If you see pops of orange showing just add a square on top and Mod Podge away.
When you are done covering the entire pumpkin let it dry over night. If you are not familiar with Mod Podge it will look “white” in the beginning but I pinky promise when it dries it will be translucent.
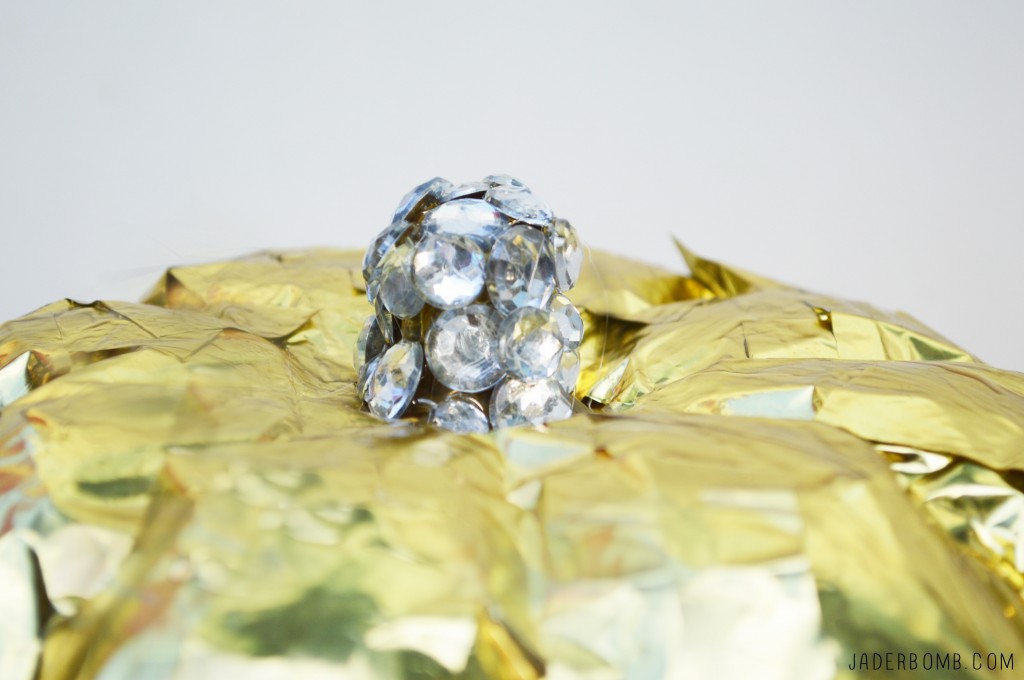
To dress up my stem I added a few flat backed jewels to it. If you don’t have jewels you can sprinkle glitter on top or wrap it with bakers twine. The stem could be like that epic moment when you decorate a Christmas tree and add the STAR!
I hope you enjoyed this tutorial! See you in the next post. I have some exciting things coming so stay tuned! Huge glittery

© Copyright jaderbombllc, All rights Reserved. Written For: JADERBOMB
Damn Gina, Now THAT is a pumpkin!
I think it’s the rhinestone stem is what does it for me. Can’t get enough gold on jewel action in my autumnal decor.
Peaches!!!! I am so glad you love it! <3
gorgeous! i am saving for next year ;D